This guide will tell you everything you need to know about how to reach Miquella’s Haligtree in Elden Ring and bring Latenna the Albinauric along for the ride, including procuring the Haligtree Secret Medallion and breaking the seals at Ordina Liturgical Town.
Table of contents
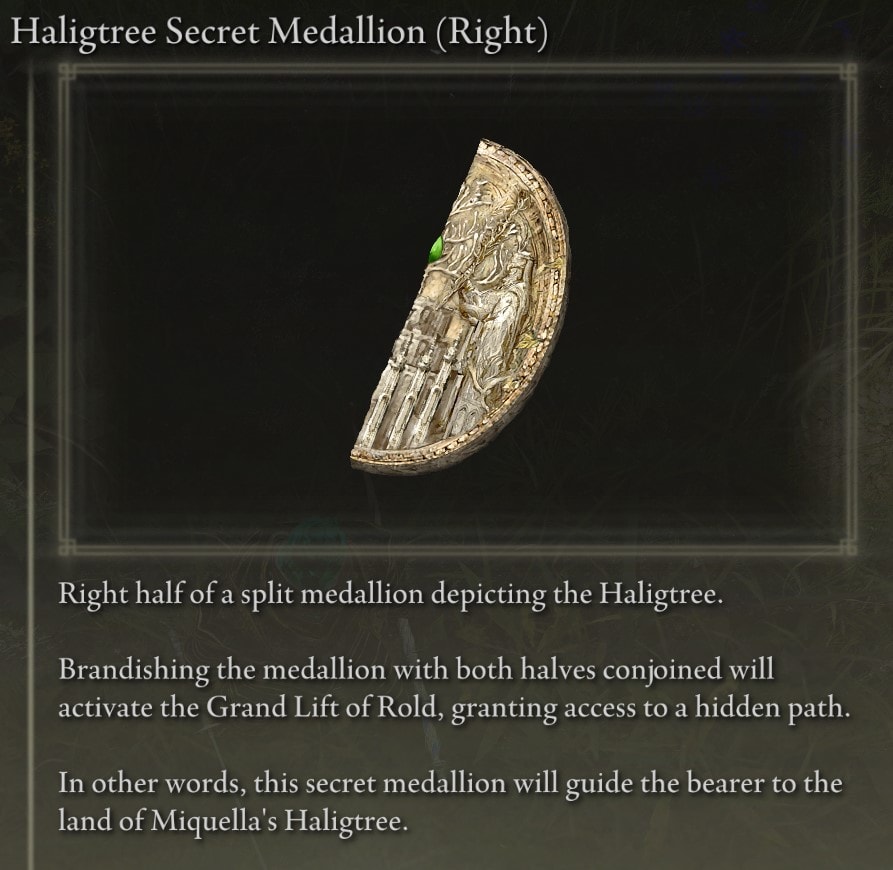
- Step 1: Obtain the Haligtree Secret Medallion (Right)
- Step 2: Meet Latenna, the Albinauric Spirit
- Step 3: Buy the Sentry’s Torch and Defeat Morgott
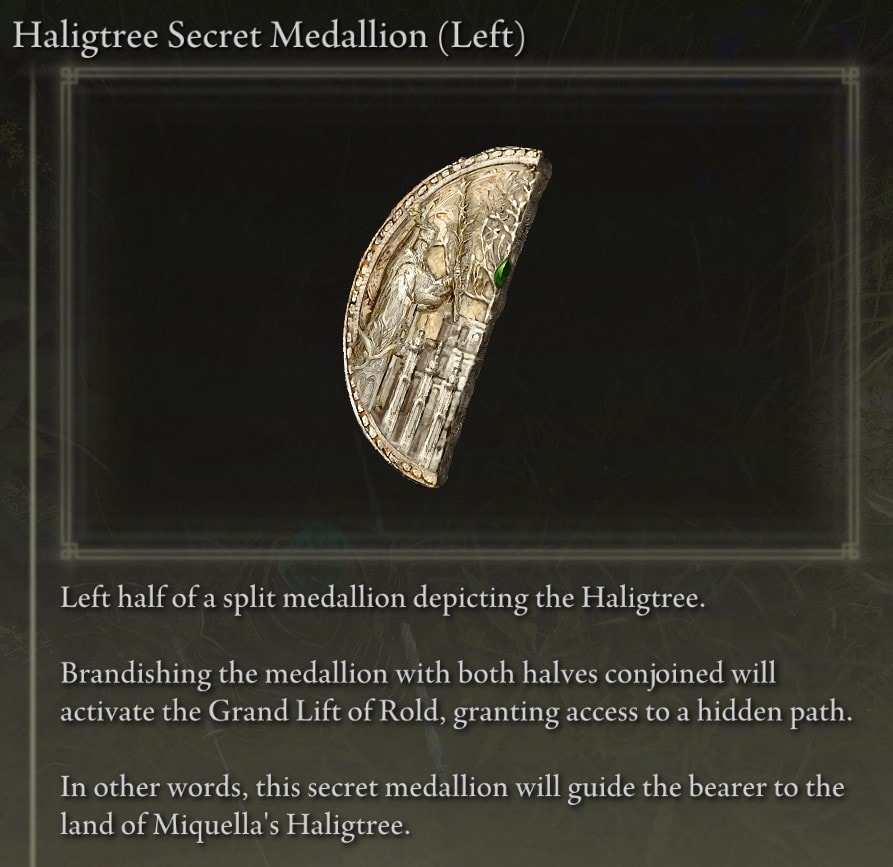
- Step 4: Obtain the Haligtree Secret Medallion (Left)
- Step 5: The Hidden Path to the Haligtree
- Step 6: Crossing the Consecrated Snowfield
- Step 7: Evergaol Puzzle at Ordina, Liturgical Town
- Step 8: Take Latenna out to Apostate Derelict
Miquella’s Haligtree is located past the Consecrated Snowfield on the western side of the Mountaintops of the Giants, but reaching it is no small task.
To reach that part of the map, you must obtain both halves of the Haligtree Secret Medallion and join the medallions at the Grand Lift of Rold at Lyndell.
Once you’ve obtained the Haligtree Secret Medallion (Right) and Haligtree Secret Medallion (Left), you’ll need to cross the Consecrated Snowfield and solve the puzzle at Ordina Liturgical Town to break the seal that lets you set foot on the Haligtree.
How to get the Haligtree Secret Medallion, reach the Haligtree and complete Latenna's Quest

This is a step-by-step summary of how to start and complete Latenna's Quest in Elden Ring. In the process you will find the Left and Right halves of the Haligtree Secret Medallion and unlock the hidden path to Miquella's Haligtree.
Instructions
- Obtain the Haligtree Secret Medallion (Right)
The right half of the Haligtree Secret Medallion is given to you by Old Albus, an elderly Albinauric, located at the Village of Albinaurics in Liurnia beneath the Moonlight Altar - Meet Latenna, the Albinauric Spirit
Latenna is located at the Slumbering Wolf's Shack, which is at the end of the Lakeside Crystal Cave in southern Liurnia of the Lakes - Buy the Sentry's Torch and Defeat Morgott
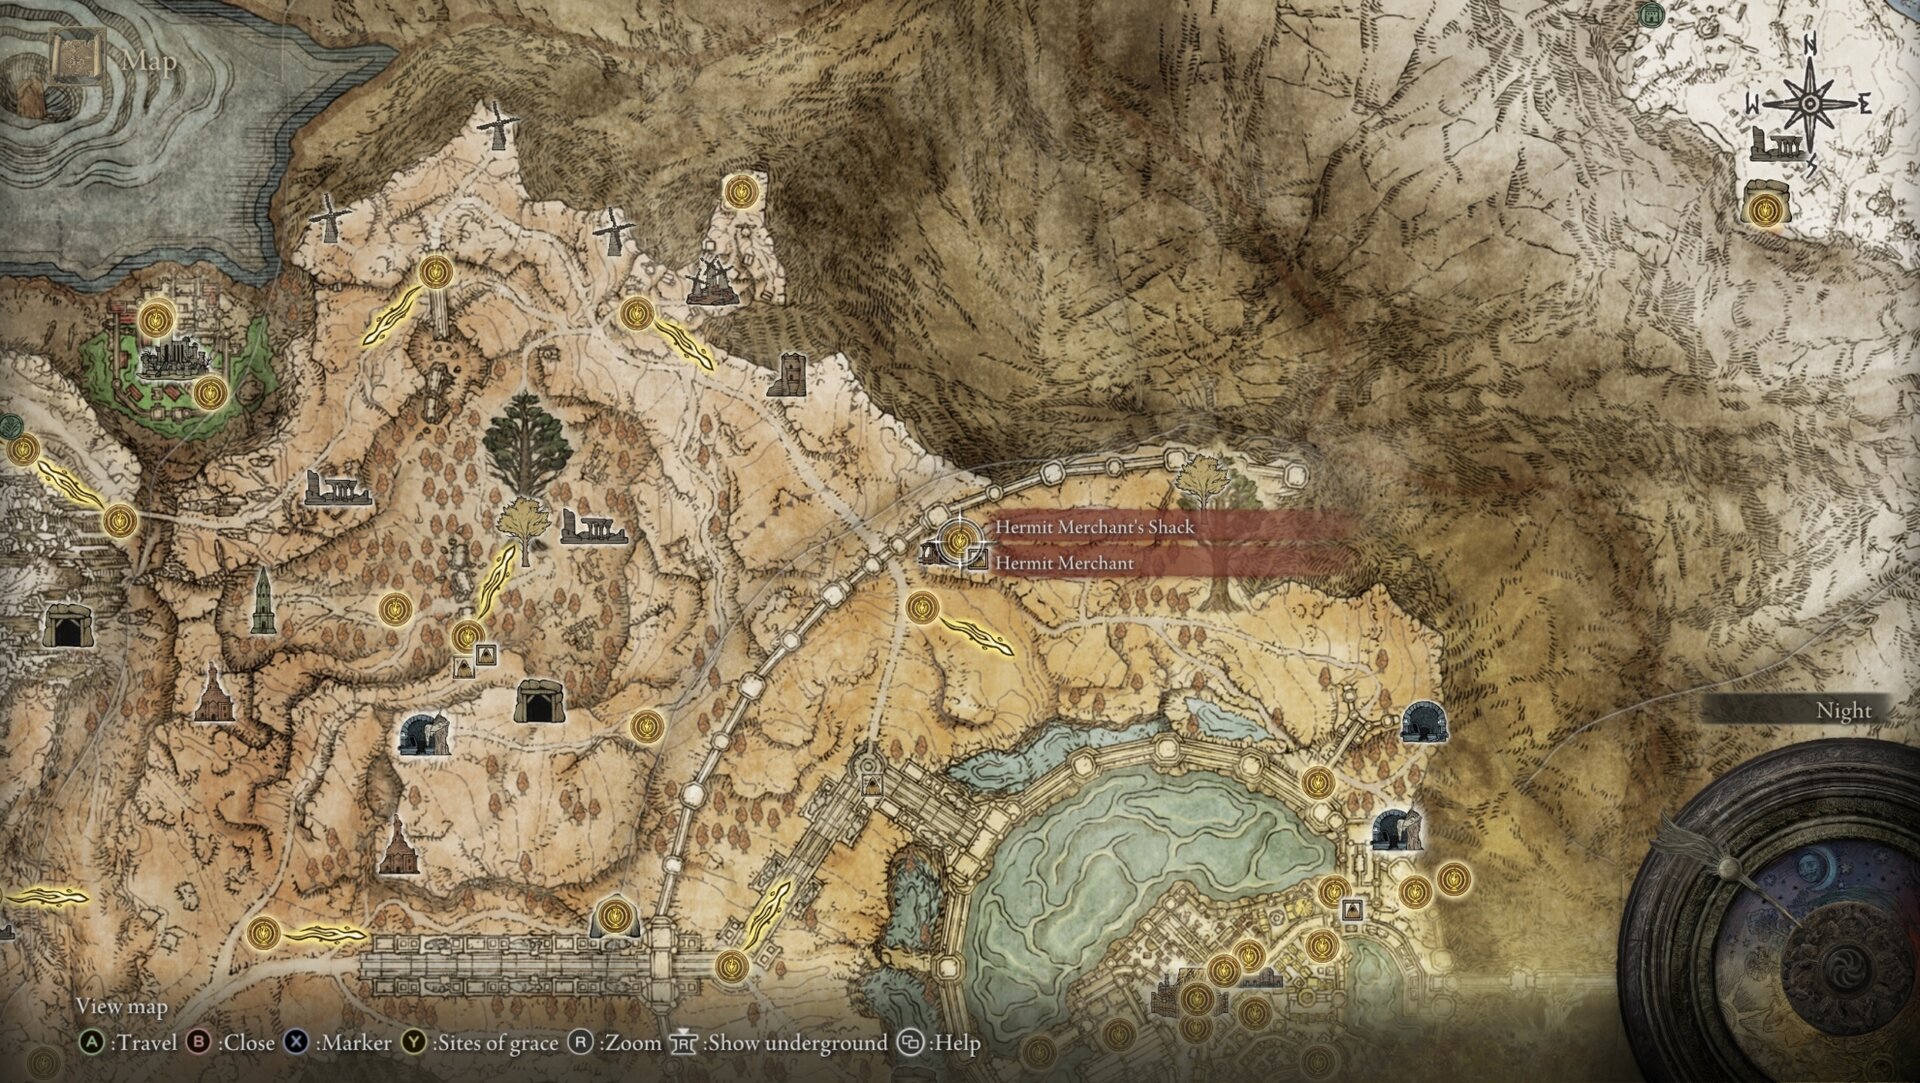
You must defeat Morgott, the Grace-Given, at Lyndell, Royal Capital, to unlock the Grand Lift of Rold and reach the Mountaintops of the Giants, where the other half of the Haligtree Secret Medallion is held. While you're in the area, I highly recommend swinging by the Hermit Merchant at his shack inside the outer wall of Lyndell on the Atlus Plateau and purchasing the Sentry's Torch from him for 7,000 Runes. - Obtain the Haligtree Secret Medallion (Left)
The left half of the Haligtree Secret Medallion is on the ground at Castle Sol in the northeastern part of the Mountaintops of the Giants. Commander Niall is the medallion's last line of defense. - Discover the Hidden Path to the Haligtree
Take both halves of the Haligtree Secret Medallion to the Grand Lift of Rold. When standing on the lift, you'll default to the Rold Medallion but get the option to Switch Action, allowing you to hoist the Haligtree Secret Medallion instead. Go through the catacombs, optionally explore the invisible path for more loot. - Cross the Consecrated Snowfield
Pick up the map for the area to make the journey a bit easier. - Solve the Evergaol Puzzle at Ordina, Liturgical Town
Once you make it out of the Consecrated Snowfield, head to Ordina, Liturgical Town. The puzzle is lighting candles to get out of an Evergaol. Beware of the Black Knife Assassins patrolling the ground and the Albinauric Archers on the roofs. - Take Latenna out to Apostate Derelict
Take Latenna out to Apostate Derelict, a church at the corner of the map. It's guarded by a walking mausoleum that shoots magic explosives.
Notes
The full walkthrough is below and it will tell you absolutely everything you need to know about each step, any optional activities and all of the valuable loot you should procure while exploring the areas.
Step 1: Obtain the Haligtree Secret Medallion (Right)
The right half of the Haligtree Secret Medallion is given to you by Old Albus, an elderly Albinauric who’s clearly spent his entire life perfecting the art of disguising oneself as a jar. He’s located at the Village of Albinaurics in Liurnia beneath the Moonlight Altar.
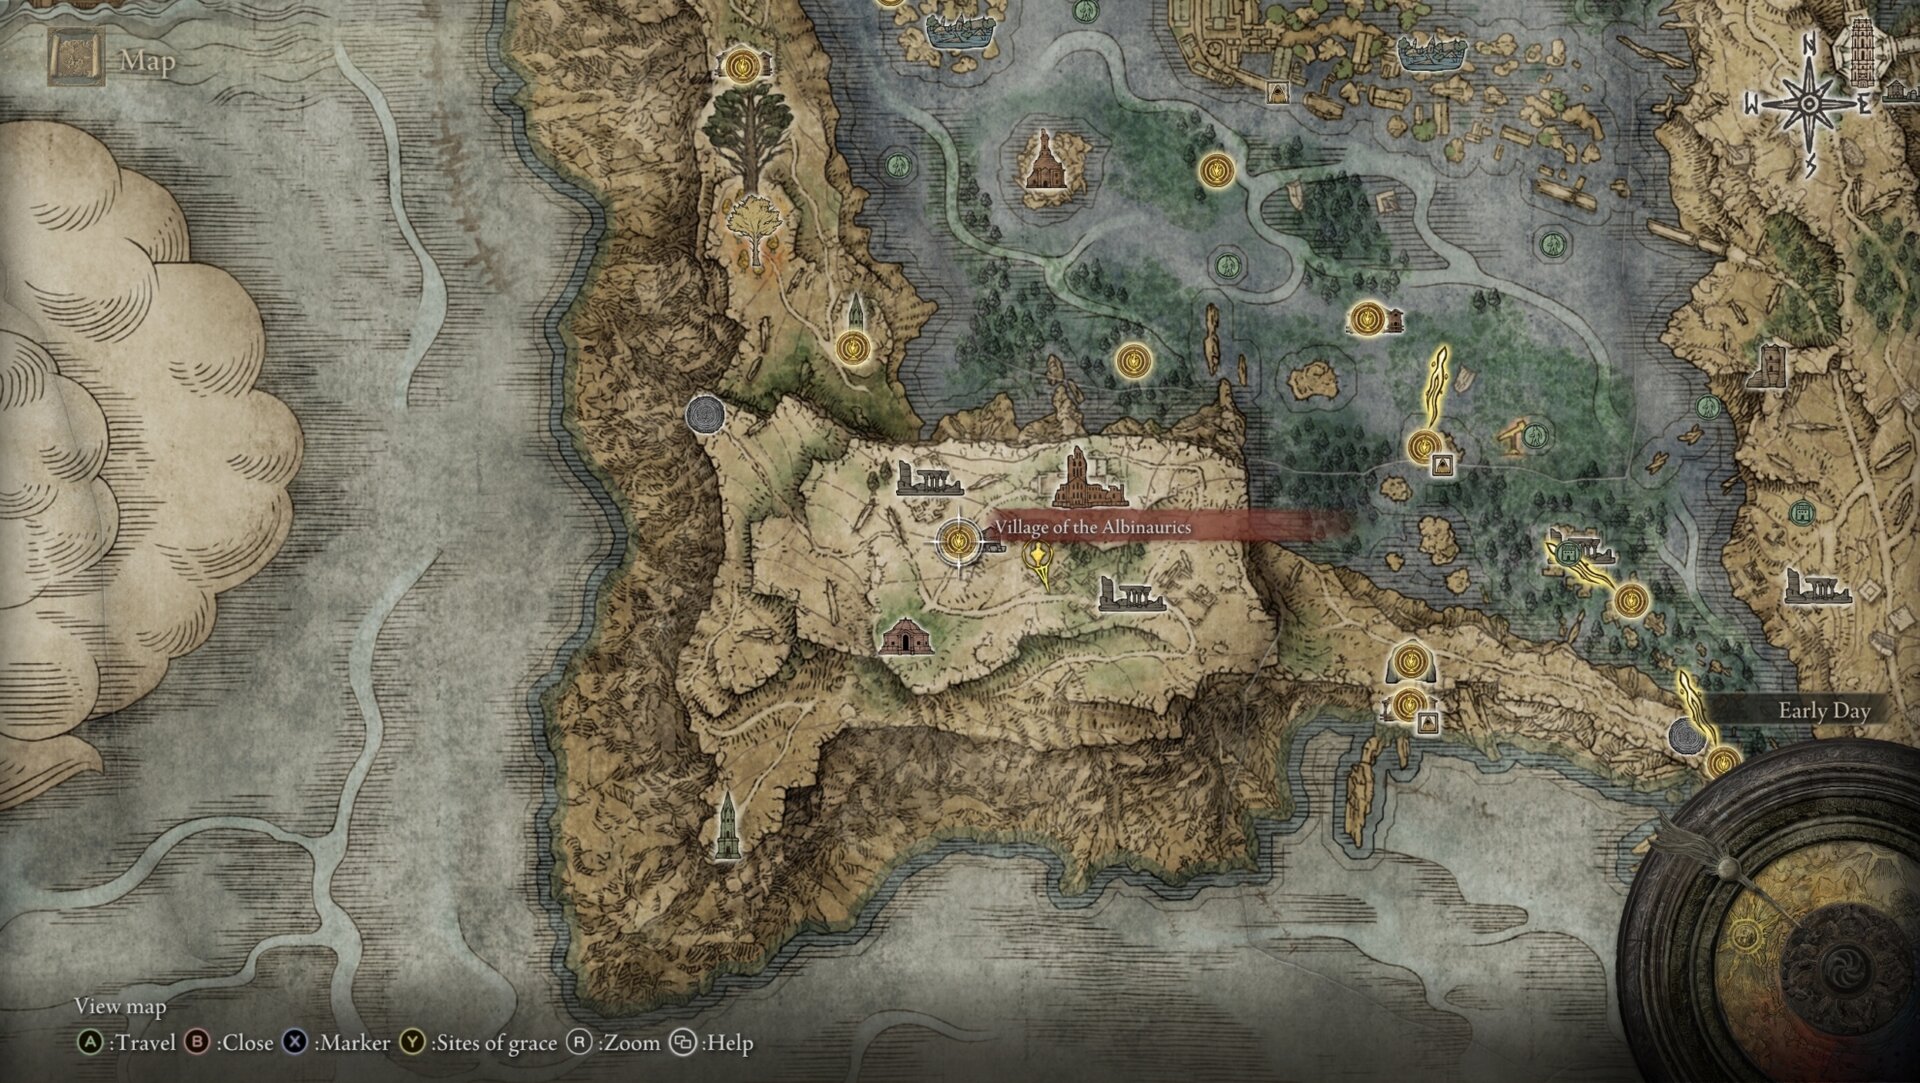
Head towards the stone bridge, but stay on the grass heading to the buildings and go past the Depraved Perfumer.
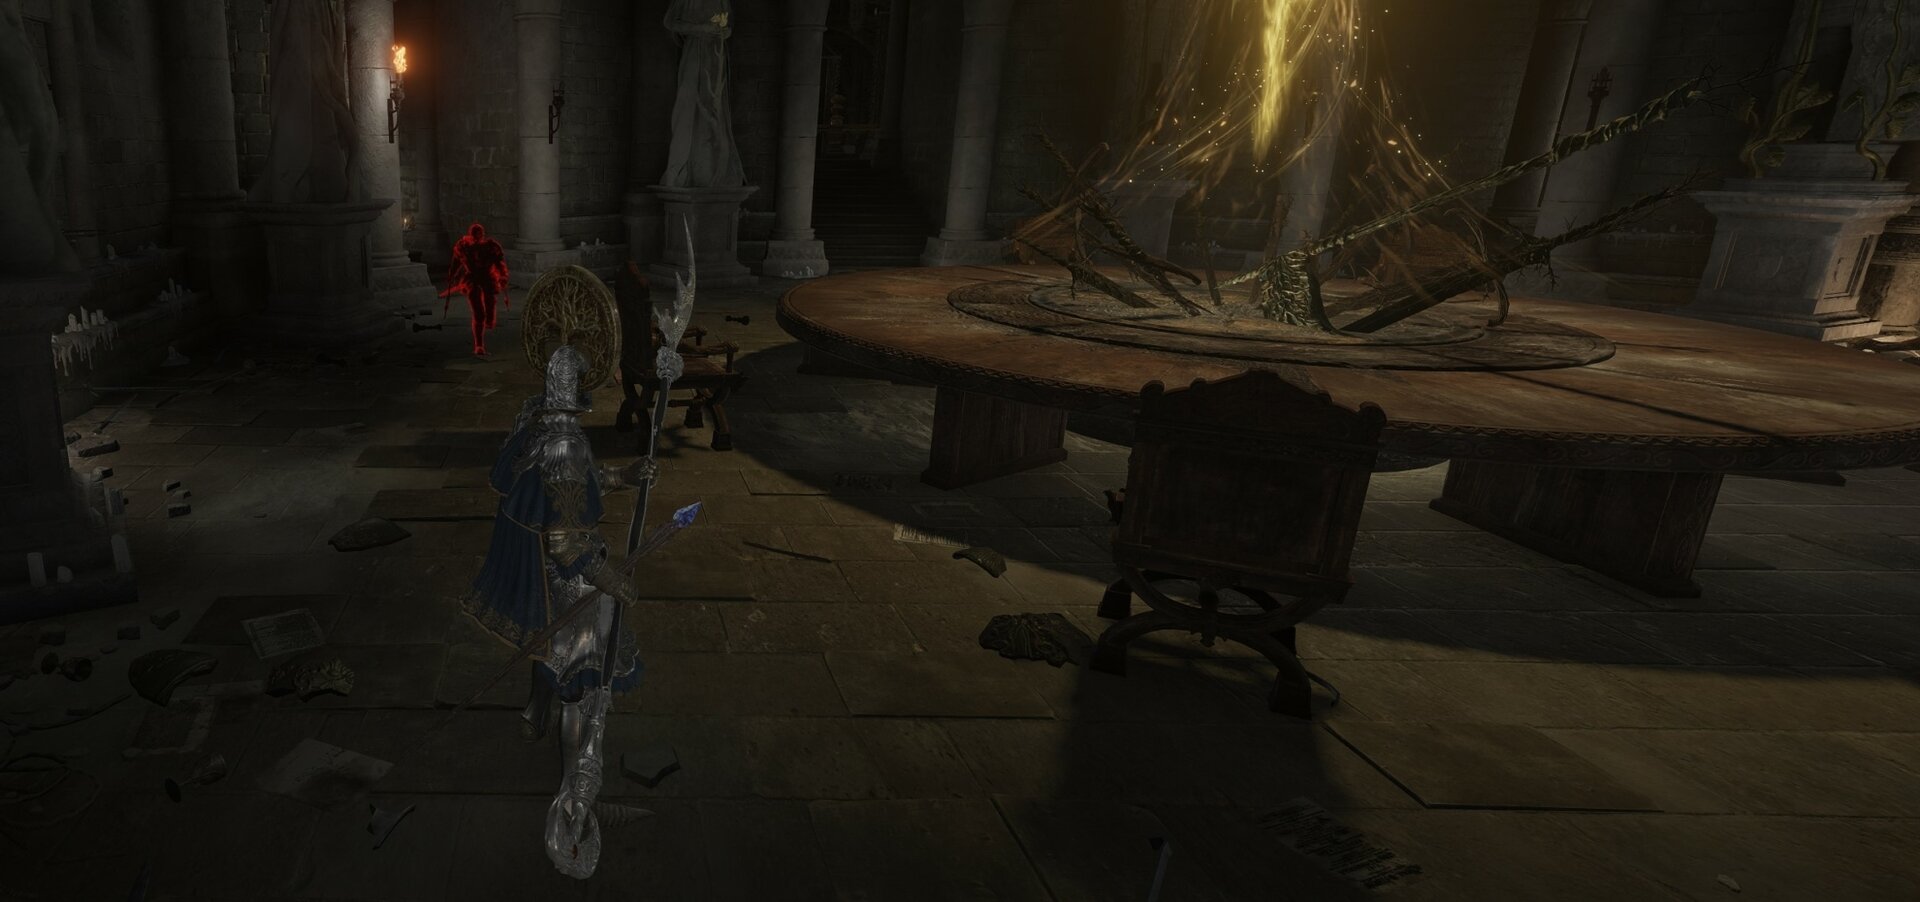
Roundtable Ambush
After acquiring either piece of the Haligtree Secret Medallion, the next time you travel to the Roundtable Hold, you’ll be ambushed by Gideon’s personal death starer, Ensha.
He drops the Clinging Bone, and you can loot Ensha’s Royal Remains armor set from his workplace (the door to Gideon’s office).
The Royal Remains armor set has a unique effect to heal you very slightly over time after taking damage. It’s also the perfect armor set for a Necromancer build.
Later on, the Dung Eater remarks that he would kill you where you stand at the Roundtable Hold if not for its serenity, implying he is held to the same no-violence rule as you are. So Ensha can break the rules, but you and the Dung Eater can’t.
Nephelli tells us that Gideon’s forces were inflicting the carnage we see at the Village of the Albinaurics. When you confront Gideon, he’s all like “oopsie-doopsie, looks like Ensha did a no-no”, like he didn’t personally instruct Ensha to attack you! SMH
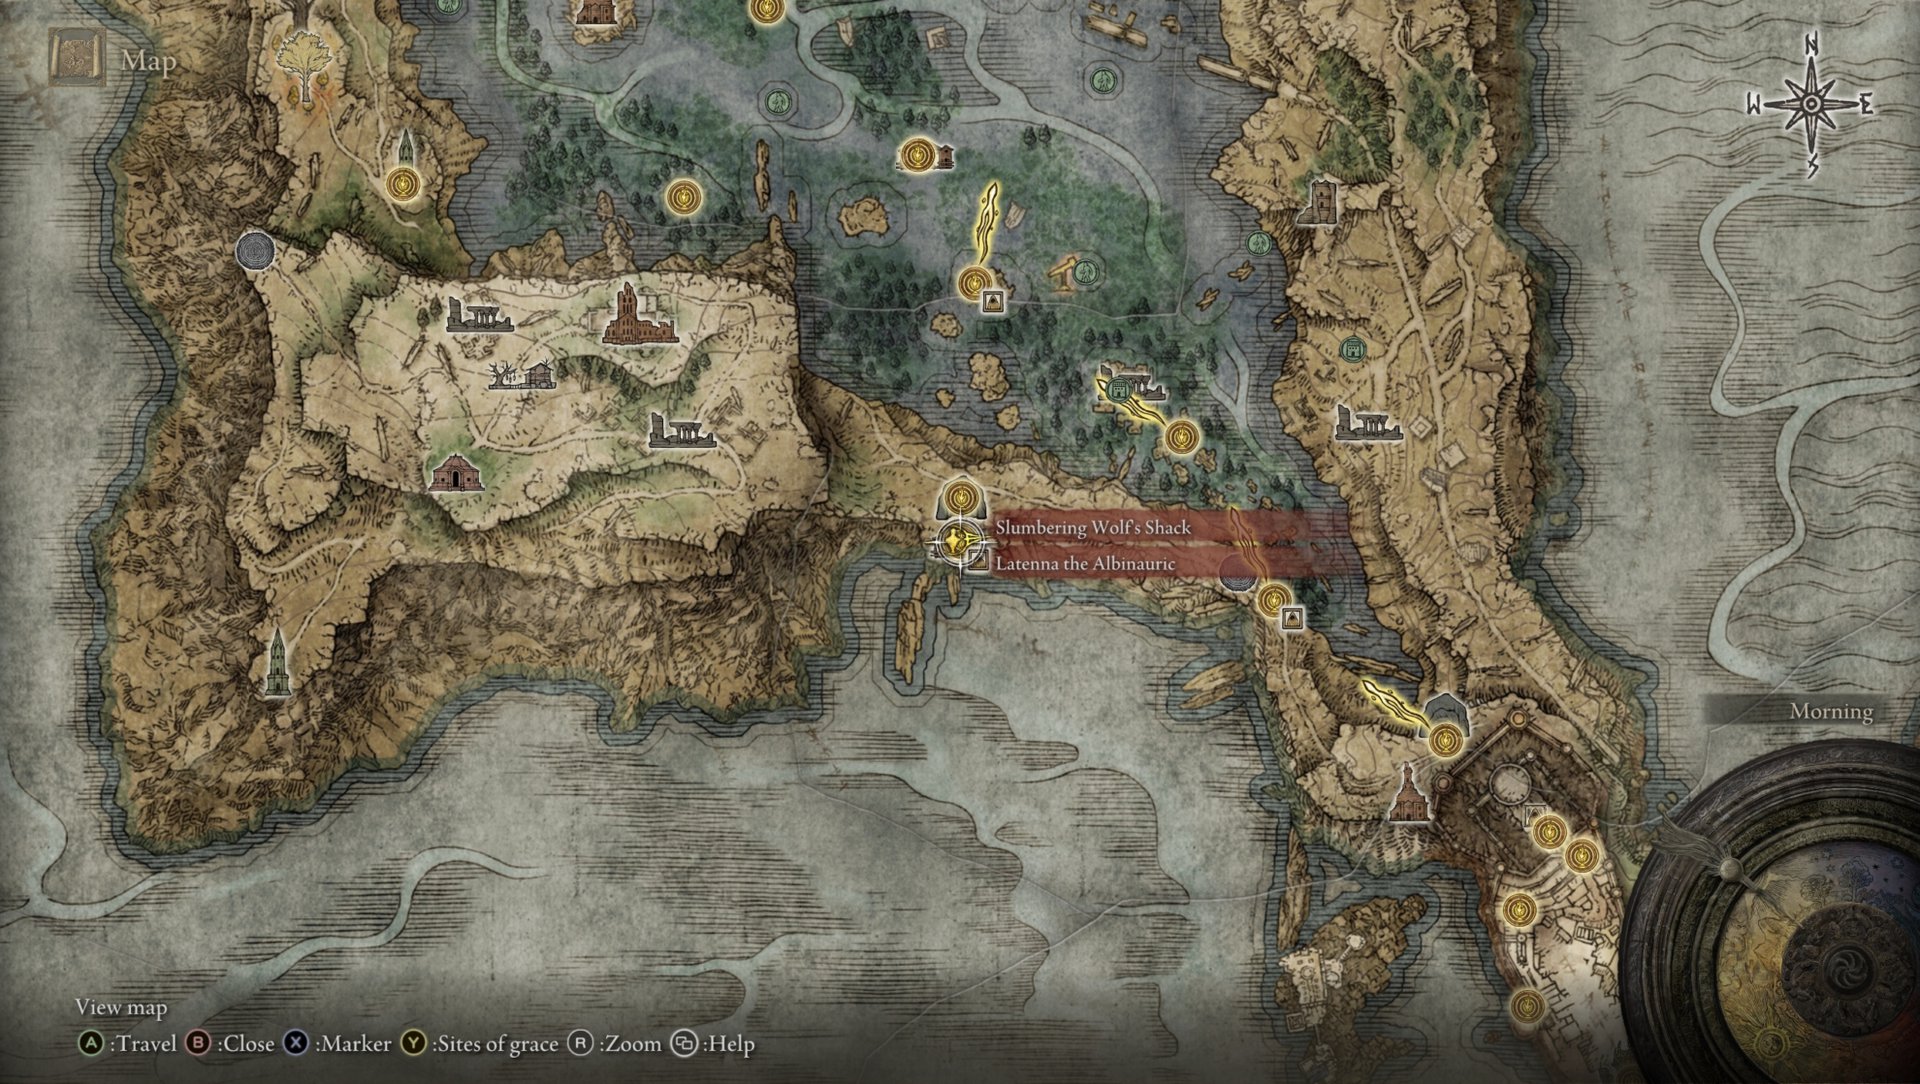
Step 2: Meet Latenna, the Albinauric Spirit
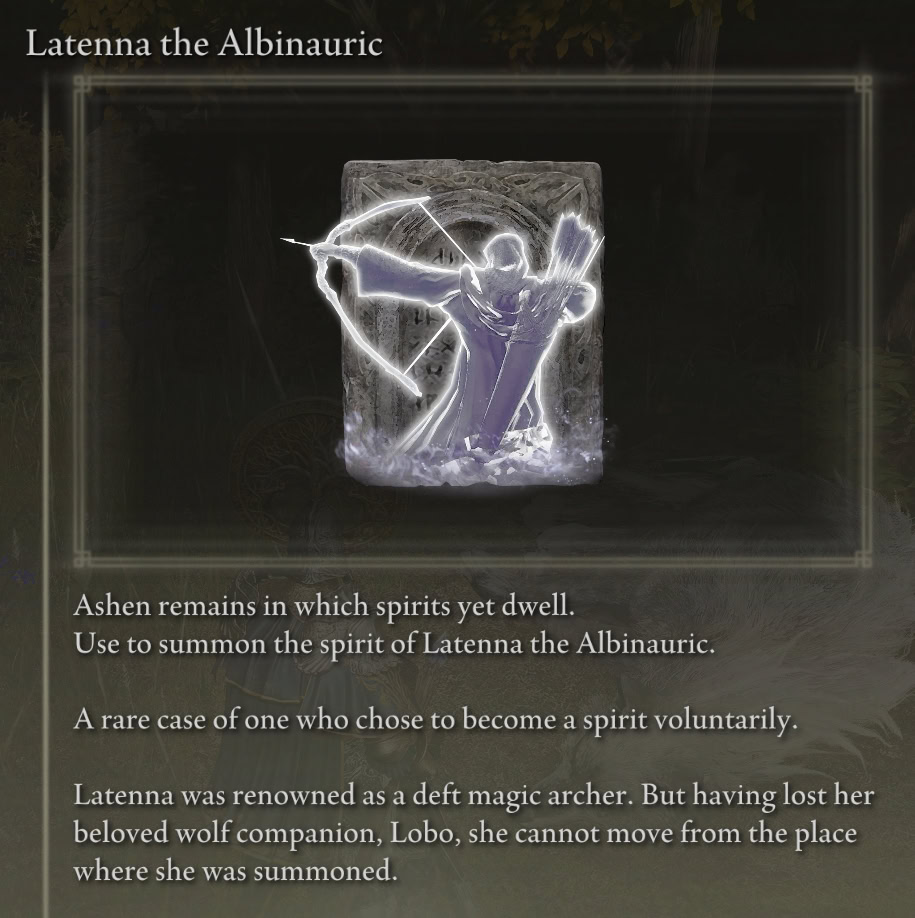
Latenna is located at the Slumbering Wolf’s Shack, which is at the end of the Lakeside Crystal Cave in southern Liurnia of the Lakes. She won’t speak with you unless you have the Haligtree Secret Medallion (Right) from Albus.
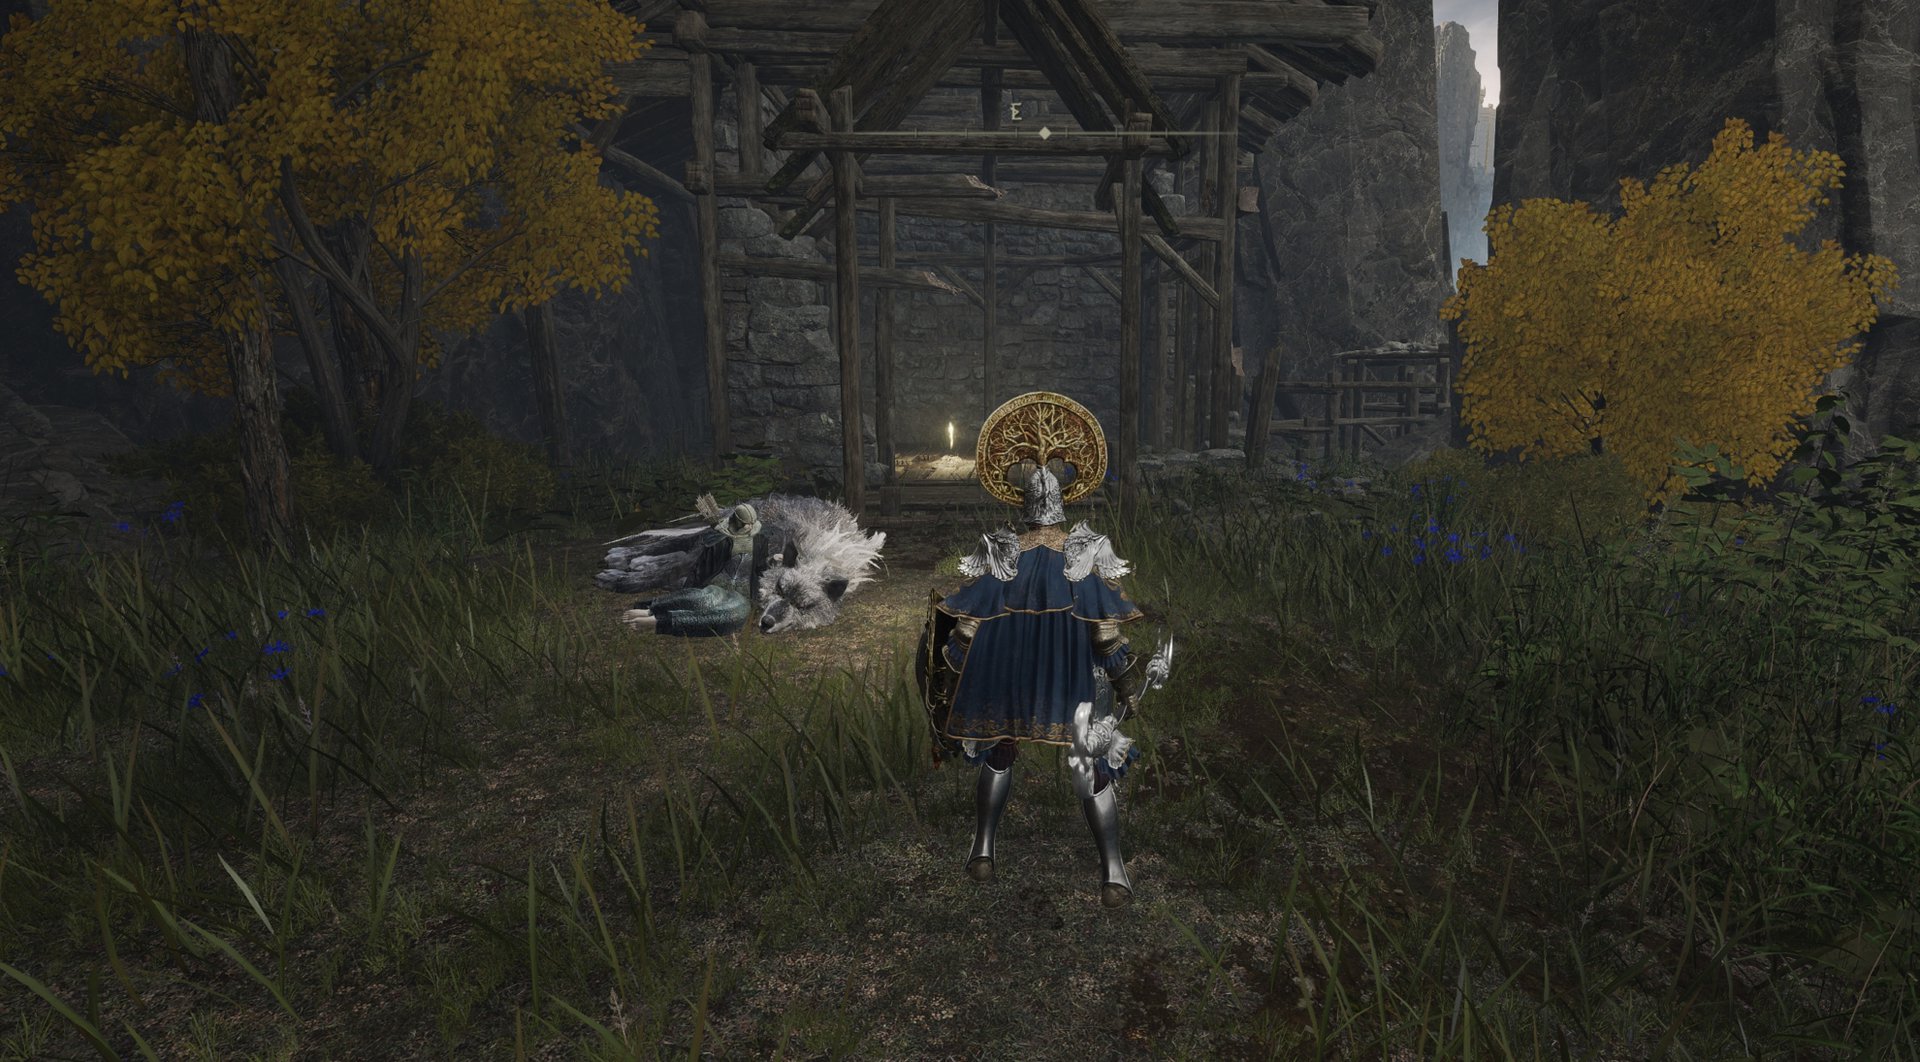
Once you do, she’ll turn herself into some Spirit Ashes and accompany you willingly to the Haligtree. She’ll speak to you again several times in the Mountaintops of the Giants to point you in the right direction.
Step 3: Buy the Sentry’s Torch and Defeat Morgott
It’ll be a while before you can get any closer to the Haligtree. You must defeat Morgott, the Grace-Given, at Lyndell, Royal Capital, to unlock the Grand Lift of Rold and reach the Mountaintops of the Giants, where the other half of the Haligtree Secret Medallion is held.

While you’re in the area, I highly recommend swinging by the Hermit Merchant at his shack inside the outer wall of Lyndell on the Atlus Plateau and purchasing the Sentry’s Torch from him for 7,000 Runes.
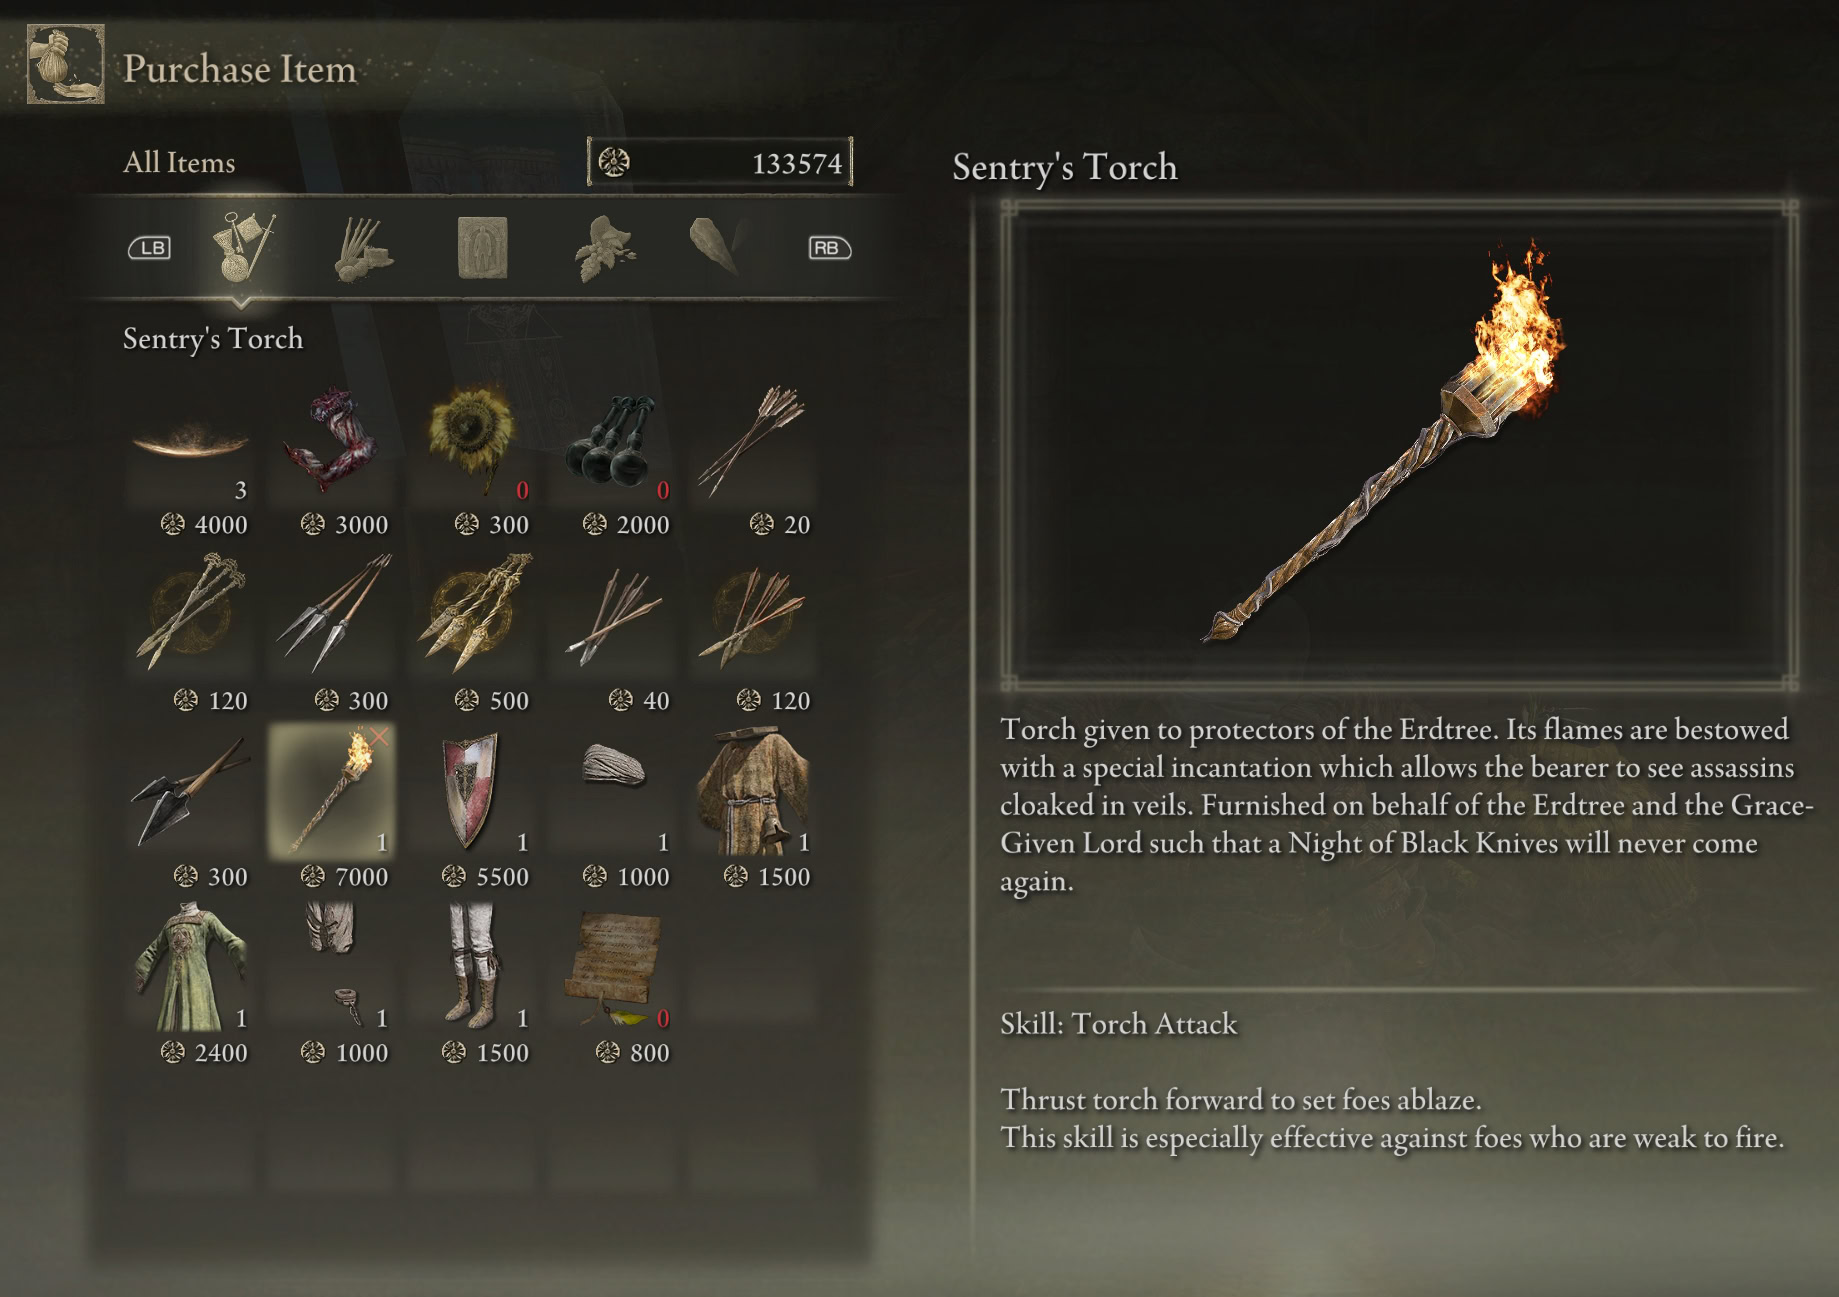
This torch passively reveals any invisible enemies nearby, including Black Knife Assassins, and you don’t even need to meet the stat requirements. You’ll want to equip it when you reach Ordina, Liturgical Town.
Step 4: Obtain the Haligtree Secret Medallion (Left)
The left half of the Haligtree Secret Medallion is literally just lying on the ground at Castle Sol in the northeastern part of the Mountaintops of the Giants. Commander Niall is the medallion’s last line of defense.
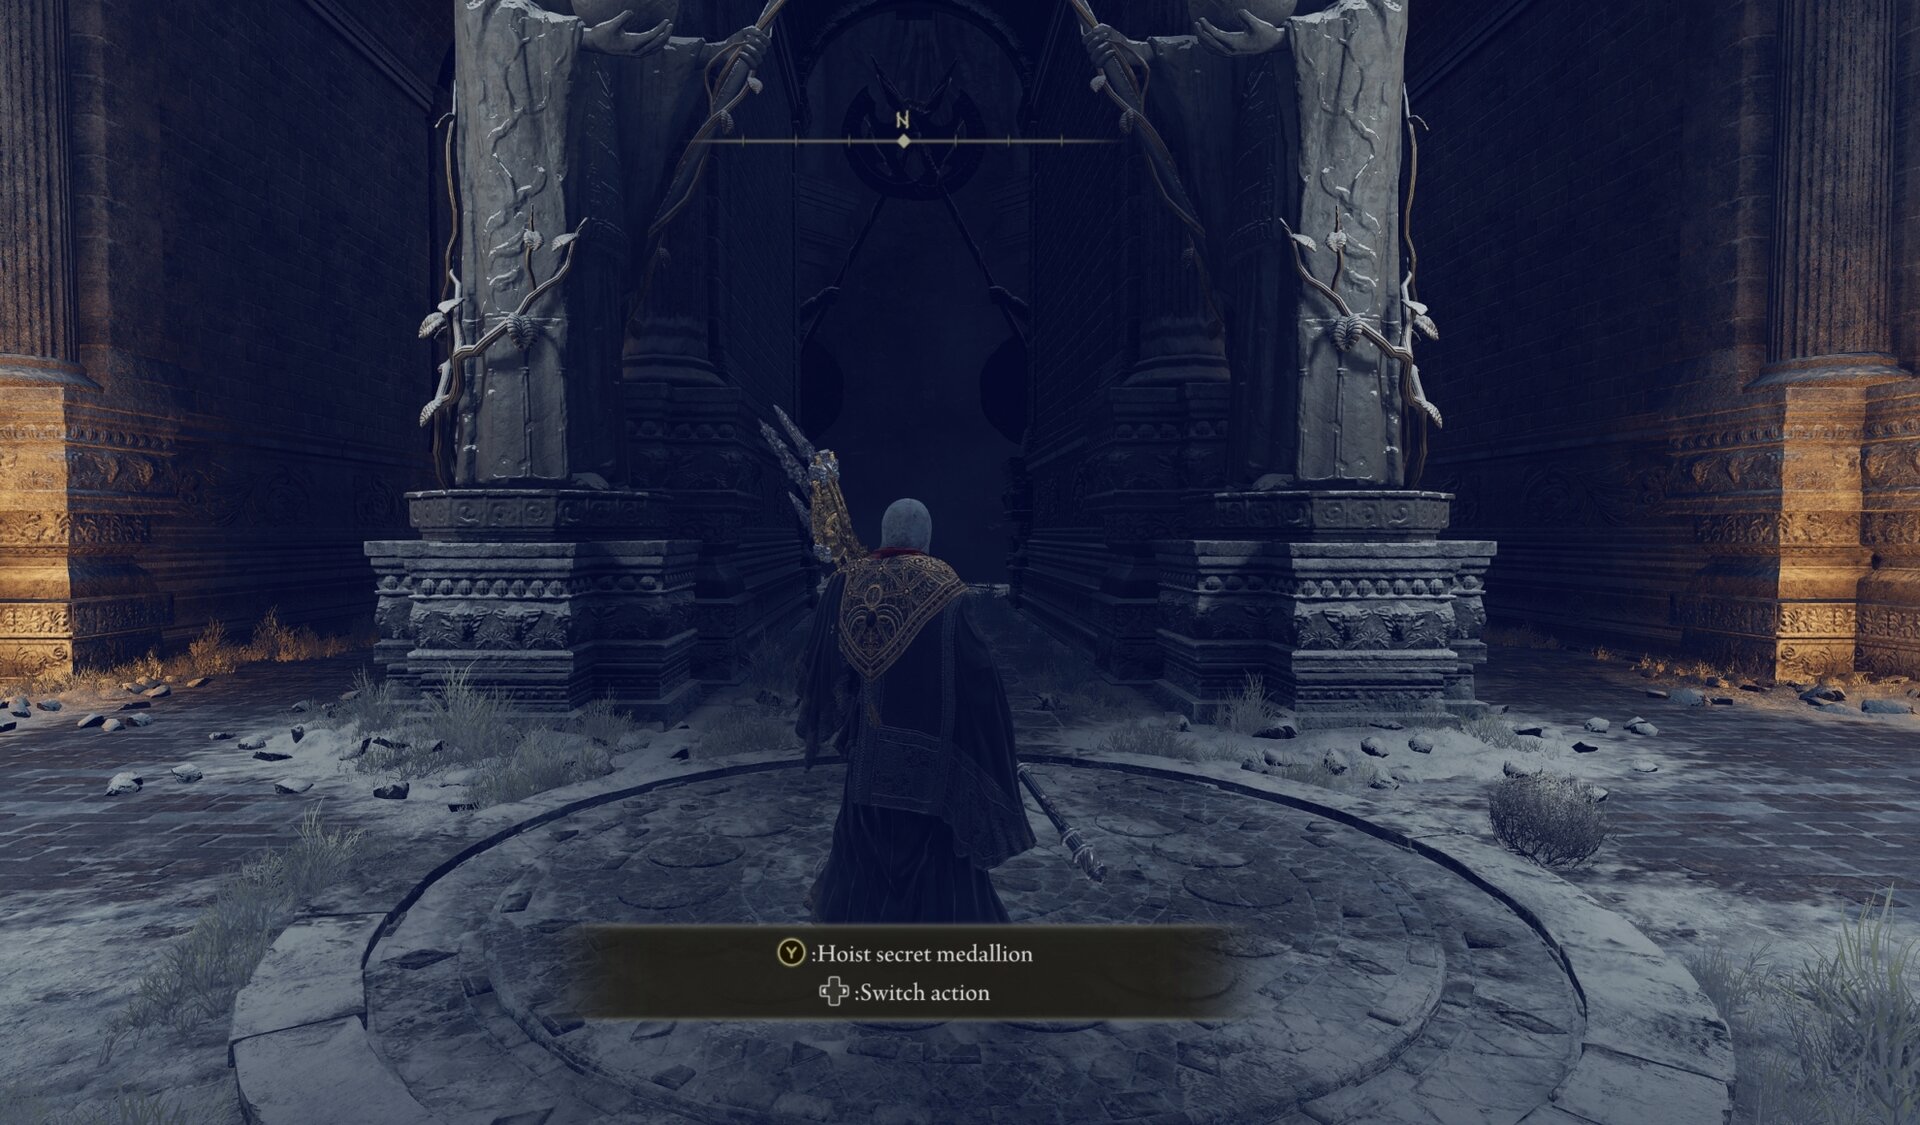
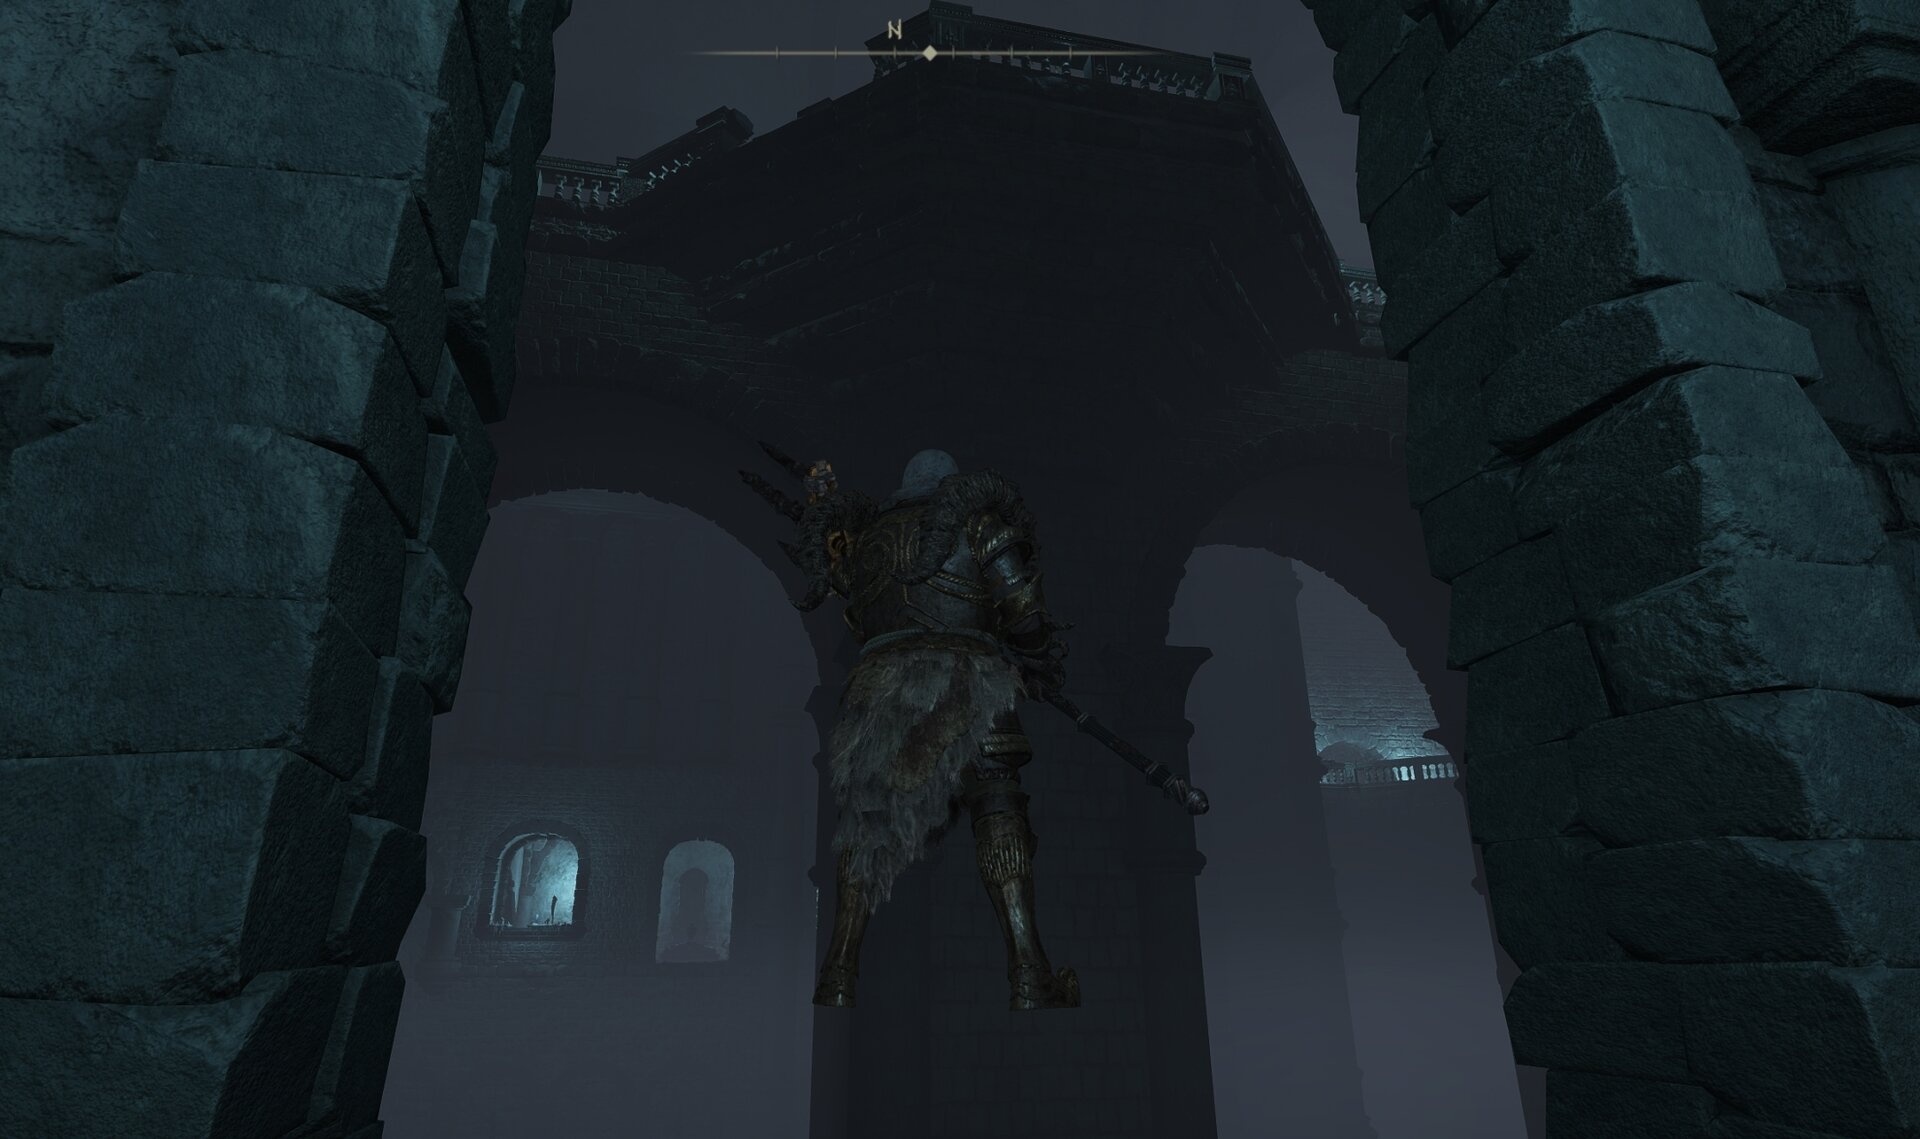
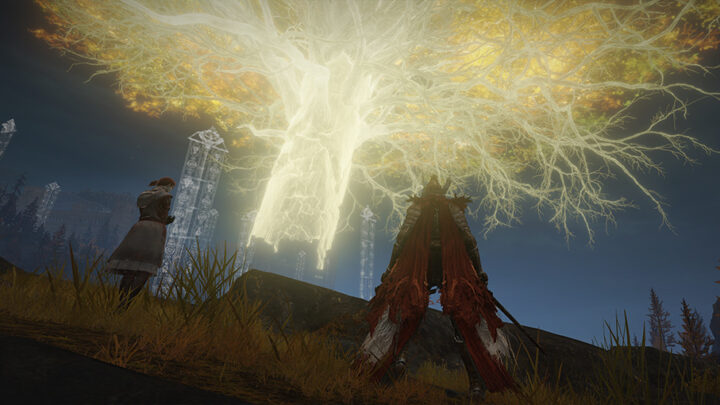
Step 5: The Hidden Path to the Haligtree
Take both halves of the Haligtree Secret Medallion to the Grand Lift of Rold. When standing on the lift, you’ll default to the Rold Medallion but get the option to Switch Action, allowing you to hoist the Haligtree Secret Medallion instead.
The Grand Lift of Rold terminates at some Catacombs called the Hidden Path to the Haligtree. Don’t be fooled by its open floorplan. The designers were just as immoral while creating this area as they were for other Catacombs in the game.
Thankfully, the actual path through these Catacombs is super straightforward, so you can completely skip all of the shenanigans if you want, but I think you’re missing out.
Optional: Exploring the Catacombs
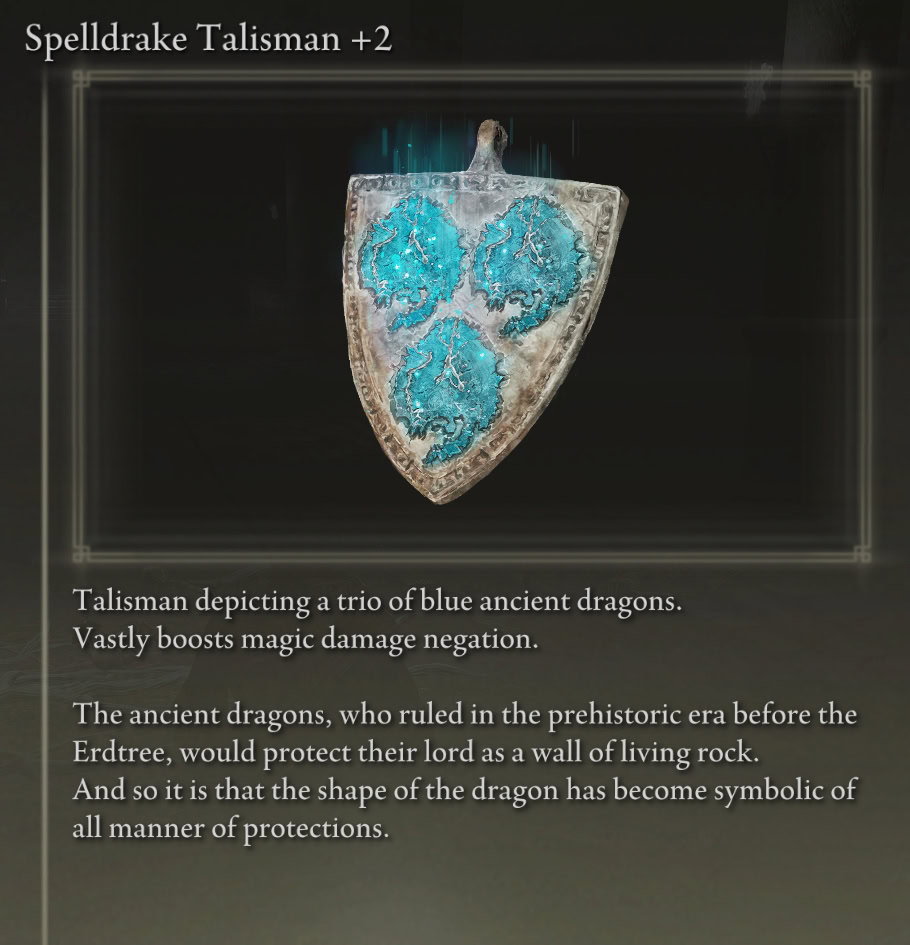
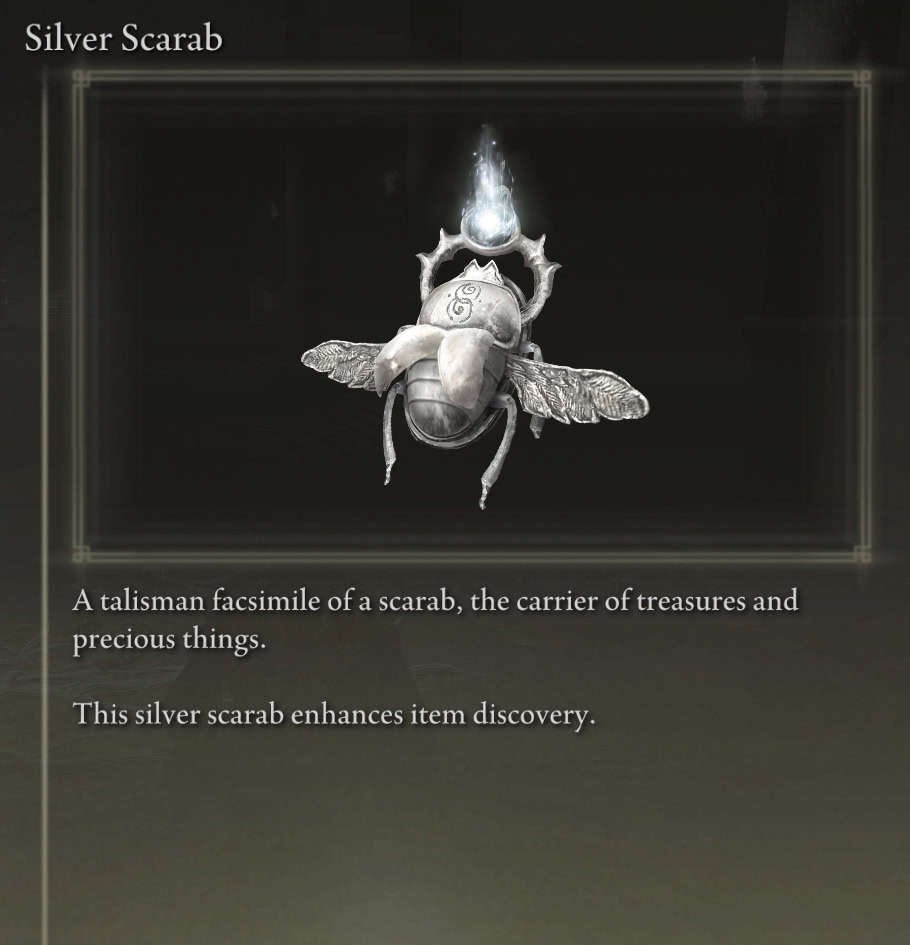
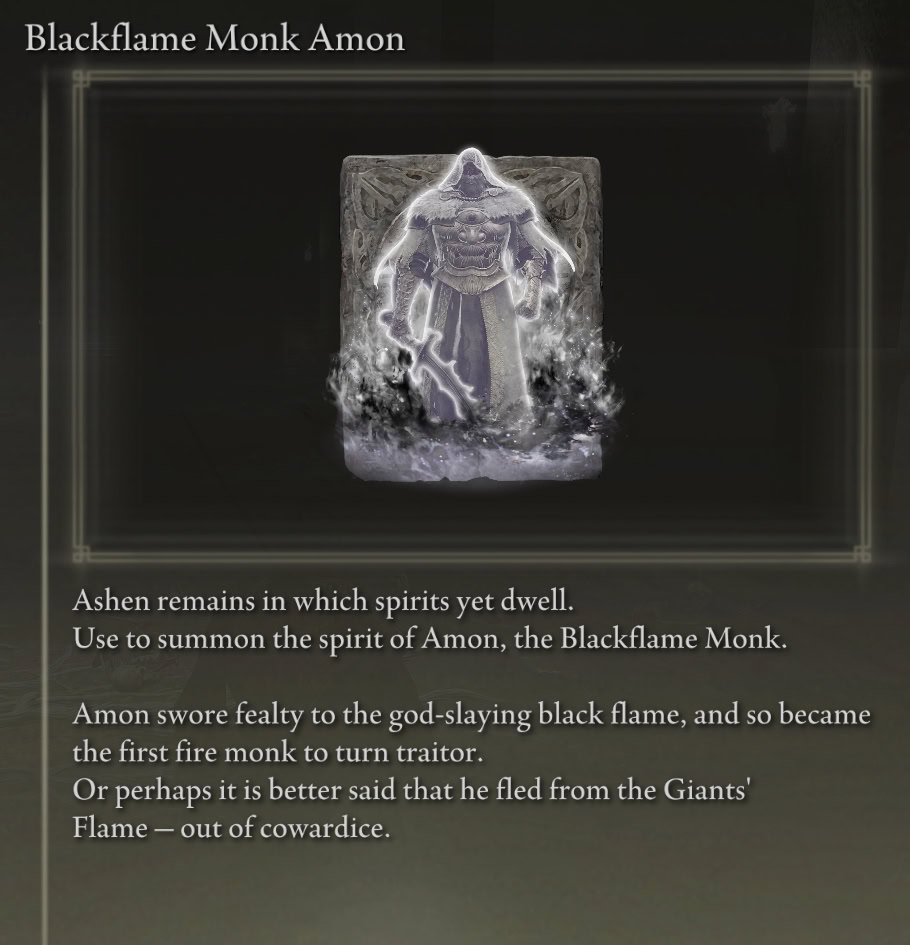
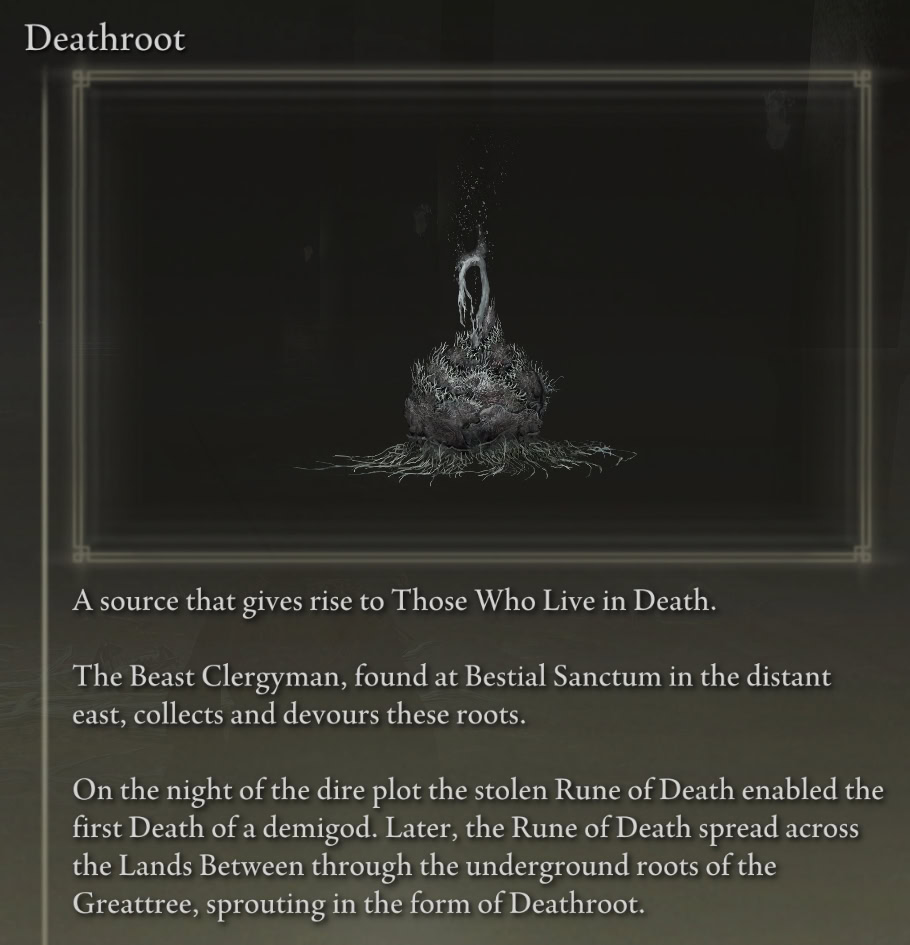
I recommend going through the whole thing as there’s some good loot, including the Spelldrake Talisman +2 and Silver Scarab Talisman. You’ll also get a Deathroot and Blackflame Monk Amon Spirit Ashes for defeating the boss, a Mimic Tear!
The big twist of this Catacomb is invisible floors. You’ll need to drop off to a lower level with invisible floors where all the loot is. That path also leads to the boss and the lever for its door.
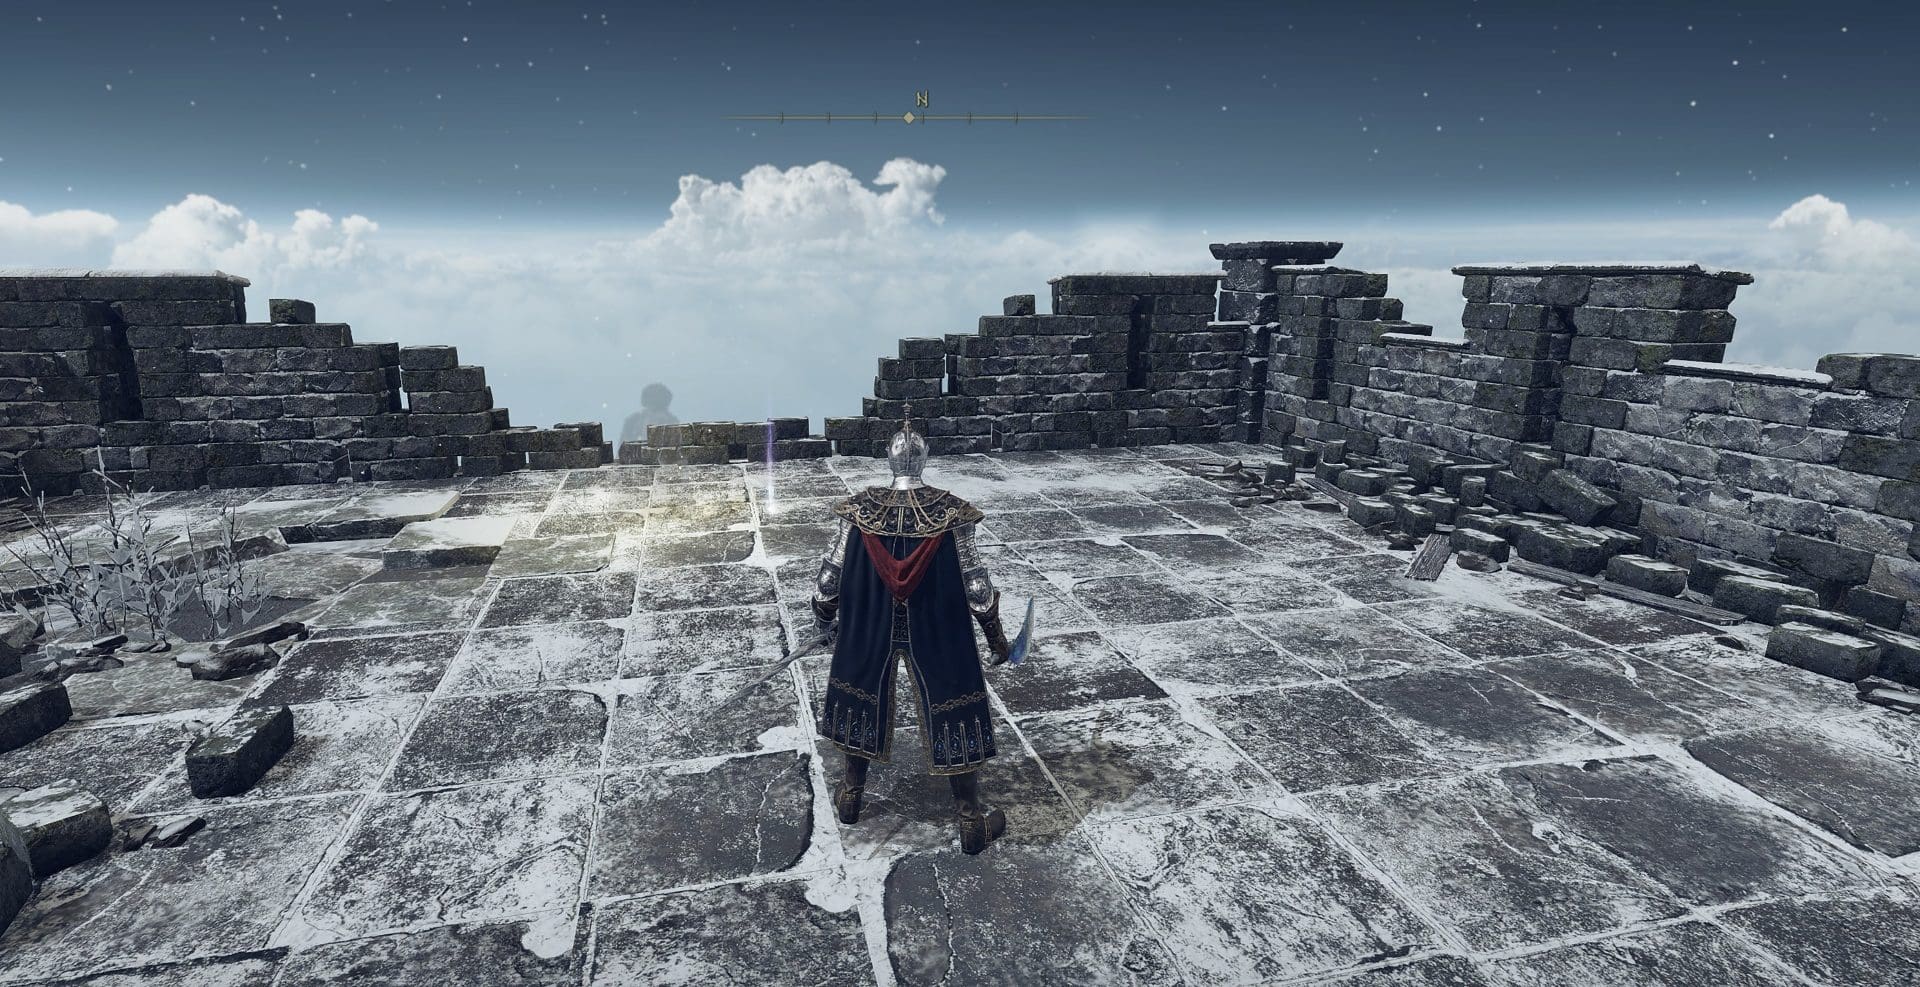
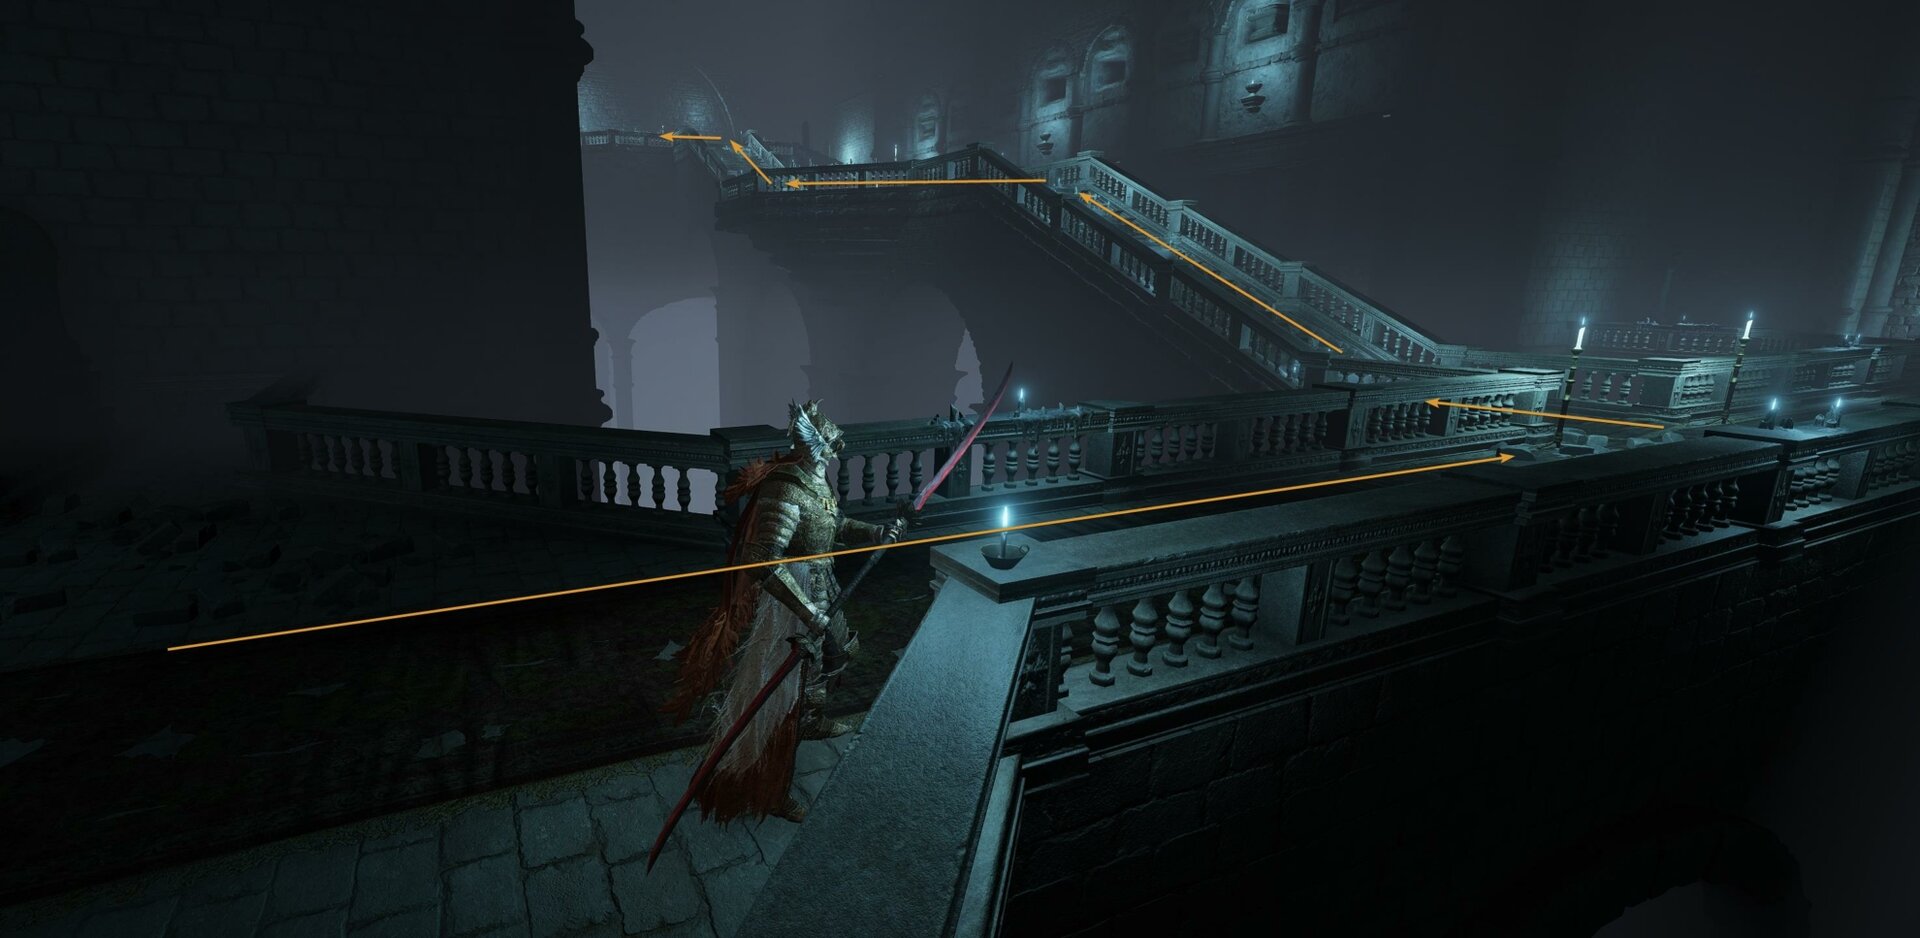
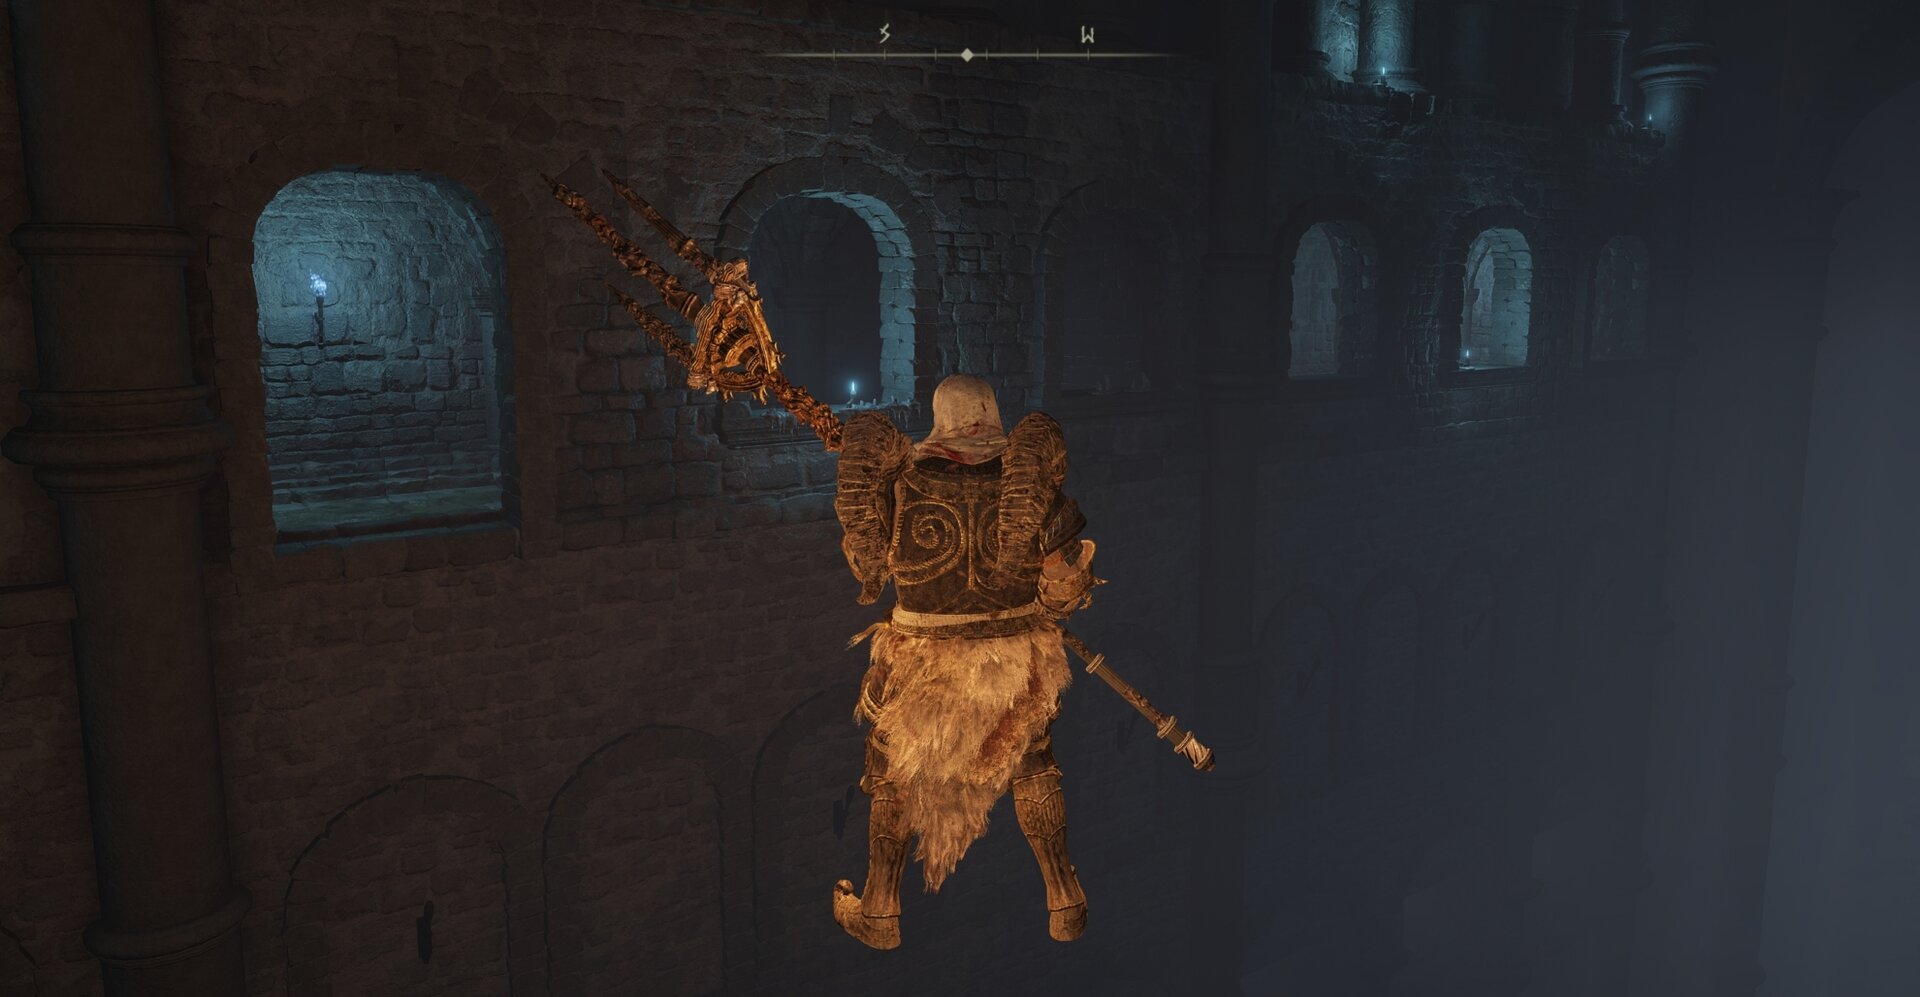
Shortly after you enter the main open chamber, you’ll see some candles on the right railing that are parallel to a casket also lit by candles on the opposite side of the chasm. This is the point where you drop down.
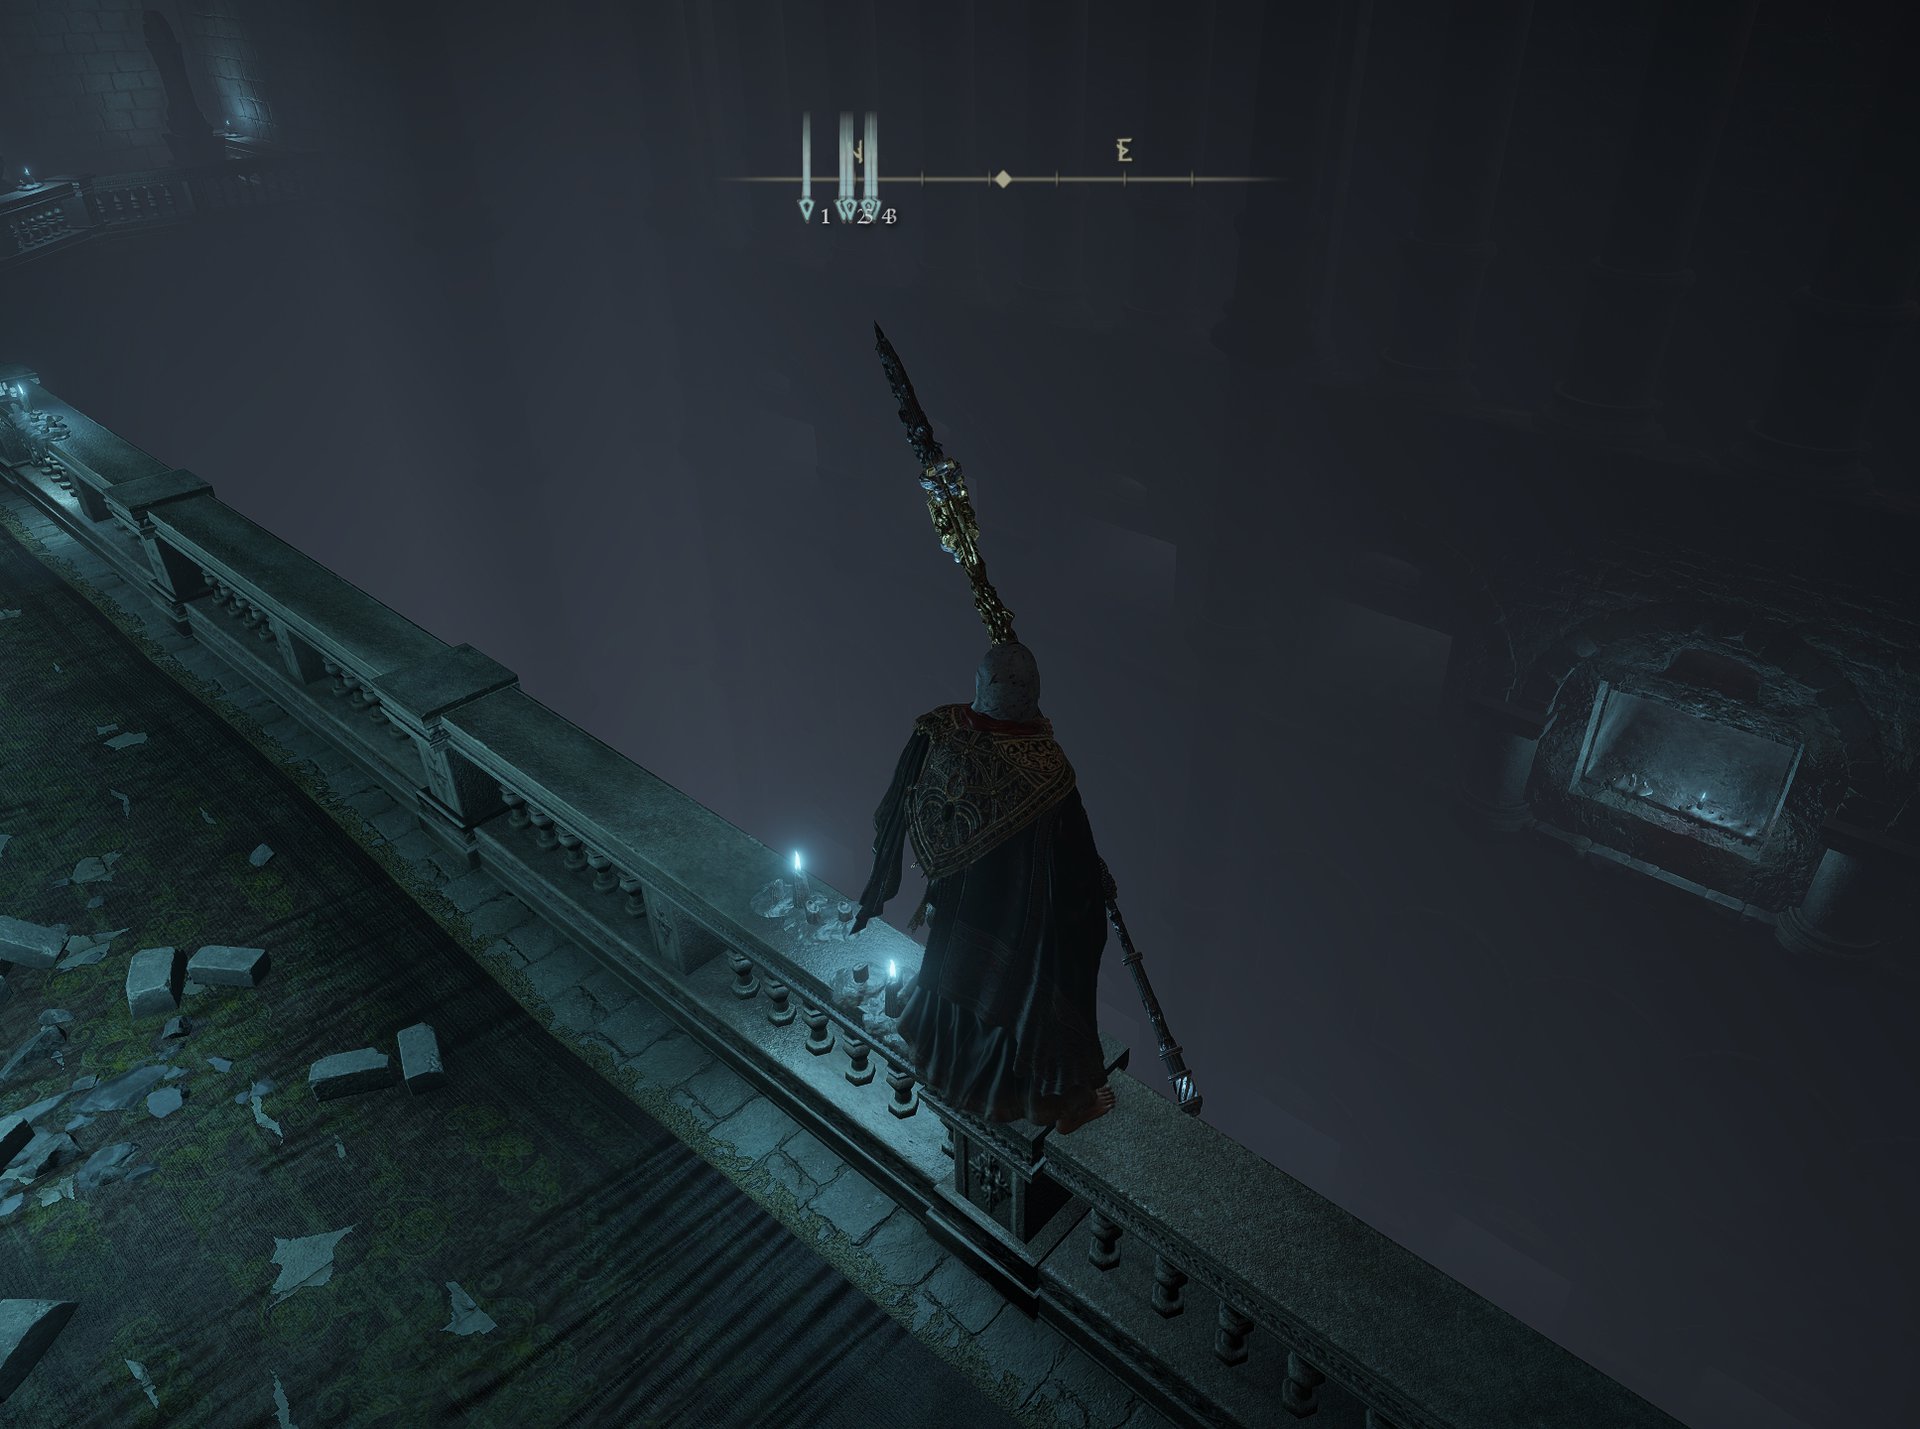
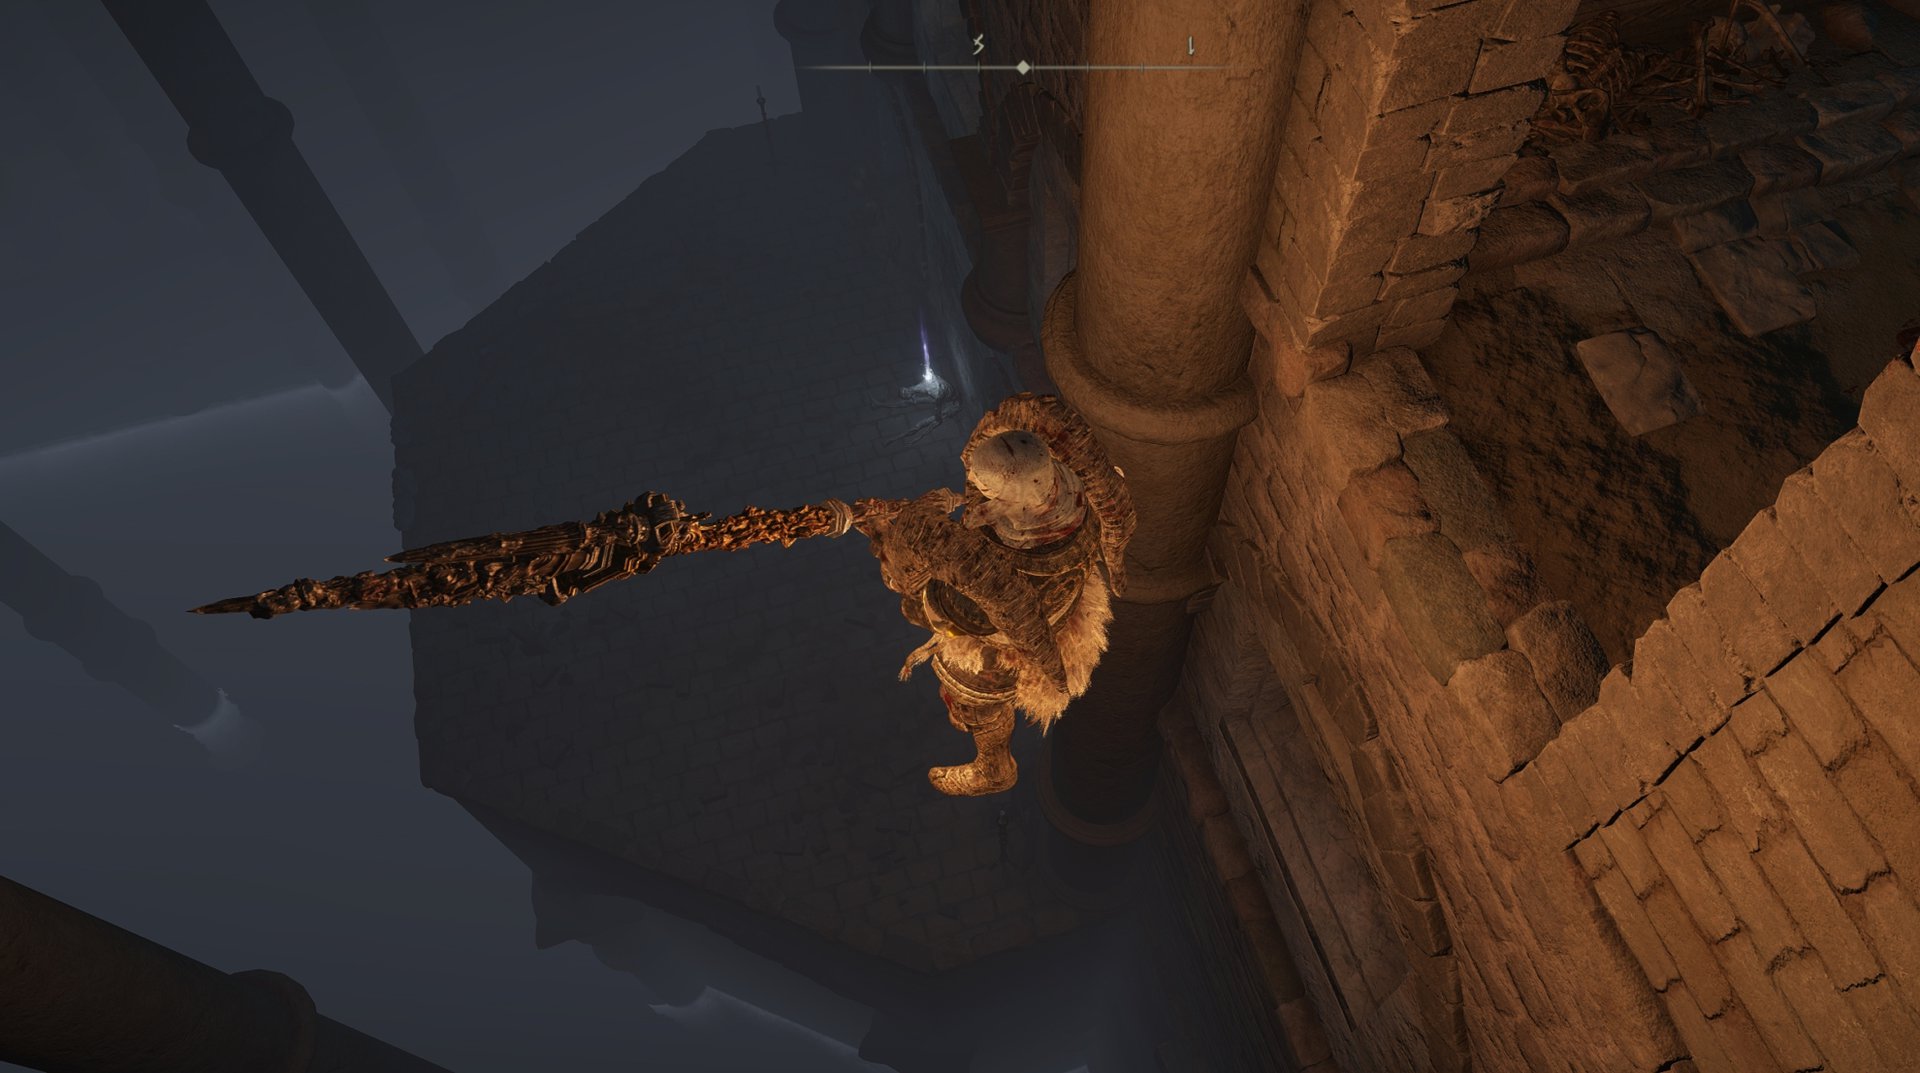
Just kidding! As much as a promise means from me now, I promise that I was only trying to trick you with the dropdown location. The gimmick for this Catacomb is truly a lower level with an invisible floor. The actual dropdown spot is at the midpoint up the stairs on the section with the broken railing.
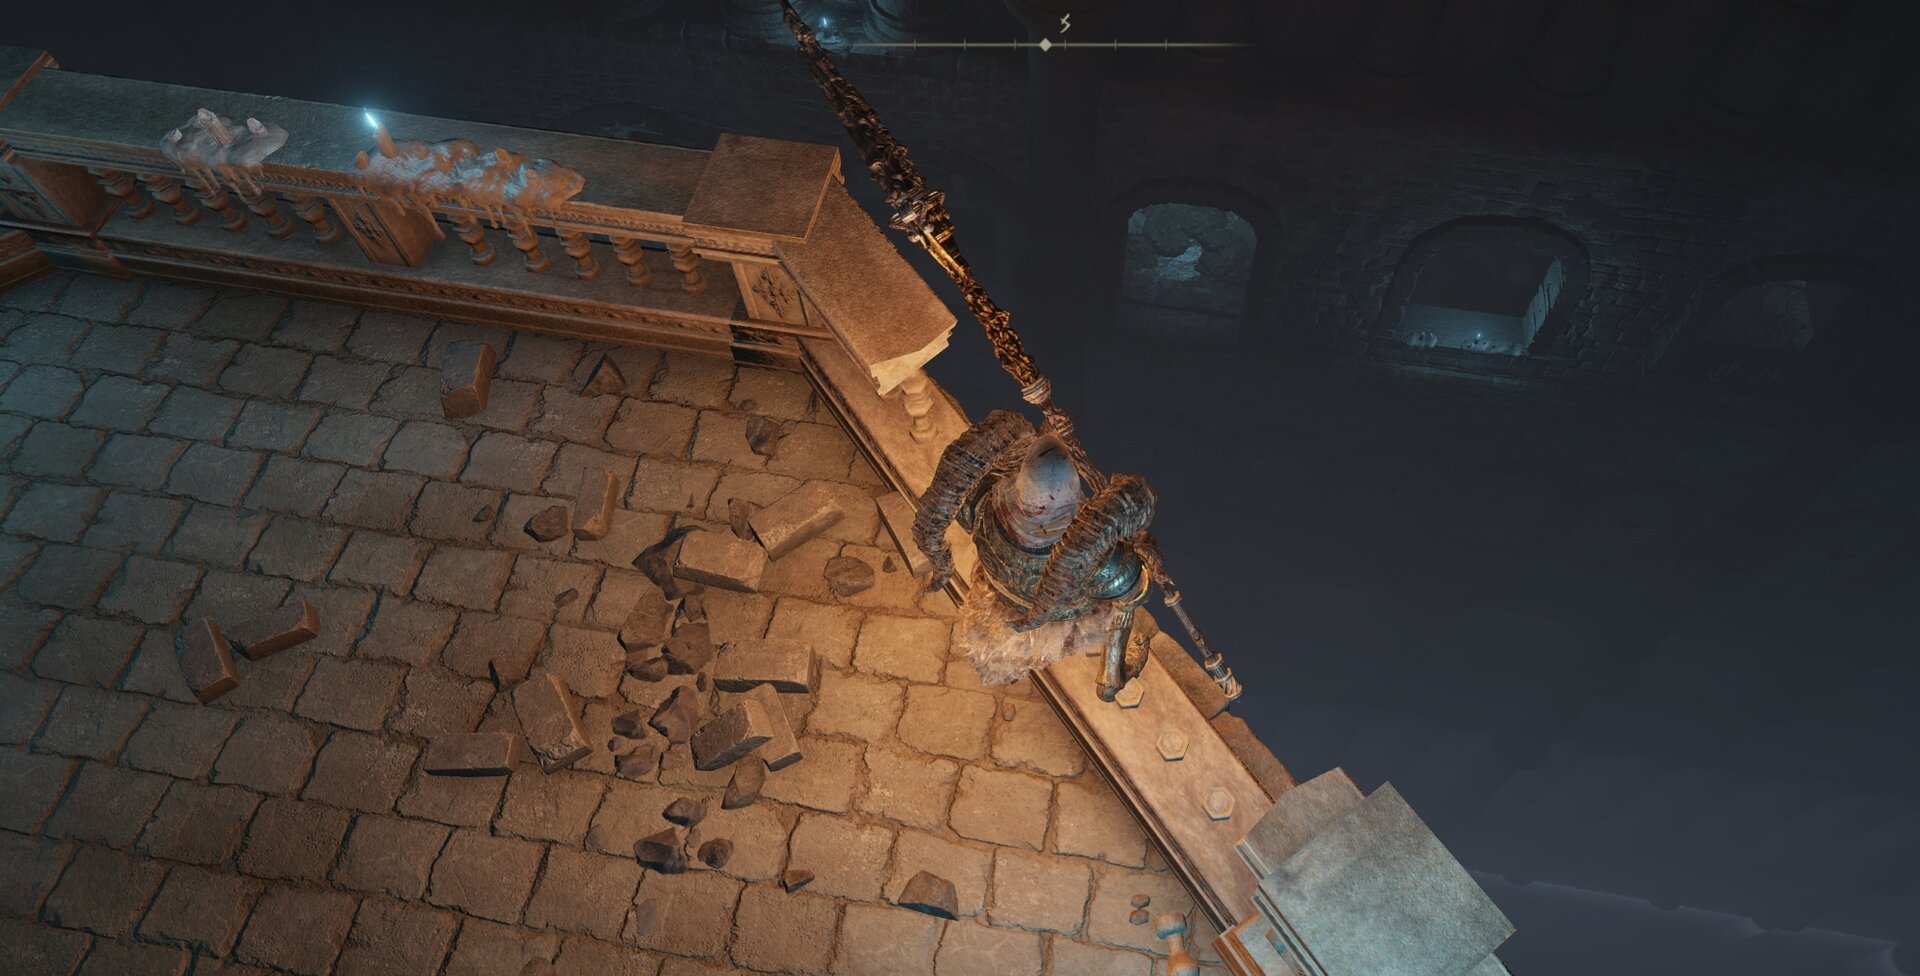
Yeah, I know you don’t believe me, so below is a picture of me looking up from the invisible floor at the dropdown point. You can prove it to yourself too by dropping a Rainbow Stone off the ledge. You’ll see it stop midair. Don’t forget to pick up those lost runes before you jump!
The width of the invisible path seems to match the width of the doorways and extends from doorway to doorway. That may look narrow, but don’t worry, even a Fire Prelate could fit through. You wouldn’t even need to grease ’em up first!
Anyway, now that you’re down here, head toward that doorway. There’s a Glovewort with an ILLUSION WALL behind it! The devs wouldn’t be satisfied with just the invisible floors!
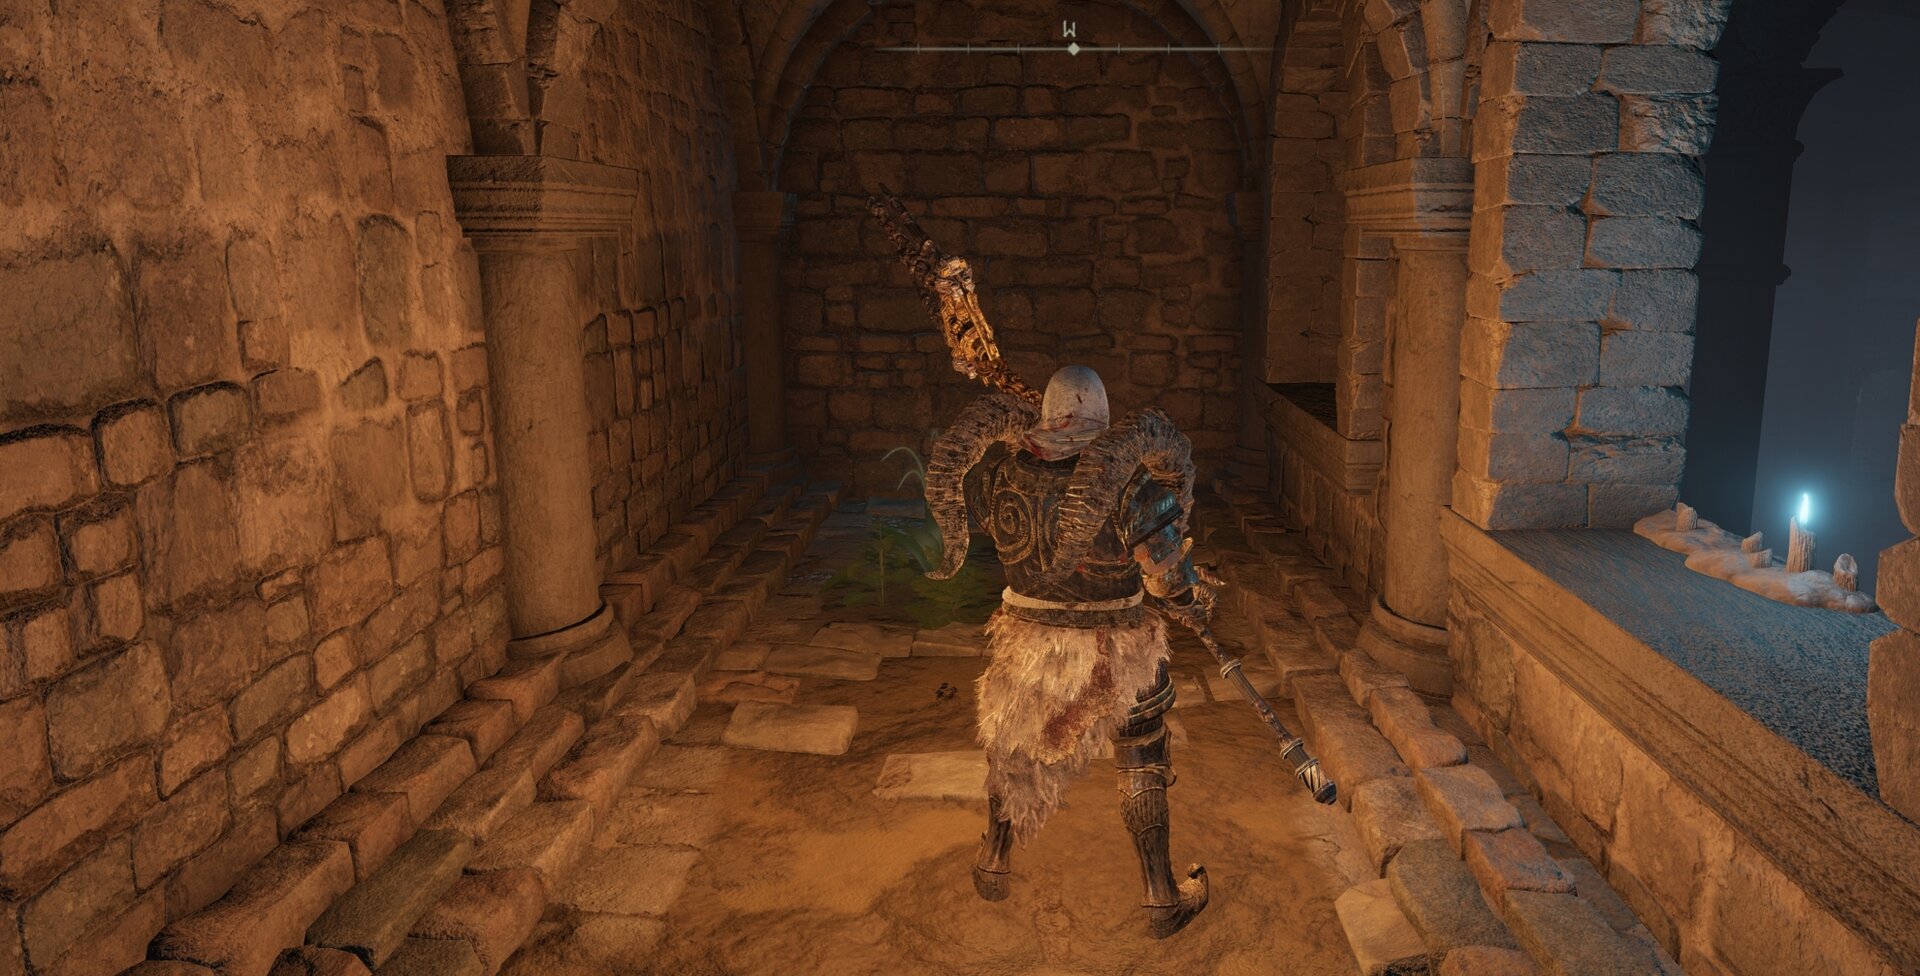
Smack that wall real good and grab yourself a Silver Scarab talisman! Then, head back through the door onto the invisible floor straight across to the doorway on the other side of the chamber. Be prepared to fight off 3 Vulgar Militiamen.
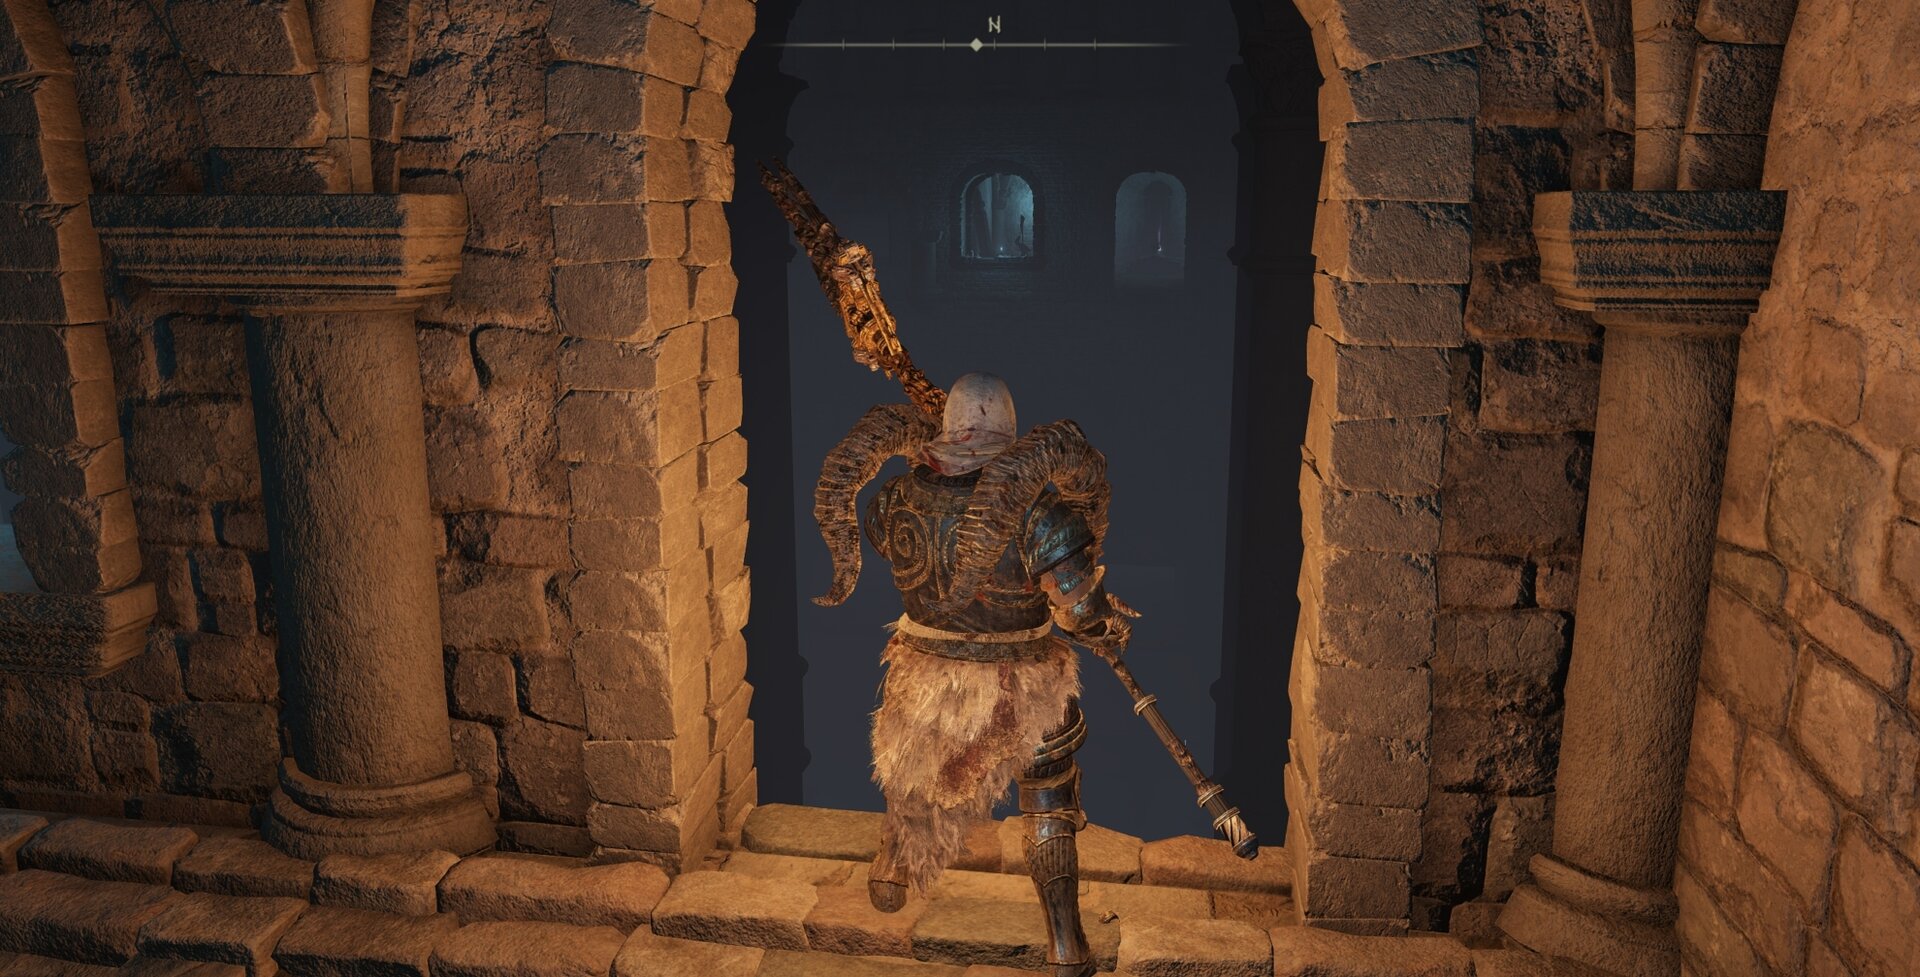
Once you’ve sat on all 3 of them, claim what’s rightfully yours, the Spelldrake Talisman +2, and step back outside. Turn right, and you’ll see another member of the Vulgar Militia standing out there all by their lonesome.

Make sure you’re lined up with that doorway (center the camera directly behind you to make sure) and walk towards the Vulgar Militiaman. Try to defeat him out on the invisible floor with as few hits as possible.
There isn’t anything past that doorway except ANOTHER Vulgar Militiaman! Your actual path forward is down to the right, on visible ground.
Jump through the windows. There are a bunch of Vulgar Militiamen and Land Octopi blocking your way to the boss room lever. Defeat them, and you’re in the clear.
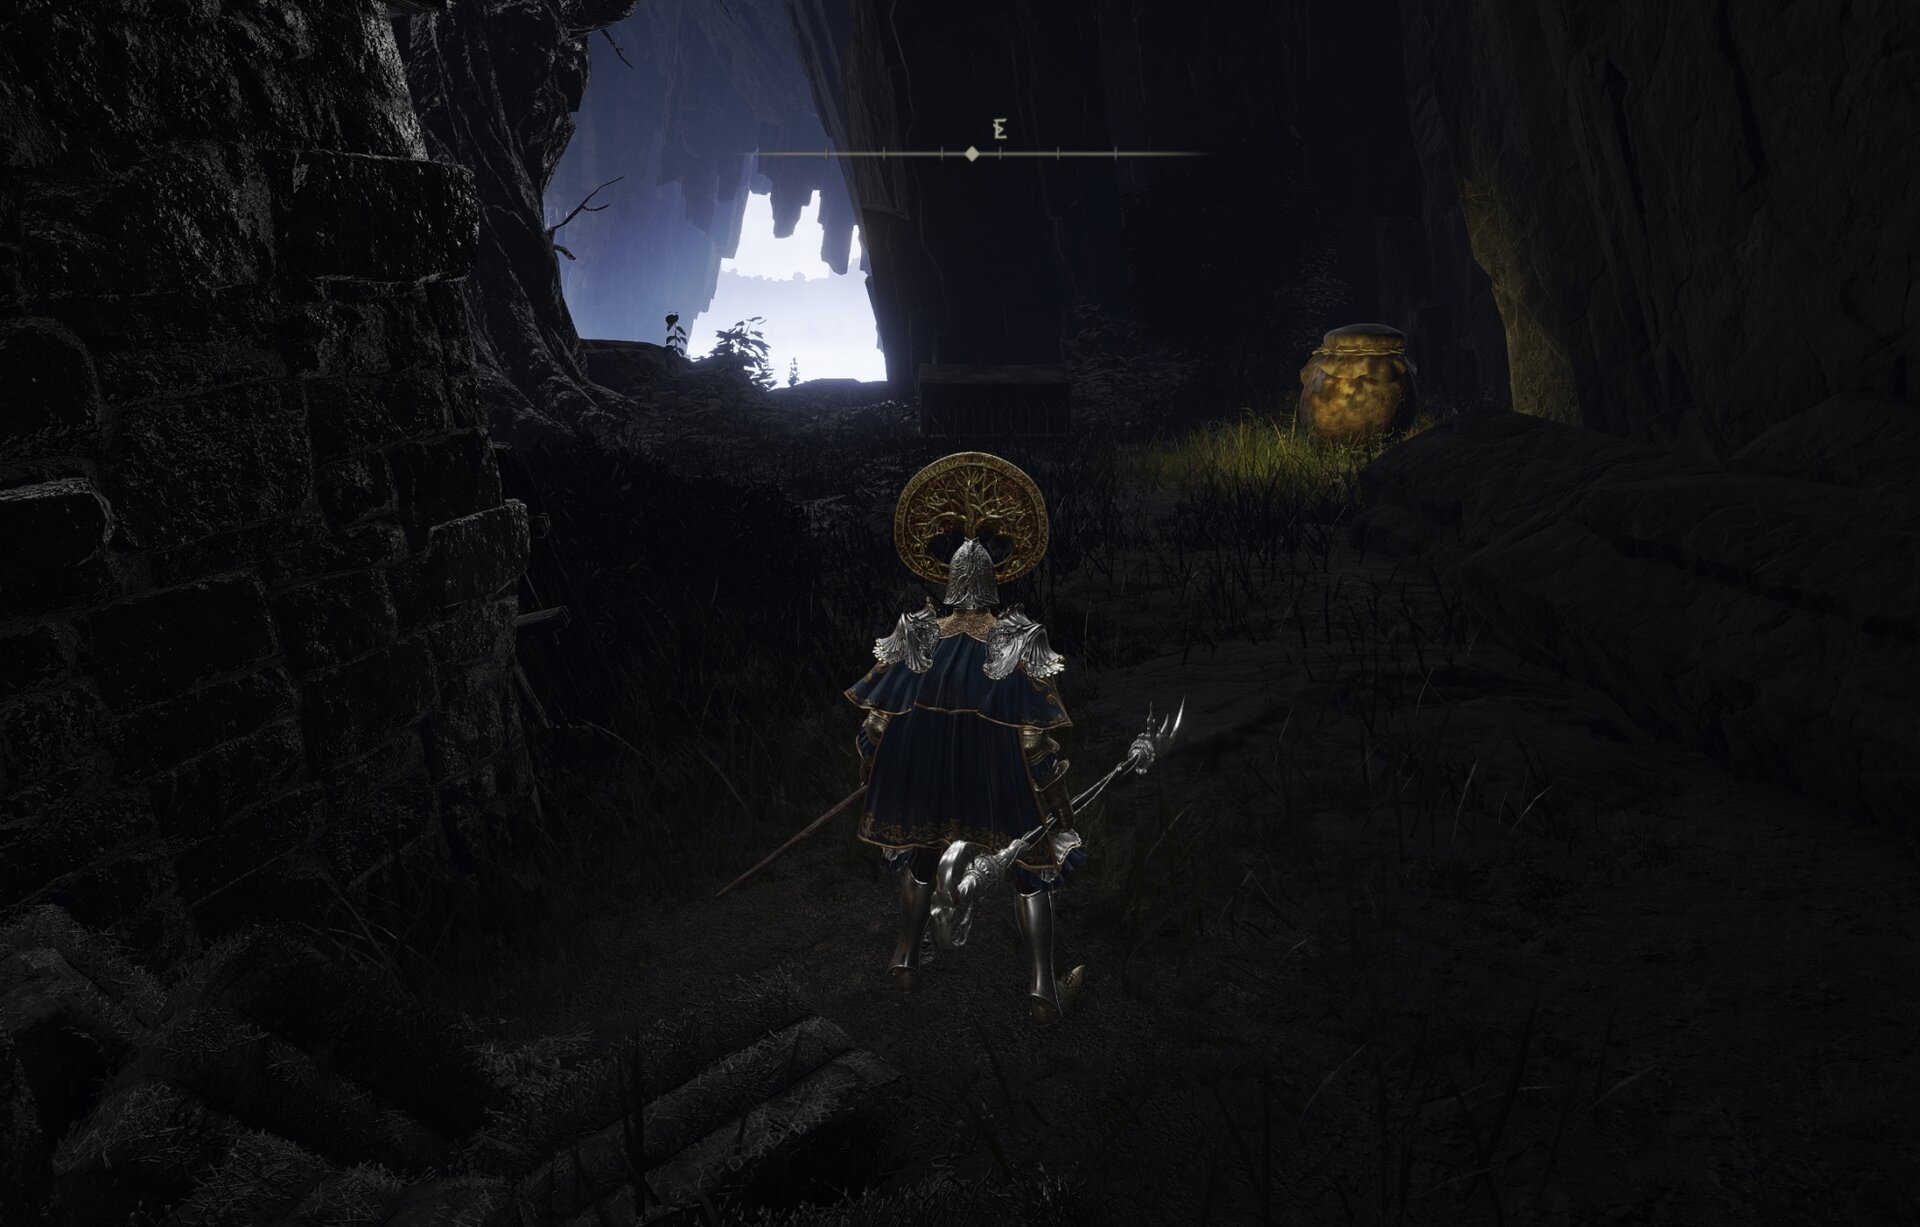
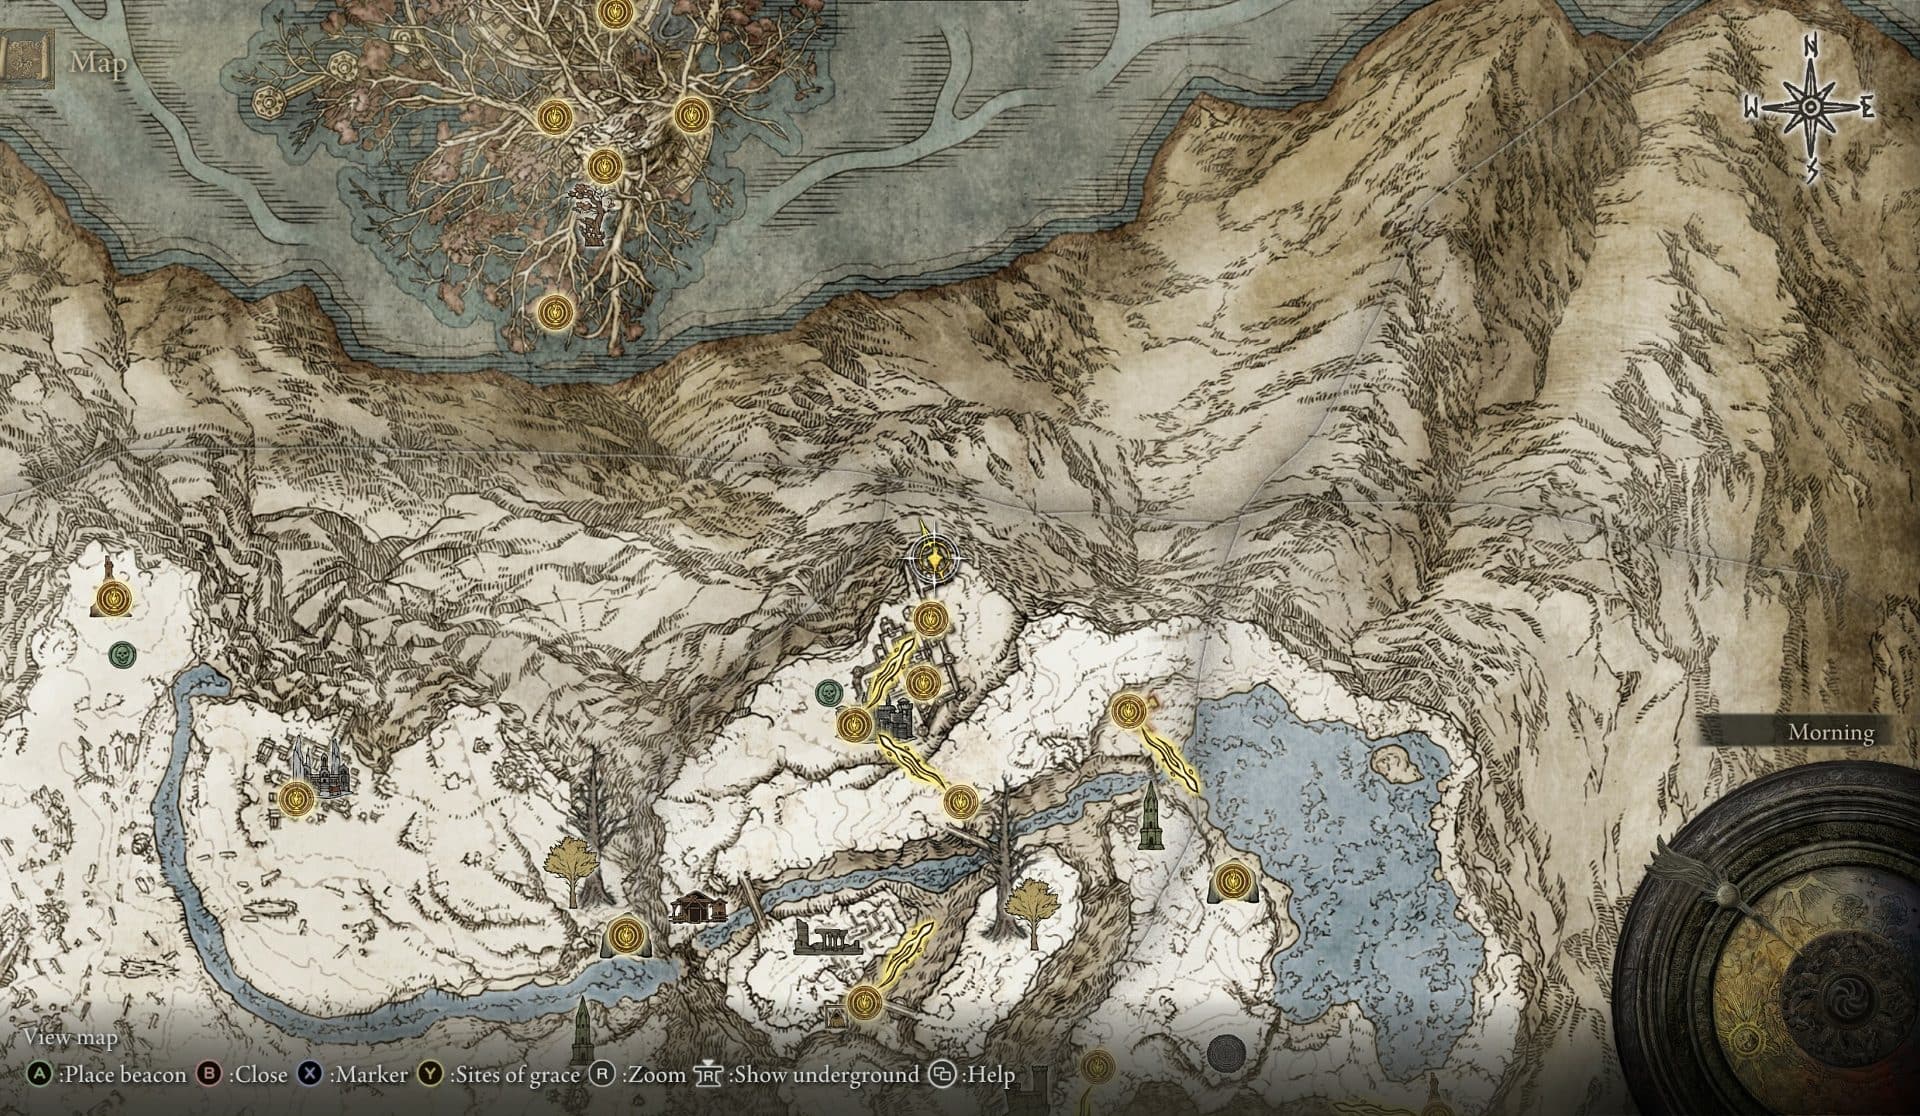
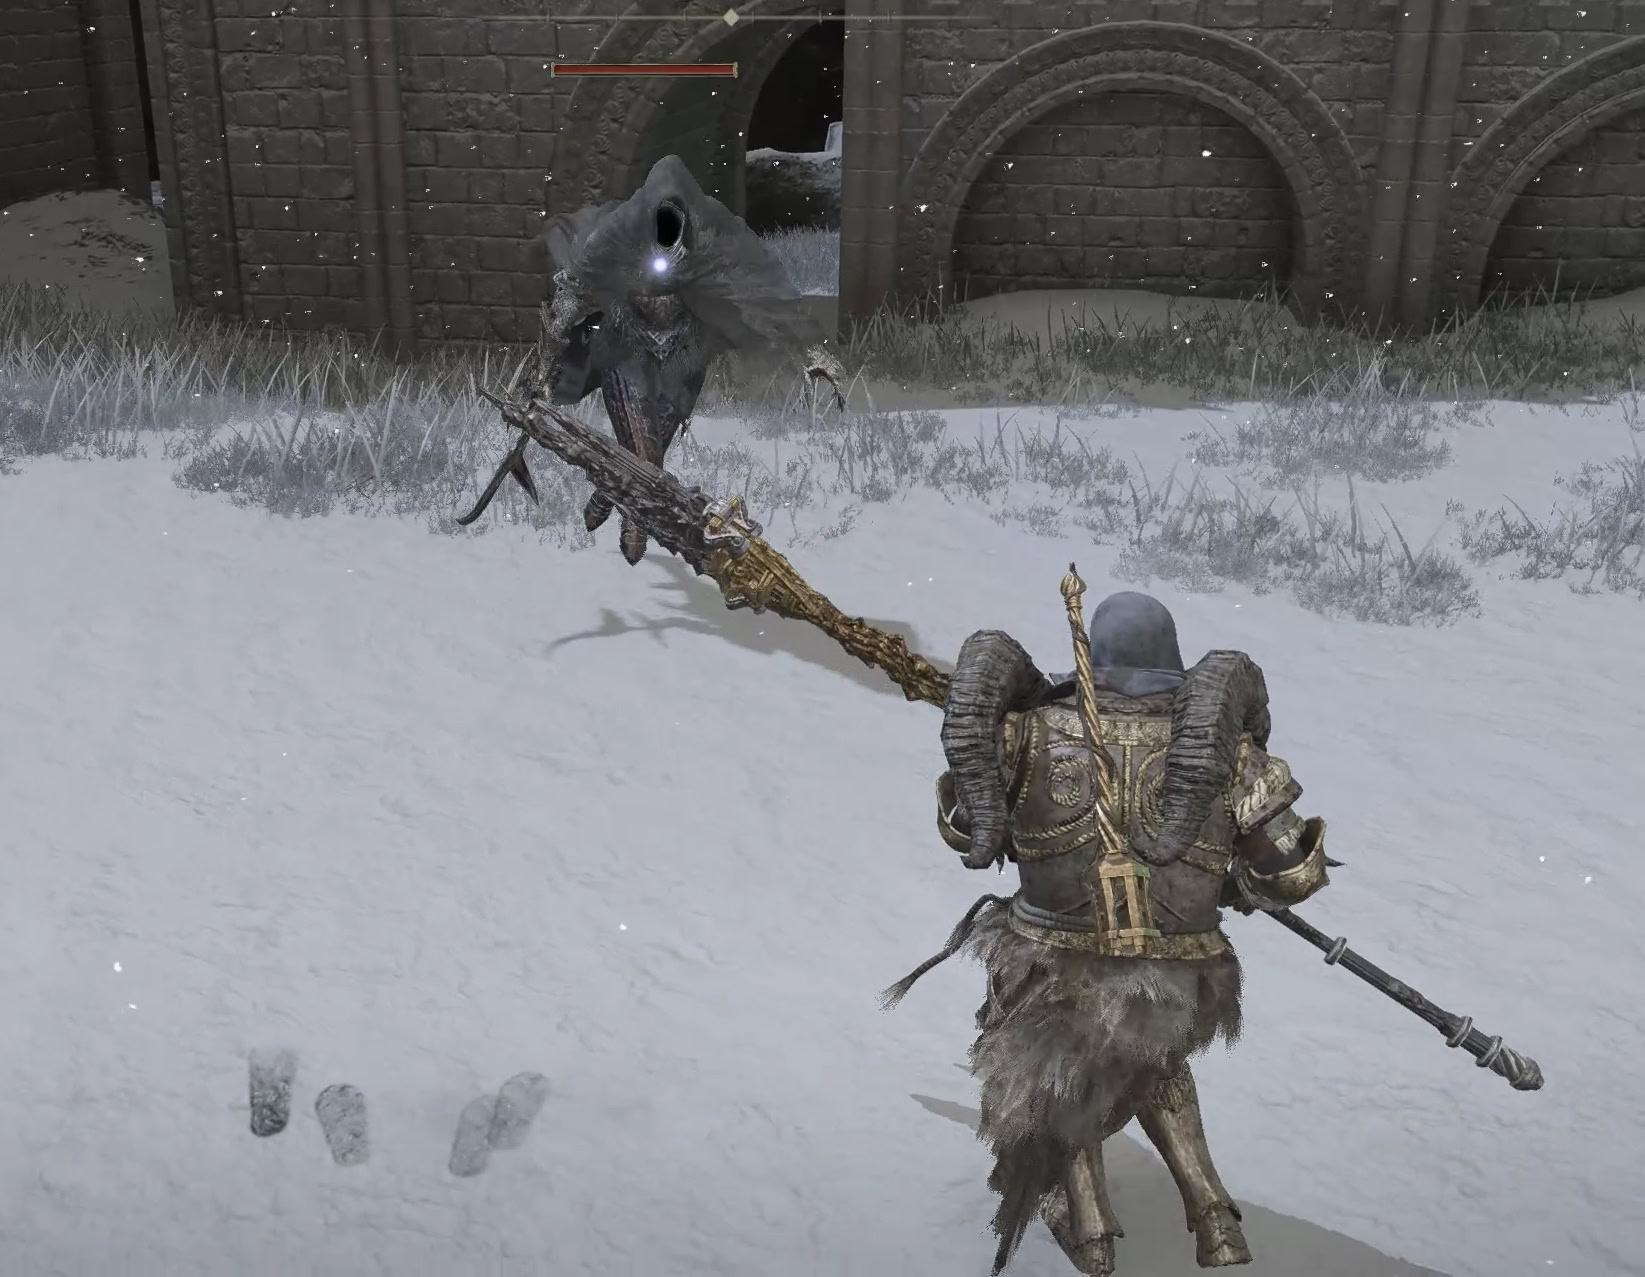
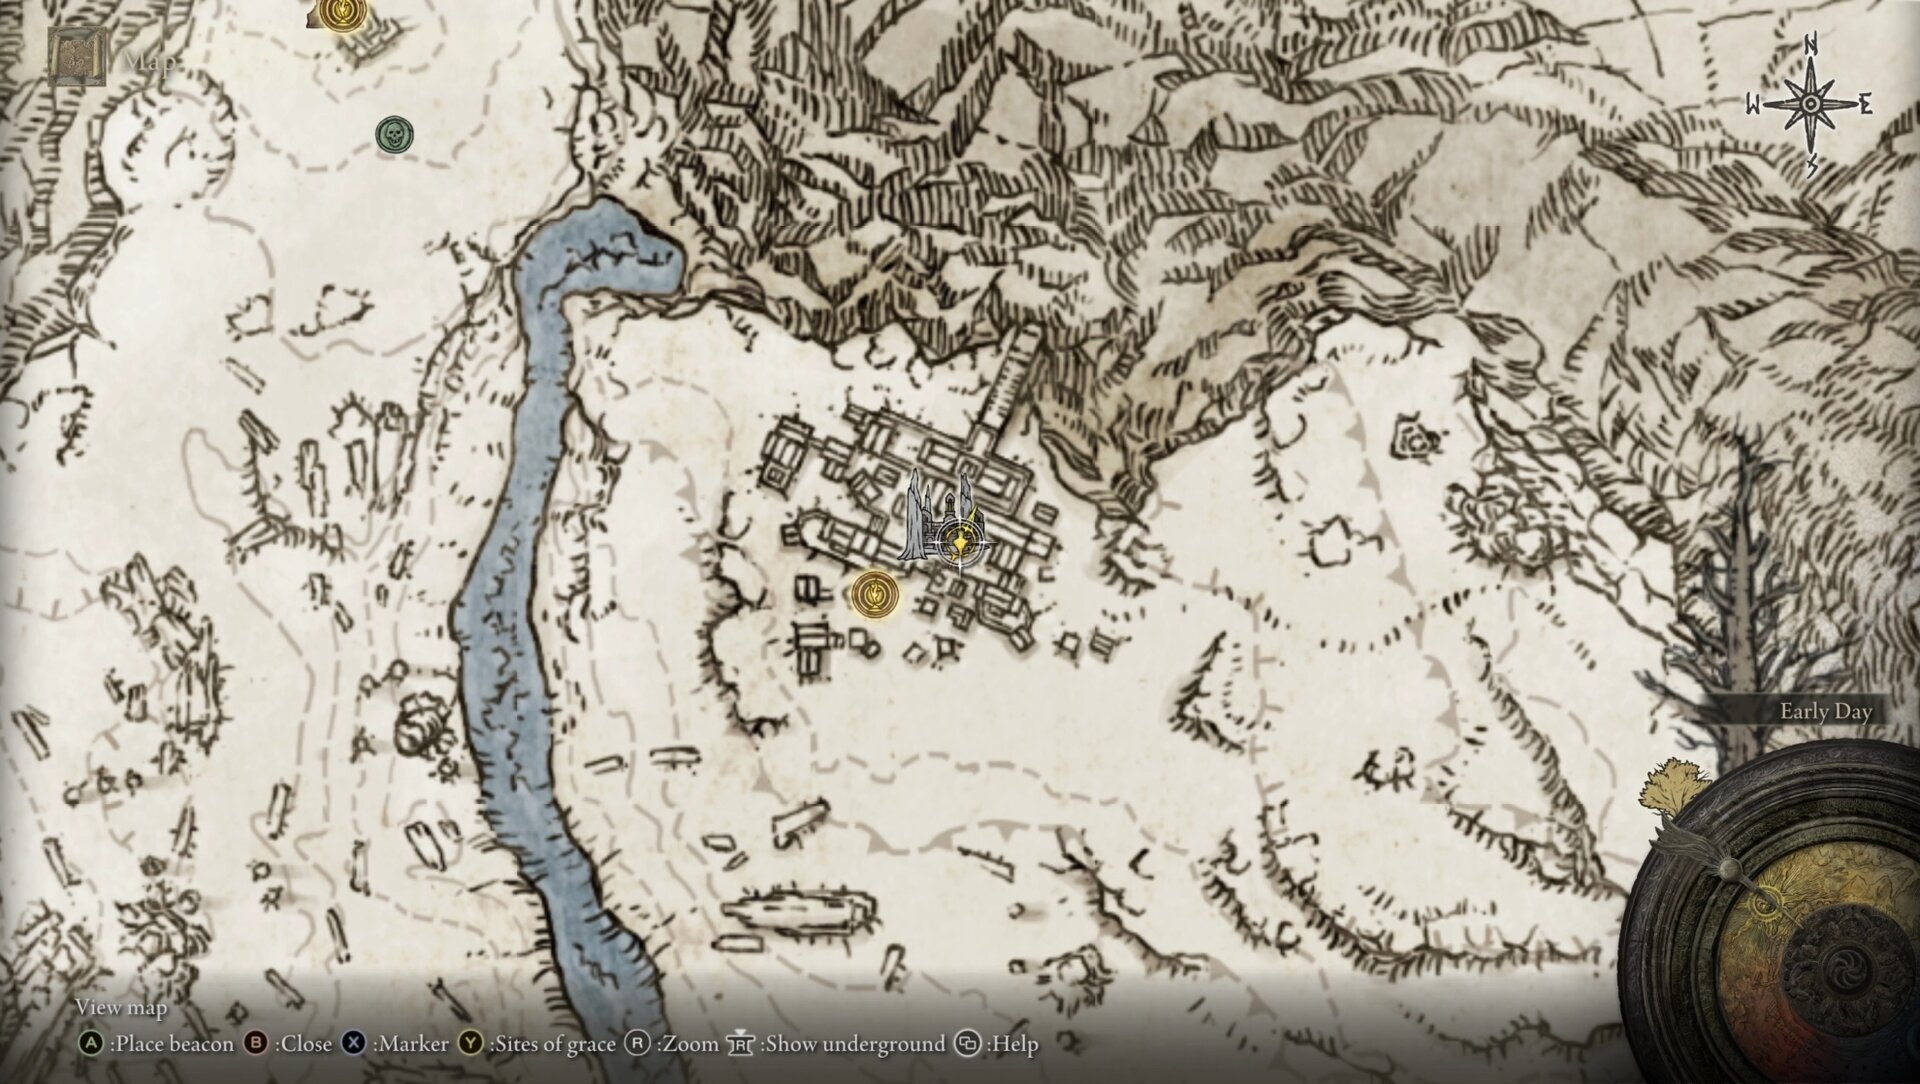
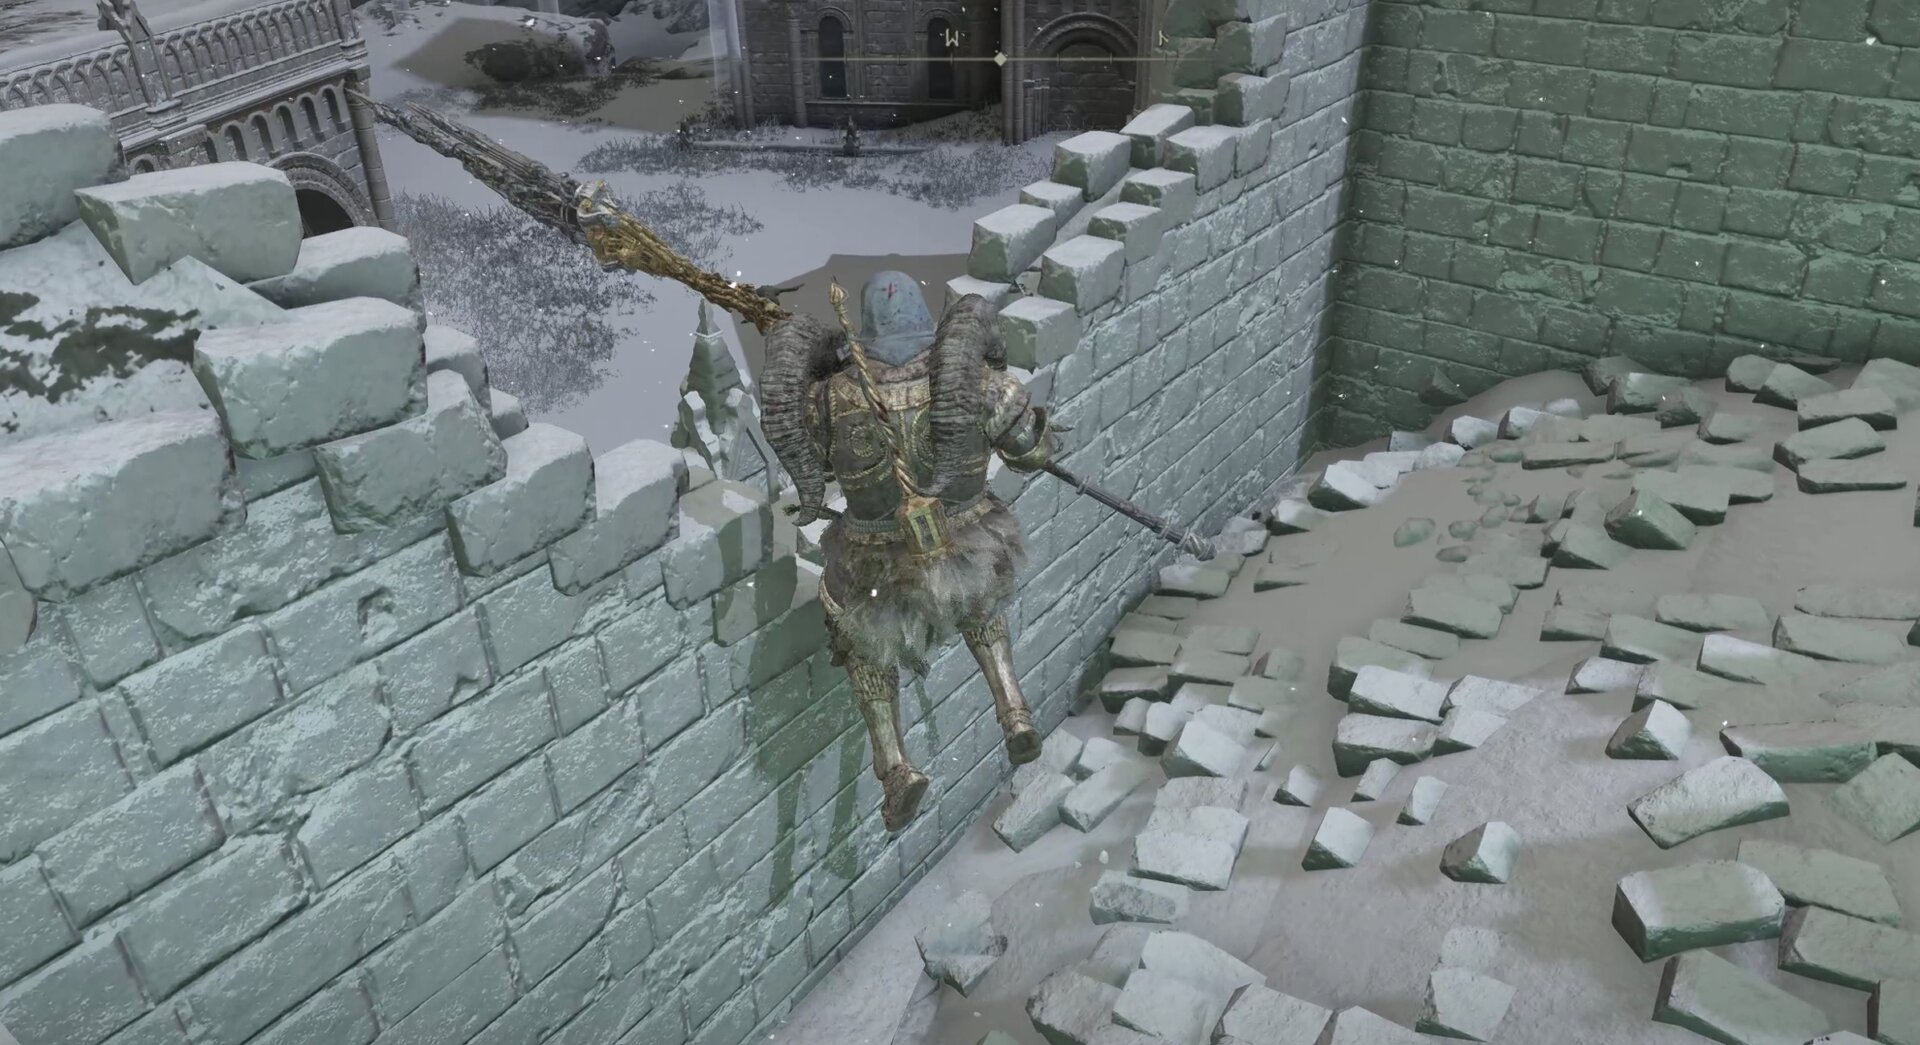
Step 6: Crossing the Consecrated Snowfield
Once you make it out of the Catacombs, you’ll encounter some more vision trouble, though of the occlusive variety this time. Put some markers down on your map that will lead you toward the little square where you can loot the map. Here’s a sample with the map already acquired:
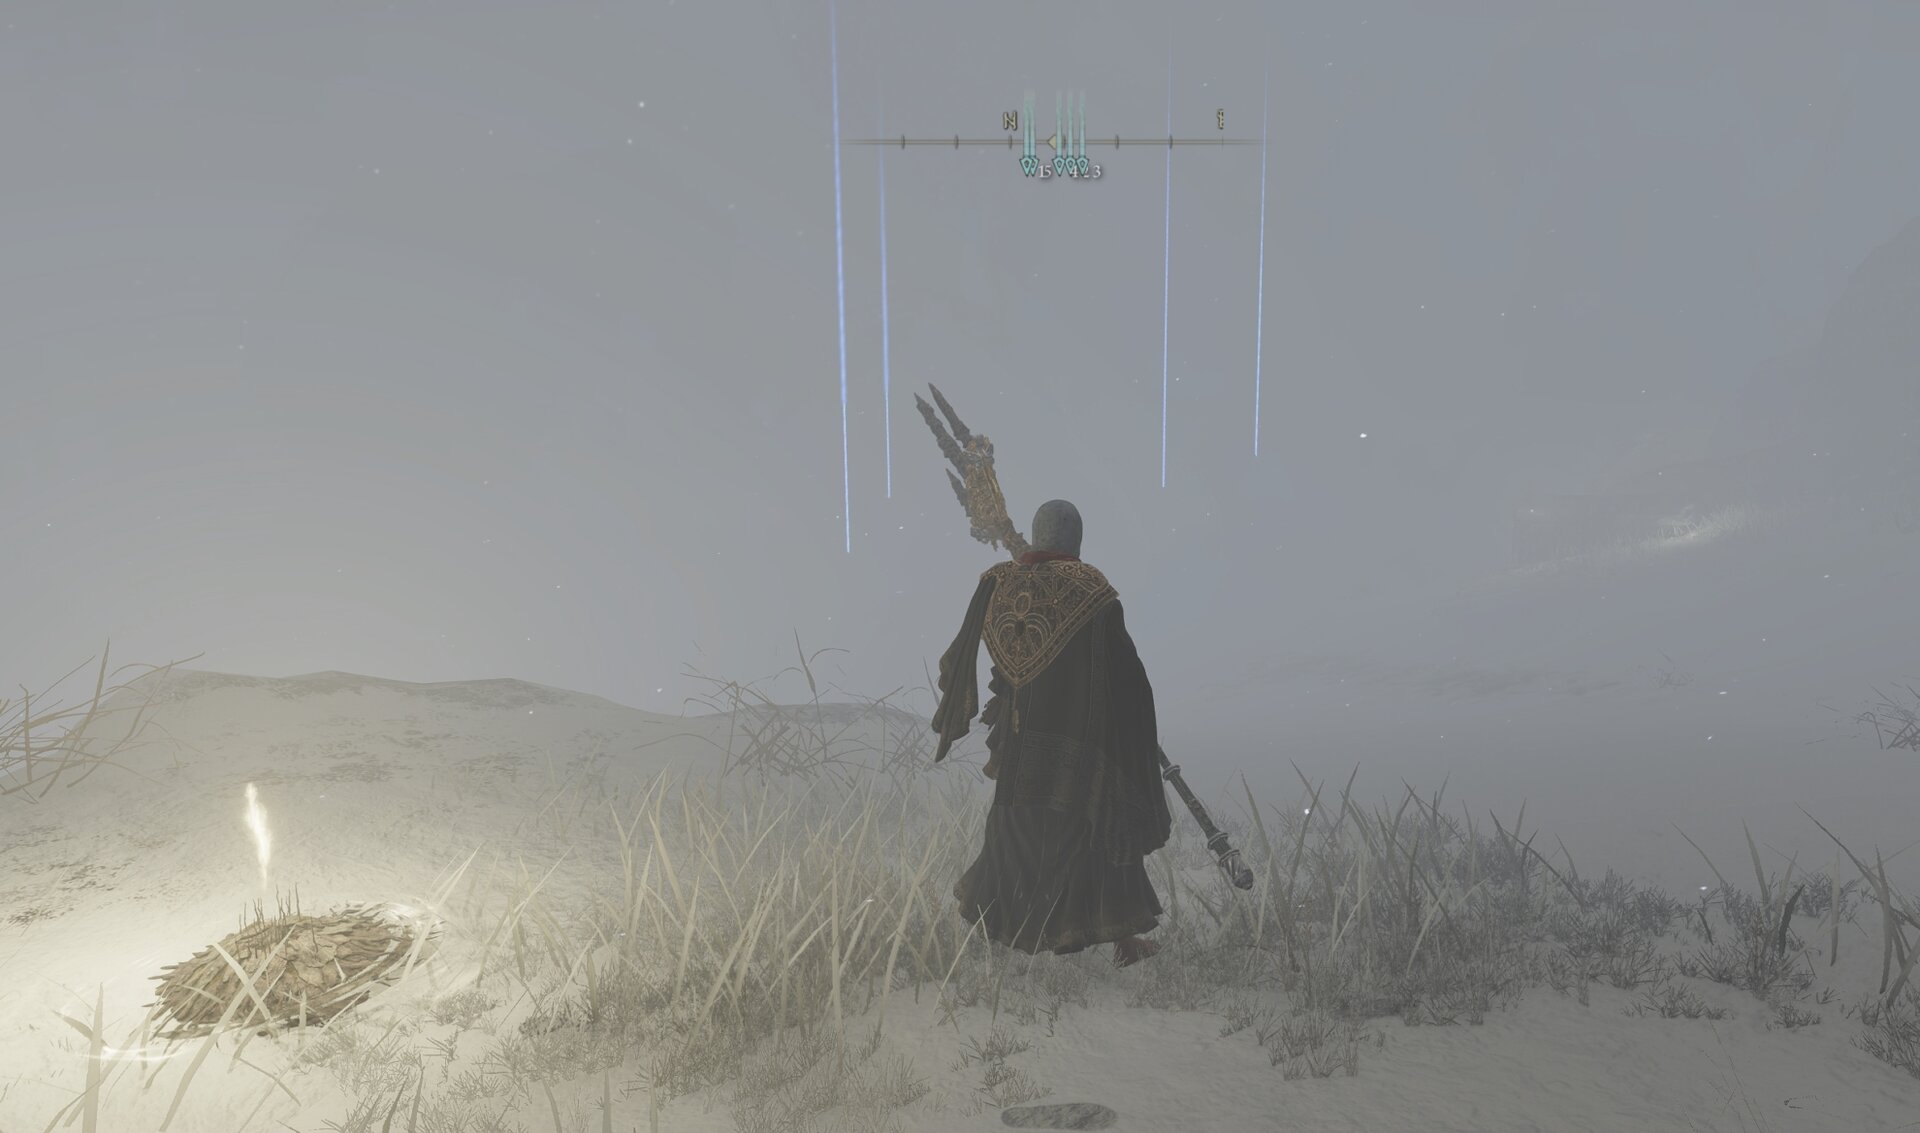
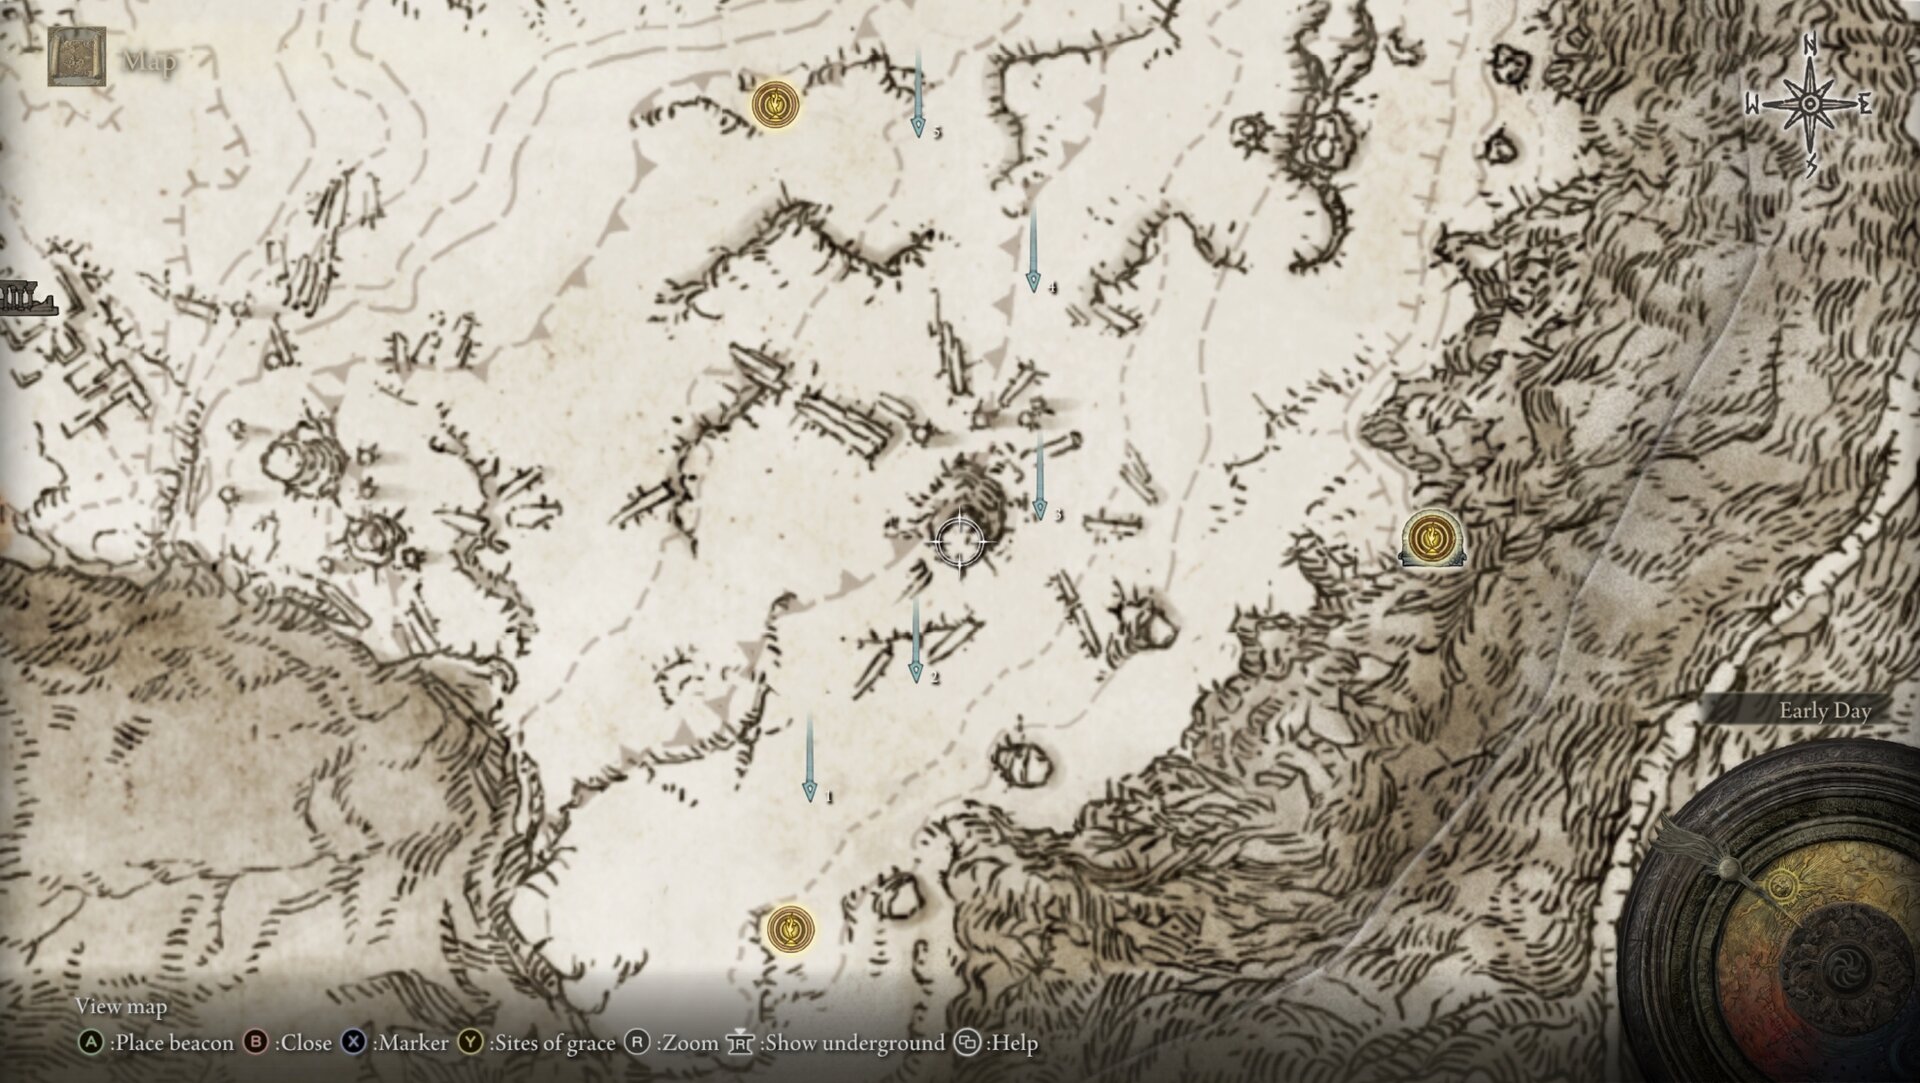
I found the blue lights easiest to see in the morning, but it wasn’t a huge difference.
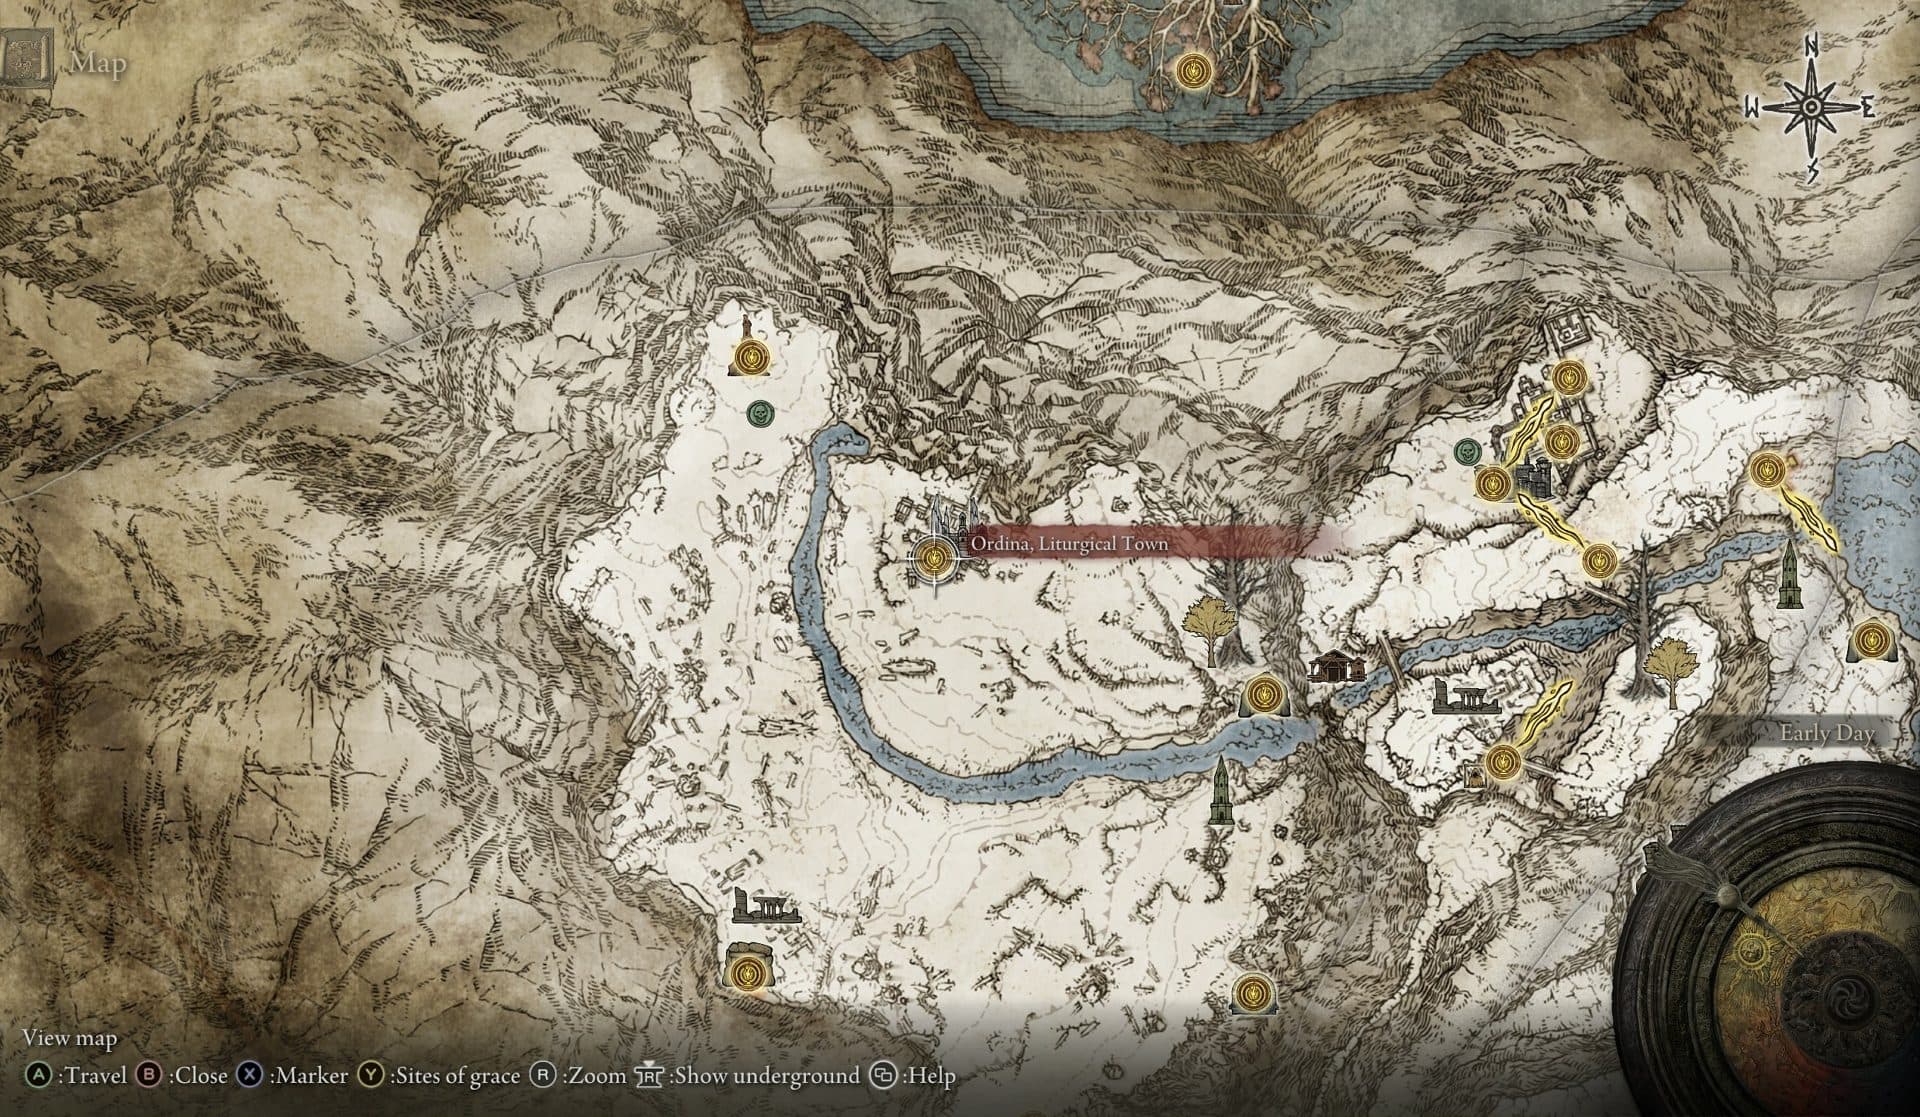
Step 7: Evergaol Puzzle at Ordina, Liturgical Town
Once you make it out of the Consecrated Snowfield, head to Ordina, Liturgical Town. This area has a more challenging version of the puzzle you solved in Sellia, Town of Sorcery, likely as part of Millicent’s quest.
This time around, the challenge will take place inside an Evergaol, so you won’t be able to use Torrent to make the platforming easier!
To make matters worse, there are 3 invisible Black Knife Assassins patrolling the ground, with Albinauric Archers peppered on the rooftops.
Thankfully, the Black Knife Assassins aren’t any different from the ones you find elsewhere in that they don’t respawn. Unfortunately, that is not the case for the Albinauric Archers.
Don’t forget to equip your Sentry’s Torch! You can also use auto-targeting abilities like the Phalanx Sorceries and proximity-based AoE attacks like Bloodboon Ritual and numerous Incantations, though the Sentry’s Torch is the most effective.
Substep 1: First Black Knife Assassin
Once you enter the Evergaol, jump off the back railing onto the snow. You’ll fight your first Black Knife Assassin there.
If you head to the same location outside the Evergaol, you’ll find the Black Knife Assassin armor set, which passively silences your footsteps.
Substep 2: Second Black Knife Assassin
Head around the building and turn left. Your second Black Knife Assassination will commence shortly. They just patrol around like normal enemies.

Substep 3: Third Black Knife Assassin and First Candle
Make another left and head up the stairs. The first candle is guarded by the third and final Black Knife Assassin. Dispatch it and light the candle.
Substep 4: The Second Candle
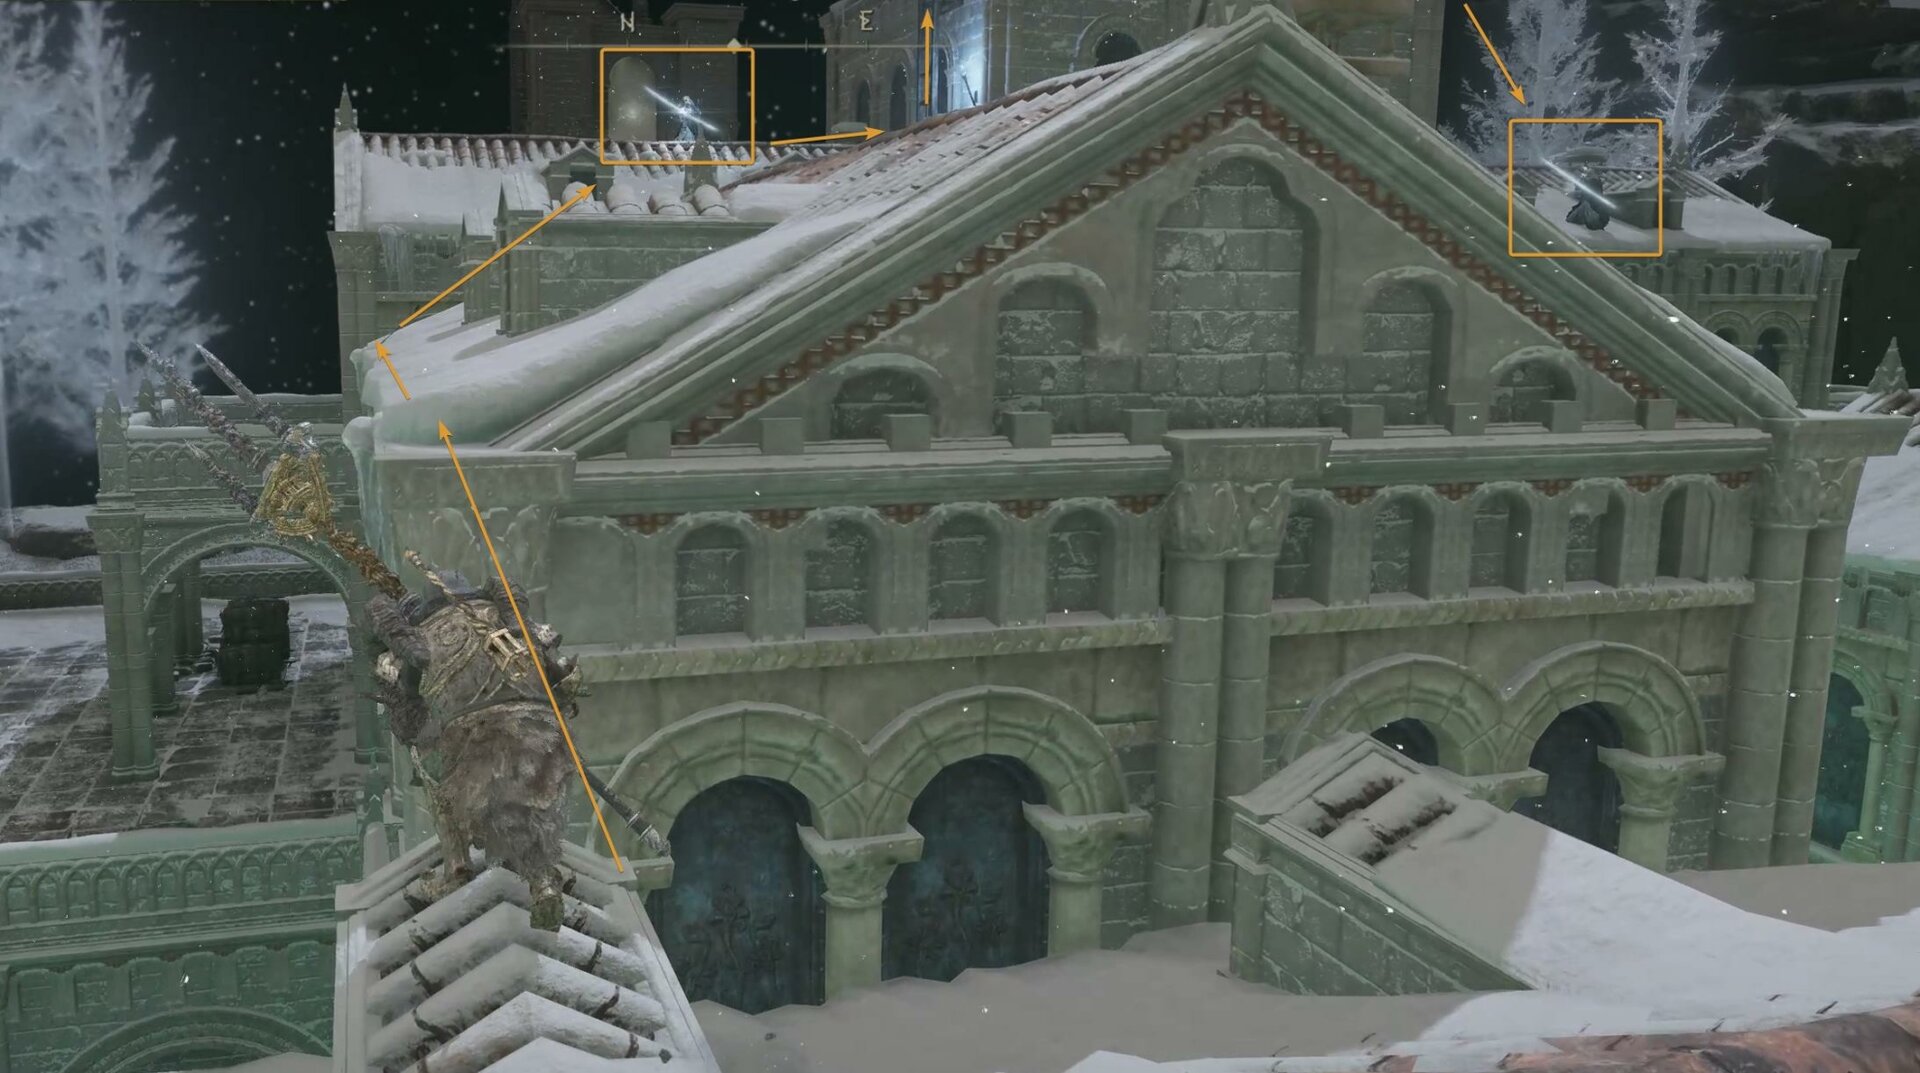
The second candle is located on the edge of town. Head back towards the stairs. You’re gonna climb up the demolished building to get onto the roof.
There’s an Albinauric Archer up there and some consumable goodies all around the building. Don’t worry. There are no unique items inside the Evergaol.

You want to jump on the lowest point on the left/west-facing wall, and then jump up higher towards the roof.
Get ready to be in sudden melee range of an archer with no legs. From there, you can hop across the roofs and climb the ladder for the second candle.

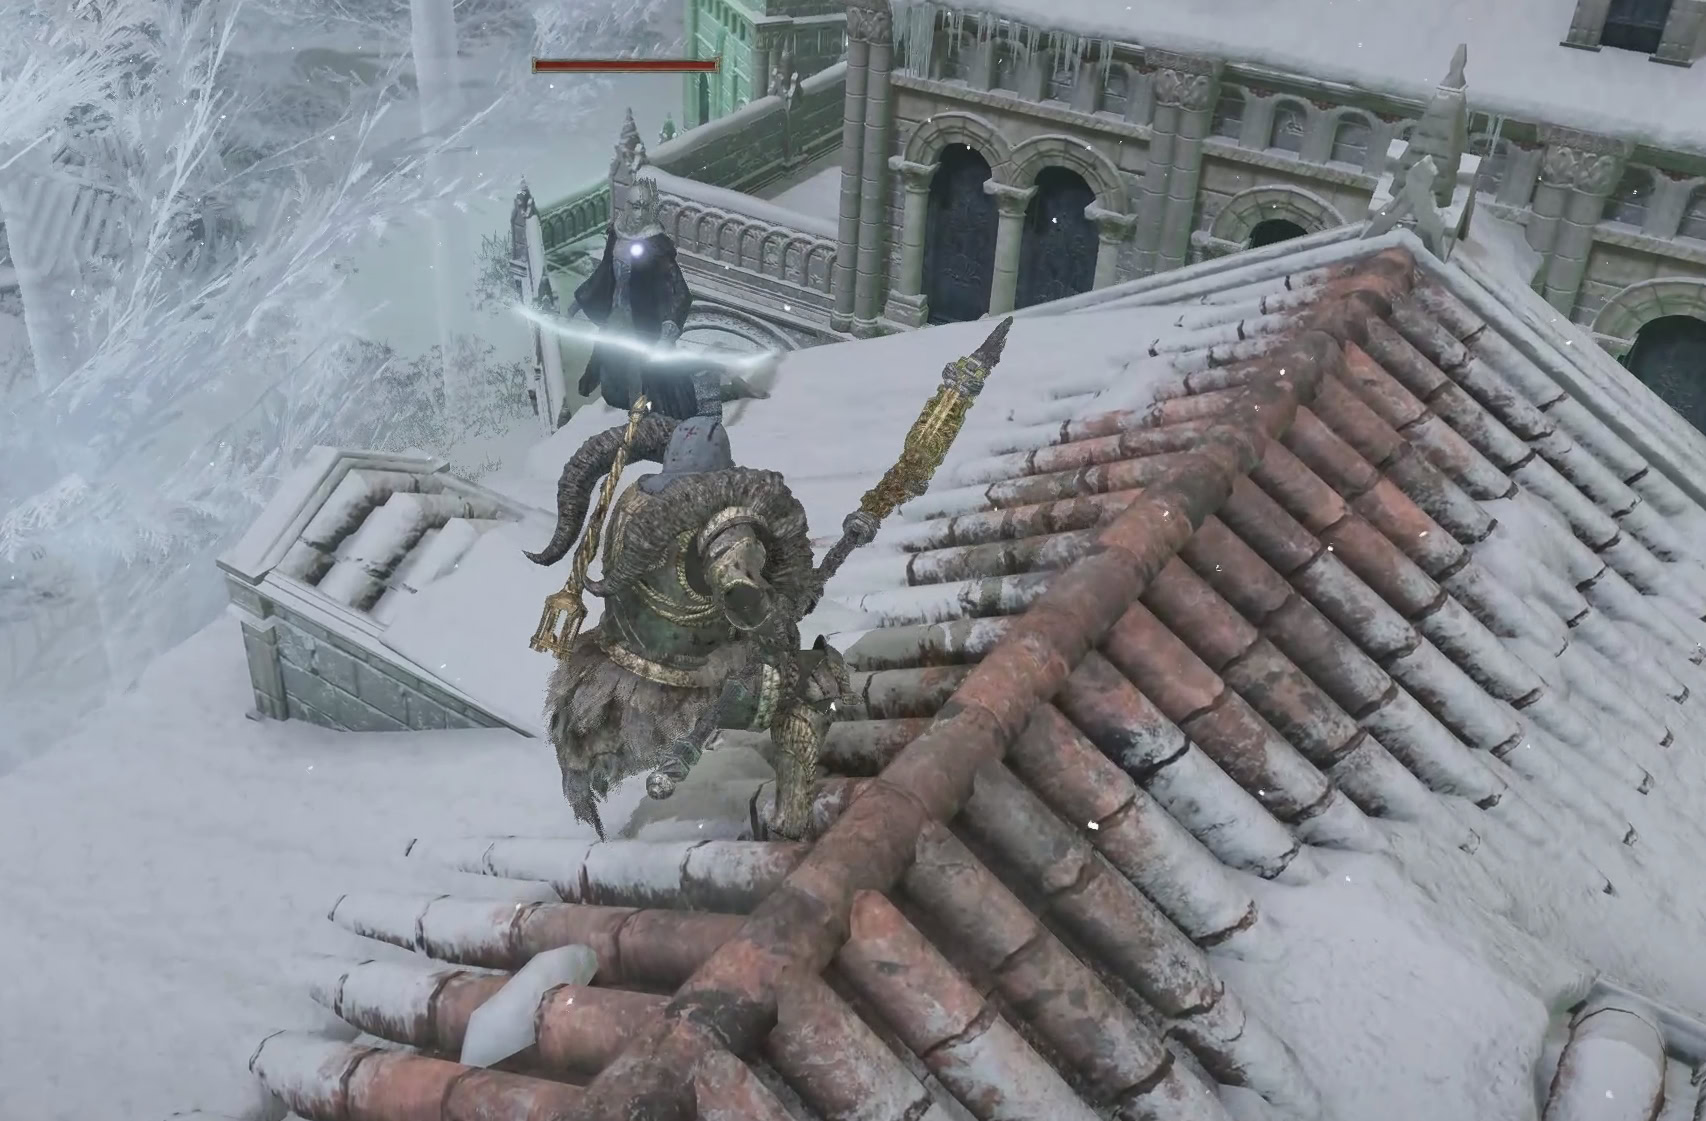
Substep 5: The Third Candle and Albinauric Homing Barrage
Now, it’s time for the main bit of platforming. Drop down onto the main roof of the second candle and cross back over towards the building with the Albinauric you just squashed.
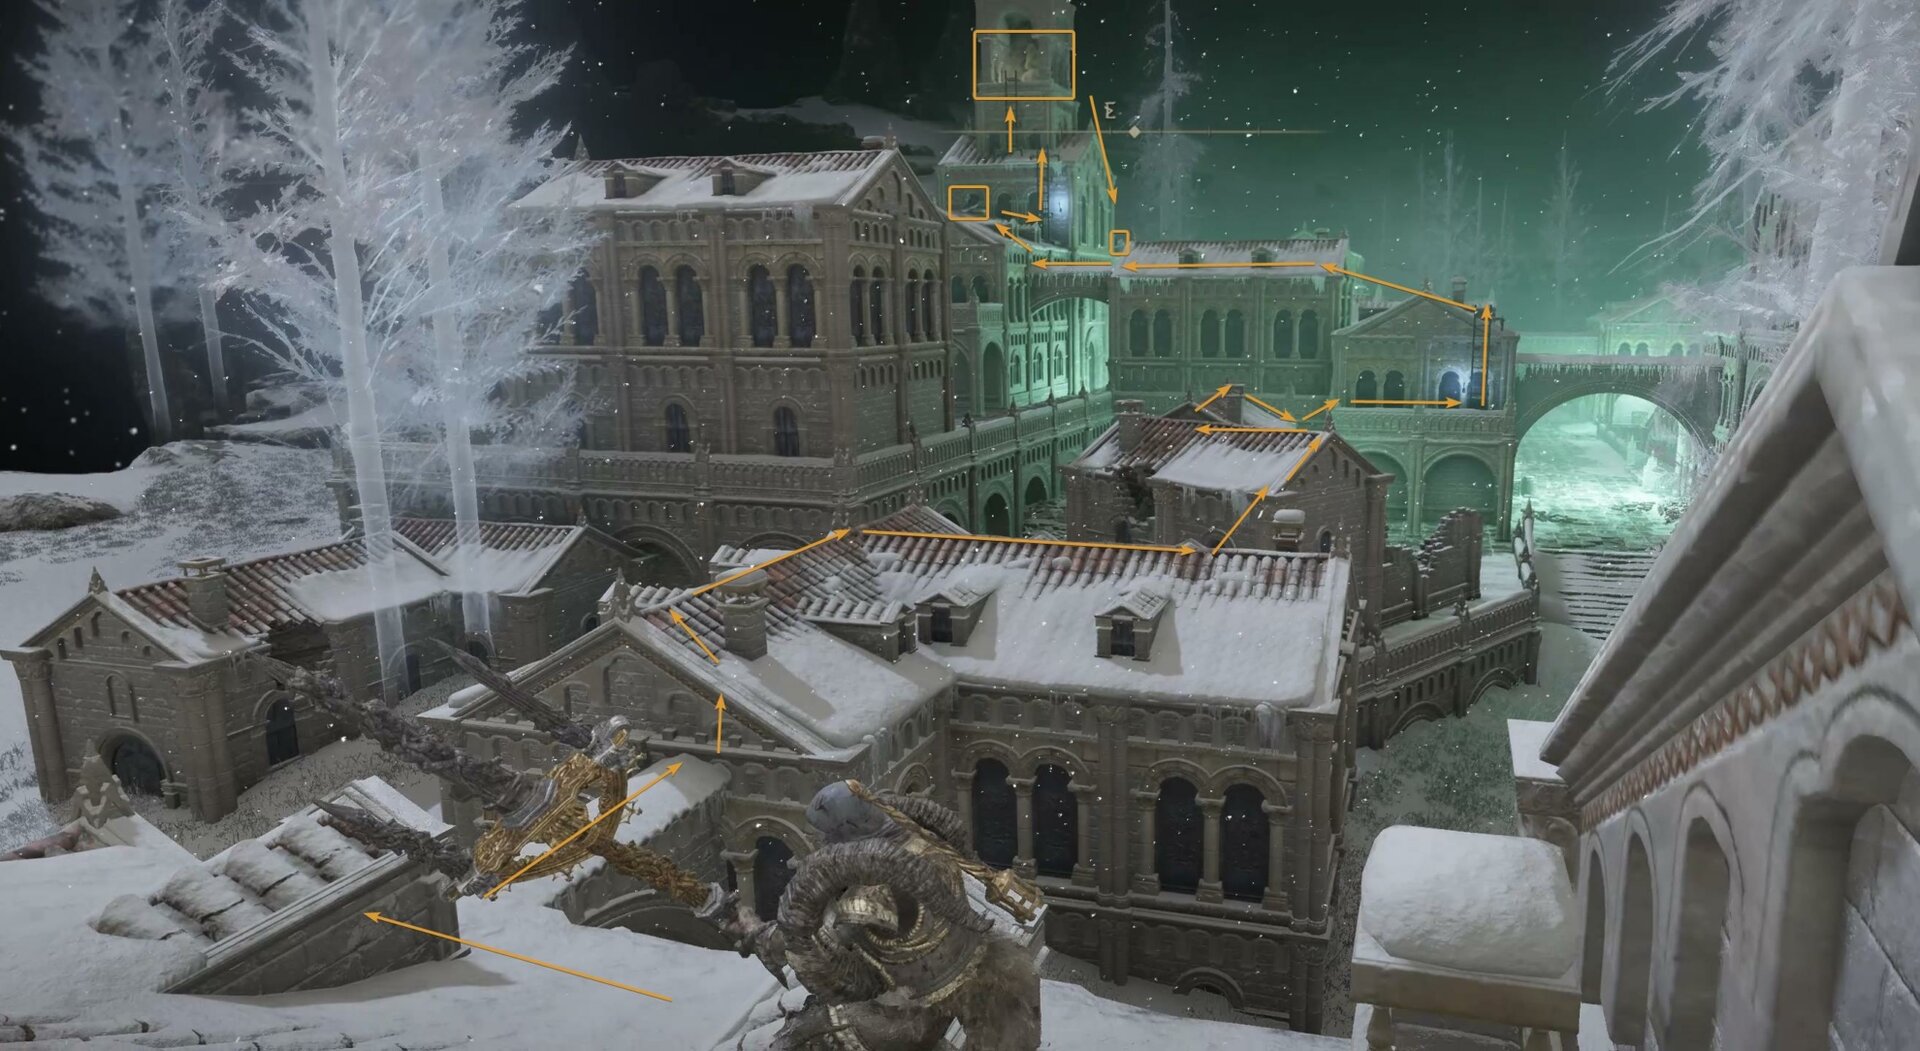
From there, you’ll need to leap across to another building beside the rubble and, from the edge of that roof, leap onto the balcony with the ladder. Climb the ladder and prepare for an endless barrage of homing arrows from a pair of Albinauric Archers guarding the roof.
You have some cover behind the building, but you can’t really hit them with anything from range. They fire too frequently, and if you have line of sight, so do they.
Focus on the left Albinauric first. Try to stay on the left side of the roof for some cover, and dodge her arrows as best you can.
Once you get into range, send the left Albinauric to the Shadow Realm. Then climb the ladder, light the third candle, and then drop down and spitefully smush the last lady. You don’t want her to bother you as you go for the final candle.
I should also mention that there is a 4th Albinauric Archer on a roof on the other side of town, but there aren’t any candles over there, so you can ignore her.
Substep 6: The Final Candle
Drop down onto the main street, the one where you lit the first candle and fought the last Black Knife Assassin. Head back towards the stairs with the rubble building, and you’ll come across a ladder.
You can choose to take the loooooong way around the building, or you can hop over the railings in an act of civic defiance. Keep climbing more ladders until you reach the top.
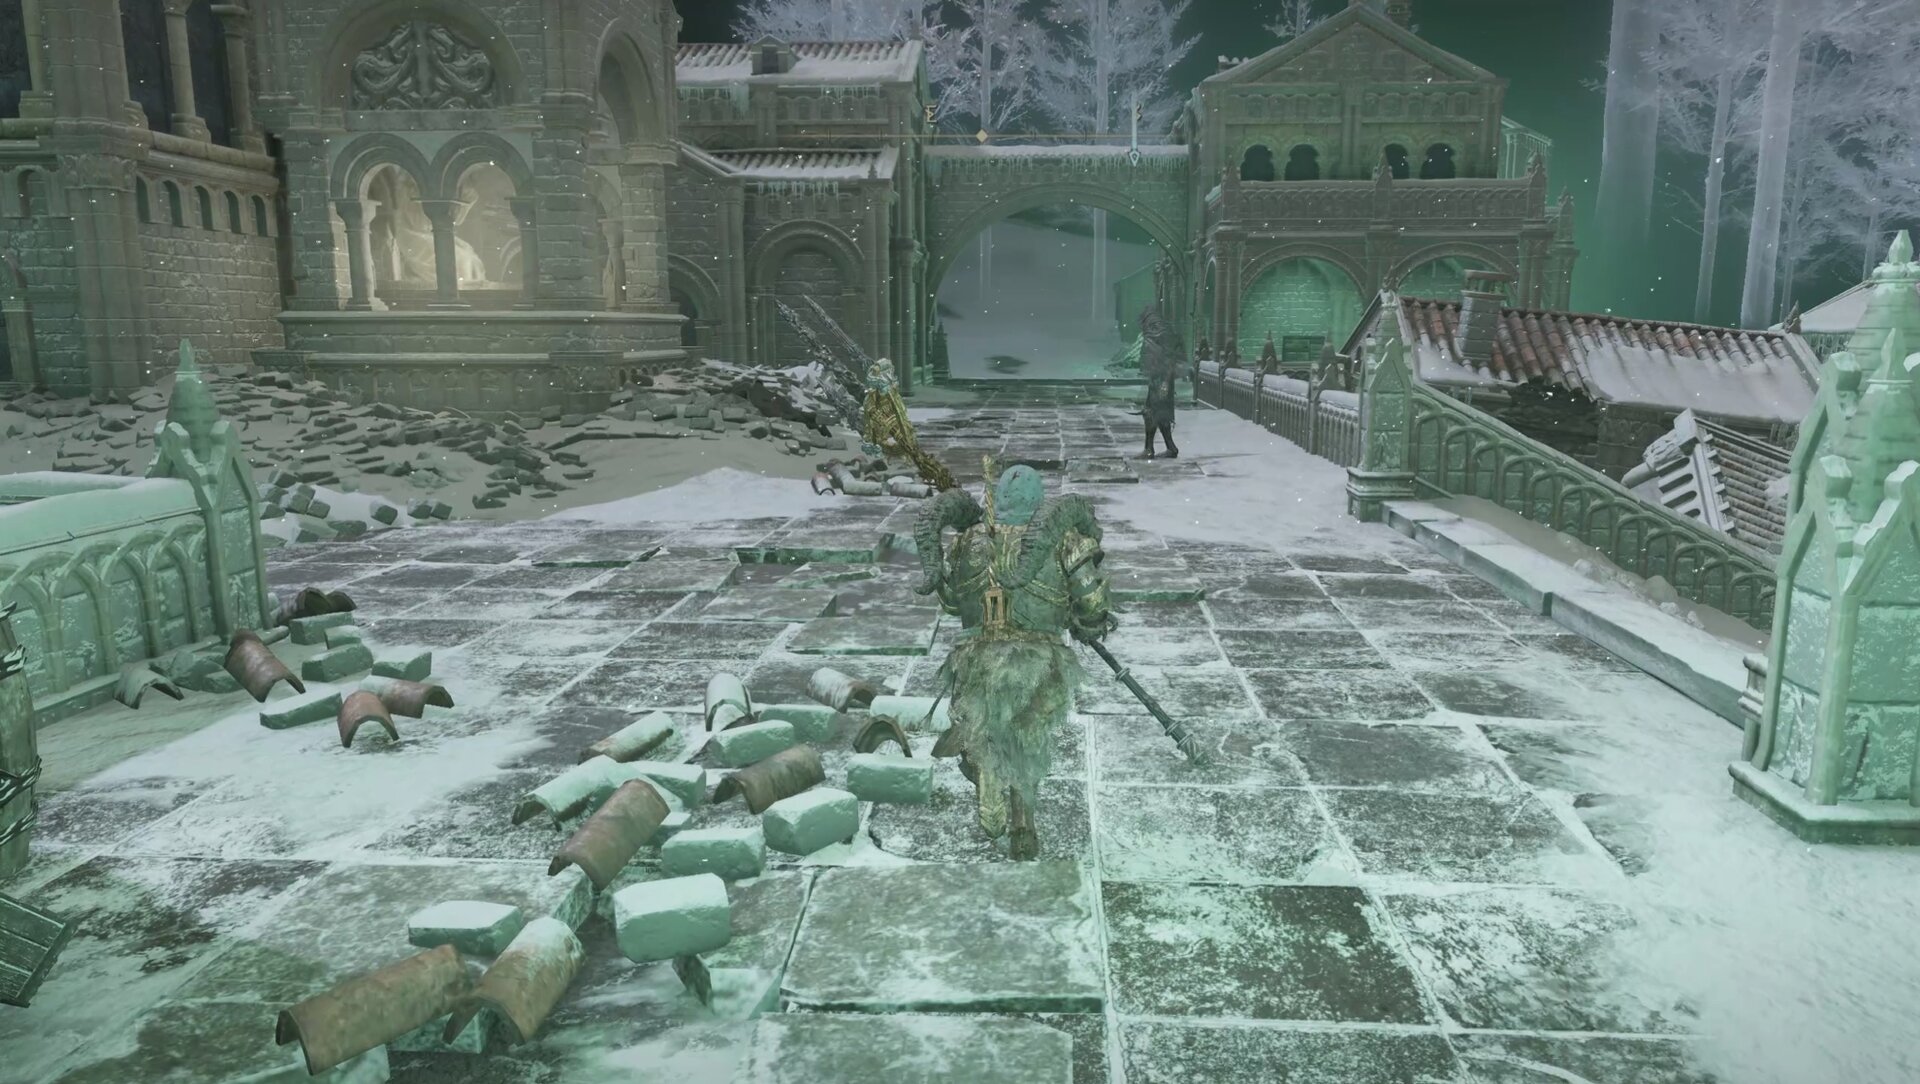
Light that last candle, and you’ll be removed from the Evergaol automatically. You can’t return, but as I said before, there are no unique items in here. Outside, the seal on the door at the back of Ordina is gone, and the portal will take you to the Haligtree.
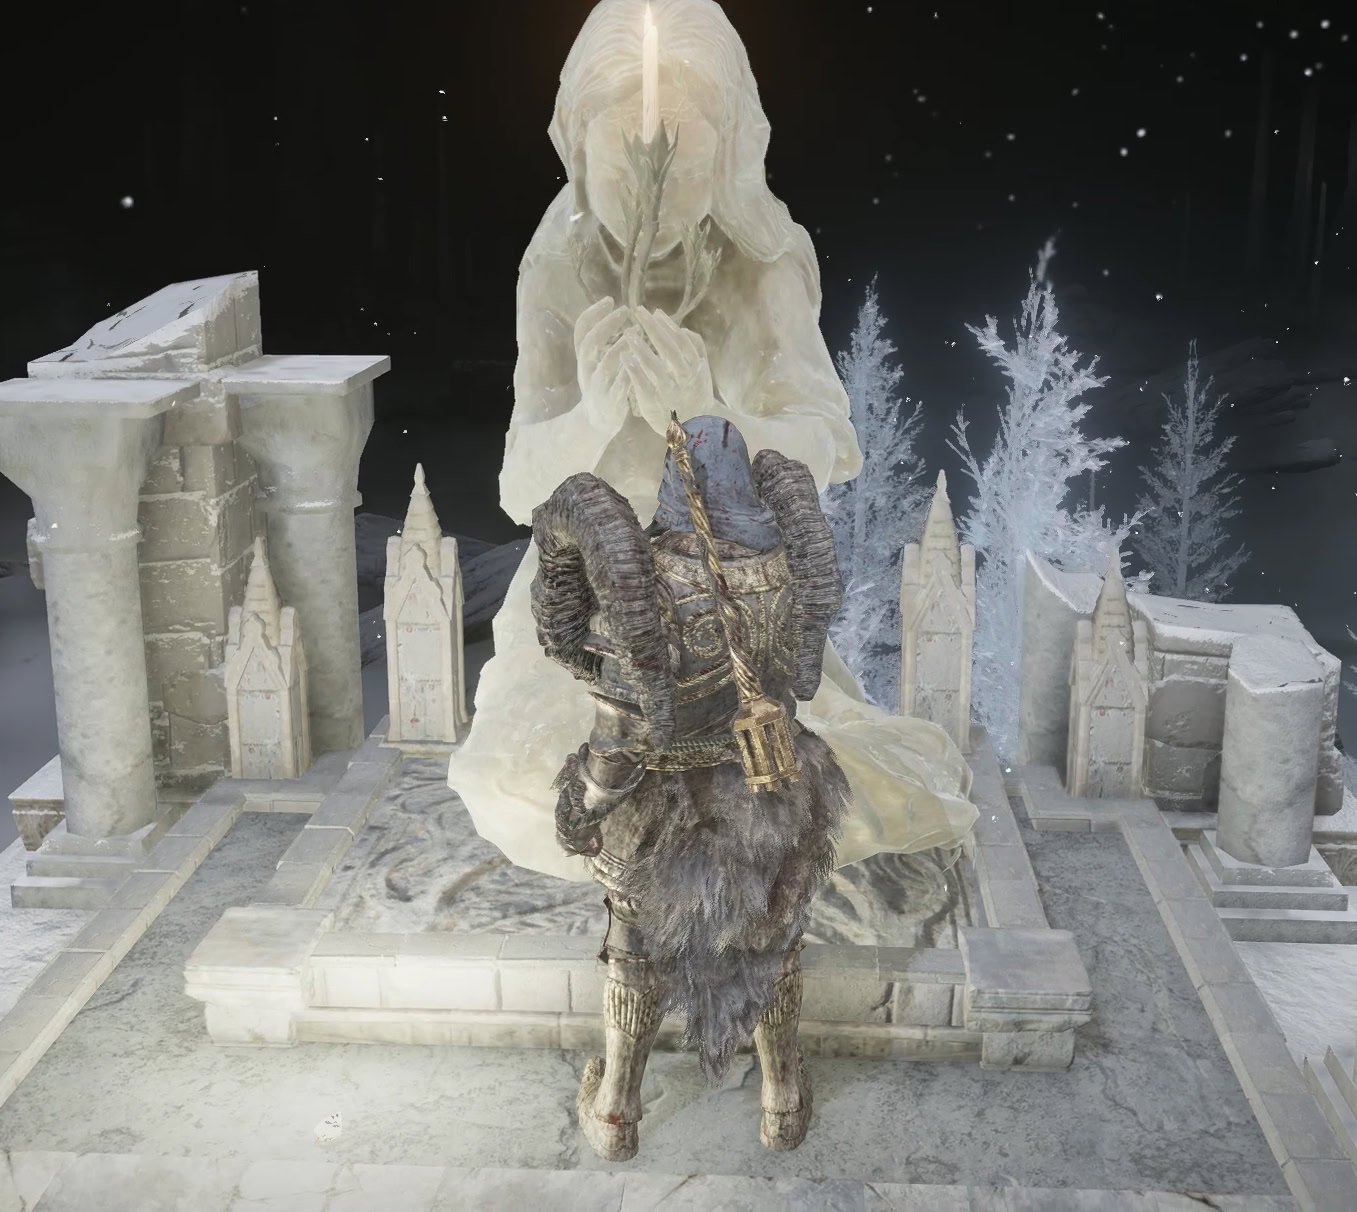
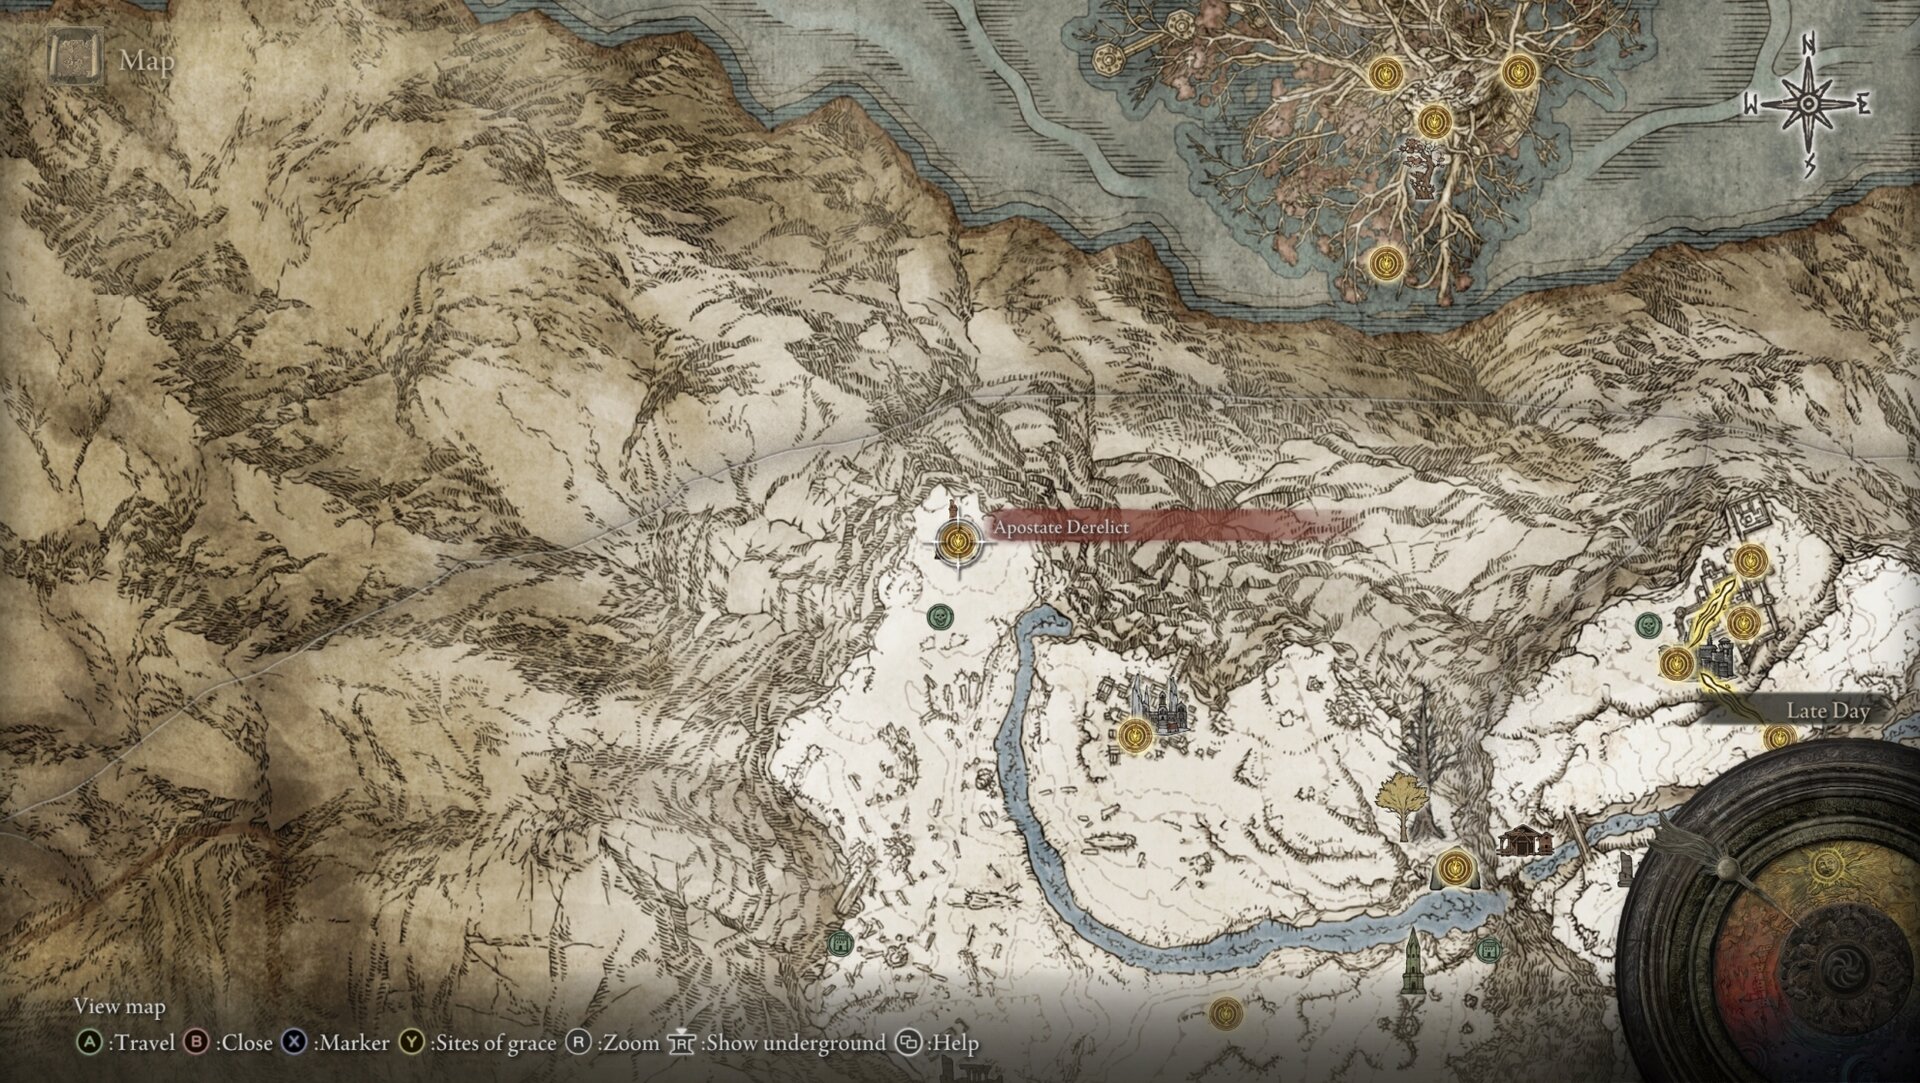
Step 8: Take Latenna out to Apostate Derelict
Take Latenna out to Apostate Derelict, a church at the corner of the map. It’s guarded by a walking mausoleum that shoots magic explosives.
You can try to take cover between volleys, but it’s easy enough to hop on Torrent and ride like the wind.
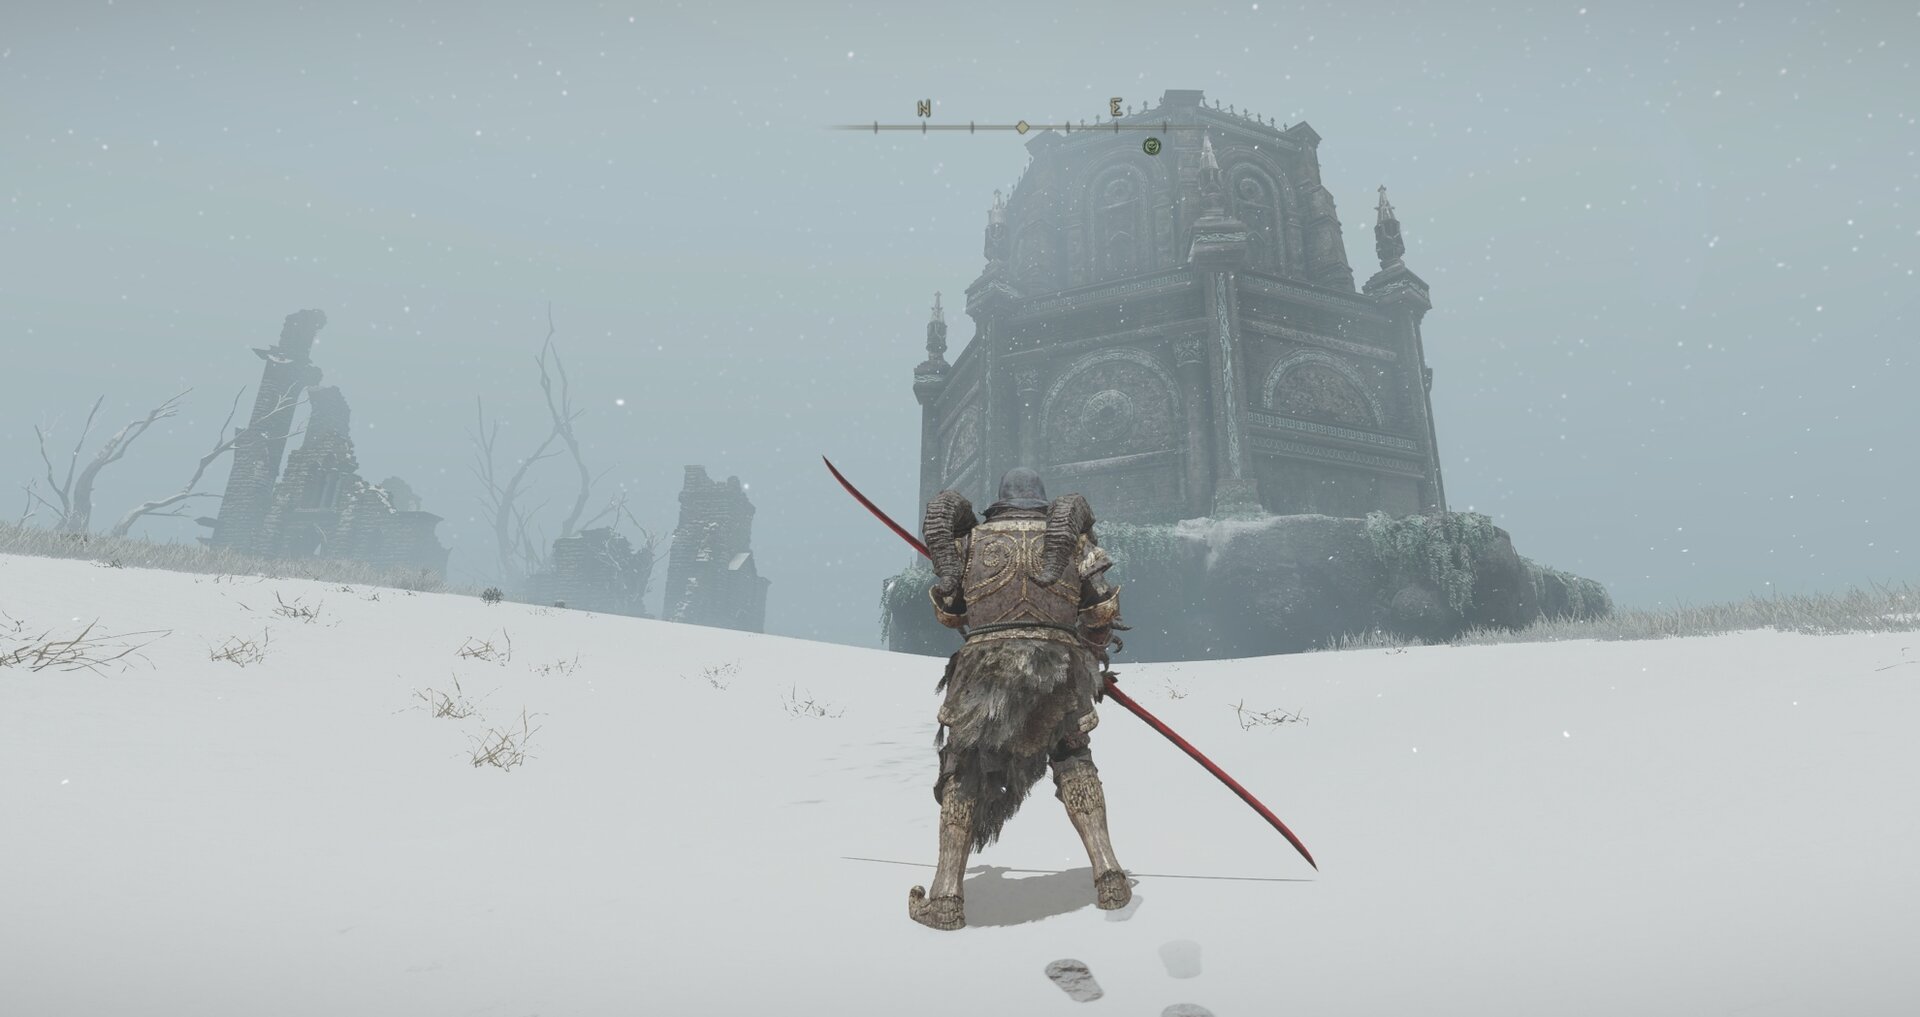
Once you get close to the walking mausoleum, it’s not all that different from any other. Just clean off the barnacles, and it will go to sleep.
Once you’ve finished paying your respects to the FPS you lost in battle, head to the church and meet the biggest Albinauric in existence. You’ll be prompted to summon Latenna when you get close.
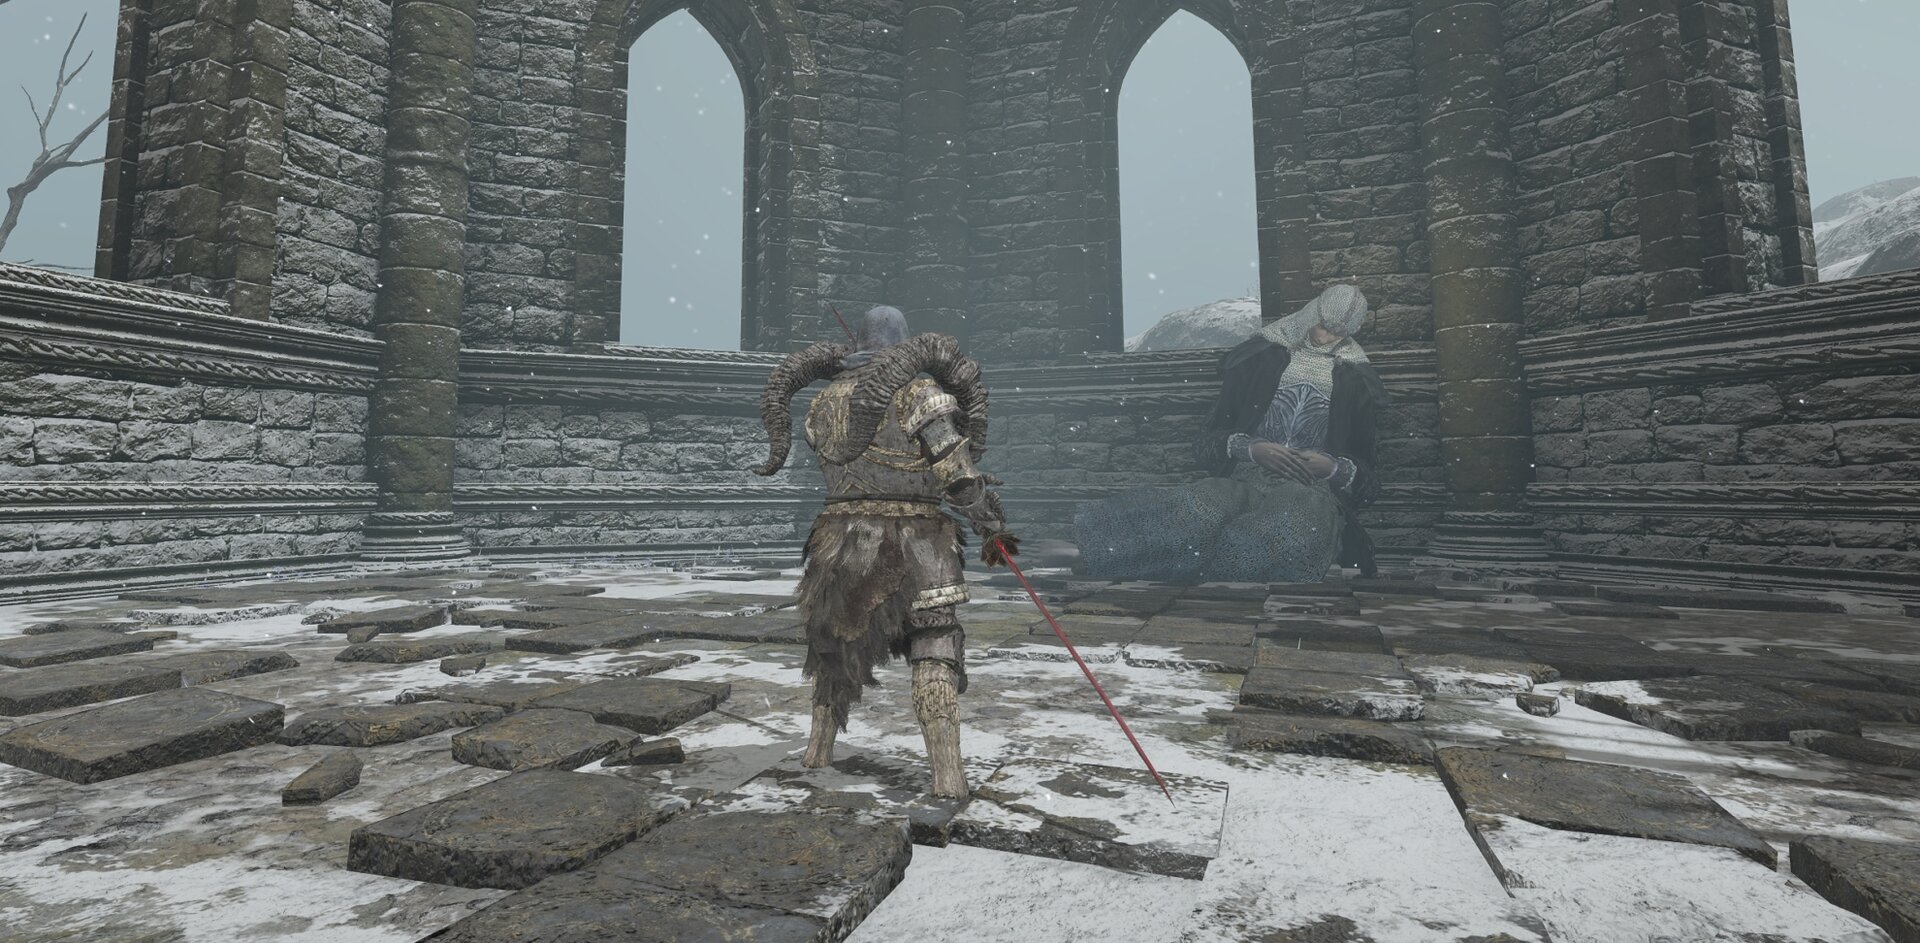
Congratulations on your shiny new Somber Ancient Dragon Smithing Stone! Now, you can head to the Haligtree and finish off Millicent’s quest.
This concludes my guide on how to reach Miquella’s Haligtree in Elden Ring by finding the Left and Right halves of the Haligtree Secret Medallion, solving the puzzle of Ordina, Liturgical Town, and reuniting Latenna with her sisters.

Elden Ring Ranni quest Guide and Age of the Stars ending
This guide covers all the necessary steps to complete Ranni the Witch’s questline and allow you to achieve the Age of the Stars secret ending!

Elden Ring Dung Eater Quest and Blessing of Despair Ending Guide
A step-by-step guide on how to complete the Dung Eater quest line in Elden Ring and unlock the Blessing of Despair Ending.

Elden Ring Three Fingers Quest, Lord of Chaos Ending and Lord of Frenzied Flame Achievement Guide
Step-by-step guide to the entire Three Fingers Quest in Elden Ring. Learn how to unlock the Lord of Chaos Ending and earn the Lord of Frenzied Flame achievement!
Elden Ring Millicent Quest Guide
Everything you need to know to help Millicent make the journey from the edge of Caelid all the way to Miquella's Haligtree in the Mountaintops of the Giants. Along the way, you can find a prosthetic arm for her, and then steal it for yourself to use as one of the better talismans in Elden Ring.