A complete Shadow of the Erdtree Rellana PvE Build, designed to help you create a powerful spellblade knight character using mostly new items from Elden Ring’s expansion, along with a few from the base game.
Table of contents
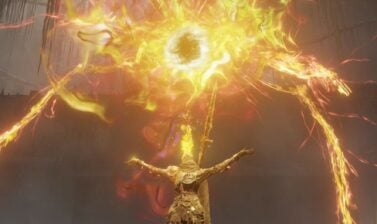
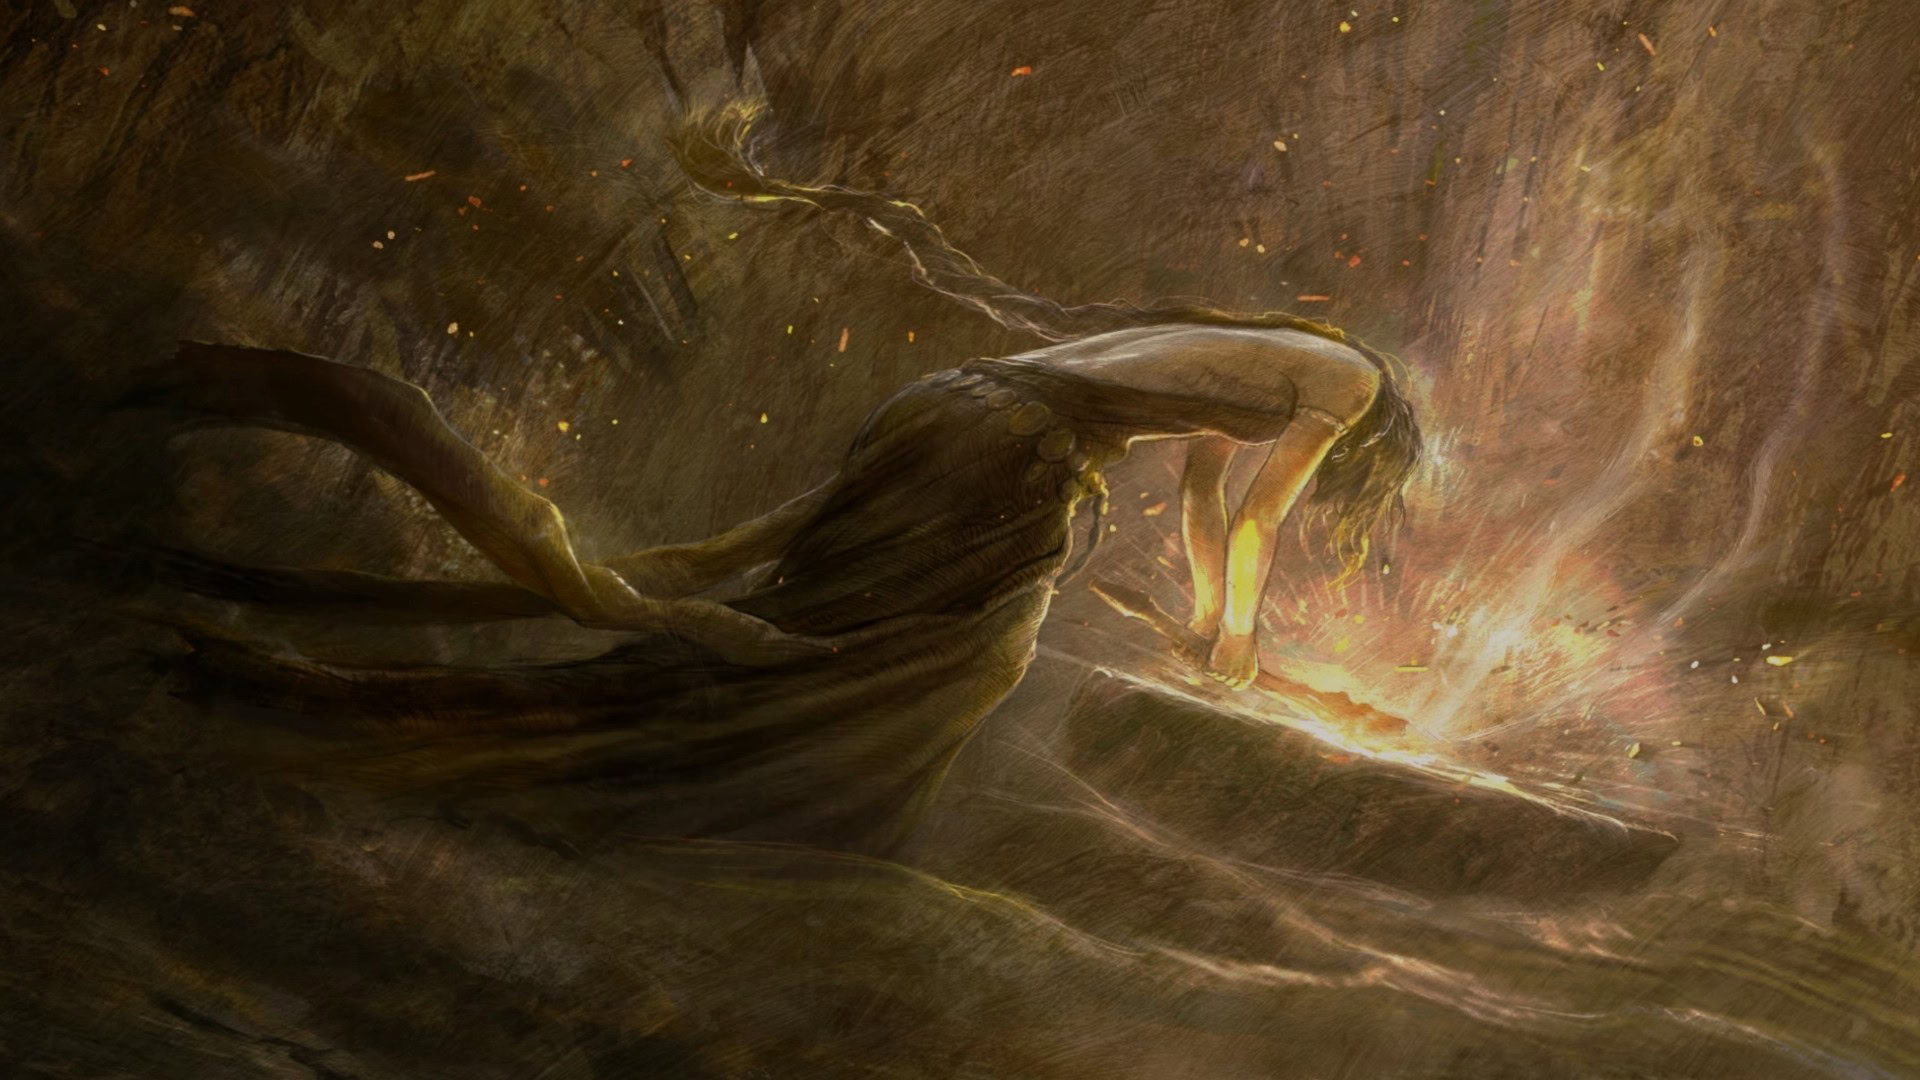
Introduction to Rellana, the Twin Moon Knight
Rellana is the sister of Rennala, Queen of Caria, respec lady, and egg enjoyer. She chose to abandon her birthright as Carian Princess to become the Twin Moon Knight and follow Messmer into the Realm of Shadow.
Since Marika severed the connection between her dominion and the Realm of Shadow before the Shattering, the conquistadors appear to have faired far better than those they left behind, aside from morale issues caused by Marika disowning them.
Some knowledge was lost in the Lands Between during the Shattering, but since the former Carian Princess and her followers had no contact with their homeland during that time and brought their knowledge with them, meaning it can be imparted to you.
While Rellana remains one of the most capable sorceresses throughout both realms, she appeared to be completely uninterested in the Primeval Current. Instead, she advanced the Carian arts of Glintblade and Lunar Sorcery, and incorporated Messmer’s Flame.
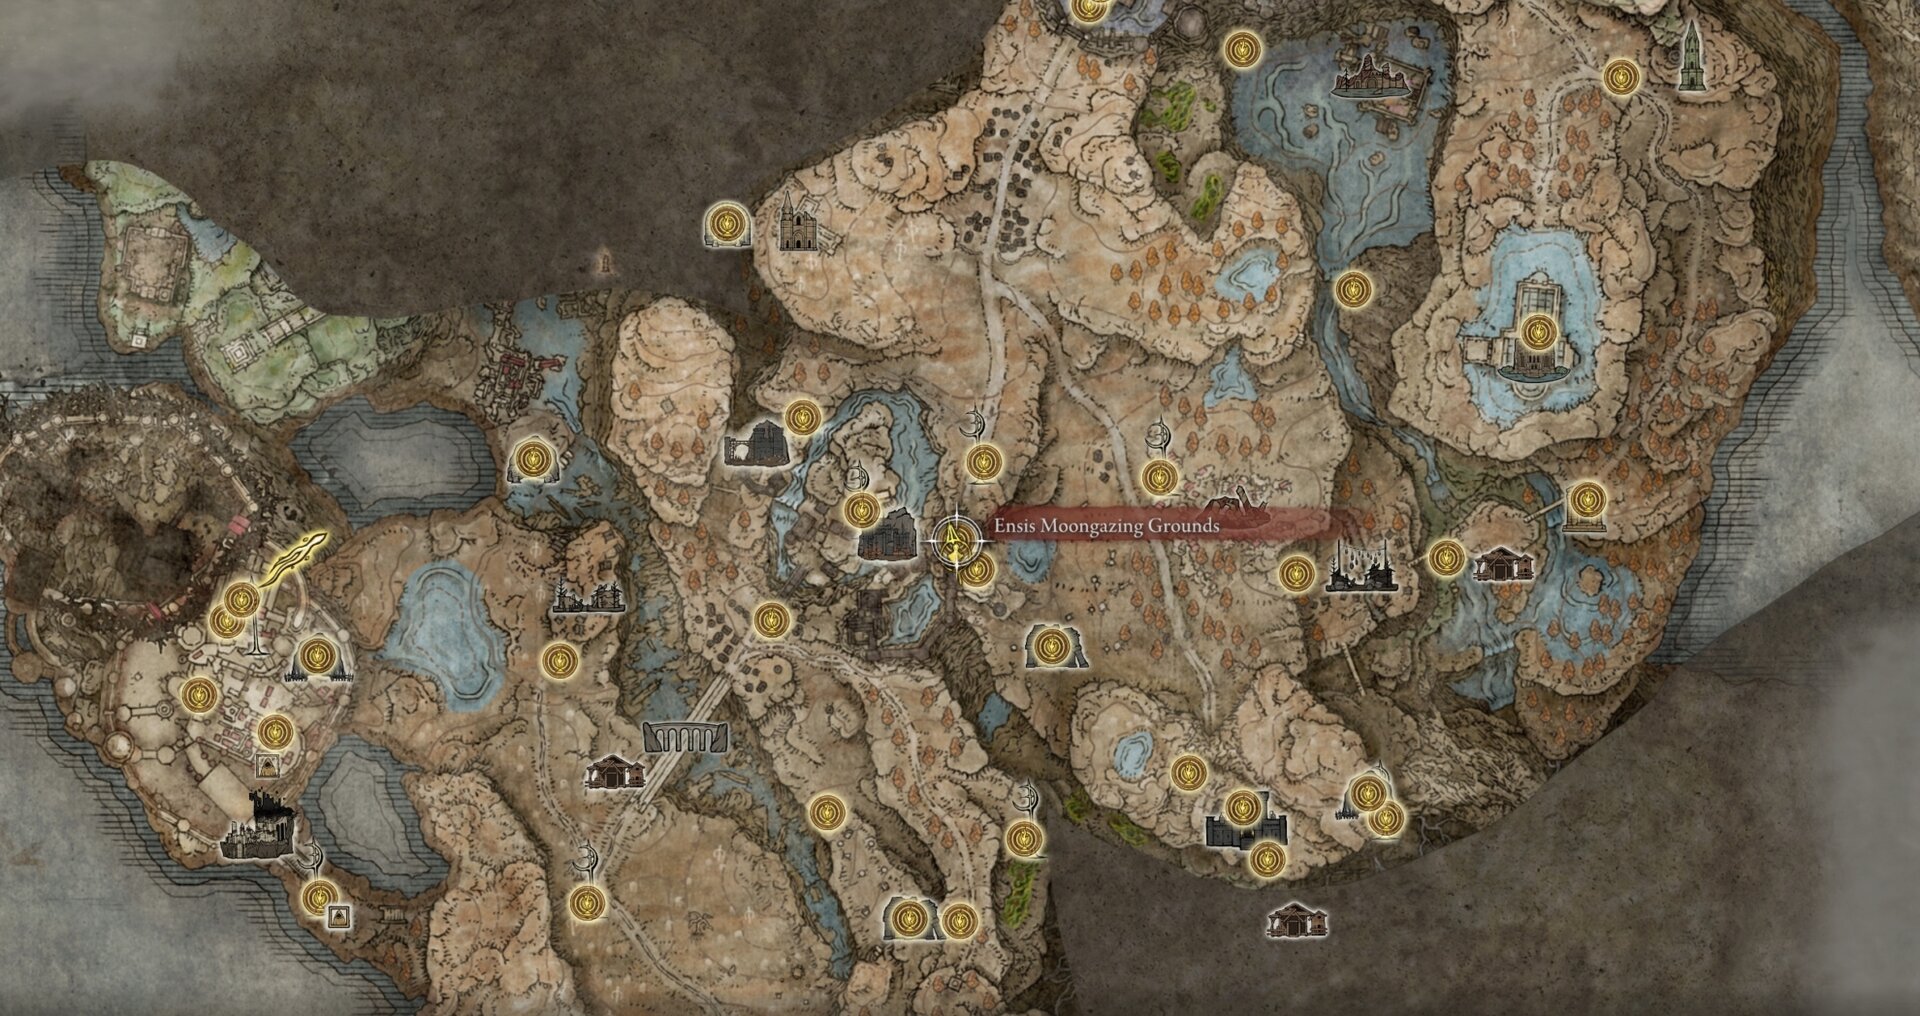
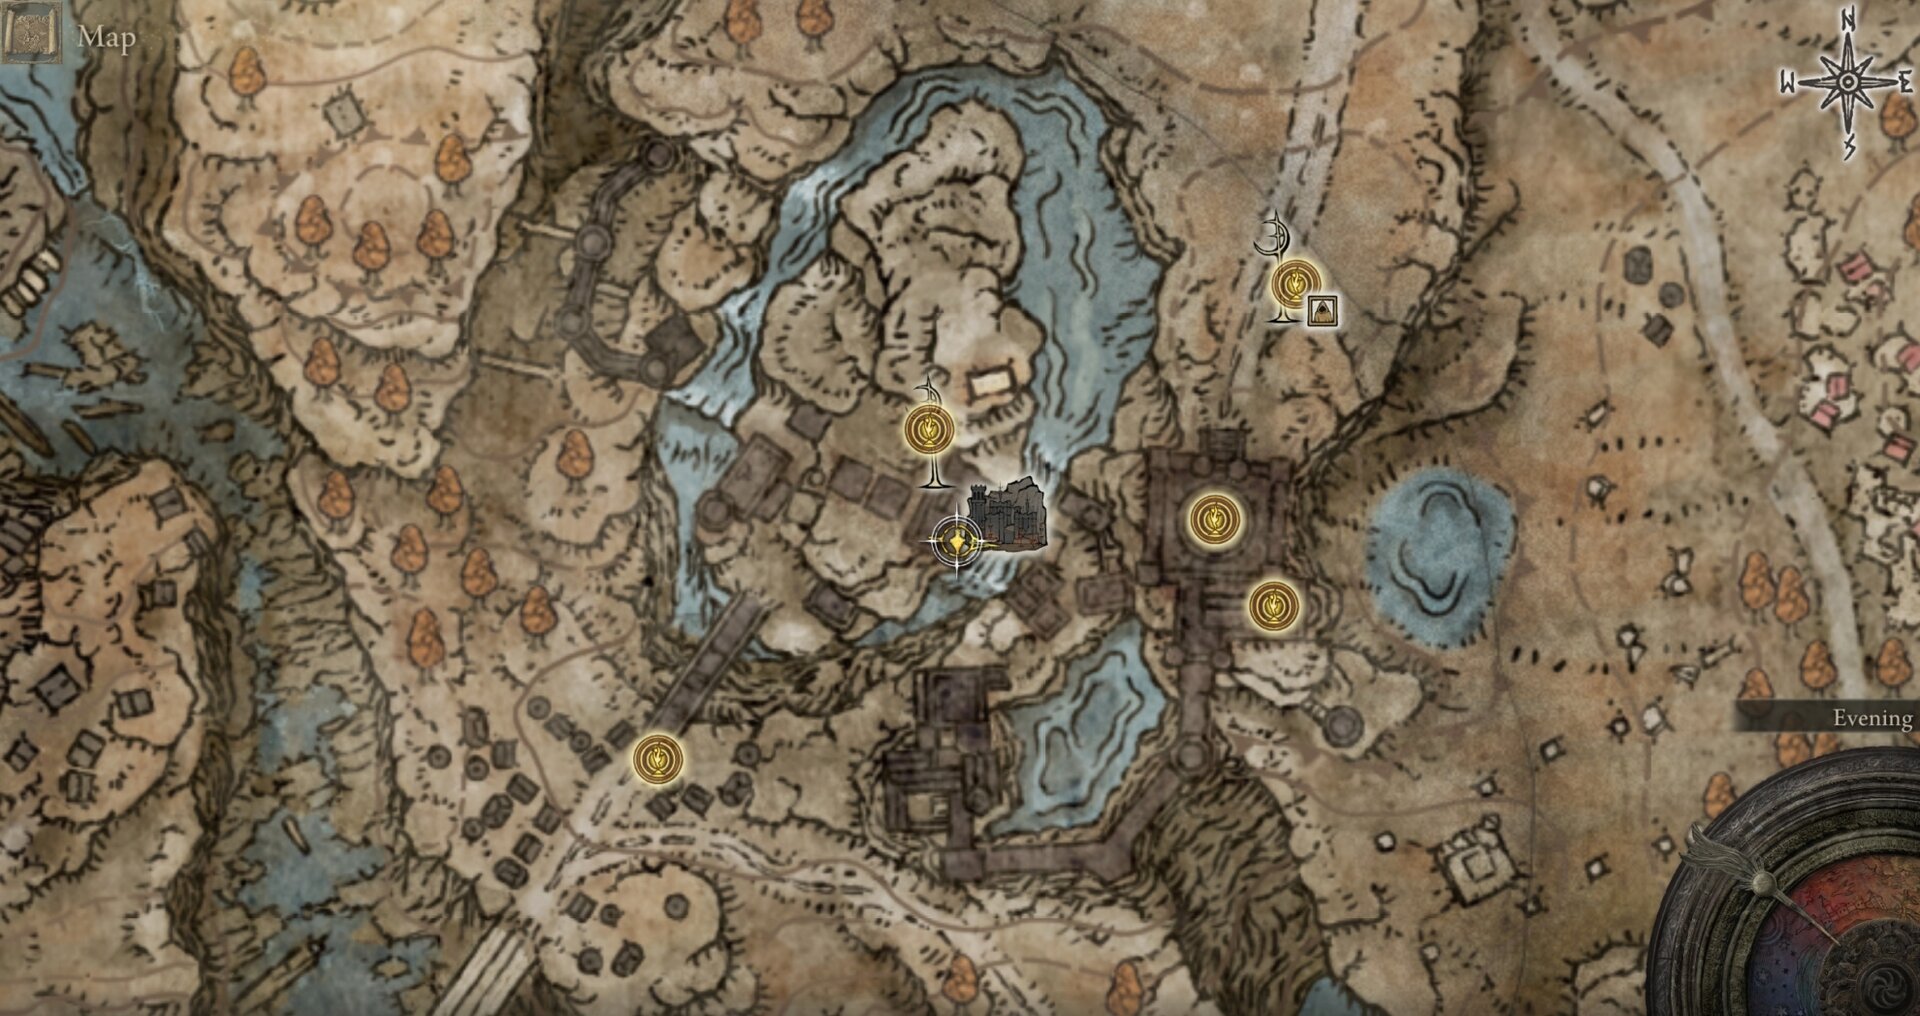
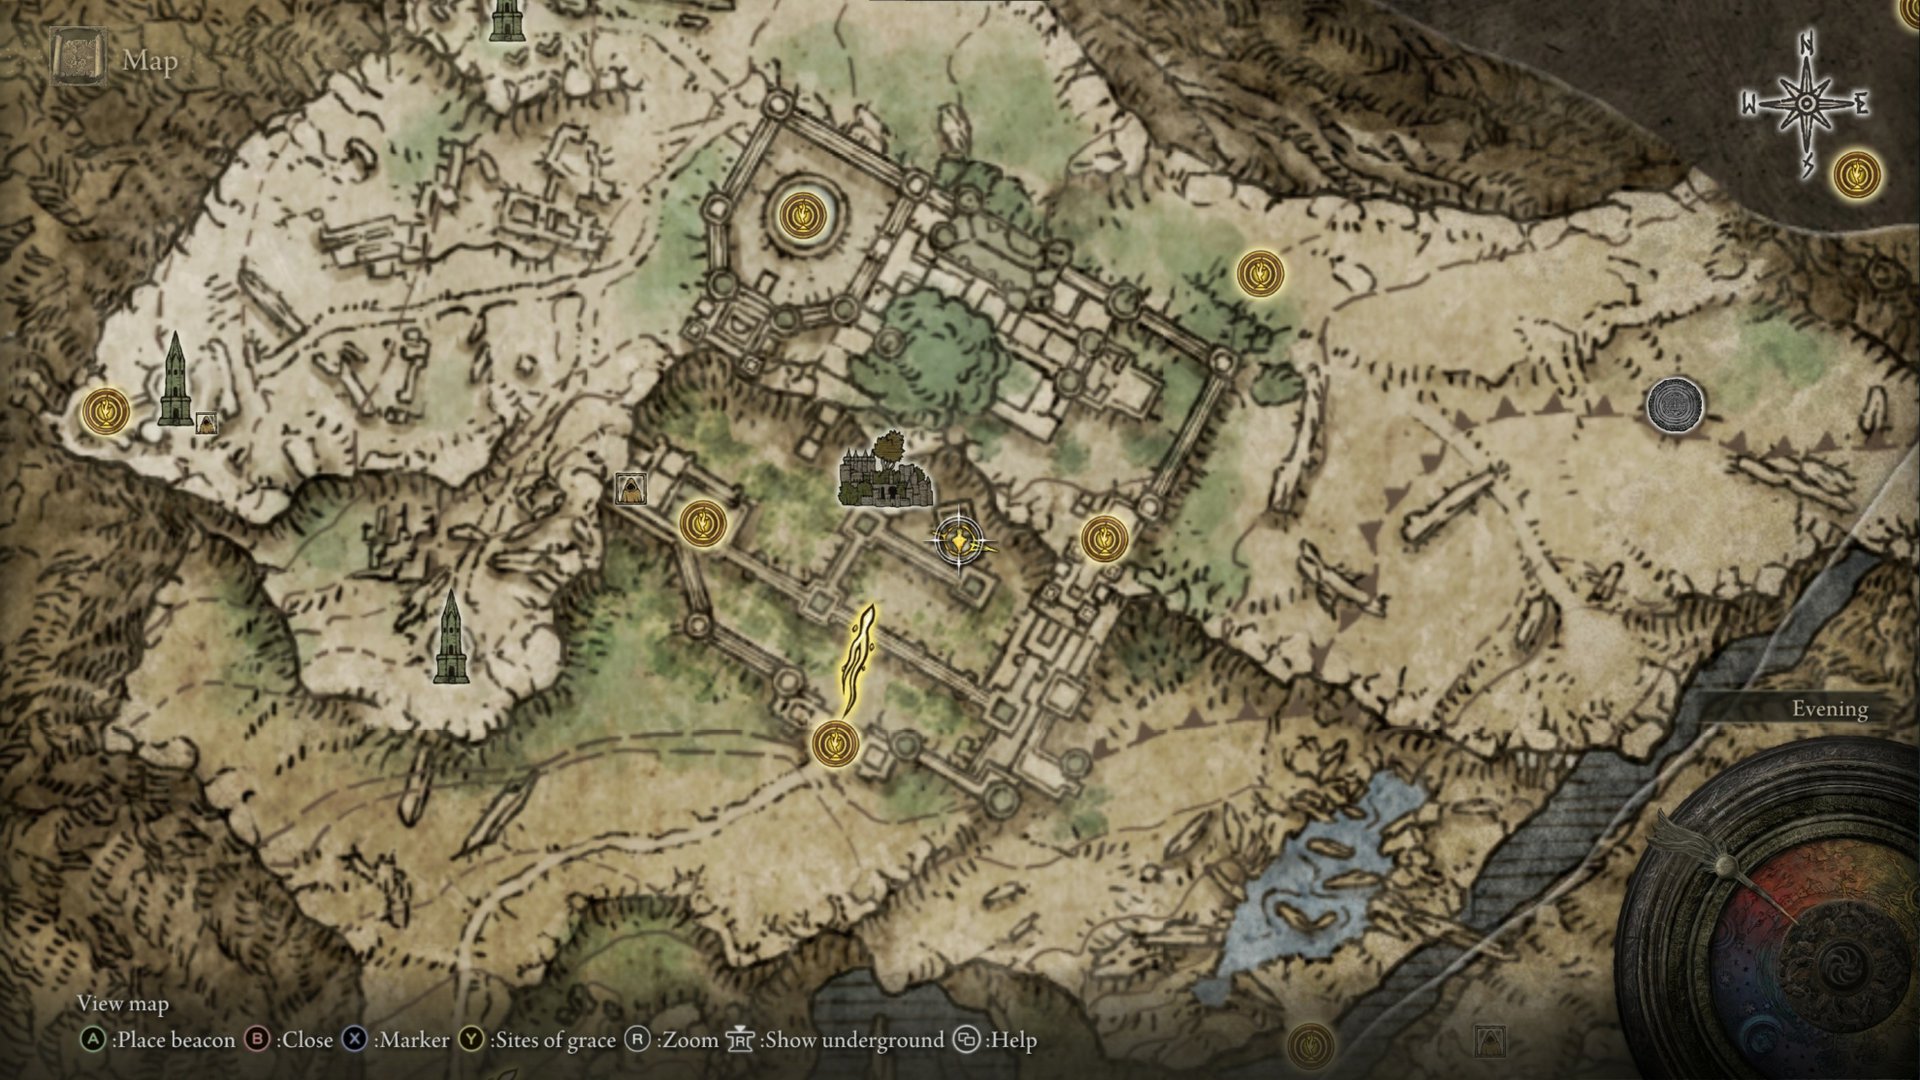
You’ll acquire most of this lost knowledge, Rellana’s innovations, and Carian armaments at Castle Ensis, demarcating the border between the Gravesite Plain and Scadu Altus in the Shadow Realm. However, there are a few pieces that I recommend picking up in the Lands Between.
Build Playstyle and Requirements
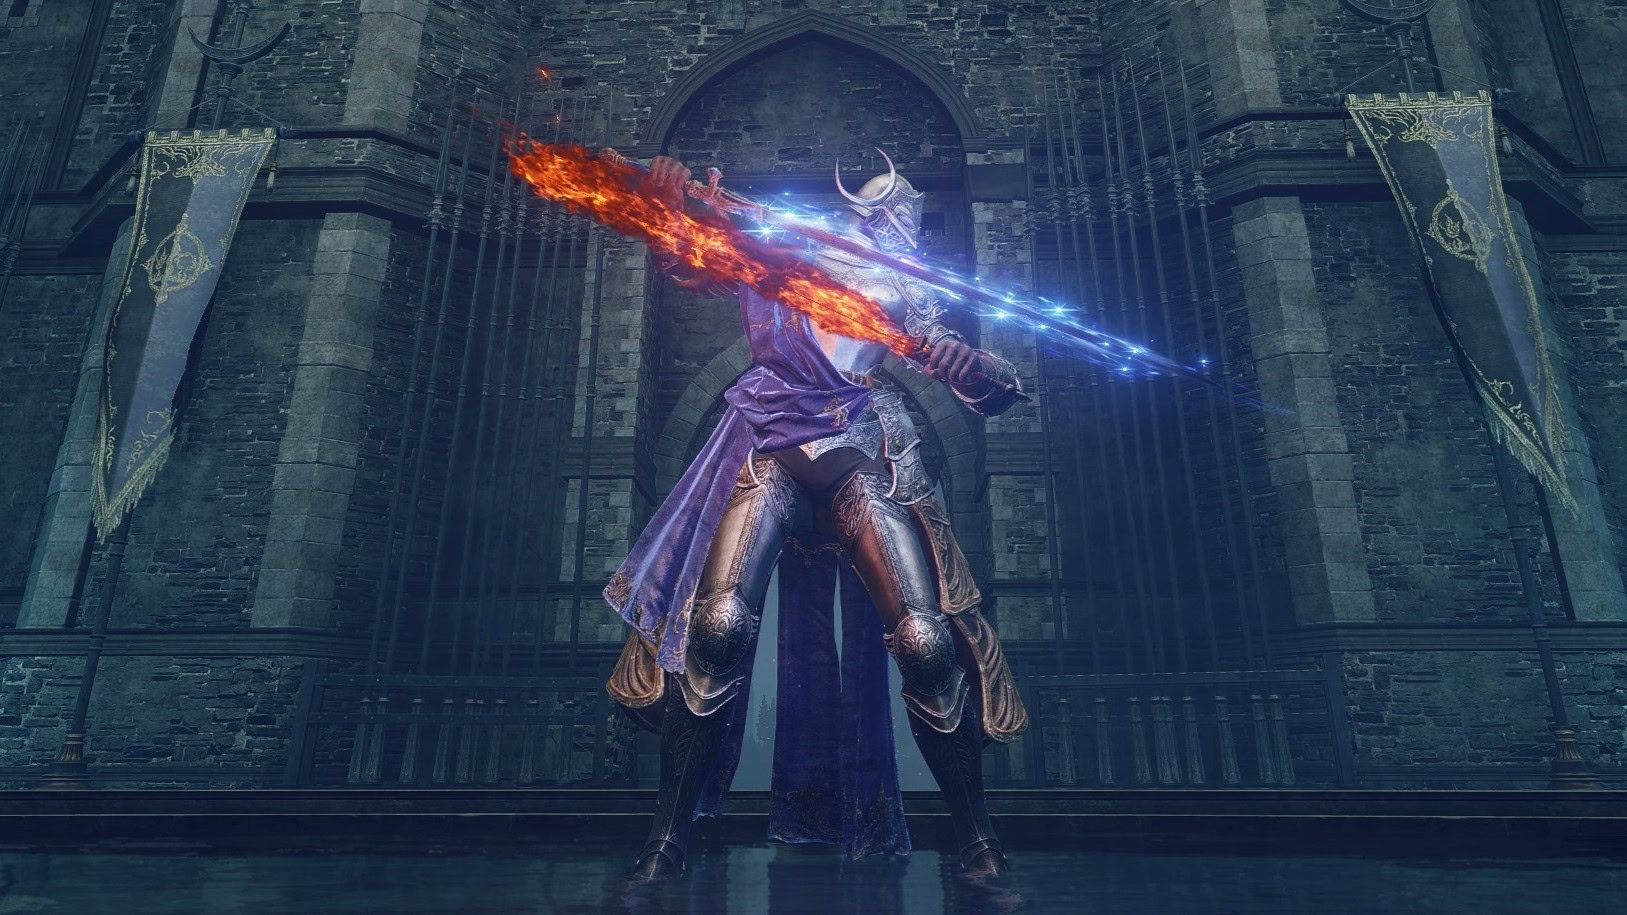
This build combines swords and sorcery. You’ll be using 2 of the new light greatswords and a straight sword, along with a staff and a shield. You’ll invest primarily in Intelligence and Faith, as most of your damage will be Magic or Fire.
Just like Rellana, you will be a behemoth. You have a strong answer everything this game will throw at you, regardless of range or numbers, with an emphasis on melee attacks with your swords.
The sheer volume of melee weapon movesets along with a full set of Sorceries makes the build seem overwhelming at times. Thankfully, the Rellana’s Cameo Talisman encourages a slower, more deliberate approach.
I think it’s more appropriate to use this build in NG+ because you’ll have more stats to work with, but it’s perfectly viable to use on a first playthrough as well, though you’ll need to be around level ~200 to meet the minimum requirements. In NG+, you can expand more heavily into Dexterity, Mind, and Endurance.
I’m not gonna go into early-game precursors in this guide as I have in some of the others because you’ll almost certainly need to pay a visit to Rellana’s sister to respec for this. You’ll also need to duplicate Rellana’s Remembrance.
Notable Balance Changes
FromSoftware has given significant buffs to Rellana’s items over the course of post-launch patches including:
- Rellana’s Cameo now provides a 45% damage boost (up from 15%), and paired with Shard of Alexander, gives a 67% boost.
- Rellana’s Cameo now triggers after holding the stance for 1s (down from 1.5s)
- Rellana’s Twin Blades now scale better at lower Intelligence and Faith values, so you need less of those stats to deal the same damage.
- Both attacks from Unique Skill: Moon-and-Fire Stance now deal more Poise damage, and the light stance attack now has a longer range.
- Carian Sorcery Sword now has S Intelligence scaling (up from C) and is competitive but still weaker than a proper catalyst.
- Rellana’s Twin Moons now explode over a wider radius and the second one has less knockback, making it easier to land all 3 hits.
Right Hand Armaments: Melee Weapons
You’ll be using a trio of swords in your right hand, namely, Rellana’s Twin Blades, Carian Sorcery Sword, and the Sword of Night and Flame.
Rellana’s Twin Blades
Rellana’s Twin Blades is the flagship weapon for this build, though you’ll be cycling through the rest of your armaments so that you can deploy your most devastating attack to each enemy.

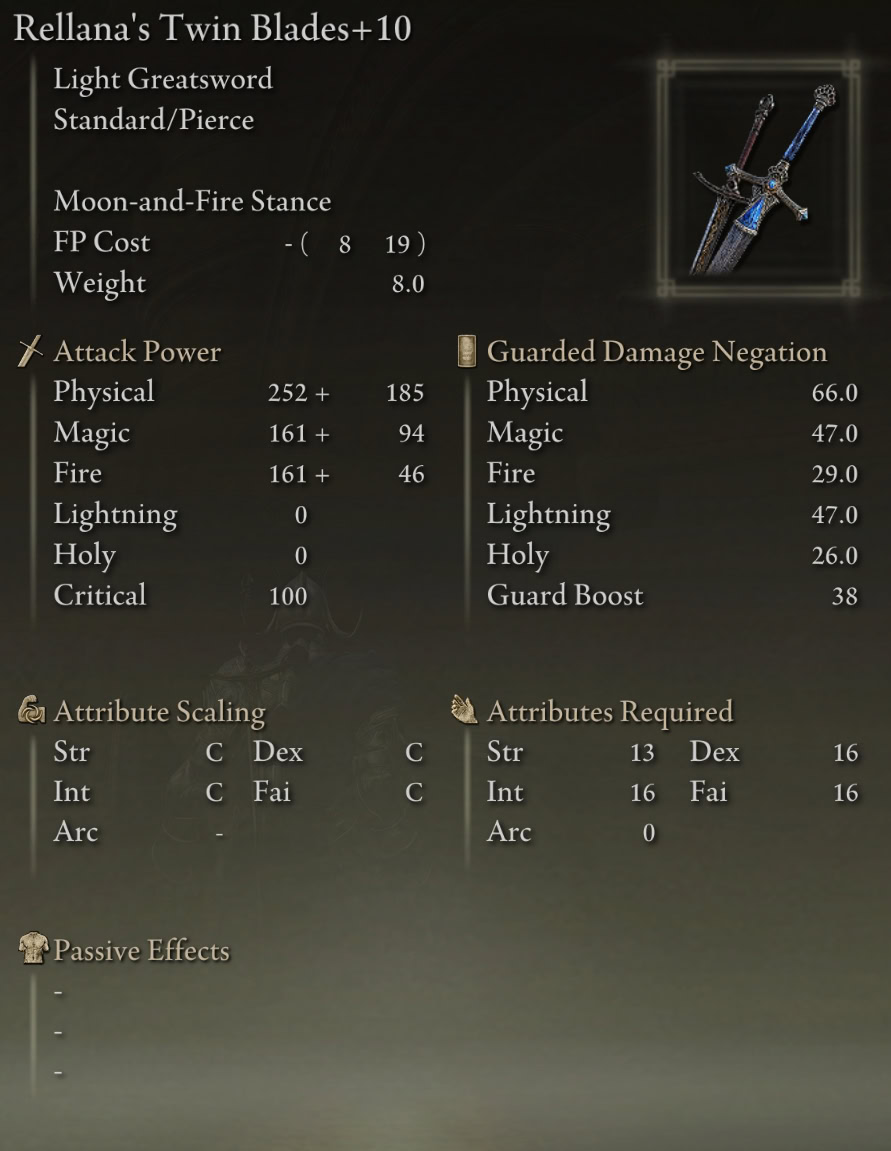
The stat scaling and Unique Skill are reminiscent of the Sword of Night and Flame. It features C scaling with everything but Arcane as opposed to D for Strength and Dexterity and B for Intelligence and Faith. Activating the skill puts you into the stance, and then pressing either light or heavy attack will take you into a unique attack sequence.
The light attack scales with Intelligence and deals Magic damage by slinging chainable mid-range Glintstone Arcs from your right-handed weapon. The heavy attack produces a whirling vortex of fire around you that eventually summons pillars of Messmer’s Flame as it expands.
After defeating Rellana, you can purchase Rellana’s Twin Blades from Finger Reader Enia at the Roundtable Hold in exchange for the Remembrance of the Twin Moon Knight.
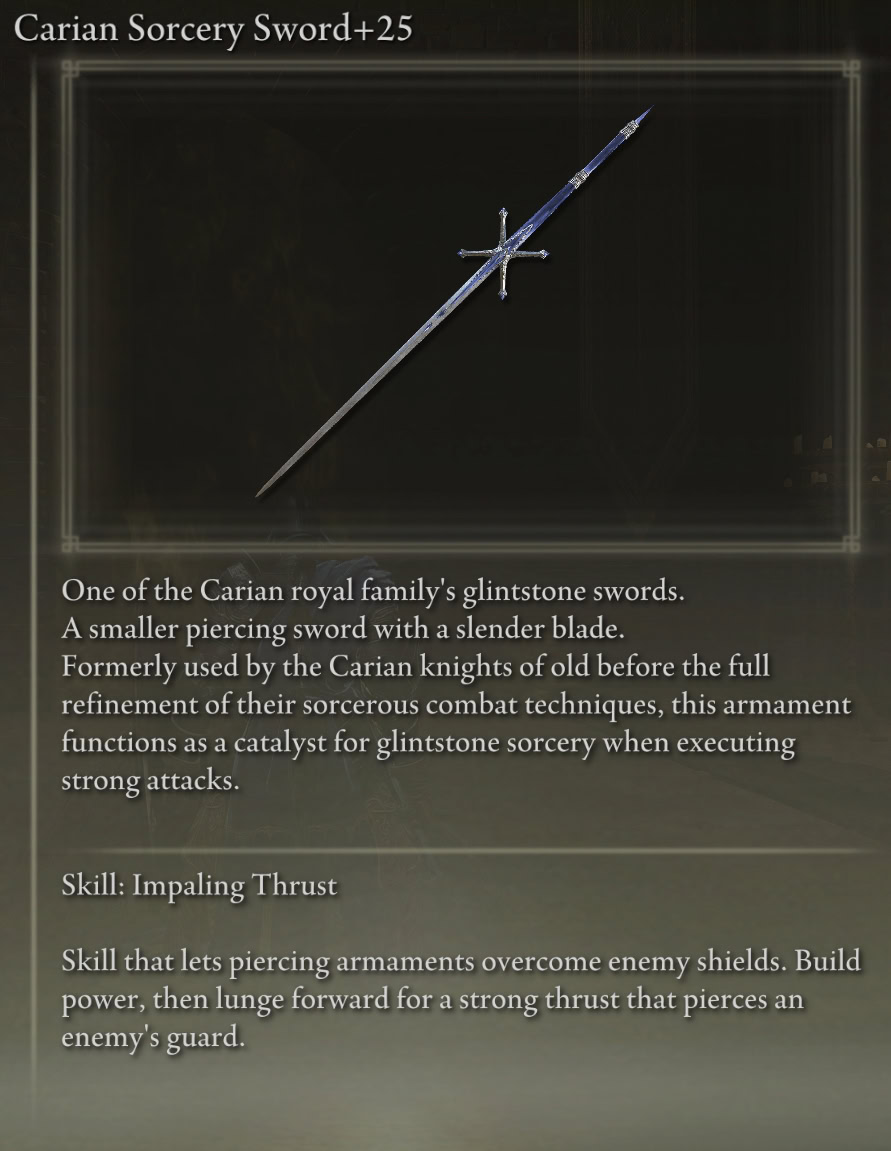
Carian Sorcery Sword
Carian Sorcery Sword is a rather unique thrusting sword that rounds out the edges of your build. It scales with Intelligence (S), Strength (E), and Dexterity (D), and features a regular skill (Impale) that you can’t change with an Ash of War.
Its most unique trait is that it lacks a traditional strong attack. Pressing that button will make the weapon act as a catalyst instead, allowing you to cast Sorceries. I have no idea why they didn’t give the spellcasting capability as a Unique Skill instead, or at least Carian Sovereignty!
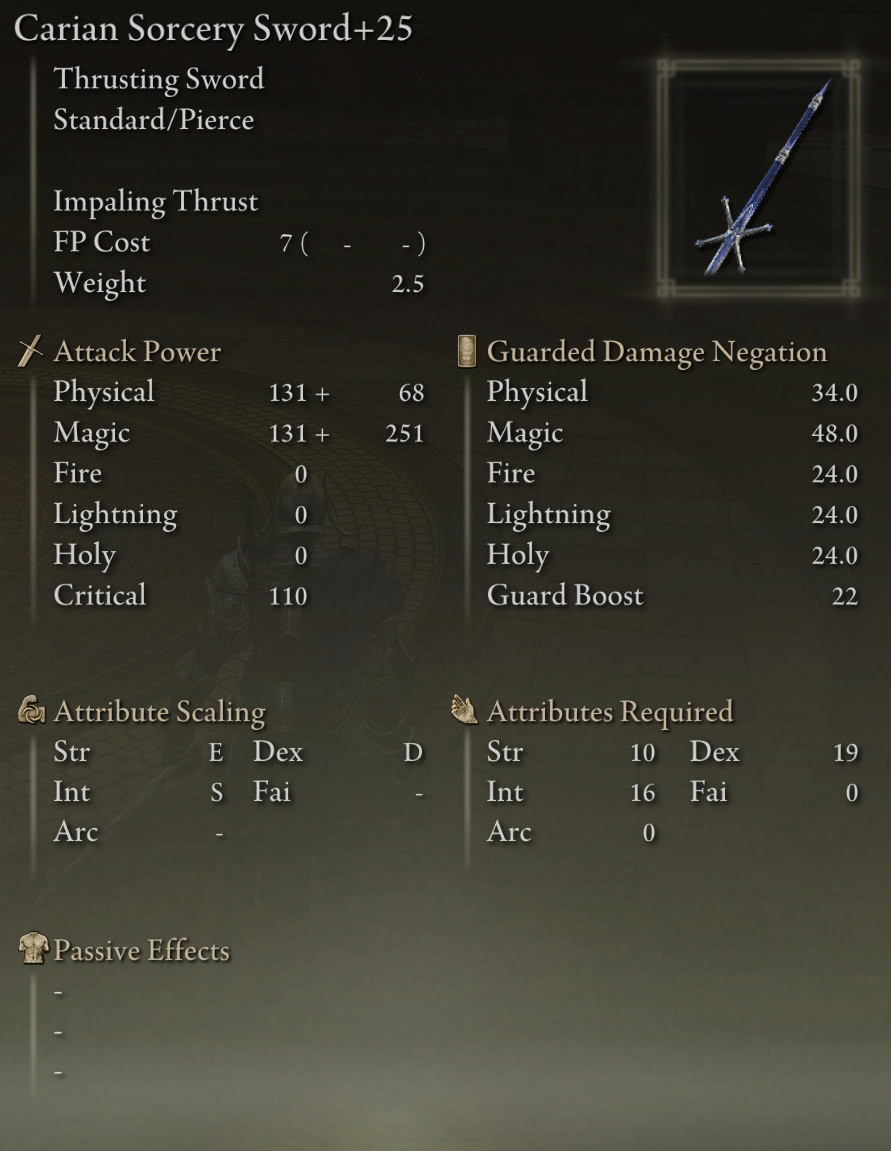
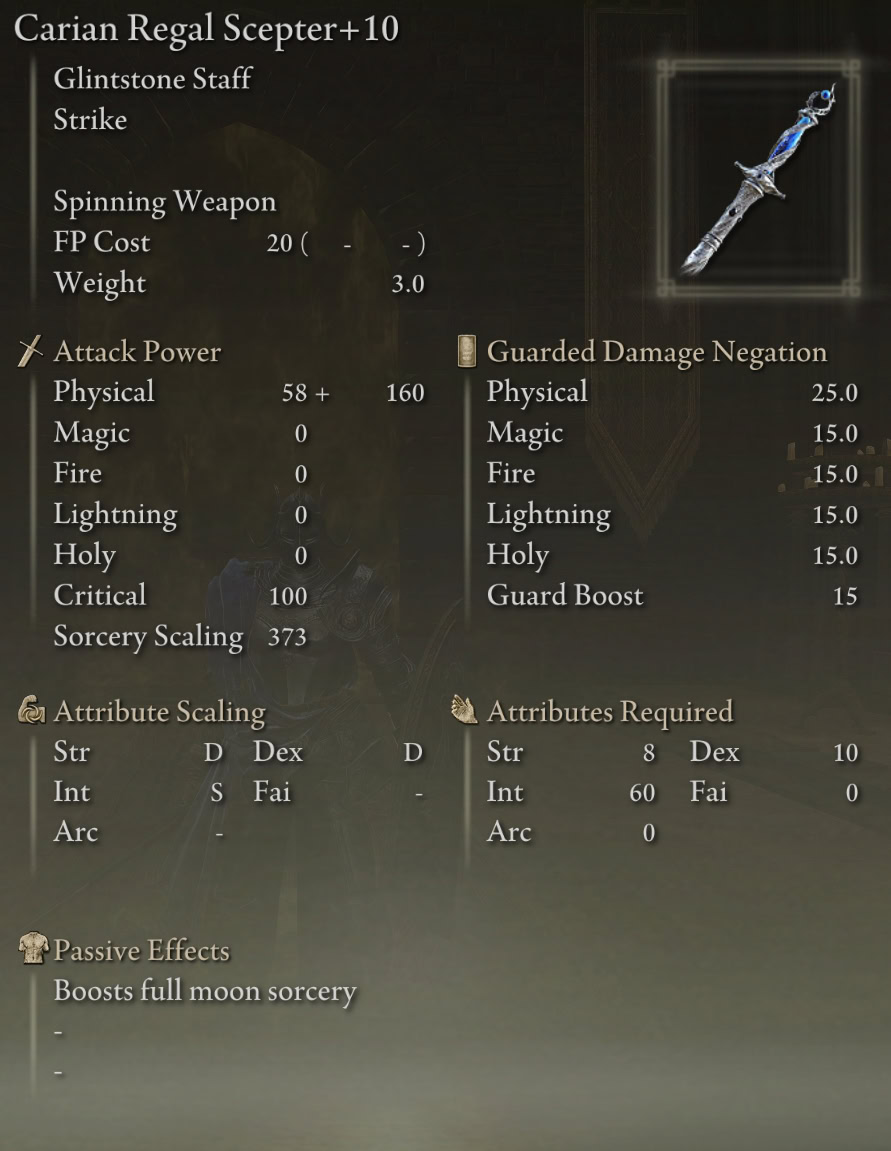
The weapon does not possess a proper Sorcery Scaling Stat, so it is weaker than a dedicated Catalyst. Using Comet at 80 INT to test, I dealt ~1320 damage with Carian Regal Scepter +10, ~1031 with Carian Sorcery Sword +25, and ~580 with Carian Glintstone Staff +0.
As a thrusting sword, Carian Sorcery Sword allows you to poke at enemies, including Spider-Scorpions, while your shield is up and deal more damage when you hit them during their attack animation.
This sword also deals nonstandard critical damage thanks to its 110 Critical stat. Your critical hits will deal significantly more damage compared to what you can possibly do with your other weapons, and you should use this in lieu of a dagger.
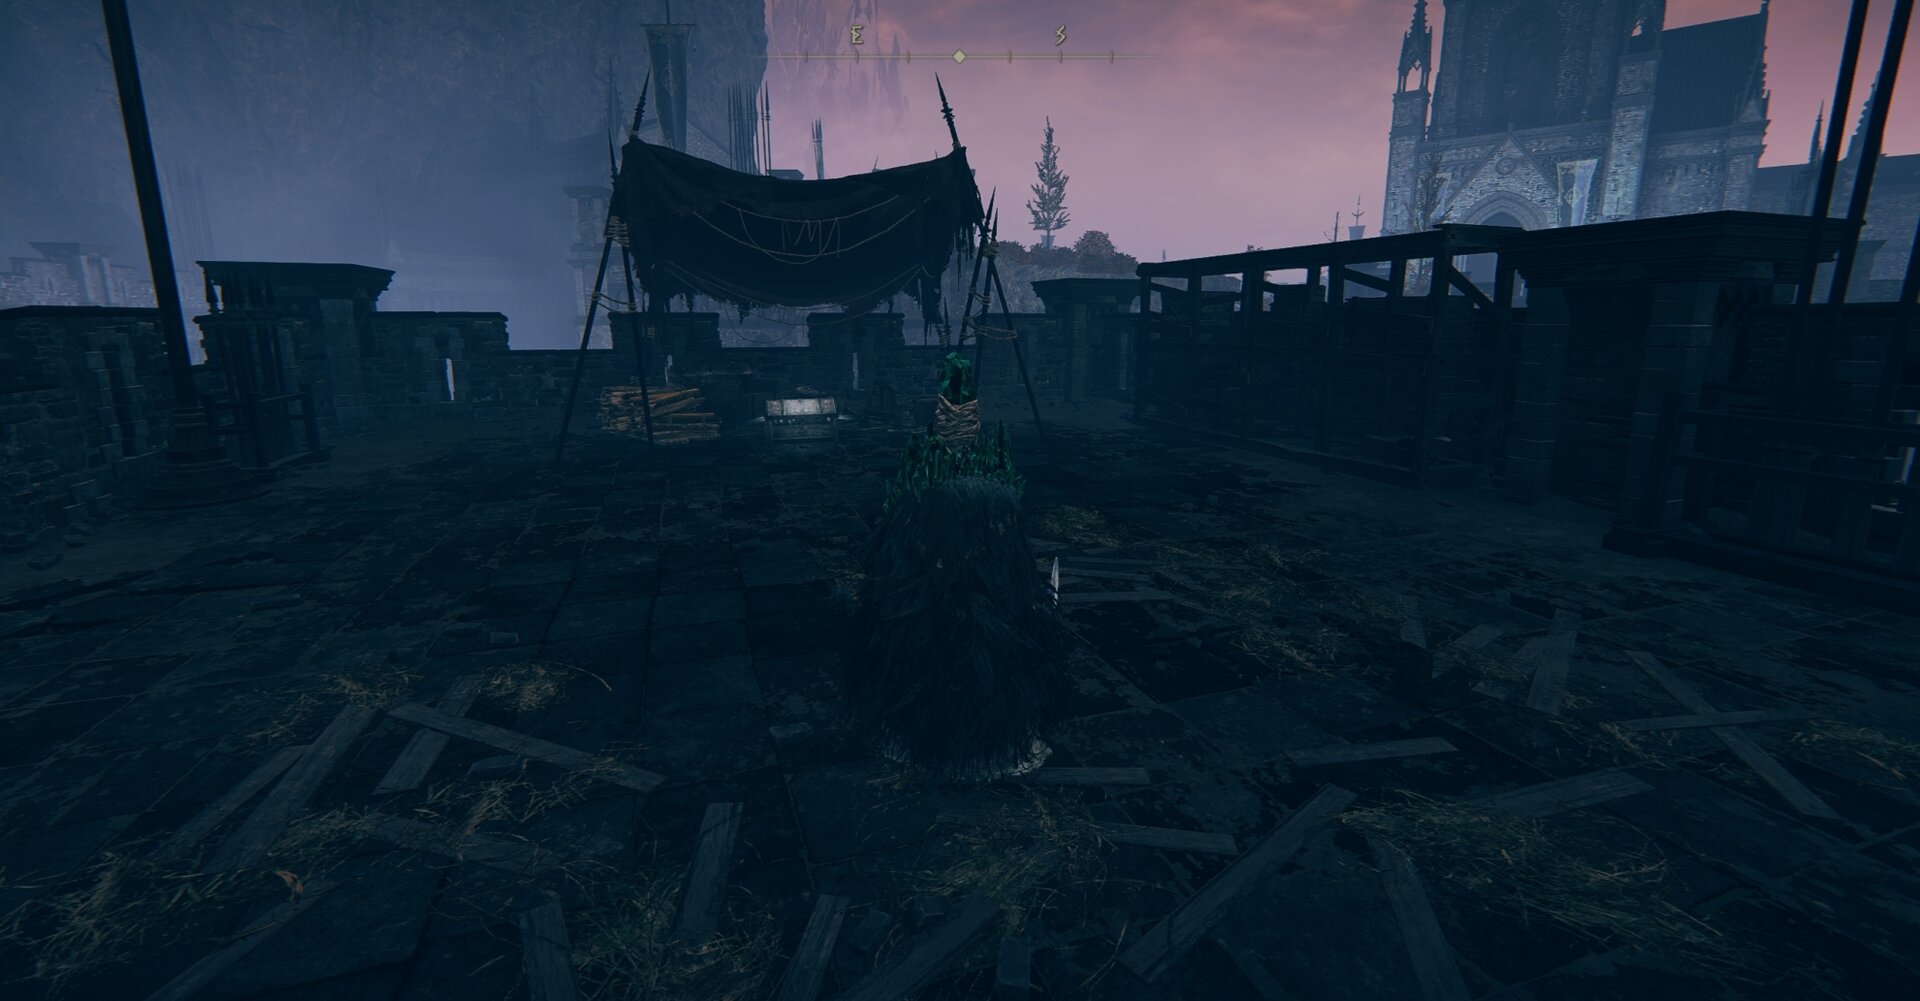
You can loot the Carian Sorcery Sword from a chest on top of the main building at Castle Ensis. You can’t (practically) reach that area until after you’ve defeated Rellana and can cross the river and drop down onto the roof near the portal belfry.
It’s such a shame that they gave it Impale instead of Carian Sovereignty, as that’s the one big thing we’re missing from Rellana.
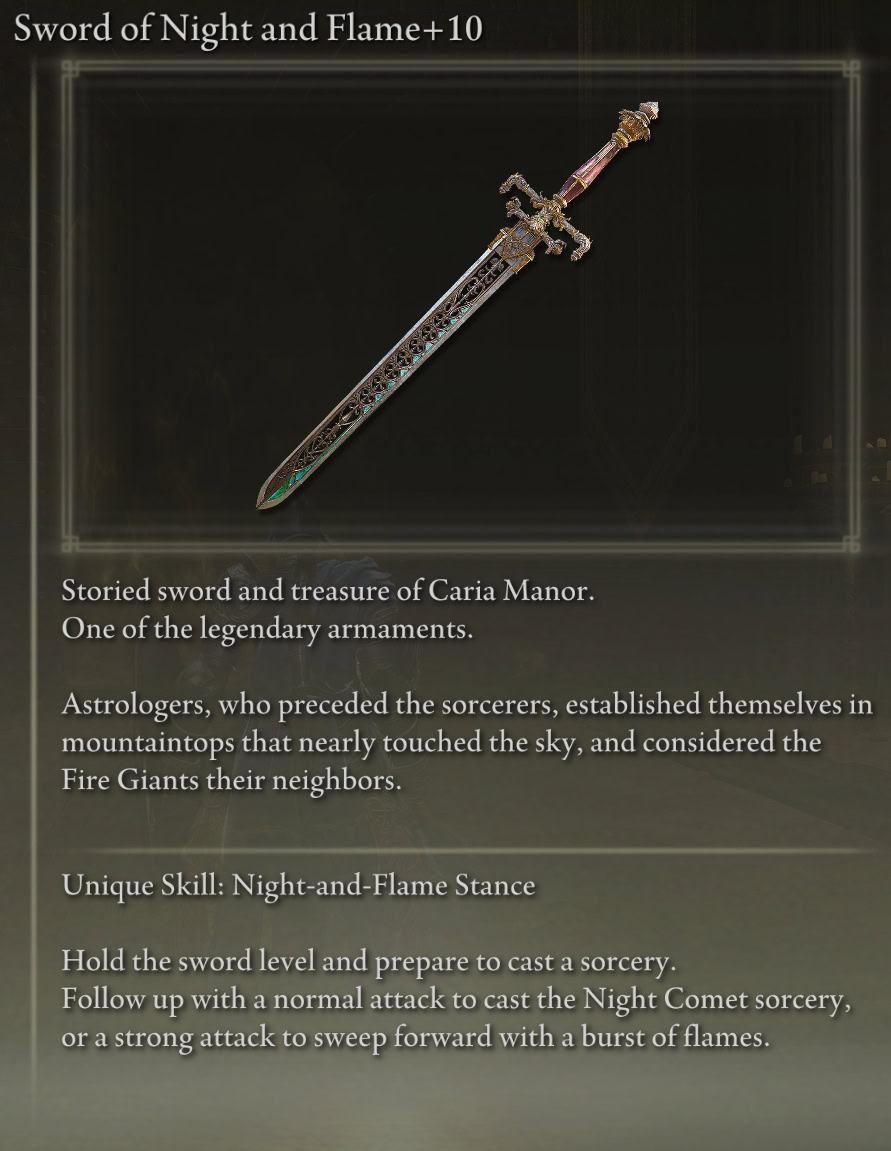
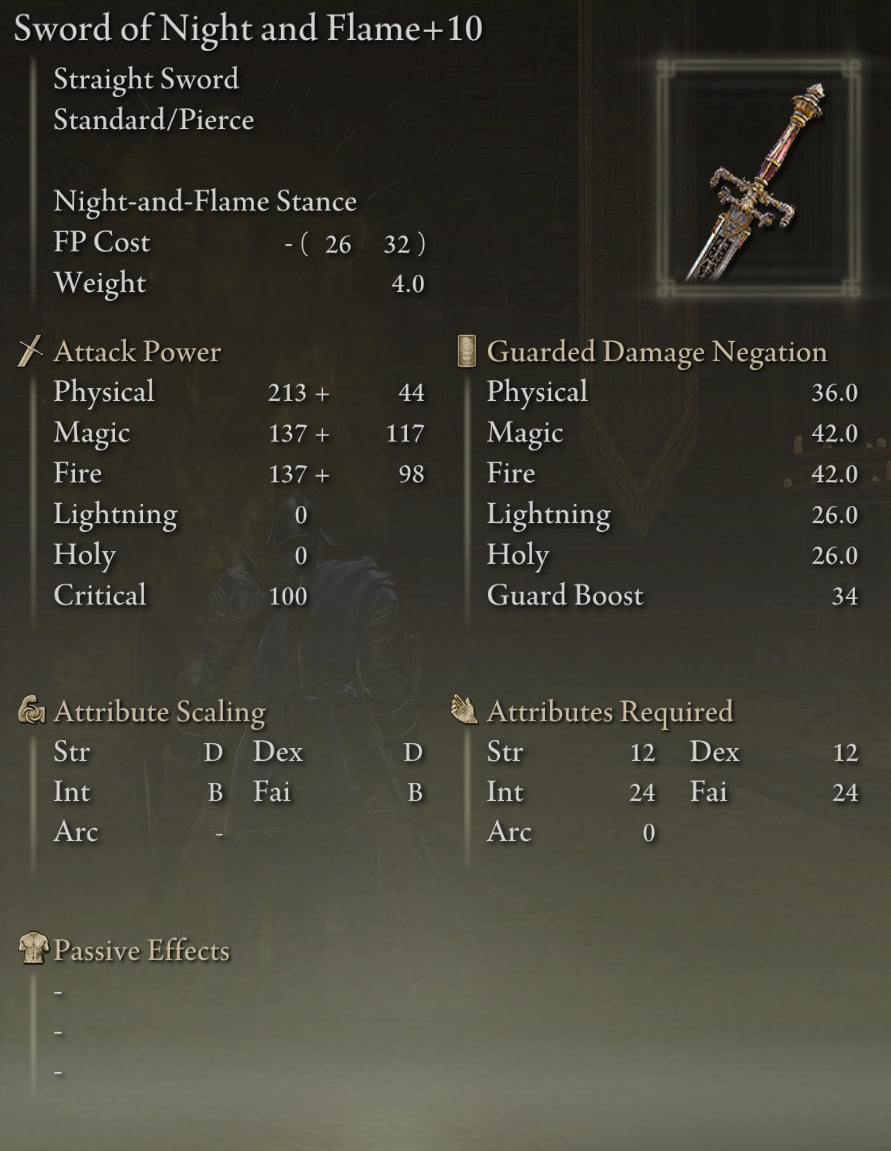
Sword of Night and Flame
Hey look who it is, our old pal Sword of Night and Flame! This straight sword is a powerful legendary armament that synergizes perfectly with the stats and talismans you’ll be using with the rest of the build.
Its scaling is similar to Rellana’s Twin Blades, though more heavily weighted towards Intelligence (B) and Faith (B) than Strength (D) and Dexterity (D), compared to all C’s for Rellana’s Twin Blades. Its Unique Skill is a pair of stance attacks so its damage can get cranked past the moon and unto the stars.
Both stance attacks feature basically the same range, though the flame slash is considerably stronger and can easily hit multiple enemies. However, the swing itself is quite slow, so it’s prone to getting interrupted just like a normal strong attack would be.
The mini-Comet Azur beam is faster, still deals enough damage to take out normal enemies, and knocks enemies down, and doing them both back-to-back can be enough to take out stronger enemies.
You can loot the Sword of Night and Flame from a chest in a locked room in Caria Manor’s courtyard.
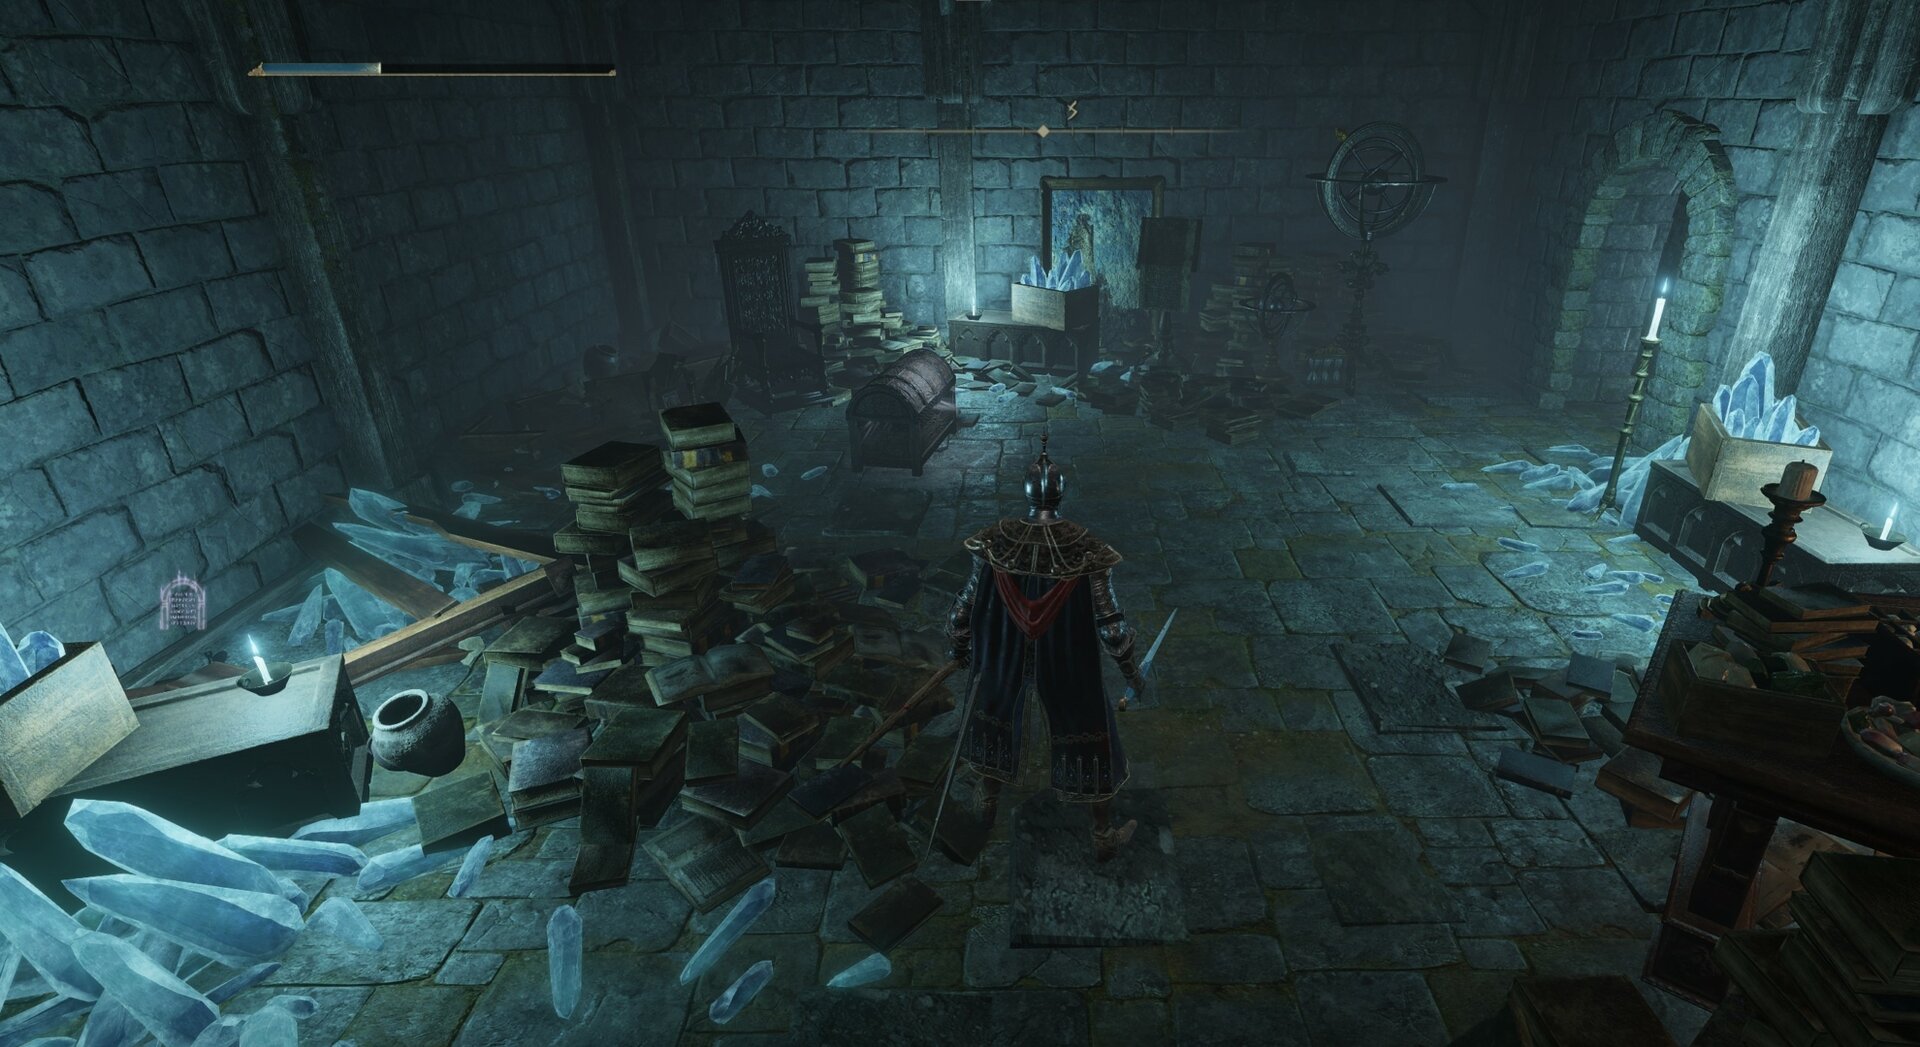
For more information on where to find the Sword of Night and Flame, check out our Item Locations Guide for Caria Manor.
Left-Hand Armaments: Shield and Scepter
You’ll be swapping between your left-hand items more readily depending on whether you want to lean into offense or defense. In order to accomplish that, you’ll be using the Carian Regal Scepter alongside either the Wolf Crest (Medium) Shield or Carian Thrusting Shield.
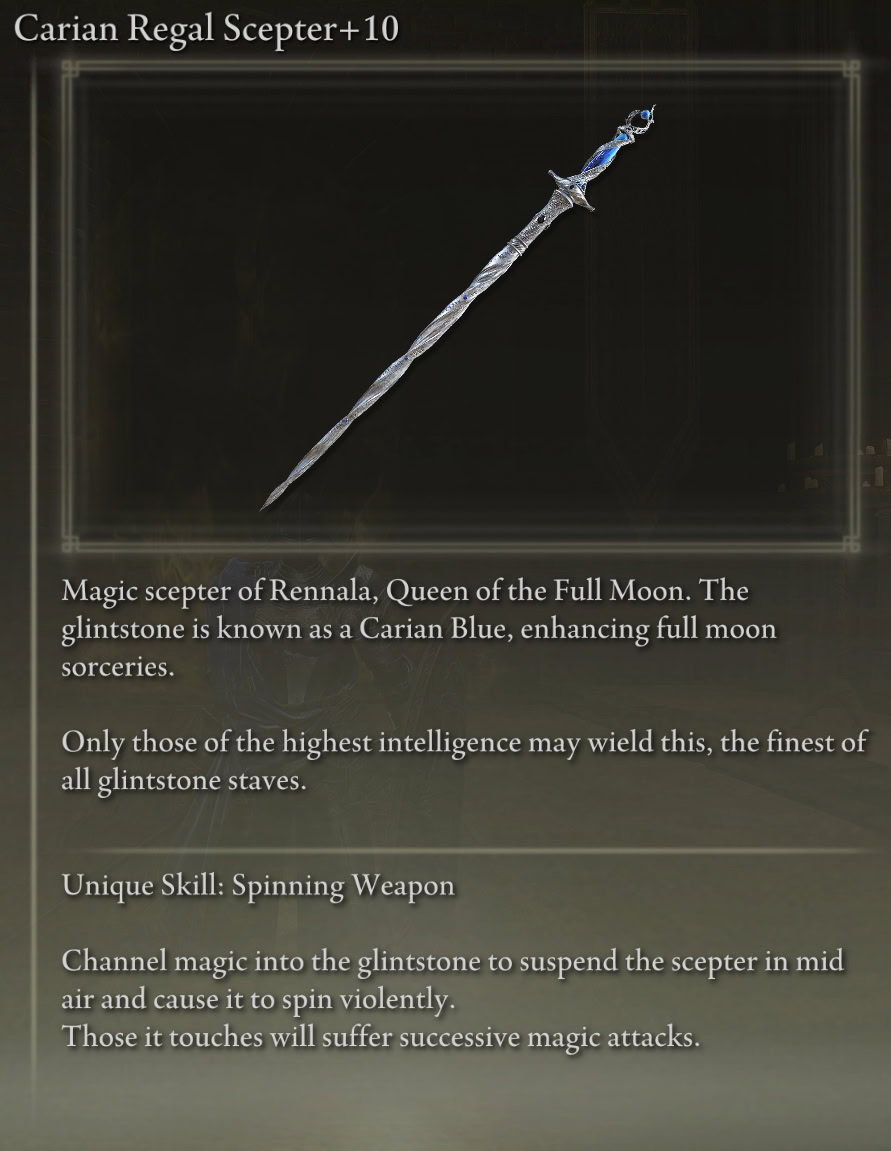
Carian Regal Scepter
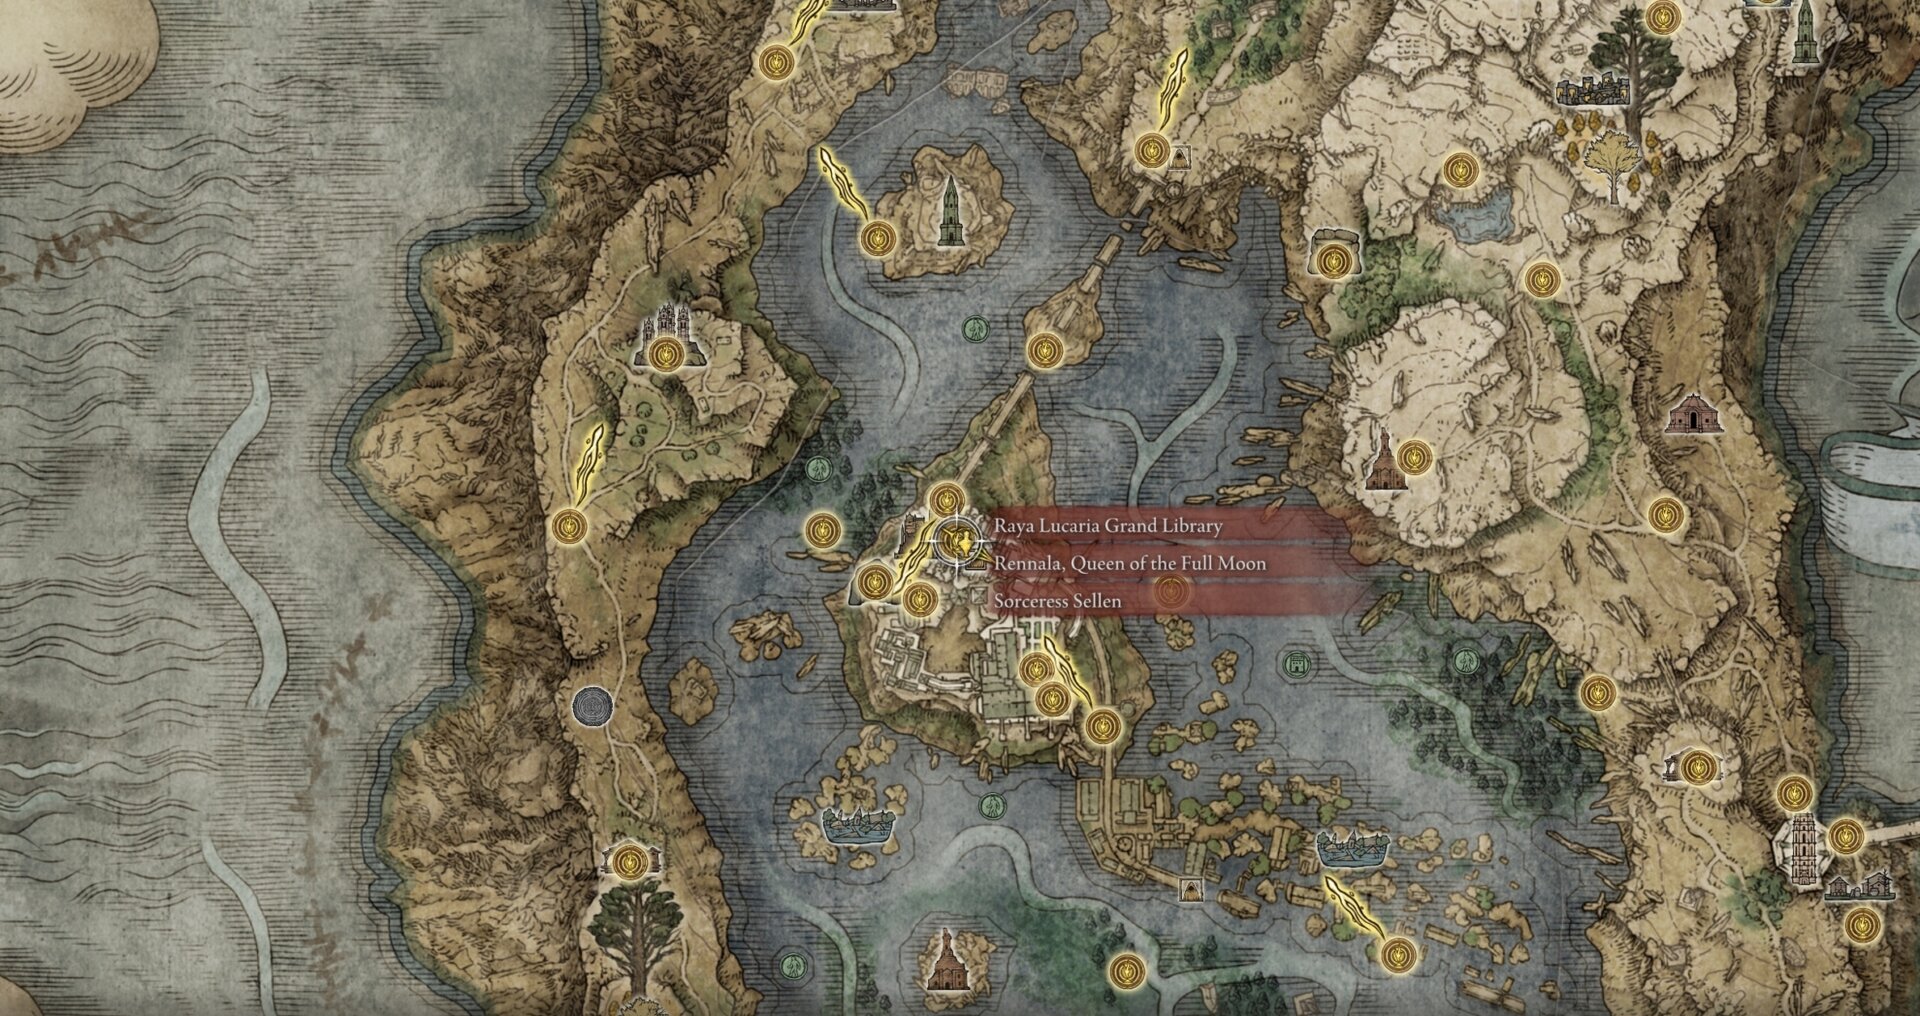
The Carian Regal Scepter is Rennala’s staff. It has the best Intelligence Scaling in the game (without any trade-offs), buffs the damage dealt by Full Moon Sorceries, like Rellana’s Twin Moon, and most importantly, it matches your outfit.
After defeating Rennala at the Academy of Raya Lucaria, you can purchase Rennala’s the Carian Regal Scepter from Finger Reader Enia at the Roundtable Hold in exchange for the Remembrance of the Full Moon Queen.
If you don’t have it and can’t get it because you don’t have enough Remembrance duplications left, the Carian Glintblade Staff and Prince of Death’s Staff are acceptable alternatives. The latter will end up being better as you approach 80 Faith, though it’s befitting of a Prince, not a Princess!
Shield: Wolf Crest Shield or Carian Thrusting Shield
A shield is a valuable addition to this build, as some enemies have more health or poise than you can deal with. I prefer to pair the shield with Carian Sorcery Sword or Sword of Night and Flame, as their attack sequences are much shorter, allowing you to raise the shield more readily.
You have 2 options. Which one you choose is dependent on the amount of complexity you want to manage. They’re both “canonical” enough, match your outfit, and have similar mitigative properties.
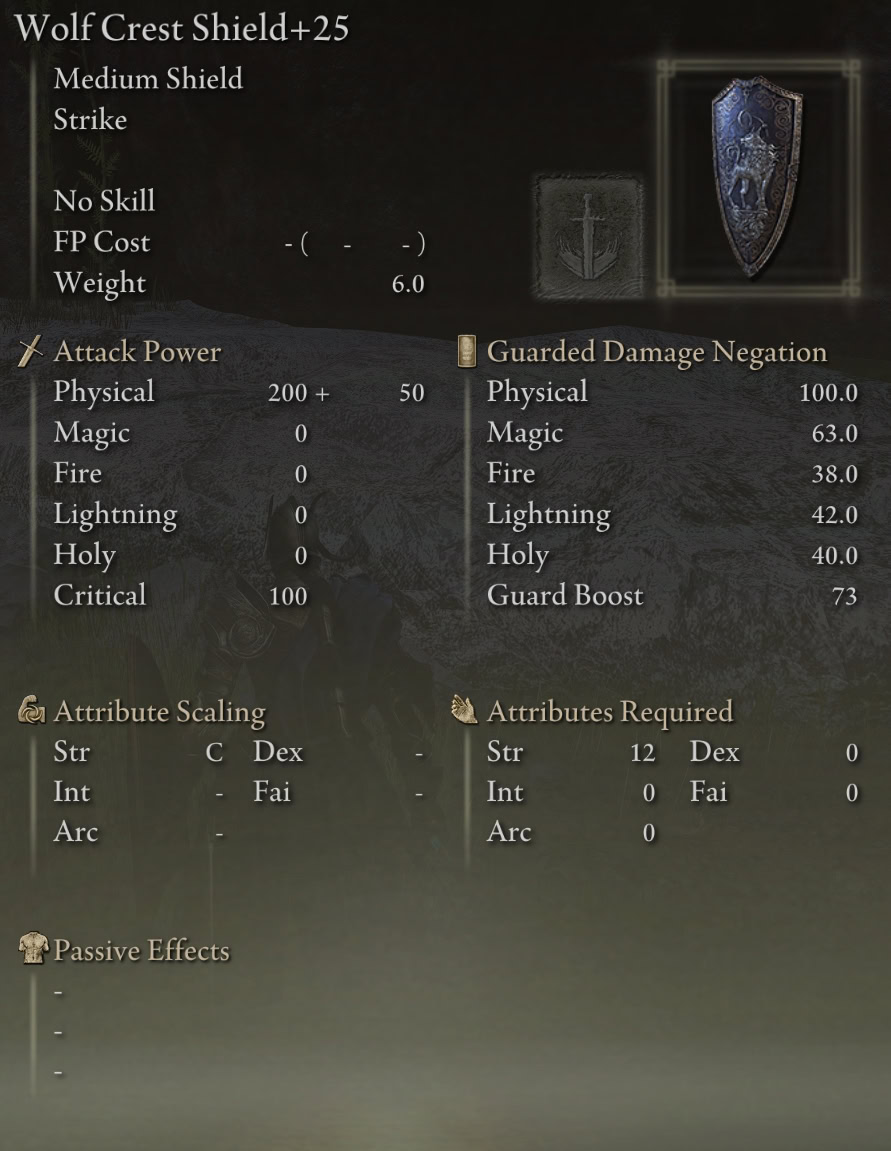
Wolf Crest Shield
The Wolf Crest Shield features baseline 100% physical damage negation, and slightly stronger average damage negation overall. However, it has a weaker Guard Boost (so more Stamina drain) and lacks the additional capabilities of a Thrusting Shield.
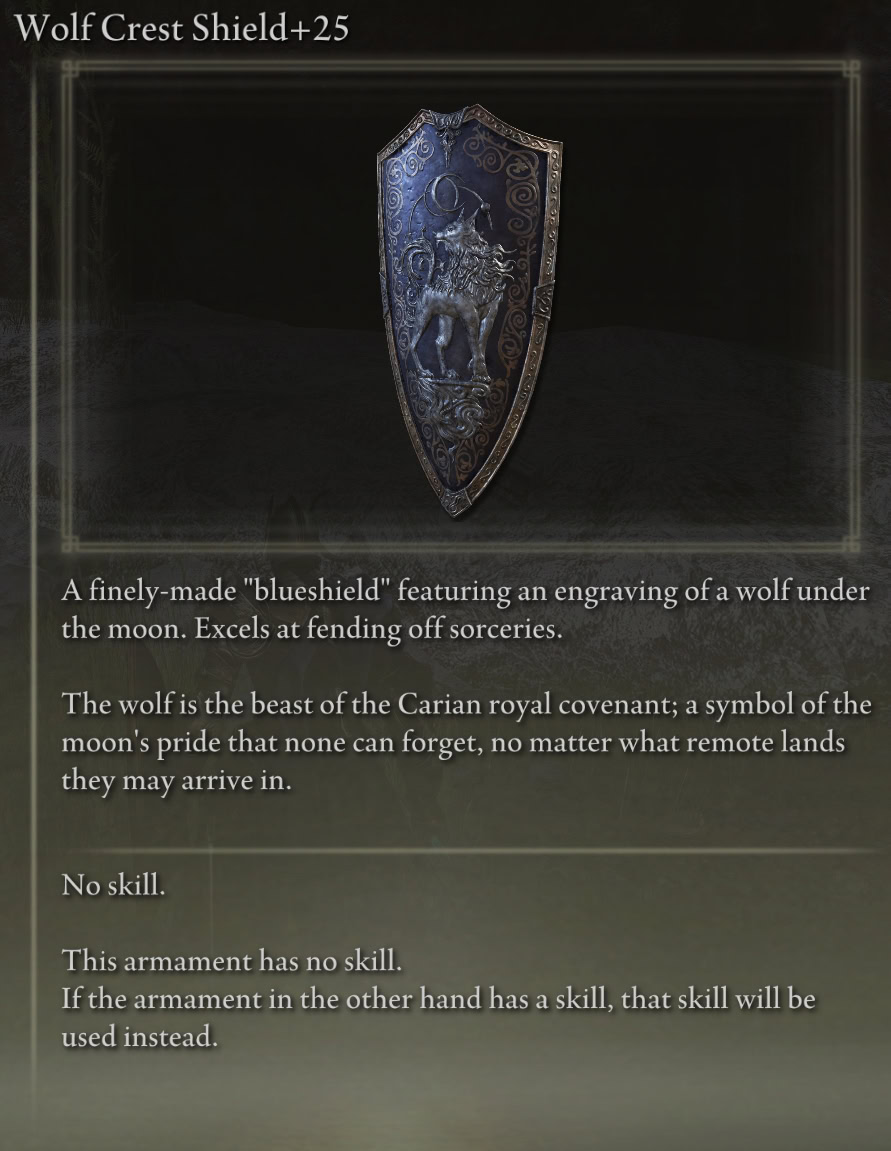
You can loot the Wolf Crest Shield in the same building where you fight Moonrythill of the Boreal Valley. There are some stairs outside that take you down to a lower level. They’re on the right as you’re facing the chapel.
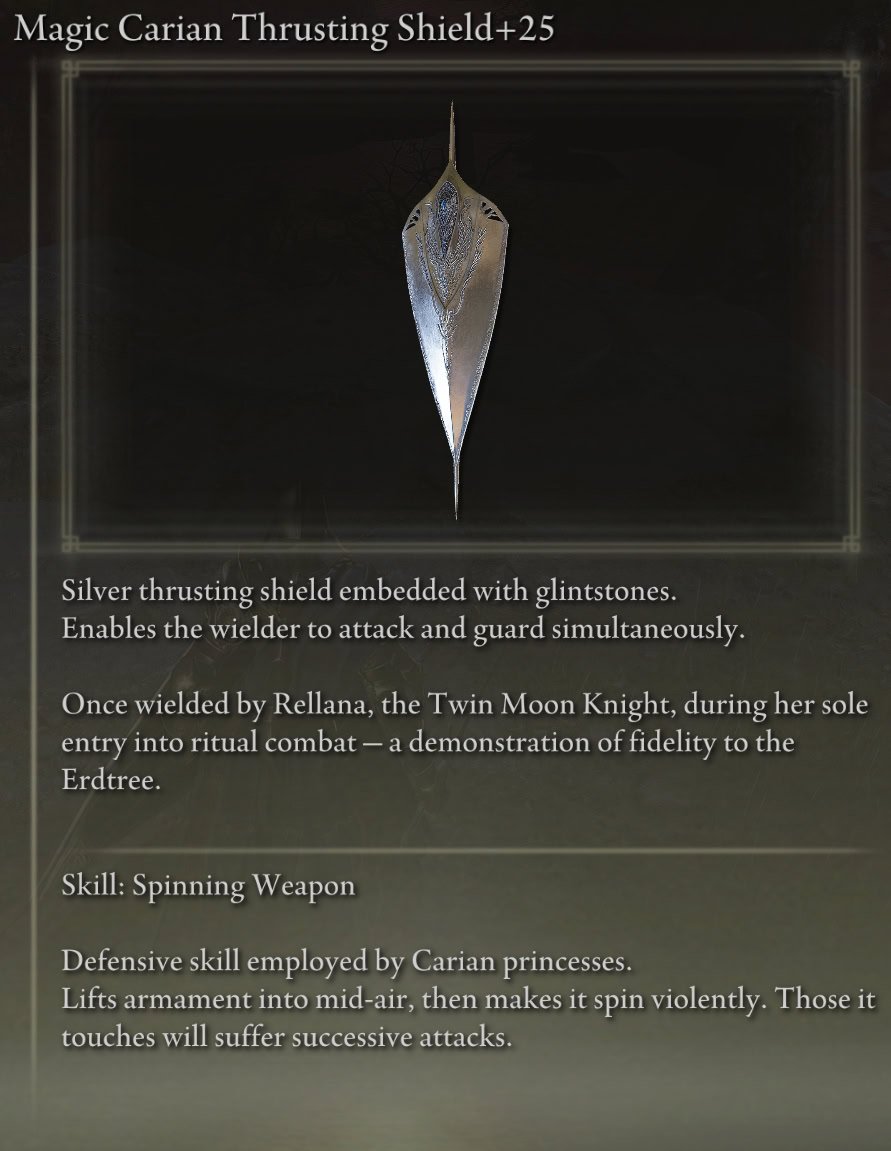
Carian Thrusting Shield
Thrusting Shields are one of the new classes of armaments introduced with Shadow of the Erdtree. As the name suggests, they’re shields that you can use to offensively and support a much broader range of Ashes of War.
From a stats perspective, they have a mixture of capabilities from each of the other Shield classes, though there are only 2 in the game, so that’s not saying much. Regardless, the Carian Thrusting Shield was used by Rellana herself, matches visually, and pairs well with the Carian Sorcery Sword.
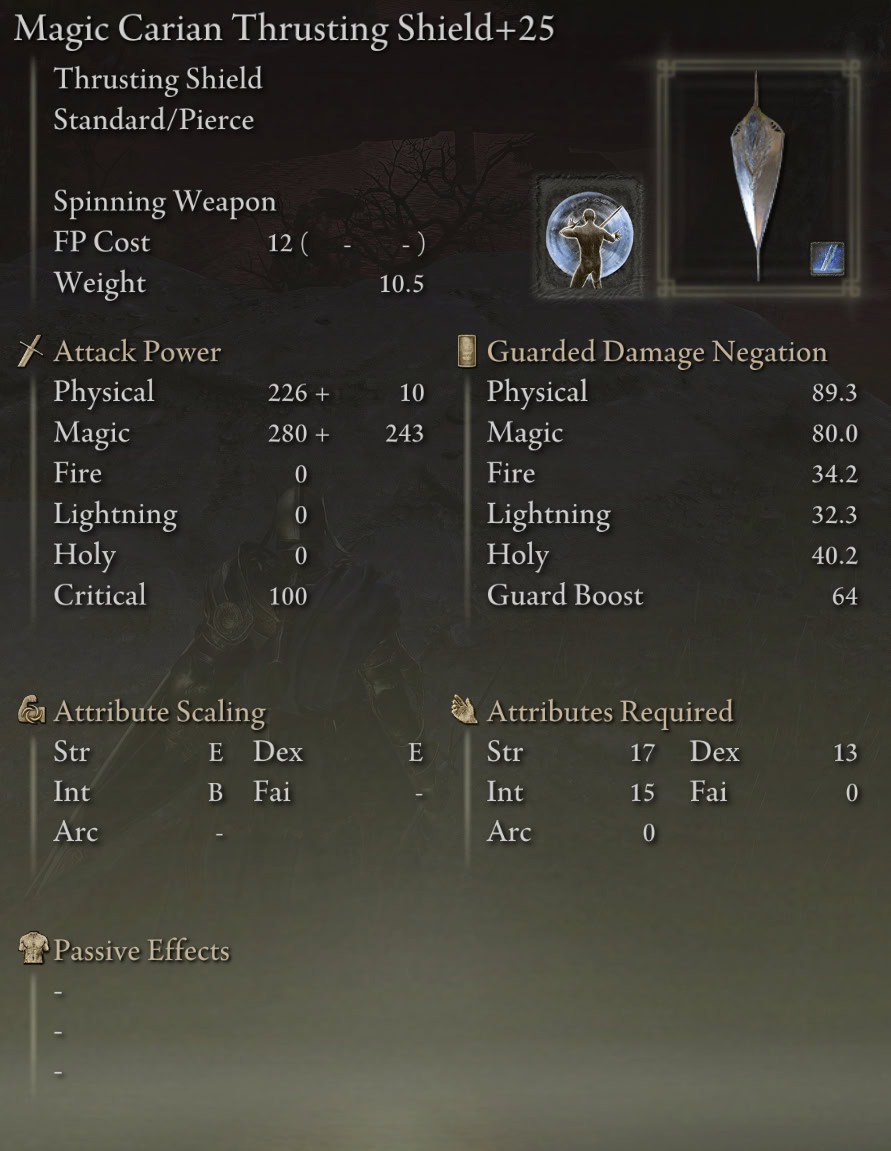
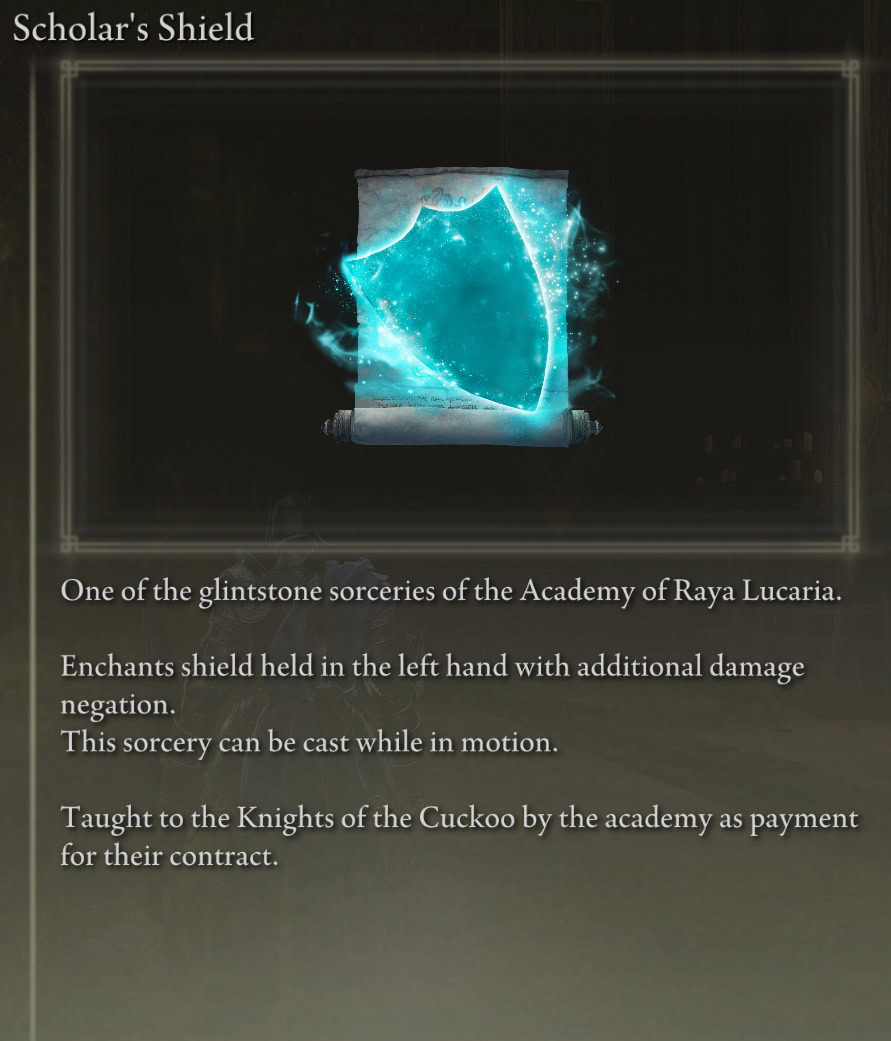
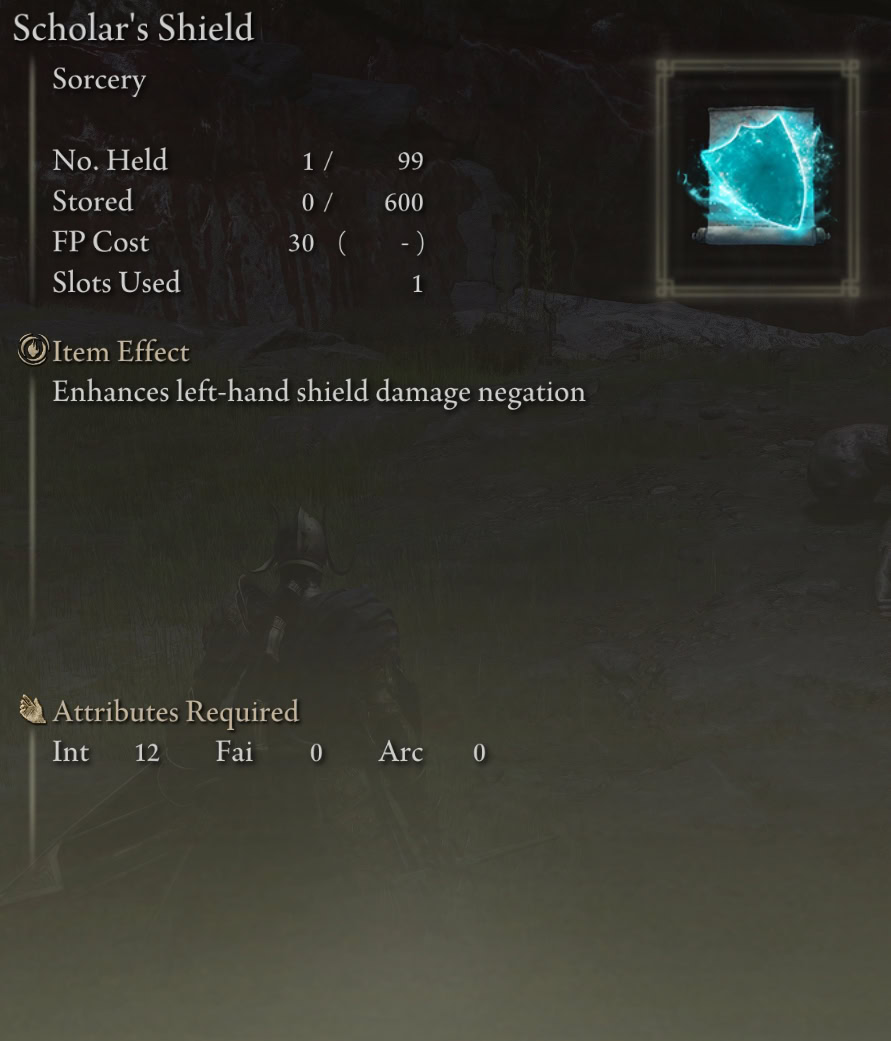
The most infuriating aspect of the Carian Thrusting Shield is its 89-94% Guarded Physical Damage Negation, so you aren’t completely immune to Physical damage unless Scholar’s Shield is active, which is an annoyance and costs a Memory Slot.
Keep in mind that the Affinity affects the Shield’s Guarded Damage Negation stats.
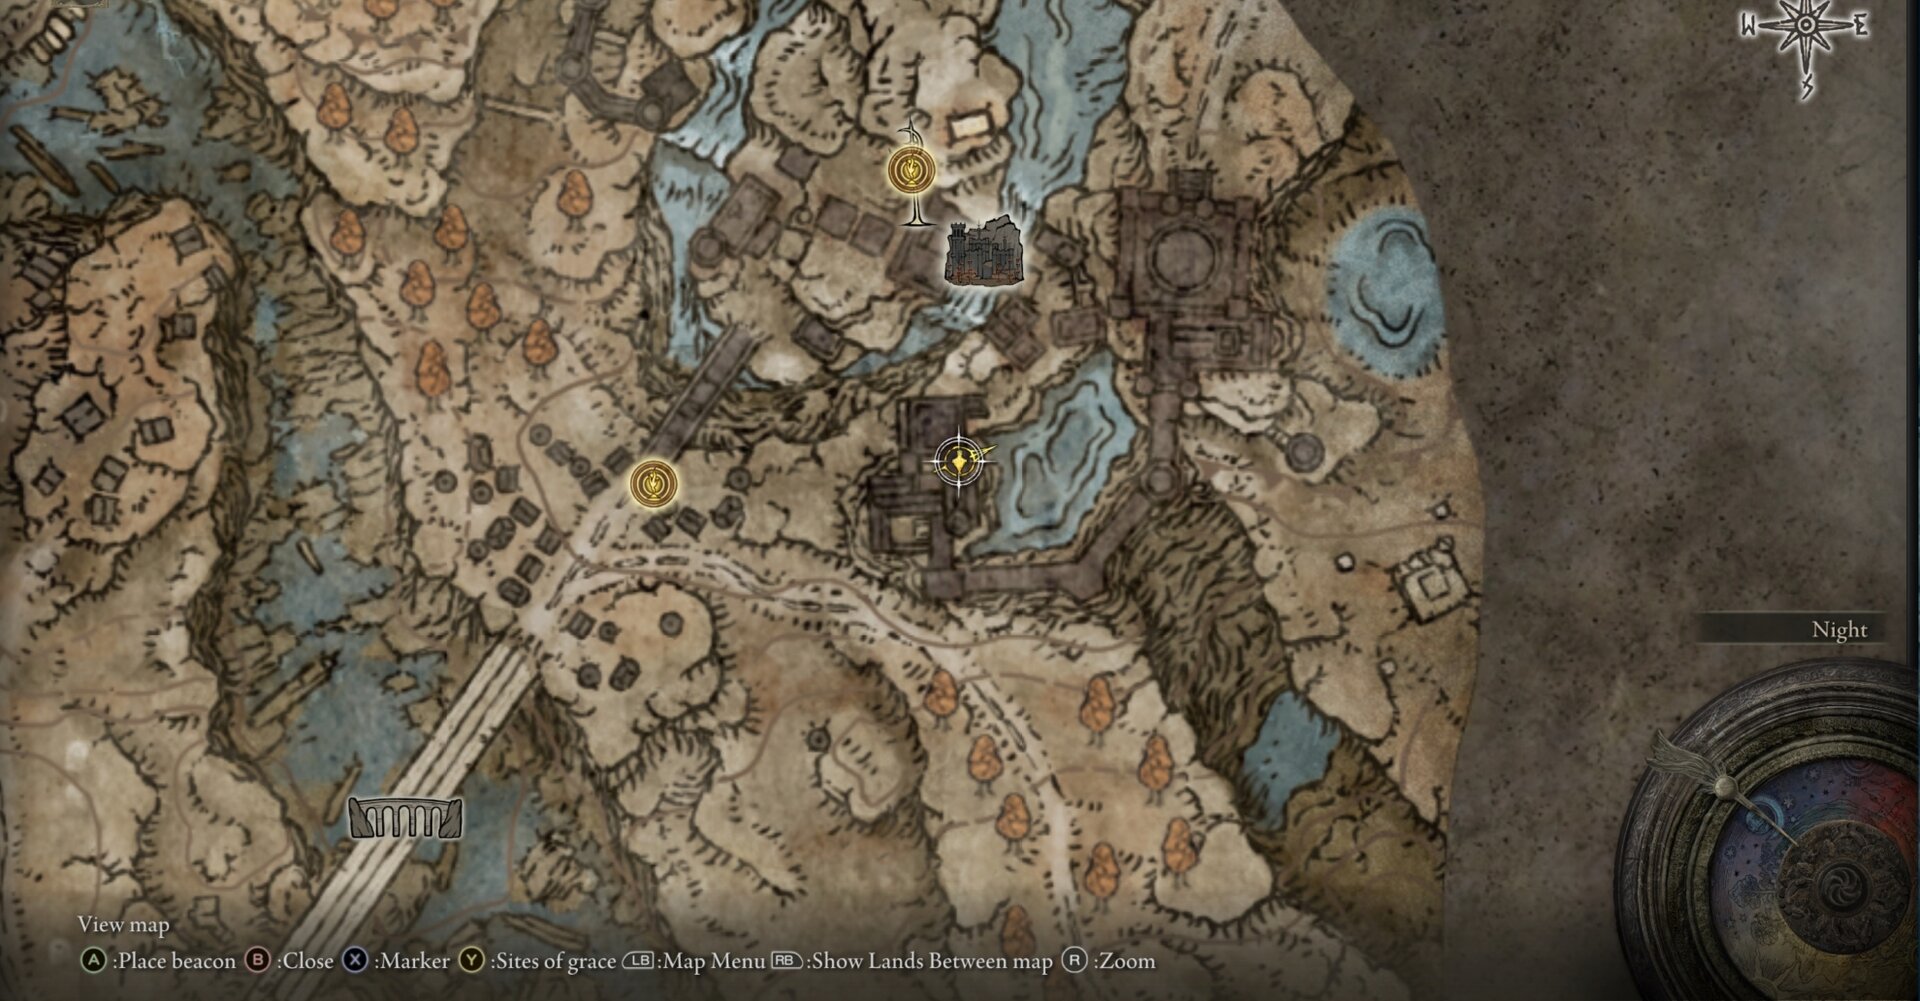
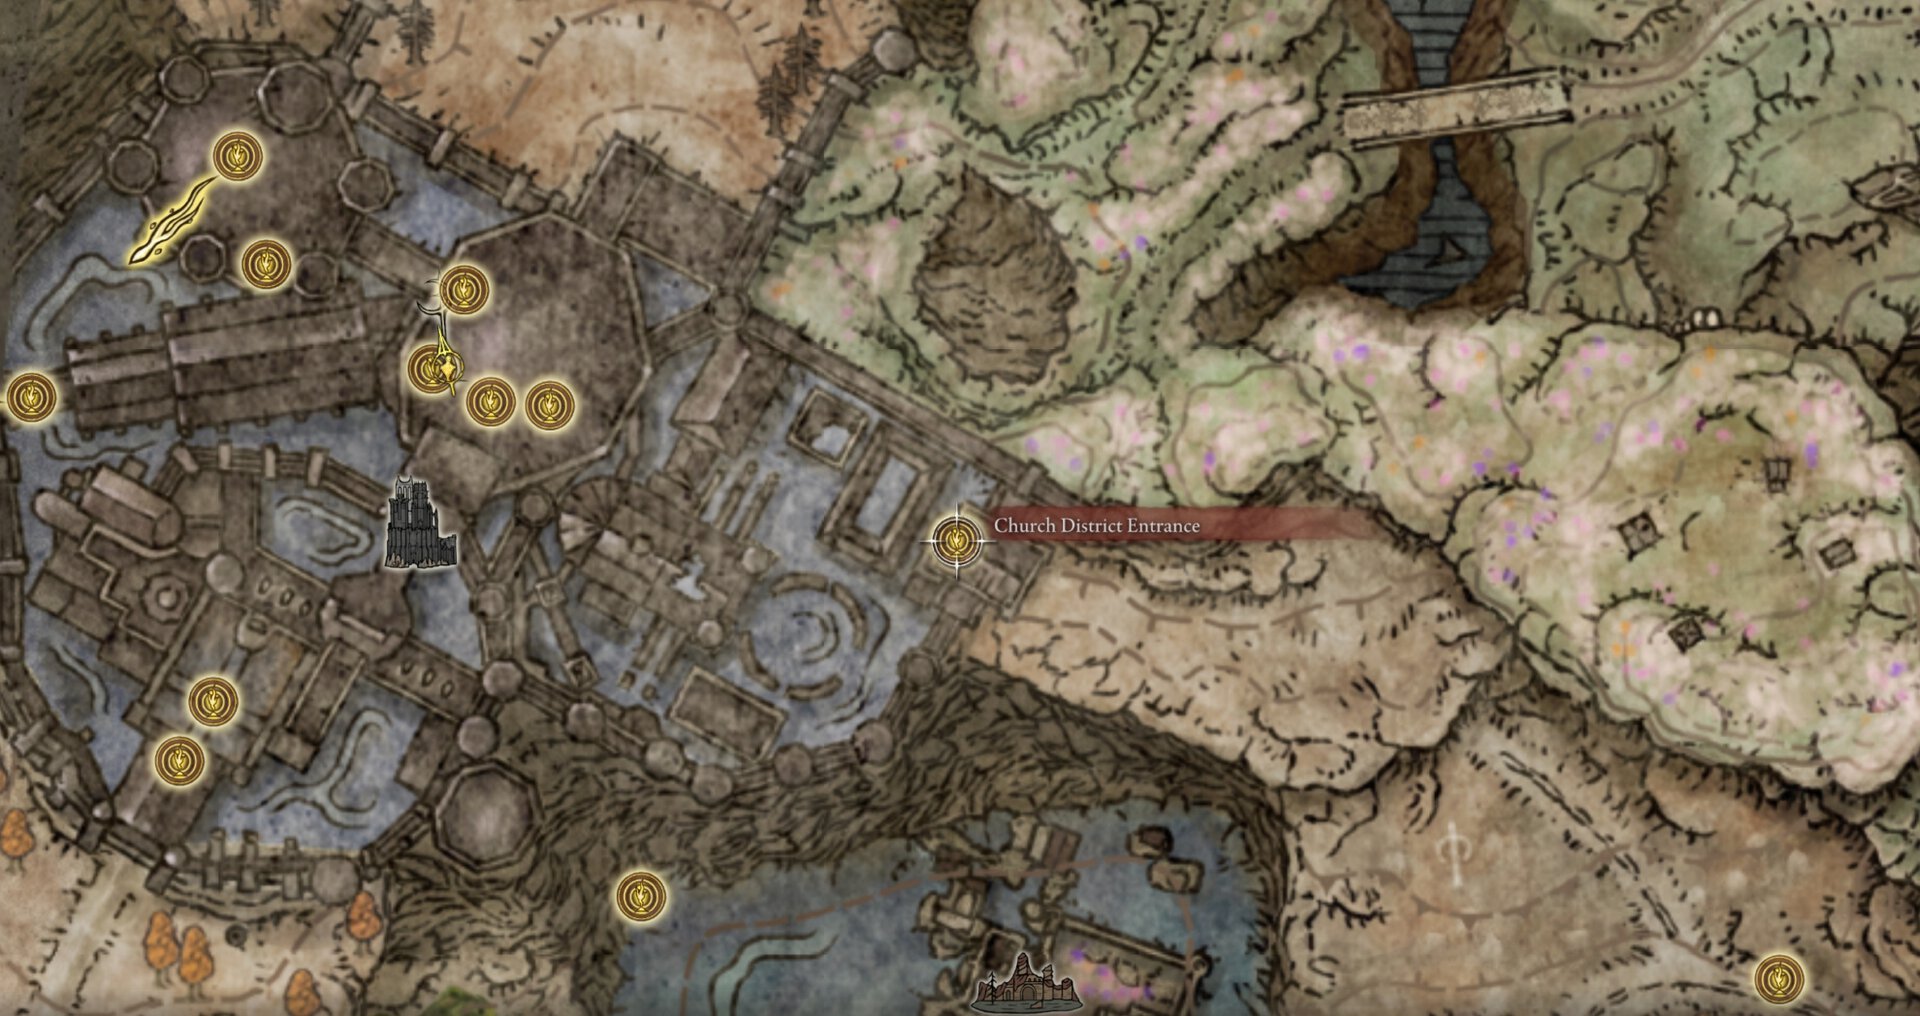
You can loot the Carian Thrusting Shield from a corpse the back area of Specimen Storage at Shadow Keep. That area of Specimen Storage is only accessible by taking the elevator in the Church District of Shadow Keep.
The base Ash of War: Shield Strike is the same attack sequence as if it were equipped in the right hand, so it makes little sense not to swap it out for something else. Fire Knight Ashes of War work quite well, though you’ll have to contend with them turning off Scholar’s Shield.
I personally prefer to pair it with Spinning Weapon and the Magic Affinity, but you have an insane amount of flexibility. I would use Cold, but the damage scaling is significantly worse, and Spinning Weapon doesn’t apply very much Cold despite ticking frequently.
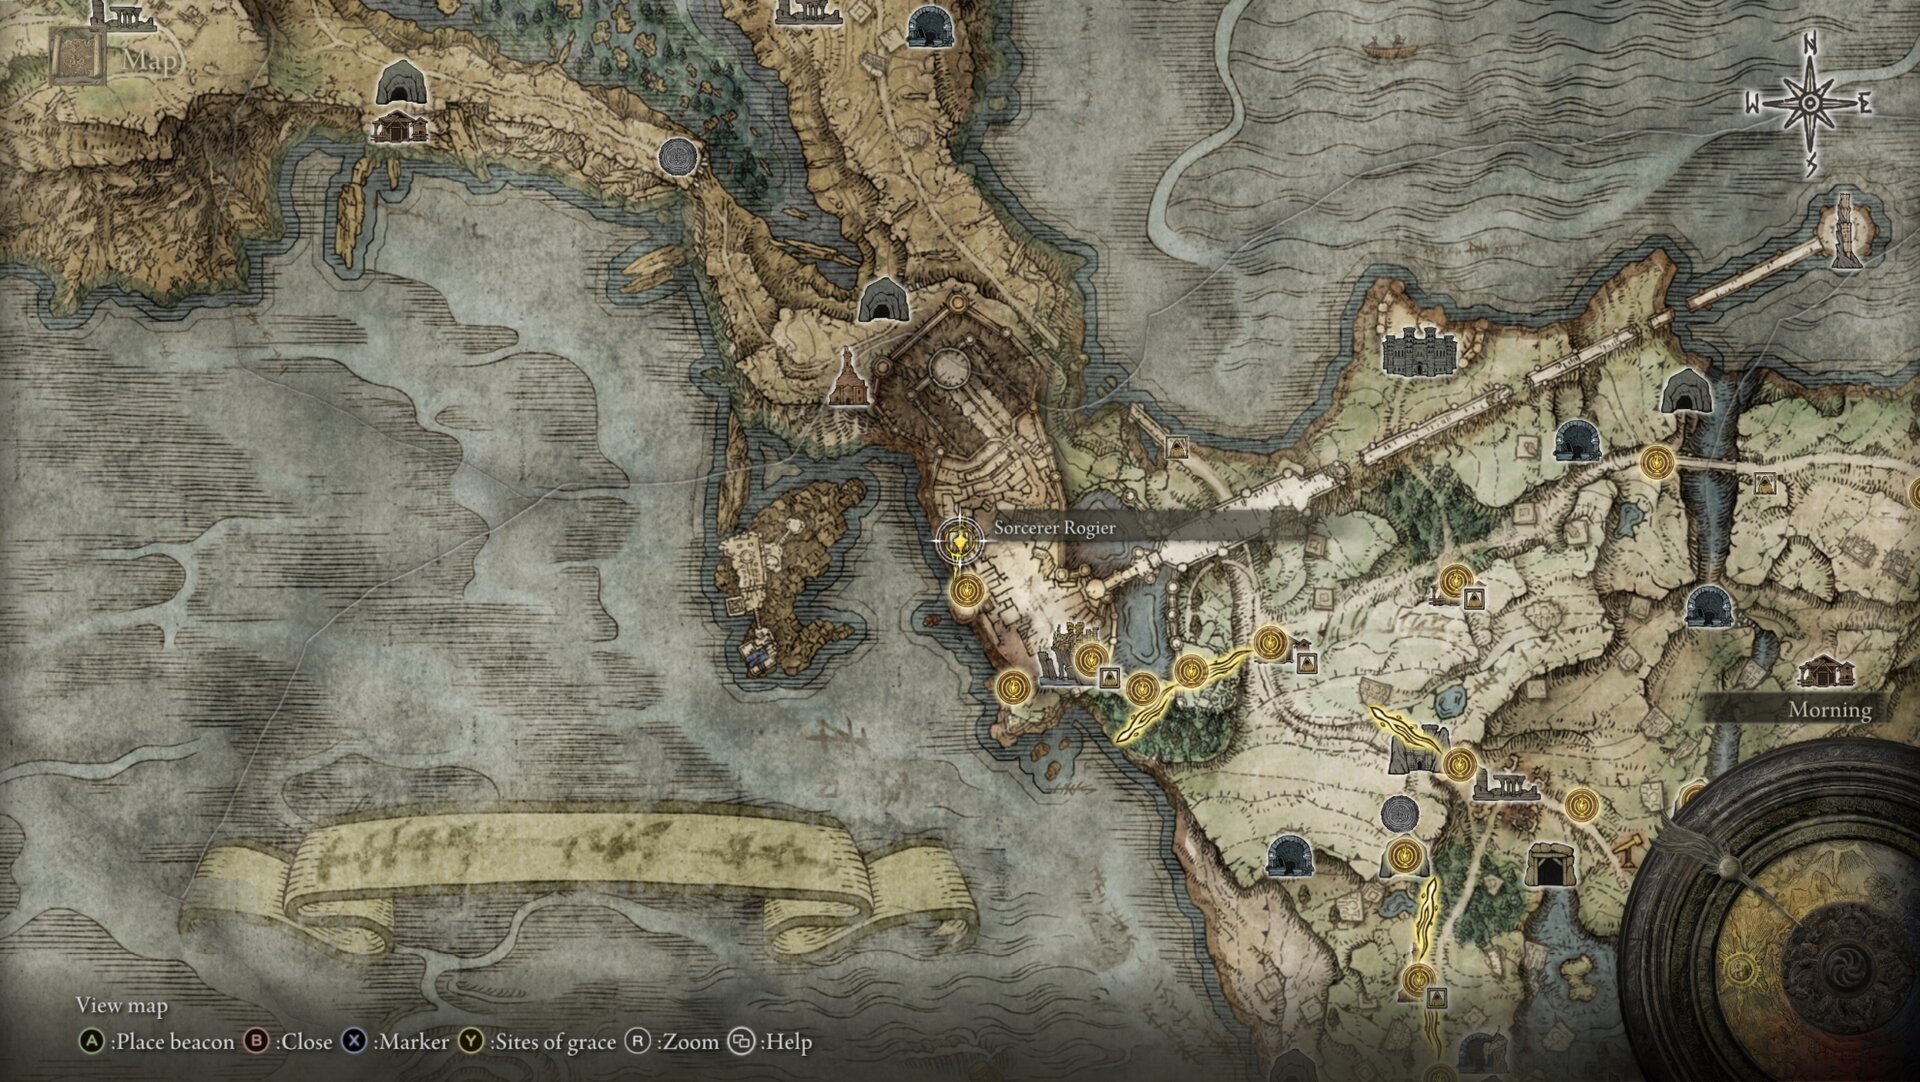
You can purchase Ash of War: Spinning Weapon from Sorcerer Rogier, initially in the chapel at Stormveil Castle, later on the balcony at the Roundtable Hold.
Talismans
Your Talismans will vary depending on your current level. You’ll definitely be using Rellana’s Cameo and either Shard of Alexander or Warrior Jar’s Shard. The other two will either increase your stats to meet the requirements for the build or some other type of valuable buff.
Rellana’s Cameo
Rellana’s Cameo slows down the pace and allows you to “charge” your stances by holding them active for a second before engaging. Just hold the stance without using an attack and you’ll see red buffing VFX appear. That’s the 45% damage boost this talisman gives you.
It lasts as long as you remain in that stance, until you stop doing stance attacks. For example, the buff from Rellana’s Cameo will remain active until you launch the final Glintstone Arc from the right of Rellana’s Twin Blades
The exact timing of Rellana’s Cameo is synchronized with the lock-on time of the Phalanx Sorceries after being cast, and the delay after casting Glintblade Trio.

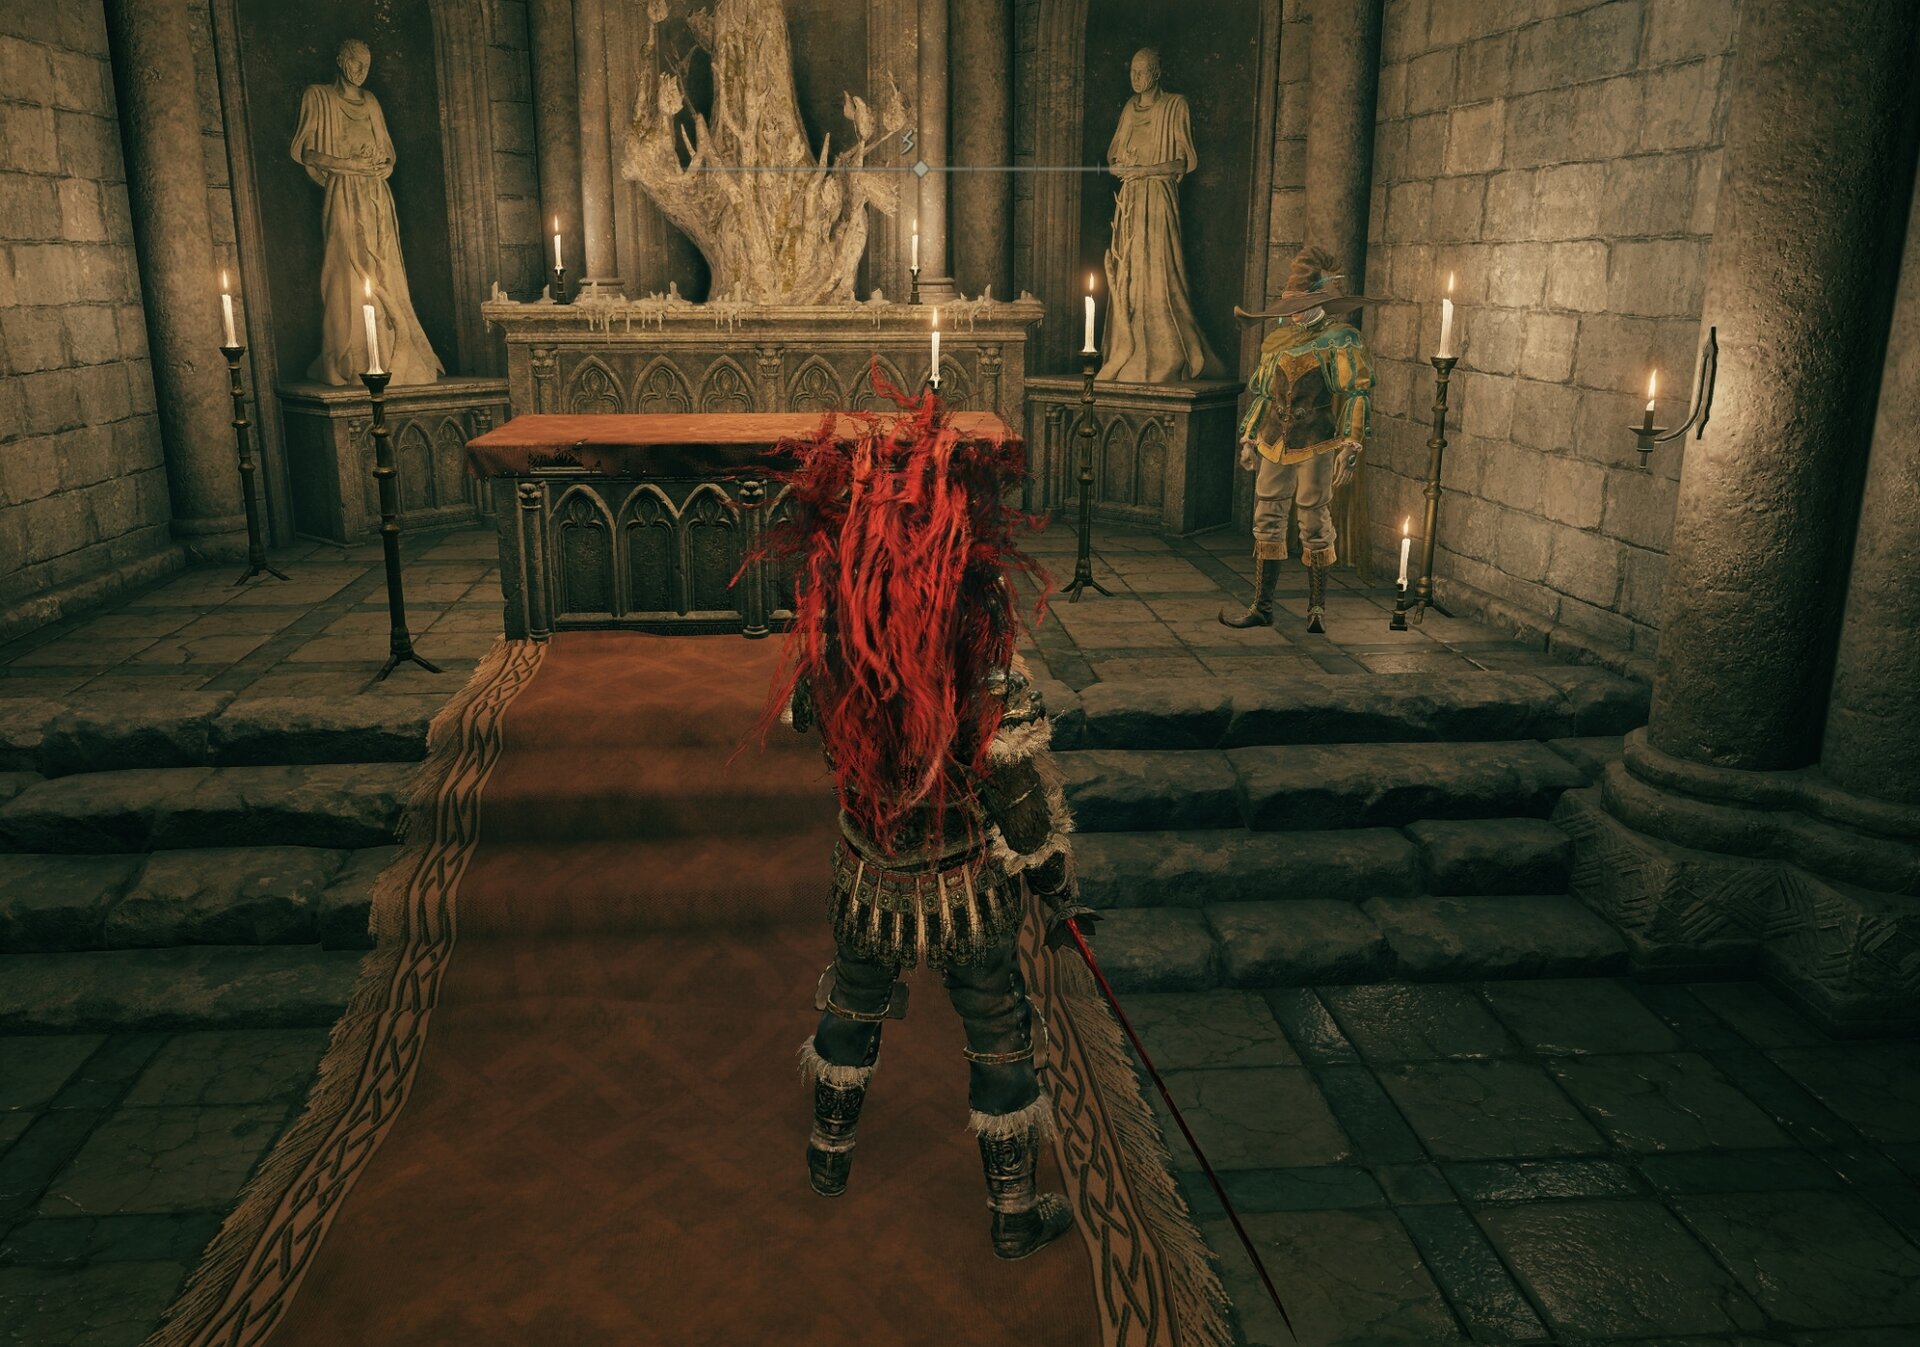
You can loot Rellana’s Cameo from the chapel at Castle Ensis. It’s right up there on the altar table.
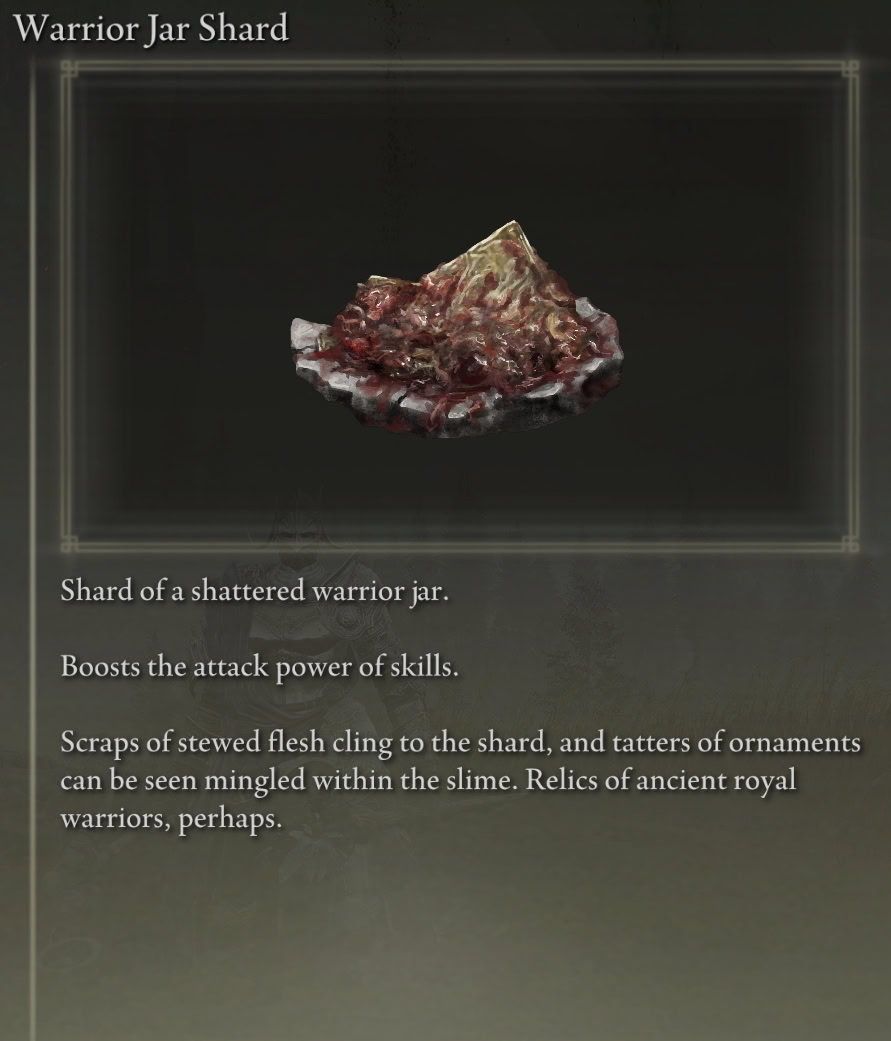
Warrior Jar’s Shard or Shard of Alexander
Shard of Alexander buffs the damage dealt by your Skills by 15%, and Warrior Jar’s Shard by 10%, synergizing with Rellana’s Cameo to offer a special, potential ~67% damage boost! Since Skills are such a major part of this build, this is a no-brainer.
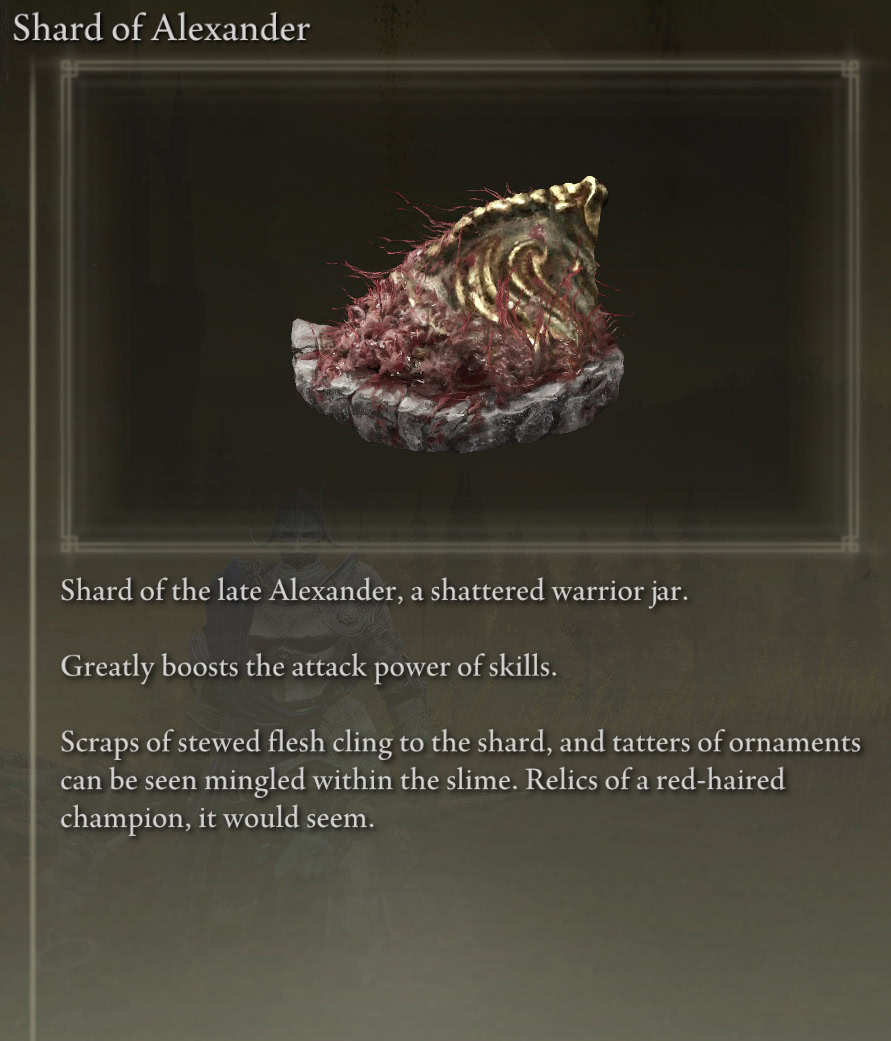
In order to obtain the Shard of Alexander, you must complete Iron Fist Alexander’s quest at Crumbling Farum Azula in the Lands Between. You’ll be rewarded the Shard for fulling Alexander’s final request.
You can obtain a weaker version, the Warrior Jar’s Shard, by shattering Alexander at any point before meeting him at Crumbling Farum Azula. You can only ever equip one of these Talismans at a time and only obtain one of them per playthrough.
Moon of Nokstella
The Moon of Nokstella gives you an additional 2 Memory Slots to work with. I’m introducing it now, but you should only equip it once you have all the stats you need and can unequip both Radagon Icon and Radagon’s Soreseal.
This talisman is valuable if you want to lean into the Carian Sorcery Sword and add the Glintblade Sorceries to this build for use as its “strong attacks”, particularly alongside the Carian Thrusting Shield.
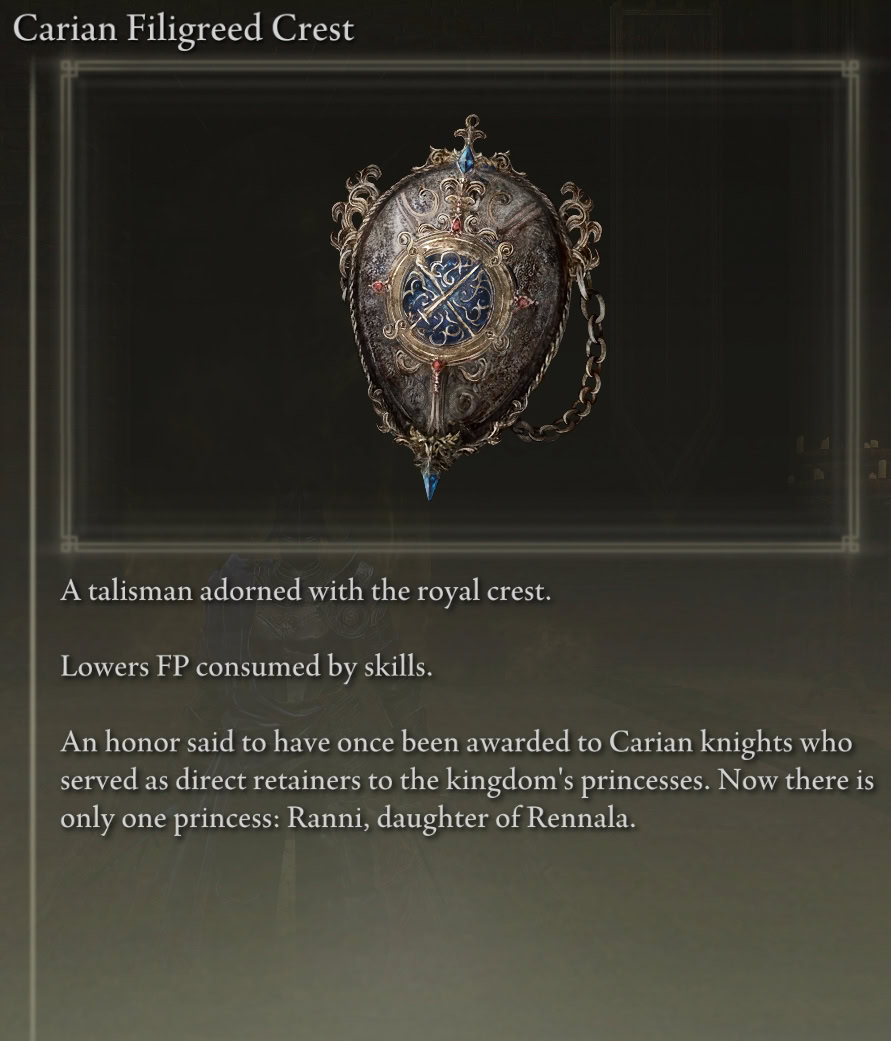
These will make the build even more complicated than it already and require you to flip through more spells than you otherwise would, so I consider it to be optional. Use the Magic Scorpion Charm or Carian Filigreed Crest instead.

You can loot the Moon of Nokstella from the chest beneath the giant throne at the end of the upper region of Nokstella, Eternal City, beneath Liurnia and accessible only after progressing far enough in Ranni’s quest.

Radagon’s Soreseal ▶ Magic Scorpion Charm or Moon of Nokstella
If you’re playing on a fresh save file, you’ll need some extra stats to meet all of the requirements, and Radagon’s Soreseal will provide you with +5 for 4 of them. Yes, you will be taking extra damage, but you’ll be replacing it with something else that makes you take extra damage anyway.
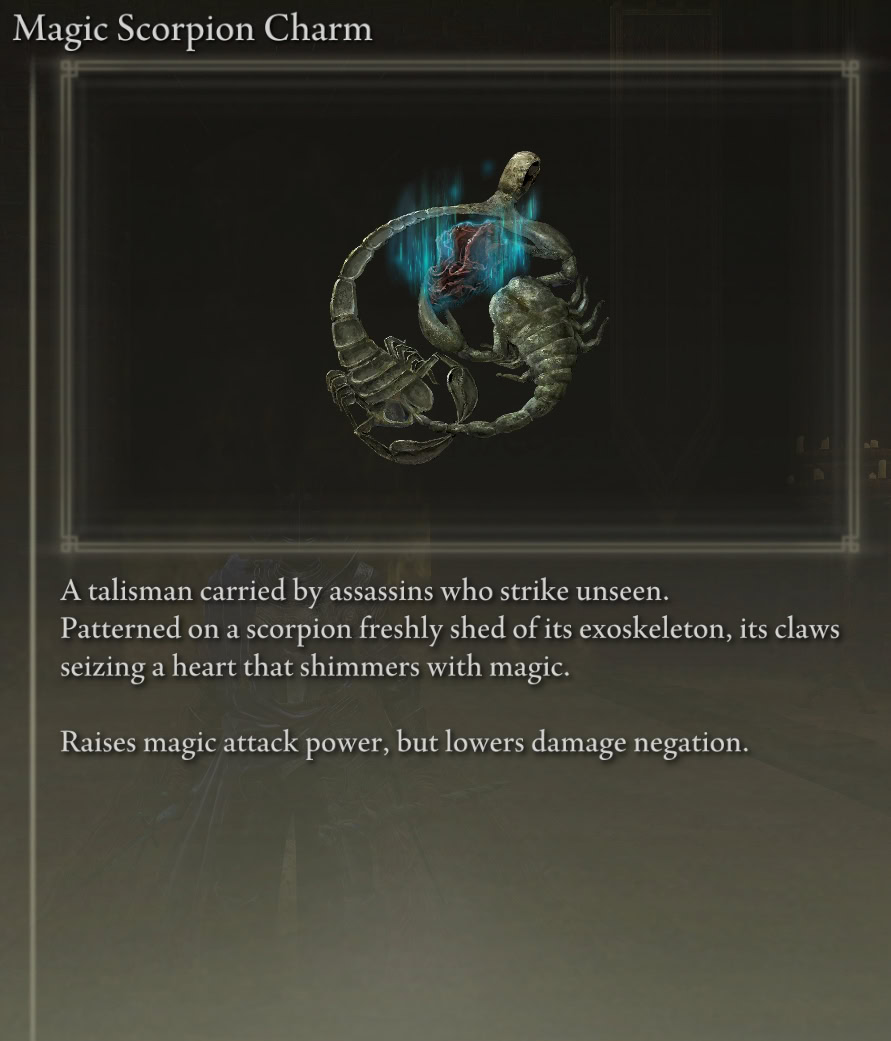
The Magic Scorpion Charm boosts your Magic damage dealt by 12% at the cost of taking 10% more Physical damage. It’s actually an upgrade over Radagon’s Soreseal!
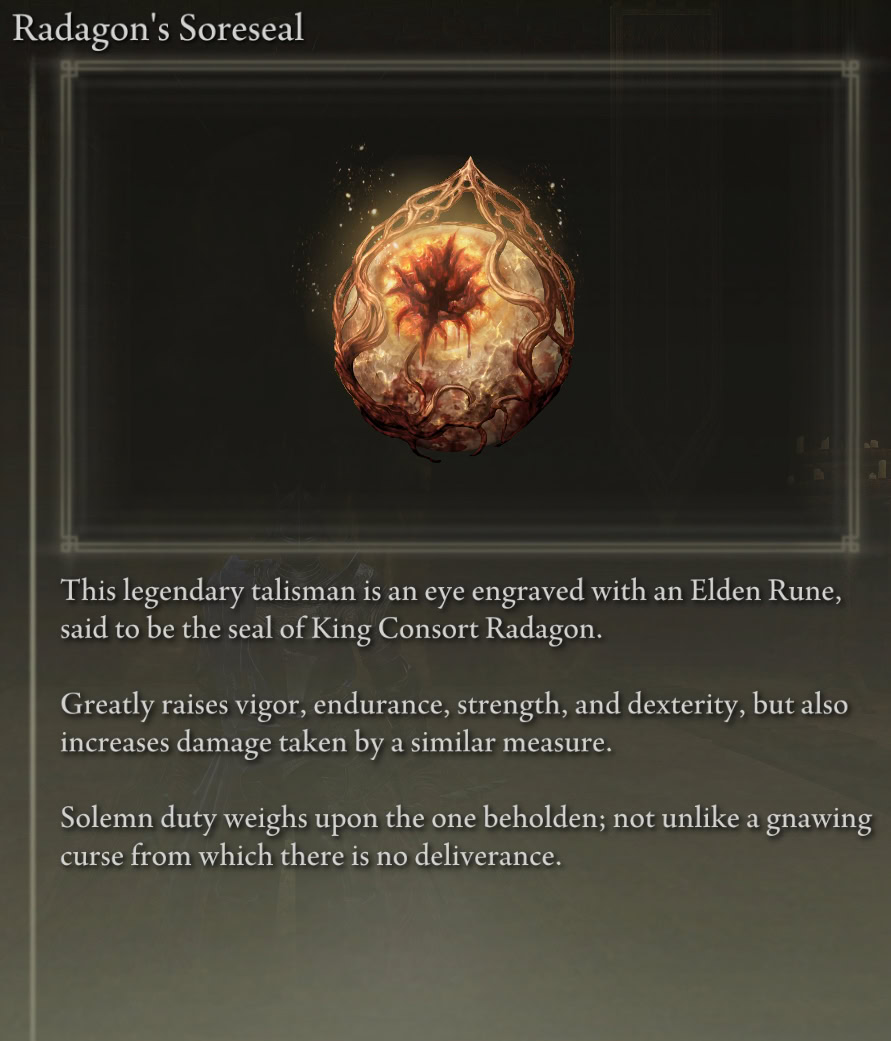
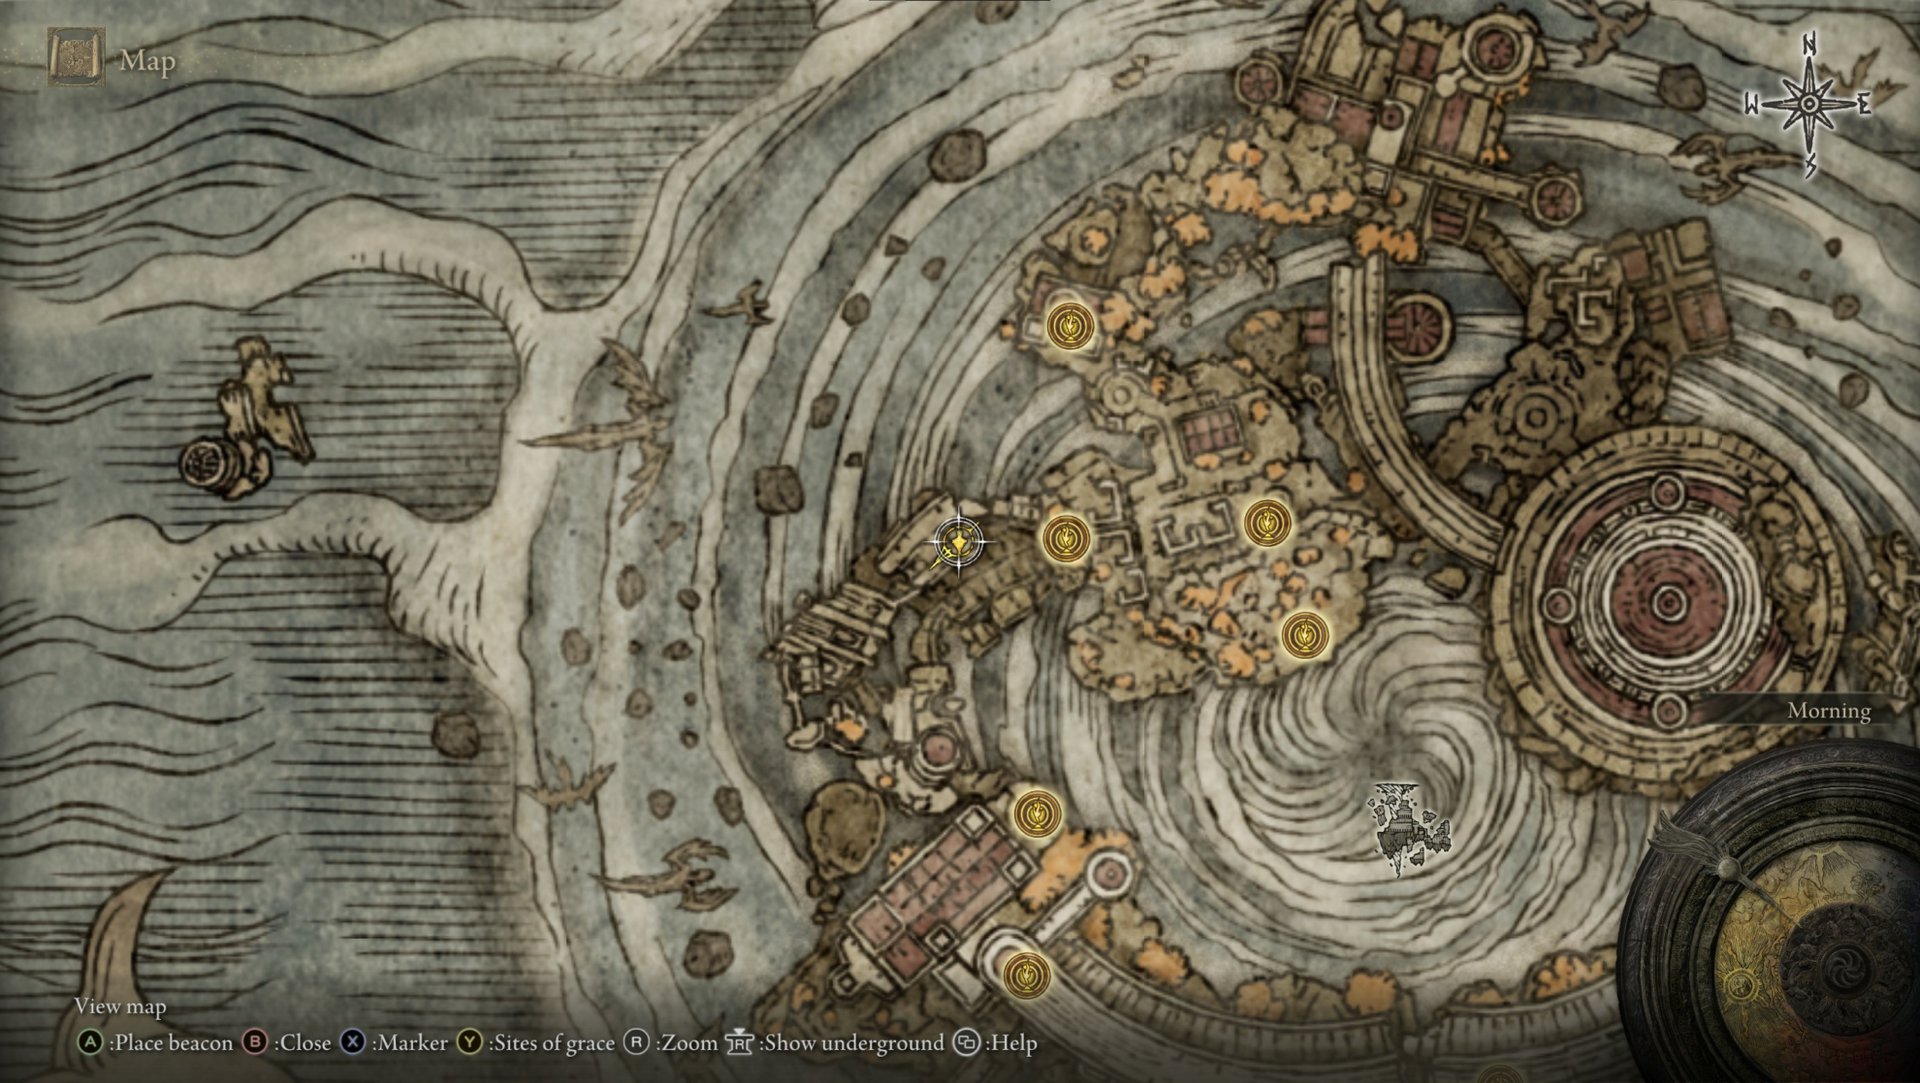
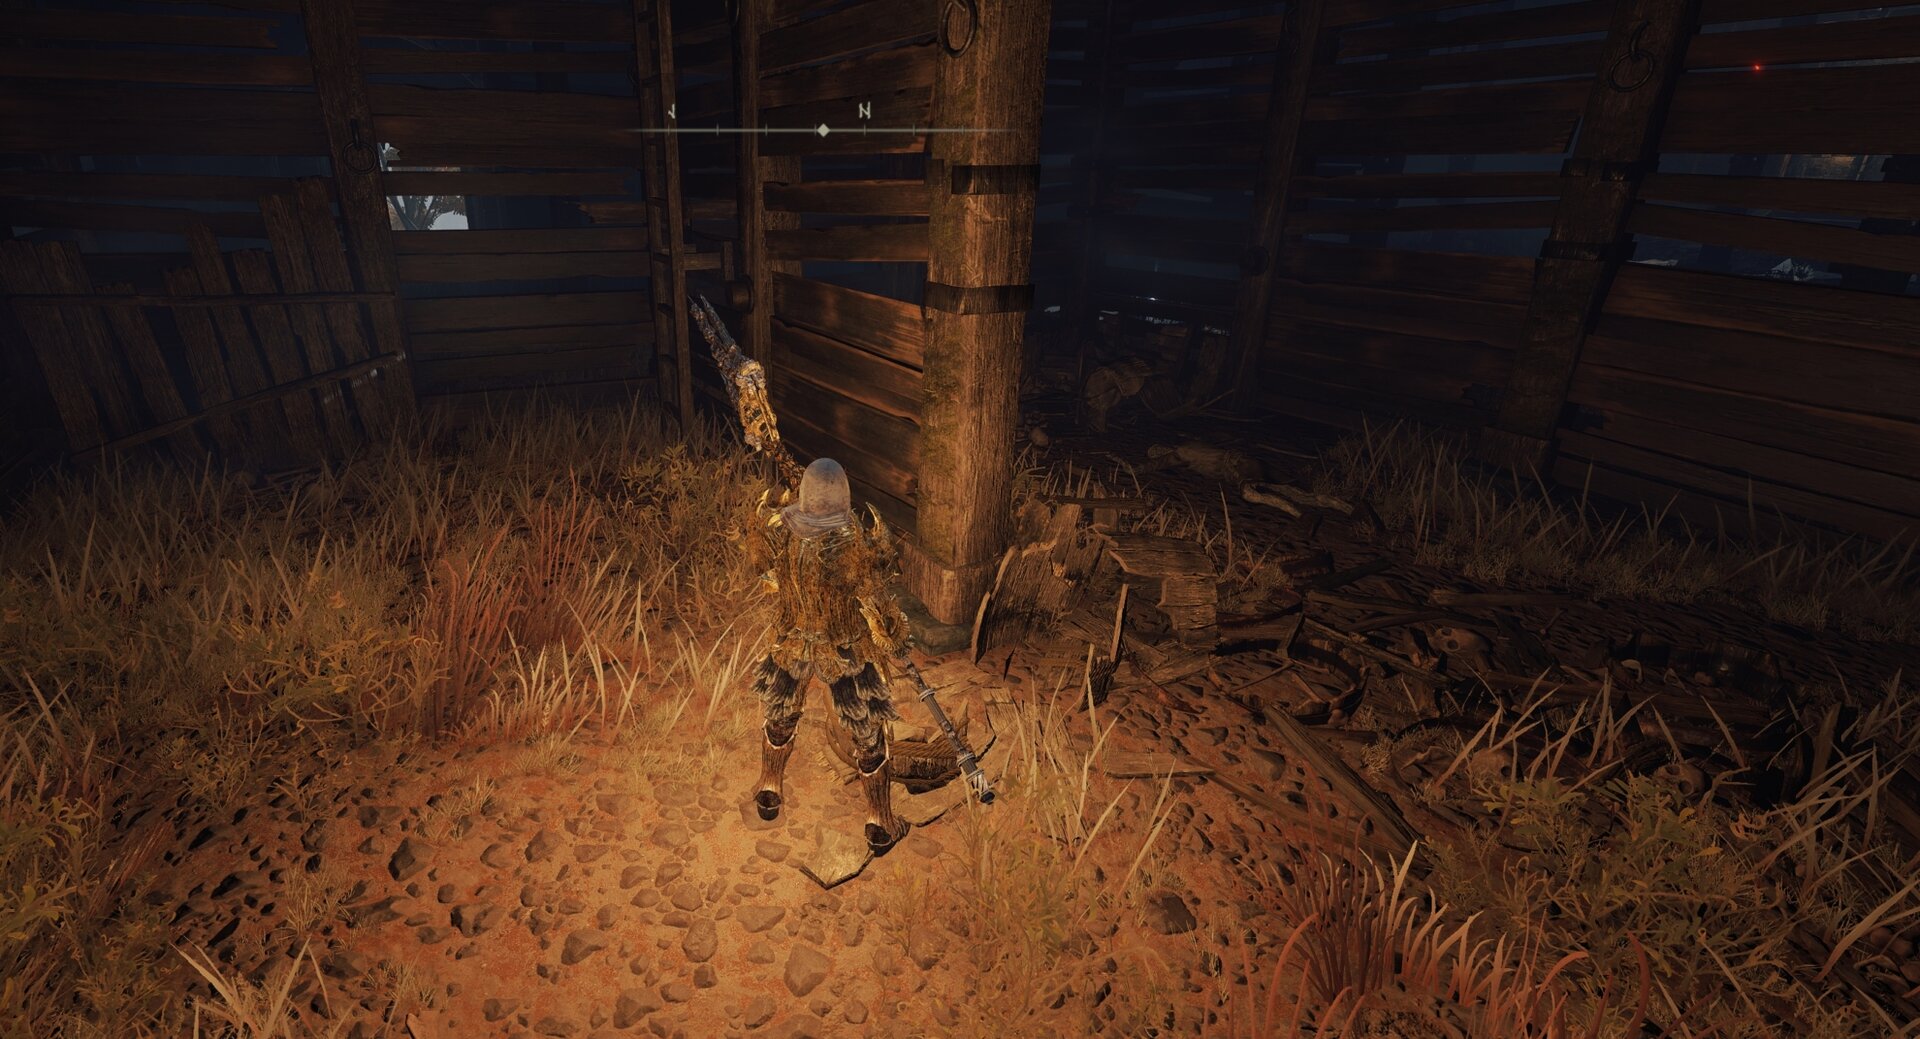
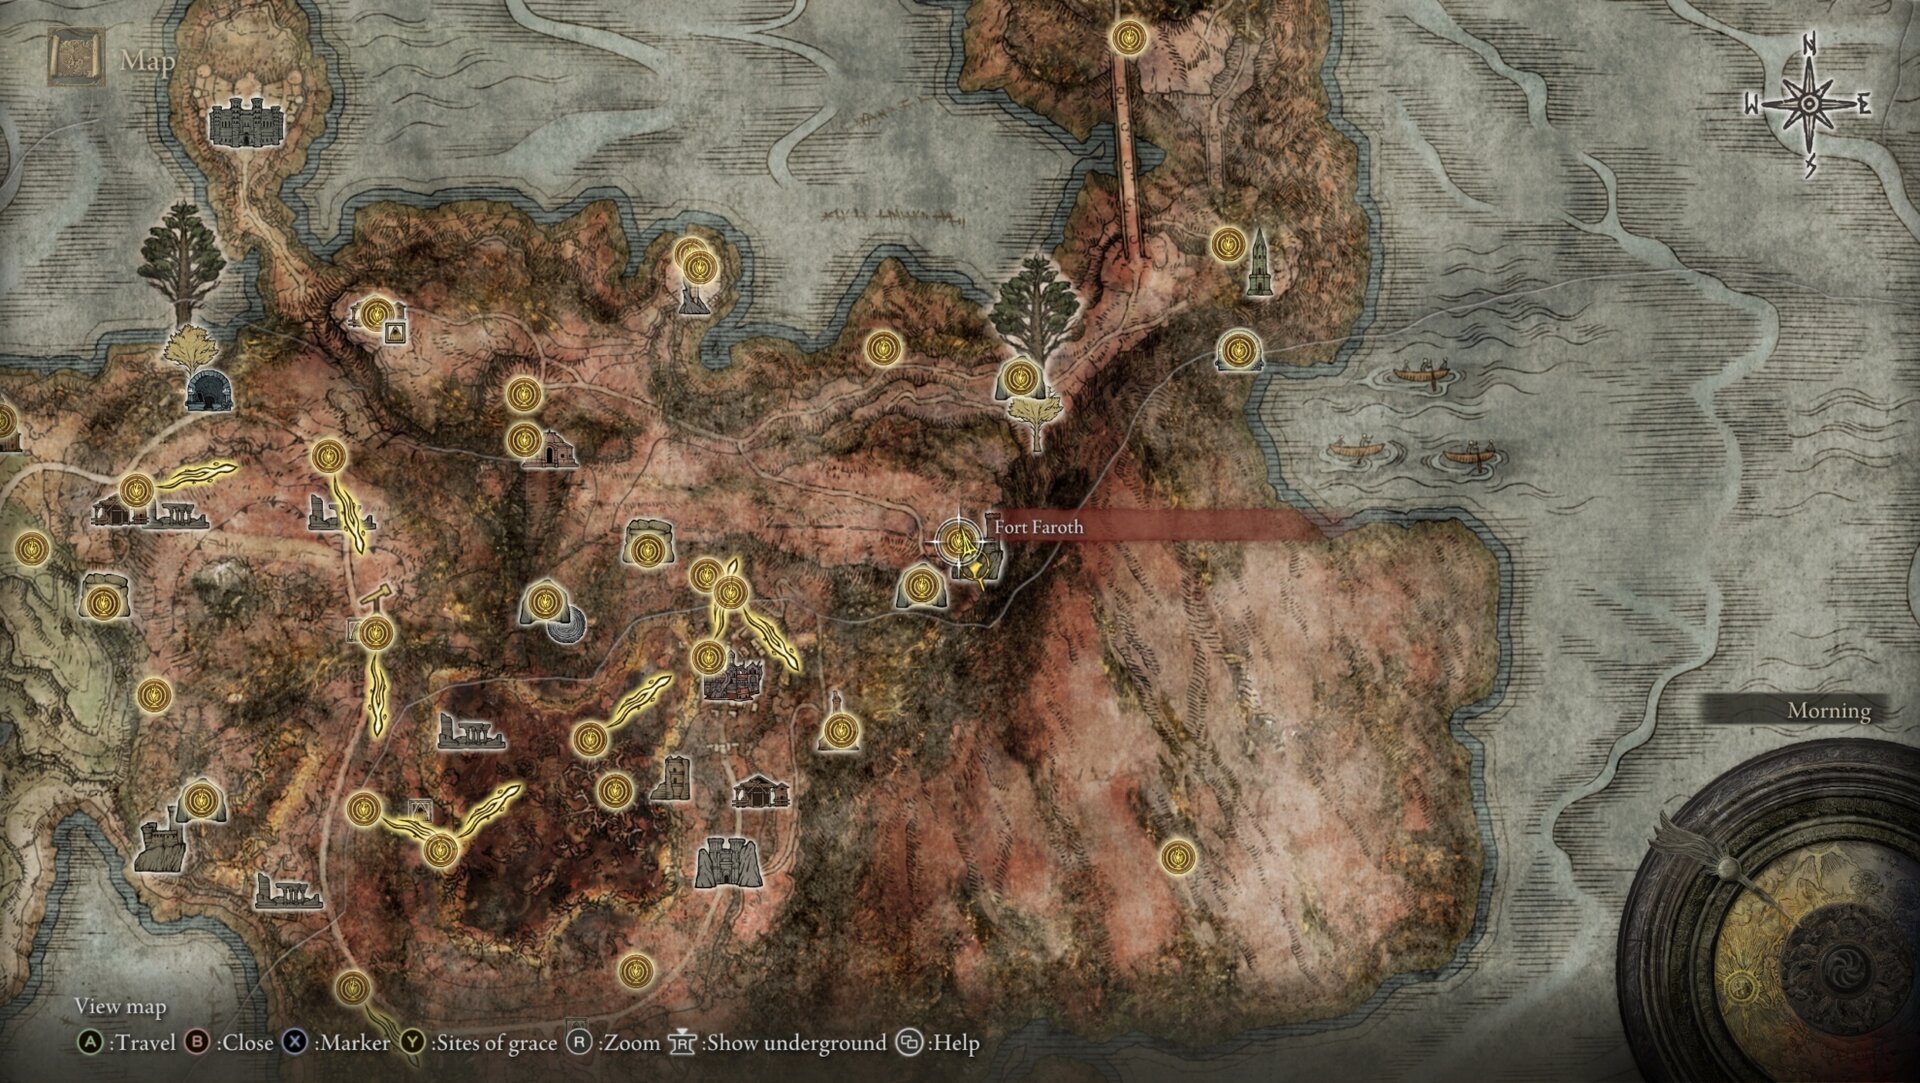
You can loot Radagon’s Soreseal from Fort Faroth in Greyoll’s Dragonbarrow in Caelid. In order to reach it, you have to make it up to the roof of the fort and drop down to the second floor.
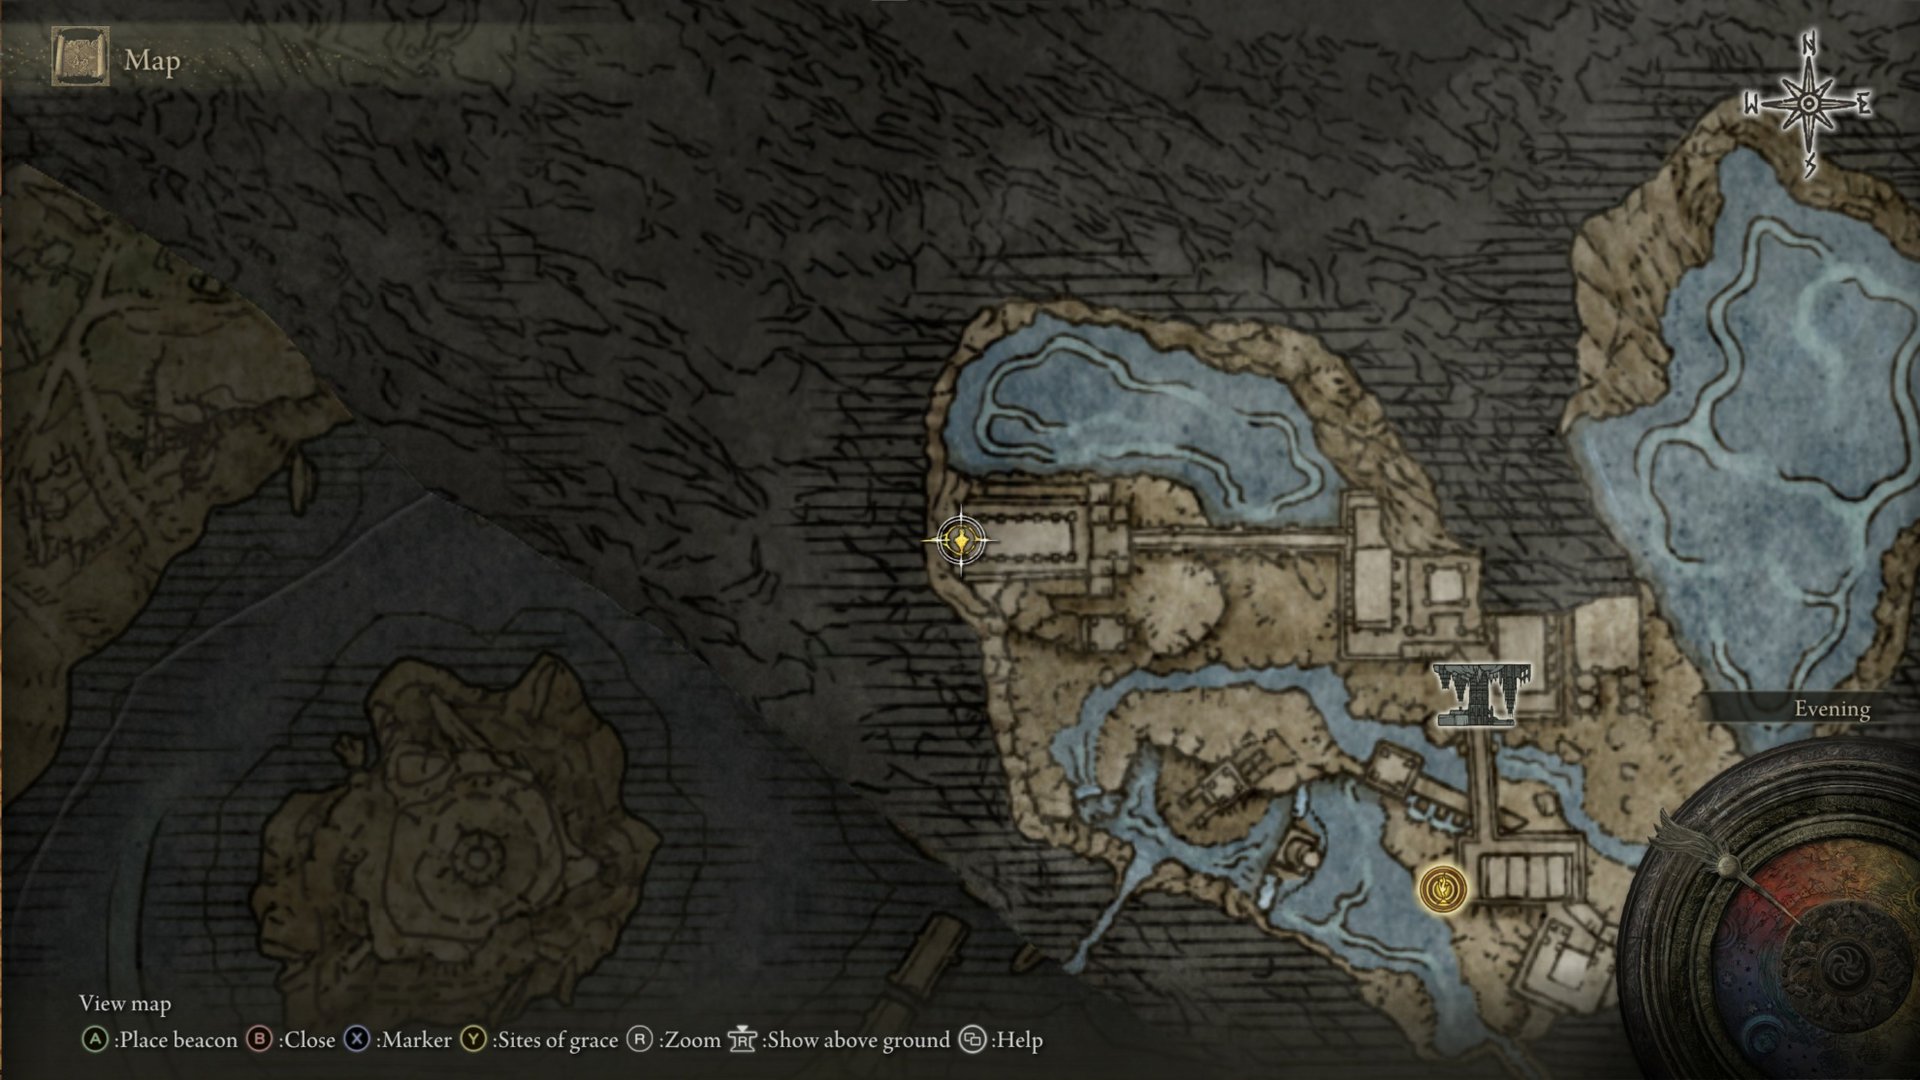
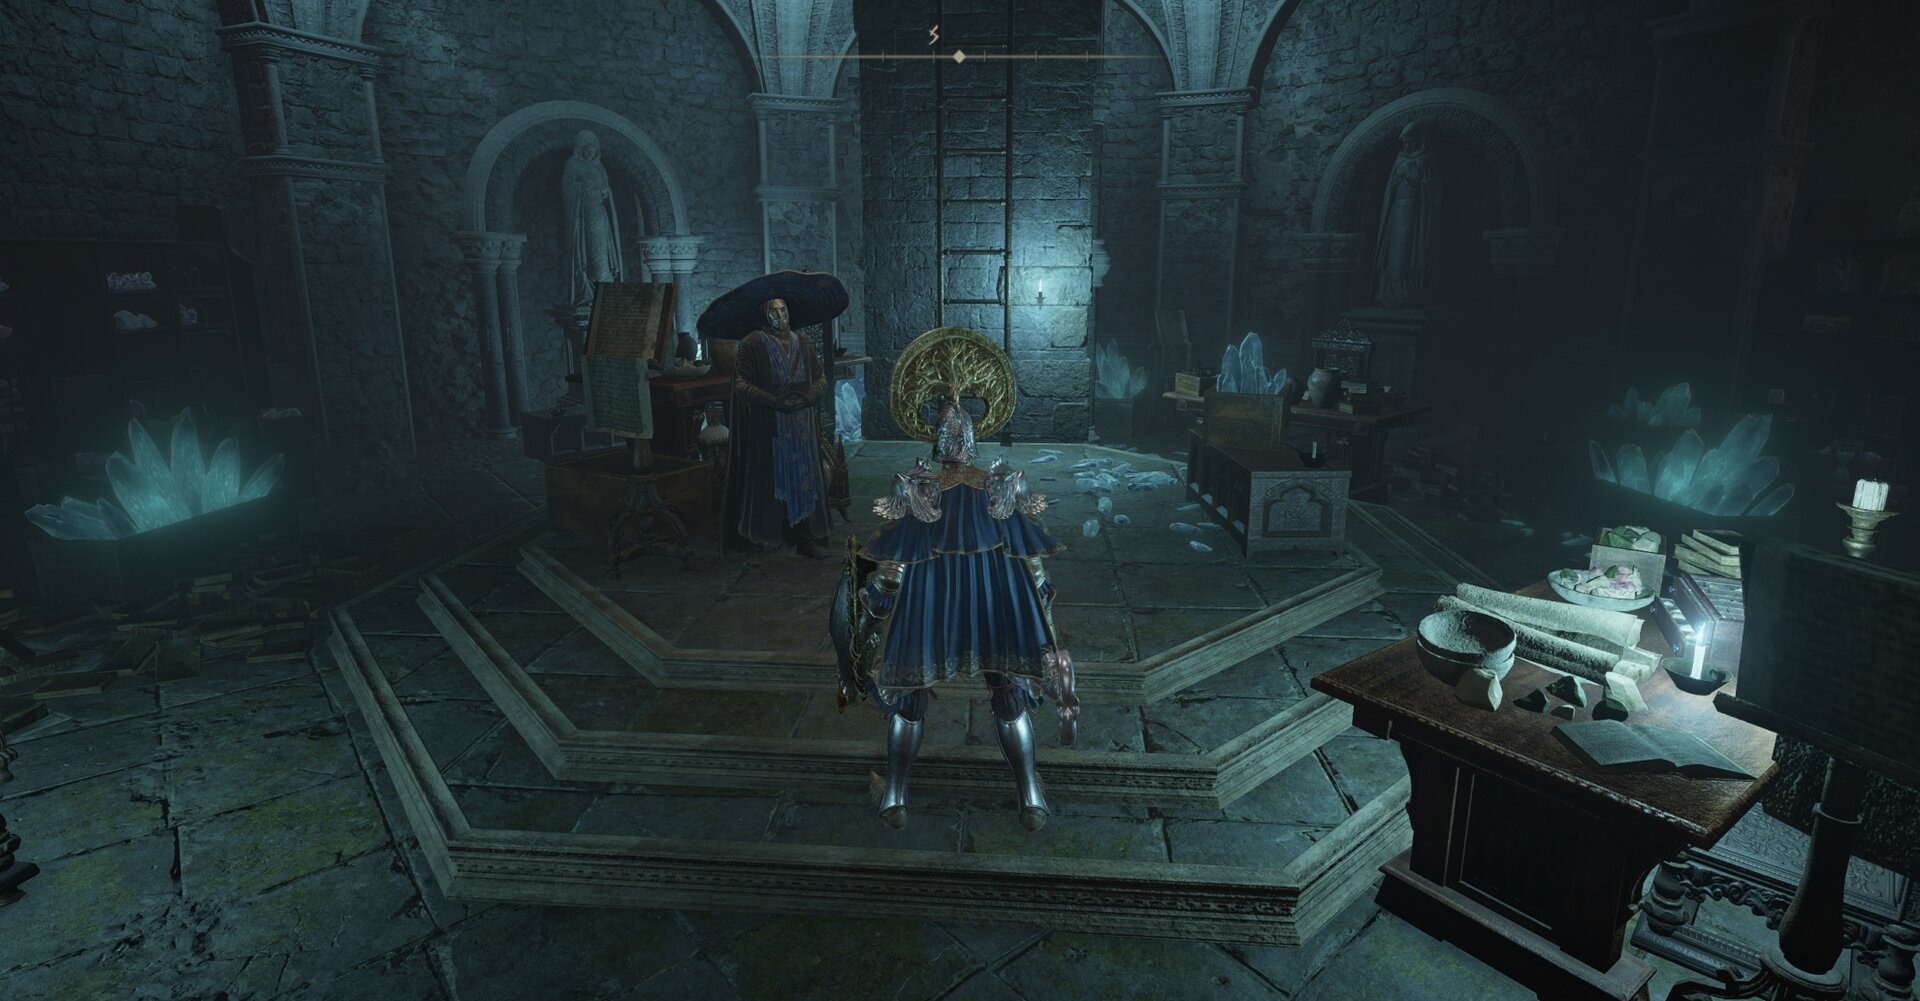
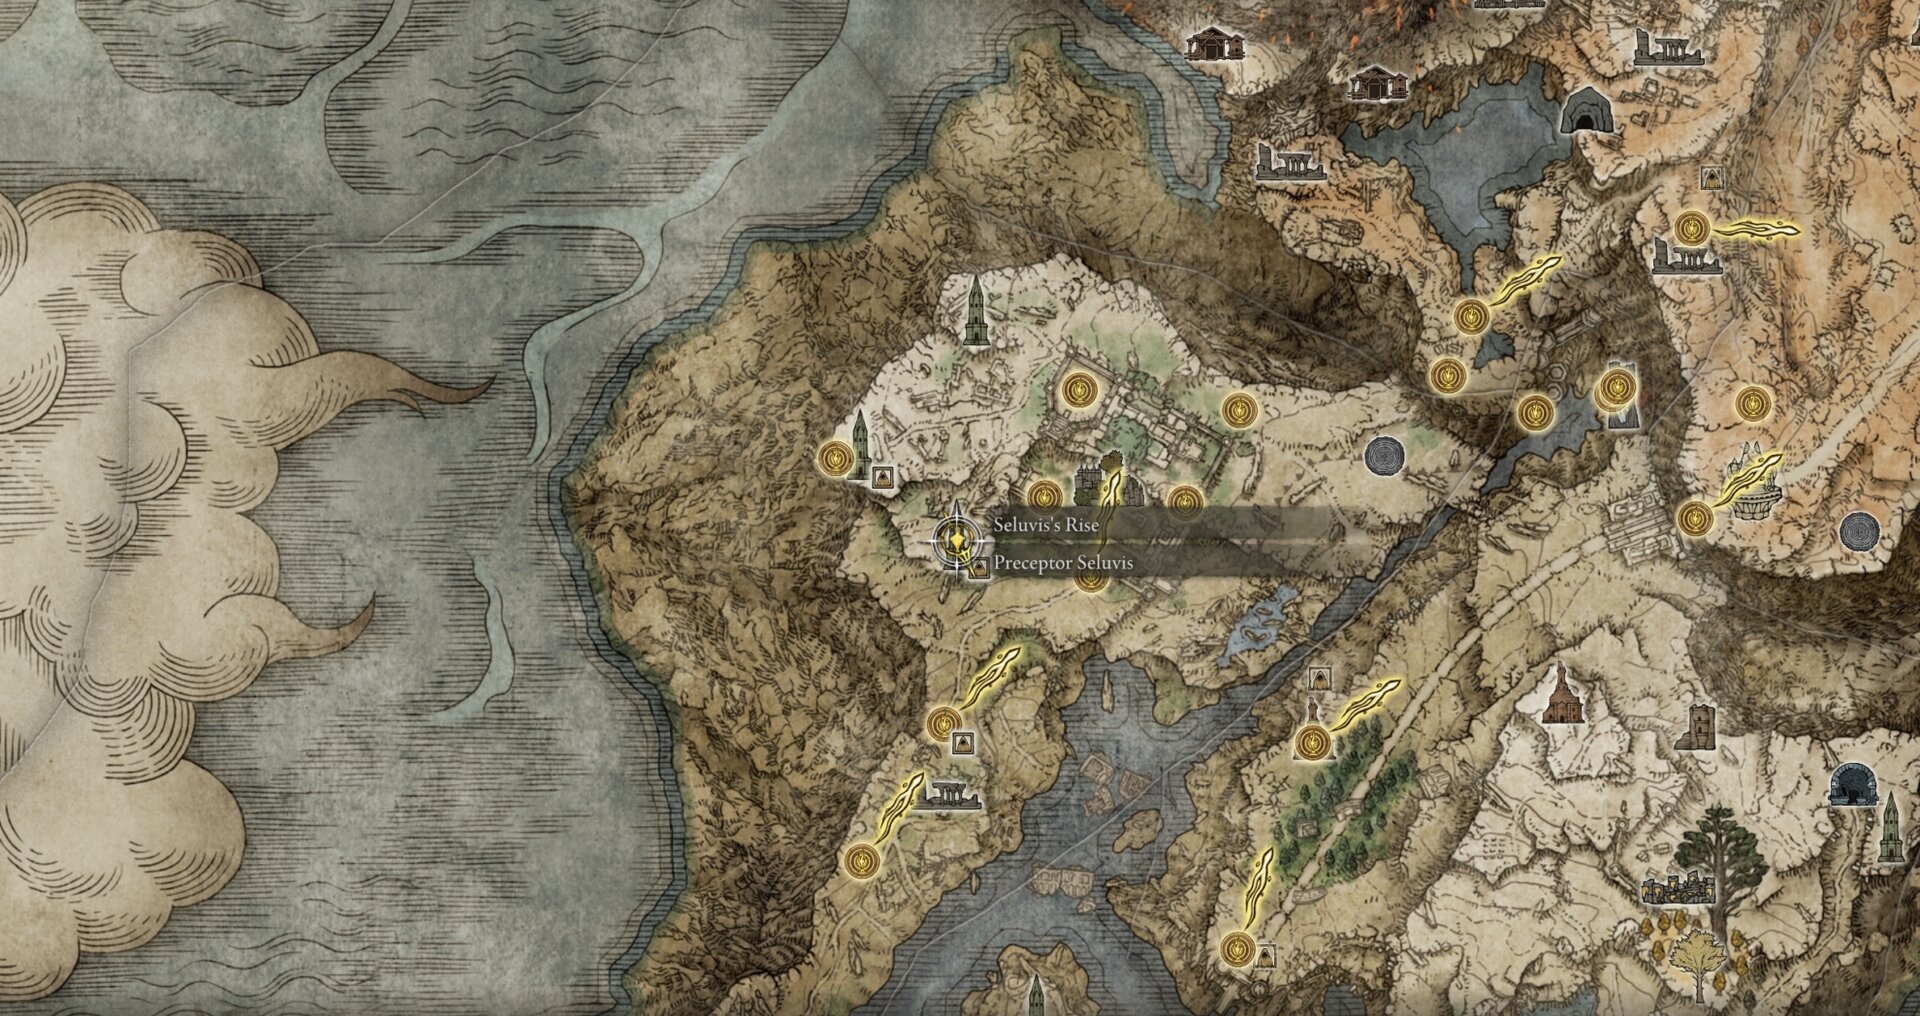
You receive the Magic Scorpion Charm from Preceptor Seluvis at his Rise at Caria Manor after giving him the Amber Starlight Shard as part of his quest. Do not give the Fingerslayer Blade to Ranni until you have done this or you will be locked out of obtaining the Magic Scorpion Charm on this playthrough.
Radagon Icon ▶ Carian Filigreed Crest or Moon of Nokstella
Radagon Icon reduces the cast time of your abilities by giving you 30 points worth of Dexterity, which is valuable if you’re going through the DLC on a fresh playthrough. You really want to hit 70 Dexterity to max out the cast time reduction of your Sorceries so that they don’t take FOREVER to cast.
Switch off of Radagon’s Soreseal onto Magic Scorpion Charm first. Both are valuable, but Radagon Icon doesn’t have as strong of an alternative as Radagon’s Soreseal, and you don’t want to have 2 Damage Negation debuffs at the same time.
Carian Filigreed Crest is the clear RP option, and it will provide value to the build. However, you might find something like the Two-Headed Turtle Talisman more valuable, since it’ll be a while before you can afford to get your Endurance to 50, and leaving Mind at 35 isn’t terrible.
You can loot the Radagon Icon from a chest on the upper level of the Debate Parlor at the Academy of Raya Lucaria in Liurnia. Check out my Academy of Raya Lucaria Item Locations Guide for more info.
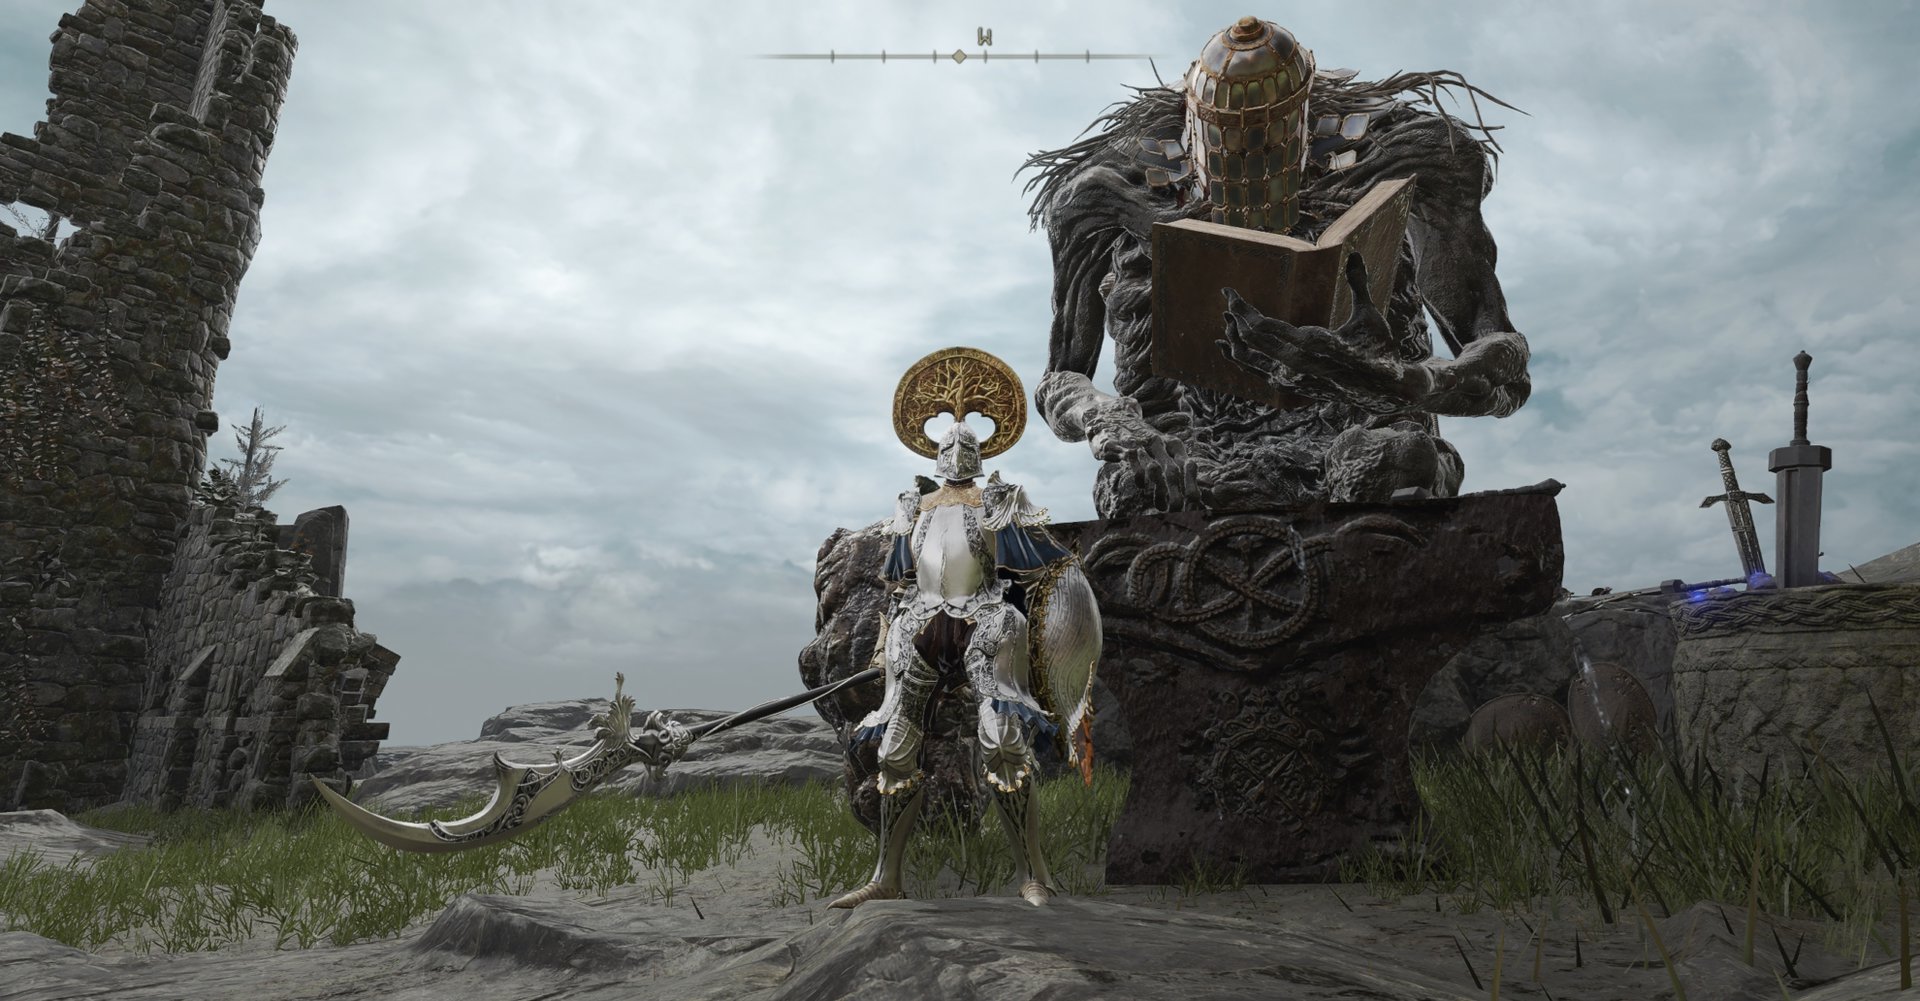
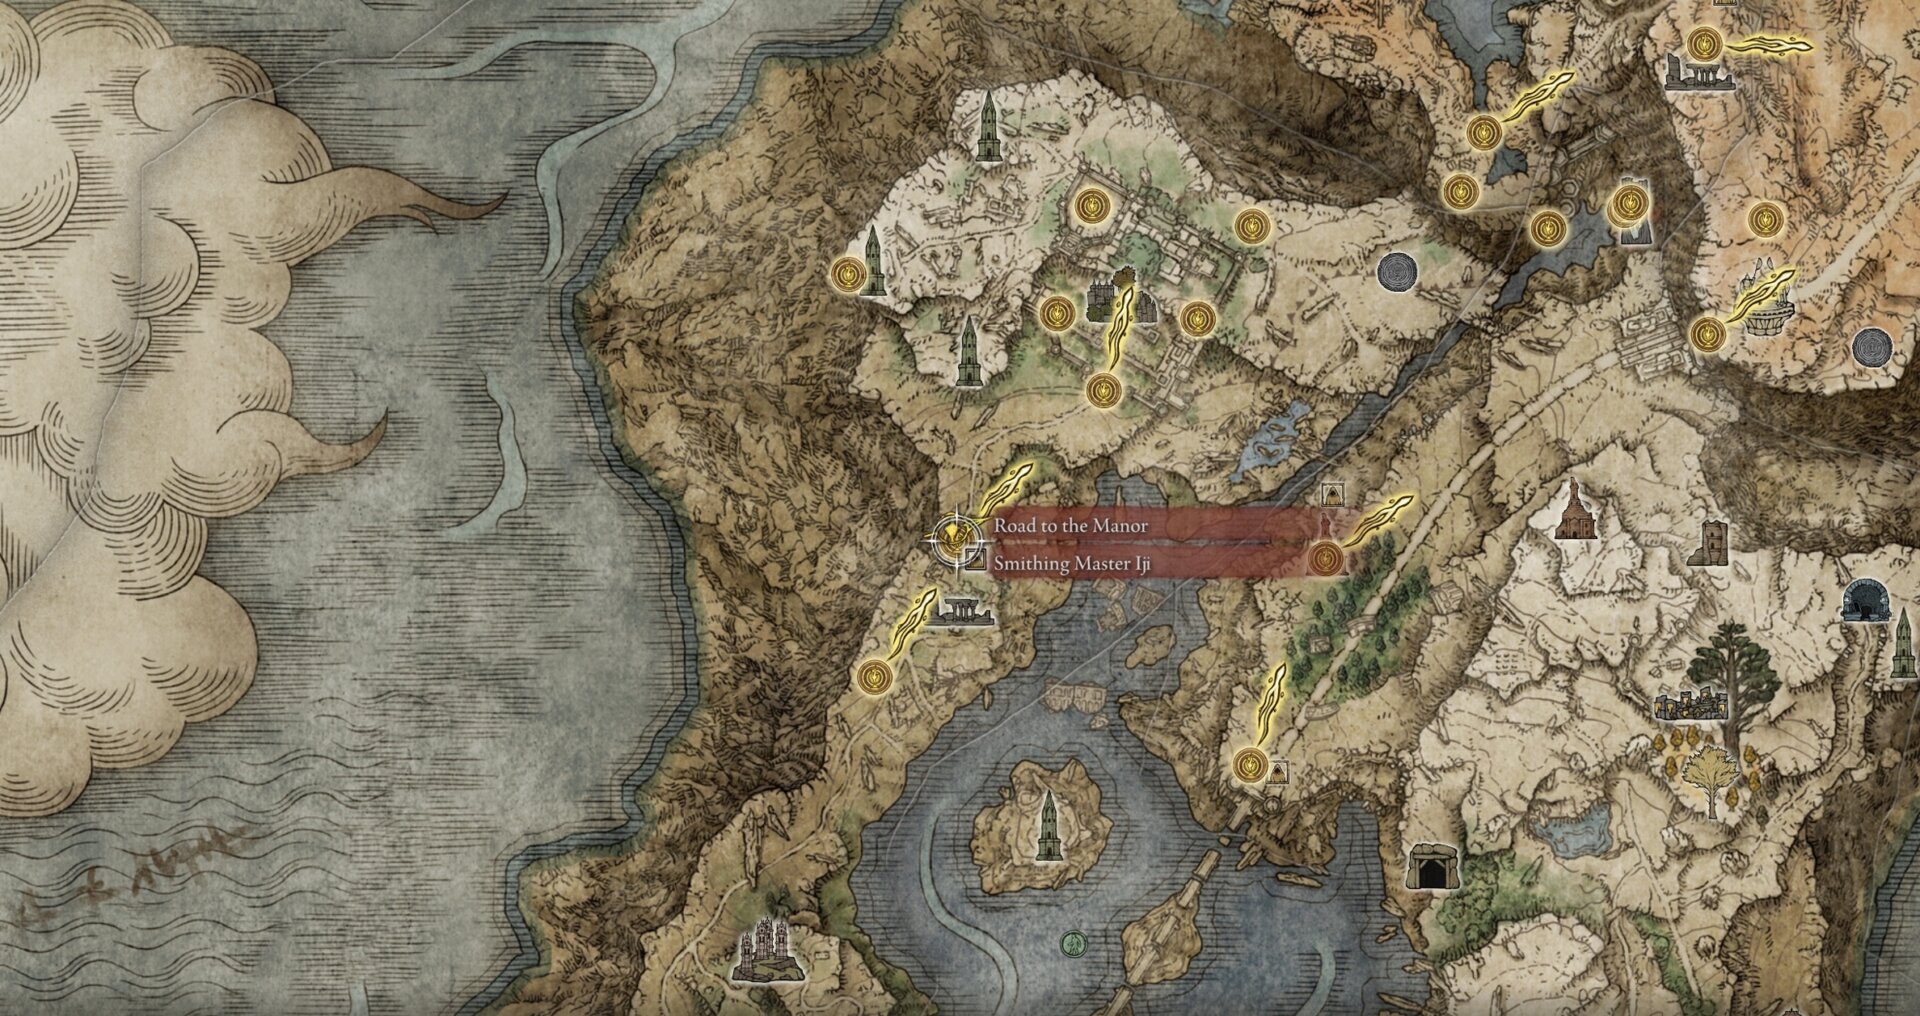
You can purchase the Carian Filigreed Crest from War Counselor Iji for 5,000 Runes. He’s located by the Road to the Manor Site of Grace, just past the Kingsrealm Ruins.
Sorceries
I recommend a combination of Carian Glintblade and Full Moon Sorceries. The Intelligence requirements for many of them will define your stat allocation if you’re using this build as a fresh playthrough.

This is the order I recommend for your main 6 Sorceries. I recommend placing Rellana’s Twin Moons first because you need to be pretty responsive with activating it. Sometimes the stars will align, and you want to be able to hold the button that flips through your spells to go back to the first one.
The rest of the order is based on synchronizing firing times with Rellana’s Cameo activating or Rennala’s Full Moon | Ranni’s Dark Moon. You’ll also have 2-4 slots left over to do with as you please.
Rellana’s Twin Moons
Rellana’s Twin Moons create a devastating 3-stage AoE centered beneath you, where both moons get slammed one at a time, and then you stab your Scepter into the ground with a slightly larger and more powerful attack.
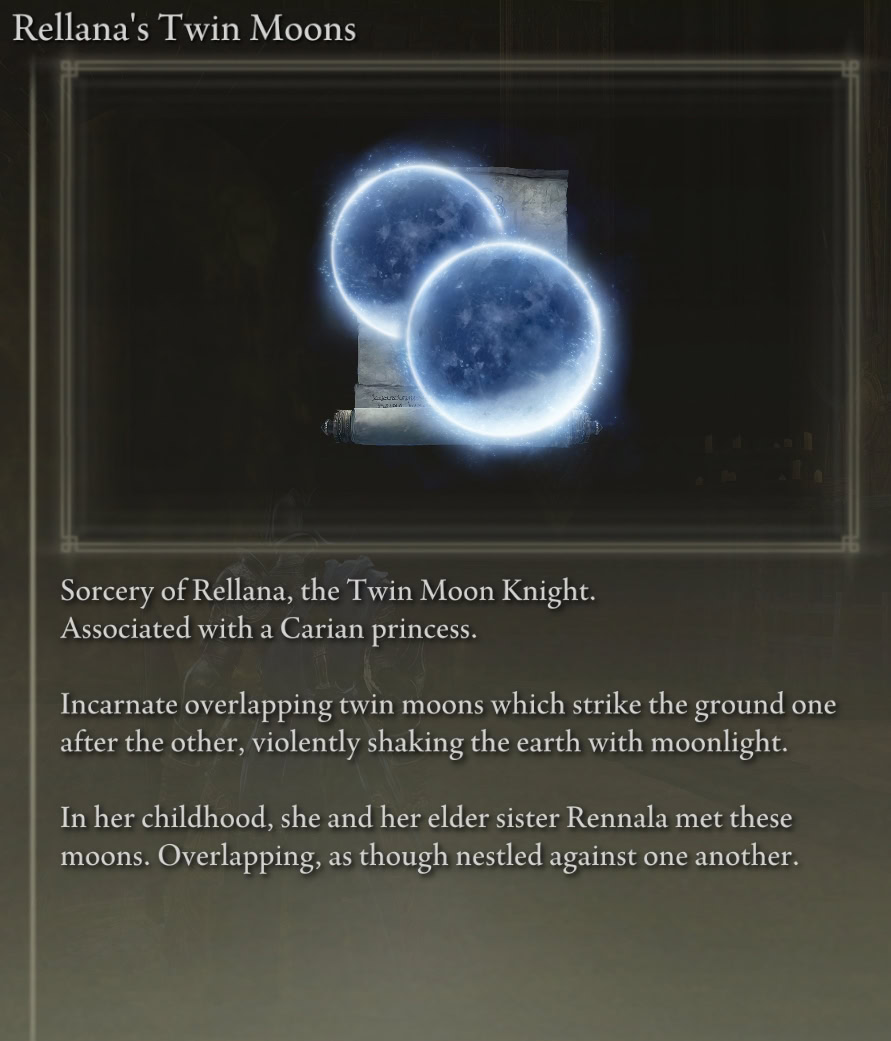
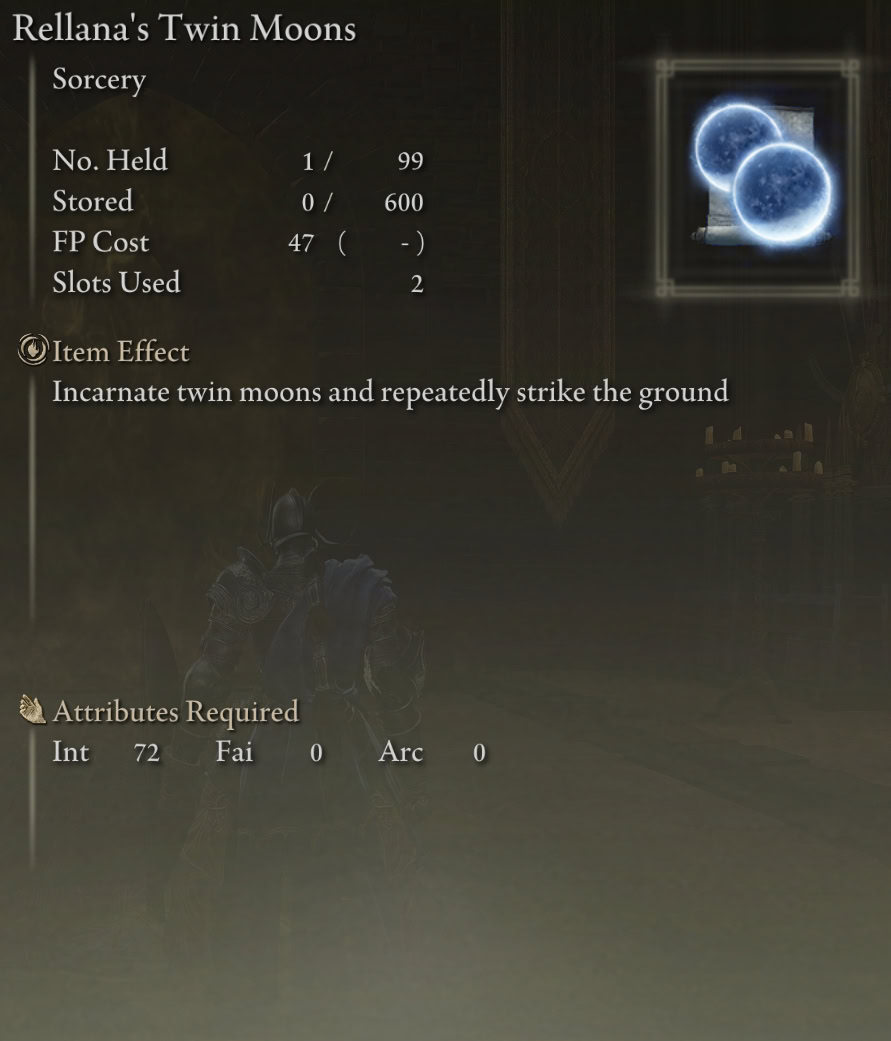
You can get interrupted if you take a direct hit, but the Moons absorb Sorcery and Incantation projectiles, and once they start coming down, everything in the vicinity will be unable to act for the remainder of the lunar cascade, assuming they survive the first impact.
Even if you do get knocked out, once the Twin Moons are incarnated, they will come crashing down. You’ll also be protected from jump mechanics for quite a long time, so this is a great ability to use against the Furnace Golems.
After defeating Rellana, you can purchase Rellana’s Twin Moon from Finger Reader Enia at the Roundtable Hold in exchange for the Remembrance of the Twin Moon Knight.
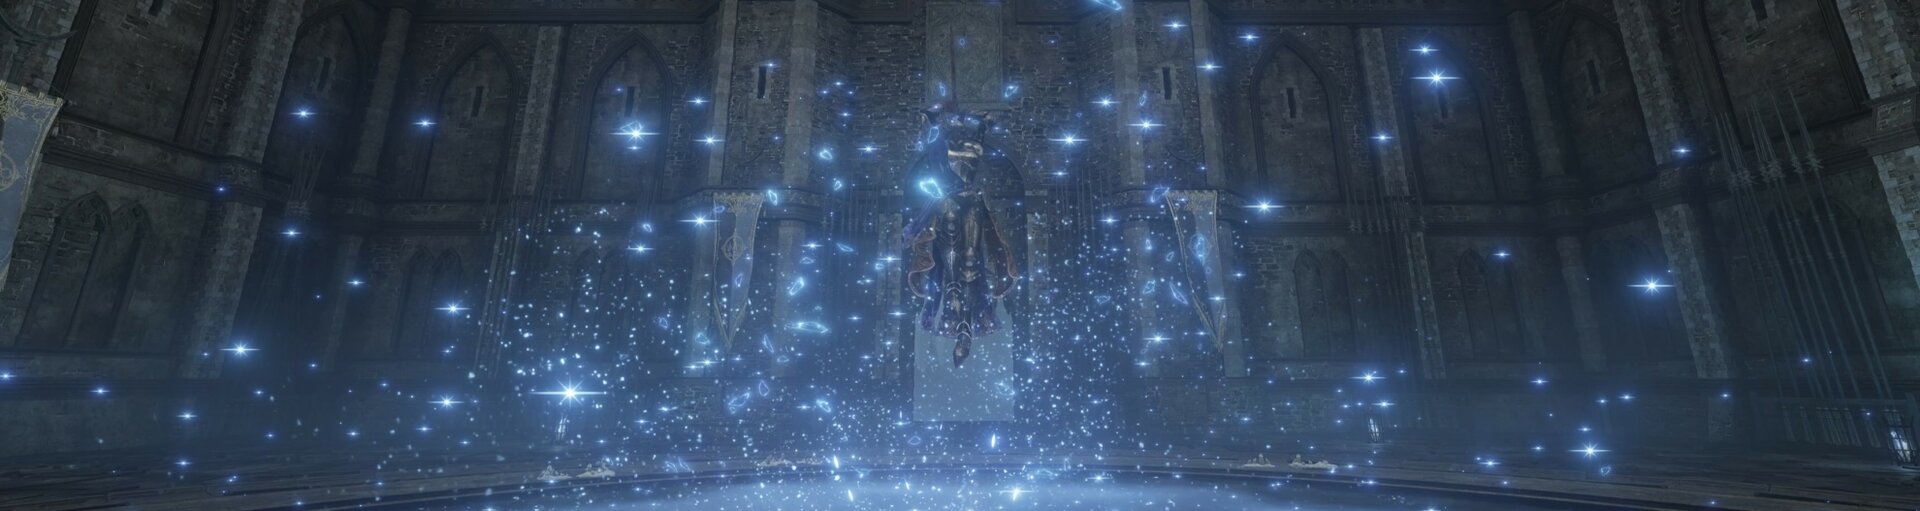
Carian Phalanx
Carian Phalanx summons too many Glintblades for anyone’s good, but it’s perfect for Rellana! It’s just one of the Sorceries she actually uses against you during your fight, though it synergizes well with this build’s playstyle.
Carian Phalanx (and the other Phalanx Sorceries) can all be pre-casted, and trigger when the enemy gets close. Often, they’ll interrupt the enemy too, but even if they only get slowed for a moment, that’s all you need to trigger Rellana’s Cameo.

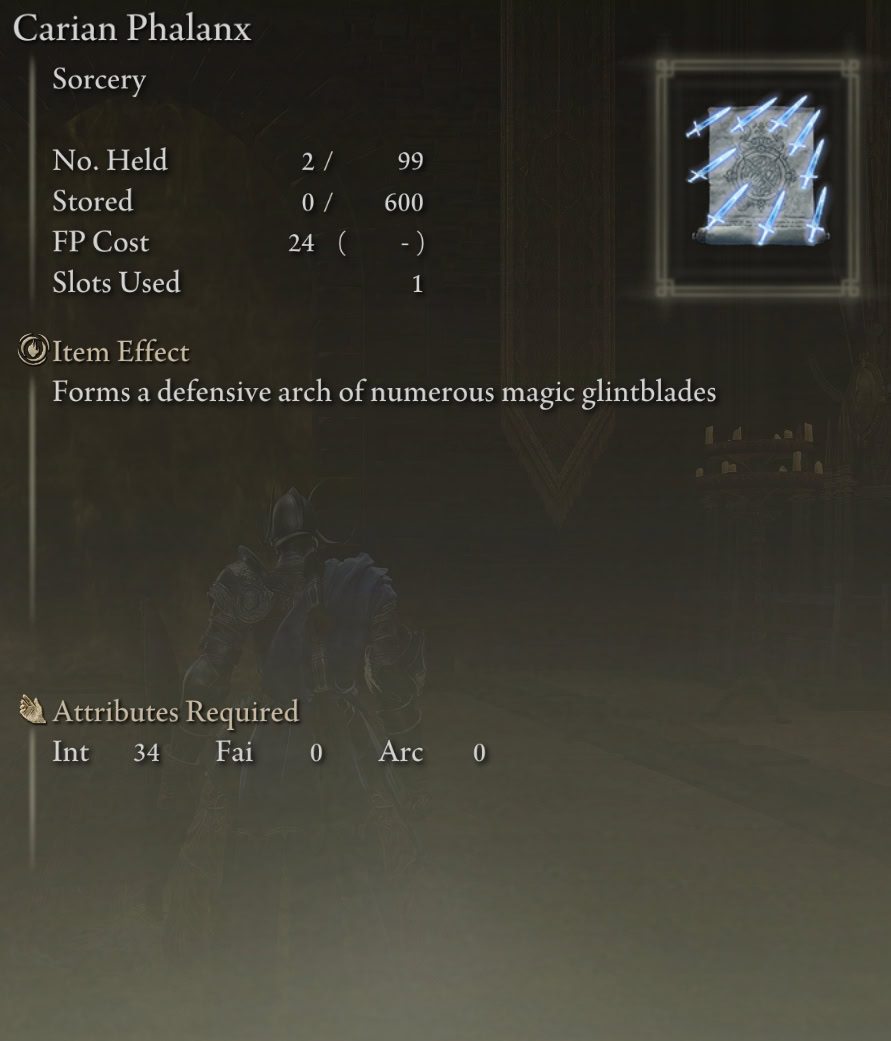
The lock-on delay after casting them is just long enough for Rellana’s Cameo to activate, so if you can cast Carian Phalanx, it’s also usually safe to wait for Rellana’s Cameo to trigger. I do not recommend trying to trigger that Talisman in combat without applying one of the Phalanx Sorceries beforehand.
The differences between the Phalanx Sorceries are minor. I personally suggest using Carian Phalanx over Greatblade Phalanx because it’s cheaper FP-wise, it’s available in the Realm of Shadow, and the name is more fitting.
That being said, Greatblade Phalanx is probably the better option. I compare and contrast all 3 options in greater detail in my Sorcerer Build Guide.
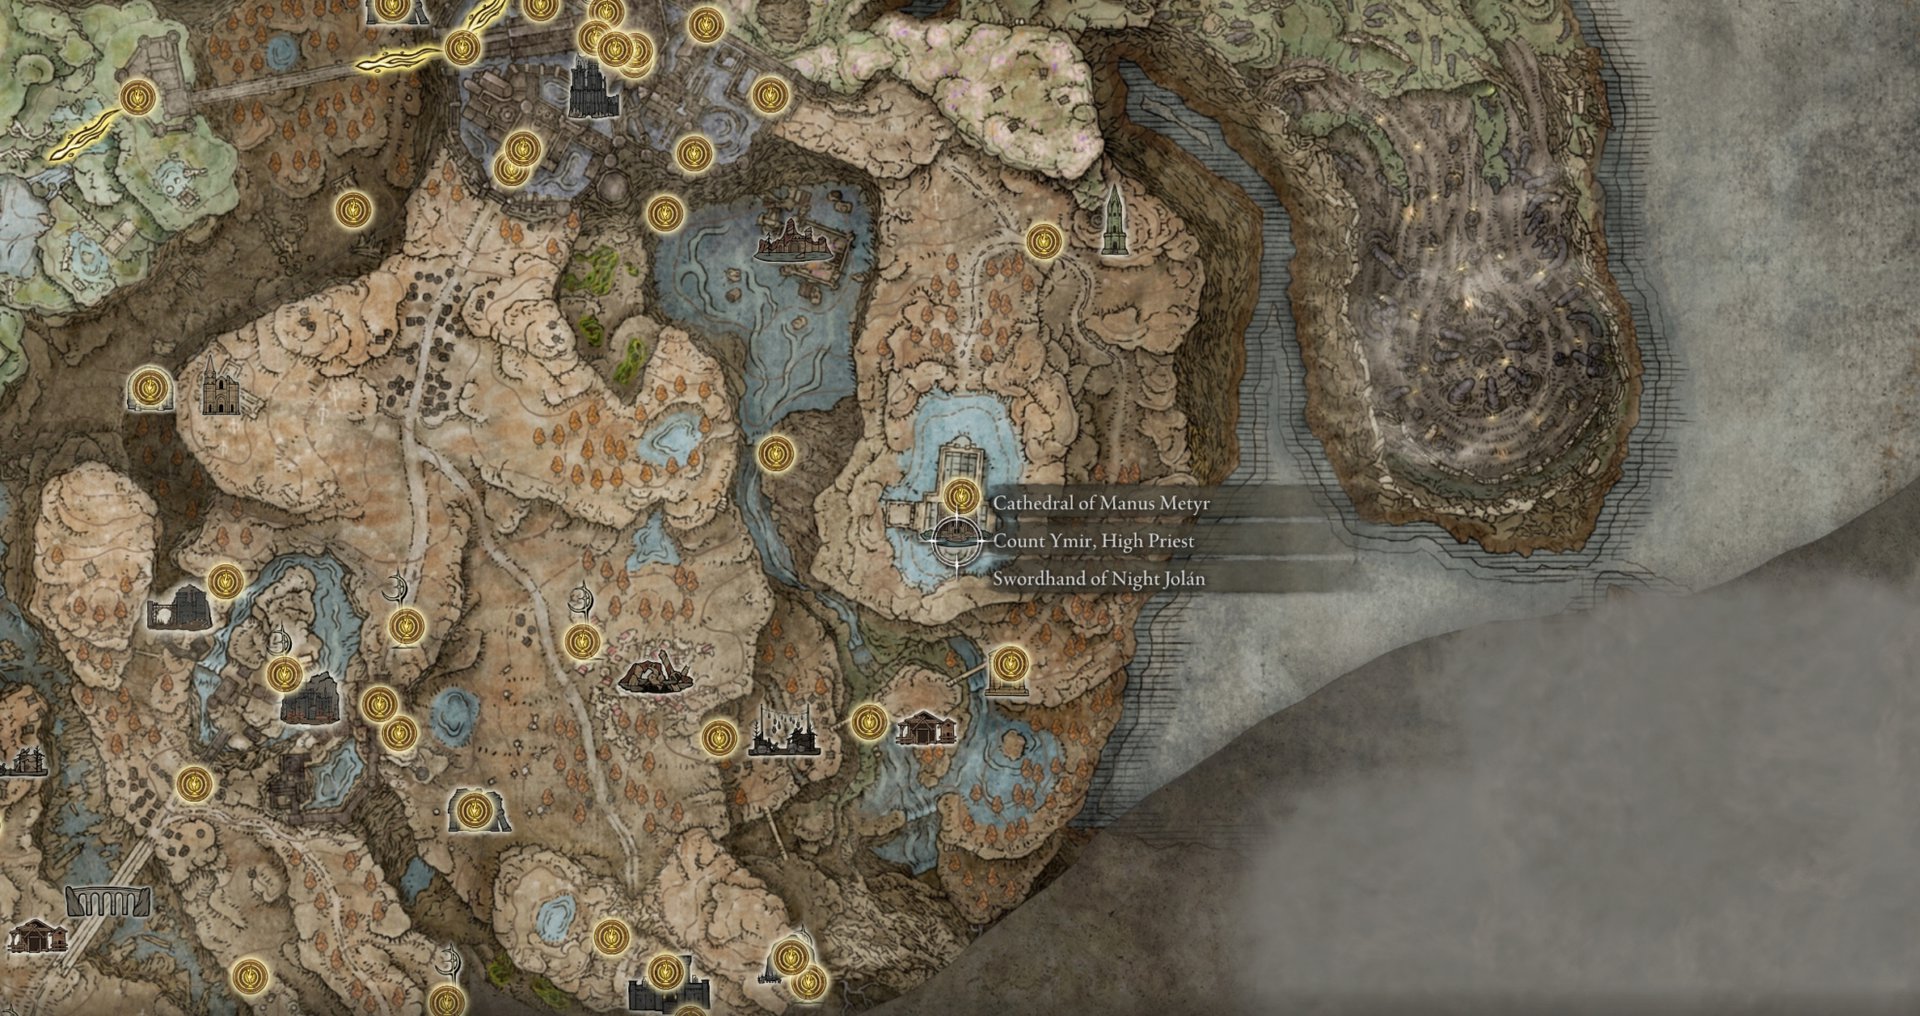
You can learn Carian Phalanx from both Preceptor Selluvis at Caria Manor at Liurnia in the Lands Between, or from Count Ymir, High Priest, at the Cathedral of Manus Metyr on Scadu Altus in the Shadow Realm in exchange for 12,000 Runes.
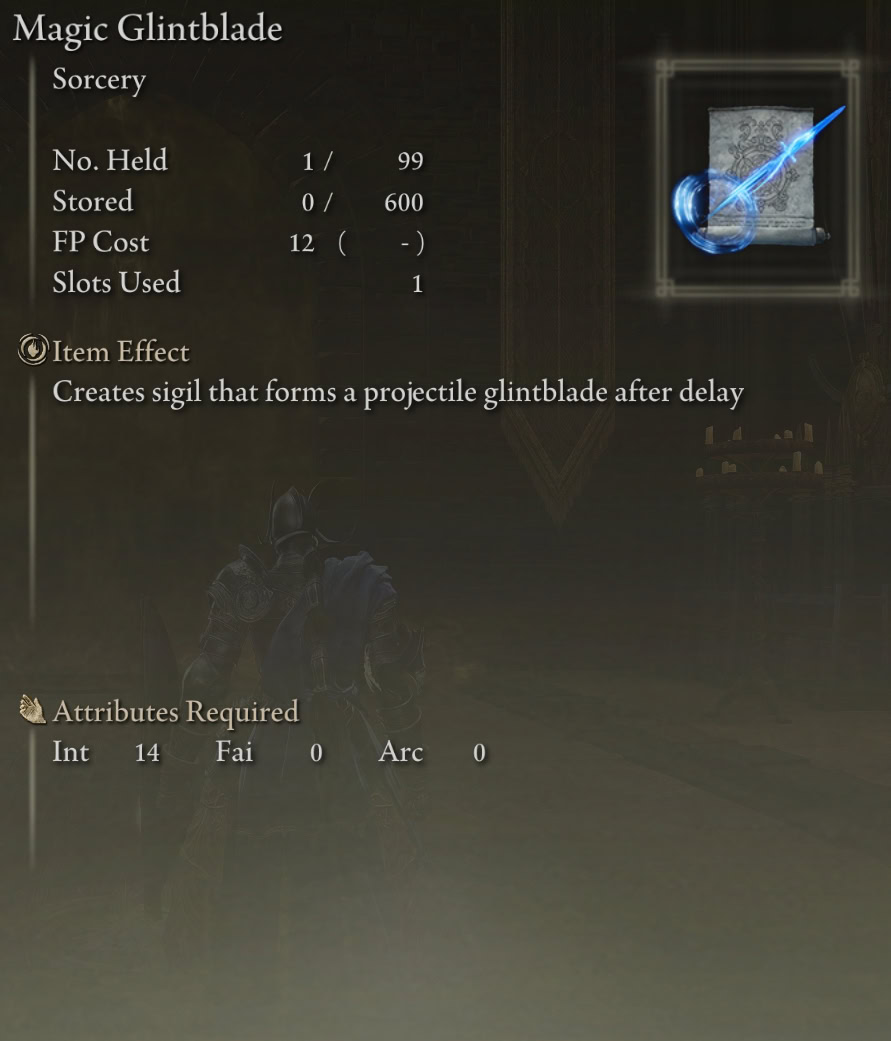
Magic Glintblade
Magic Glintblade conjures a single Glintblade that fires after a short delay and charging it will increase both the damage dealt and the duration of the delay. The timing is synced up so that this Sorcery is an optional precursor to Glintblade Trio.
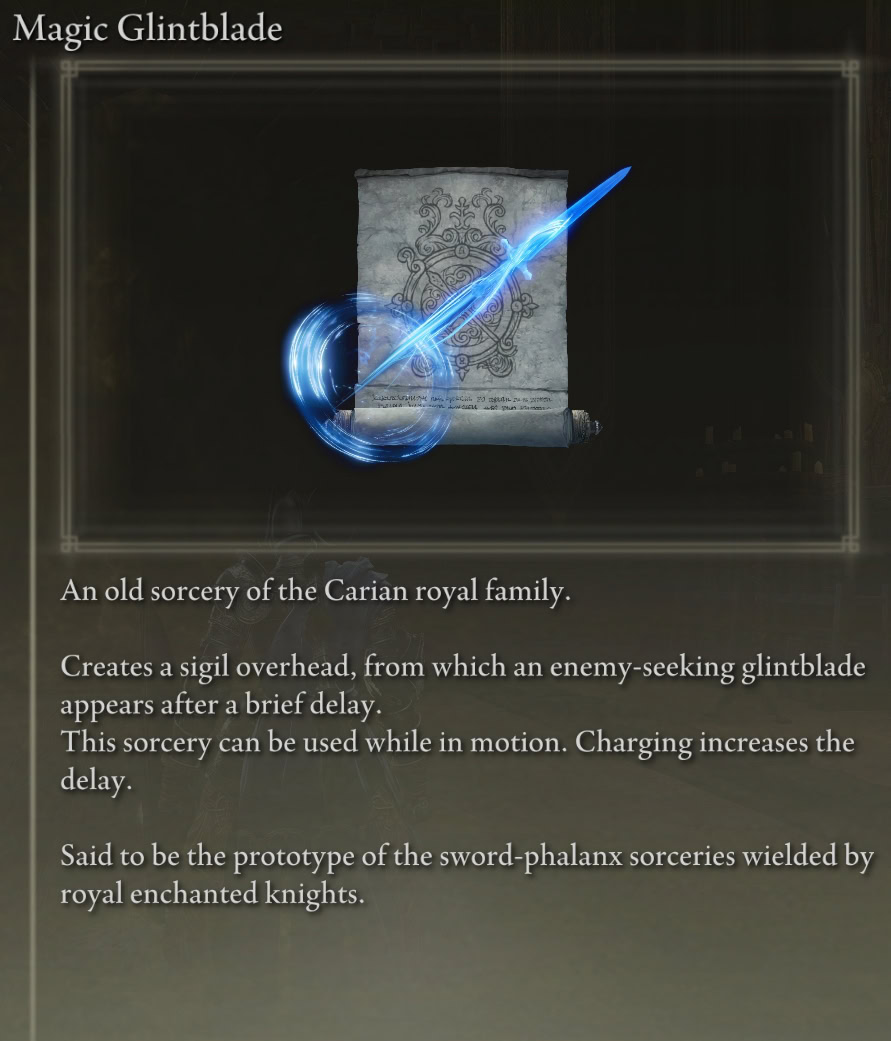
Magic Glintblade is stronger than individual Glintblades in Glintblade Trio, so it’s best if this is your first hit against an individual target. In addition, you can cast Magic Glintblade while moving and chain activations together, making this the better option if you want to cast it when you’re already in combat.
The delay for Magic Glintblade is longer, but it will fire at the same time as Glintblade Trio if you cast them back-to-back. Keep in mind that this aspect of inter-Glintblade synchronization only happens if you combine like with like, so either they both should be charged or both be uncharged. I’ll go over combos in the next section.
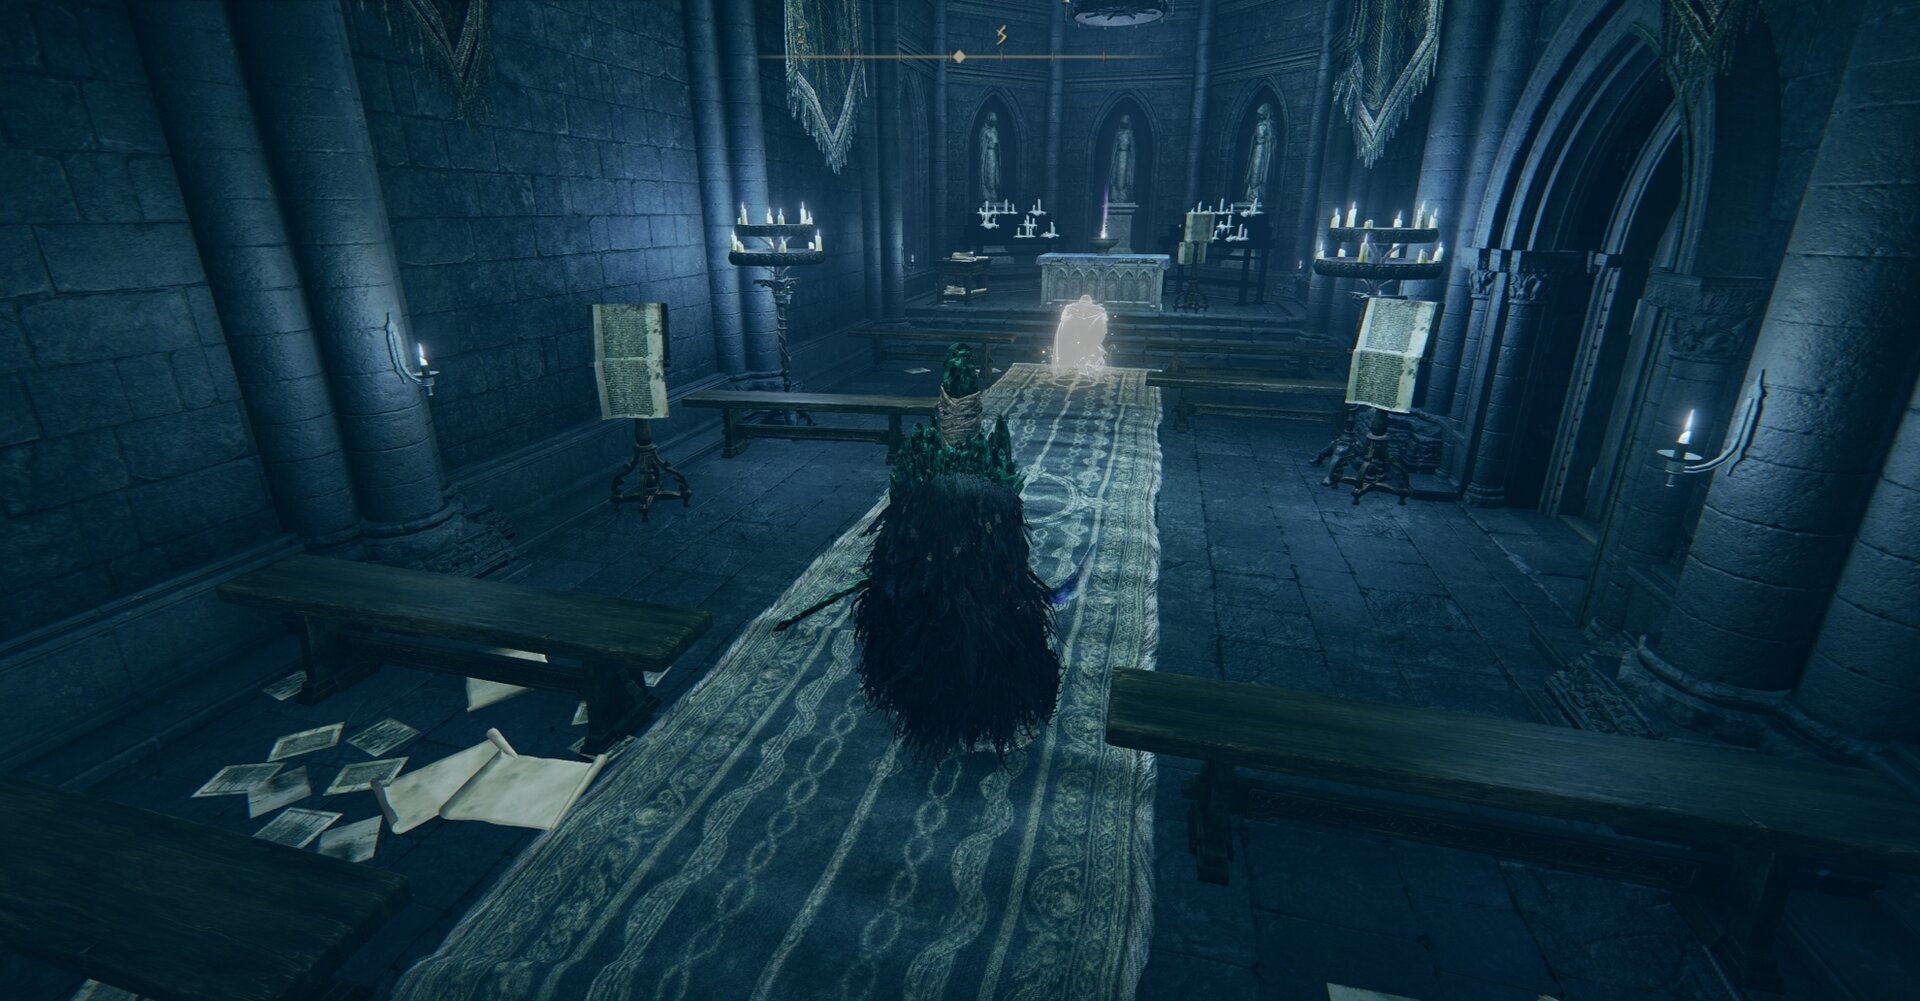
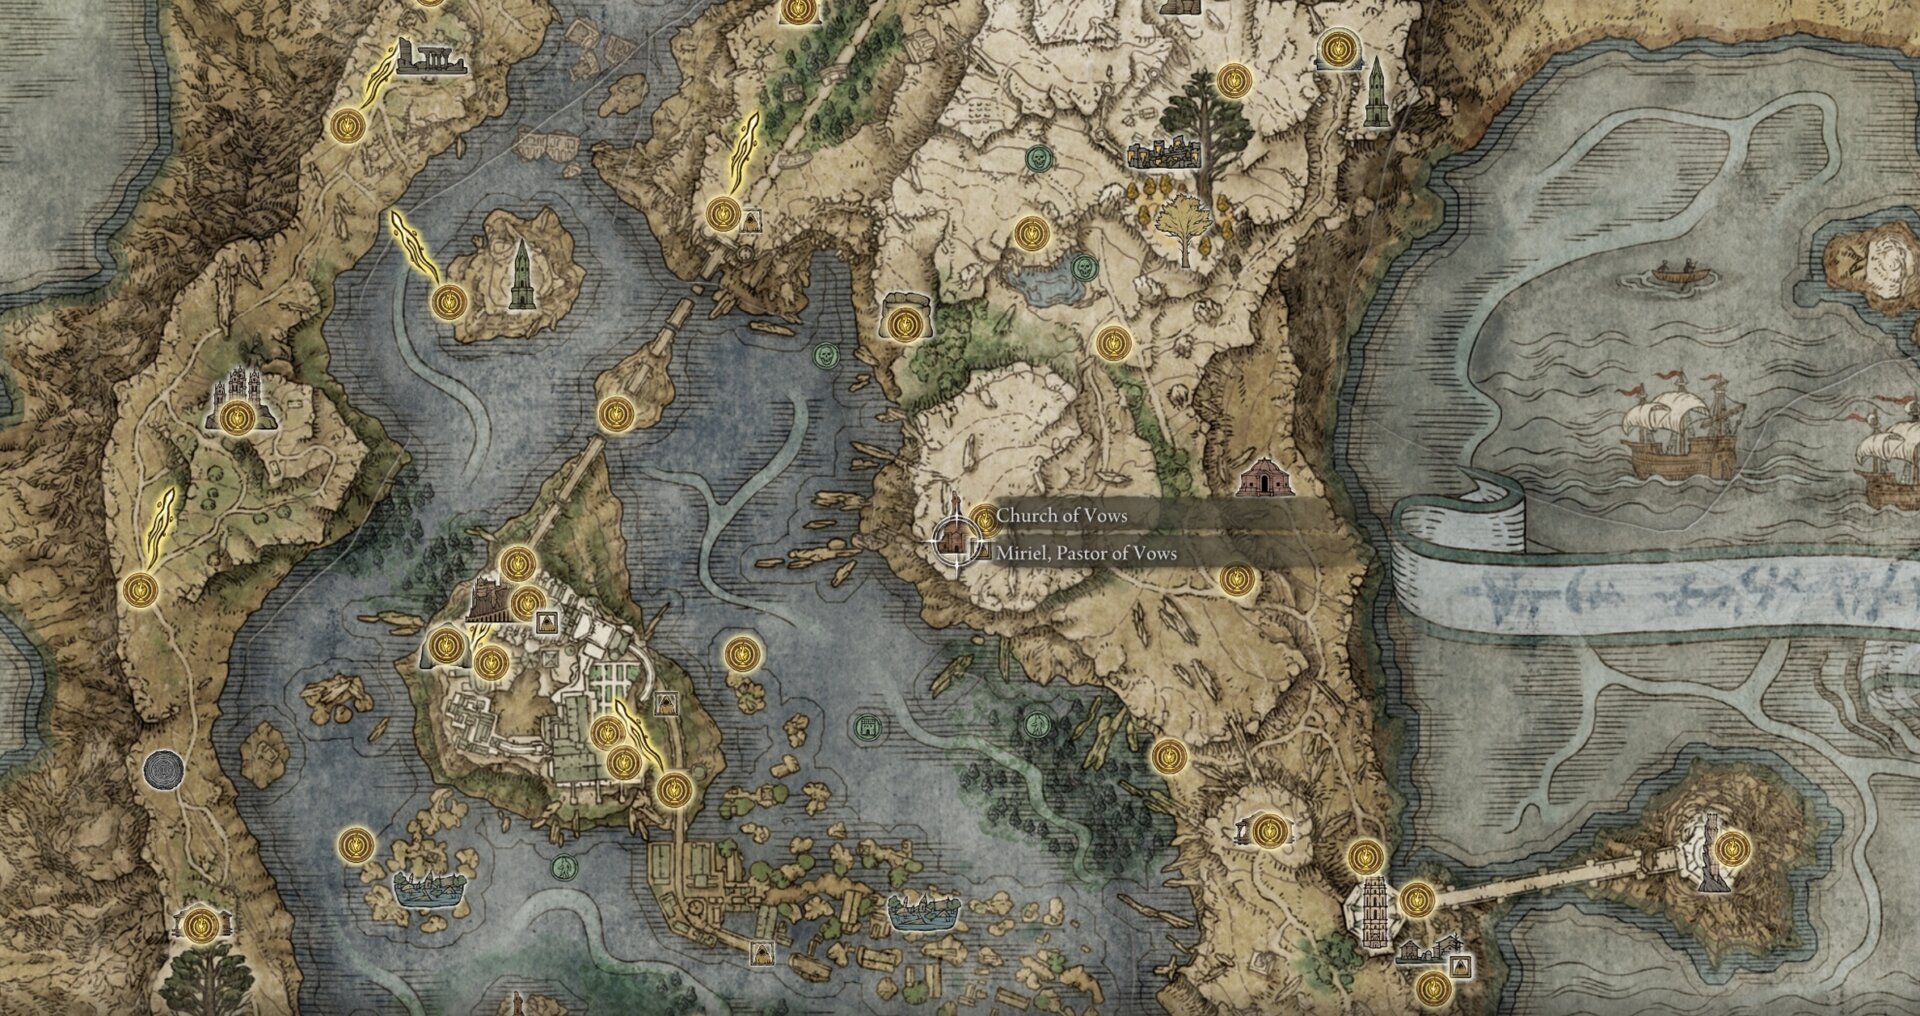
You can purchase Magic Glintblade from the Miriel, Pastor of Vows (Turtle Pope), for 3,000 Runes. He’s located at the Church of Vows overlooking Liurnia of the Lakes.
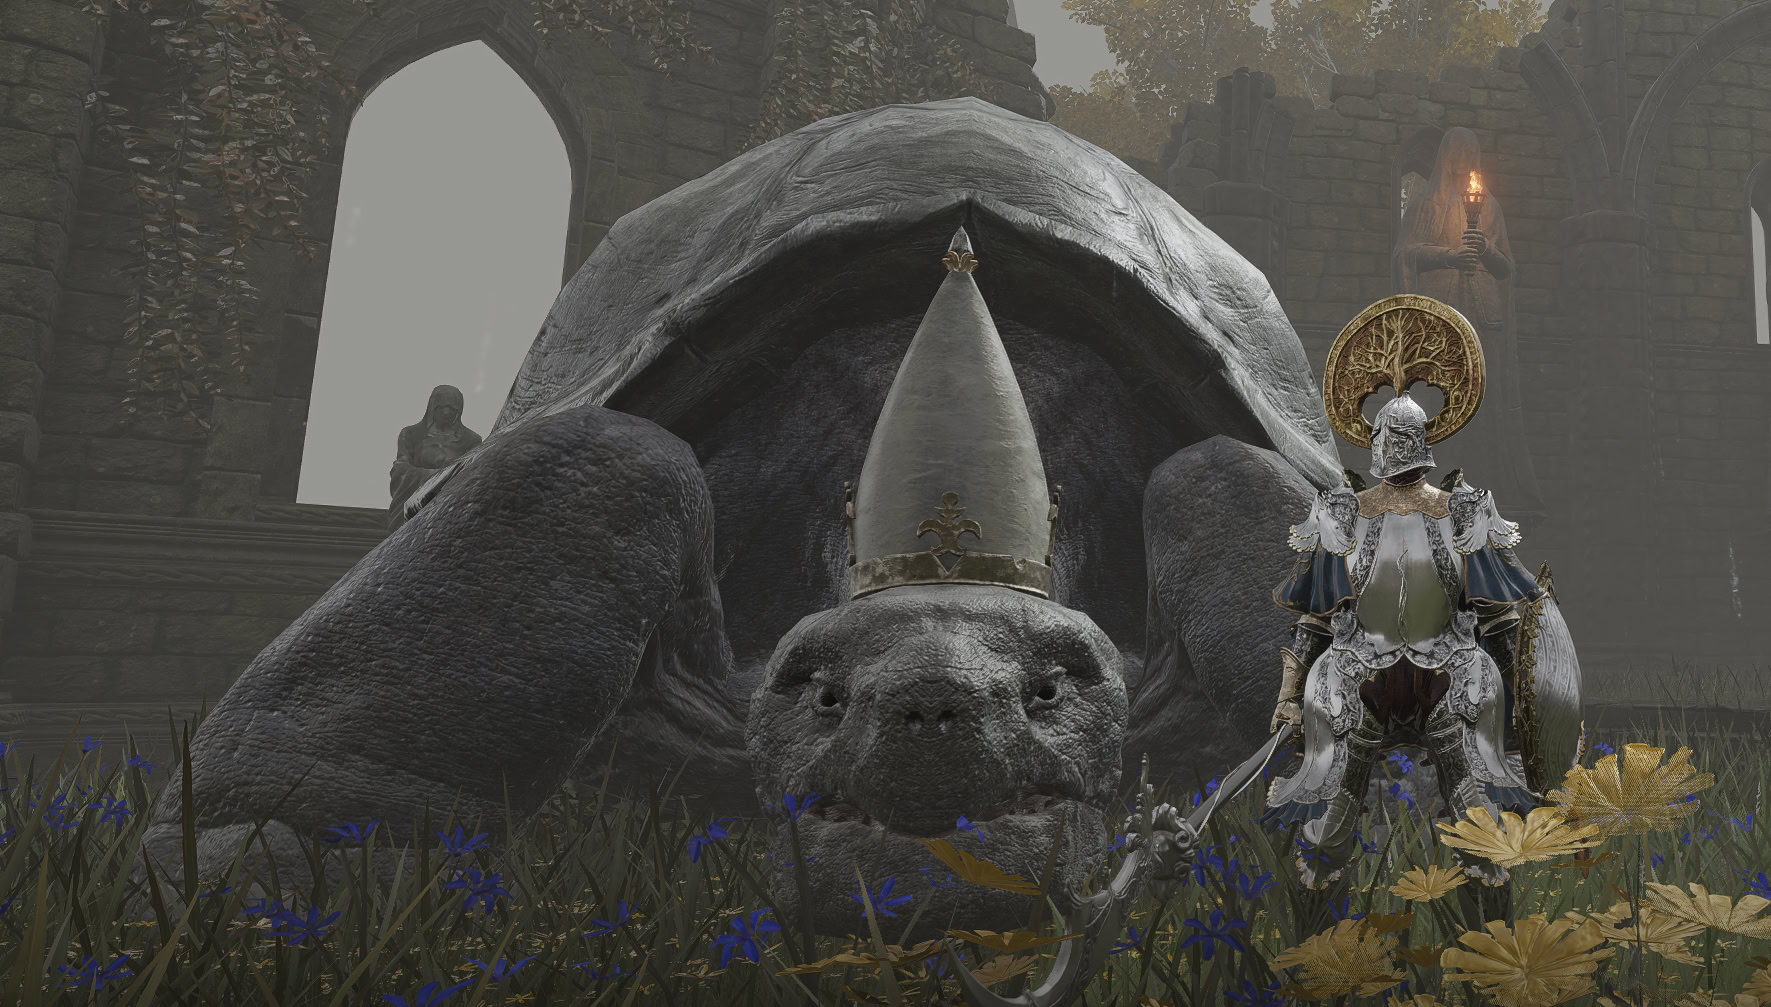
When I went to go grab a selfie with Mr. Turtle Pope as Relanna, I was struck by horror, as he was not there! Then I remembered I murdered him and now I’m sad.
Glintblade Trio
Glintblade Trio conjures 3 Glintblades instead of 1. The delay is shorter and the overall damage is higher, but you can’t cast it while moving or chain it together. The charged version is synced up with the hold time for Rellana’s Cameo and the cast times for Rennala’s Full Moon | Ranni’s Dark Moon, and Comet Azur.

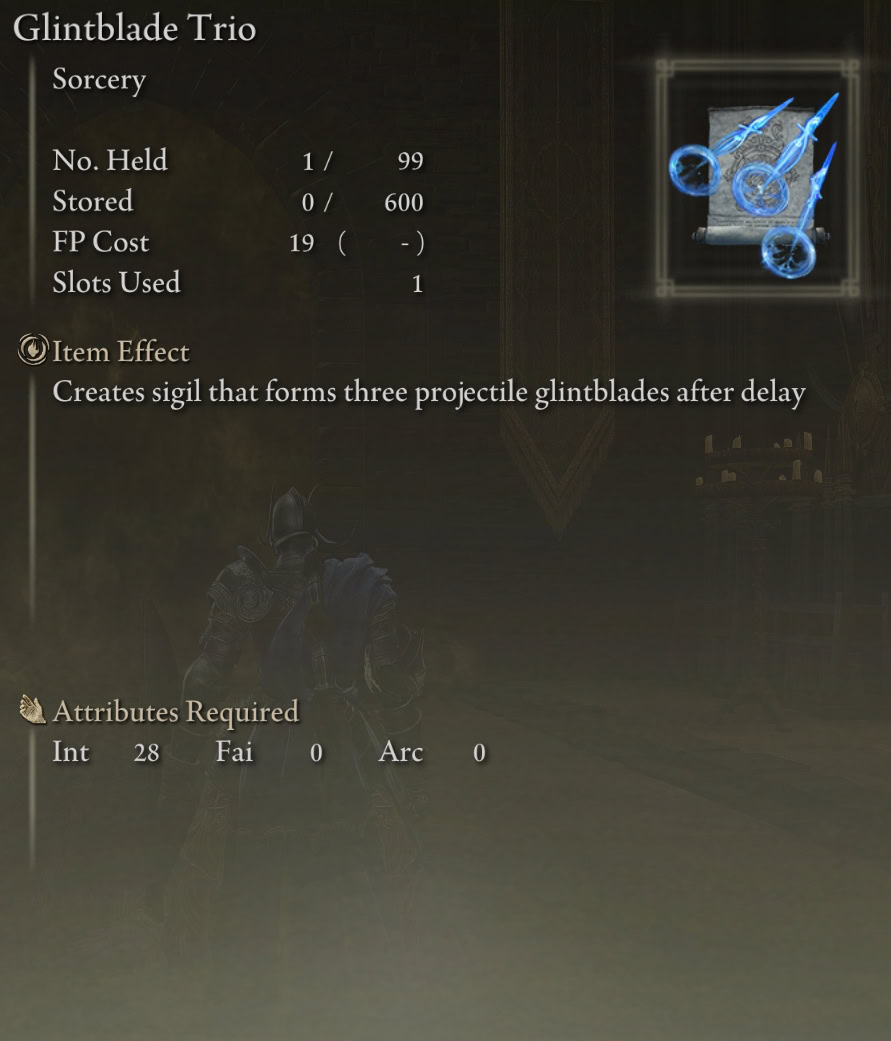
That being said, it makes more sense to use just the Phalanx Sorcery if something is actively attacking you. Only use Glintblade Trio if you have an opportunity to cast something beefy.
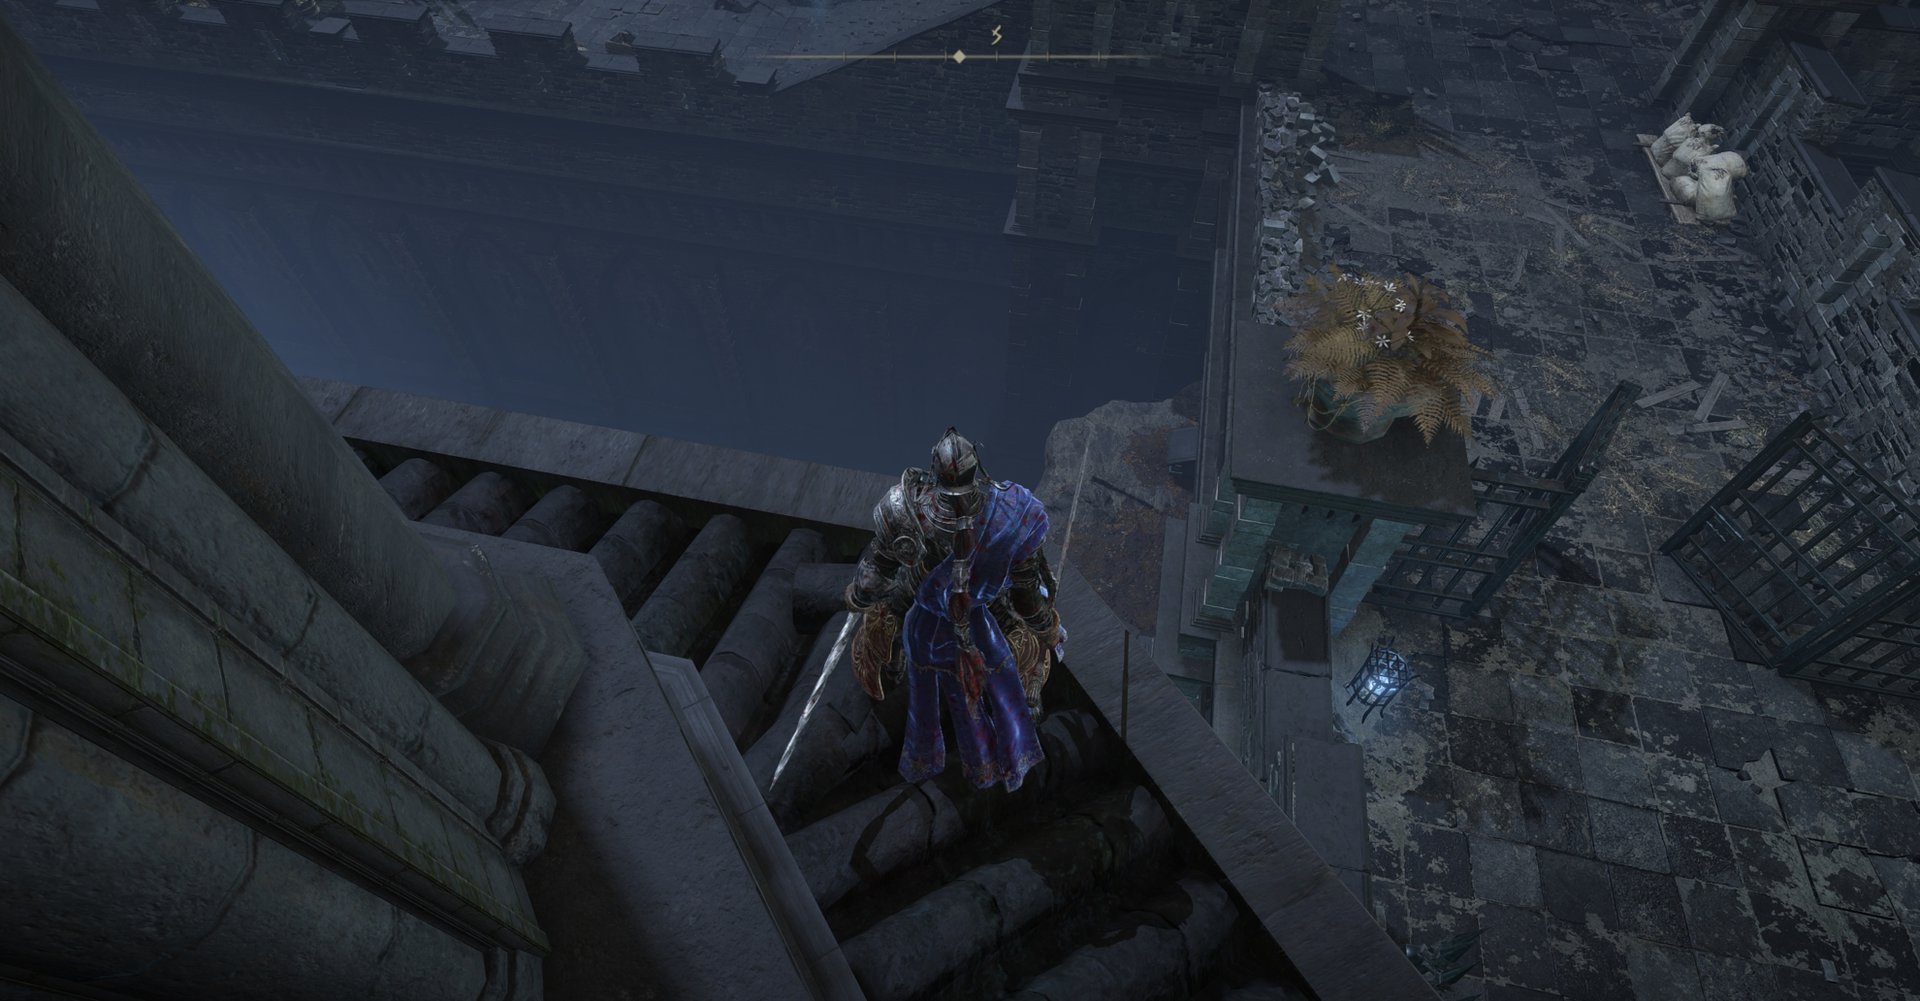
You can loot Glintblade Trio from a dangling corpse at Castle Ensis overlooking the stairs leading to the chest with the Wolf Crest Shield in it.
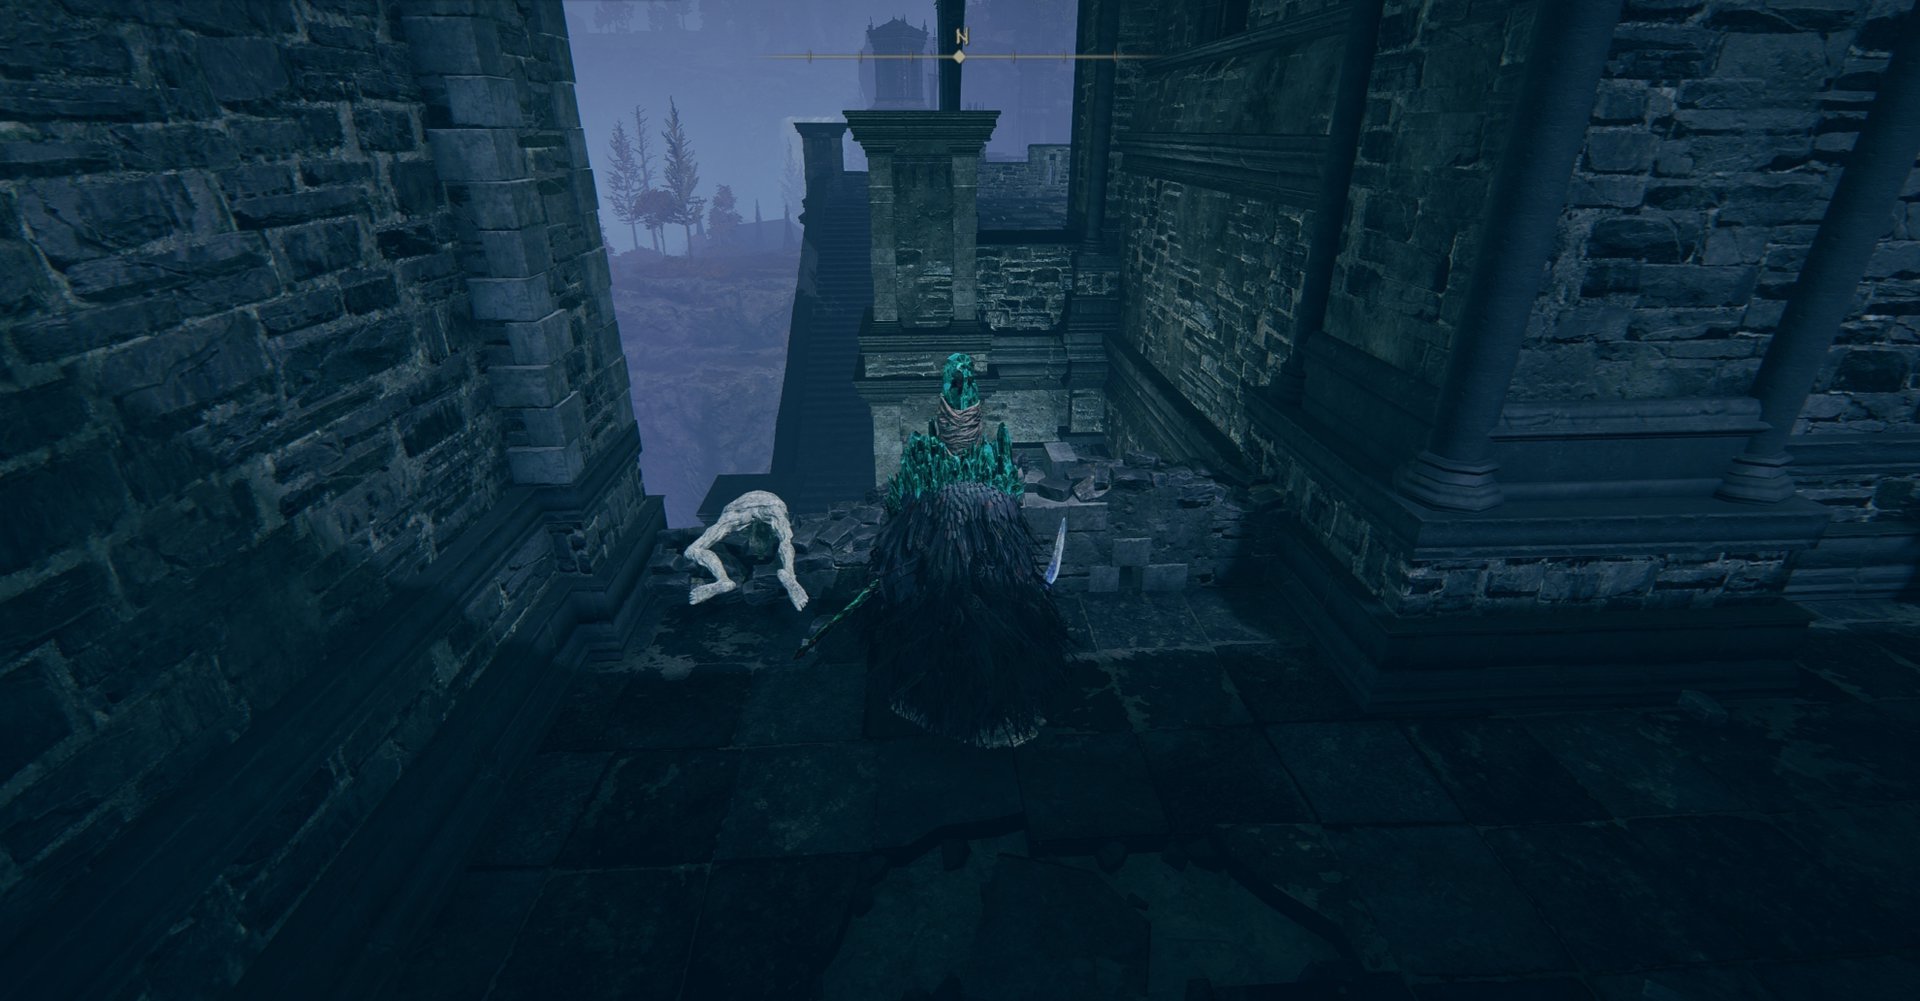
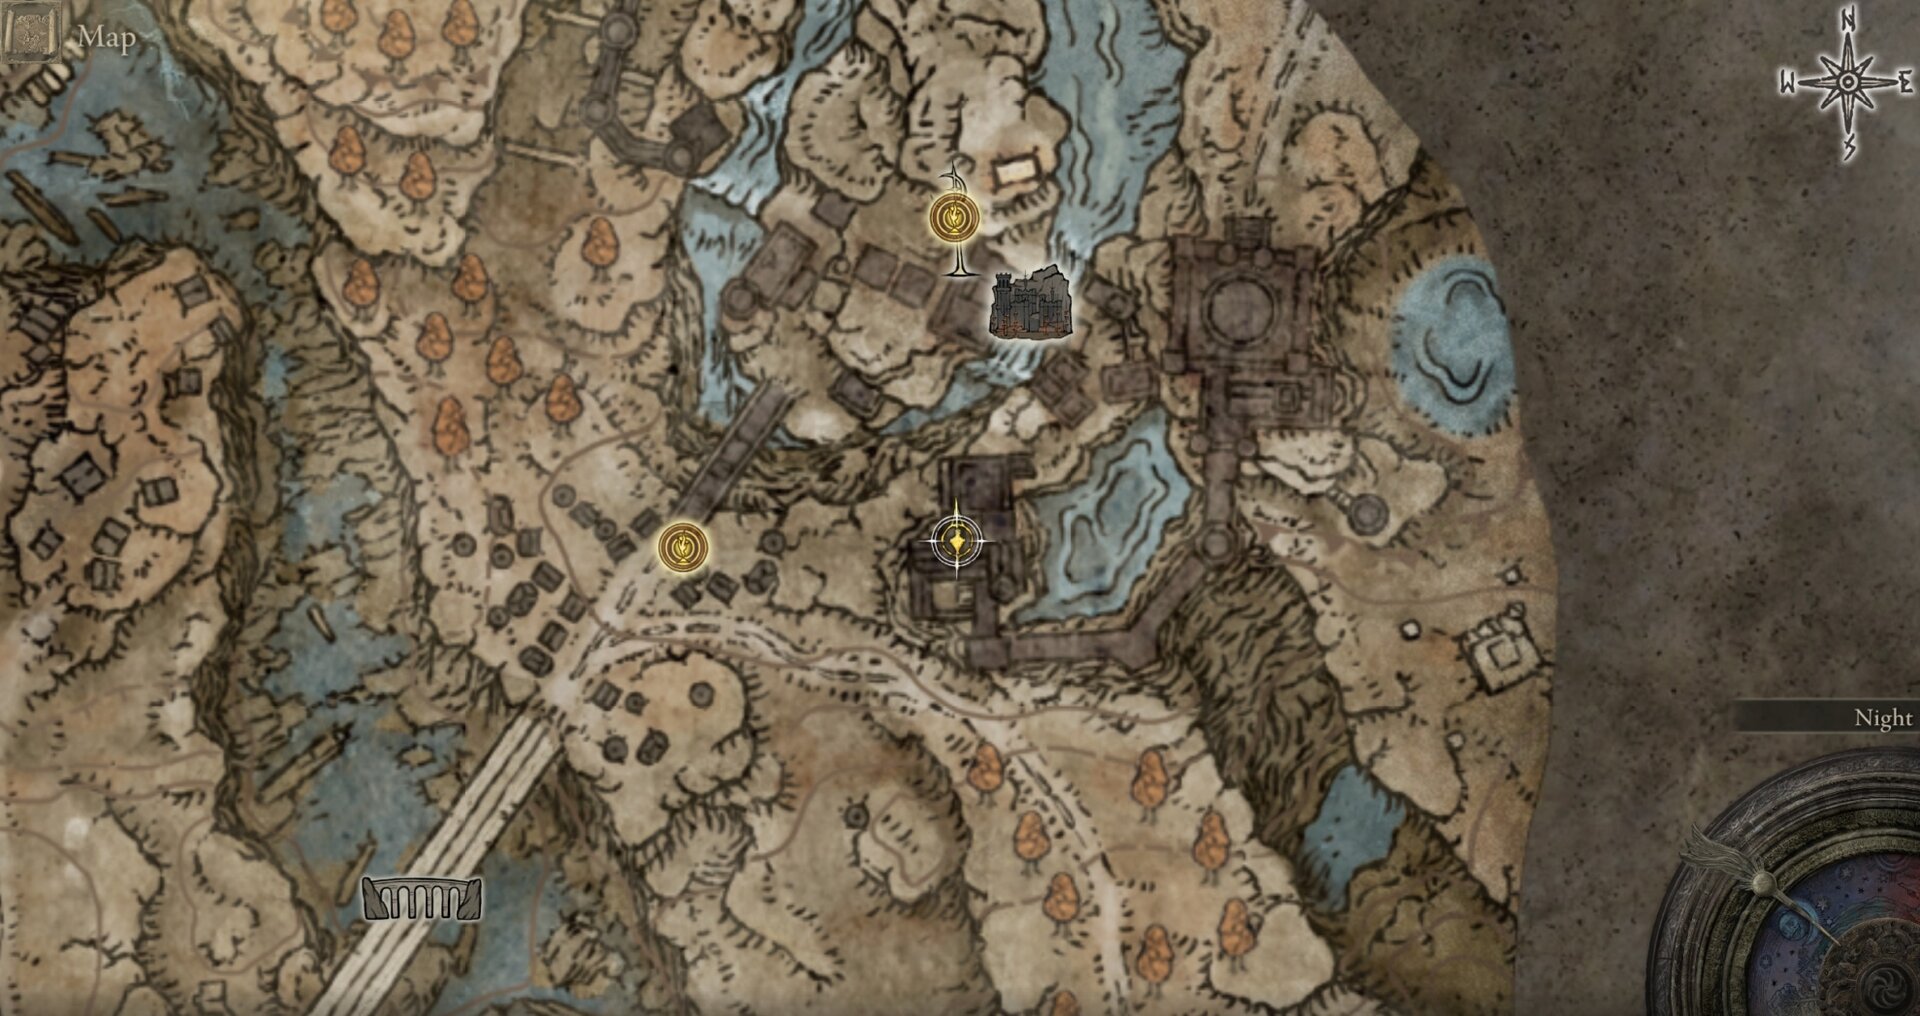
In order to reach this spot, you have to head through the gate you open that leads to the rampart section, and then drop down onto the ground, then use ladders to climb onto the roof.
Look out for a Page waiting to ambush you at the top of the ladder! It seems he was using that bumbling Aristocrat up there as bait. Teach them both a lesson for trying to pull one over on the Elden Lord!
Rennala’s Full Moon or Ranni’s Dark Moon
Unlike Rellana, both of her relatives apply the Magic Damage Negation debuff when they moon their target, and that’s super valuable to have with any build that deals a lot of Magic damage.
Both Lunar Sorceries benefit from the Carian Regal Scepter and enable you to deal AoE damage from super far away as well, which is useful if you don’t want to or can’t get close to a group of enemies. However, you only need one of them.
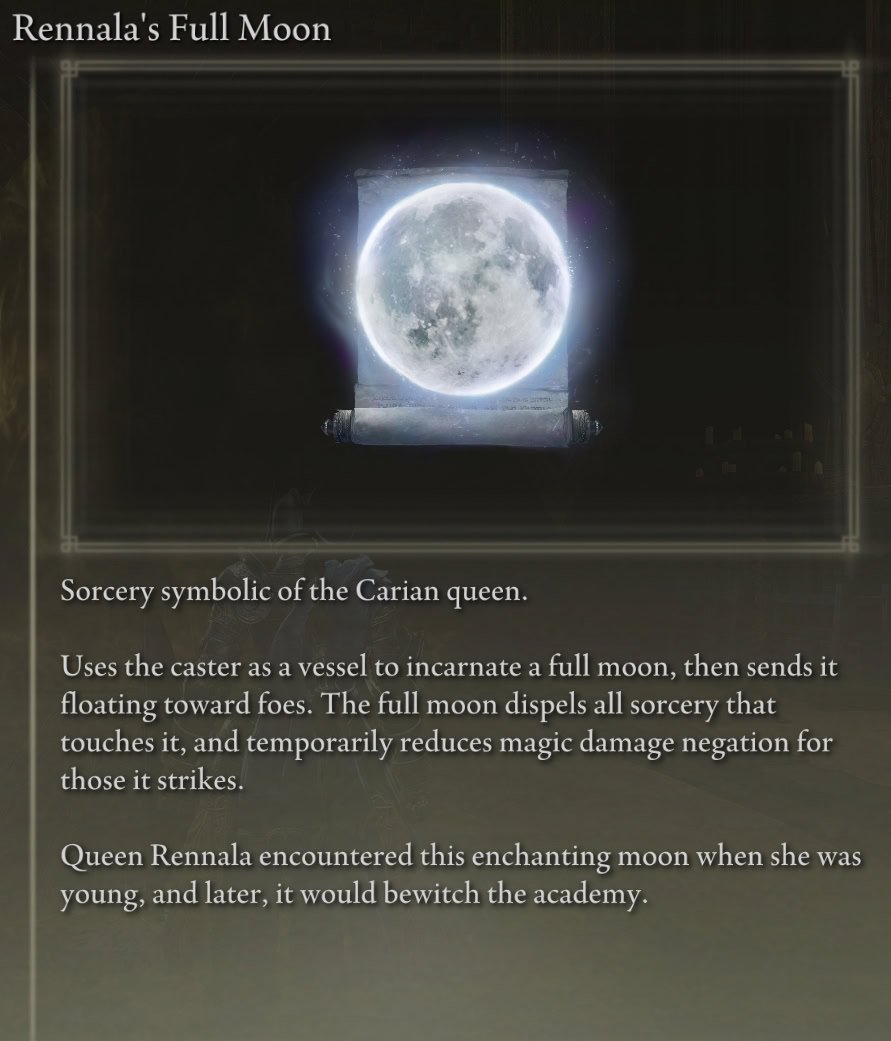
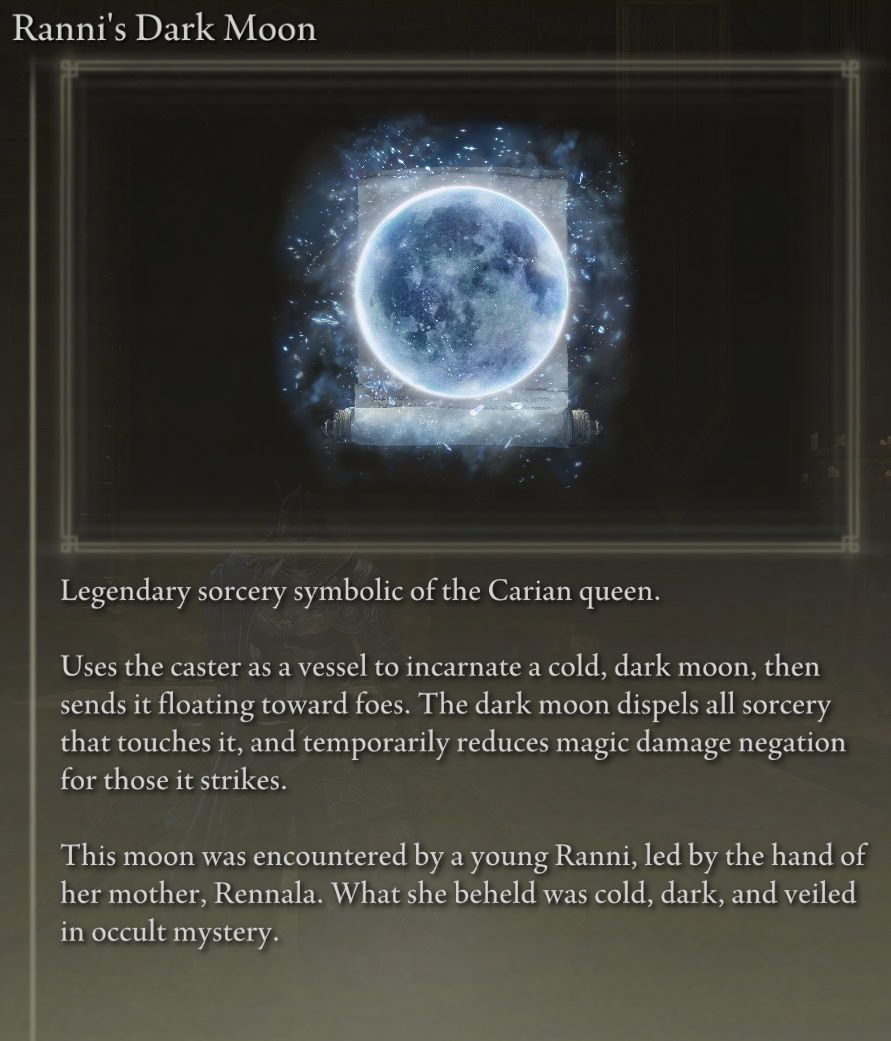
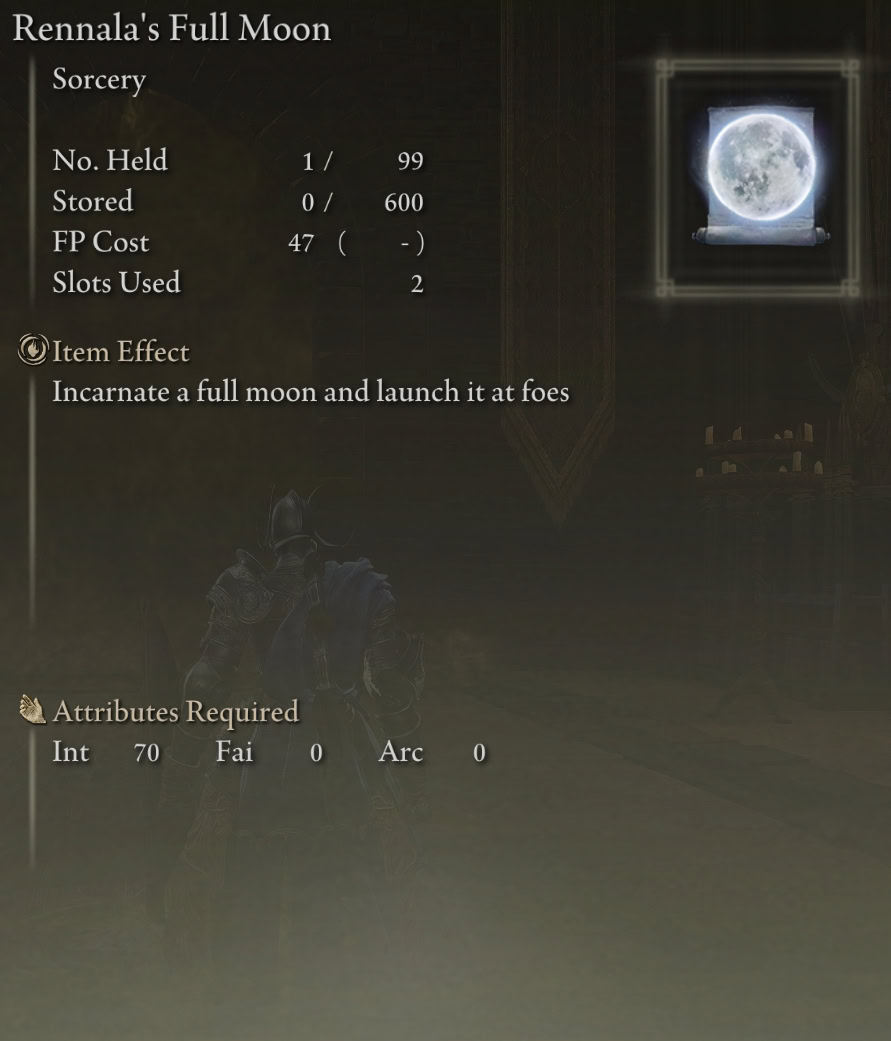
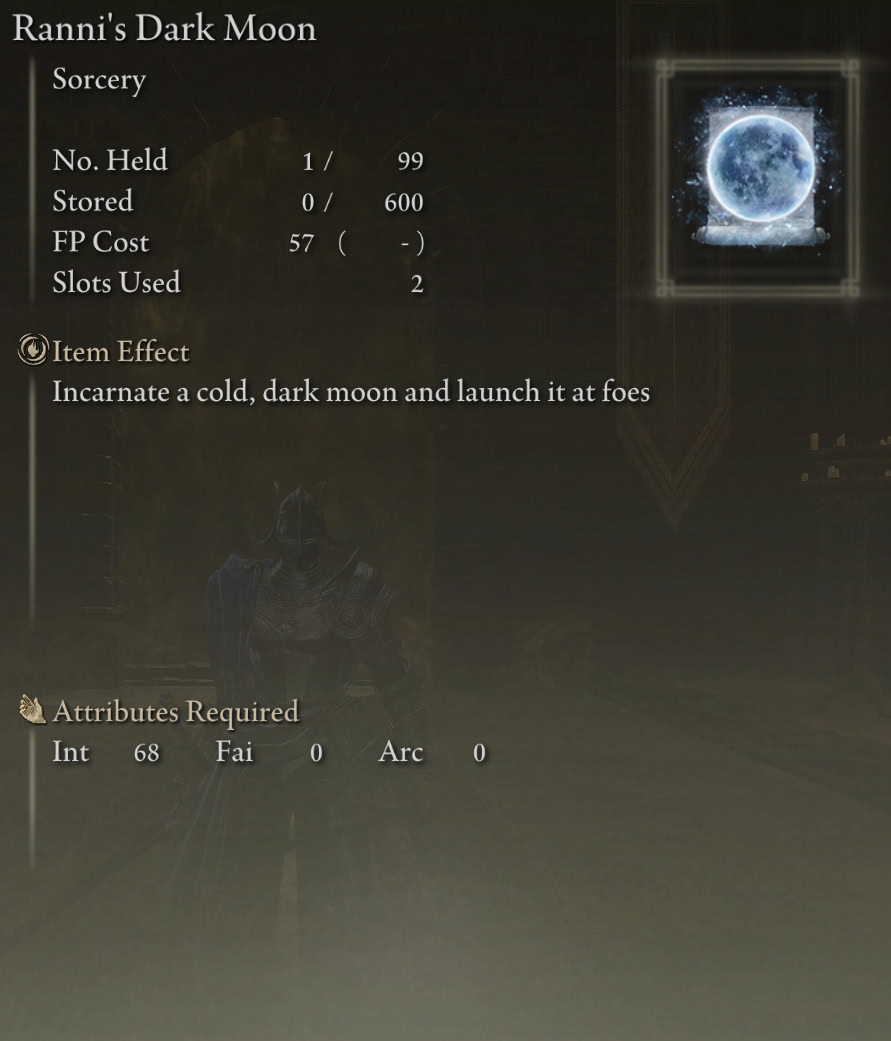
Rennala’s Full Moon is more appropriate, in my opinion, because they are sisters. It also costs less FP and isn’t so ridiculously out of the way. That being said, Ranni’s Dark Moon is more powerful, and it’s your only option if you’re short on Remembrance duplication, you just need to complete Ranni’s entire questline and grab it from Chelona’s (super annoying) Rise.
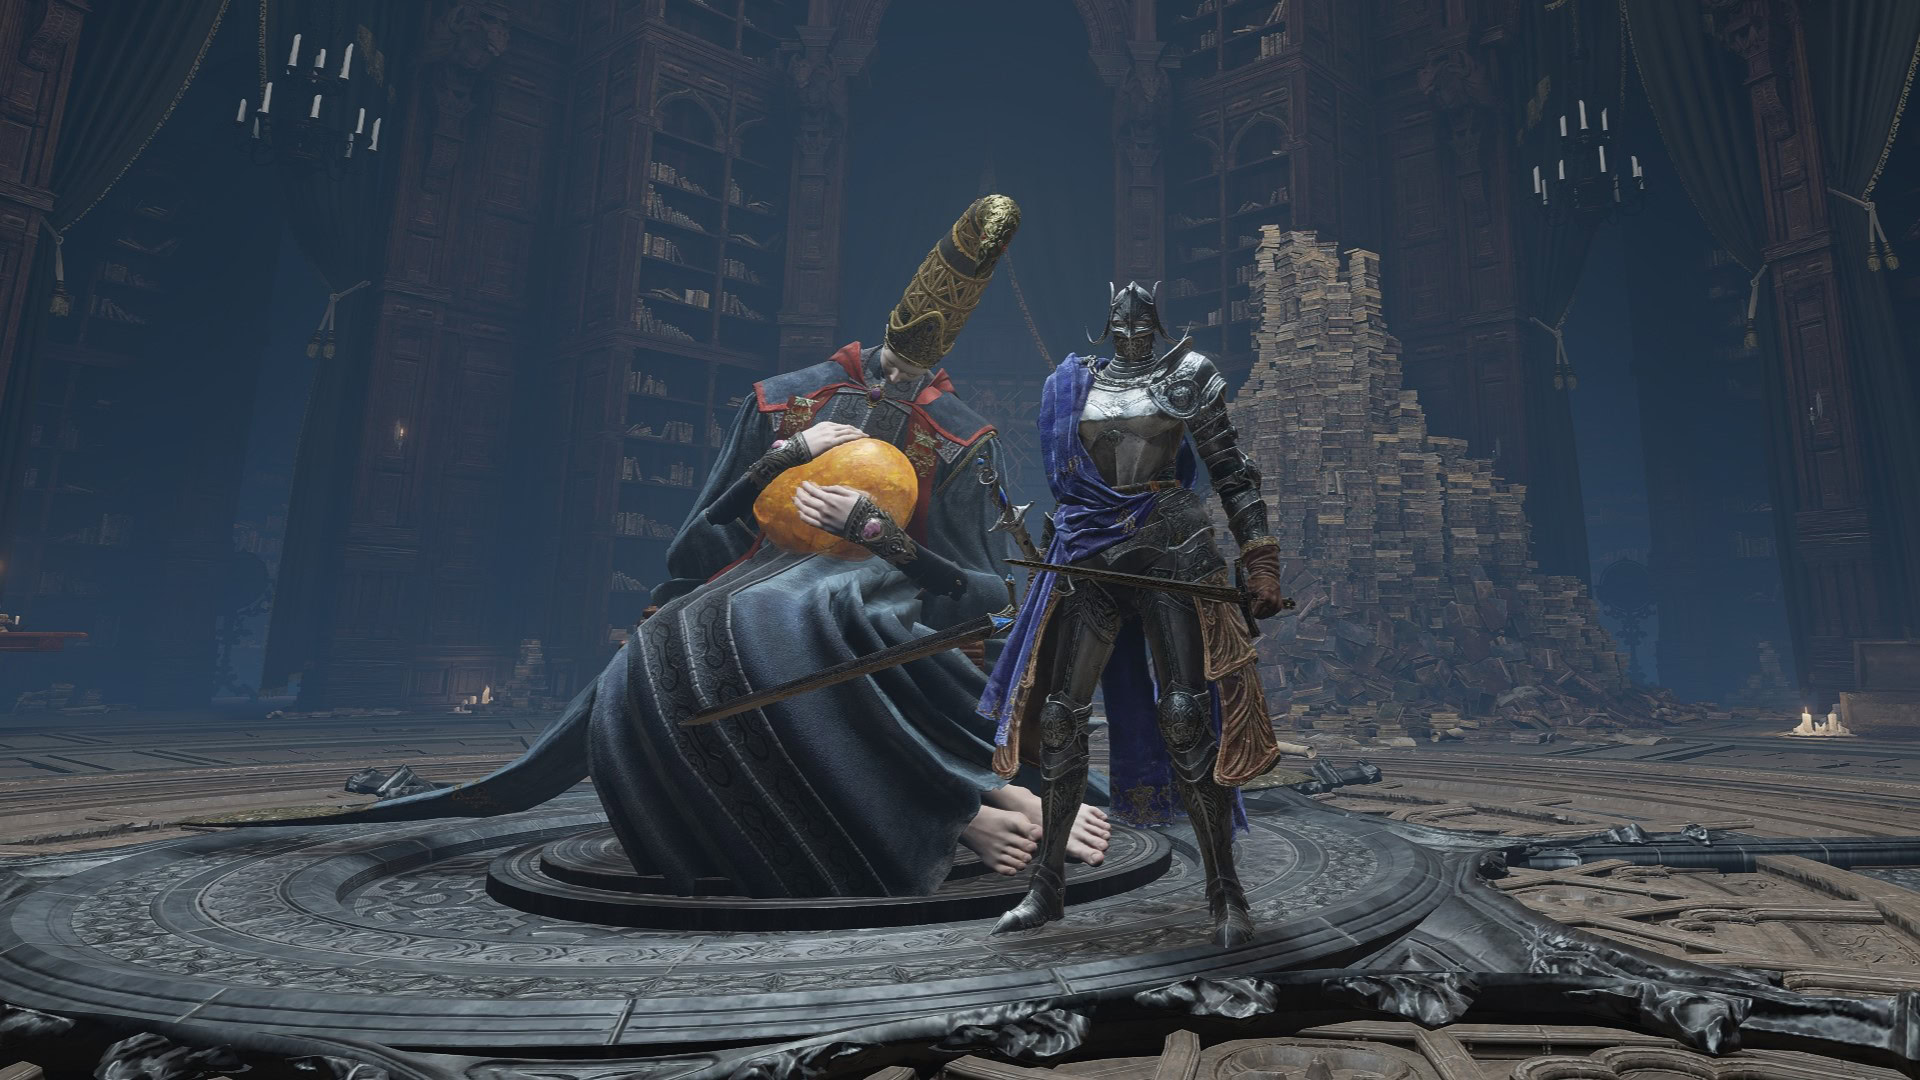
All you have to do to get Rennala’s Full Moon is trade in the Remembrance of the Full Moon Queen to Finger Reader Enia at the Roundtable Hold after you defeat the depressed woman locked away at the magical library.
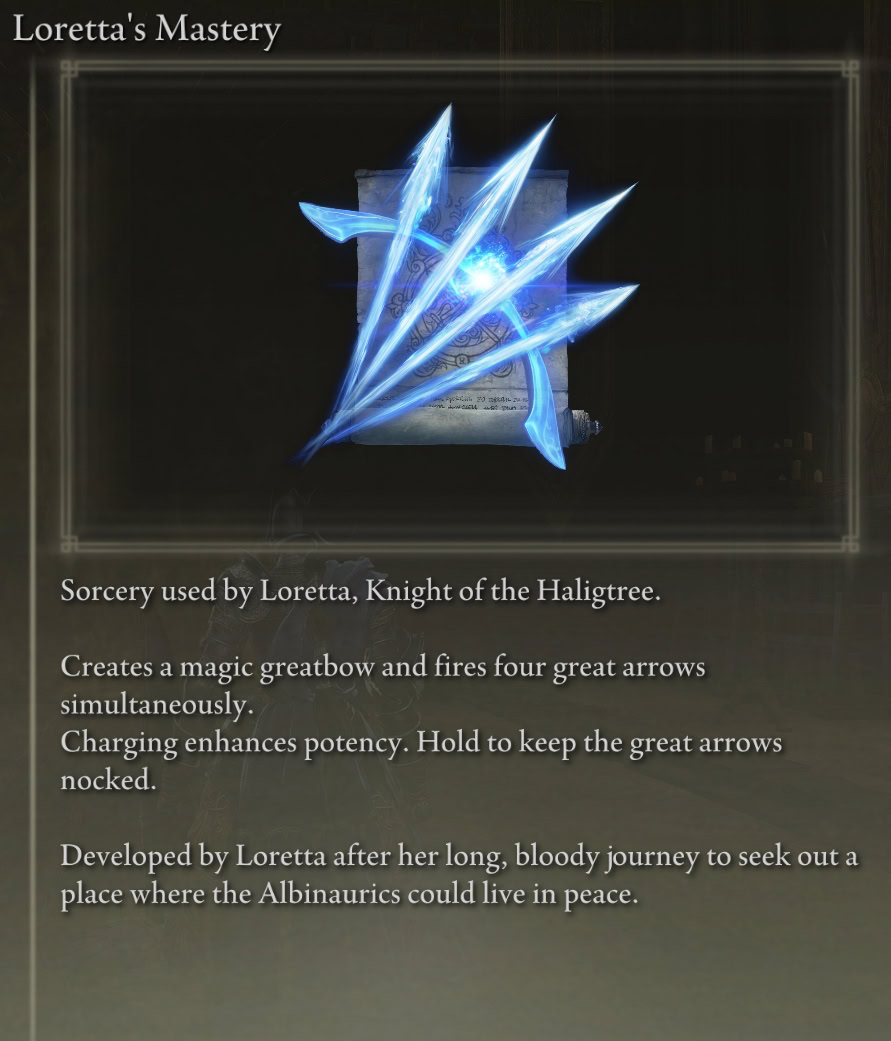
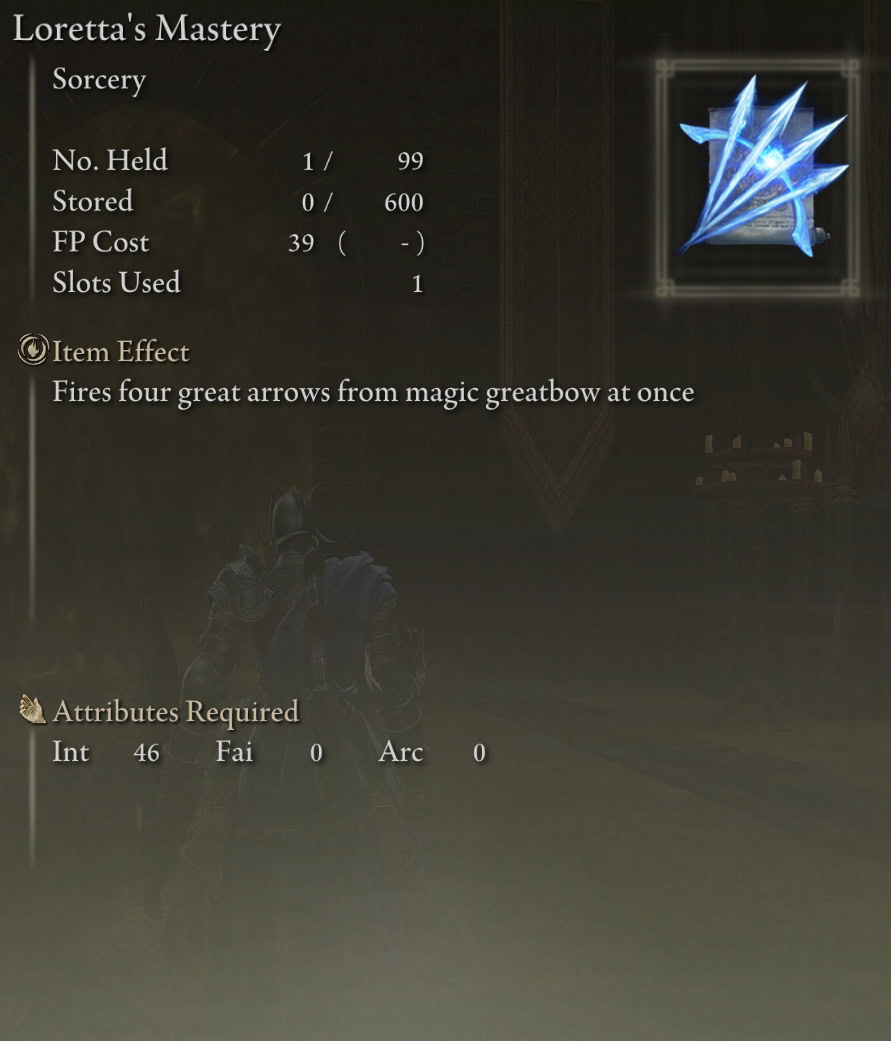
Loretta’s Mastery
Loretta’s Mastery is your super long-range option. When fully charged, it will assassinate just about anything, assuming you can land all 4 shots. It doesn’t work as well once you’re in combat as it has a super long cast time and a sort of minimum range as the Glintarrows need time to converge on their target.
It works a lot better in the Realm of Shadow than it does in the Lands Between too. The map has a lot more verticality, so the bottom Glintarrow is far less likely to collide with the environment.
I also want to note that the charged version of Glintblade Trio is synchronized to fire at the same time as uncharged Loretta’s Mastery, while the charged version of Magic Glintblade fires at the same time as the charged version of Loretta’s Mastery.
I don’t recommend using either combo because the range requirements and capabilities of Loretta’s Mastery don’t align with that of the Glintblade Sorceries.
You receive Loretta’s Mastery as a reward for defeating Loretta, Knight of the Haligtree, supposedly guarding the entrance to Elphael, Brace of the Haligtree. However, I think she just lives there now because she decided to get her horse stuck in a tree and she’s just too ashamed to admit it.

If you haven’t visited the Haligtree, you can get a single-shot version called Loretta’s Greatbow for defeating her puppet at Caria Manor. You can also forego Loretta and your final 2 slots altogether in favor of Comet Azur.
Final Slots
You have 2-4 slots left over and a ton of options. If you’re using the Carian Sorcery Sword, one of those really has to be Scholar’s Shield, but the rest are really up to you.
Carian Sword Sorceries
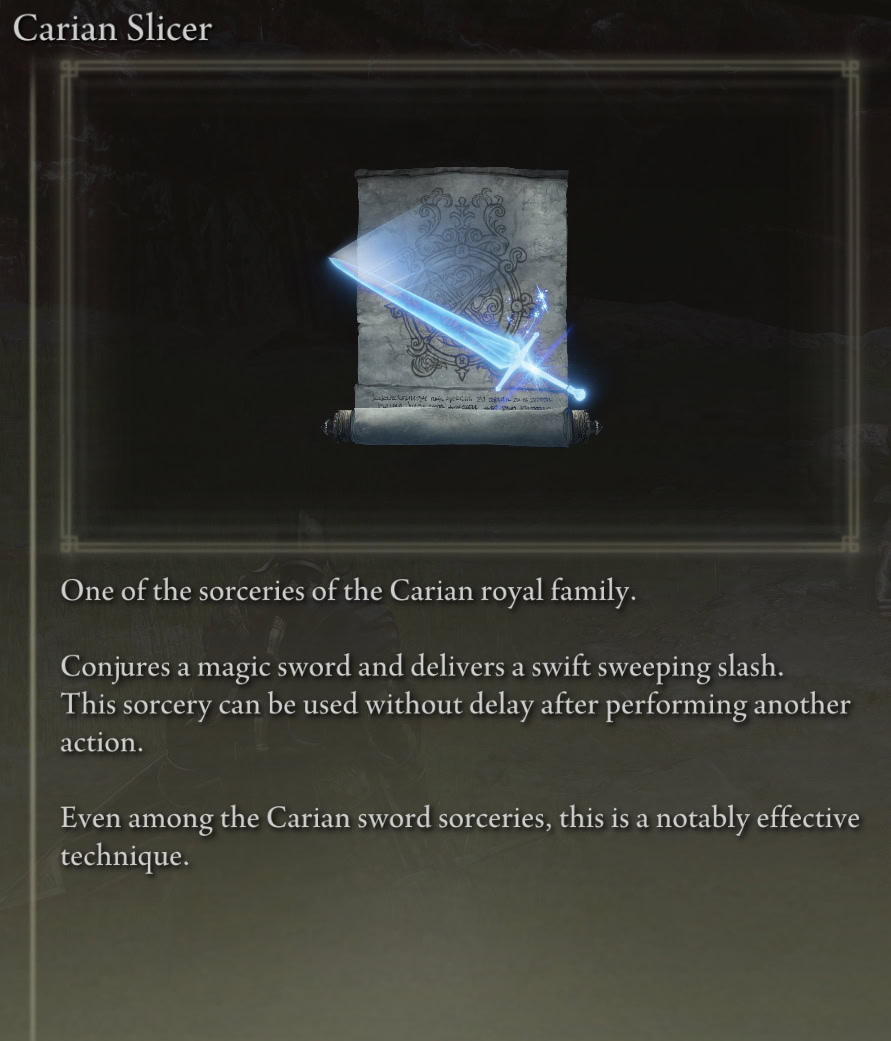
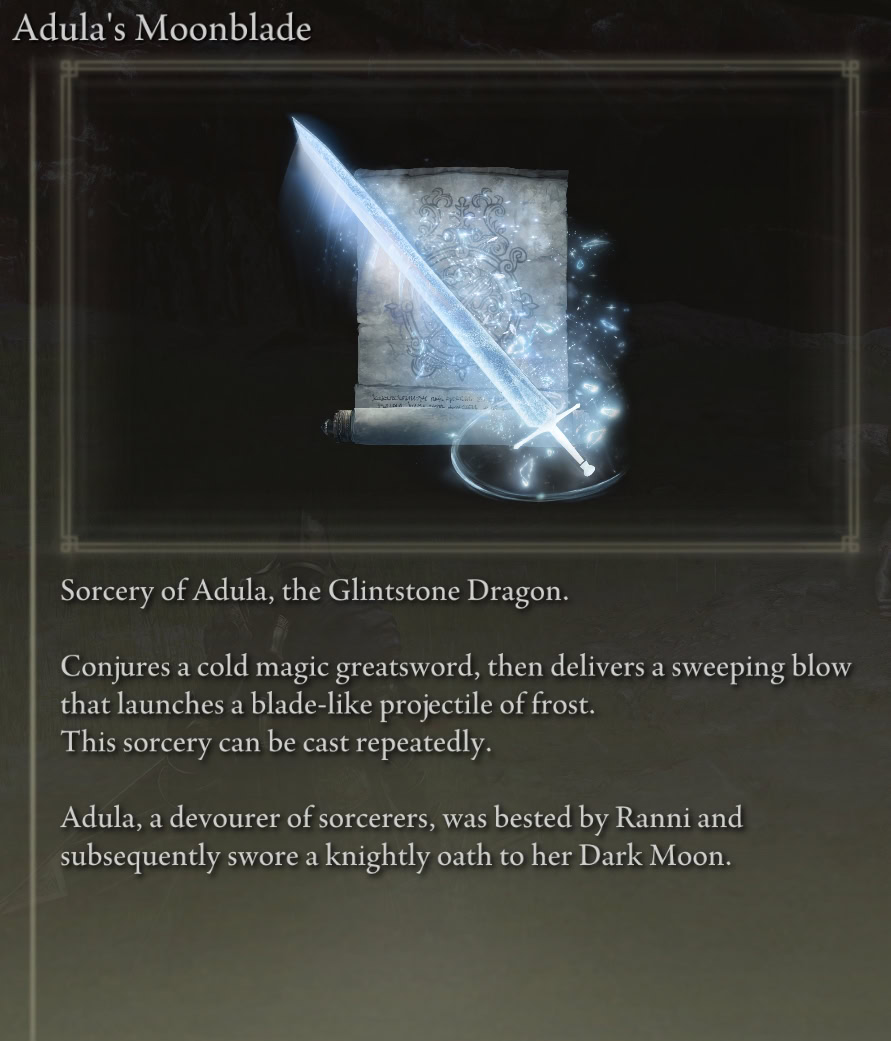
The Carian Sword Sorceries, namely, Carian Piercer, Carian Slicer, and Adula’s Moonblade pair perfectly with the Carian Sorcery Sword while remaining functional with the Carian Regal Scepter.

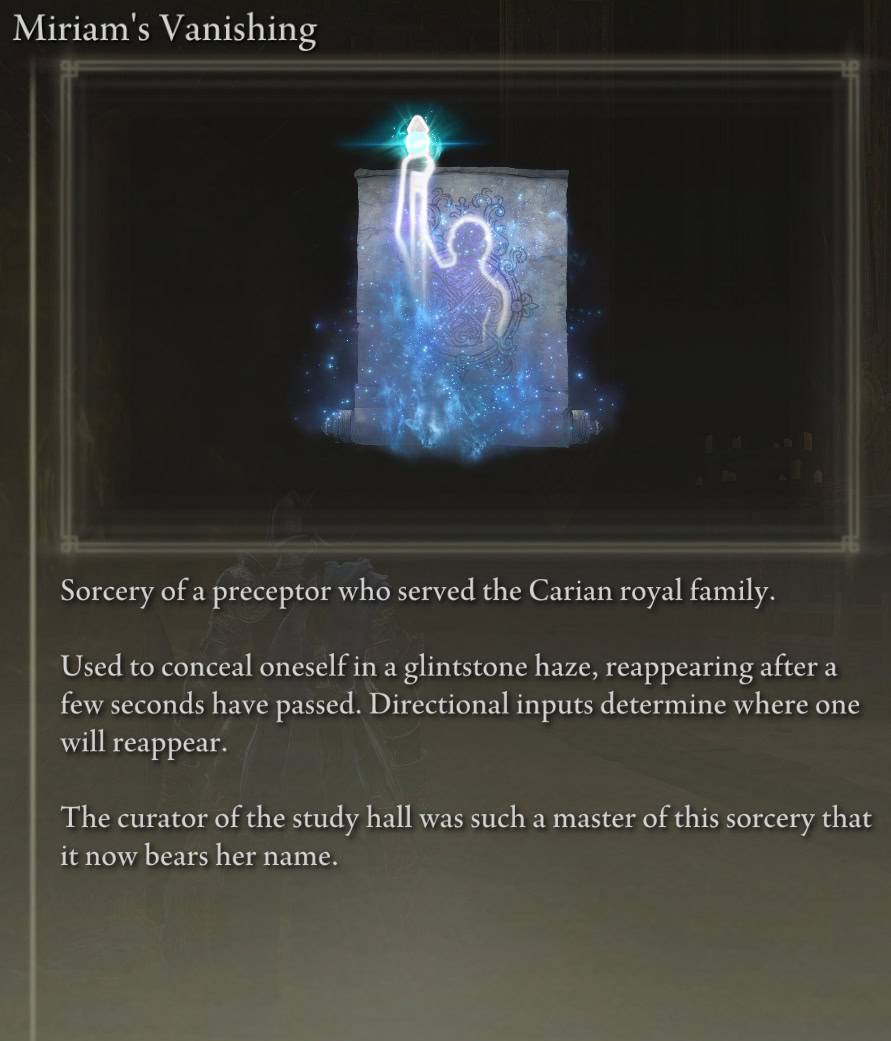
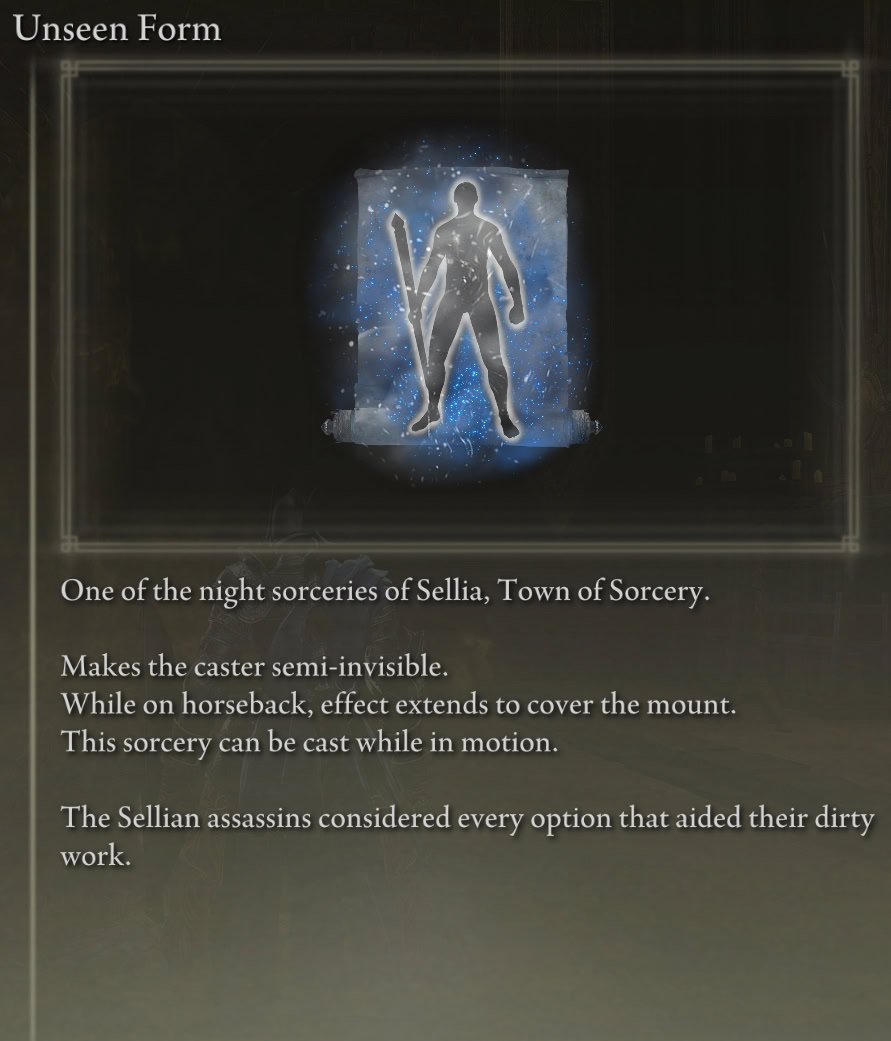
Defensive and Tactical Carian Sorceries
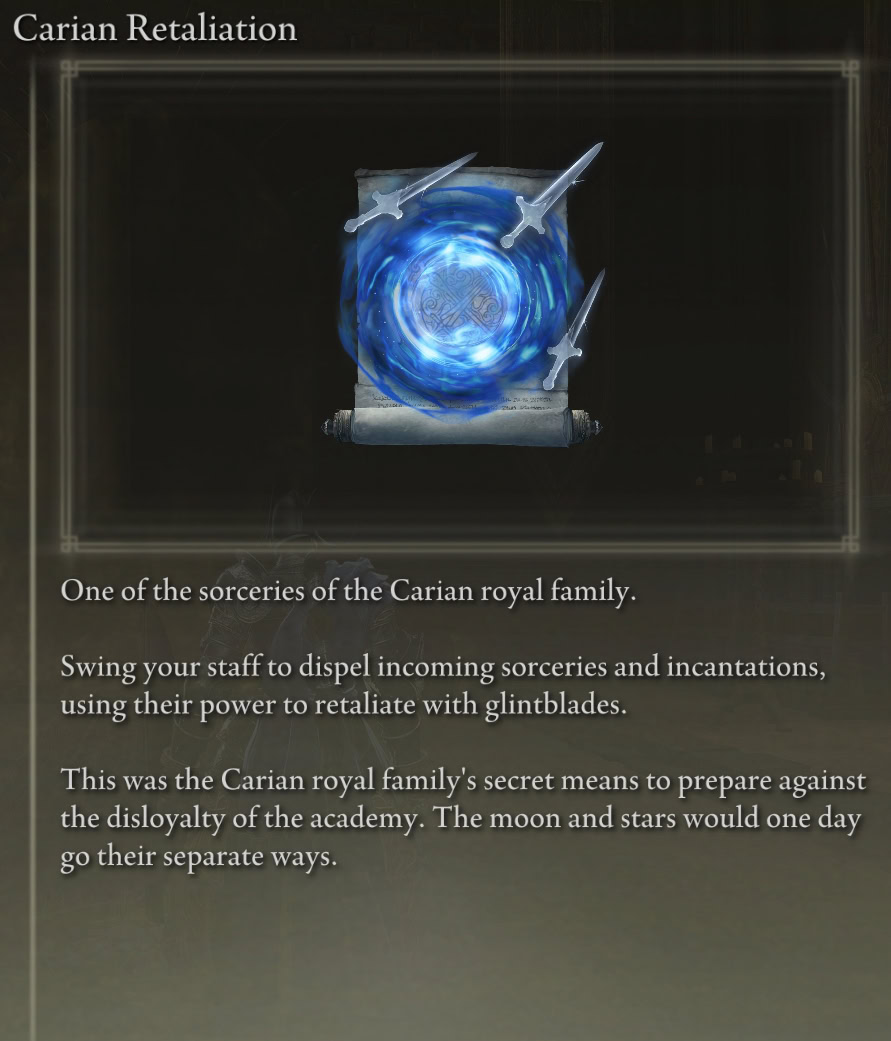
However, you can absolutely use more tactical and defensive options like Carian Retaliation, Unseen Form, and Miriam’s Vanishing. If you want a mix, that’s totally fine as well.
Two-Slot Sorceries
If you’d rather not use Moon of Nokstella, I’d say go for one of the two-slotters, like Founding Rain of Stars, Meteorite of Astel, or the new Vortex of Putrescence.
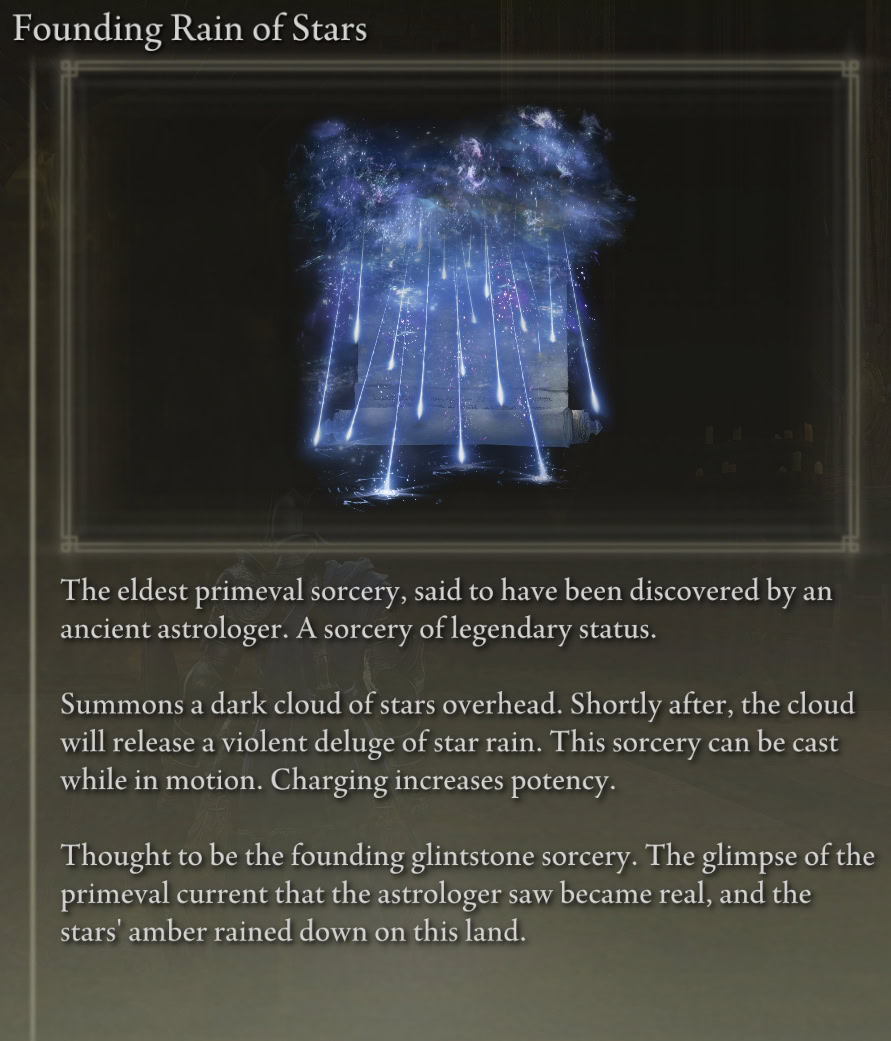
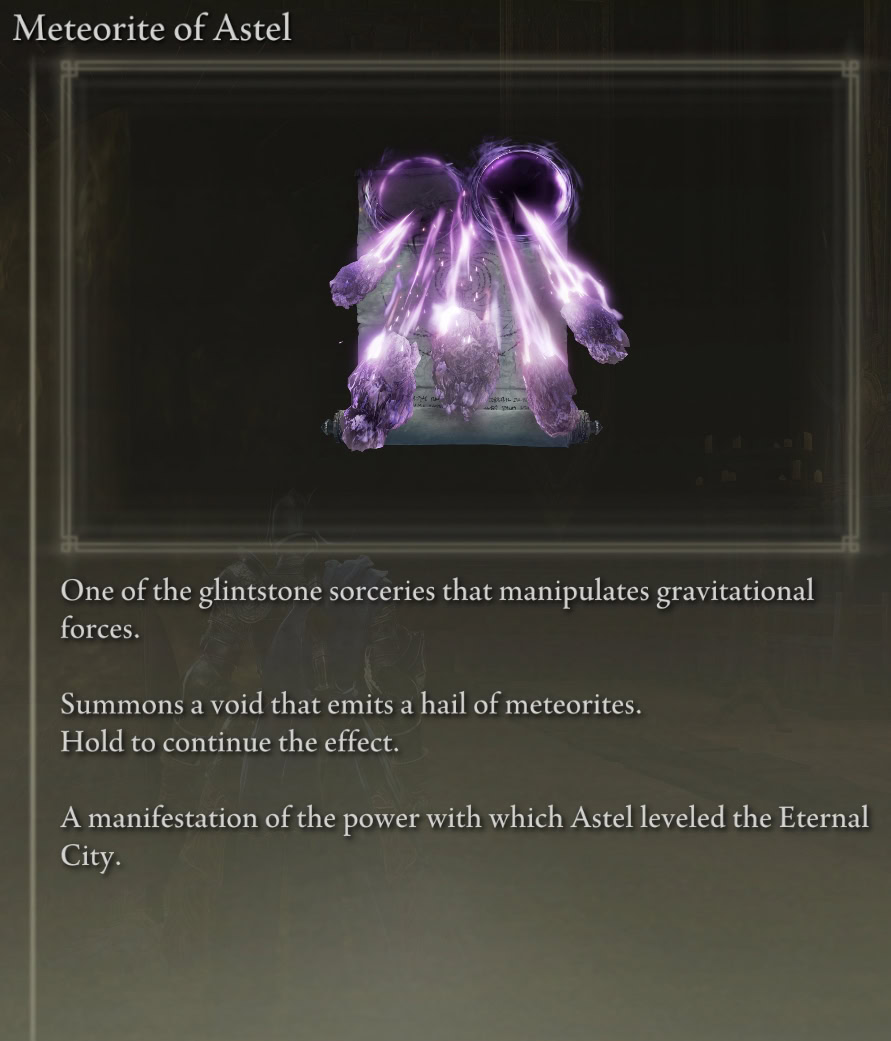
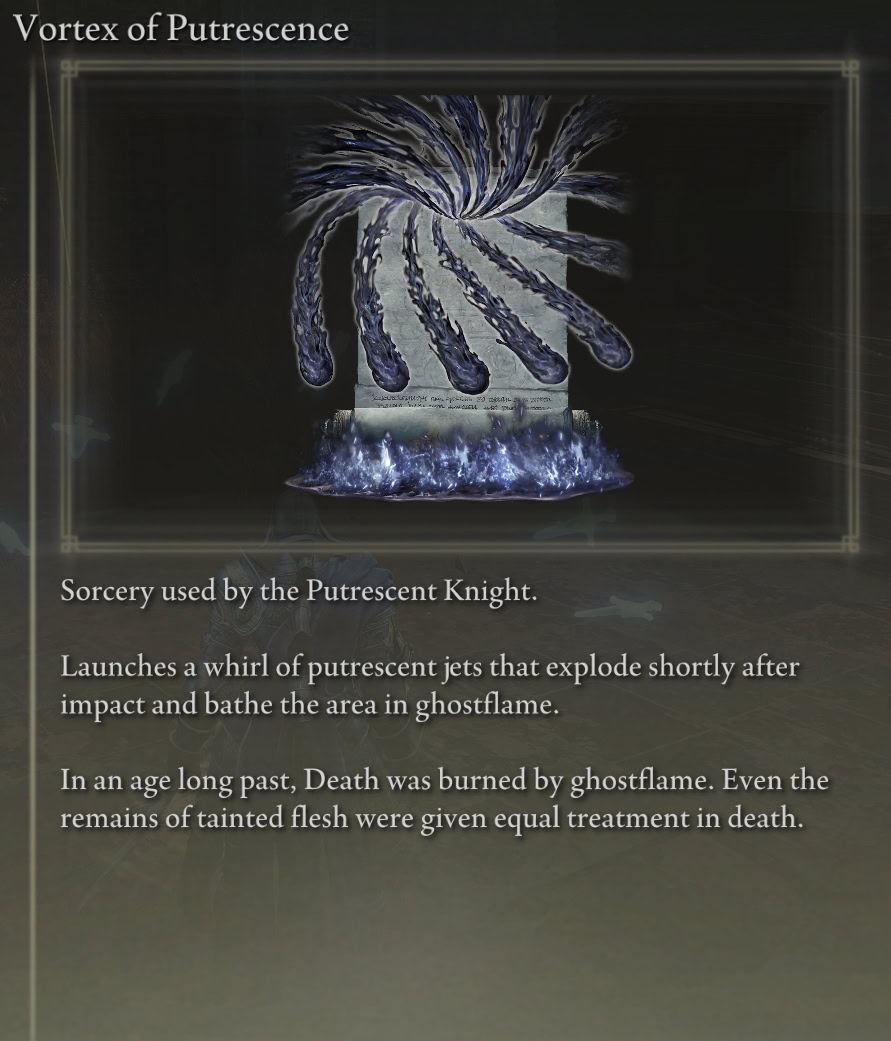
Founding Rain of Stars and Vortex of Putrescence can serve as setups for Rellana’s Twin Moons while Meteorite of Astel combos with the Glintblade Sorceries.
Rellana’s Timing Combos
These combos will allow your Glintblades from your Phalanx Sorcery, Magic Glintblade, and Glintblade Trio to fire at the exact same time as Rennala’s Cameo becomes available or you finish casting one of your more powerful Sorceries.
These combos are particularly helpful for Rellana’s Cameo because the sound and visual of Glintblades firing is a much clearer signal than some red lines and a quiet noise.
Phalanx Cameo
Once you’re in combat, you won’t have time to charge 2 Glintblade Sorceries. Carian Phalanx has a shorter cast time, but they’ll arm themselves and fire right as Rellana’s Cameo triggers.
1.
Carian Phalanx
2.
Activate and Hold Stance
3.
(Glintblades fire and Rellana’s Cameo activates)
4.
Unleash Stance
You can also charge Glintblade Trio instead of Carian Phalanx or use any of the strong Sorceries in lieu of stancing for Cameo.
Precasting the Moon
For strong enemies, like Knights and bosses, you can precast your charged Glintblades followed by Rennala’s Full Moon | Ranni’s Dark Moon before engaging or if they’re out of combat.
1.
Magic Glintblade (charged)
2.
Glintblade Trio (charged)
3.
Rennala’s Full Moon | Ranni’s Dark Moon
You shouldn’t use a Phalanx Sorcery because you want the first hit to be your strongest, and those lil’ Glintblades are too weak.
Precasting Rellana’s Cameo
If you want to precast Rellana’s Cameo instead of one of your Sorceries, you can do that too.
1.
Magic Glintblade (charged)
2.
Glintblade Trio (charged)
3.
Activate and Hold Stance
4.
(Glintblades fire and Rellana’s Cameo activates)
5.
Unleash Stance
The core idea is that the cast times of Rennala’s Full Moon, Ranni’s Dark Moon, and Meteorite of Astel are all equal to each other and the time you need to remain stanced for Rellana’s Cameo.
Charging Magic Glintblade into charging Glintblade Trio into any of those attacks works. You can also omit Magic Glintblade altogether if you’re short on time, though I’m not sure if it’s wise to precast in general at that point.
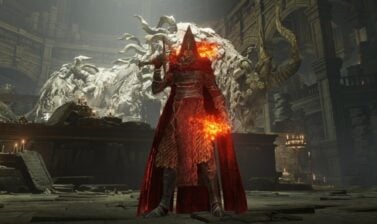
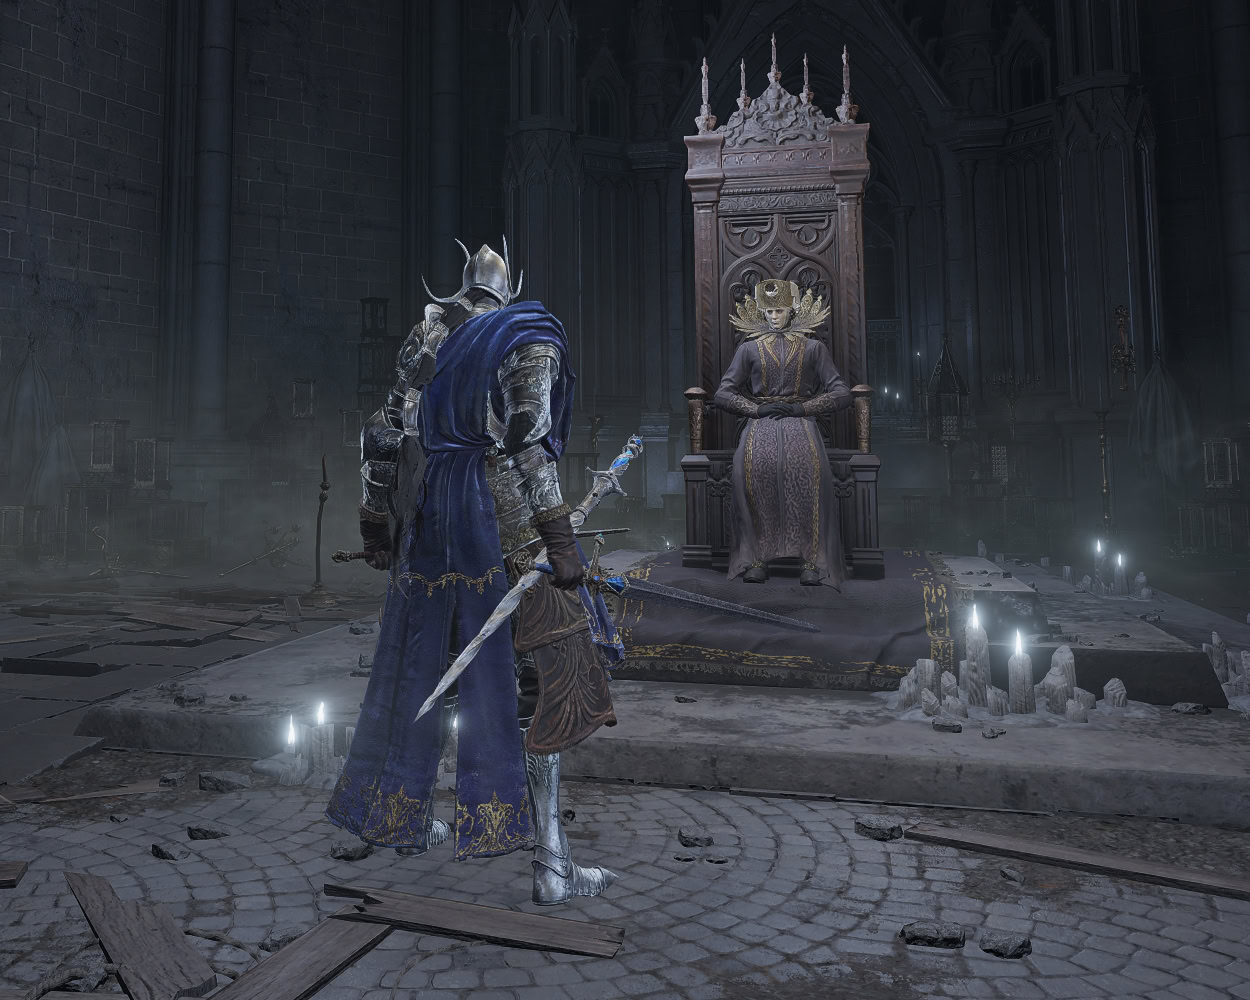
Rellana’s Armor Set
You can purchase Rellana’s armor set from Finger Reader Enia for 45,000 Runes at the Roundtable Hold after defeating the Twin Moon Knight herself at the Ensis Moongazing Grounds.
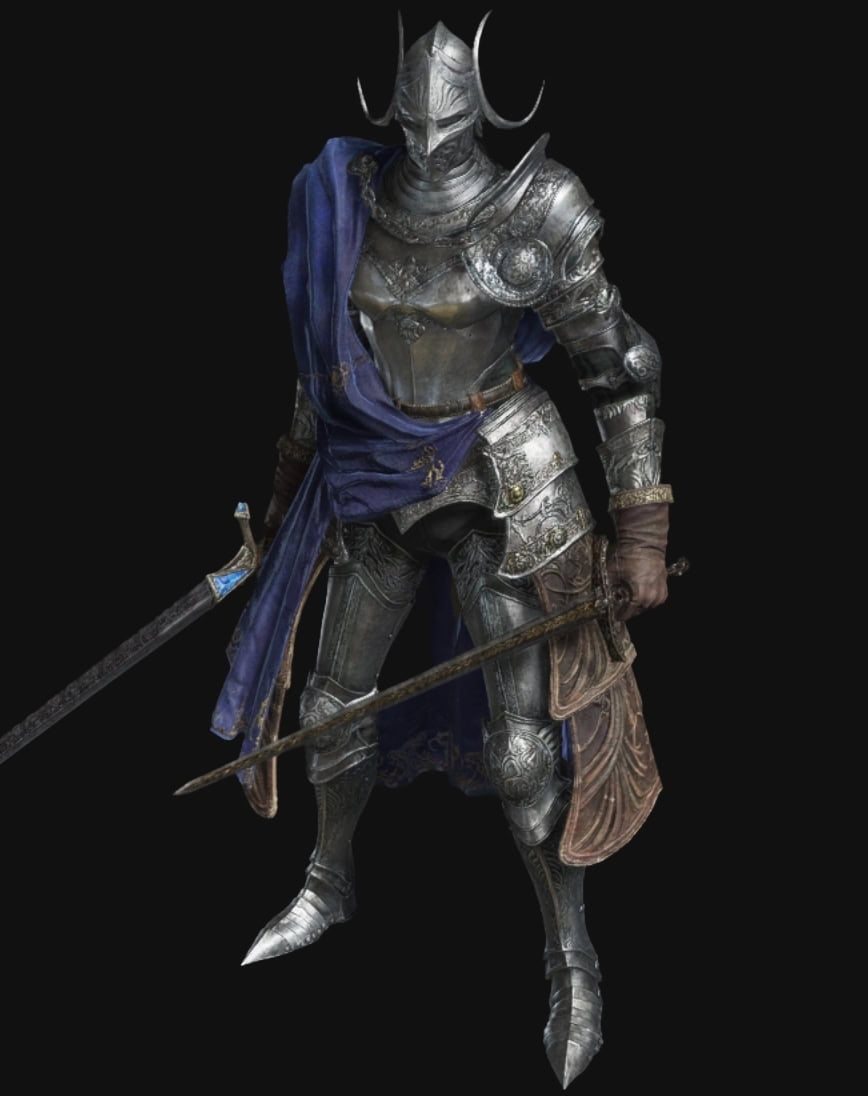
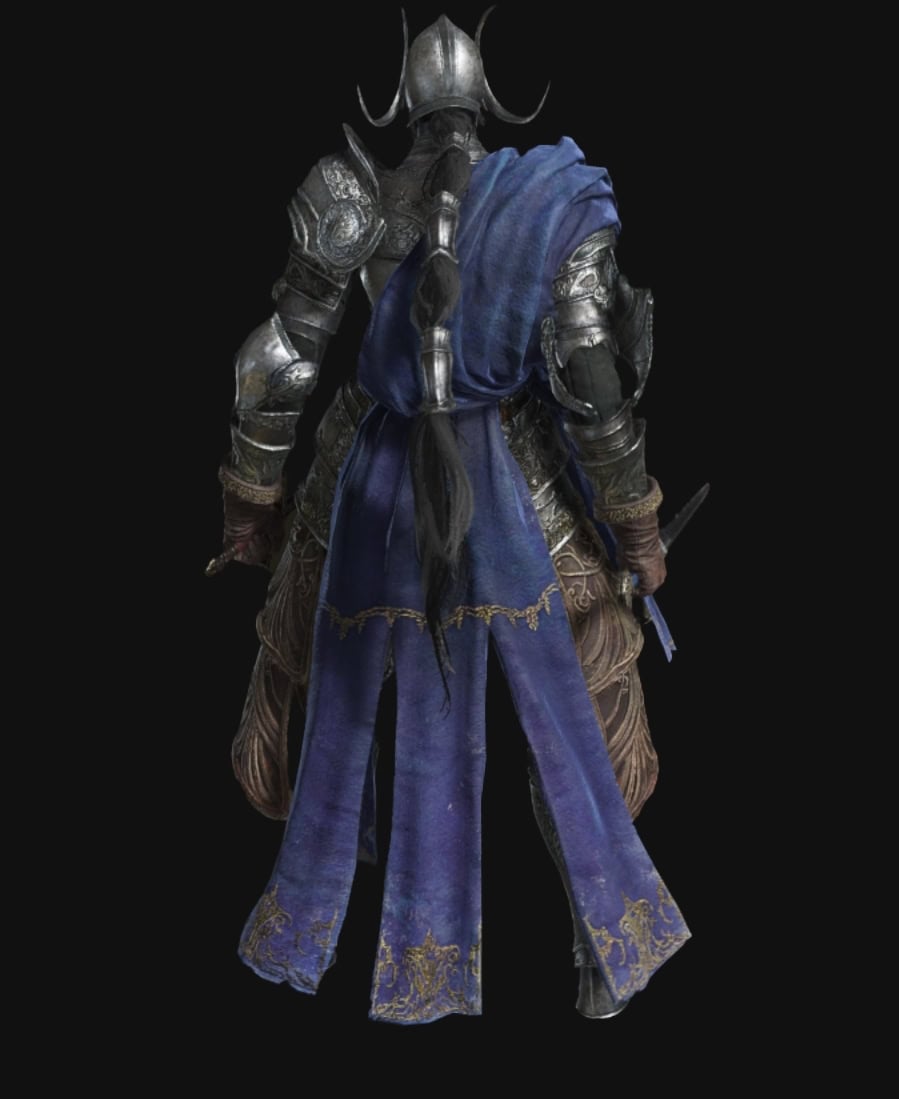
Rellana’s armor set alone has a combined weight of 28.1, placing it in the 3rd heaviest weight class, shared by sets like Hoslow, Raging Wolf, and Royal Remains.
Your entire equip load will range from 57.3-63.4 depending on your shield and chosen 3rd sword. You’ll need ~35 Endurance to remain at Medium Load at 57.3, and up to 40 Endurance to use the heaviest of everything.
Attribute Points, Leveling Up, and Flask Allocation
The base requirements for Rellana’s build are comprised of the requirements to survive and effectively wield Rennala’s Twin Blades and Moons, Milady, the Carian Regal Scepter, and likely the Sword of Night and Flame.
Attribute Points
Elden Ring does not consistently depict the influence of equipped talismans and armor on the number of attribute points. You see all of the actual effects from your gear (passive effects as well as buffs and debuffs) applied to your stats in the “pause” menu, both the Equipment and Status screens, but not when you level up or respec with Rennala.
I have included the actual stat values you will have in combat with your equipment, and the amount expected to come from your levels in parentheses, before the appropriate value from Radagon’s Soreseal gets added.
Below is the stat distribution I recommend you strive for as you approach these semi-arbitrary level milestones:
| Attribute | lvl 200 ► | lvl 250 ► | lvl 300 ► | lvl 350 |
|---|---|---|---|---|
| Vigor ( | 60 (55) | 60 | 60 | 60 |
| Mind – | 35 | 35 | 50 | 60 |
| Endurance ( | 35 (30) | 35 | 45+ | 50 |
| Strength ( | 15 (10) | 17 | 20 | 20+ |
| Dexterity ( | 40 (35) | 70 | 70 | 80 |
| Intelligence – | 80 | 80 | 80 | 80 |
| Faith – | 25 | 25 | 50 | 80 |
| Arcane – | – | – | – | – |
Please note that these stats are rough estimates. They don’t perfectly add up to the nice, round level thresholds. Your values will vary slightly depending on your base class. Here’s the overall process:
- From level 200 – 250, you’ll be weening yourself off of Radagon’s Soreseal followed by Radagon Icon so you equip the better talismans (1st playthrough)
- From level 250-300, you’ll be boosting Mind, Endurance, and Faith to 50 as needed (NG+)
- From level 300-350 and beyond, you’ll start bringing everything up to their hard caps and/or boosting your Strength so you can use a Greatshield (NG++)
Vigor
Vigor primarily increases your HP (red bar) and has a hard cap at 60. Your Vigor should increase by 10 by the time you finish your current continent.
Mind
Mind primarily increases your FP (blue bar) and has a hard cap at 50, with the most significant gains per Attribute Point occuring between 35-50 Mind. You really don’t need more than 15-20 if you’re mainly using Skills and Ashes of War, but if you’re casting, you wanna improve your Mind.
For Rellana, I think 35 Mind is the way to go. You have enough to do what you need to do without wasting too much of a Cerulean Flask, though it would be ideal to reach 40-50 sooner.
I tried the 15-20 approach with the Blessed Blue Dew Talisman and Carian Filigreed Crest. It just felt clunky and restrictive. You’re spending too much FP with those Sorceries, so shoot for 35 early, and then push to 50 once you have Magic Scorpion Charm and Carian Filligreed Crest or something else.
Endurance
Endurance increases your Stamina (green bar) and Maximum Equip Load. The former is a resource that gets consumed whenever you do anything beyond walking around (or running outside of combat). You’ll get practically all of the Stamina between 1-50 Endurance and have a lot of flexibility with equipment within that range as well.
You need 35-40 Endurance depending on what you have equipped in order to remain at Medium Equip Load. It is not practical to shoot for Light Equip Load with Rellana’s armor. Still, reaching 50 Endurance will give you a lot more flexibility with offense and defense, so try to reach it sooner rather than later.
Strength (Str)
Strength increases your damage dealt with weapons that scale with it, which are typically the heavier weapons. Two-handing (not dual-wielding) a weapon multiplies the amount of Attribute Points for the purposes of damage output and Strength usability requirements (you can lift heavier things because using both hands).
Strength scaling is low for all of your weapons. Stick to the minimum early on and bump it up to 20+ when it’s giving you greater boosts to Attack Power than Dexterity or Faith. Remember, you’ll need 17 Strength to wield the Carian Thrusting Shield, and 20 is the first soft cap.
Dexterity (Dex)
Dexterity increases your damage dealt with weapons that scale with it, which are typically lighter weapons and those that require more precision. Dexterity also reduces casting time for Sorceries and Incantations.
All of your swords have some Dexterity Scaling, but it maxes out at C. In a fresh playthrough, I recommend bringing it up to 40 so that you can max out the cast time reduction, which occurs at 70 Dexterity.
Intelligence (Int)
Intelligence primarily increases the Sorcery Scaling on Staves, governing the damage you deal with Sorceries and whether you can cast them in the first place, though it can also increase the Magic or Cold damage dealt by a weapon that scales with it.
Rellana’s Twin Moons have an Intelligence requirement of 72. The Carian Regal Scepter has S scaling. The rest is at least C scaling. The hard cap for Intelligence is 80. Shoot for 80.
Faith (Fth)
Faith primarily increases the Incantation Scaling on Seals, governing the damage you deal with Incantations and whether you can cast them in the first place, though it can also increase the (Sacred) Fire and Holy damage dealt by a weapon that scales with it.
The left sword of Rellana’s Twin Blades and its strong stance attack, and the Sword of Night and Flame along with its strong stance attack scale with Faith.
Early on, I recommend only upgrading Faith to the minimum 16 or 24 requirements depending on whether you’re using Sword of Night and Flame, but it will be beneficial whenever you’re using any of those attacks.
Arcane (Arc)
Arcane increases your damage dealt and rate of status effect application (Bleed, Poison, etc.) with weapons that scale with it, typically related to those status effects and random weird stuff. It also increases the chance that an enemy will drop something.
You have no need for Arcane with this build.
Leveling Up
Prioritize spending your Attribute Points on what you need right now to satisfy some threshold, alternating between damage and survivability.
You should have just enough damage-boosting stats to defeat most enemies in a whole number of hits. If your final hit overshoots their health bar by 50%, that’s half of a hit wasted.
You should have enough survivability that you can consistently survive 2-3 hits, or maybe not get one-shot by some smackerdoodle with extra beef, like Placidusax’s Sound-Dampening Lightning Spear.
You should have enough HP that you can get the full amount from your Crimson Flask while still being able to survive at least 1 more hit. The same applies to FP and Cerulean Flasks for caster builds.
If one side of this survivability-damage output coin is satisfactory, focus on the other until it’s satisfactory, and then switch back. It doesn’t work to dump everything into one of them because of diminishing returns.
Flask Allocation
I have found a 9 Red to 5 Blue ratio to work pretty well for Rellana, but you might need to adjust with more practice, probably in the direction of more Cerulean Flasks.

Remember, treat the ratio I recommend as a starting point, not as gospel! Your goal is to run out of both types of Flasks at the same time.