Where to find the four treasure chests and all other unique items at Excavation Site 12 on Akiva. This is the location where you can obtain the NL-02 Charge Emitter, required for the Electro-Shock Prod ability.
Table of contents
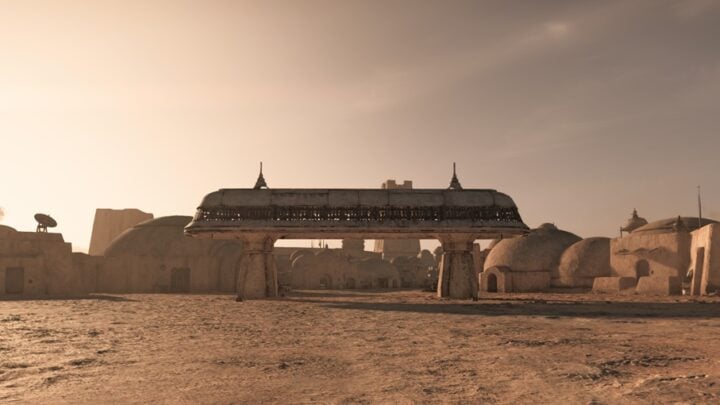
How to reach Excavation Site 12 on Akiva
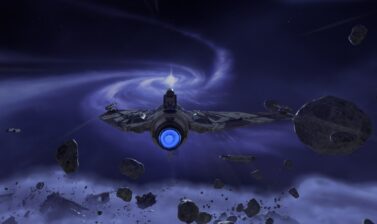
Excavation Site 12 is located in the middle of The Great Basin on Akiva. It is accessible with the speeder upgrade ability from The Scavenger expert, the Hydrorepulsor. It allows you to soar over water.

To get it, you have to complete The Scavenger expert quest and unlock Temmin Wexley as an expert.
There are several points of entry to Excavation Site 12. Each one of them is sneaky and you will get a decent overview of almost the entire area, so you can make plans.

White Numbers: Treasure Chests, as detailed in the walkthrough below
Video Walkthrough
In the video walkthrough below, you will see the same approach we recommend in this guide, from the east (Entry Point 1), using stealth to take down all troopers and working personnel without raising any alarms.
Treasure Chest Locations
In the walkthrough below I will give you instructions from one of the entry points (1). If you are not afraid of a Man Hunt and being Wanted, you can go crazy.
A little stealth and tactical planning will allow you to easily clear the entire camp without rising any alarms.
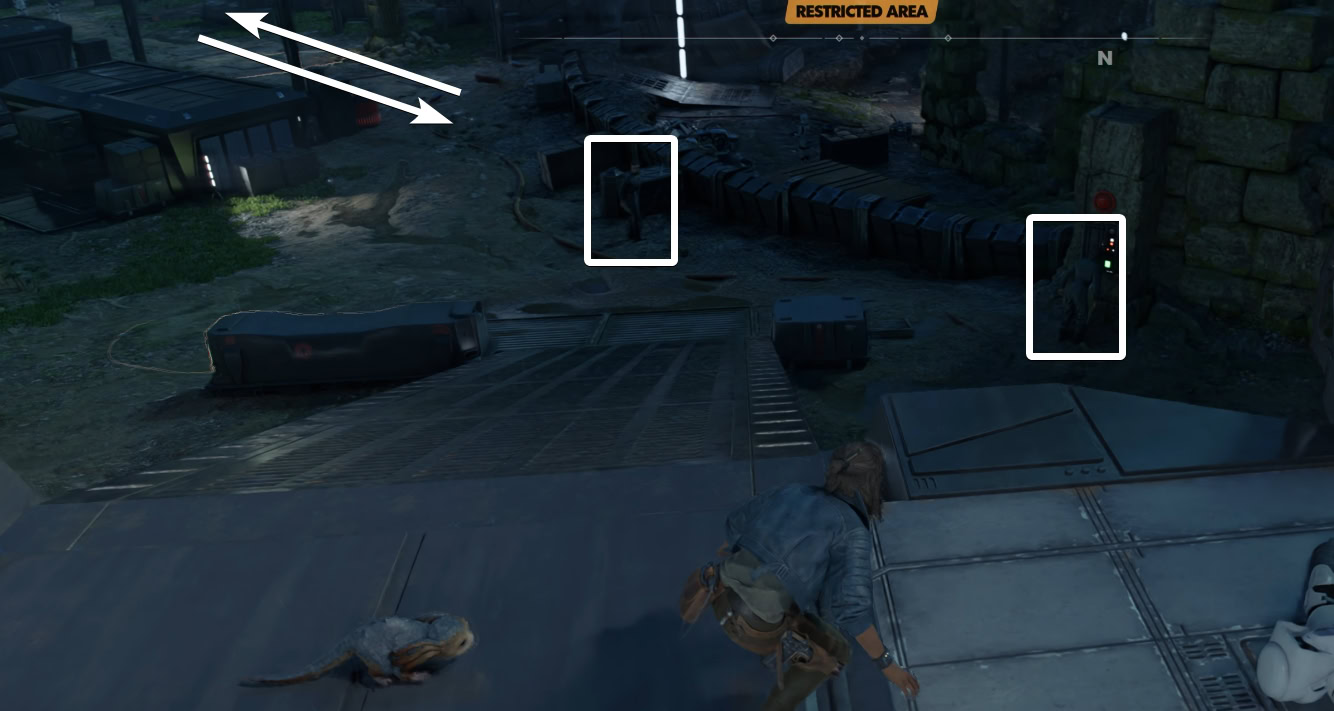
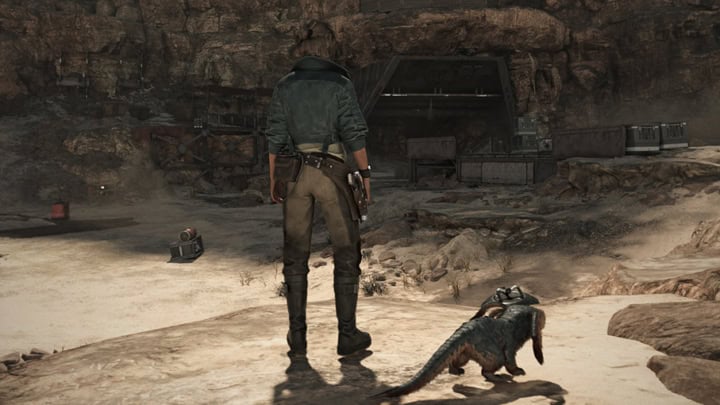
Using Entry Point 1 from the map above, you follow a trench and emerge behind the landing pad of the site. There are two troopers guarding. The right one is patrolling back and forth around the staircase.
Use your Grapple Hook to get to the platform and take out the two troopers silently. You can take them down one by one or use Nix to distract the left one. You can also opt to use Stun Mode on your Blaster.
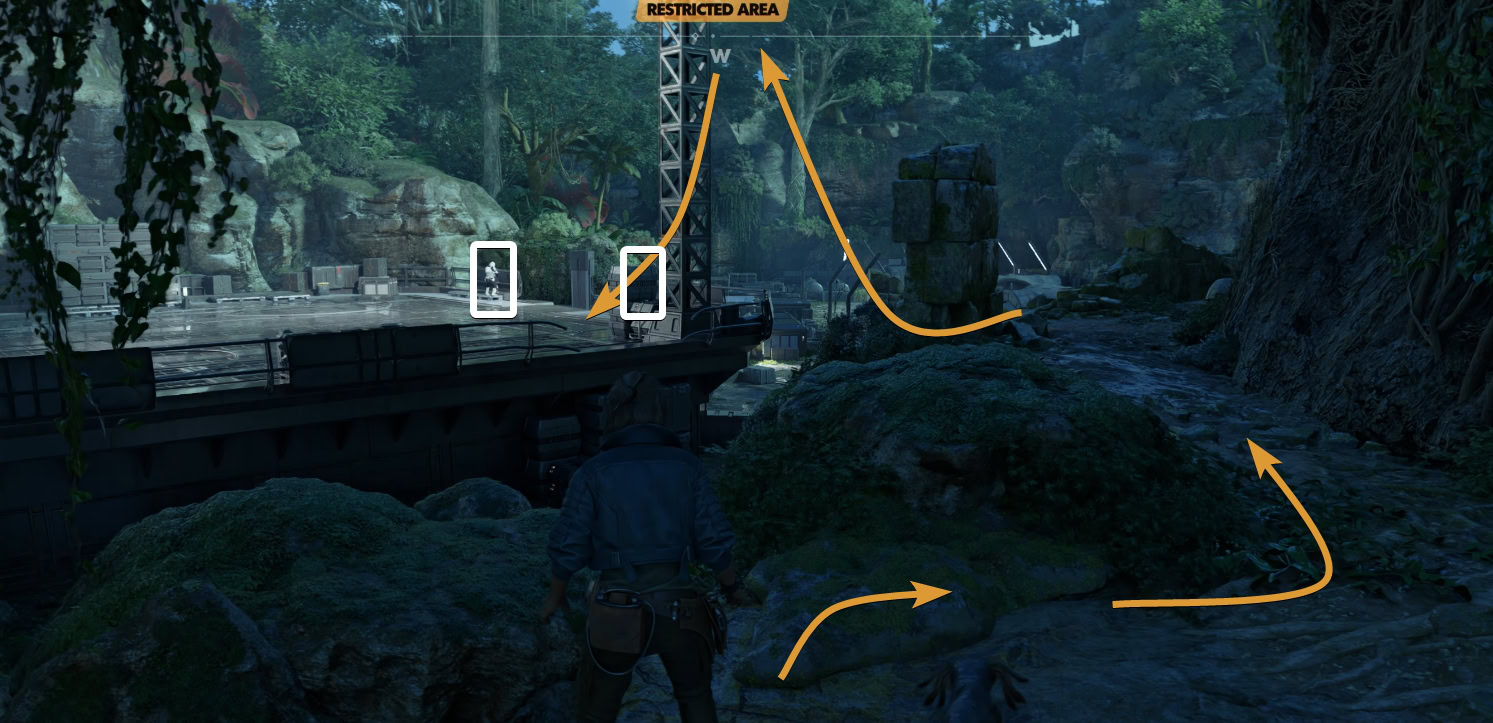
There are two more enemies on the ground – one to the left and one to the right of the staircase. Stun the left and take out the right with Nix’s help or any other (silent) way you want.
Far into the distance, on the main path of the camp, you can spot two patrolling troopers. Make sure they are not facing you when you do your dirty work. Deactivate the Ararm panel and go around the pillar and wall to the right. Jump down.
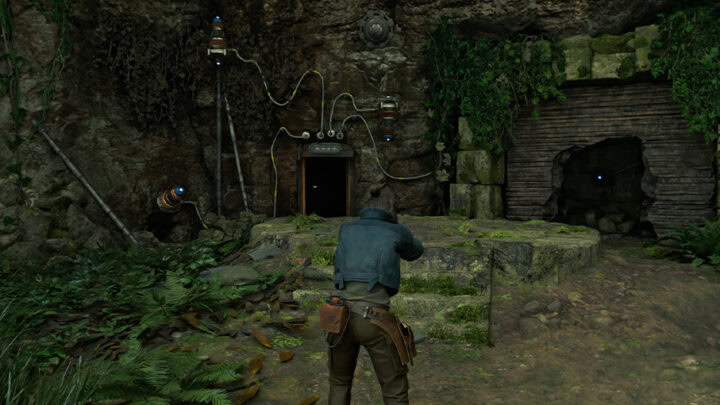
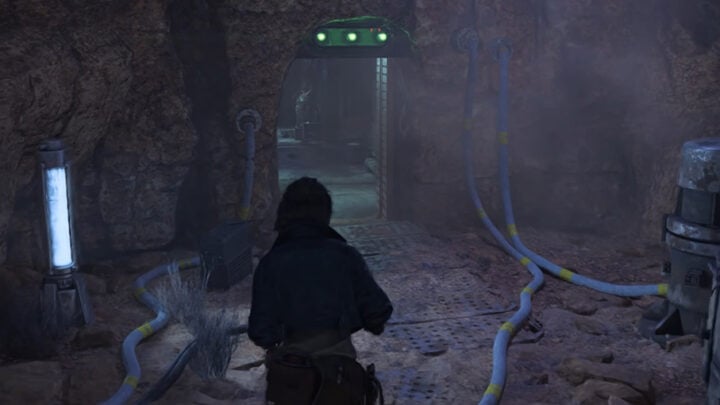
On your right, you will see a red energy shield barrier blocking the entrance to the underground section of the site. You can slice the terminal or get the card from an officer in a tent on the other side.

If you opt to slice the terminal, know that this requires Slicing Kit. Having one or both of the Slicing Kit Upgrade abilities will also help you a lot. Again, be mindful of the two patrolling troopers on the main path.

Where to find the Cave Entrance Keycard
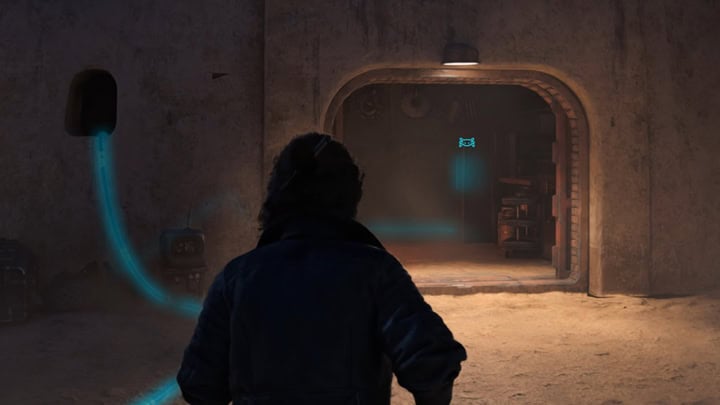
From the cave entrance, take a right and head north. You will see a guard standing still next to two metal crates. You can sneak past him. He will not notice you. You can also knock him down if the patrolling pair is not facing him.
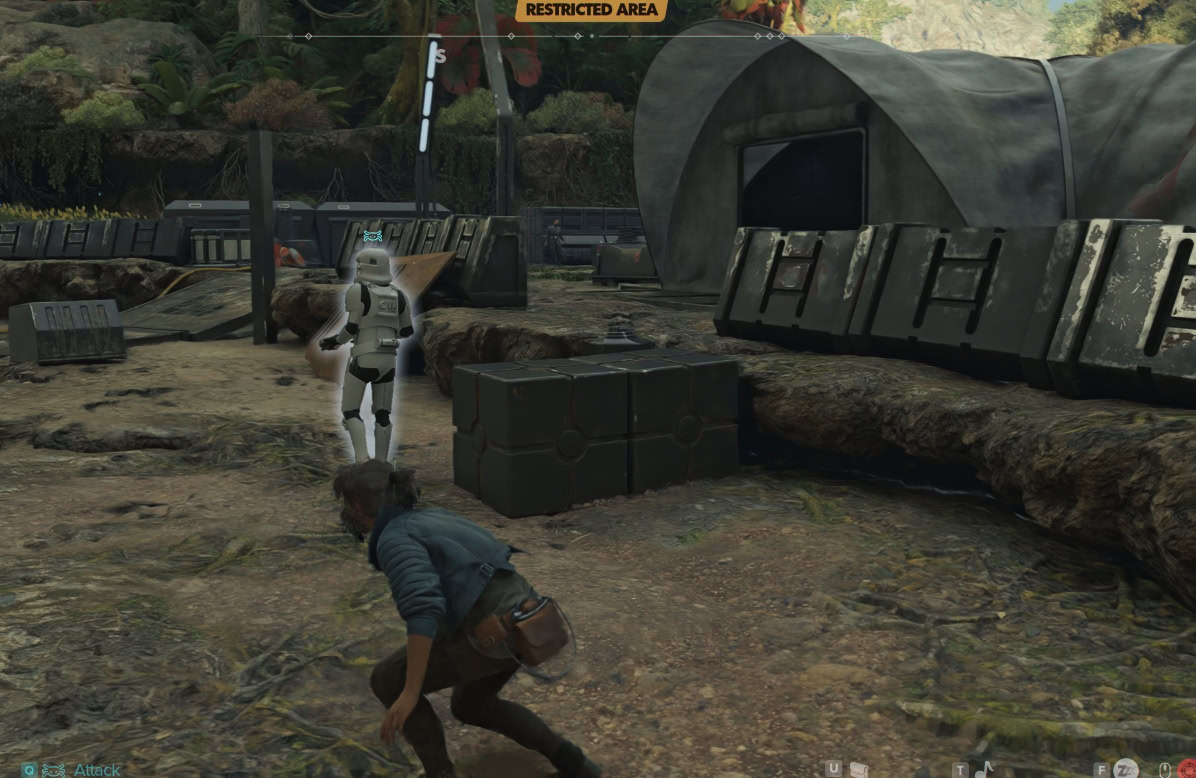
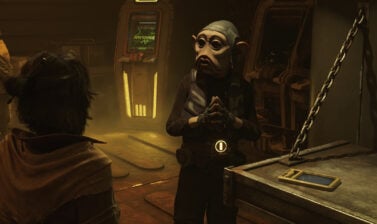
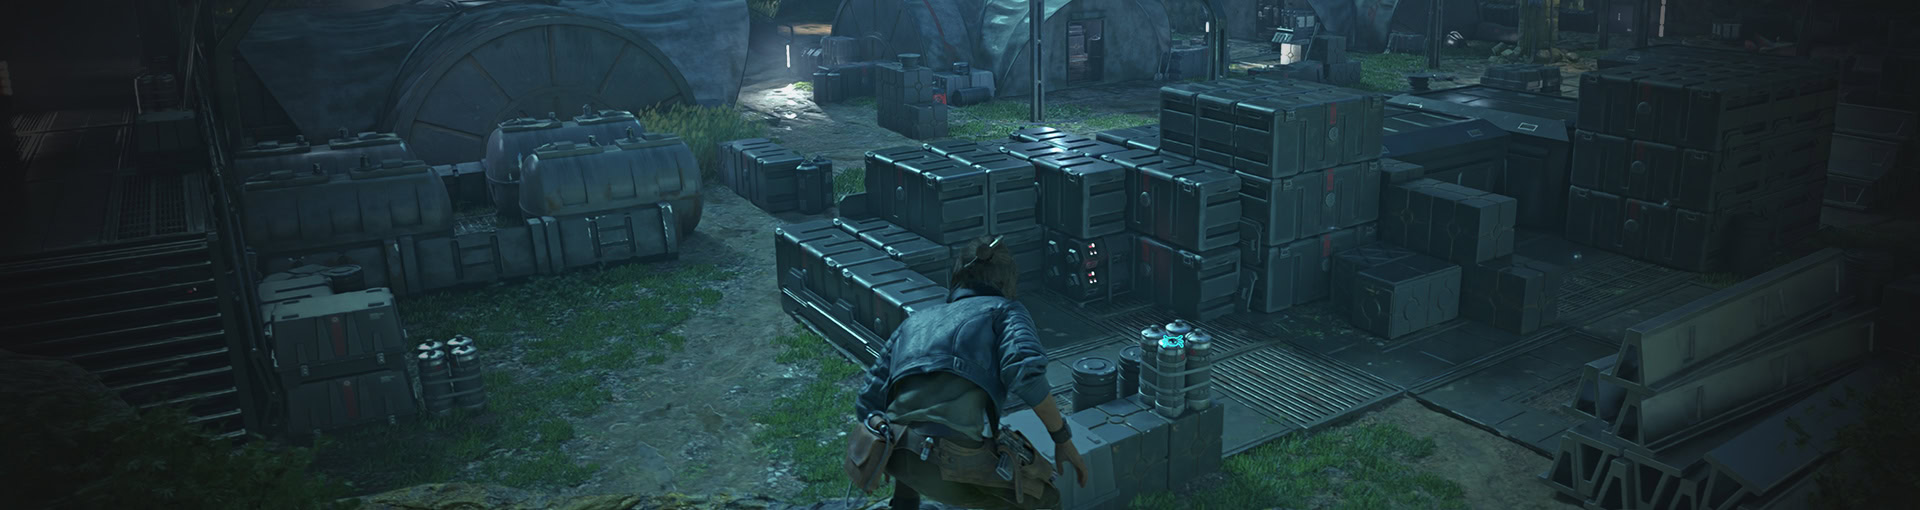
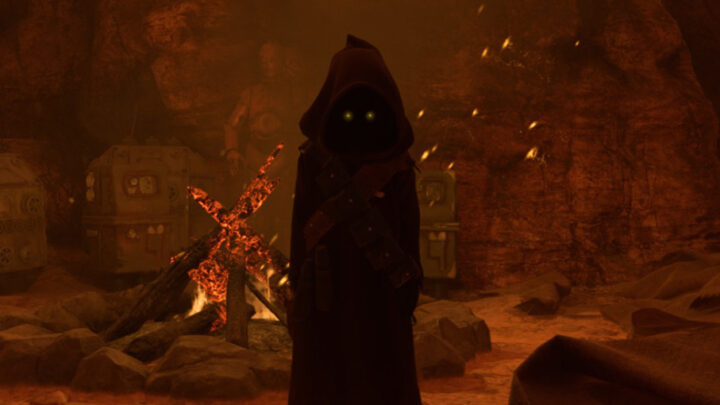
In the tent behind this guard, the one closer to the rock wall, there are three Imperials. One of them is a patrolling officer. Wait for a moment and take down the one closest to the entrance (middle on the image below). Then take out the officer and get the Cave Entrance Keycard.
If the card doesn’t drop (it stopped dropping from this NPC for me after Update 1.2), you can still slice the terminal to take down the red shield barrier.

Treasure Chest #1: Blaster Recirculator
Take down the one at the far side of the tent. Watch for the patroll. They should not be able to spot you inside this tent from the main path in the middle, but just to be sure. This chest contains
Slice the treasure chest to get a Blaster Recirculator. This is a very valuable material frequently required for a blaster upgrade.

Back at the eastern entrance of this tent, there is a terminal you can slice. This will allow you to disable both the cameras and alarm panels around the site. You allow yourself to roam around the camp a bit more freely by doing this.
Across from the terminal, on the opposite wall, there is a terminal that you can slice as well to transfer arrest credits.
Treasure Chests #2: Upgrade Materials
With the keycard obtained, you can go back to the energy barrier and turn it off. Enter the tunnel and at the end, take the elevator down. When you exit the elevator, be careful as one of the troopers downstairs can spot you.
This area contains four Imperials and by the time you are exploring Akiva, you should be able to take them all out in an open fight. You can take a stealth approach, if you prefer.

To the right from the entrance, is one of the two treasure chests in the cave. It grants Ion Cell +6, nothing major.

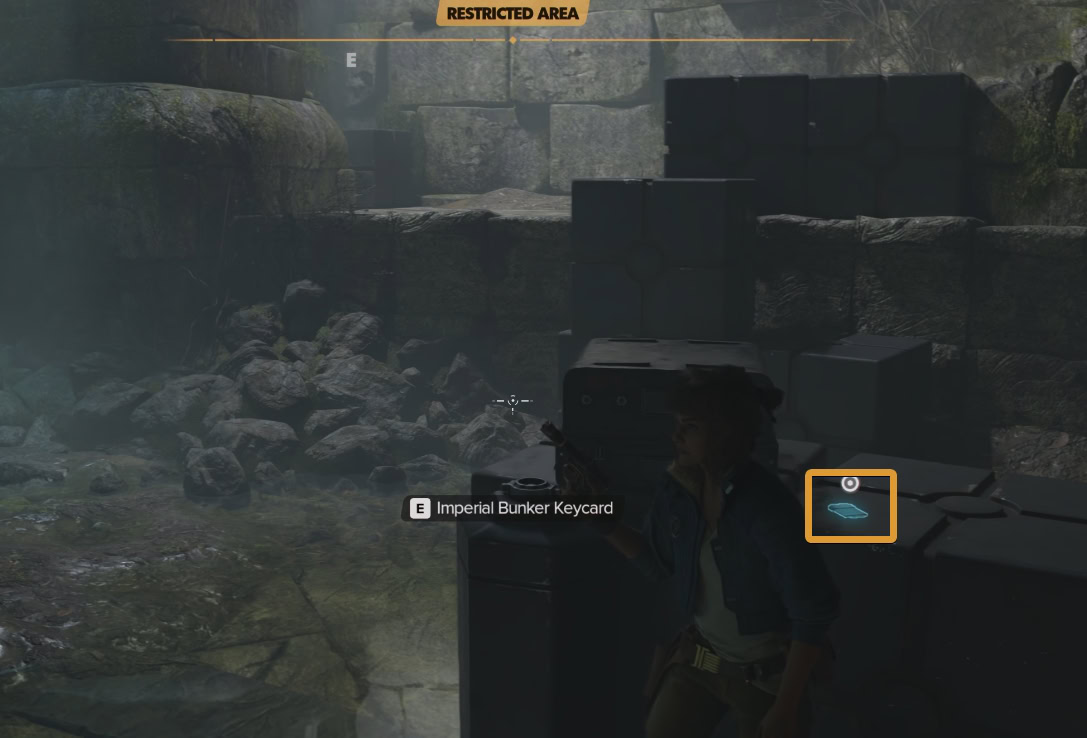
Quest Item: Imperial Bunker Keycard
In the middle of the room, on one of the metal containers, you will see an Imperial Bunker Keycard – quest item.
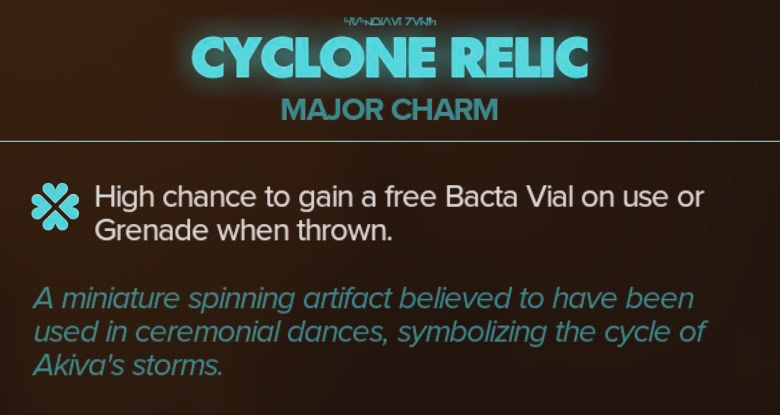
Treasure Chest #3: Cyclone Relic Major Charm
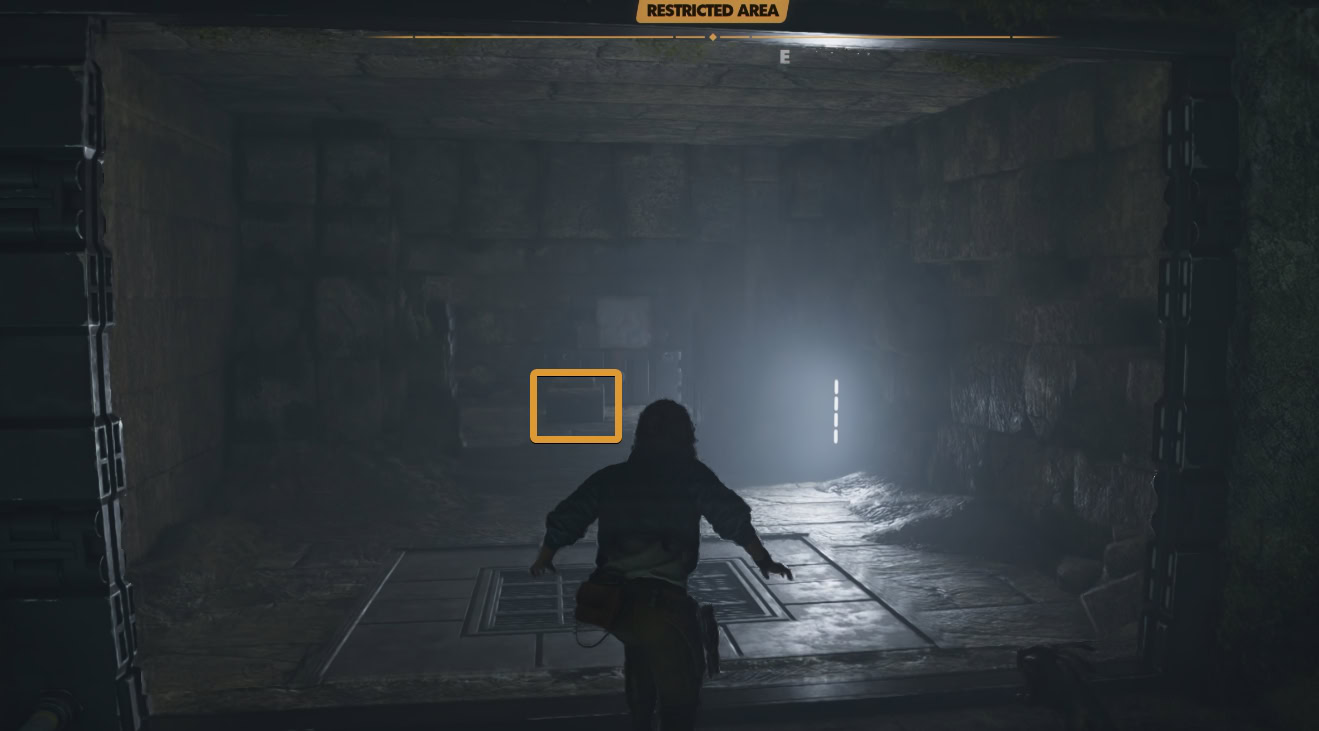
On the north side, on the elevated outer ring, you will see an motor that powers the shield. Shoot it to disable the shield.
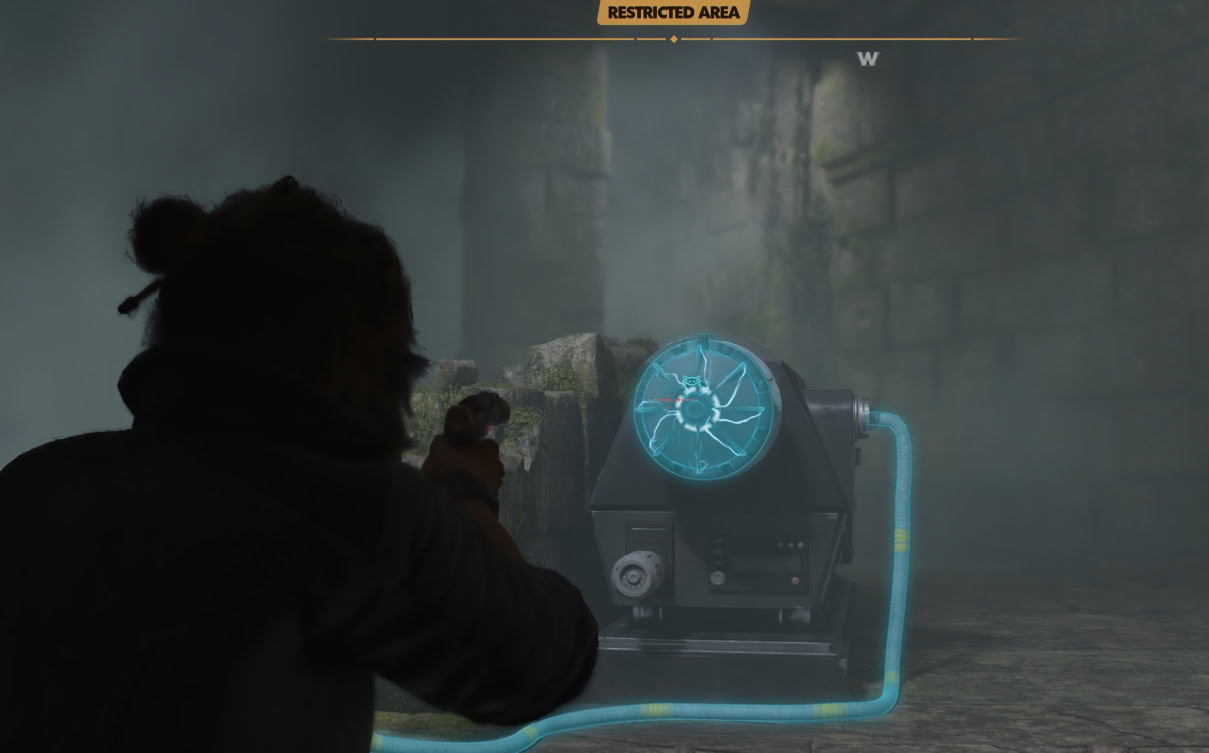
Inside the room is the next Treasure chest, which will give you the Cyclone Relic, a new major charm for Kay’s loadout.
Treasure Chest #4: NL-02 Charge Emitter
The final treasure in this walkthrough, will give you what you probably originally came for – the NL-02 Charge Emitter key expert upgrade material.
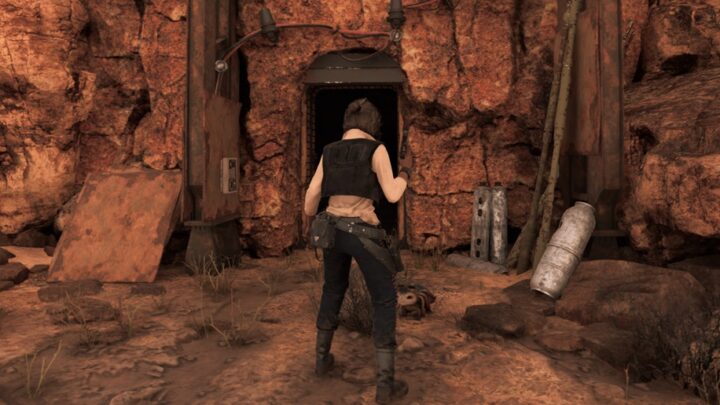
From the entrance of the cave, take a right. Take out the guard if you haven’t done it before. Enter the second tent from the right.
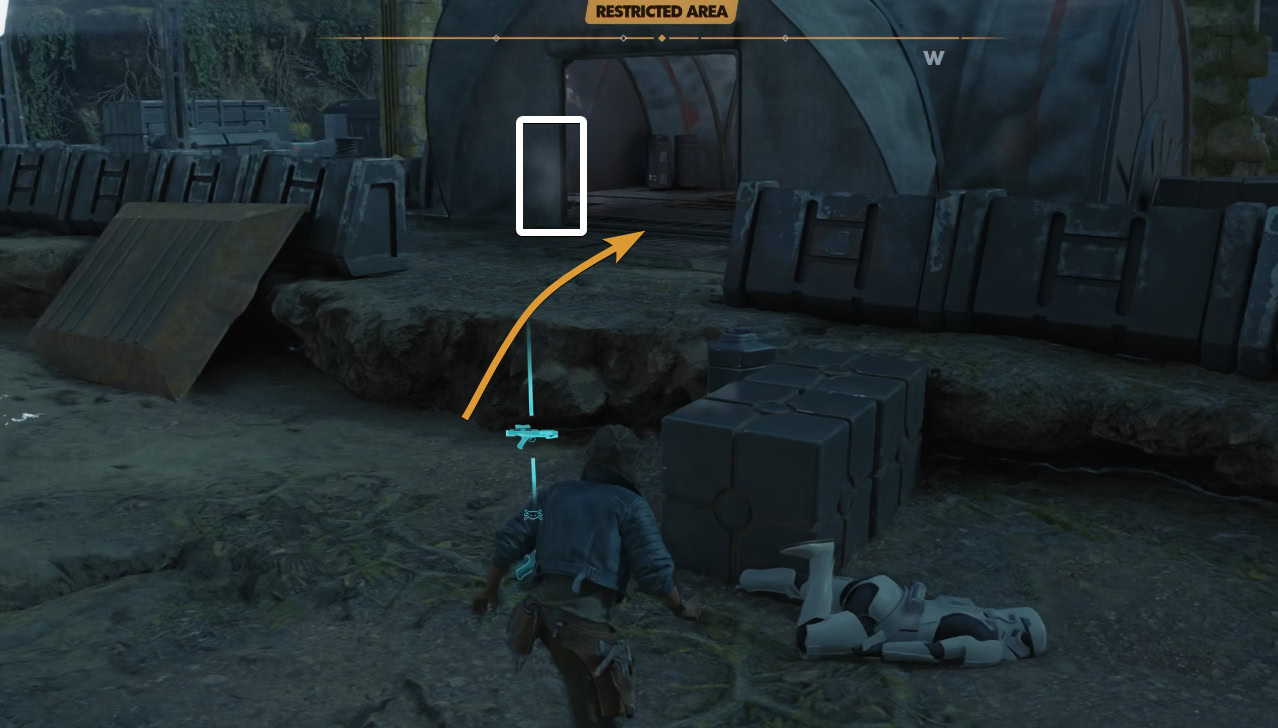
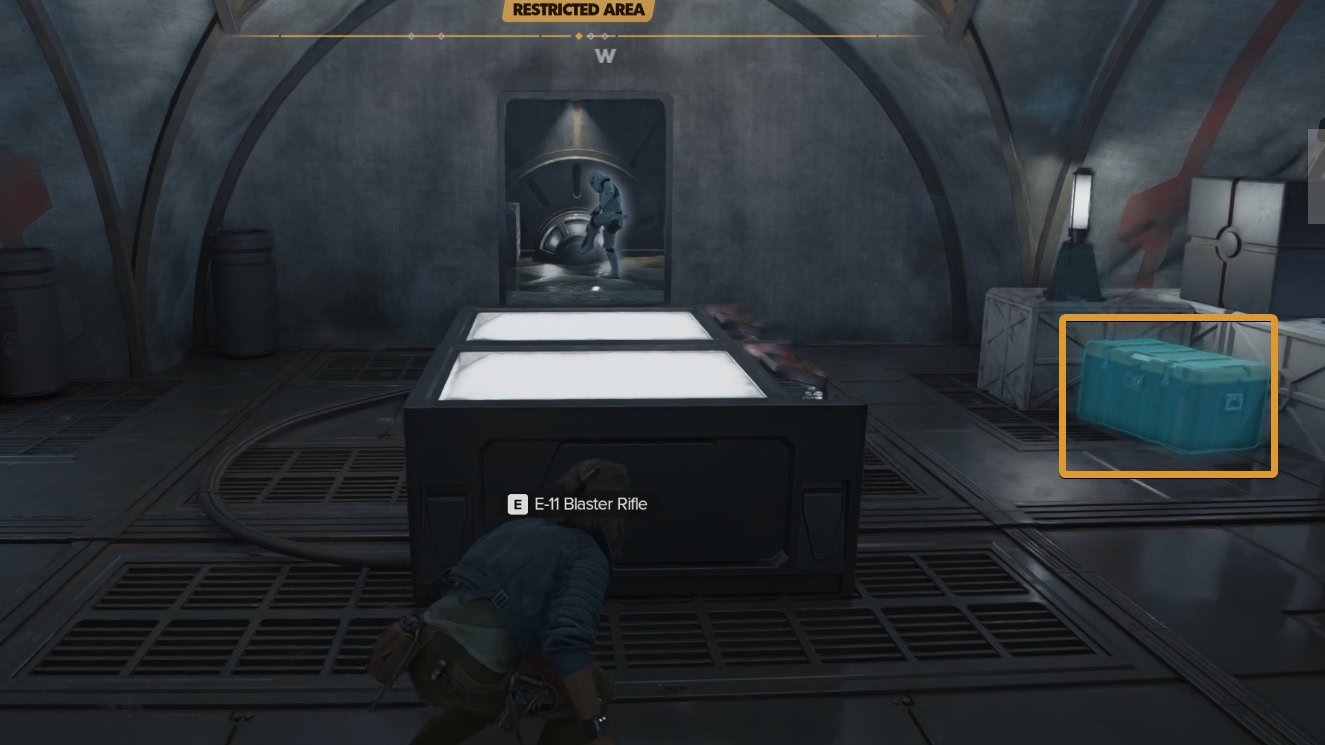
Inside, on the close left, you will see a technician. Take him out. Stun the stormtrooper on the other side of the tent to be able to peacefully override the lock the last chest and get the NL-02 Charge Emitter.
ISB Report: Sliro Ruback (Collectible)
Outside, on the south side of the site (directly to the south from Treasure Chest #2), on top of some crates behind one of the technicians, you will find an ISB Report collectible item about Sliro.


How to get the Smoke Bomb Compressor: Star Wars Outlaws: Fallen Mound Walkthrough
This guide provides a walkthrough of the Fallen Mound area on Toshara in Star Wars Outlaws. Included are all unique items: the Smoke Bomb Compressor material and the Major Charm Overgrown Amber Stone.
Where to Find Durafiber Fabric in Star Wars Outlaws
This guide will show you how to get Durafiber Fabric, the material required for unlocking the Scoundrel’s Pouch ability from The Mechanic in Star Wars Outlaws.
Where to find Ion Capacity Charge in Star Wars Outlaws: Unlocking Concussive Smoke Ability
This guide will show you where to find and how to obtain the Ion Capacity Charge material required for learning the Concusive Smoke ability from The Slicer expect in Star Wars Outlaws.
Where to Find Code Breaker Chip: Star Wars Outlaws Shipjacker Workshop Walkthrough
This guide will show you all four valuable treasure chests located at the Shipjacker Workshiop on Toshara in Star Wars Outlaws, including Zafi’s Vault Card and the Code Breaker Chip.
How to get Flux Compressor in Star Wars Outlaws
This guide will show you how to reach the treasure chest in the the north end of The Great Basin on Akiva, containing the Flux Compressor upgrade material, required for the Ion Smoke Bomb ability in Star Wars Outlaws.

Where to find Compact Detonite in Star Wars Outlaws: Unlocking Improved Grenade Ability
This guide will show you how to reach the container South of the North Jundland wastes, containing the Compact Detonite upgrade material, required for the Improved Grenade ability in Star Wars Outlaws.
Where to find the Burst Injector in Star Wars Outlaws: Unlocking Enhanced Bacta Injector Ability
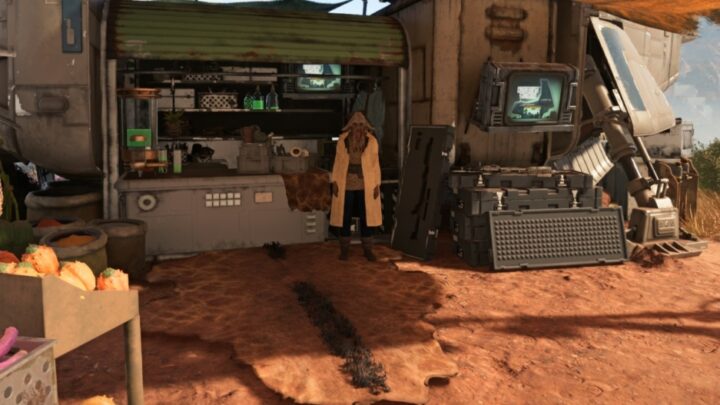
This guide will show you how to reach the Jawa selling the Burst Injector, an upgrade material required for the Enhanced Bacta Injector ability in Star Wars Outlaws.
Where to find the LC-3 Skifter in Star Wars Outlaws: Unlocking Magnetic Dice Ability
This guide to the LC-3 Skifter will show you how to reach the container located Southeast of the South Jundland wastes, containing the material, required for the Magnetic Dice ability in Star Wars Outlaws.
Shuma Merchant Locations and Items: Star Wars Outlaws Guide
Shuma is a traveling merchant who sells rare upgrade materials and a few powerful items out of her ship. We'll tell you what she sells and where to find her on each planet in Star Wars Outlaws.
All Treasures at Shipjacker Workshop: Star Wars Outlaws Walkthrough
This guide will show you all four valuable treasure chests located at the Shipjacker Workshiop on Toshara, including Zafi’s Vault Card and the Code Breakde Chip.
All Treasures at Slicer's Shelter and Seeker's Peril: Star Wars Outlaws Walkthrough
This guide will show you how to unlock the door of the Slicer’s Shelter at Seeker’s Peril on Tatooine in Star Wars Outlaws. This is a unique upgrade material for Kay’s Blaster.
Mos Algo and Lost Sandcrawler Treasure Locations: Star Wars Outlaws Walkthrough
This guide will show you how to find and loot all seven available treasure chests (and other containers and small loot) at the Old Mine in Mos Algo on Tatooine. The walkthrough also includes full exploration of the Lost Sandcrawler area with its own treasures.
Mos Eisley Outskirts Treasure Puzzle: Star Wars Outlaw Walkthrough
This guide shows you how to solve the puzzle to access and obtain the Mos Eisley Outskirts treasure on Tatooine in Star Wars Outlaws. The reward is Coronet Ace Paint Job for your speeder.
All Mos Eisley Treasure and Unique Item Locations in Star Wars Outlaws
Walkthroughs with maps, visual and text directions and exact locations for all Treasures and unique Items available in Mos Eisley in Star Wars Outlaws.
Akiva Research Station 57 Treasures and ISB Report Locations: Star Wars Outlaws Walkthrough
There are four treasures, one of which is in a vault, ISB report, a collectible item and a few other valuables you can pick up from Research Station 57 on Akiva in Star Wars Outlaws. We will show you how to infiltrate and fully explore this Imperial base.
All Toshara Smuggler Cache Locations
This guide will show you where to find all Smuggler Caches on Toshara. It also explains how to pick up the Holotracker, the tool you will use to track down the exact locations of each treasure.
All Tatooine Smuggler Cache Locations in Star Wars Outlaws
There are ten Smuggler Cache Locations on Tatooine in Star Wars Outlaws and we will show you how to reach and loot each one of them!

All Akiva Smuggler Cache Locations in Star Wars Outlaws
There are ten Smuggler Cache Locations on Akiva in Star Wars Outlaws and we will show you how to reach and loot each one of them!
All Kijimi Treasure Locations in Star Wars Outlaws
There are 37 Treasure Chests you can find and loot on Kijimi in Star Wars Outlaws. We will show you how to find and loot every single one of them!
Related Star Wars Outlaws Collections of Guides

Our Guides Master List for Star Wars Outlaws is a great starting point. In it you will find all of our guides and walkthroughs ordered in categories.