This guide explains the steps you need to take to unlock access to the Hutt Cartel Vault located in Myrra on Akiva. You need to find three keycards to get access to the treasure chest containing credits and a cosmetic for your speeder.
Table of contents
What are the Syndicate Vaults
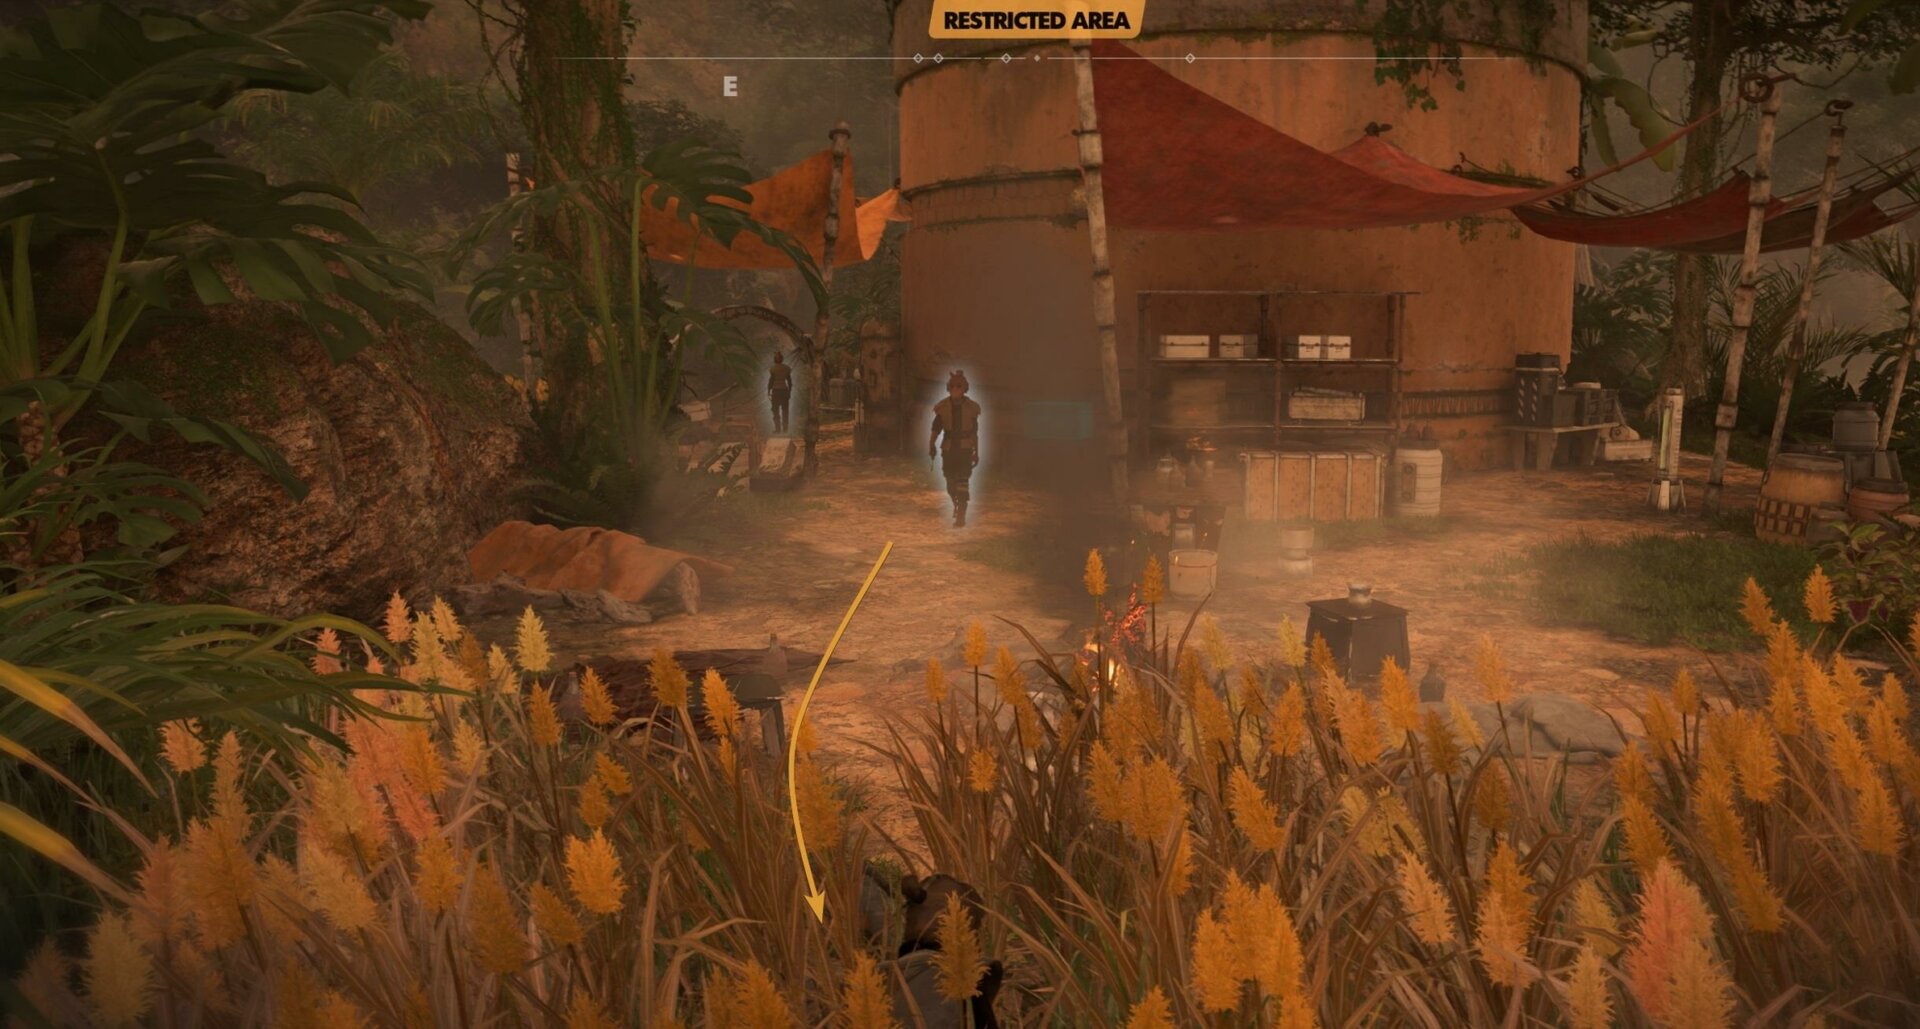
Each of the four Syndicates in Star Wars Outlaws have establishments on one or more planets. Inside those bases, you will find a restricted area with a vault containing a treasure chest with valuable loot.
The areas around the vaults are restricted regardless of what reputation you have built with the syndicate up to this point. If you have high reputation, you will be able to freely roam around the syndicate’s district.
How to reach the Hutt Vault on Akiva
This walkthrough will assume you have a low reputation with the Hutt Cartel. If you have a good or higher reputation, you can walk freely in the district up to the restricted area. Skip further down the guide to read how to sneak into the vault.
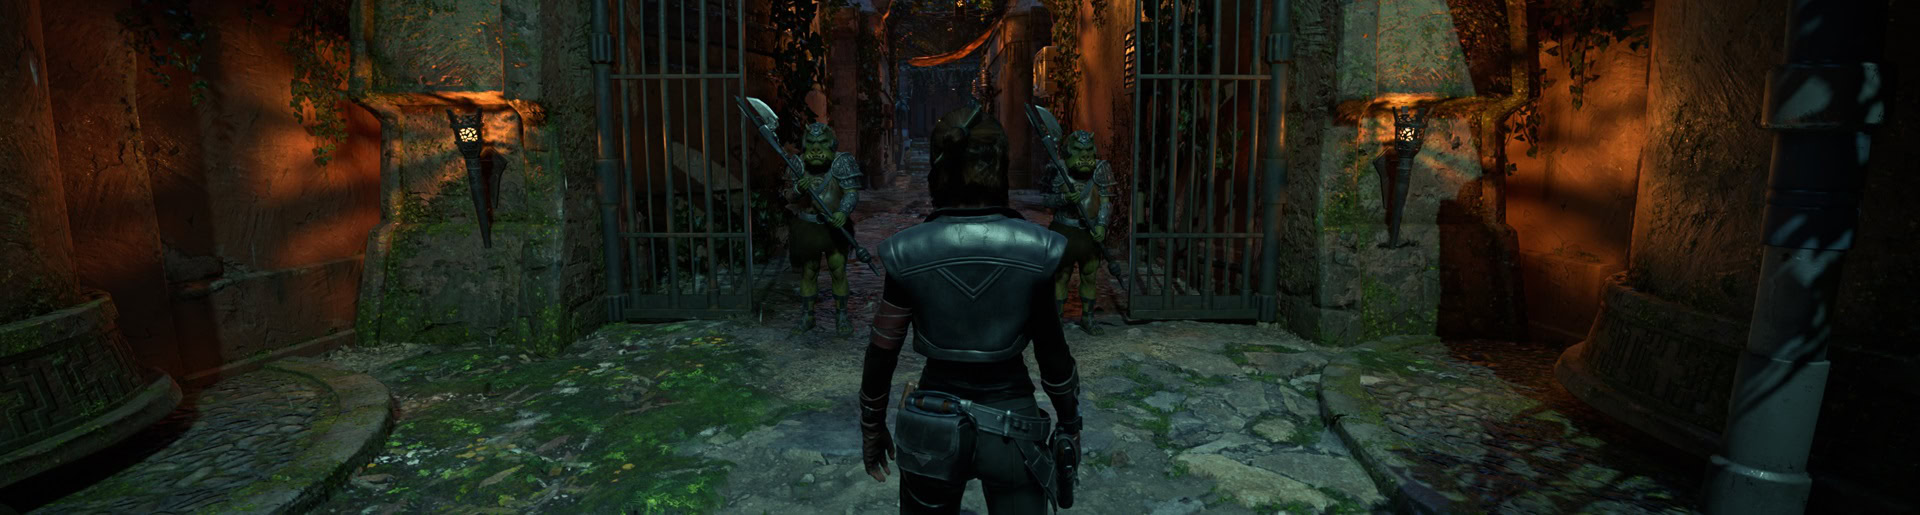
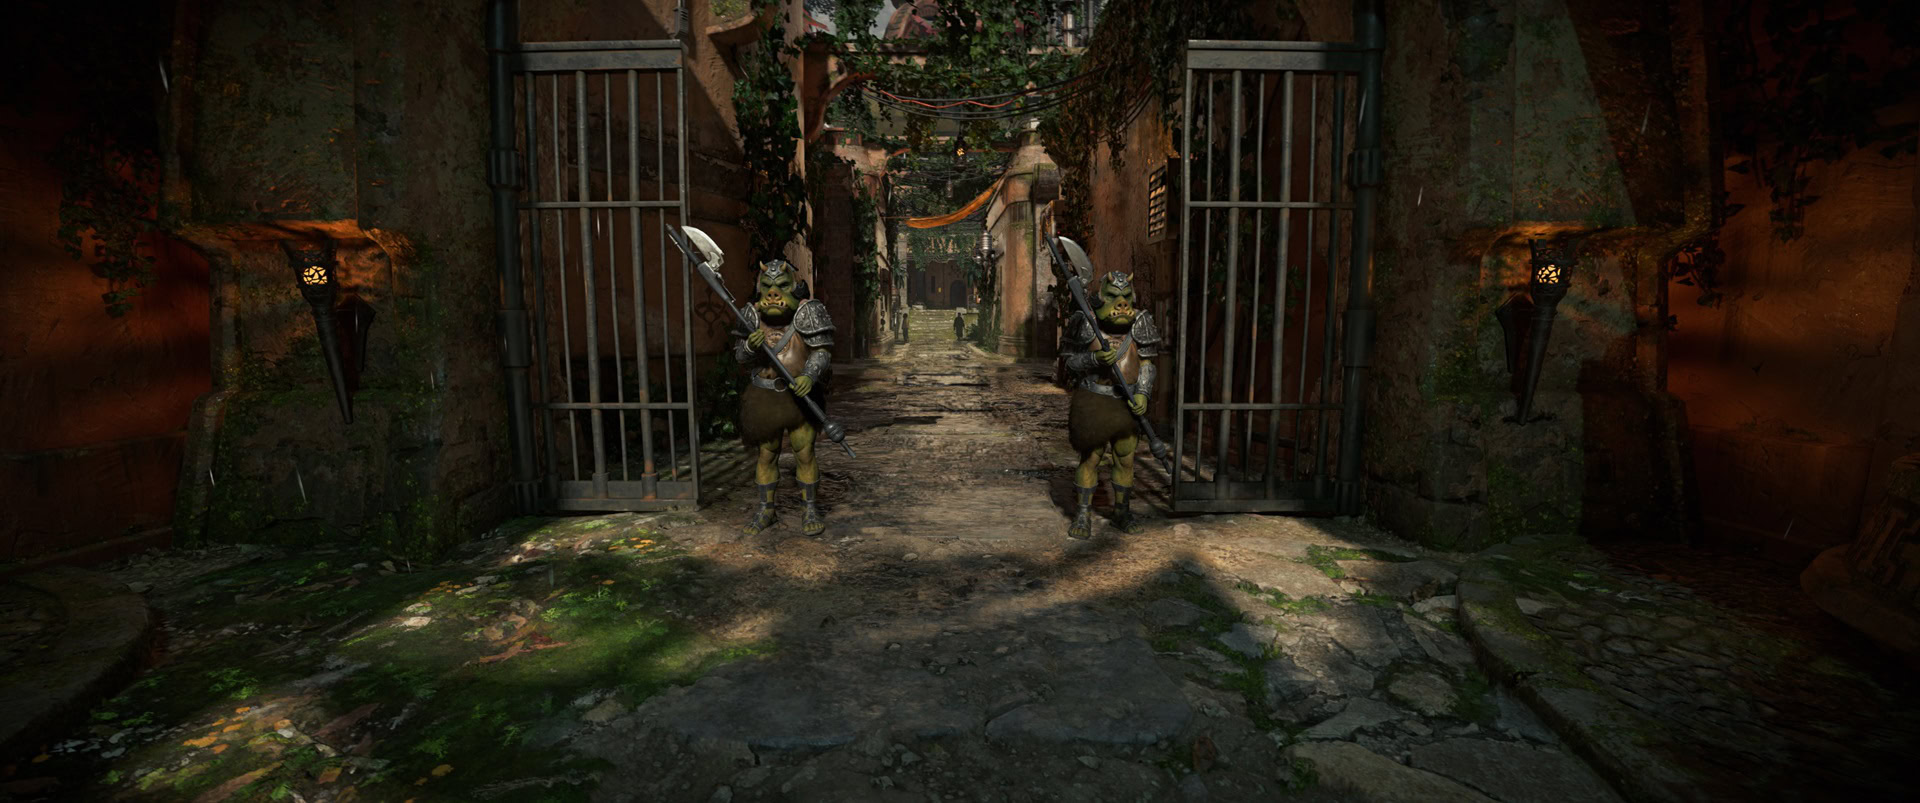
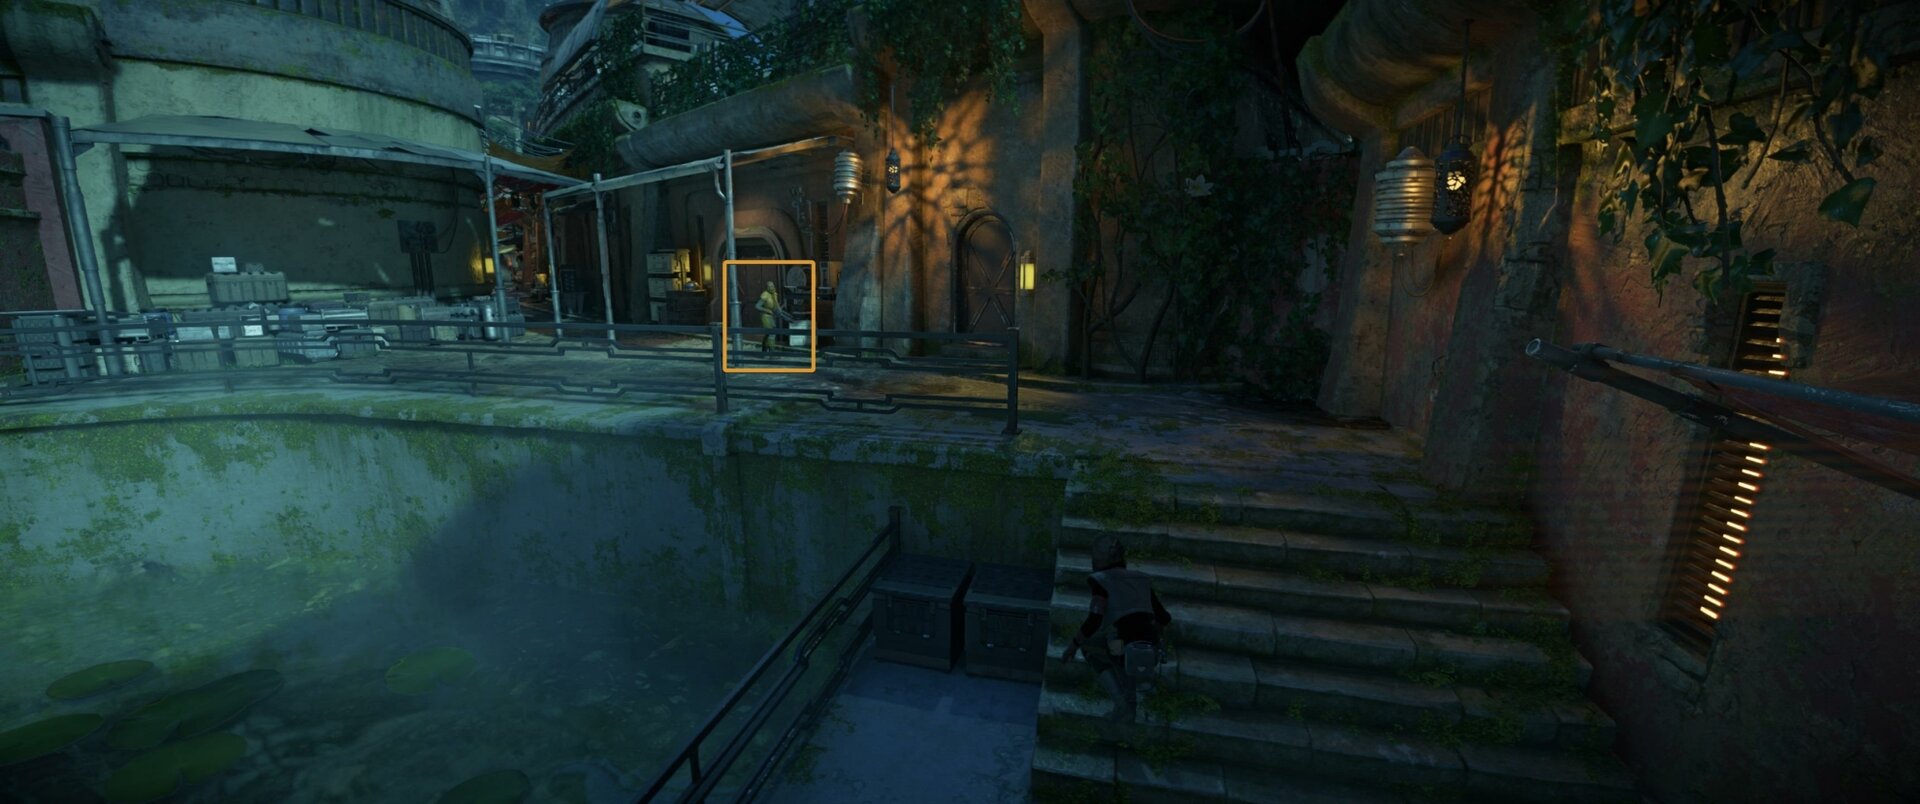
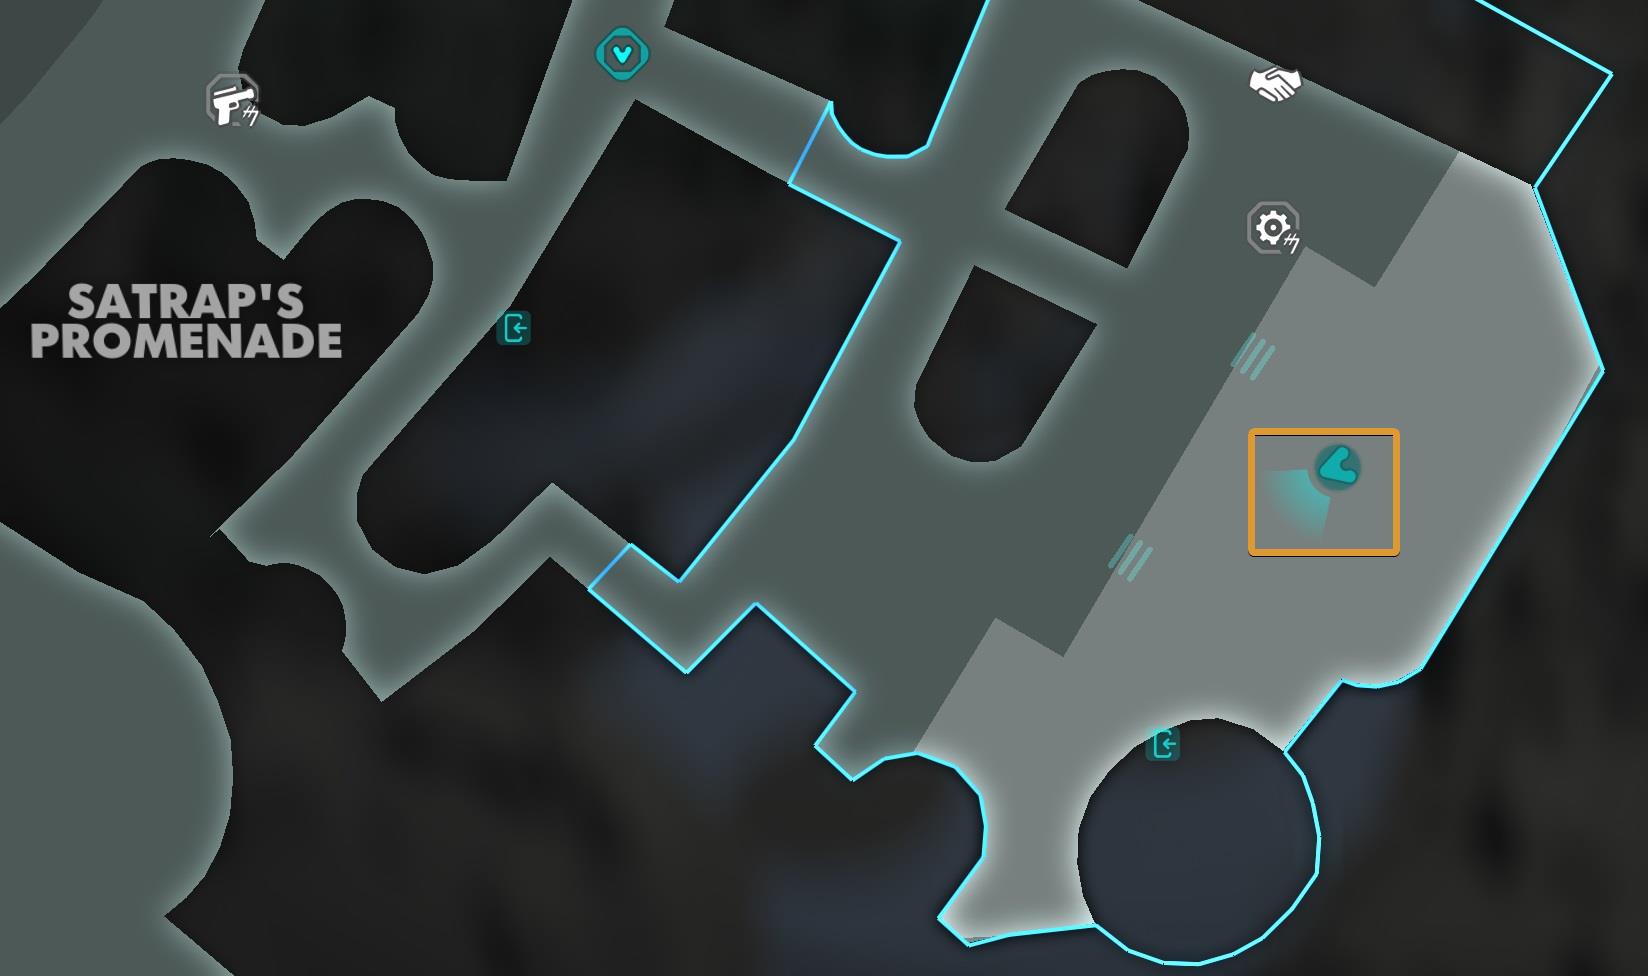
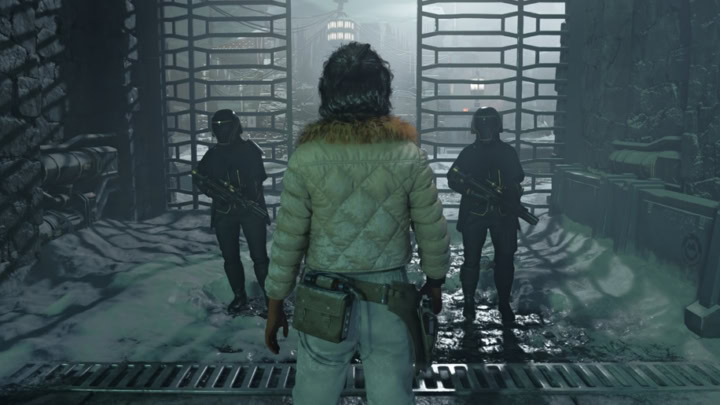
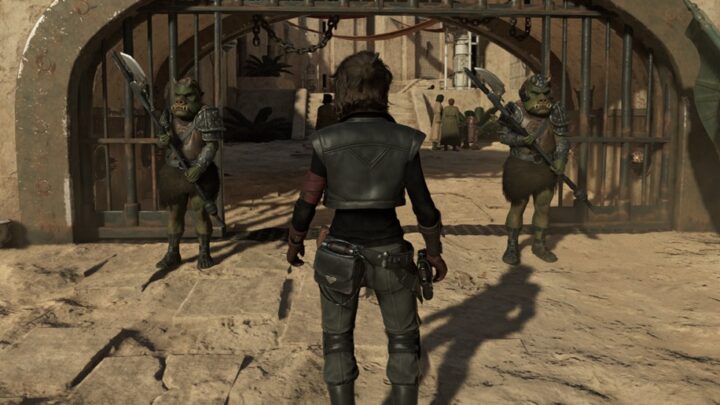
The Hutt district area is guarded by these two Gamorreans standing in front of the main gate near Satrap’s Promenade. ´If your reputation is low, they will not allow you in. You have to sneak silently through another entrance.
Head to the Artisan’s Row in Myrra. There’s a small hole in the wall that’s big enough for Kay to pass.
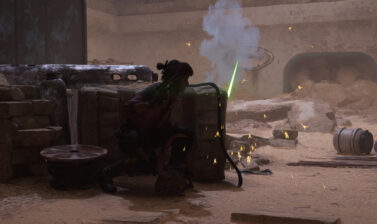
There’s one guard in this area. Wait until he turns back to take him down. I must remind you that since this area is inside the main city of Akiva you can’t use grenades or the blaster. Nix, Kay, and fists are the only weapons at your disposal.
Continue walking in a straight line until you reach a wall. Use the pallets to get to the wall. Get into the bushes as soon as possible, there’s a guard nearby.
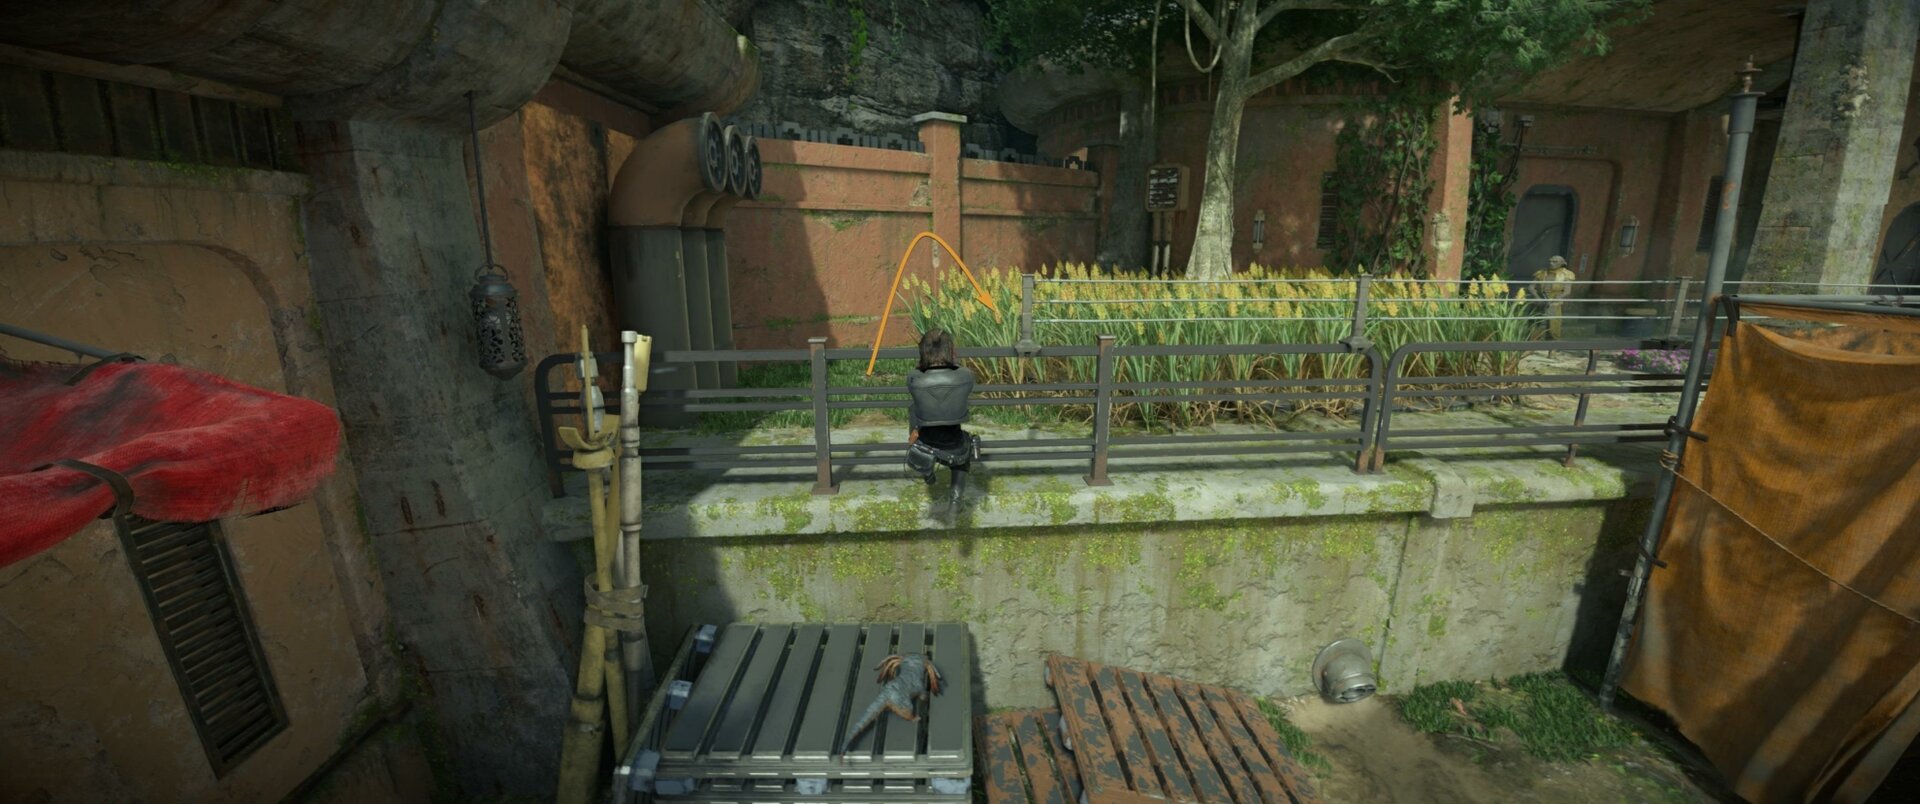
Whistle to lure the guard into the bushes, then take him down. It’s important that his body falls inside the bush.
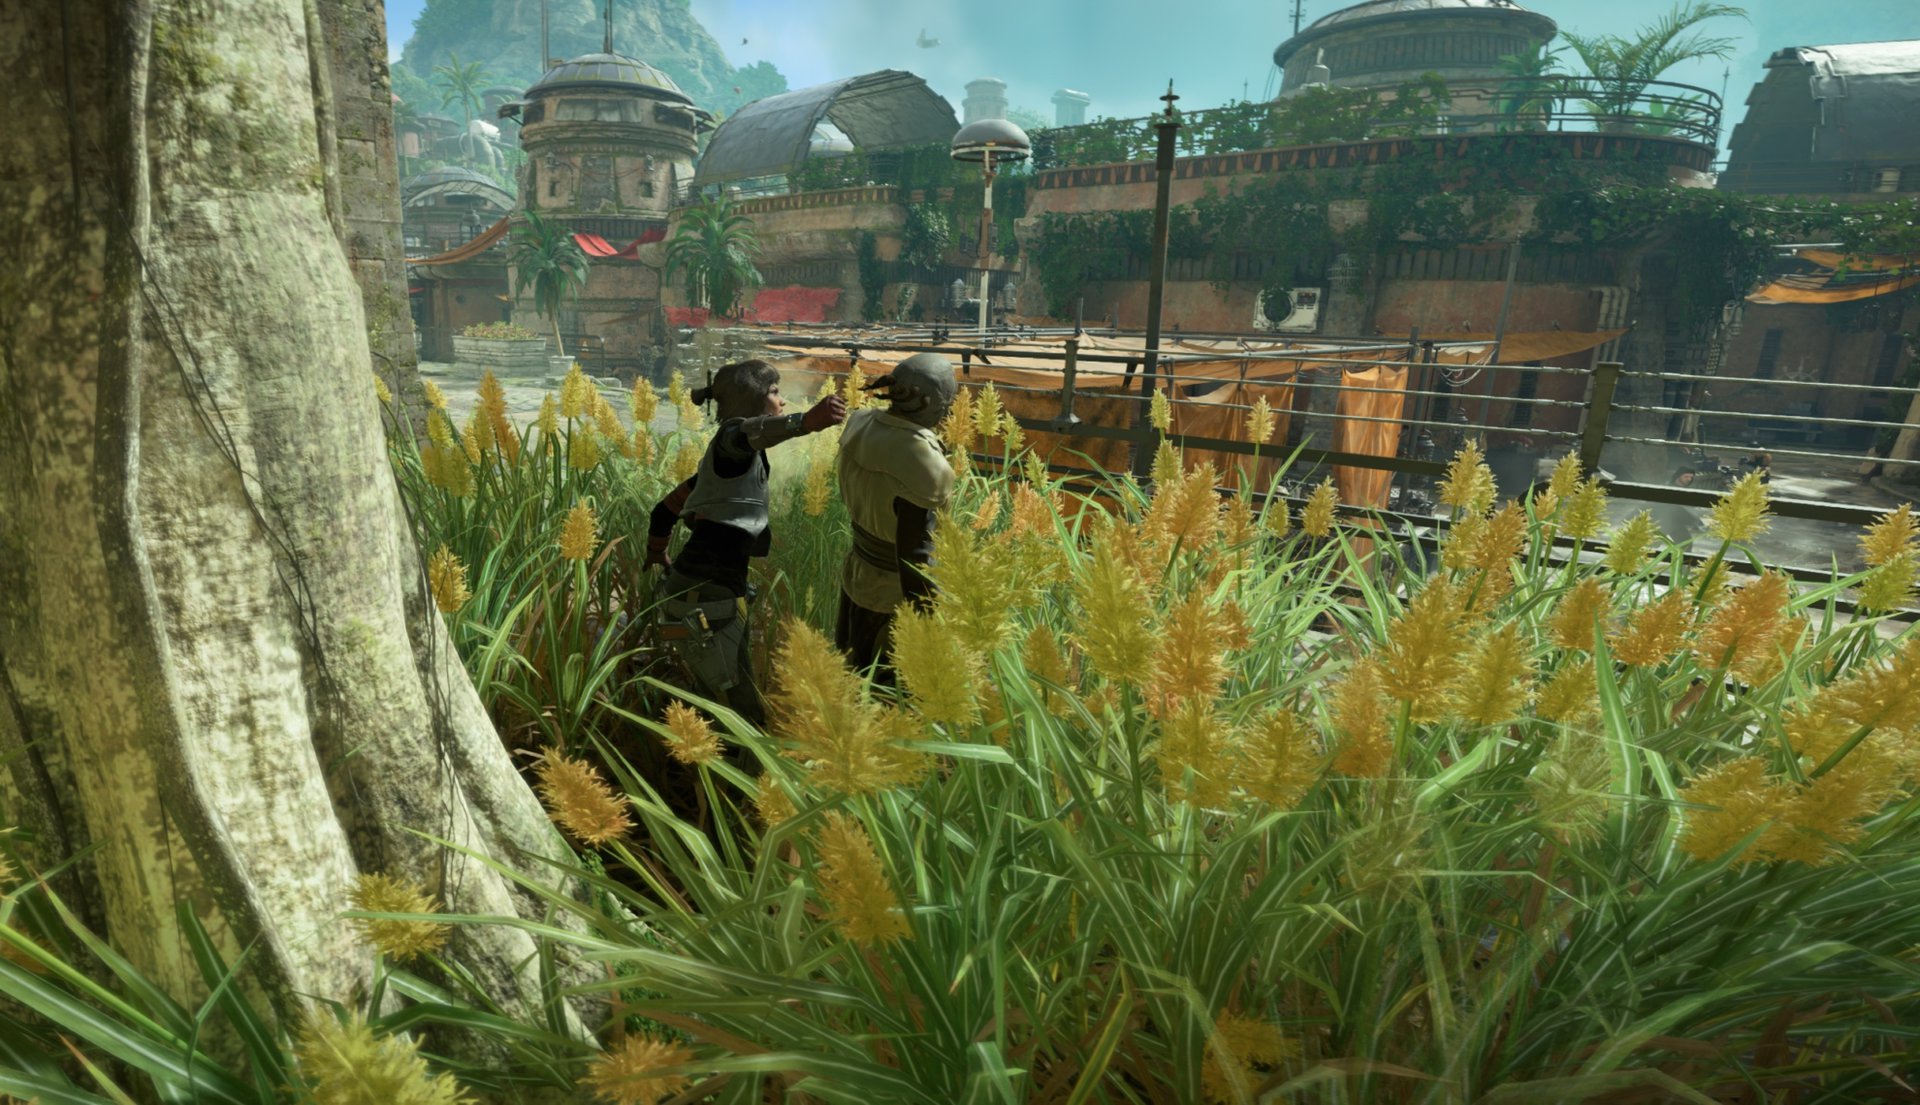
A second guard patrols the area. Use the same method, whistle, lure him into the bushes, and take him down. Then move forward through the left side until you see another bush, hide inside.
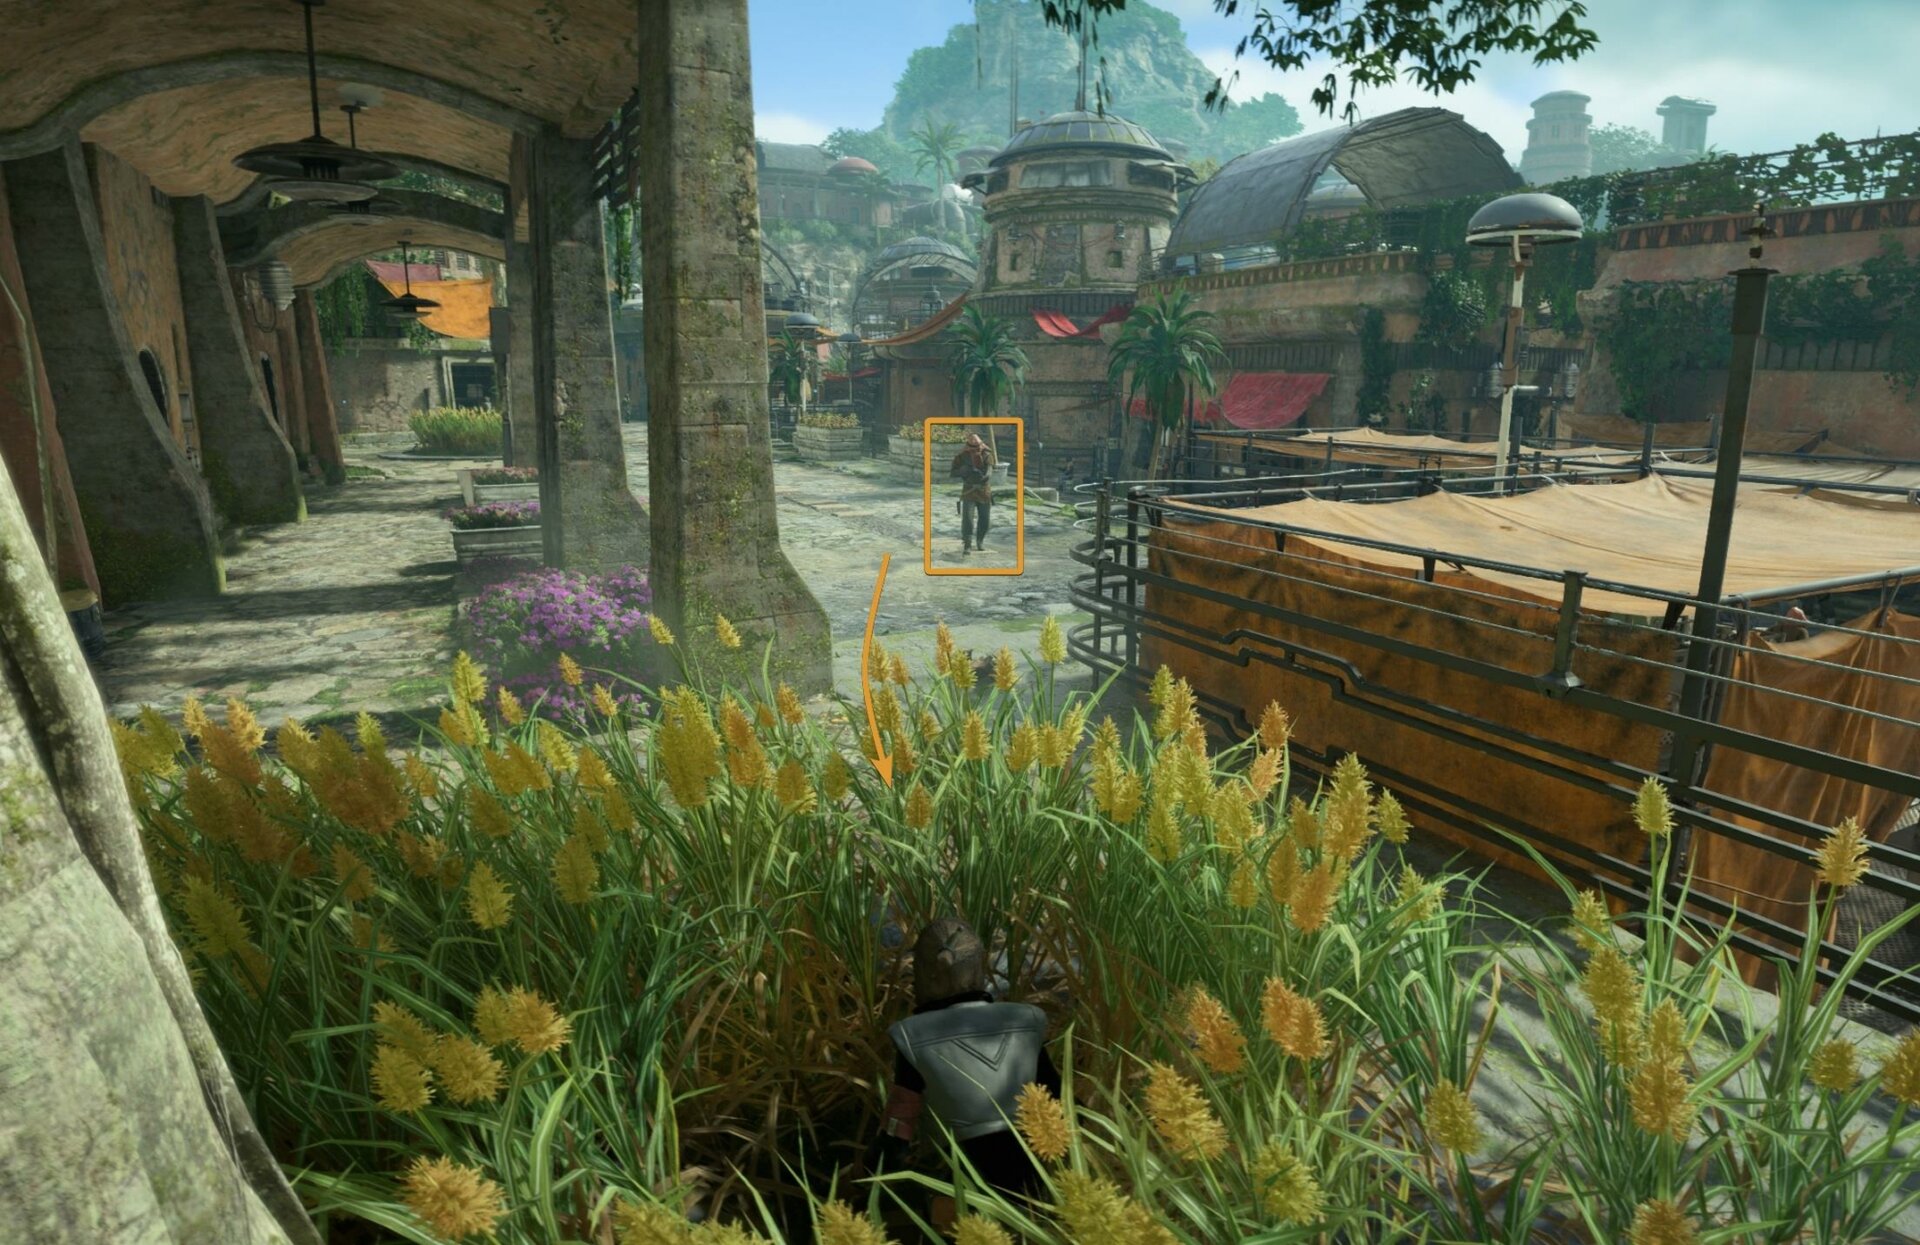
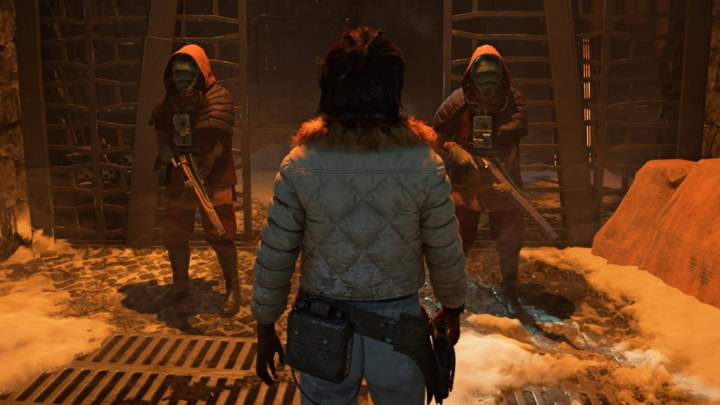
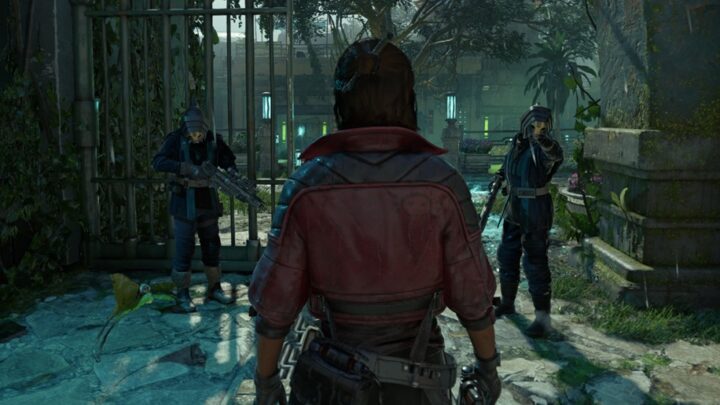
From this area, you can see a Gamorrean guarding the entrance and a second guard patrolling a short distance.
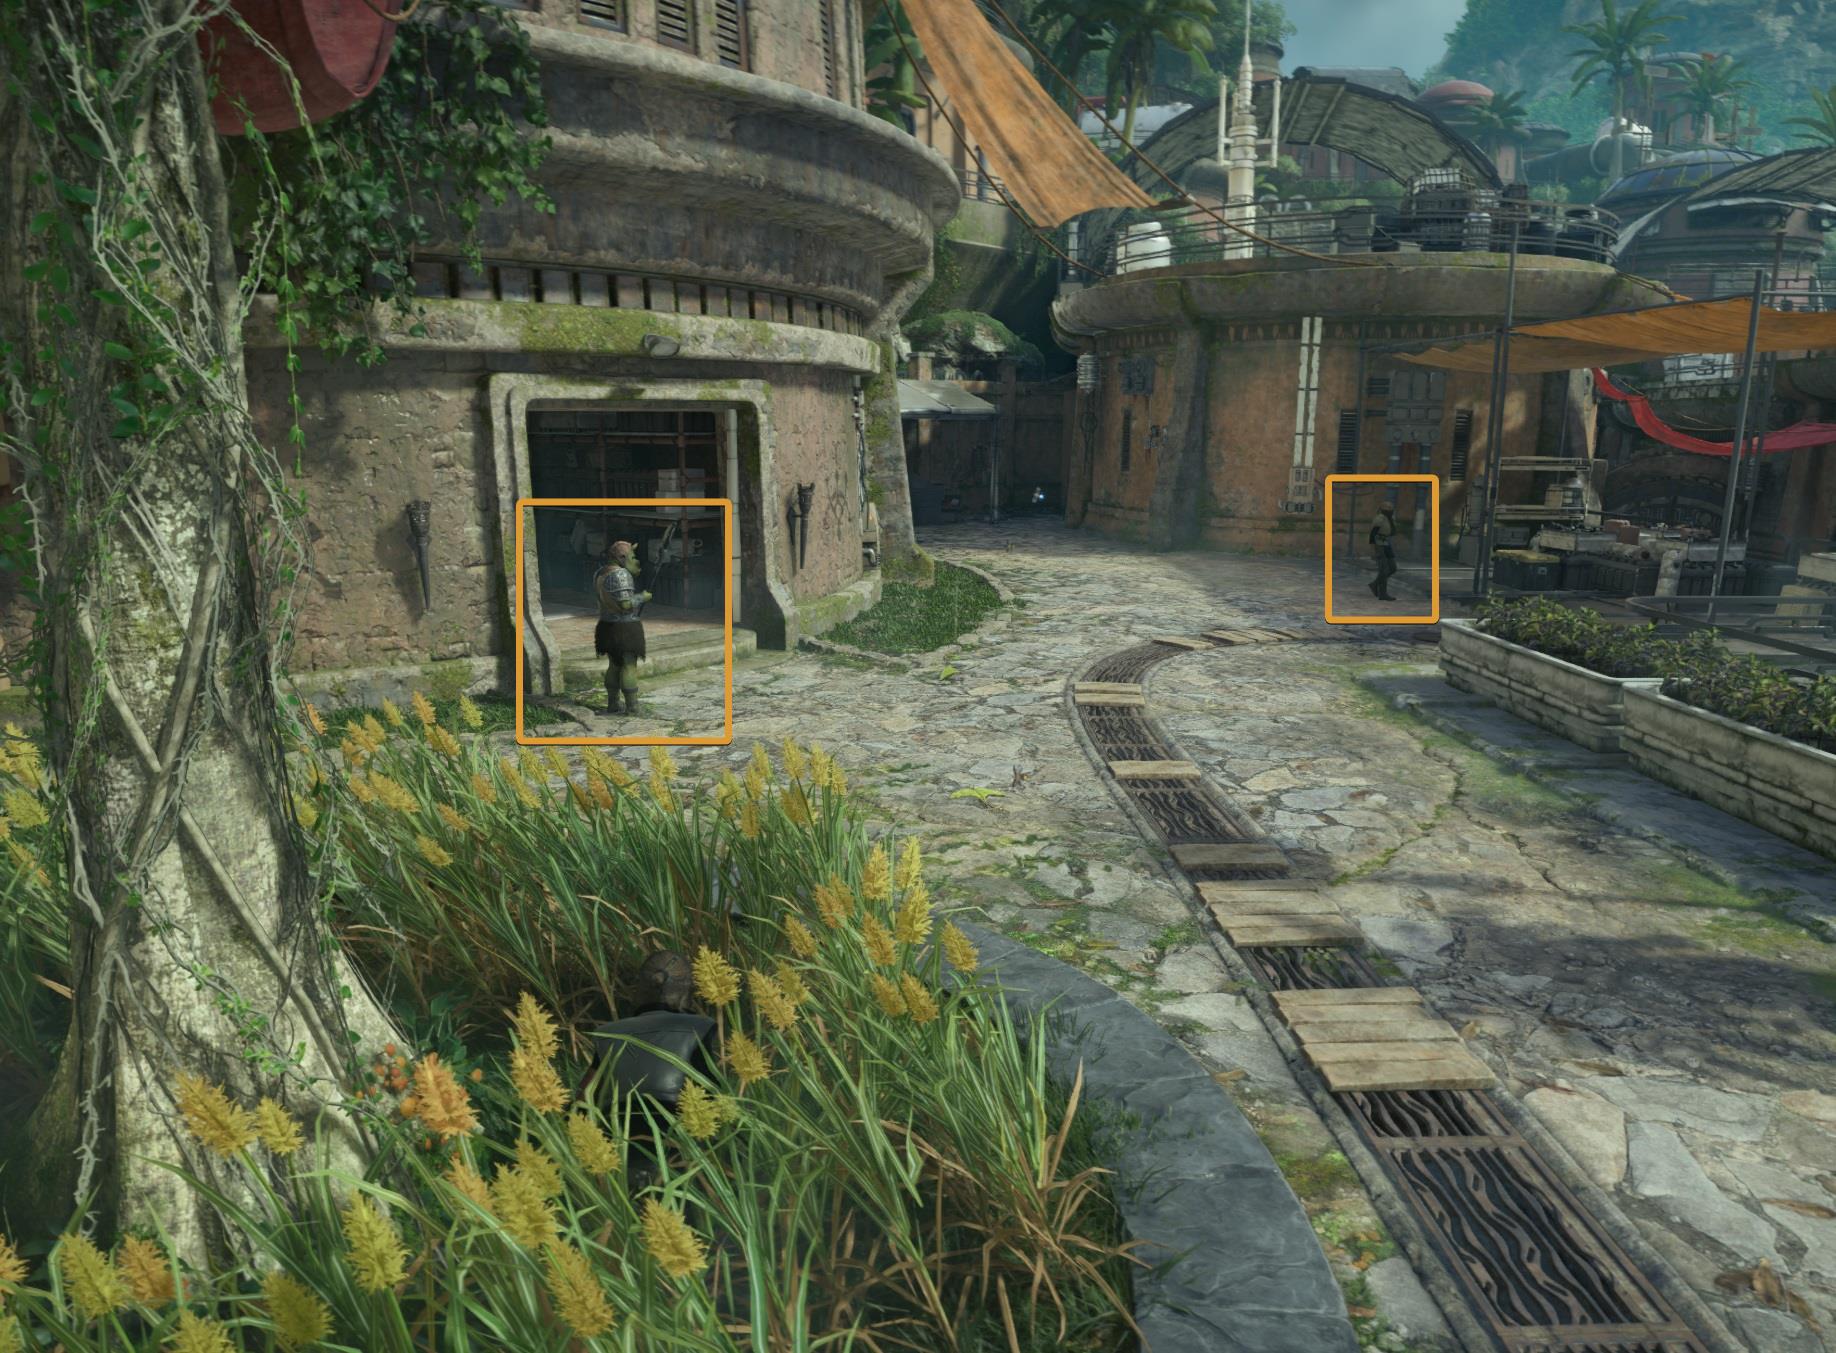
Send Nix to distract the Gamorrean. Meanwhile, sneak past it and take down the other second guard. Wait for it to be out of sight of the Gamorrean, they are dumb but not blind.
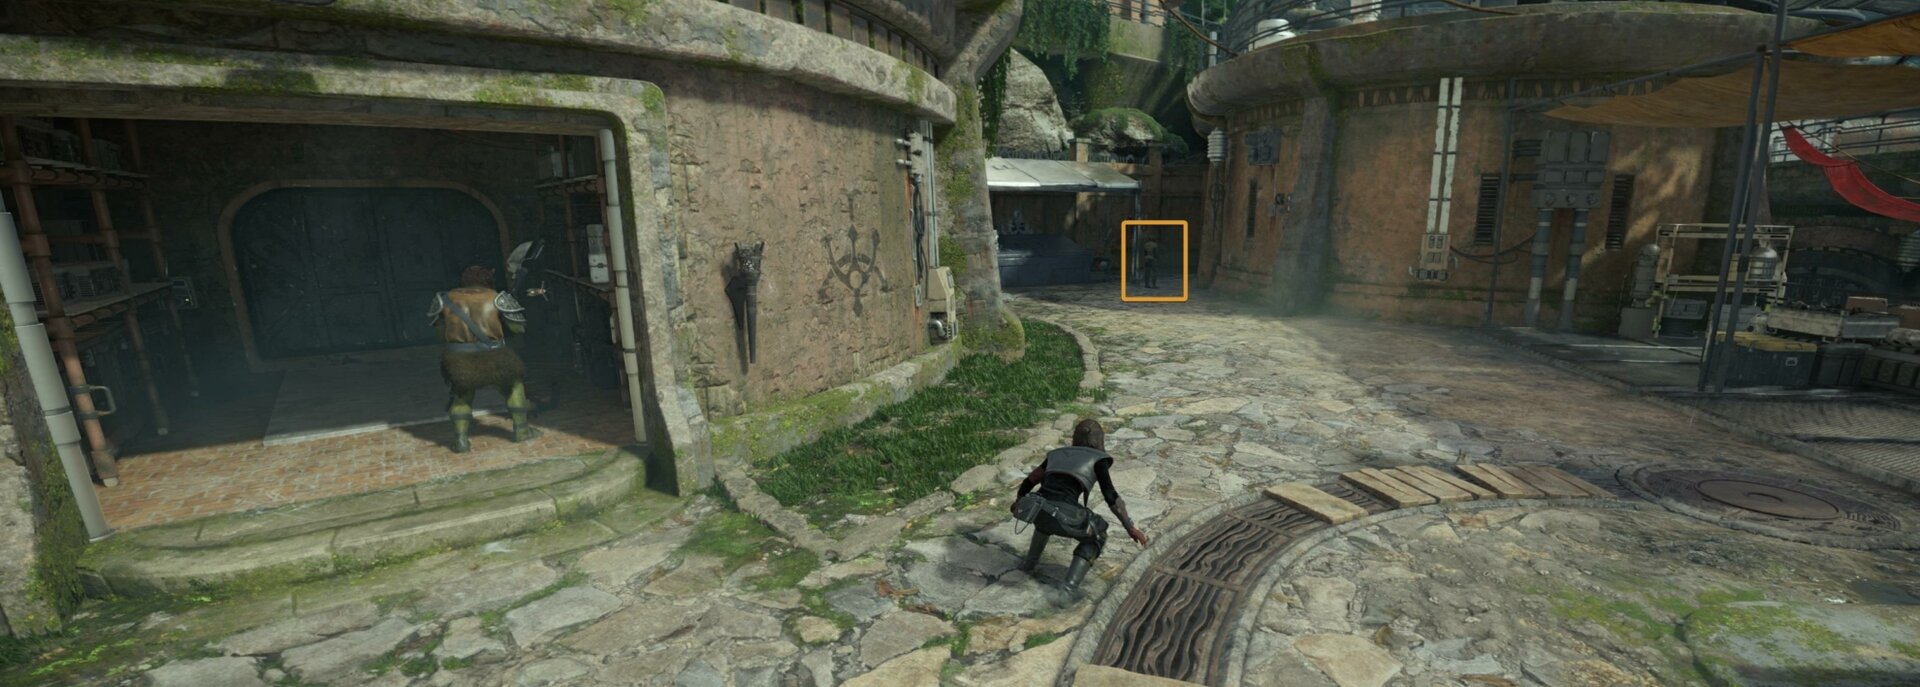
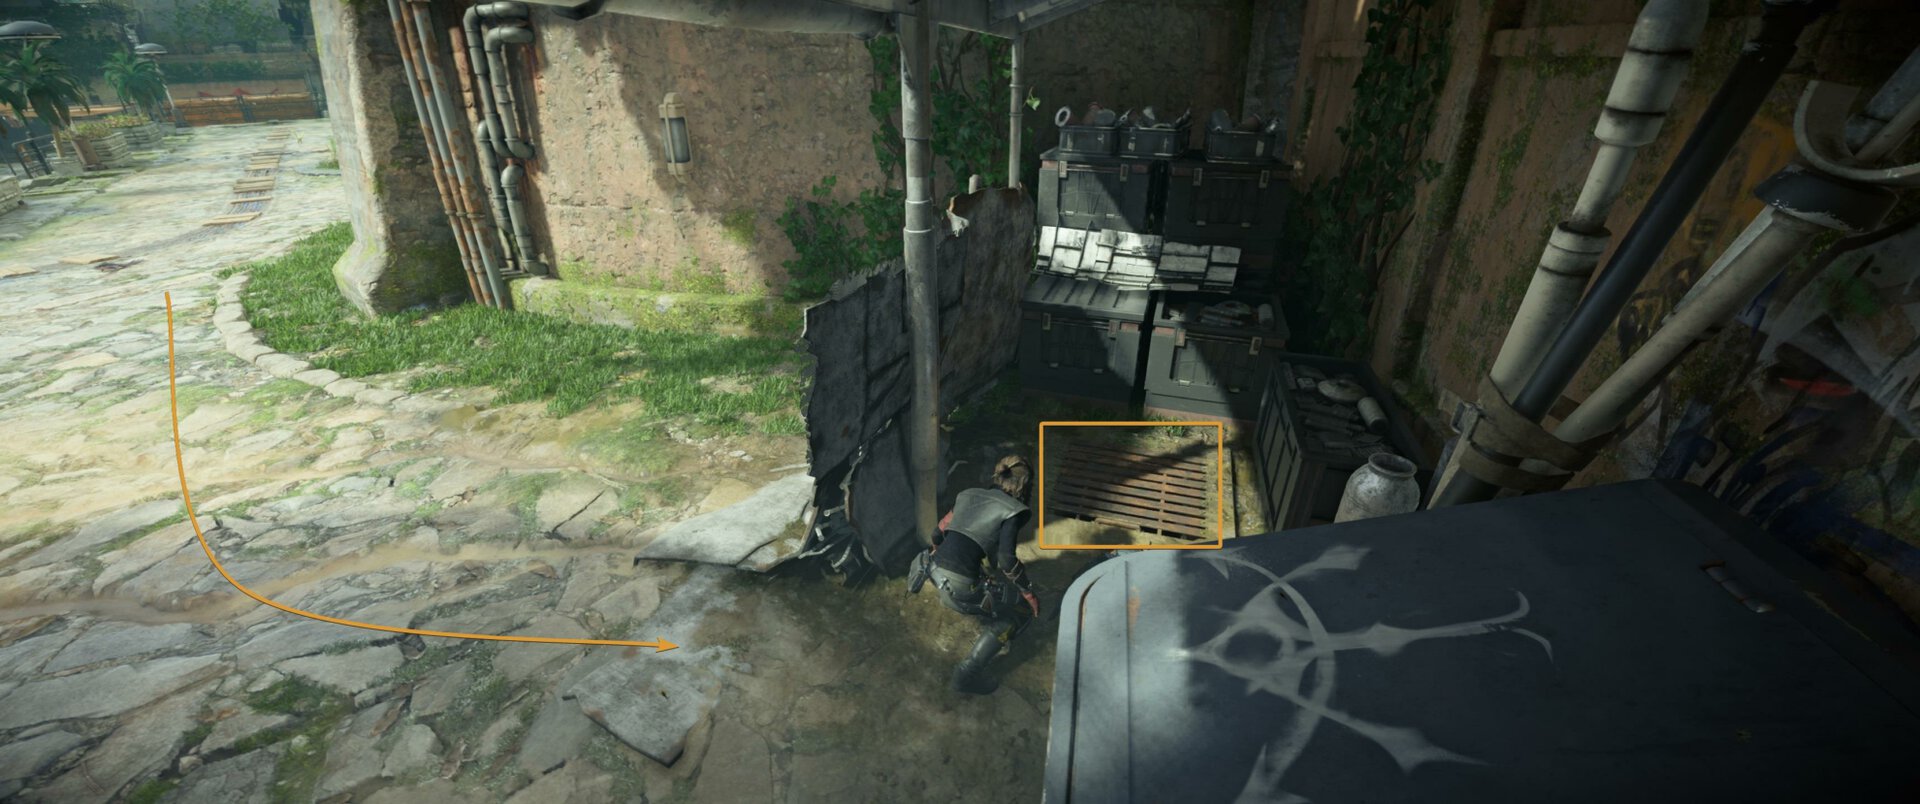
With the guard down, search for the small vent that’s just a few steps away. This is the safest way to enter the vault. The alternative is to knock out the Gamorrean.
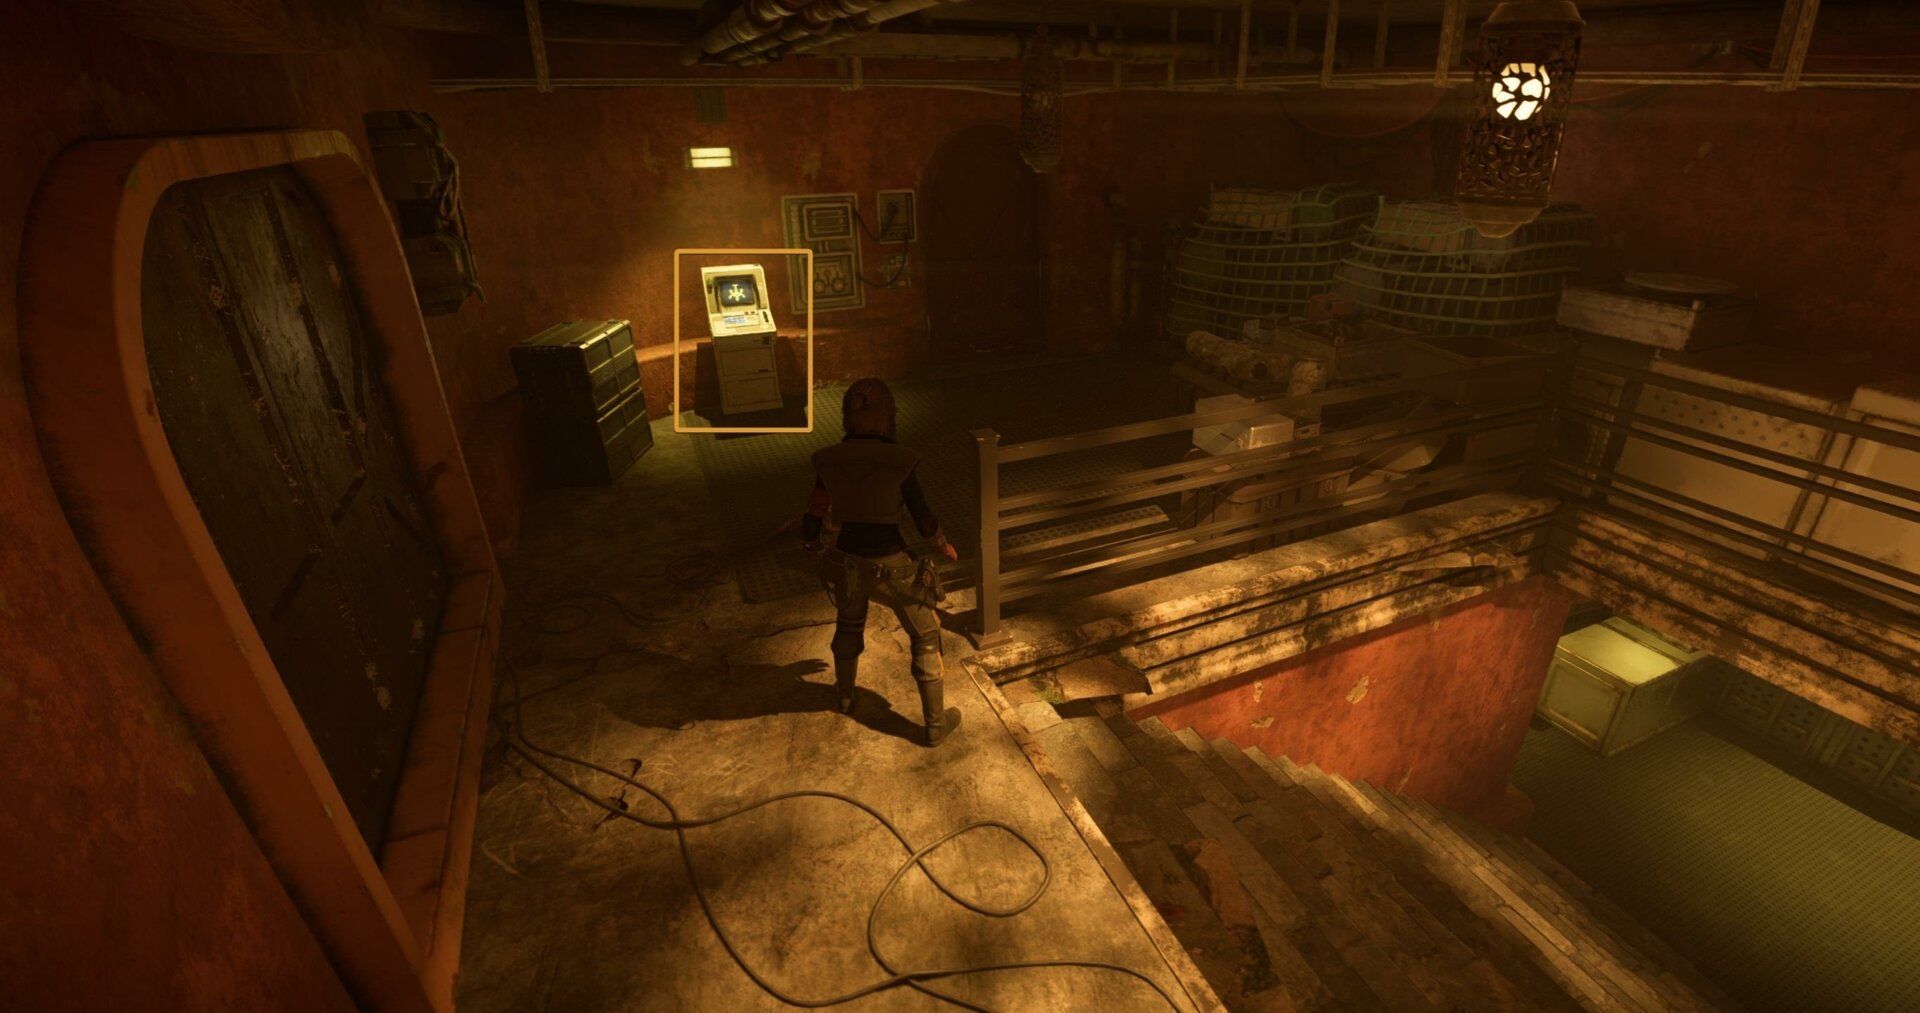
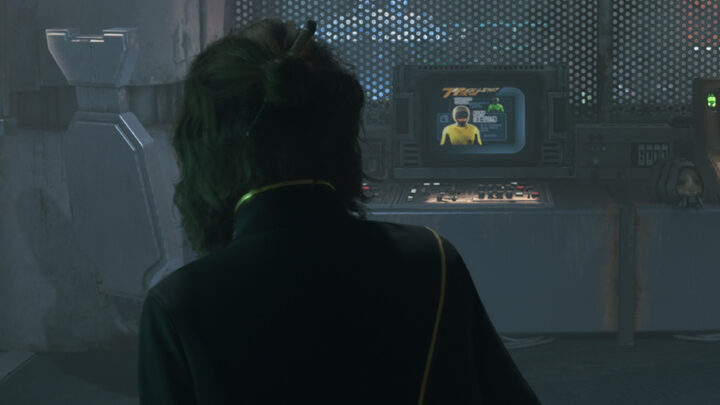
Go upstairs and slice the computer. Now to find all three Keycards.
Where to find the Keycards
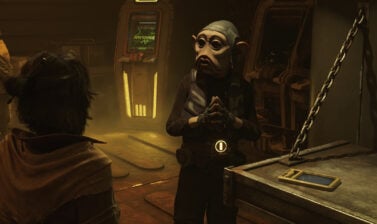
When you first reach a vault and interact with the terminal inside, you will get intel about three keycards that you have to obtain to unlock the locked-off section that contains the vault’s treasure. This segment shows you where to find the keycards for the Hutt vault on Akiva:
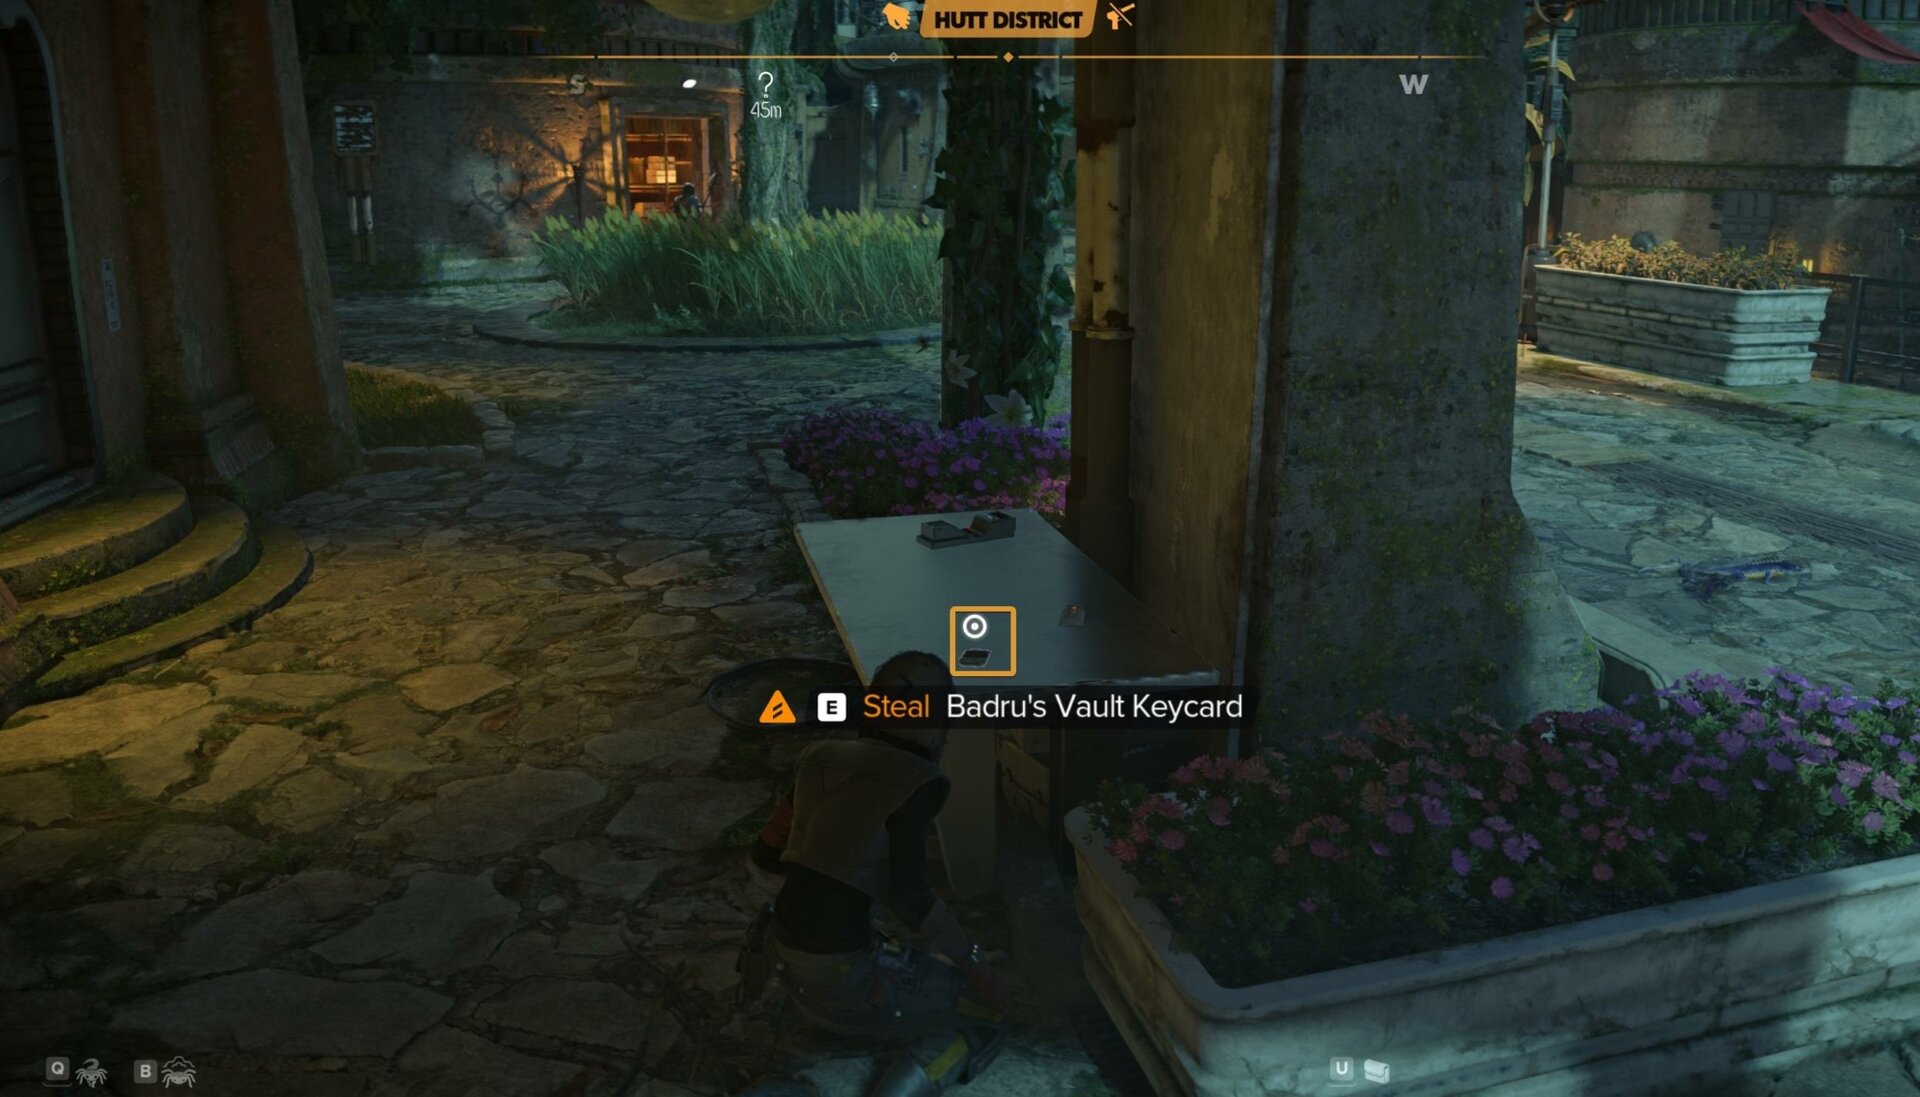
Where to find Badru’s Keycard
This one is the easiest to find. It’s located on a table a few meters before the bush that’s in front of the entrance of the vault. If you took out all guards except the Gamorrean, it should be very easy to grab it. If not, you can ask Nix to grab it for you.
To exit this area use the same path you used to get in. Guards do not spawn unless you die, get captured, reload a save, or fast-travel somewhere else.
Where to find Makarial’s Keycard
Head to the far east of the map, to the Hunter’s Canopy region. Both remaining Keycards are close to each other. I suggest starting with Makarial’s keycard.
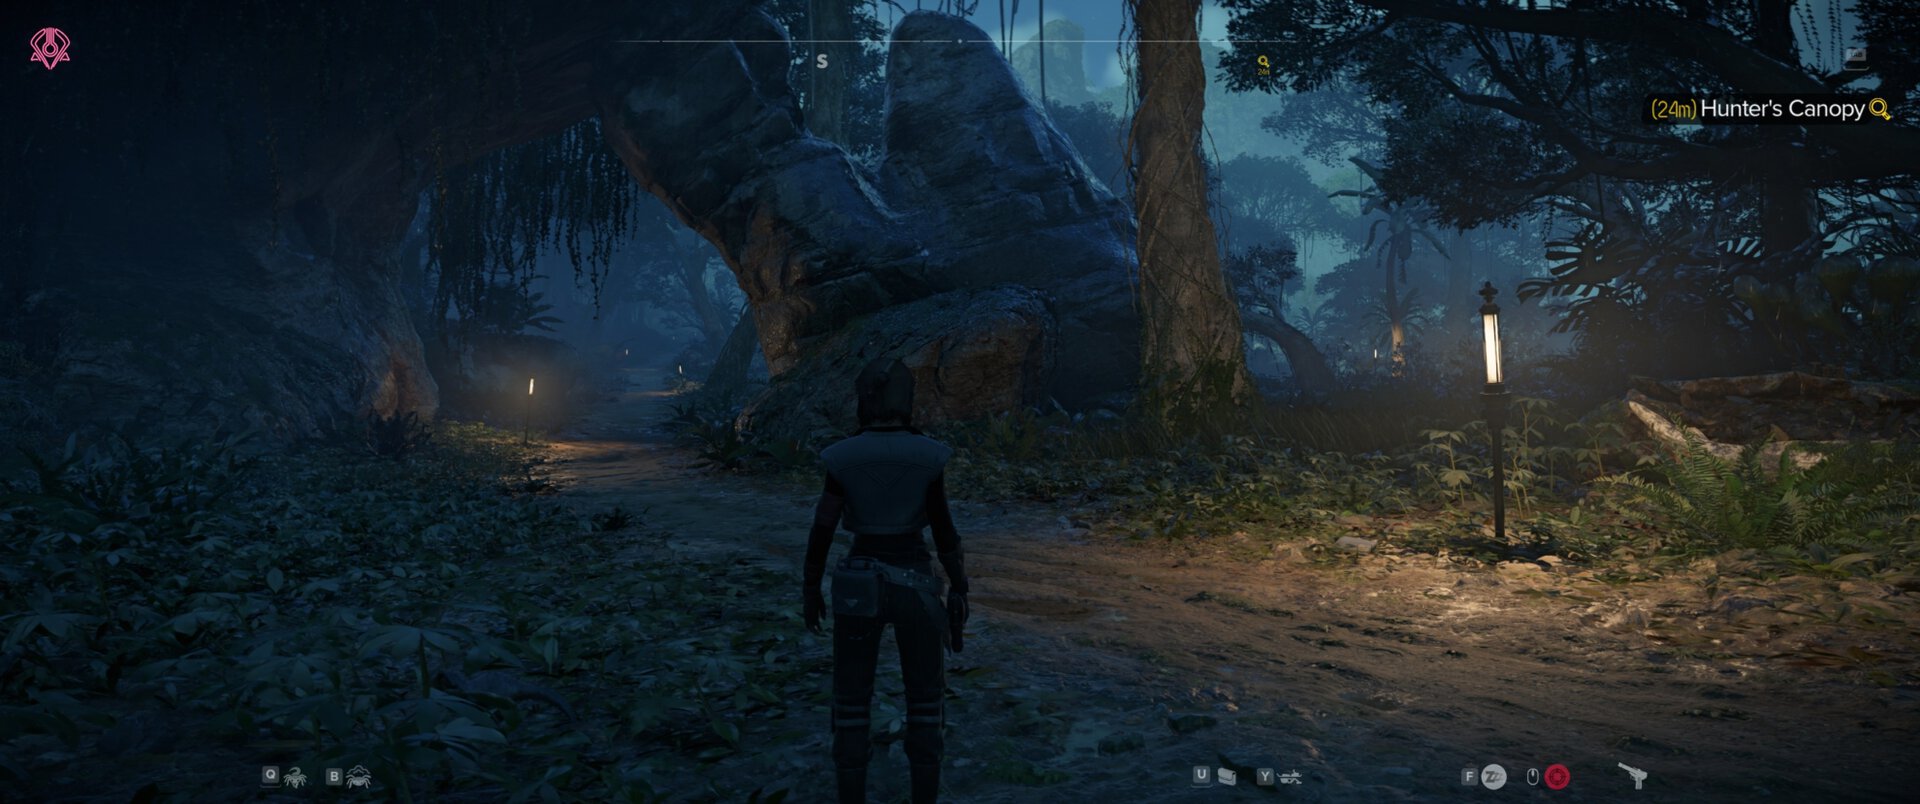
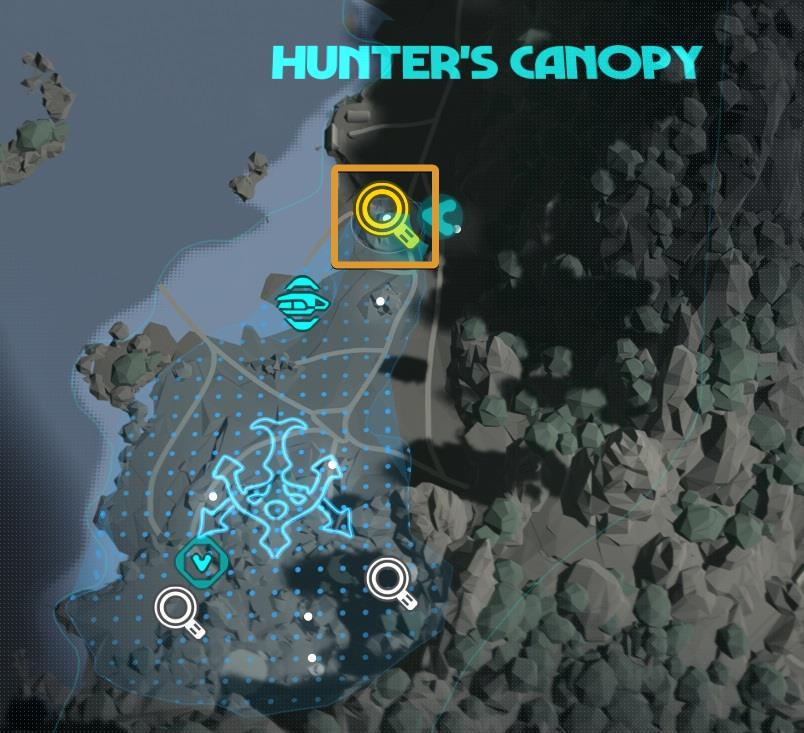
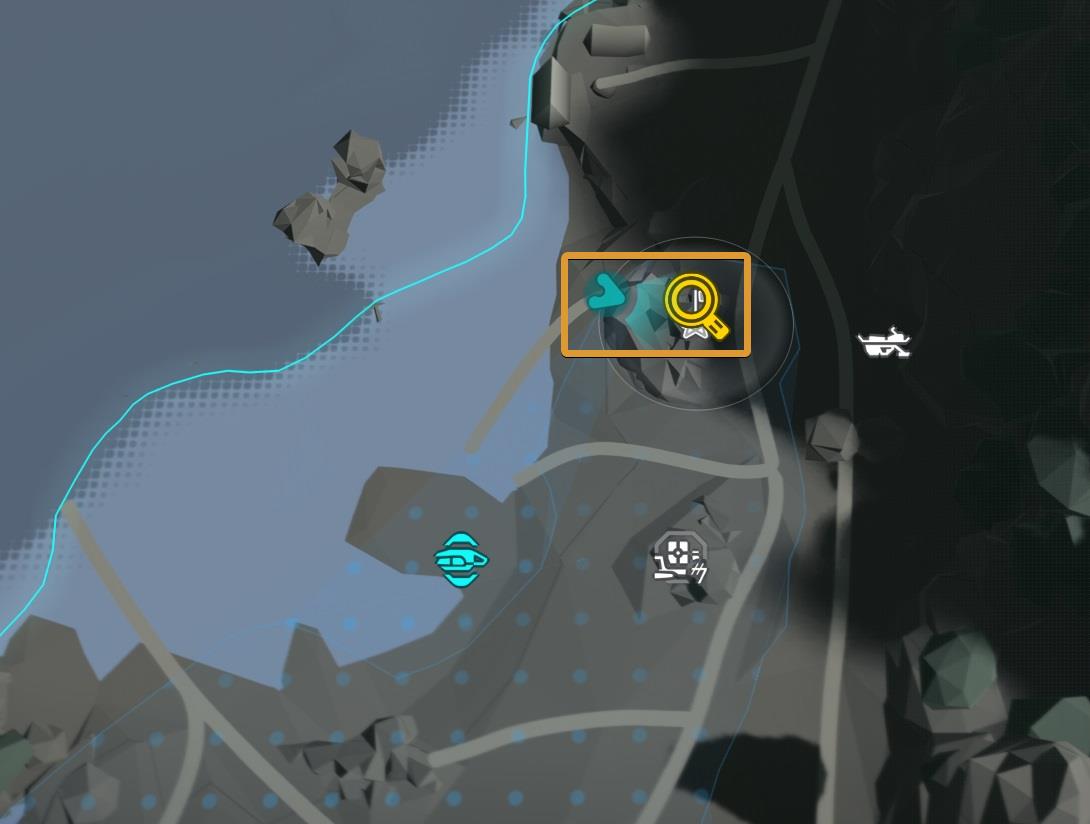
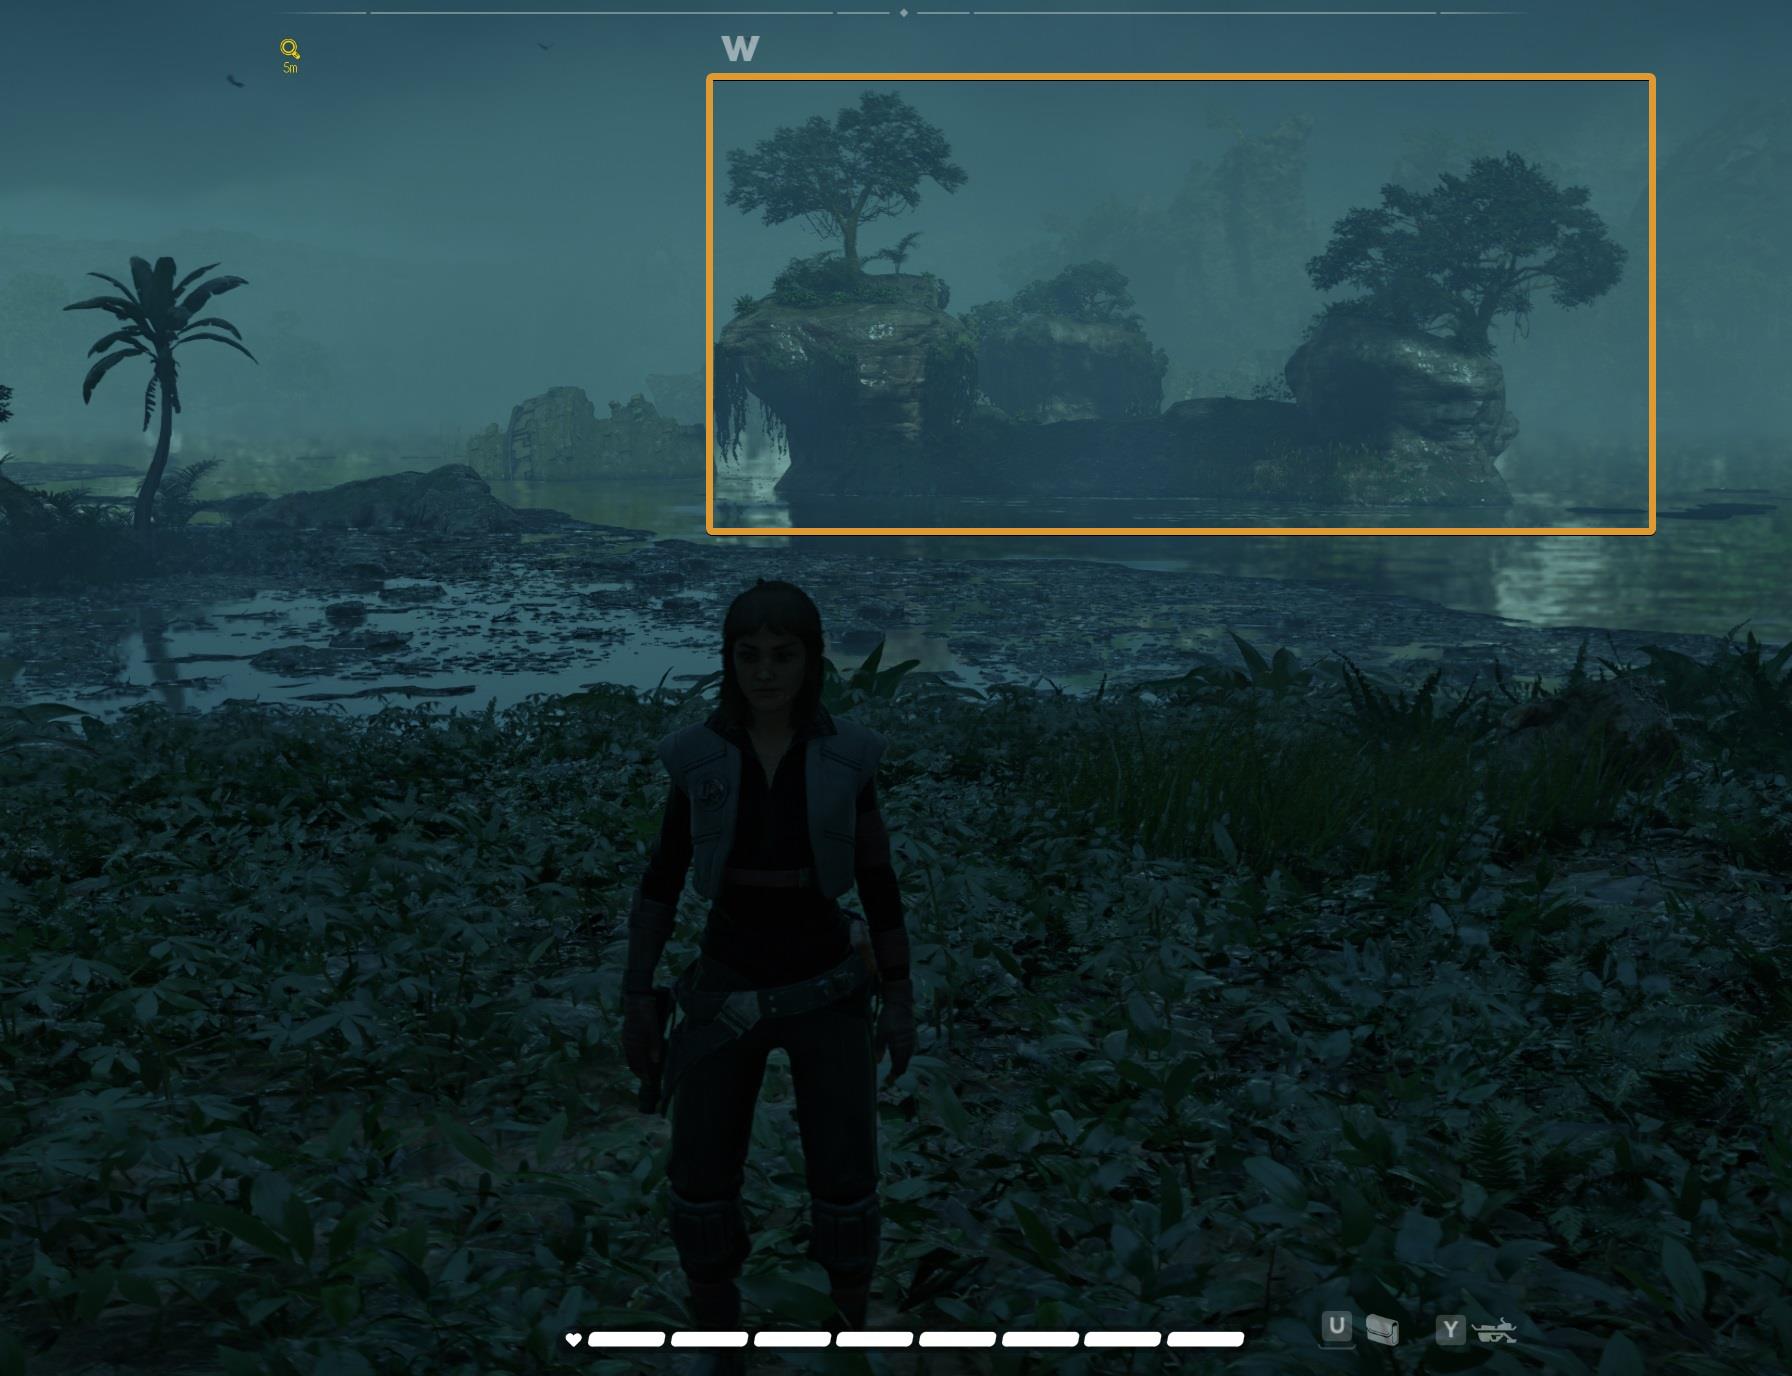
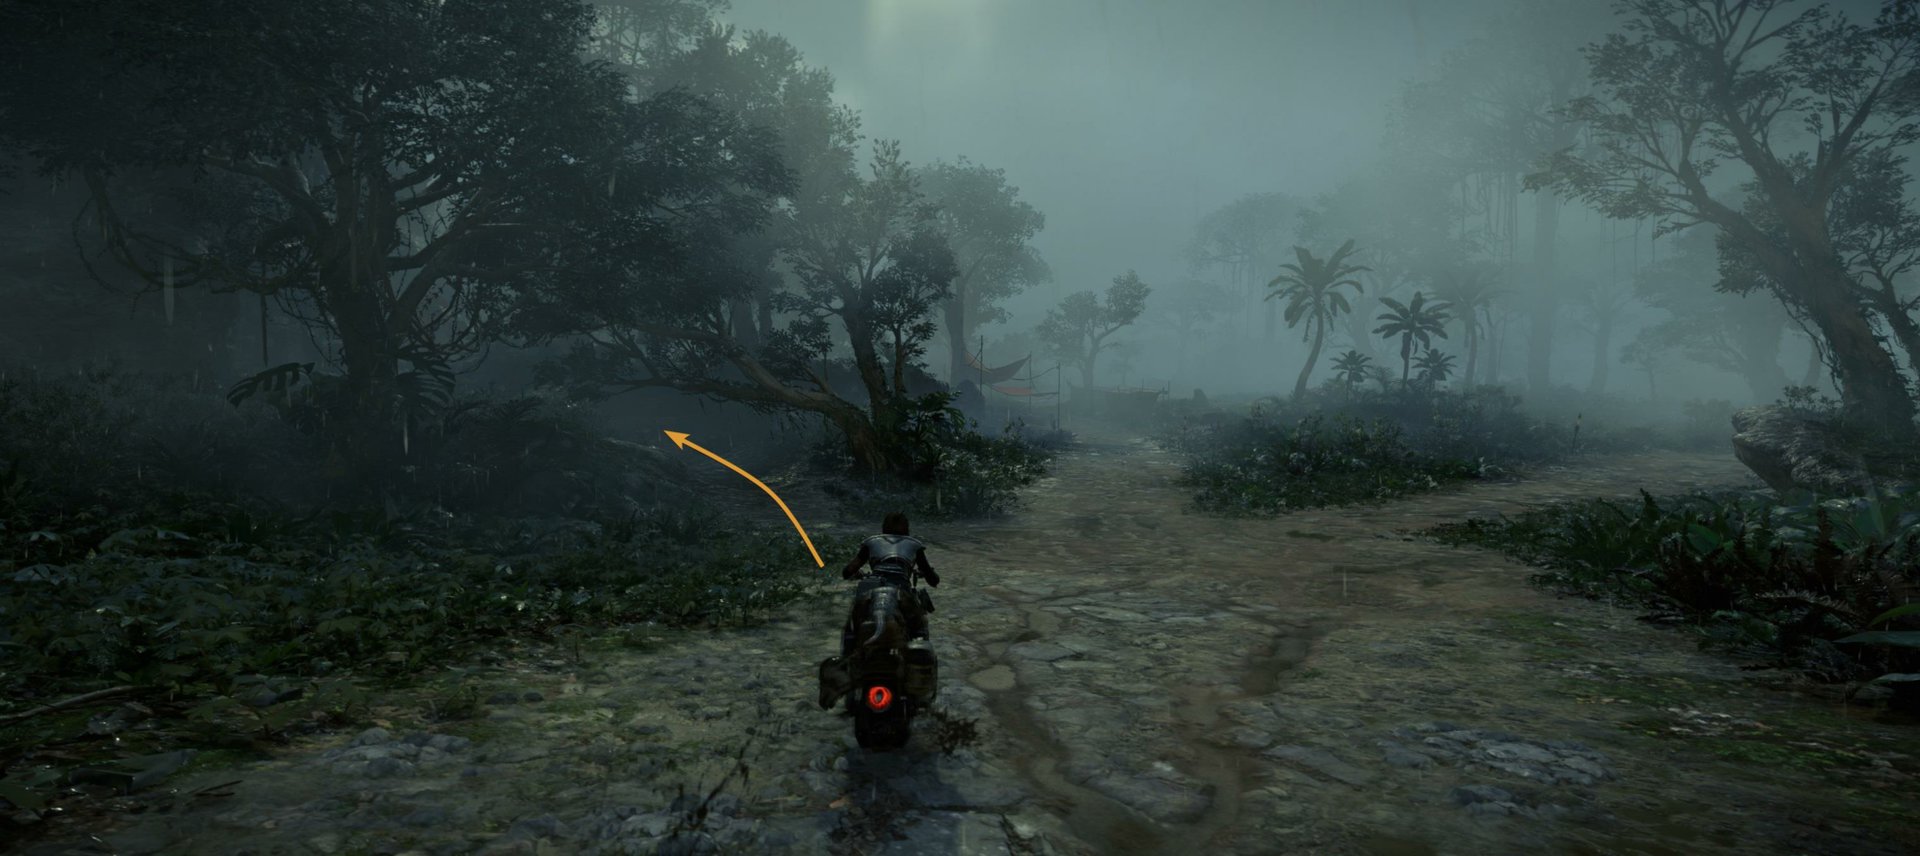
It’s likely that you got here from the North or South but to avoid unnecessary risks I suggest that you start from the East. You still need to walk a small distance to get to the right area but from this point, it’s safer. The in-game marker will lead you to the best spot.
This is Hutt territory, their enforcers are constantly patrolling the roads. Stay crouched to avoid getting spotted.
After a couple of minutes, you’ll find this climbable wall.
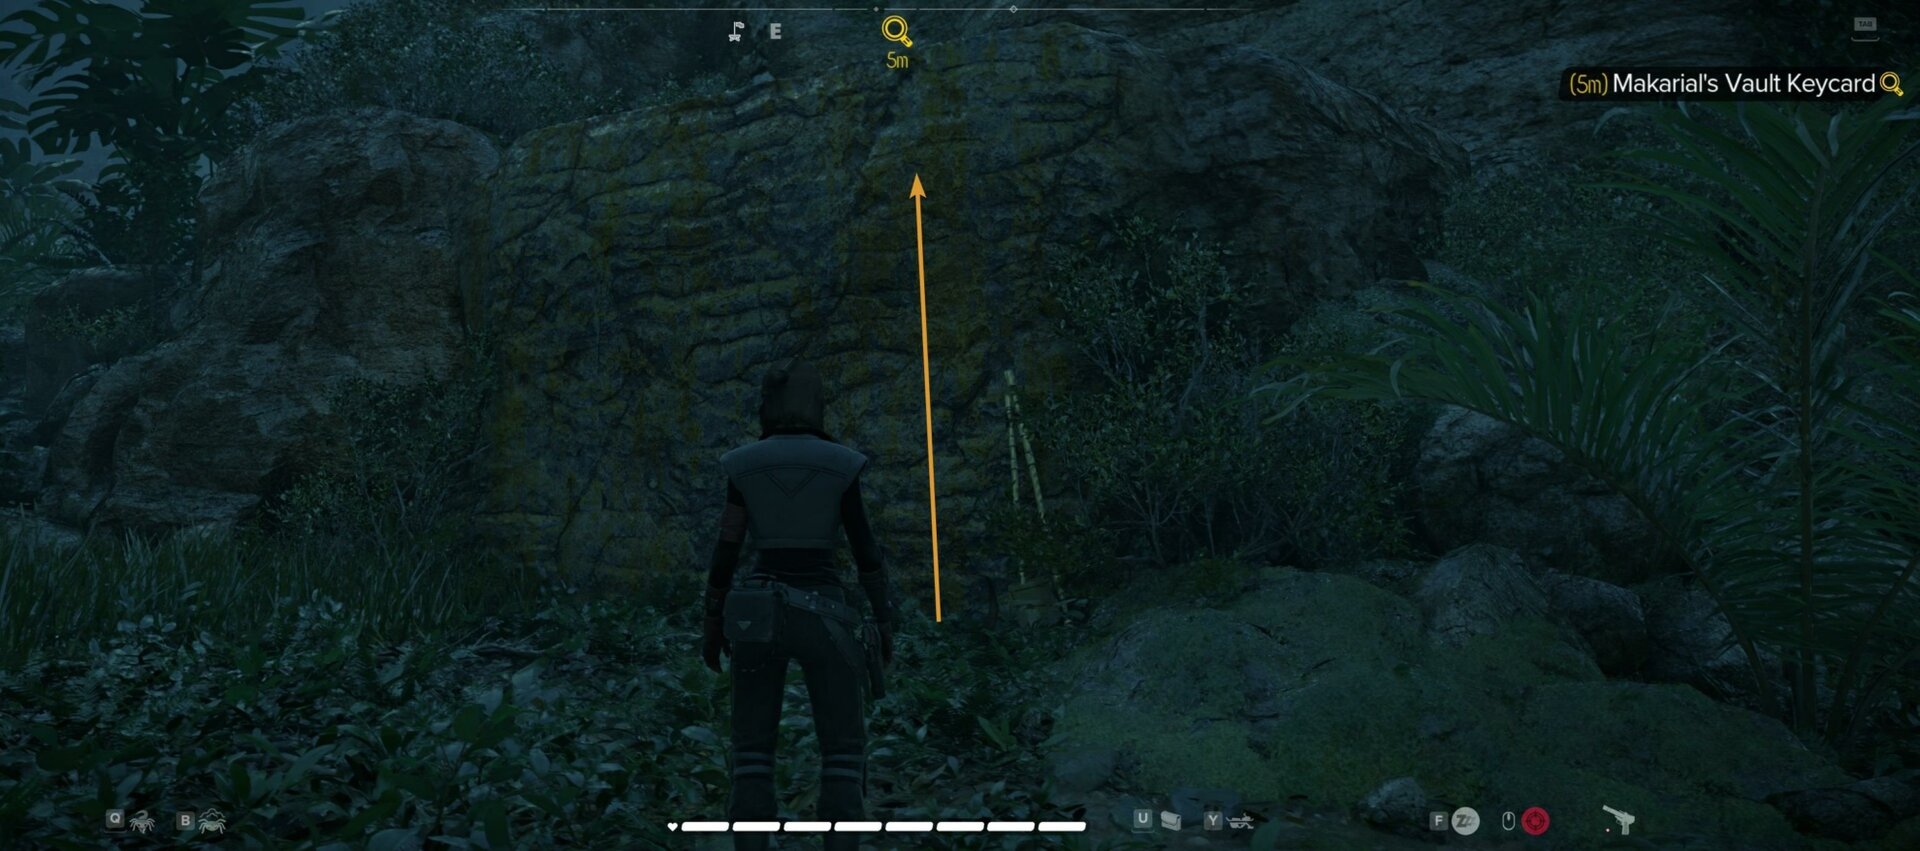
Use the highlighted rocks in the following image as a reference.
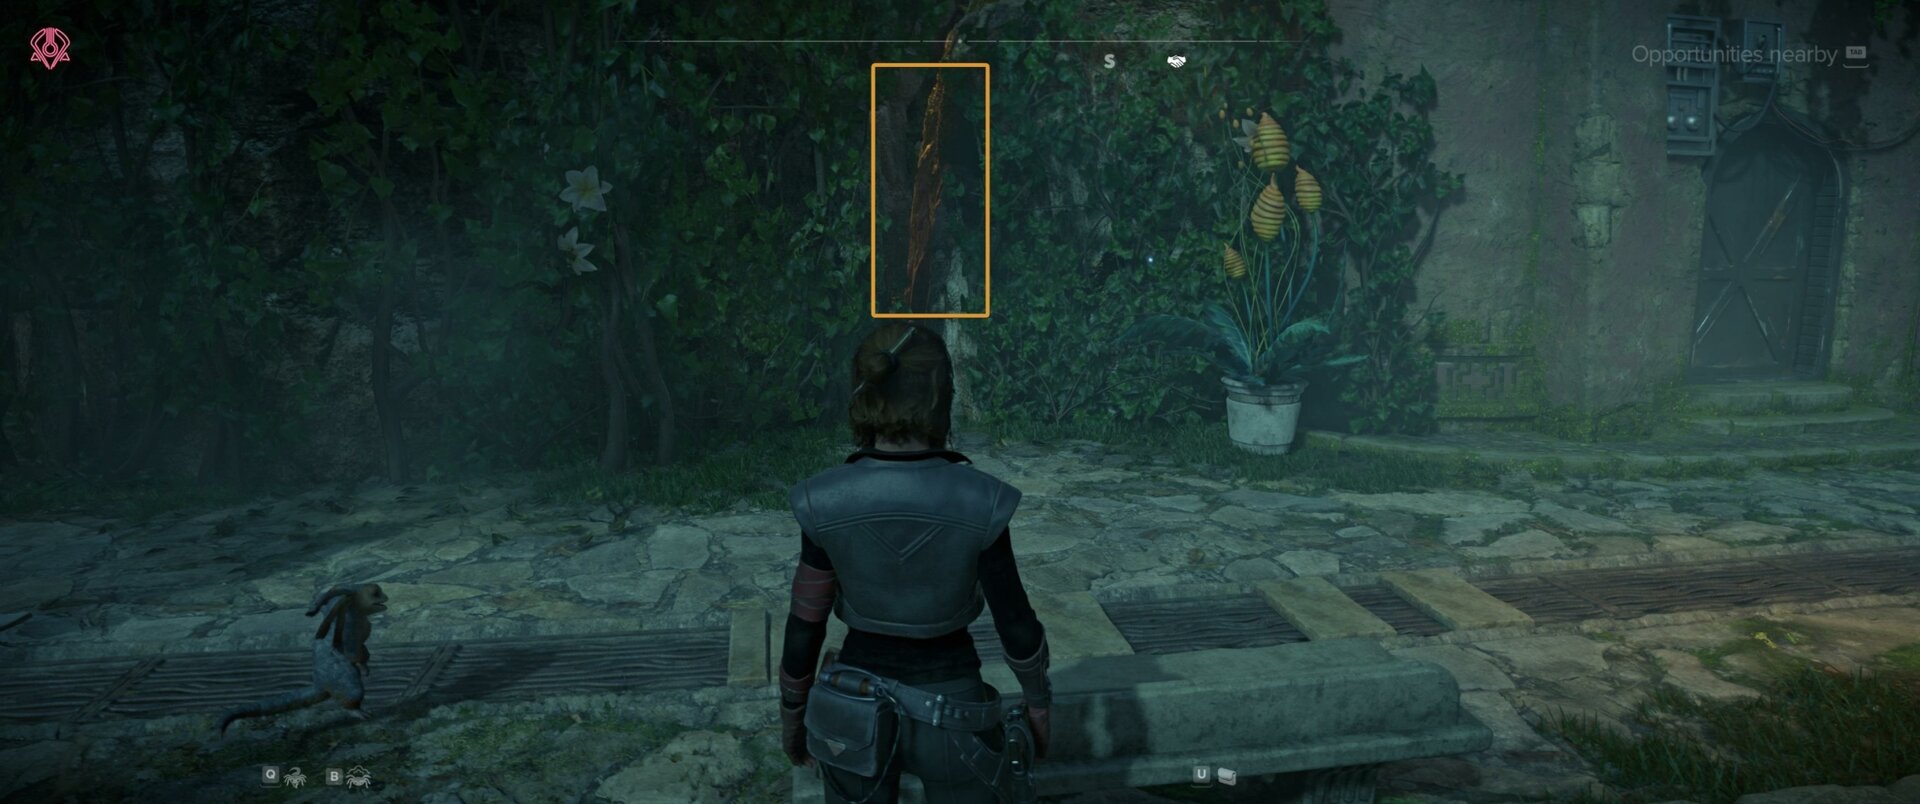
Climb the wall, then use the grappling hook on the tree and use the metal bars to reach the top of the cliff.
Wait for a bit, just to make sure that no guards are too close. Use Nix senses if necessary. Hide in the bush.
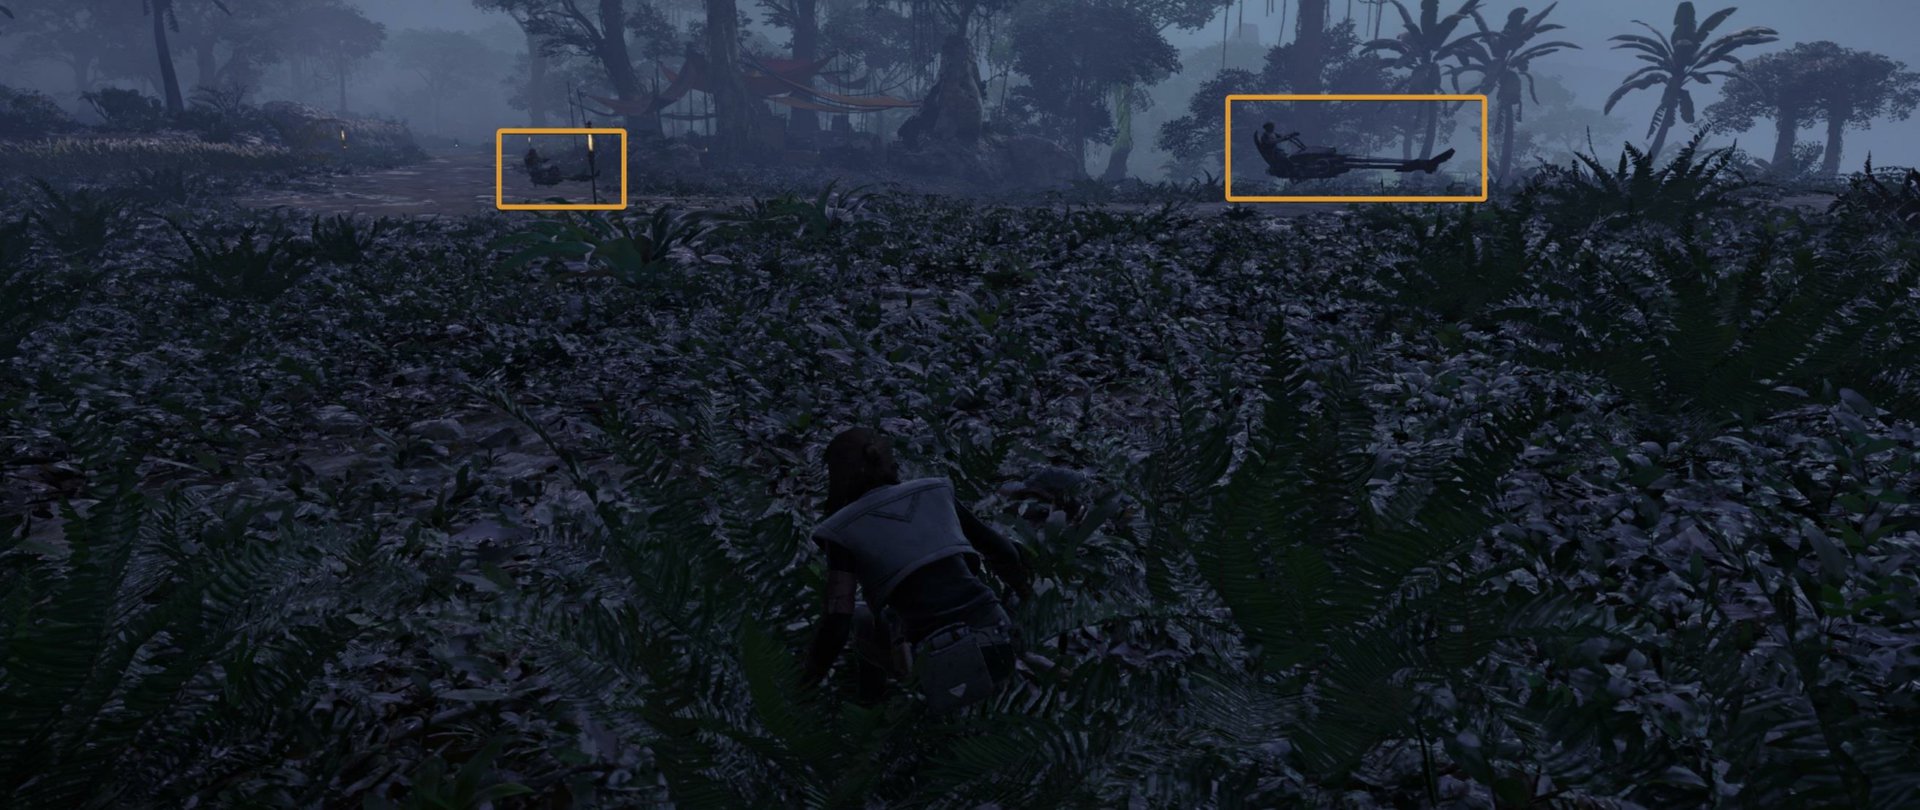
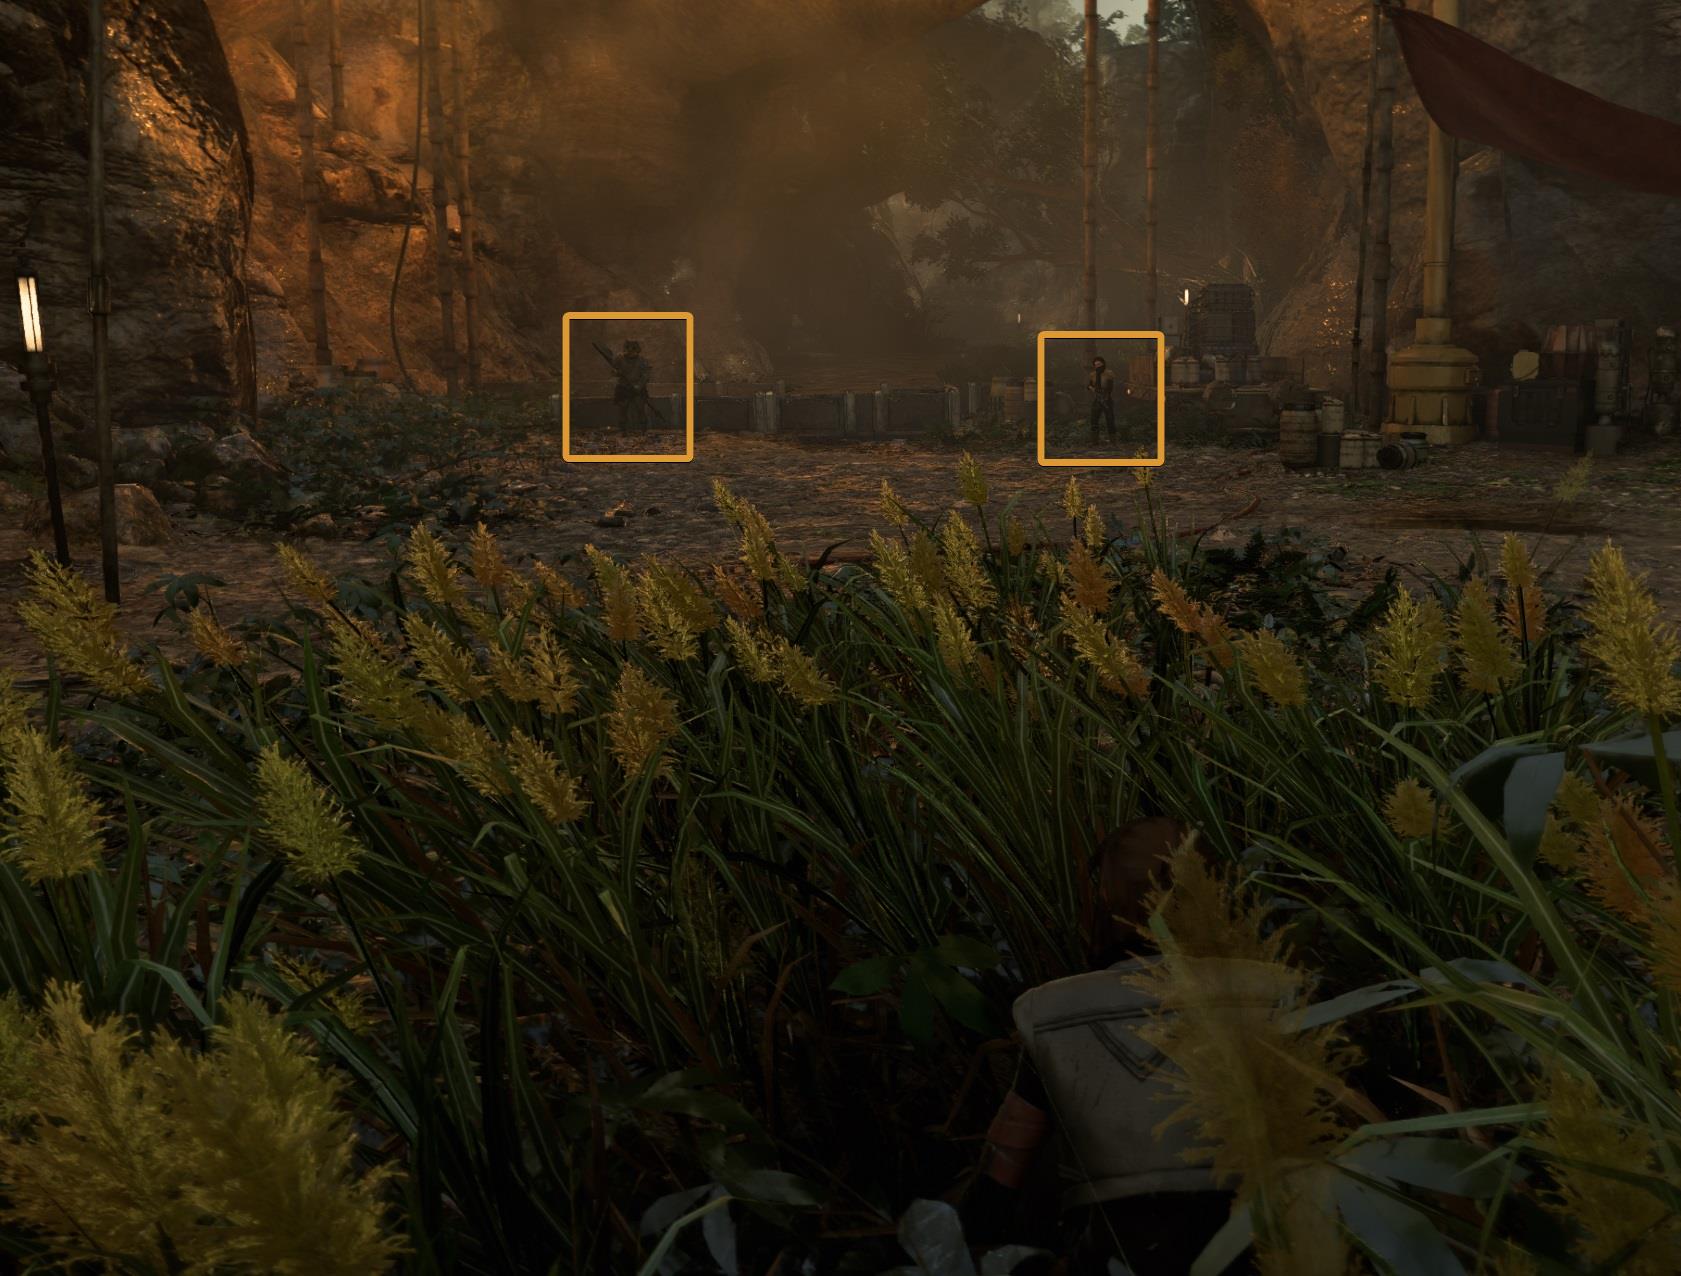
From this point, you’ll see two enemies. One is patrolling while the other doesn’t move. There’s a third guard but it’s behind the building.
Lure the closest enemy with a whistle and take it down. You can use the same trick with the other patrolling guard. The last one will be easy to eliminate.
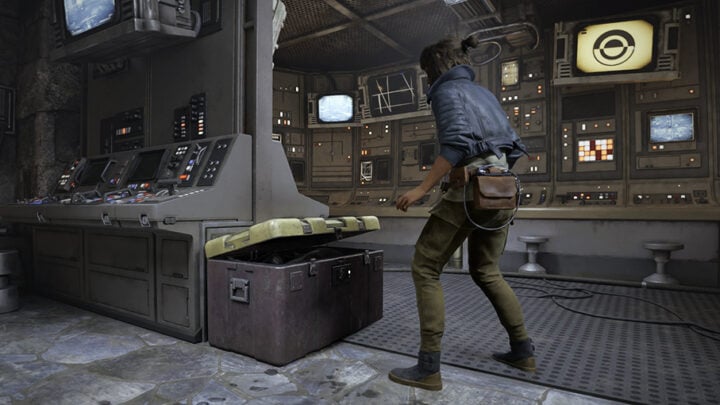
Makarial’s keycard is on the shelf. The nearby container has a Dud Trinket inside it.

Where to find Surat’s Keycard
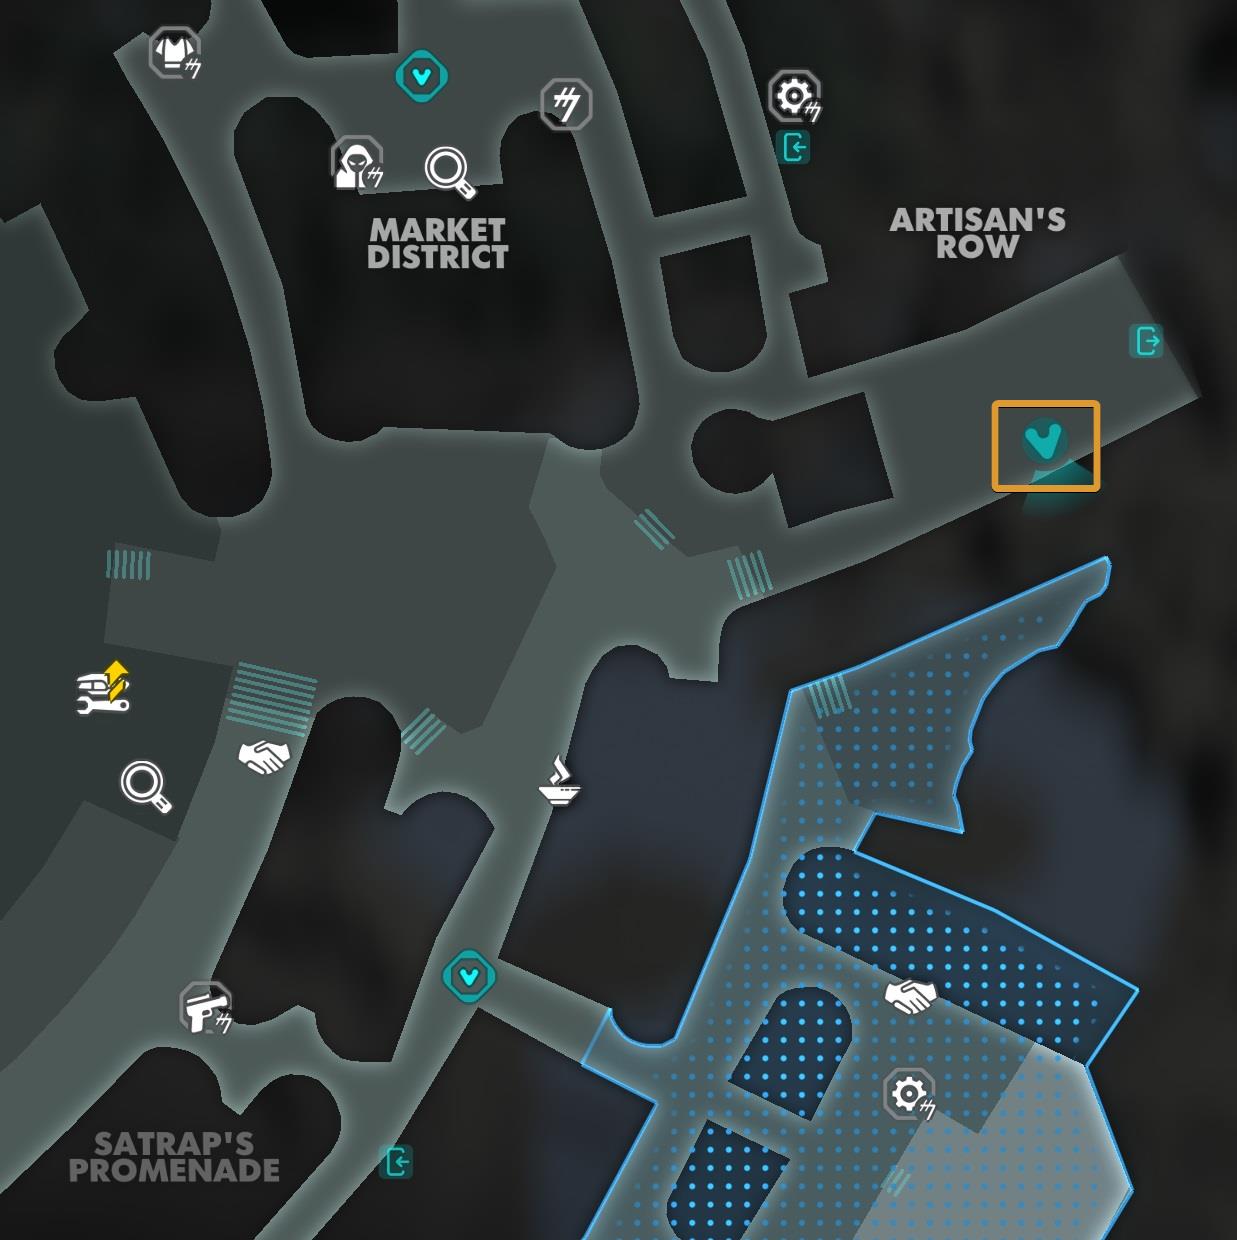
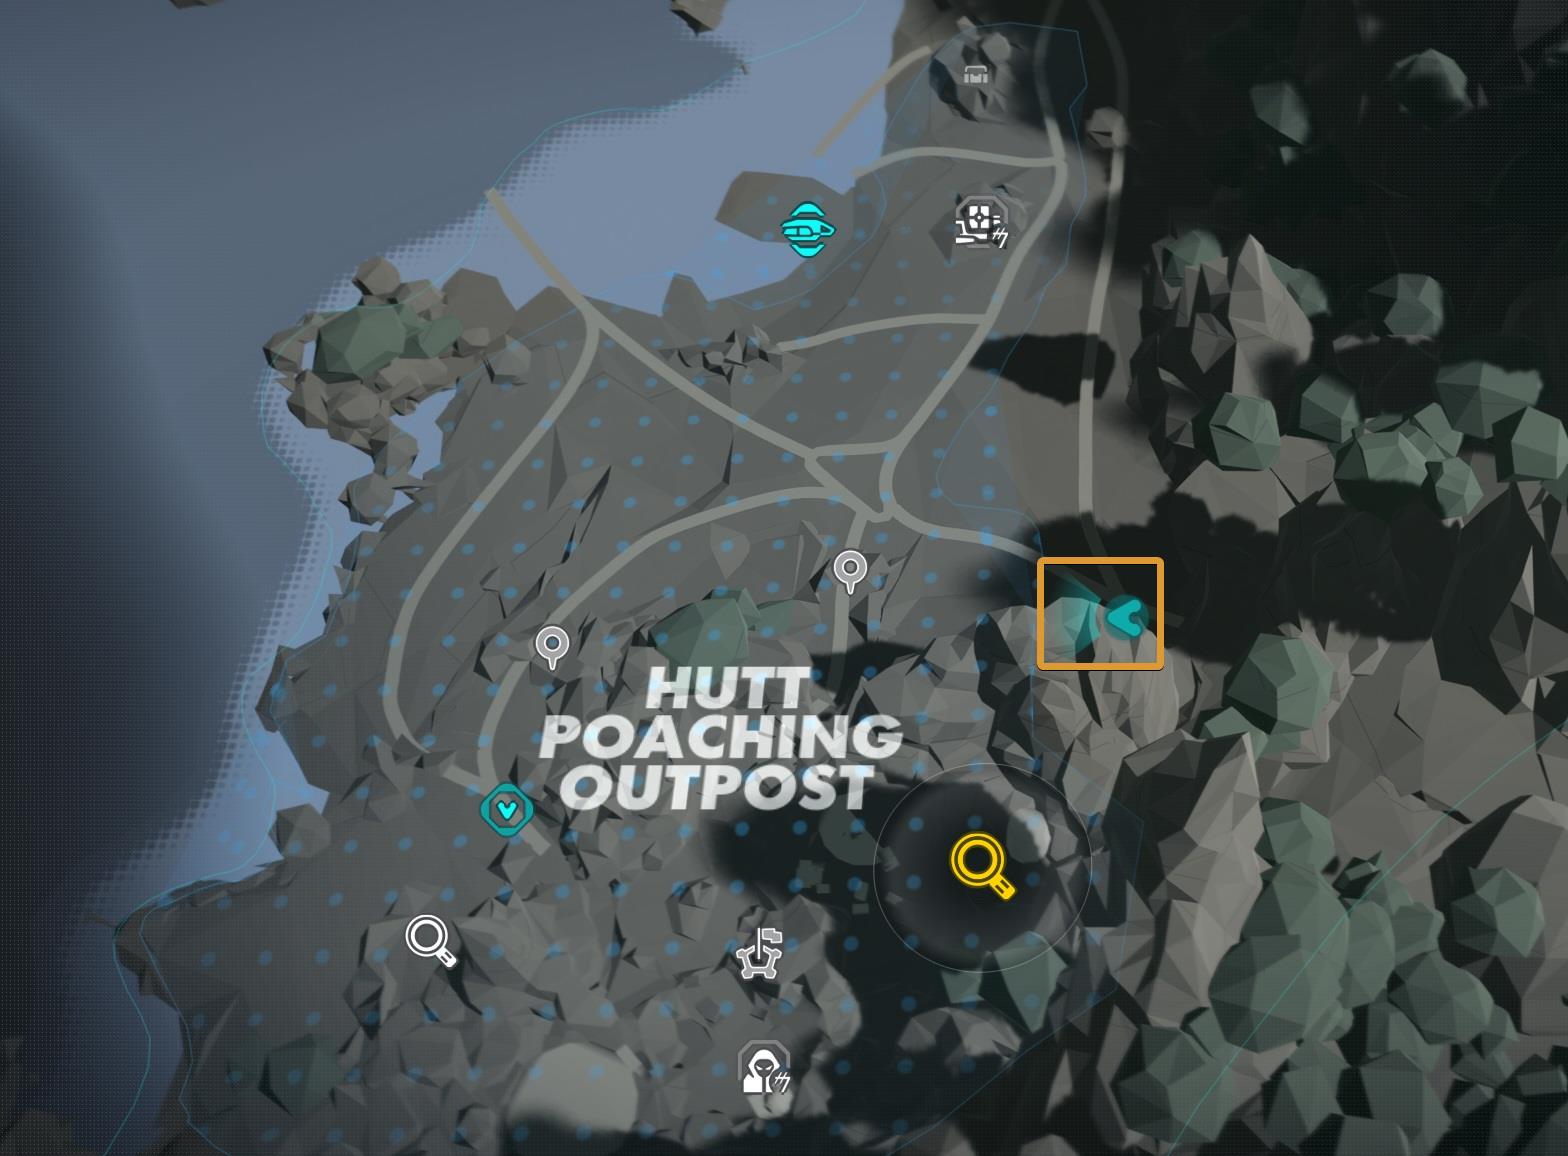
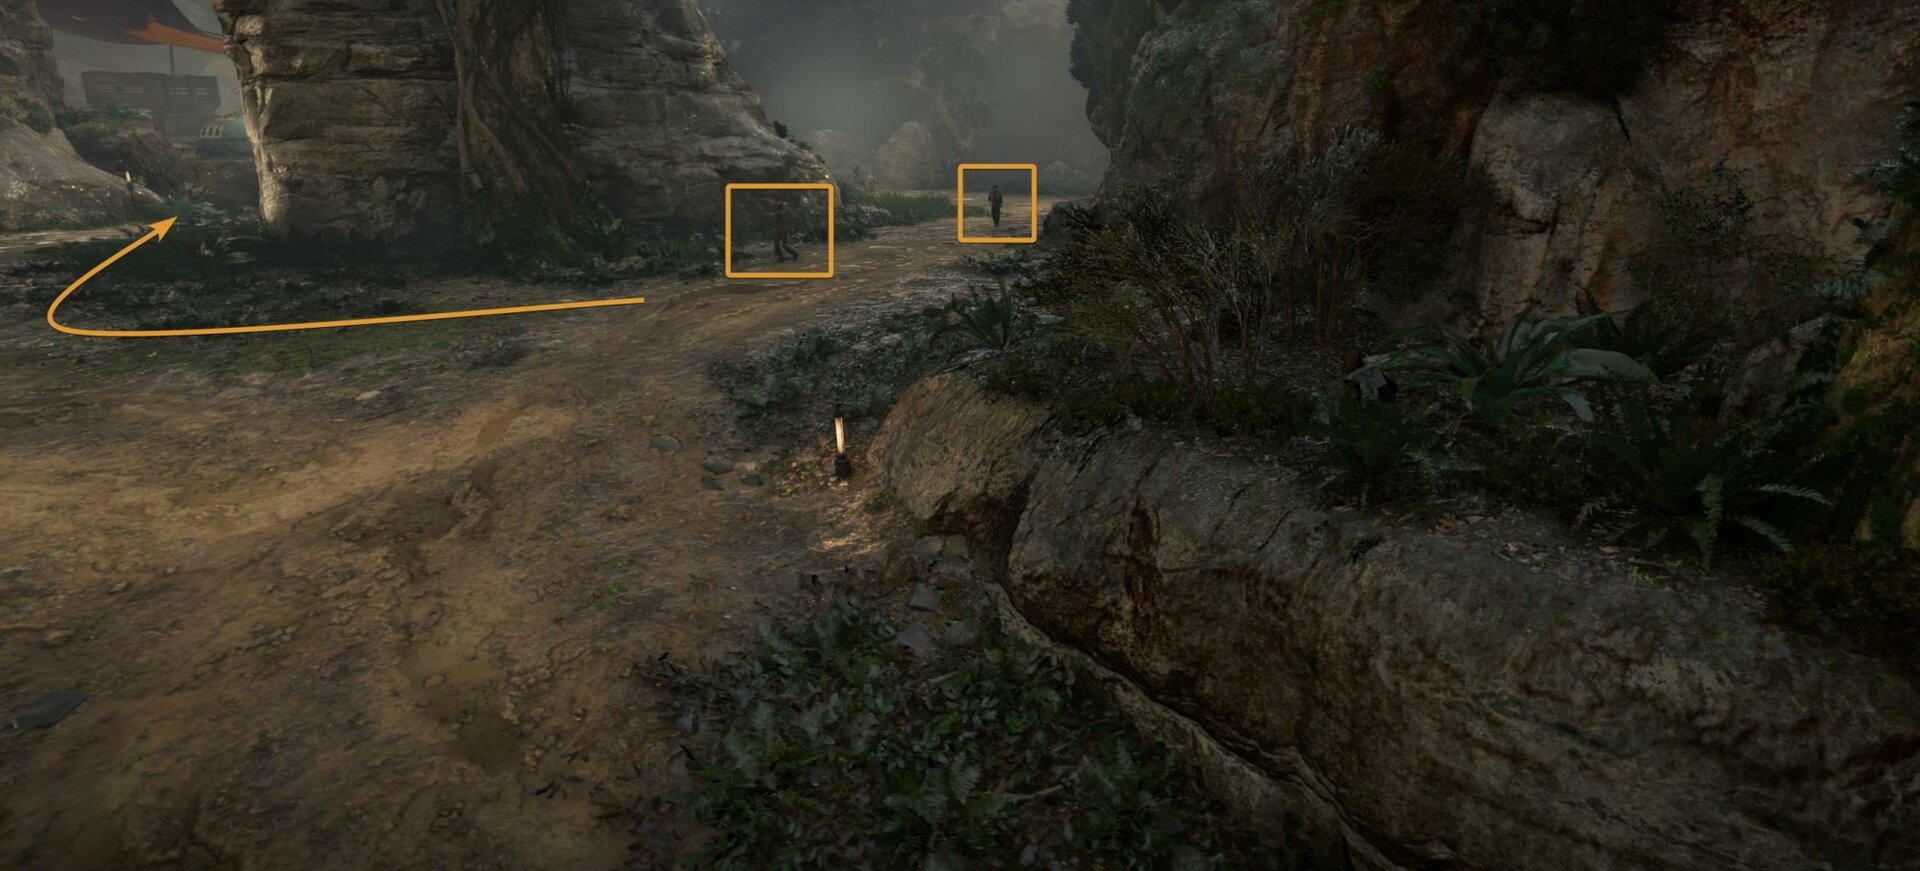
The last Keycard is in the Hutt Poaching Post, south of where you got Makarial’s Keycard. I recommend starting from the marked site on the map. This road comes out of a tunnel which then splits into three. Take the left route.
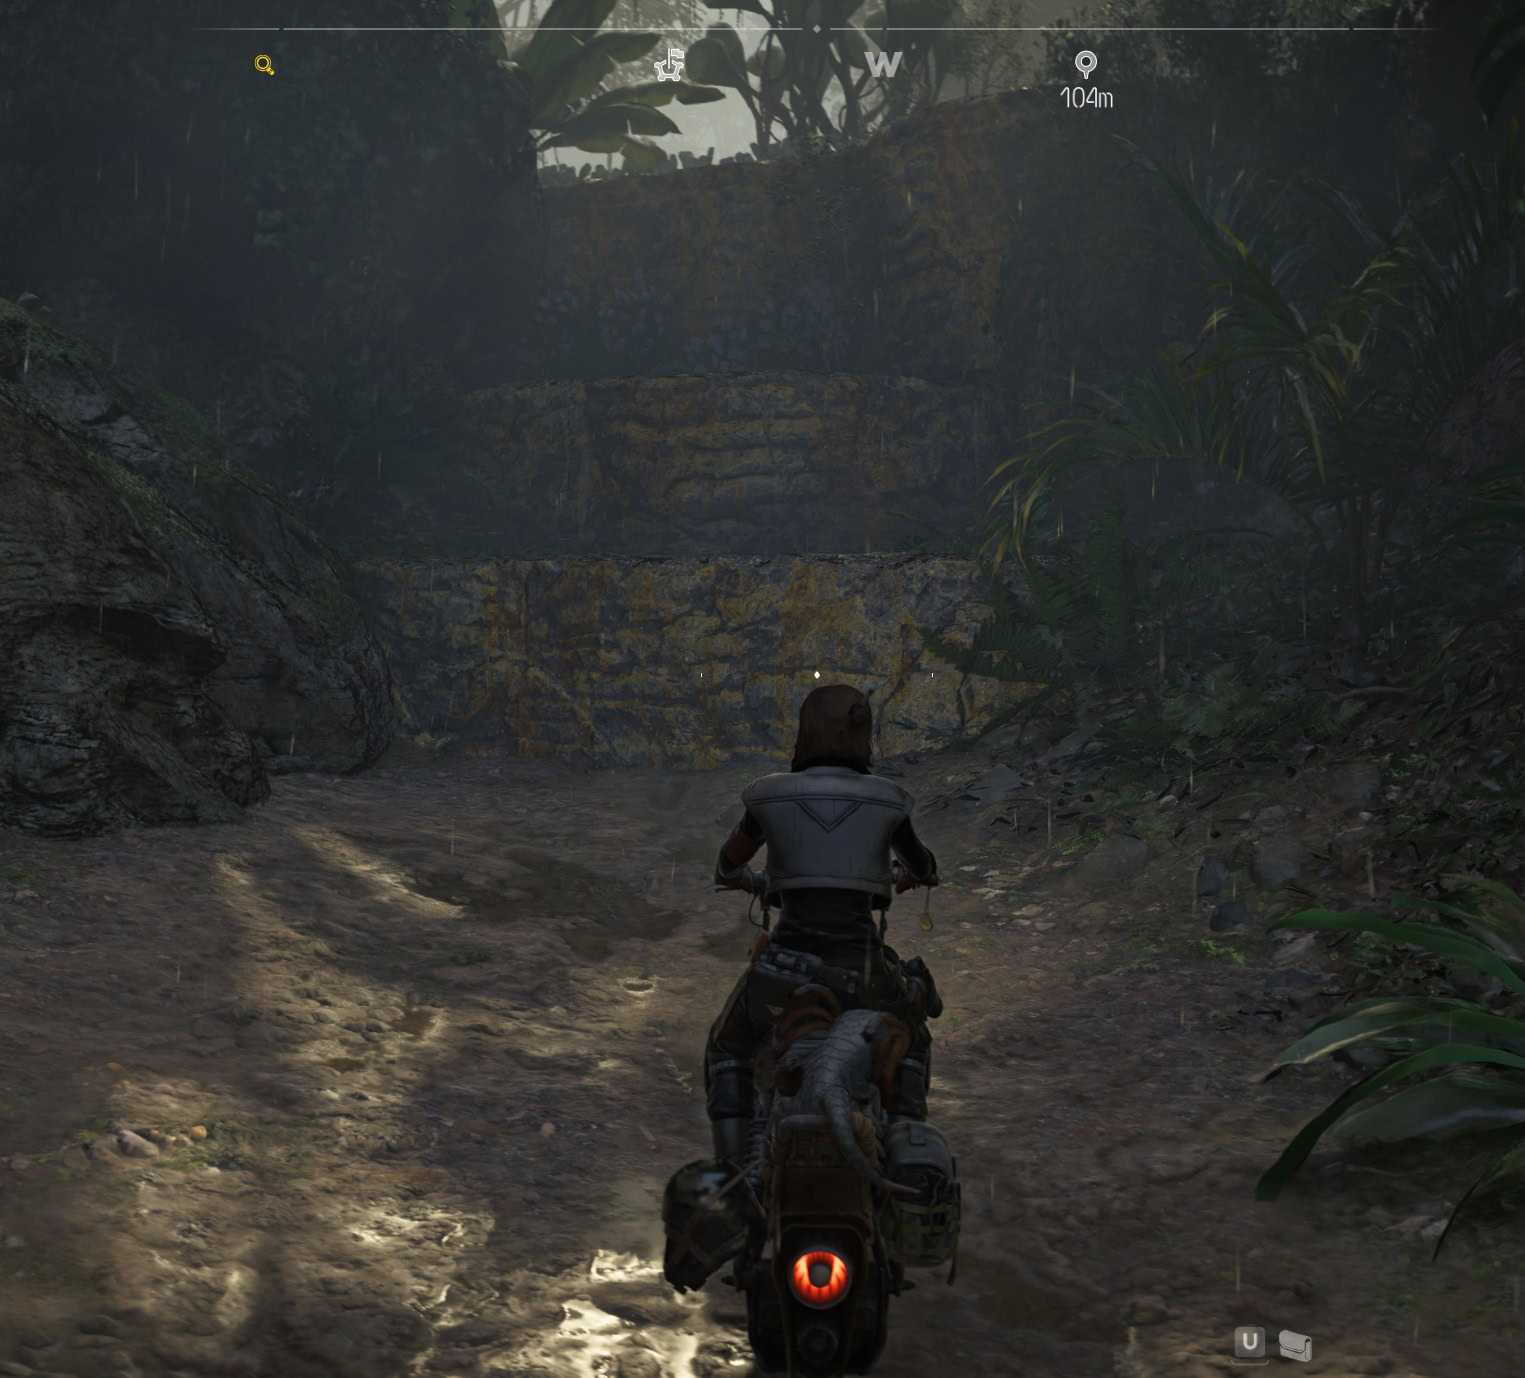
You’ll find a climbable wall. From now on, the speeder won’t be available.
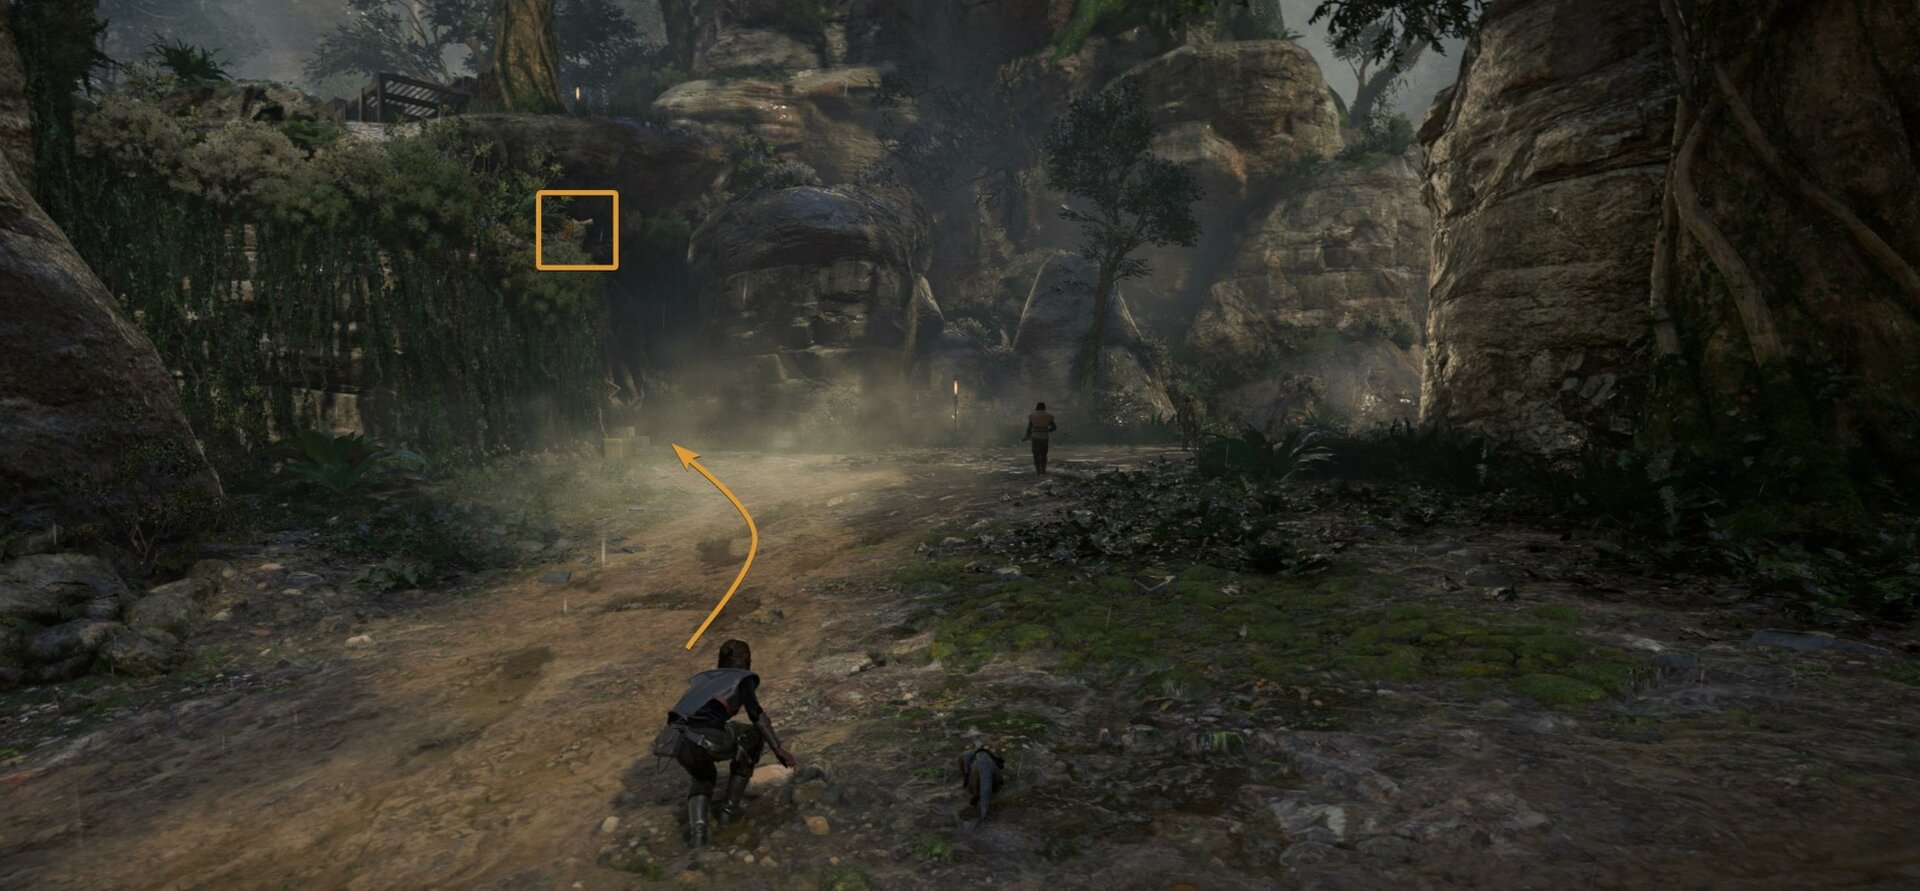
Meters ahead you’ll see the entrance to the site. There’s a Gamorrean and a standard NPC standing guard. I recommend sending Nix to attack the Gamorrean and use the stun mode on the weaker enemy. While Nix is attached to the Gamorrean, you can take him down with a single hit.
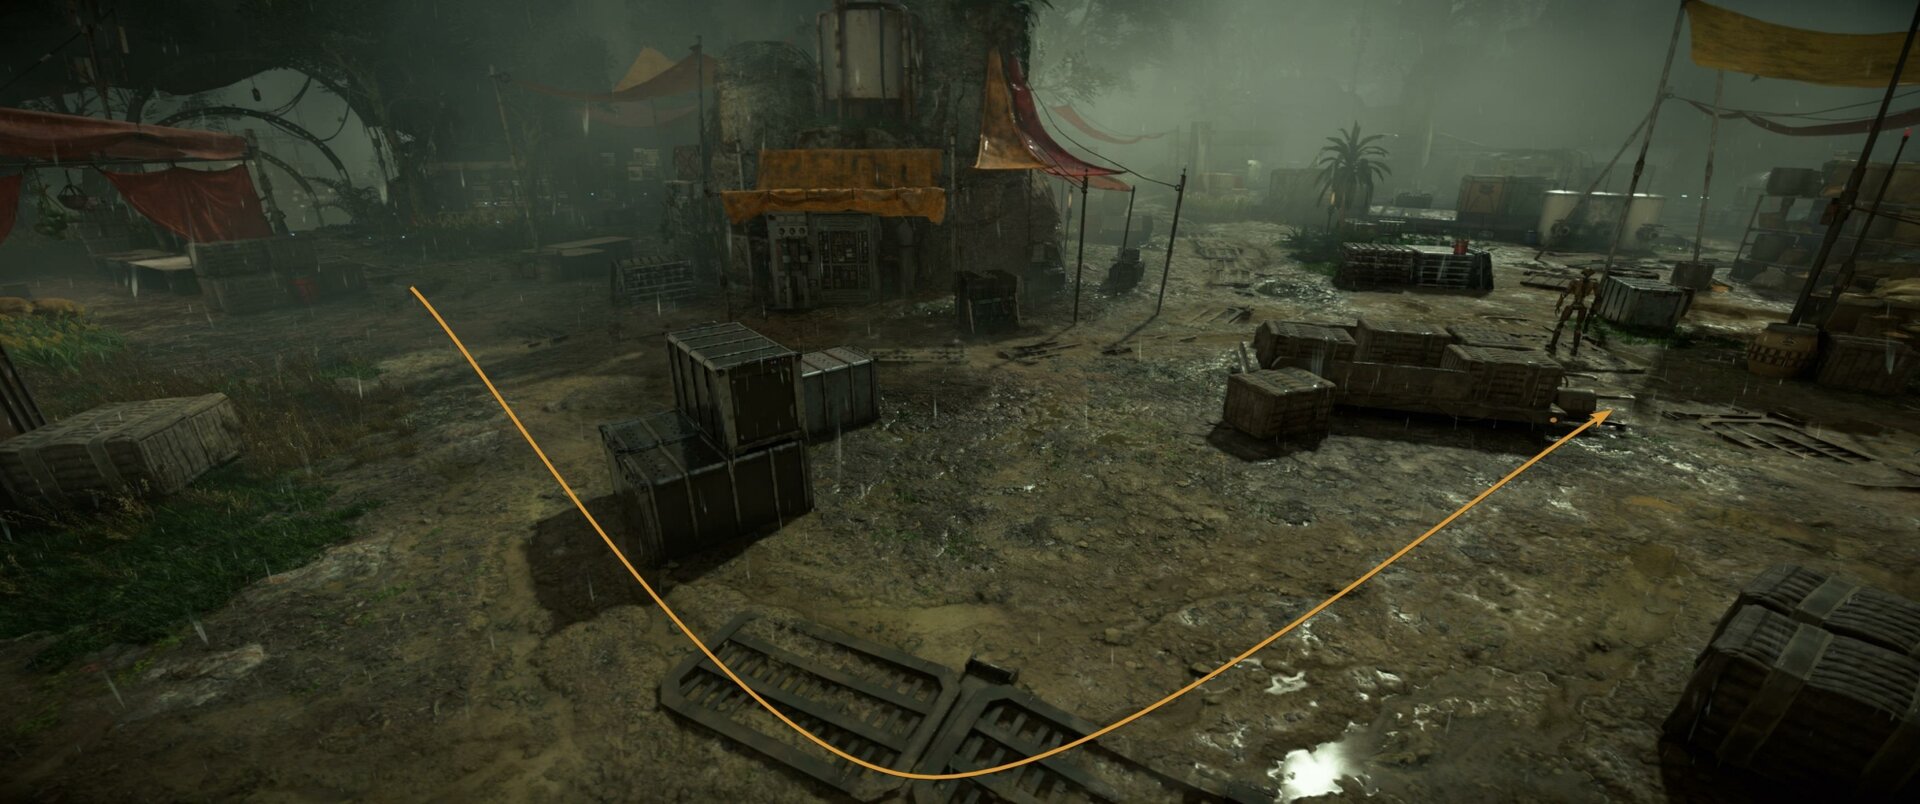
Enter the Poaching Site. Hide in the bushes that are located on top of a small rocky formation. A patrol made of a droid and a regular guard is circling the area.
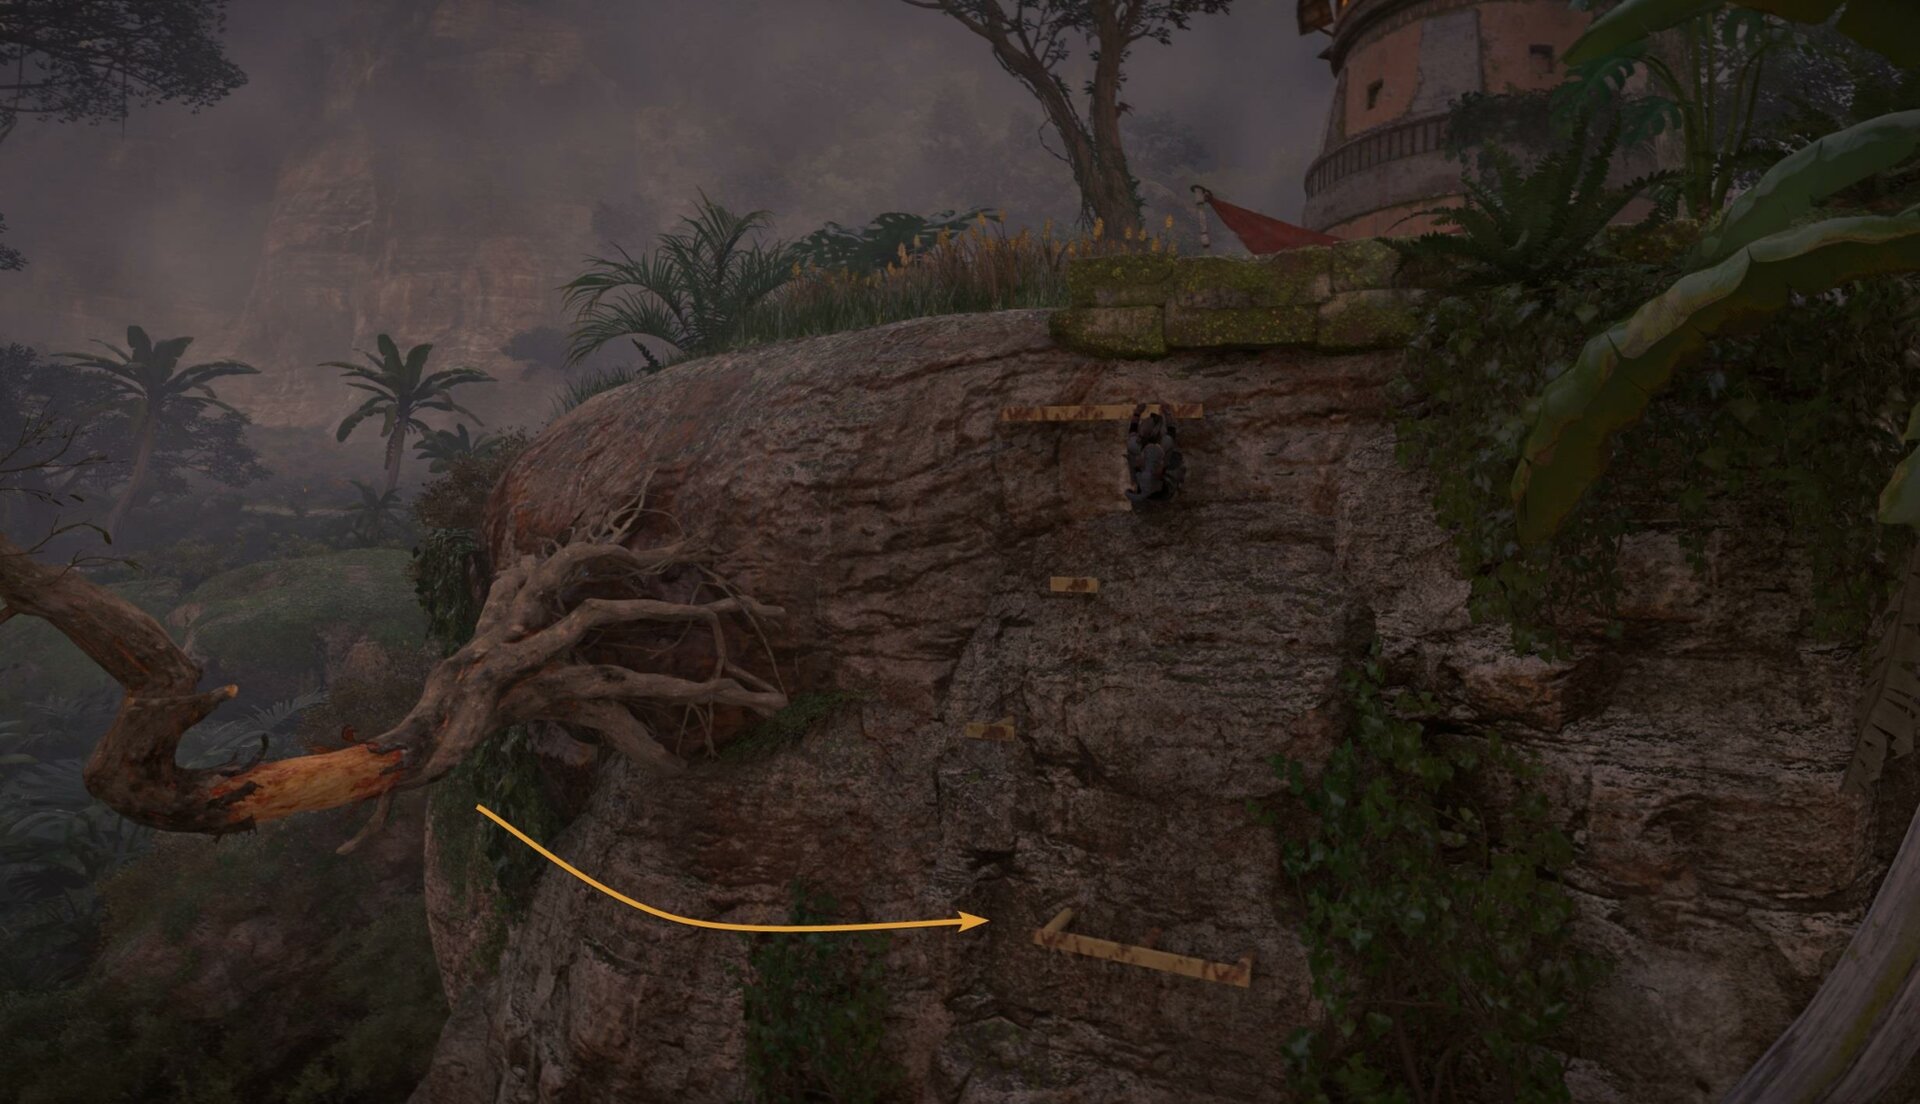
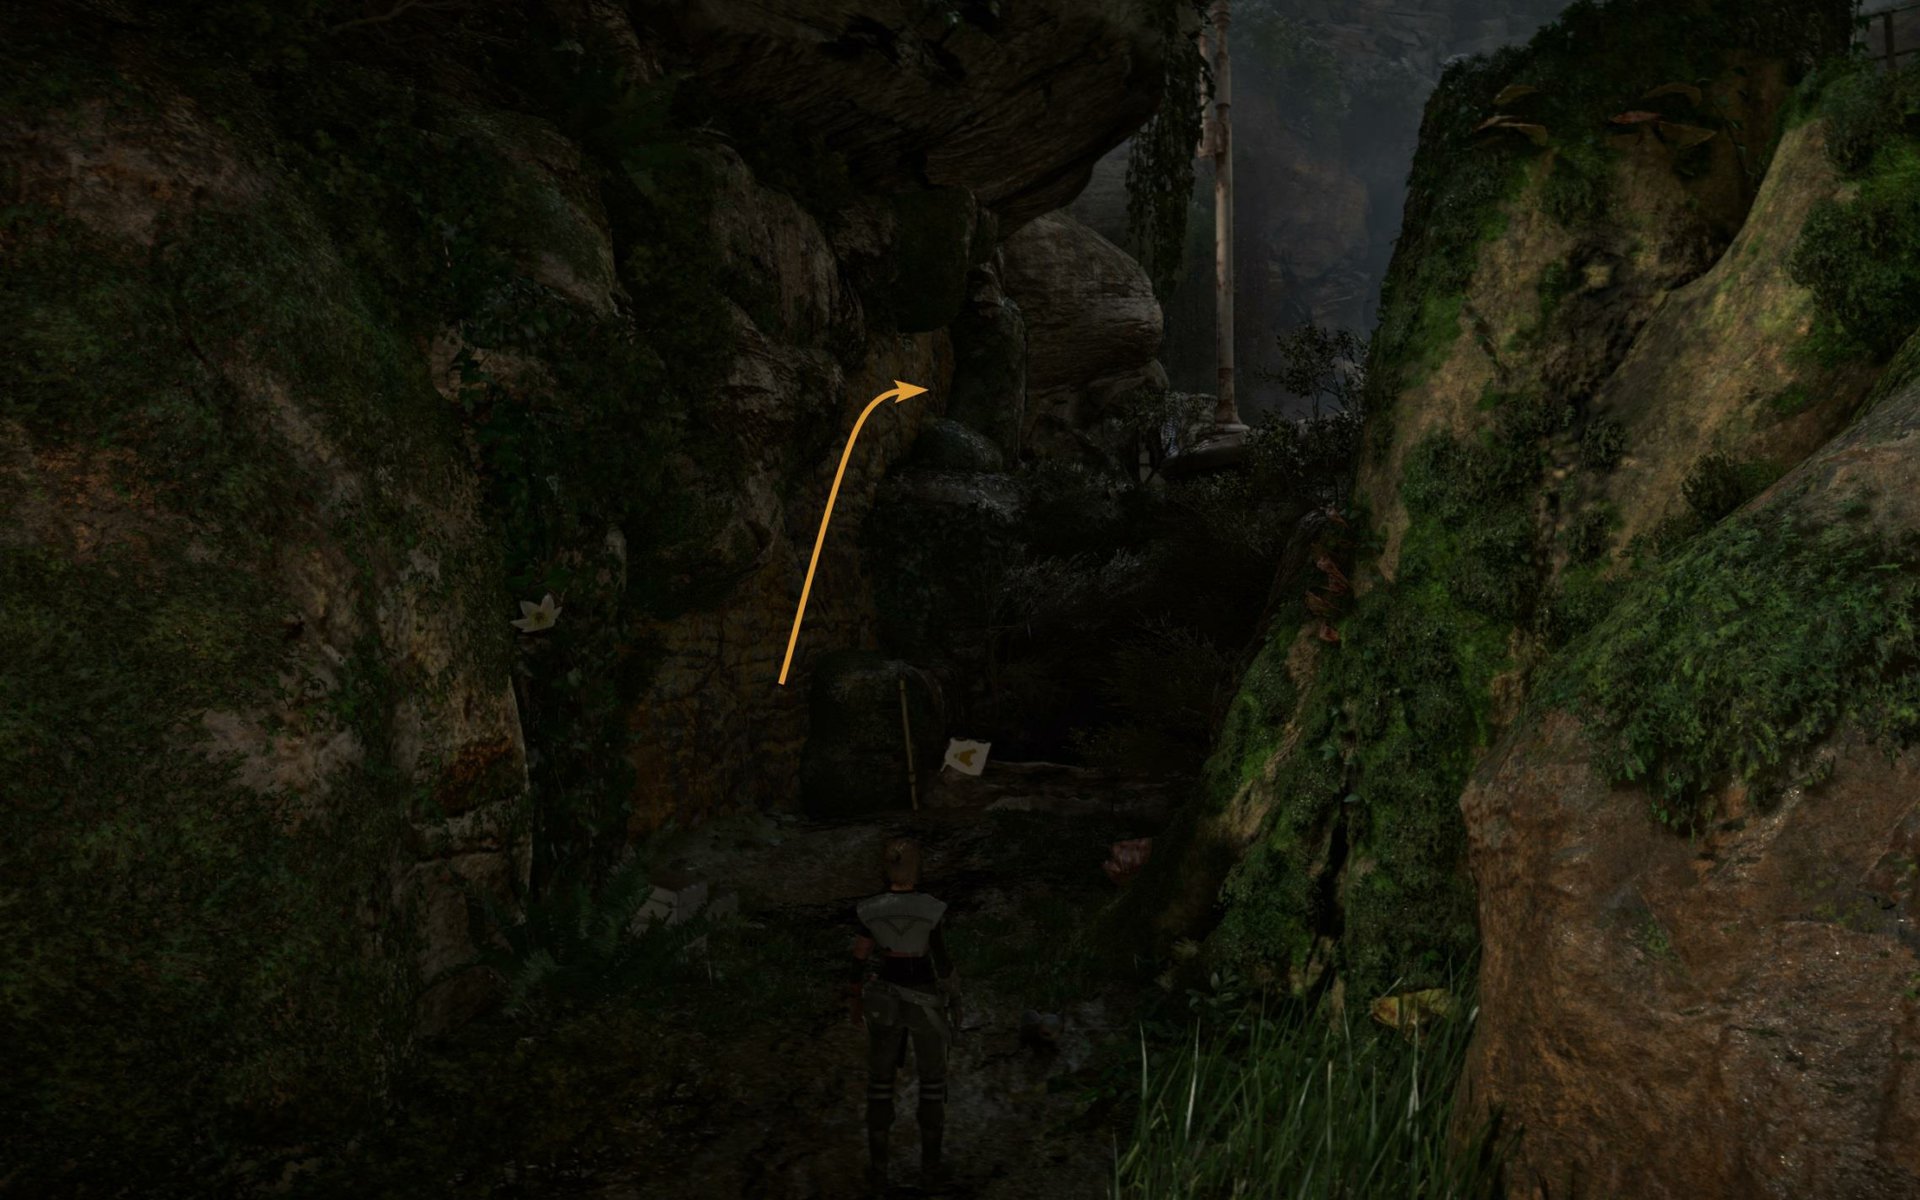
Wait for them to be at a considerable distance to continue the infiltration. There’s a grappling point on the left side of a cliff. It might be hard to see from the distance because of all the plants in the wall but you’ll see it once you’re close.
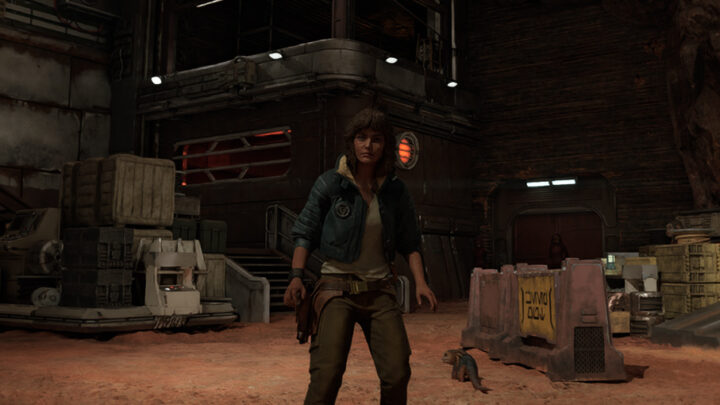
Climb the wall and reach the next area. From that point, you’ll be trespassing in a restricted area.
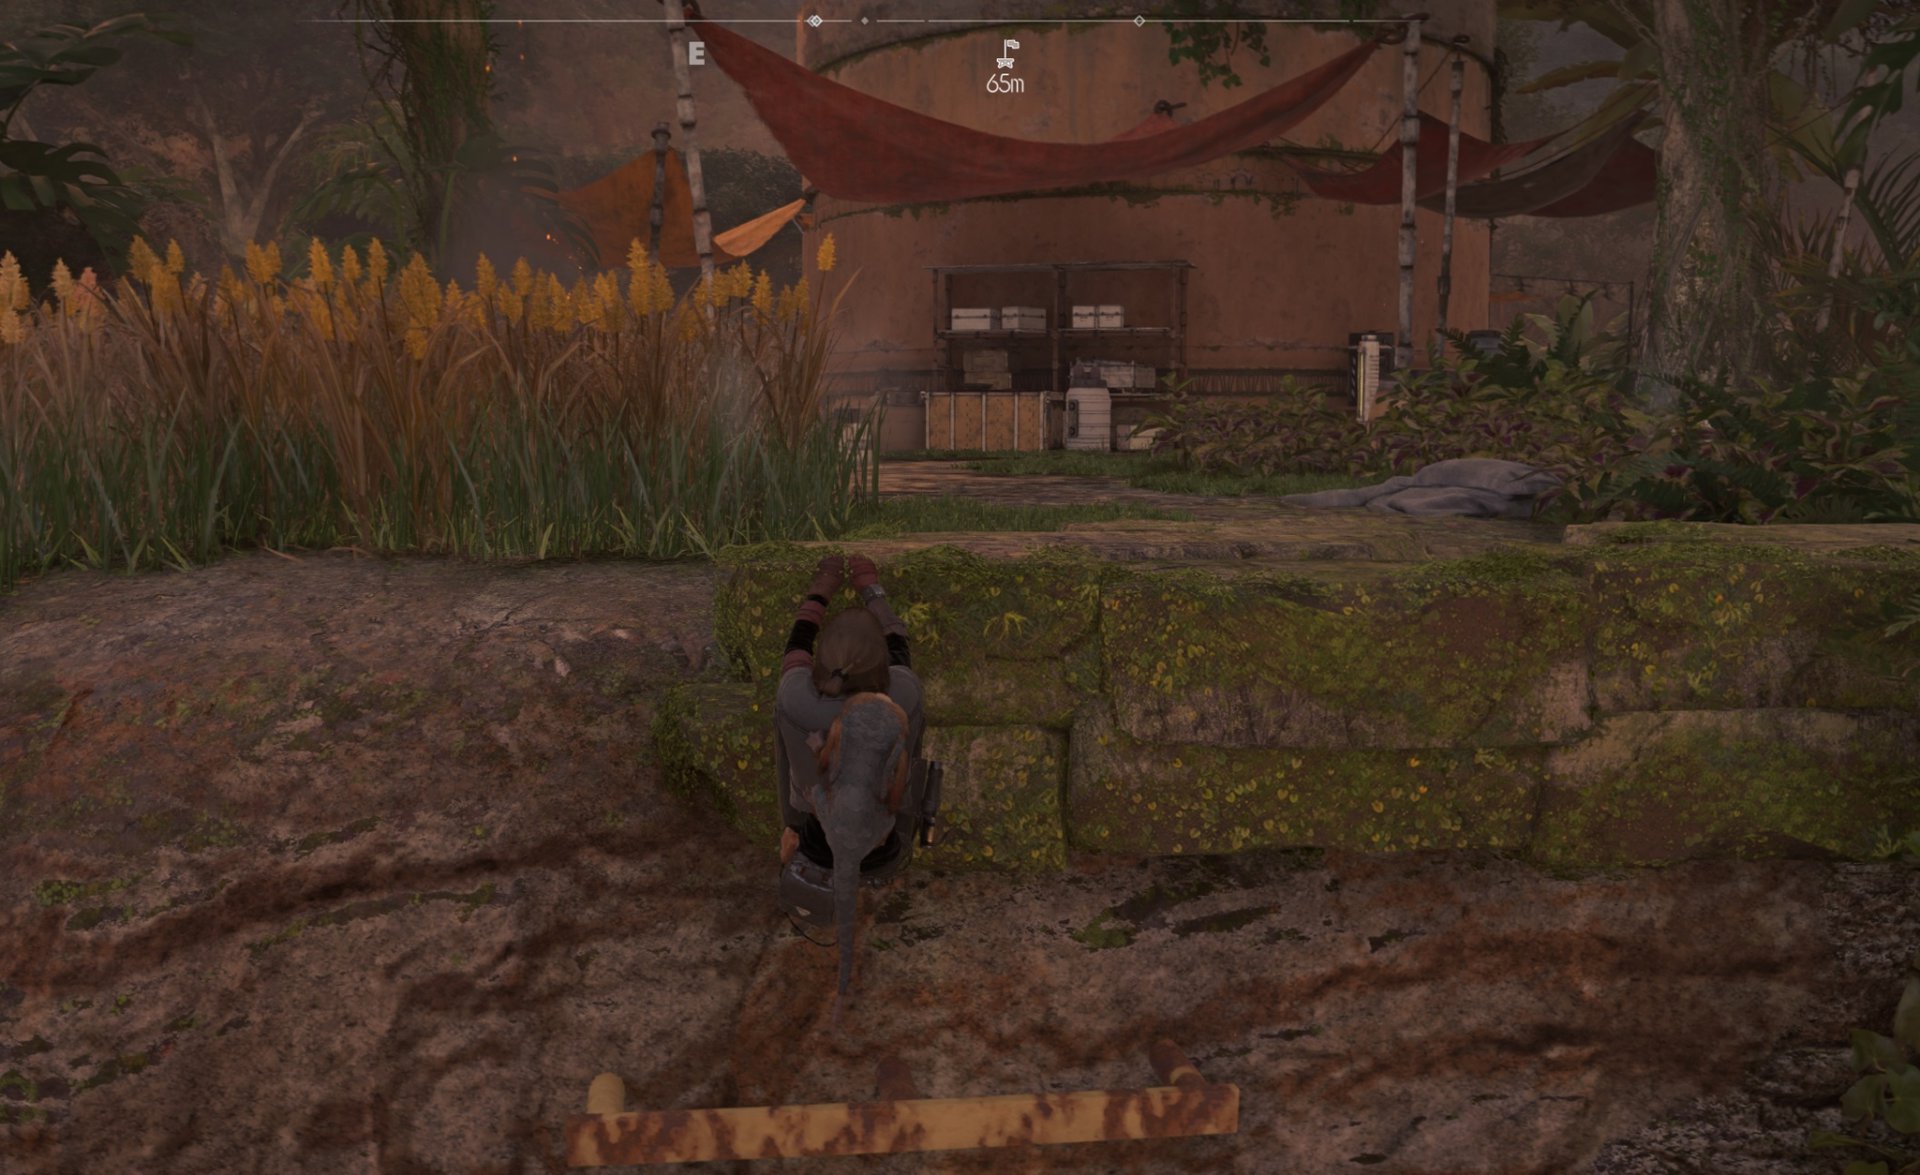
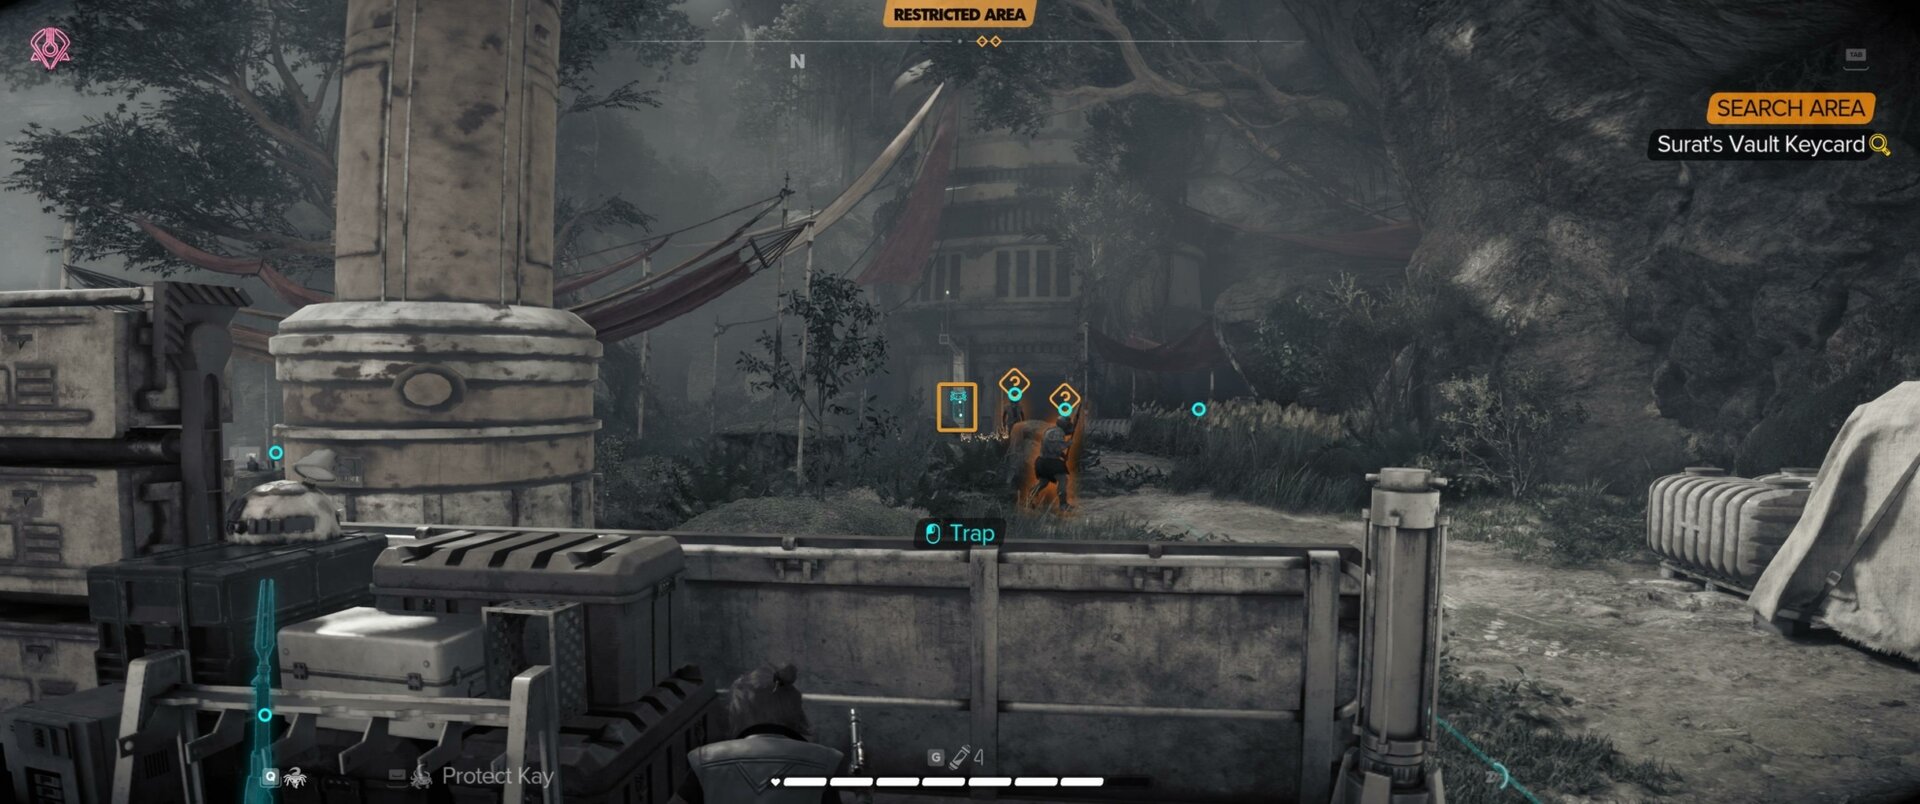
Try to stay crouched at all times. Send Nix to sabotage the first alarm, it’s almost in a straight line from your entering position. Then head to the left side of this area.
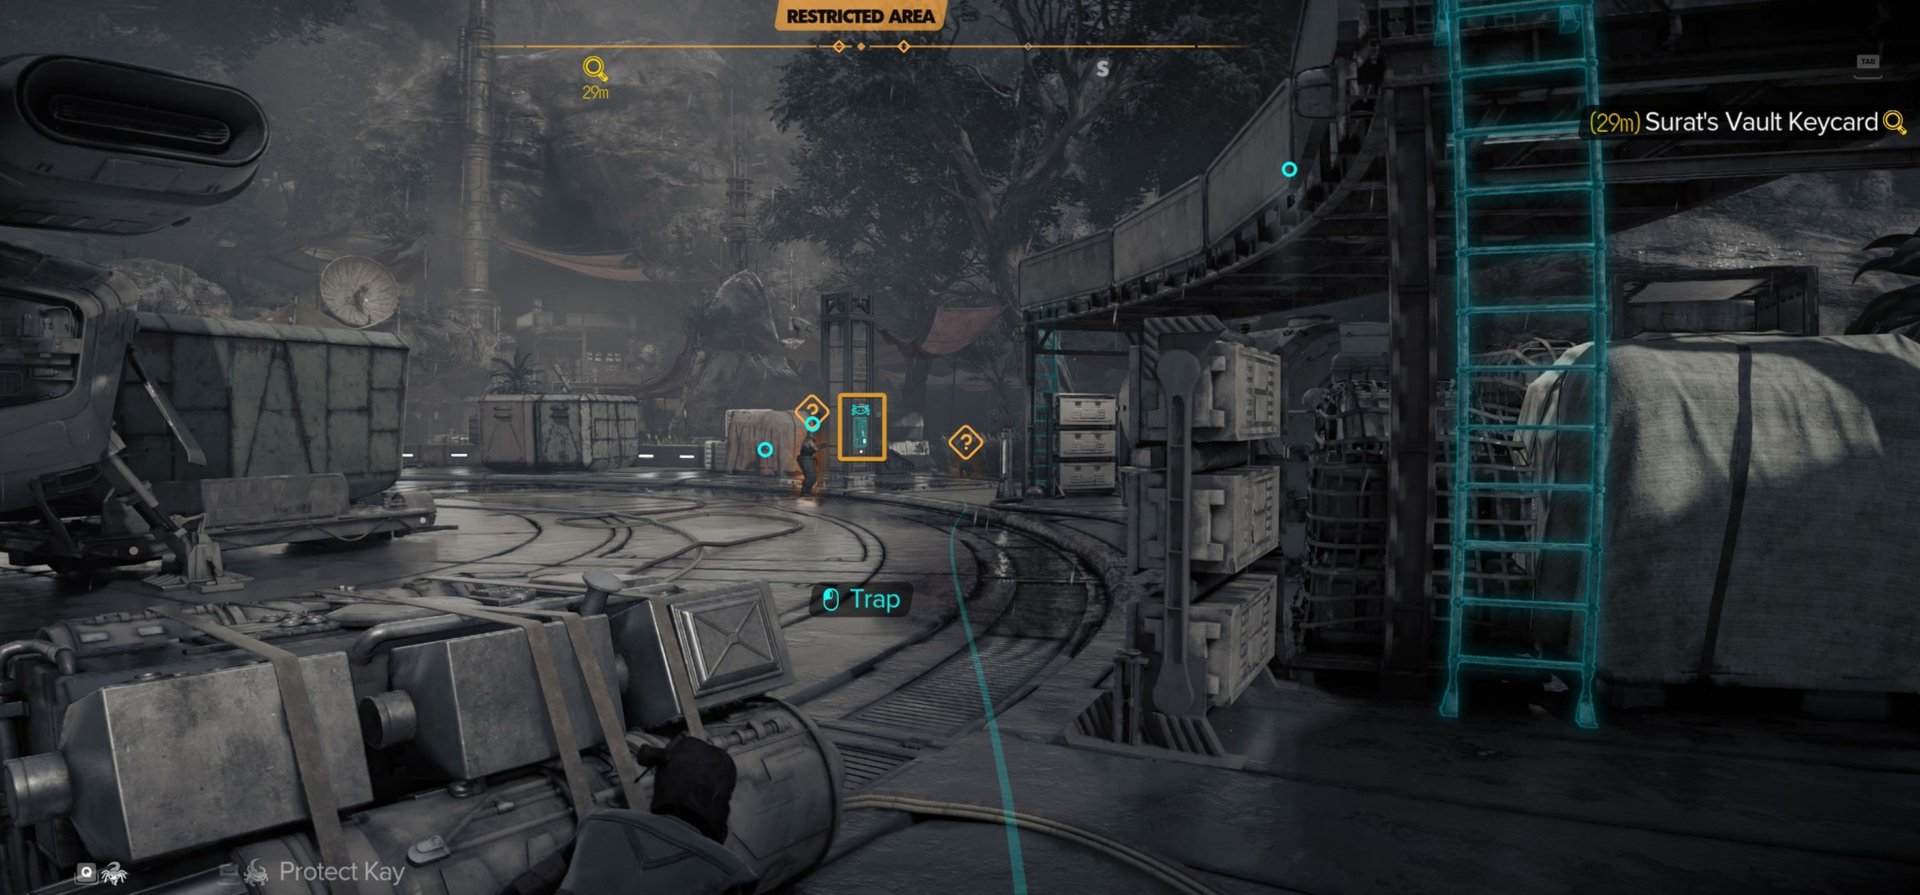
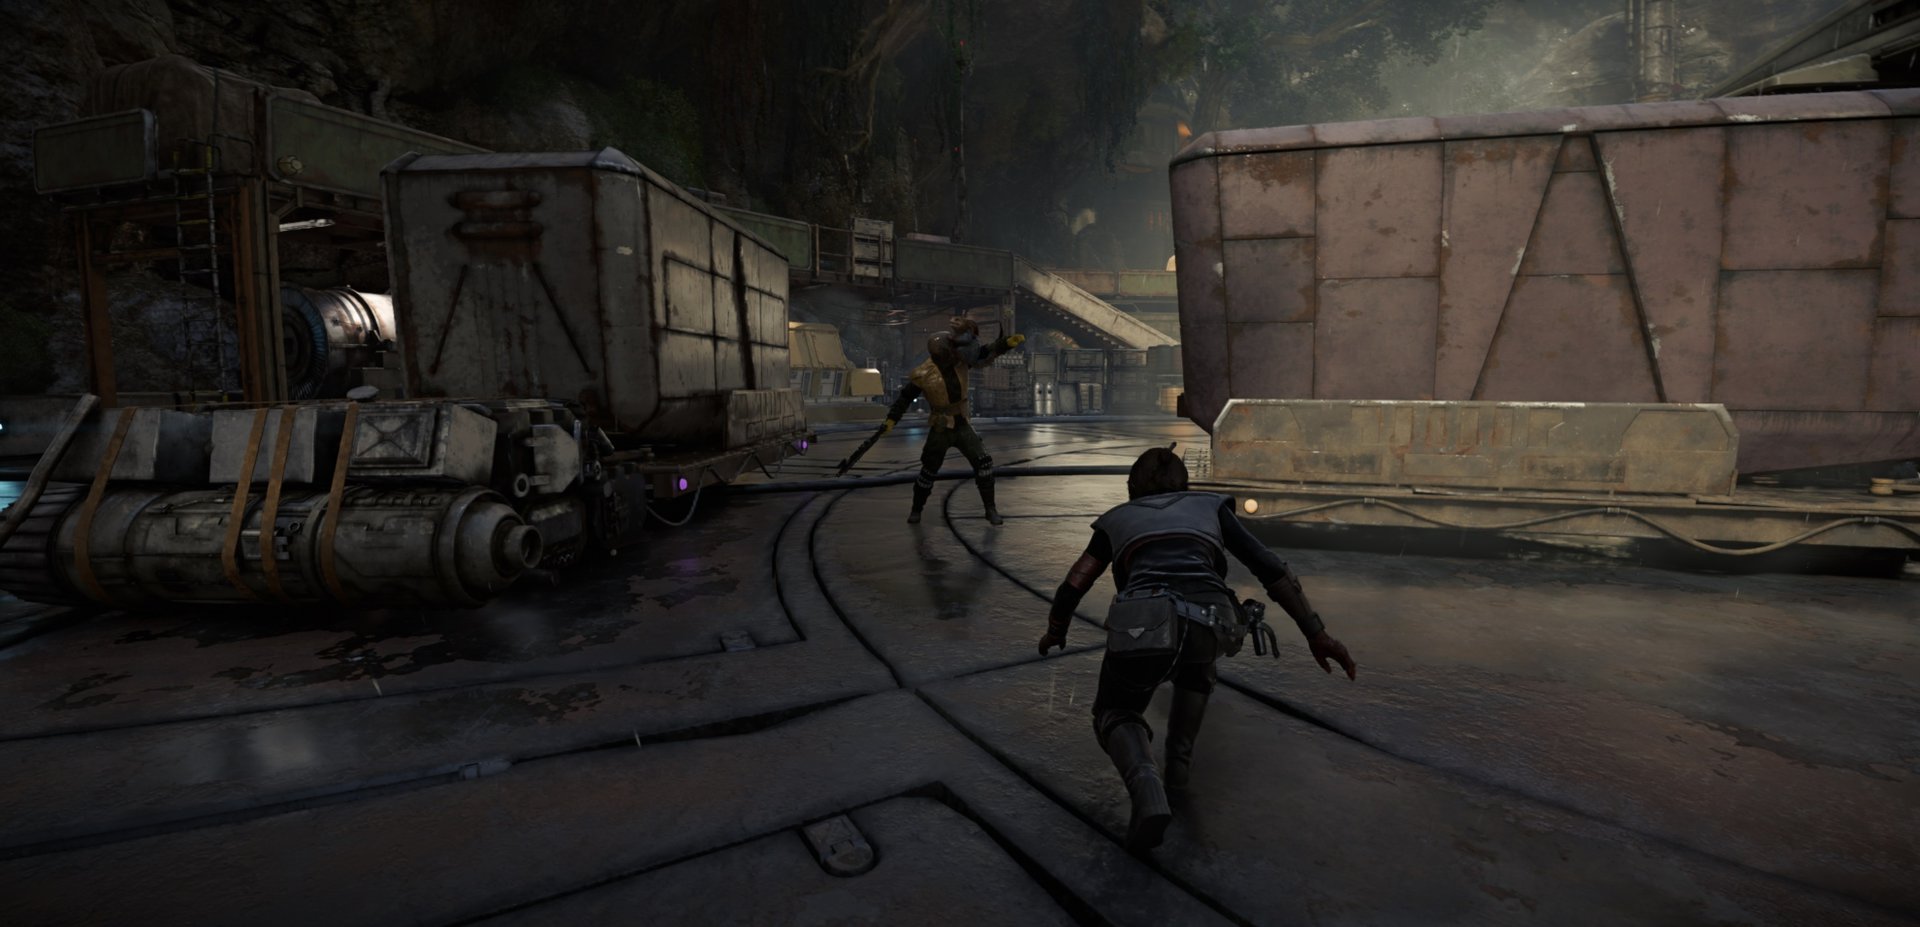
There’s only one guard, so send Nix to attack and prevent any shootings or noises that could alert the other enemies. Use the containers and barrels to avoid getting spotted from the enemies on the opposite side of this landing pad.
Continue until you are next to four small barrels. Walk in a straight line until you can hide behind the pallets. Stay crouched at all times. You can also do some roll-overs to cover more distance in less time.
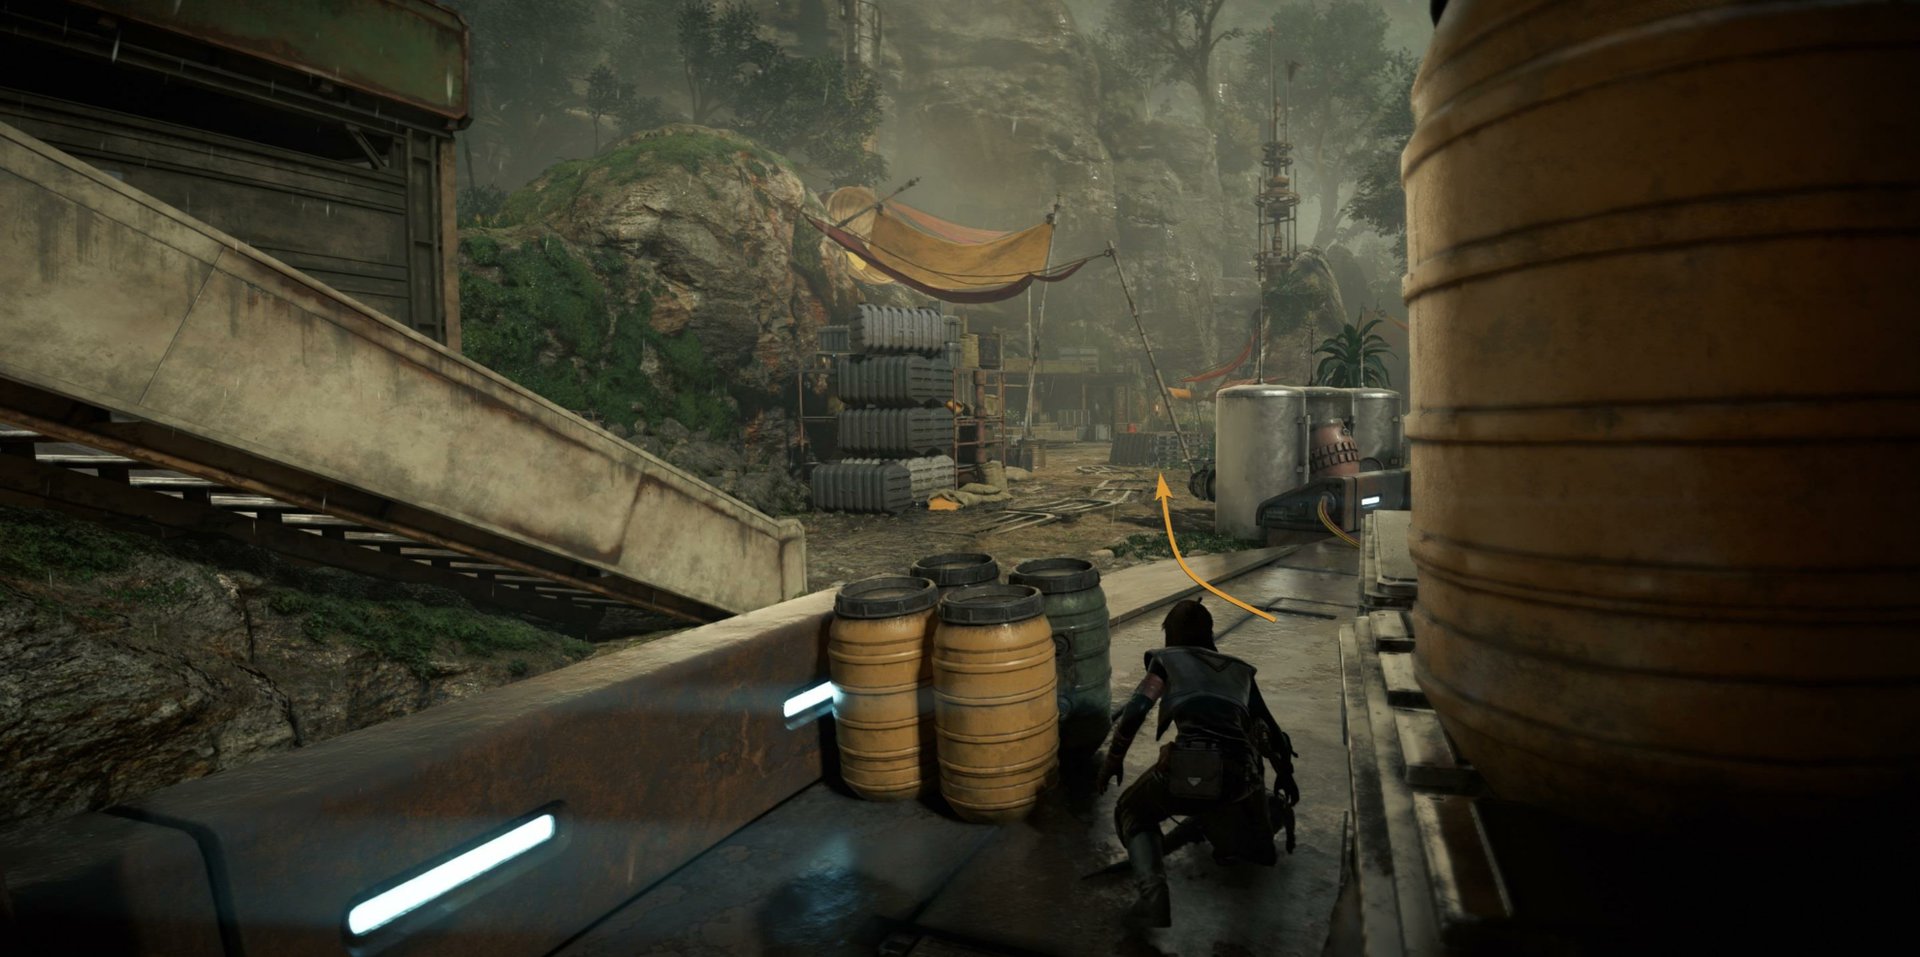
Once behind the pallets, send Nix to sabotage the second alarm in this area. Turn your eyes to the right, there’s an Aqualish on an upper level.
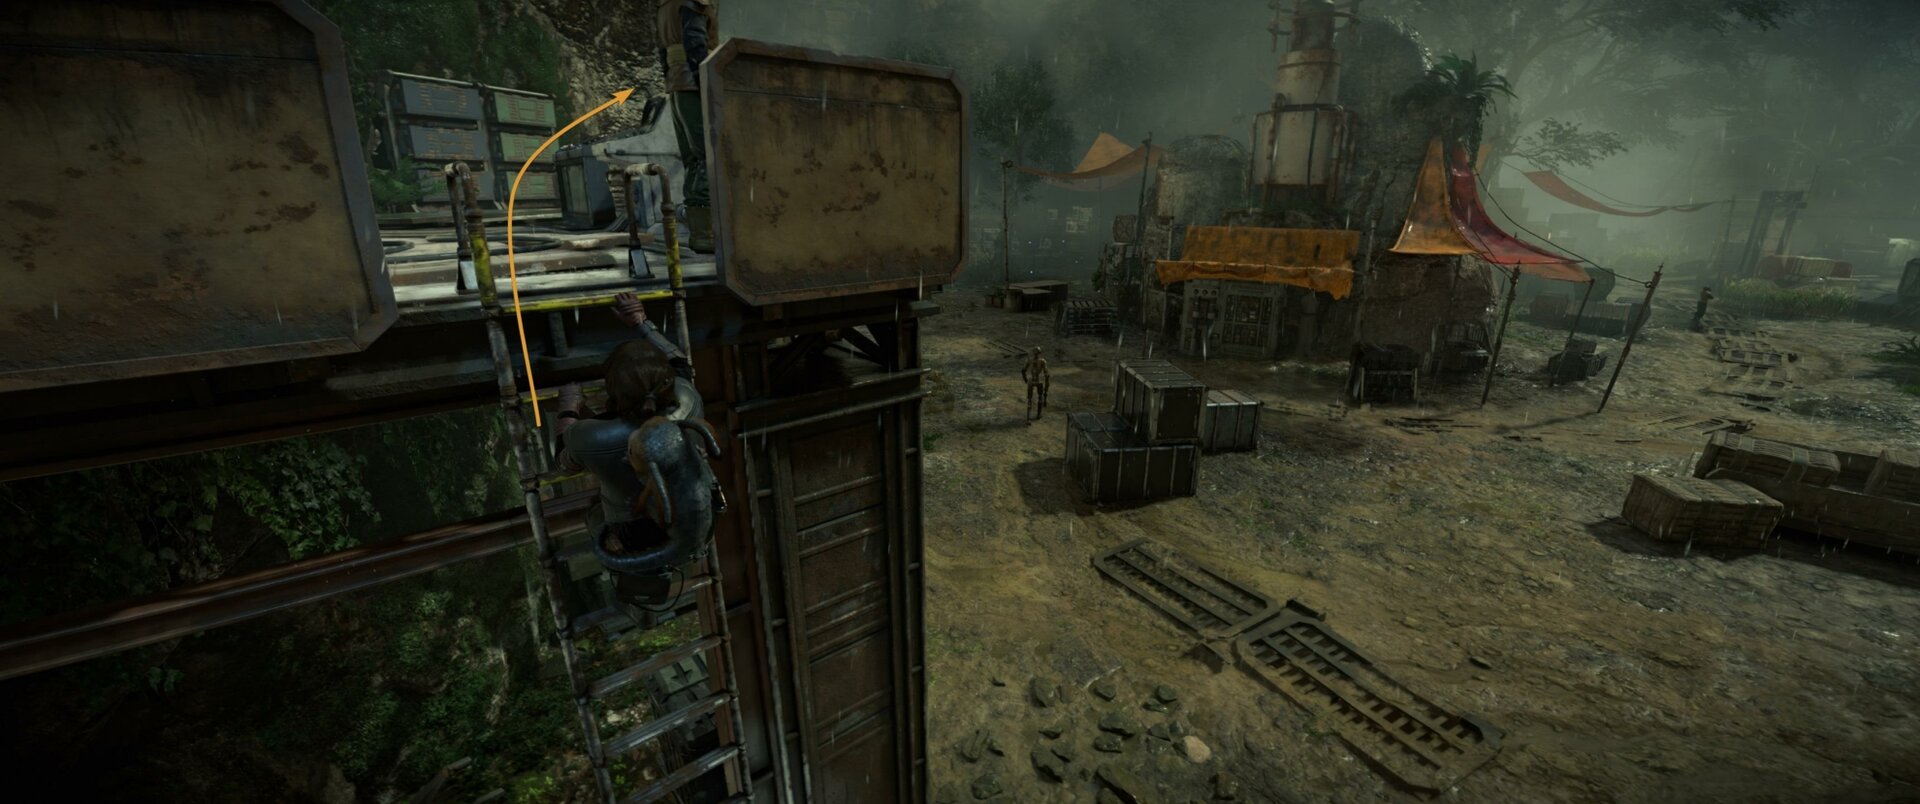
To get to the Aqualish just must use the ladder but beware of the droid.

This is the route that the droid takes. Use the ladder only when it’s far away from your position. Climb the ladder and take down the unsuspecting Aqualish.
Be careful not to alert the nearby enemies. Just to be sure that nothing goes wrong at this point, send Nix to damage the third and last alarm. You can lure the nearest enemy with a whistle. Use the bushes to get close to the others without getting spotted.
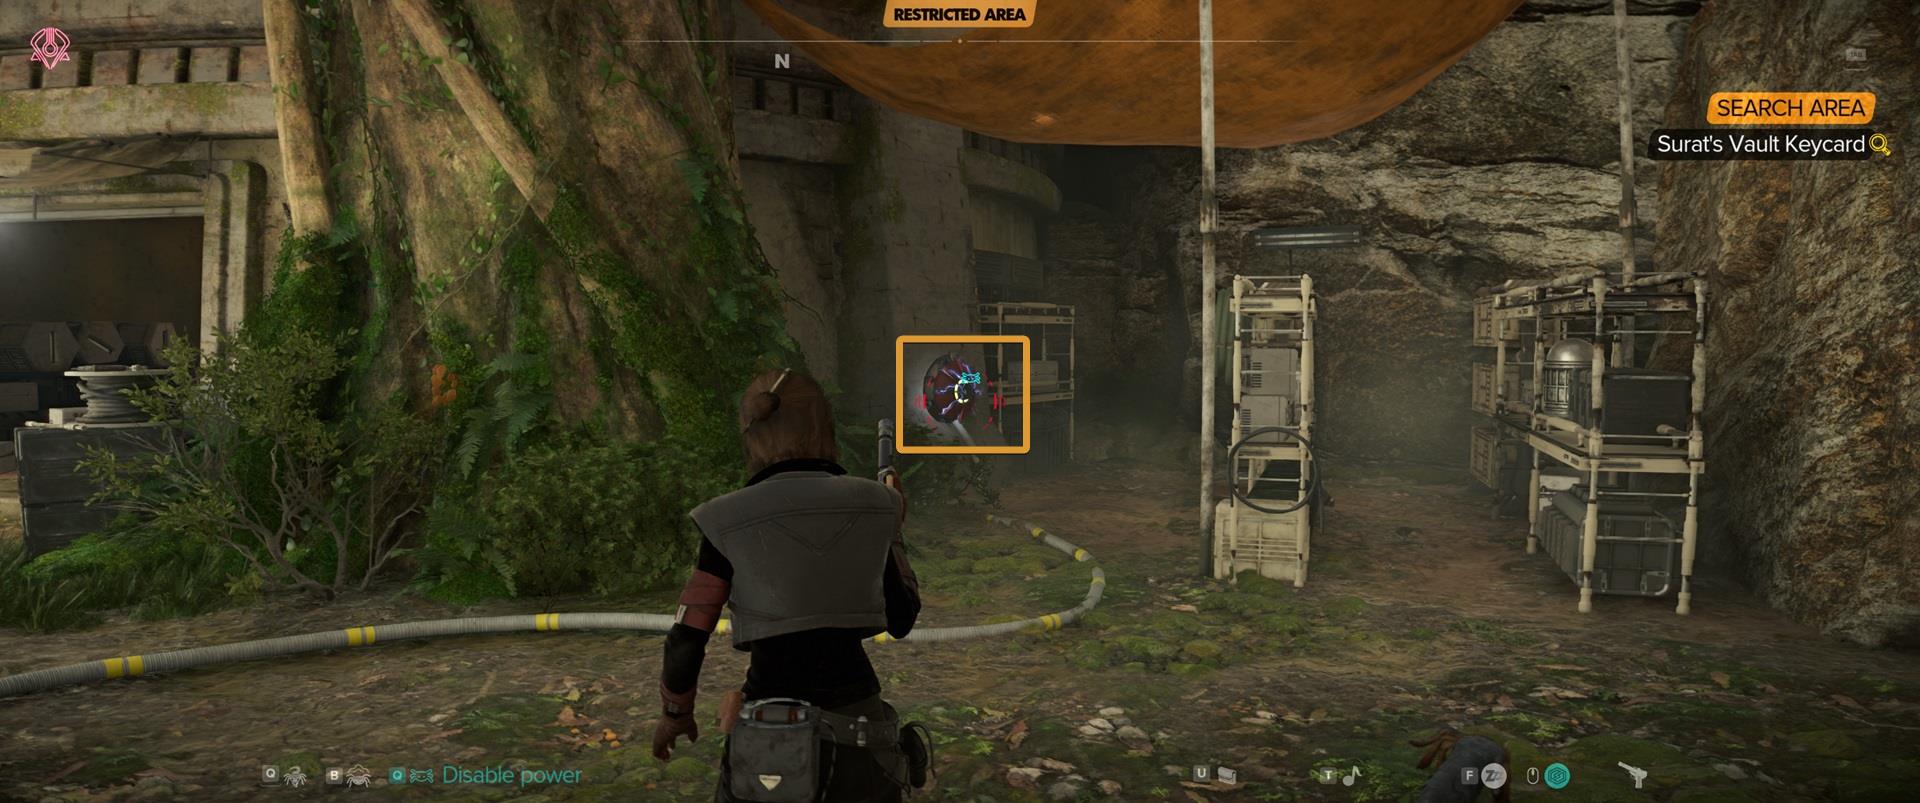
Destroy the power generator to disable the camera. It’s very easy to avoid it but if you tend to forget about these details like myself it definitely doesn’t hurt.
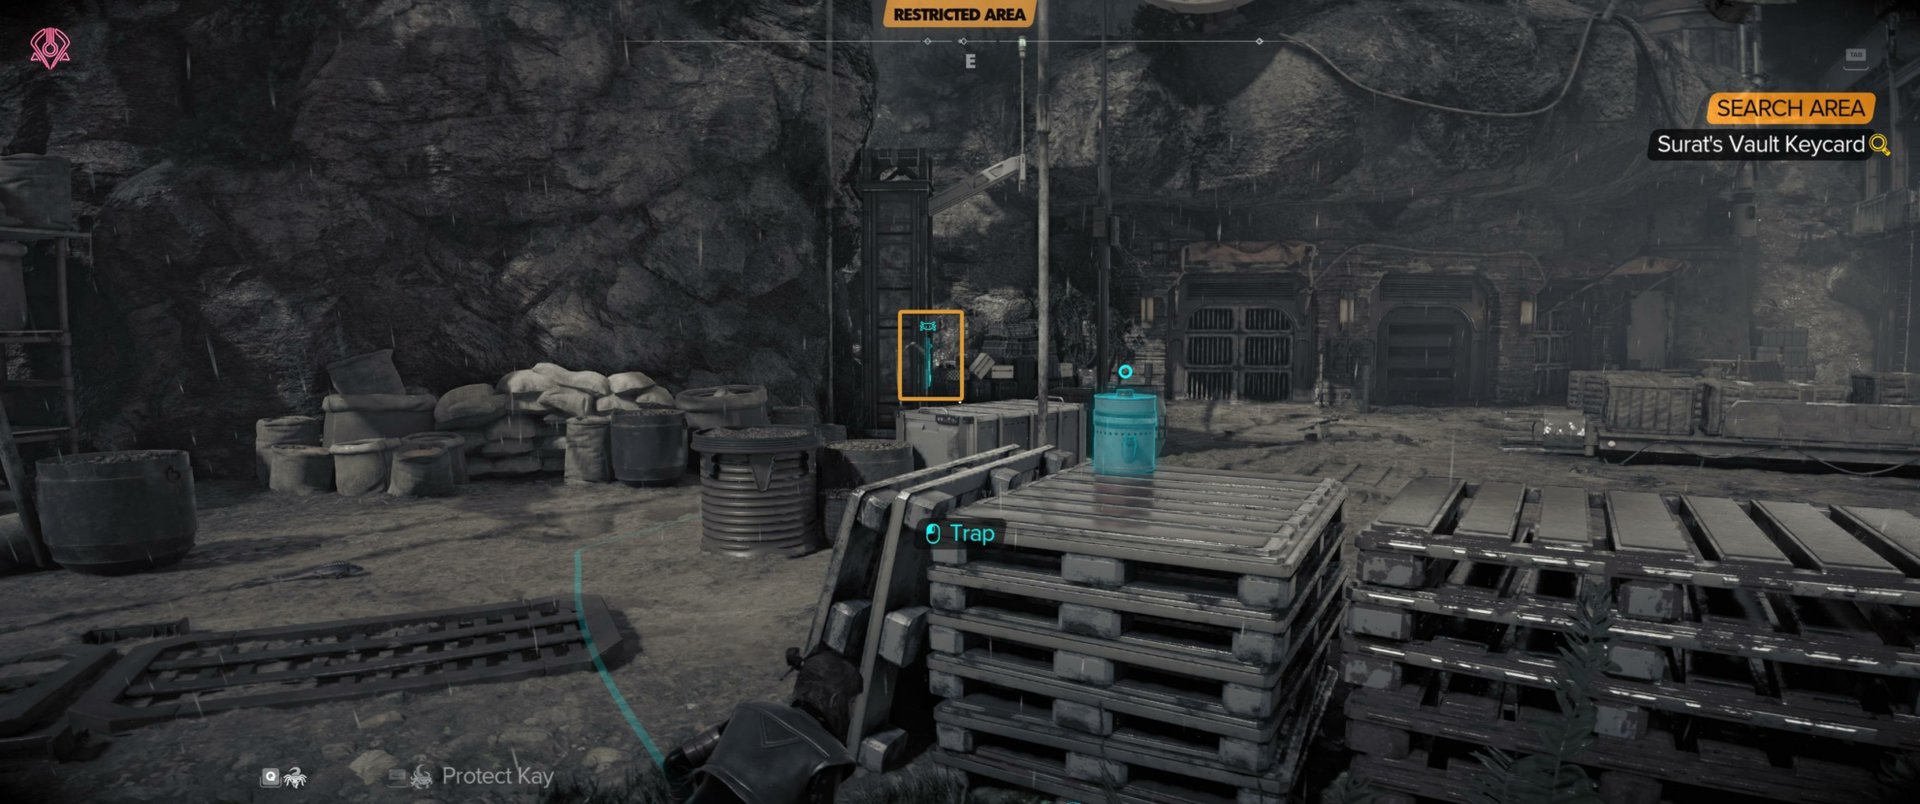
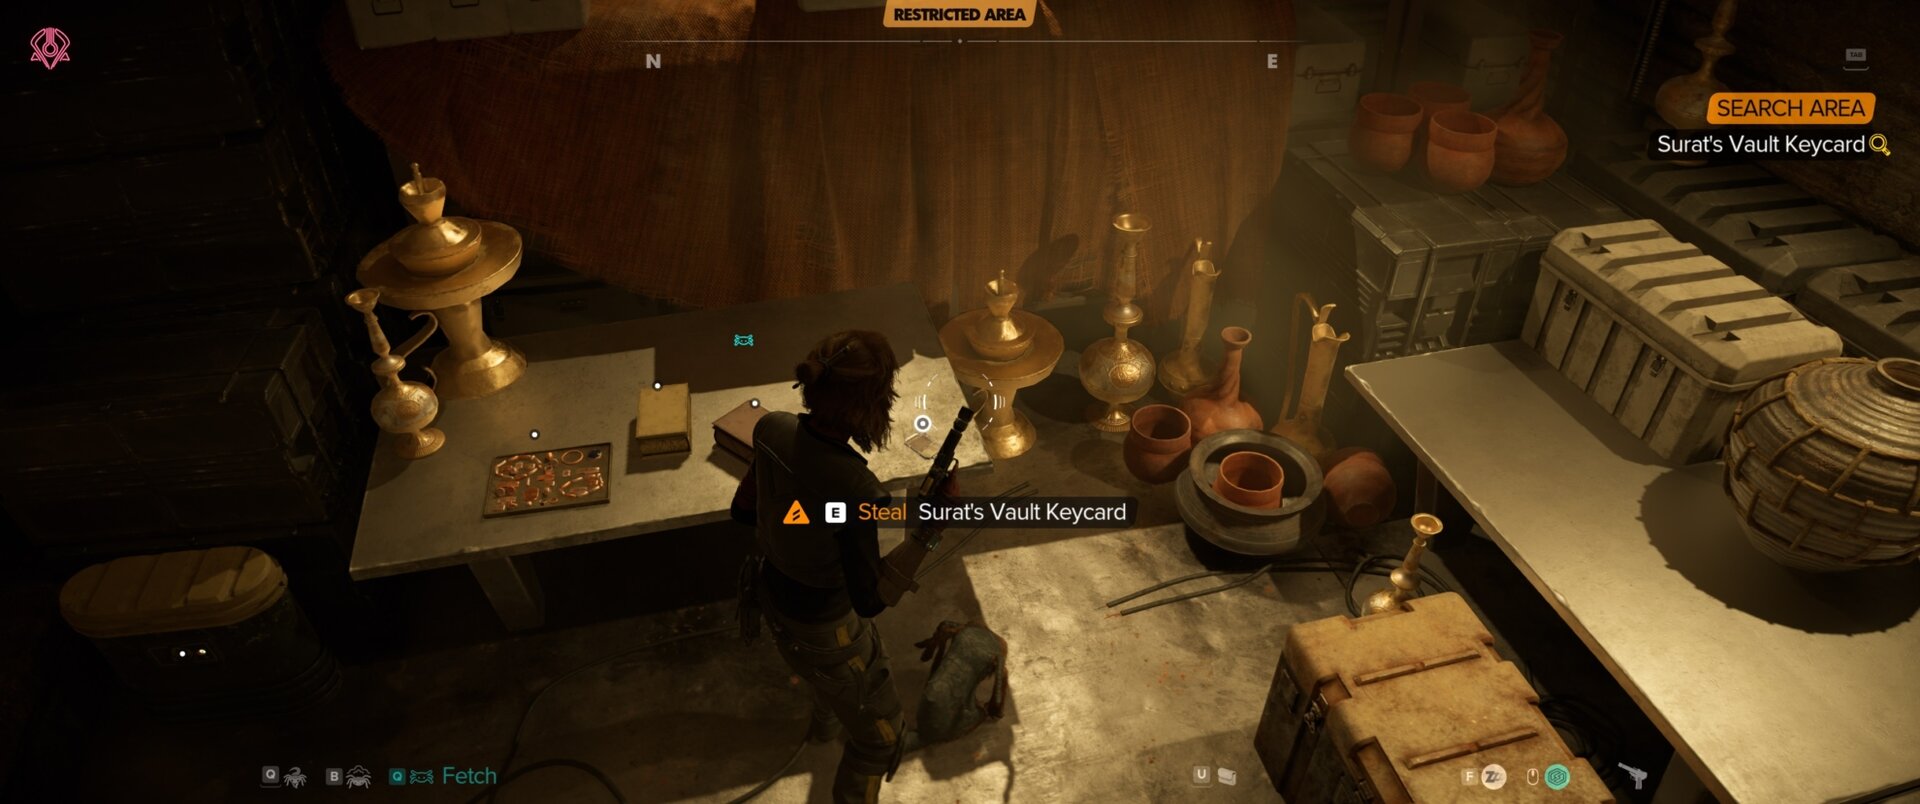
You’ll find Surat’s Keycard inside the building. The big container has the Akiva Thief Belt inside it.
Akiva Hutt Vault Rewards
Return to the vault to collect the sweet loot. You’ll receive 5000 credits, upgrade materials, and the Boonta Brawler Speeder Paint Job.

Toshara Pyke Vault and Keycards Guide: Star Wars Outlaws
This guide explains the steps to unlock access to the Pyke Vault in Mirogana on Toshara. You need to find three keycards to access the treasure chest with credits and a cosmetic for your speeder.
Toshara Crimson Dawn Vault and Keycards Guide: Star Wars Outlaws
his guide explains the steps you need to take to unlock access to the Crimson Dawn Vault located in Mirogana on Toshara. You need to find three keycards to get access to the treasure chest containg credits and a cosmetic for your speeder.
Kijimi Crimson Dawn Vault and Keycards Locations: Star Wars Outlaws
This guide explains the steps you need to take to unlock access to the Crimson Dawn Vault located in Kijimi City. You need to find three keycards to get access to the treasure chest containing credits and a cosmetic for the Trailblazer and a Sabacc.
Kijimi Ashiga Clan Vault and Keycards Locations: Star Wars Outlaws
This guide explains the steps you need to take to unlock access to the Ashiga Clan Vault located in Kijimi City. You need to find three keycards to get access to the treasure chest containing credits and a cosmetic for your speeder and the Trailblazer.
Akiva Pyke Syndicate Vault and Keycards Locations: Star Wars Outlaws
This guide explains the steps you need to take to unlock access to the Pyke Syndicate's Vault located in Myrra, on Akiva. You need to find three keycards to get access to the treasure chest containing credits and a cosmetic for the Trailblazer.
Tatooine Hutt Cartel Vault and Keycards Locations: Star Wars Outlaws
How to access the Hutt Cartel Vault located in Mos Eisley, on Tatooine and where to find three keycards to get access to the treasure chest containing credits and a cosmetic for the Trailblazer.
All Syndicate Vaults and Keycards in Star Wars Outlaws
There are seven Syndicate Vaults in Star Wars Outlaws. Toshara, Kijimi and Akiva each have two vaults, Tatooine has one. We will show you how to access them, where to find the vault keycards and what rewards you can earn!
Related Star Wars Outlaws Collections of Guides

Our Guides Master List for Star Wars Outlaws is a great starting point. In it you will find all of our guides and walkthroughs ordered in categories.