There are four treasures, one of which is in a vault, ISB report, a collectible item and a few other valuables you can pick up from Research Station 57 on Akiva in Star Wars Outlaws. We will show you how to infiltrate and fully explore this Imperial base.
Table of contents
Requirements to find and access the location
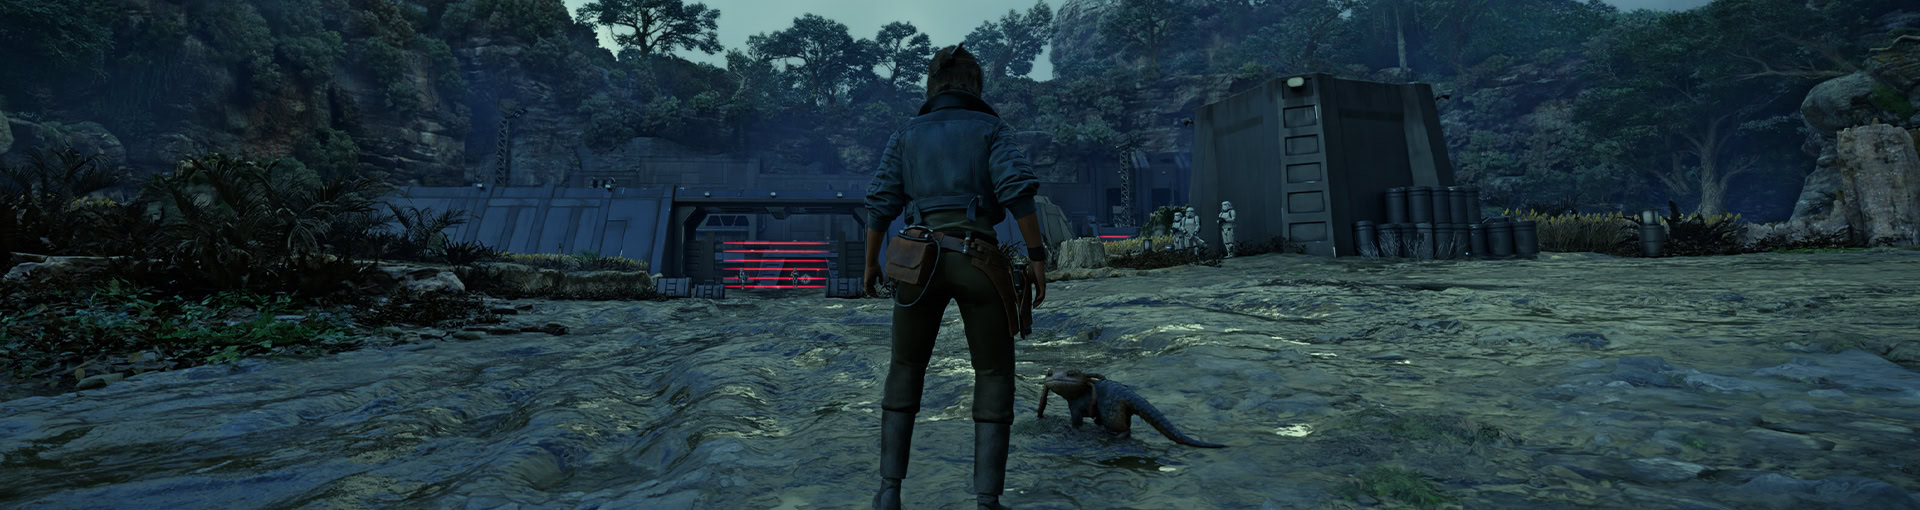
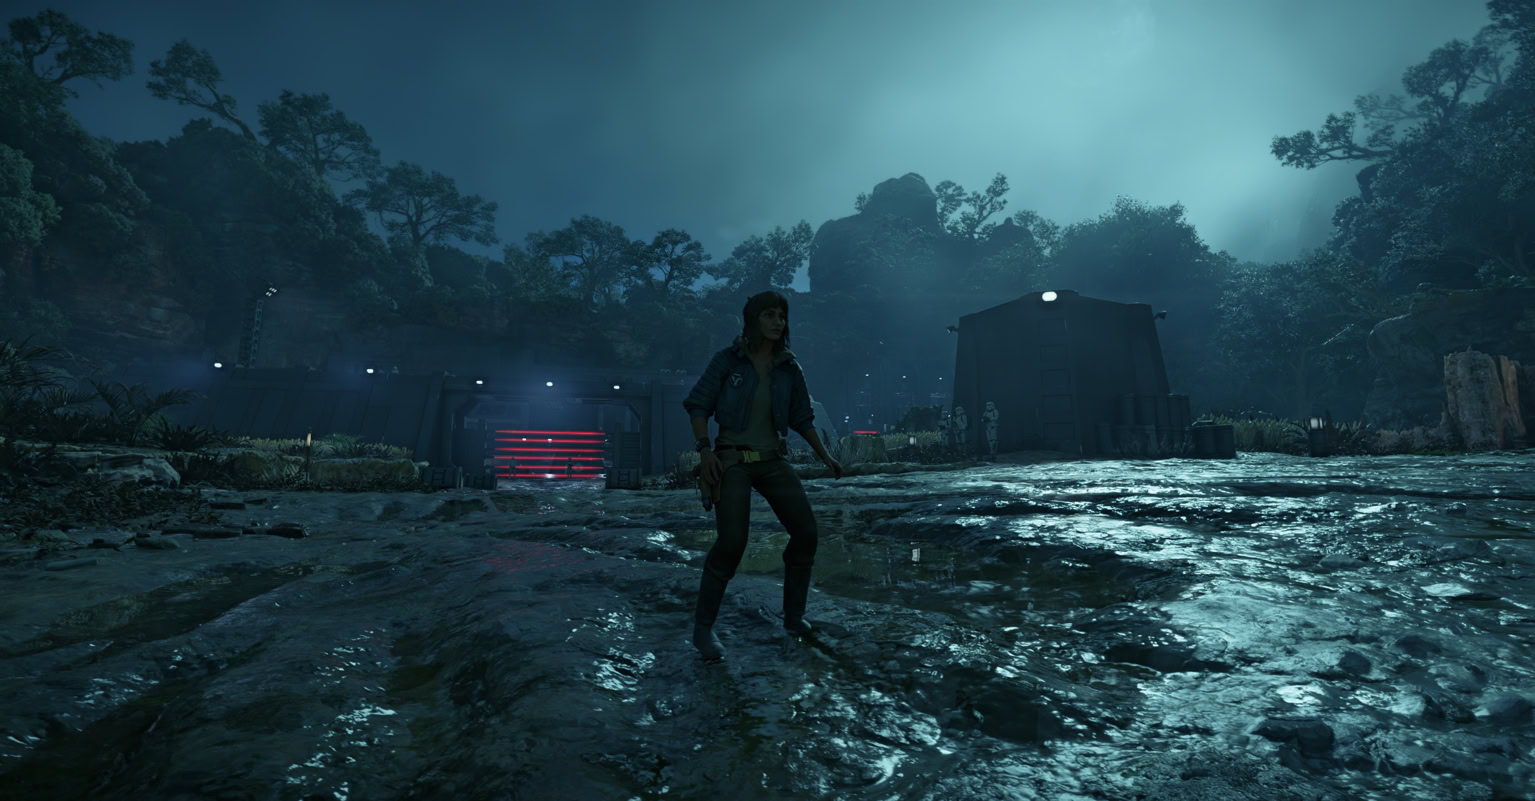
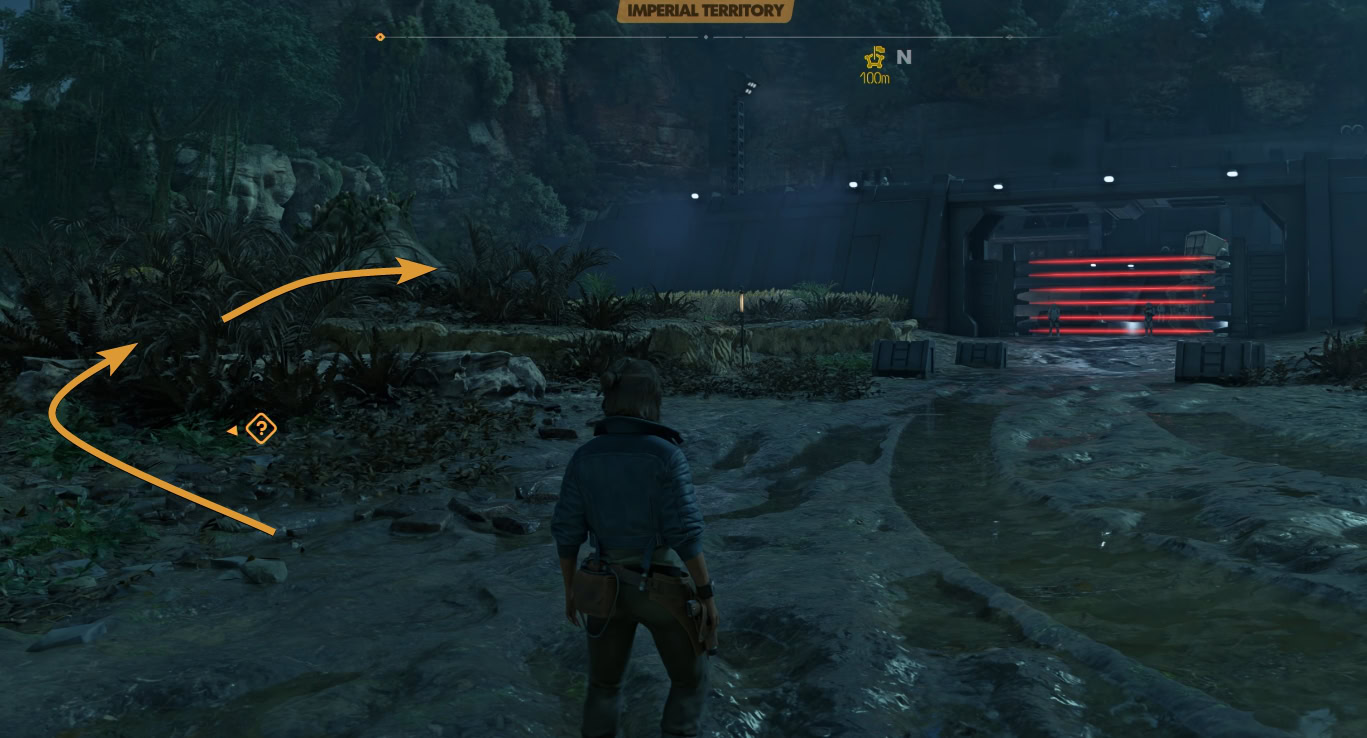
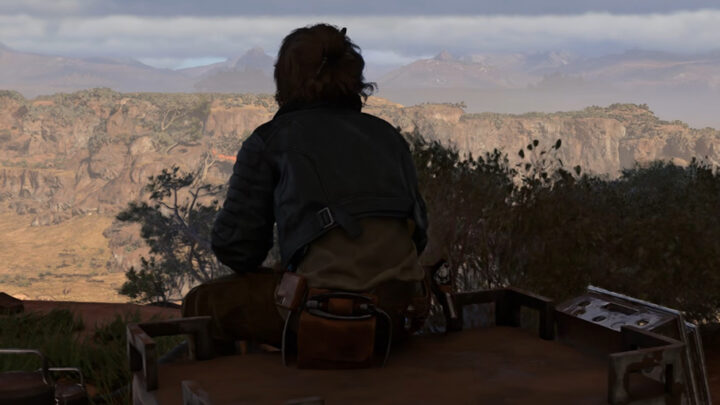
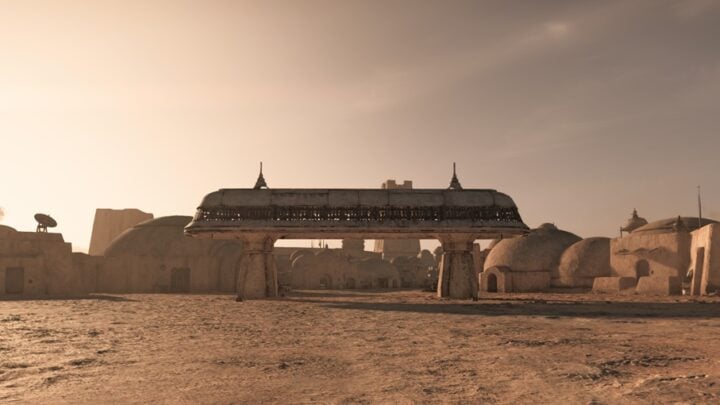
Research Station 57 is an Imperial base in the northwestern corner of Mount Selasa region on Akiva. It is heavily guarded and as most Imperial bases, features an AT-ST, lots of security cameras and tons of stormtroopers, engineers and officers.
There are two ways to approach it, from the south or from the northeast. It is the same path that makes a circle around the Mount Selasa region. The approach from the south is much easier and the Fast Travel point (if you have unlocked it) is not too far.
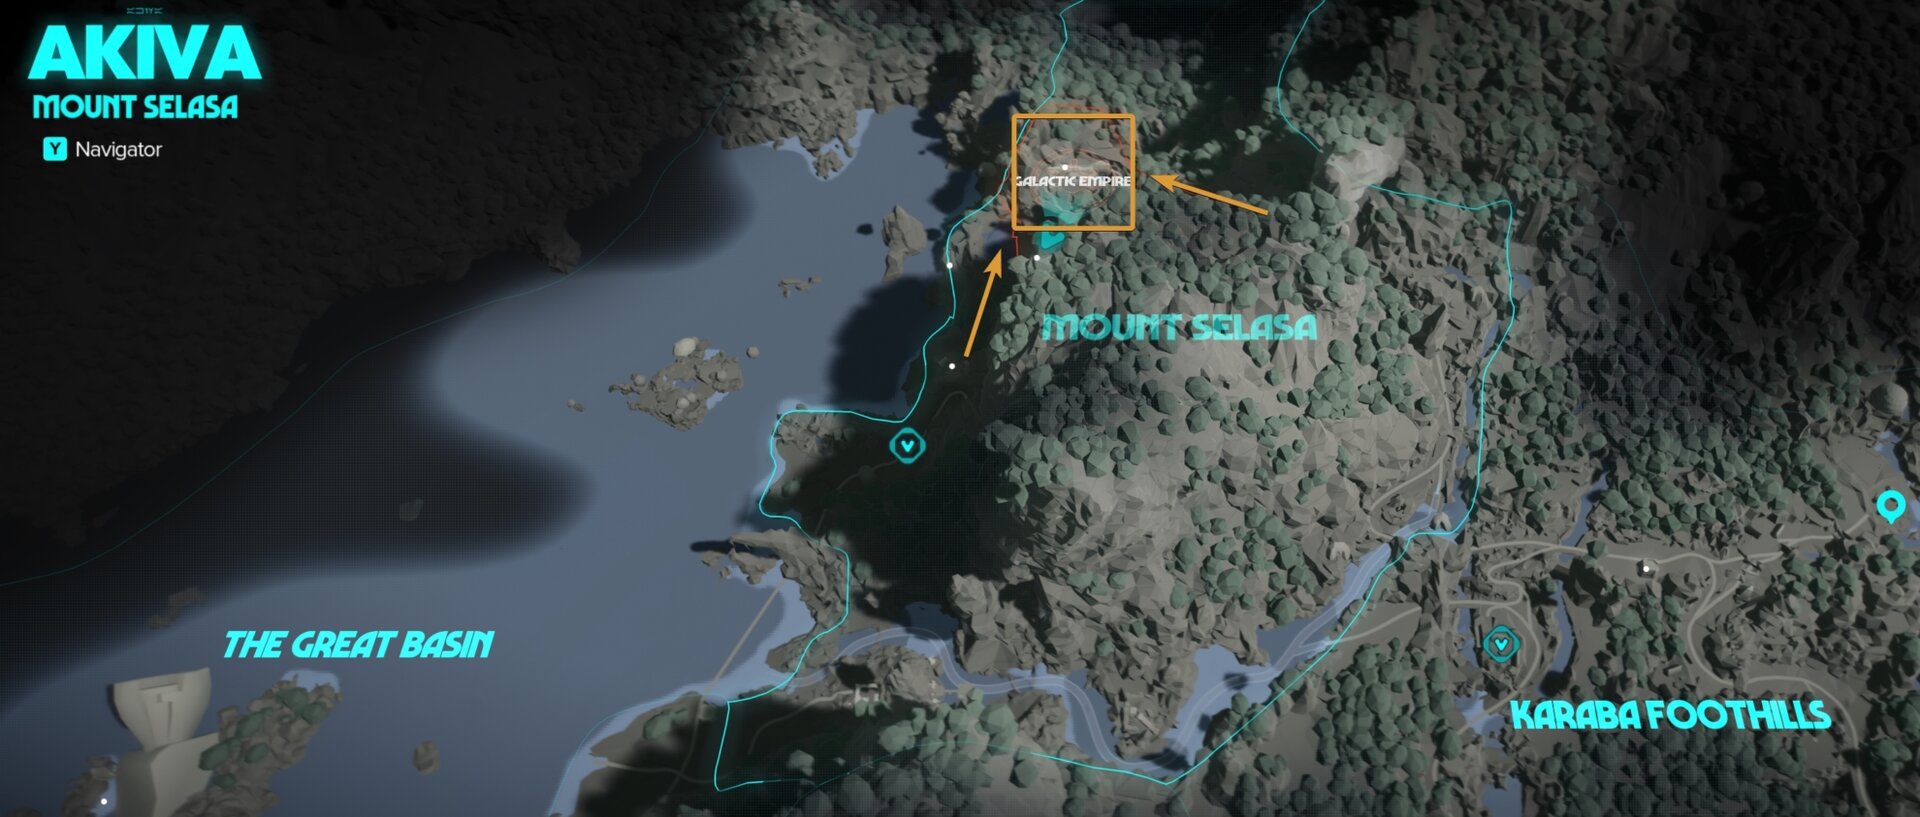
The only requirement to be able to access and explore this base is to have unlocked access to the planet Akiva, which happens after you complete the main story quest The Wreck on Toshara.
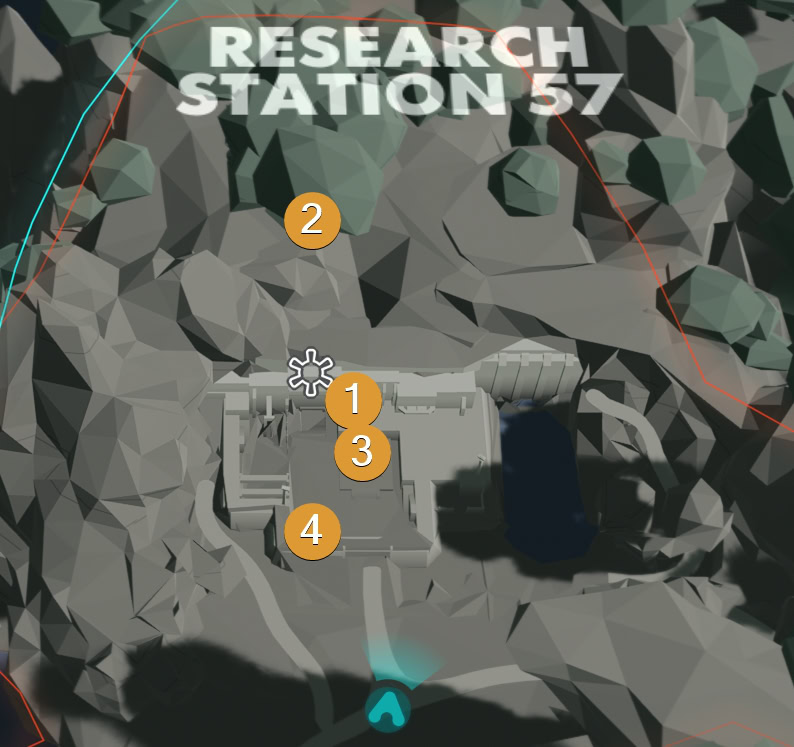
Map of all Treasure Chest Locations
The map below shows the locations of all four treasure chest at Research Station 57. The numbers correspond to the order in which you will find them all by following this walkthrough. They are not all esily accessible, and for some you would need additional items and actions to acces them.
As with most open world areas containing treasures in Star Wars Outlaws, there are multiple ways to access and explore Research Station 57 and the walkthrough below shows one of them we consider to be easy, quick and efficient.
Research Station 57 Walkthrough
In this walkthrough I will not give you too specific and demanding instructions on how to take out enemies, but I will favor a silent approach and recommend use of some tools and abilities that you may or may not have. At the end of the guide, you will find a list of recommended useful abilities that will greatly improve and speed up your exploration of the area. They are not mandatory, though.
In the video walkthrough below, you will see some more advanced abilities, tools and strategies used to make the sneaking process as easy, smooth, and fast, as possible.
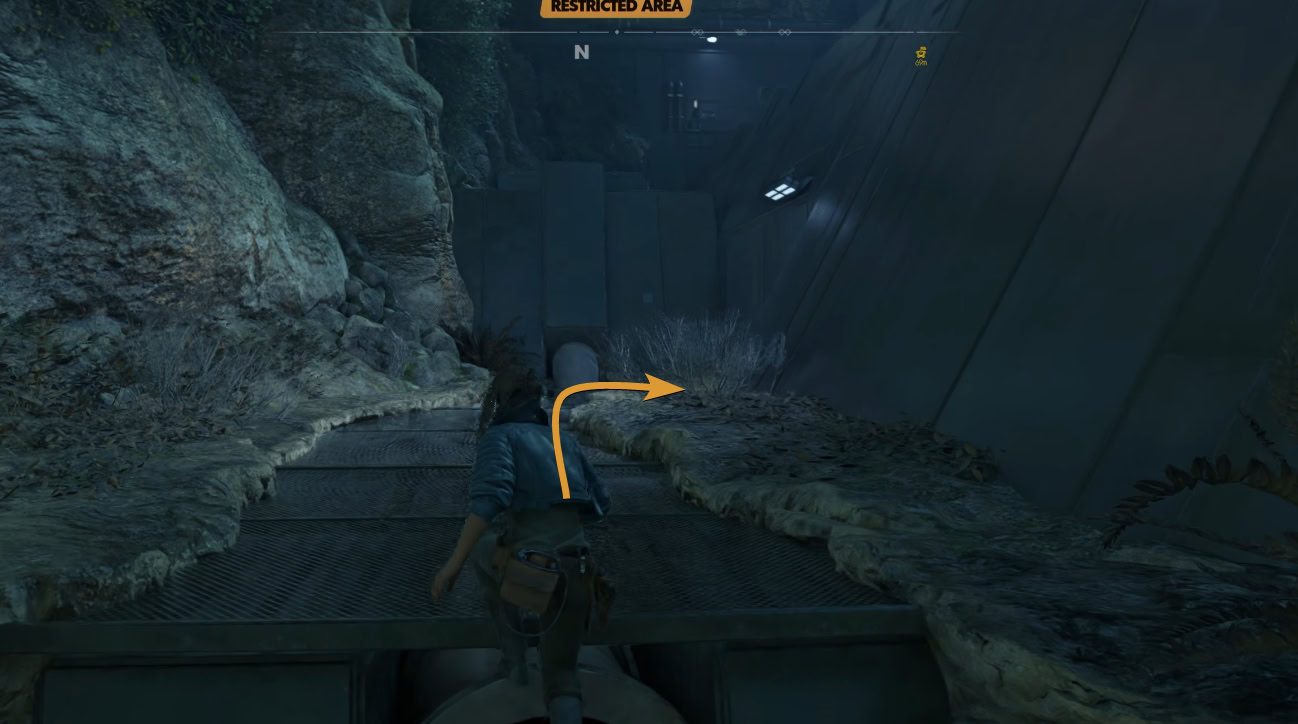
How to enter the base’s inner yard
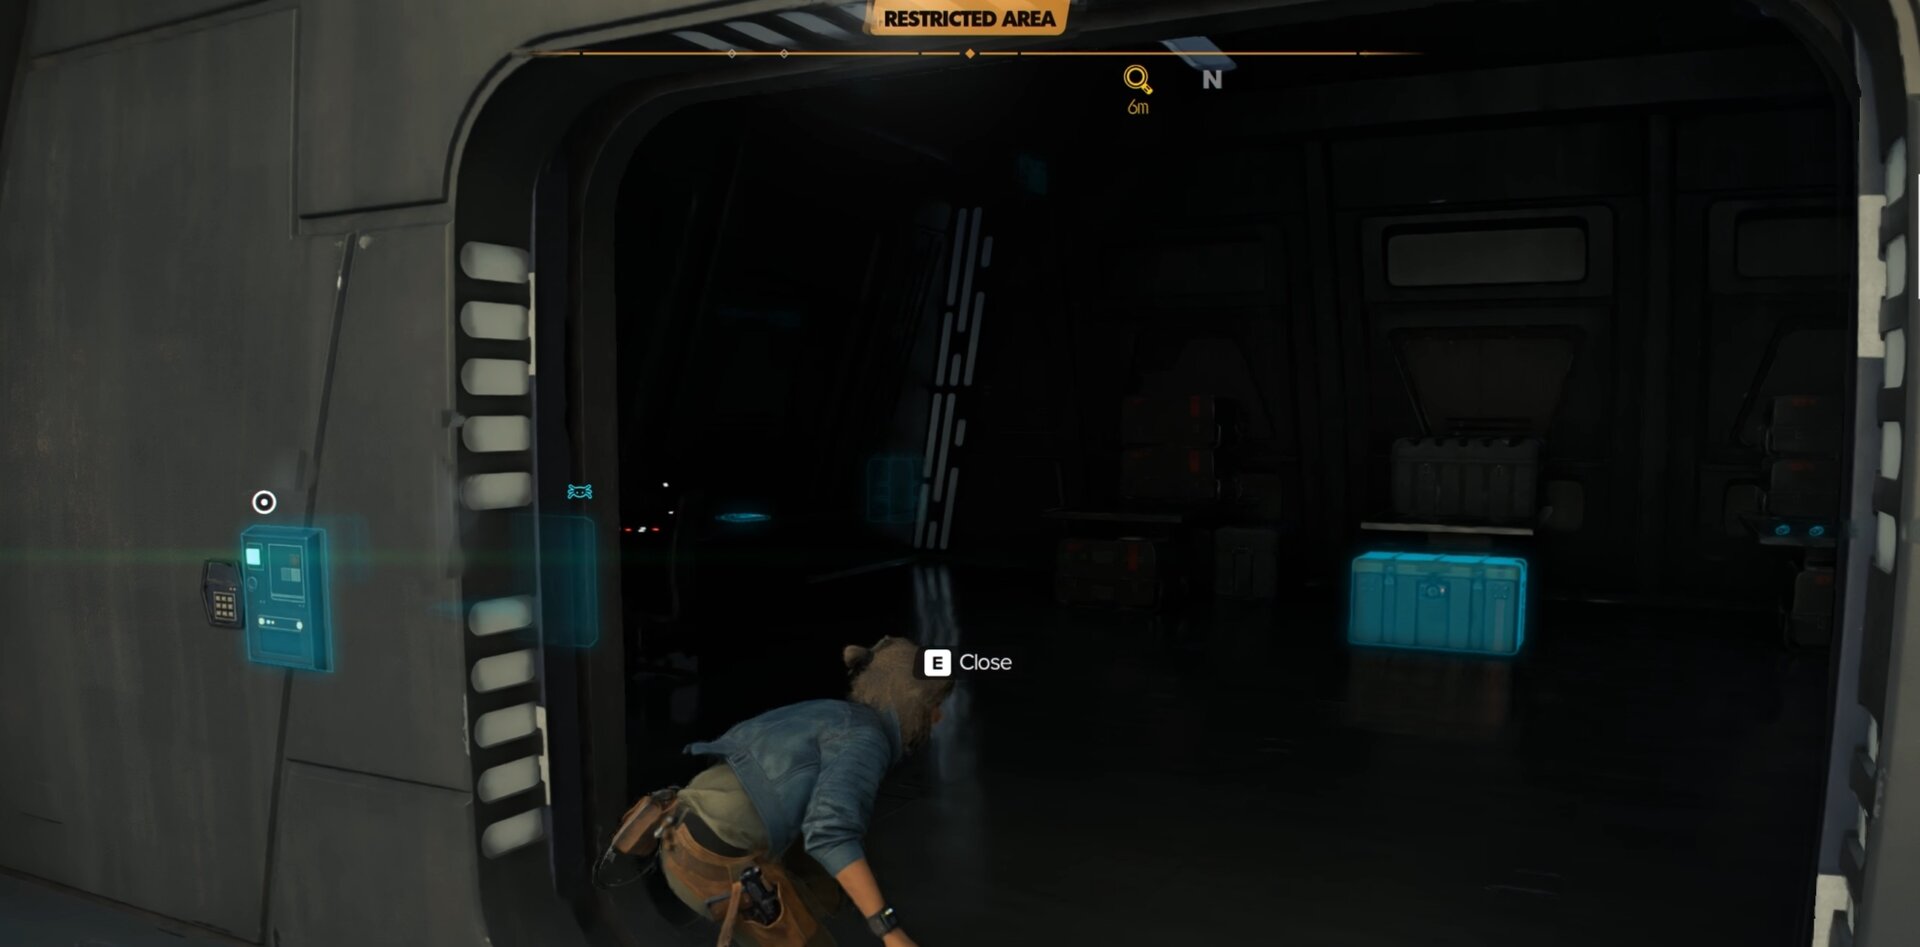
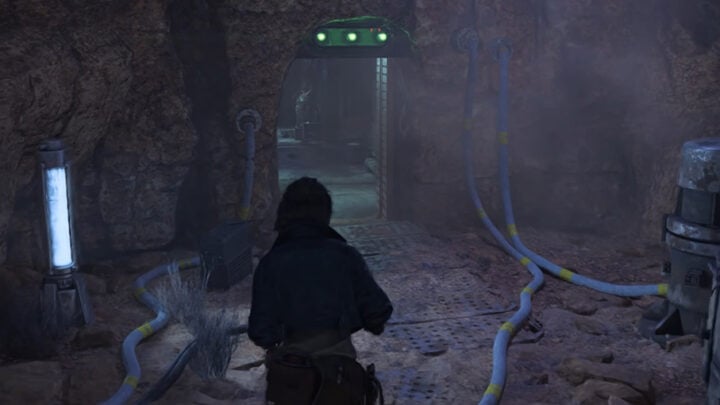
To enter Research Station 57, I recommend going through a vent on the left side (west) as you face the entrance.
There are a couple of Viper droids roaming in the area, but if you need some more of those for the Core Challenge, feel free to take them out. They are far away enough from other NPCs, so you can even use the Power Module to one-shot them.
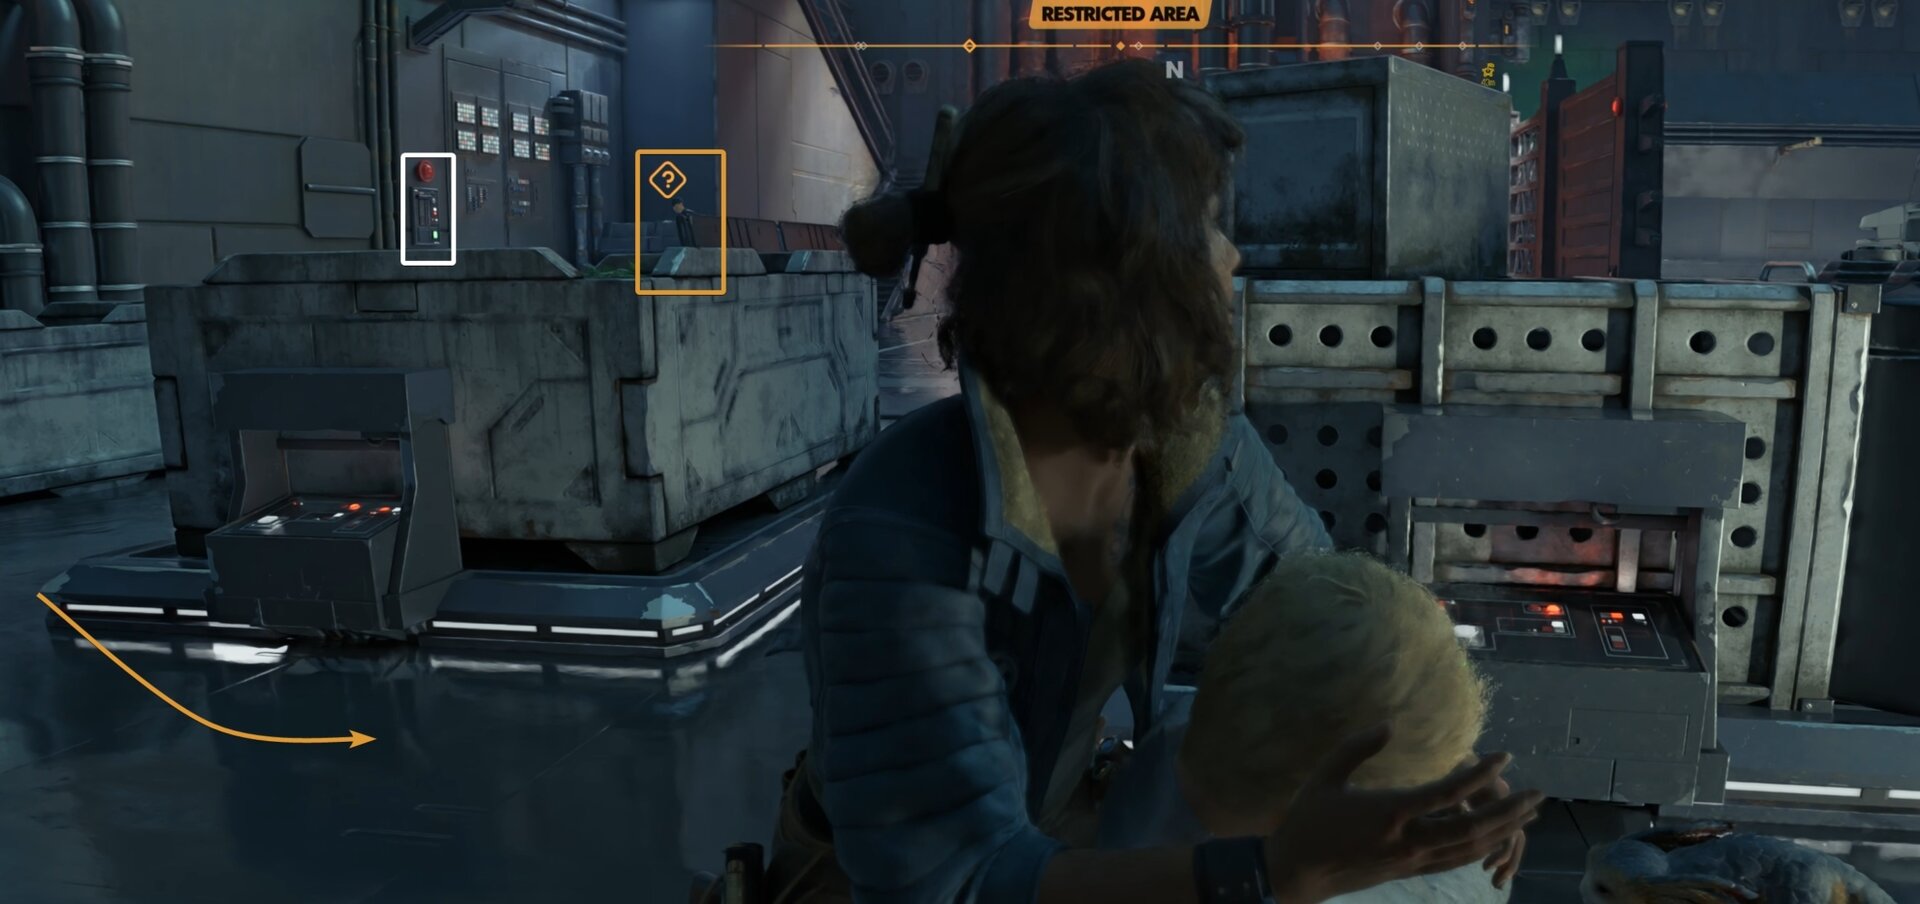
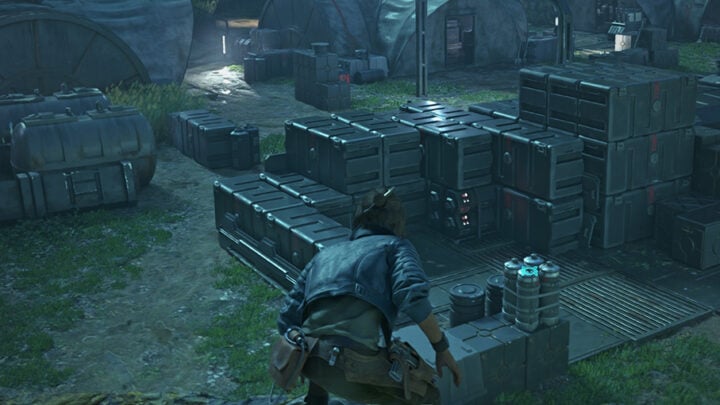
Get Research Station 57 Keycard
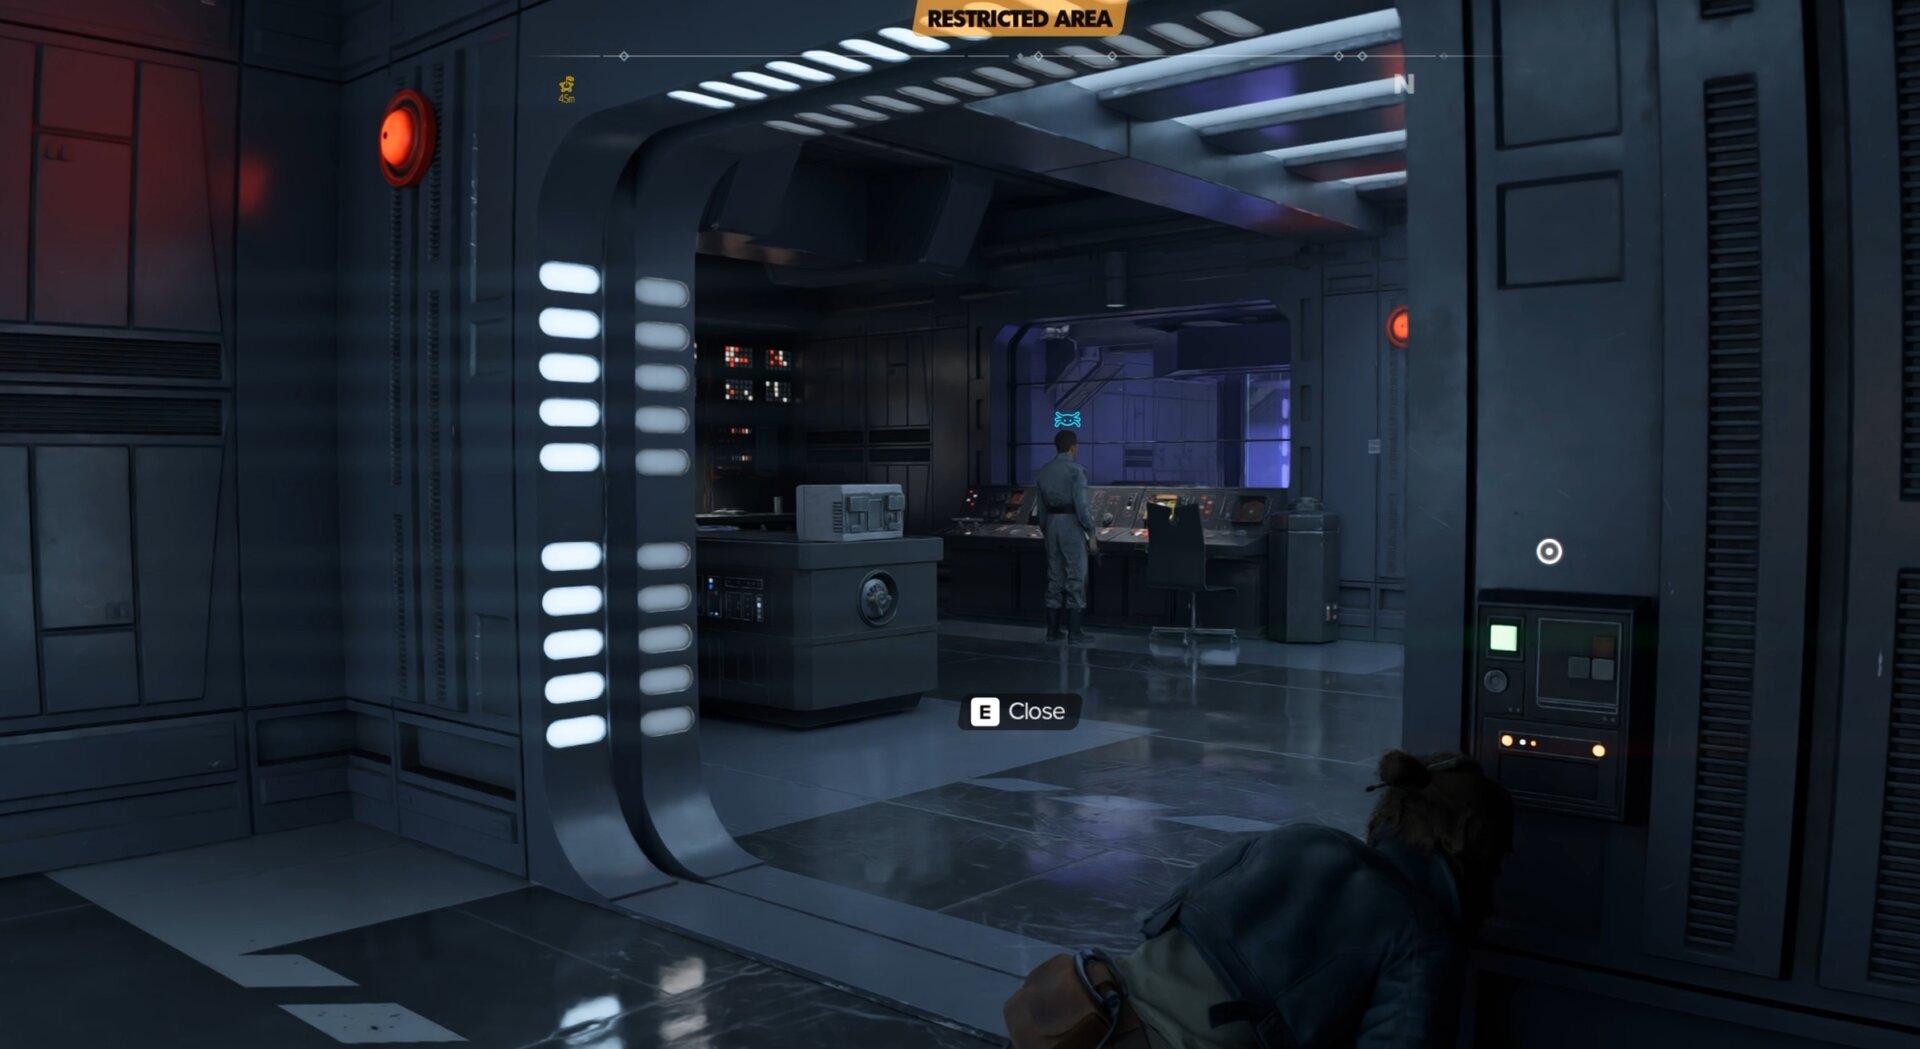
As you exit the vent, you will see in front you an engineer going about her business. Take her down. To the left, there is an officer. This NPC holds the Research Station 57 Keycard. You can also disable or Trap the Alarm panel on the wall.
Next, get up on the walls and slowly clear the posts there. On the other side (east), near the falling water) of the wall, there is a platform with a technician, an officer, and a trooper in front of a blast door.
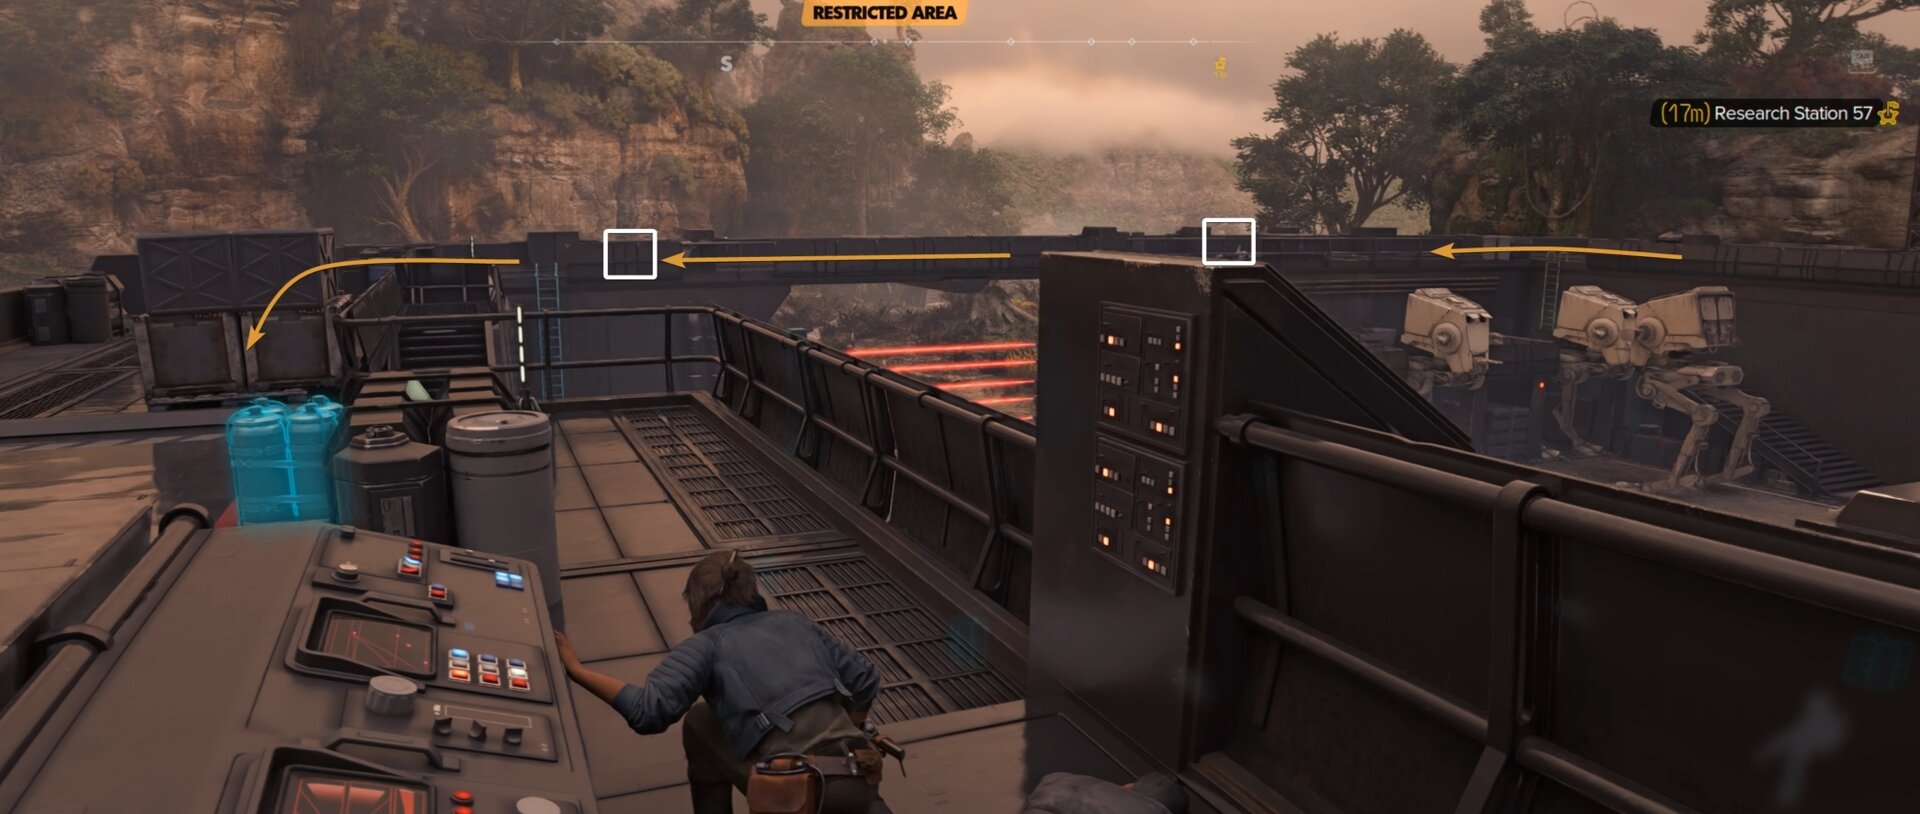
You can take out the technician at the terminal, then take care of the pair roaming around the platform. Slicing the terminal will unlock the door. The camera will stay on (for now).
Treasure Chest #1 Location
The first treasure chest is located to the left of the blast door on the same platform. Be sure to take out the NPC nearby. The chest’s loot is some upgrade materials.
How to enter the building
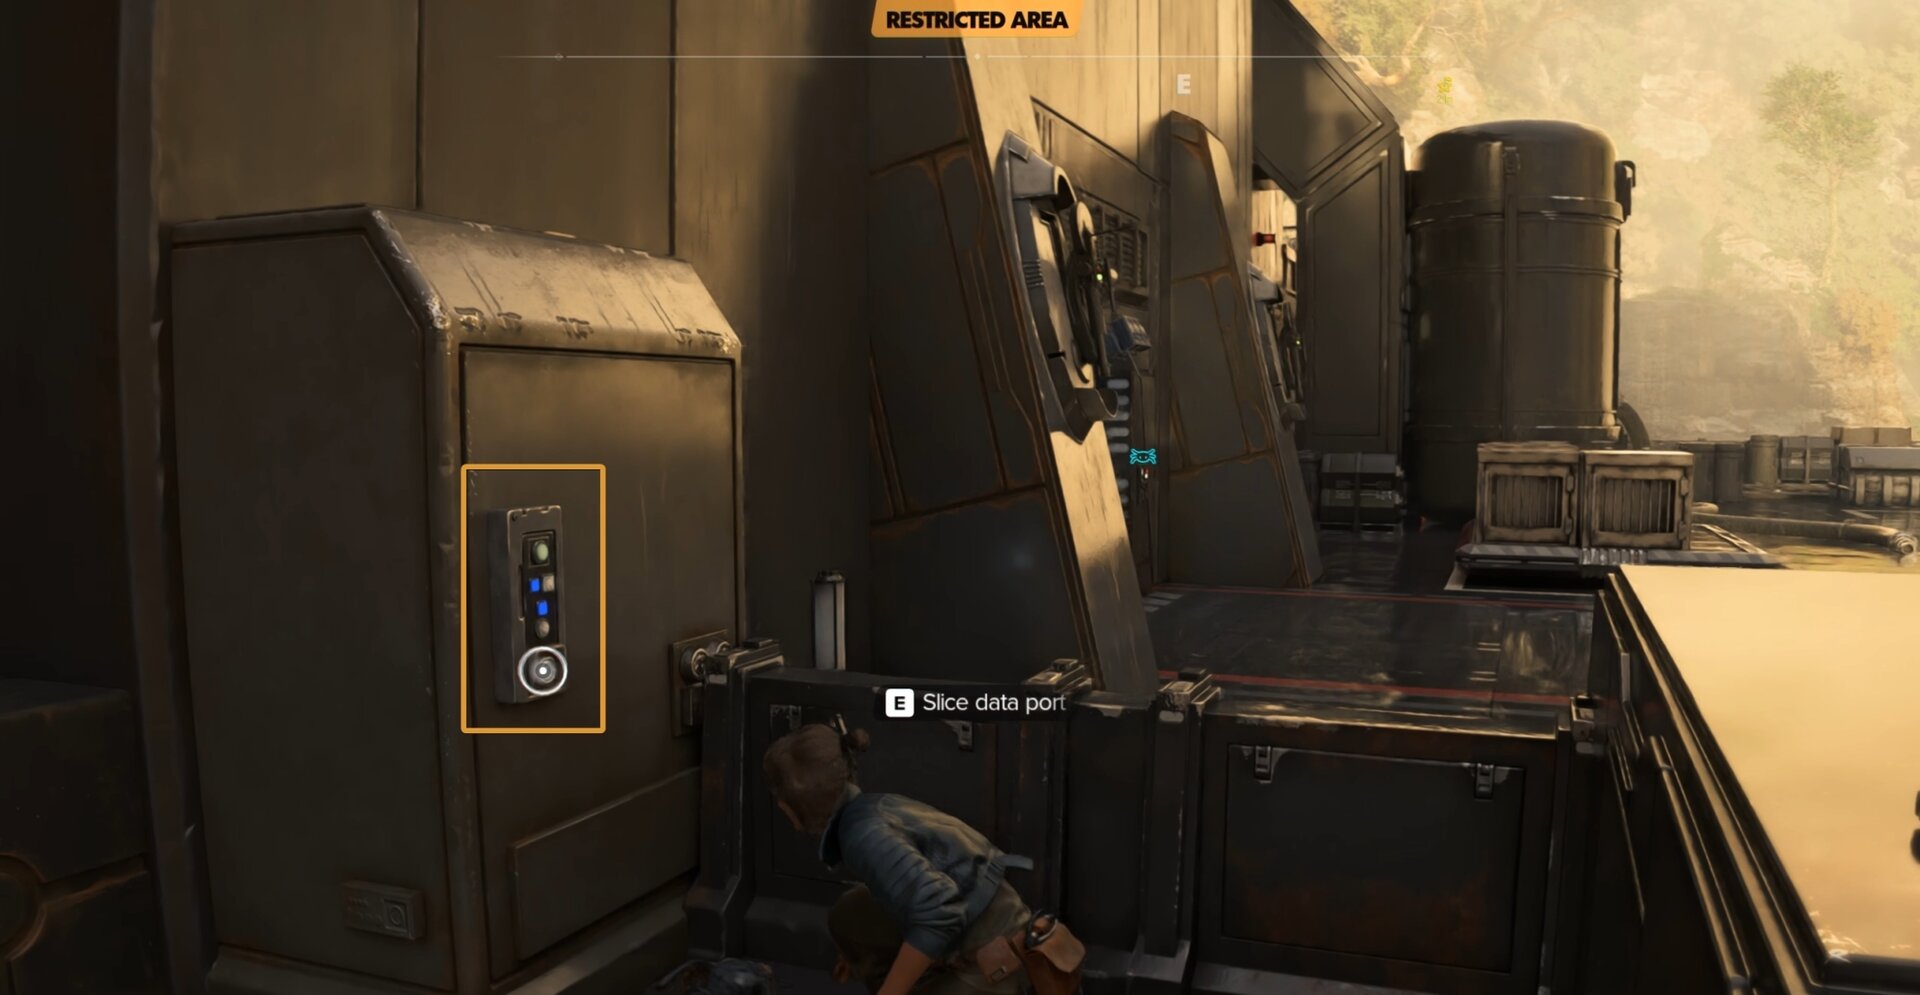
To the left of the door, there is a data port you can slice. You can use it to open the door, override the turrets on both sides of the door and the security camera above it.
Sneak past the security camera in the corridor. To the left, there are two stormtroopers. You can use Nix to help you take them down silently.
For now, continue forward past the security camera. Take out the engineer and slice the computer he was working on. This will disable the camera in the room in front of you.
Enter the room that looks like a lab environment. Go clockwise and take out all three NPCs around. Next to the middle one, there is an alarm panel you can ask Nix to trap or disable.
Treasure Chest #2 Location
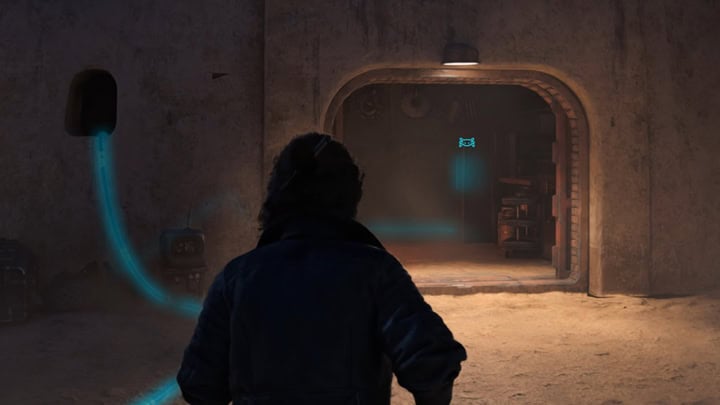
Head through the door on the west side. After a short staircase, there will be a access computer you can slice. The vent next to it will lead you back to the previous room you just cleared.
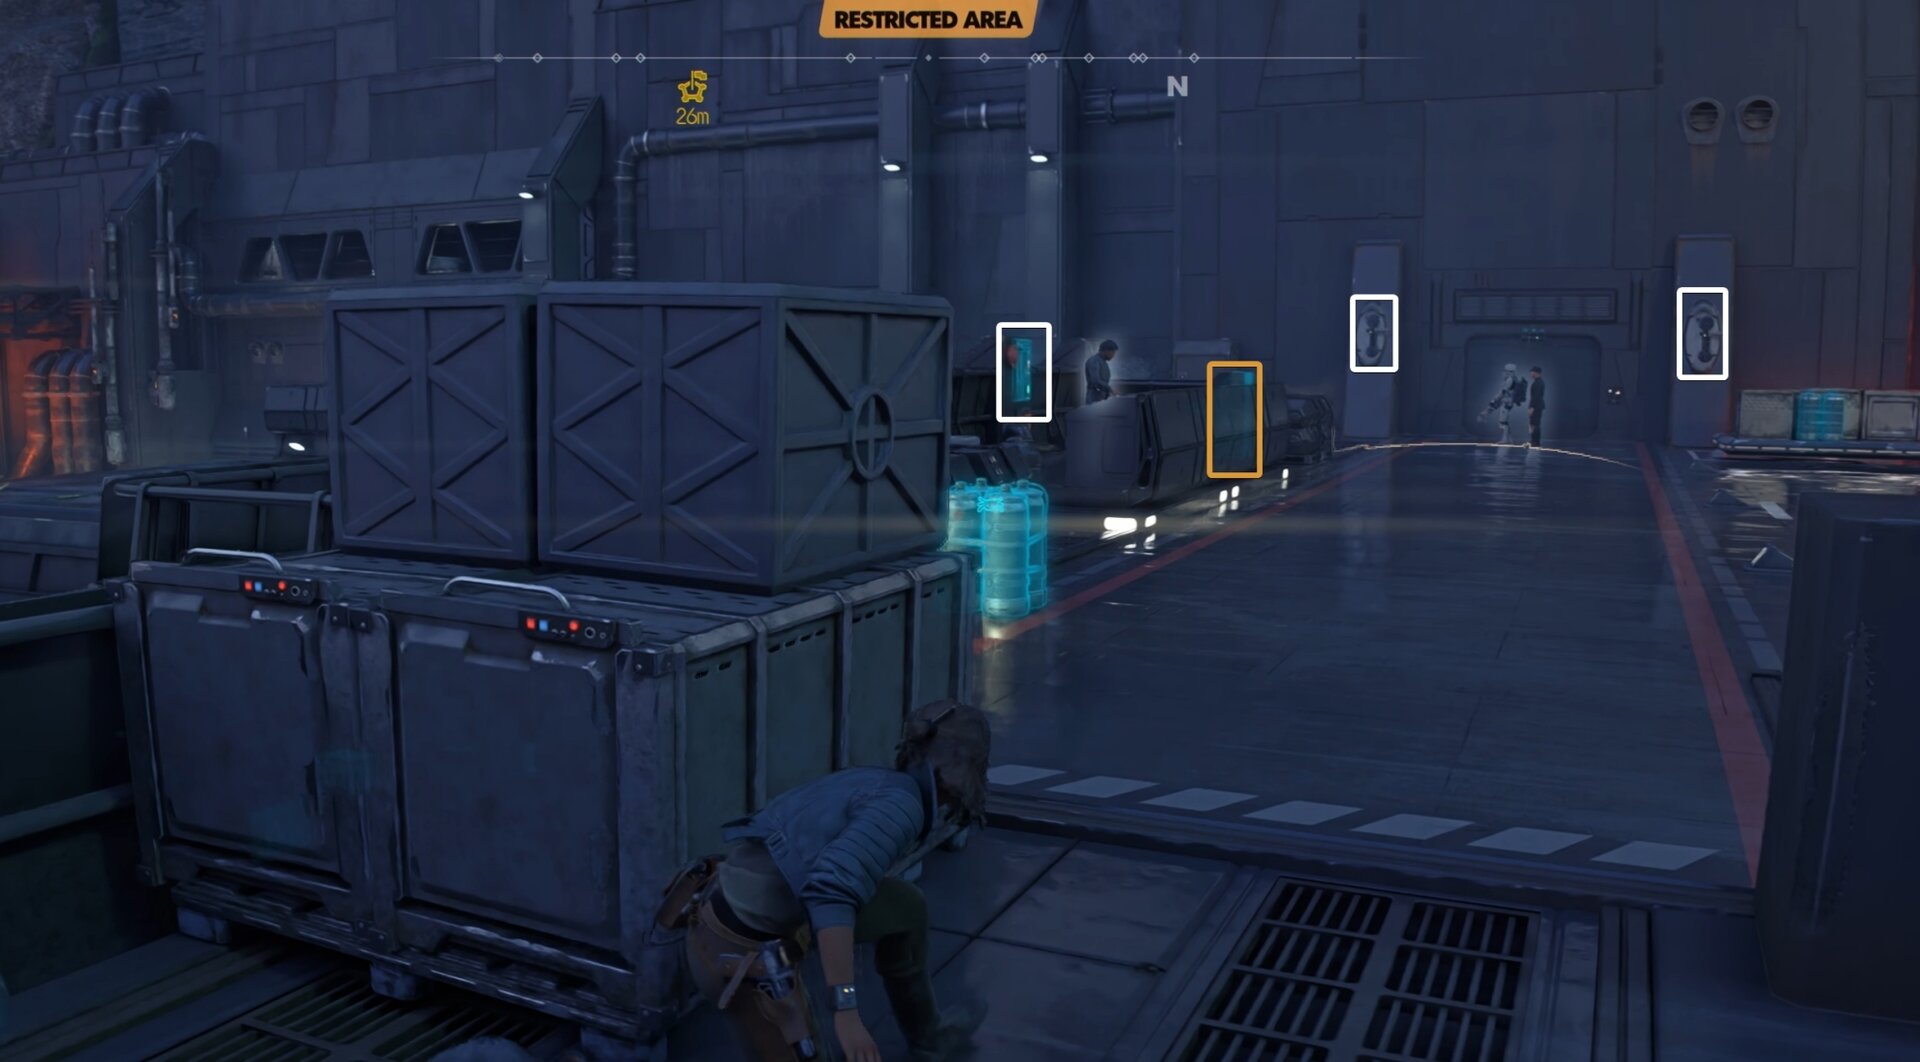
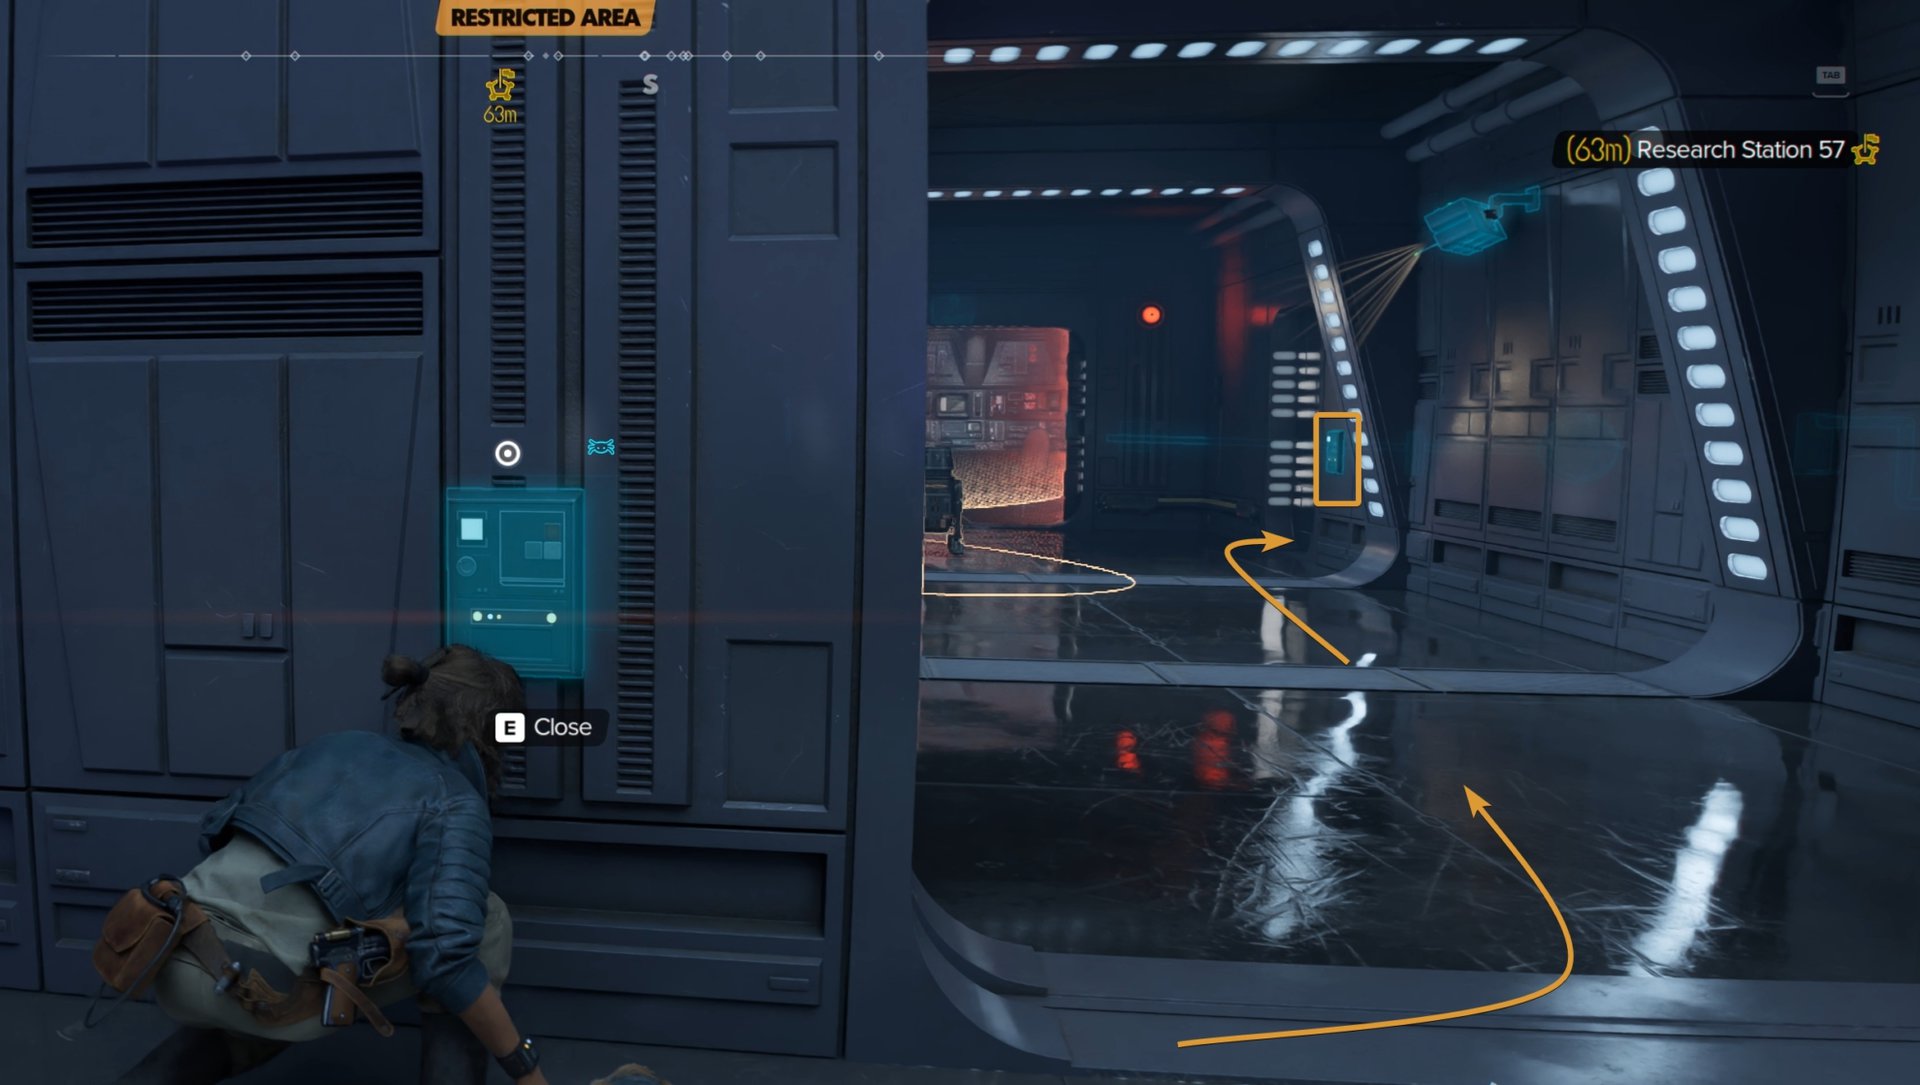
Head through the door and enter the Tube Lab control room. This is another large room with a couple of technicians inside. You can see the second treasure chest on the north wall. There is a terminal you will have to slice later on (for the Vault Intel), after you switch off the camera above it.
Go clockwise around the room. Trap the alarm terminal on the west wall, take out the two NPCs one by one. The security camera is taking its sweet time. And it doesn’t even cover the treasure chest. You can sneak to it and take your time overriding its lock.
Next to the treasure chest, on the terminal, there is Melitto Research Syndicate Data. The chest contains 500 credits.
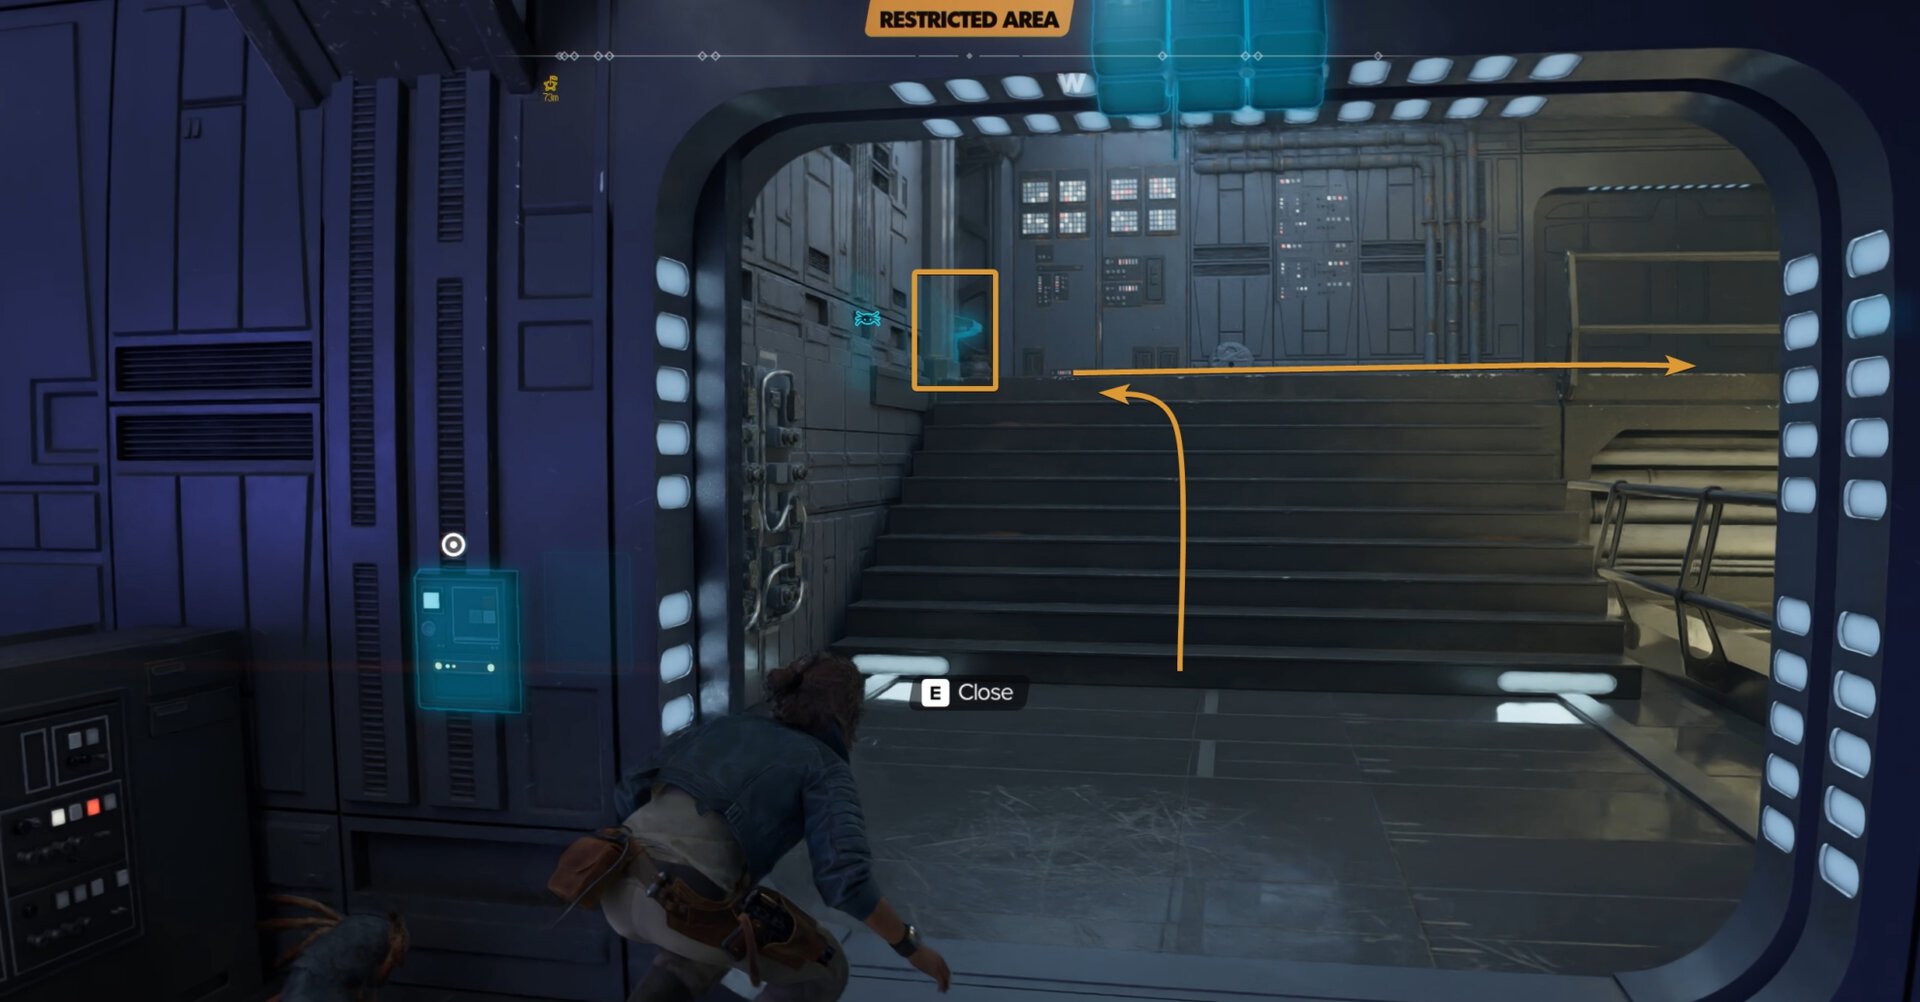
The door on the south side of the room leads to another short transiotion corridor with a security camera and a red energy shield. Your path is through the small door on the right, before the shield. Sneak under the camera.
In the small room, there is a power conduit. Ask Nix to disable it. This will turn off the shield. You can slice the data port on the wall across from the power node to unlock the security door.
ISB Report: Gedeek Obaz Location
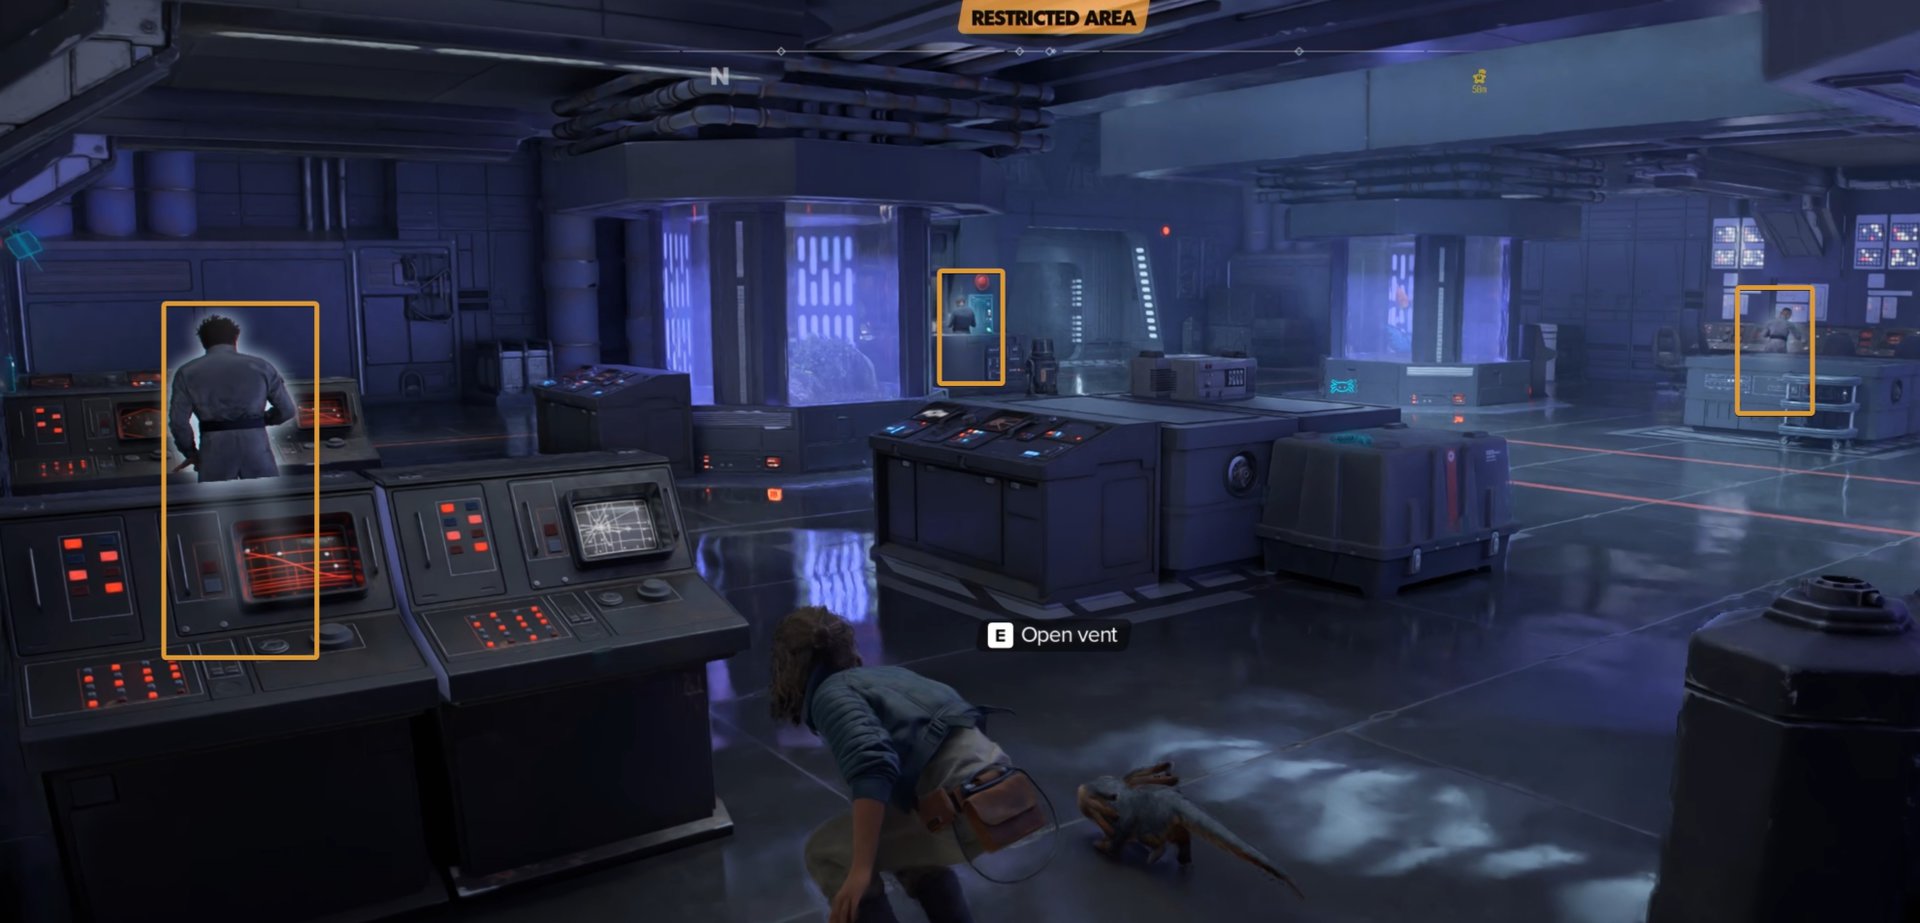
Sneak through the vent. Don’t go all the way to the end, it leads to a terrace outside. Instead, take a left midway through the vent to find yourself in another small room adjacent to a large room with many NPCs.
In the large room (the main control room of the facility), there are two technicians on the left and a security camera. On the right side, there is an officer and two stormtroopers. Before you proceed, pick up the ISB Report on Gedeek that’s on the table right in front of you.
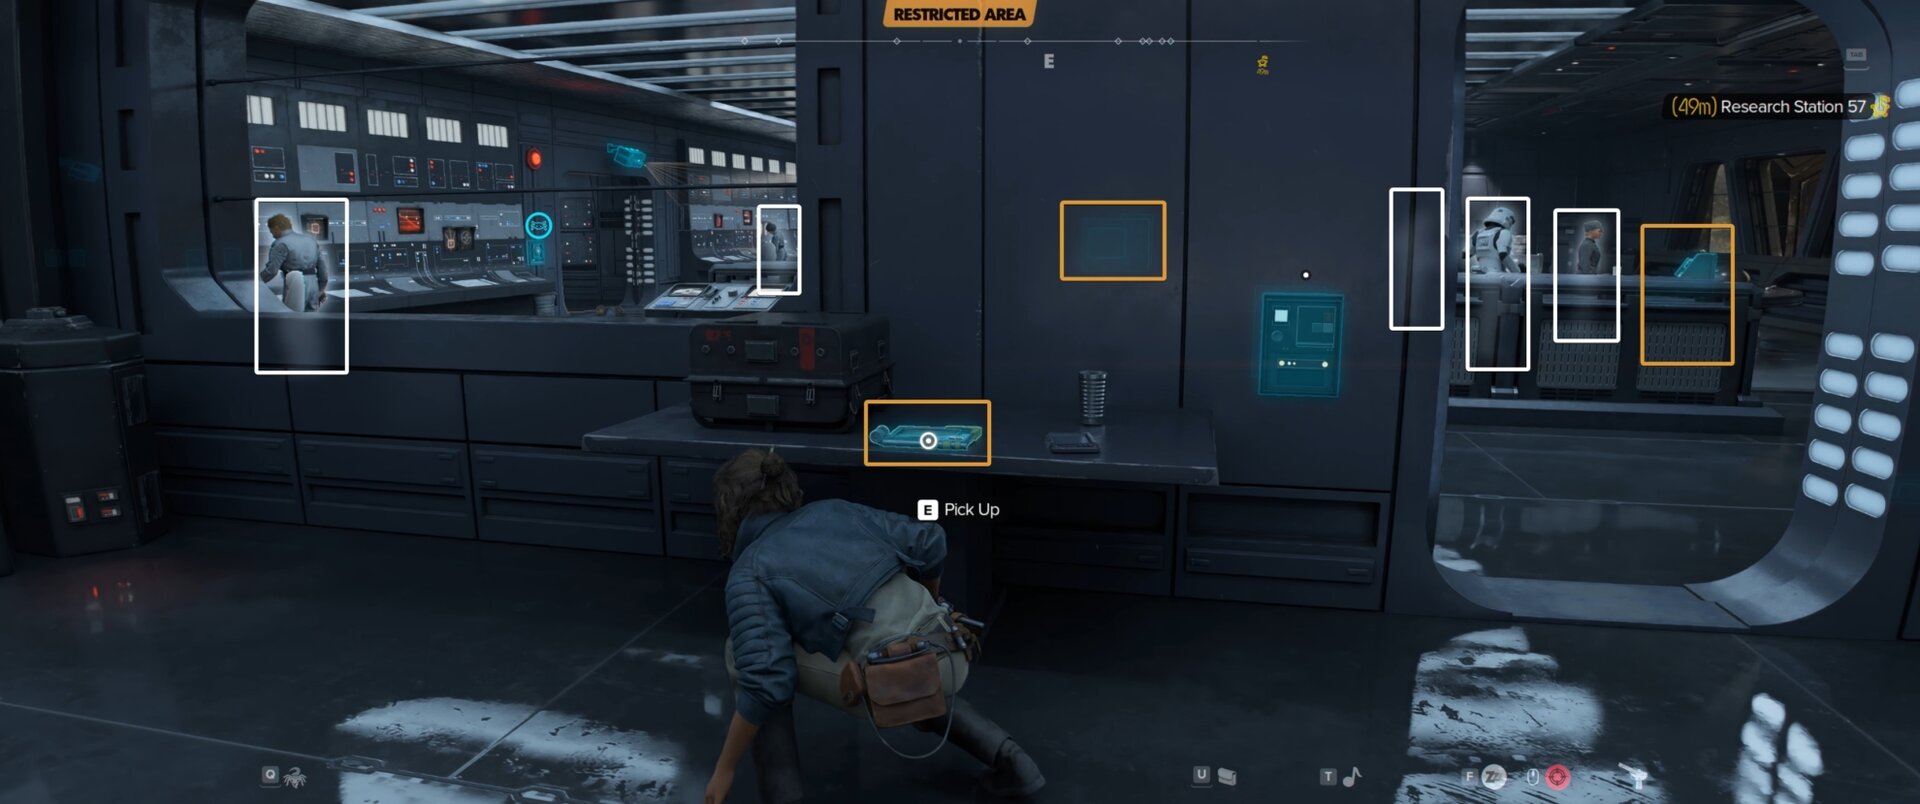
Take out all NPCs by any means you see fit. One good way I can recommend is to lure them one by one in the small room. You can use whistle to achieve that.
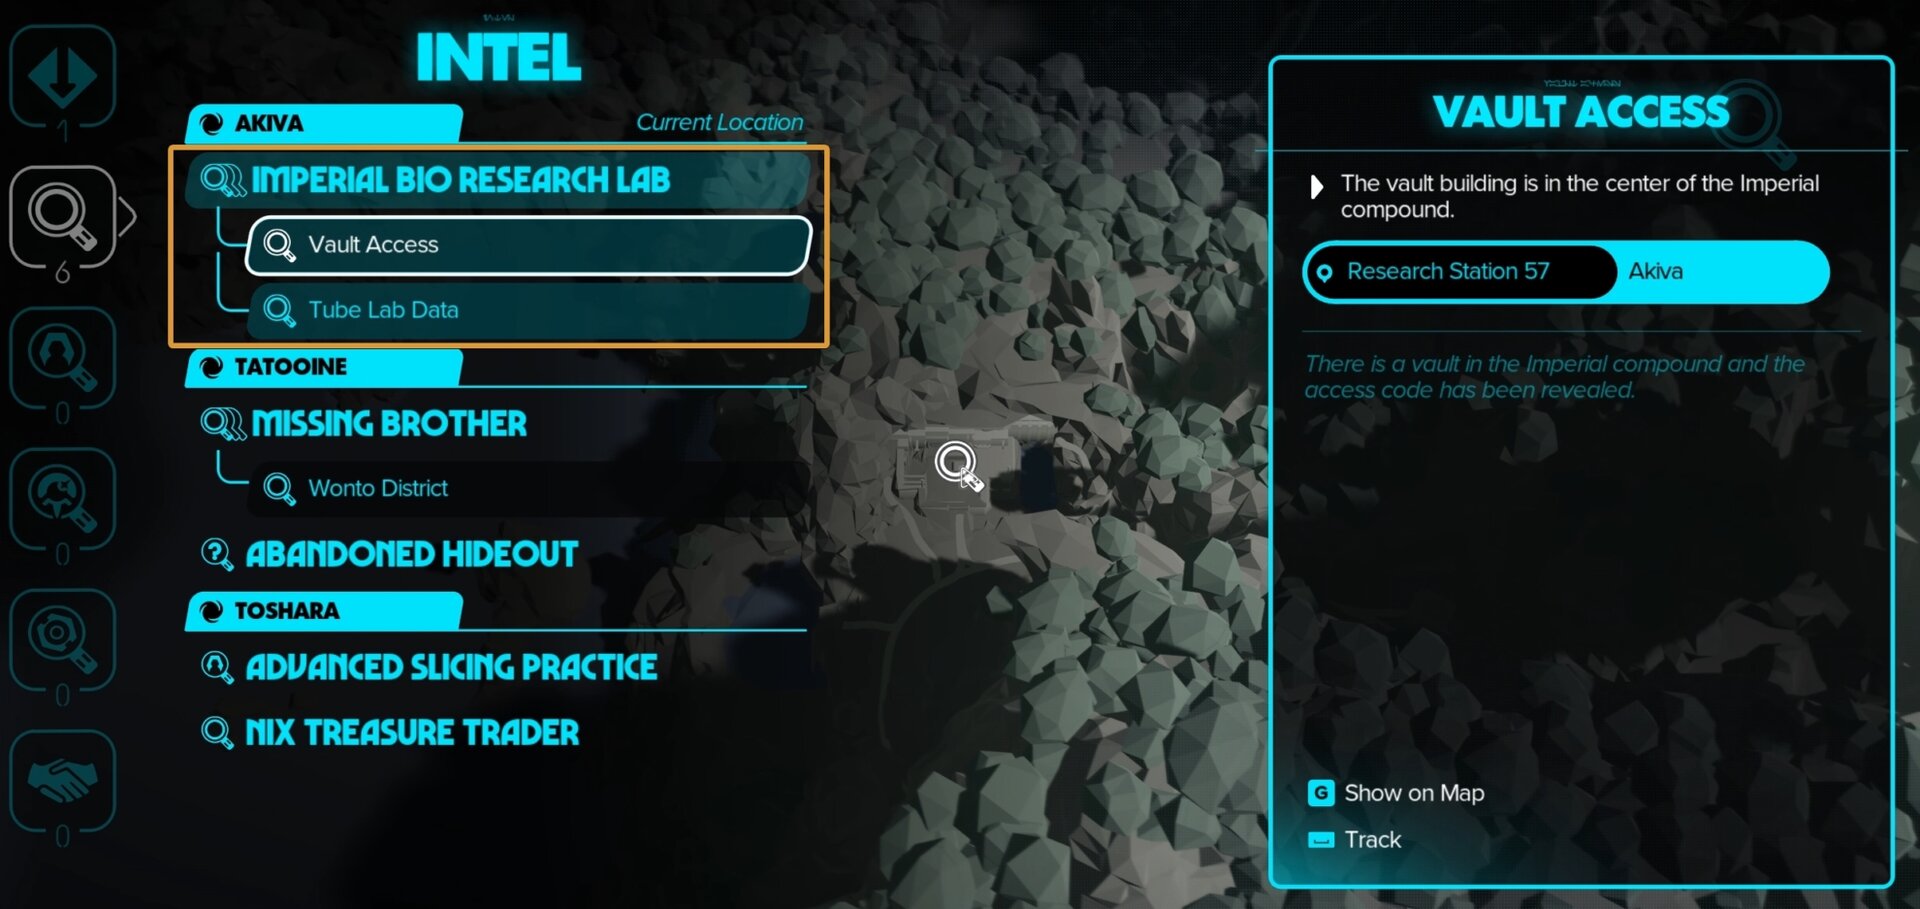
Imperial Bio Research Lab Vault Intel
When the room is clear, carefully (the camera is still on) sneak to the access computer on the right side and slice it. From it, you can disable the camera, the turret and transfer data.
The data you collect from this terminal will give you a new Intel quest about the Imperial Bio Research Lab Vault in Research Station 57 on Akiva.
Go back to the Tube Lab control room to the north. Slice the terminal next to Treasure Chest #2. The security camera is offline now. This will grant you some credits and resolve the Tube Lab Data Intel.
Vault Treasure Location (Treasure Chest #3)
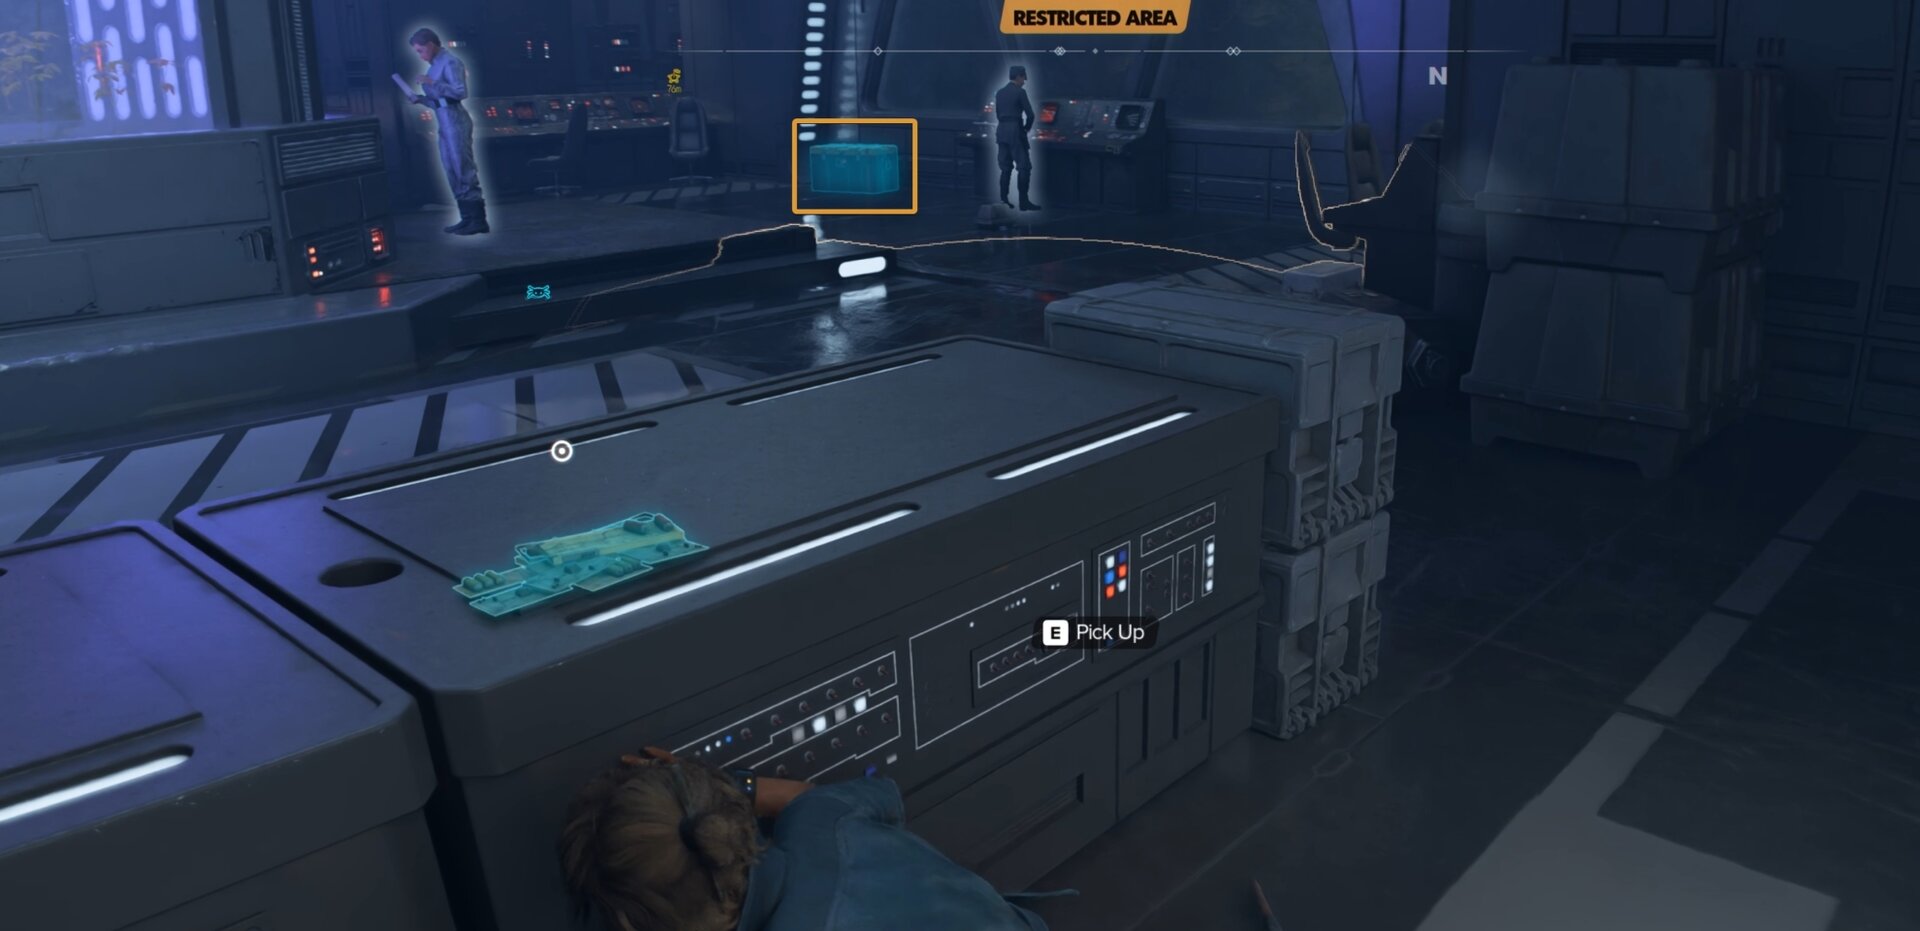
Head back to the previous room where the Vault terminal is. Exit through the east and go right in corridor to find yourself back on the platform from where you entered the Lab building. Climb down the wall to get to the ground level.
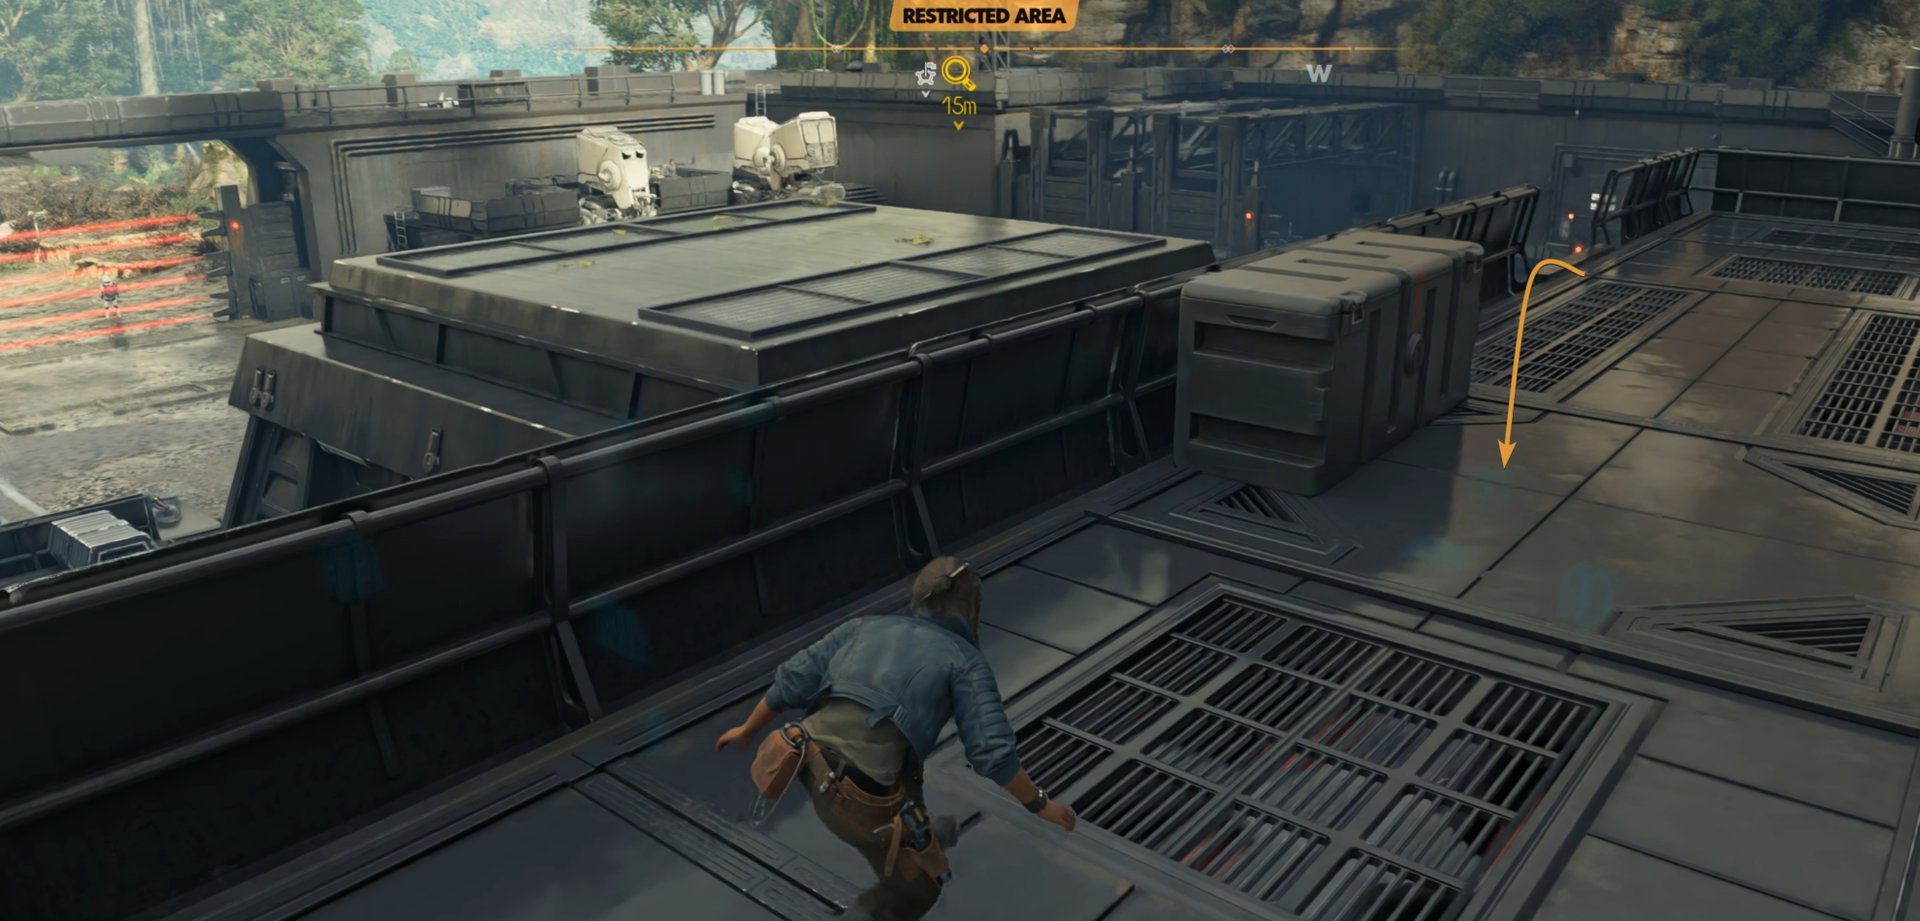
Go clockwise around the Vault building. There is a guard at the door you can lure to the side with a whistle (or with Nix) and take out silently.
The third treasure chest is inside. It contains a Blaster Recirculator and Onyx Coating for your Blaster. Next to it you can also pick up the Ank Parako collectible item. Slicing the data port will give you 1000 credits.
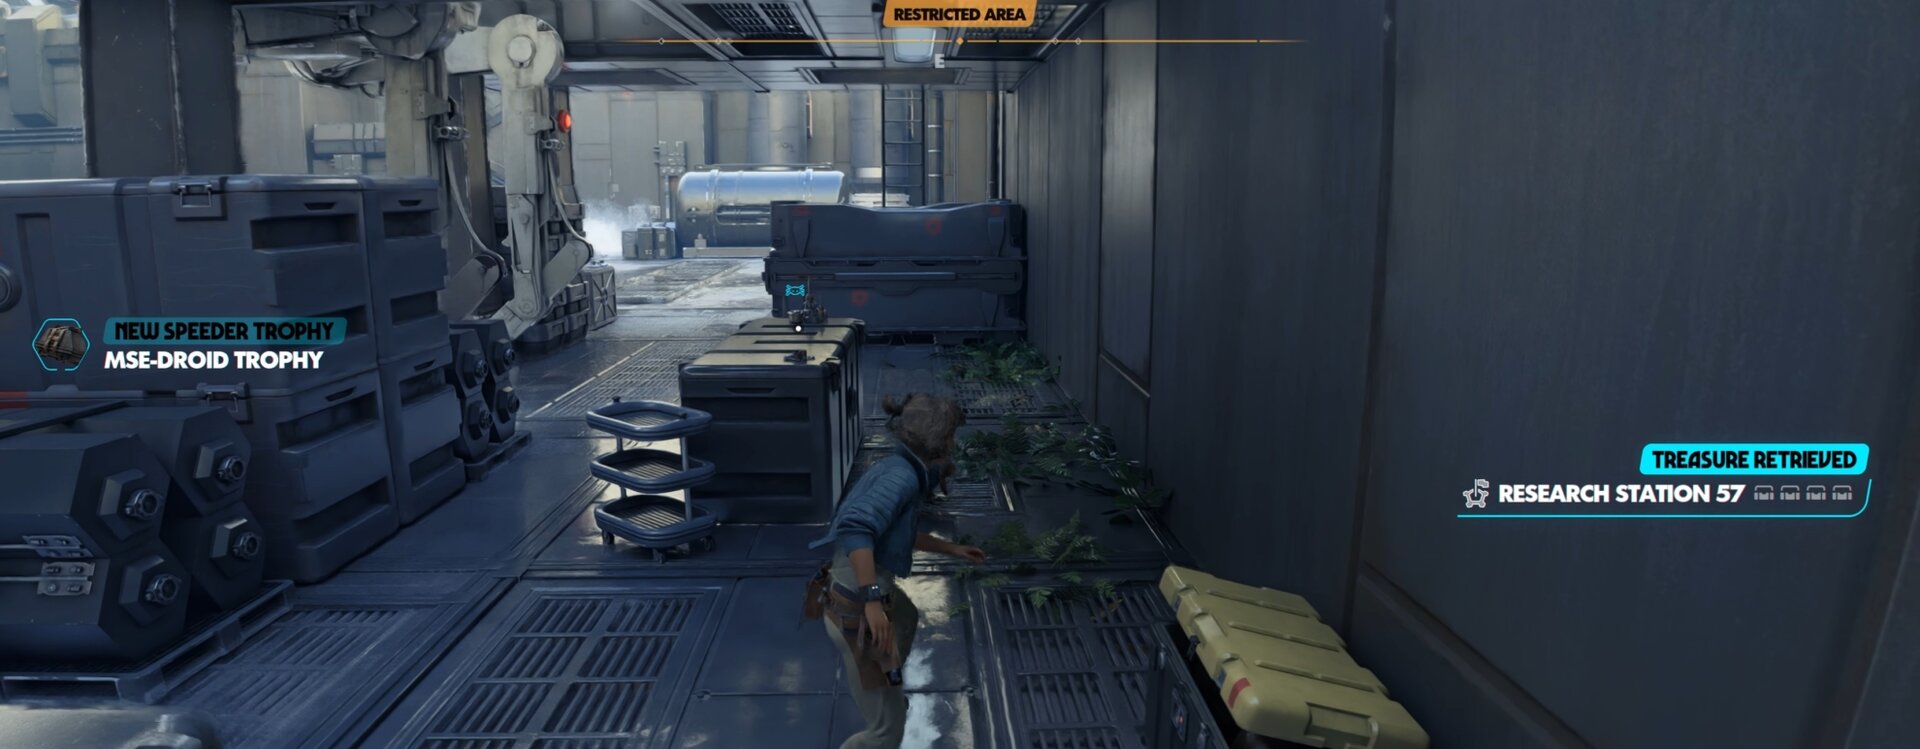
Treasure Chest #4 Location
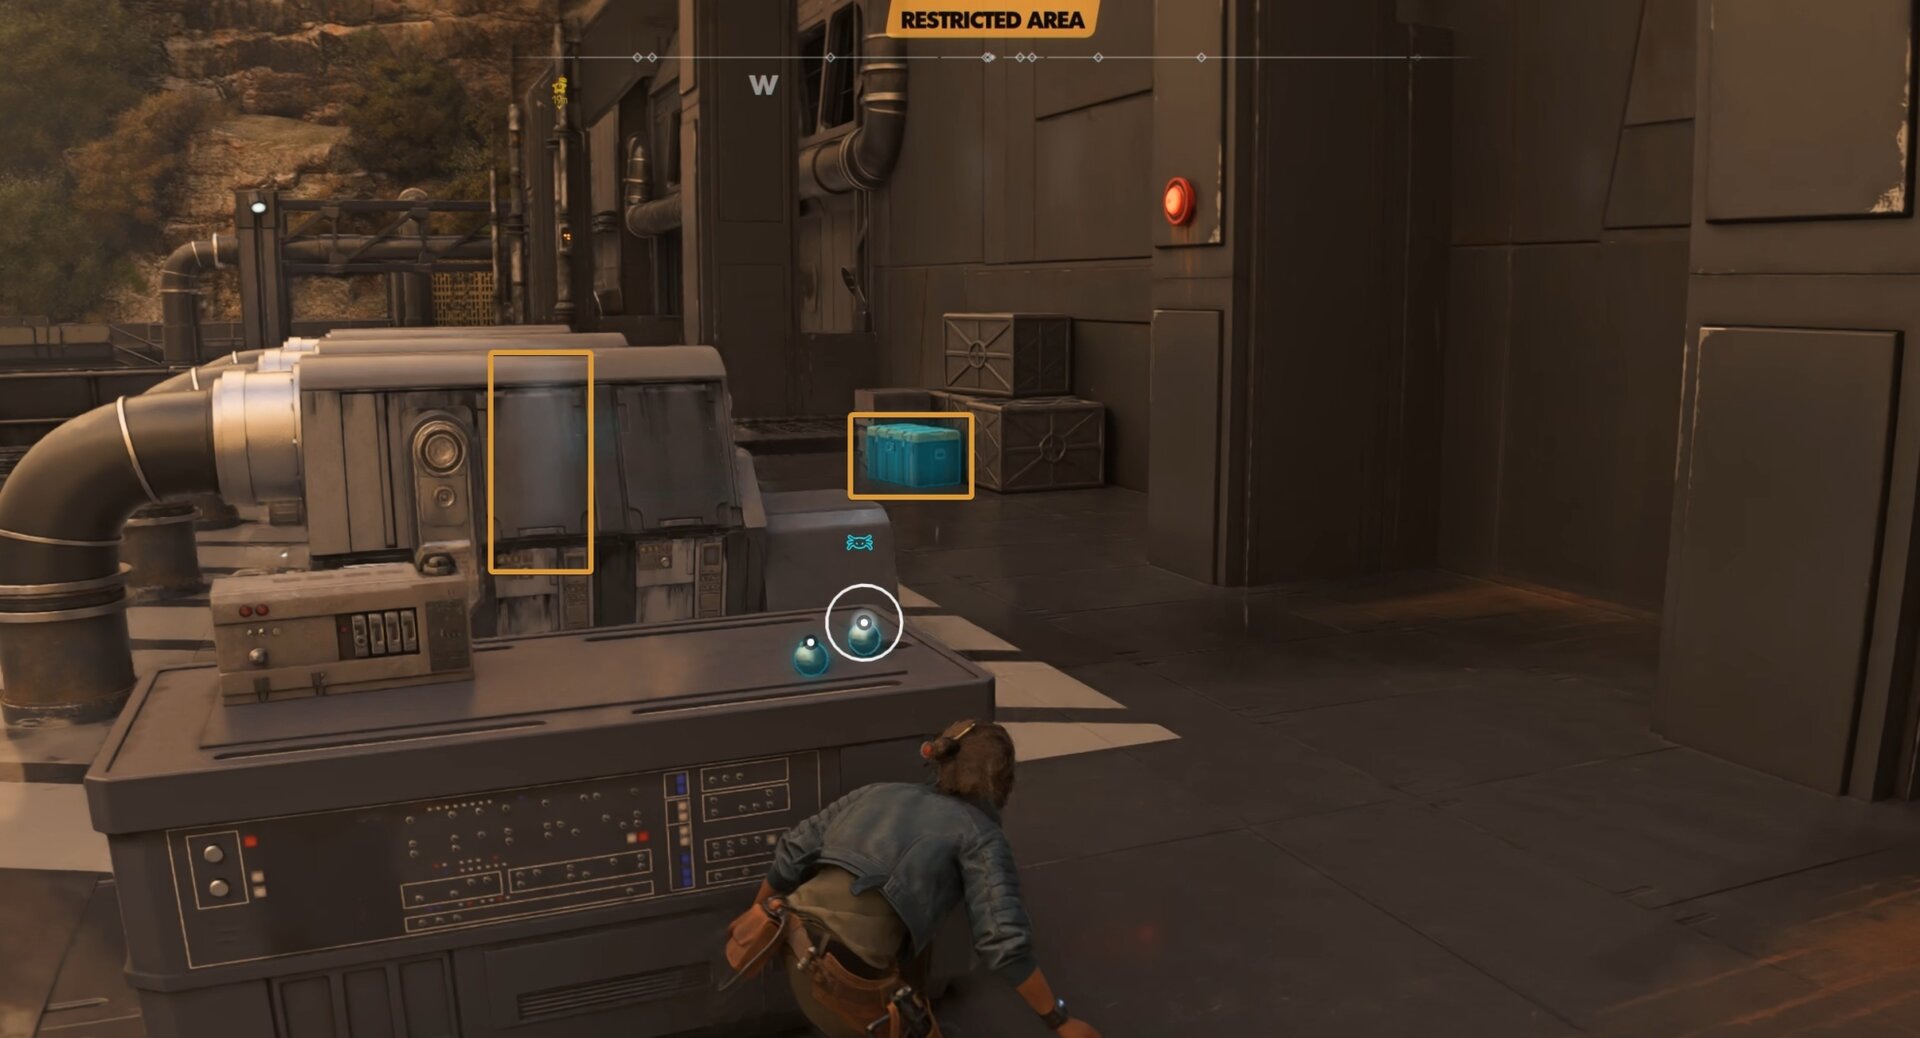
Exit the vault and head for the south wall, to the right of the red beams. Next to the south wall of the yard, you will find the final Treasure chest for Research Station 57. It contains the MSE-Droid Trophy for your speeder.

Useful abilities and tools
Here is a list of abilities that wil greatly enhance your exparience here, but are absolutely not mandatory:
- Treasure Hunter ability from the Mechanic expert.
- Sneaky Trap, Lightfooted and Slice Kit Upgrade from the Slicer expert.
- Nix Commando and Slice Kit Upgrade from the Veteran expert.
- Feelers Out ability from the Mercenary expert.
Treasure Hunter
Allows Nix to provide audiovisual cues when nearby Containers are present. Additionally, Containers in range will now be highlighted by pressing B.
Requirements:
– Find 10 Containers
– Find 4 different ways to make Nix happy
– Use Nix to fetch an item
Sneaky Trap
Allows Nix to trap Alarm Panels
Requirements:
– 7x Command Nix to perform different actions
– 3x Slice devices in 3 attempts or fewer
Lightfooted
Reduces the noise Kay makes while Walking and Sprinting, halving the enemy detection distance.
Requirements:
– Complete a smuggler contract
– Perform a Takedown on an Imperial Officer
– 3x Lockpick different locks
Slice Kit Upgrade (The Slicer)
Increases the amount of Energy for the Slicing Kit by 2. Use Energy to activate Jokers during the slicing process.
Requirements:
– Code breaker Chip
– 8x Chalcopyrite
– 3x Direct-Energy Circuit
Nix Commando
After performing a Nix Attack command, Nix will be able to autonomously execute a second attack on another nearby enemy.
Requirements:
– Find 6 different ways to make Nix happy.
– 10x Blast down distracted enemies.
Slice Kit Upgrade (The Veteran)
Increases the amount of Energy for the Slicing Kit by 2.
Requirements:
– AF-2 Cypher Key.
– 30x Chalcopyrite.
– 15x 4XB Calculacion Units
Feelers Out
Doubles the distance at which Nix will be able to detect and highlight enemies via the Nix Sense mechanic.
Requirements:
– 3x Use Nix to fetch a weapon, a grenade, or a bacta vial
– Complete a thief contract without being detected
– Make Nix Jealous
The higher difficulty you play on, the more helpful some of the listed abilities and tools would be. You can explore this and any other open world area in the game without any of them.
All Treasures at Shipjacker Workshop: Star Wars Outlaws Walkthrough
This guide will show you all four valuable treasure chests located at the Shipjacker Workshiop on Toshara, including Zafi’s Vault Card and the Code Breakde Chip.
All Treasures at Slicer's Shelter and Seeker's Peril: Star Wars Outlaws Walkthrough
This guide will show you how to unlock the door of the Slicer’s Shelter at Seeker’s Peril on Tatooine in Star Wars Outlaws. This is a unique upgrade material for Kay’s Blaster.
Mos Algo and Lost Sandcrawler Treasure Locations: Star Wars Outlaws Walkthrough
This guide will show you how to find and loot all seven available treasure chests (and other containers and small loot) at the Old Mine in Mos Algo on Tatooine. The walkthrough also includes full exploration of the Lost Sandcrawler area with its own treasures.
Mos Eisley Outskirts Treasure Puzzle: Star Wars Outlaw Walkthrough
This guide shows you how to solve the puzzle to access and obtain the Mos Eisley Outskirts treasure on Tatooine in Star Wars Outlaws. The reward is Coronet Ace Paint Job for your speeder.
All Mos Eisley Treasure and Unique Item Locations in Star Wars Outlaws
Walkthroughs with maps, visual and text directions and exact locations for all Treasures and unique Items available in Mos Eisley in Star Wars Outlaws.
Star Wars Outlaws: All Treasures at Excavation Site 12: Star Wars Outlaws Walkthrough
This guide will show you how to reach and open all four treasure chests at the Imperial Excavation Site 12 area at the Great Basin on Akiva. This is the location where you can obtain the NL-02 Charge Emitter, required for the Electro-Shock Prod ability.
All Toshara Smuggler Cache Locations
This guide will show you where to find all Smuggler Caches on Toshara. It also explains how to pick up the Holotracker, the tool you will use to track down the exact locations of each treasure.
All Tatooine Smuggler Cache Locations in Star Wars Outlaws
There are ten Smuggler Cache Locations on Tatooine in Star Wars Outlaws and we will show you how to reach and loot each one of them!

All Akiva Smuggler Cache Locations in Star Wars Outlaws
There are ten Smuggler Cache Locations on Akiva in Star Wars Outlaws and we will show you how to reach and loot each one of them!
All Kijimi Treasure Locations in Star Wars Outlaws
There are 37 Treasure Chests you can find and loot on Kijimi in Star Wars Outlaws. We will show you how to find and loot every single one of them!
Related Star Wars Outlaws Collections of Guides

Our Guides Master List for Star Wars Outlaws is a great starting point. In it you will find all of our guides and walkthroughs ordered in categories.