How to navigate the Ishibutai Kofun in Yamato and get Masakado’s Vengeance Legendary Trinket for Naoe in Assassin’s Creed Shadows.
How to access the Ishibutai Kofun
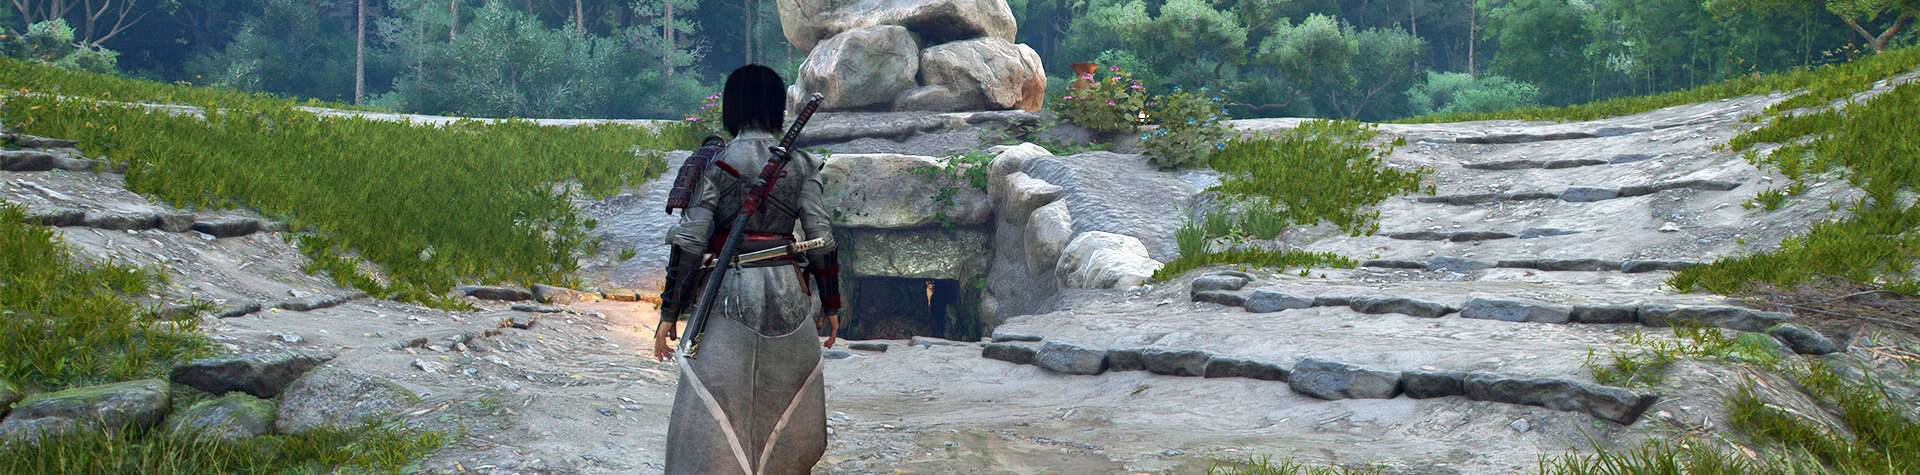
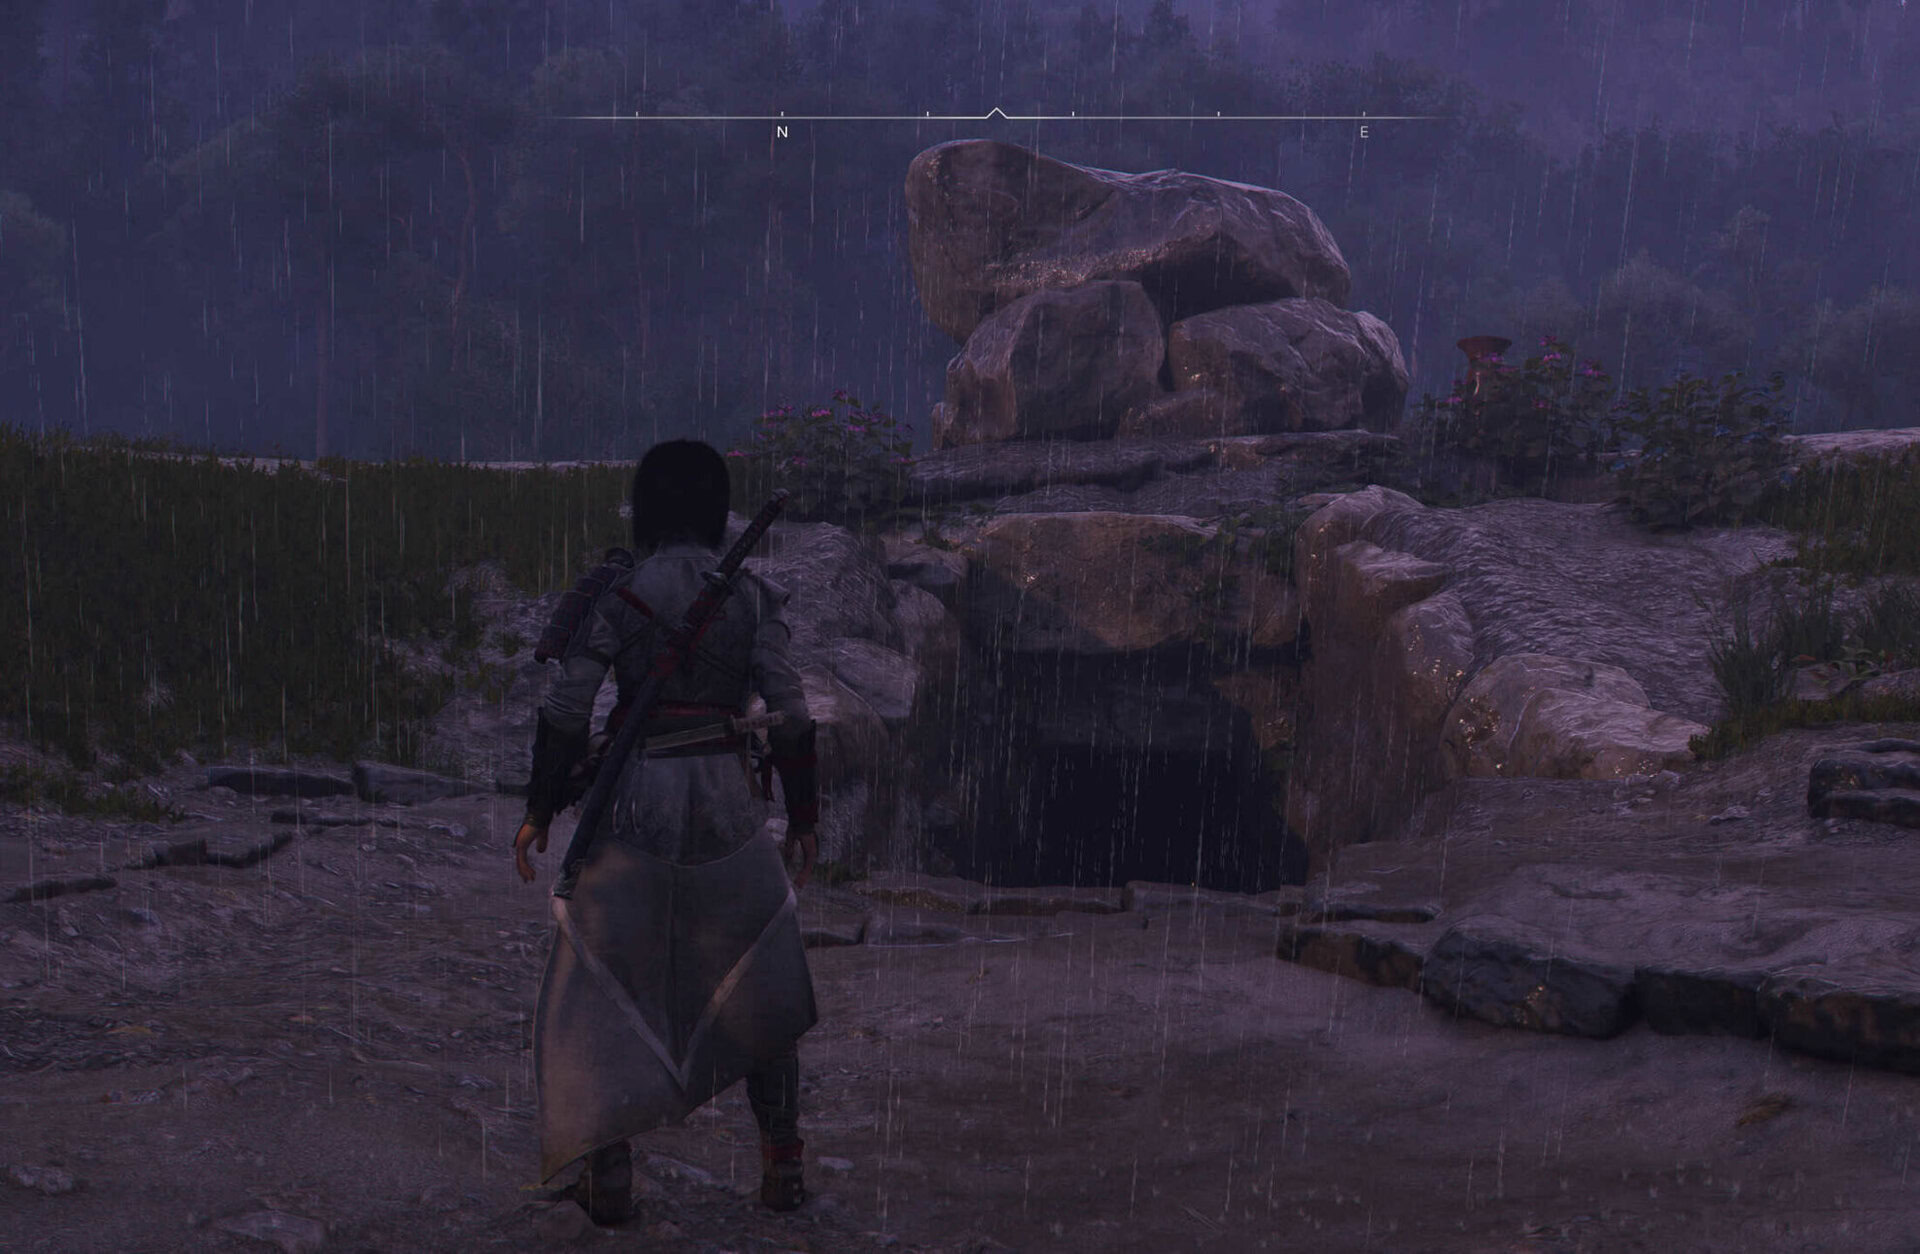
The Ishibutai Kofun is located in the Asuka Rocks Basin, in Yamato. It’s directly south from Takatori and the Viewpoint there is the closest to fast travel to if you have it unlocked.
The entrance is on the southwest side. This Kofun is for Naoe to explore and it’s one of the more technical parkour challenges.

Video Walkthrough
Ishibutai Kofun Walkthrough
There is one small treasure chest that I could not reach no matter how many hours I explored and looked for a way. If you find a way, please leave a comment so I can add it to the guide. The main goal for this walkthrough is the big chest in the end that contains the Legendary Trinket, but I like to be thorough and this one missing chest bugs me.
After you enter and arrive at the room with the sarcophagus, turn left and pass through the crack in the wall. The first treasure chest will be in the adjacent room. Right in the middle.
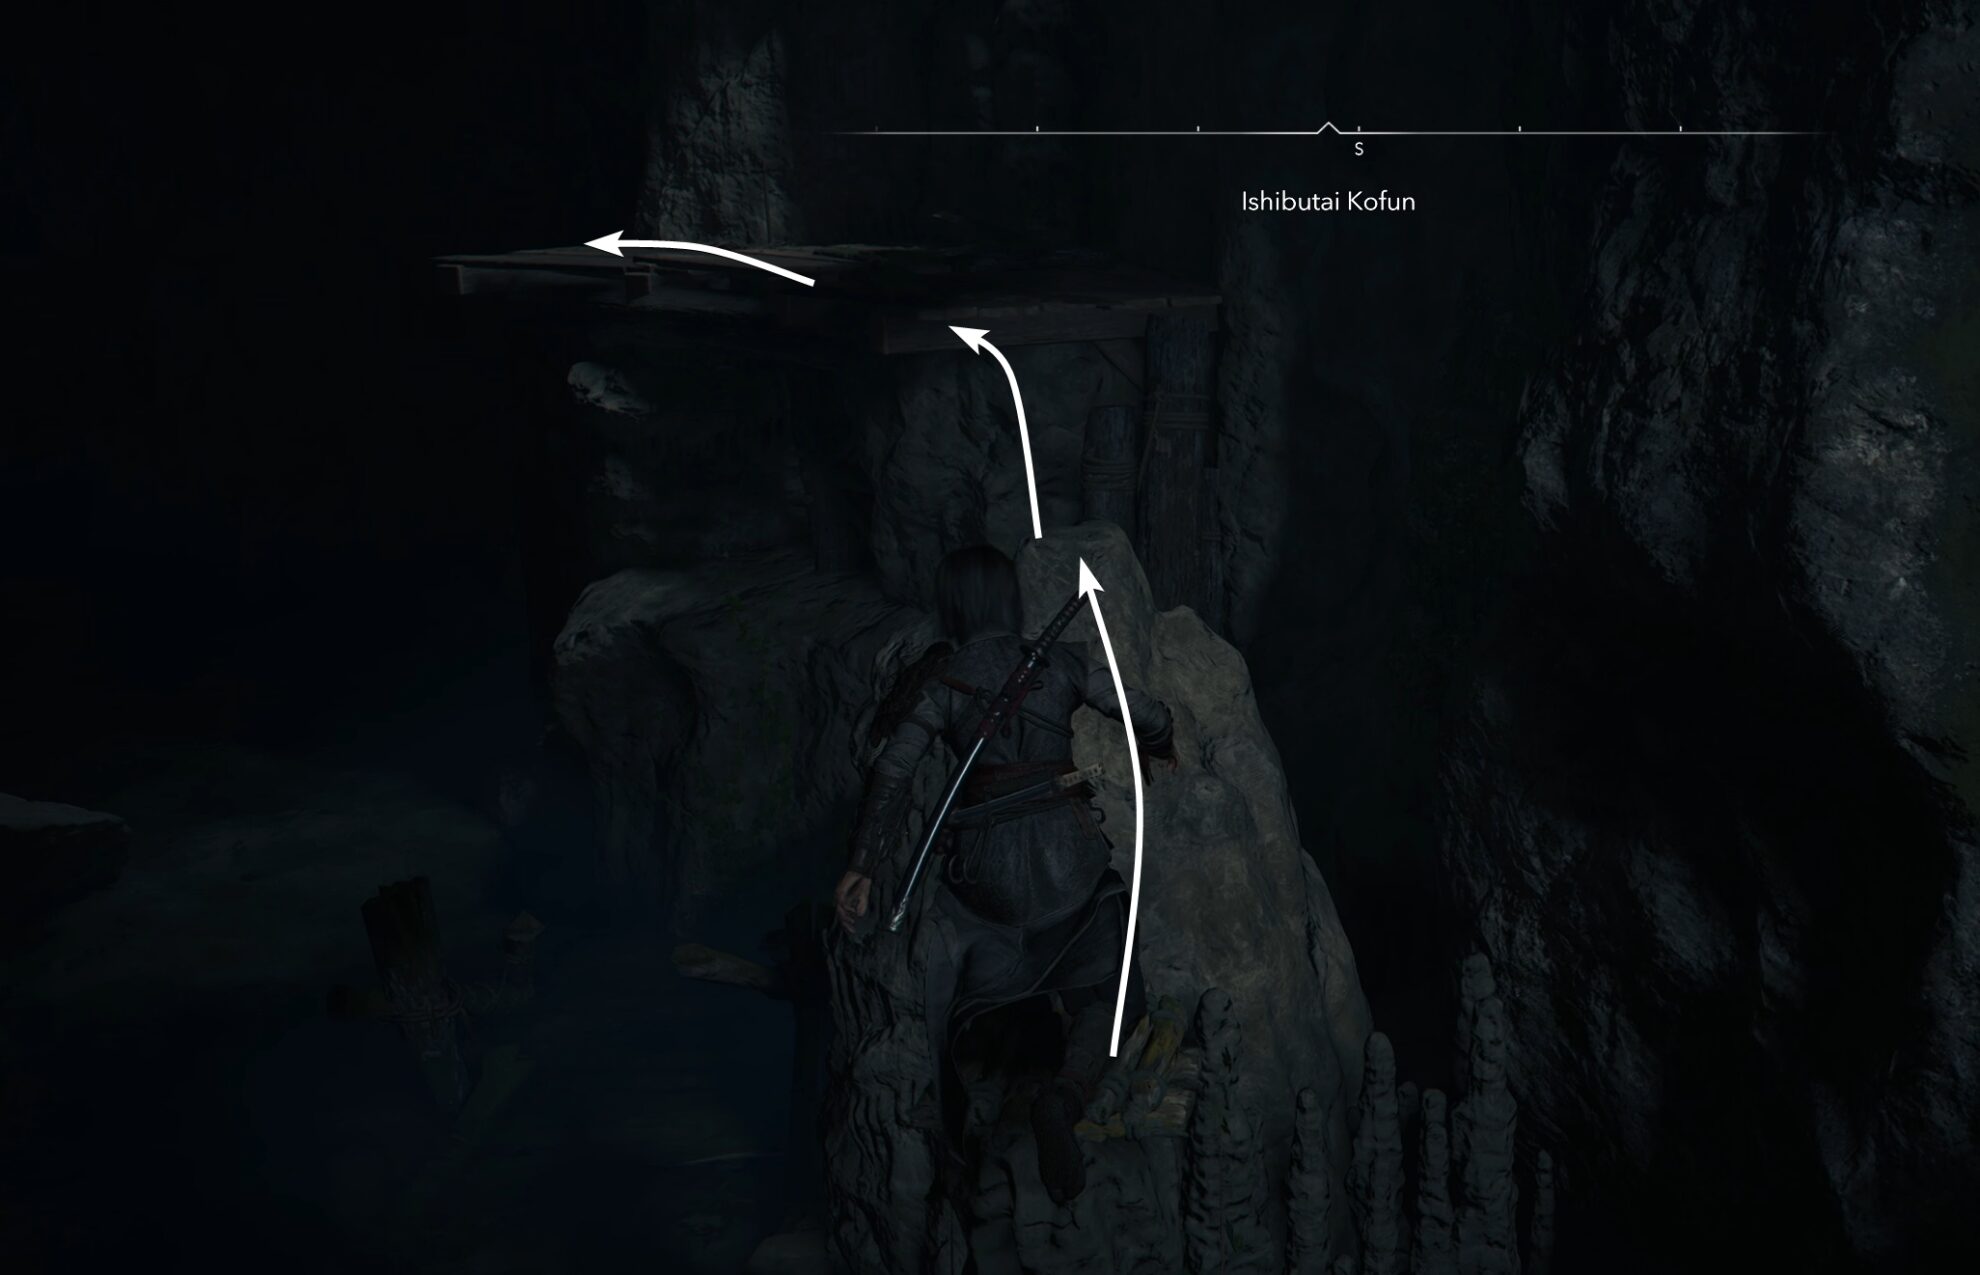
Next, crawl through the hole in the wall on the southeast wall. You will emerge into an open area with a few protruding rock spikes with wooden planks on top of them. Hop through them to get to the wooden platform in the middle and from there, use your hook to get to the other side. Nothing dangerous here. If you drop down, you can just climb on the other end.
Next, stand on the ledge and hop onto the two wooden beams, then crawl through the wall in the wall on the east side. Climb the next wall with the white markings.
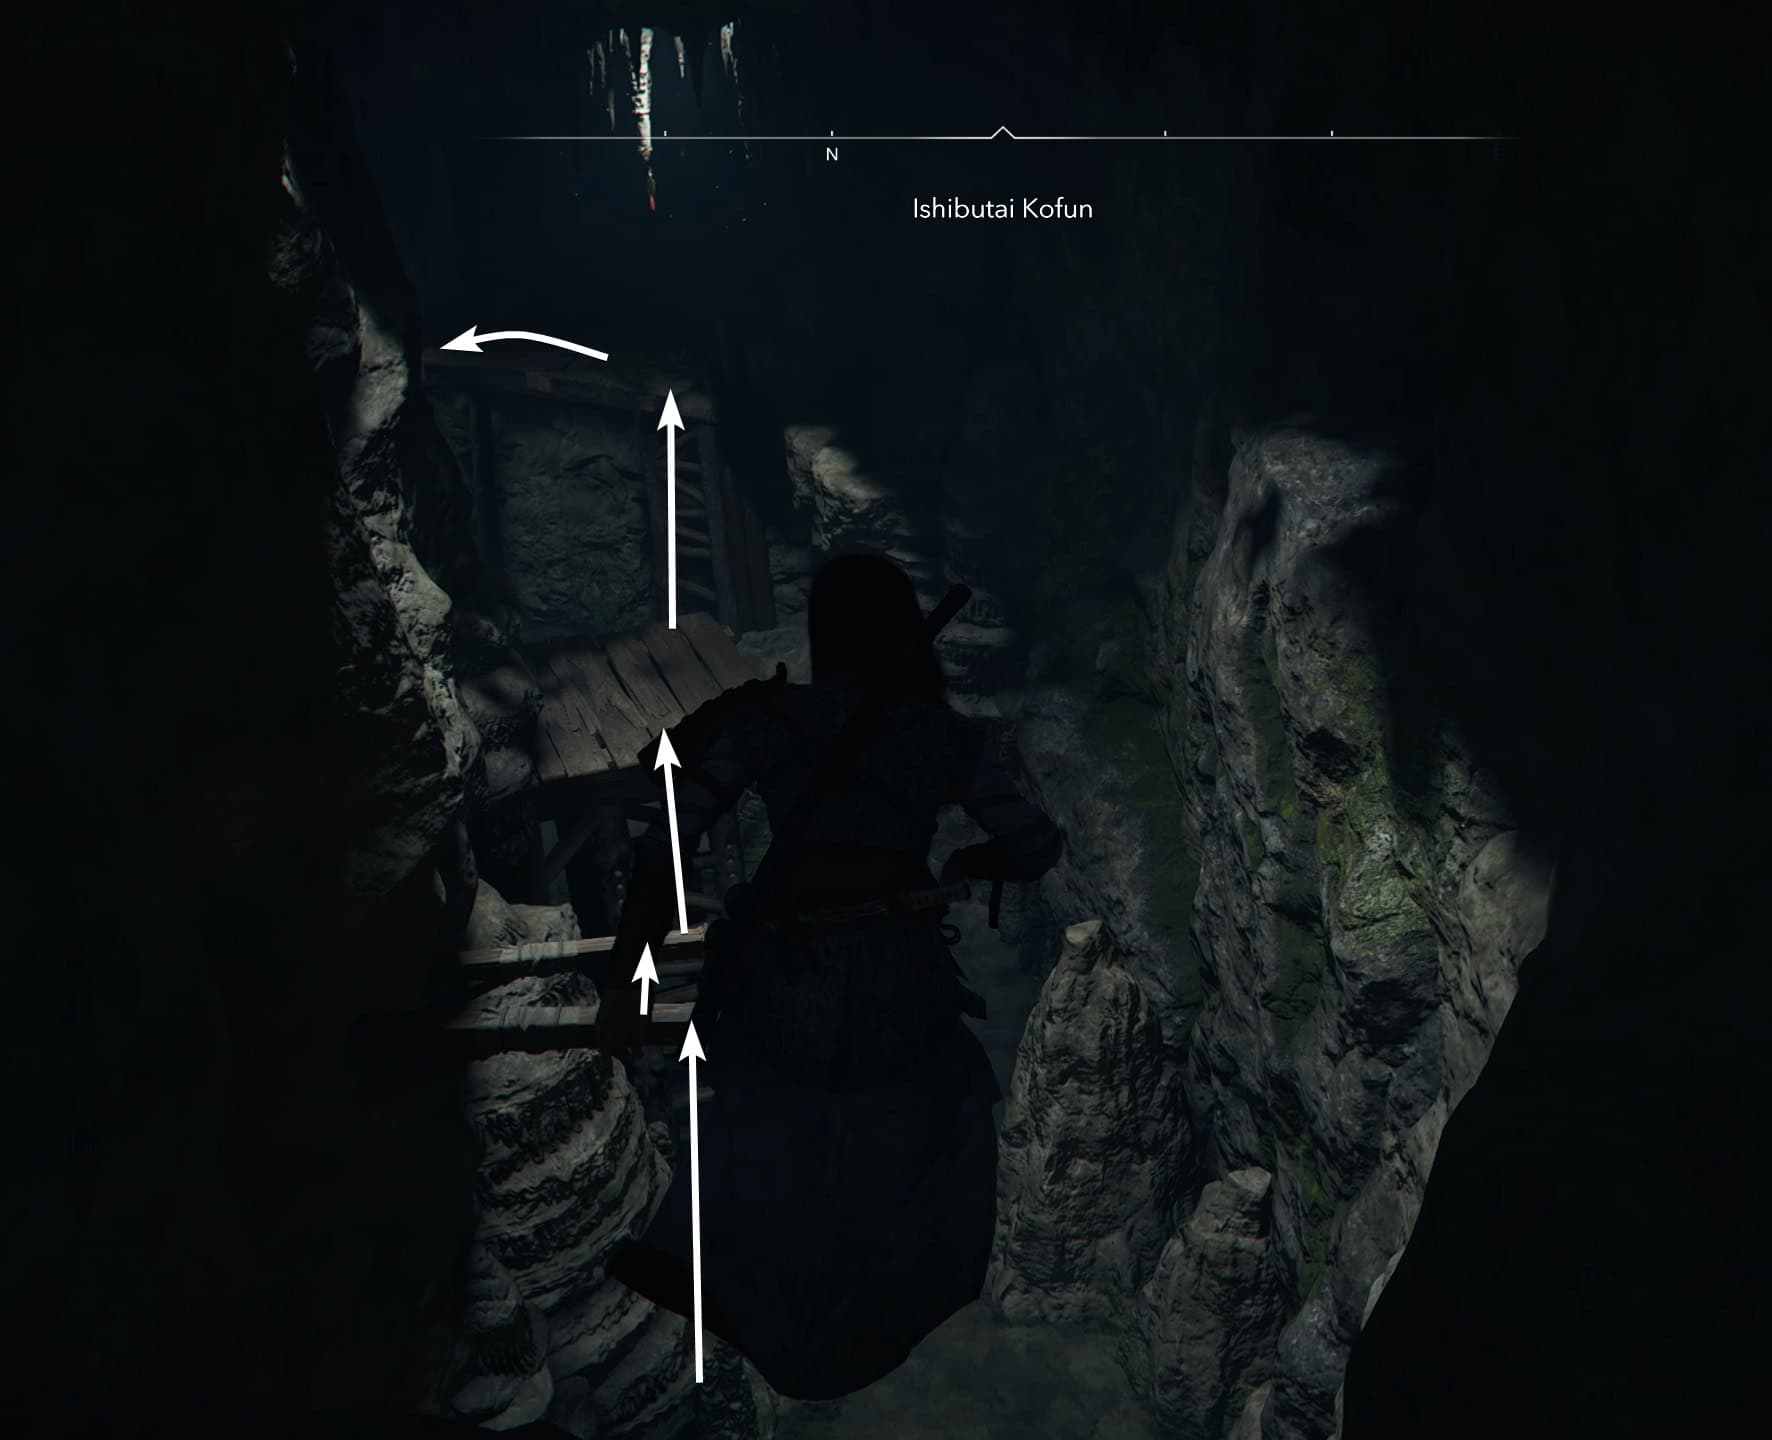
Another segment with wooden columns and beams that you have to jump through. Don’t run, just walk up the edges and press the button to jump forward.
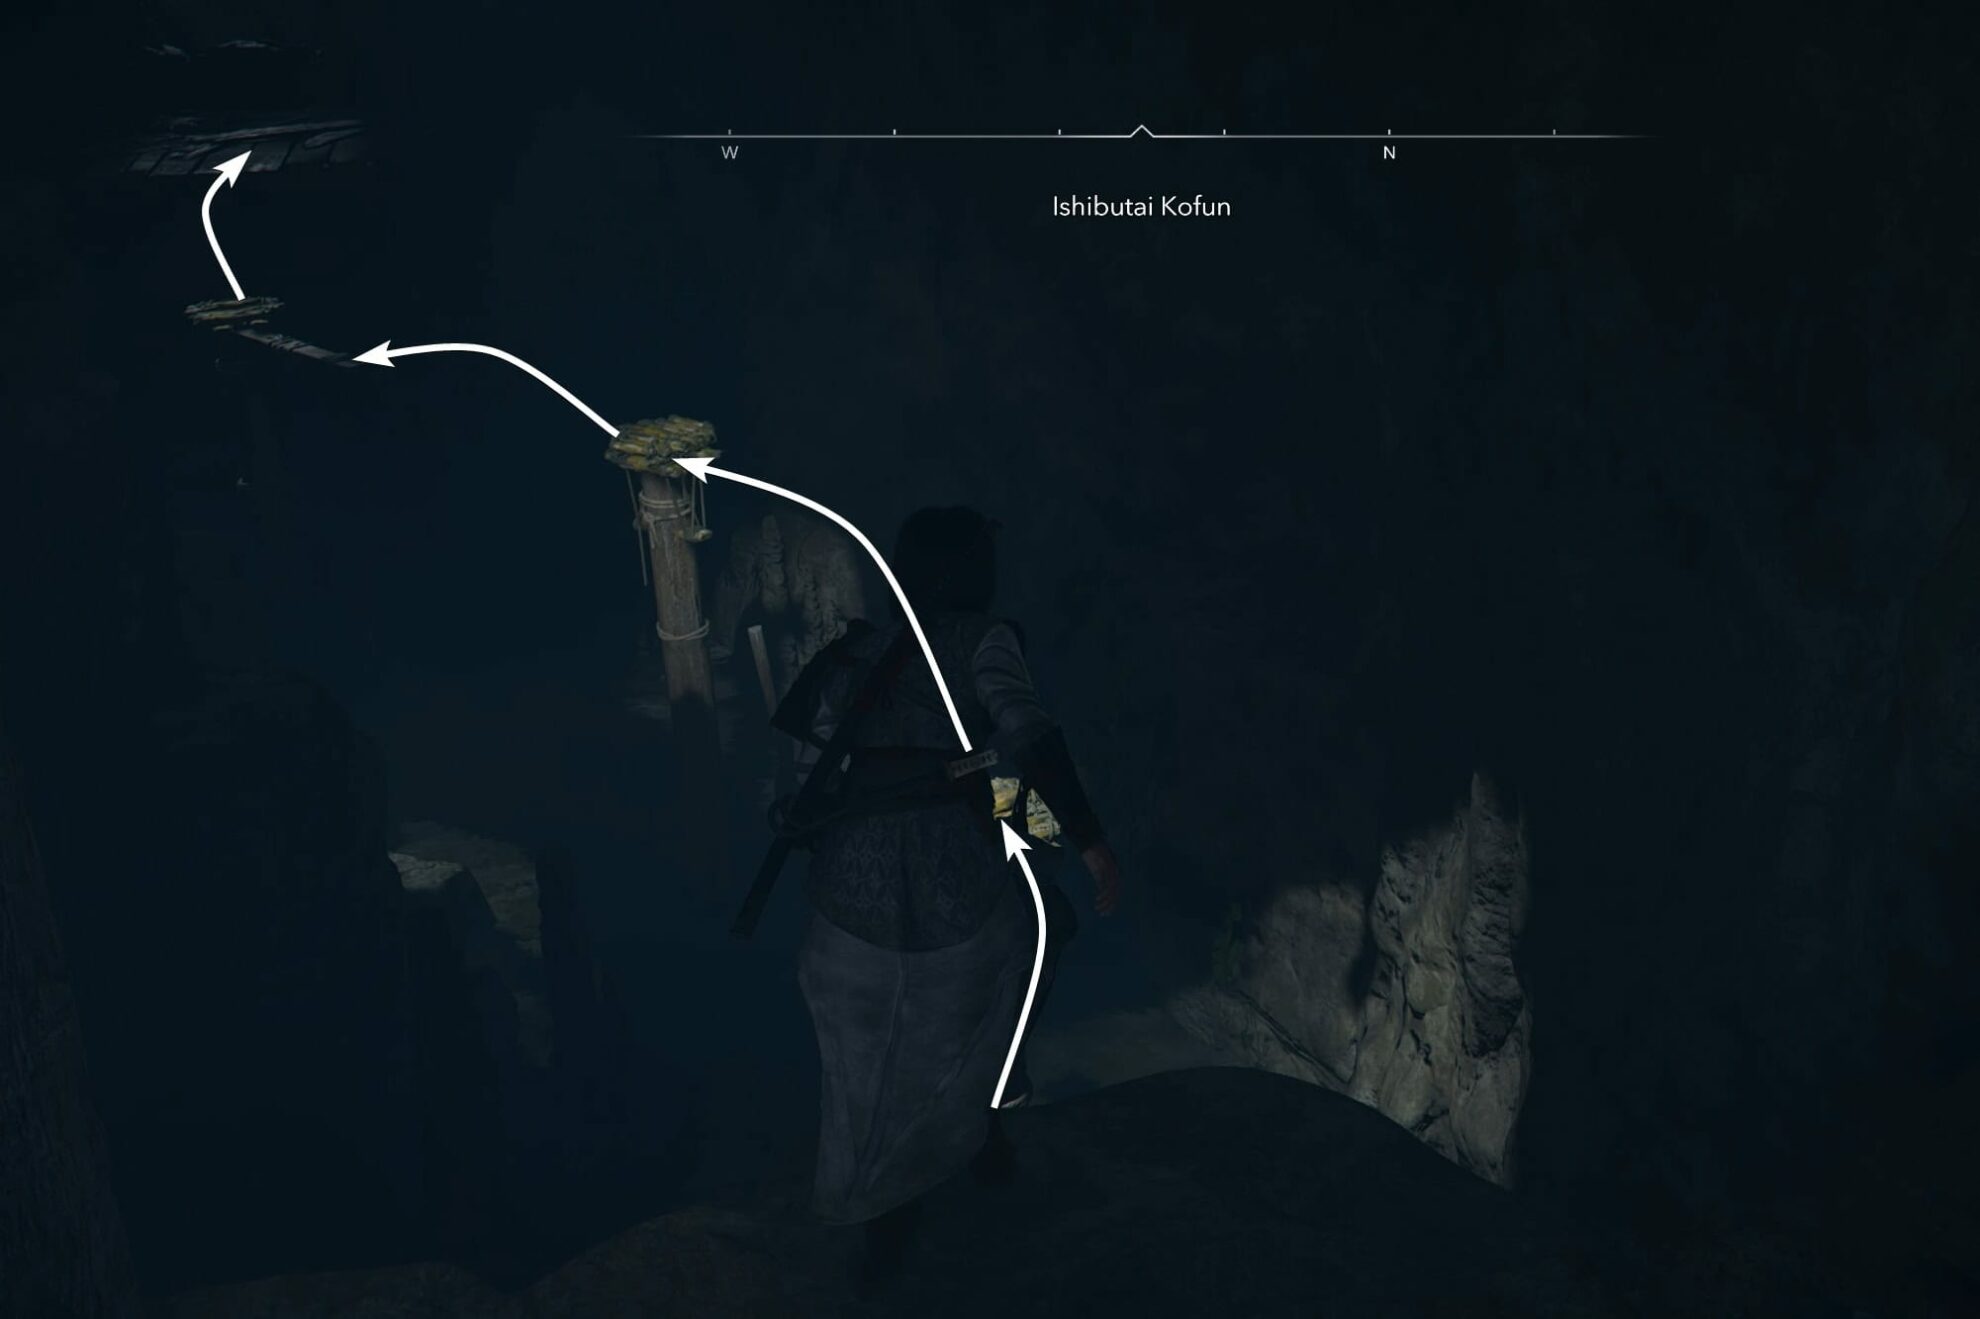
The next room offers more jumping and hooking adventures. Use the hook to get to the central wooden platform. From there, use the hook again to reach the other side.
When you arrive at the next open area with wooden beams, notice the two protruding from the left stone wall. Jump from the ledge and land on the first beam. Then hop through the second and onto the wooden platform. From it, use the hook to get to the other platform on the wall across.
Then, hop onto the next platform on the left and from it, on to the protruding beam from the left wall. Then get to the ledge on the other side using the grapple hook.

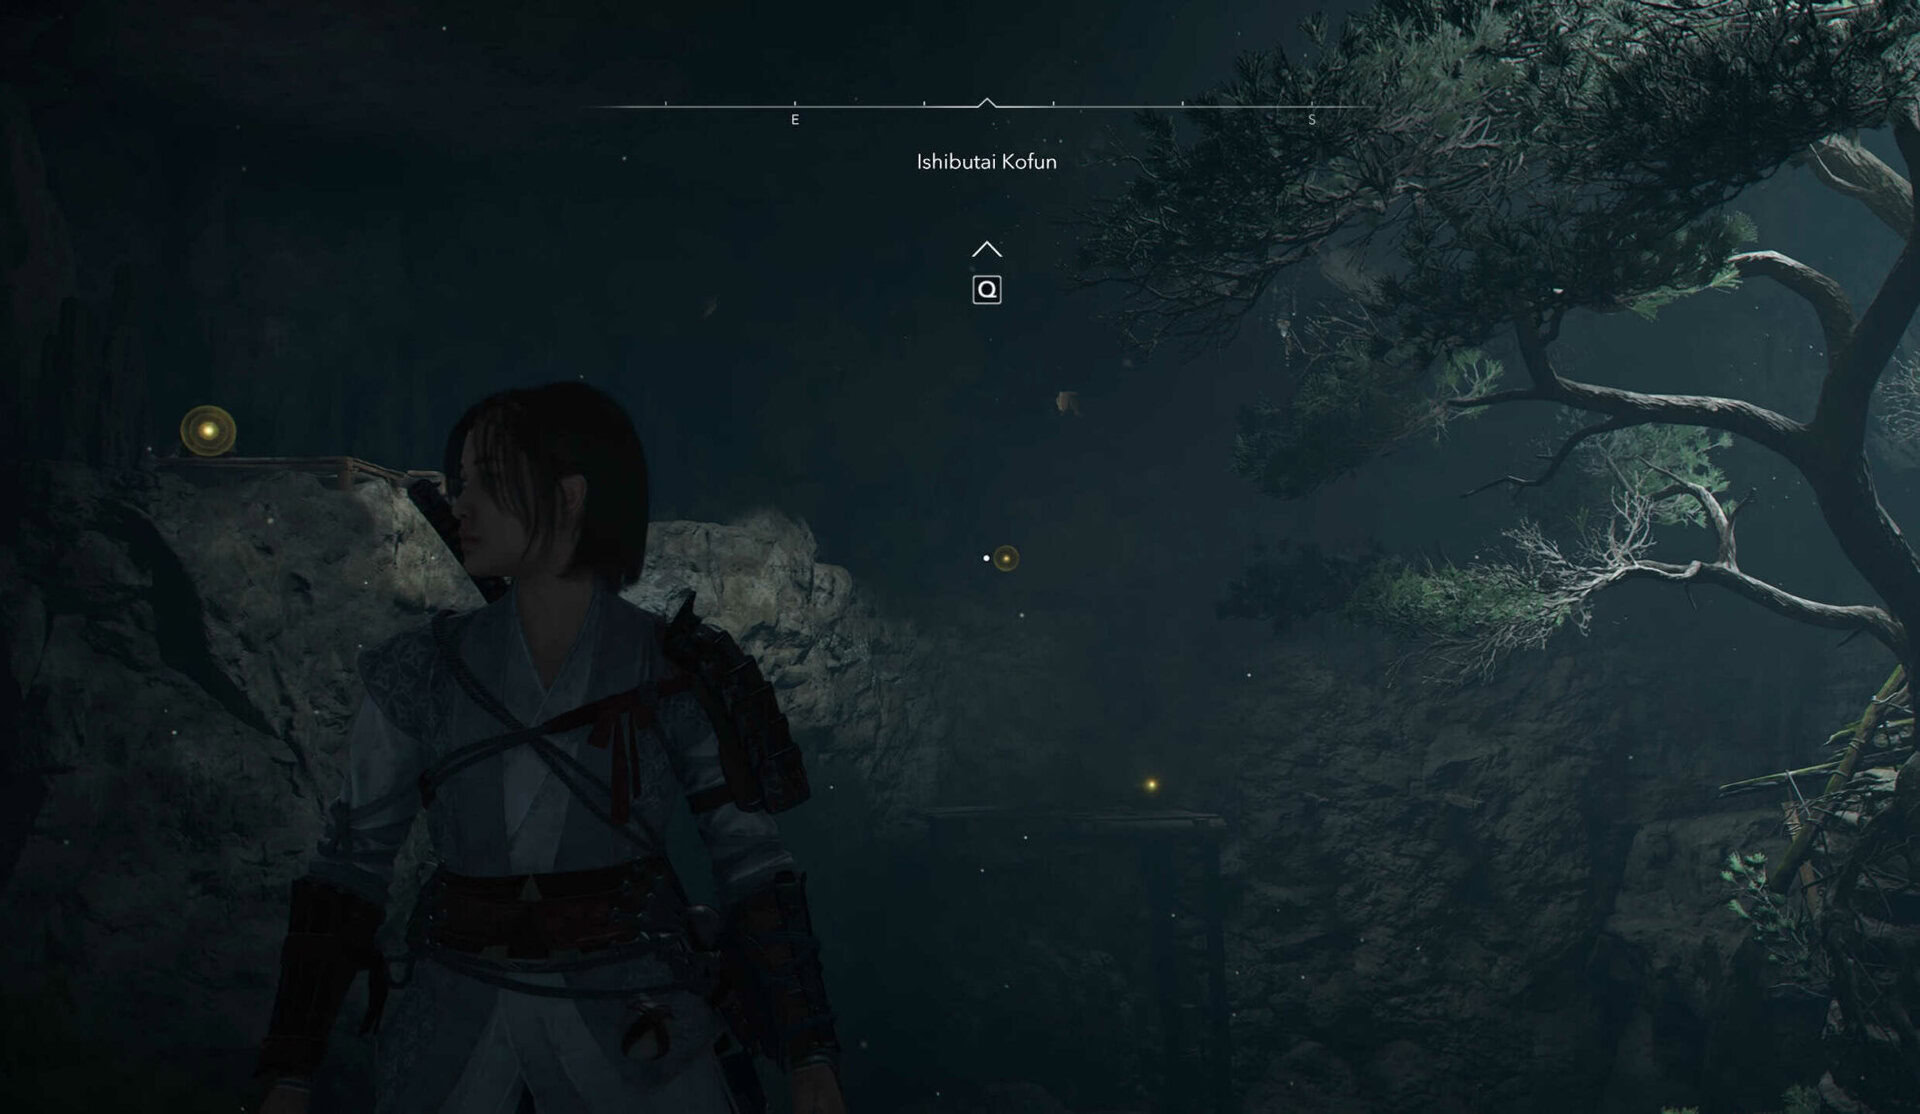
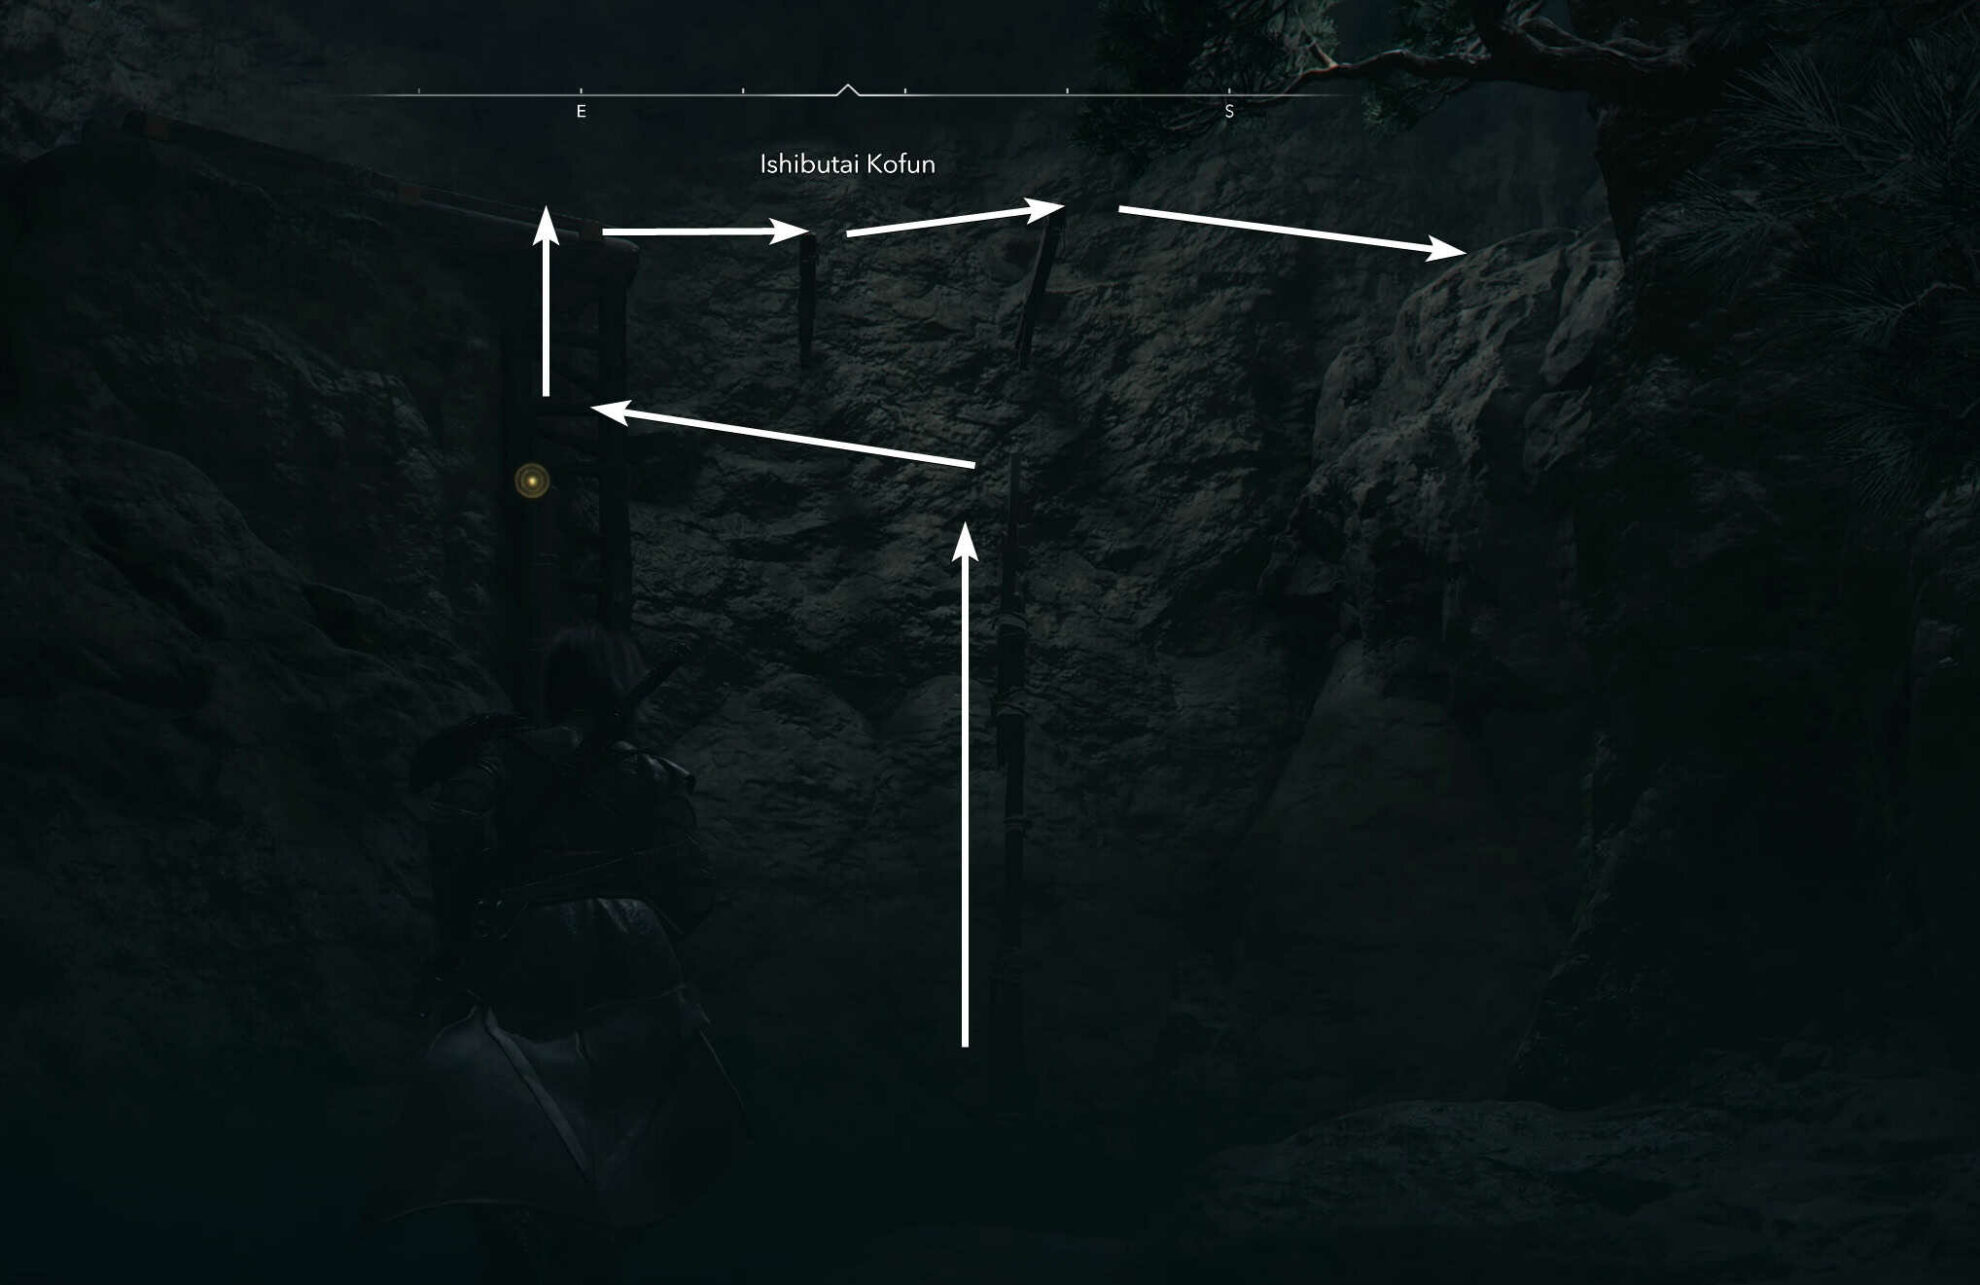
Climb the stone wall with the white markings. Crawl through a small tunnel and follow the path to the very large open area. This is where things get tricky. This is where you can see several gold dots for treasure chests, including the one I could not get to.
From the ledge, you can use the grapple hook to get the next stone platform on the right. The image below is from this exact platform. It’s for demonstration purposes only, actually.
To get to the chest on the top left, drop down to the bottom. Find the column that is stitched from a few wooden pieces and climb it. From there, hop onto the legs of the wooden platform and climb to the top.

Then climb the markings on the wall to get up to the chest. It’s on the upper platform to the left.
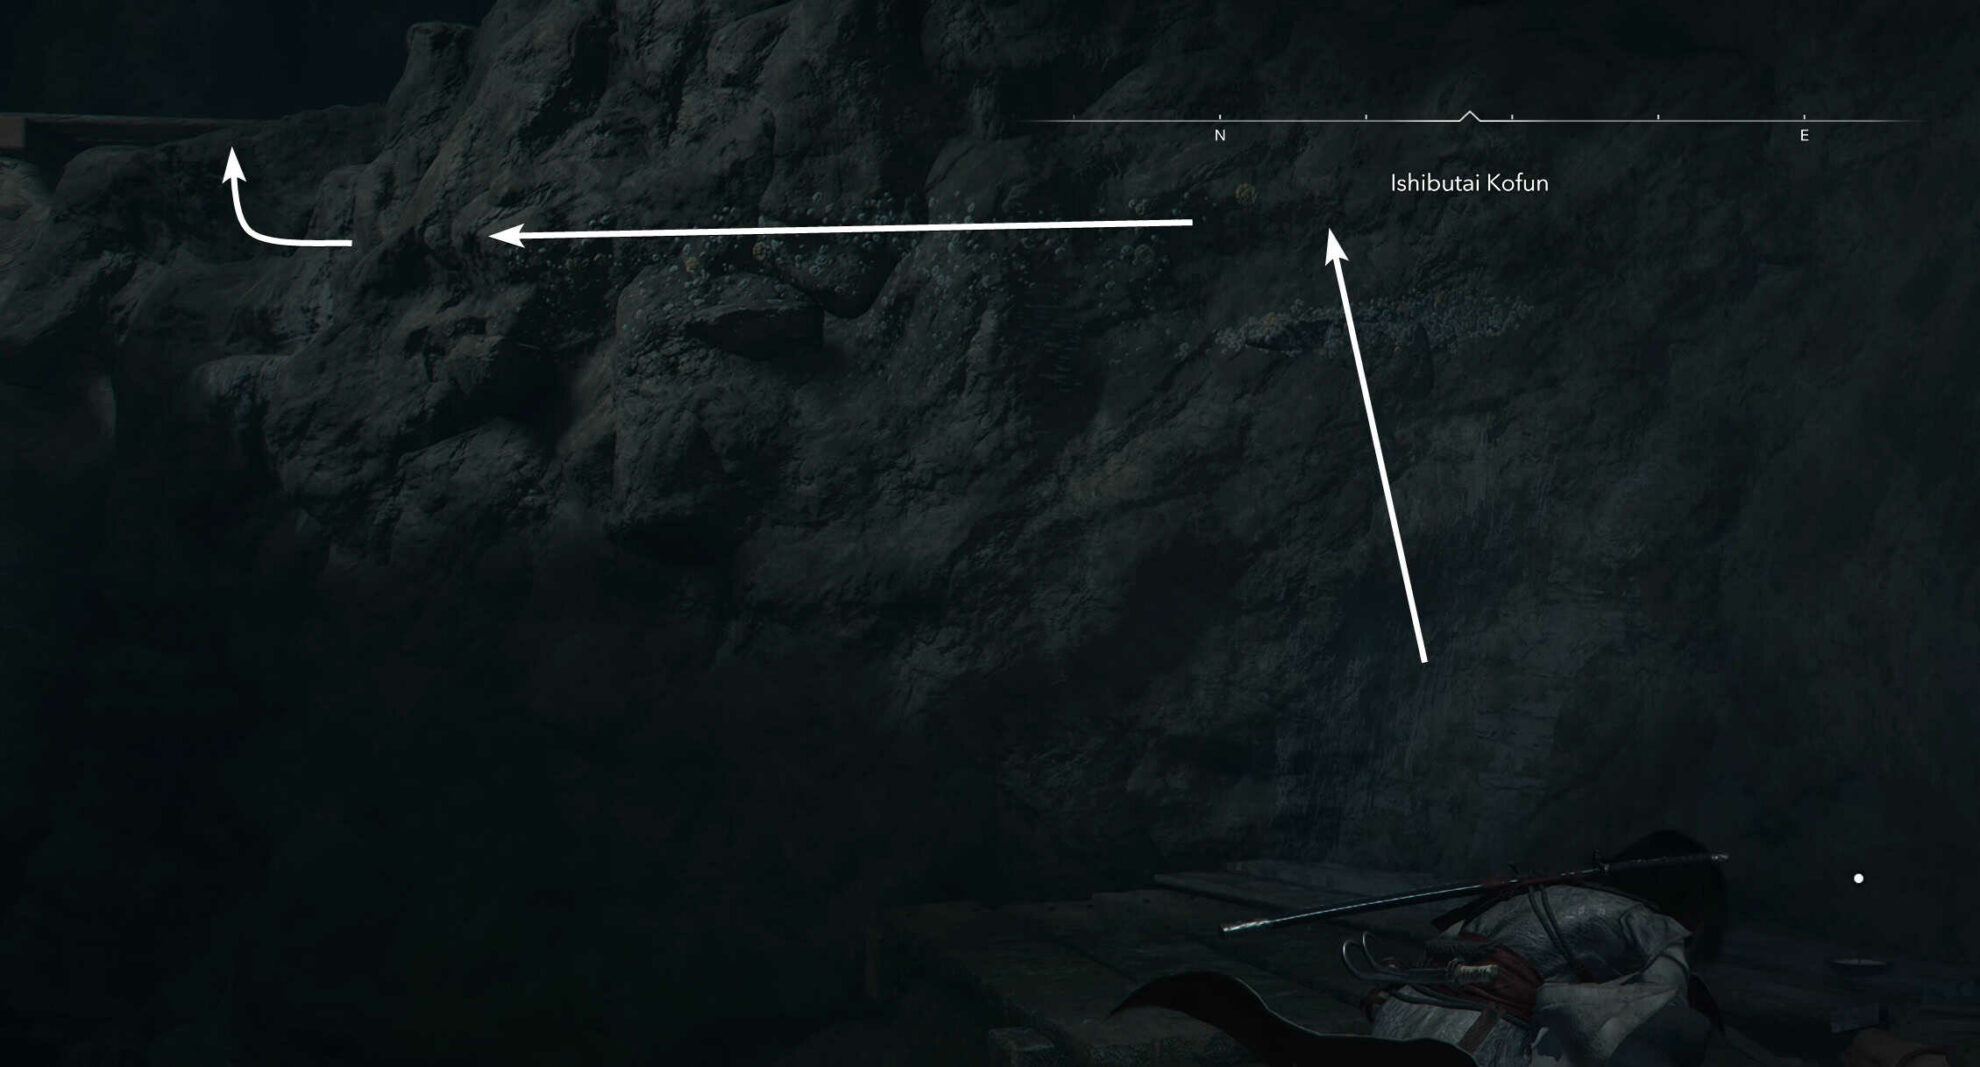
Back from the bottom, climb the middle large rock formation all the way to the top where there is something that looks like a broken platform and a tree next to it.
There are two ways to get to the next chest. The one I am showing you, is the more tricky one, but also the more fun one. From that middle platform, grapple and swing to the wall across on the west side. Then climb up and get the treasure.
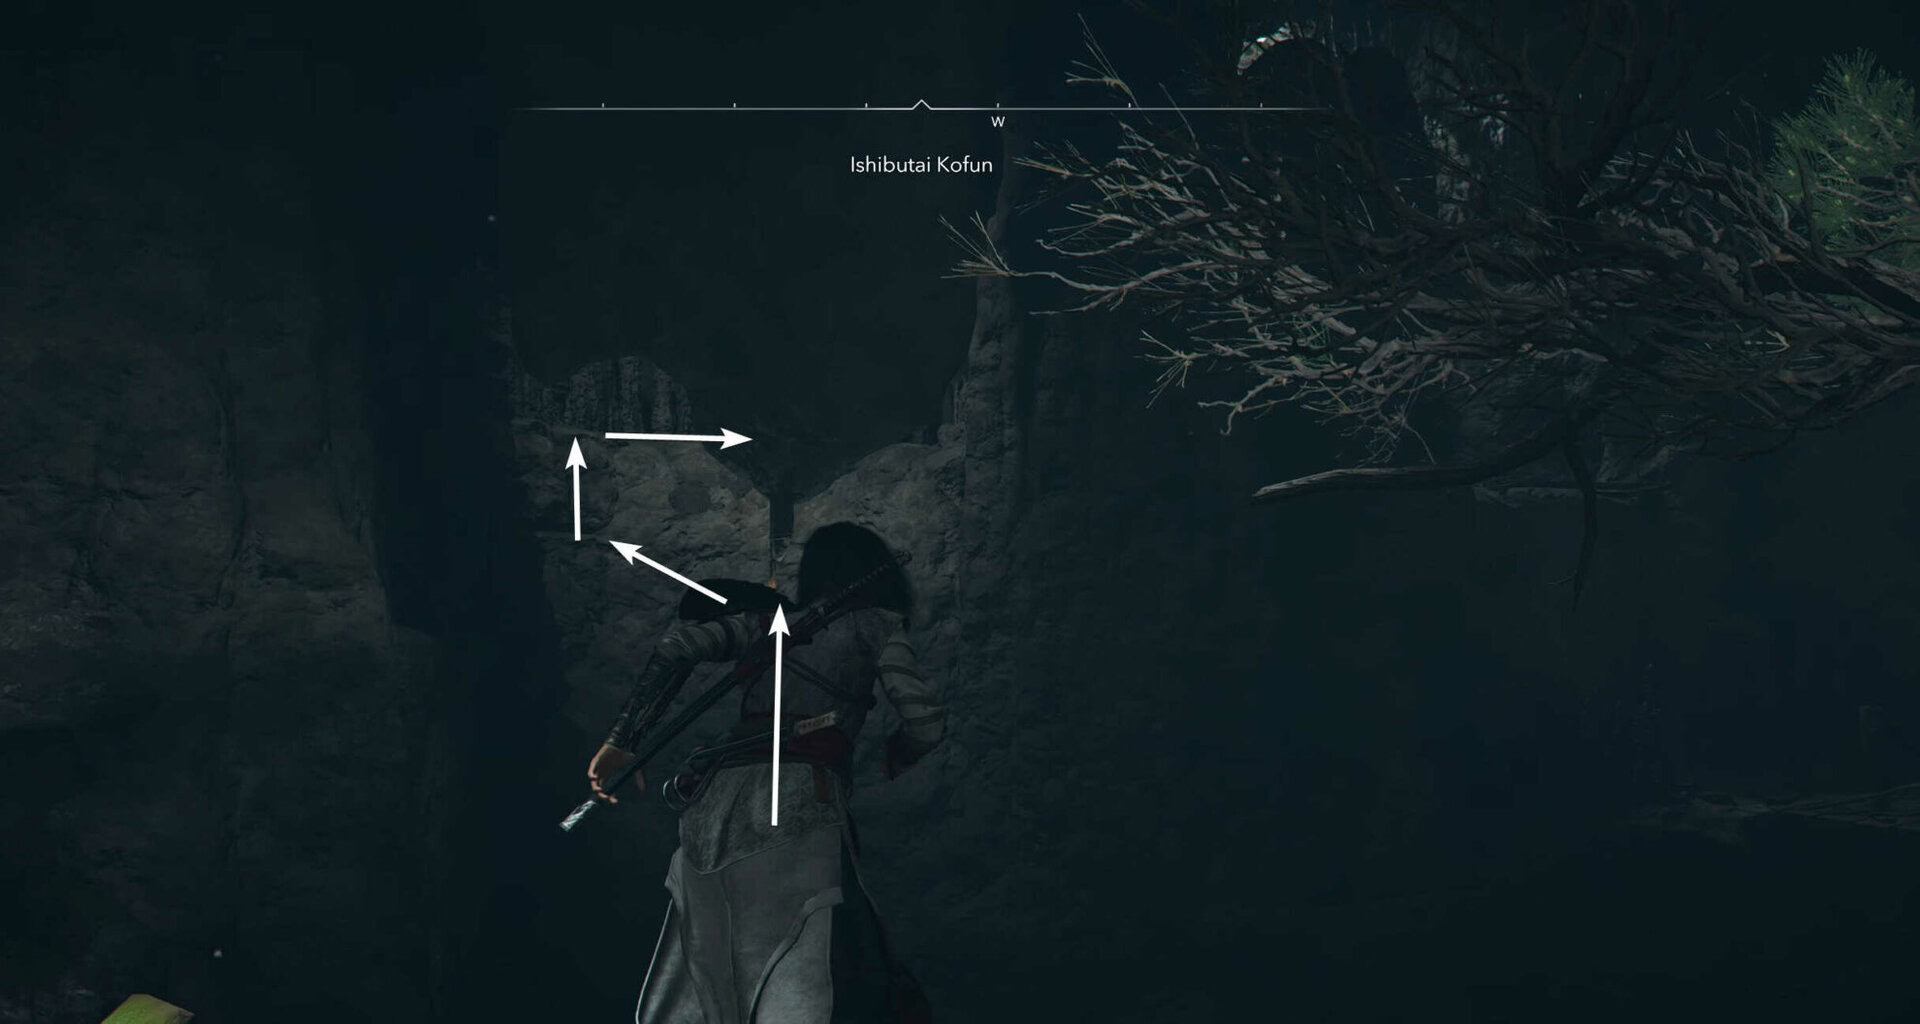
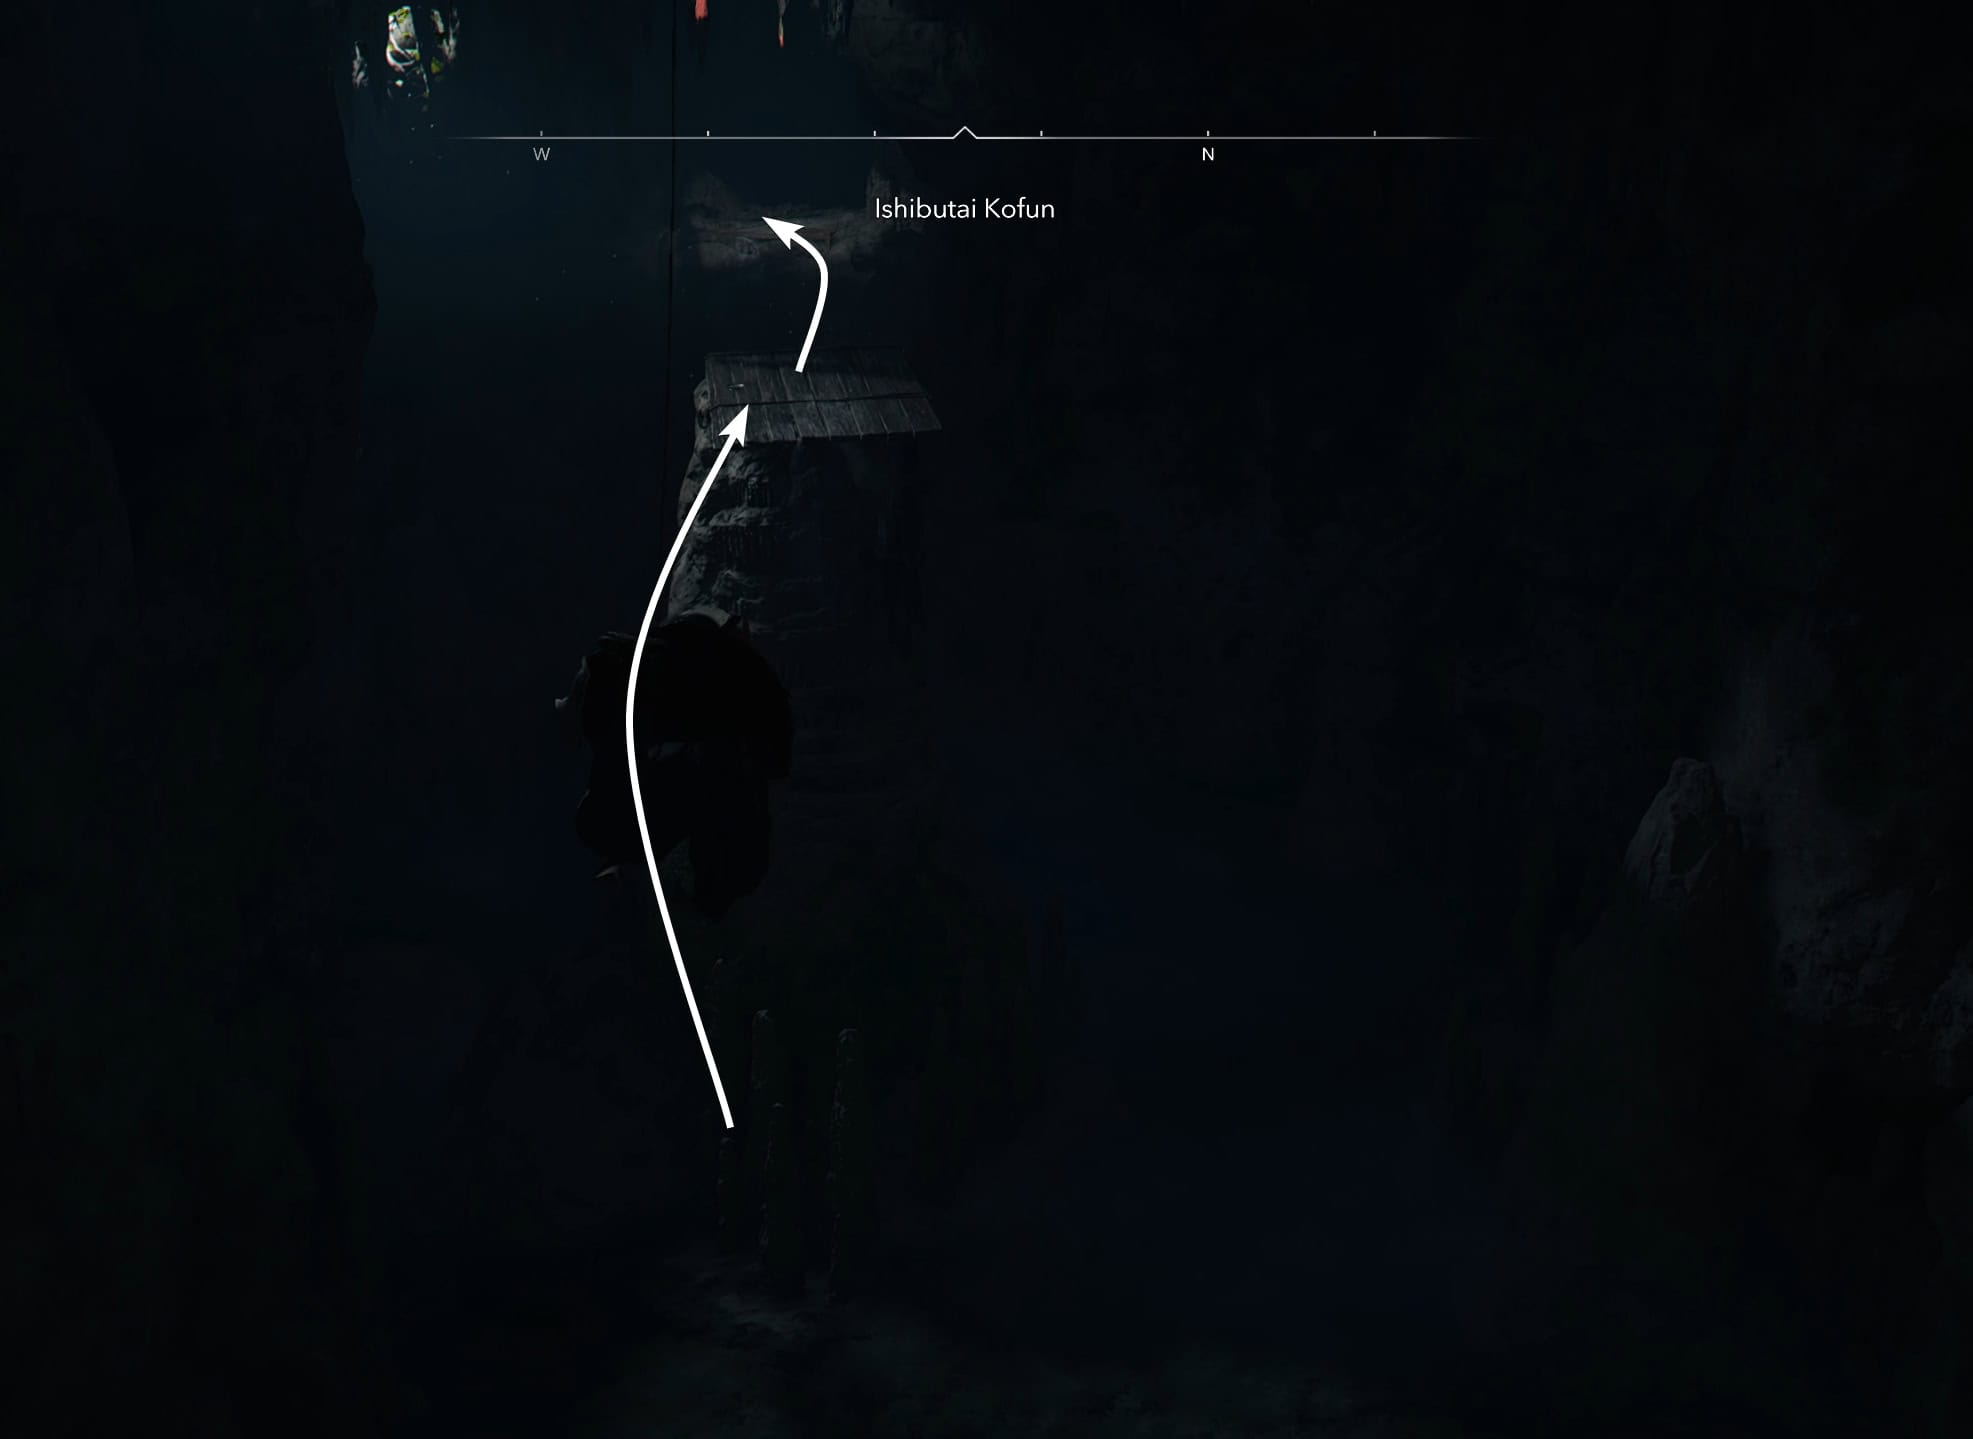
There are a couple ways to get to the main chest form this large cave. The one I will show you is utilizing the same wooden beam protruding from the bottom floor of the cave. Climb onto the wooden platform and from there, hop onto the protruding beams.
From there, it’s a linear path to the final prize. You have a lot of climbing to do first, to reach the top.
Masakado’s Vengeance
Masakado’s Vengeance is a Legendary Trinket for Naoe. It comes with an interesting engraving that boosts your damage if you have unspent Mastery Points.
Stats Boost
+ Health
+ Critical Chance
+ Vulnerable Damage
+
Engraving
+1% damage per unspent Mastery Point

You might wonder why someone would not spend Mastery Points to unlock more passives and actives. This engraving is designed for a build that utilizes only one weapon, for example. Then you have no way of spending all of your Mastery Points, even if you wanted to. Instead of spending them on something you would never use, you can leave them unspent and gain bonus damage.