How to navigate the Old Kofun in Izumi Settsu, and get the Amaterasu’s Blessing Legendary Trinket for Naoe in Assassin’s Creed Shadows.
How to access the Old Kofun
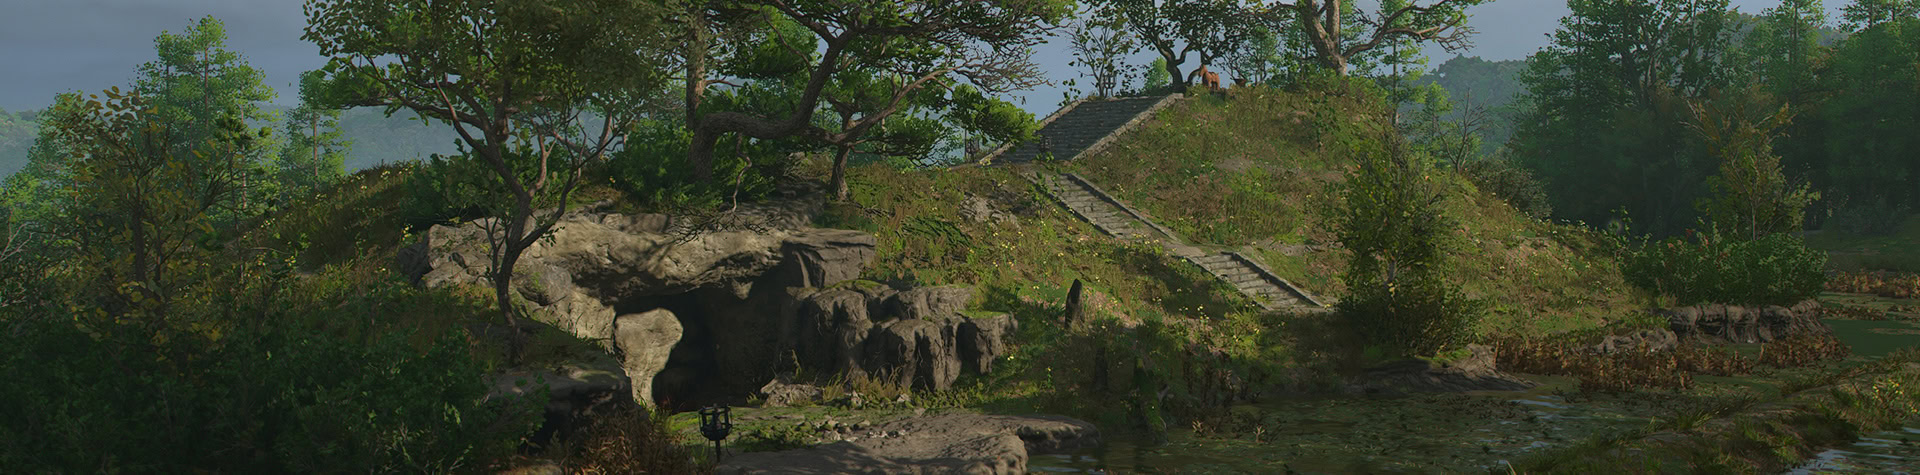
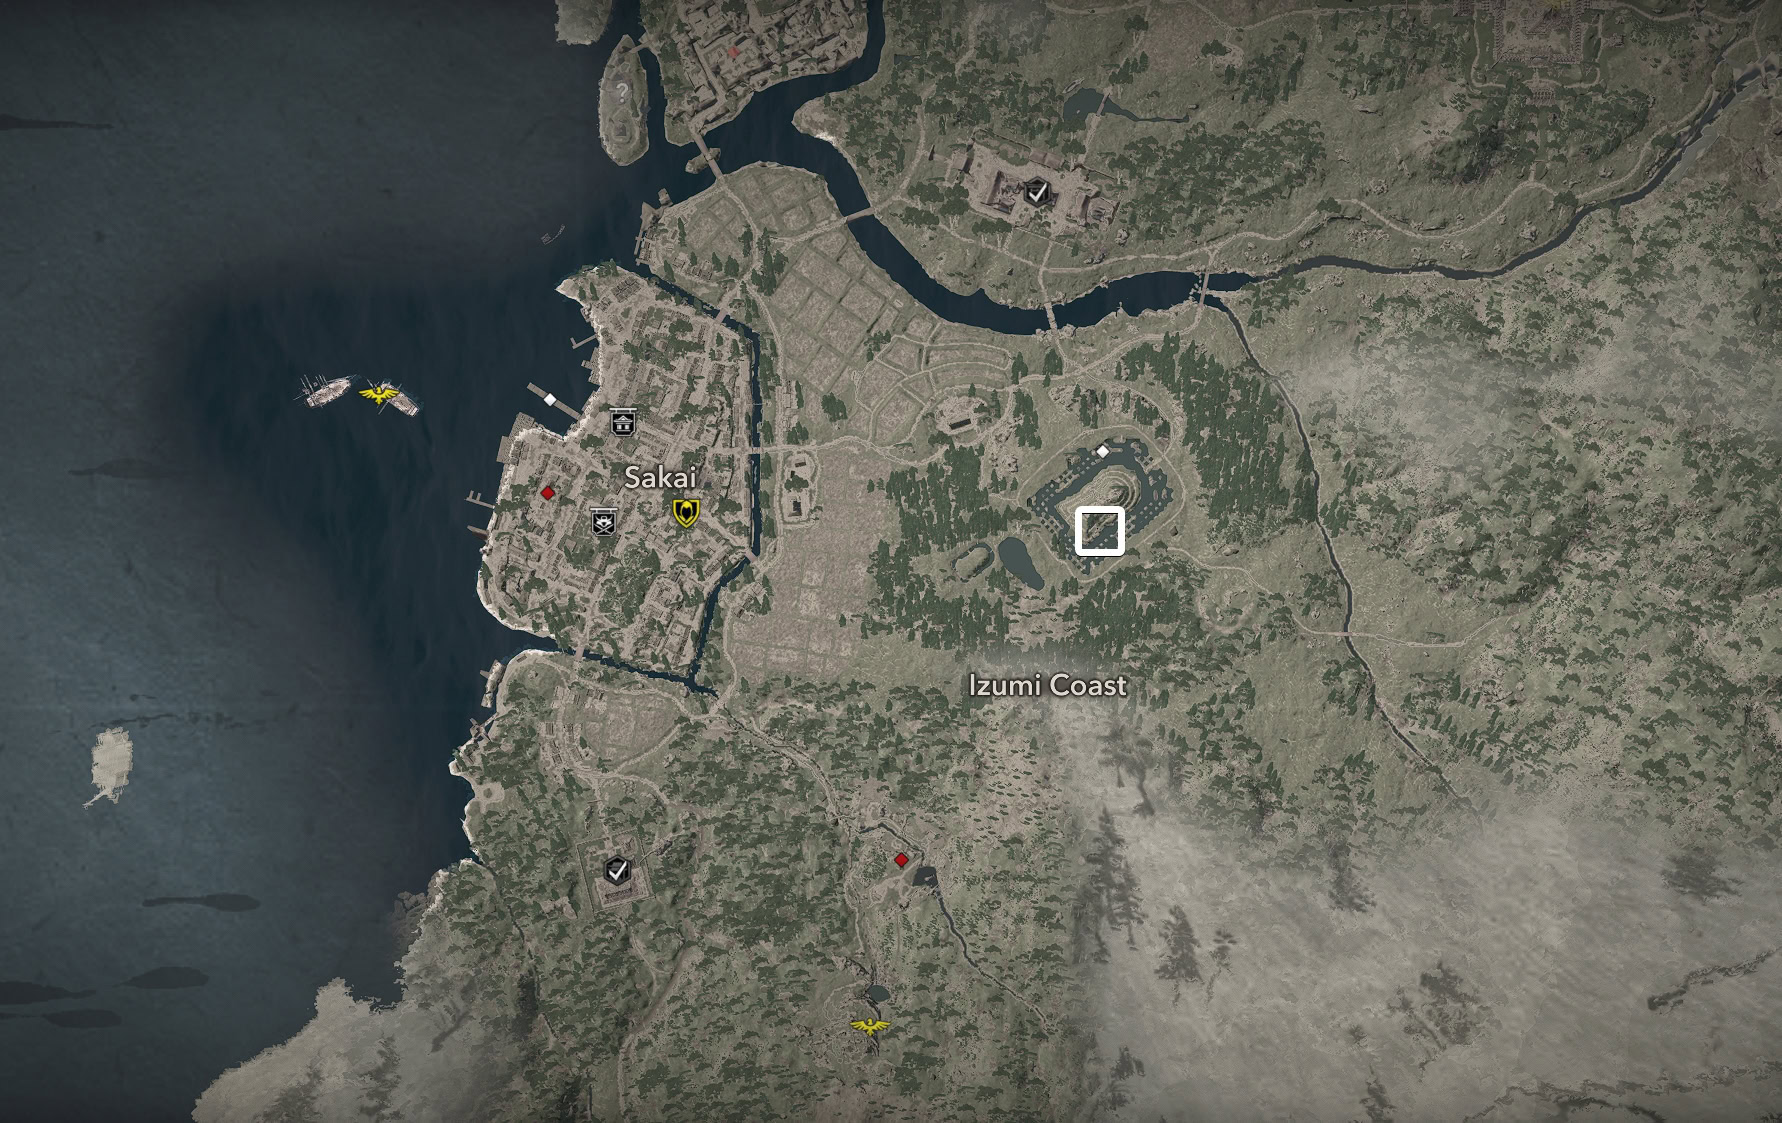
The Old Kofun is an underground tomb that you can explore early on in Assassin’s Creed Shadows. It is located east of Sakai and west of the Makinoodera Temple in the subregion of Izumi Coast, in southwestern Izumi Settsu.
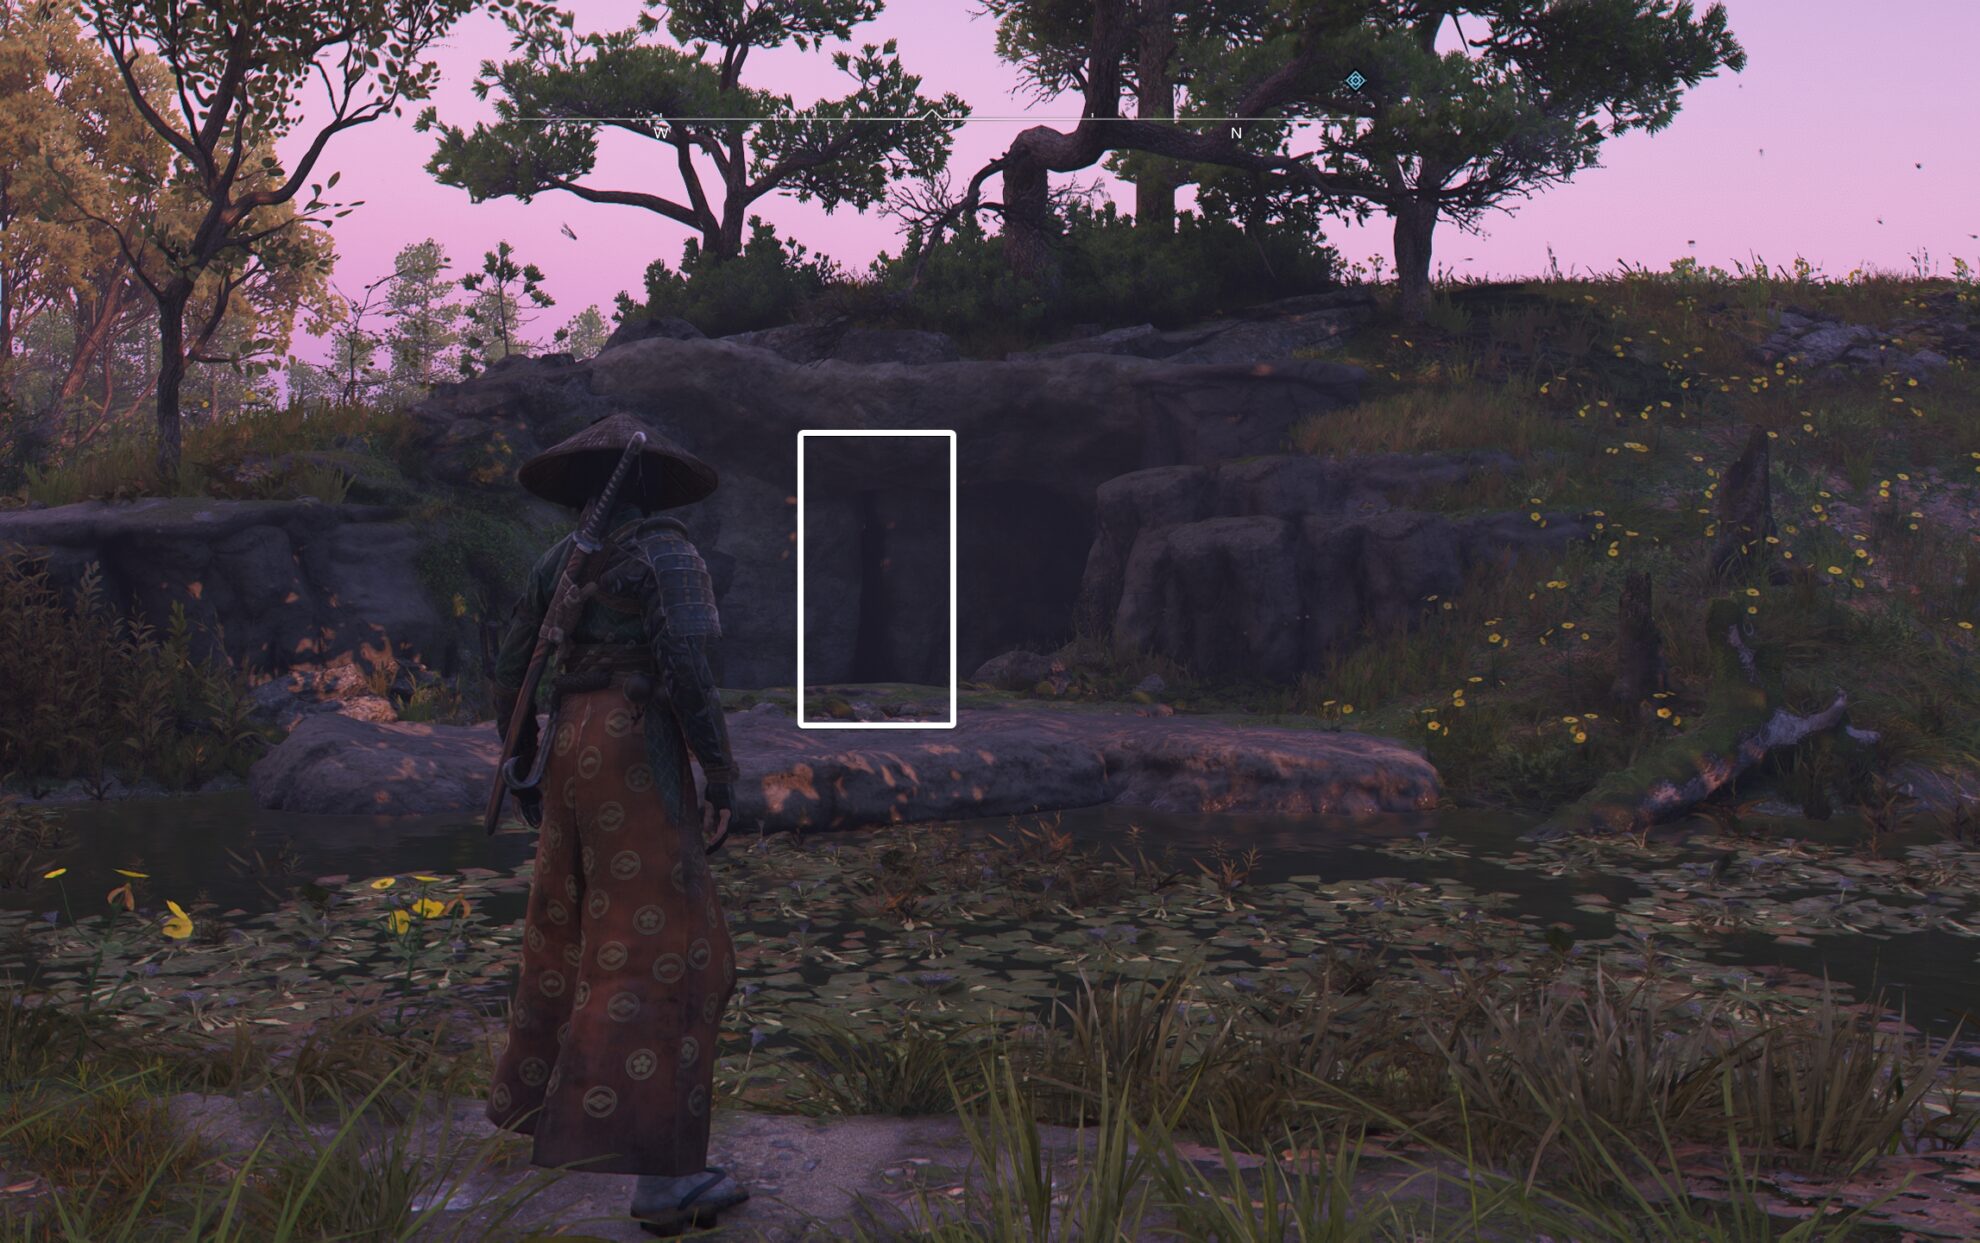
The entrance to the tomb and its treasures is on the southeastern side, through a narrow crack in the stone wall.
The Old Kofun is one of the first pizzle-like areas you will explore in Assassin’s Creed Shadows. You will actually return to another portion of it later in the game for another cool mission. We have a guide for your return to the Old Kofun for The Assassins quest.
For now, the main goal is to walk you through the tomb and get you Amaterasu’s Blessing Legendary Trinket for Naoe. You can also find more detailed explanations in the video walkthrough available here.
Even if you leave this area for later, after you unlock Yasuke, this Kofun is an area where you should bring Naoe to explore and collect the treasures.
Video Walkthrough
You can 100% follow this video walkthrough and you will not get lost. It shows you the couple of optional tunnels that you can use to get back to a position for jump if you fail to make the jump or hook transition.
Old Kofun Walkthrough
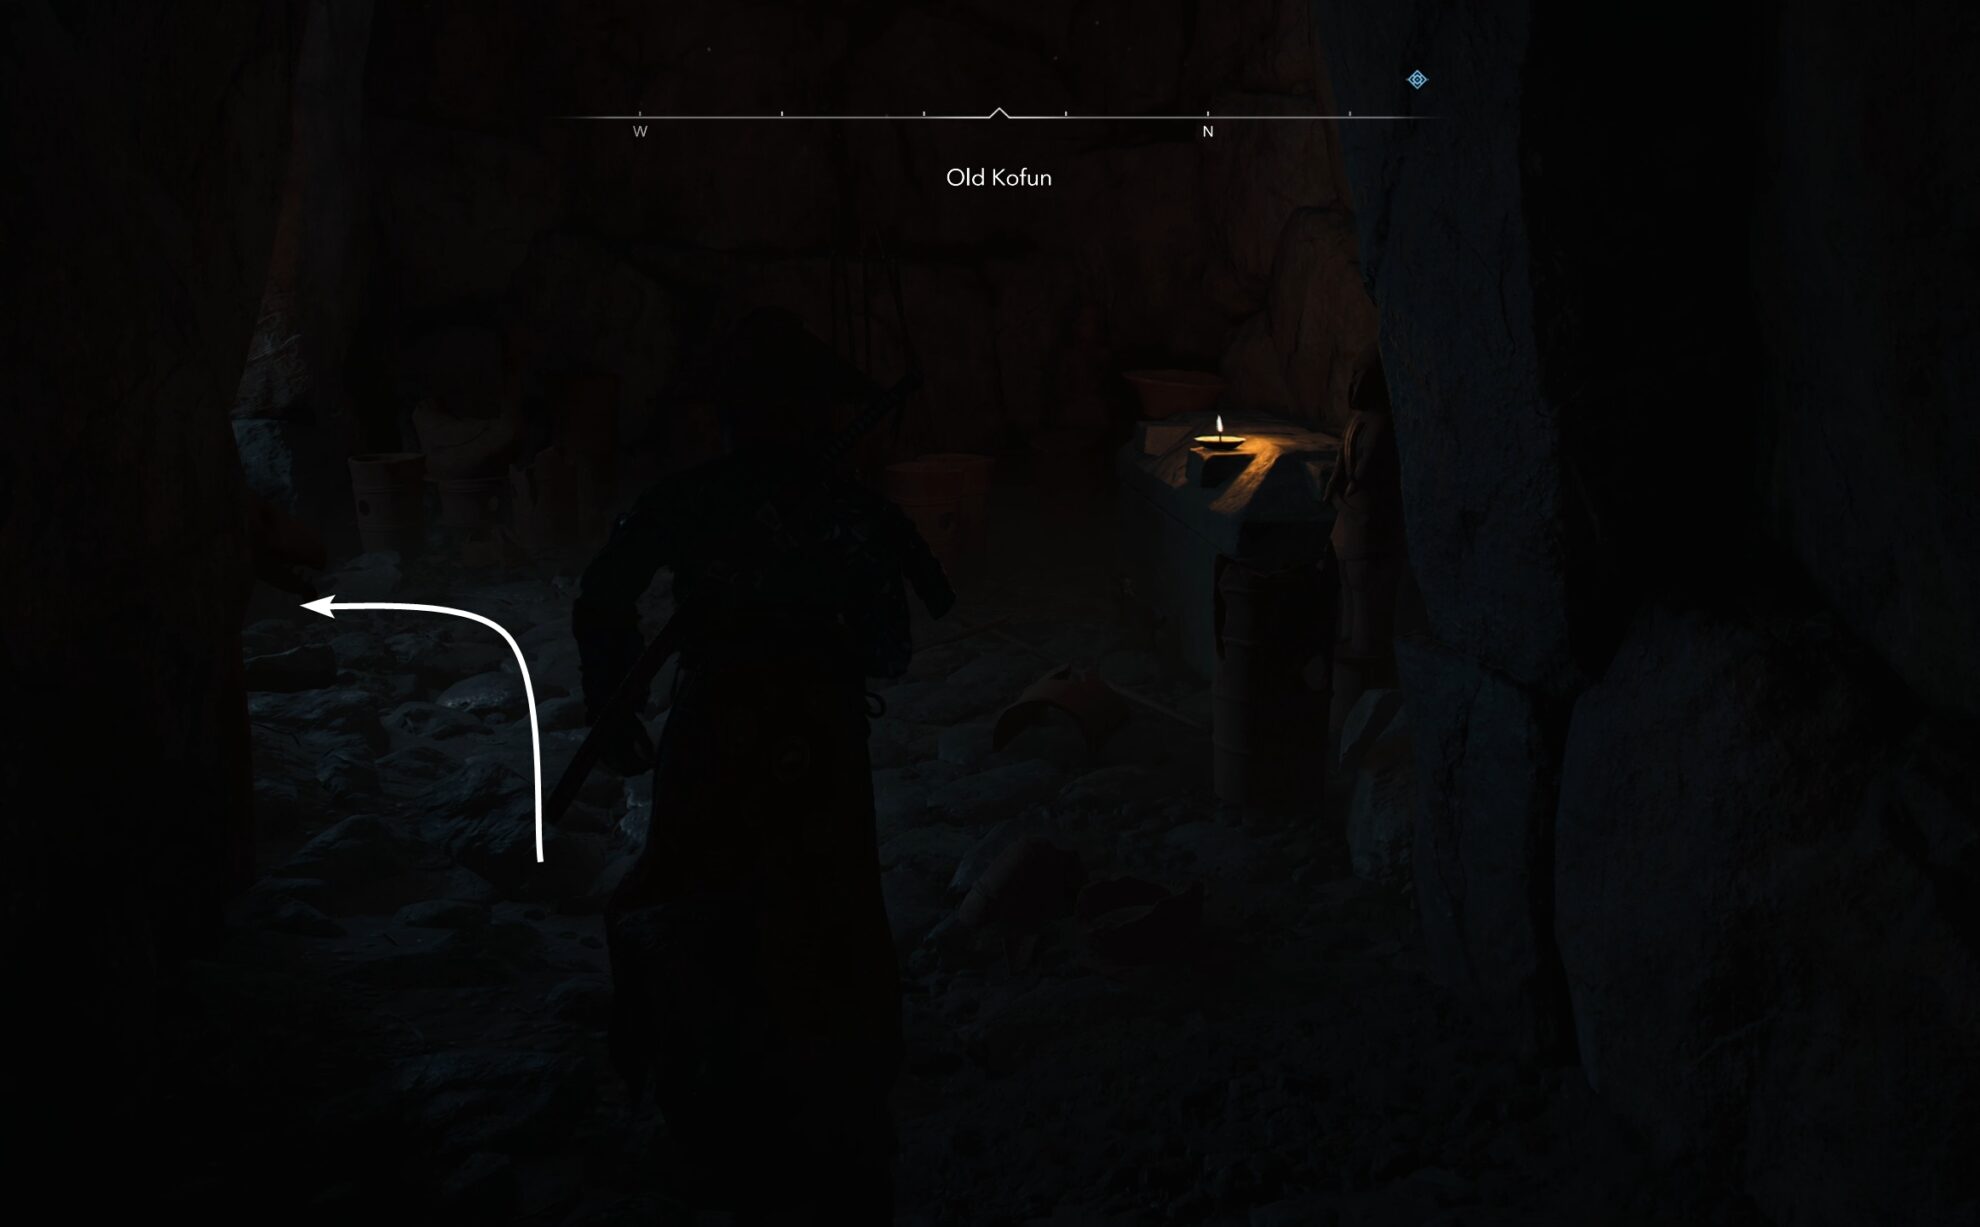
After you squeeze through the gap in the wall on the southeastern side, drop down and follow the tunnel until you come into a room with a sarcophagus. On the left side, you will see a small treasure chest and a hole in the wall.
Since you are following this walkthrough, you will likely not need to light any candles along the way, but they are a good way to keep track of where you have already been in case you get lost.
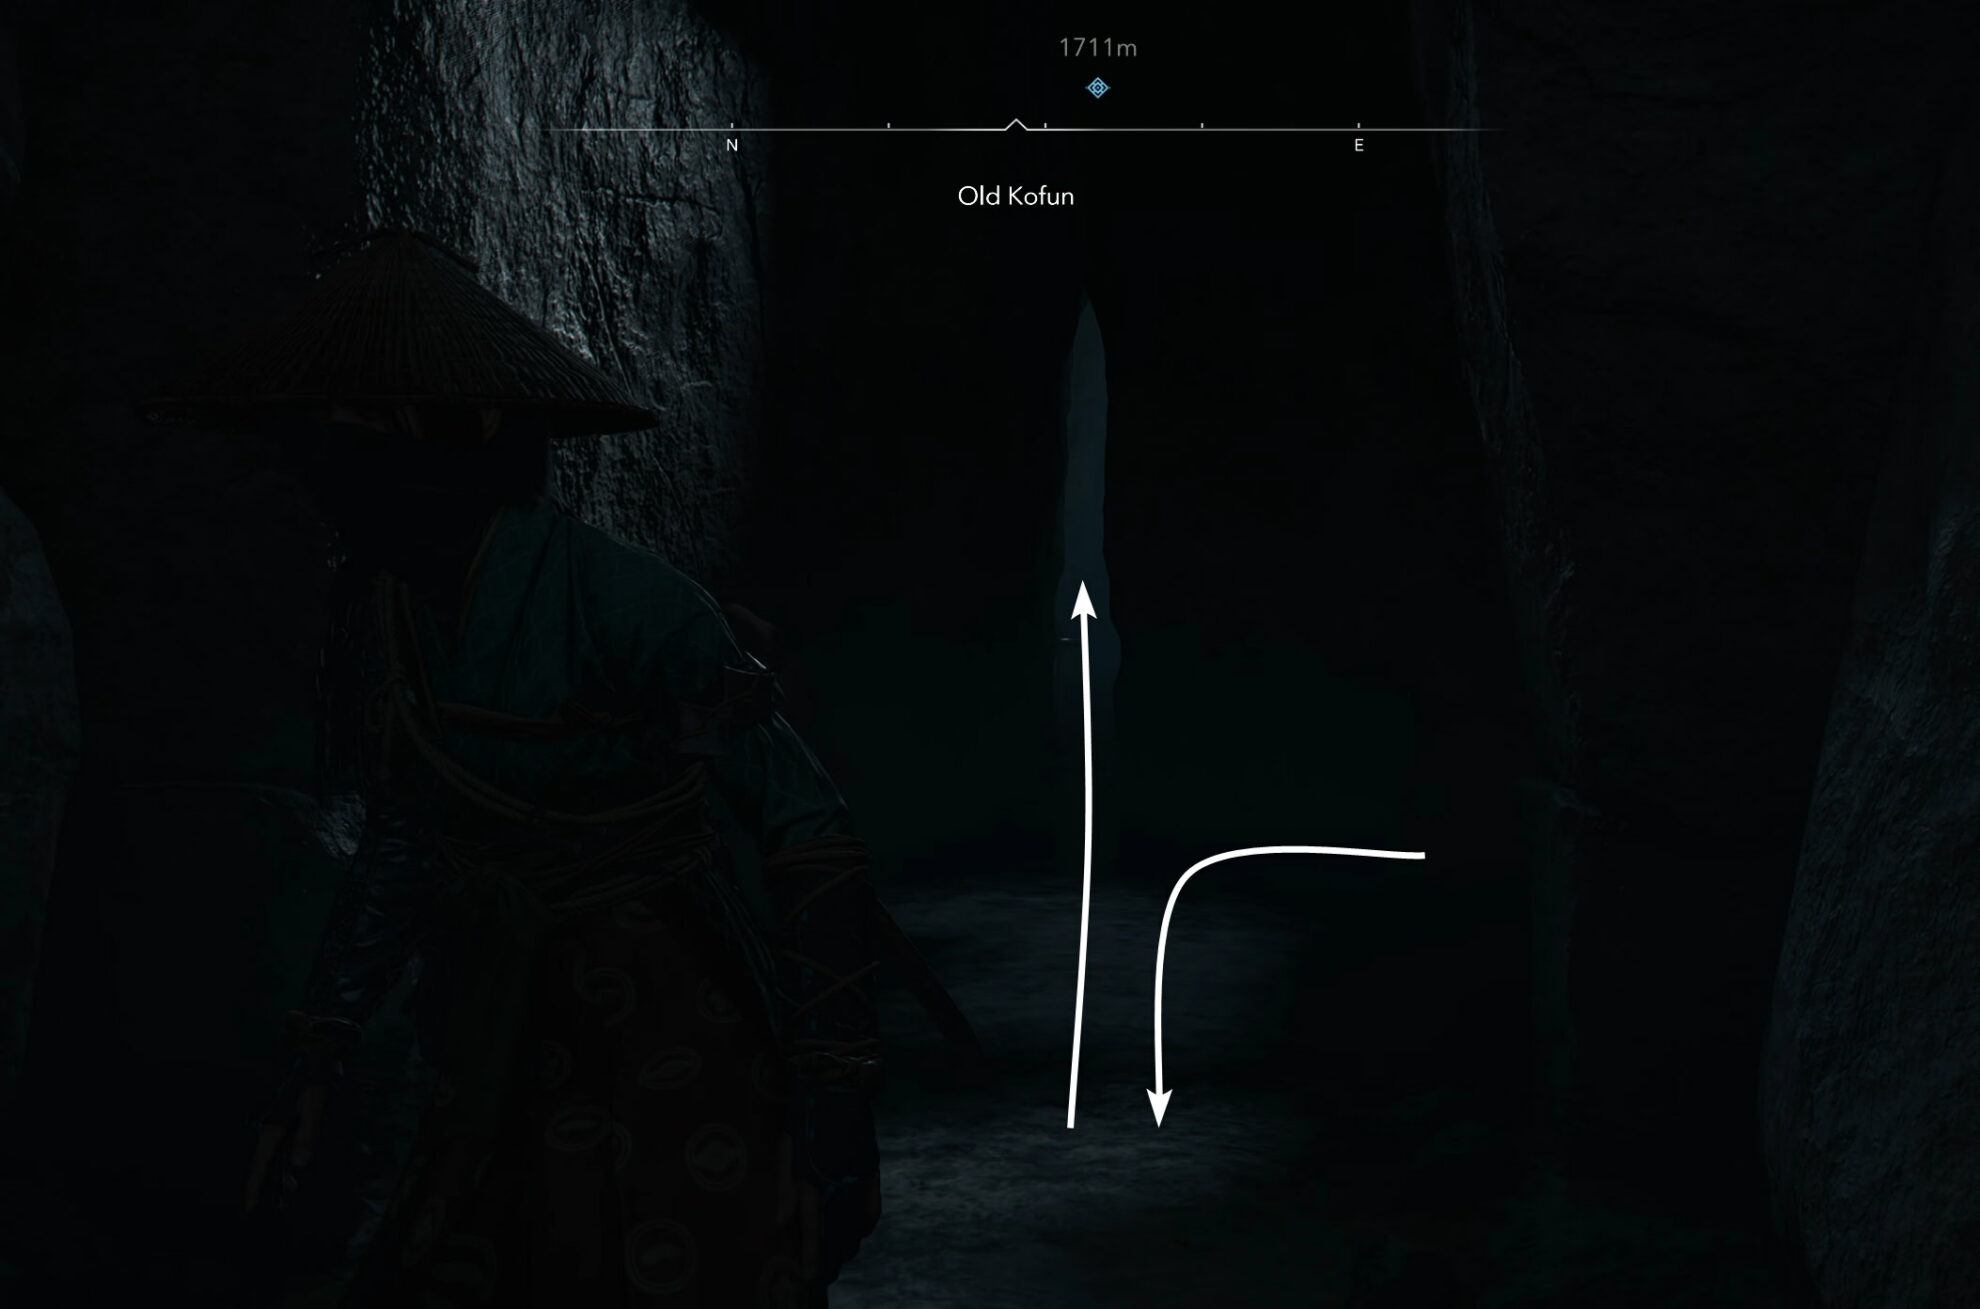
Prone and sneak through to the other end. Follow the tunnel to the end as it makes a right turn, and you will find yourself in a room with another sarcophagus on the right with some statues next to it, and a stone ledge you can vault over on the left. Left is where you want to go.
You will arrive at a pond. Use Naoe’s hook to get to the other side. Jump off when you are arriving at the highest point after the swing.

Follow the tunnel and make a left turn. Immediately after that, turn around to notice the crack on the wall behind you to the northwest. Infront of you, there is a small treasure chest you can loot. Then go through the crack in the wall.
This small cave is brightly lit and full of water. That darkness in front of you, that’s water. Dive underwater, turn to face northwest and head through that tunnel. It will take you to the top of an old stone staircase with two statues on each side.
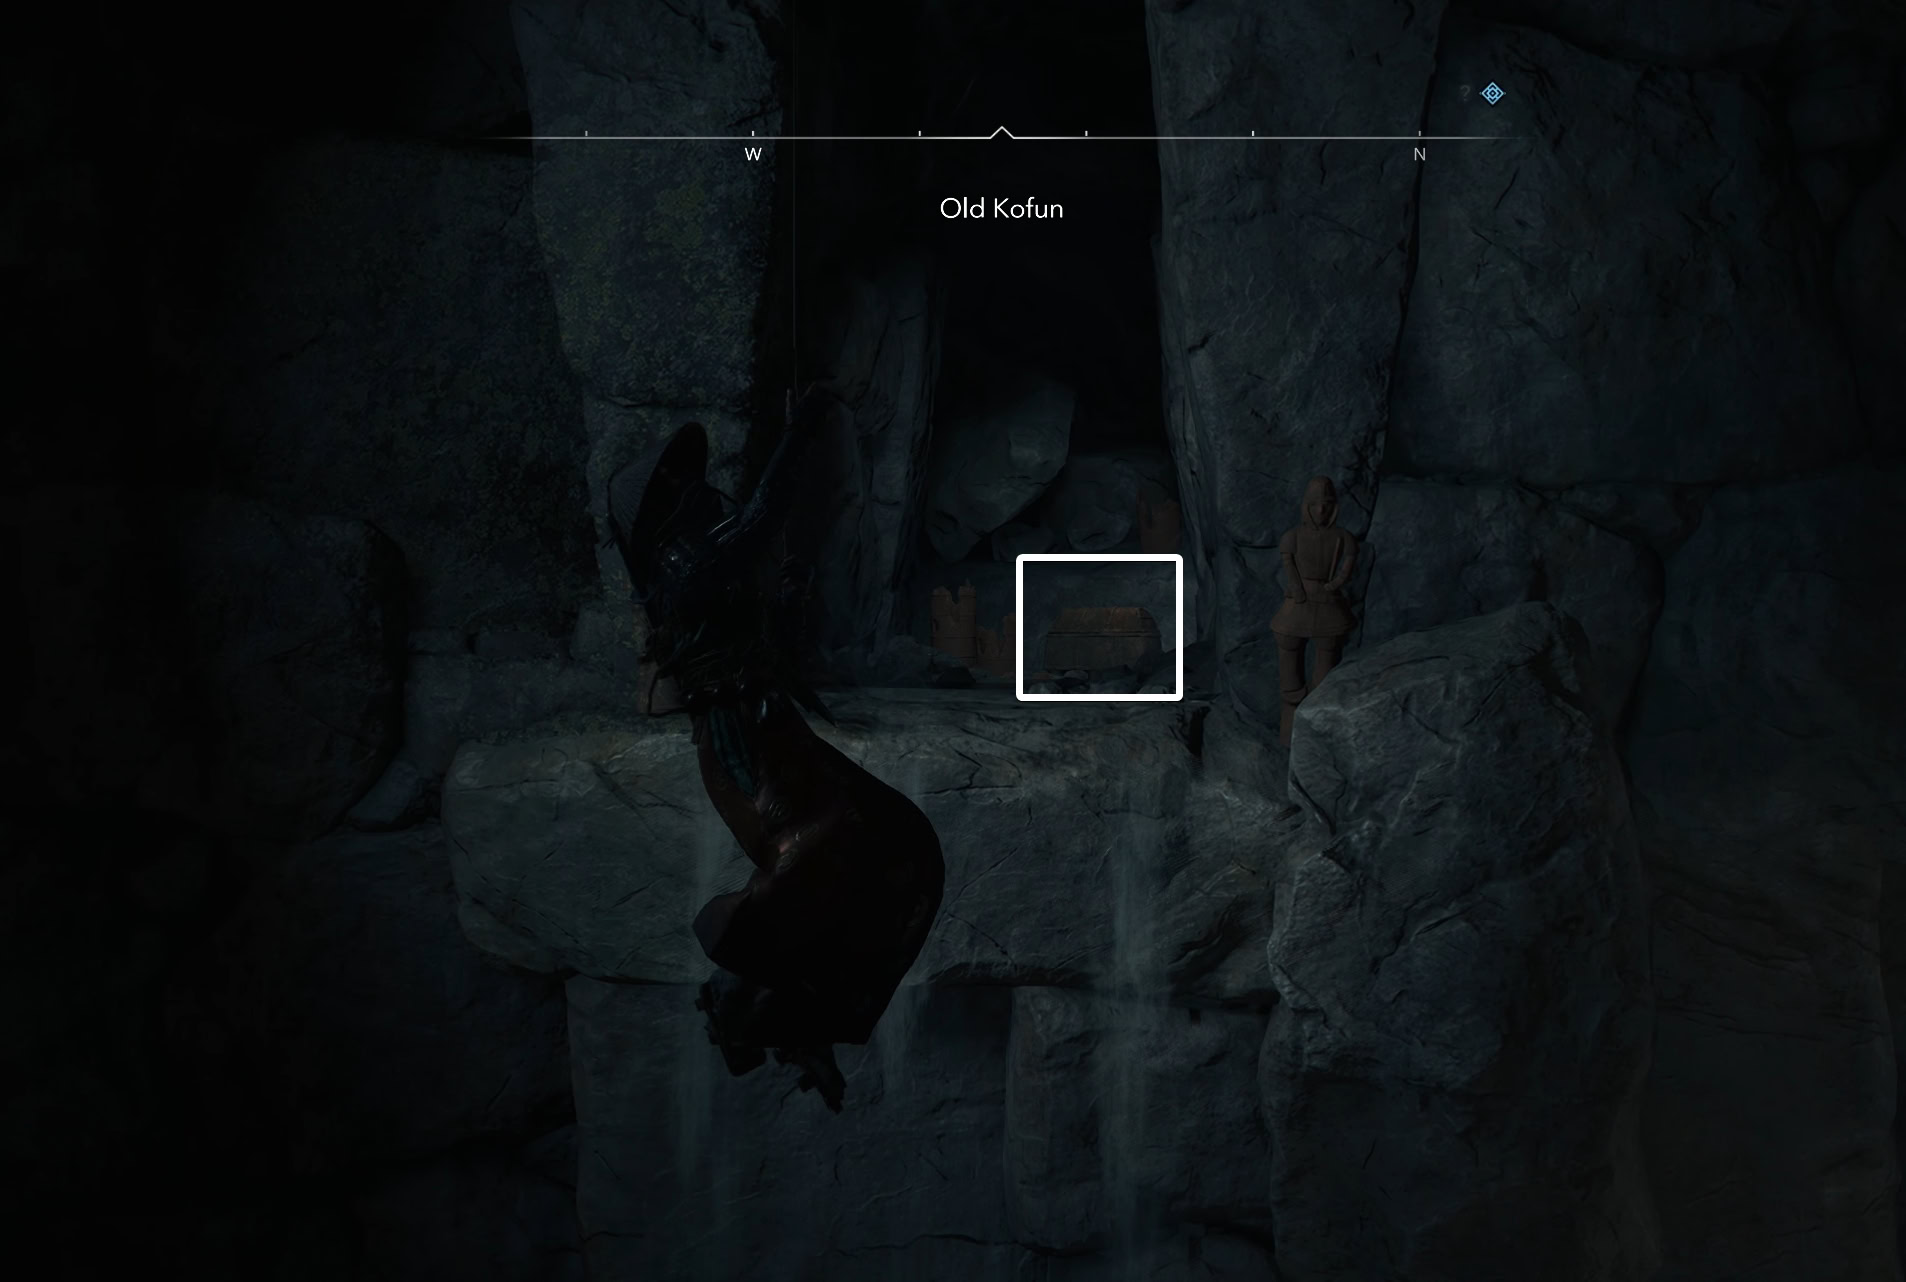
When you arrive at the edge of the next water pool, look around the room. There are tunnels in front of you (path to the main chest), on the northeast wall. On a higher level than you, on your left side, you will see another opening. There’s a small treasure chest up there.

To get to the chest, use the hook and pull yourself up to the higher level. Turn Naoe to face northwest, swing to get a momentum, and jump to the treasure chest.
When you go back, you can jump to the lower ledge to your left directly or use the hook to get to it.
When you get back to the main path, follow the tunnel. There is another tunnel to your right midway through. You can skip it. It leads back to the pond with the treasure chest on the higher level that you already picked up.
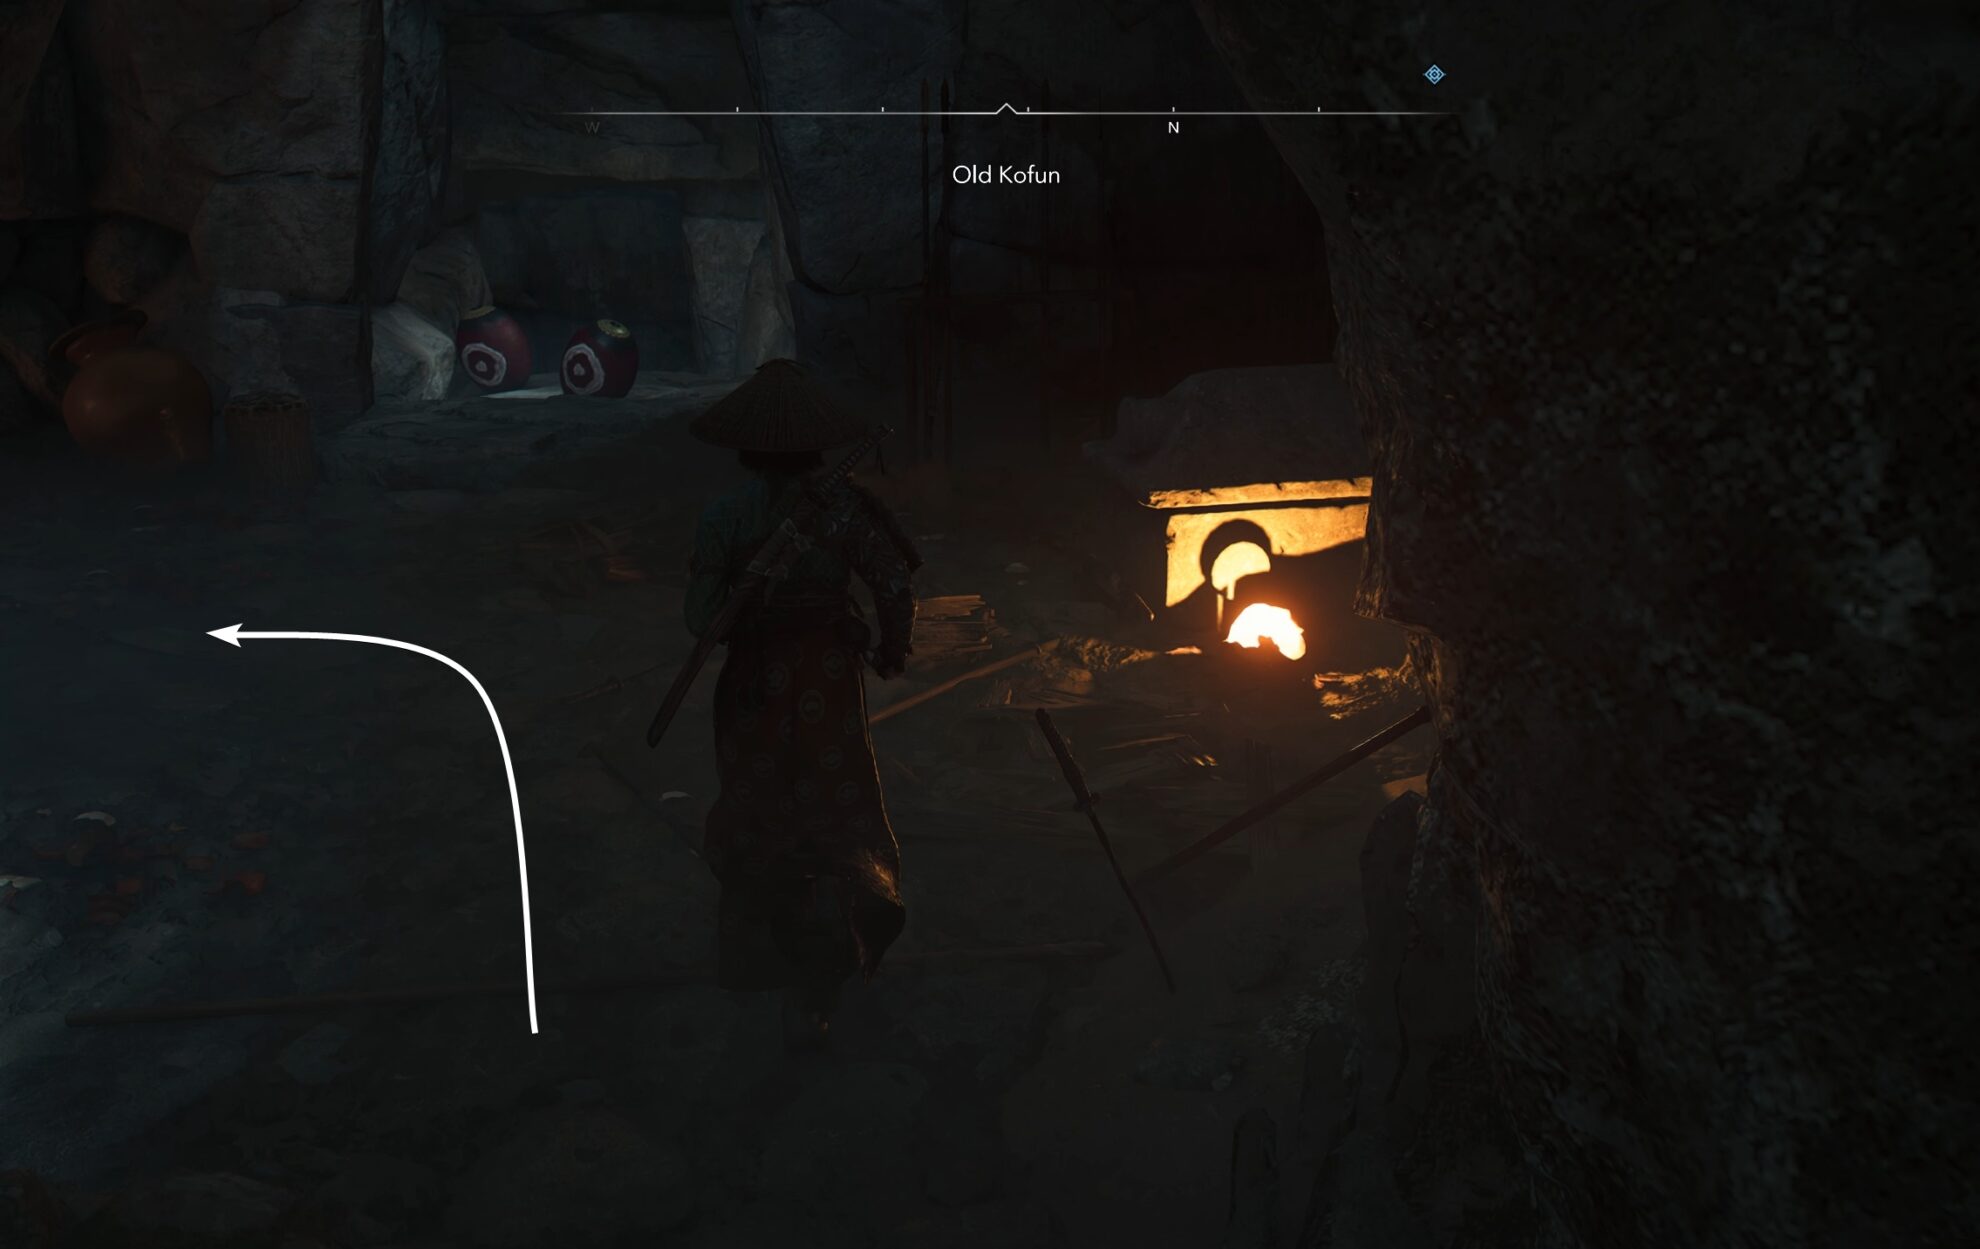
At the end of the main tunnel, you will arrive at a room with a few statues and a hole in the wall. Prone through it.
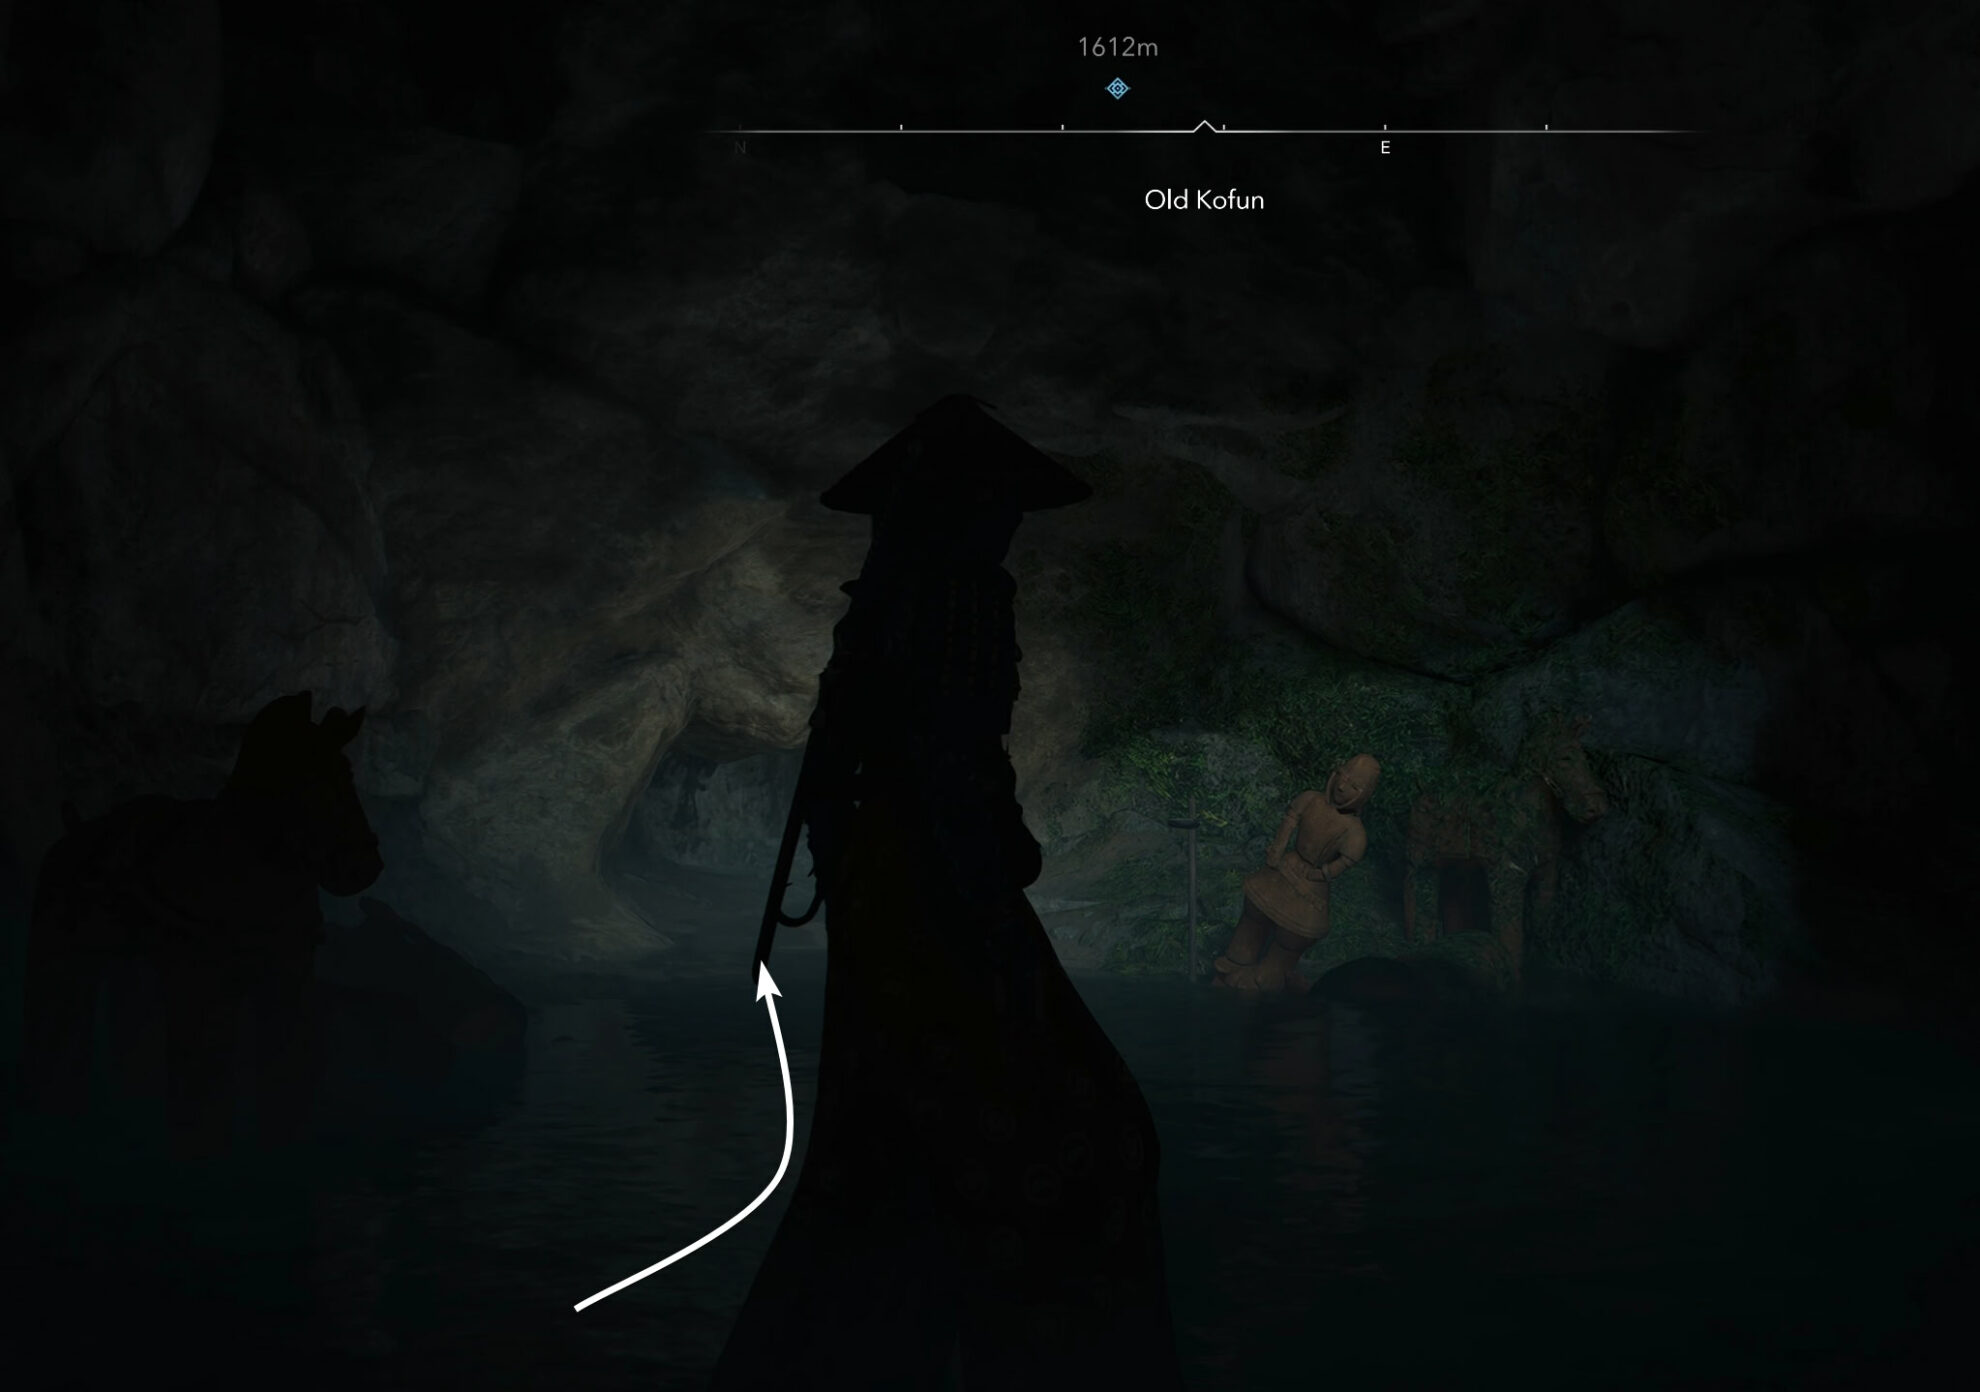
Follow the tunnel until you arrive to yet another room with statues and a sarcophagus. The only path is to the right. After a few stairs, you will reach the large pond of water. Here you have to use your hook twice. Remember to jump off the rope when you are arriving at the top of the swing.
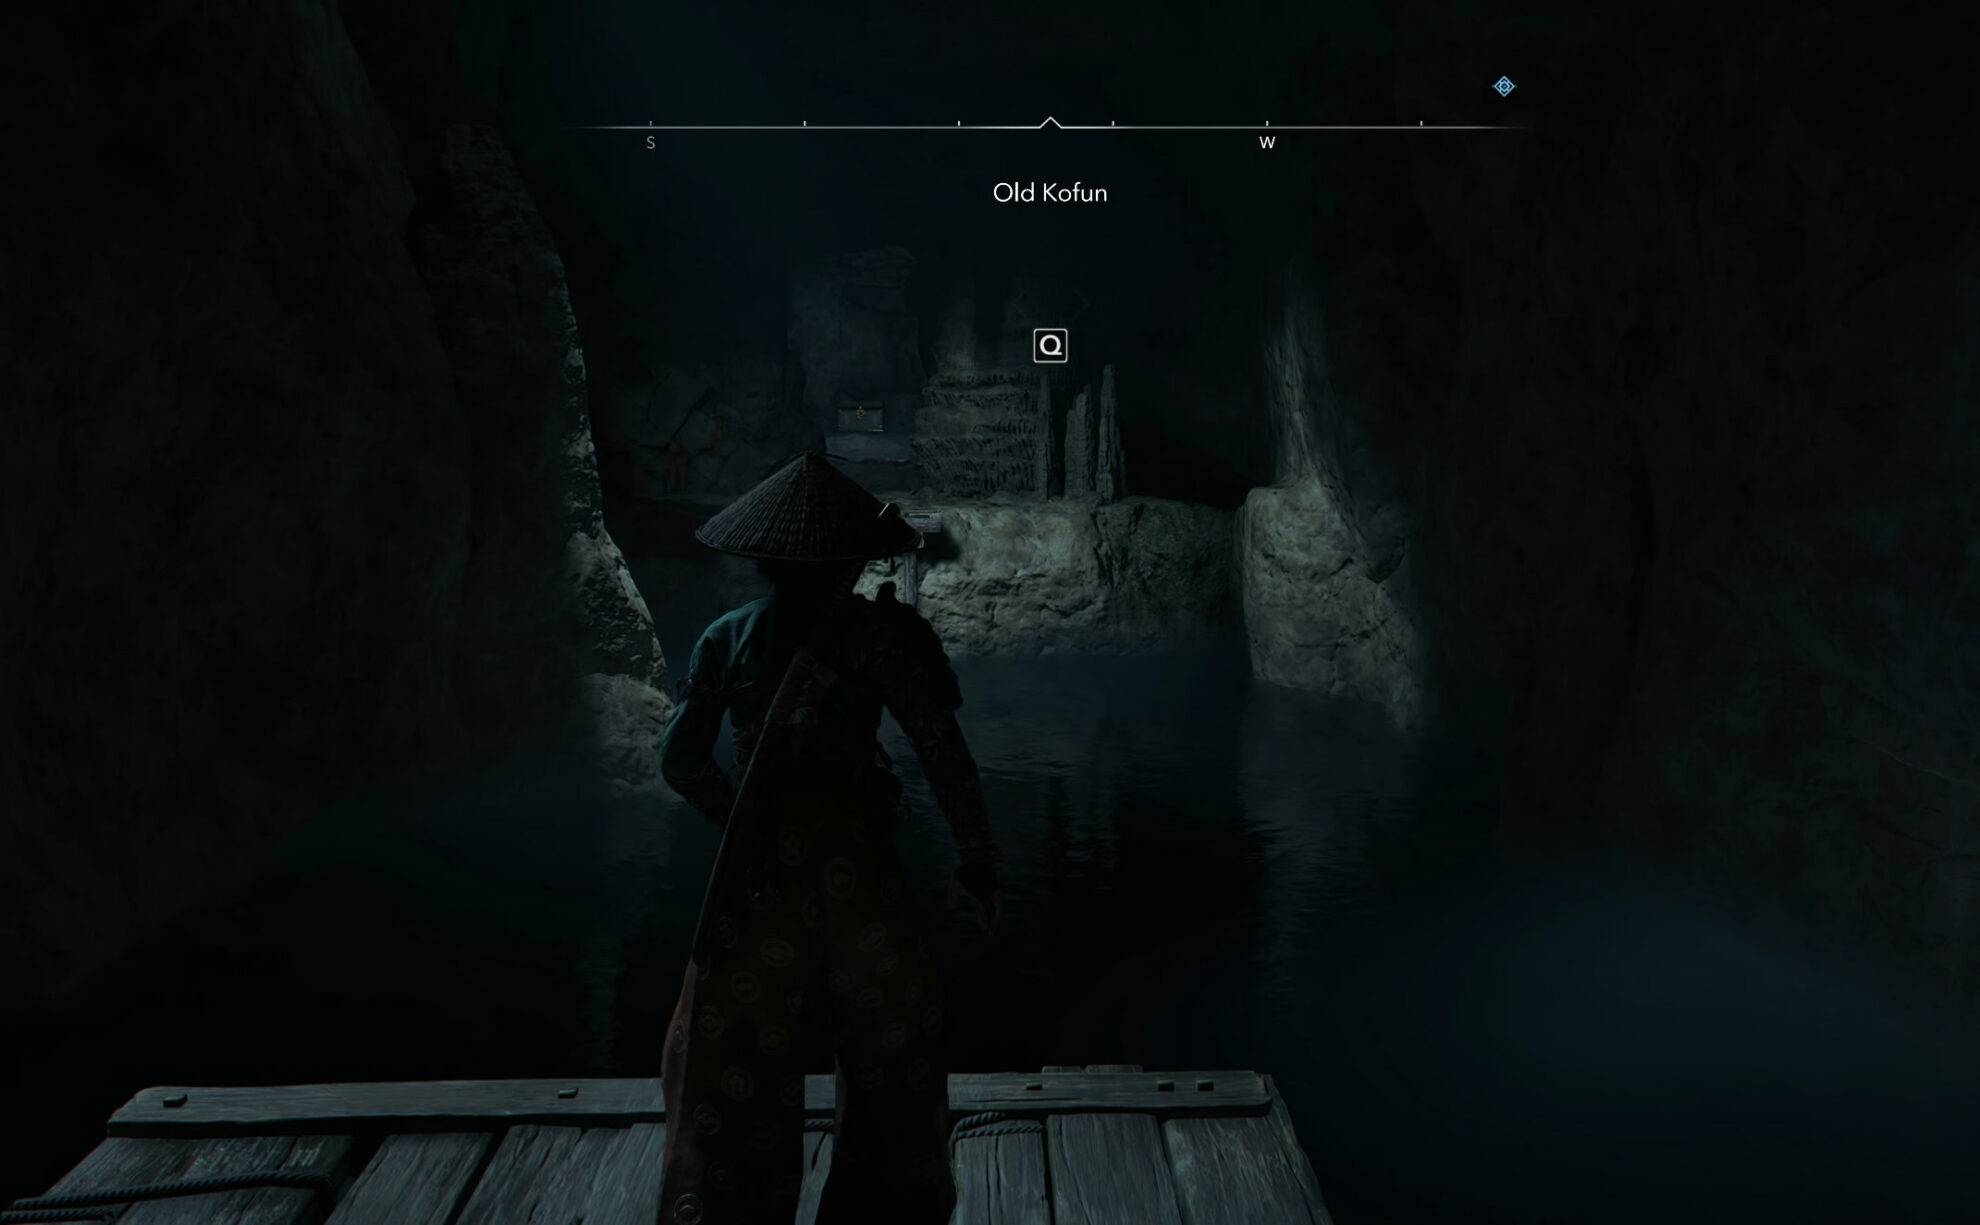
If you drop in the water, there is a path to the right that will take you back to the wooden scaffold where you can try the jump again.
At this point, you already see the large treasure chest at the end. This is where you will find the Amaterasu’s Blessing Legendary Trinket. After you pick it up, you can try to follow your steps back to the exit. Or just quick travel.
Amaterasu’s Blessing Legendary Trinket
Each Legendary gear piece you loot, will always be at your current level when you pick it up. Amaterasu’s Blessing has a perk granting you +10% damage per unused Ability slot.
Stats Boost
+ Health
+ Adrenaline Gain
+ Critical Chance
Engraving
+10% damage per unused Ability slot