Assassin’s Creed Shadows offers a ton of customization features. We’ll help you understand the differences between the various game modes, what settings to change as soon as possible and why.
New Game Setup
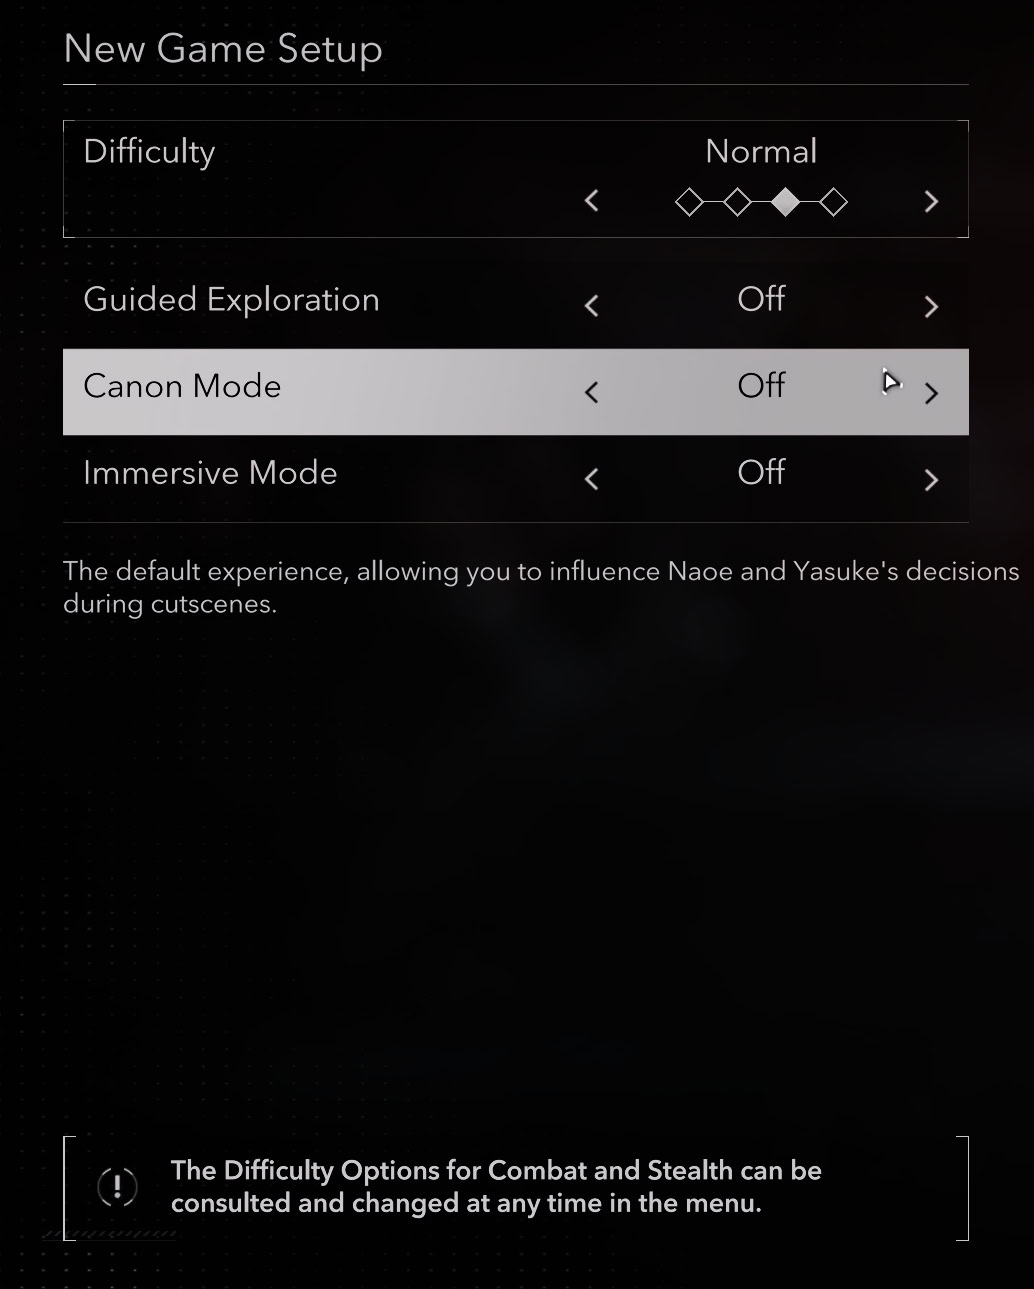
The first time you start the game or each time you start a new playthrough, you will have a few options to choose from before the first cinematic rolls in. One of these settings, Canon Mode, is permanent.
What is Canon Mode
At the very start of a new game, you will be asked if you want to turn on Canon Mode. This feature will eliminate all choices and dialogues in an attempt to replicate the old style of cinematics from previous Assassin’s Creed Games.
You will not lose anything of great importance. You will, however, lock yourself out from the few romantic options you have with a few characters. And one of them depends on your romance to stay with you and become your Ally.
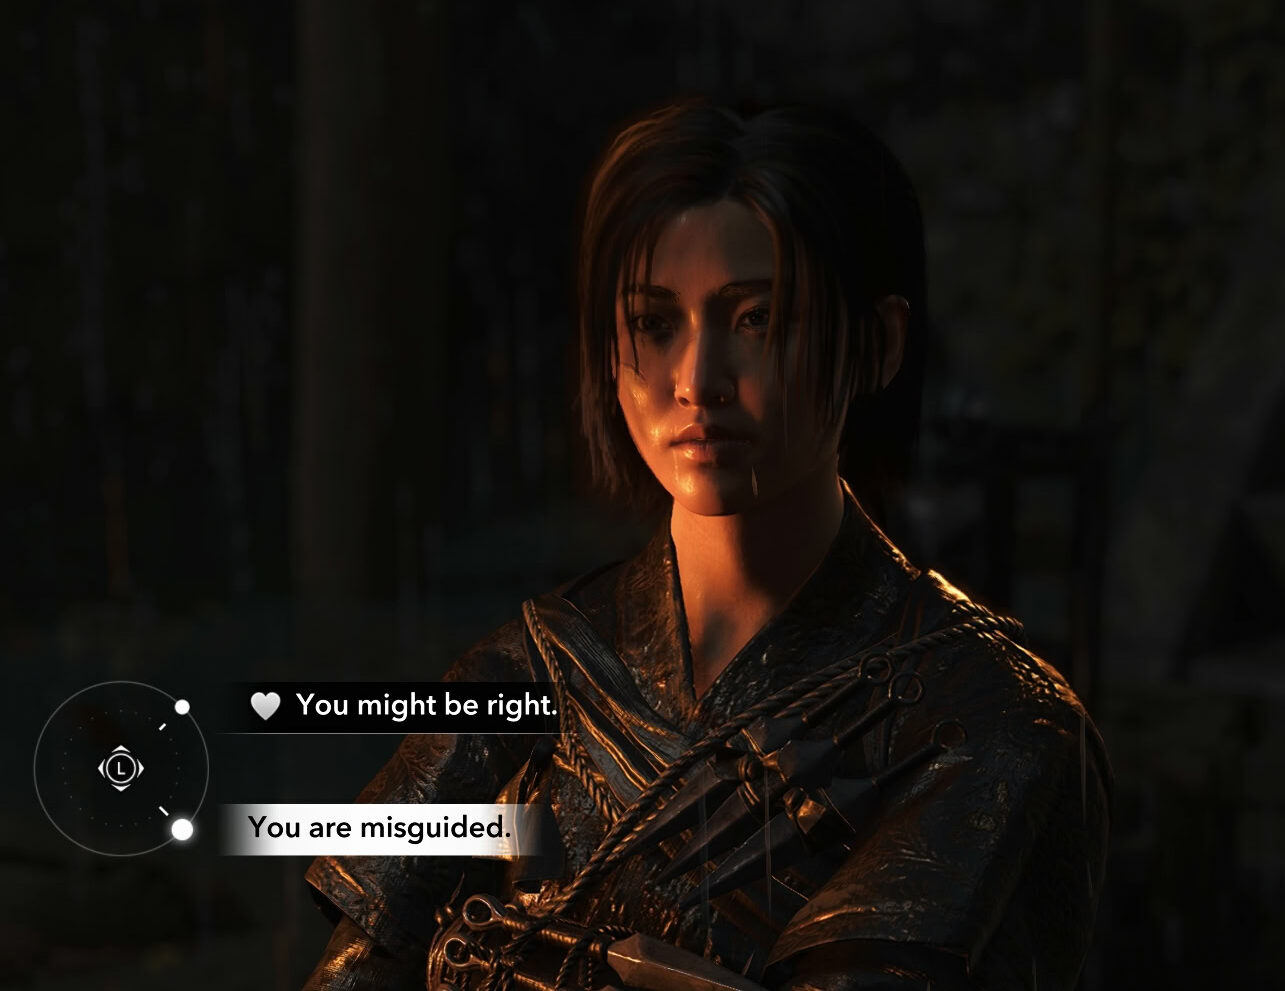
This is not crucial to the story in any way. In many cases the choices you will have during dialogues will only change a few lines. If the game wants someone to stay alive, no matter how hard you press the button to kill them, it won’t happen. The same is true for the other way around.
Difficulty and its impact on Gameplay
There are some difficulty settings that can greatly augment your overall experience in Assassin’s Creed Shadows. This can affect combat, stealth, and exploration difficulty.
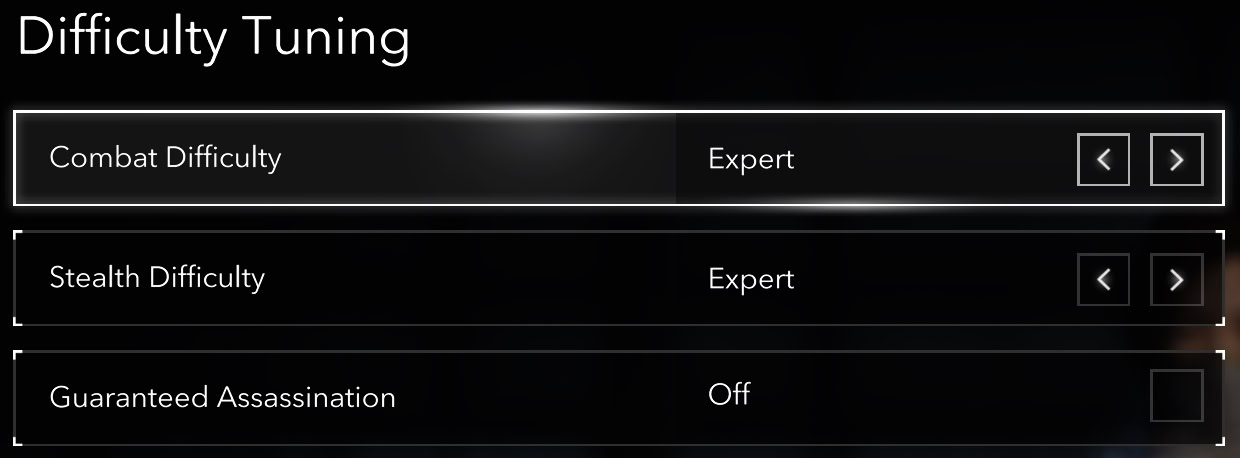
You can change the difficulty tuning at any time under Gameplay within the settings menu. There are a few key differences between the modes
The highest difficulty is Expert. This doesn’t increase the durability of enemies by a huge chunk, rather it increases their reaction time, damage output, and awareness in and out of combat.
On Expert, you will not see the white circles indicating that you can block/parry an upcoming attack. The blue circles from combo attacks and red ones from heavy attacks will still appear on Expert.
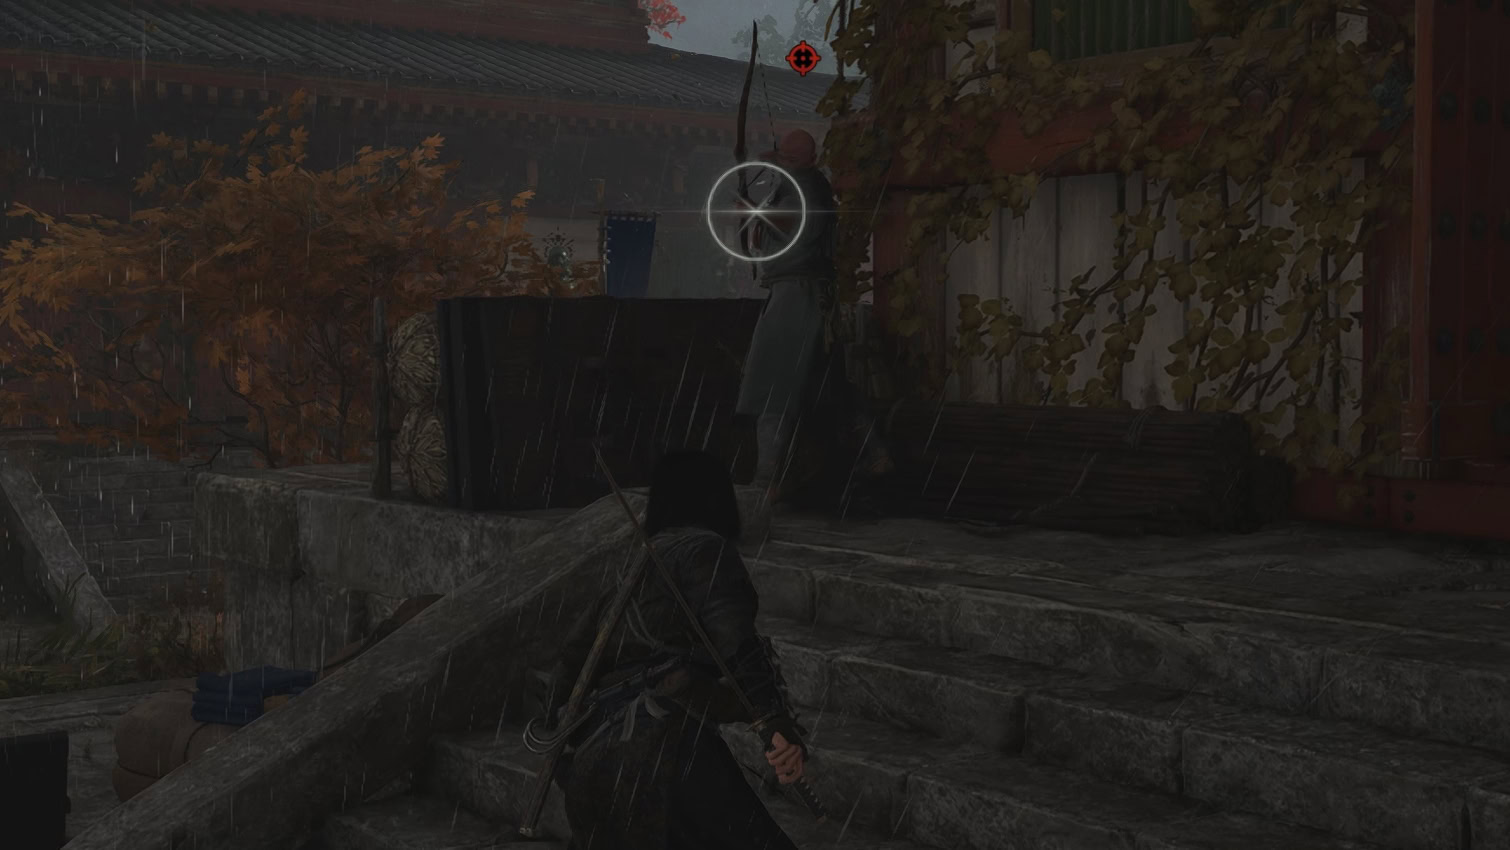
The Stealth difficulty levels are a different thing, though. If you want to truly play an Assassin’s Creed game and immerse yourself as a stealth assassin, you should consider the Expert level.
This makes enemies clever enough so that when you are walking around on top of their heads on the fences or rooftops, they are more likely to become aware because of the noise or simply because you are in their vicinity.
Turning on the “Guaranteed Assassination” mode will make the game a bit more assassin-style, but it will make some engravings and Mastery upgrades obsolete. This feature allows you to assassinate “skull enemies” who are several levels higher than you. It simply bypasses the soft cap that the game puts on your weapons and abilities when you face an opponent, who is much higher level than you are.
Patch 1.0.6 introduced Nightmare difficulty, which takes everything to the next level. Enemies are more aware of their surroundings, they deal more damage, shinobi resources are harder to find, and imperfect parries only partially block damage.
Guided Exploration
Guided Mode is turned off by default as this is the way the game is meant to be played. A lot of the quests will give you clues about the locations of various objects and targets. If you turn Guided Mode on, all of the locations will be immediately visible on your map. This includes all side quests as well.

Assassin’s Creed Shadow suffers from the lack of true exploration, which can be annoying to some and a great positive perk to others. If you want the mystery, keep Guided Mode off. This way you’ll have to use your scouts to find objectives, or track them down yourself. If you prefer to have things pointed to you and not bother looking up for clues, turn on Guided Mode.
If you always play with Guided Mode On, you will miss an achievement gained by having scouts locate an objective.
Headgear in cutscenes
You can decide if Yasuke and Naoe’s headgear can show up (or not) in the cutscenes. This has no effect on the gameplay and is just for mere immersion. There are a few cases where headgear still won’t be displayed due to the game overriding this option, but don’t worry. It’s only on romance-specific cutscenes.
Customize the Controls
If you play with a Controller, you are rather limited in what you can customize and change. If you play with a keyboard and mouse, however, the game allows you to nearly fully customize every action.
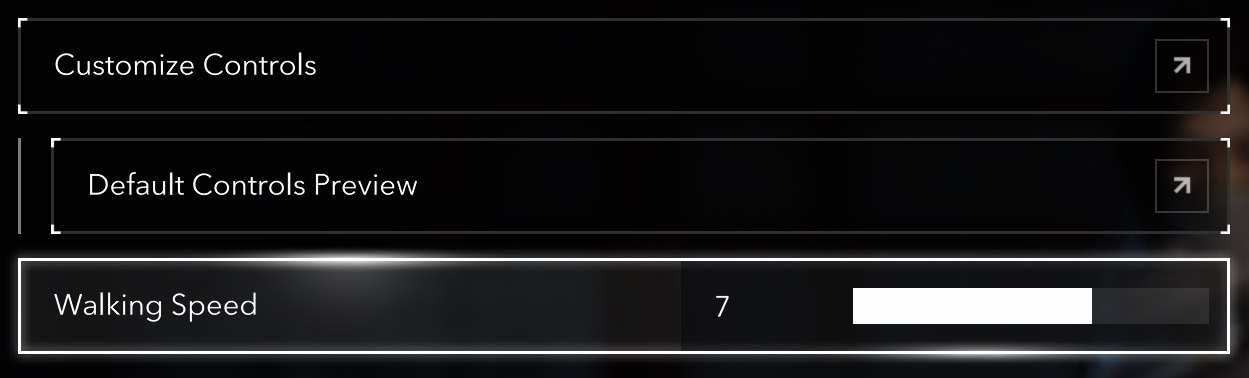
Before we jump into the remapping buttons possibility, let’s talk general control settings first.
The default Walk Speed is 5. This can feel a bit too slow for actually using it during gameplay. Consider changing it to 6 or 7.
If you have played the previous few Assassin’s Creed games, the default controls will feel very familiar. I would not recommend changing things here.
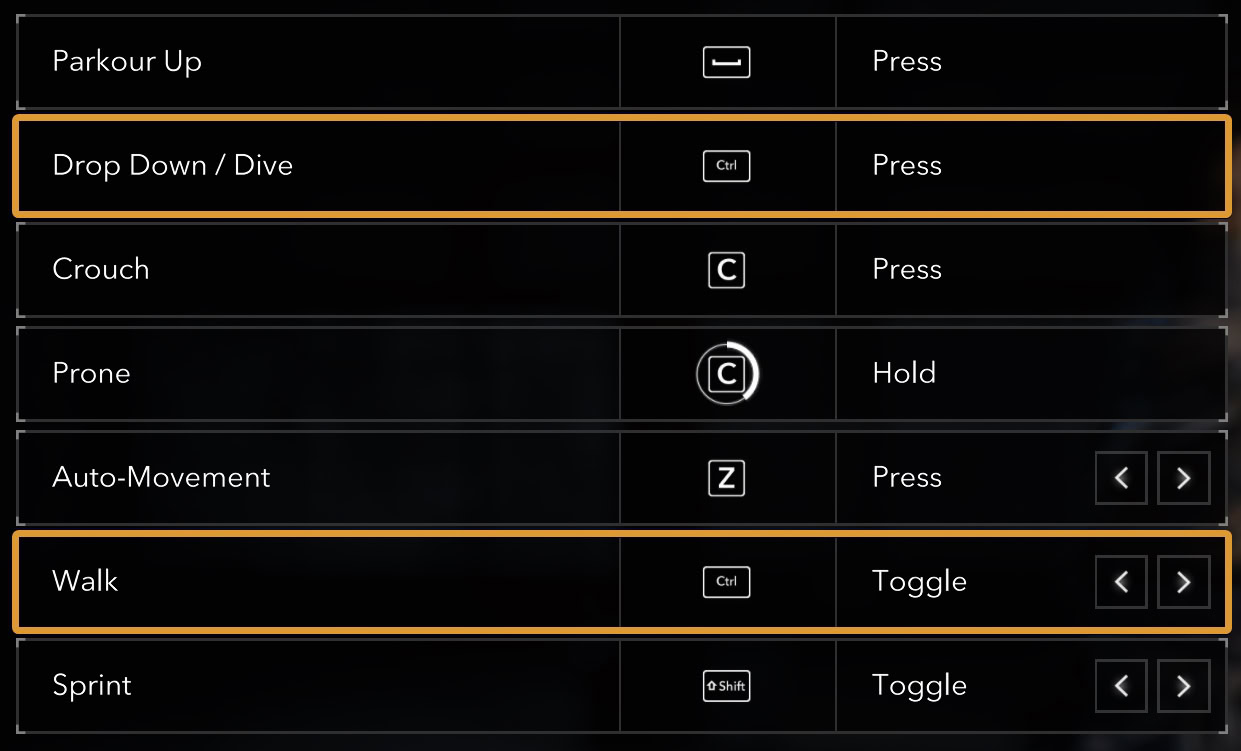
There are a few controls you can change, but really shouldn’t. If you do, you will have remap a keybind you have overwritten as they will conflict with one another.
One such example is the option to switch Walk from holding CTRL to pressing it a single time. If you swap Walk from Hold to Toggle, this will mess up your Drop action and prevent you from dropping off ledges.
The Auto-Movement is very helpful, and you should make good use of it. The map of the game is as large as you’d expect it to be in a modern Assassin’s Creed game. You will have a lot of ground to cover from a marker to a marker, even after you have unlocked all Viewpoints and Kakurega locations.
Unfortunately, Auto-Movement does not follow the Pathfinder lines. It just puts your character into a constant movement, allowing you to lift off your finger from the Forward key.
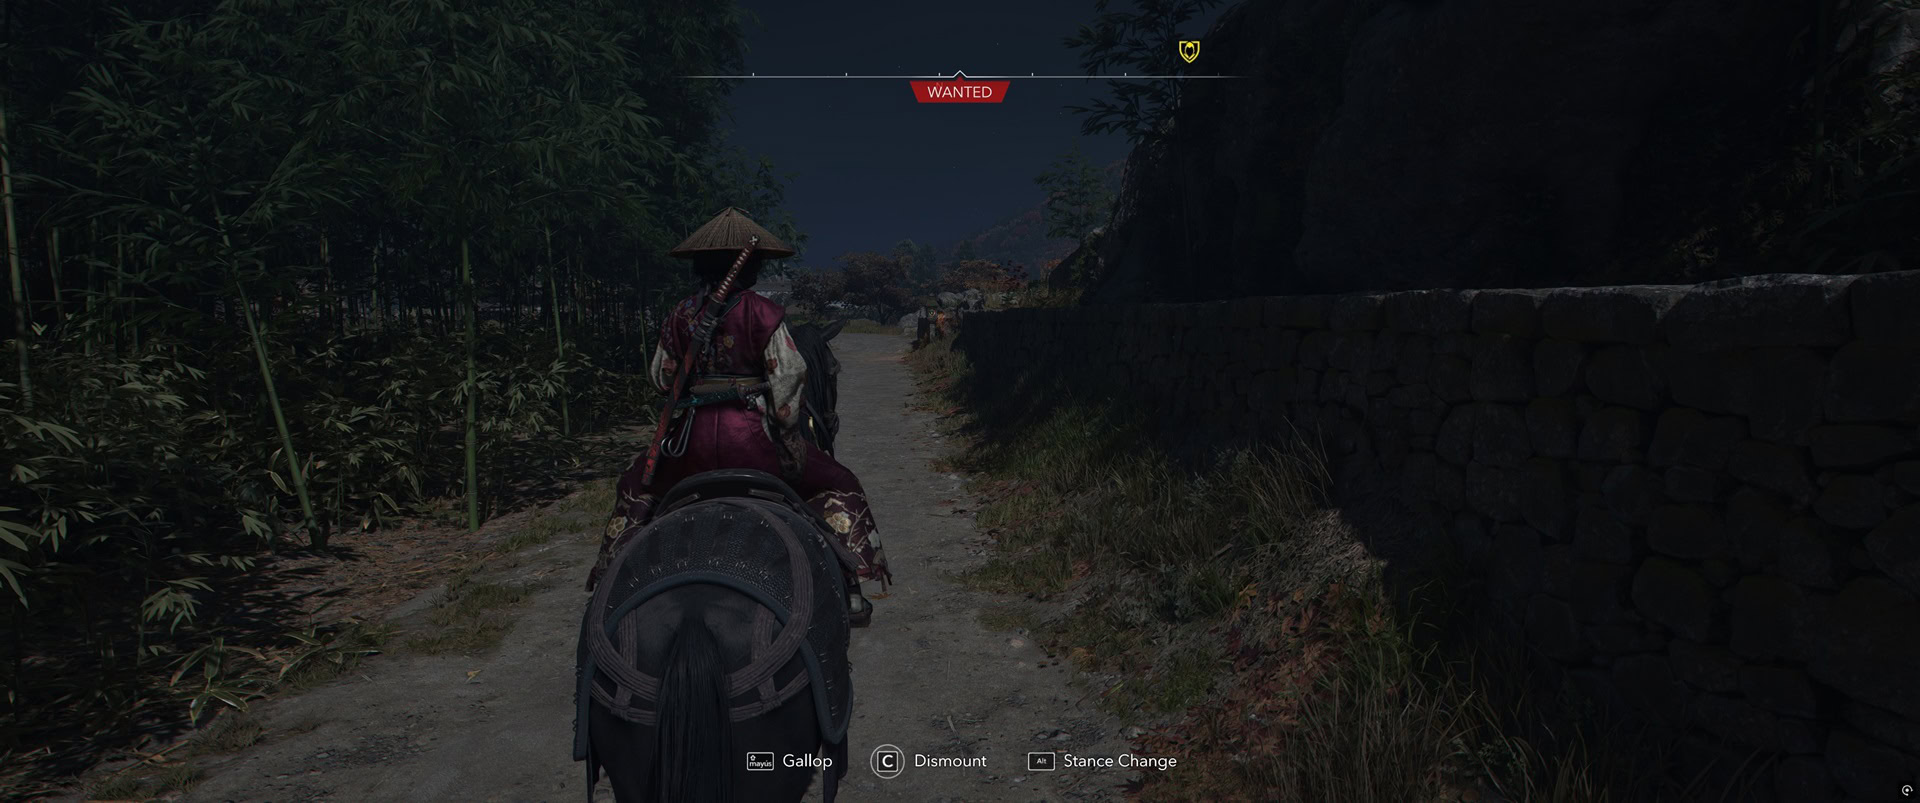
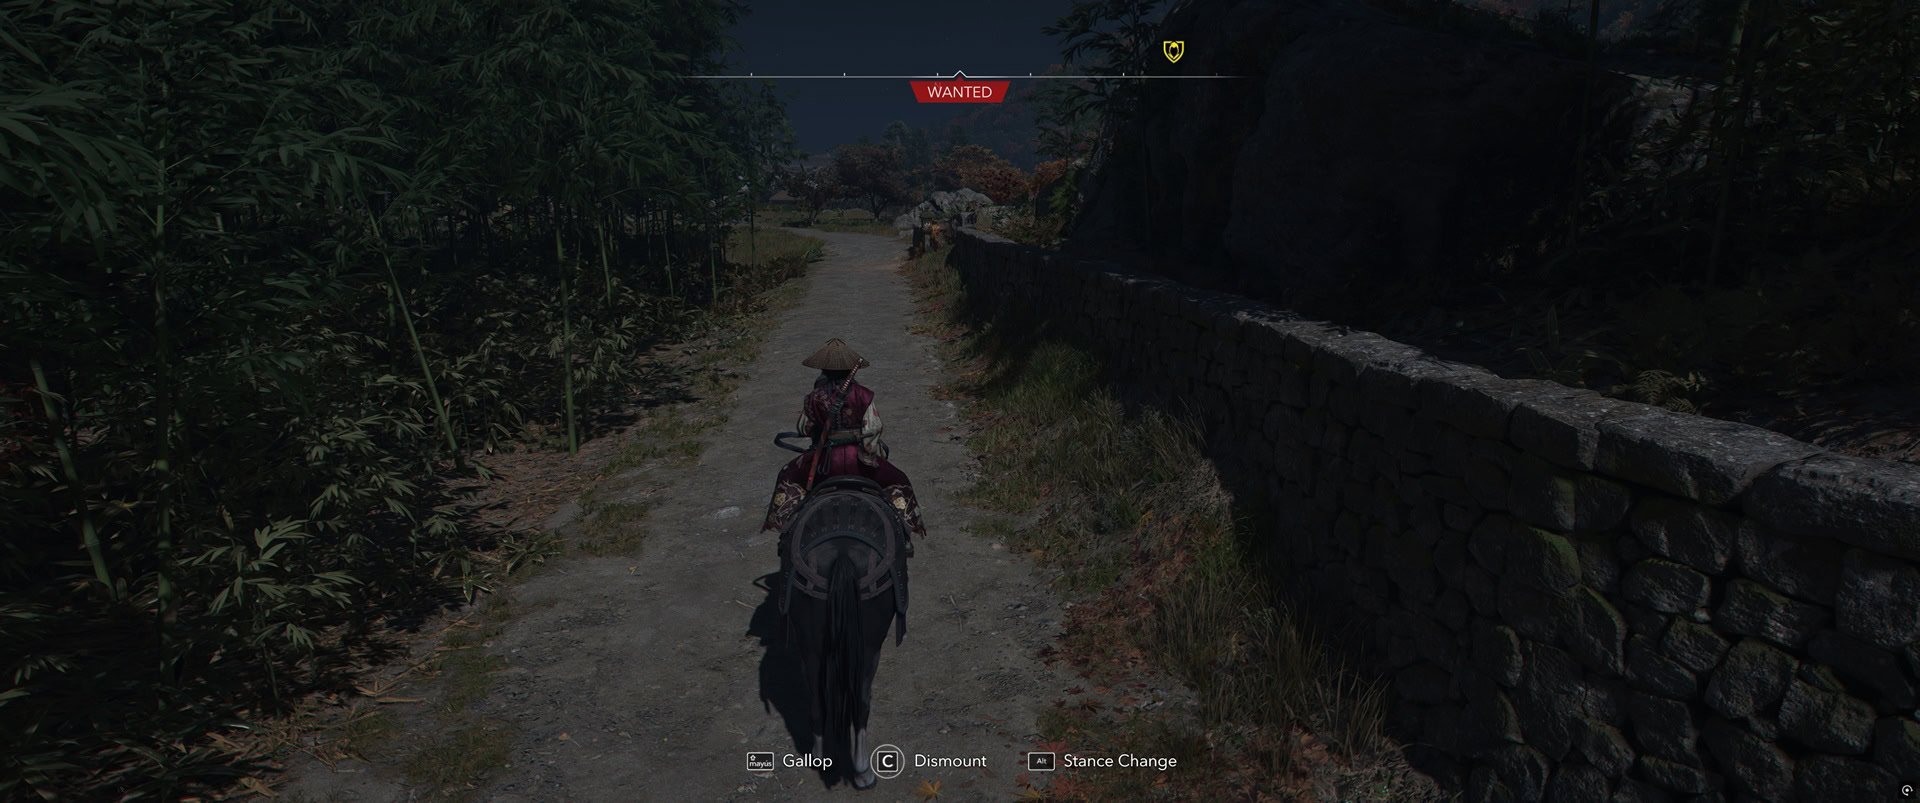
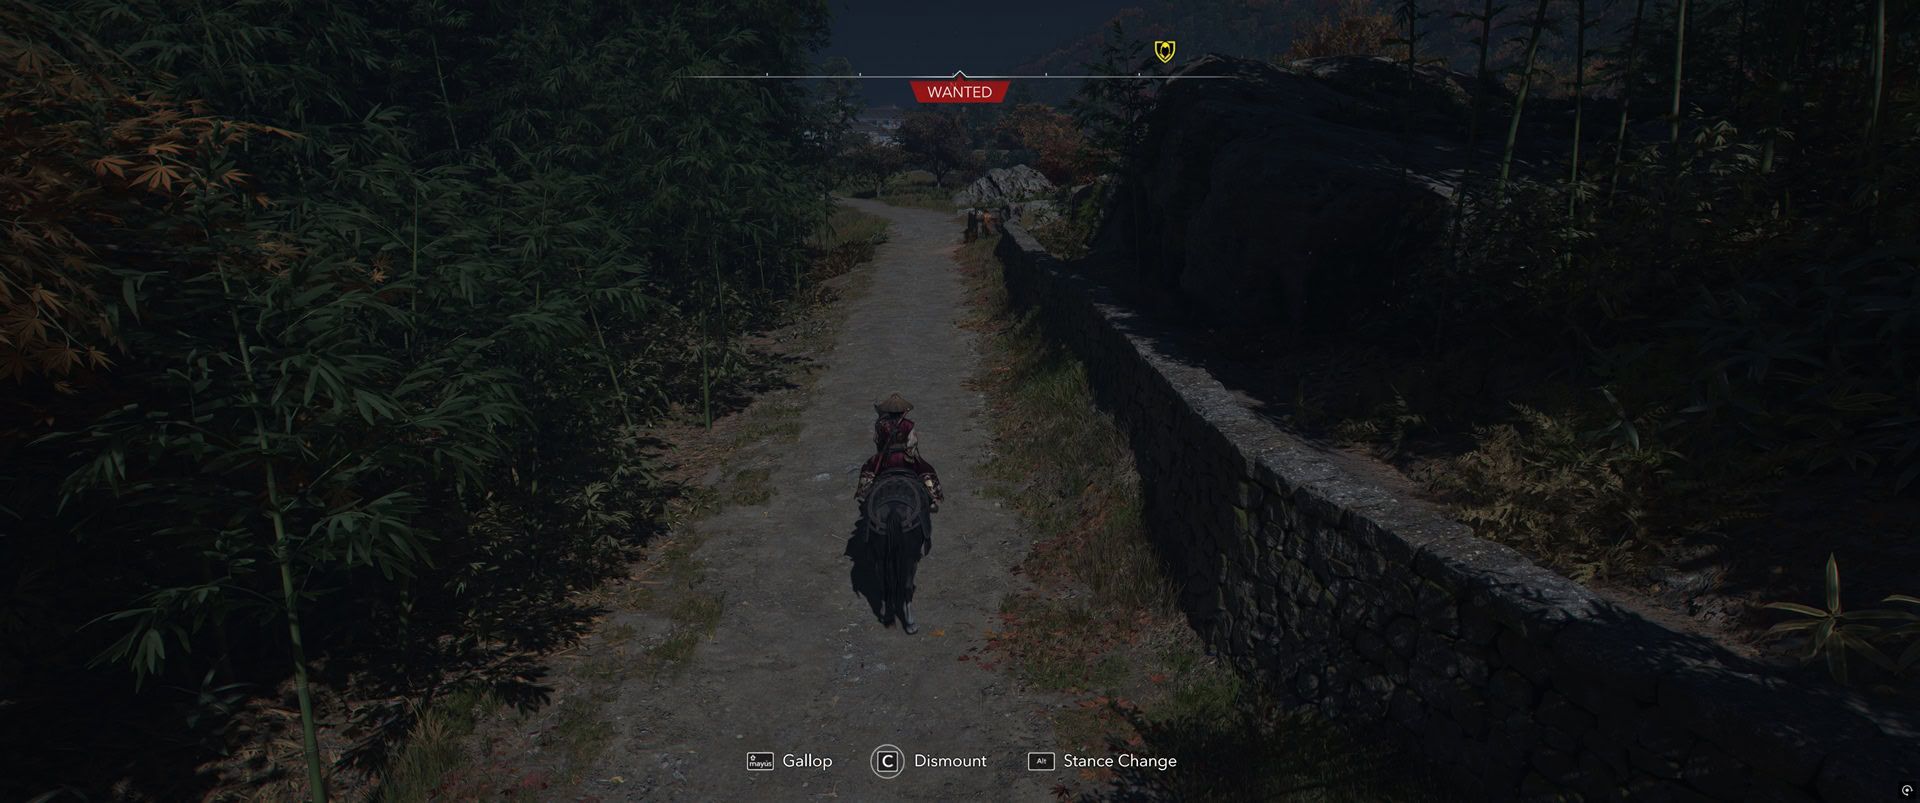
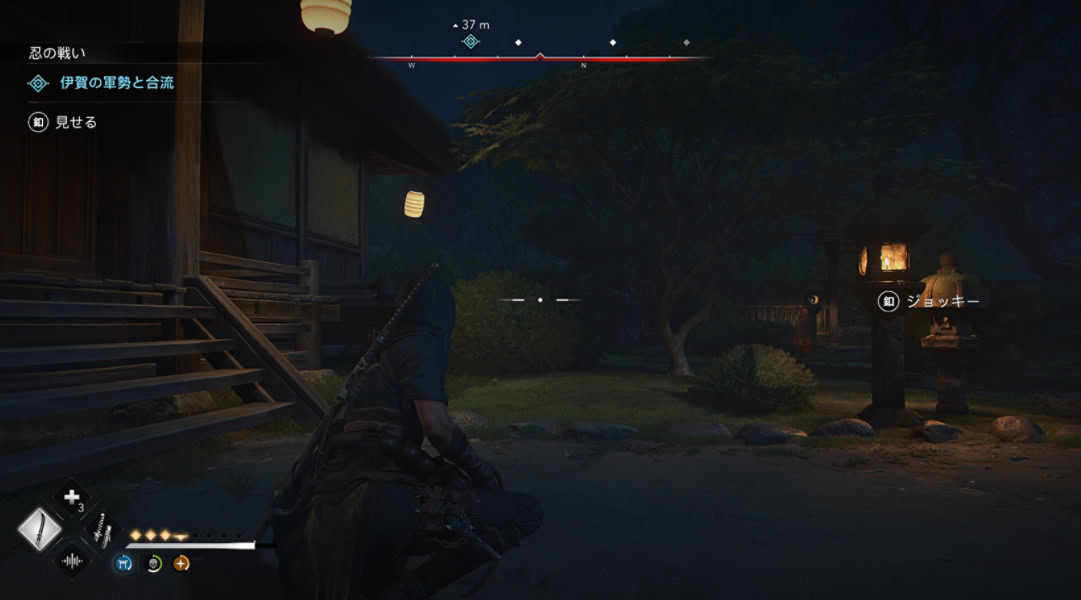
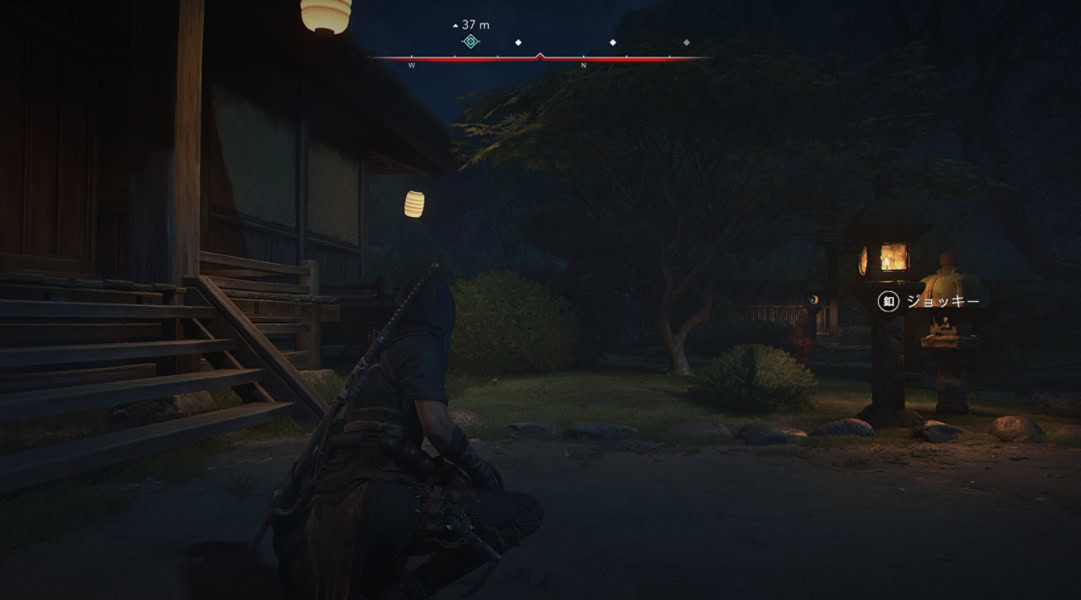
Horse camera presets
You can toggle between three different camera presets while riding your mount. This has no impact on the gameplay itself; it’s mainly for a more cinematic experience.
To change presets simply press the down button on controller and the “X” key on keyboard. or the corresponding buttons on your controller.
The following images show what the full screen looks like with each available preset.
Interface
In this tab, you should consider using Stretched UI if you play on an UltraWide monitor. The Centered mode may be helpful if you are on a really large screen, but for the most popular UW resolution of 3440×1440, you would not want the chunky interface sitting in the middle of your screen preventing you from immersing yourself into the gorgeous environments all around you.
Set the Text and Icon Size to Small. Unless you struggle to actually see them, those icons do not have to be any bigger than what the Small settings makes them. I personally would prefer them even smaller.
For better sense of immersion, switch the HUD Preset from Default to Simplified. The Minimal is not a setting I would recommend to a new player, especially if you are also new to the franchise.
As you gain experience and get more familiar with how the game works, you can change it to Minimal for better immersion.
Gameplay
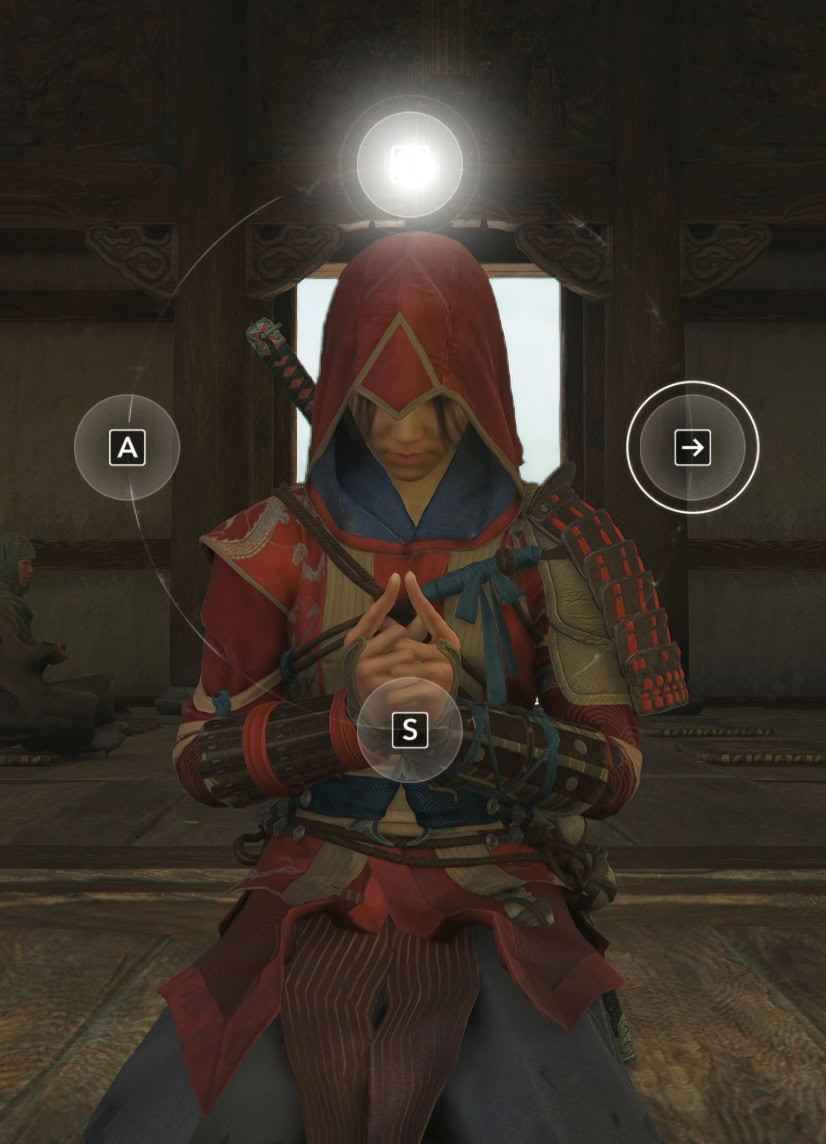
Quick Time Events is one of the things I would strongly urge you to change. The default option will have you go through the quick time events each time. There are no quick time events during the story and instead, are found in the side content.
Quick Time events include Kata for Yasuke or Kuji-kiri for Naoe. Switch it to Simplified or even better – Auto. On Auto, your character will automatically them. Considering the amount of Kuji-kiri locations, you would get probably bored and frustrated having to play the mini game so many times.
You should turn on the area loot option. This will allow you to loot all bodies within a given area. The majority of loot that enemies drop are trivial at best, but being able to pick up multiple rations at once is very useful in combat encounters.
If you’re playing with a controller, using aim assist can be useful for landing headshots with ranged weapons. You can always turn Aim Assist to Light or Off if you want a challenge.
VFX customization
You can disable/enable specific VFX for a more customized experience. A few examples are showing/hiding the loot on dead bodies, the last known position of the player, parry indicator, vulnerable enemies and special attacks indicators (enemies).
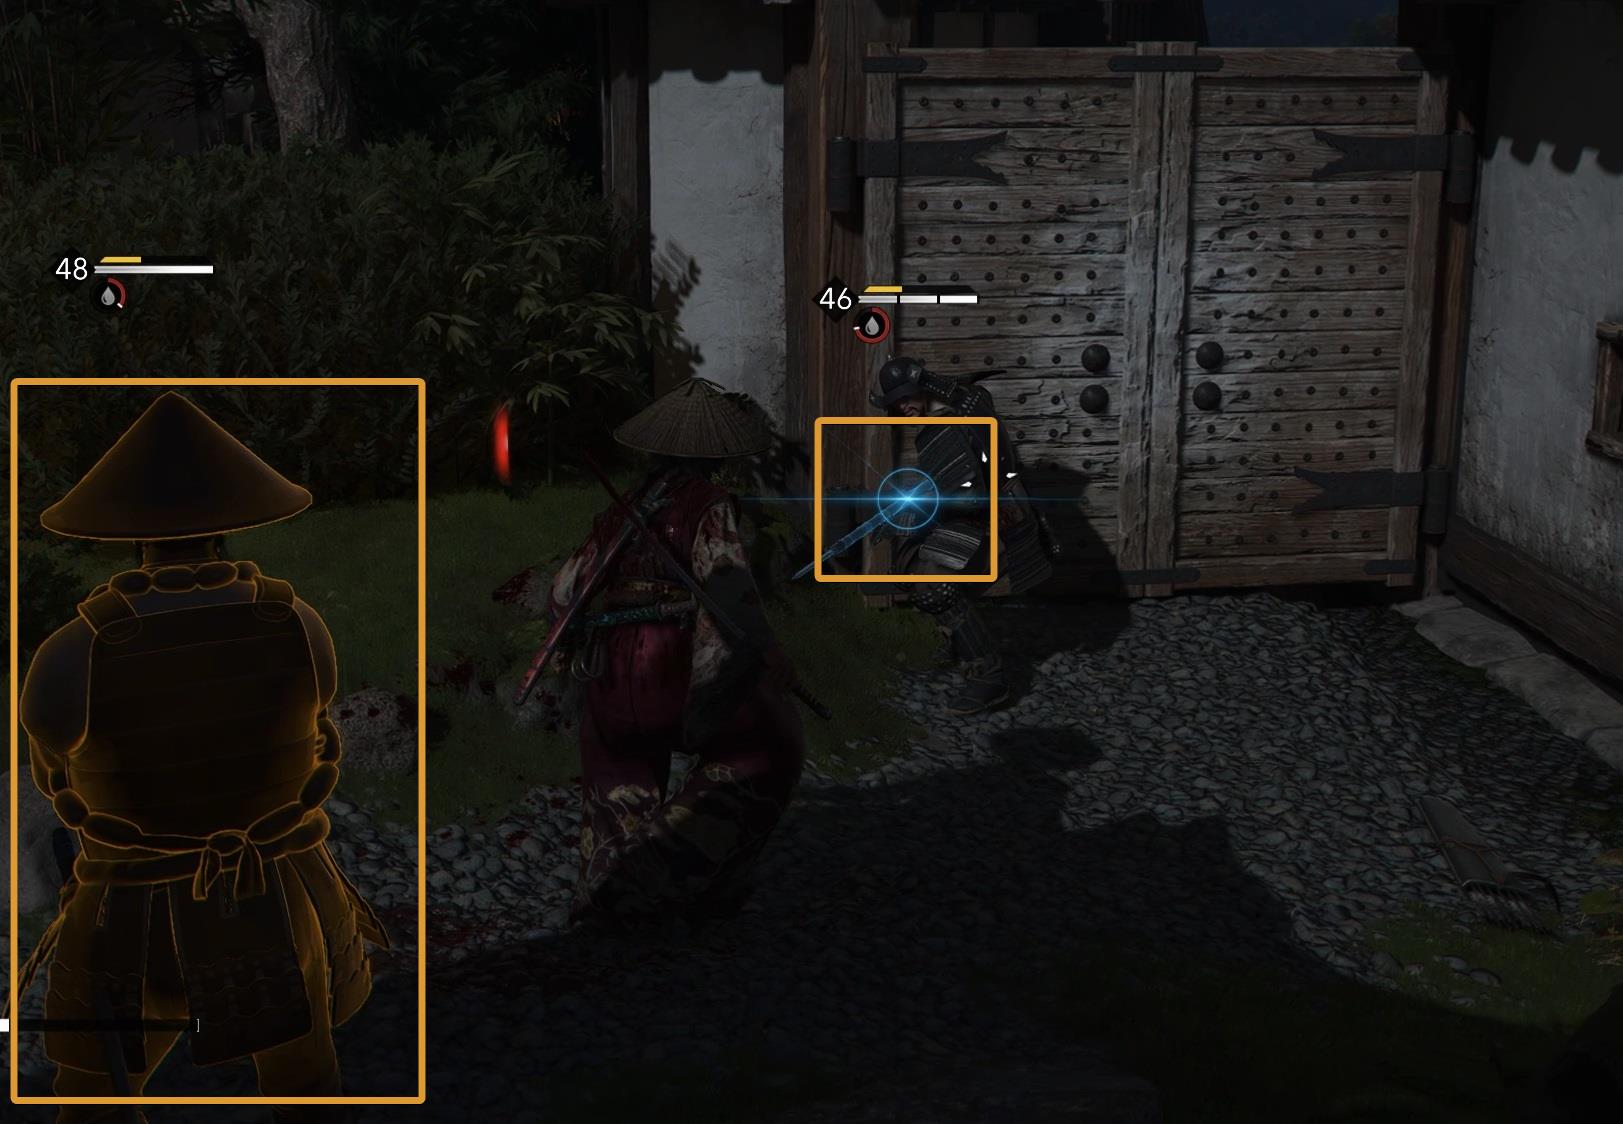
These visual queues are key when fighting multiple enemies. So keep in mind that while removing these will increase the immersion, the same is going to happen to the difficulty. I really wouldn’t suggest it unless you want a difficult challenge.
Conclusions
Apart from the Guided Mode and Canon Mode, most of the other settings are more or less up to personal preferences. You can switch something on or off, test how it feels and then revert it. The only setting you cannot revert is the Canon Mode, so do be sure about your decision with that option.