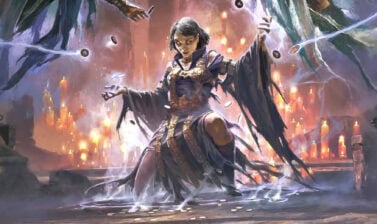
This Twister Build for Path of Exile 2 uses the Amazon Ascendancy to create multiple Twisters that shred enemies and bosses quickly.
Table of contents
Build Overview
This build for Twister is a Melee and Ranged hybrid for the Amazon. However, it may be possible to adapt the build to a Deadeye or Invoker if desired.
Twister is our Main Damage skill, which we support with Whirling Slash to make it even stronger. This allows Twister to create multiple high-damage projectiles that Pierce through enemies and clear enemies with ease.
Parry is one of our main defenses, which we’ll use alongside Disengage to help keep enemies off us while generating Frenzy Charges. Until later levels, this will be our most consistent source of Frenzy Charges.
These Frenzy Charges will be spent on Storm Lance to create Shocked Ground for our Twisters to further increase their damage. This is not only the results of the Shock, but also because Twisters will gain 50% of their Damage as Extra Lightning Damage this way.
For additional protection, we’ll also have plenty of Evasion and Energy Shield to rely on as well as the natural Blind applied by our main combo. This makes us very hard to hit and easy for us to absorb blows.
The grid below is fully interactive. If this is your first visit, we recommend you skip that grid and keep reading the guide in its intended order. If you prefer, you can click or tab on an item and it will take you to a dedicated section of the guide explaining everything you need to know it.
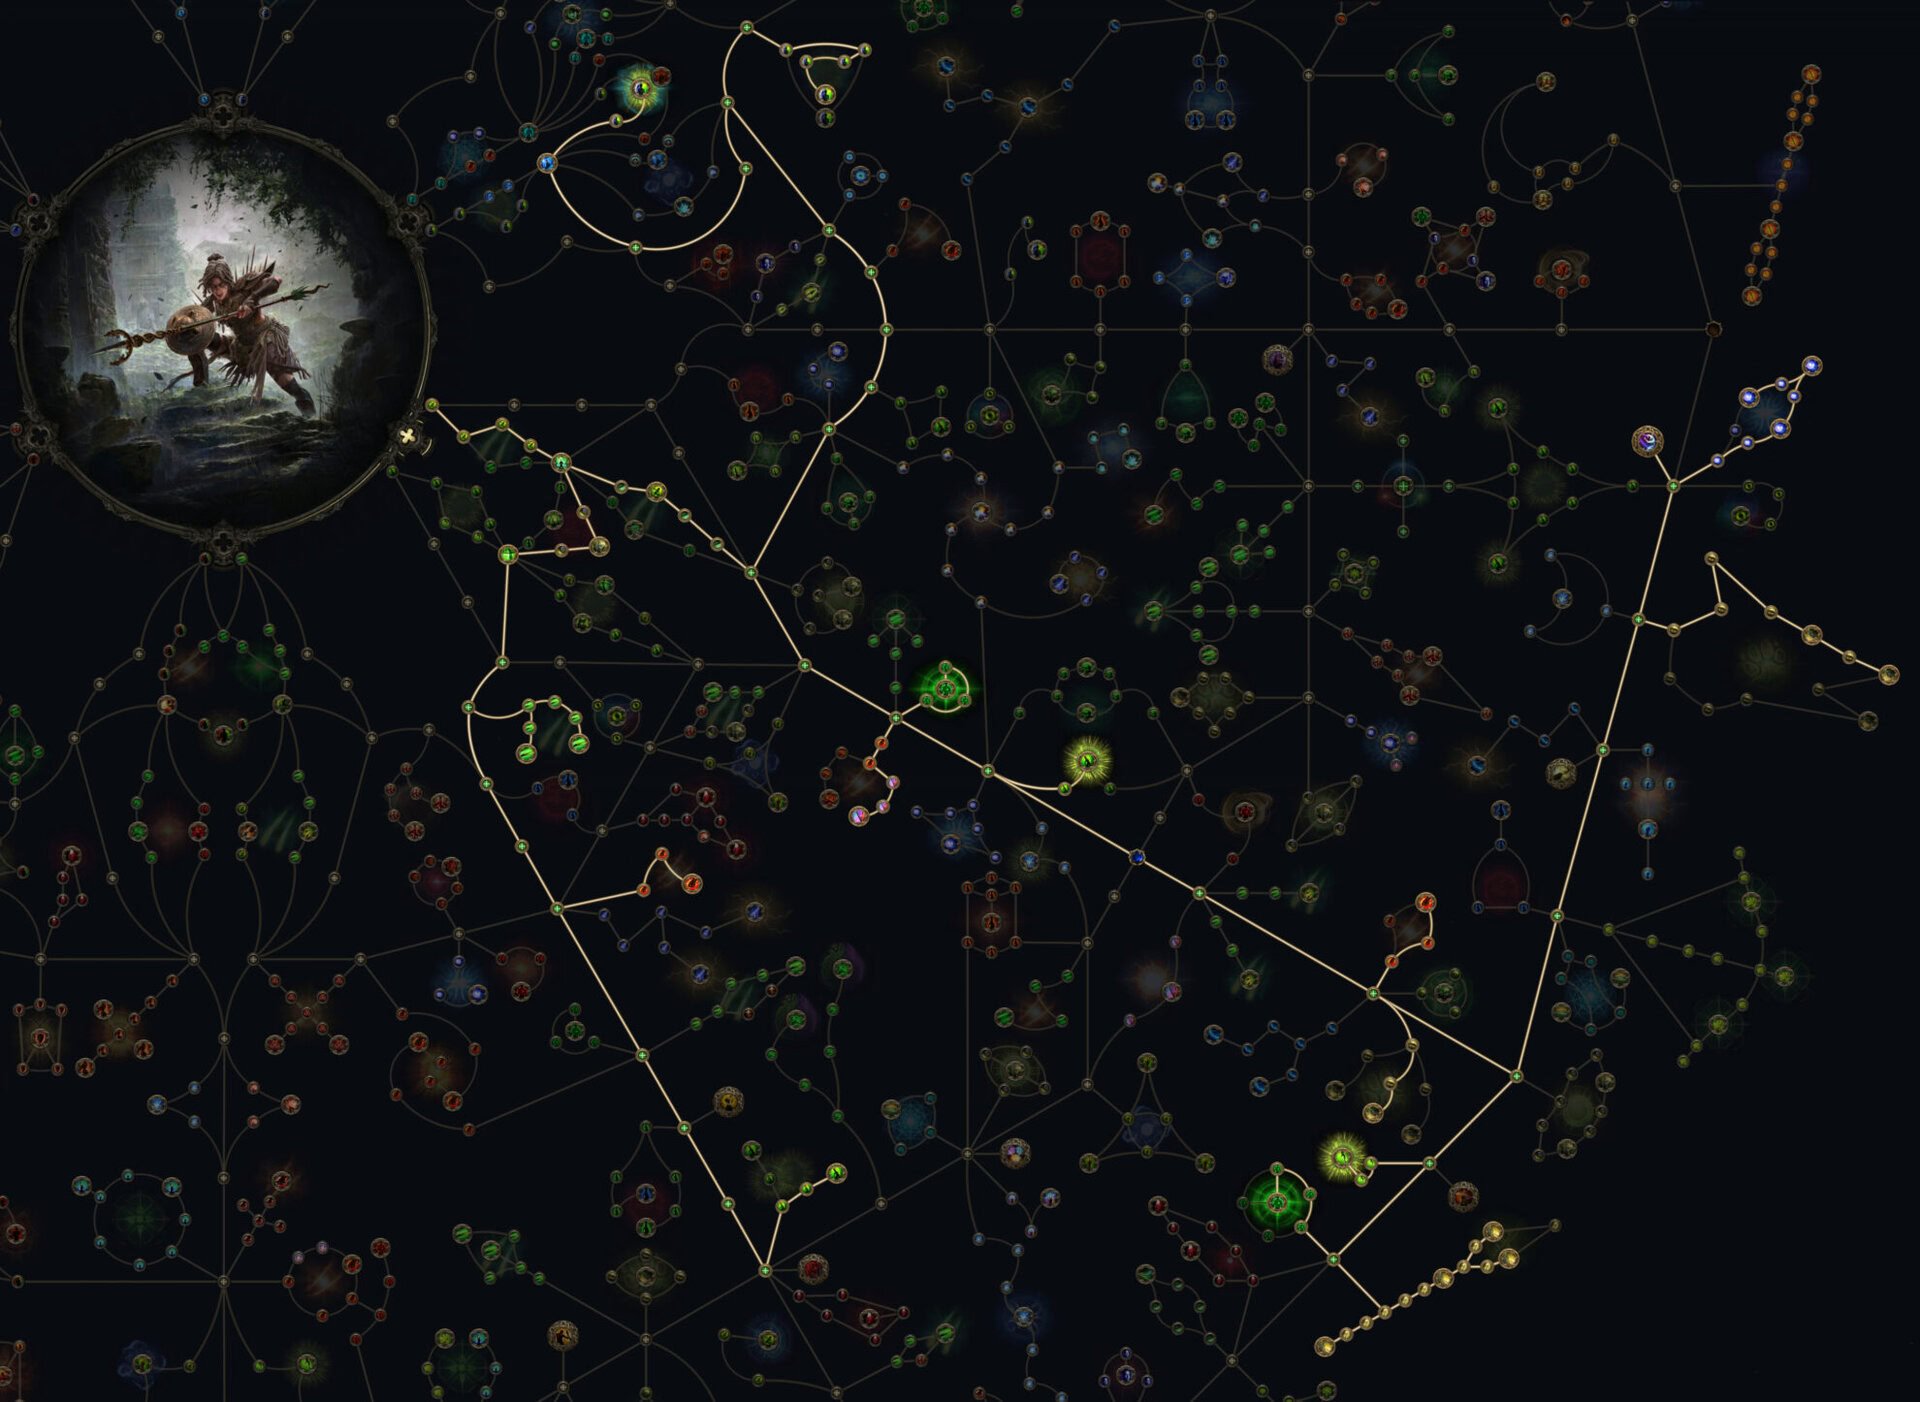
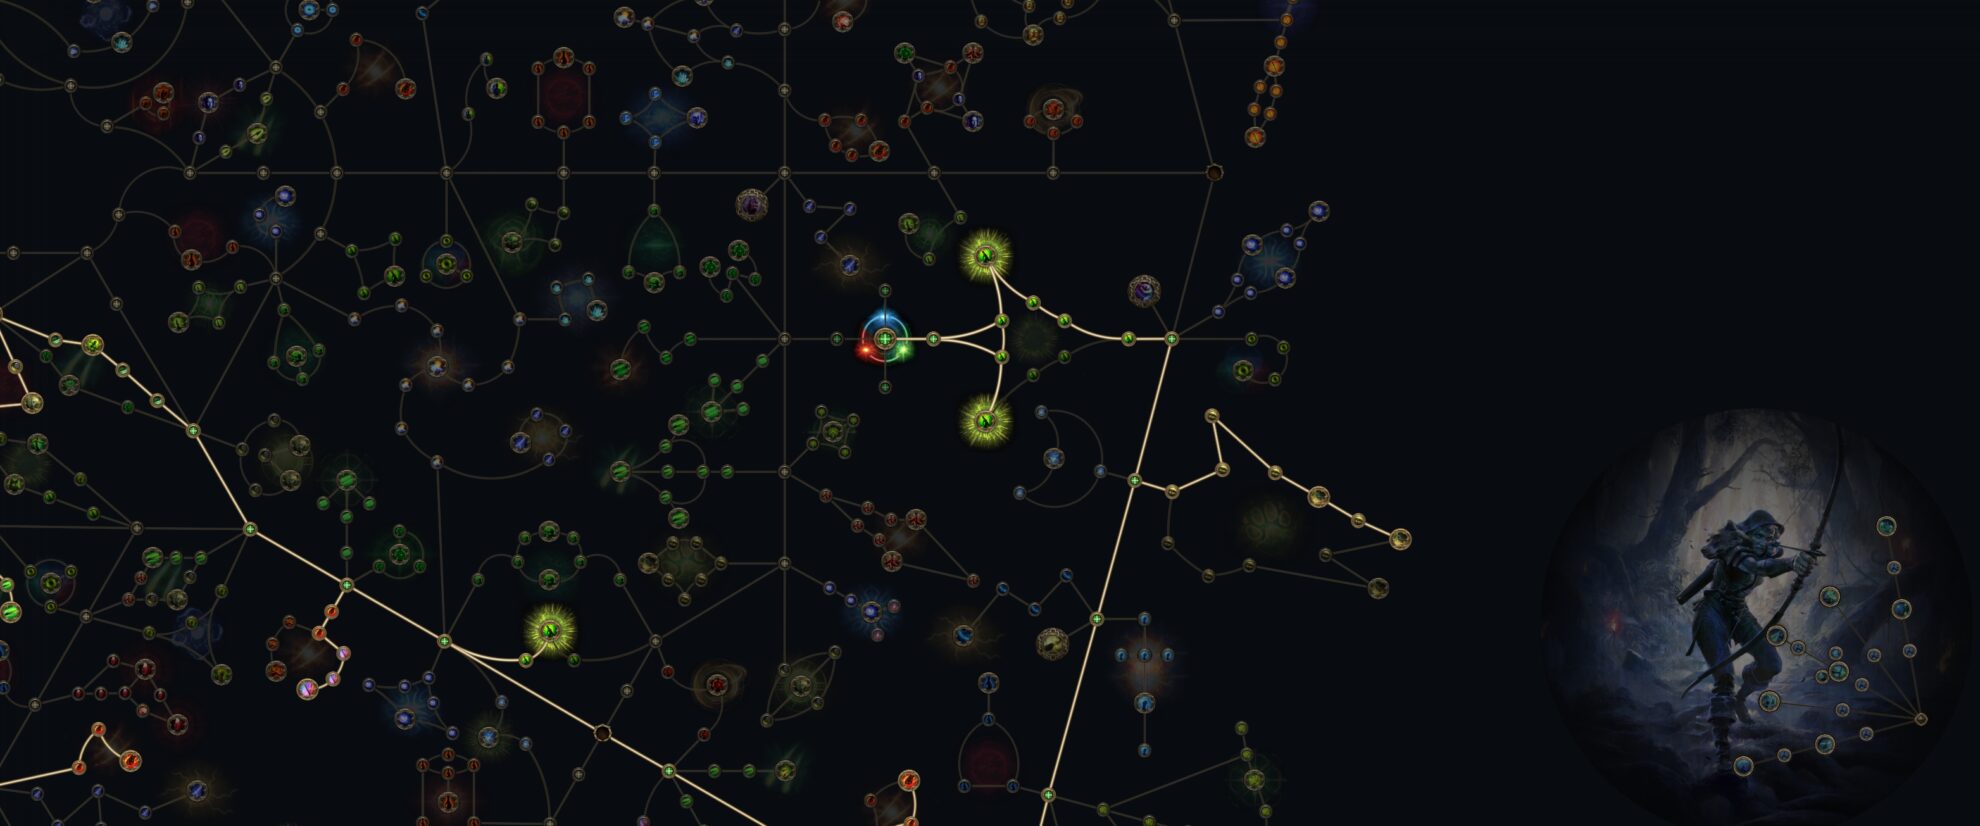
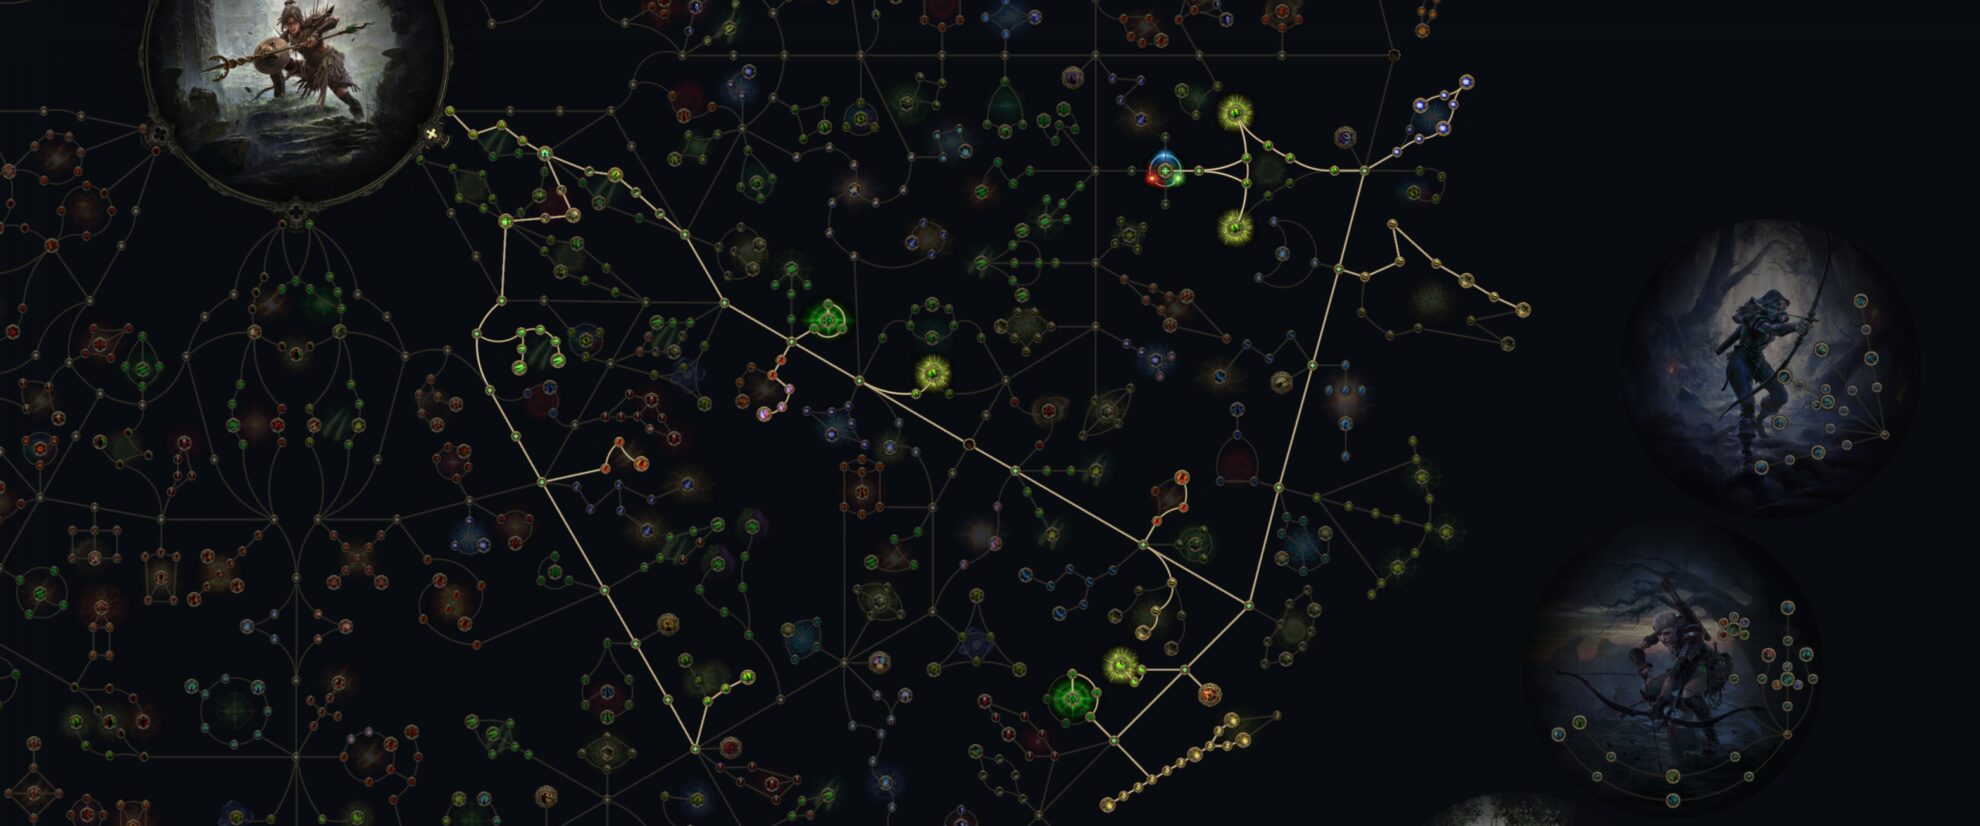
PaSSIVE tREE


Playstyle
For weaker packs of enemies, we’ll just cycle between three uses of Whirling Slash followed by Twister to consume the Whirlwind. So long as our Spear is on par with its damage, this is more than enough to clear the vast majority of enemies.
For Rare and Unique enemies, we’ll be looking to Parry them and immediately follow it with Disengage to get a Frenzy Charge. Then we’ll spend the Frenzy Charge with Storm Lance for Shocked Ground. Then we repeat our normal cycle, parrying enemies as the opportunity arises to maintain the Shocked Ground.
Skills
Below are the Skills we use for the build, including their Support Gem Links
Twister
Twister is our primary skill and deals most of our damage, with the rest mostly coming from Whirling Slash. Despite its appearances, these Twisters cannot “shotgun”, or multi-hit on enemies when being initially released, they can however still hit multiple times if they connect again after a short delay.
Lightning Infusion
With the damage boosts from Whirling Slash, Lightning Infusion allows us to shock very consistently for extra damage.
Innervate
The consistent shocks from Lightning Infusion allow us to get use out of Innervate. With the bit of Skill Effect Duration we get on our Passive Tree, we’ll get a slightly bigger window to make use of it.
For bosses, it’s recommended to swap this with Close Combat or Rageforged, as it will not trigger during most Bosses.
Primal Armament
Primal Aramament is a strong damage boost paired with Lightning Infusion and Innervate.
Heft
Twister is primarily Physical Damage, which means Heft allows it to hit even harder, and get more value out of our other supports.
Bullseye
Bullseye is one of those lesser used supports, but on Amazon it’s absurdly strong. It’s strong enough to be a 2nd or 3rd link, but the combination of Lightning Infusion and Innervate works extremely for early game, but once we get Critical Strike, this is very consistent.
Whirling Slash
Whirling Slash is mainly a support tool here, and we’re able to use it to great effect. Its level doesn’t matter too much, but it will still do decent damage due to the Innervate Buff and Rage.
Martial Tempo
Since we’ll be using this multiple times in a row, Attack Speed is crucial here. The faster we stack it the faster our burst damage from Twister can come out.
Rage
Being a Melee Skill, we’ll be able to build up Rage to not only increase the damage of Whirling Slash, but also our Twisters. It’s a another damage bonus we can get that doesn’t take up a slot for Twister.
Inspiration
The Mana Cost of Whirling Slash gets fairly high compared to even Twister, which will often have more Supports affecting its cost. This helps keep it low since we need to use it a lot more than Twister.
Cadence
Since Skill Speed is all we care about with Whirling Slash, Cadence is a nice option. The only downside to using Cadence is that we cannot use it as freely as before, as it initiates a 10-second cooldown when used 6 times within 4 seconds. Its tricky to play around but a great way to get that extra bit of speed.
Parry & Disengage
Parry is a form of Active Blocking that applies a debuff on enemies causing them to take increased Attack Damage. Disengage is skill with a short cooldown that we use to capitalize on that debuff to generate Frenzy Charges.
Unbreakable
Unbreakable is slotted into Parry, making it significantly harder for enemies to trigger Heavy Stun, including bosses.
Steadfast
Steadfast will keep us safe from Elemental Ailments while Parrying. This helps prevent the rare situations where Freeze or Shock can result in our Parry ending early.
Profusion
Profusion is for Disengage, giving it a chance to generate two Frenzy Charges instead of one. While one will generally last us most of the Frenzy Charges Duration, it does let us setup another Storm Lance if needed.
Overpower
Overpower is an optional addition for Disengage. It make Disenage a good one-two punch for bosses, often getting quick and easy Heavy Stuns when used to follow up on Parry.
Storm Lance
Storm Lance we use specifically with Frenzy Charges, as it allows the Spears to detonate and create Shocked Ground to further increase our Twister damage. We only need Peptual Charge, but we’ll include some other options to consider.
Perpetual Charge
Perpetual Charge allows us to occasionally not consume a Frenzy Charge when used. This is the only support we really need for Storm Lance as its main purpose is creating Shocked Ground.
Fast Forward
Fast Forward can be useful, but it’s a double-edged sword here. While it makes Storm Lance Detonate sooner, it also reduces the duration of the Shocked Ground. Without Despoiler to extend just Shocked Ground Duration, it can be very hit or miss.
Salvo
Since we use the skill infrequently, Salvo can be good here as well. For this to work consistently, though, it will need Max quality, so increase the spear count to 4, as well as Magnified Effect to increase the area of the Shocked Ground. This will create a huge patch of Shocked Ground around us, so we’re not confined to just the tiny area provided normally.
Sniper’s Mark
Sniper’s Mark is a great alternative to Disengage for getting Frenzy Charges. It doesn’t even require investment in Critical Hit chance to be consistent, and still works if we opt to use Dance with Death.
Persistence
We’re only using it for the Frenzy Charge, so getting more time to trigger it is helpful.
Profusion
Profusion should be moved here from Storm Lance if using Dance for Death. Since we won’t be able to Parry this is our only option for Frenzy Charges.
Tame Beast
Tame Beast allows us to capture a Beast-type Enemy and have it as a companion, including its Auras and other effects. We only need two links for this, so the rest will cover useful effects. Quality is important for reducing the cost of the companion!
Our Beast must be fast, for which I recommend Rabid Dogs or Plague Harvesters. Avoid Antlion Chargers at all costs, as they are incredibly slow.
Meat Shield
Meat Shield makes our Companion take less damage. The longer they stay alive, the more we get all the benefits from it and our Passive Tree.
Minion Mastery
Minion Mastery adds a bit of extra bulk to our Companion without extra investment.
Haste Aura
Haste Aura is one of the most beneficial effects our beast can have. Attack Speed does wonders for us, and we get more movement speed on top of our boots as well.

Trail of Lightning
Trail of Lightning is amazing for builds that want Shocked Ground, as it means our Companion will generate it for us.

Other Effects
All of these effects should be considered extra, but are all great to have if we can get them in addition to our two priorities above.
“Energy Shield Aura” is a phenomenal addition to our final lategame setup, and still decent before then.
“Heals Allies and Reduces foe Recovery” is great for keeping Life Regen effects in check, especially when it comes to Rogue Exiles healing mid-combat during the campaign. It can also heal us quite a bit too, though not very reliably.
“Conjures Lightning Storms” Is excellent for added damage, though we won’t be scaling it at all.
“Regenerates Life”, “Extra Energy Shield”, or “Magma Barrier” are all great options for their defenses.
Herald of Thunder
Herald of Thunder is a great supplemental Damage, often sets our Twisters up to easily clear packs of enemies. It has a lot of strong supports we’re not using on other skills currently.
Longshot
Since more often than not, our Twisters will be trigger this at a distance, Longshot is usually in effect for more damage.
Deadly Herald
We’re only using the one Herald, so this is a damage boost we’re not able to use anywhere else. This does, however, increase our Reservation cost by 20, so we may want to swap this later on for something like Concentrated Effect to free up that Spirit.
Elemental Focus
Herald of Thunder is already unable to Shock, so this doesn’t have a downside here and is just free damage.
Reach
Since Magnified Effect is often taken by Storm Lance to give us a larger zone of Shocked Ground
Wind Dancer
It’s just not an Evasion build without Wind Dancer, though it’s been toned down quite a bit. We’ll load it up with useful supports, so long as we have the Spirit to use them alongside our other Spirit Skills.
Cannibalism
Since we’re Life-based, Cannibalism is a great support to help us stay healthy in combat, particularly while mapping. Life Recovery from defeating enemies is fairly reliable, even though it’s a smaller amount.
Clarity
Clarity helps eliminate any Mana Issues alongside some flat Mana here and there.
Warm Blooded
Freeze is the Ailment we have the worst time with, and this support helps us deal with it reliably and consistently compared to a Thawing Charm. It’s easier to just use a Thawing Charm in most cases, but this also frees up our Charm(s) to deal with Poison or Bleed instead.
Precision
If we’re going to stack Accuracy, we can’t be without this. Normally, we’d never need it, but in this case it provides a ton of damage. We have no need for it right away, but it can certainly help as we won’t have immediate access to Cannibalism or Warm Blooded while leveling.
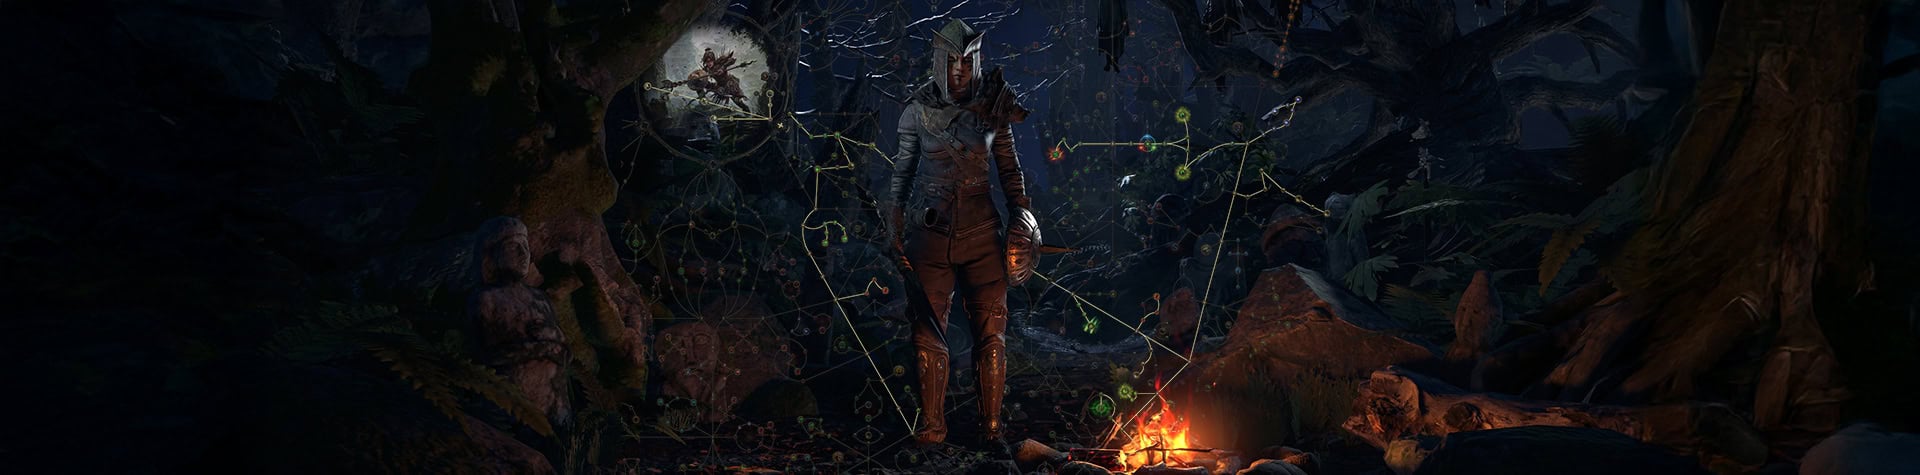
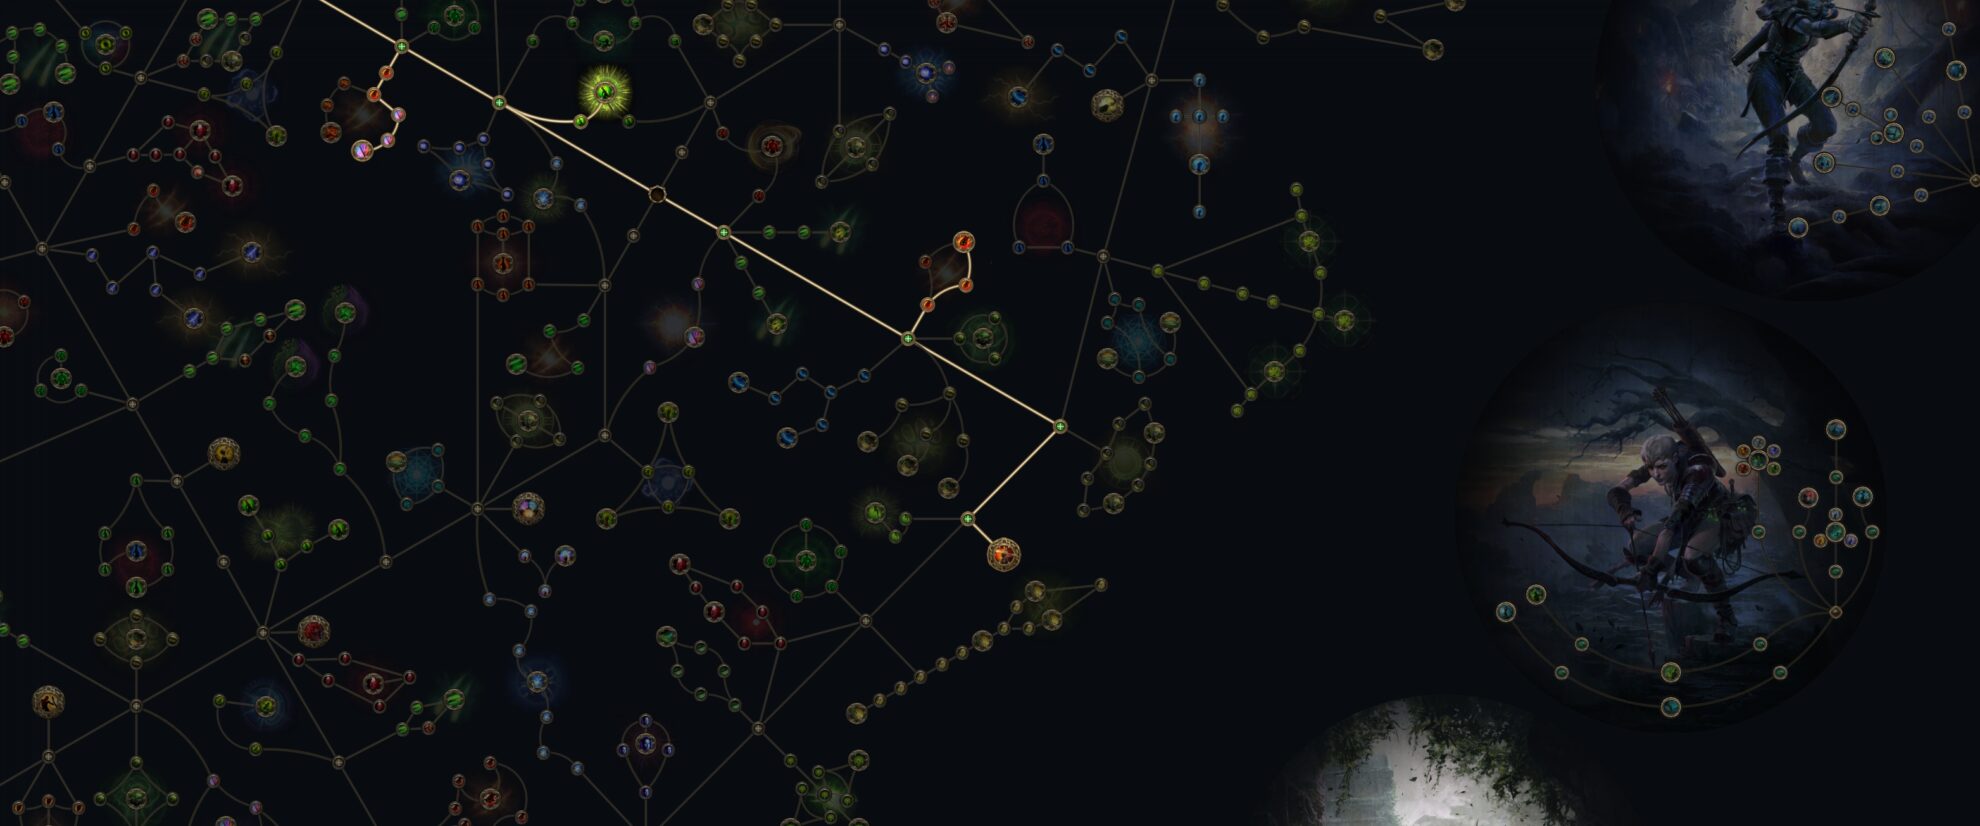
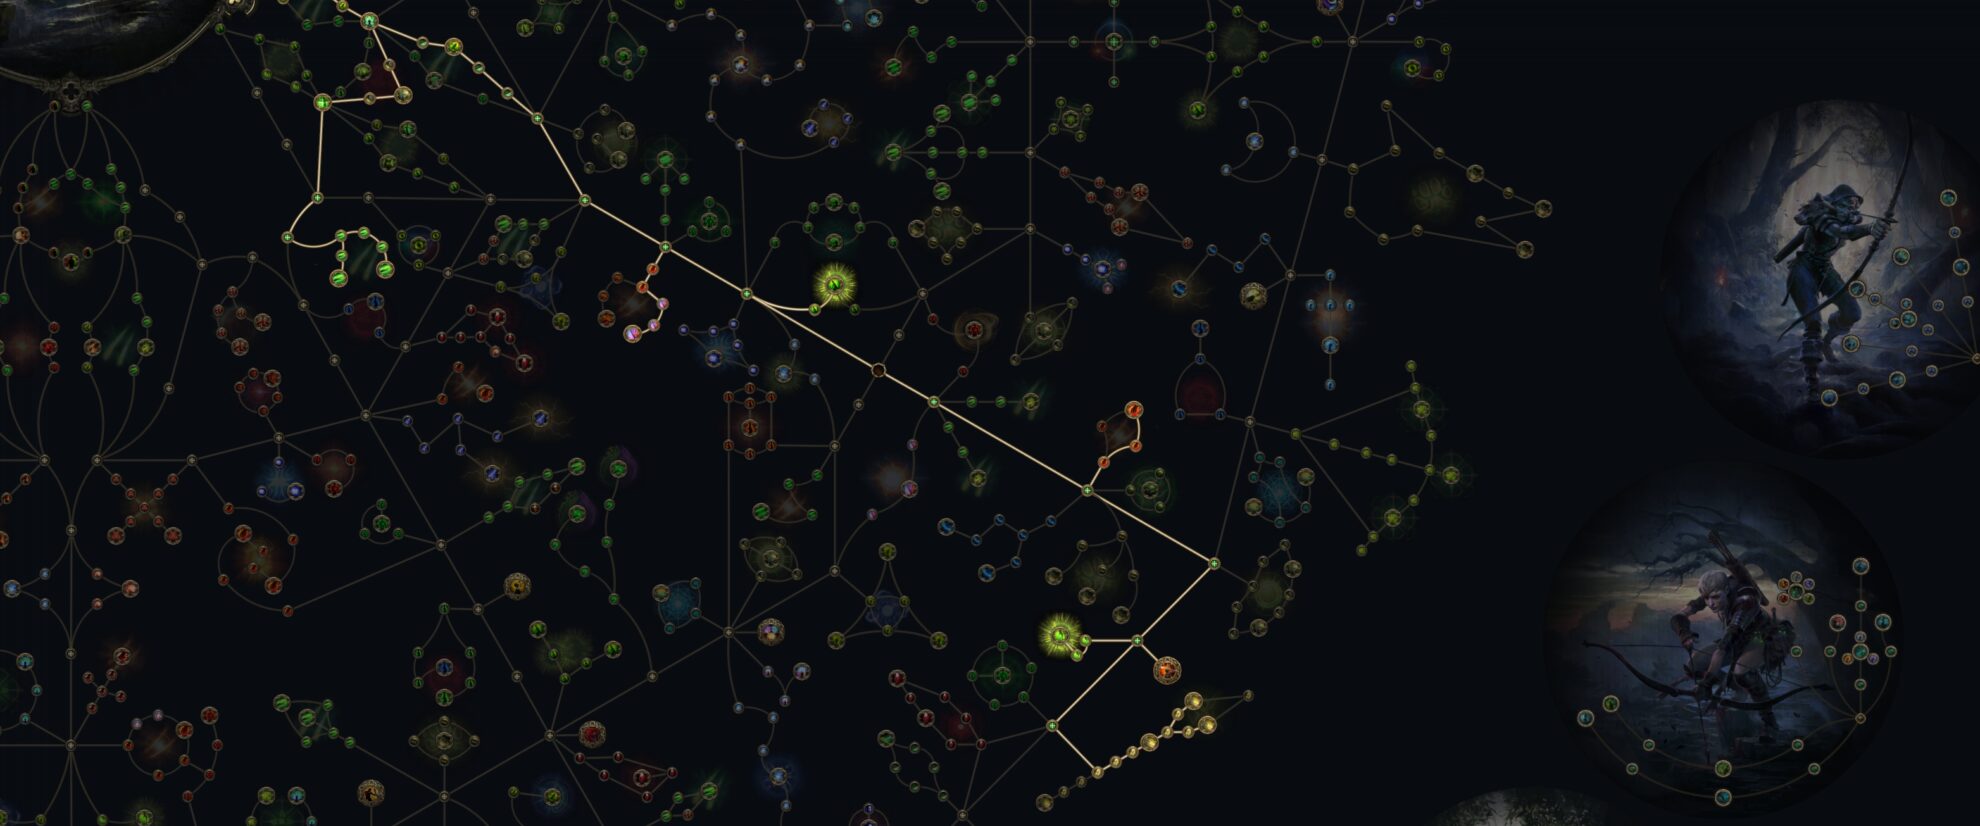
Passive Tree
Below is the Passive Tree we use for this Skill, and an Act-by-Act breakdown of how we progress the skill tree
Act 1
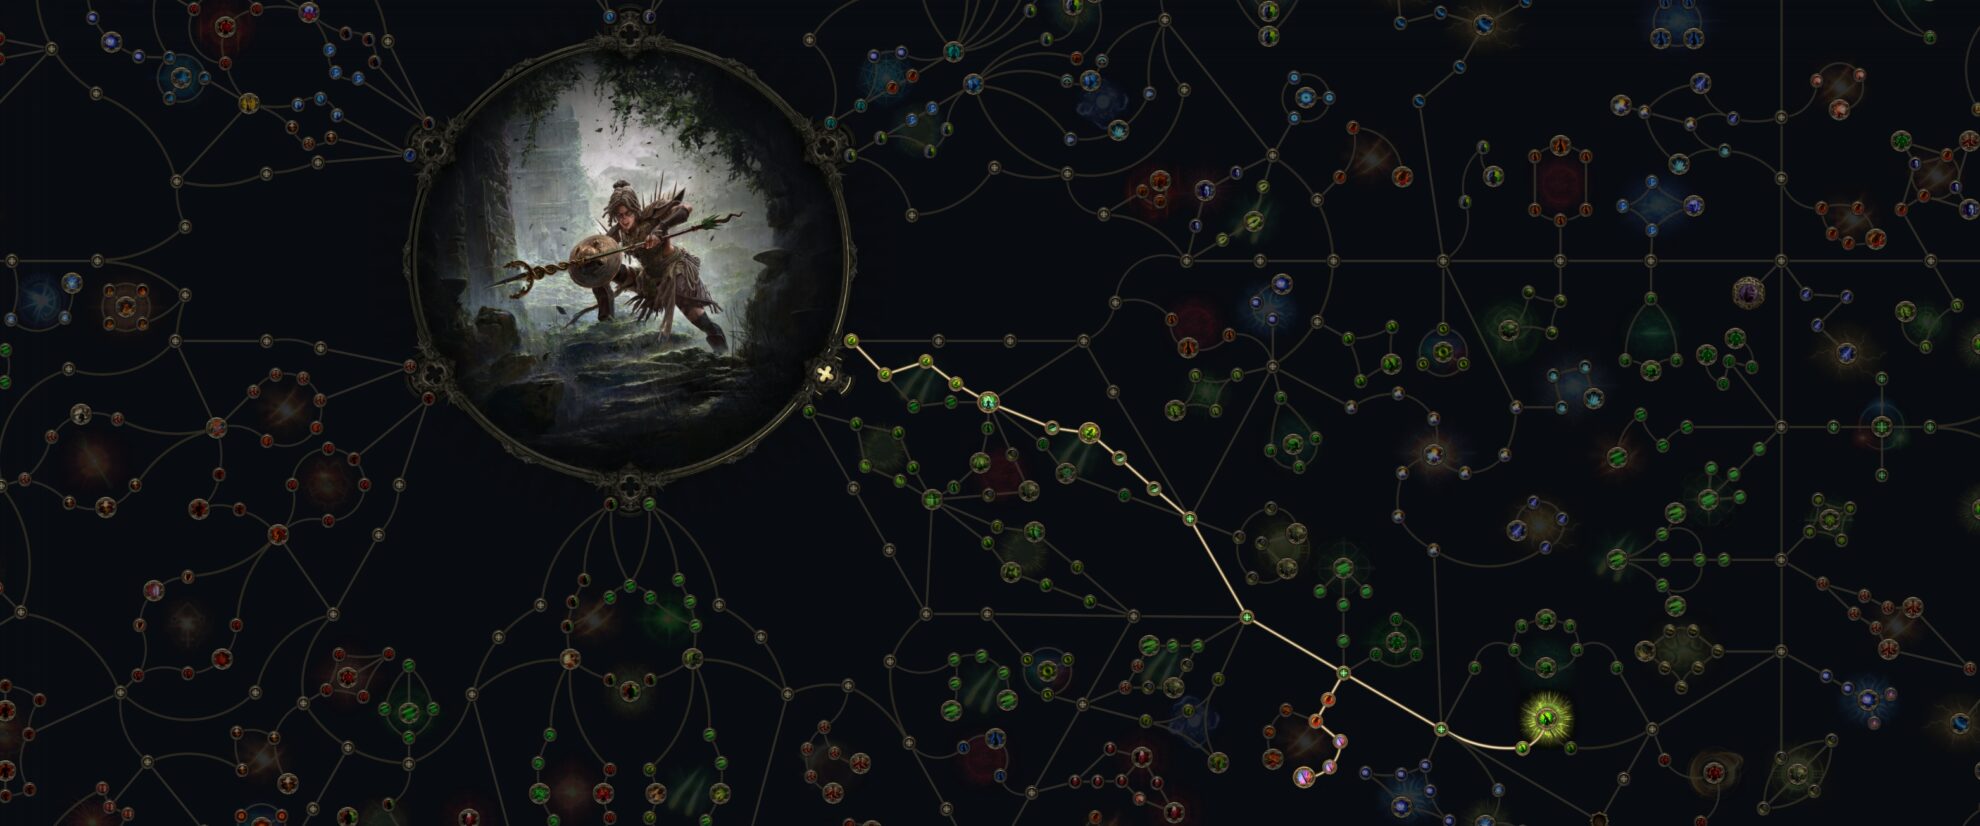

We’ll start this Act by grabbing all the early damage we can. Primal Instinct is a good bit of early Attack Speed as well as some AoE. Stalk and Leap plays nicely into our combo.

Then we’ll grab Escape Velocity for Movement Speed before continuing to grab Primal Sundering for more damage
Act 2

We’ll pick up Maiming Strike on the way to Dance with Death. This potent Keystone will take care of most of our Attack Speed needs for the early game.
We have to take our Buckler off to benefit, but it makes our rotation super smooth this early. It’s still recommended to use the Buckler for Early bosses, as many of them can be parried with little risk and even interrupt annoying attack patterns, but we don’t need to unallocate Dance with Death to do that.
Our first choice of Ascendancy will be Critical Strike. This gives us an insane boost to Critical Hit Chance, which we’ll continue to build on top of as we go.
Act 3
Immediately following Dance with Death is another massive power increase, as we’ll head into the Spear Cluster.
Focused Thrust is a powerful passive for our build, empowering both parts of our main combo when it’s the most beneficial. Then we grab Precise Point and Roll and Strike for another damage boost and a ton more Attack Speed
Then we can pick up Acceleration for Movement Speed and more Skill Speed for what has already become a blender for most enemies.

Then we’ll head back to the start, and pick up Reflex Action, to make Parry more reliable. Then Pass through Blur to reach Heavy Ammunition and Careful Aim.
Our Second Ascendancy will be Predatory Instincts. It’s a great damage bonus which gets even better for us with the next Ascendancy
Act 4


We’ll start Act 4 by heading down to Prolonged Assault for more Attack Damage, but also Skill Effect Duration for Storm Lance.

Then we’ll head up and pick up more damage through our Companion, since we have access to one by now. We’ll go along the top of the Companion cluster on the right side, picking up Inspiring Ally and Easy Going.
Act 5
For Act 5, we’ll start building our defenses up. We’ll head up and grab Enhanced Reflexes and Beastial Skin. Between these the the connecting nodes, it’s a healthy boost to our evasion. Then we’ll pick up Proficiency for the Dexterity.
Act 6
Act 6 is where we’ll grab the last bit of Evasion we need by heading down from Prolonged Assault to grab Careful Consideration. We can also pick up Lifelong Friend to help our Tamed Beast have less downtime if it dies.
Early to Mid Maps

Now that we’re in Maps, we’ll start leaning more into heavily building up our Dexterity, Accuracy, and Crit. We’ll start with the Crit Cluster near Acrobatics, Taking Heartbreaking first, then Struck Through, to reach Heartstopping.
Next, we’ll head down near Dance with Death to grab Javelin from the Spear Cluster and Falcon Dive just above. Then we’ll grab Precision Salvo across from Primal Sundering.

Until we’re ready to swap to our final endgame setup defensively, we’ll also take Acrobatics. This sets us back some of our Evasion, but allows us to evade everything. AoE attacks are much less
For our third set of Ascendancy Points, we’ll want to grab In for the Kill first, as this gives us a massive jump in Movement and Skill Speed while a Rare or Boss near us has an Open Weakness.
Endgame Maps

We don’t have much left to do with the tree, however, by taking Stalking Panther as our last Ascendancy, which doubles the Evasion from our other armour pieces, but halves what we get from our Body Armour. Instead, we’ll swap our Evasion body for one with Energy Shield.
Once we’re ready to make the swap, we’ll drop the evasion cluster near Acrobatics to put points toward getting Immaterial and Mindful Awareness near the Monk’s starting area. This gives us a good amount of Energy Shield with virtually no loss of Evasion.
Endgame with Diamonds


With limited access to Jewels Sockets around us, getting two at most, our Diamonds have to make an impact.
By far, the most impactful thing we can do is get a From Nothing focused on Oasis. This allows us to save 6 Passive Points that’d otherwise be spent on Careful Consideration. We can then use these to get more of the Evasion and Energy Shield nodes around the Monk area for our endgame setup.

Prism of Belief is also a great option for the remaining slot. More Levels for Twister are more impactful than what we can get from limited Jewel Sockets.
Gear and Stat Priorities
This section lists and explains the recommended stats for our gear and any Uniques we recommend. Click or tap on an item to read its recommendations. The items with a lighter border are uniques and are at explained at the top of the segment right below this grid.
We should aim to have a Massive Spear as our Main weapon. The most important thing we get here is Physical Damage prefixes, the higher the better. For Suffixes, Level of Projectile Skills, Attack Speed, and Critical Damage Bonus are all valuable Suffixes. Dexterity and Critical Strike Chance are fine settles for Suffixes.
Our Offhand is a typically a Gutspike Buckler, and is one of our best defensive slots. We’ll want Life and Resists alongside either High Block or high evasion.
At the end game, it’s better to swap to Lycosidae if we can find one. A Shield that doubles our Accuracy is insanely strong on Amazon. Just be sure to plan resists accordingly.
For our Helmet, we’ll want to get a Trapper Hood eventually. We’ll want to get High Evasion Rating, Life, and Resistances. Intelligence can also be a good pick-up here to prep for the eventual endgame gear set.
For the majority of the game, we’ll want to use a High Evasion Chest, ultimately aiming for a Slipstrike Vest. The only thing we care about here is Life, Evasion, and Resists. Spirit can be great too if we luck into it but not necessary if we get it on our Amulet usually.
At the endgame, after taking Stalking Panther, we’ll want to swap to a Havoc Raiment or Vile Robe. We can opt for Maximum Life on this as well, but Spirit is just as good here. Outside of that we’ll want high Energy Shield and Resists. Reduce Attribute Requirement is also great here so we don’t have to go as heavily into Intelligence and we can keep Strength on Rings for more Maximum Life.
For our Gloves, we’ll want Barbed Bracers with High Evasion and Life. For the Suffixes, however, we have some option besides resistance to consider. Attack Speed and Critical Damage are both great here too if we’re set for resists or only need to bump up one Resistance.
For our belt, we’ll go with a Utility Belt for the instant bit of recovery when we use a potion. We’ll want to get Life, Mana, Strength, and Resistances here mainly. Modifying our Life Flask Charges can also be beneficial here as well, but not necessary.
Ingenuity is still worth considering, but we’ll need exceptionally good rings before it has any real value. Ryslatha’s Coil is also a solid option too as it comes with a lot of life and boosts our Physical Damage range.
For our Boots, we’ll want Dragonscale Boots with Movement Speed, High Evasion, and Resistances. We opt not to take Life here on our ideal boots so we can get as much value out of Stalking Panther as possible. It’s fine while leveling, but once we get Stalking Panther, Evasion is a much better choice.
For our Rings, Emerald Rings or Iron Rings are the best to use in an ideal situation. Resistance Rings are also fine until we’re capped without them. We’re mainly after Added Physical and Added Lightning primarily. Life and Resistances are also great to have when we can get them, but if they’re light on either in favor of more damage we can make up for it in other ways.
For our Amulet, we’ll want a Solar Amulet. Tamed Beasts are unfortunately incredibly expensive, as they’re percentage-based and need to hit a total of 150 Spirit to fit everything, or at least 35 from an affix plus the implicit modifier here.
In addition to Spirit and Levels to Projectile Skills, we’ll want to grab get any combination Maximum Life, %Energy Shield, or %Evasion. Then we can take All Elemental Resistances and All Attributes to round it out.
Path of Building Link
This Path of Building includes the full Leveling Tree and suggested gear above, as well a set of Gear imported from my own SSF Twister Build. To import into Path of Building, select Import/Export Build and paste the link below into the import section at the bottom.
https://poe2.ninja/pob/29f8
This link currently uses the POE2 Ninja hosting, as the default doesn’t work.