Learn how to complete the second quest of the Star Wars Outlaws DLC, A Pirate’s Fortune. Find out how to escape the brig, recover Kay’s missing items, and escape the pirate hideout with Hondo Ohnaka.
Travel to the Mysterious Coordinates
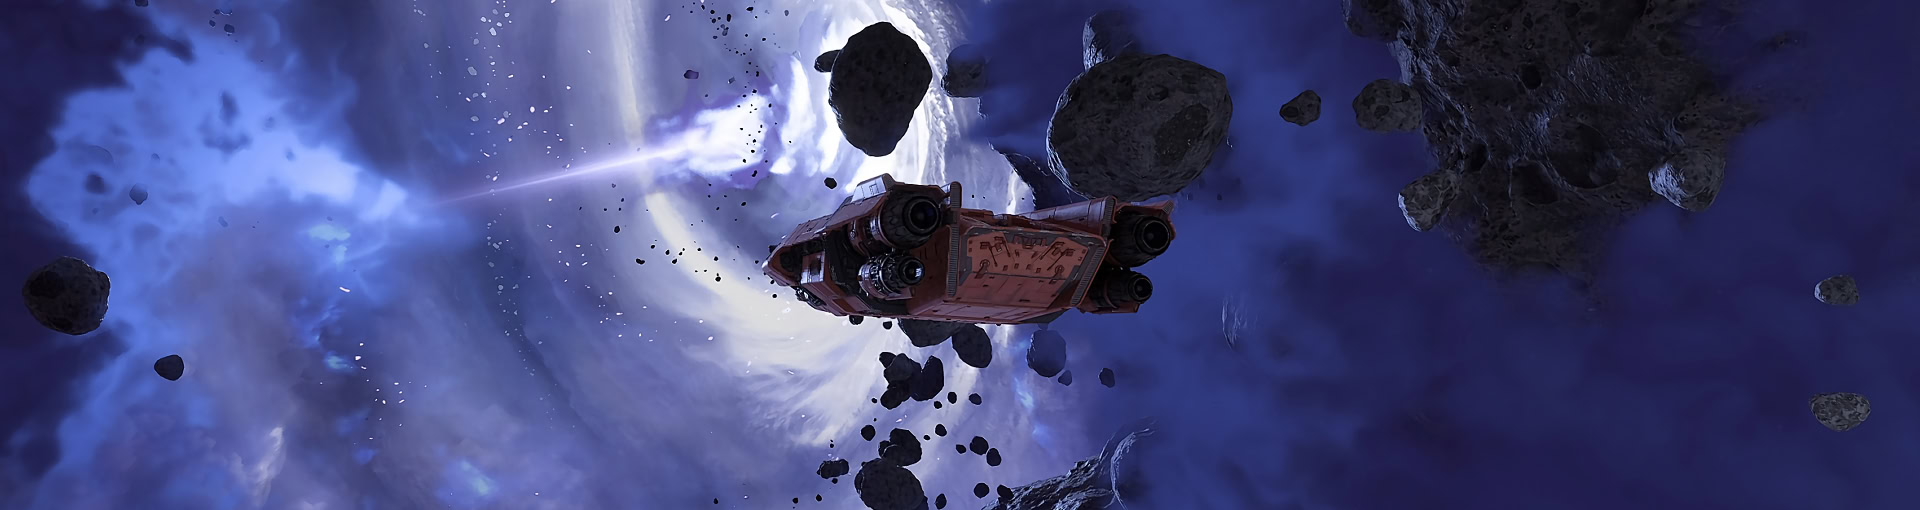
After finding the treasure map in A Pirate’s Plight, return to the Trailblazer and make a jump to the Mysterious Coordinates. If this map is correct, there’s a great and long buried treasure there with Kay’s name on it.
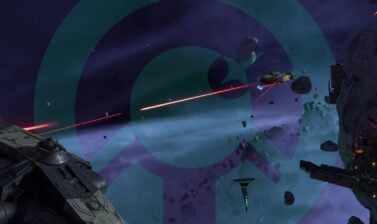
When you reach the Mysterious Coordinates, you’ll find yourself in an ionized nebula that’s messing with your boosters. Navigate your way through the nebula and avoid or shoot any obstacles in the way. When you see a clearing, activate your boosters to escape.
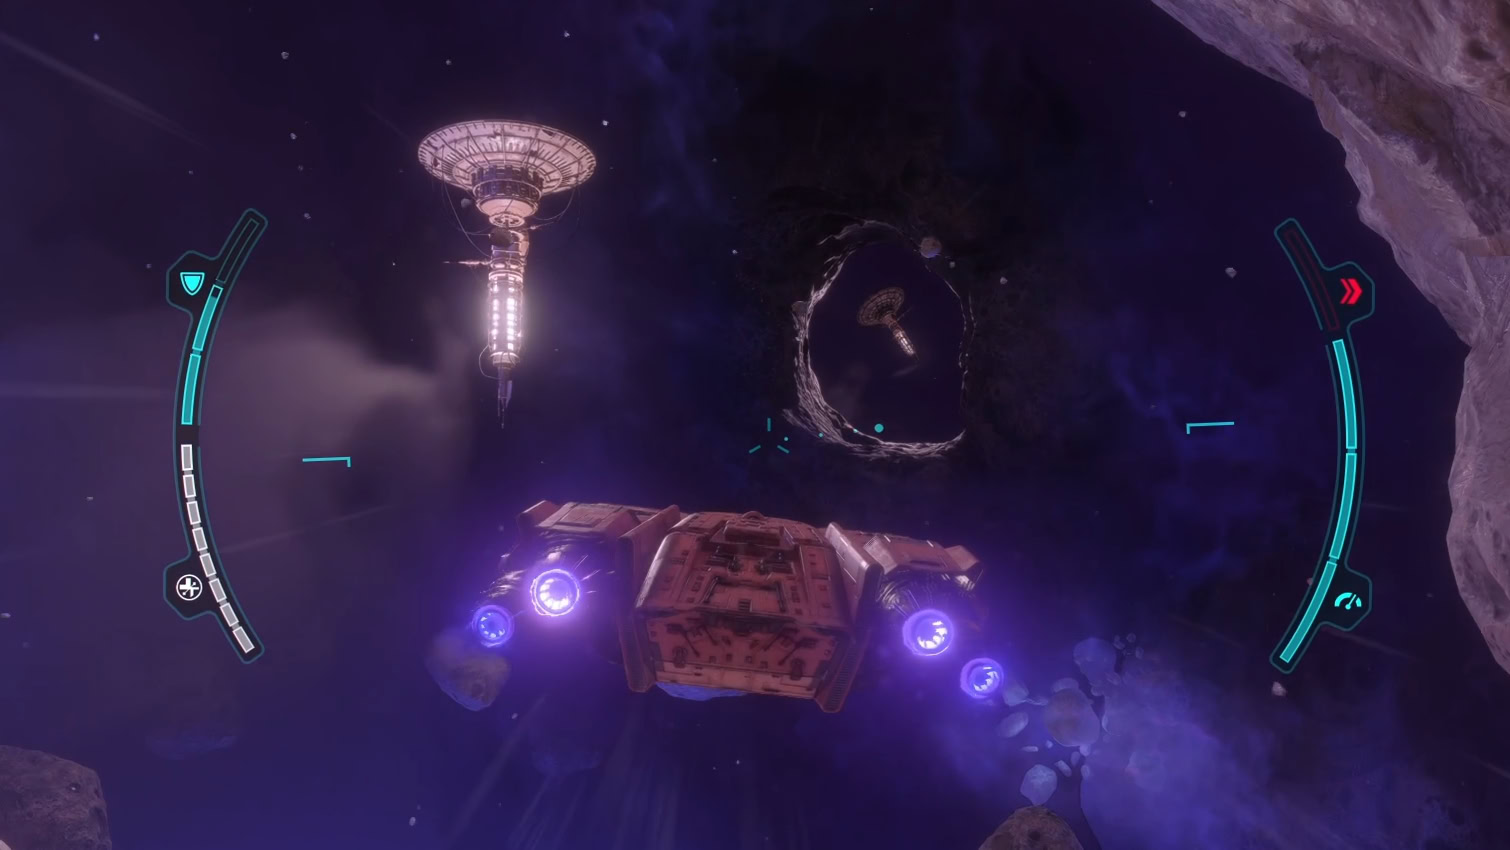
When you escape, fight off the attackers to the best of your ability. Eventually they’ll get ionize the Trailblazer and a cutscene will start.

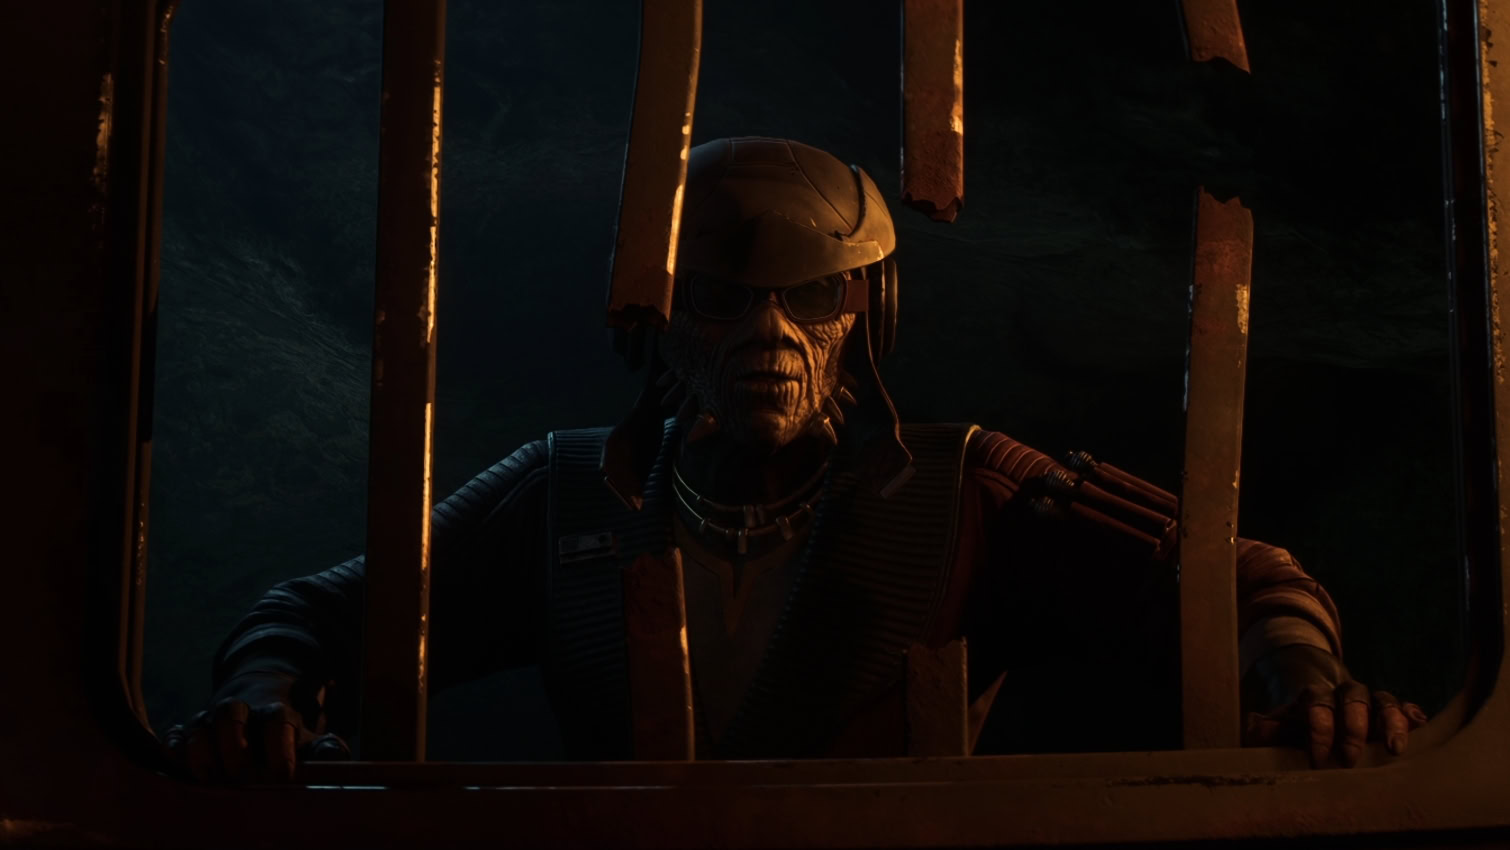
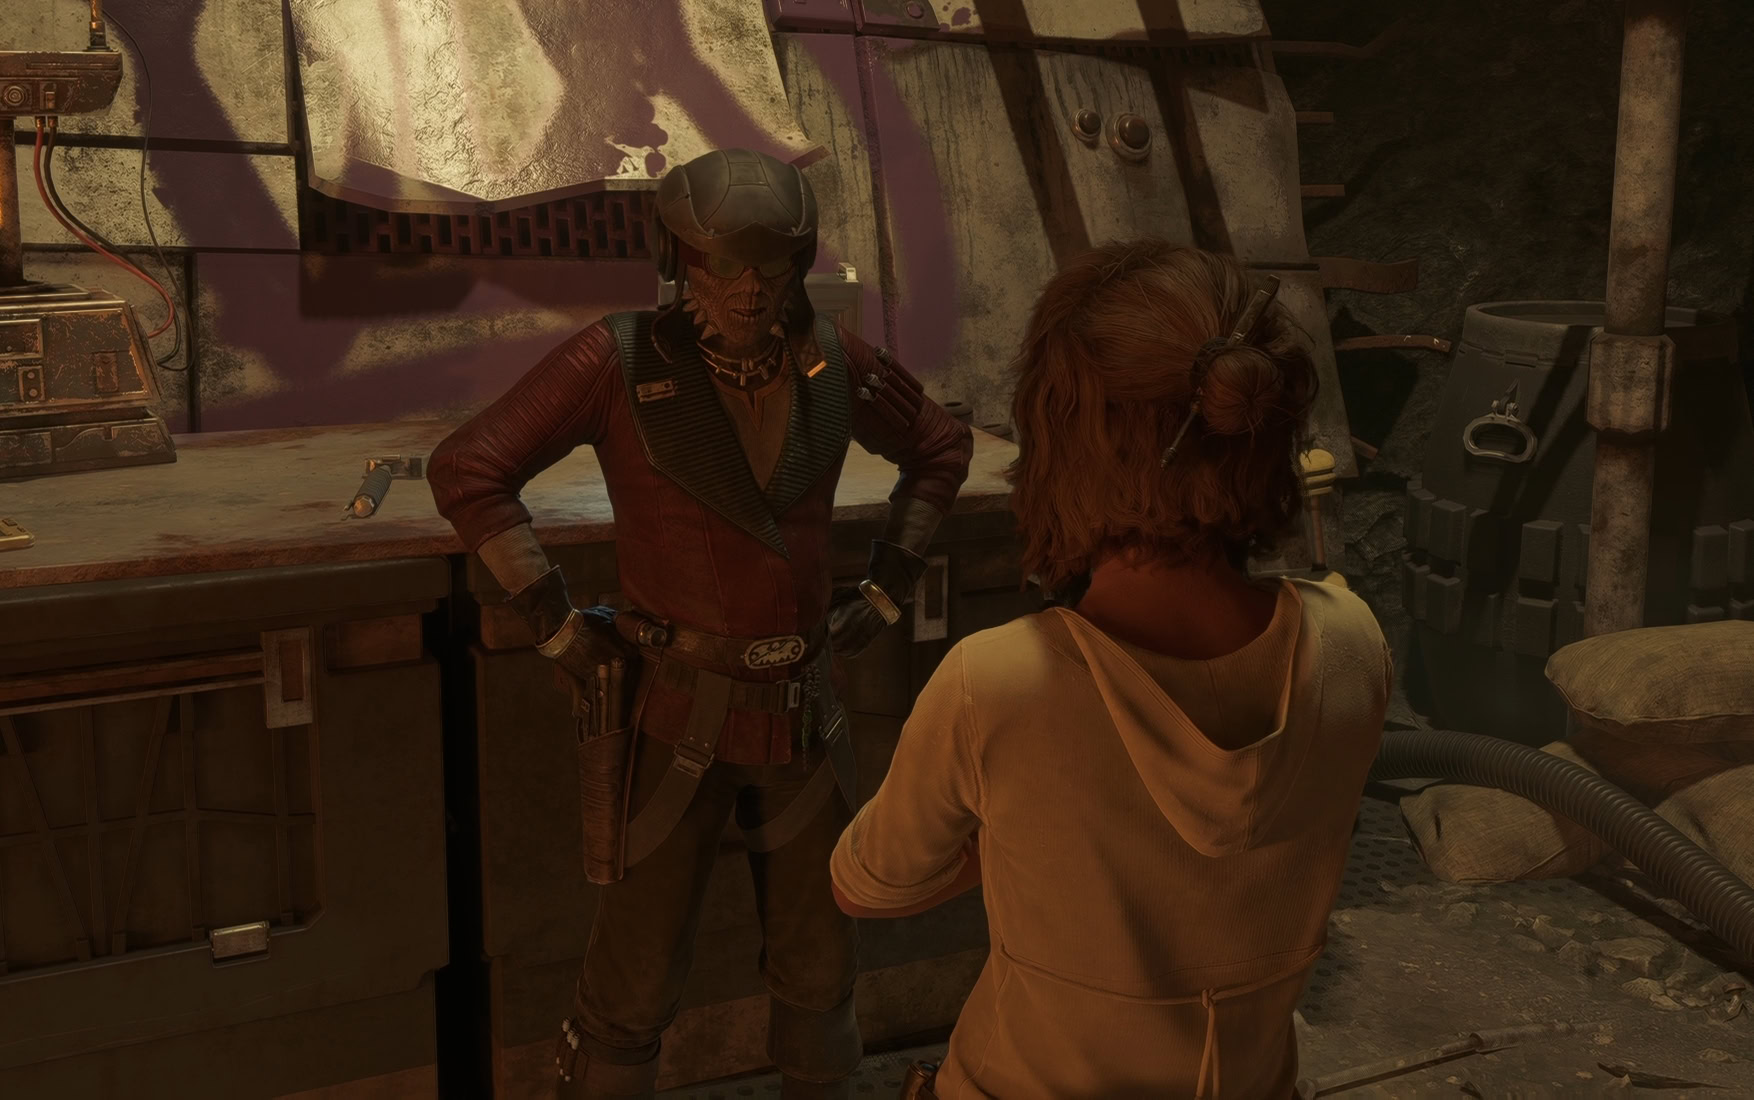
After the cutscene, you’ll find yourself locked up in a cell. Across the hall is another prisoner, the weequay we all know and love, Hondo Ohnaka!
Find a way to escape
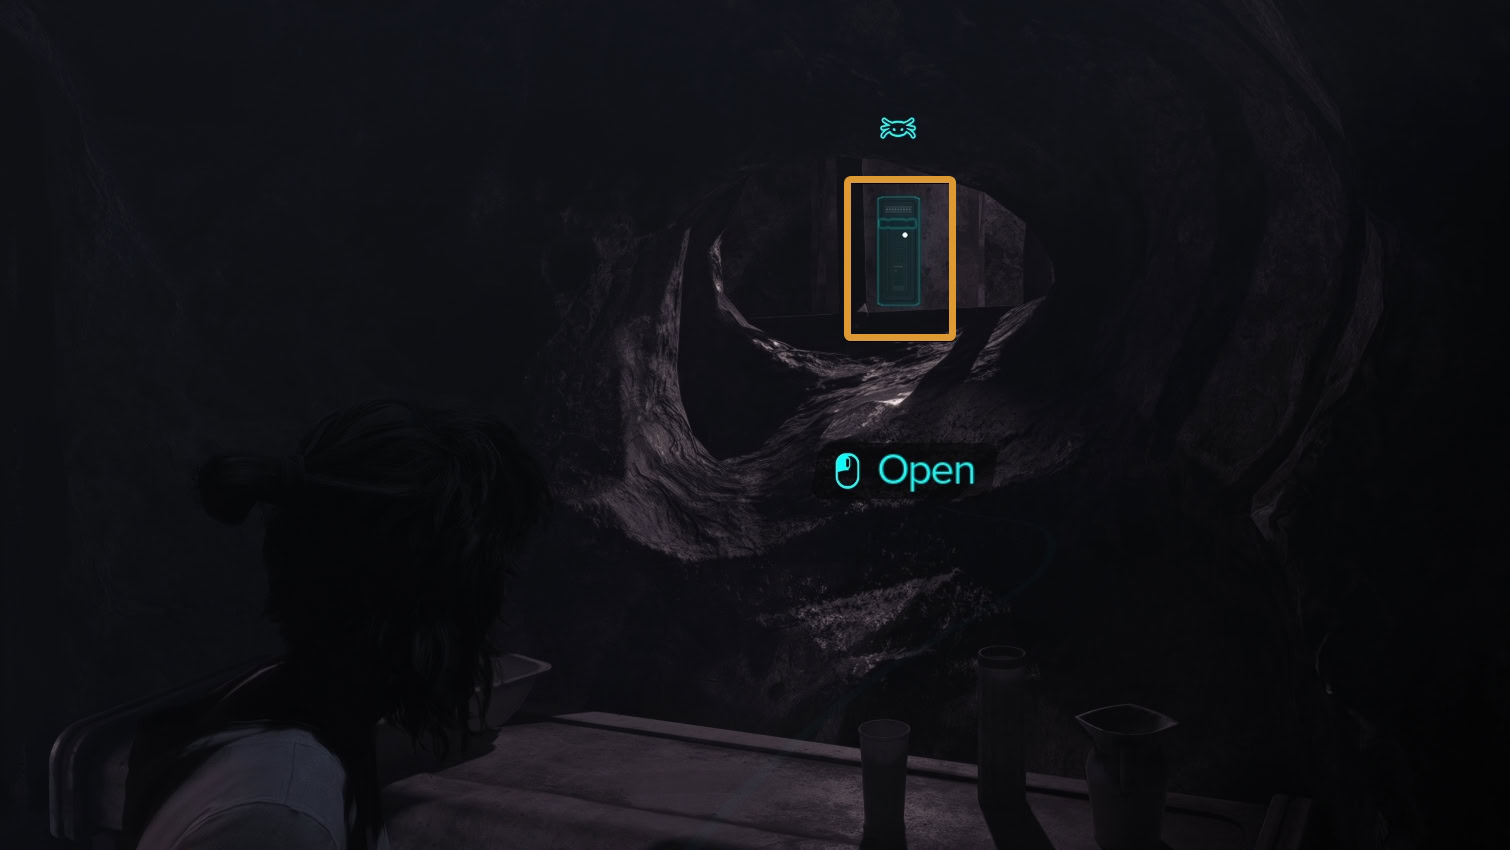
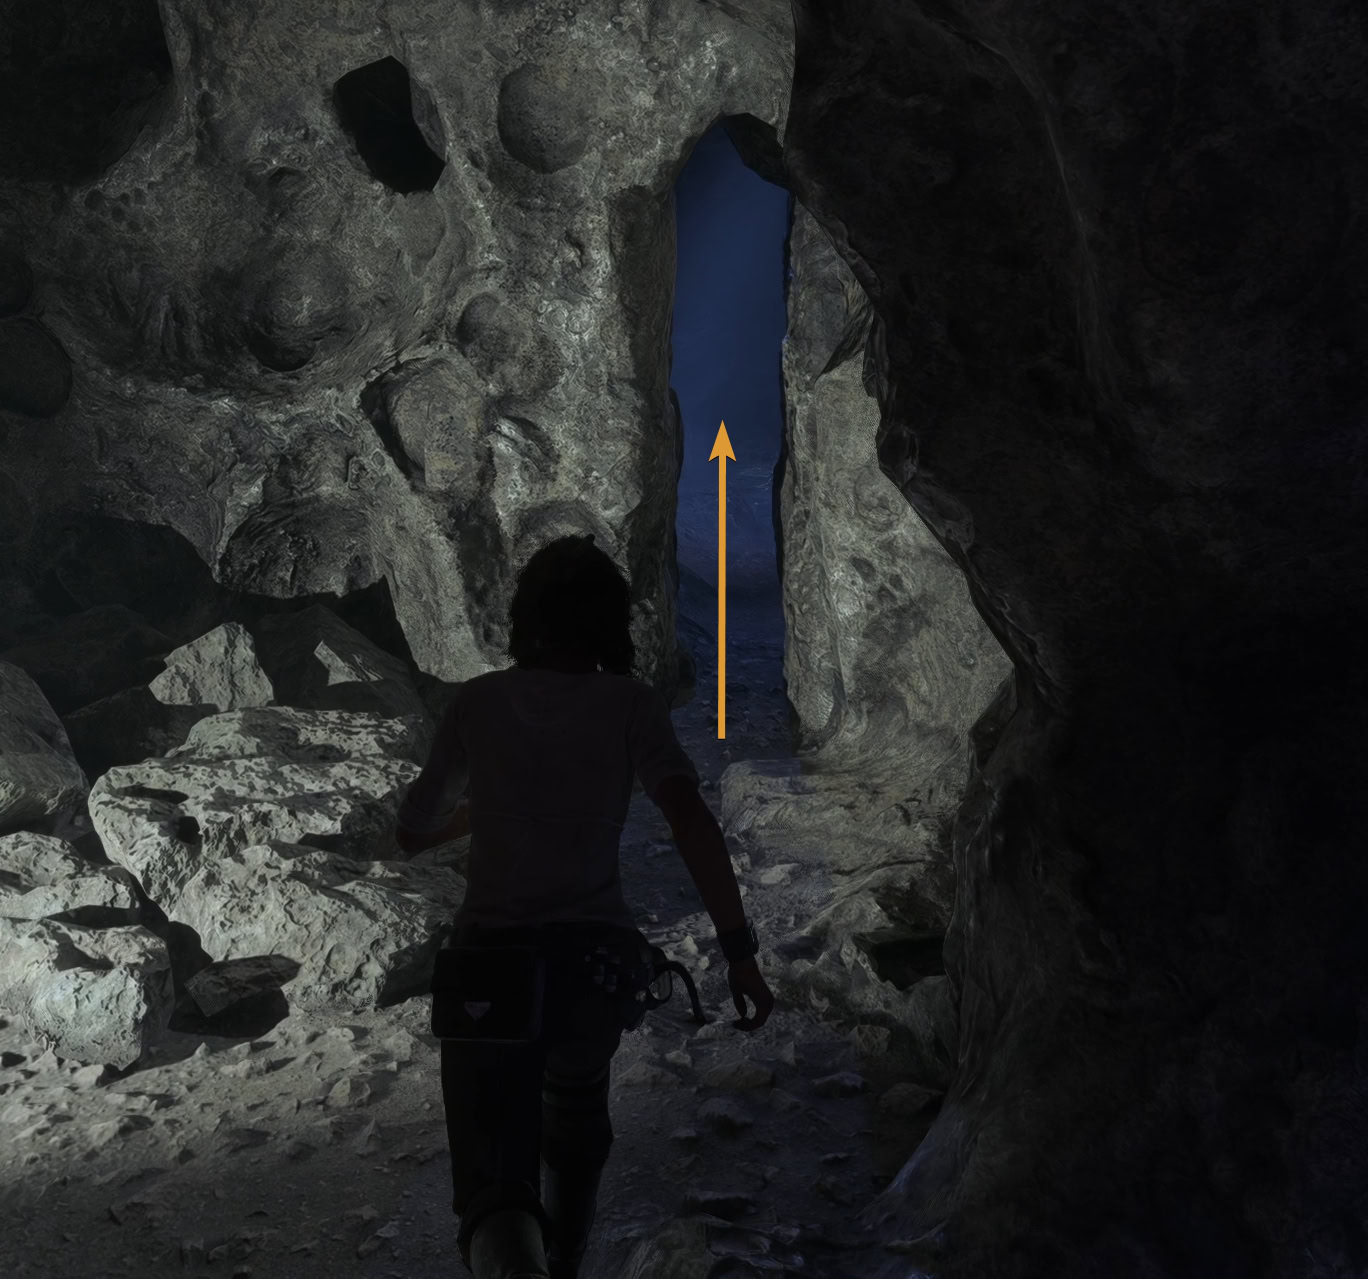
Unfortunately, you’re in a sticky situation. You have no weapon, tools, and locked in a prison cell you need to escape from. In your cell, look to the north and have Nix pull a switch to open your cell.
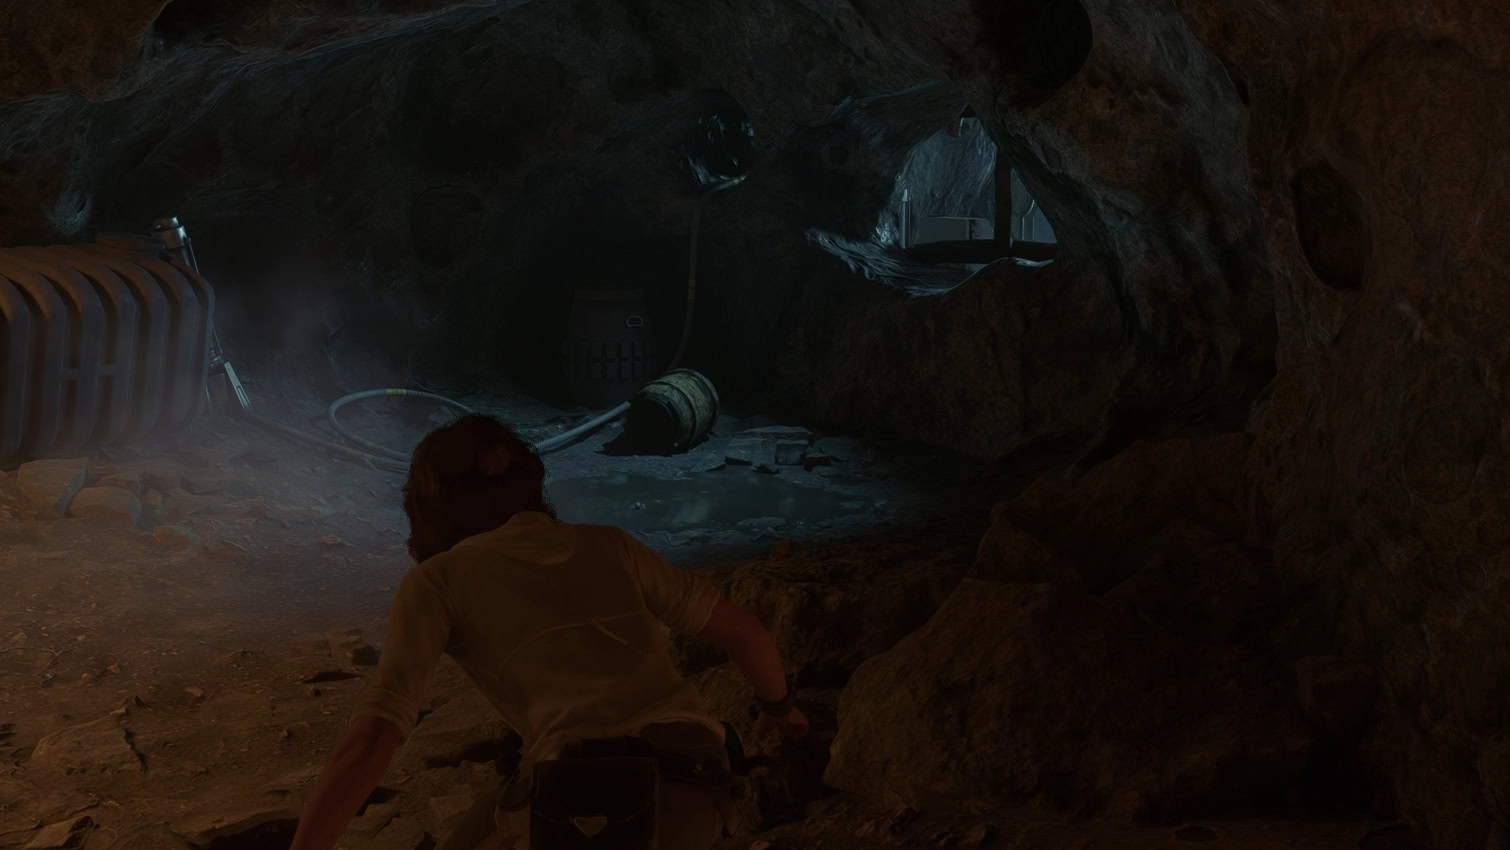
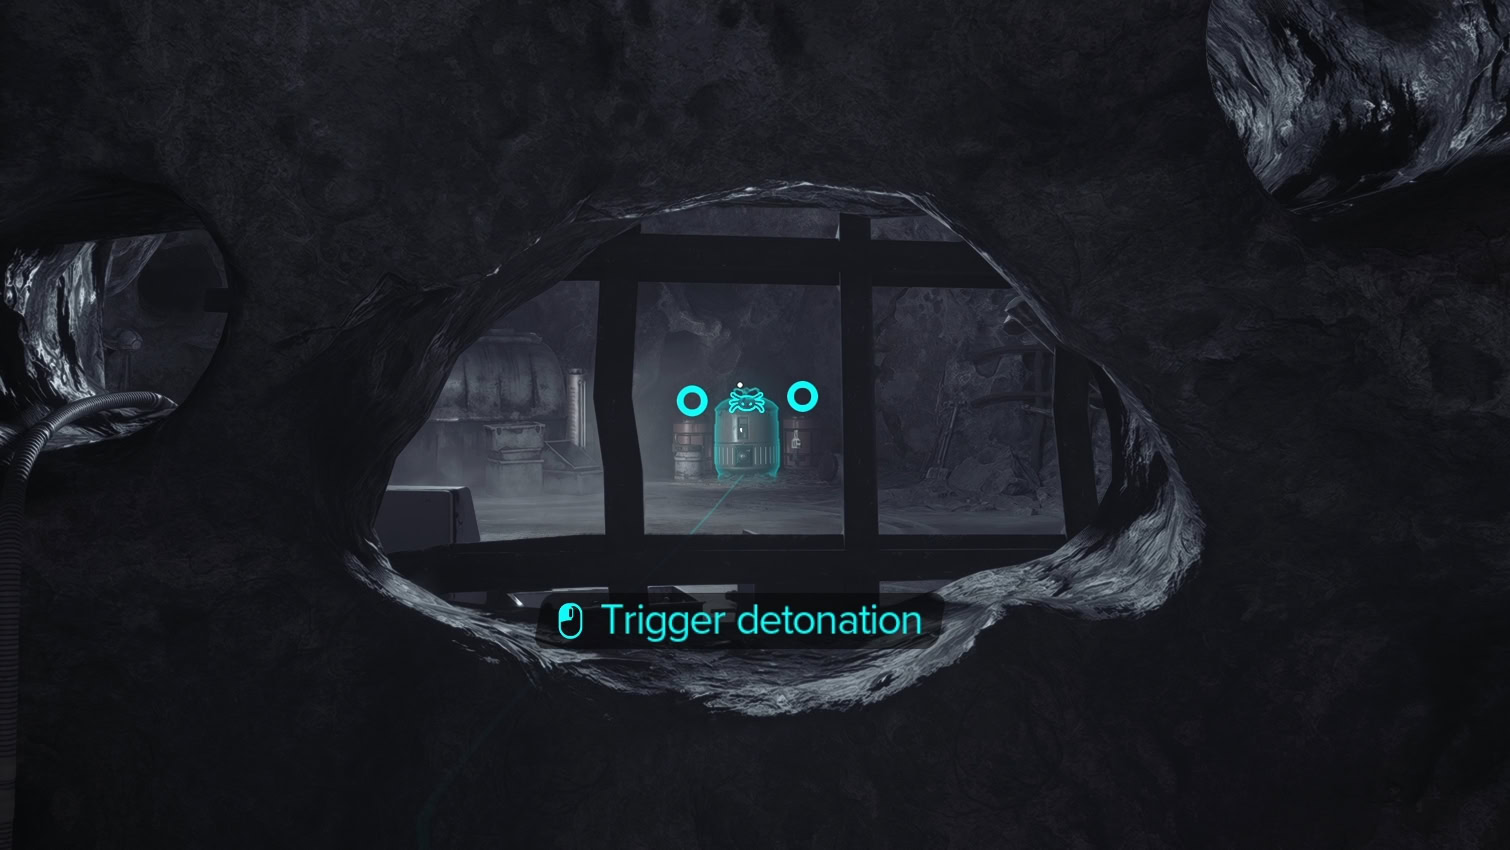
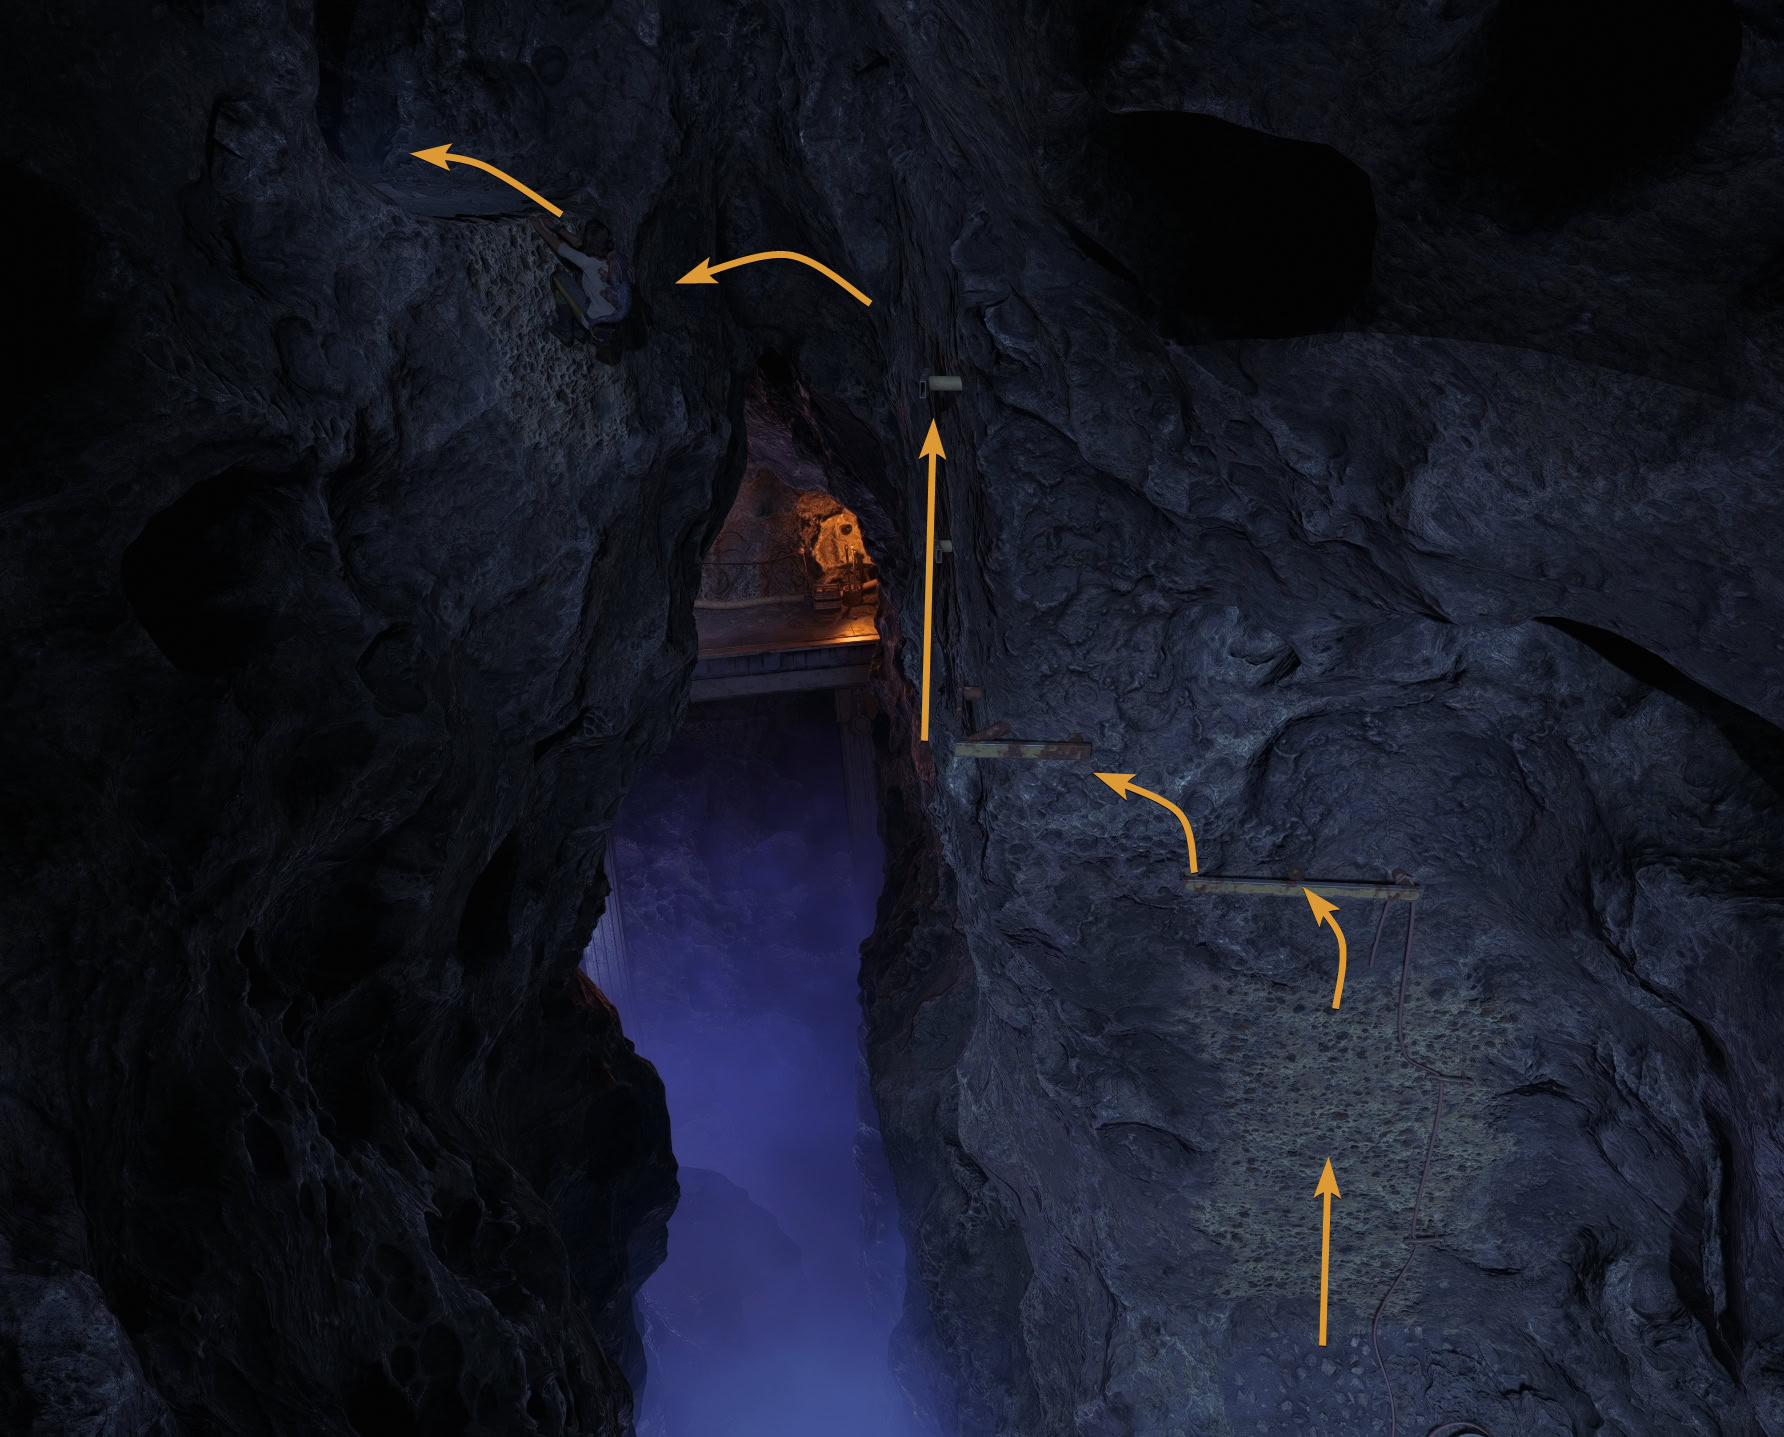
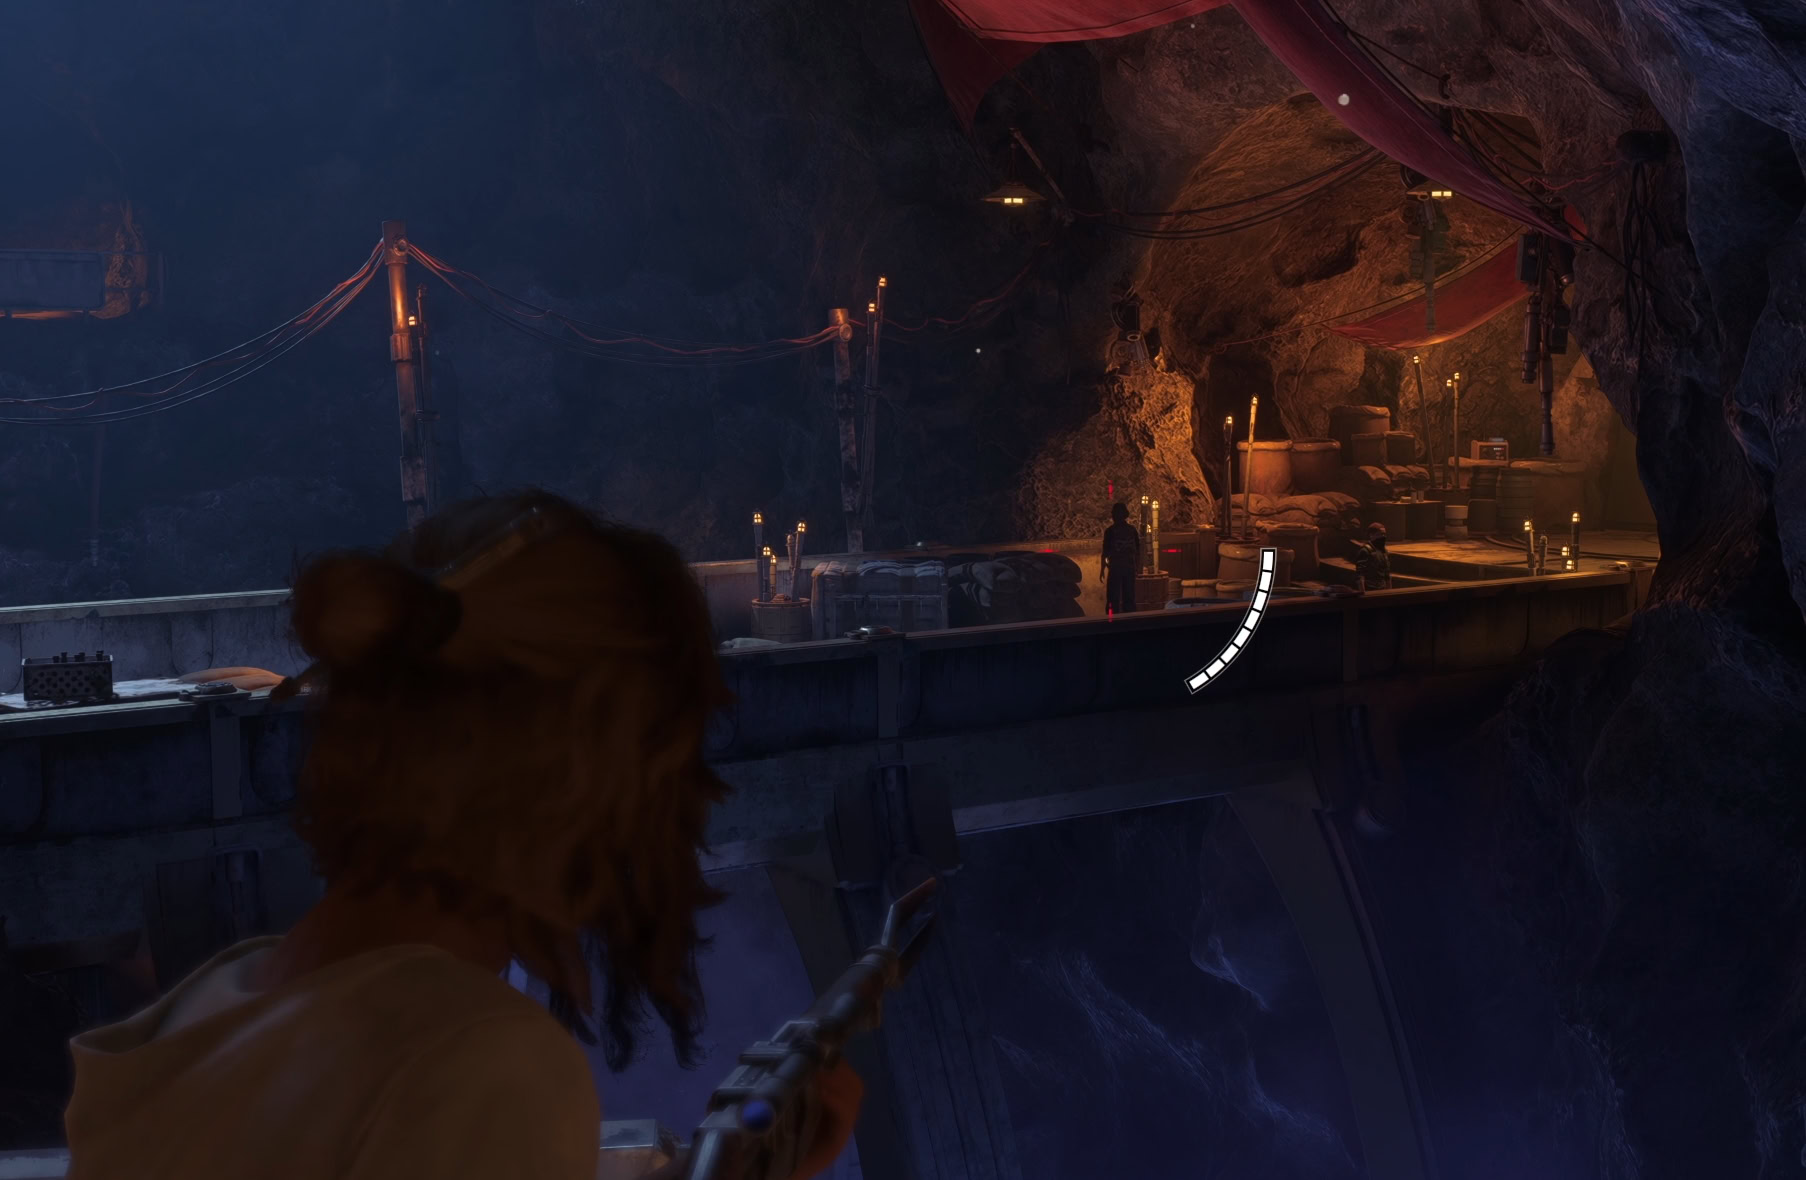
Go south and across the bridge, then make a right and go down the open hall. You’ll reach a blue-lit opening. Send Nix to detonate the tanks inside the room to free Hondo.
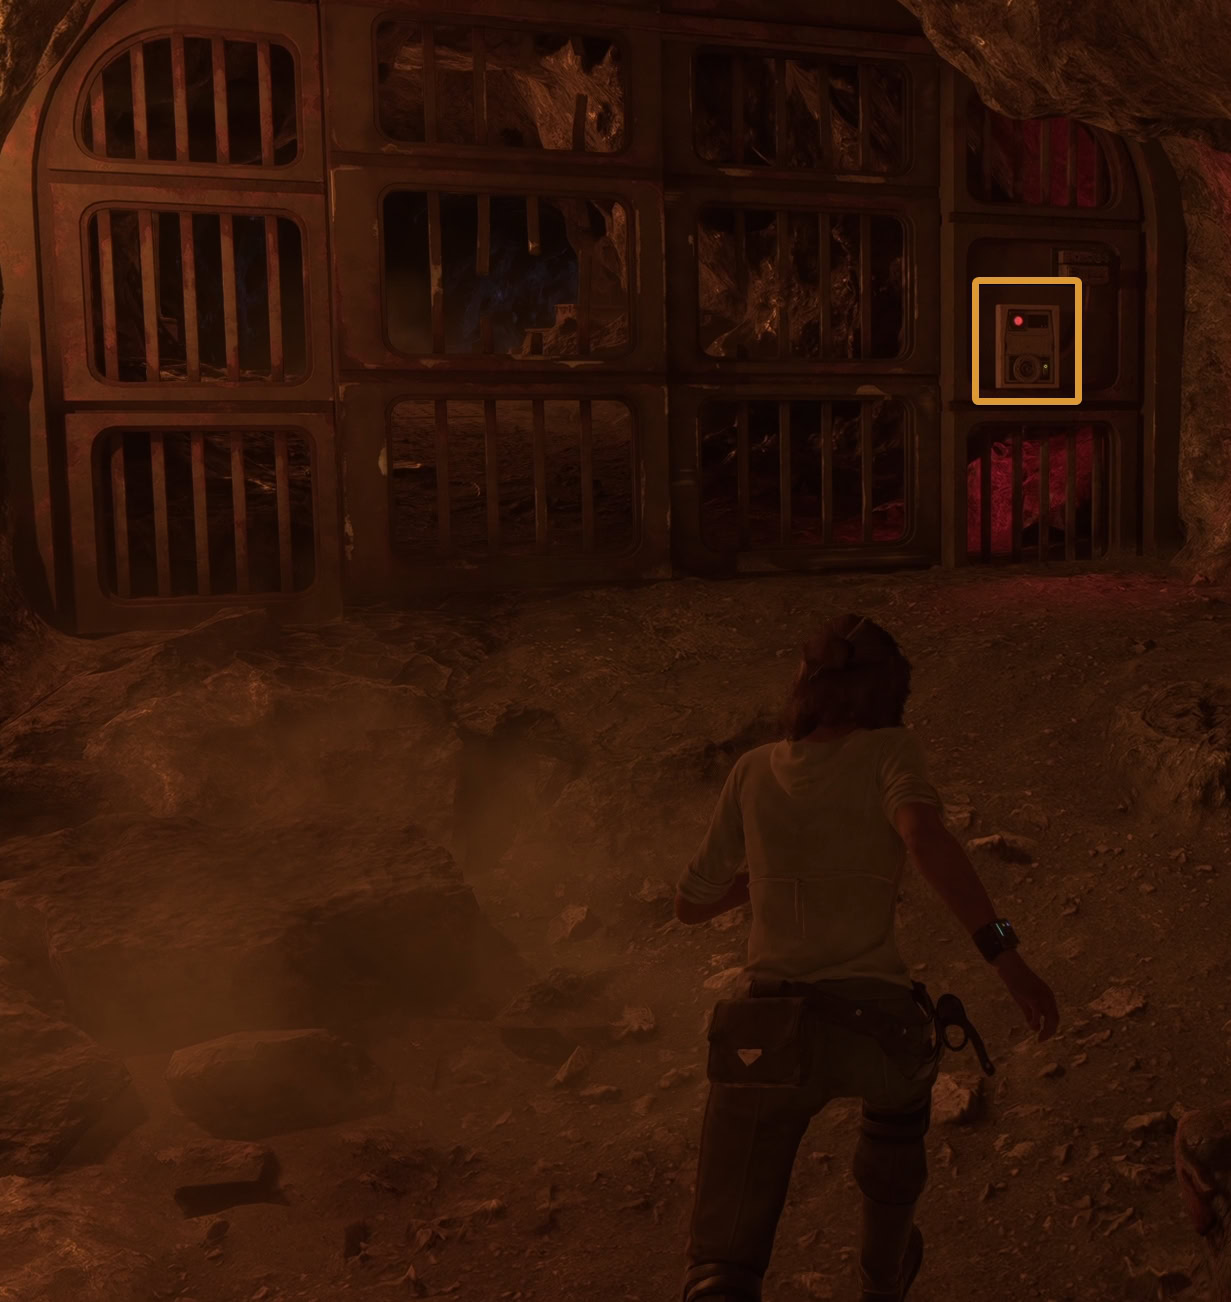
Hondo will open a cell door behind you where you can find your Data Spike. You’re one step closer to escaping, now you just need to find your belongings. Go down the south hall and pick open the door.
When you go down the hall, you’ll run into a lone pirate at a workbench. Take them down and activate a generator in the workroom to turn on some lights.
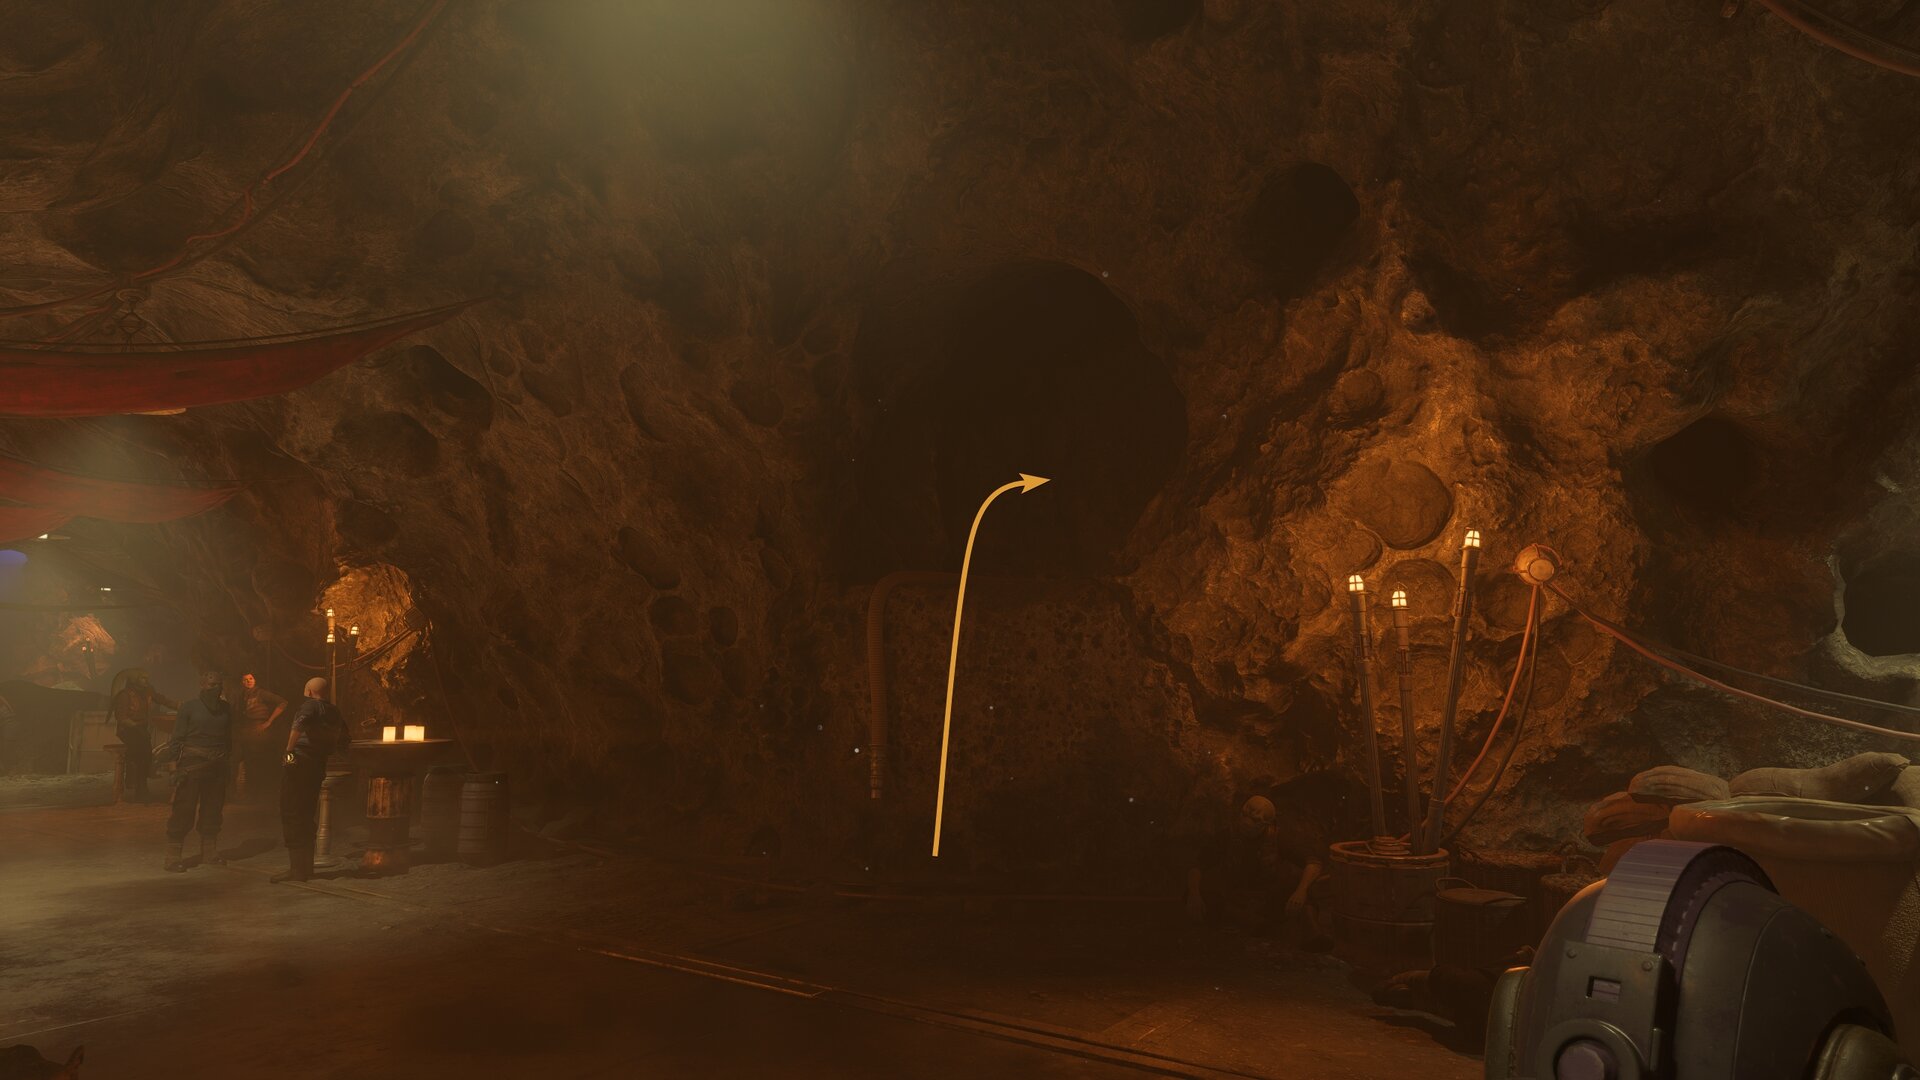
There are a couple of small chests in the area you can loot. When you’re ready, go through the opening in the cave wall.
Recover Kay’s Blaster, Tools, and find an Ion Shield
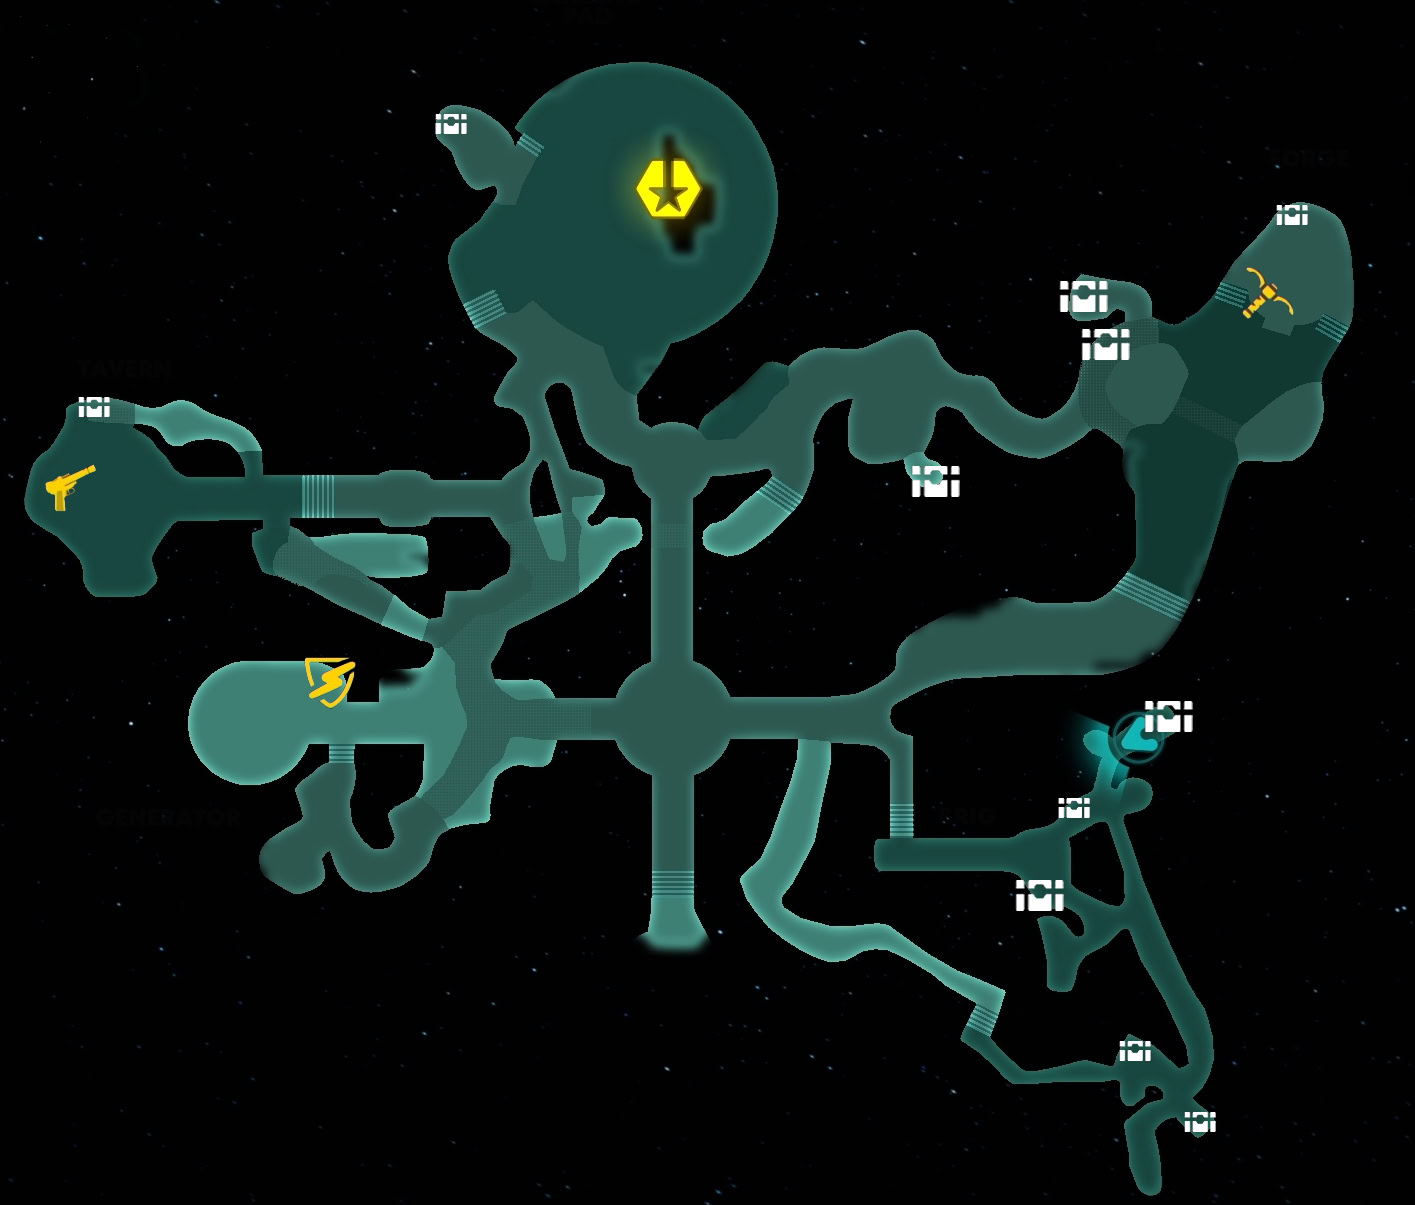
Now comes the tricky part of this mission, finding all of your belongings and an Ion Shield for the Trailblazer. You can find these in any order you wish, but getting your blaster back is the most important.
Climb up the rock walls and metal bars to reach the central room where an announcement is being made. Wait for the announcement to stop and let the bandits clear out.
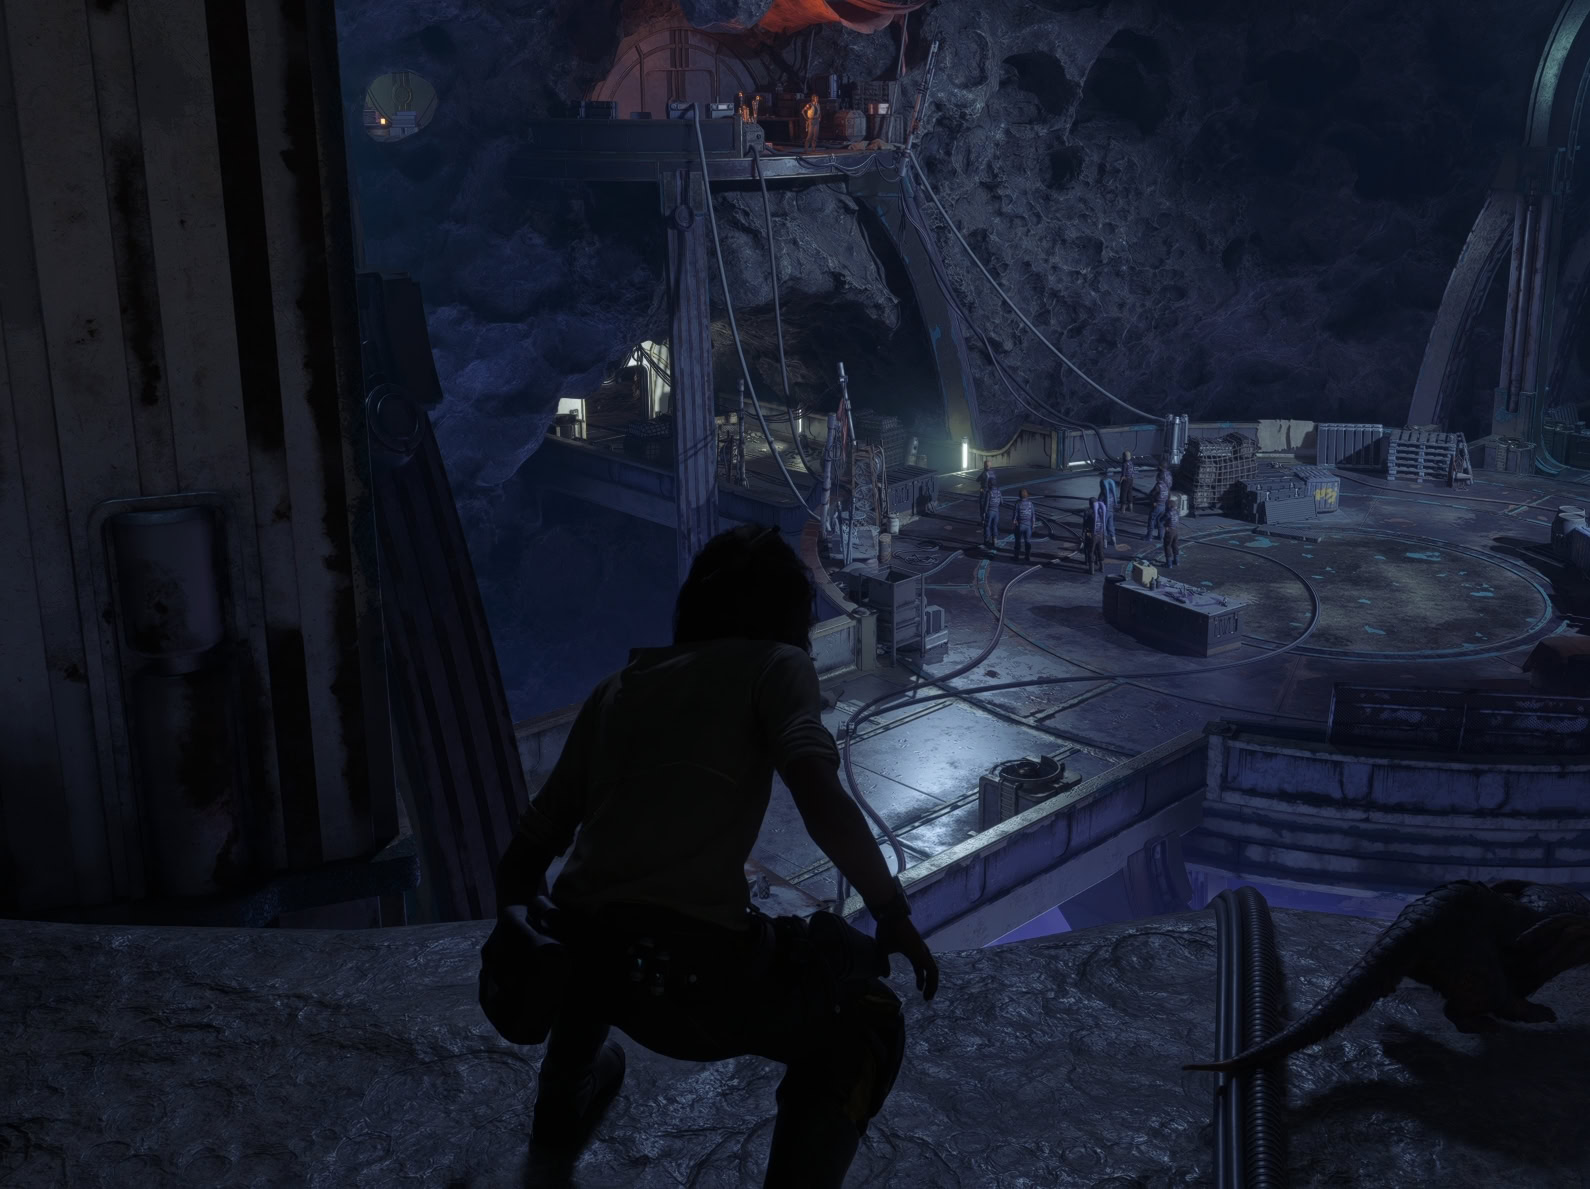
Take out the remaining pirates in the central room. Now is a good time to get a pick-up weapon and grenades. Your next task is to find your belongings. Your map will highlight three rooms, the tavern, forge, and generator rooms.
You can pick which items you recover first, but the blaster is your best bet as it lets you deal with the pirate’s shields. These rooms are cramped and full of pirates, so combat is basically guaranteed.
| Icon | Description |
|---|---|
| Blaster Location | |
| Tools Location | |
| Ion Shield Location | |
| Large Chest | |
| Small Chest |
Recover your Blaster
Make your way west of the central room to find a bridge that leads to the tavern. Take out the pirates on the bridge then go through the doors.
The room fill be filled to the brim with pirates. You can either take them head on with a pick-up weapon, or take a secret tunnel on the north wall near the entrance. This tunnel will bring you towards the end of the room.
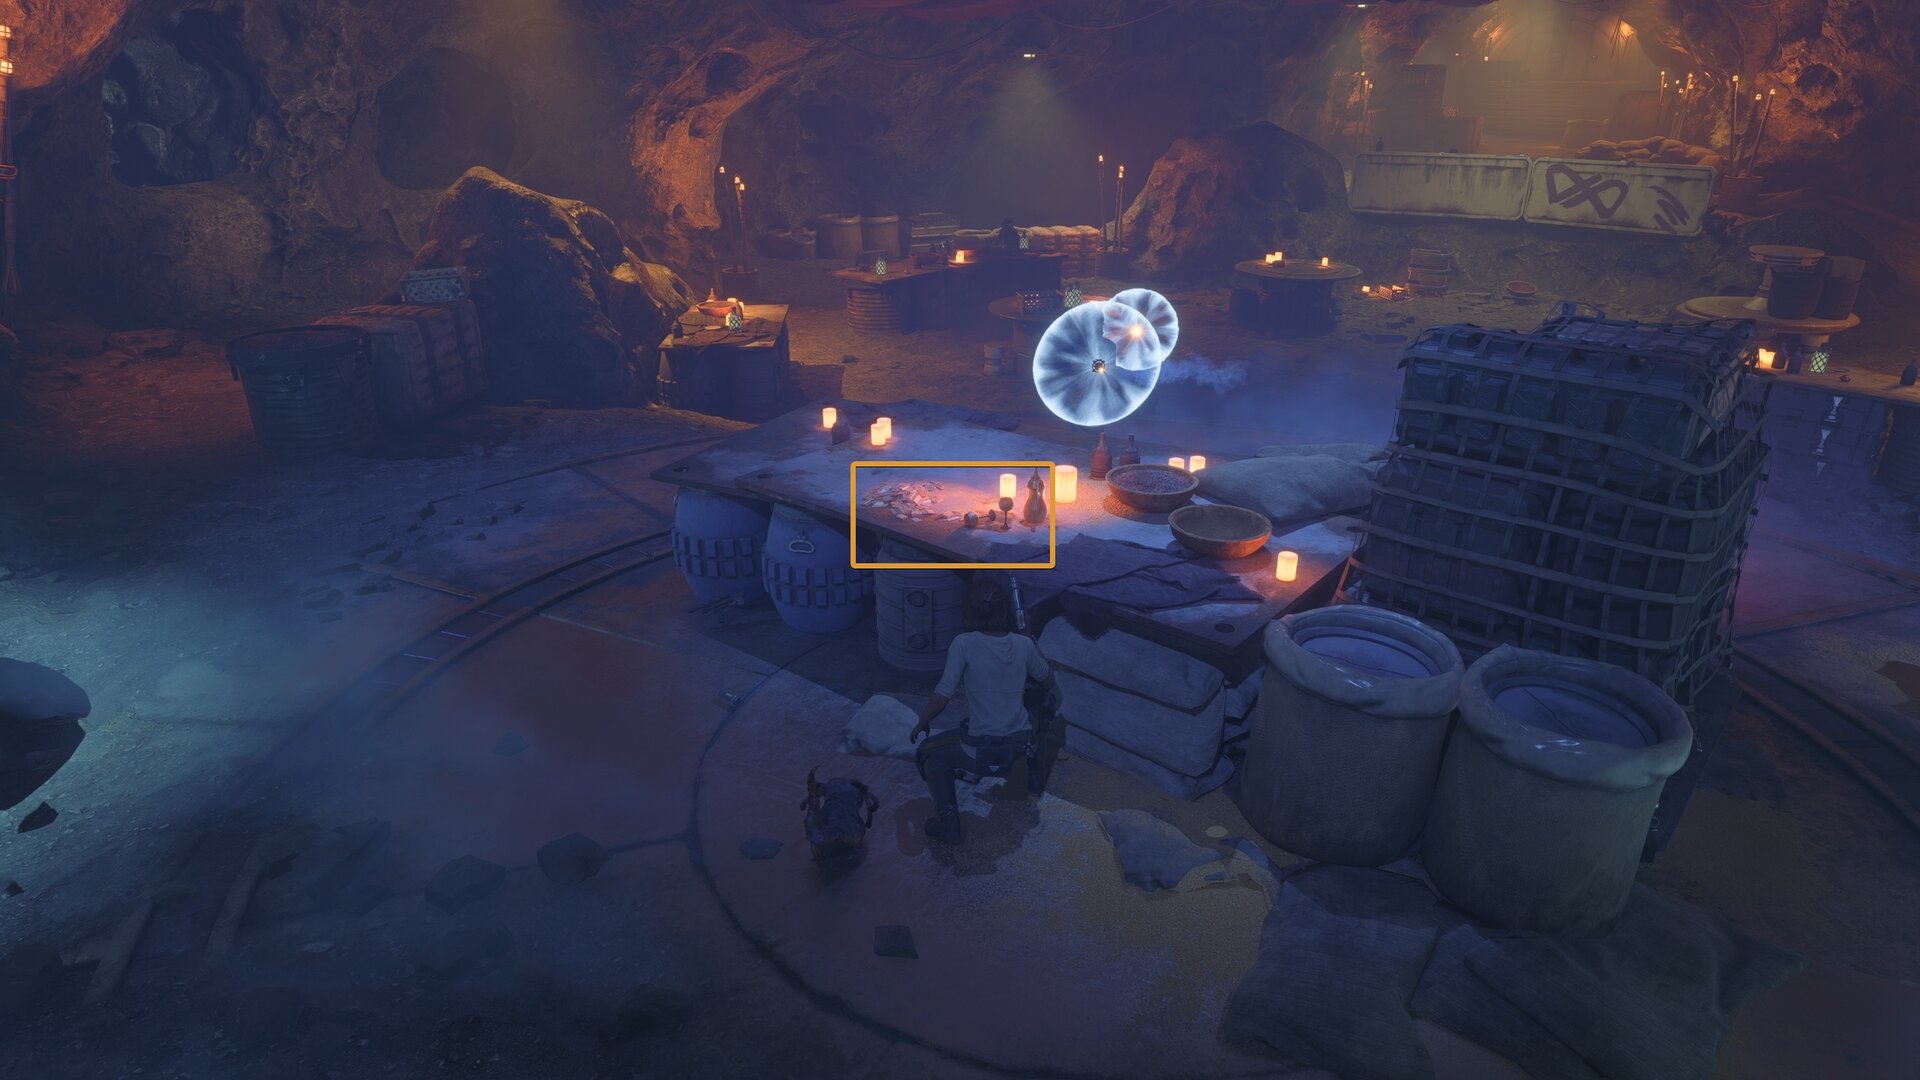
At the end of the tavern room, you’ll find your blaster on a table. From here on, you can more confidently defend yourself.
Recover your Tools
Your tools will be located in the northeast of the Khepi Tomb at the Forge. This area is filled to the brim with pirates with no real good way to sneak to the elevated platform.
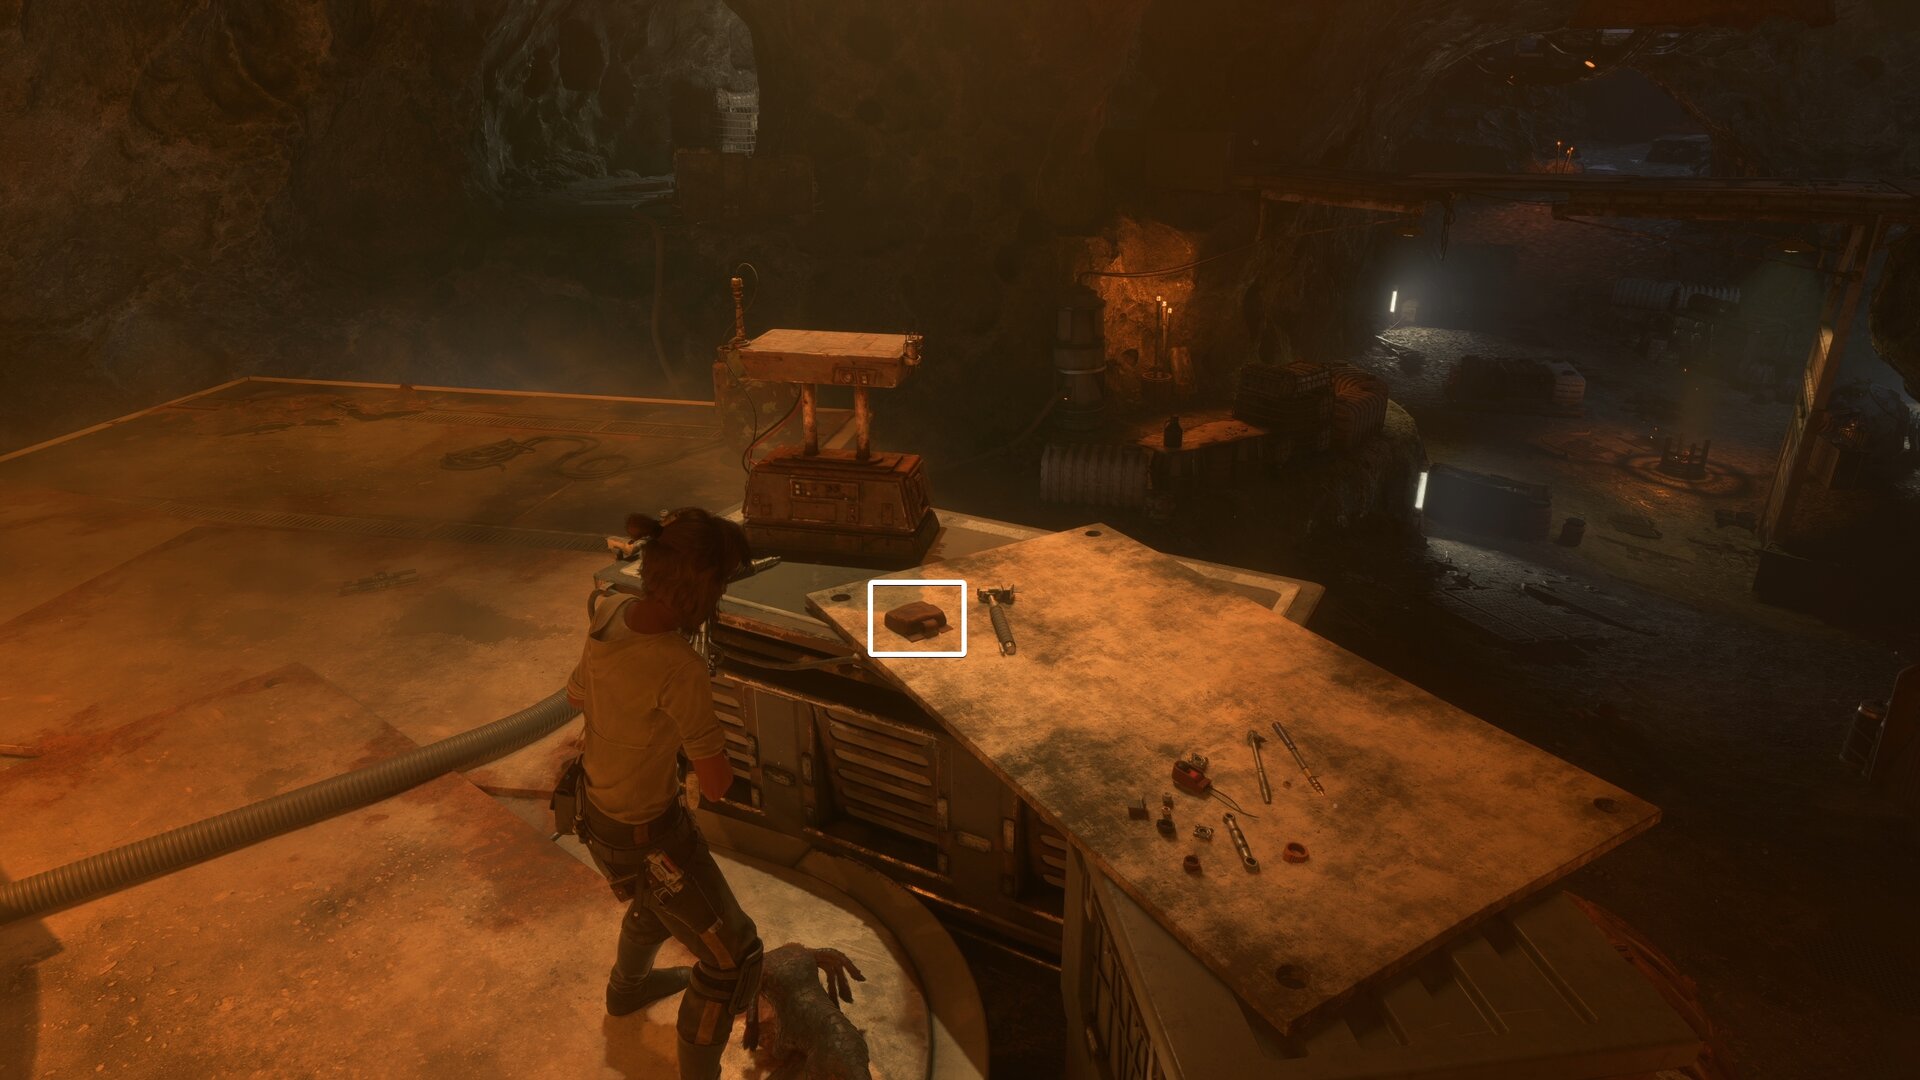
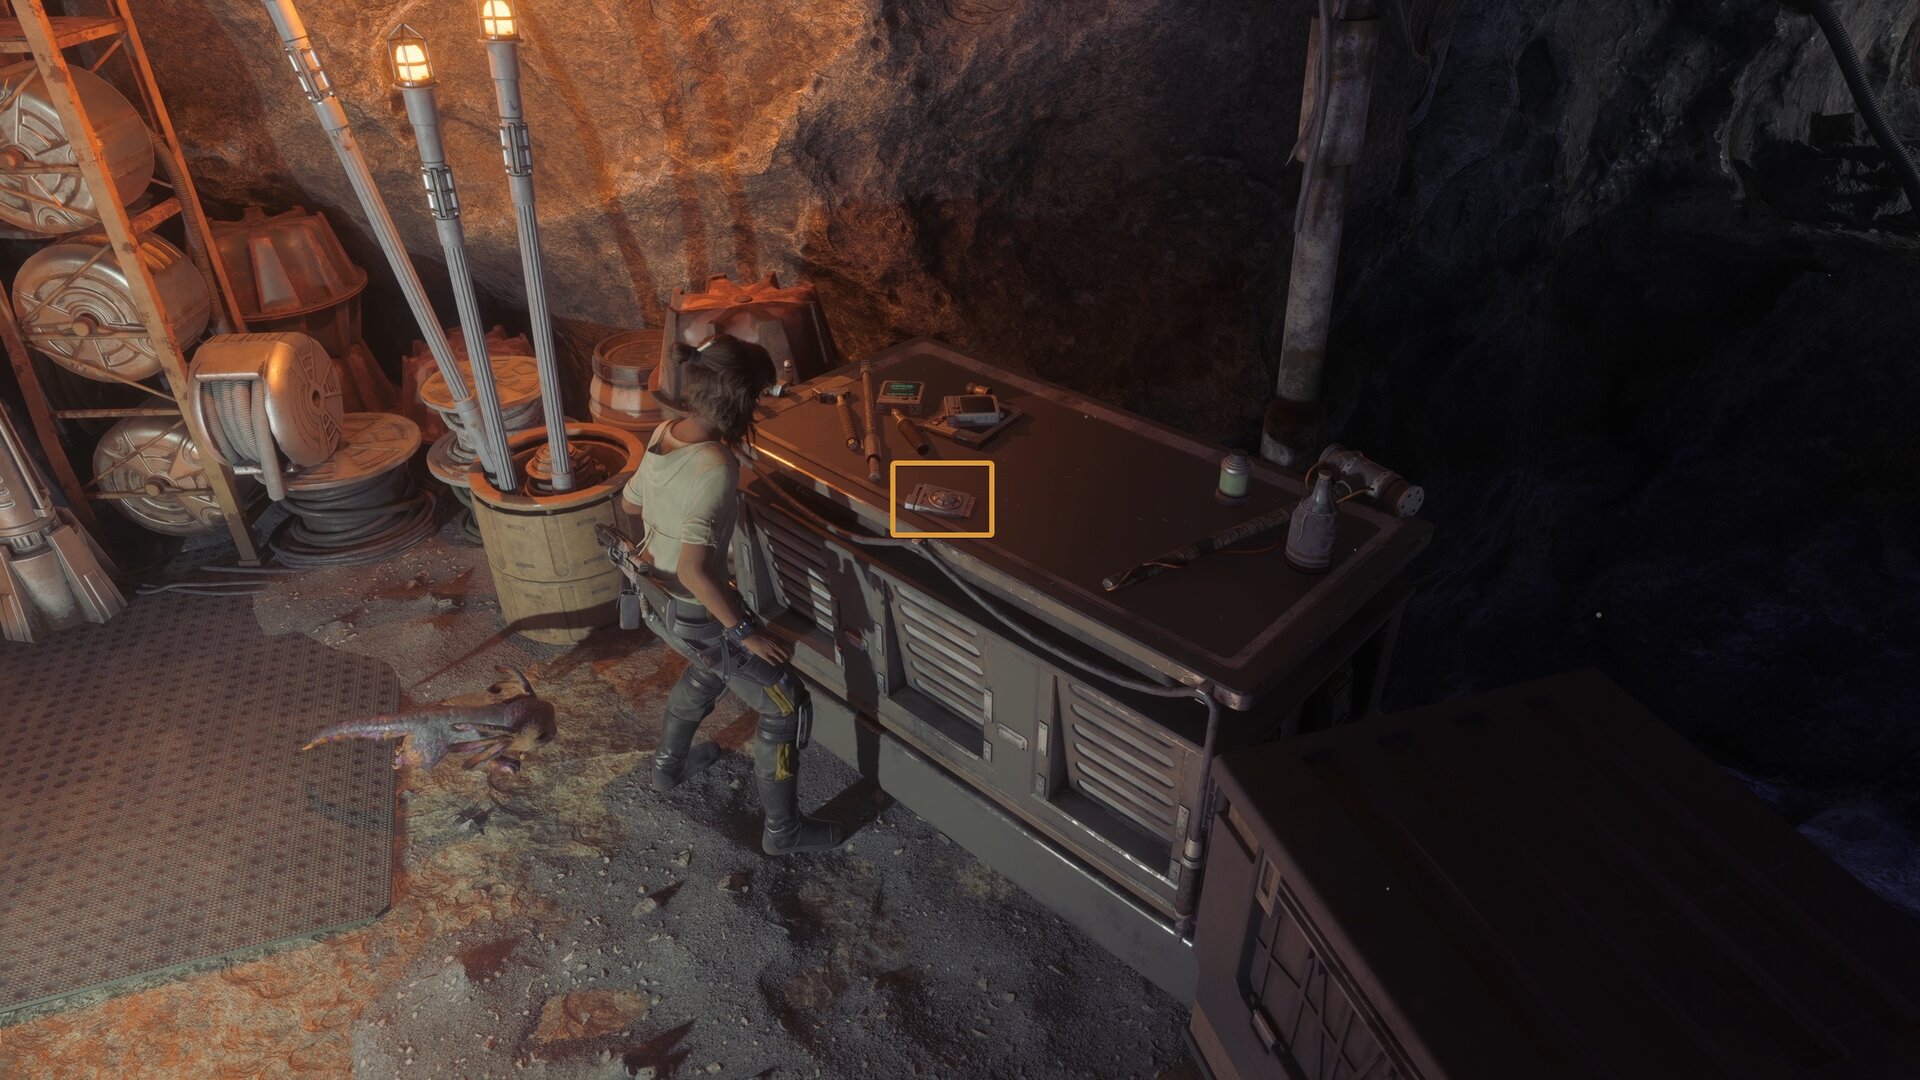
Fight your way through, go up the elevated platform, and find your toolbag on a table facing the area below.
If you go through the hallway on the west side of the Forge, you’ll find Hondo Ohnaka if you haven’t found all your components yet. This is a good chance to talk to him and learn info on him, the treasure, and Stinger.
Find an Ion Shield
You’ll need the Ion Shield to install on the Trailblazer to get through the nebula. You can find it in the southwest of the tomb in the Generator room.
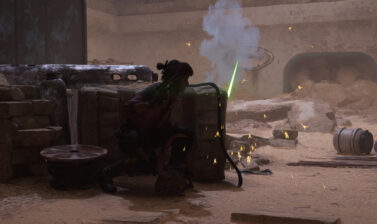
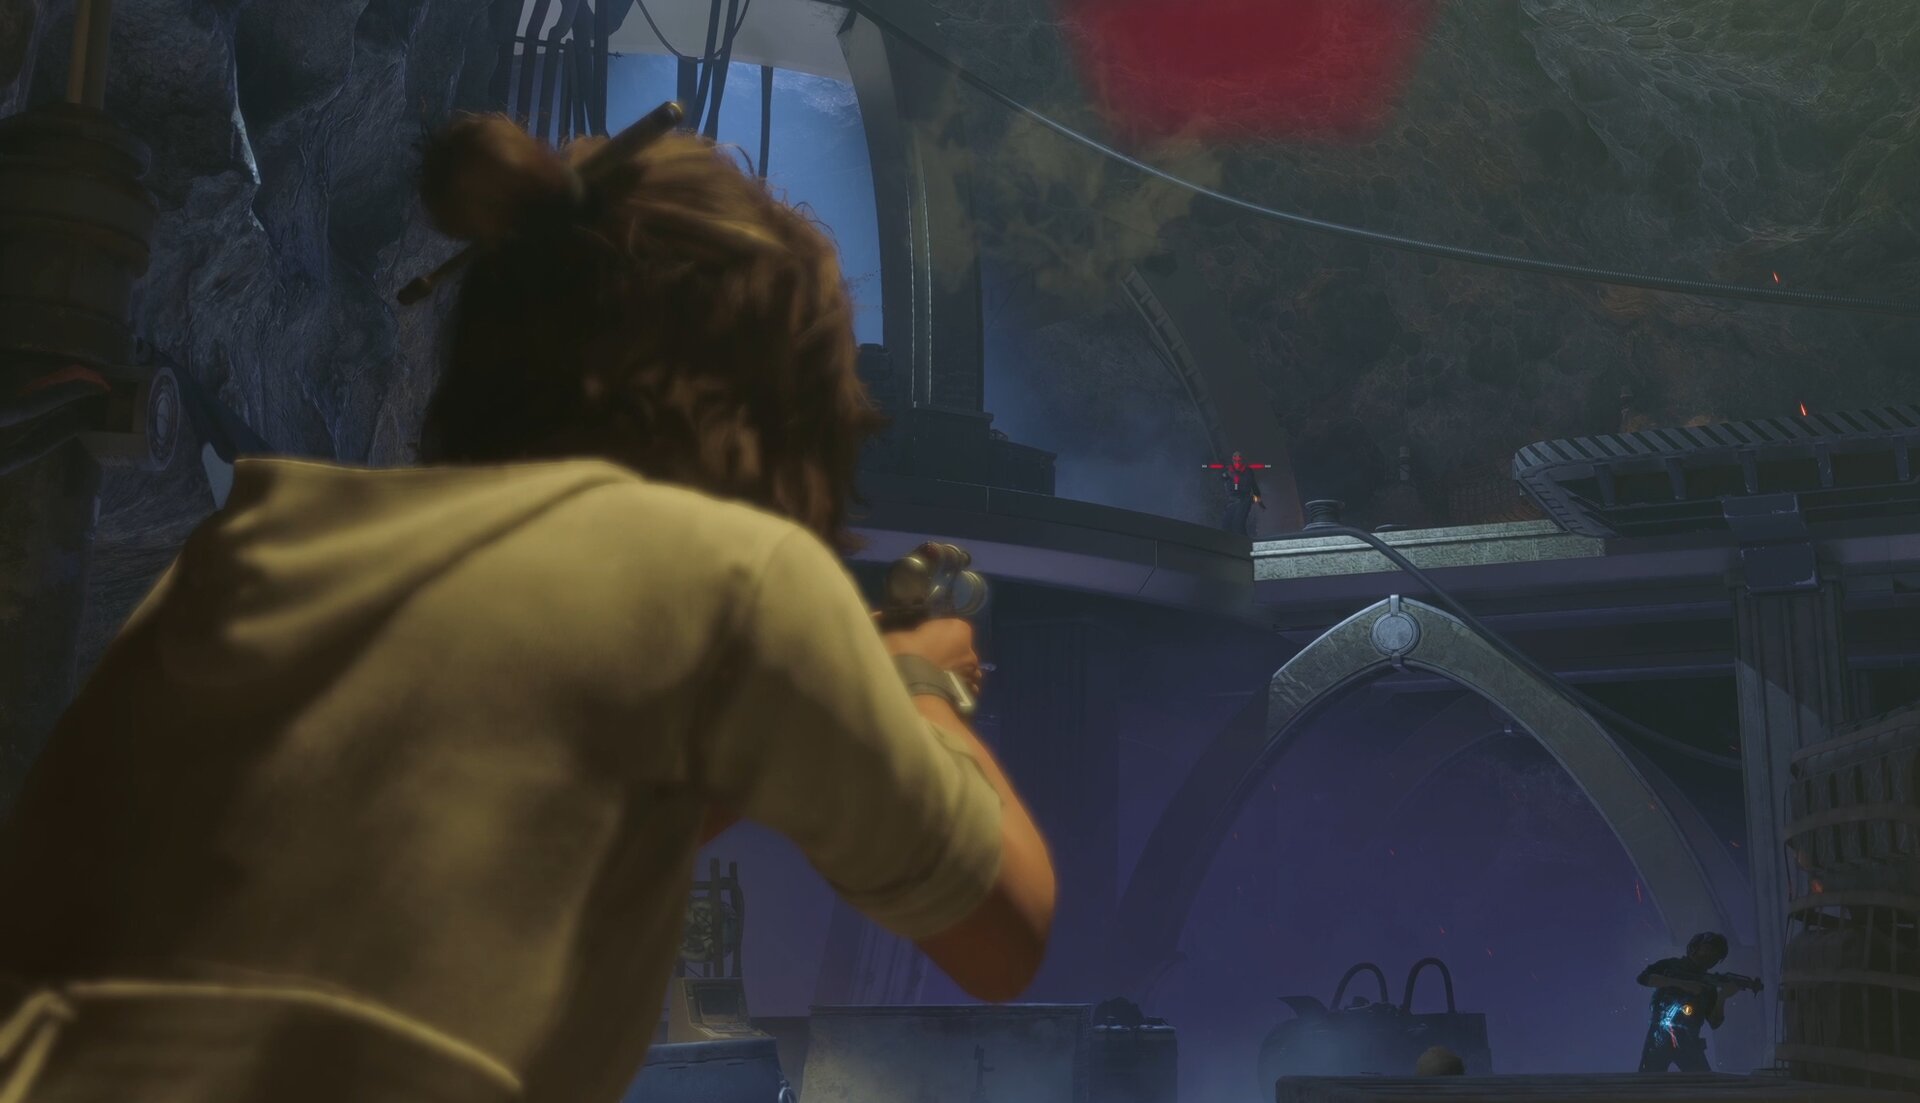
Take out the pirates on your level and above you. Use cover as it’s easy to get overwhelmed here and be prepared to run if a grenade is tossed your way.
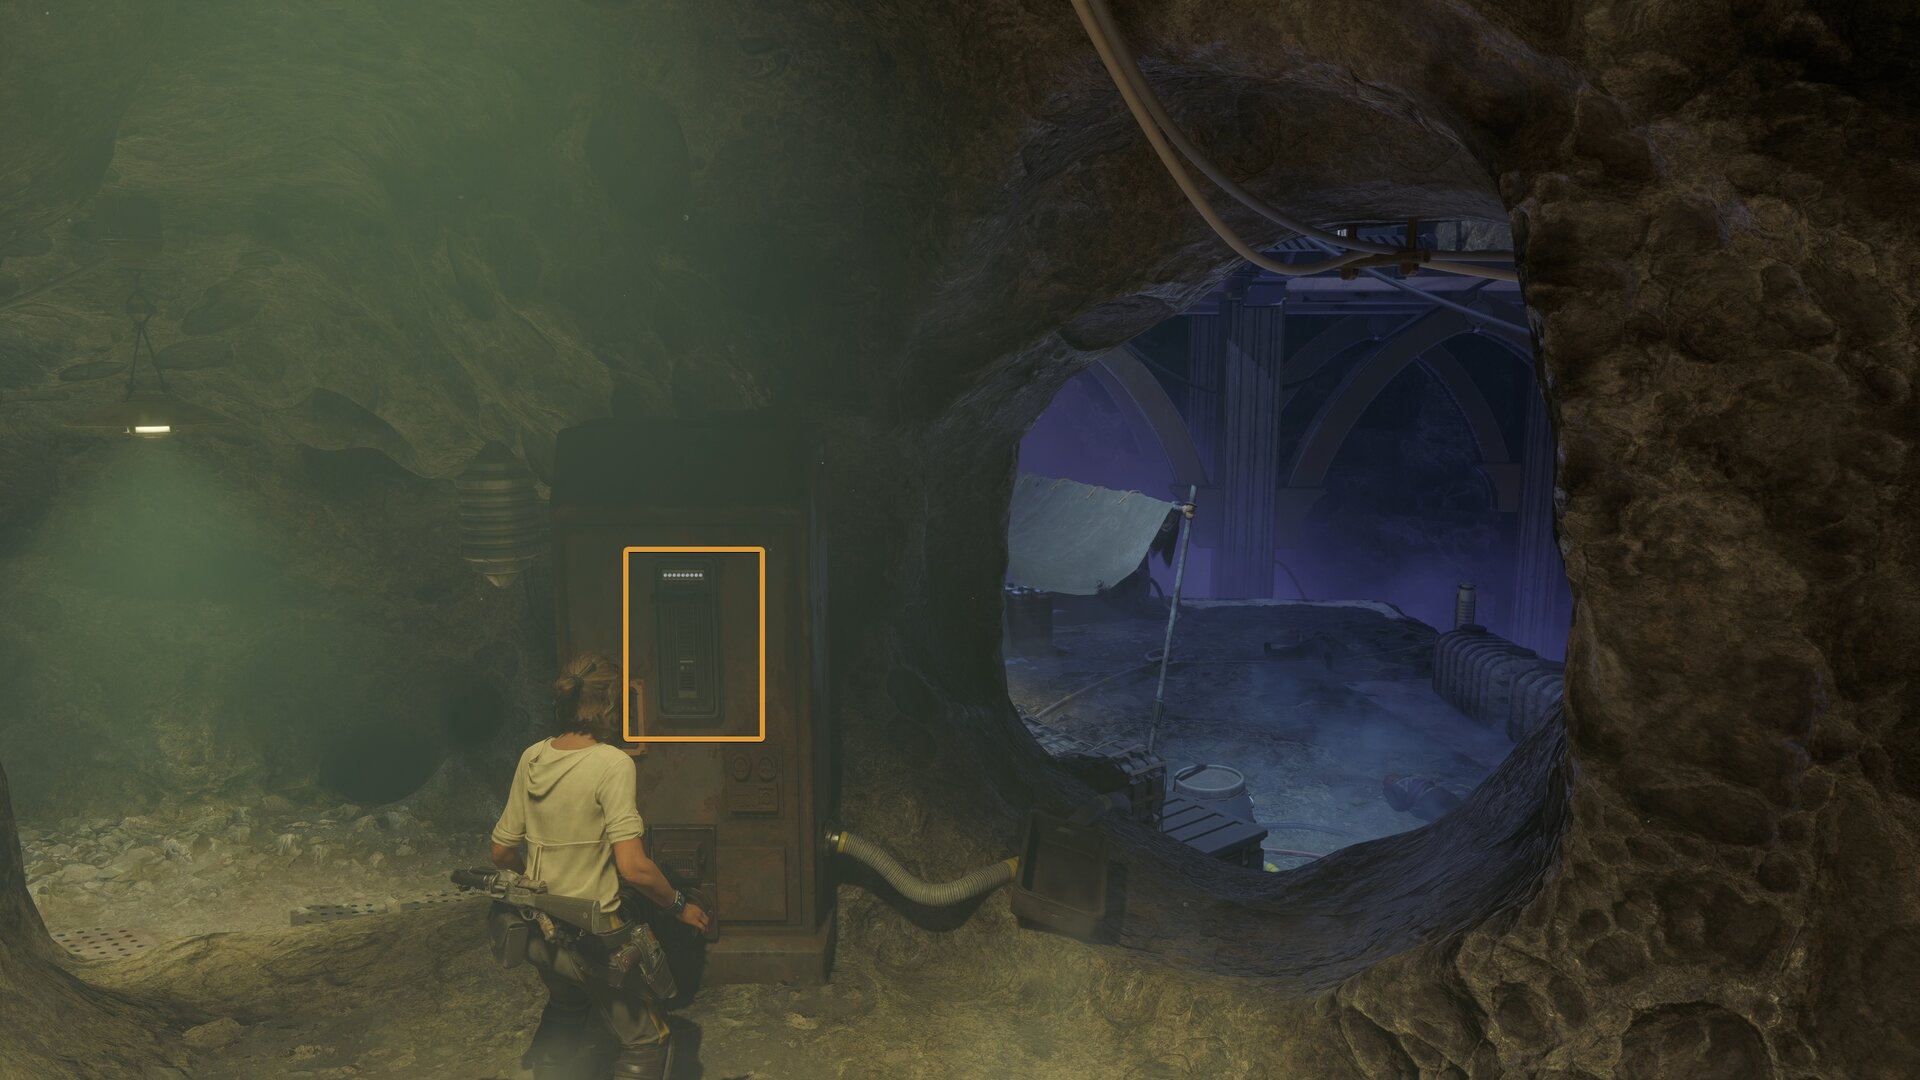
When the room is clear, follow the power cables leading away from the elevator. They’ll lead you to a room with a switch that’ll power the elevator. Power it up then use the elevator to reach the walkway above.
You’ll find the Ion Shield on a worktable. When you pick it up, turn around 180 degrees and fight off a small ambush.
Reach the Trailblazer and Override the Grav Lock
When you’ve found all the items you need, head towards the landing pad. You can talk to Hondo who is hiding behind a guardrail.
There’s an automated turret near the Trailblazer, this is your priority target. Destroy the two power conduits next to it to disable it. From there, clear out the remaining pirates.

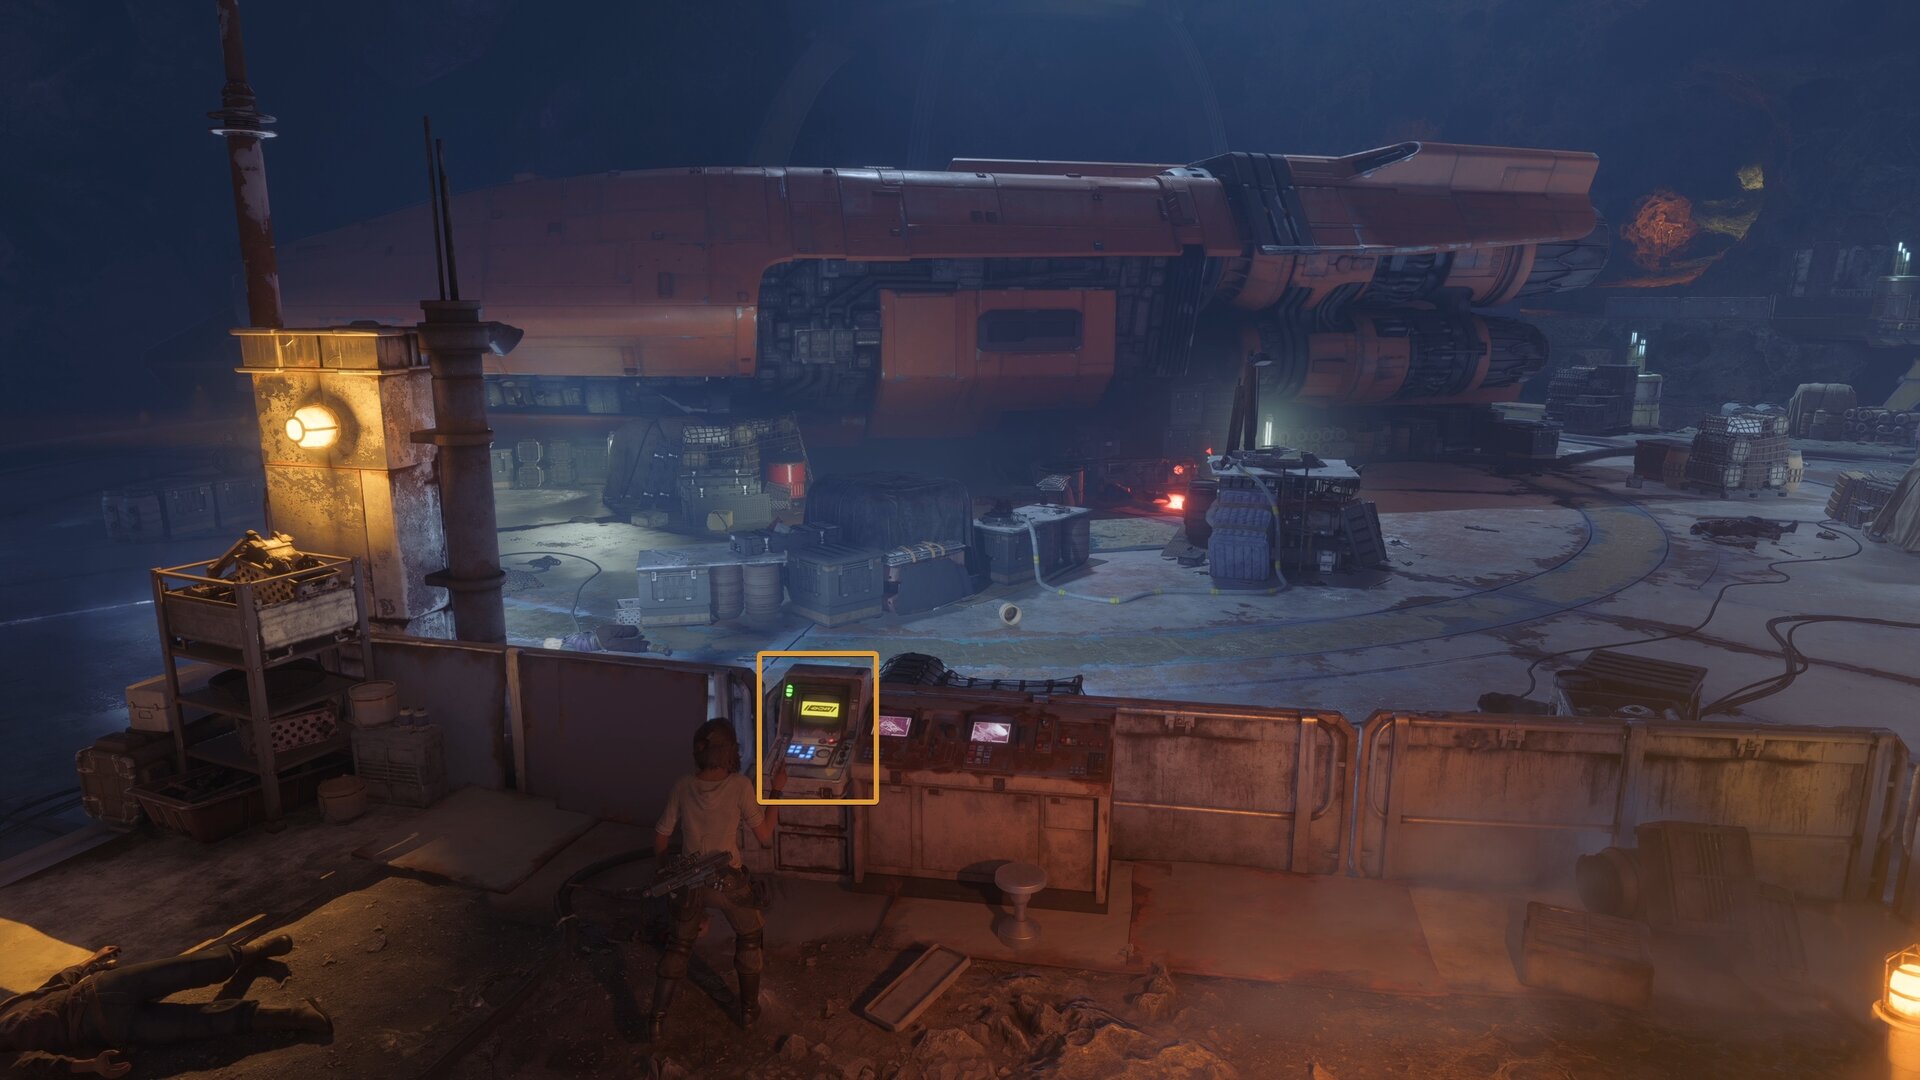
When the room is clear, slice into the terminal and turn off the grav lock. Board your ship and escape the tomb.
Buy time for Hondo
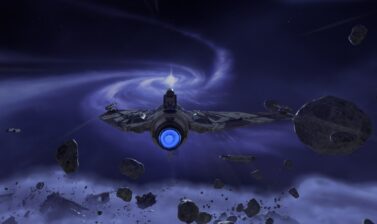
Before you can escape the system, you’ll need to destroy the turrets in the area as Hondo installed the Ion Shield.
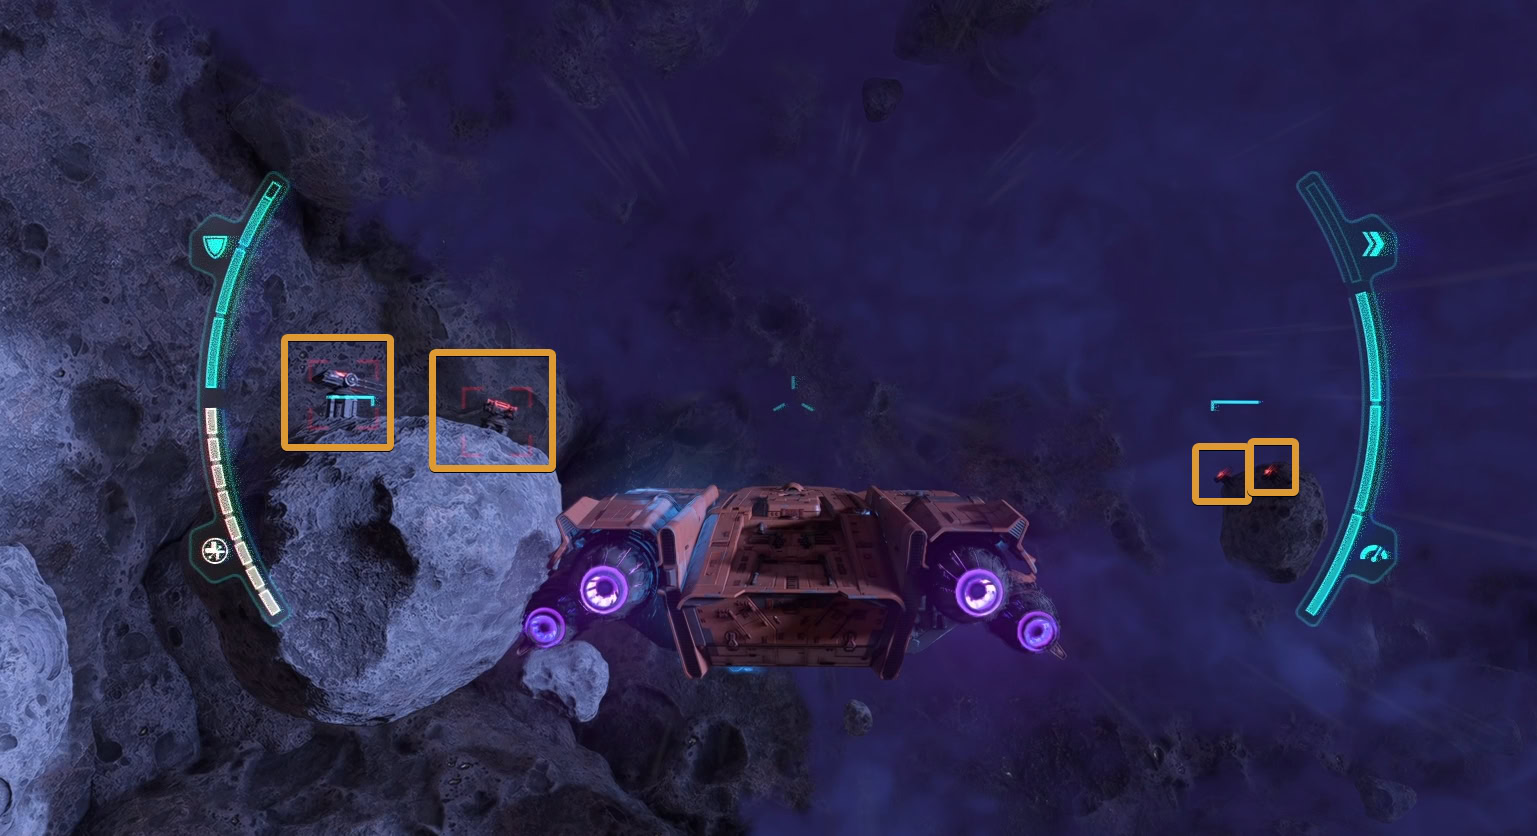
Ignore the enemy fighters and focus on the turrets. When all the turrets are destroyed, Hondo will finish installing the Ion Shield and you can jump into hyperspace to escape.
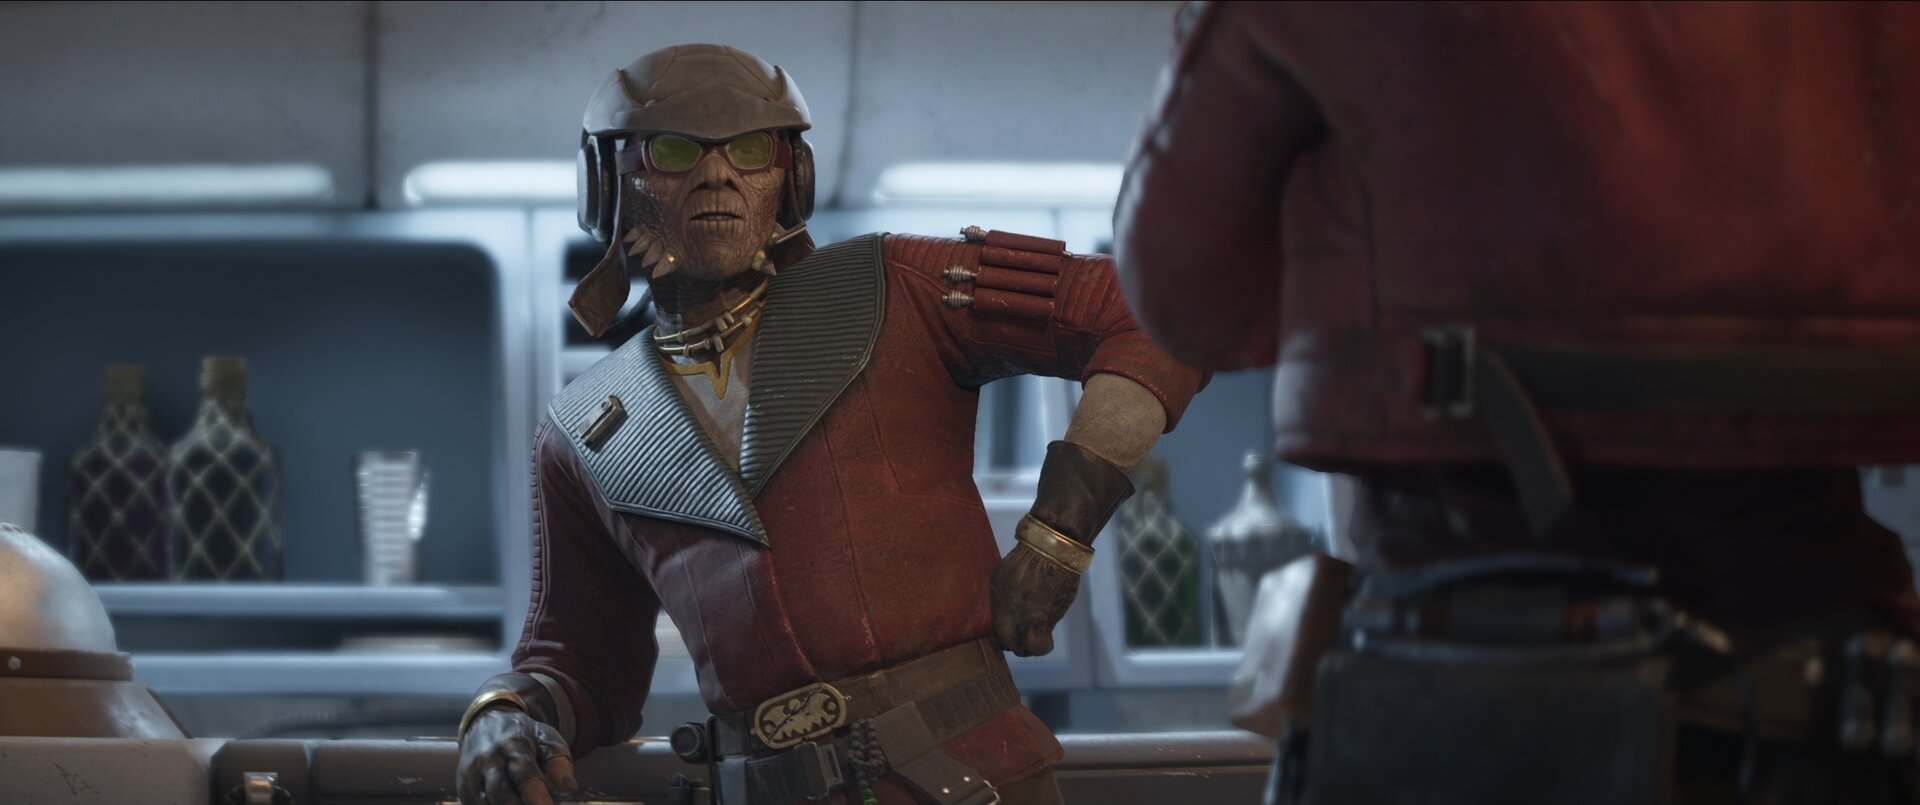
Talk to Hondo once you’re in Achra Station. He’ll give you a new blaster key part, the Ion Shock Kit. Once the cutscene is over, you’ll complete the quest Brave the Unknown. Completing this quest, will earn you the Stranger Tides achievement (trophy).
The Captain’s Share
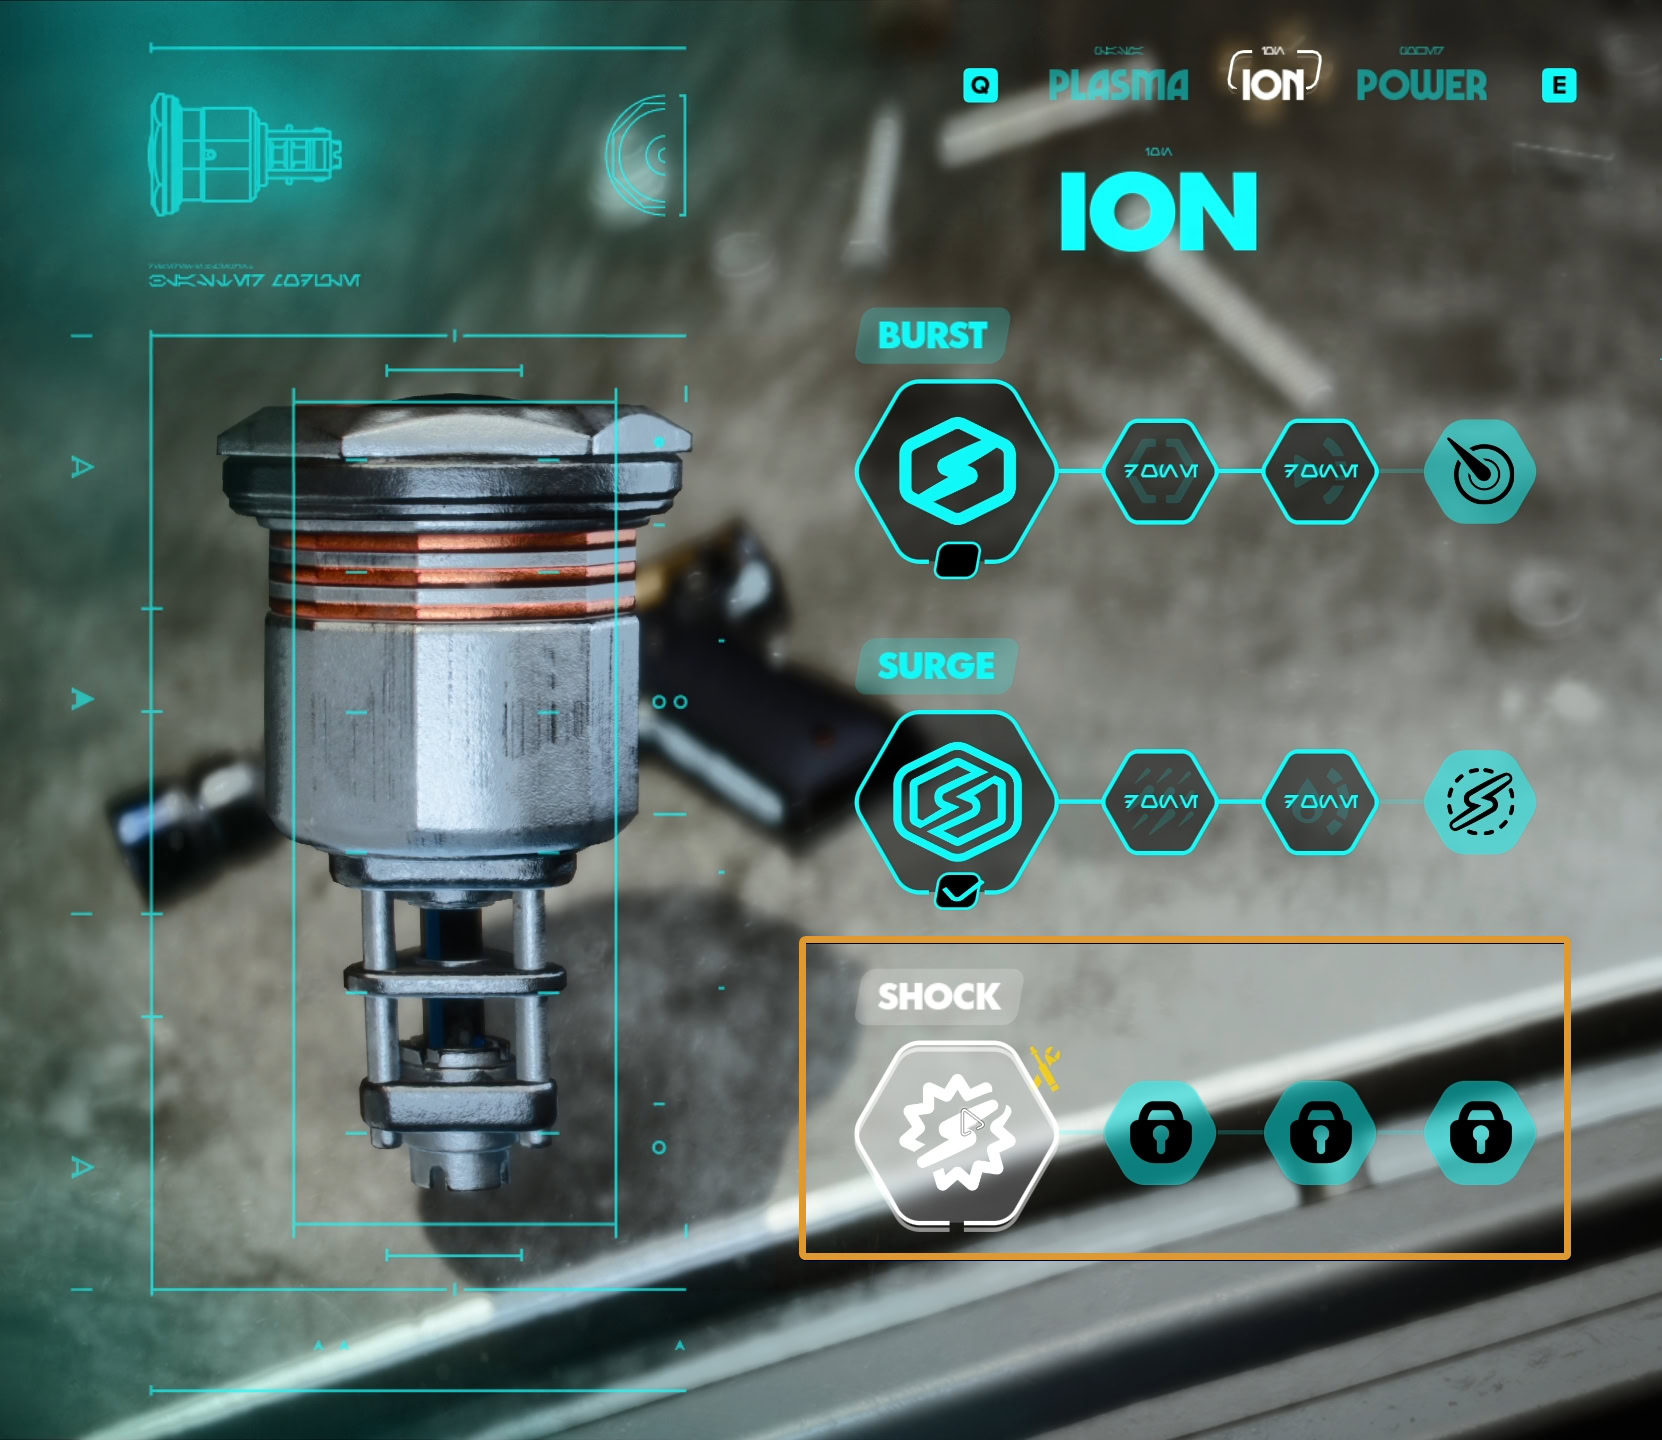
The next quest doesn’t warrant its own individual guide so it will be included here. Go to your workbench to modify your blaster. Install the new Ion Shock configuration found at the workbench.
This configuration lobs a ball of plasma to an area similar to a grenade launcher, dealing ion damage in an area on impact.
After installing the new Ion Shock configuration, you’ll complete The Captain’s Share and start the next quest No Prey, No Pay.
Before you head to the next mission, note that you can now get new Passive Systems for the Trailblazer. This allows you to further upgrade and tweak your ship’s performance for the upcoming battles and exploration.