Learn how to complete the fifth and final quest of A Pirate’s Fortune in Star Wars Outlaws. Find out what your new ship is capable of, how to uncover Stinger’s plans, how to start a mutiny with the Rokana Raiders, and discover two alternate endings.
Take the Raider ship to the Khepi Tomb
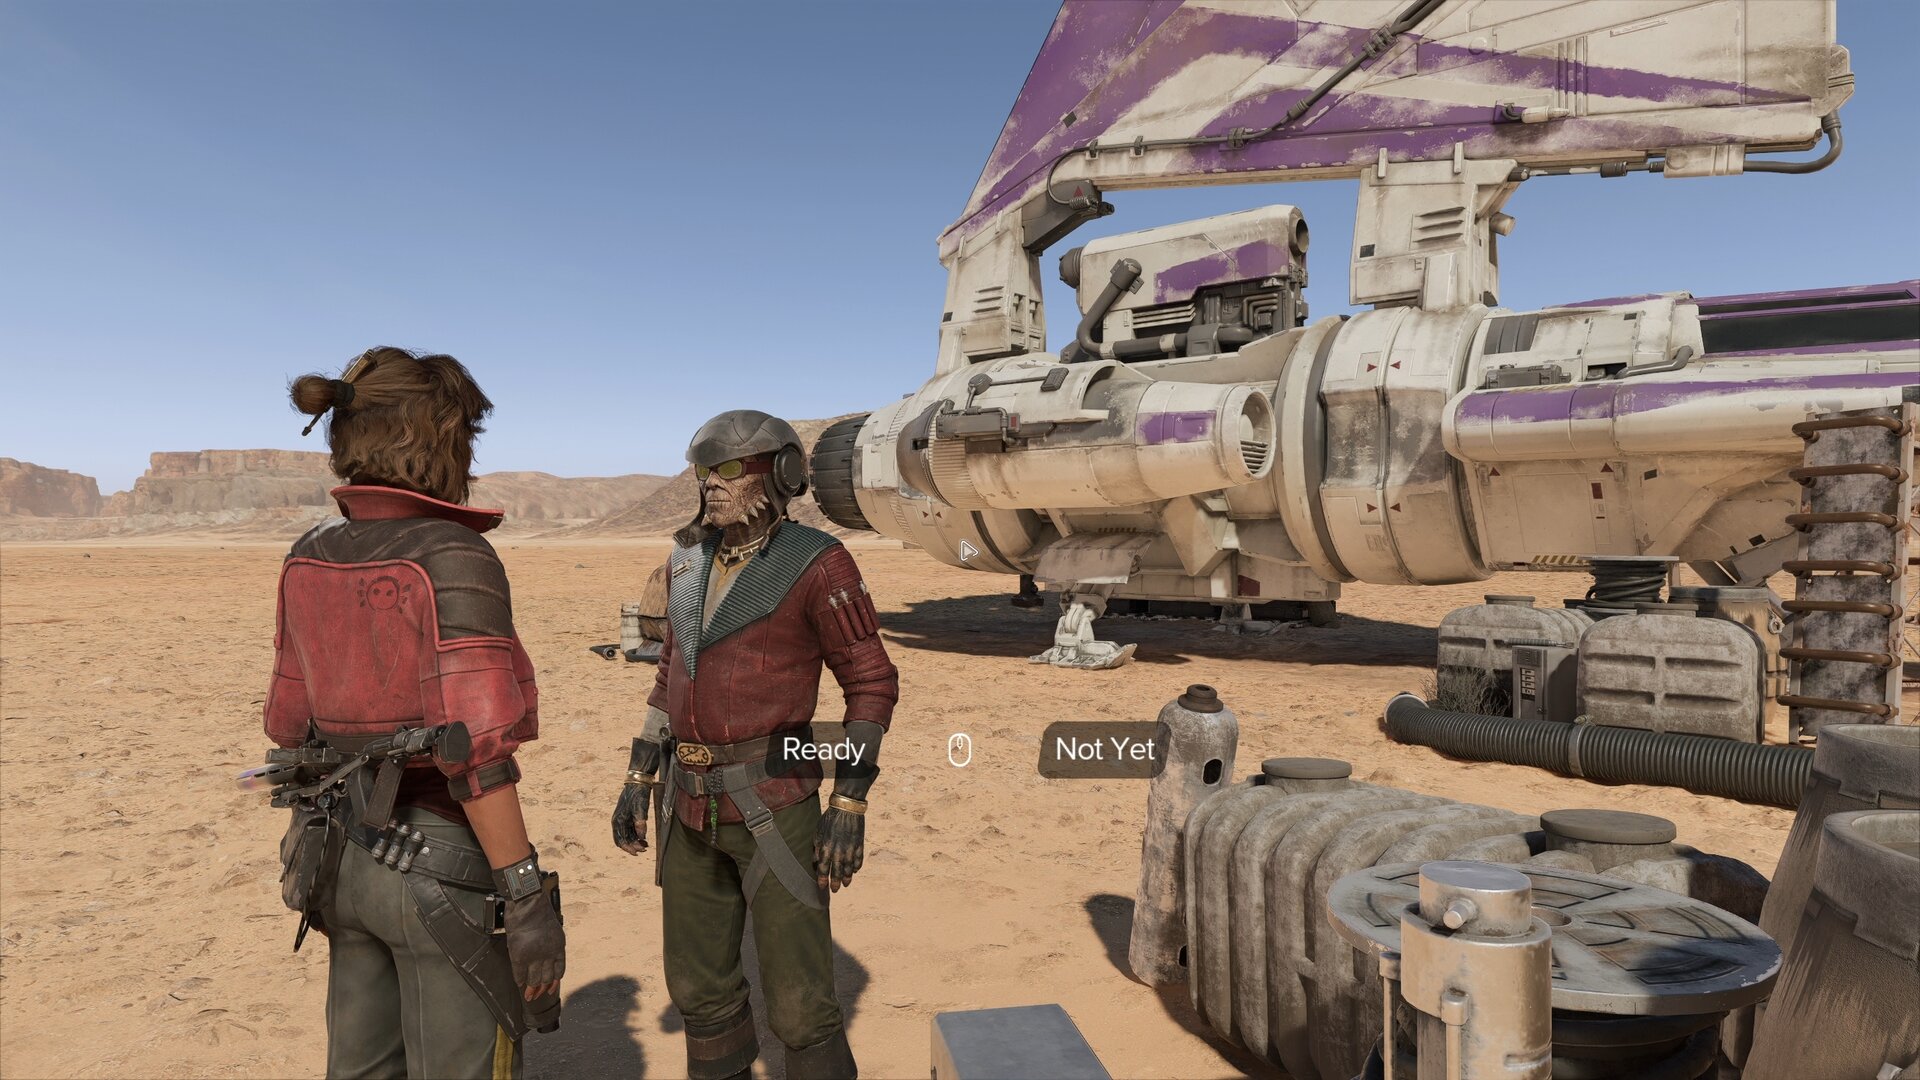
After completing Lost Treasures, talk to Hondo at Wayfar and confirm you’re ready to go on the quest. Make any final preparations as you won’t be coming back until the quest is complete. When you are good to go, select Ready to begin the Khepi Tomb heist.
Cutlass in Action
You’ll take off into Tatooine’s orbit where you’ll find Rokana Raiders fighting Imperials. Help them by taking down the Imperials.
It’s armed with blaster cannons, ion missiles, and the ability to swap modes. In assault mode, you’ll lose speed, maneuverability, and a loss in shields in exchange for heavily increased firepower from some extra cannons.
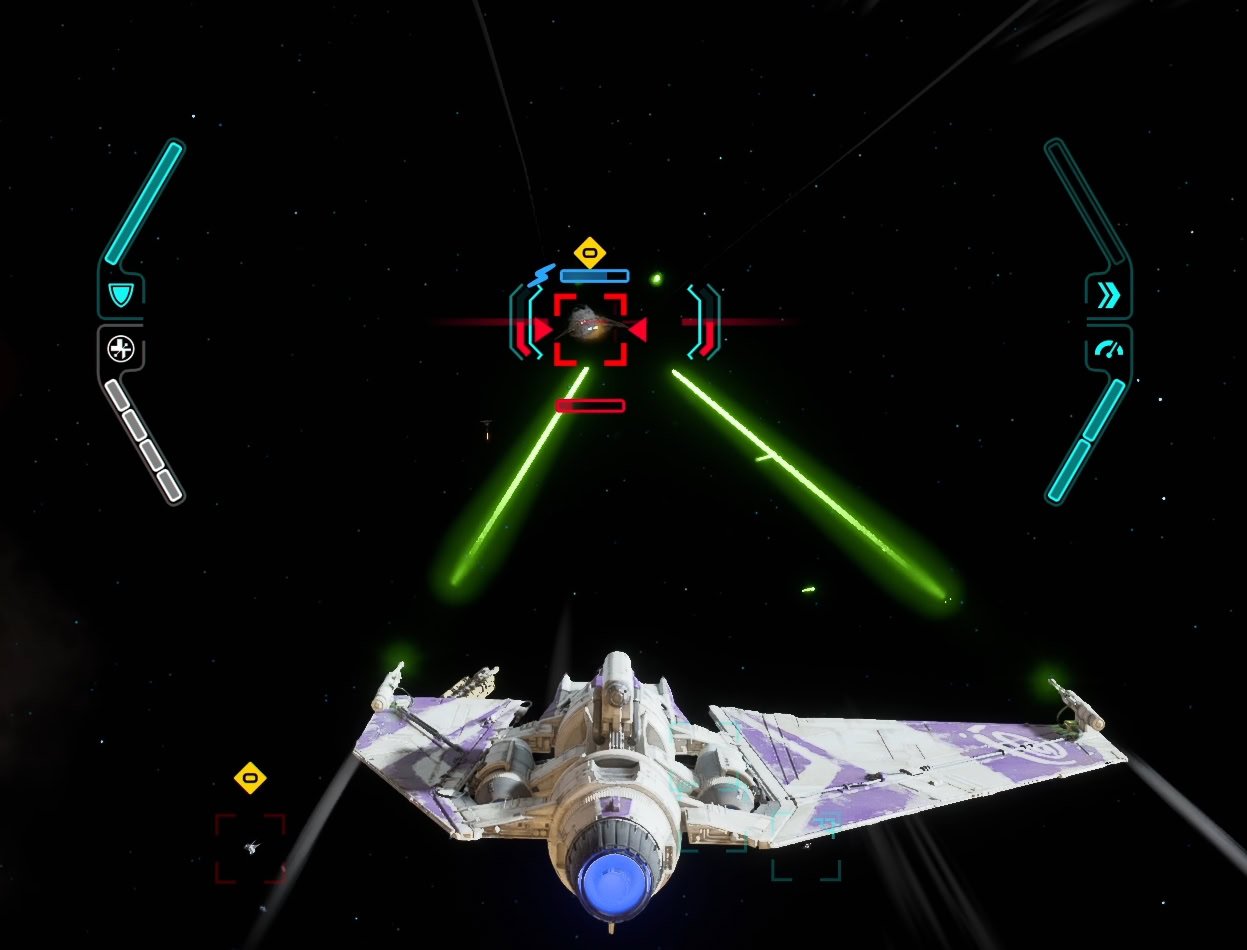
In the standard mode, you’ll gain speed, maneuverability, and increased shield power. If you swapped from assault mode to standard mode, you’ll instantly regenerate shields. This is great for hit and run tactics and avoiding missiles with your newfound mobility.

Defeat the Imperials then make a jump to the Khepi Tomb. Land at the tomb to begin the second phase of the heist. Escort Hondo through the tomb until you reach the hallway that leads to the Brig and Forge.
Your next objective is to break into Stinger’s Quarters to discover what her plan is for the treasure. You’ll also have another objective to find the jailed raider. You’re very close to the brig, so you might as well start with that.
Find the Jailed Raider
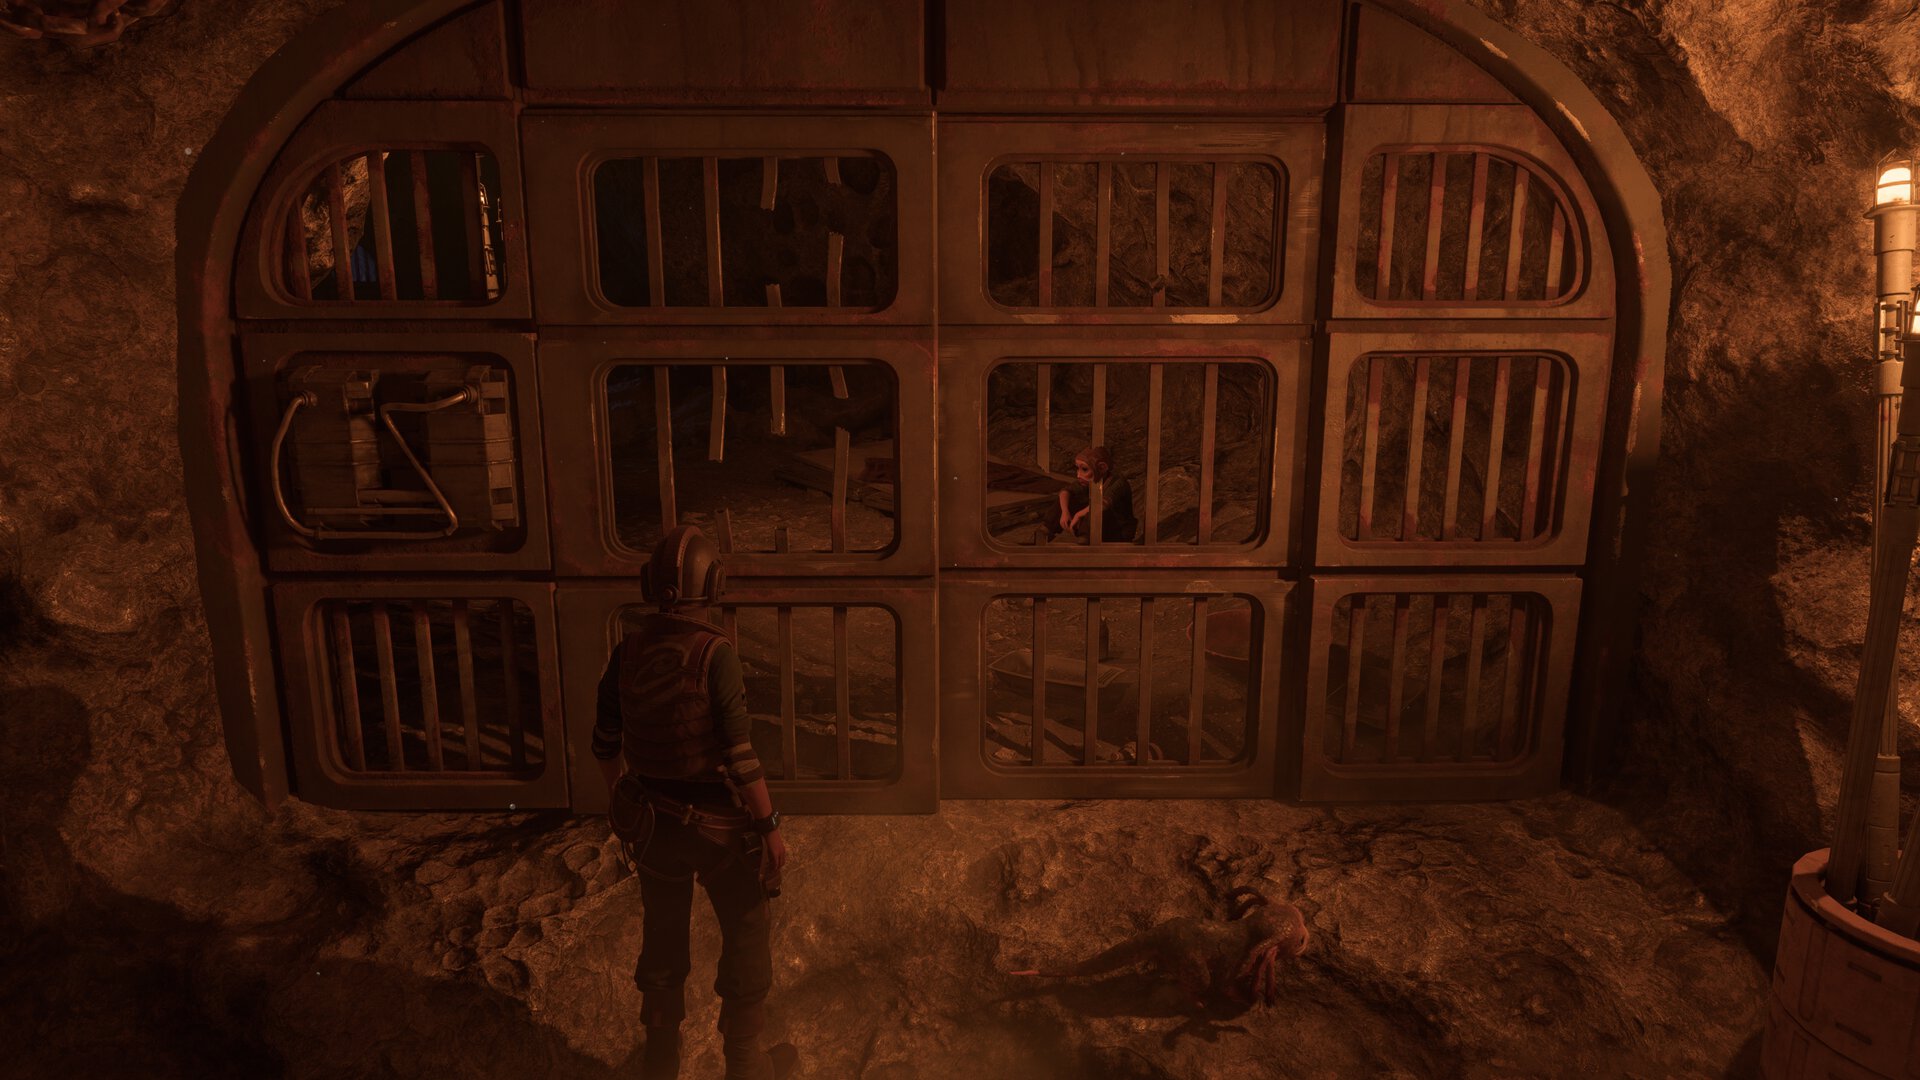
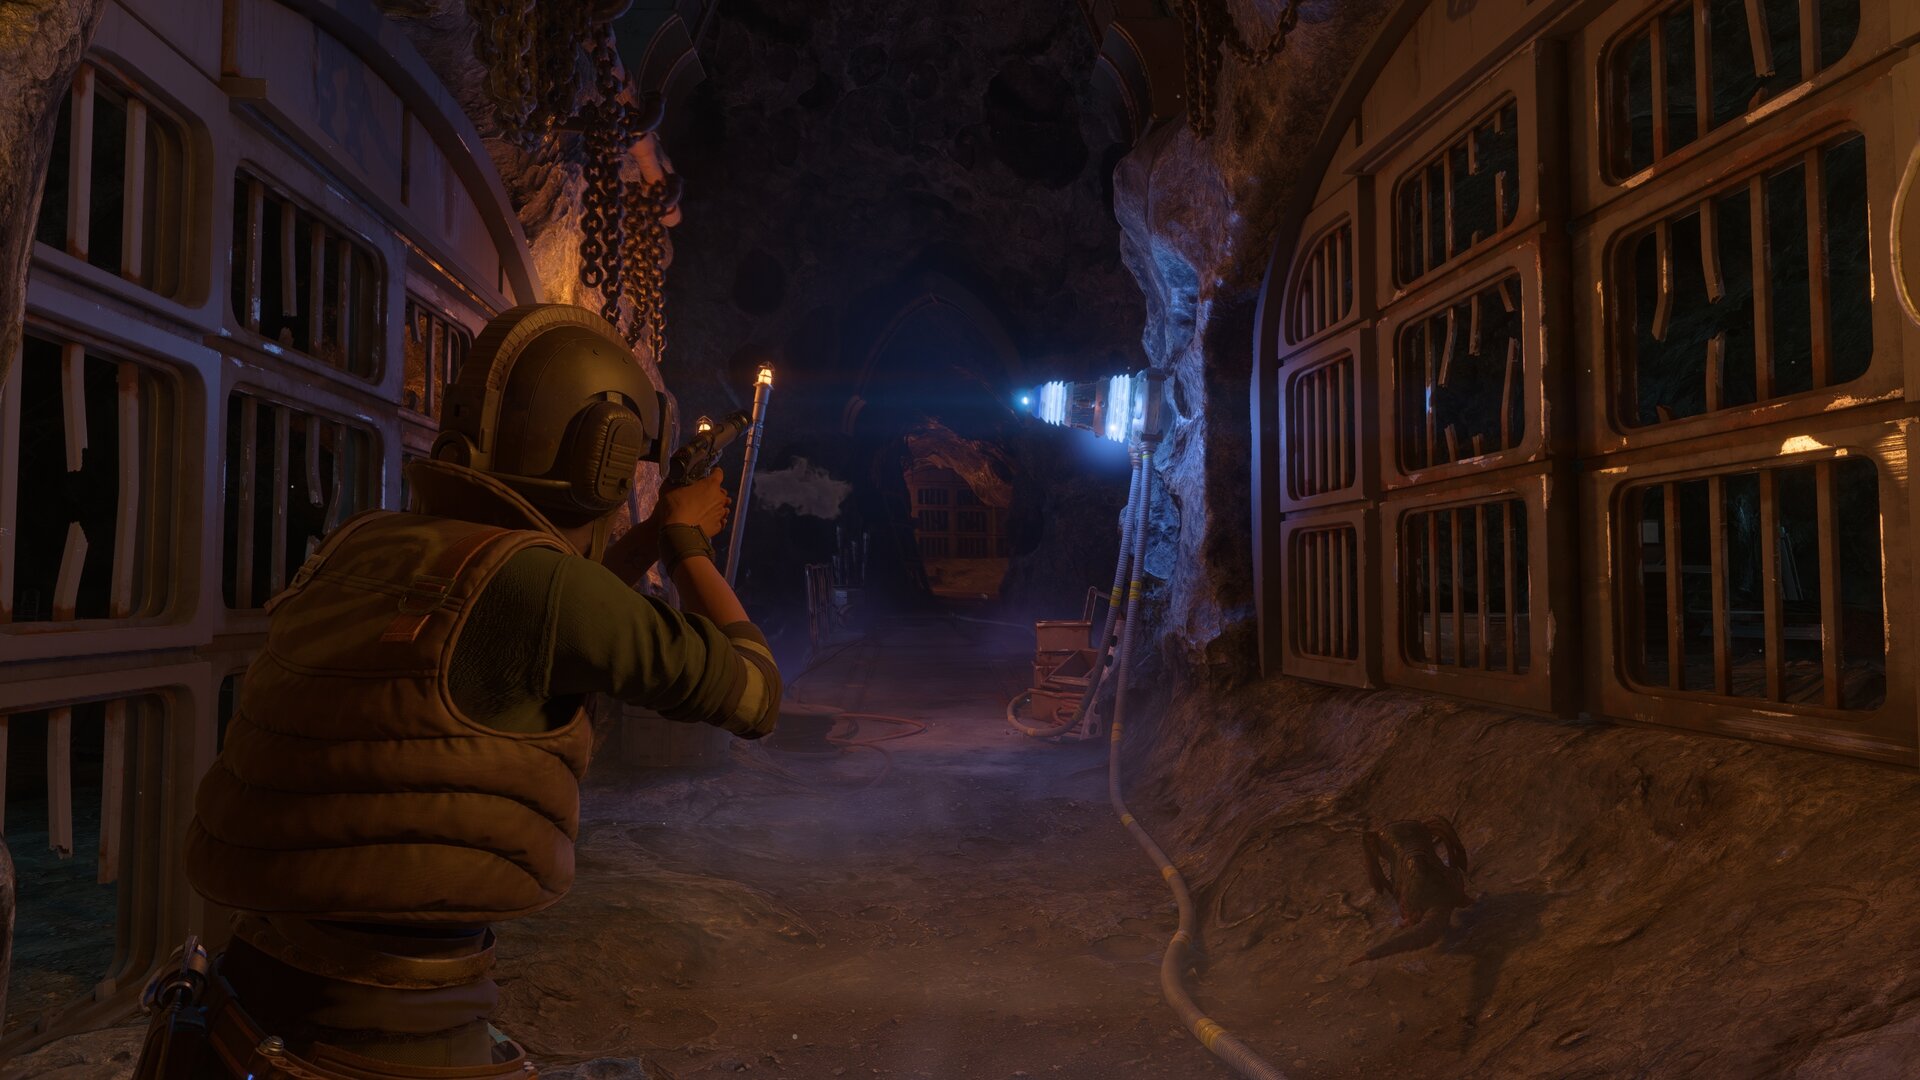
Go south towards the brig and take out the pirates in the area then lockpick the door to enter the brig. Swing to the bridge with your grappling hook then go south to find a Sullustan woman in a cell.
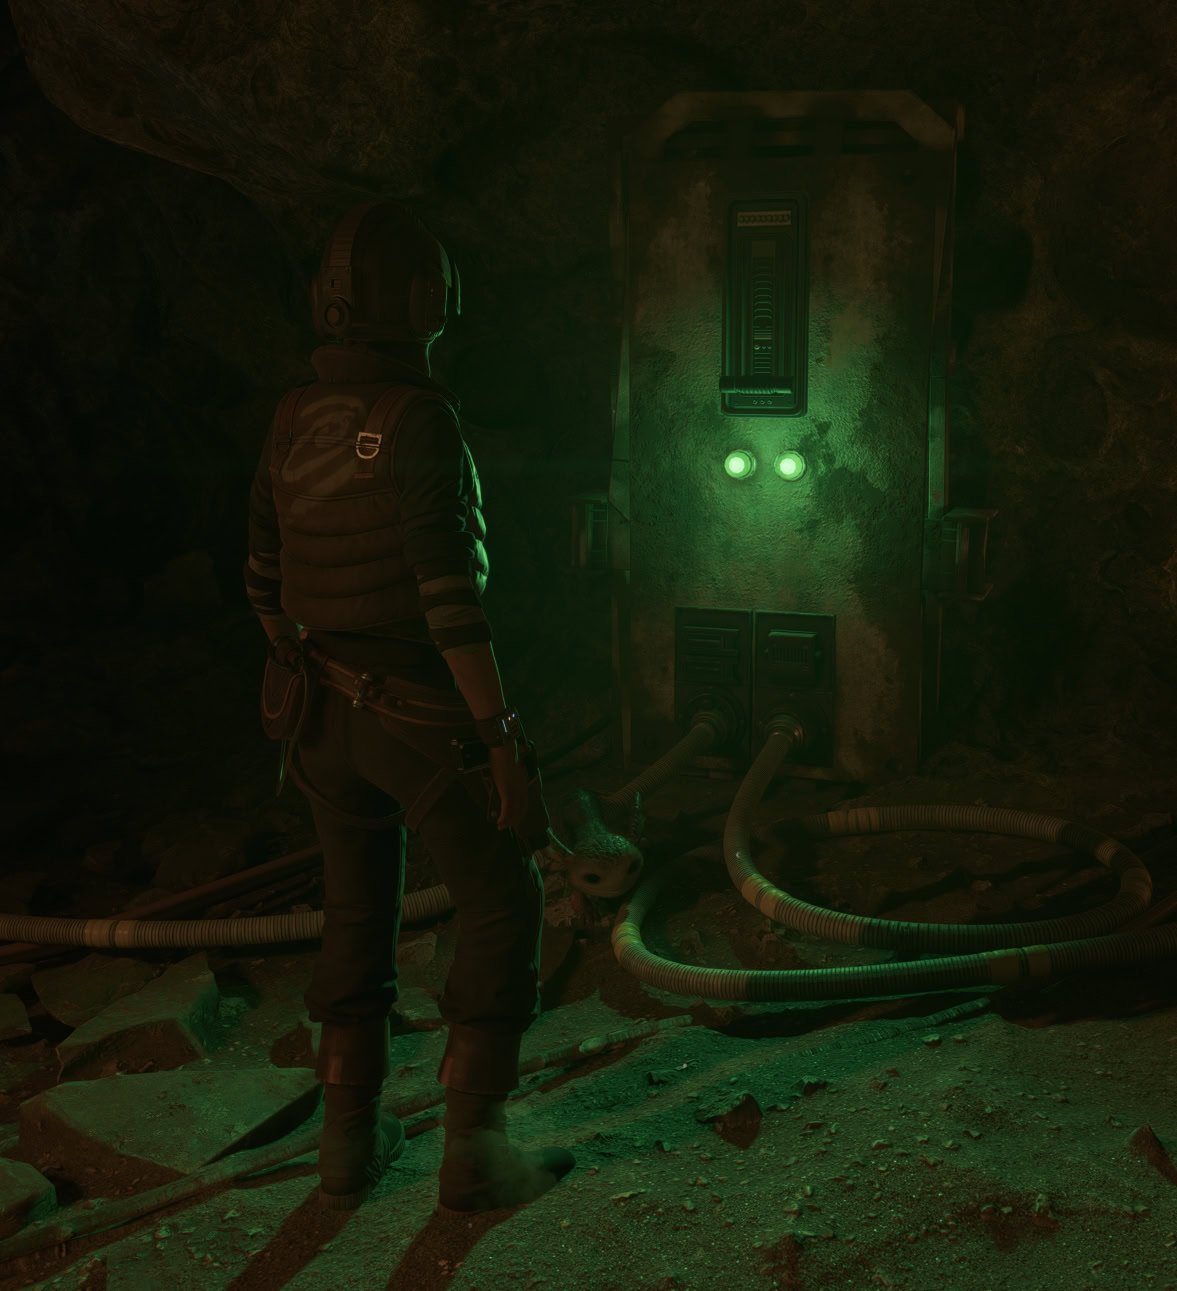
Follow the power lines going north and you’ll find a generator. Activate it, go back and shoot the blue conduit with your ion blaster. Keep following the line and shoot another blue conduit, and the power lines should lead you to a now-powered level you’ll want to pull.
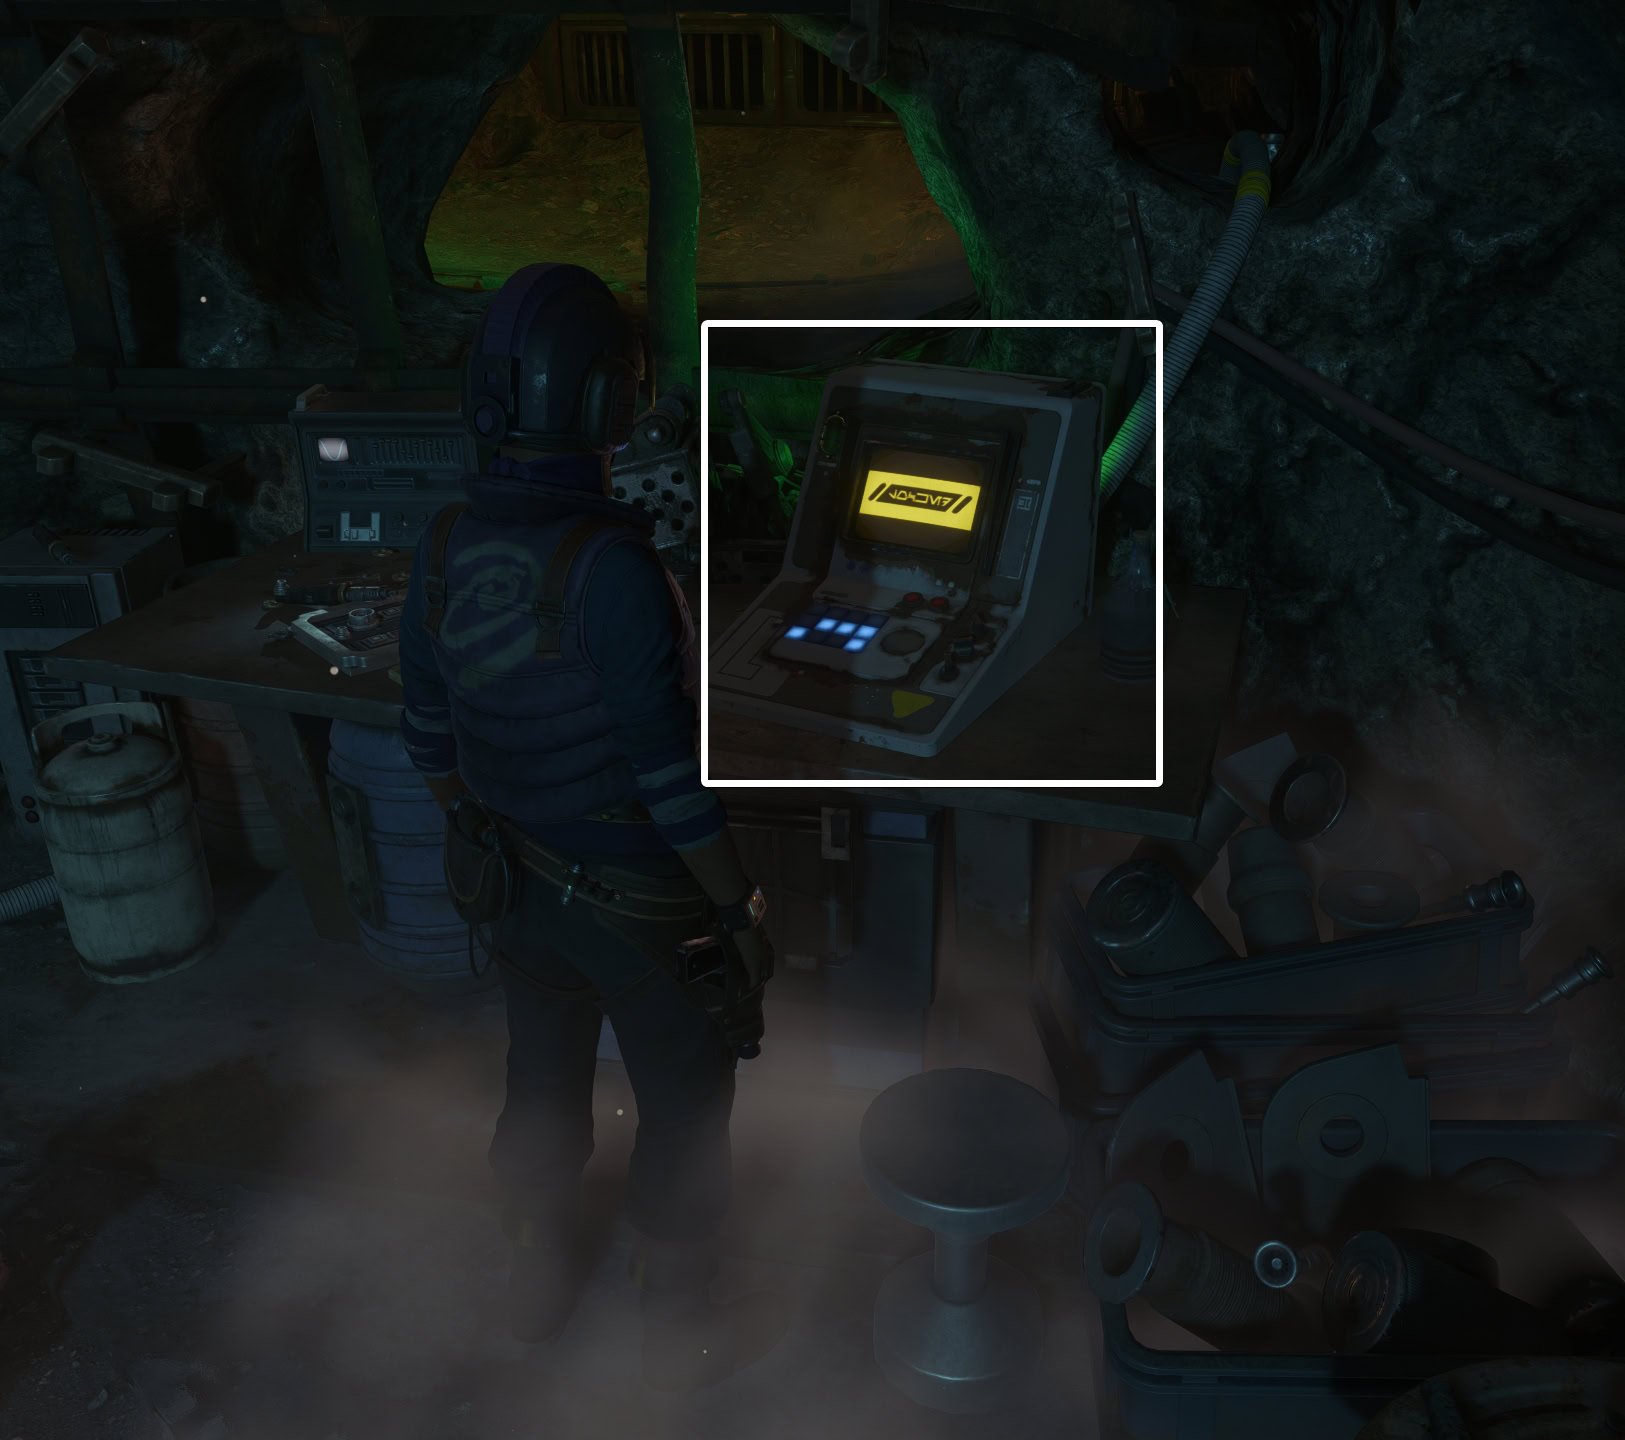
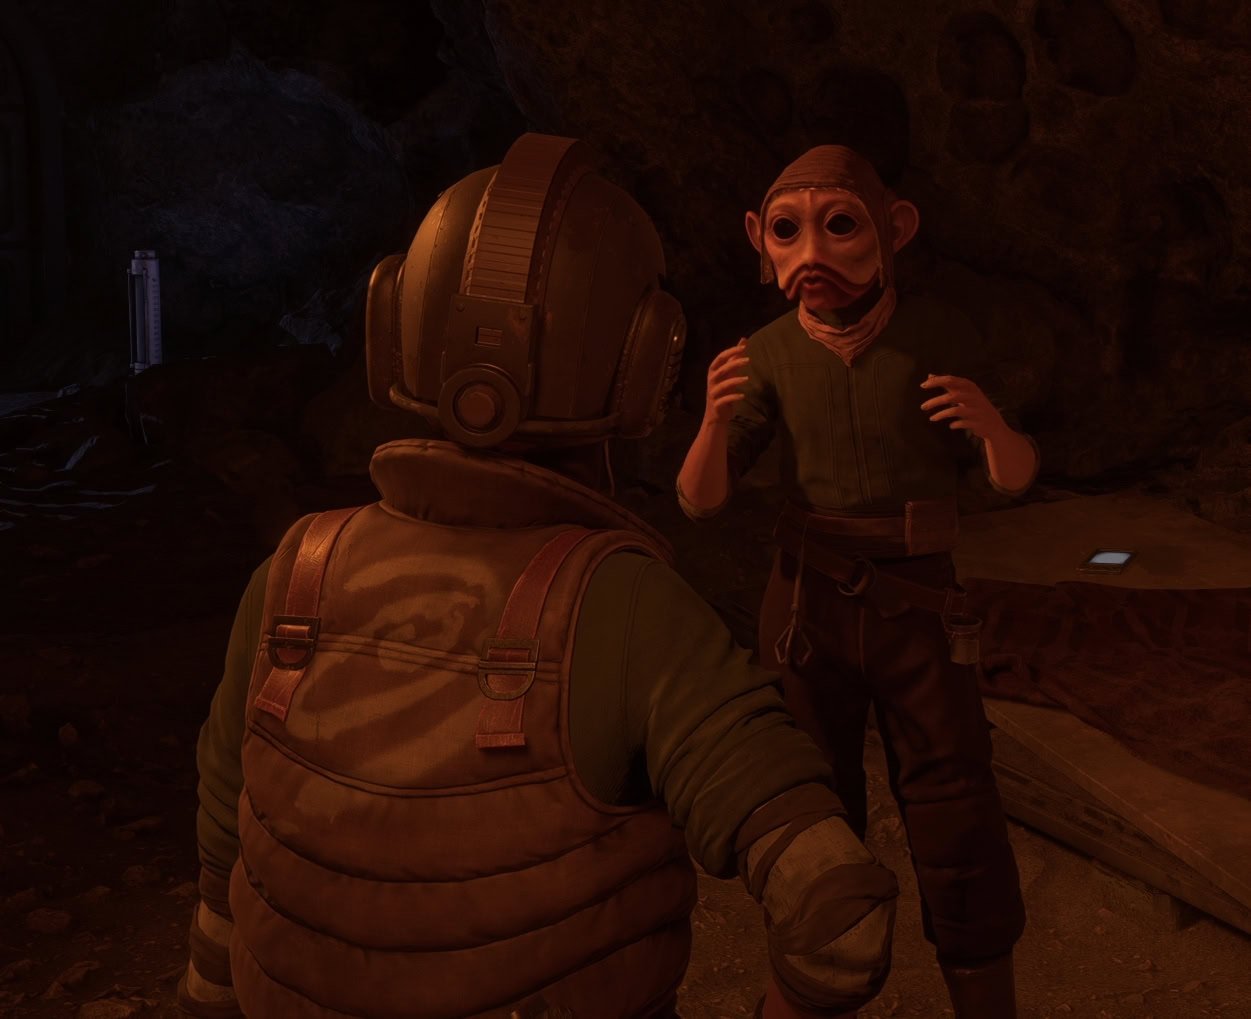
Swing back into the area you came in from and you’ll find a computer terminal. Use it to open the cell door and meet up with Old Bab.
Break into Stinger’s Quarters
To reach Stinger’s Quarters, you’ll need to go to the Generator room and use the elevator to reach the higher level. Much like last time, this is easier said than done.
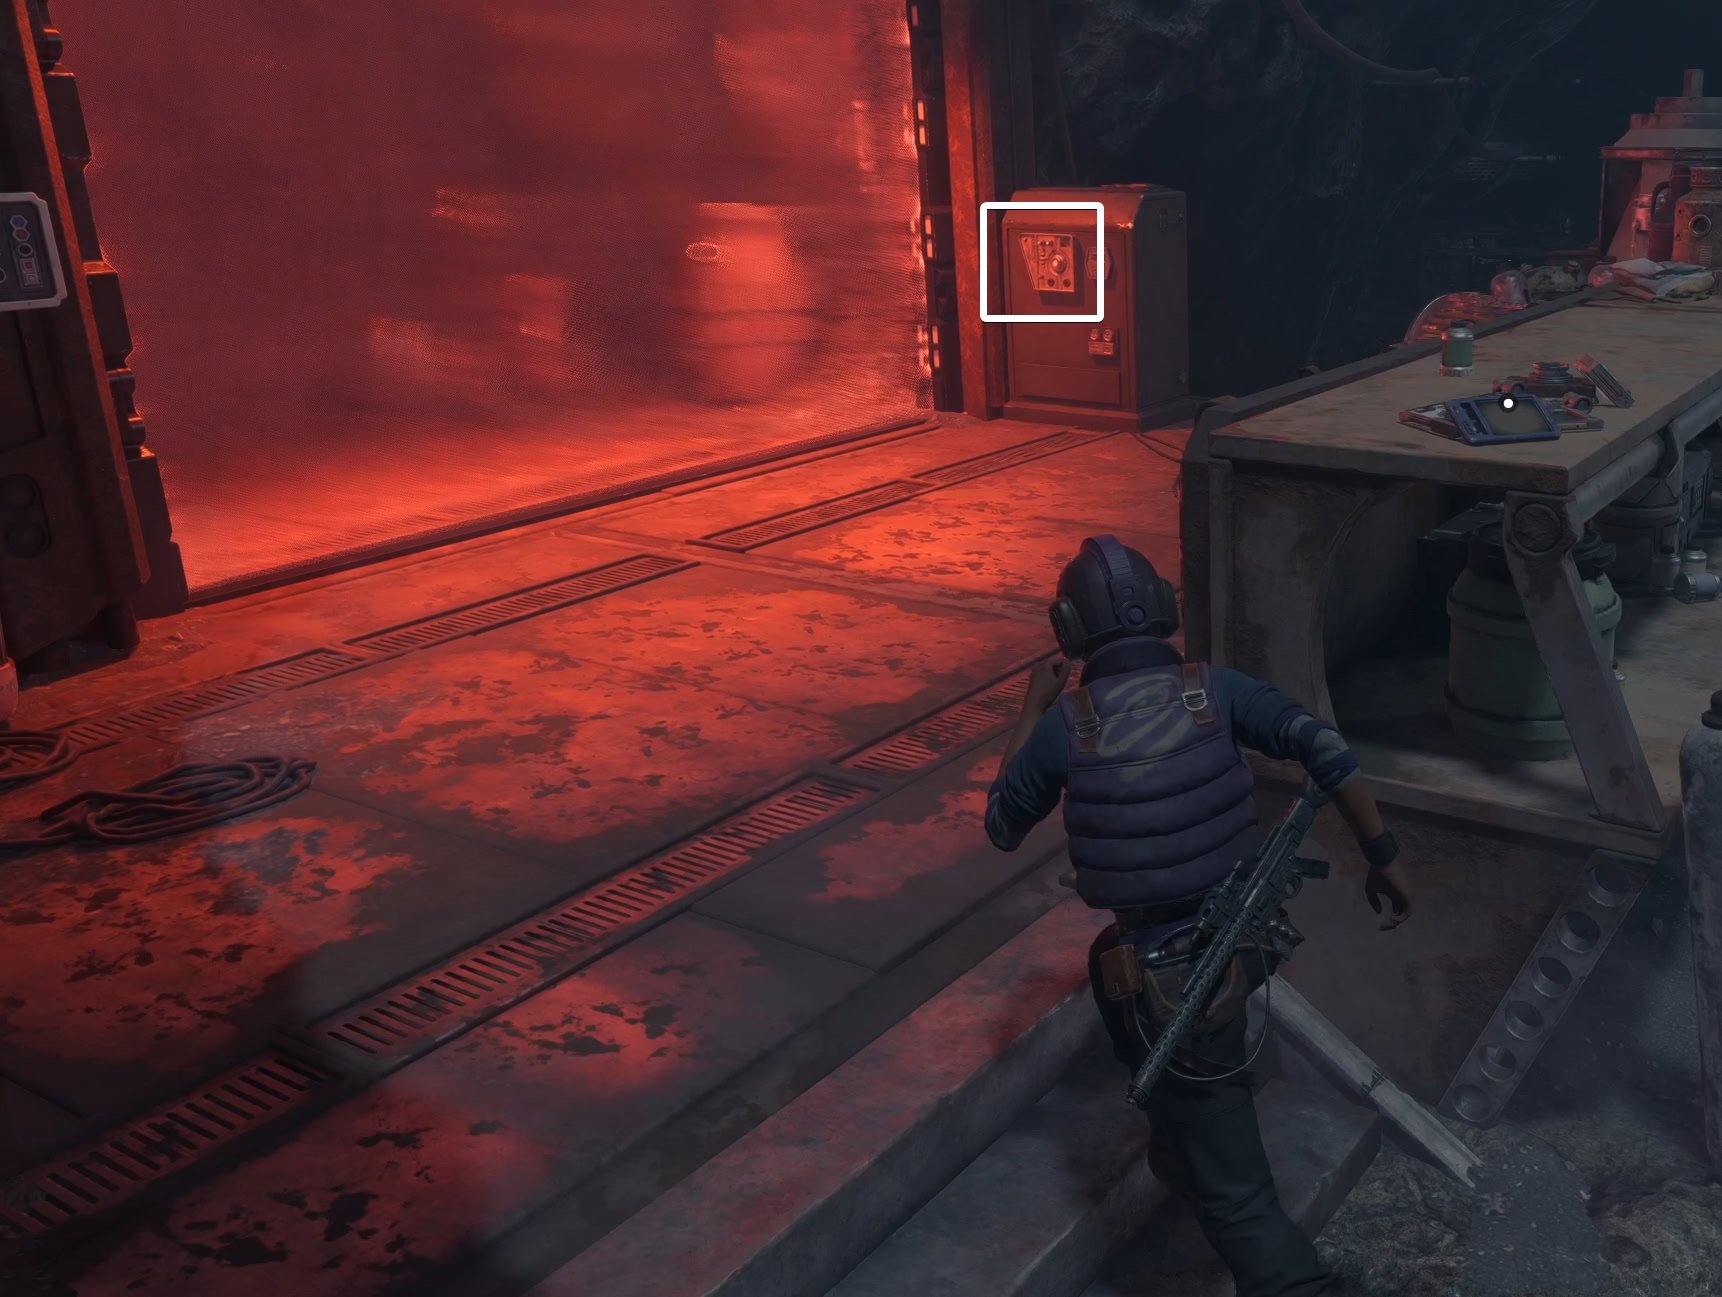
This area has been refortified with the elevator power switch being blocked off by metal bars and a ray shield. The terminal that controls the ray shield is being guarded by three pirates.
Take out the pirates, slice the computer, disable the ray shield, and power the elevator.
Go up the elevator and take out the pirates guarding Stinger’s quarters. When you open the door, it will get jammed.
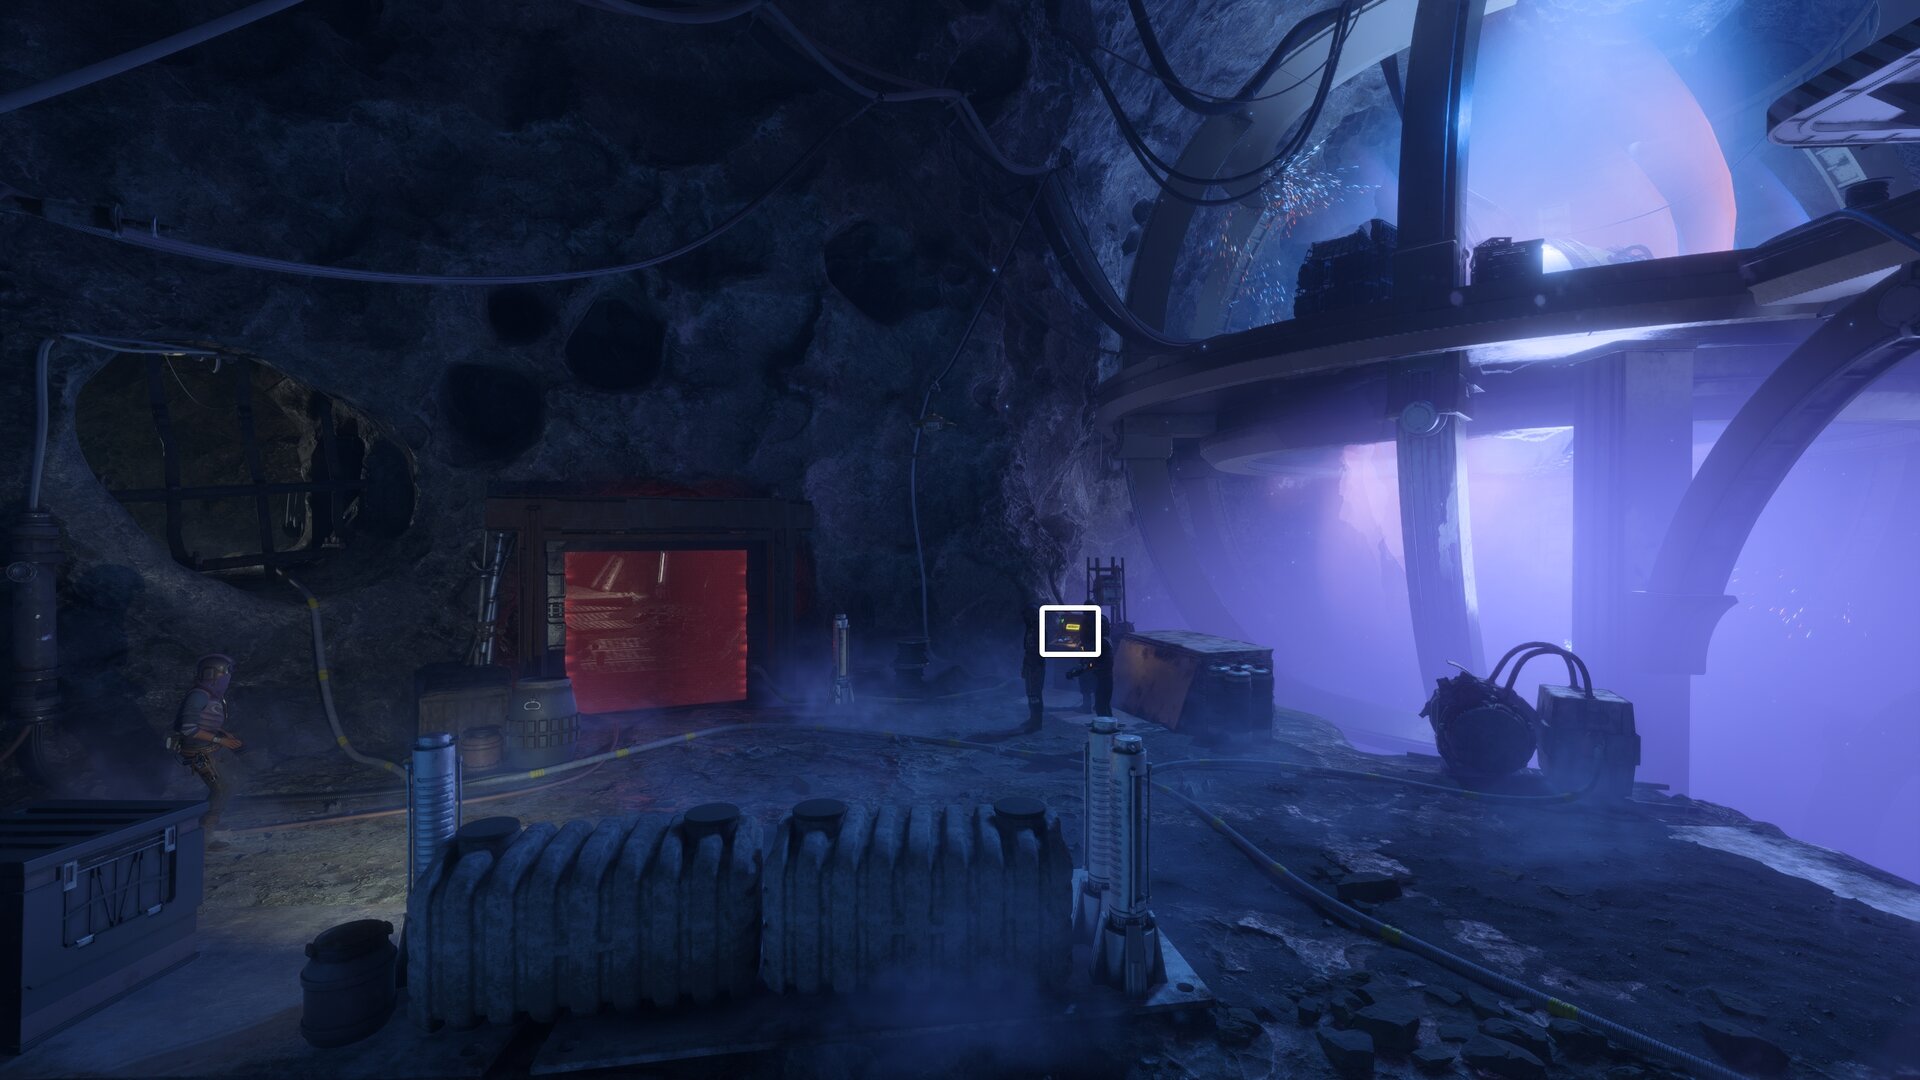
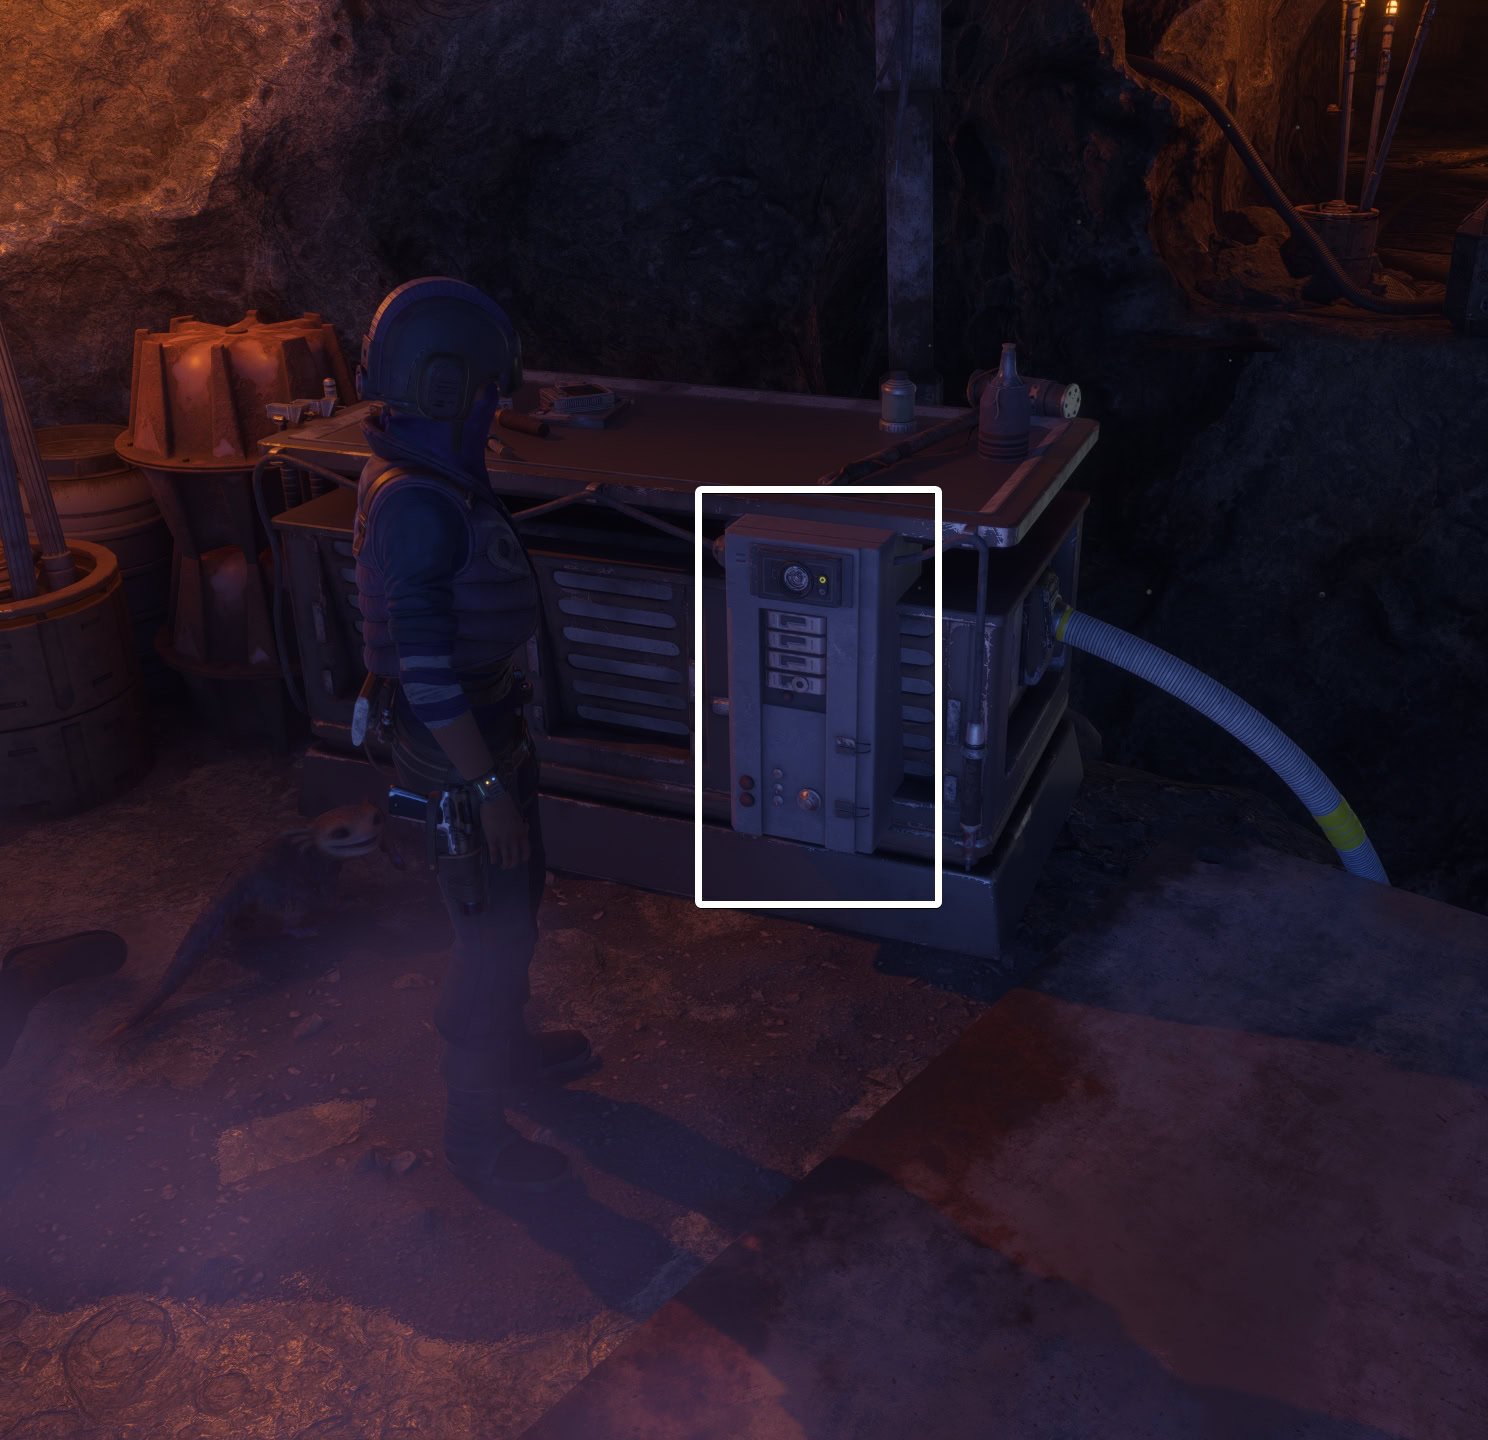
Go towards the generator and look at the work table where you previously found the Ion Shield. Use your Data Spike to pick it and open the door.
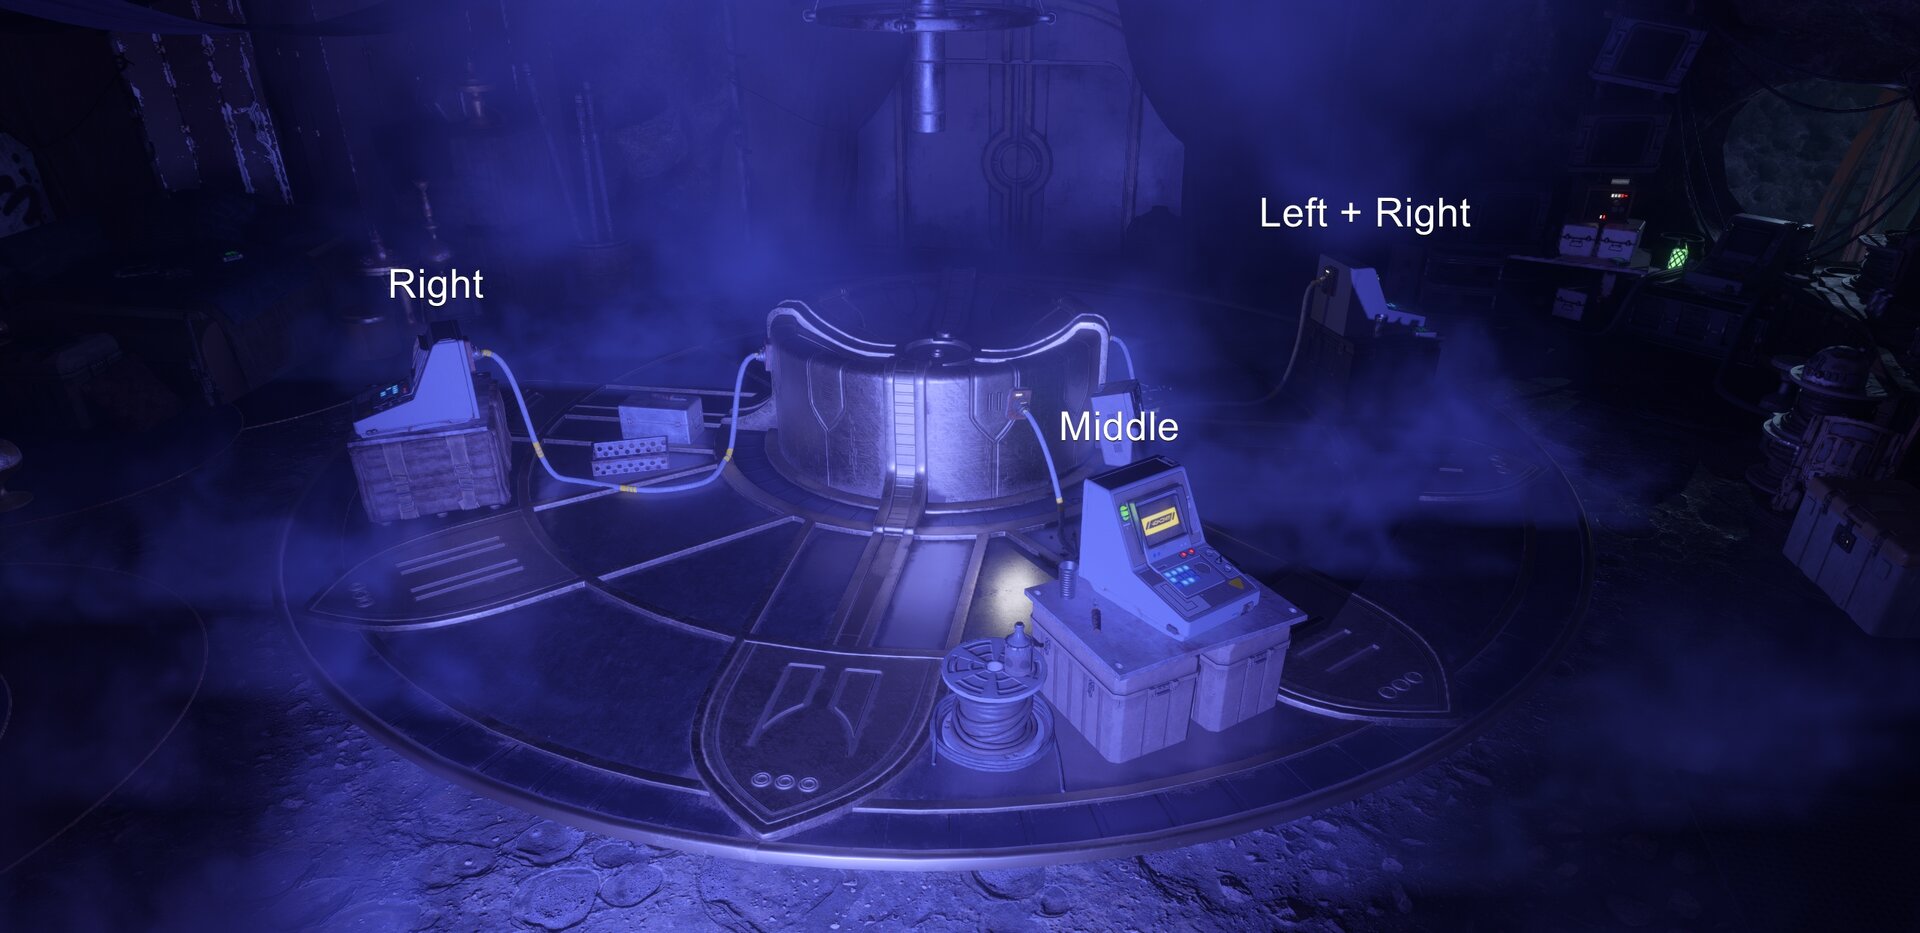
You’ll encounter three computers connected to the central area where you can infuse up to three runes per computer.
You can refer to the following image for the solution to this puzzle. For the computer near the entrance, select the middle rune. For the computer near Stinger’s bed, select the right rune. For the computer near the window and offline computer, select the left and right runes.
Interact with the hologram for a conversation with ND-5 as he’ll translate the pictographs. With both objectives complete, you’ll experience a tremor. Stinger has just opened the tomb’s south door. Remember to loot the large chest in this room before you leave to get some loot!
Optional: Continue the Raider Investigation
There are a couple raiders of note that can prove useful later on. Like Old Bab said, mingle and learn what makes them tick. Go to the Tavern to chat up some raiders for some intel.
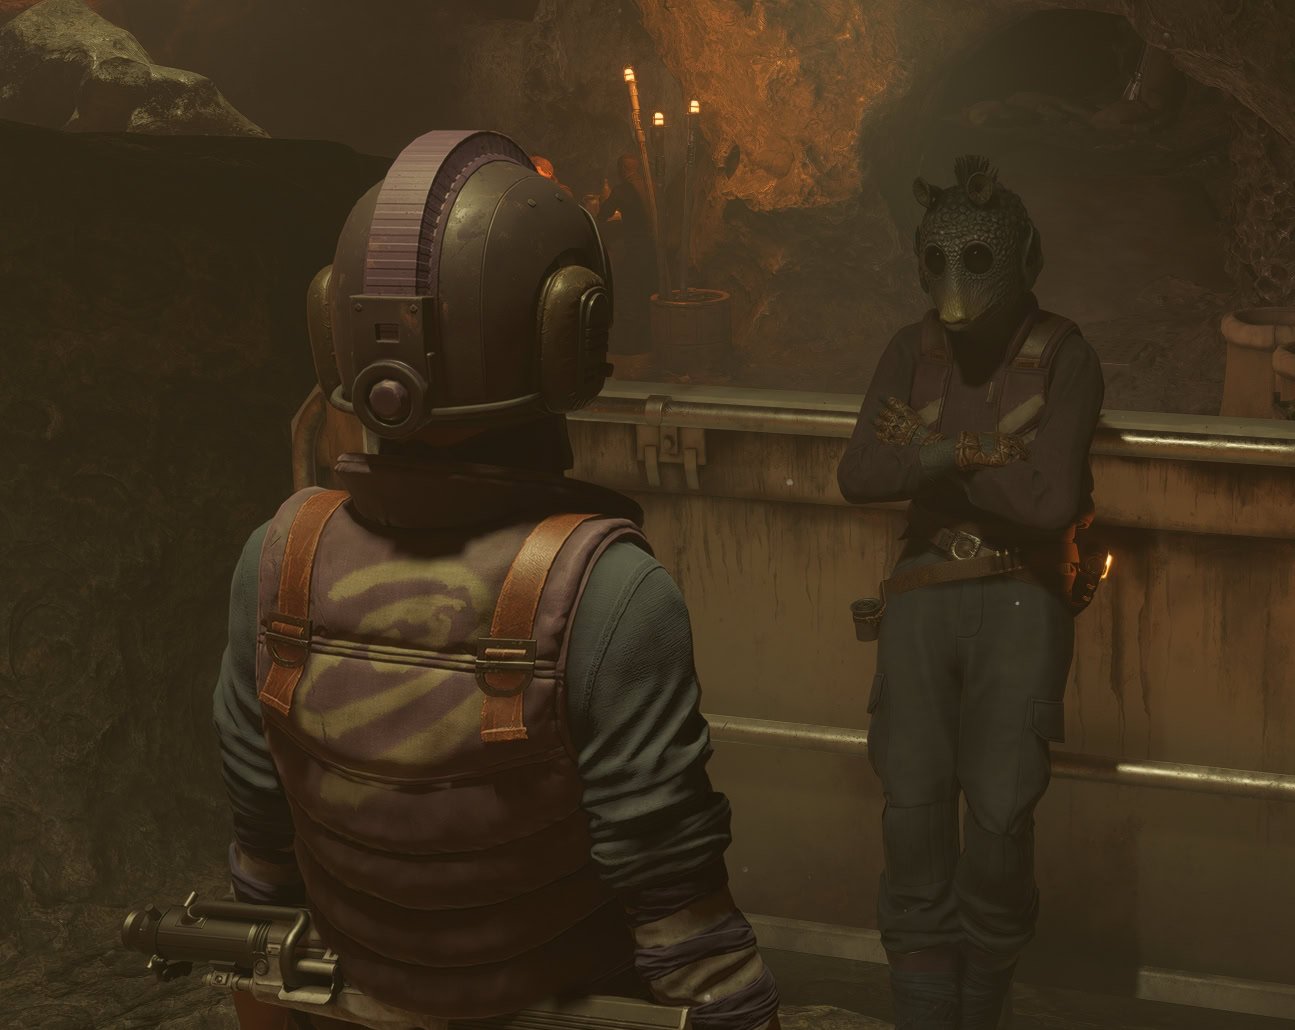
The Rodian will offer you information, ask about Stinger. She’ll mention that the crew follows her because she offers them loyalty.
Next you’ll want to tell a story to the Mirialan raider sitting at the table. Pick any story you like. Regardless of which option you pick, you’ll learn that the raiders love a good story.

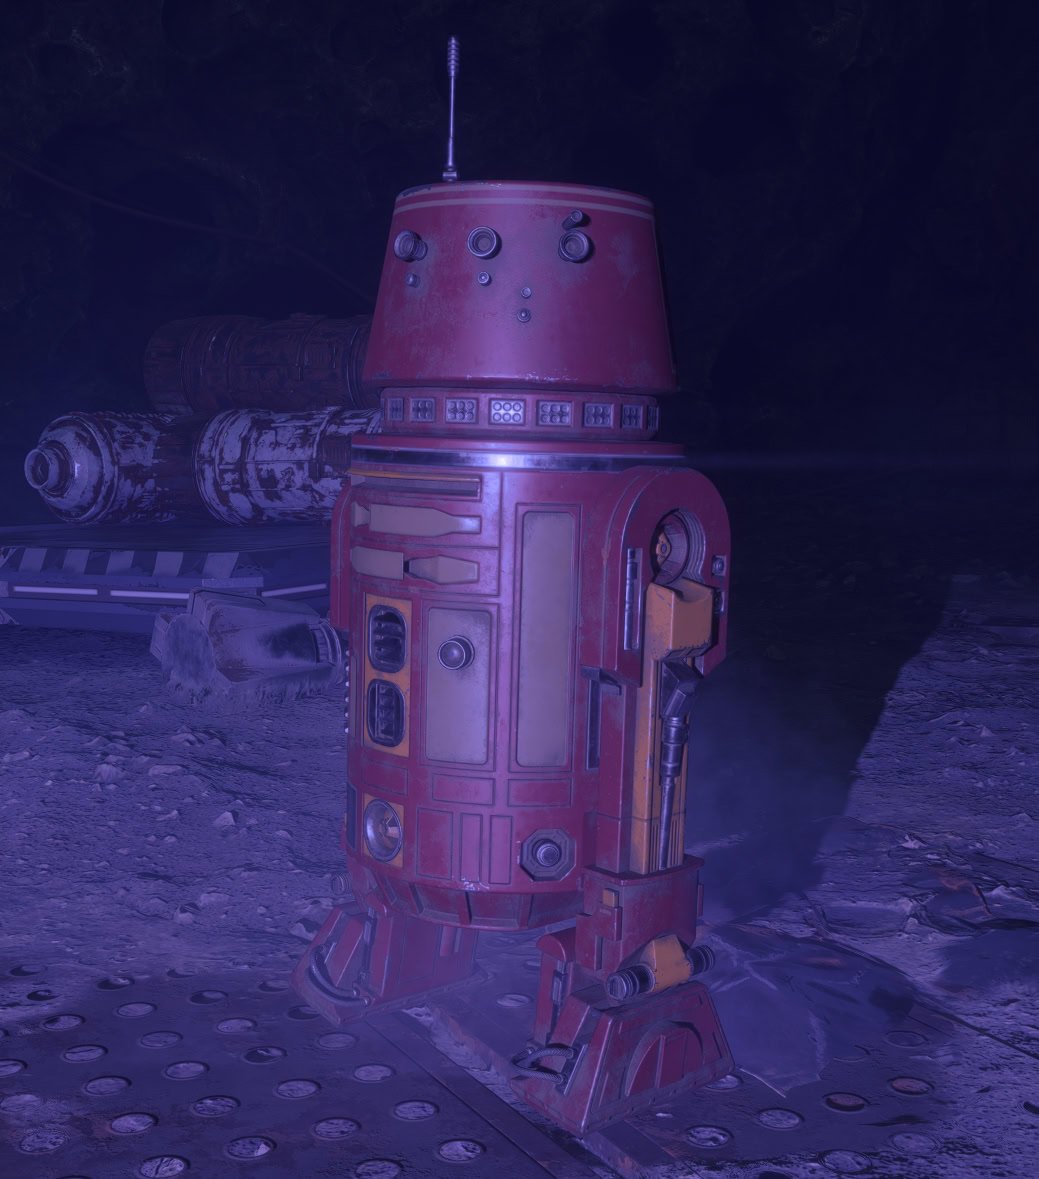
If you haven’t already, go to the Forge and look for an astromech in the area. It’s color is randomized so it can appear red, yellow, white, etc.
Blast it to pick up a Forge Keycard. This keycard will turn off the ray shield upstairs, granting you access to a large chest.
Meet Hondo at the Burial Chamber
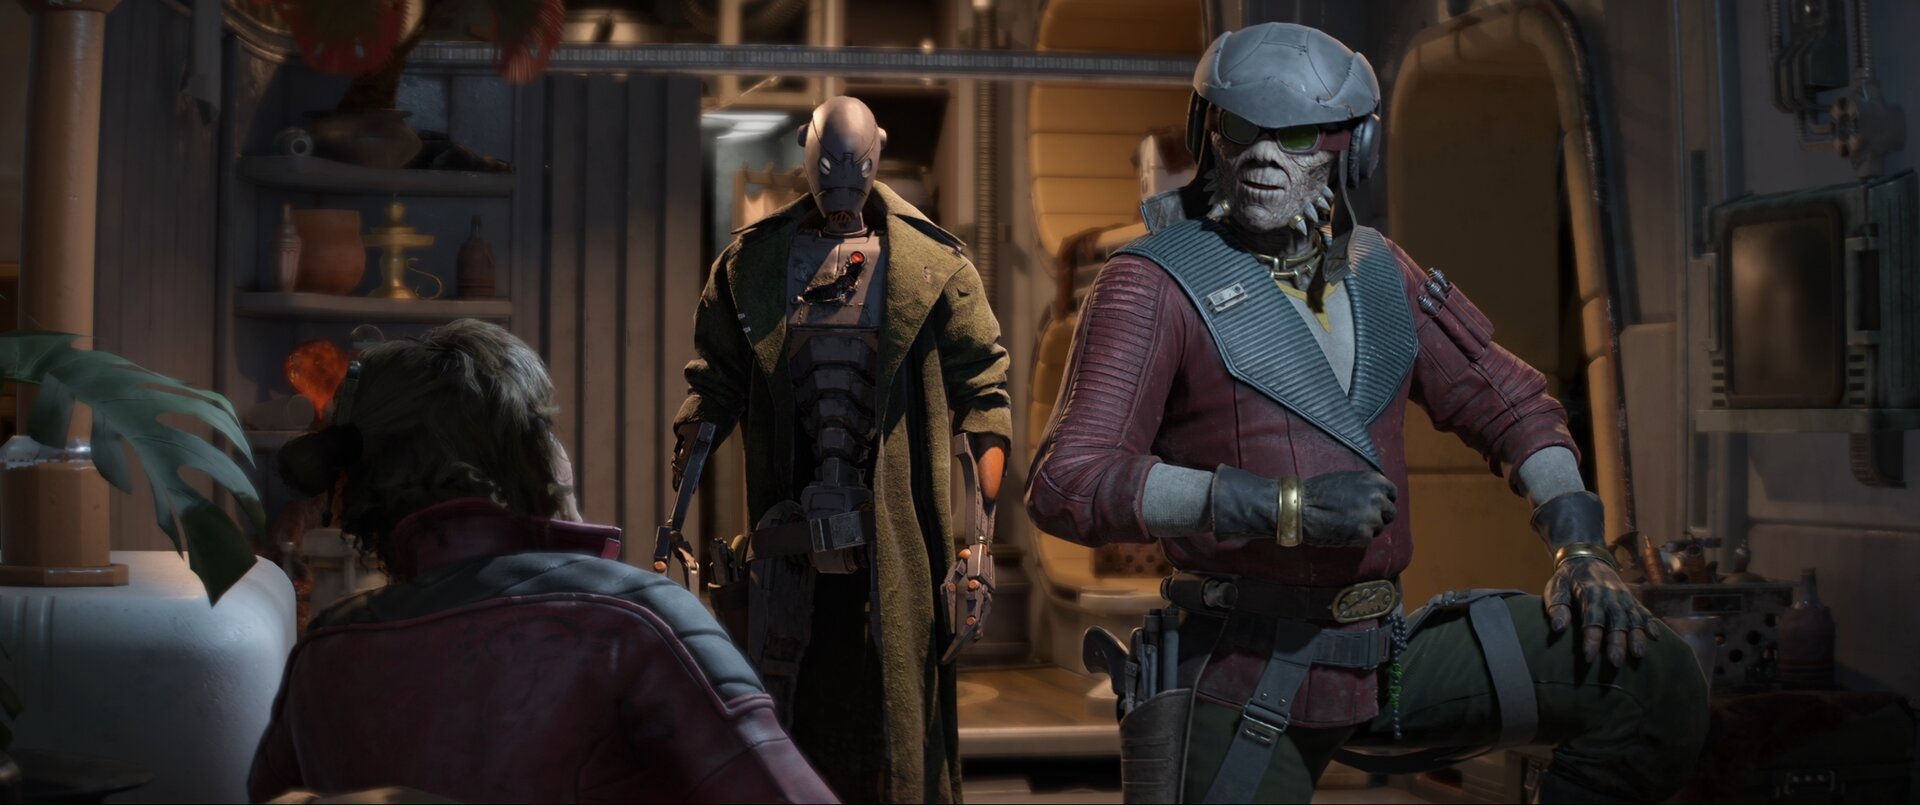
Once you have sufficiently explored the map, go to the southern end of the tomb where Stinger unlocked the door to the Burial Chamber. A cutscene starts and the crew will begin a vote as to who their new captain should be.

There are two endings that you can encounter in this quest. Either you fail to persuade the crew and Stinger unlocks the tomb, or you start a mutiny and make Hondo the new captain of the Rokana Raiders.
The ending you receive depends entirely on which dialogue options you choose during the voting process. If you want a recommendation on which ending to choose, follow Unlock the Tomb.
Unlock the Tomb
For the dialogue options, choose “She’ll betray you”, “Hondo is fun”, and “The treasure is fake”. This will have Stinger remain captain and unlock the tomb for it’s “treasure”.

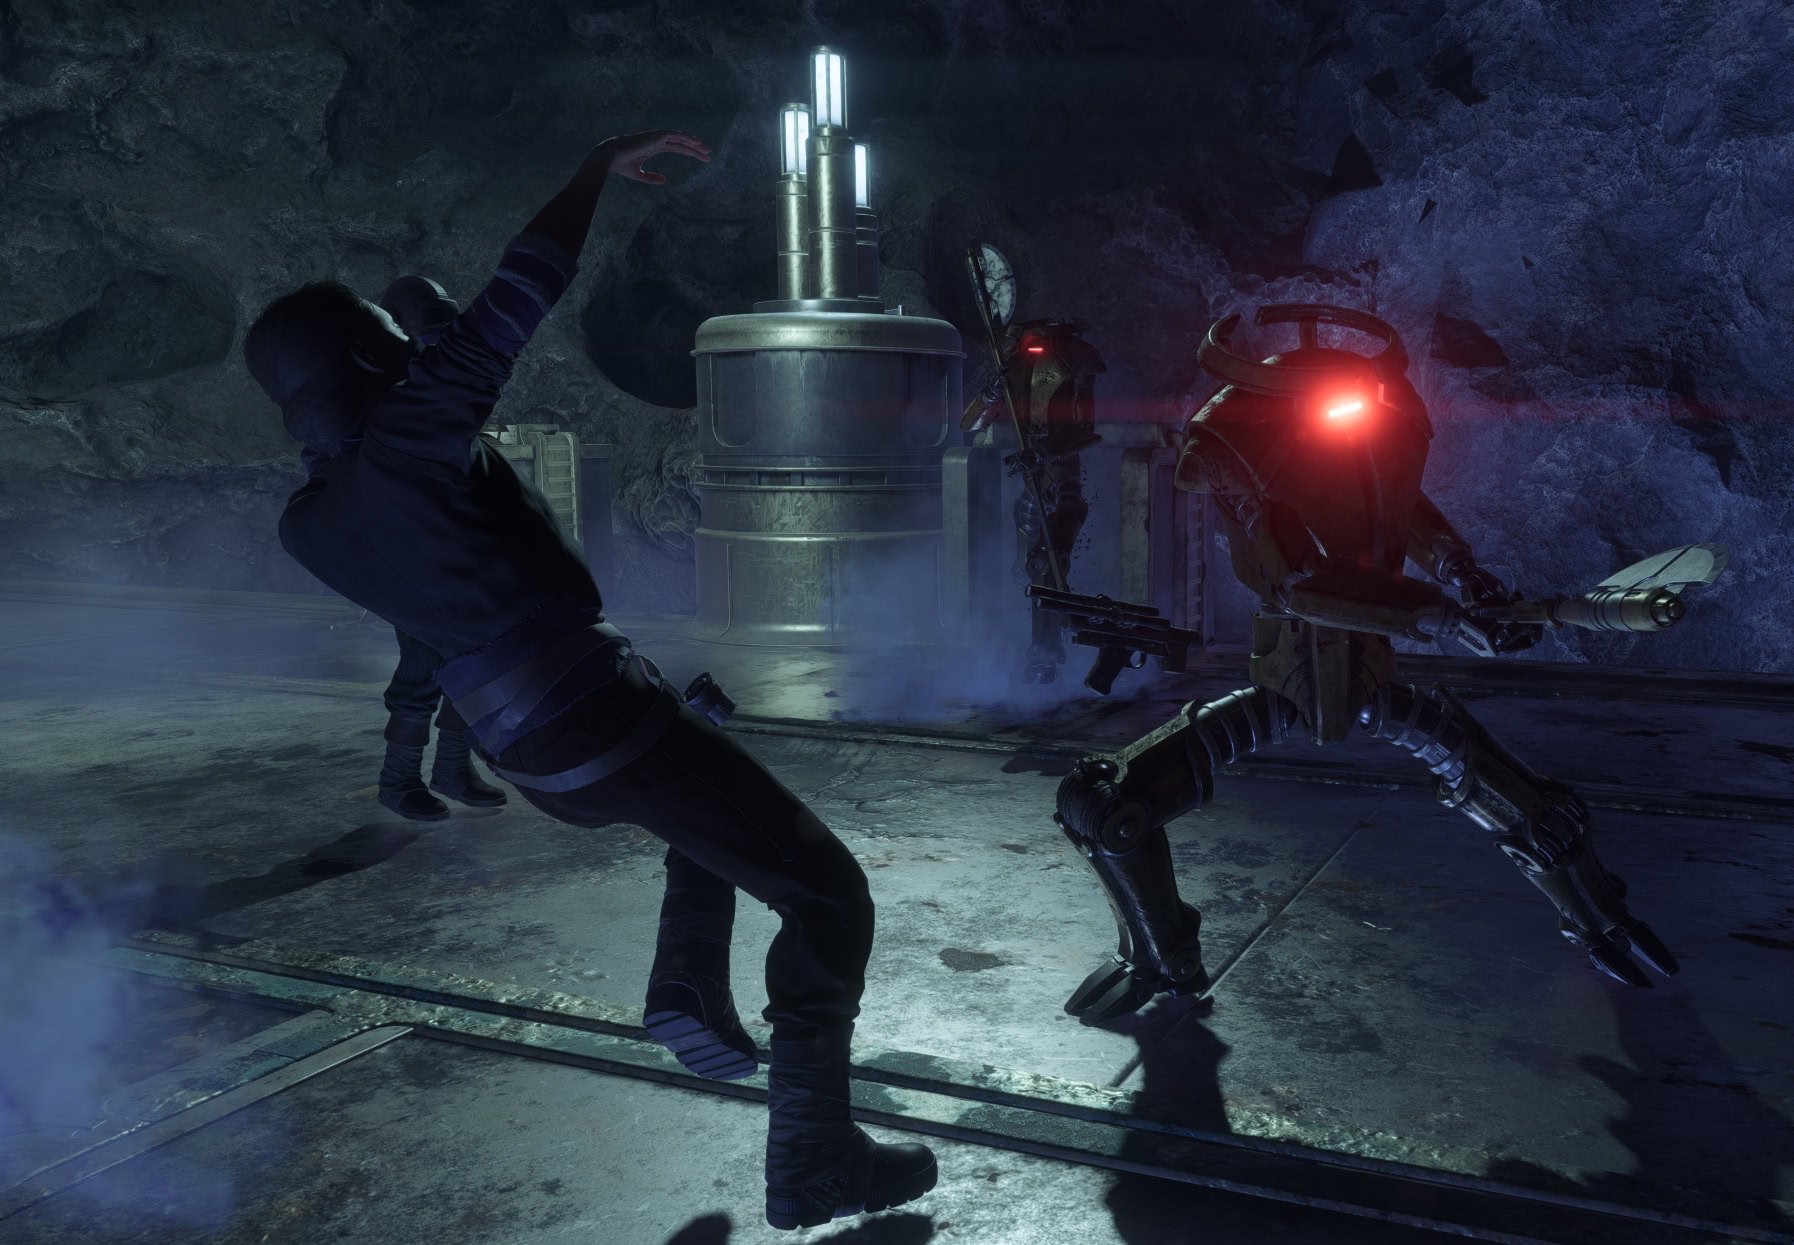
As the Rokana Raiders receive equal share of any treasure they get, they shall now get equal share of this treasure: death by ancient guardian droids.
Your next task is simple, start running and don’t stop running until you reach the landing pad. These droids cannot be destroyed and only temporarily disabled with your Ion Blaster.
The door you came in from will be closed. Shoot the two power conduits with your Ion Blaster to activate the door and keep running. Roll to dodge any swings the droids take at you and reach the landing platform.

Start a Mutiny
To have the crew vote in Hondo’s favor, choose “She’s a bad captain”, “Hondo has a good story”, and “The treasure is dangerous”.
Hondo will get both parts of the scepter and is about to open the tomb. Fortunately, Hondo realizes it’s not a good idea to release a bunch of ancient guardian droids. Instead, they should sell them!

Despite all her talk of loyalty and democratic voting, Stinger is a sore loser and detonates some explosive charges, trapping everyone inside the tomb. You must help everyone escape before the tomb collapses.
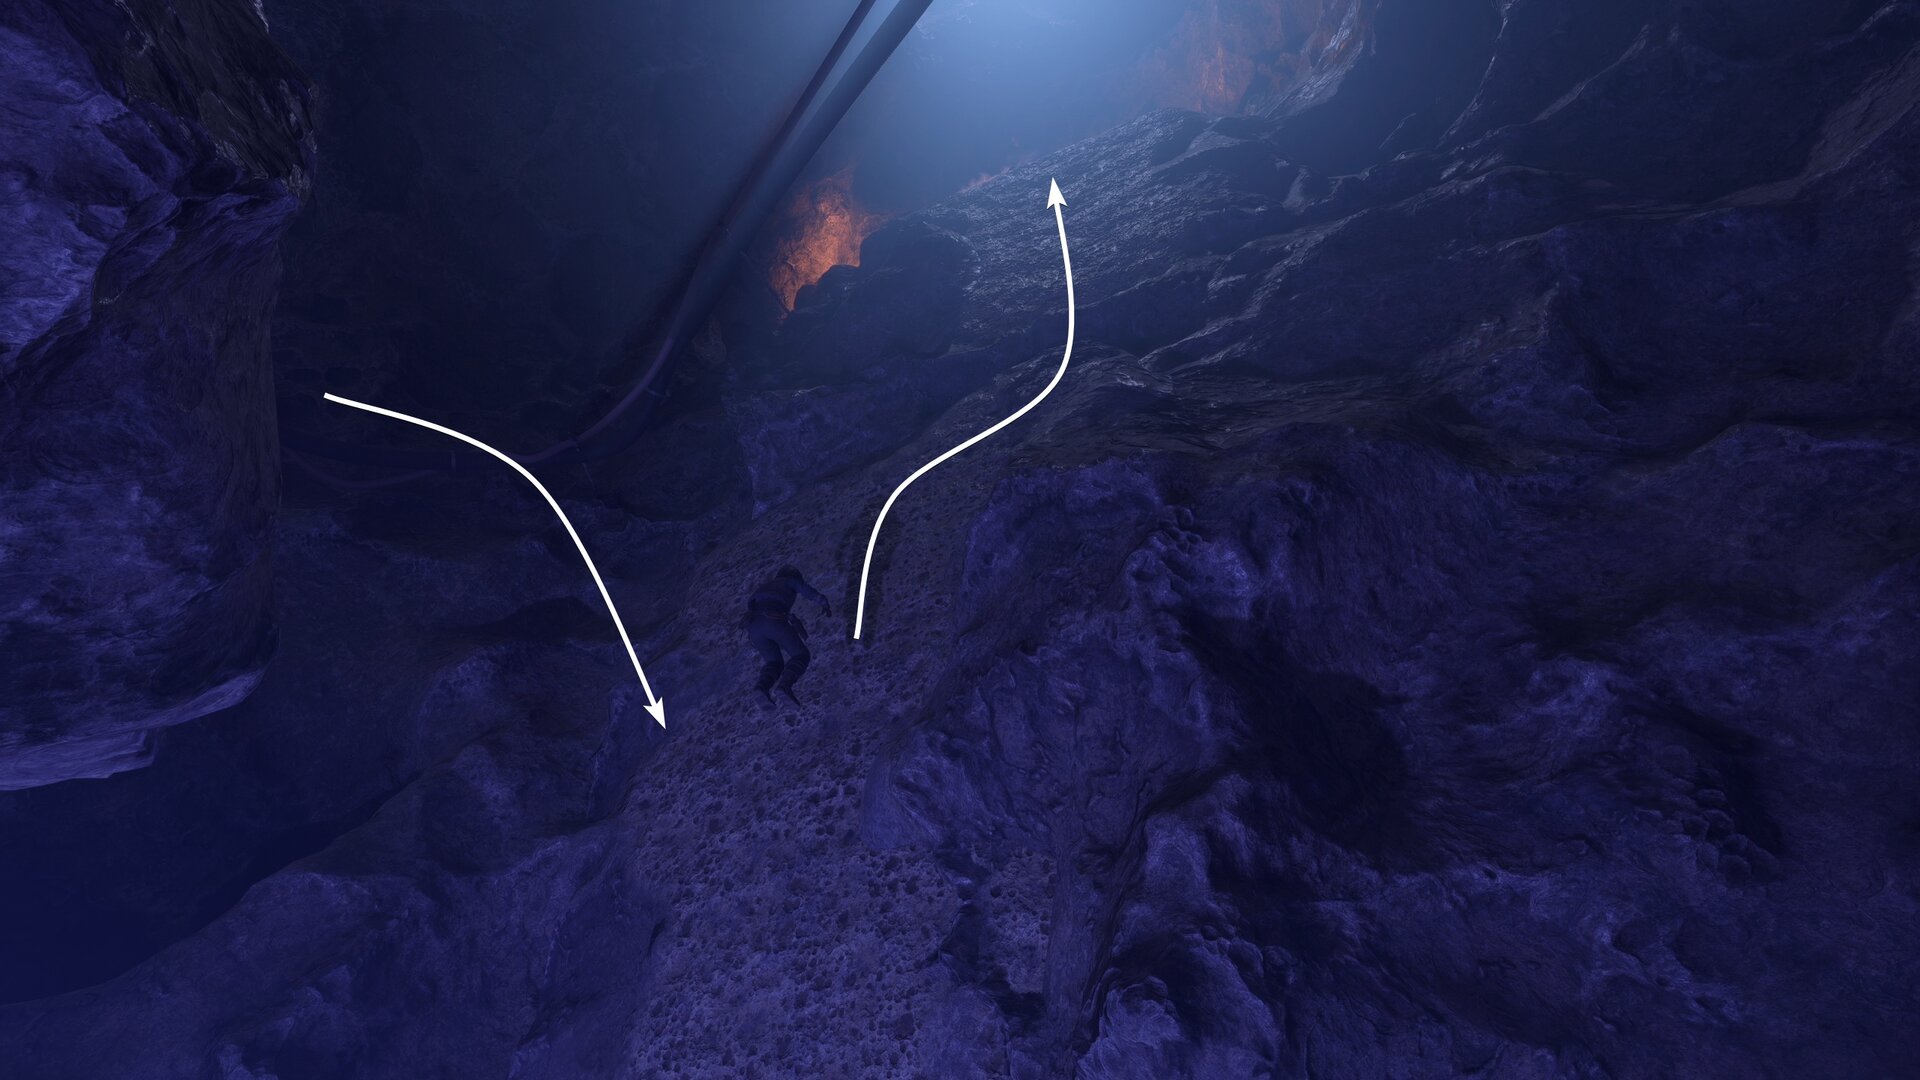
The door leading out will be locked. Jump to the left of the door where a climbable rock wall appears and climb up.
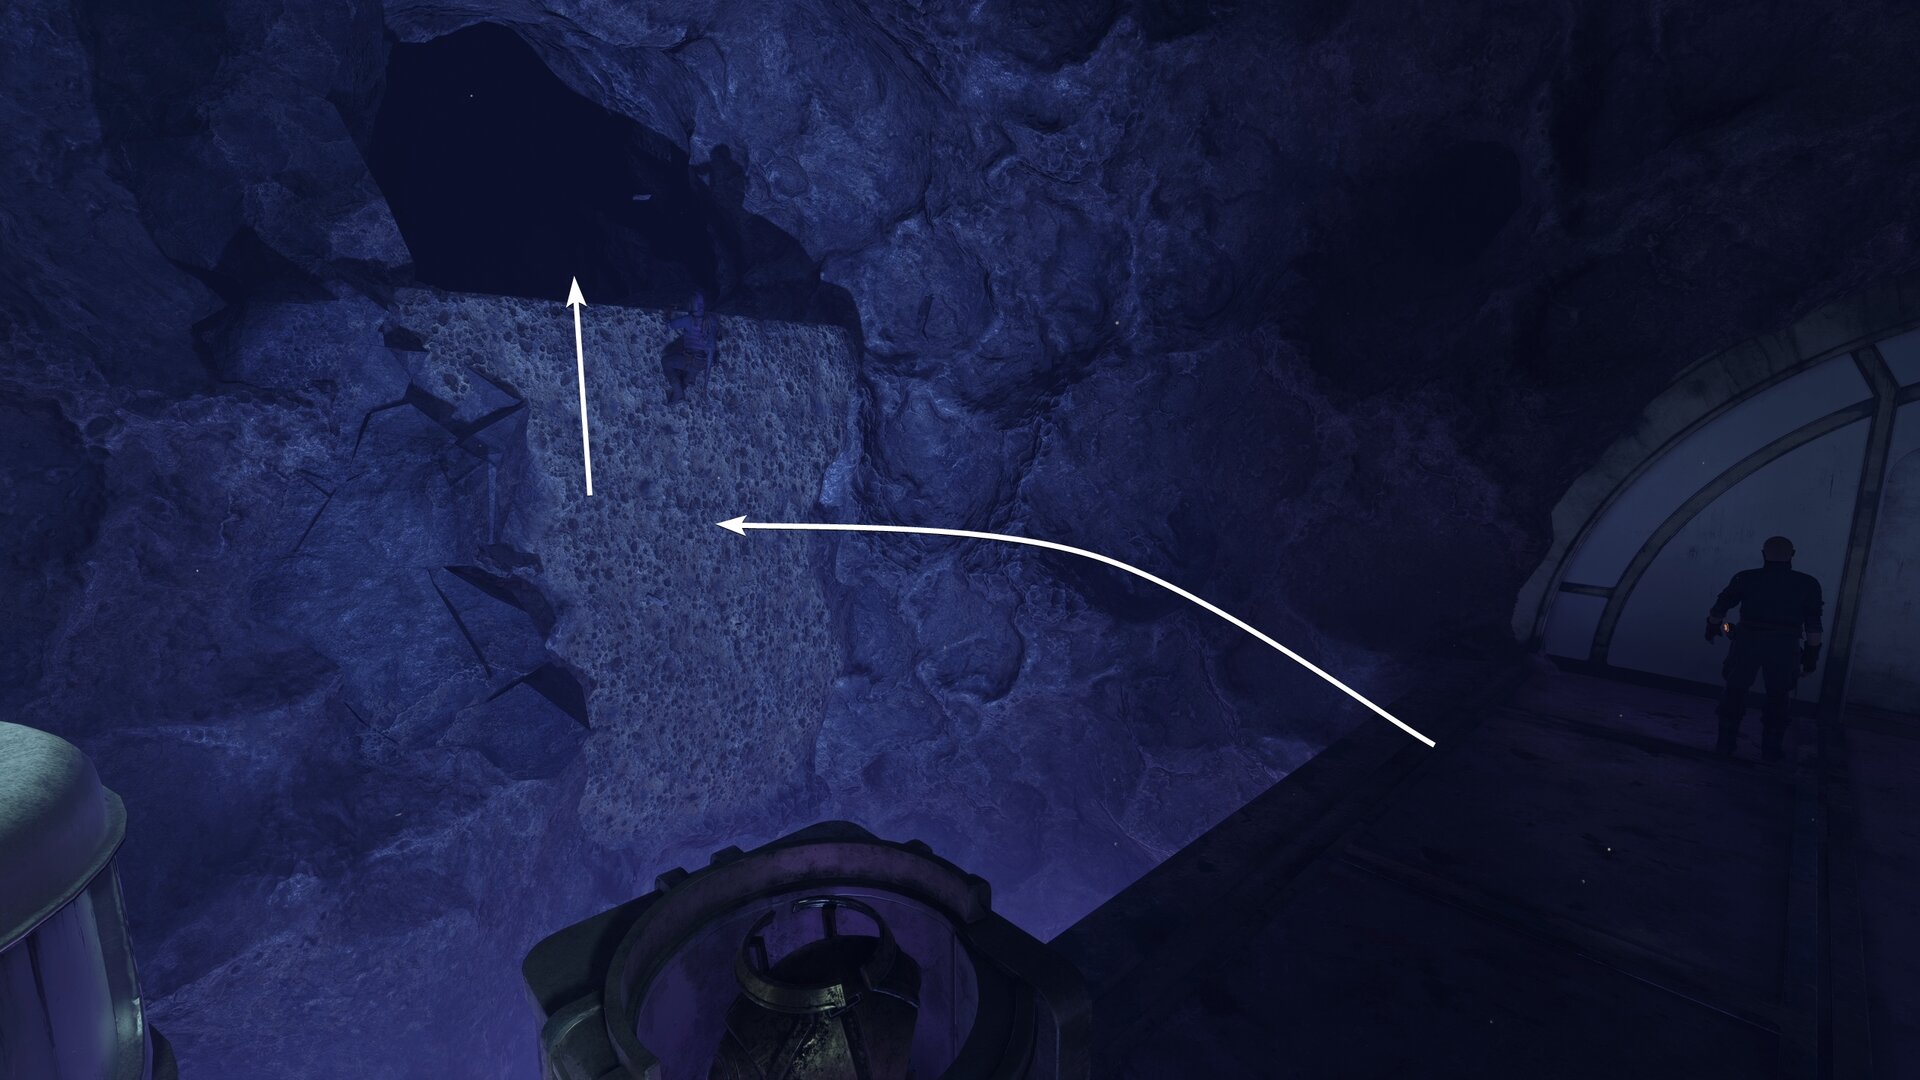
Hug the right wall to find a path that leads to another wall you can climb. Scale up the wall, jump down the wall going west where the floor gives way.
Follow the path until you reach an open area where you can jump to a wall, then climb up.
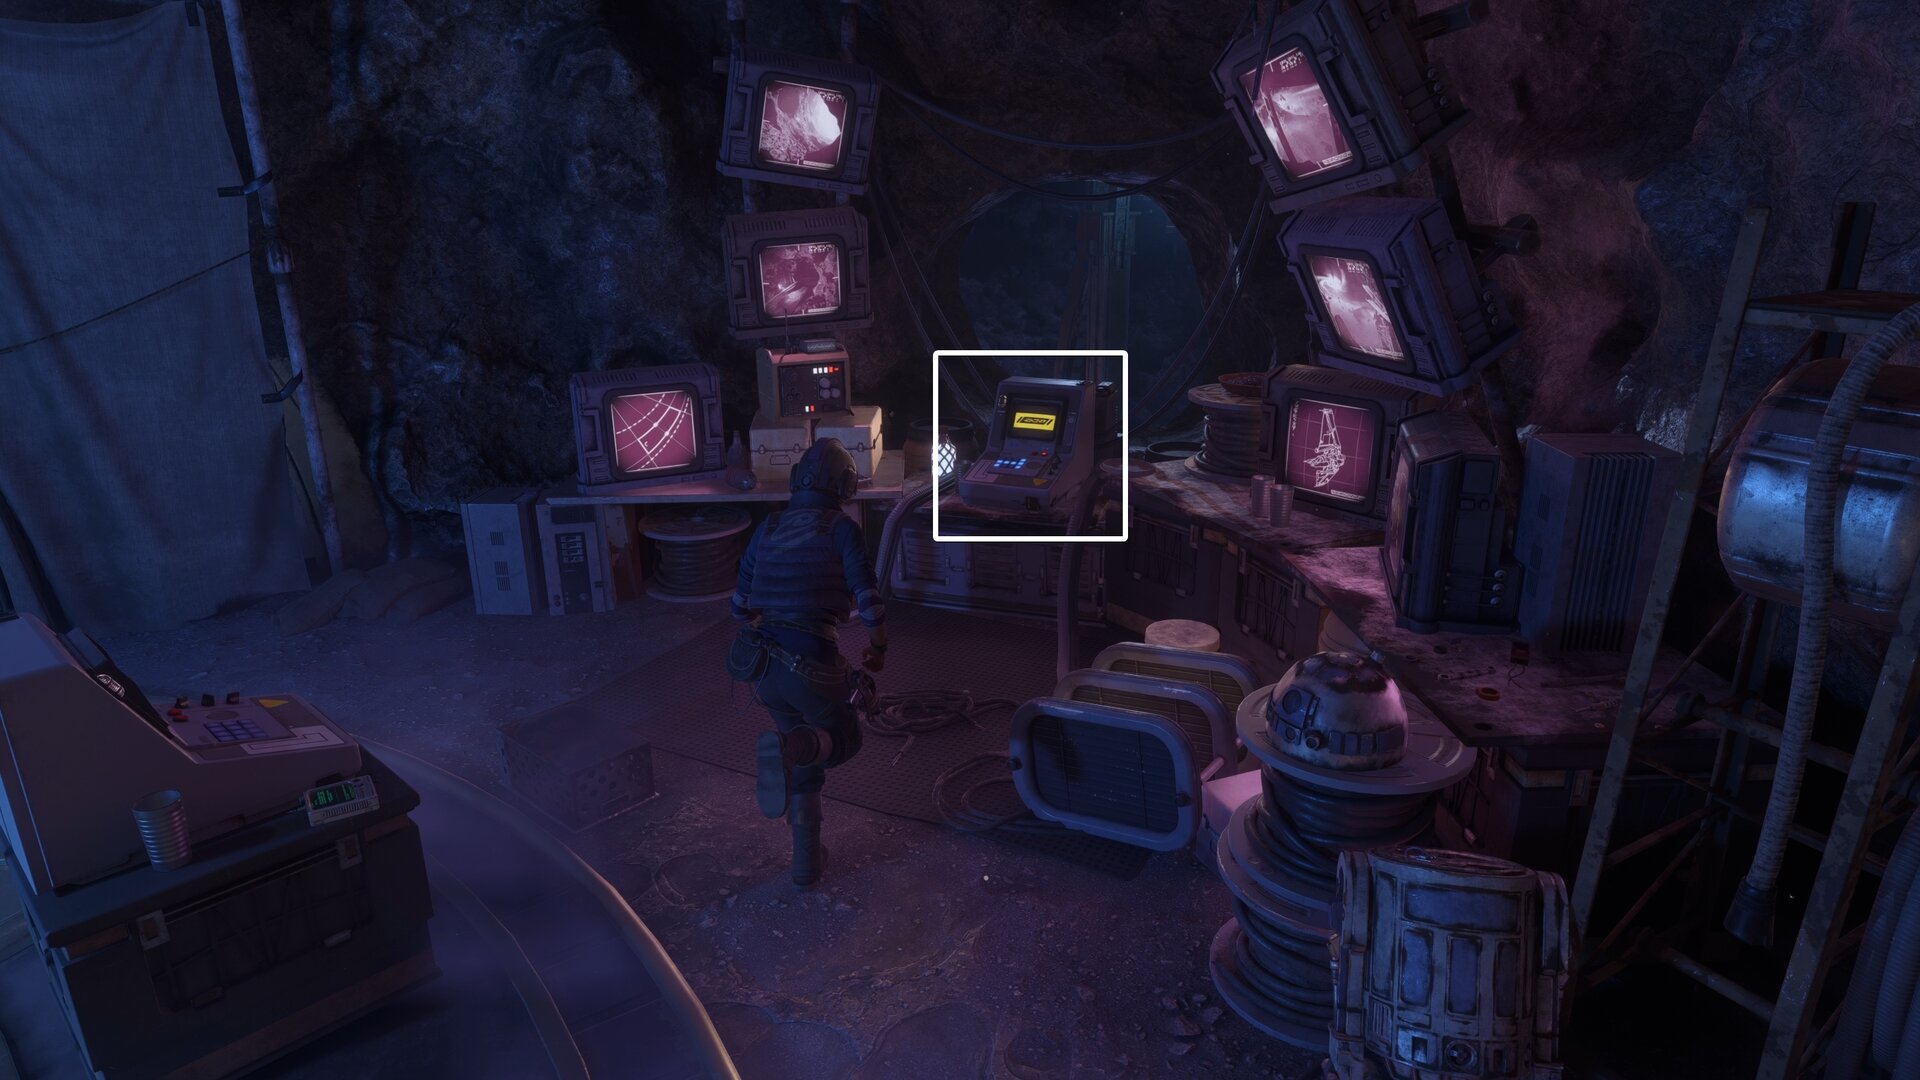
Slide down the slope and you’ll be outside Stinger’s quarters in the Generator room. Go inside her quarters and use the active computer inside to open the door for the others.
Right as you’re about to press the button, Stinger appears for a showdown. You’ll be prompted to fire, but you can also let her ramble on for about 45 seconds.
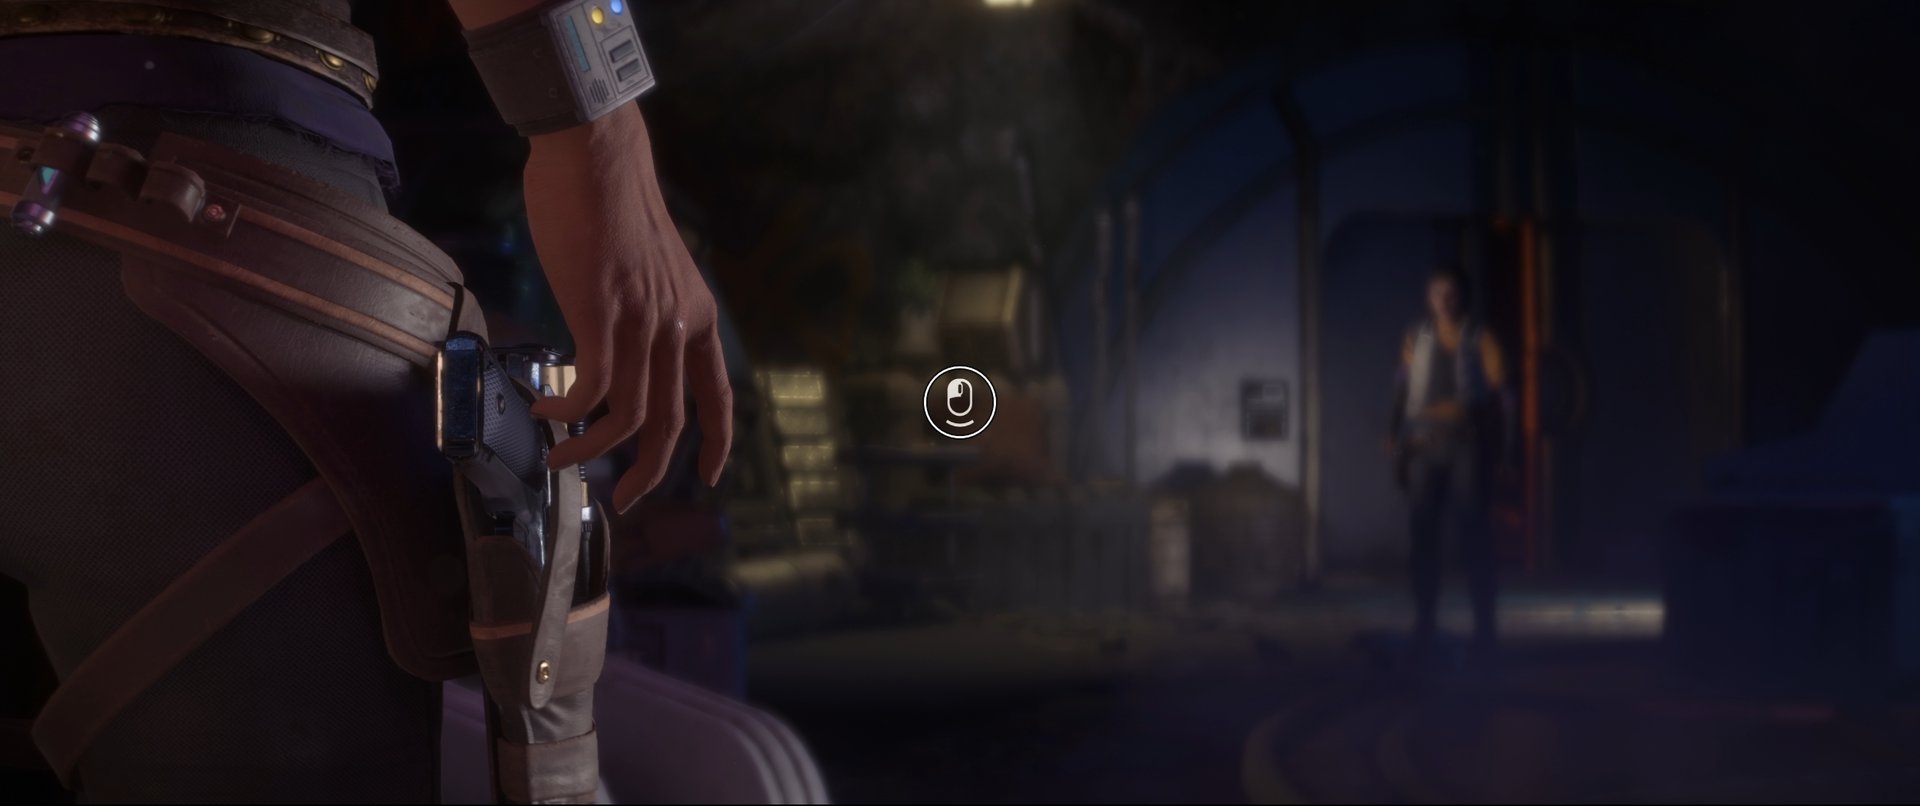
Regardless if you follow the prompt or let her run her mouth, Kay shoots Stinger. Access the computer, unlock the door, and run to the landing pad.
Escaping the Khepi Tomb
When you reach the landing pad, ND-5 will come to the rescue and pick up Kay and Hondo. A cutscene occurs, Hondo gives Kay the Modified Power Converter Major Charm, Hondo (reluctantly) parts ways, then Kay and ND-5 have a heart to heart.
Kay and ND-5 will take off from Achra Station and complete the quest. Congratulations, you have completed A Pirate’s Fortune! Whether you enjoyed it or found it lacking in areas, Hondo Ohnaka easily stole the spotlight and made it fun.
You’ll also unlock the Raider Gear Set, the Merqaal Corsair Nix Accessory, and hear a rumor about a Rokana Raider ship in need of a test pilot. You will also earn the final story-related achievement, Together.