Learn where to find Hondo’s half of the key in the fourth quest of A Pirate’s Fortune DLC in Star Wars Outlaws. Find out how to get past the numerous booby traps in Hondo’s hideout on Tatooine, and how to navigate the platforming sections.
Reach Hondo’s Hideout
Now that you’ve hijacked a ship from No Prey, No Pay, you just need to get Hondo’s half of the key before pulling off the Khepi Tomb heist. Without it, neither Hondo nor Stinger can get the treasure.
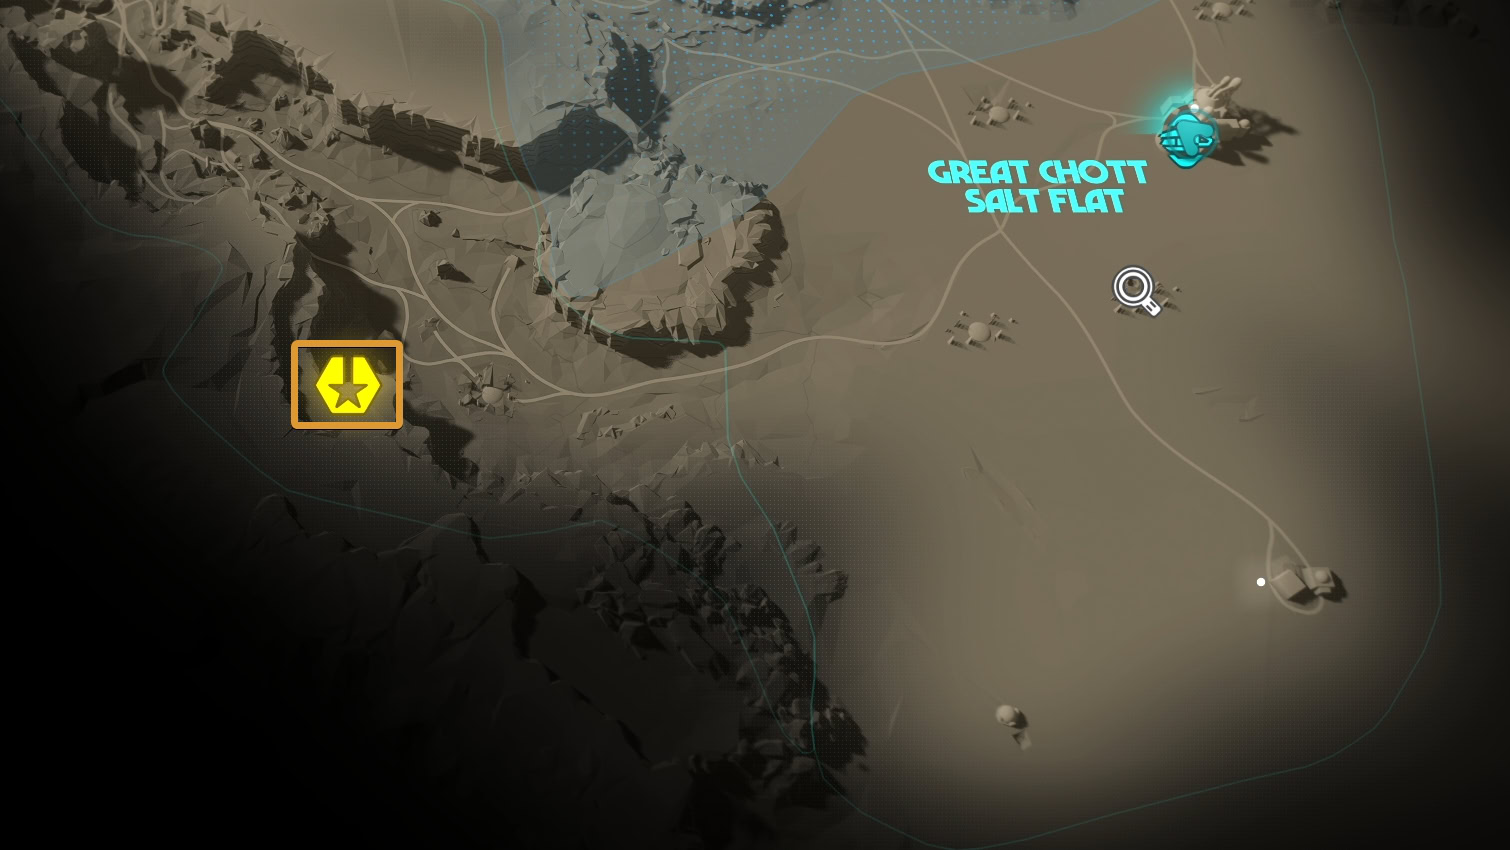
Travel to Wayfar on Tatooine and once you land, you’ll get a call from Hondo. After the conversation, ND-5 will receive the coordinates for his hideout west of you.
Follow your marker, jump off the ramp, and climb up the grapple point to catch up with Hondo.
Find a way into Hondo’s Hideout
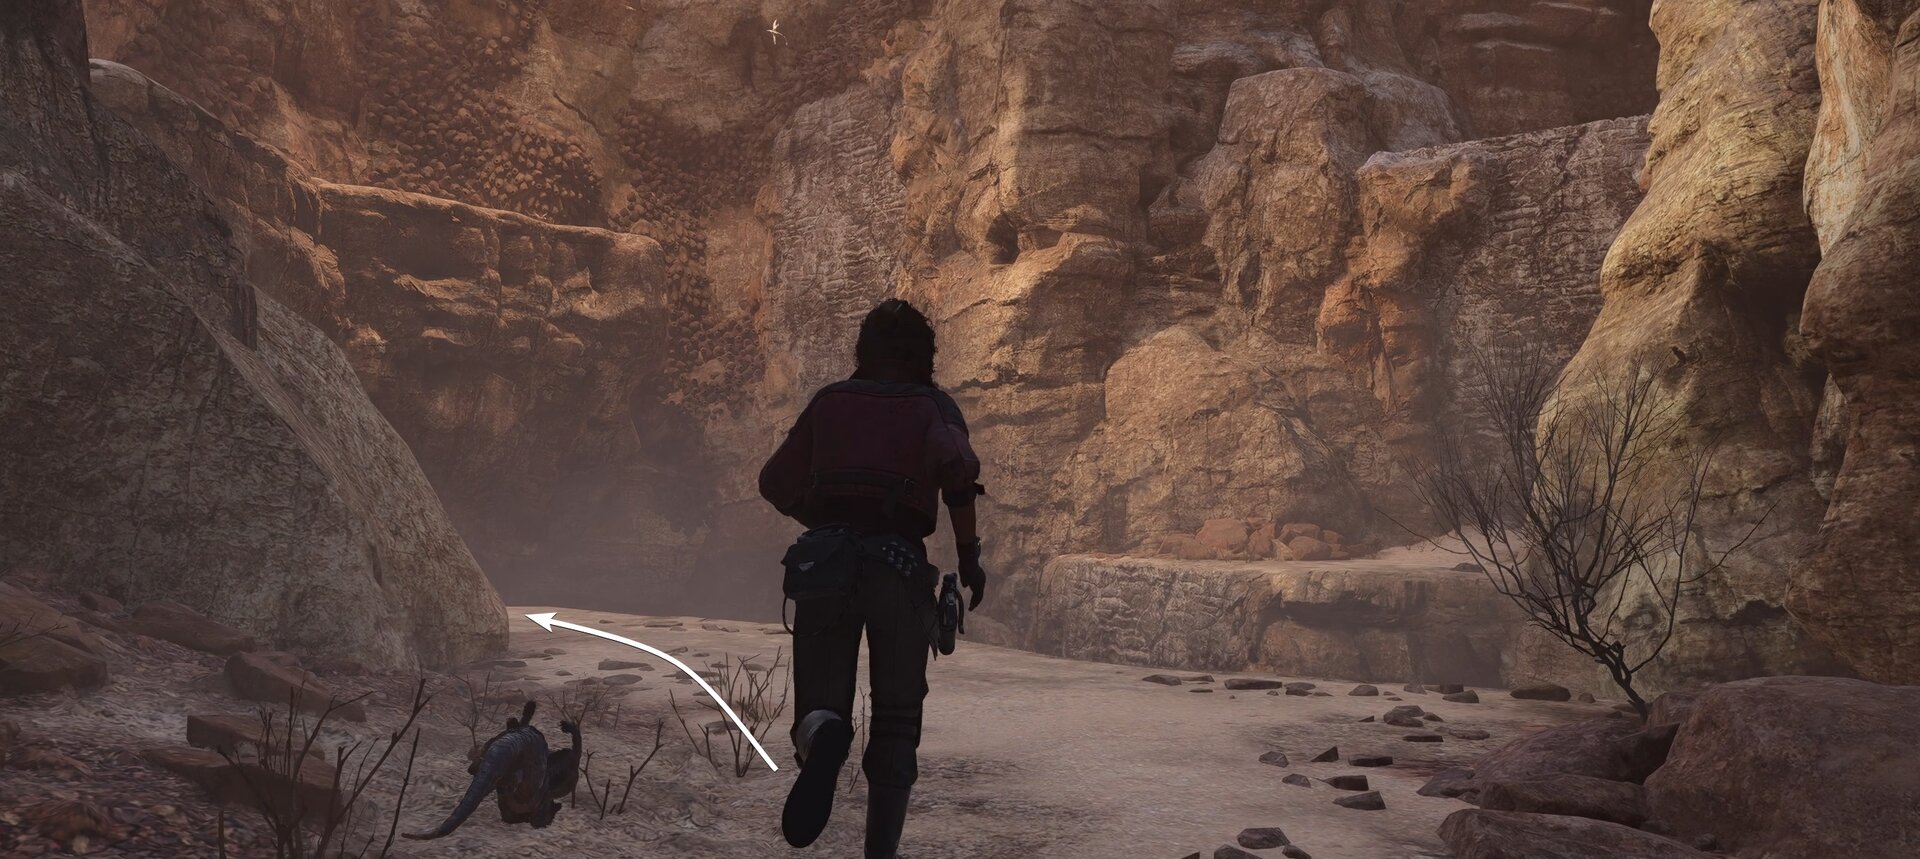
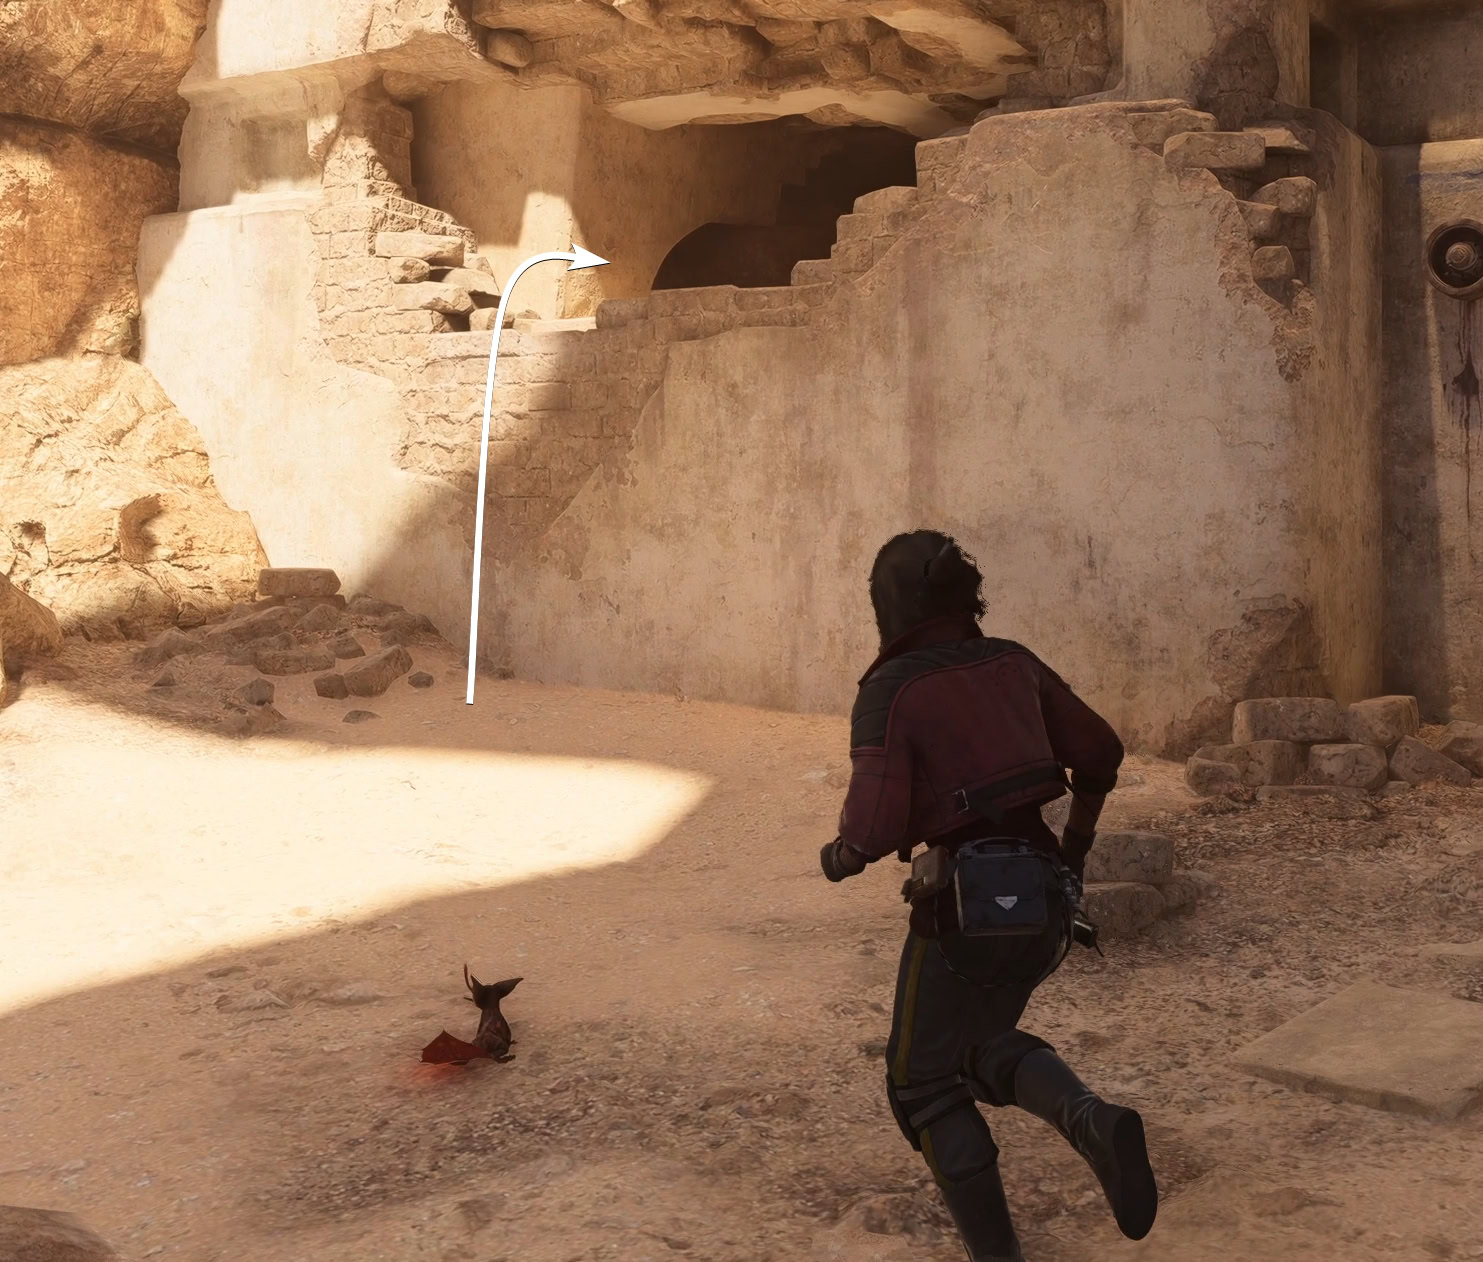
After a cutscene, follow Hondo to the entrance where he’ll fail to open the front door. Look west and climb up some metal bars on a building. This area will involve a lot of platforming.
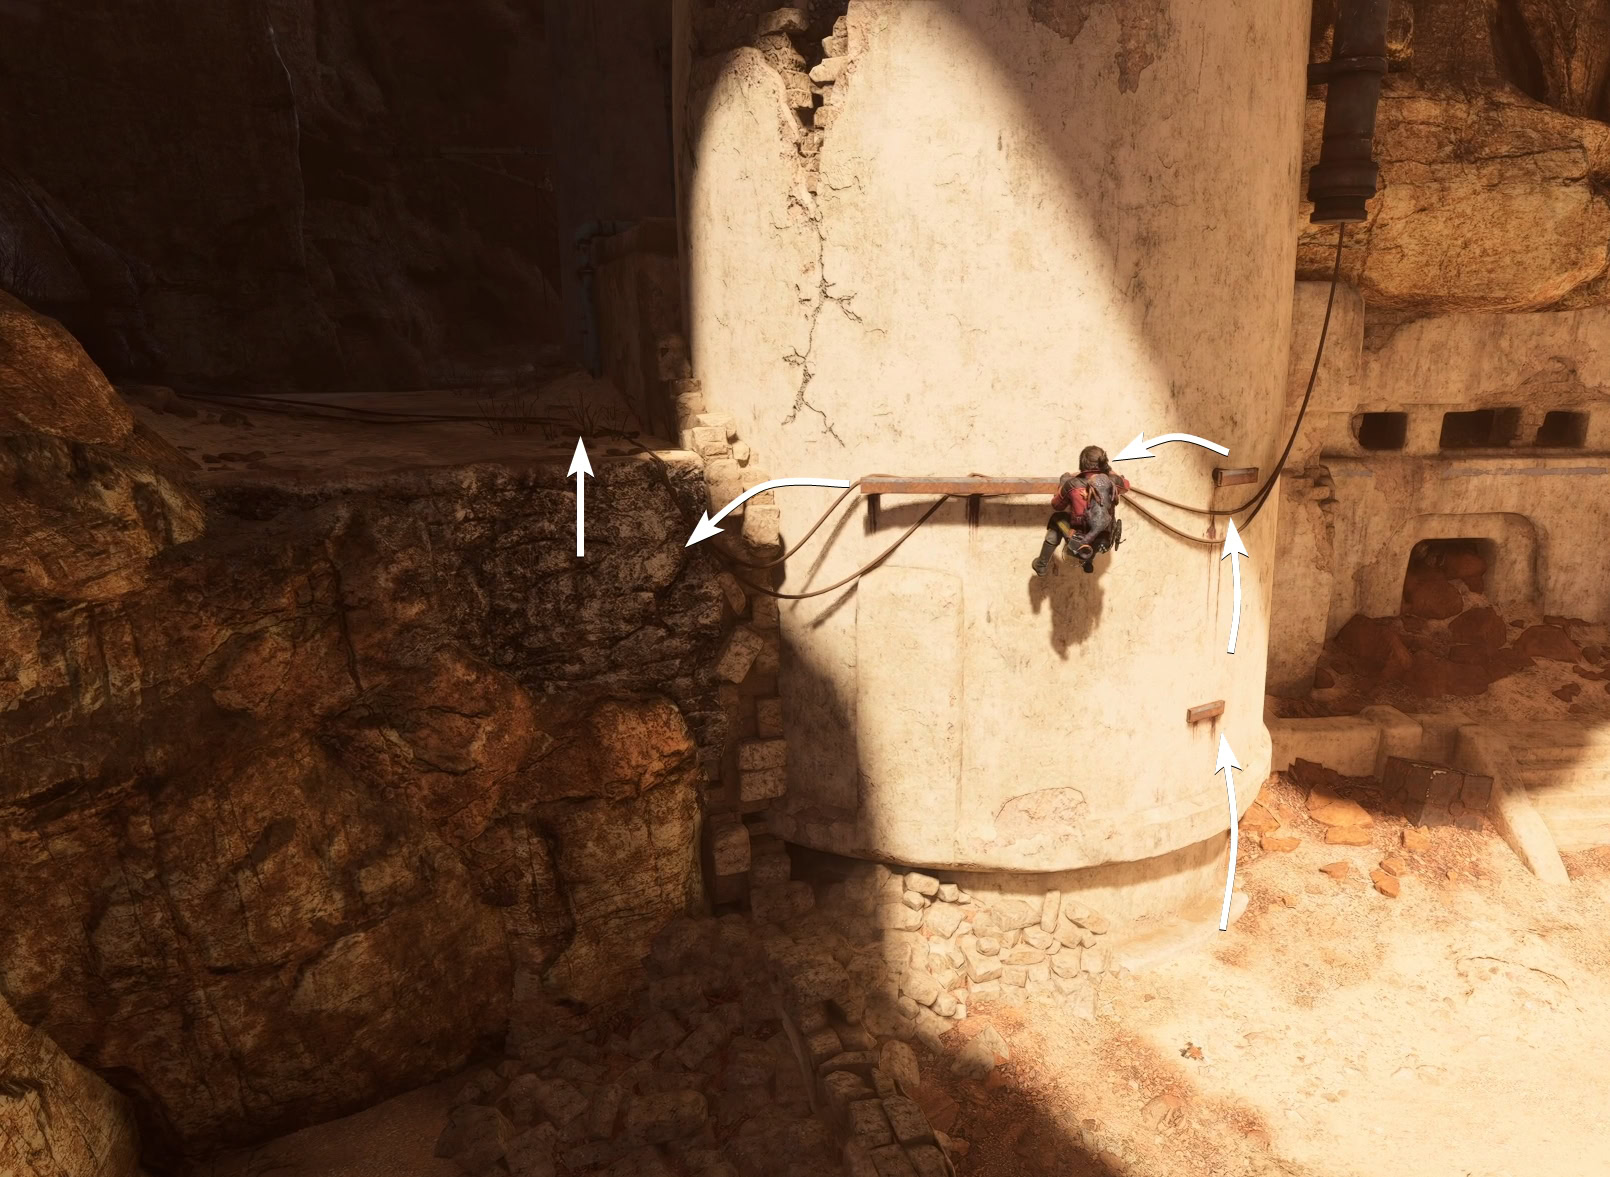
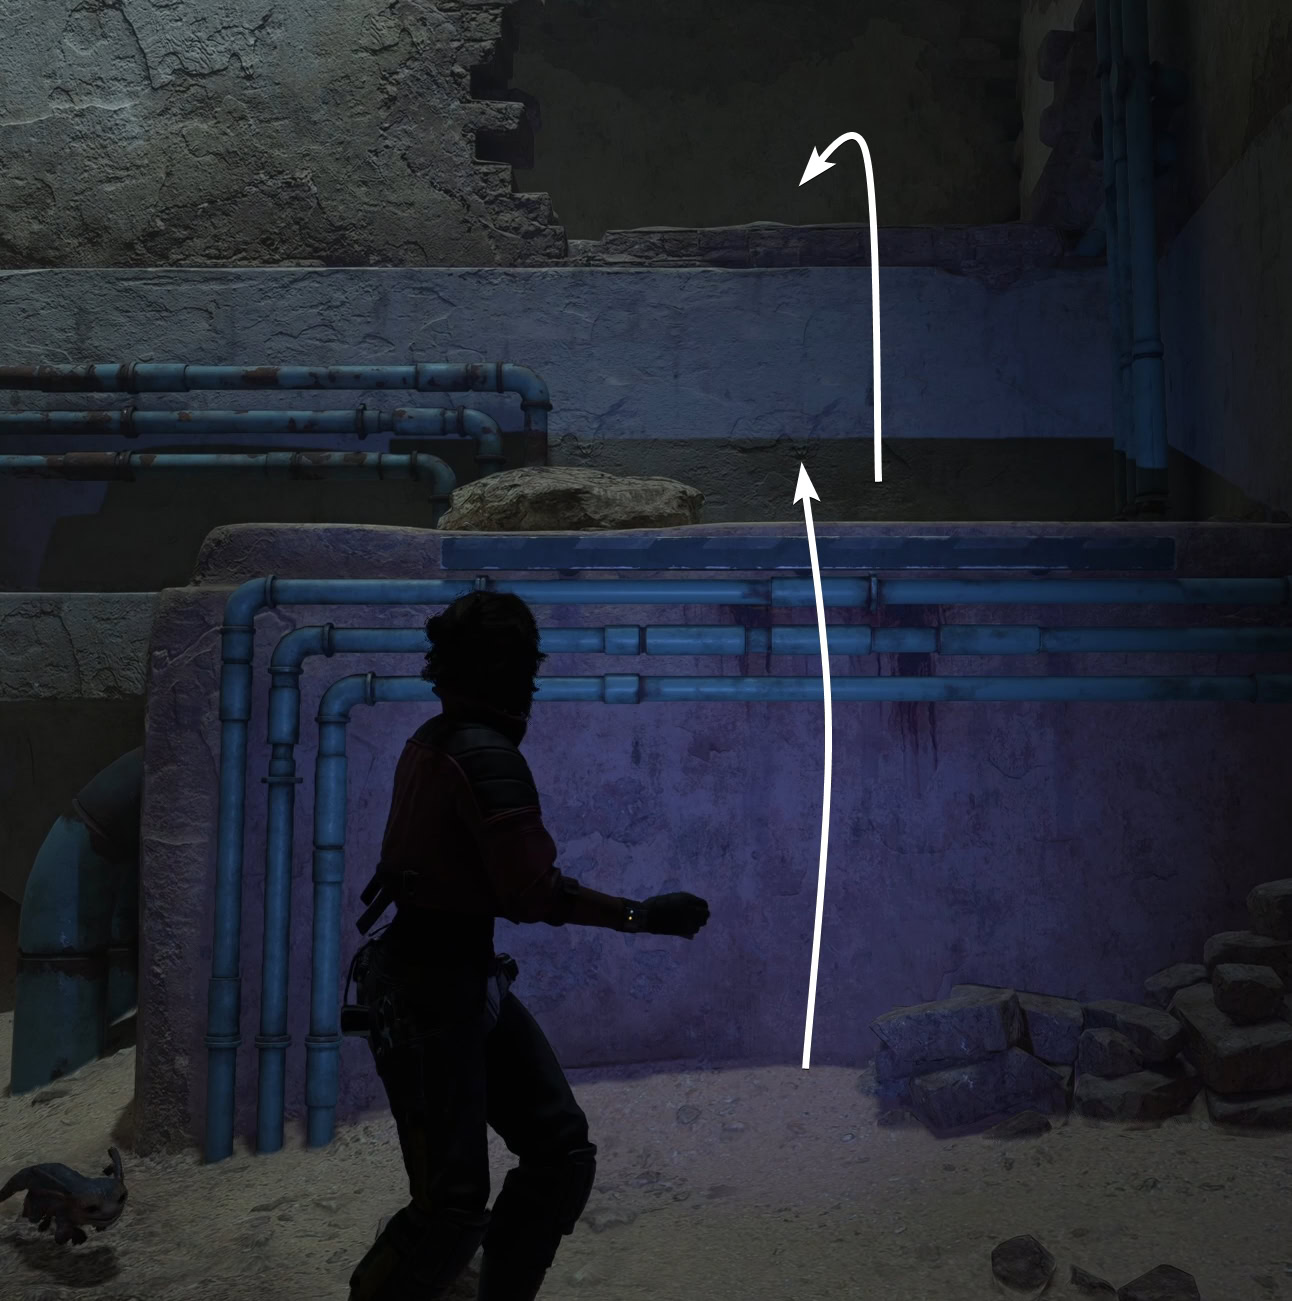
Swing across the gap and you’ll see a lot of climbable rock walls and hives up ahead. Go to your left (west) and climb up a ledge then just to the rock wall. Ascend the wall and make your way to the other side of the gorge.
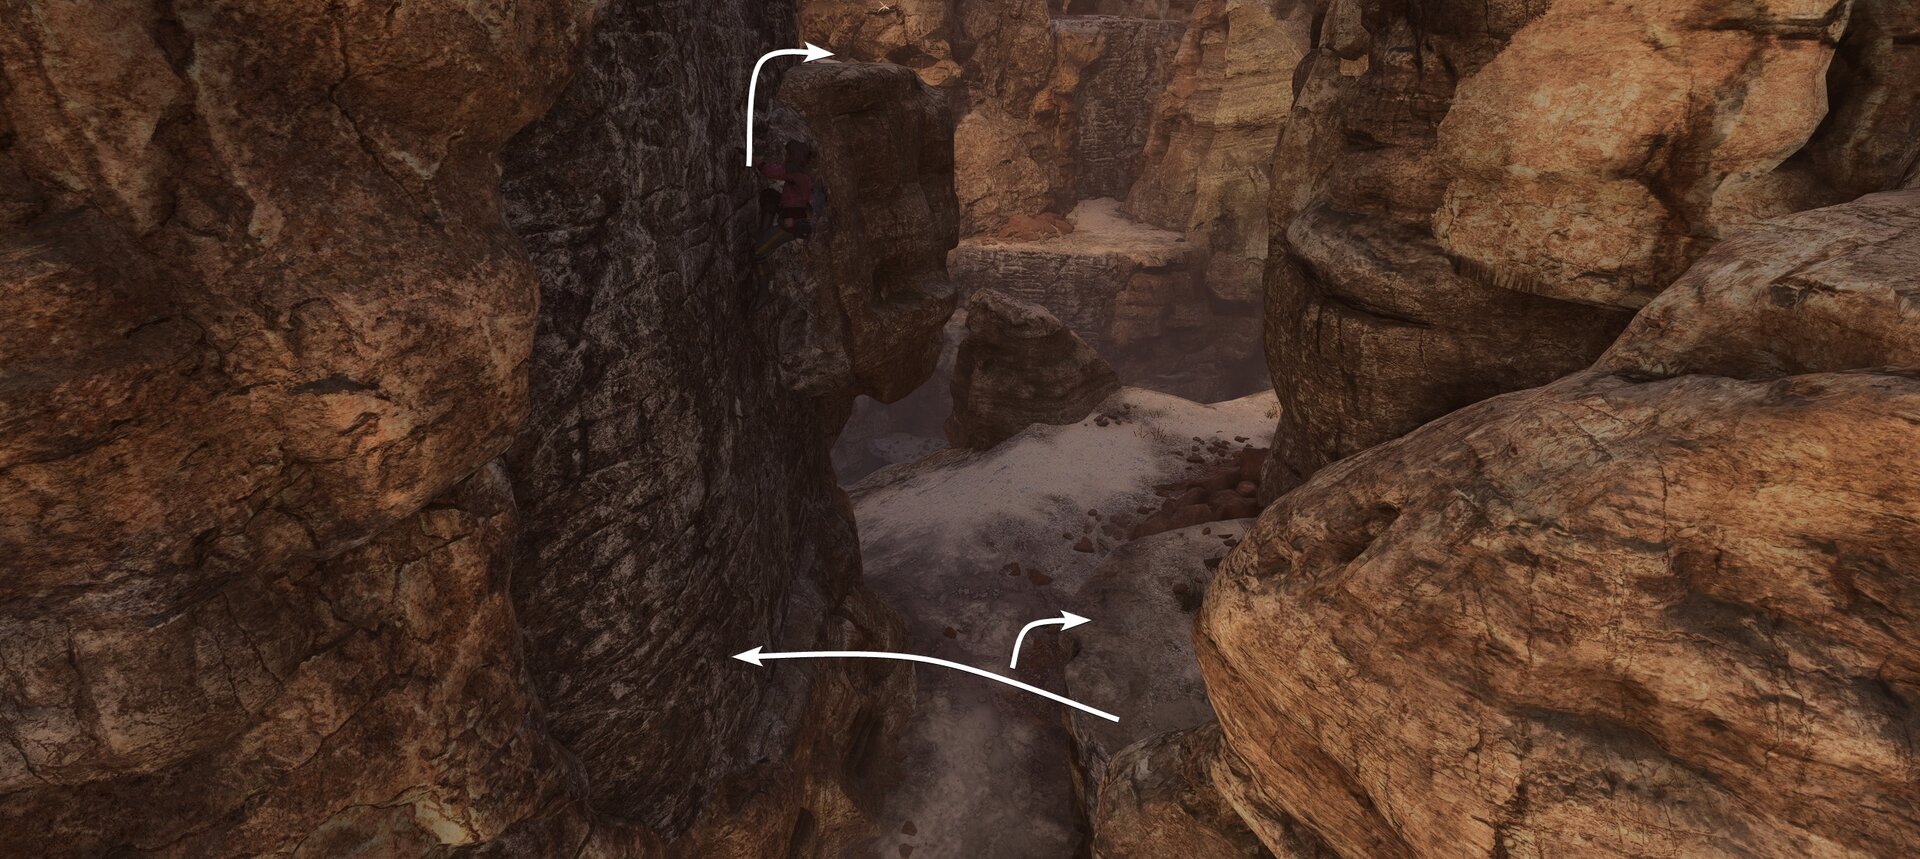
Once you reach the other side, climb down and sidle across the narrow path, then continue to climb up. You’ll find a small crack in the walls you can squeeze through. You’ll now be in Hondo’s hideout, though there are numerous bandits in the area.
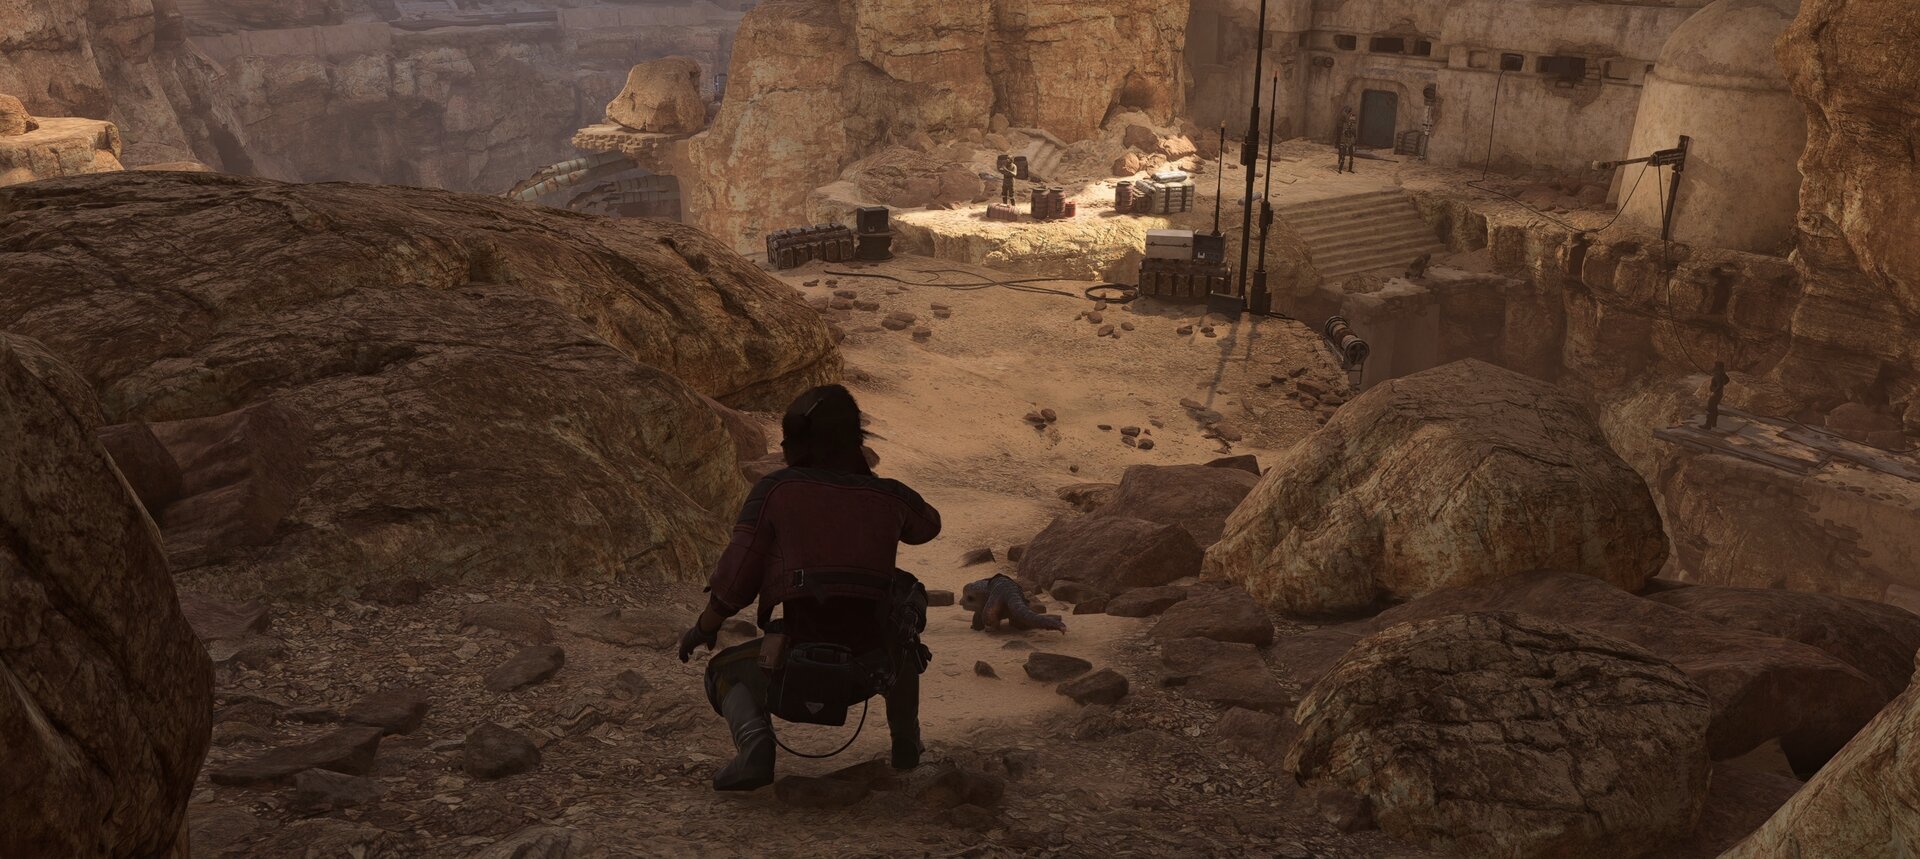
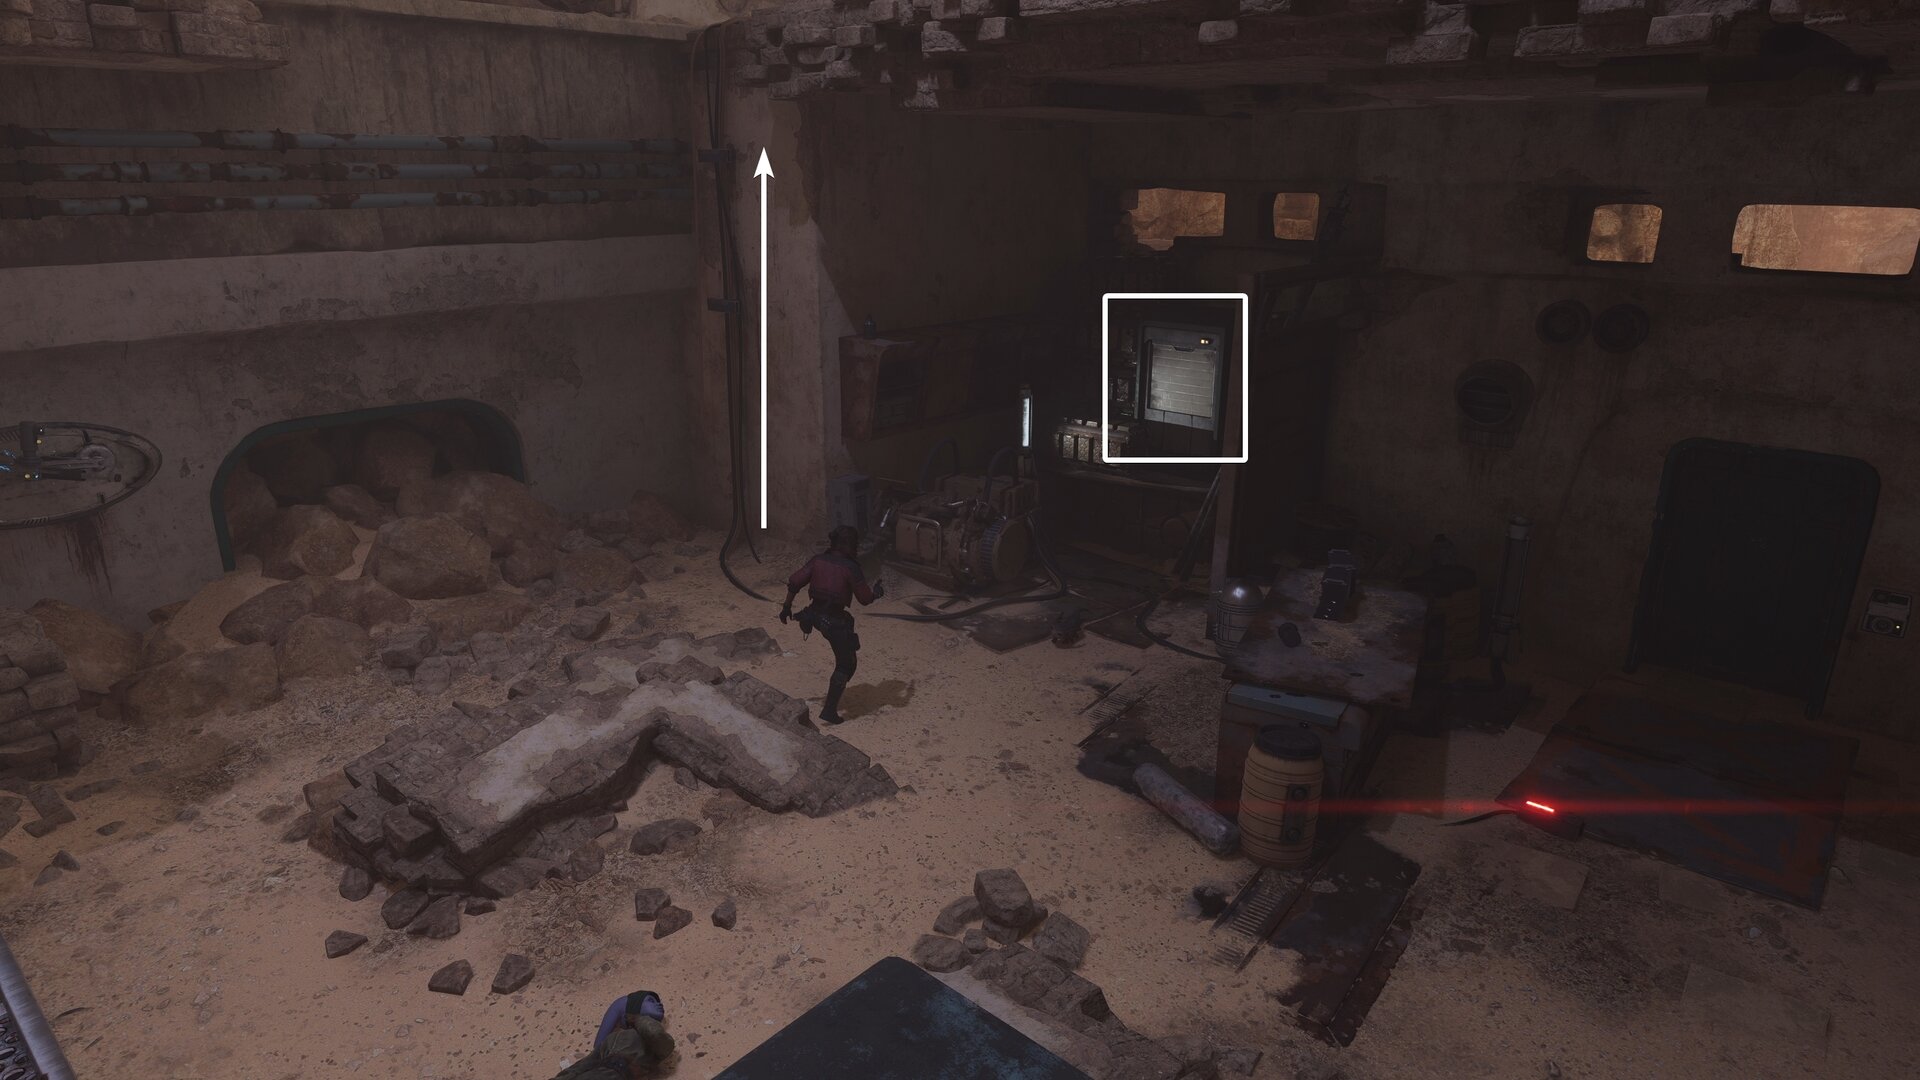
Take out the bandits, swing across the broken staircase, and go through the blue door to the east. When you’re in the next room, find cover immediately. An unavoidable pressure plate will activate a turret.
The Turret Trap Room
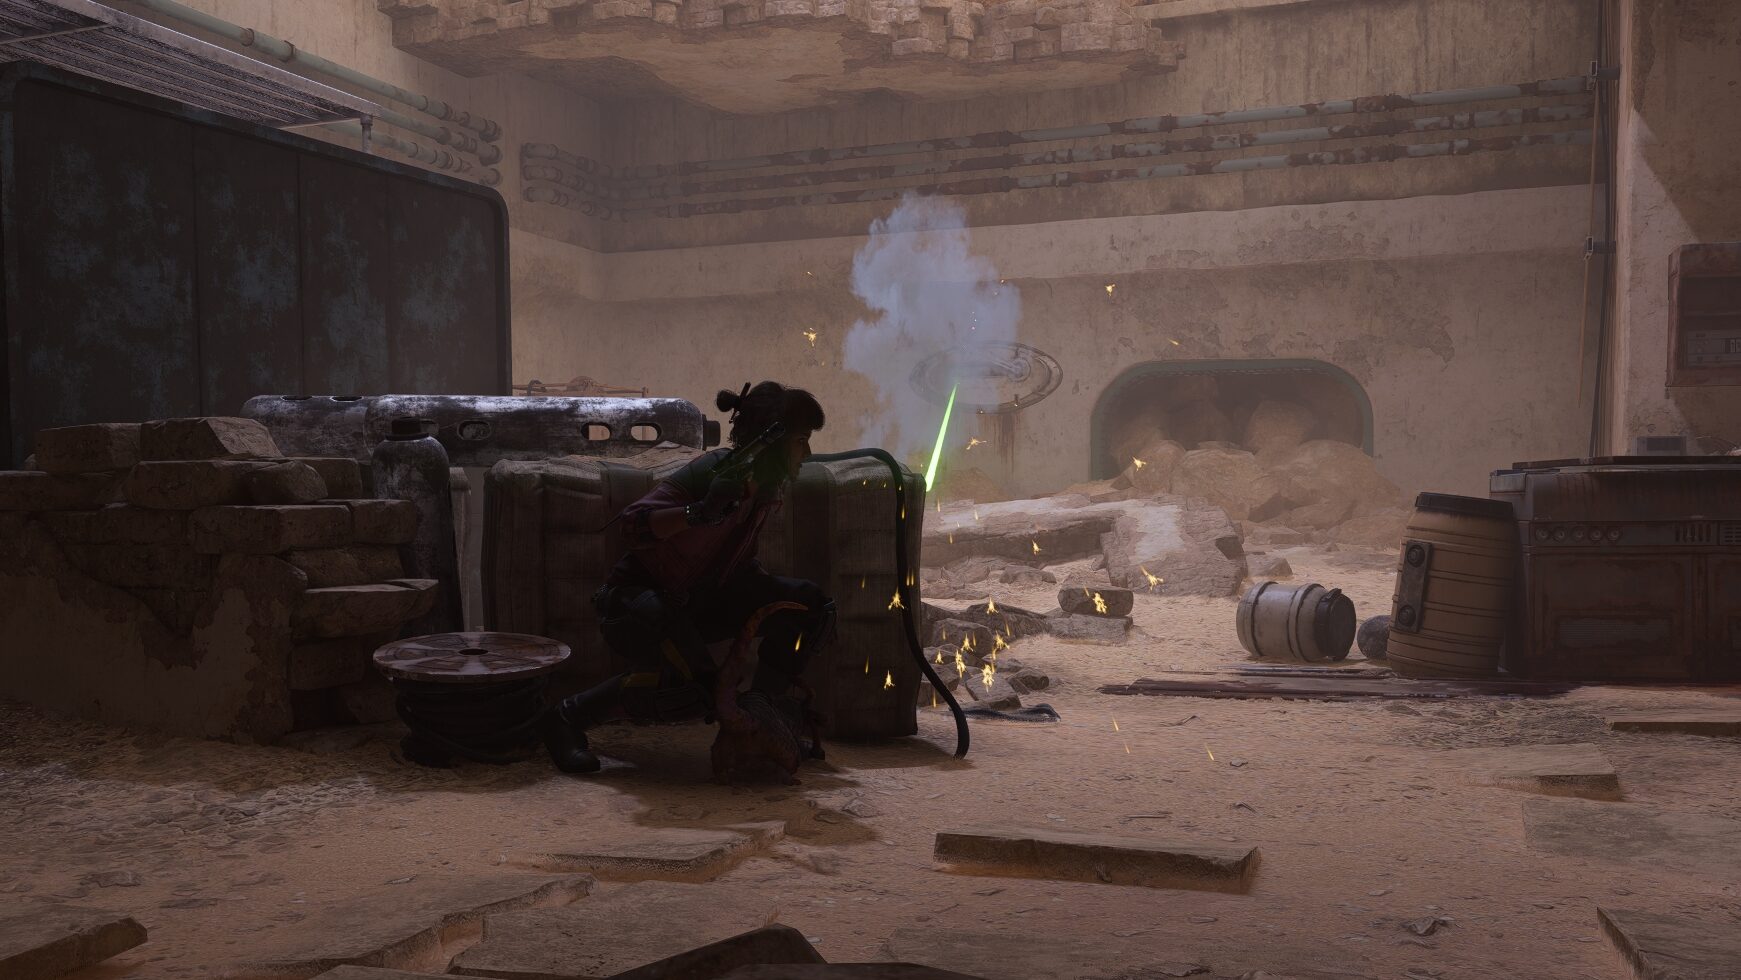
Temporarily disable the turret with your Ion Blaster then go to the southwest corner of the room. Have Nix pull open a hatch and shoot the power conduit inside to deactivate the turret.
To the left of the hatch, you’ll see some metal bars you can climb. Use them to escape the room.
Find Hondo’s Former Crewmate
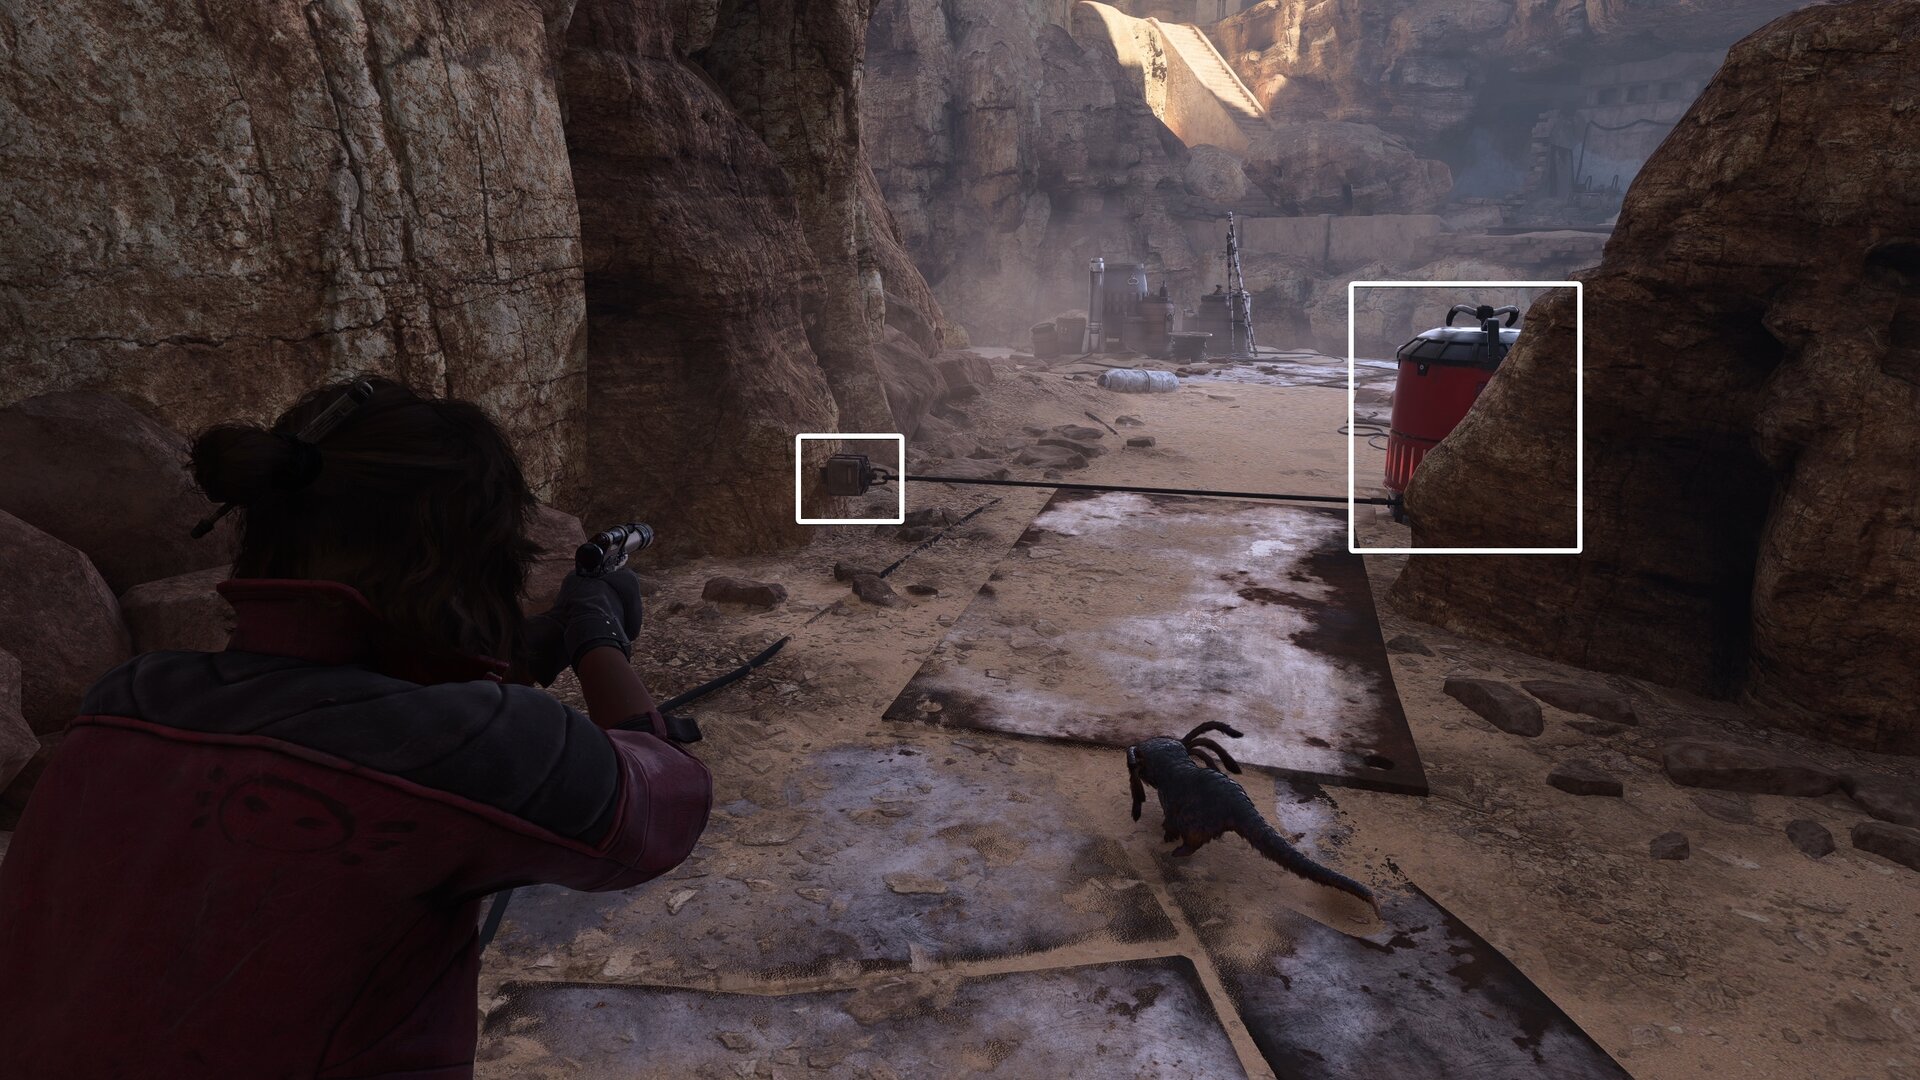
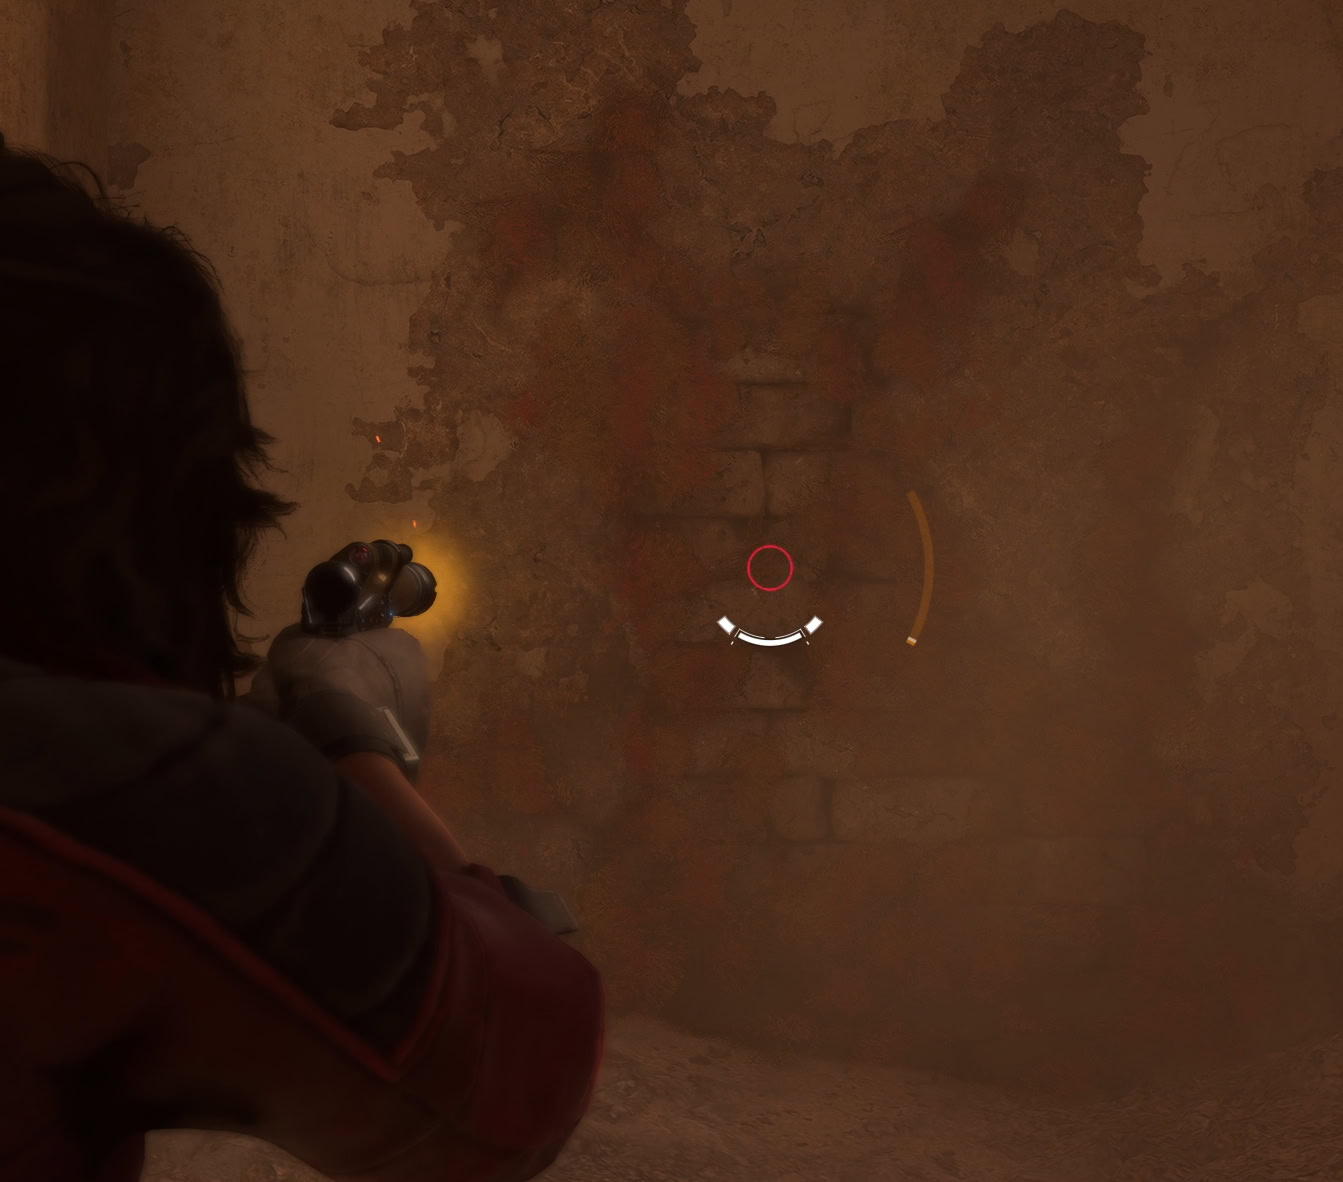
Don’t rush into the next area as you’ll encounter a new hazard, tripwires. If you activate these, a fuel tank will explode right on top of you.
To disarm these, either shoot the fuel tank or the box attached to the wall to deactivate the trap. Alternatively, send Nix to detonate the fuel tank as he’s immune to explosions.
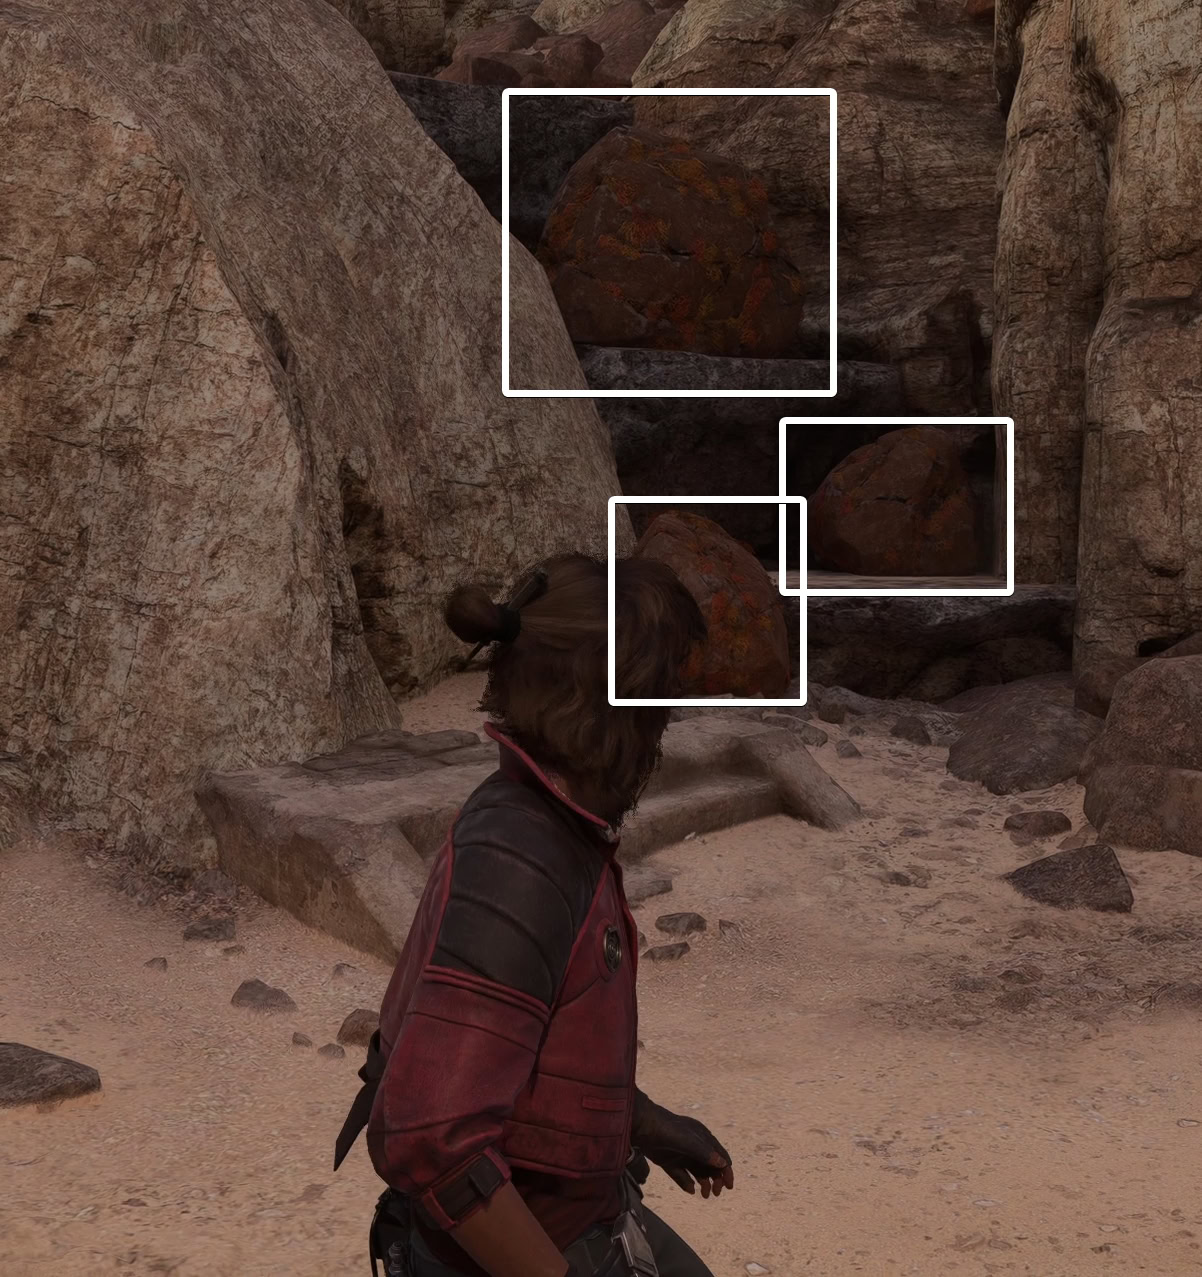
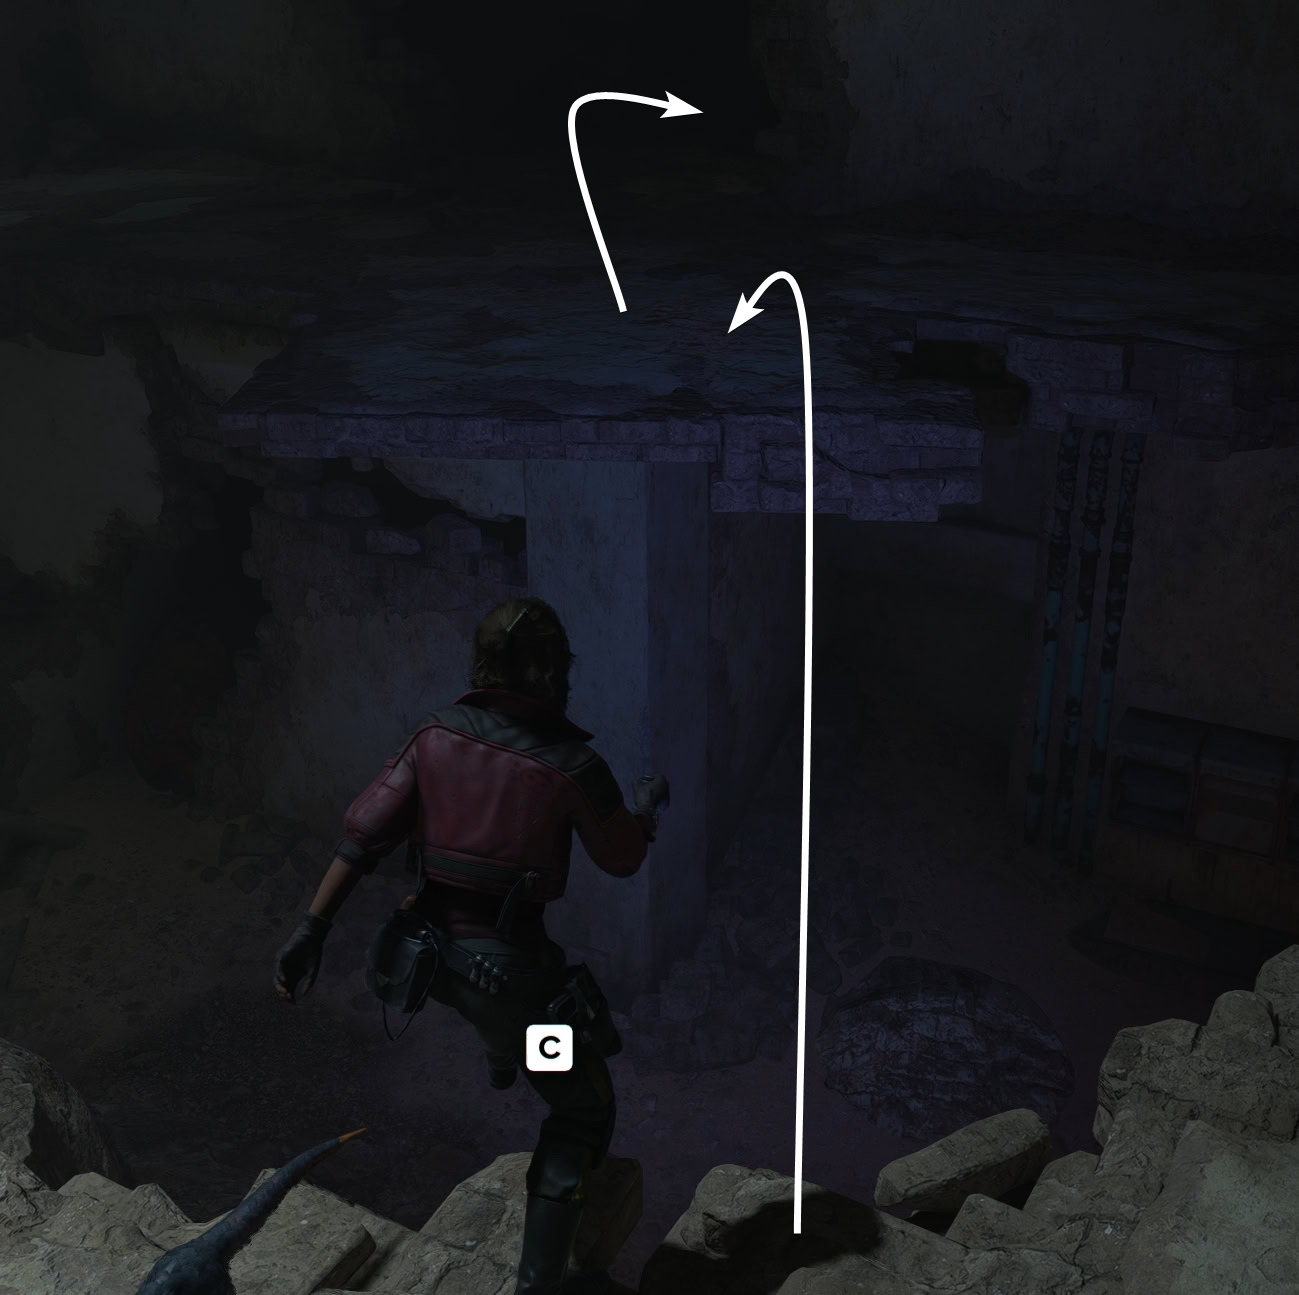
Rappel down the cliff then go west where you’ll find some old pipes. Climb onto them then work your way across the gap. Climb up the rock wall and you’ll run into some ledges blocked off by boulders. Shoot them with your Power Configuration to destroy them.
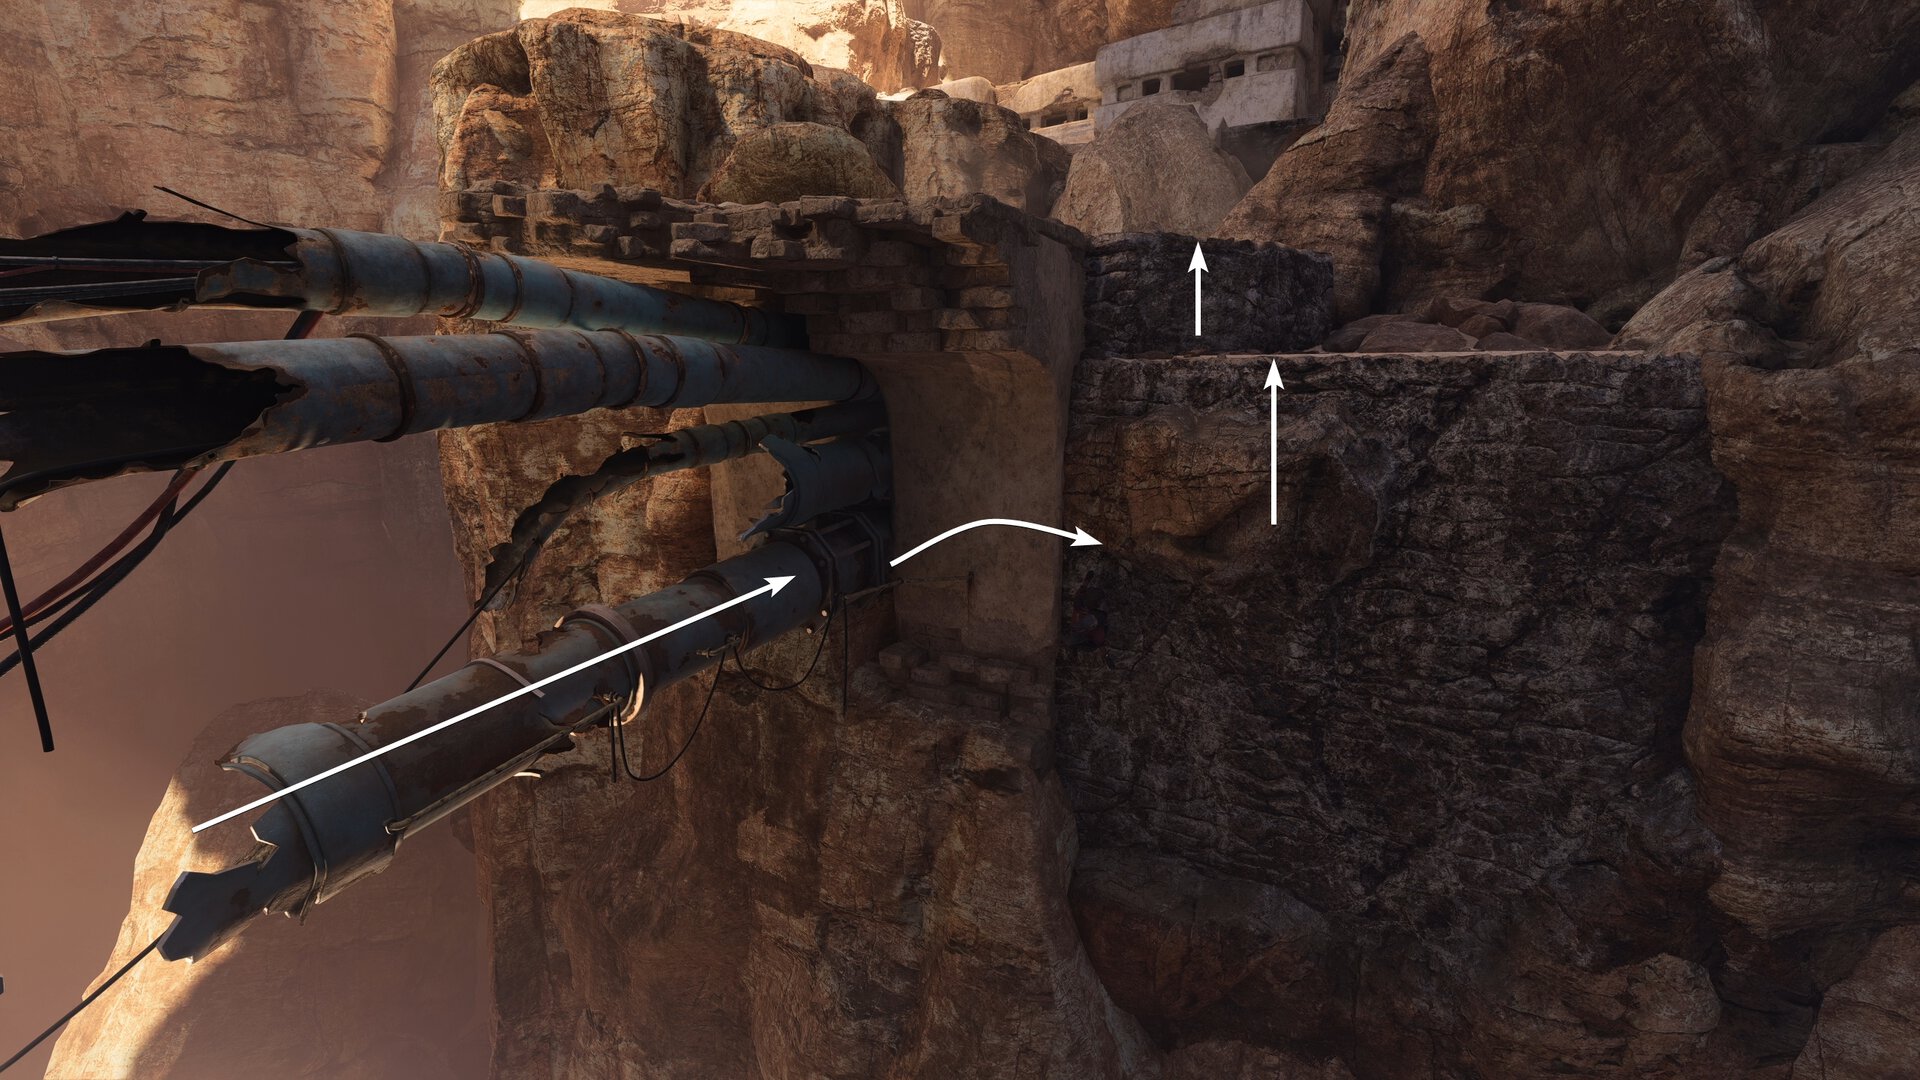
Continue climbing up and get inside the building through the broken wall on the south end. Destroy the exposed brick wall to clear a way through deeper into Hondo’s Hideout.
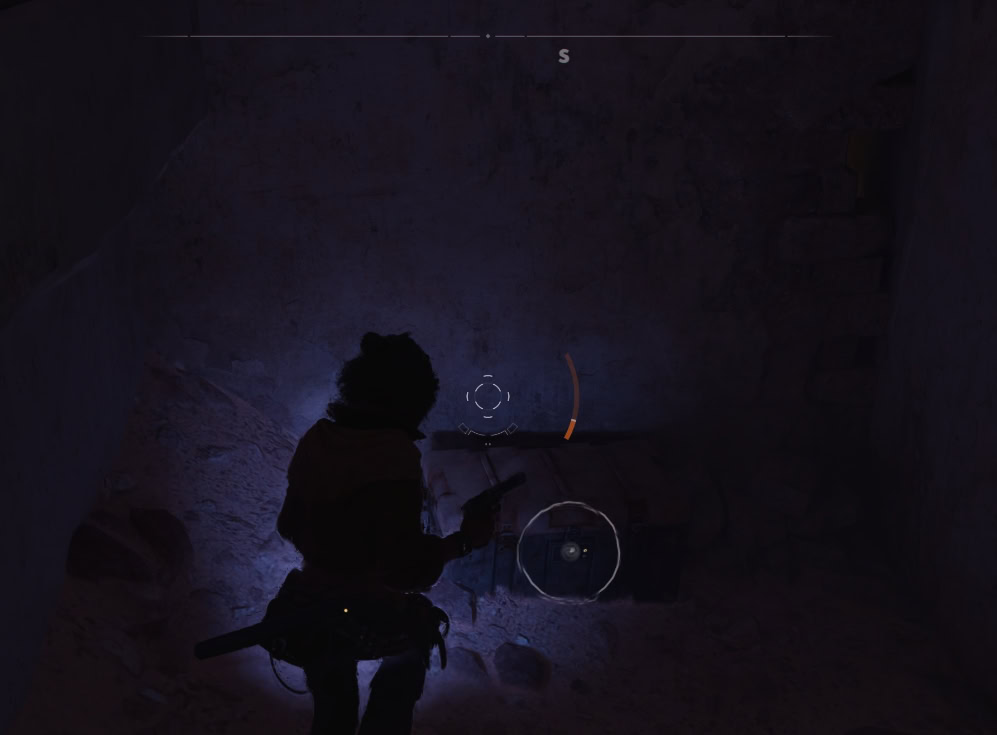
Before you jump up the wall, there is a boulder blocking a small room on the side opposite the pipes where you climb up. You will find a large chest inside with some materials.
Climb up the wall to get outside, then shoot a boulder jamming a door. Go inside the building and climb up the ledges on the west wall. Jump across a gap and squeeze through a crack in the wall.
You’ll encounter more tripwire traps. Since it’s hard to get a good shot from a safe place here, have Nix destroy the explosives for you.
Tread carefully in this next room as there are numerous pressure plates that will activate traps.
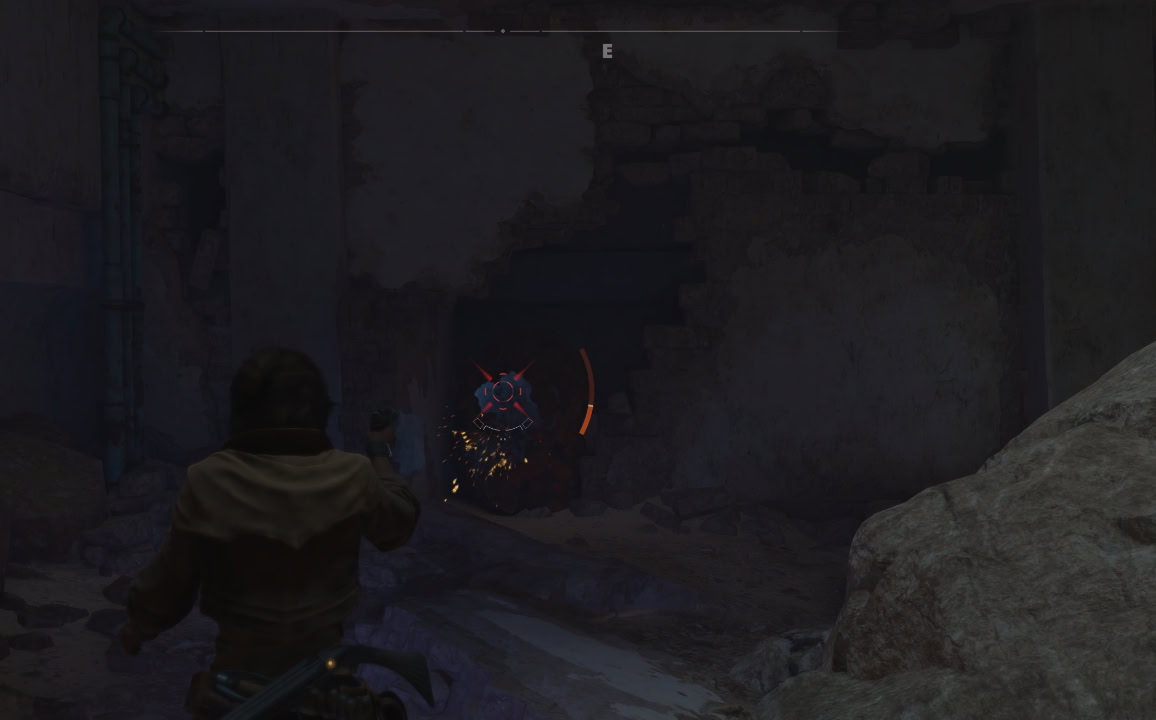
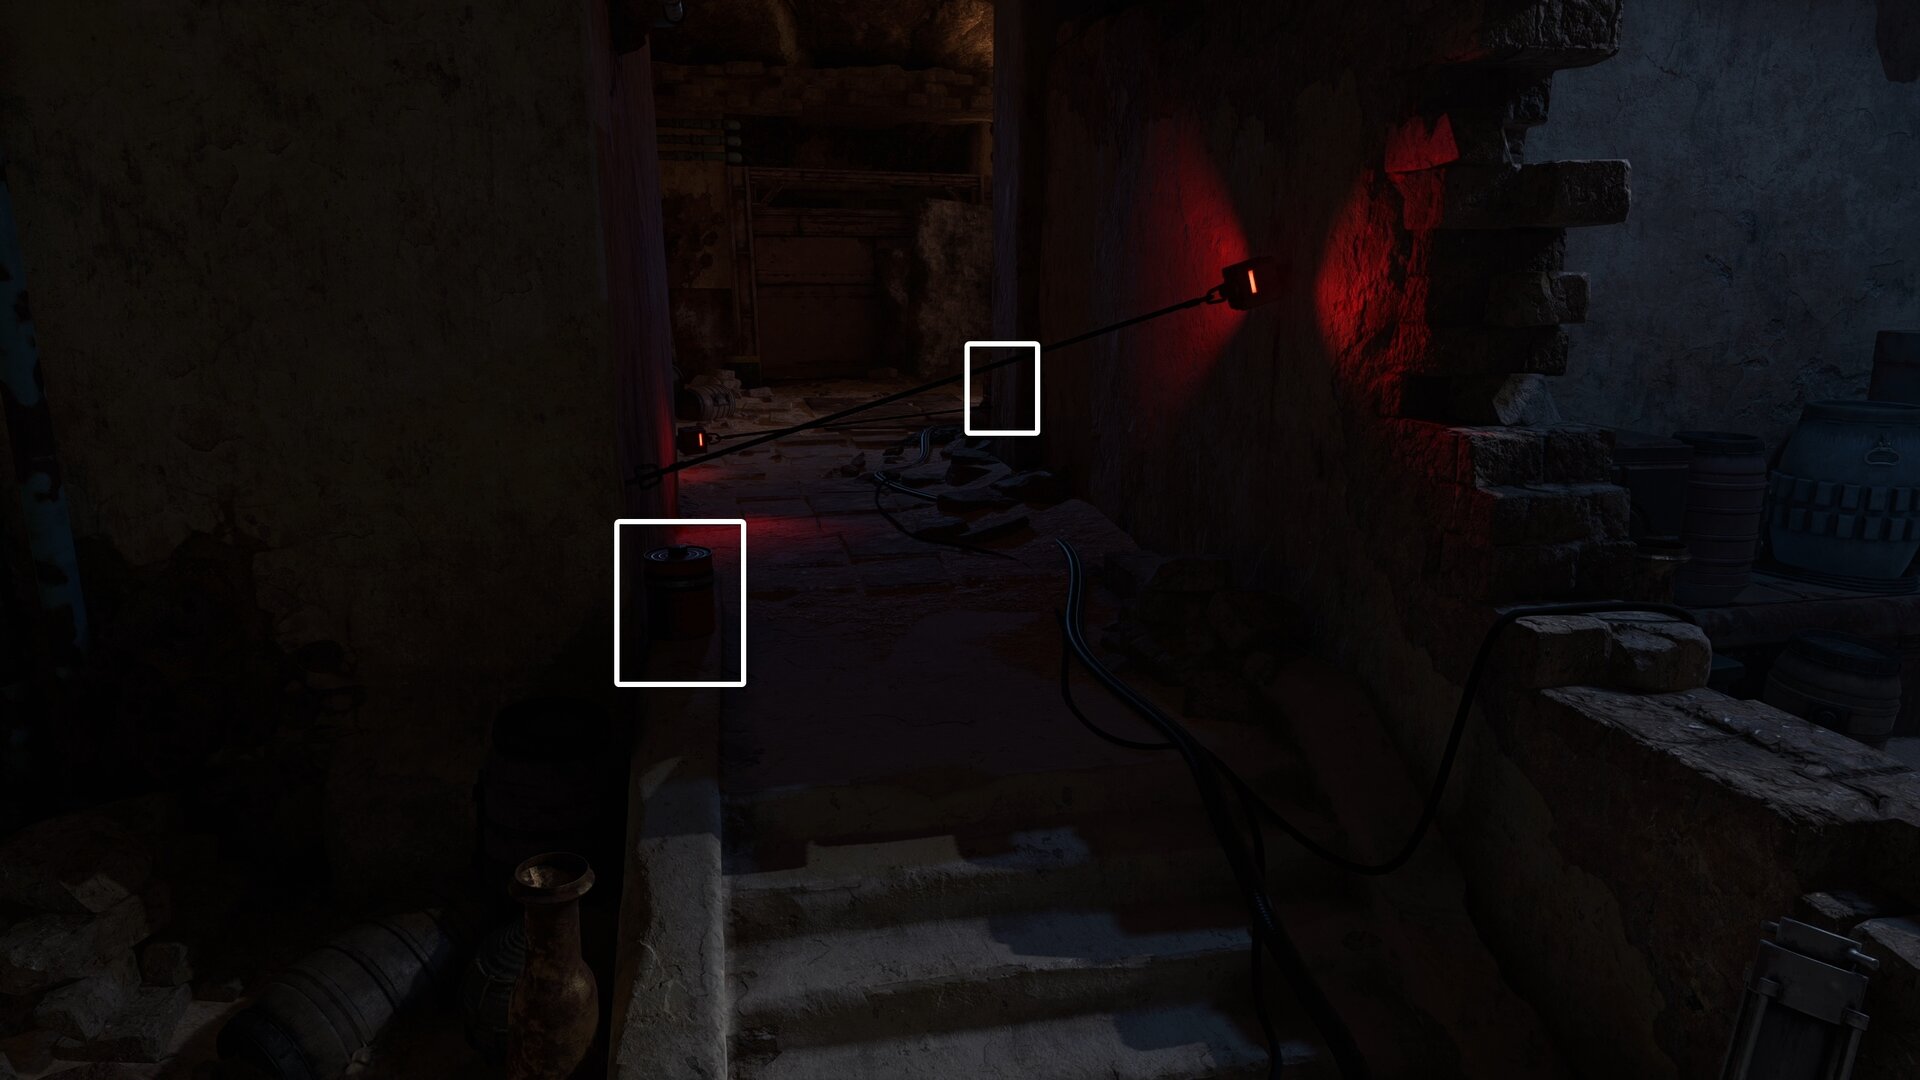
Look for the gray and yellow power cables then follow them to find a generator guarded by a tripwire trap.
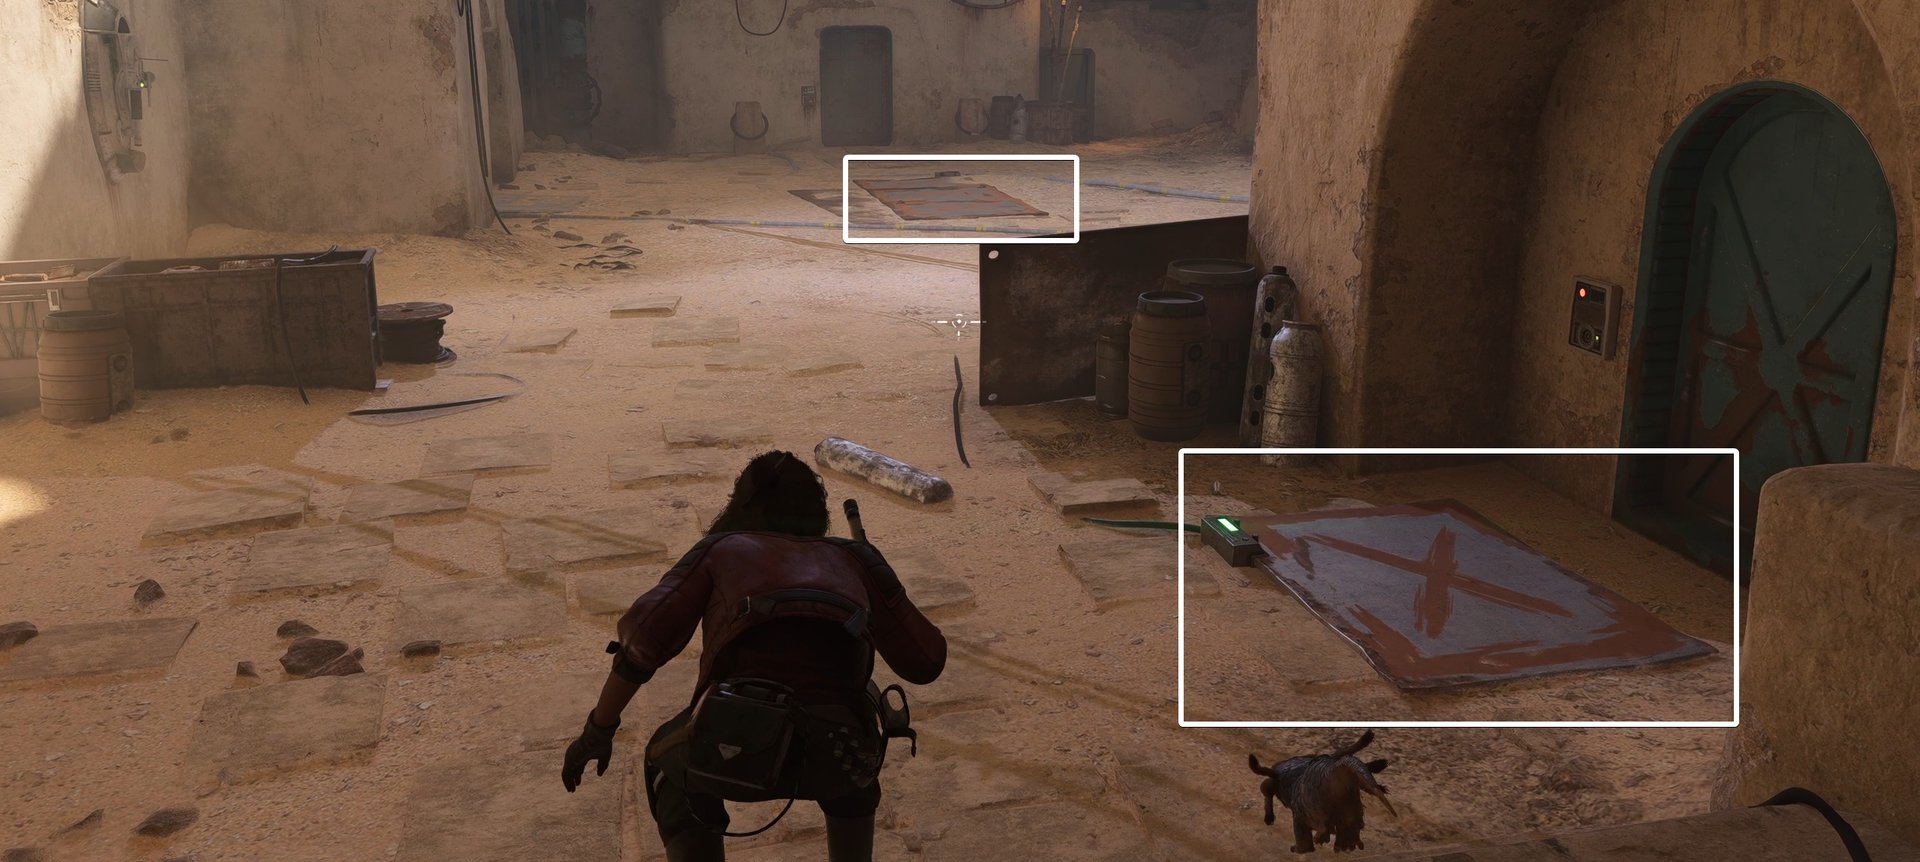
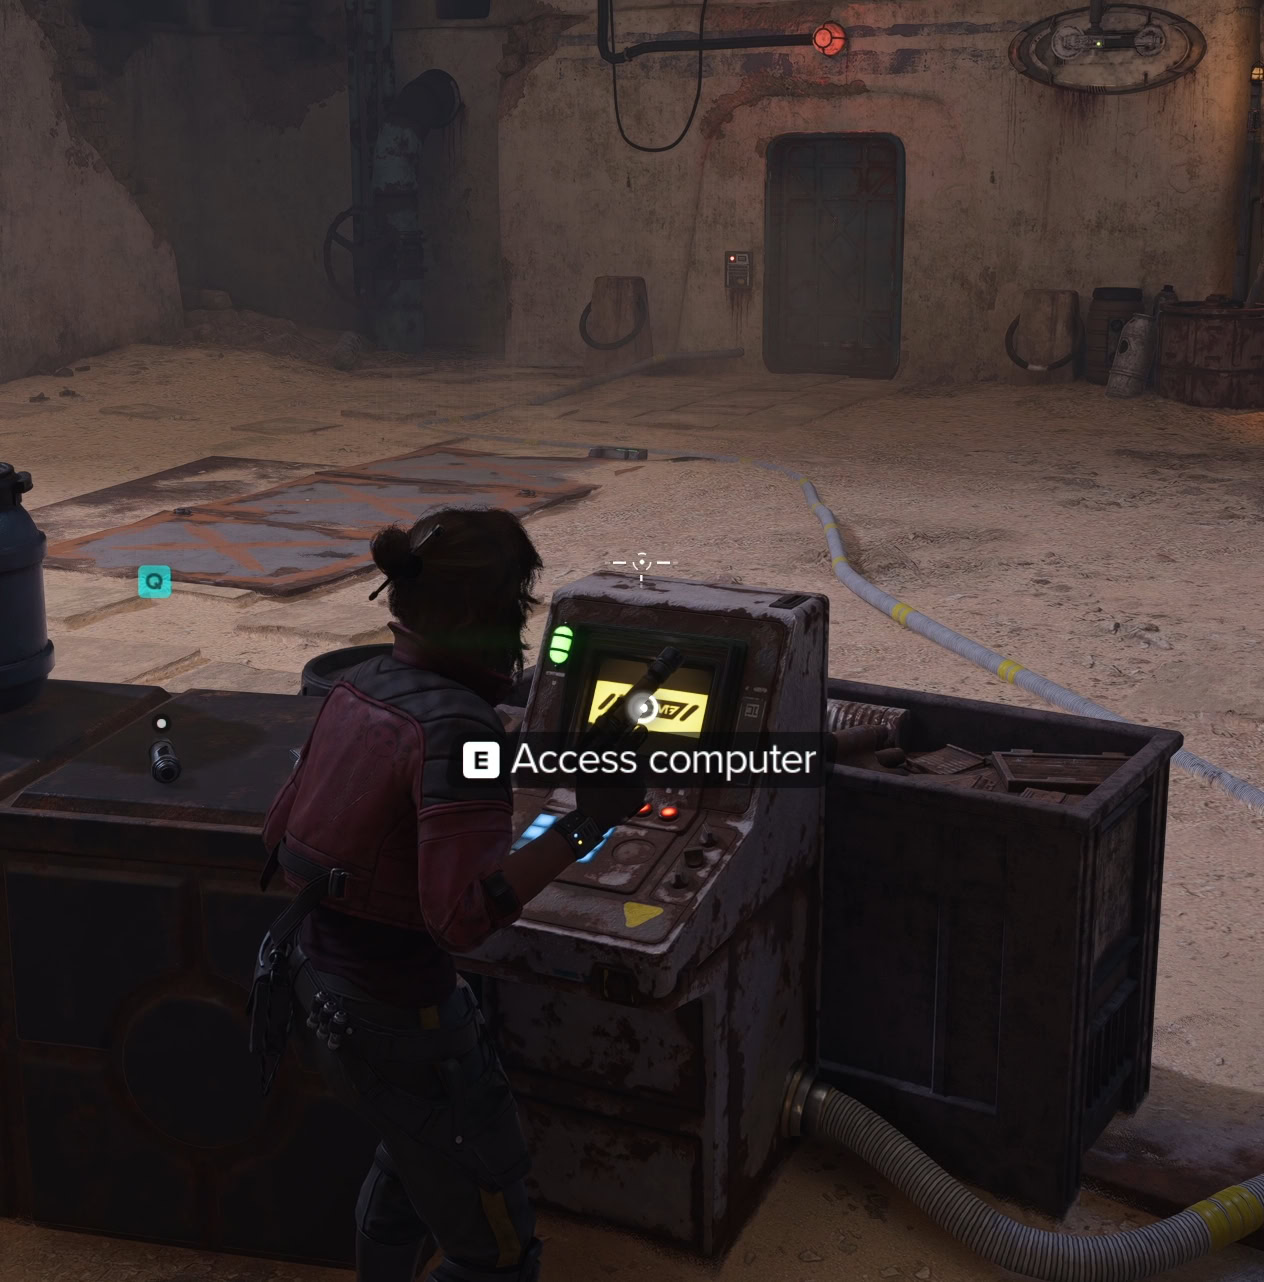
Disable the trap, power the generator, then follow the power lines back to a computer terminal. Slice the terminal to unlock the door to the east.
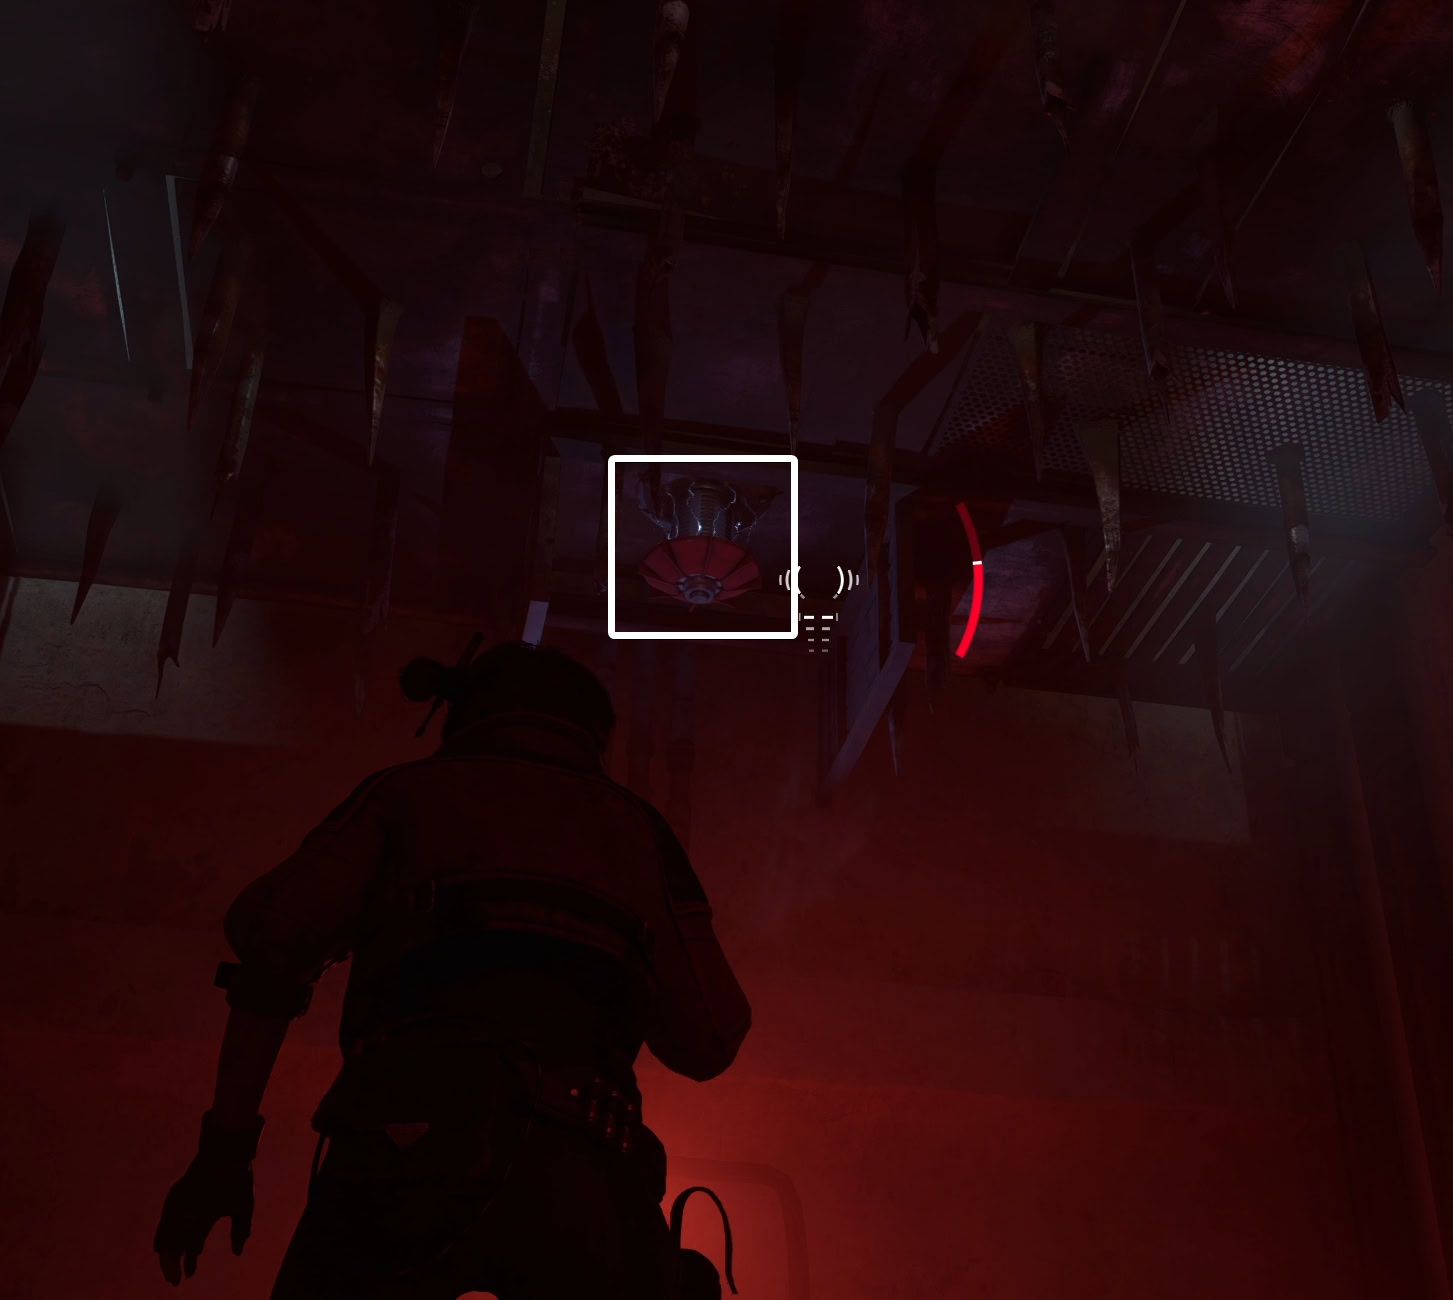
Once you’re inside, you’ll find another trap! The door will lock behind you and a spiked ceiling will slowly descend.
Shoot the blue power conduits to your left and right, one of which will be behind a shutter. Look up and shoot the red power conduits attached to the spiked ceiling. Destroy two of them on opposite ends to deactivate the trap.
Now that you won’t be crushed into a fine paste, use your data spike to lockpick the door then continue descending into the hideout.
Hondo’s Former Crewmate
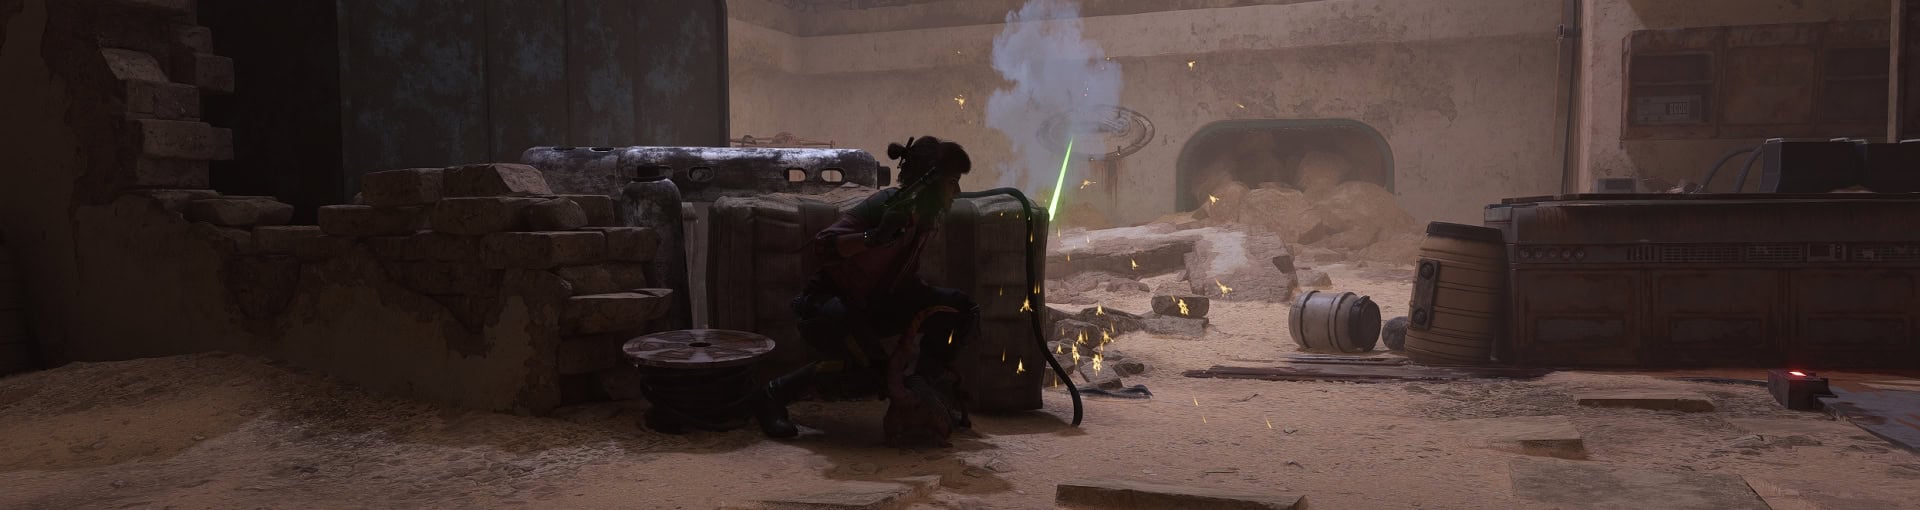
You’ll run into a small grove where you’ll find Hondo’s former crewmate, R5-P8. You’ll get ambushed by some massiffs and their pack leader. Defeat them and be careful of the pack leader’s projectiles.


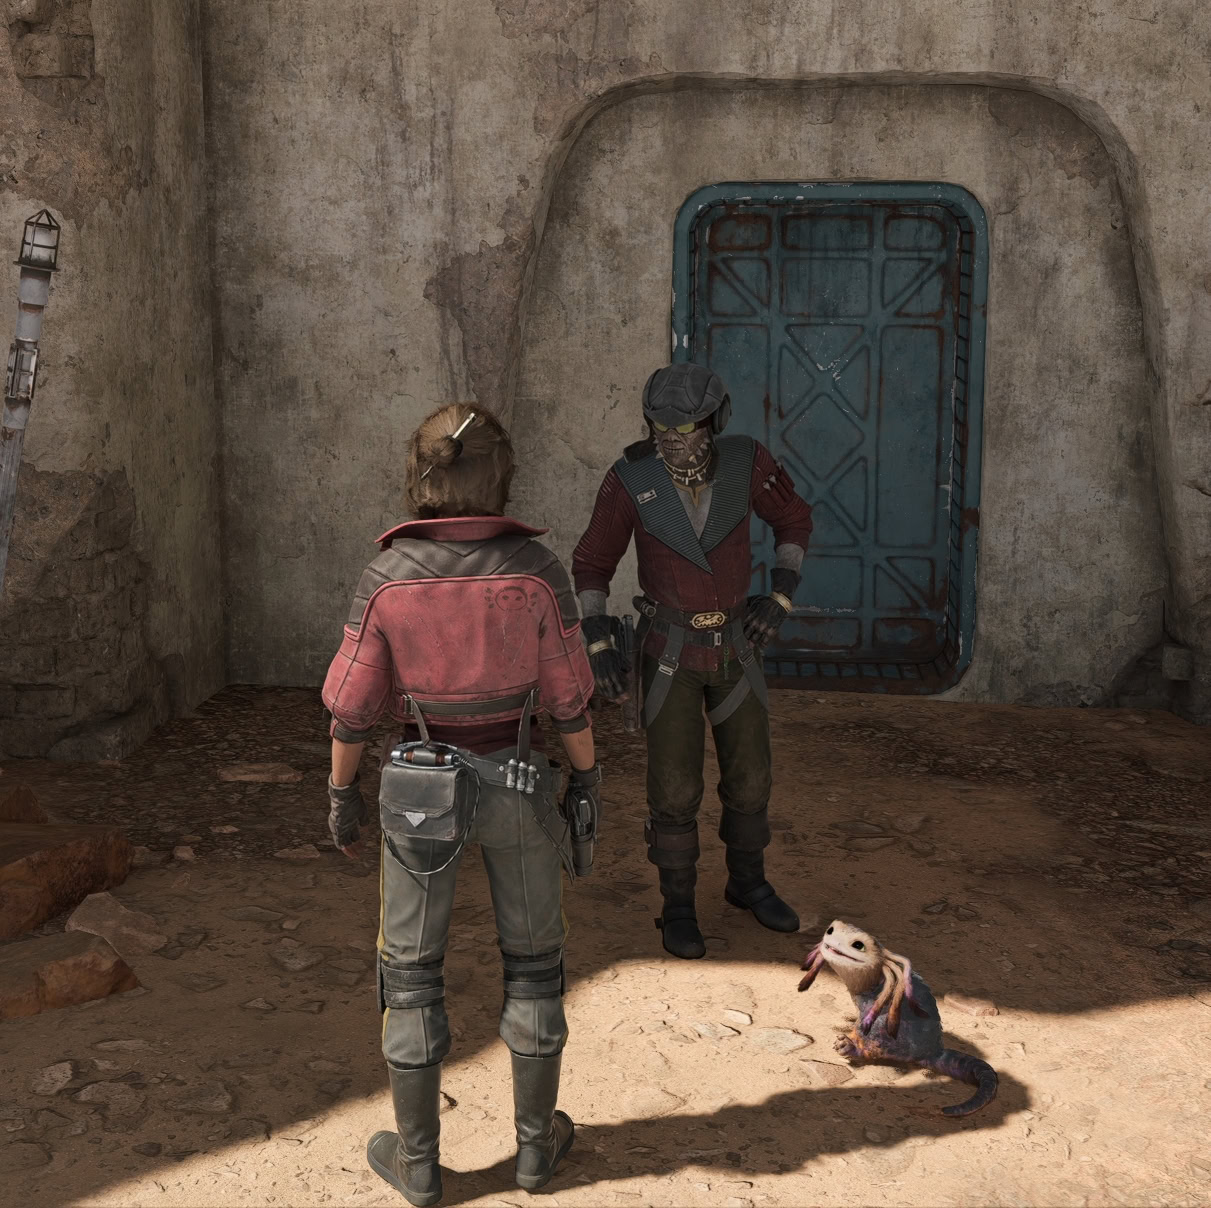
Talk to R5-P8 and Kay will promise to bring Gedeek there to repair R5. After this conversation, a nearby ladder will deploy. Climb up and get back to Hondo.
Get back to Hondo
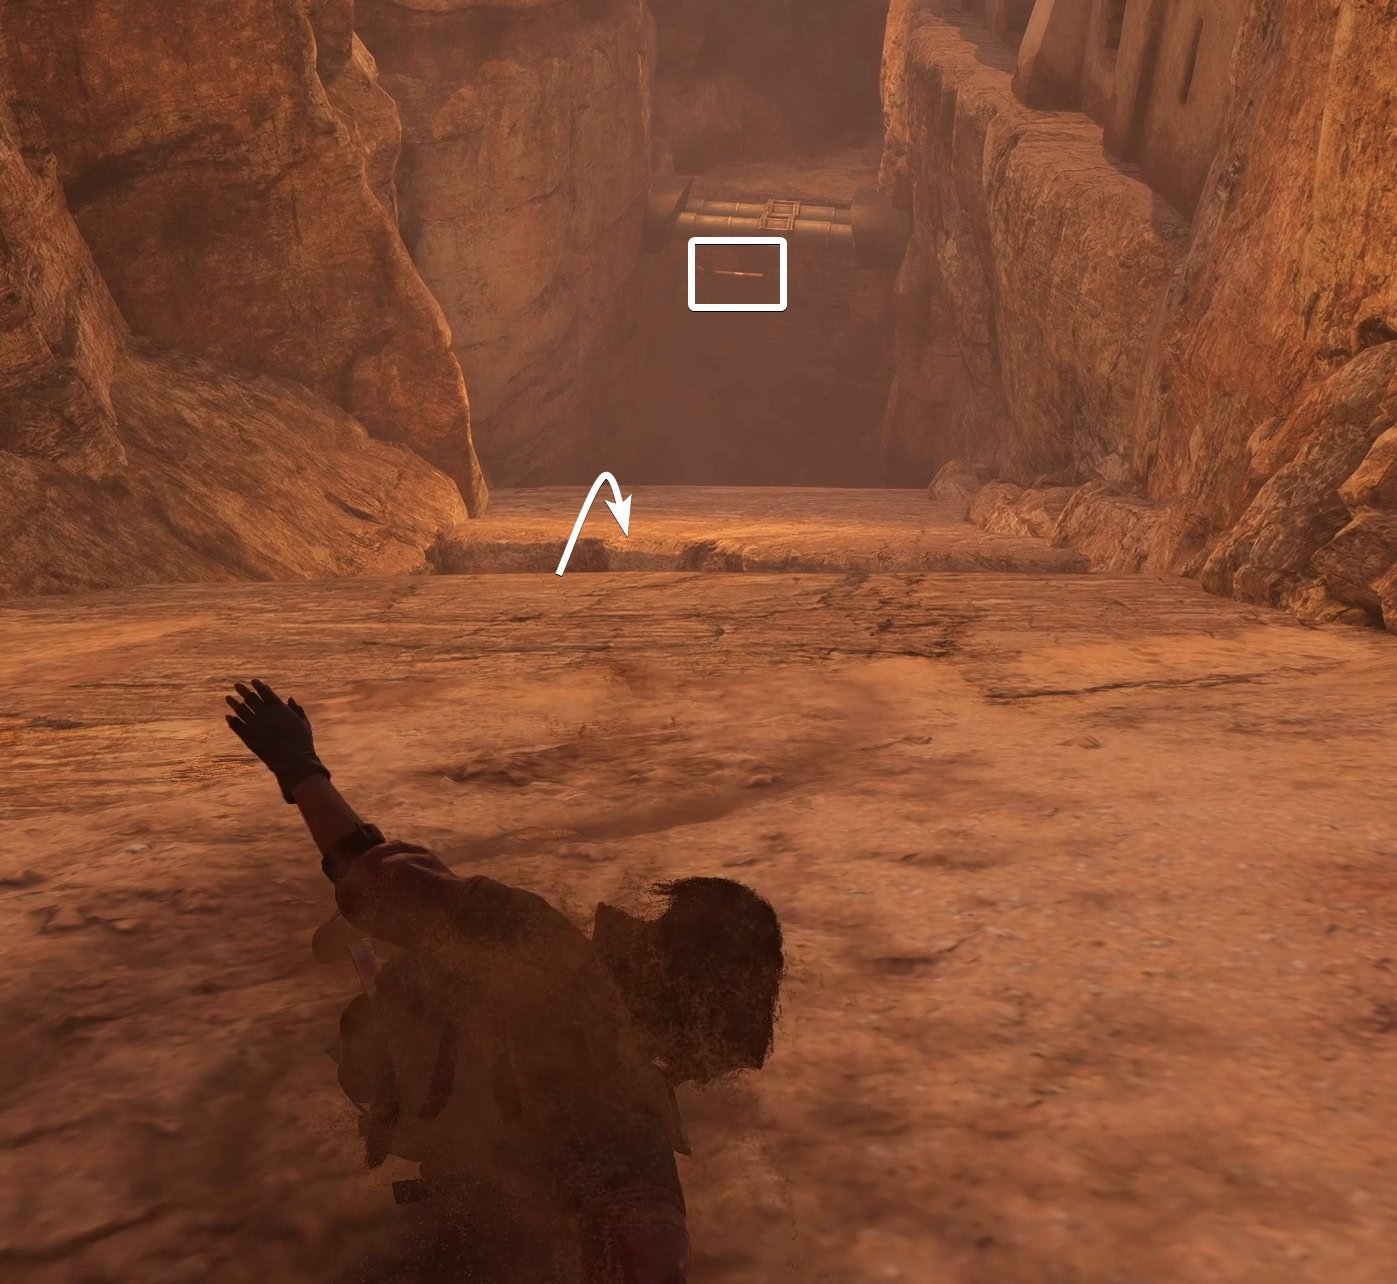
As you travel back to Hondo, the floor beneath you will give out and send you sliding down a slope. Jump across a gap in the slope then use your grappling hook to swing across the larger gap.
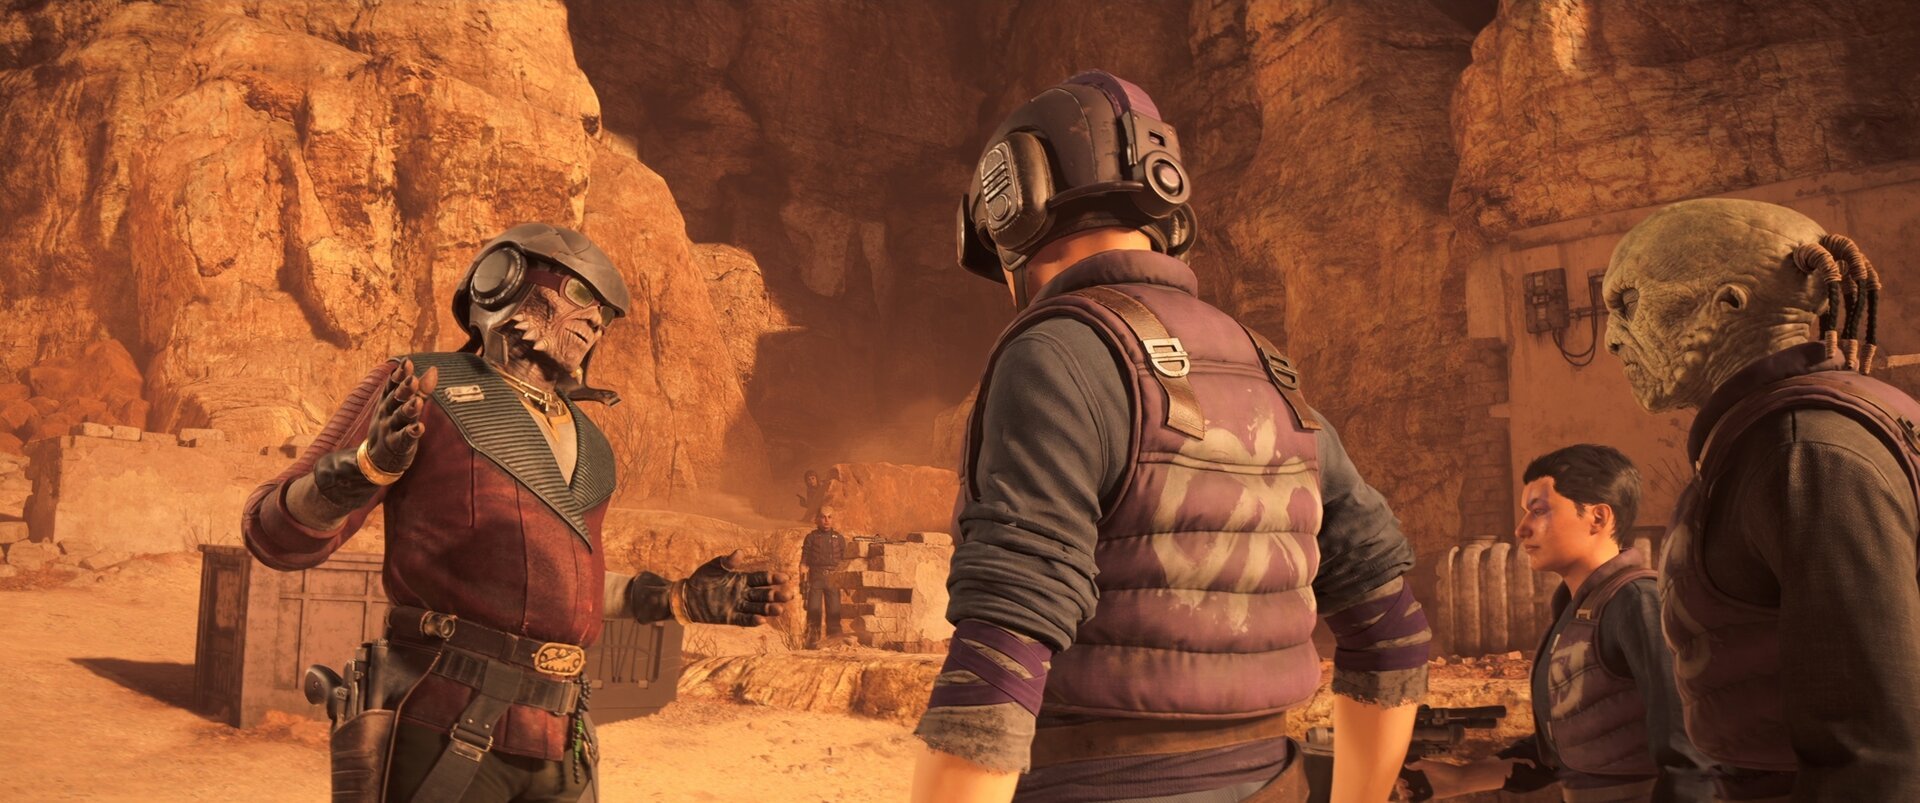
Climb up and get back outside where you’ll find Hondo surrounded by raiders. Just wait a bit and listen to Hondo try to talk his way out of this, it’s funny.
Defeat the raiders to start a cutscene where you return to Wayfar. At this point, you will also earn the Price of Loyalty achievement (trophy).
From here, you need to be sure if you’re ready for the final quest of A Pirate’s Fortune, Dead Man’s Tale.