This videop walkthrough will help you navigate through the Phon’Qi Caverns and obtain all 30 Collectible items, including defeating the bosses down here!
Our written guide will give you all of the additional information you need if you are not comfortable watching a video.
Phon’Qi Caverns All Collectibles: Star Wars Jedi Survivor Walkthrough| How to access the Phon’Qi Caverns | |
| Introduction to Mechanics in the Caverns | |
| Skill Point Essence 1 Location | |
| Fighting the Bosses | |
| Map Upgrade: Chests Ternminal | |
| Override Magna Guards Terminal | |
| Skill Point Essence 2 Location | |
| Skoova Location | |
| 00:03 | Greetings, I’m Vulkk! |
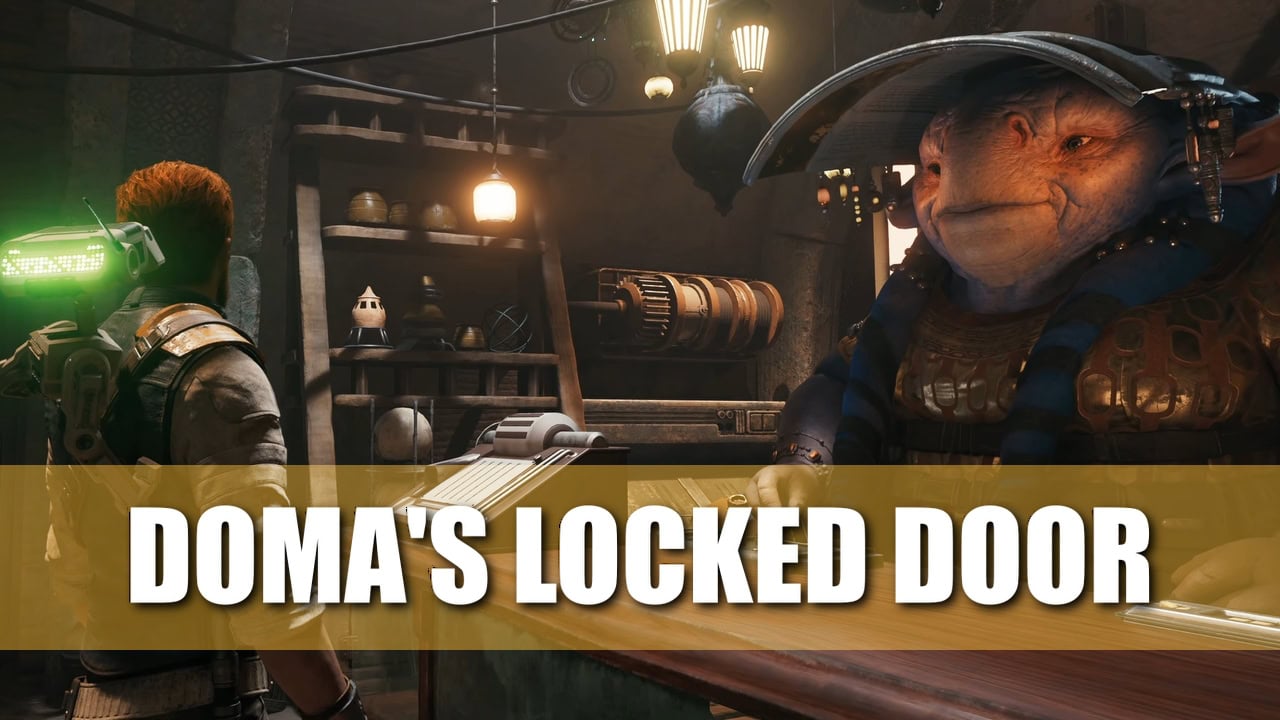
| 00:06 | To reach the Caverns, you have to go through the Abandoned Shack. To pick up the rumor for the Caverns, you can talk to an NPC leaning on the wall of Doma’s Shop in Rambler’s Reach Outpost. The rumor, of course, is optional. |
| 00:39 | You can carry the fiery fungus things that I will call fireballs from now on, and throw them at stuff like the metal rubbish that separates you and this raider with a lightsaber. |
| 00:51 | There are three of them you will encounter as you explore the caverns and if you don’t melt the metal doors and fight them when you first see them, later they will attack you all at once in a confined space. I am going to show you later in the video how this goes and where exactly it happens. |
| 01:10 | For now, let’s continue with the script I made for this walkthrough. Go pick up the Skill Point Essence. Wall run back and enter the tunnel. |
| 01:57 | You can use this fireball to melt the door and fight the raider. |
| 02:03 | In this video walkthrough I am showing you what happens if you don’t fight the raiders one by one when you encounter them. At the end, I will also show you how exactly to melt each barrier if you can’t figure it out on your own. |
| 02:22 | Use the Roller Mine droids to make this fight a bit easier and quicker. You can also Force Slam the rock formation hanging from the ceiling. |
| 03:42 | There’s a droid that will ambush you behind the corner. Nothing much else… |
| 03:51 | As soon as you jump down, Force Slam the turret. Then the other two. And open the chest at the end. |
| 04:35 | Down here you will face a familiar foe. Rancor! You can cheat this fight if want by throwing fireballs at it or slapping it with your glowstick from the top of the spire, but where’s the fun in it. |
| 04:54 | After you defeat the Rancor, you can bring a fireball and melt the barrier to fight and defeat the second raider lightsaber wielder. |
| 07:26 | Look down, it’s Skoova! Well, Skoova will only be here if you have already recruited him. You first meet him on your way to the Abandoned Shack, so chances are, you have recruited him already. If you want to, you can jump down now, pick up the chest in the water and talk to Skoova. In the end of the video, I will show you this segment. For now, let’s move forward. |
| 07:50 | In this room you have to fight three Magna Guard droids. You can take them to the edge and push them into the abyss. There are a few Datadiscs hidden inside those pots here. Break them all to find the collectibles. The third and final lightsaber wielder is also here. To break this barrier and face the raider, you can bring a fireball with you from the top by using the elevator nearby. |
| 10:06 | If you didn’t know the secret of the fireballs, the game will teach you how to use them now. Luckily, you’ve been watching this walkthrough and have been (probably?) using them already. |
| 10:55 | This is what happens if you have not been fighting and defeating the raiders in the caverns one by one. They attack you here all at once. The fight is not exactly challenging. I’d says the Rancor is tougher. But because there’s three of them and you have to fight them in such a tiny space, it can take some time while you are busy to align them, avoid their constant attacks and beat them. |
| 13:16 | This terminal is arguably the most important thing in the caverns. It will reveal all chests on your map. |
| 13:36 | And up there is the terminal that will allow you to override Magna Guard droids. |
| 13:54 | The elevator will take you back to the Meditation Point near the surface level. But we are not done yet. There are a few more collectible items I have to show you down there. There isn’t any more fighting in the caverns, so no need to rest at the Meditation Point. |
| 14:12 | This is how you can melt the first metal barrier. The third Force Slam will reveal a secret chest below. |
| 14:58 | Here is how to open the second metal barrier where the second raider with a staff used to be. Reminder: this is also where you fought the rancor. |
| 15:45 | Back at the area where you fought the Magna Guards, you can take the elevator up, bring down with you a fireball and throw it at the metal barrier to melt it. |
| 16:57 | From this edge, in the same room with the pots, jump down and dash through the green barrier to enter the small room below and pick up the Skill Point Essence. |
| 17:48 | This here is the third and final Skill Point Essence in the caverns. |
| 18:09 | If you dive down here, you can resurface back at the bottom of the lake in the Smuggler’s Tunnels, beneath the Pyloon Saloon. |
| 18:32 | And here is the promised Skoova segment. Don’t forget the chest in the water. |
| 18:40 | And that’s it. You should now have all 30 Collectibles in these weird caverns under the Koboh surface. I hope you found the video useful. We have the full walkthrough available in writen format with tons of images and maps available on VULKK.com. Thank you! |