We help you understand and interpret the driver and vehicle stat data in Mario Kart World, including the hidden stats Nintendo doesn’t tell you about.
Table of contents
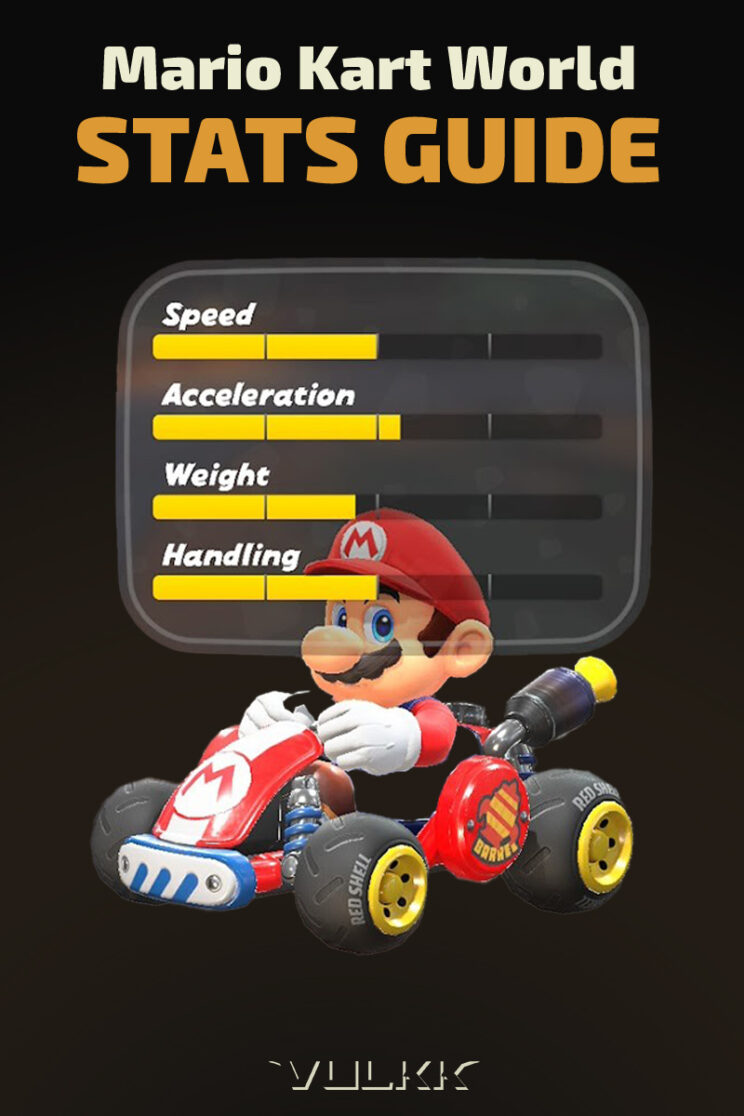
In Mario Kart, your stats are determined by the driver and your chosen vehicle. You can see your stats on the vehicle selection screen by toggling on Details by pressing Y.
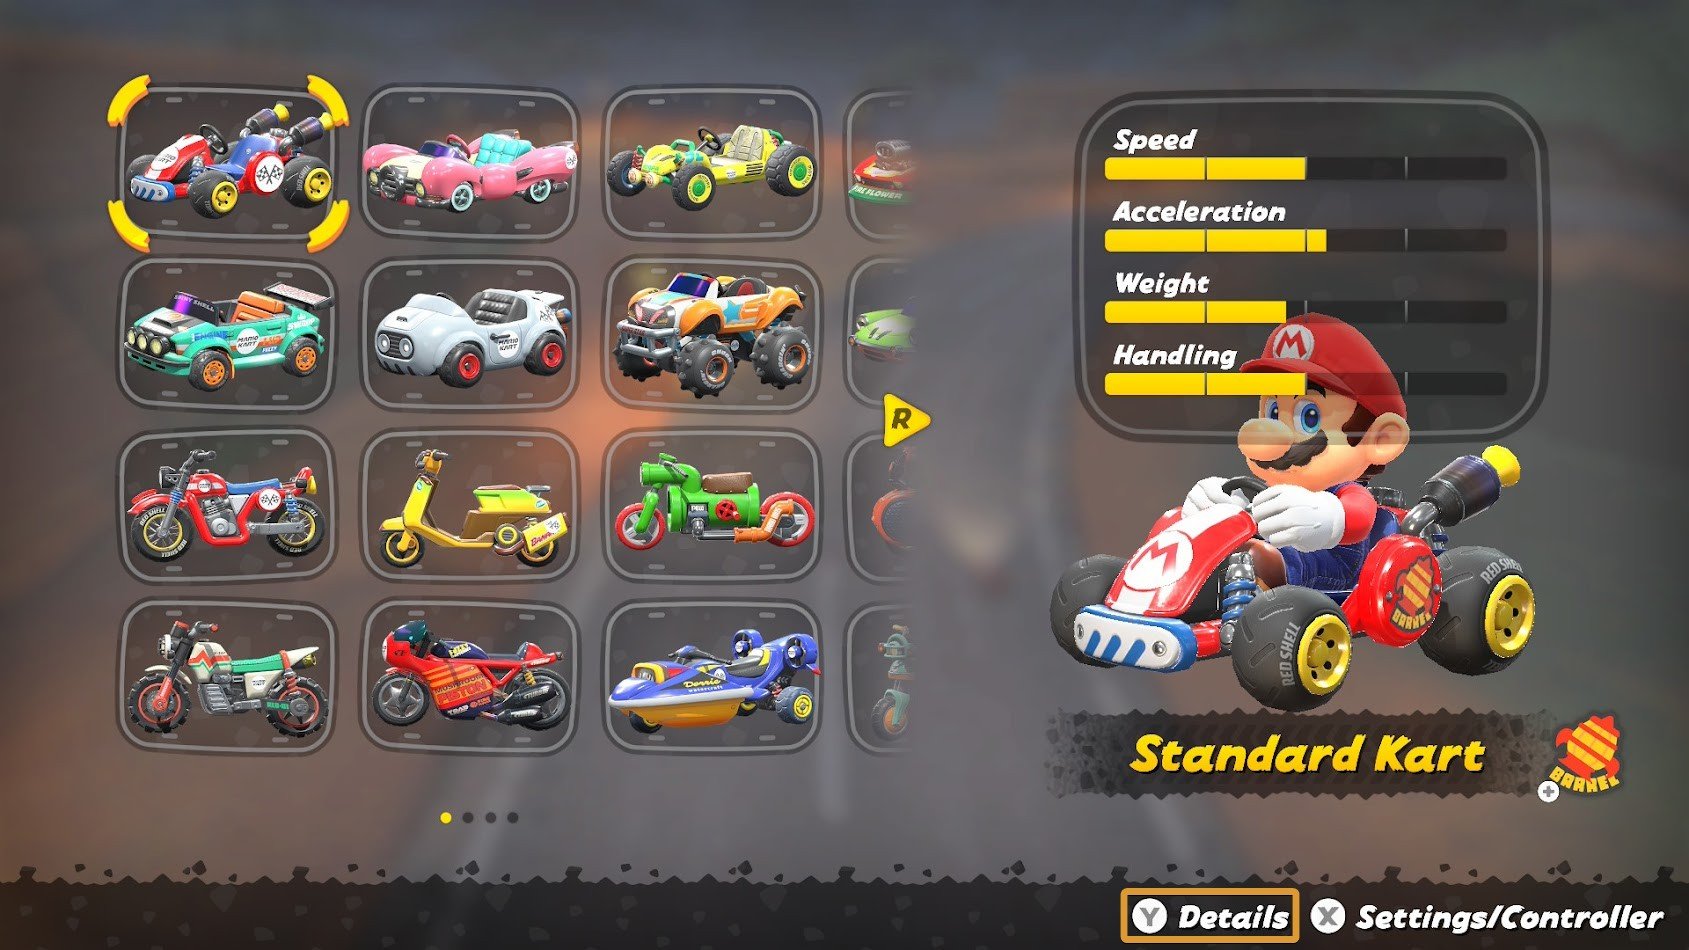
Stat Meanings in Mario Kart World
Stats in Mario Kart World are grounded in physicality, so you can trust your intuition and rely on appearance to get a sense of how you will move.
Acceleration is directly proportional to Handling and inversely proportional to Speed and Weight. Likewise, Weight and Speed are directly proportional to each other and inversely proportional to Handling and Acceleration.
Faster cars are heavier, but take longer to reach max speed, have worse turbo boosts, and don’t do as well around corners. Slower cars are lighter, but can reach their max speed sooner, have better turbo boosts, and do better around corners.
Speed
Speed defines how fast you can go, though it’s a little more complicated than it appears. The number displayed in the stats screen is an average of your selection’s performance on different types of racetrack surfaces including pavement, dirt road, and liquid.
This measure does not refer to off-road performance, only the main track you see on the map. Likewise, liquid performance only refers to when your vehicle deploys the yellow jet skis from driving around in water.
Different characters within the same weight class can have slightly different Speed stats across different types of racetracks. Some types of vehicles are also better suited to a specific surface. These sorts of distinctions really only matter if you’re going hard into Time Trials.
Collecting up to 20 coins increases your max speed on a weight-dependent curve by up to 5%.
Acceleration
Acceleration defines how long it takes to reach max speed AND the duration mini-turbos. In some past games, mini-turbo was its own stat which affected more than just the duration.
At the time of publishing, the nature of mini-turbos in Mario Kart World is still being investigated. It is unclear whether Acceleration also affects your Speed during a mini-turbo (post-drifting speed boost), which determines the value of Acceleration relative to Speed.
These differences primarily pertain to Time Trials, where a slower vehicle could finish the race in a shorter amount of time if those mini-turbos can compensate for the loss in raw Speed.
Aside from Time Trials, the more impactful part of Acceleration is that recovery time. If you’re constantly getting hit with items, it doesn’t matter what your max speed is because you never have enough time to reach it before you get hit again.
Weight
Weight determines how much you knock lighter opponents around when you bump into them and how vulnerable you are to getting knocked around by heavier opponents. Weight also determines how well each additional coin contributes to the maximum 5% speed boost from having 20 coins.
If you’re heavier, you need to get closer to 20 coins to get the maximum +5% speed boost provided by coins. If you’re lighter, you don’t need as many coins to get as close to the maximum speed boost, so it isn’t as problematic if you don’t have a full coin purse.
That being said, you won’t be going as fast if your Speed is low, so the absolute speed boost negates the impact of the curve.
More broadly, Weight is considered to be the cornerstone of the other stats because of the physical effect it has on mobility.
If you’re lighter, you won’t take as long to reach max speed, can handle turns better, and mini-turbos will last longer. However, you will get knocked around more and can’t go as fast.
If you’re heavier, you can go faster, but it will take longer to reach that max speed, you will have a harder time going around turns, and mini-turbos won’t last as long. You also have a capacity to knock around lighter racers.
Handling
Handling determines how well you can turn and how much control you have while drifting. To use a physics term, Handling improves your angular velocity.
High Handling means you can respond better to the twists and turns in the racetrack and can more easily navigate the chaos of items and road hazards. Low Handling means you can’t go exactly where you want to go as easily or swiftly.
Accounting for Track Surface
There are 3 different types of track surfaces that may affect a vehicle’s Speed and Handling. Some vehicles do much better on smooth surfaces, others do much better on rough roads or water, and some perform equally everywhere.
The all-rounders will beat out the specialized vehicles in terms of Speed and Handling if they’re out of their element, and those specialties make them 30-50% better if they’re on their preferred surface.
Nearly a supermajority of Mario Kart World’s racetrack surfaces are smooth road, so the only types of vehicles that are really worth considering are vehicles well suited to smooth surfaces or all-rounders.
It’s just not worth using a vehicle specialized for water when you’ll always spend a majority of your time on land.
| Track | Terrain Specialty | Cup | |
|---|---|---|---|
 | Mario Bros. Circuit | None | Mushroom |
 | Crown City | Smooth | Mushroom |
 | Whistlestop Summit | Smooth | Mushroom |
 | DK Spaceport | Smooth | Mushroom |
 | Desert Hills | Smooth | Flower |
 | Shy Guy Bazaar | Smooth | Flower |
 | Wario Stadium | Partial Rough | Flower |
 | Airship Fortress | Smooth | Flower |
 | DK Pass | Partial Rough | Star |
 | Starview Peak | Partial Water | Star |
 | Sky-High Sundae | Smooth | Star |
 | Wario Shipyard | None | Star |
 | Koopa Troopa Beach | Rough | Shell |
 | Faraway Oasis | Partial Rough | Shell |
| Crown City | Smooth | Shell |
 | Peach Stadium | Smooth | Shell |
 | Peach Beach | Partial Water | Banana |
 | Salty Salty Speedway | Partial Water | Banana |
 | Dino Dino Jungle | Rough | Banana |
 | Great ? Block Ruins | Smooth | Banana |
 | Cheep Cheep Falls | None | Leaf |
 | Dandelion Depths | Partial Rough | Leaf |
 | Boo Cinema | Smooth | Leaf |
 | Dry Bones Burnout | Smooth | Leaf |
 | Moo Moo Meadows | Rough | Lightning |
 | Choco Mountain | Partial Rough | Lightning |
 | Toad’s Factory | Smooth | Lightning |
 | Bowser’s Castle | Smooth | Lightning |
 | Acorn Heights | Partial Rough | Special |
| Peach Stadium | Smooth | Special |
 | Mario Circuit | Smooth | Special |
 | Rainbow Road | Smooth | Special |
If you’re going for a Time Trial record, you’ll want to use a vehicle specialized to perform best on that course, but for a Grand Prix, you will be better off optimizing for the majority, assuming there is one.
| Cup | Predominant Terrain | |
|---|---|---|
| Mushroom |  | Smooth |
| Flower |  | Smooth |
| Star |  | None |
| Shell |  | None |
| Banana |  | None |
| Leaf |  | None |
| Lightning |  | None |
| Special |  | Smooth |
Given the variability of terrain, I only recommend using unspecialized vehicles for Knockout Tours.
Driver Stats and Weight Classes
All 44 drivers fit into one of 8 weight classes, so if you really want specific performance from your vehicle, you have multiple appearance options.
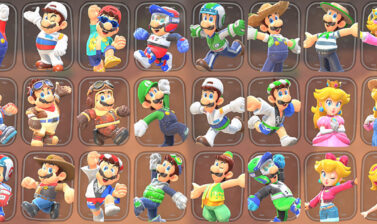
Despite being displayed as completely different choices, A character’s appearance (costume) does not affect their stats. For example, Aviator Mario will have the exact same stats as Cowboy Mario.
Scroll to the side to see more columns from this table.
| Class | Speed | Acceler. | Weight | Handling | Characters: | Creatures: |
|---|---|---|---|---|---|---|
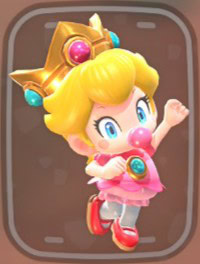
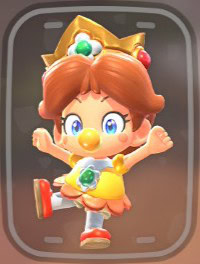
| Light I | 1.4 | 3.0 | 1.0 | 2.6 | Baby Peach, Baby Daisy | Swoop, Para-Biddybud |
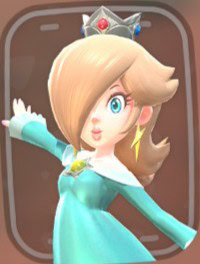
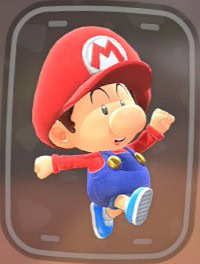
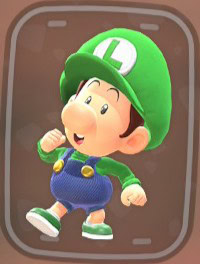
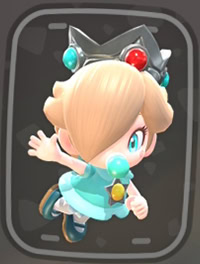
| Light II | 1.4 | 2.8 | 1.2 | 2.6 | Baby Mario, Baby Luigi, Baby Rosalina | Goomba, Dry Bones, Spike, Sidestepper, Peepa, Fish Bone |
| Light III | 1.6 | 2.6 | 1.4 | 2.4 | Koopa Troopa, Toad, Toadette, Lakitu, Shy Guy | Nabbit, Cheep Cheep, Stingby |
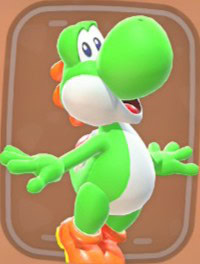
| Medium I | 1.8 | 2.4 | 1.6 | 2.2 | Peach, Daisy, Yoshi, Bowser Jr. | Monty Mole, Coin Cutter, Dolphin |
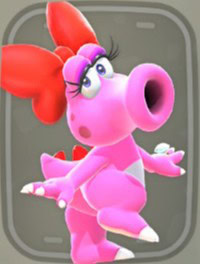
| Medium II | 2.0 | 2.2 | 1.8 | 2.0 | Mario, Luigi, Birdo | Hammer Bro, Rocky Wrench, Pokey, Penguin |
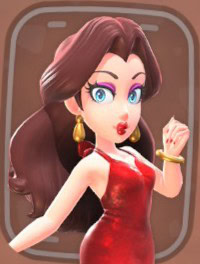
| Heavy I | 2.2 | 2.0 | 2.0 | 1.8 | King Boo, Pauline, Rosalinda | Piranha Plant, Cataquack, Conkdor, Snowman |
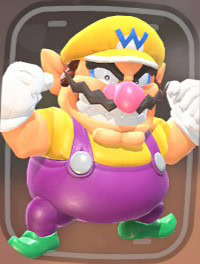
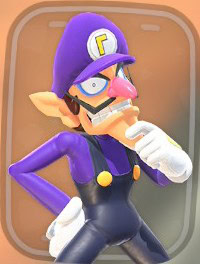
| Heavy II | 2.4 | 1.8 | 2.2 | 1.6 | Donkey Kong, Wario, Waluigi | Wiggler, Pianta, Cow, Chargin’ Chuck |
| Heavy III | 2.6 | 1.6 | 2.4 | 1.4 | Bowser | – |
One weight class isn’t inherently better than another because the total stat budget for every class is 8 points (Speed + Acceleration + Weight + Handling = 8, always). However, the game mode typically favors certain stat distributions.
For example, Battle Mode benefits more from Handling and Acceleration because you need to turn on a dime and speed up quickly after getting hit with an item.
Conversely, Time Trials favor Speed and Handling because you want to finish as fast as possible and don’t really need to worry about Acceleration or Weight since you won’t ever get hit with an item or run into something.
Almost all drivers also have a minor affinity for a certain type of racing surface, whether it be smooth, rough, or water. Their Speed and Handling are ever so slightly better on one type of terrain compared to the other two.
| Name | Type | Minor Affinity | Weight Class | Unlock Requirement | |
|---|---|---|---|---|---|
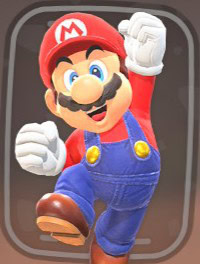 | Mario | Character | Smooth Surfaces | Medium II | Unlocked |
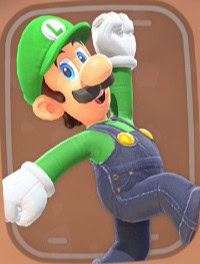 | Luigi | Character | Rough Roads | Medium II | Unlocked |
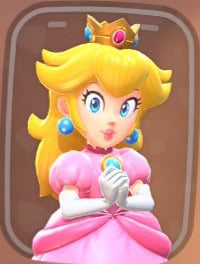 | Peach | Character | Smooth Surfaces | Medium I | Unlocked |
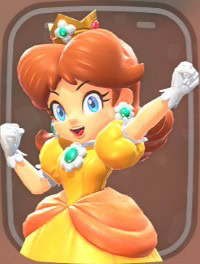 | Daisy | Character | Smooth Surfaces | Medium I | Flower Cup |
 | Yoshi | Character | Rough Roads | Medium I | Unlocked |
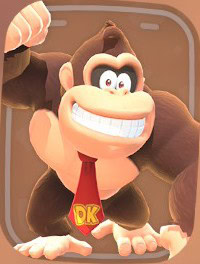 | Donkey Kong | Character | Rough Roads | Heavy II | Mushroom Cup |
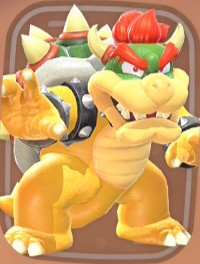 | Bowser | Character | None | Heavy III | Unlocked |
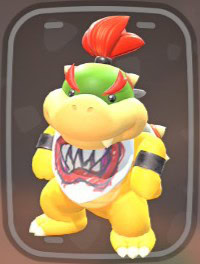 | Bowser Jr. | Character | Water | Medium I | Lightning Cup |
 | Koopa Troopa | Character | Water | Light III | Unlocked |
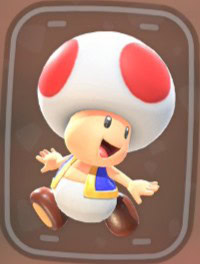 | Toad | Character | Rough Roads | Light III | Unlocked |
 | Toadette | Character | Smooth Surfaces | Light III | Unlocked |
 | Lakitu | Character | Water | Light III | Shell Cup |
 | King Boo | Character | Rough Roads | Heavy I | Leaf Cup |
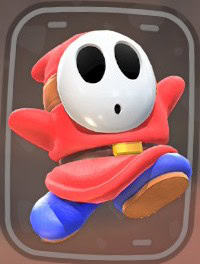 | Shy Guy | Character | Rough Roads | Light III | Unlocked |
 | Wario | Character | Smooth Surfaces | Heavy II | Unlocked |
 | Waluigi | Character | Water | Heavy II | Unlocked |
 | Birdo | Character | Water | Medium II | Banana Cup |
 | Pauline | Character | Smooth Surfaces | Heavy I | Unlocked |
 | Rosalina | Character | Water | Heavy I | Star Cup |
 | Baby Mario | Character | Smooth Surfaces | Light II | Unlocked |
 | Baby Luigi | Character | Rough Roads | Light II | Unlocked |
 | Baby Peach | Character | None | Light I | Unlocked |
 | Baby Daisy | Character | None | Light I | Unlocked |
 | Baby Rosalina | Character | Water | Light II | Unlocked |
 | Nabbit | Creature | Smooth Surfaces | Light III | Unlocked |
 | Goomba | Creature | Smooth Surfaces | Light II | Unlocked |
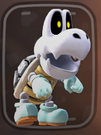 | Dry Bones | Creature | Rough Roads | Light II | Unlocked |
 | Piranha Plant | Creature | Smooth Surfaces | Heavy I | Unlocked |
 | Spike | Creature | Smooth Surfaces | Light II | Kamek: Common |
 | Wiggler | Creature | Smooth Surfaces | Heavy II | Unlocked |
 | Hammer Bro | Creature | Rough Roads | Medium II | Unlocked |
 | Sidestepper | Creature | Water | Light II | Unlocked |
 | Cataquack | Creature | Water | Heavy I | Kamek: East Bay Region |
 | Monty Mole | Creature | Rough Roads | Medium I | Unlocked |
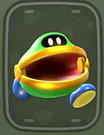
 | Cheep Cheep | Creature | Water | Light III | Unlocked |
 | Conkdor | Creature | Rough Roads | Heavy I | Kamek: Yellow Sand Desert Courses |
 | Pianta | Creature | Water | Heavy II | Kamek: Common |
 | Rocky Wrench | Creature | Smooth Surfaces | Medium II | Kamek: Airship Fortress |
 | Swoop | Creature | None | Light I | Kamek: Dandelion Depths |
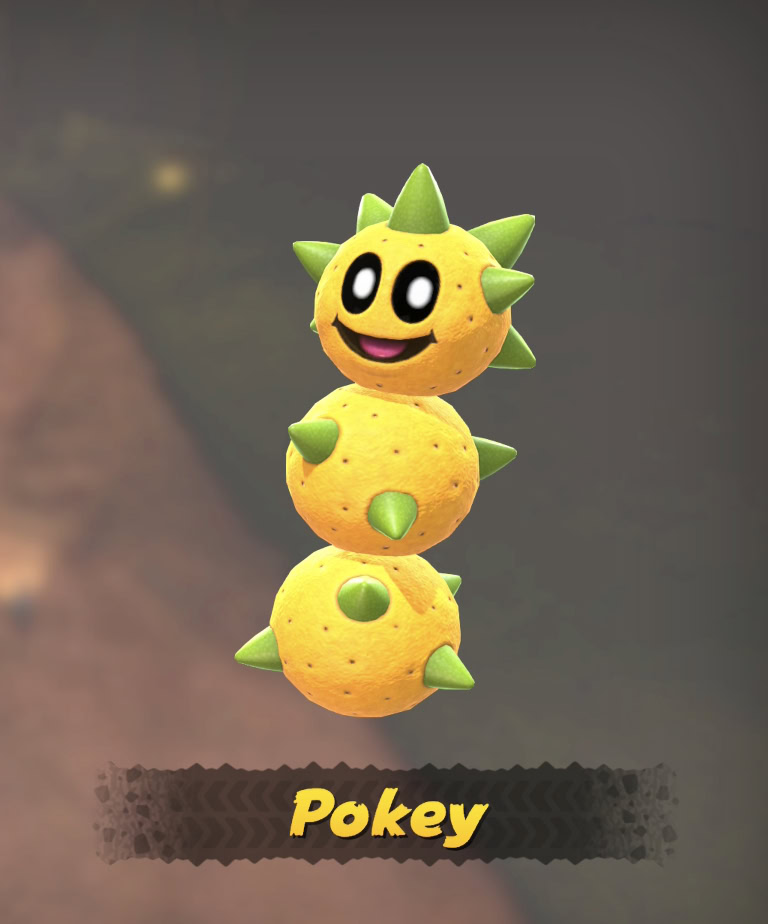 | Pokey | Creature | Rough Roads | Medium II | Unlocked |
 | Peepa | Creature | Rough Roads | Light II | Kamek: Boo Cinema |
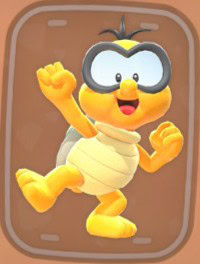
 | Stingby | Creature | Rough Roads | Light III | Unlocked |
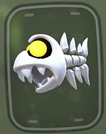 | Fish Bone | Creature | Water | Light II | Kamek: Dry Bones Burnout |
 | Coin Coffer | Creature | Smooth Surfaces | Medium I | Kamek: Common |
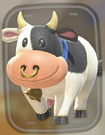 | Cow | Creature | Rough Roads | Heavy II | Unlocked |
 | Snowman | Creature | Smooth Surfaces | Heavy I | Unlocked |
 | Penguin | Creature | Water | Medium II | Unlocked |
 | Dolphin | Creature | Water | Medium I | Kamek: South Bay Courses |
 | Para-Biddybud | Creature | None | Light I | Unlocked |
 | Chargin’ Chuck | Creature | Rough Roads | Heavy II | Kamek: Common |
Since smooth surfaces are the most common type of terrain by far, it behooves you to pick a character that has a minor affinity for smooth roads as opposed to rough terrain or water, unless you’re going for a Time Trial on a specific map that does not have much pavement.
Our guide and catalog to all characters and costumes will tell you everything you need to know about unlocking characters, alternate costumes, creatures, and their unique driver stats in Mario Kart World!
Vehicle Stats
Vehicle stats add together with your driver choice to determine your driving performance. Different vehicles can be split into classes, but they’re more fragmented than that of the drivers.
There are only 7 vehicle weight classes as opposed to the 8 driver weight classes.
Vehicle type doesn’t mean as much in Mario Kart World compared to previous games. I have included it in the table if you have a visual preference, but terrain specialization is really what matters.
Approximately 25% of the vehicles drive with the same amount of Speed and Handling regardless of terrain type. The other 75% have a strong affinity for a specific type of terrain (Pavement, Dirt Road, or Water) and perform significantly worse on other types of racing surfaces.
Vehicles without one of these racetrack surface specializations are better suited to general purpose racing. You will be placed at a significant disadvantage if you pick a vehicle that is specialized for a type of racetrack surface you won’t encounter.
For example, if you bring something like the Funky Dorrie into the desert, your Speed and Handling will be half of what it is in the water, and the game only shows the average, which will never be accurate.
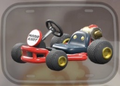
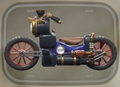
| Vehicle | Specialization | Weight Class | Vehicle Type | |
|---|---|---|---|---|
 | Standard Bike | None | Light I | Bike |
 | Tune Thumper | None | Light I | Bike |
 | Cute Scoot | None | Light I | Bike |
 | Pipe Frame | None | Light II | Kart |
 | Loco Moto | None | Light II | Bike |
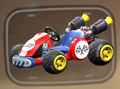 | Standard Kart | None | Medium I | Kart |
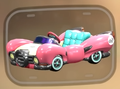 | Plushbuggy | None | Medium I | Kart |
 | Blastronaut III | None | Medium II | 3-Wheeler |
 | W-Twin Chopper | None | Medium I | Bike |
 | Reel Racer | None | Medium II | Kart |
 | Junkyard Hog | None | Medium III | 3-Wheeler |
 | Dread Sled | Partial Rough Roads | Medium II | Sled |
 | Stellar Sled | Partial Water | Heavy I | Sled |
 | Mach Rocket | Smooth Surfaces | Light I | Bike |
 | R.O.B. H.O.G. | Smooth Surfaces | Light I | Bike |
 | Baby Blooper | Smooth Surfaces | Light II | Kart |
 | Roadster Royale | Smooth Surfaces | Medium II | Kart |
 | B-Dasher | Smooth Surfaces | Medium II | Kart |
 | Hot Rod | Smooth Surfaces | Medium II | Kart |
 | Bumble V | Smooth Surfaces | Medium II | Kart |
 | Billdozer | Smooth Surfaces | Heavy I | Kart |
 | Big Horn | Smooth Surfaces | Heavy I | Truck |
 | Rallygator | Smooth Surfaces | Heavy II | 3-Wheeler |
 | Rally Bike | Rough Roads | Light I | Bike |
 | Hyper Pipe | Rough Roads | Light I | Bike |
 | Biddybuggy | Rough Roads | Light II | Kart |
 | Rally Kart | Rough Roads | Medium II | Kart |
 | Zoom Buggy | Rough Roads | Medium II | Kart |
 | Bowser Bruiser | Rough Roads | Heavy I | Truck |
 | Li’l Dumpy | Rough Roads | Heavy I | Truck |
 | Chargin’ Truck | Rough Roads | Heavy I | Truck |
 | Tiny Titan | Rough Roads | Heavy I | Truck |
 | Dolphin Dasher | Water | Light I | Bike |
 | Fin Twin | Water | Light I | Bike |
 | Cloud 9 | Water | Medium II | Kart |
 | Ribbit Revster | Water | Medium II | Kart |
 | Carpet Flyer | Water | Medium II | Kart |
 | Funky Dorrie | Water | Medium III | 3-Wheeler |
 | Mecha Trike | Water | Heavy I | 3-Wheeler |
 | Lobster Roller | Water | Heavy II | 3-Wheeler |
If you have your heart set on a specific vehicle, I highly recommend sticking to the terrain it’s specialized for as much as possible. For example, if you brought the Funky Dorrie and have a choice to drive in the water or on the road, pick the water, unless the path is far longer.
Keep in mind that Time Trials only take place on a specific course, so it can be worthwhile to choose a vehicle that has a major affinity for the most common type of terrain on that track.
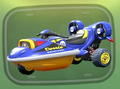
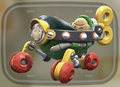
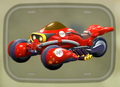
Check out our catalog and guide to all vehicles in Mario Kart World to see all available variants, how to unlock them and all details about every single vehicle you can unlock and drive.
Looking Ahead
I think the terrain specializations play far too big a role in racing performance given how much of the racetrack is smooth or mixed. You’re actively making the game harder for yourself if you pick a vehicle that’s specialized for water or rough surfaces.
The only time it’s worthwhile to use anything other than an unspecialized vehicle or one meant for smooth roads is if you’re doing a Time Trial or trying to secretly go easy on your younger nephew.
Given that the game was in development for 8 years, these stats are hidden, and there isn’t a specialization for air or rail, I suspect Nintendo is aware of the problem. I don’t think buffing or nerfing vehicle stats based on specialty will bring about positive change.
Unless Nintendo wants to do some sort of major overhaul, the only solution I see is to minimize or outright eliminate the performance disparity between vehicle types so the game stays Funky Dorrie even when you’re driving a jet ski through the desert.
Acknowledgements and Special Thanks
This guide could not have been possible without the raw data measured from the wonderful folks behind the Mario Kart World Statpedia spreadsheet. I encourage you to check it out if you want to dive into the competitive scene.