Learn how to complete The Way of the Shamisen in Ghost of Yotei. This includes how to complete the Dye House Puzzle, navigate through the secret tunnels, and solve the Holding Cells puzzle.
Table of contents
How to start The Way of the Shamisen
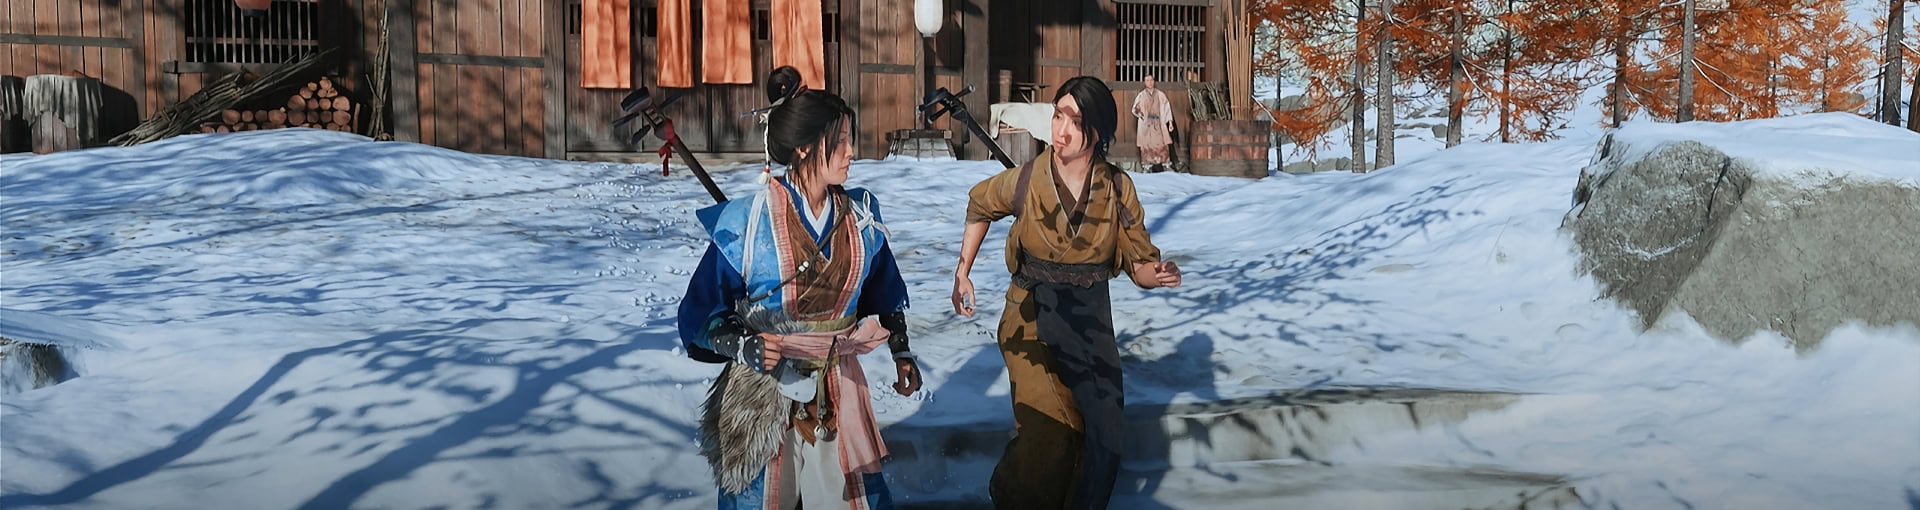
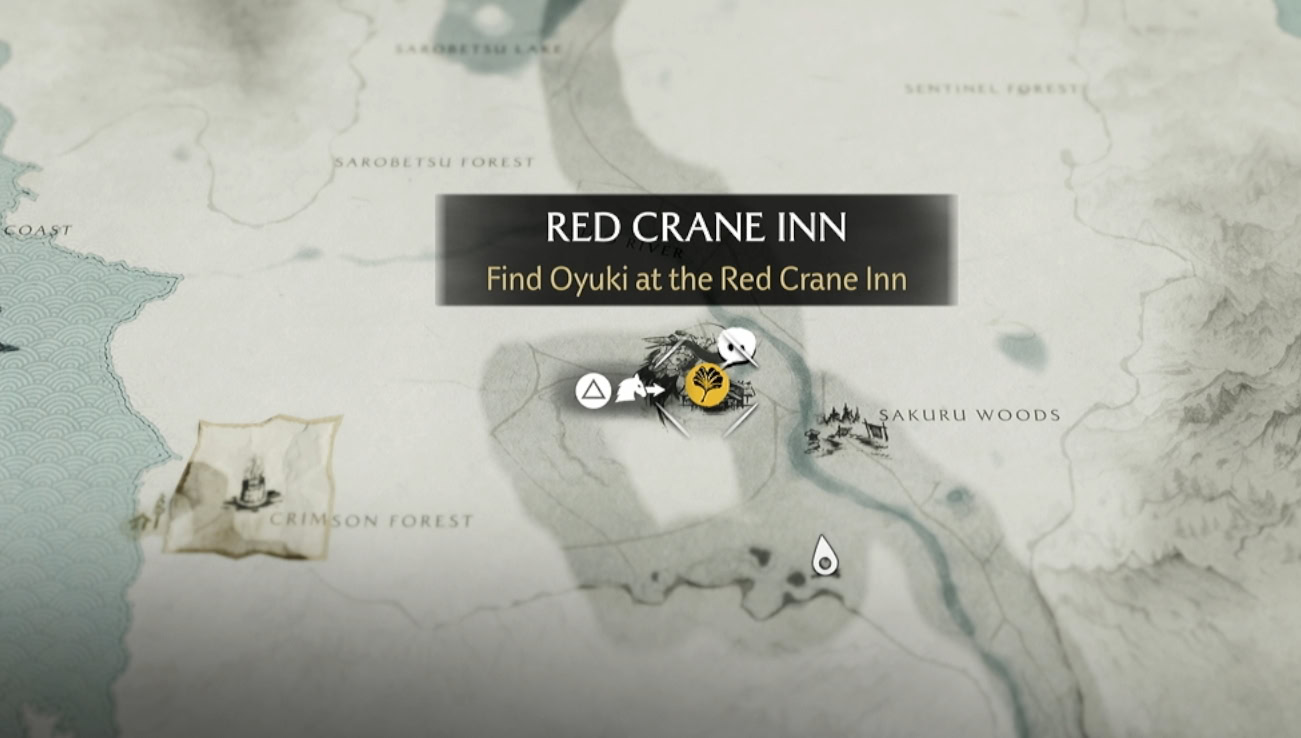
Once you’ve investigated the Nine Tails hideout and failed to find the Kitsune, you’ll need to return to Oyuki at the Red Crane Inn. You can Oyuki behind the crane door alone at a table.
Go inside the Red Crane Inn’s Walls
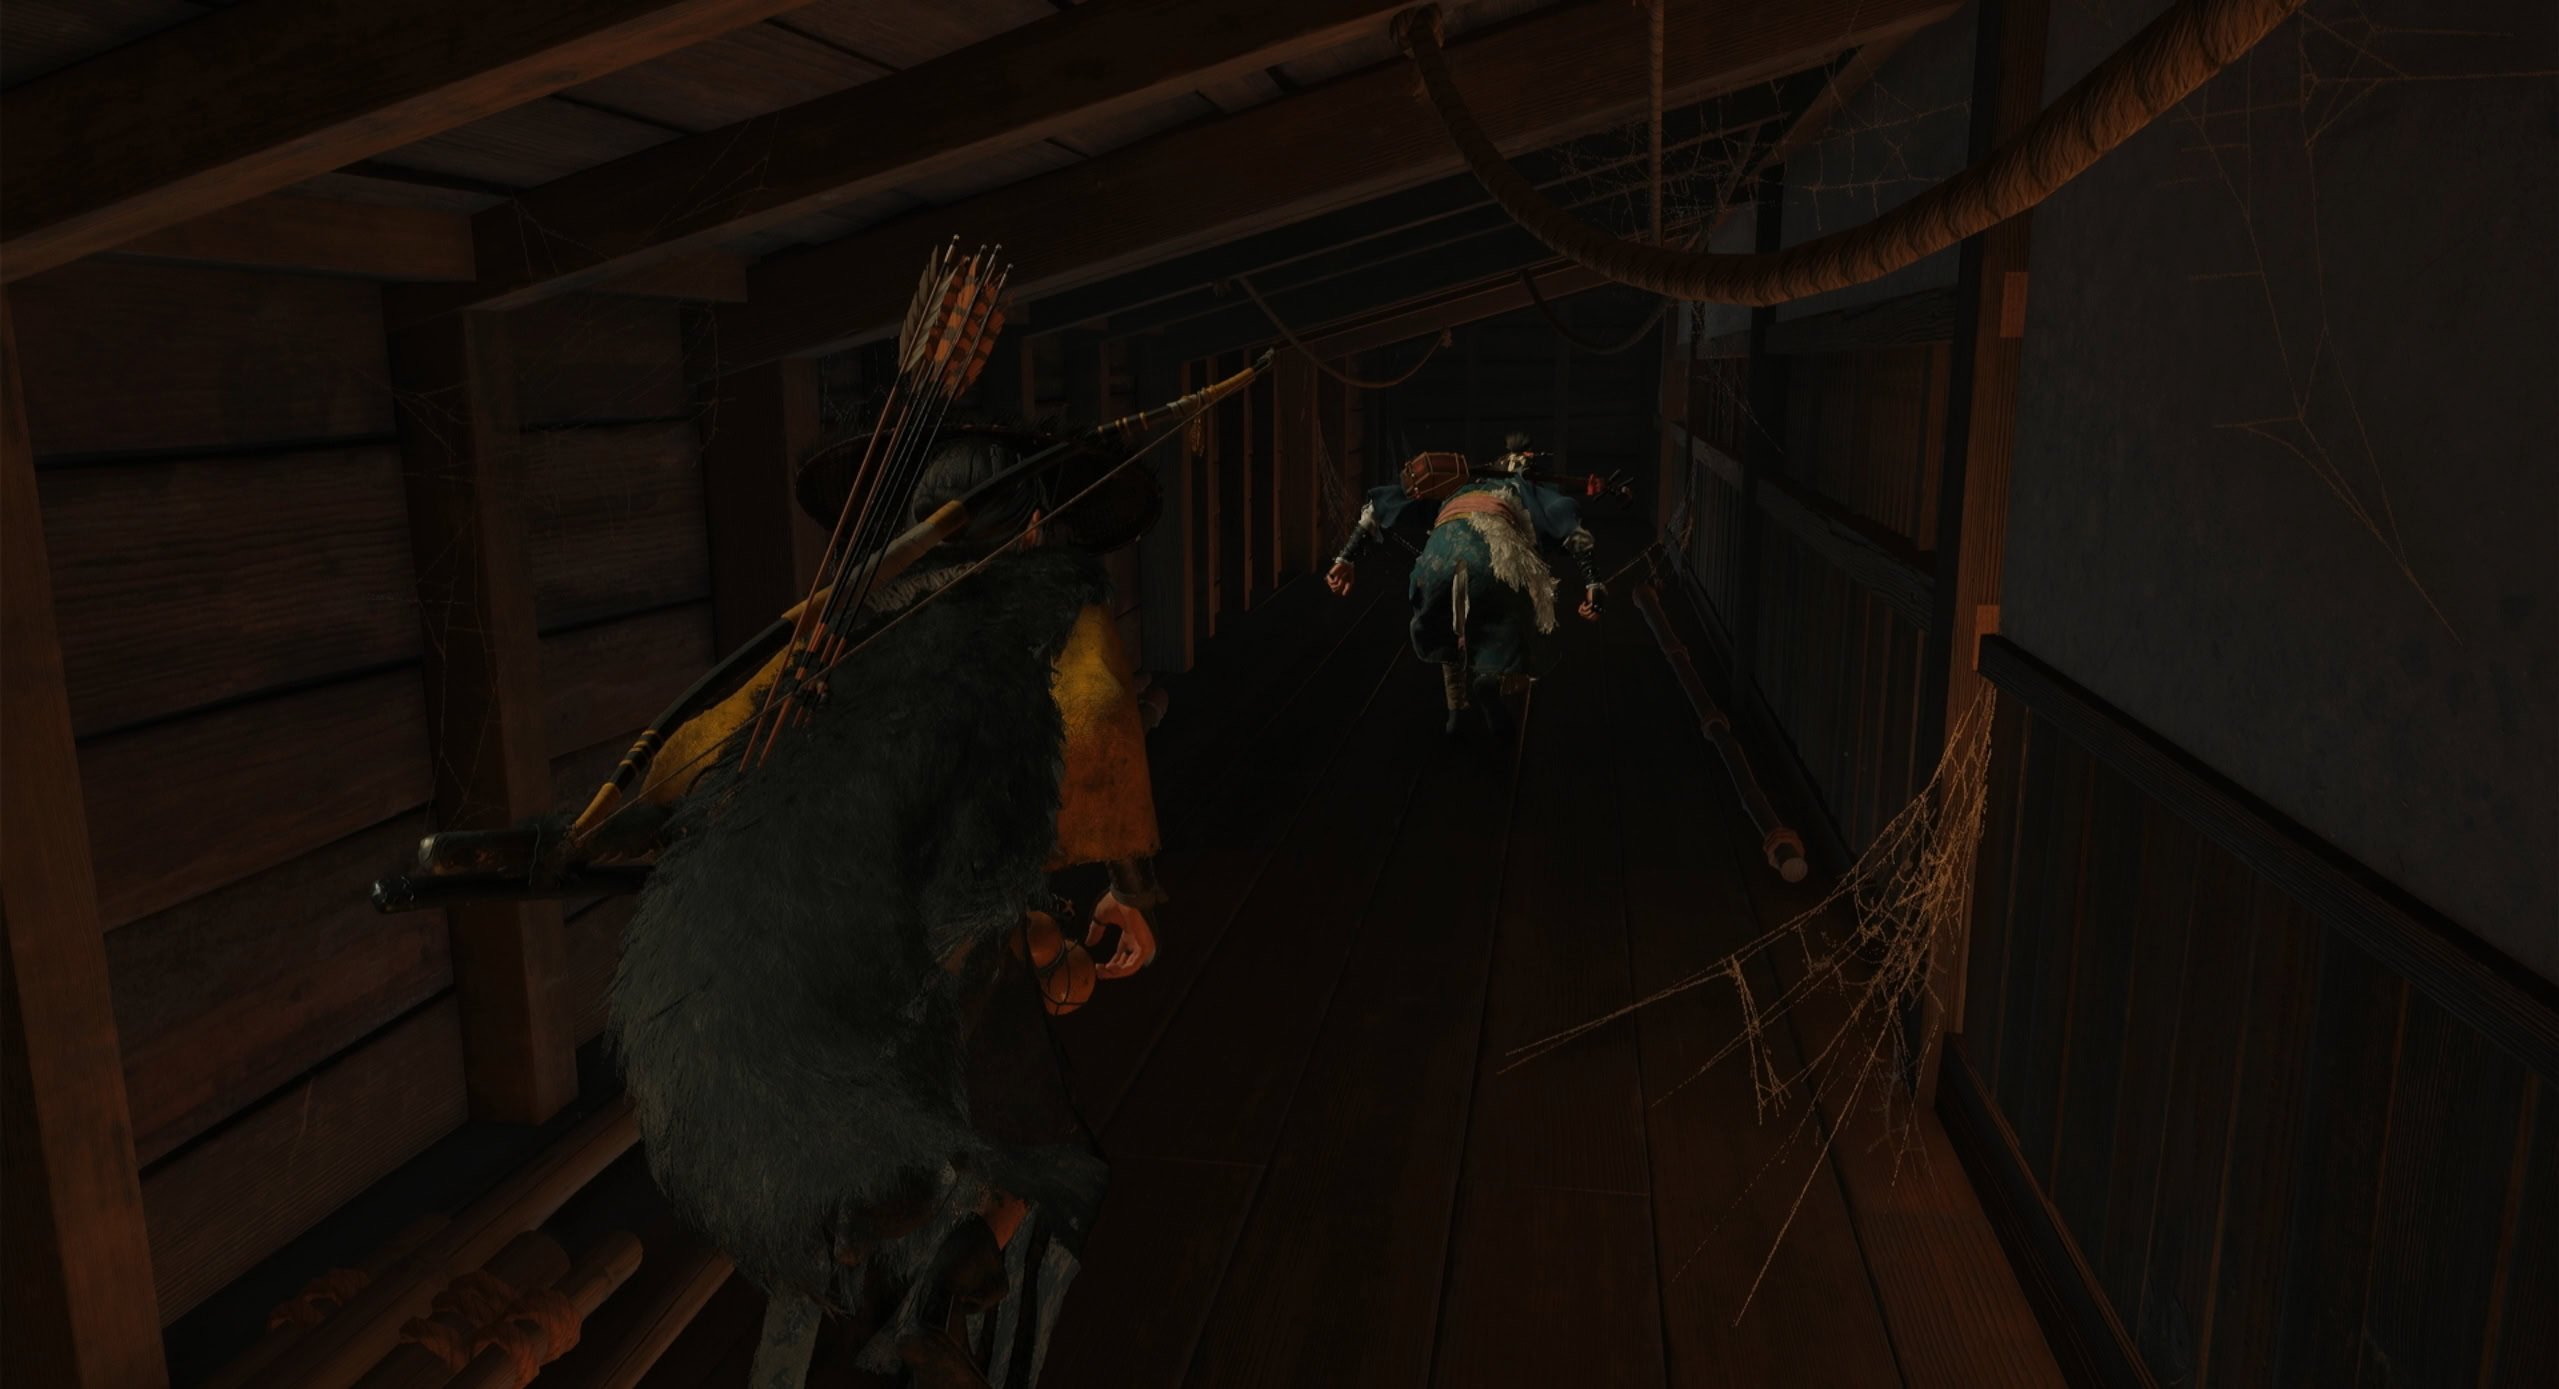
Follow Oyuki upstairs where she’ll show you a secret passage behind the walls. Follow her inside and spy on Commander Fujita.
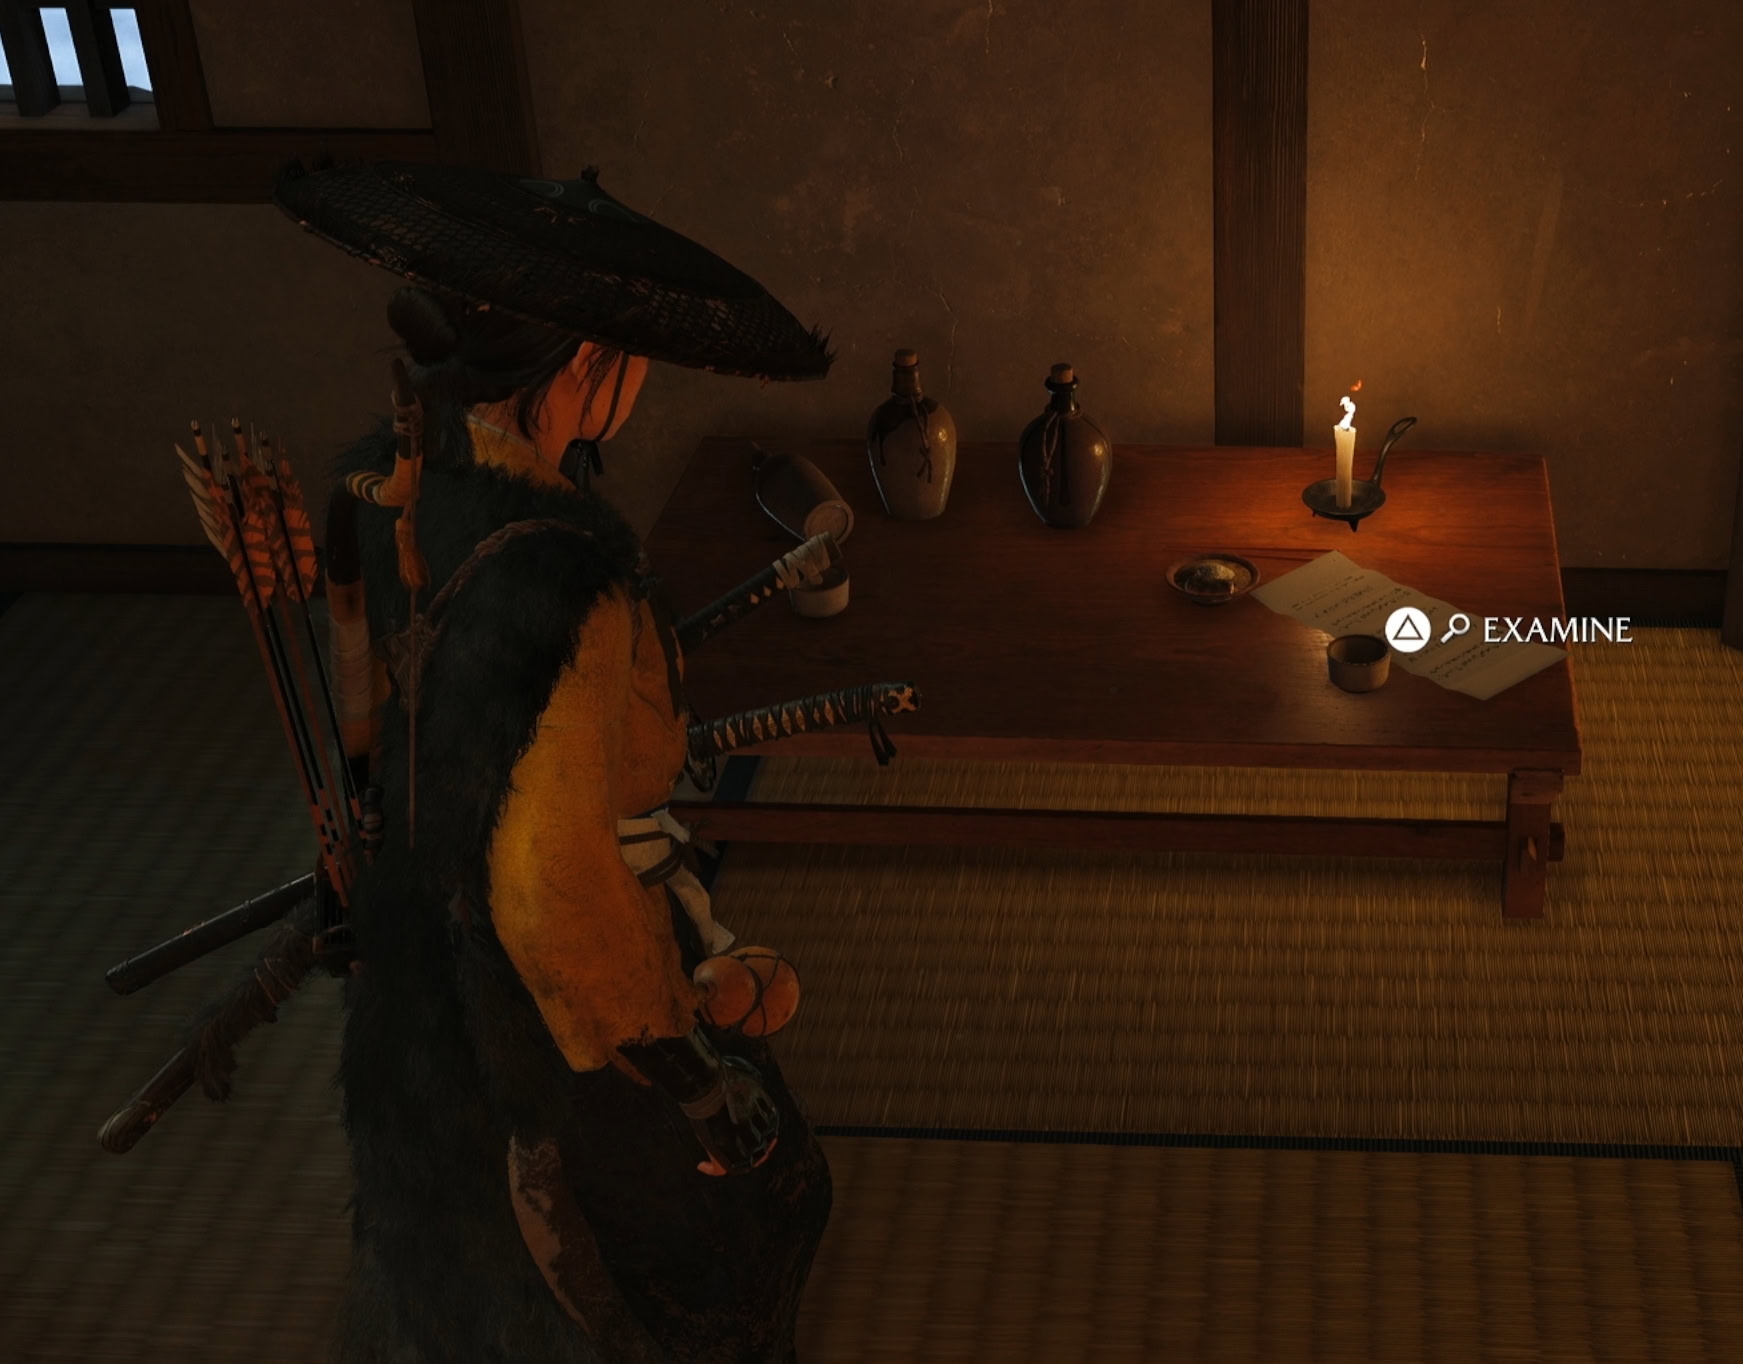
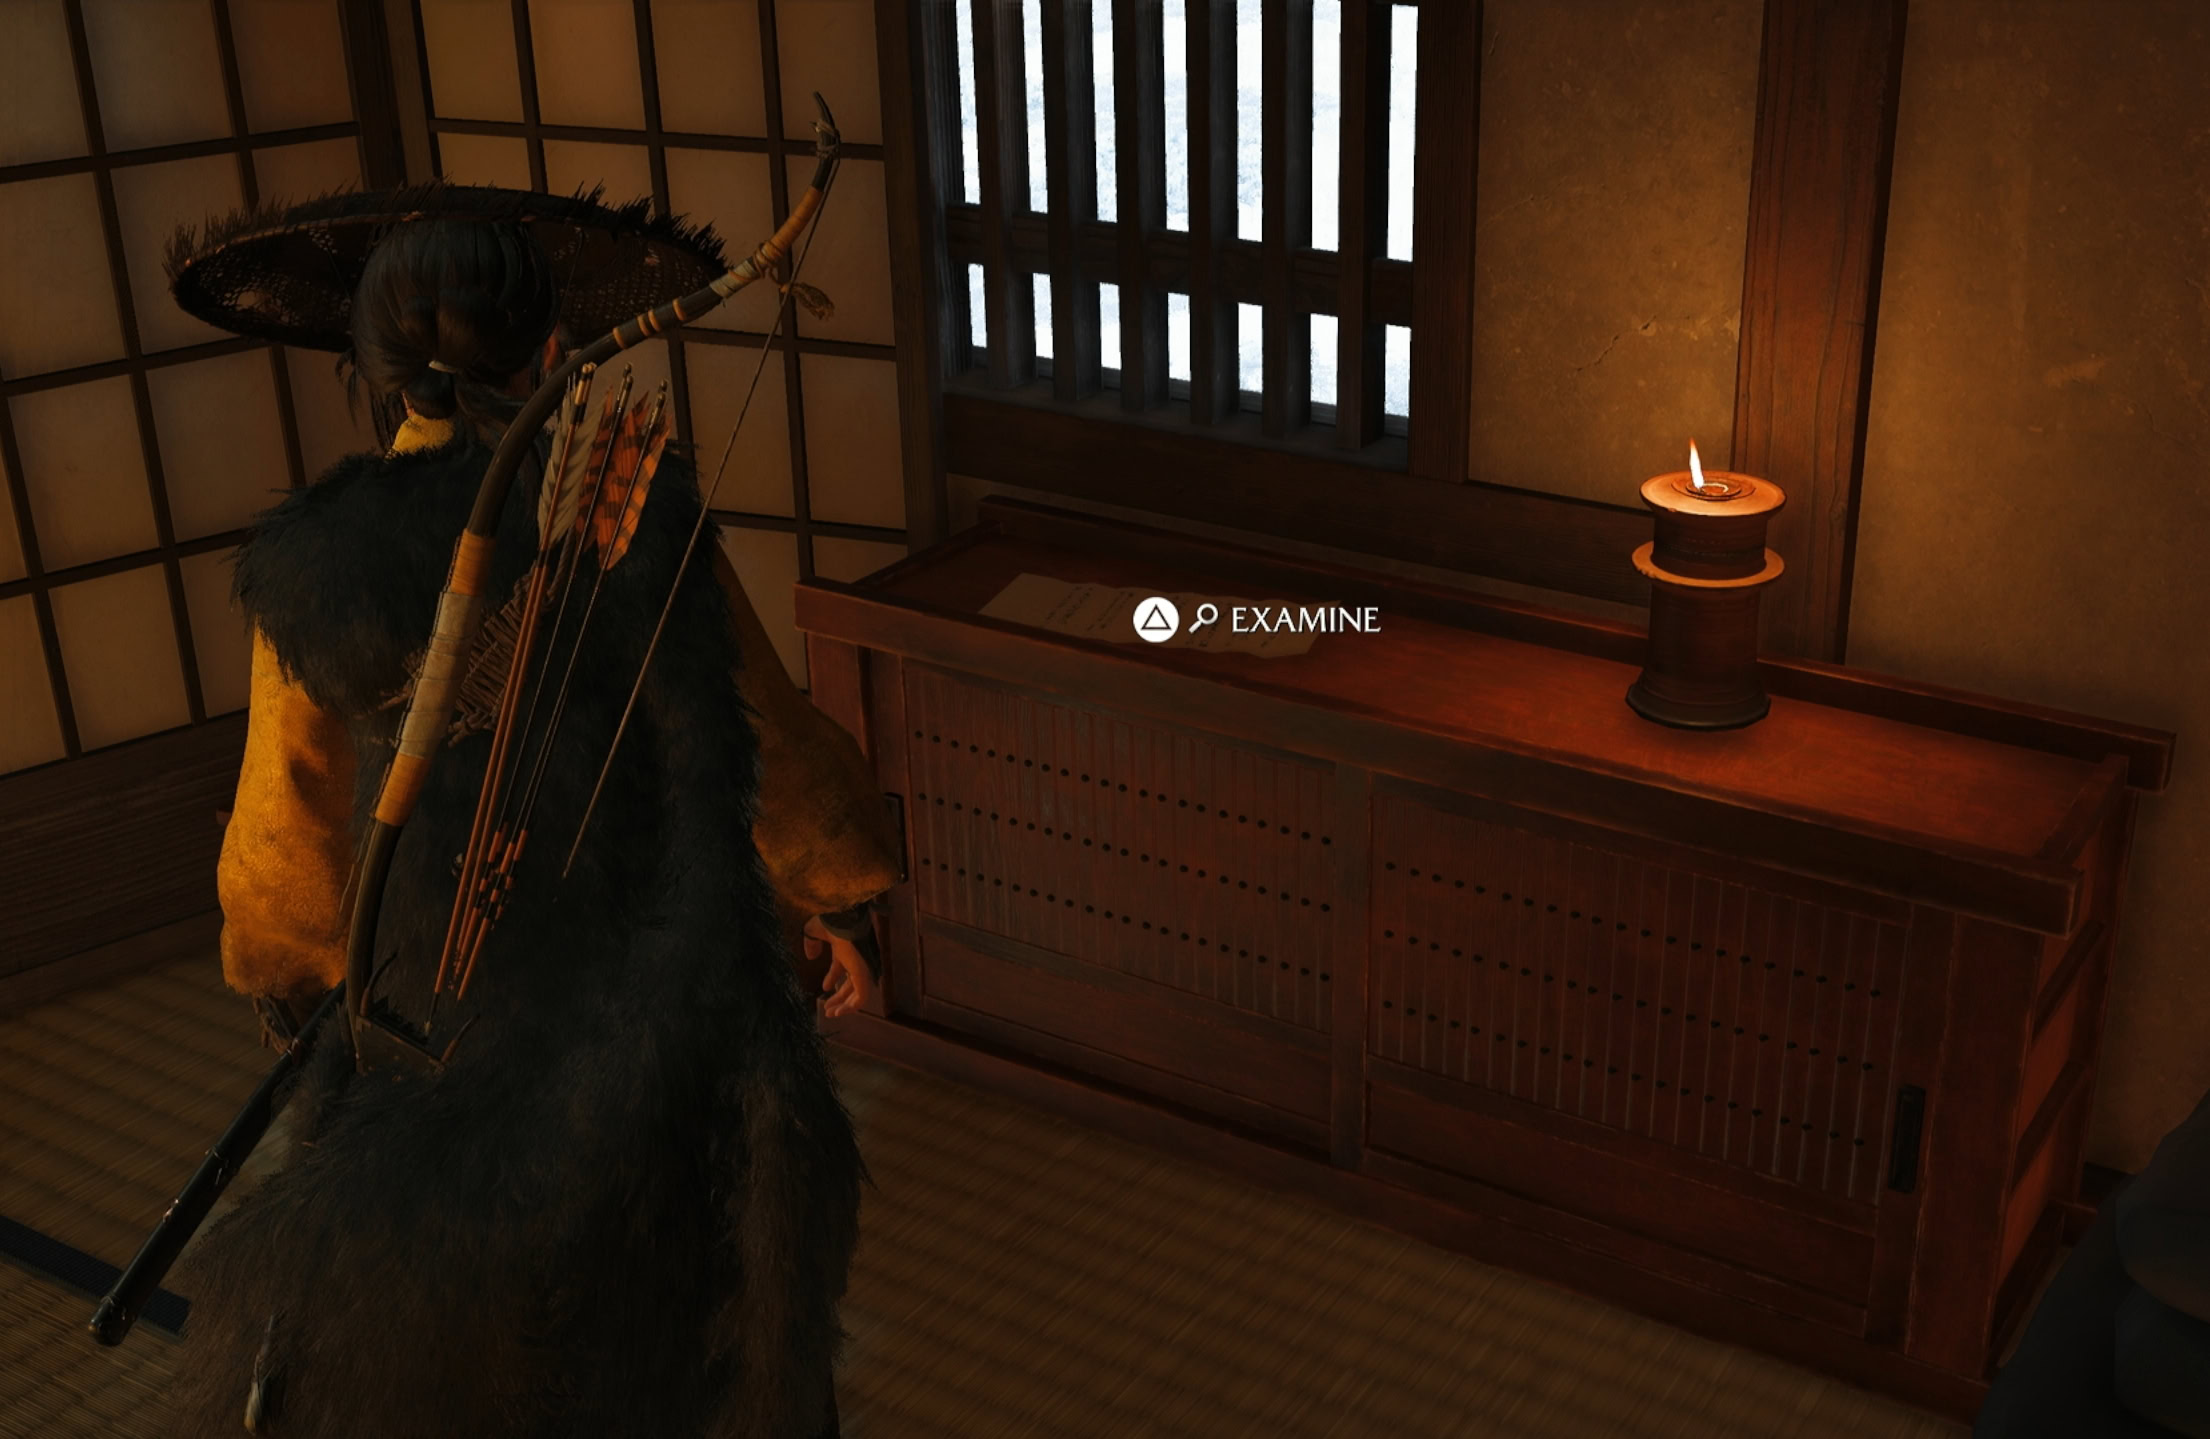
Once Oyuki leaves to get his attention, enter his room and examine the parchment on the first table, then the one at the end of the room. This will give you a lead on Fujuta’s informant, Chosuke.
Finding Chosuke in the Sake House
Go outside and ride with Oyuki to the Nakajima Sake House. A cutscene will start and Atsu will disguise herself.
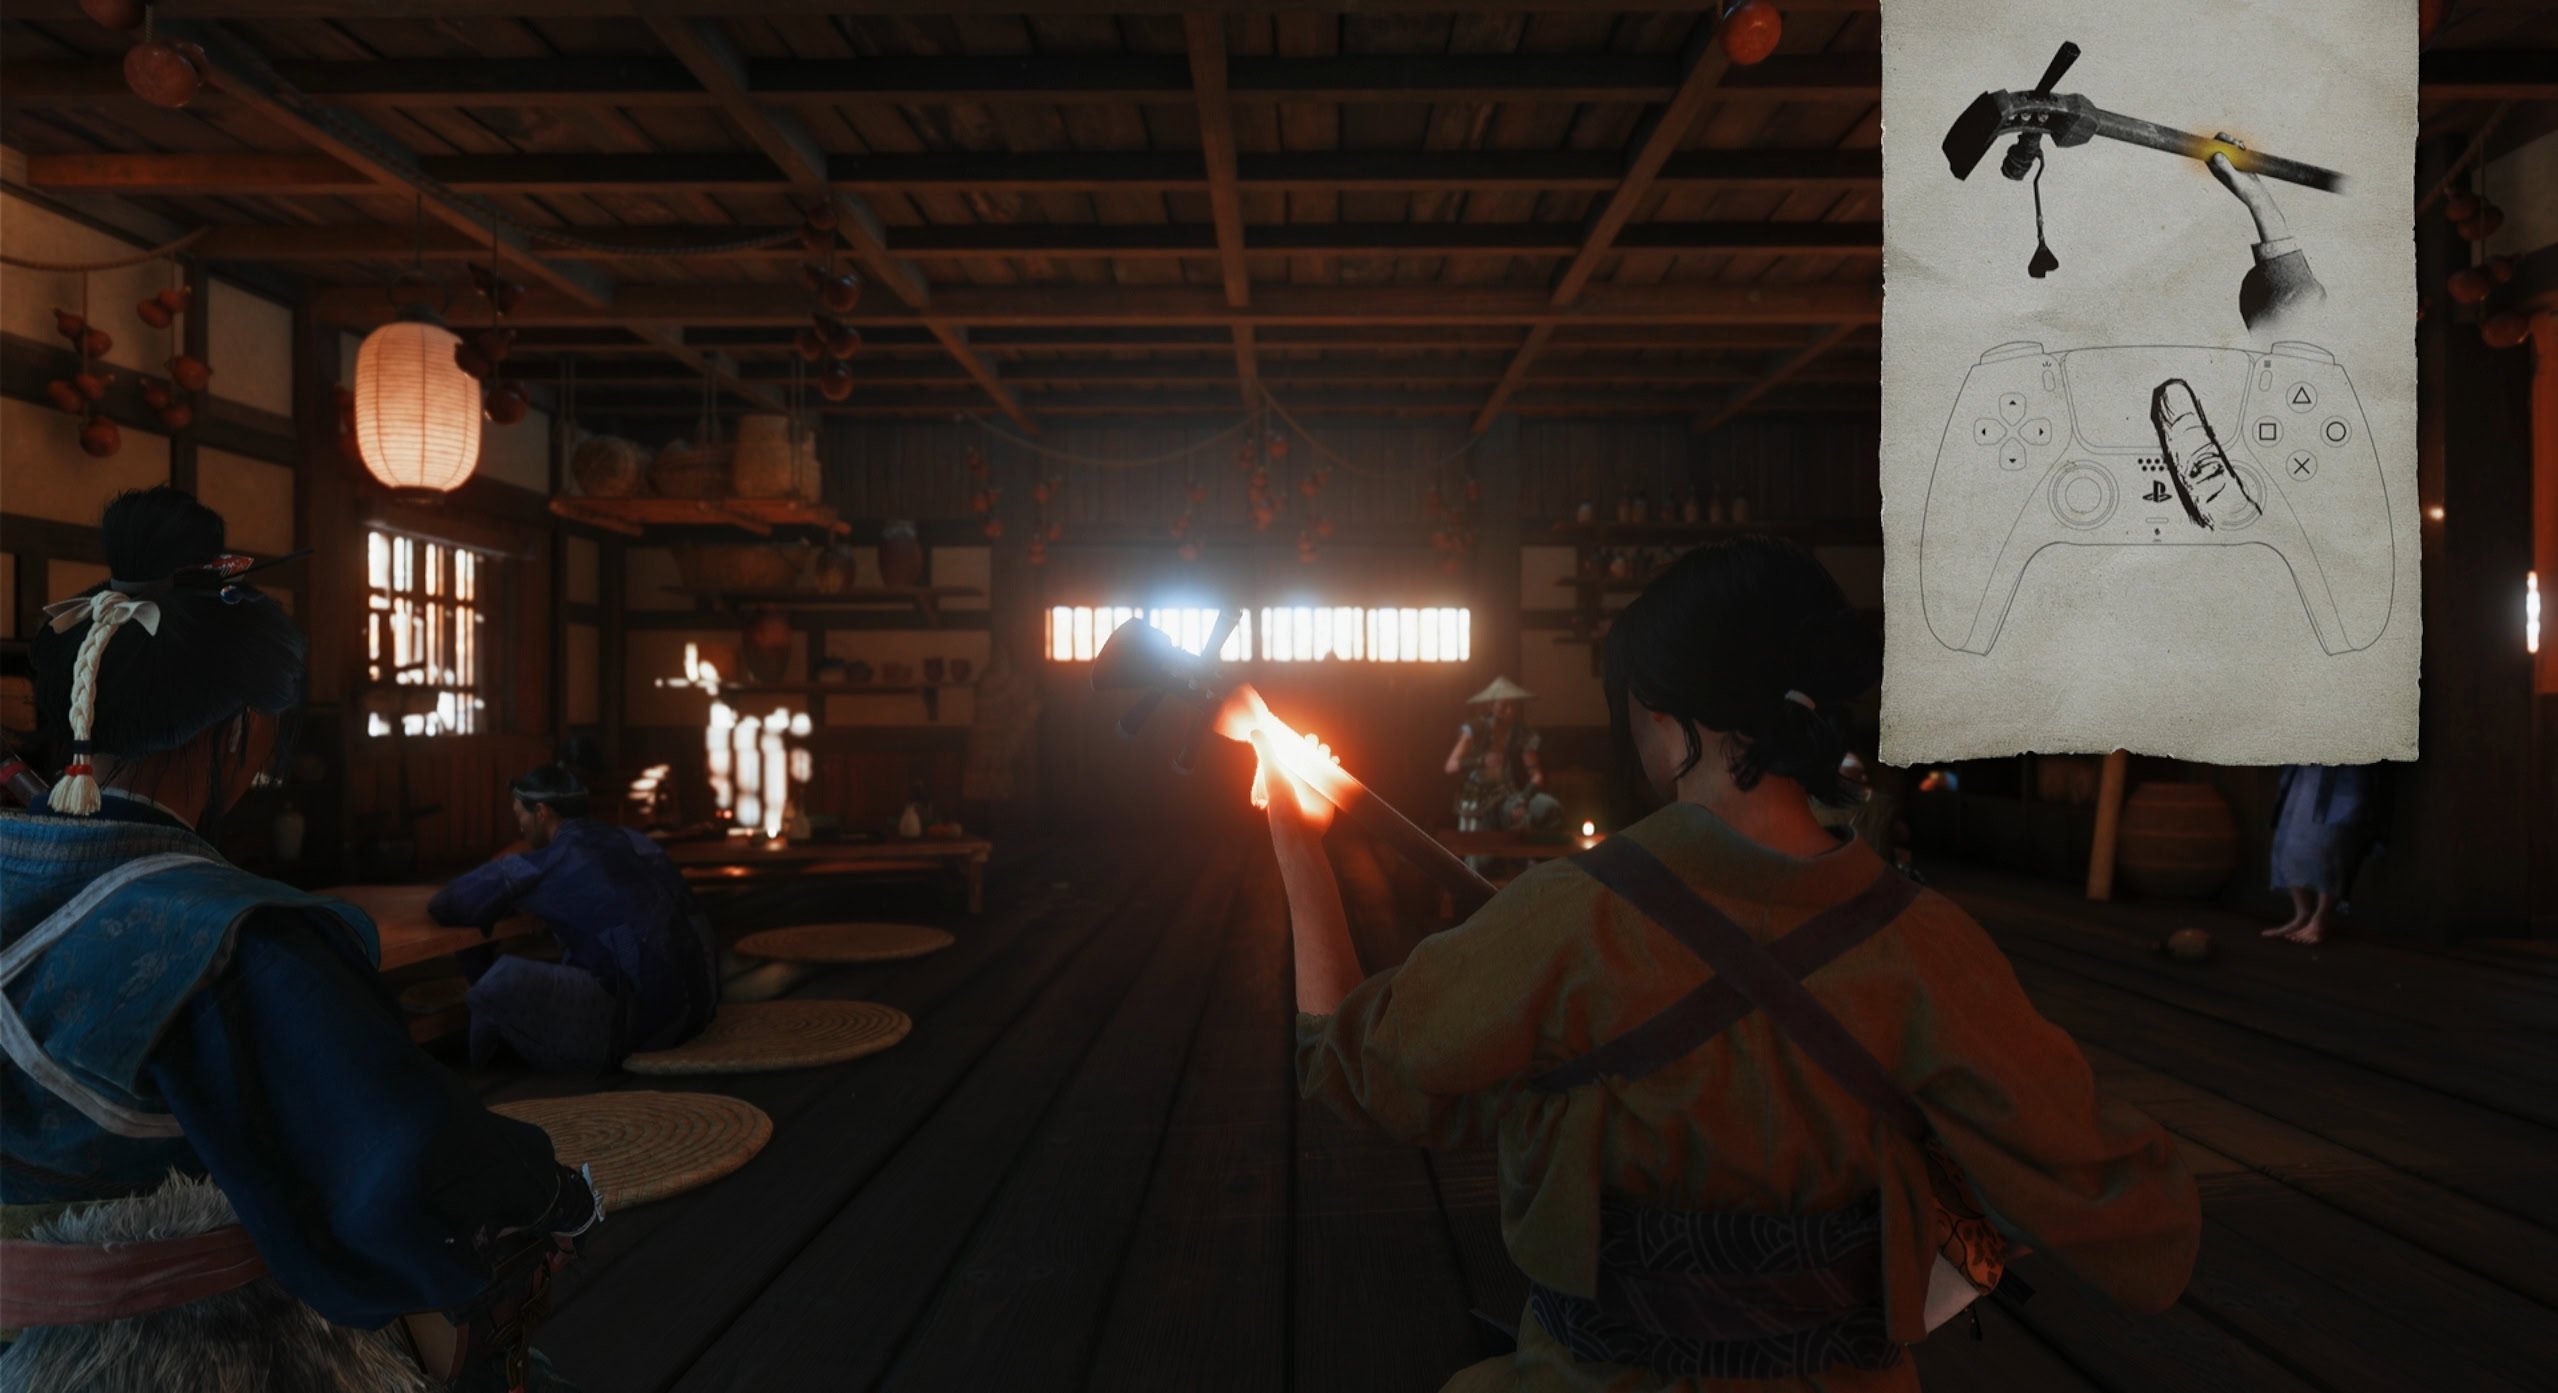
Play the Shamisen and Eavesdrop
When Atsu starts playing the shamisen, use your touch pad and hold on the spot where the glow is brightest to proceed.
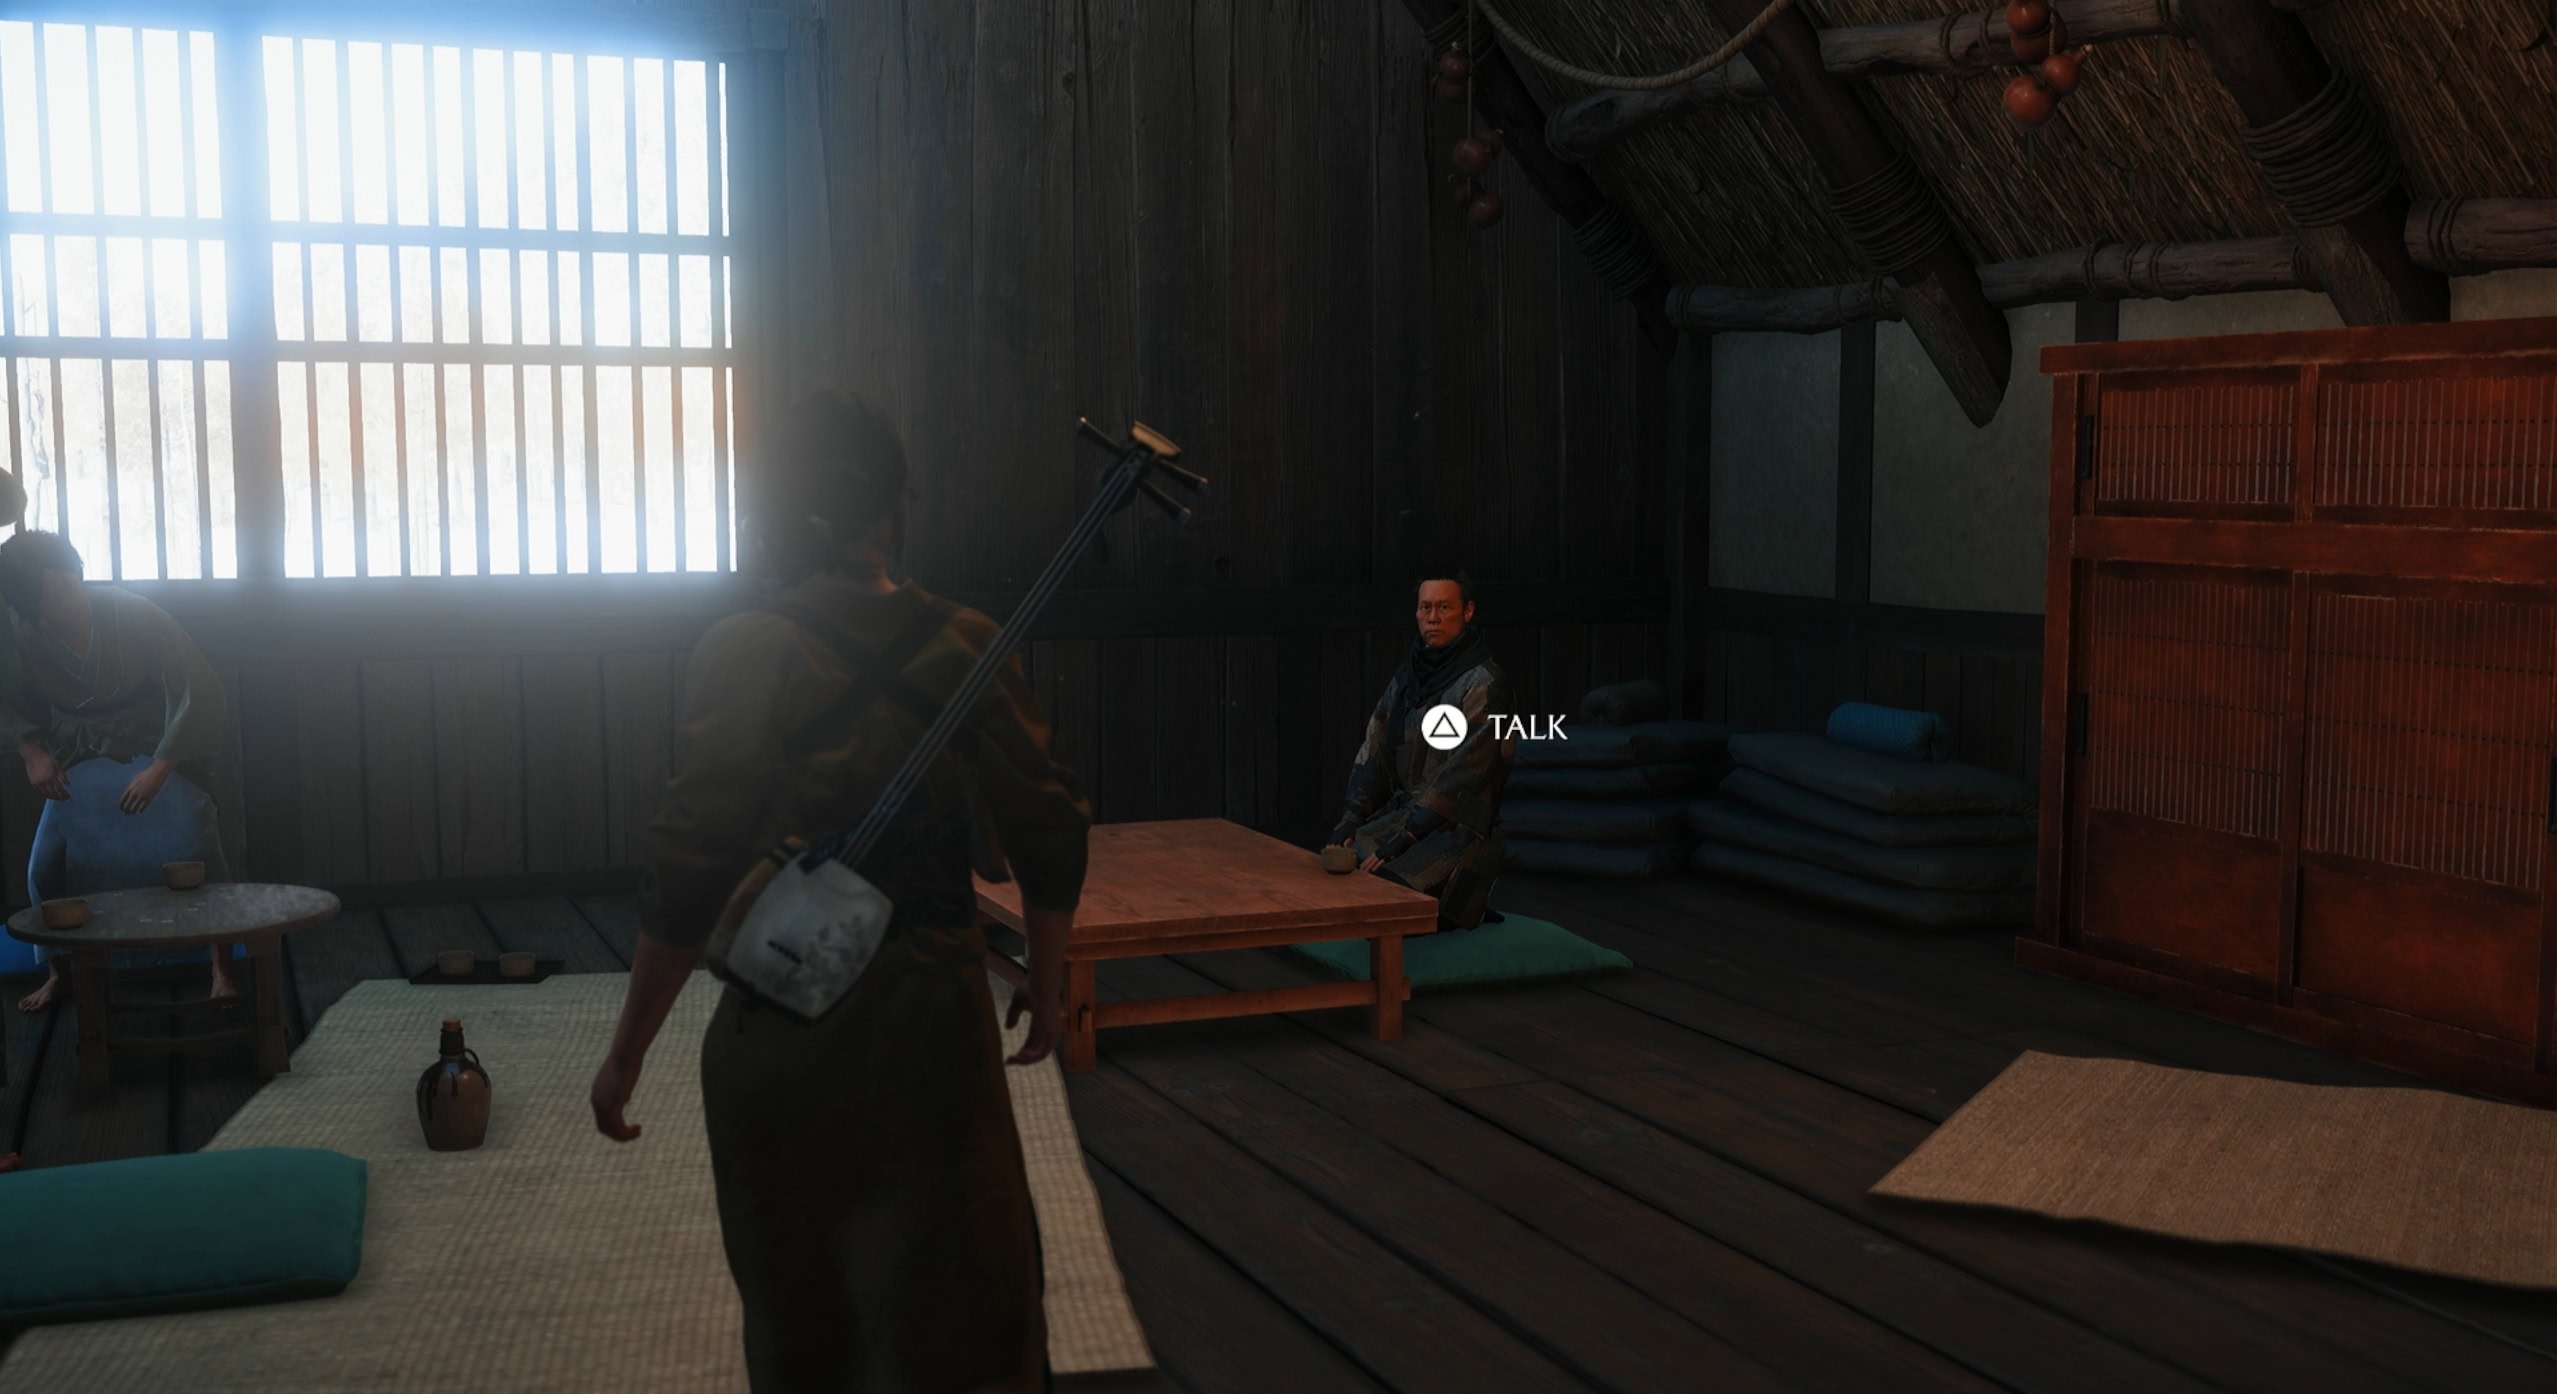
Listen in on the patron’s conversations to learn about Chosuke’s habits. Follow Oyuki upstairs and talk to Chosuke. He’s in the back right corner of the upstairs room.
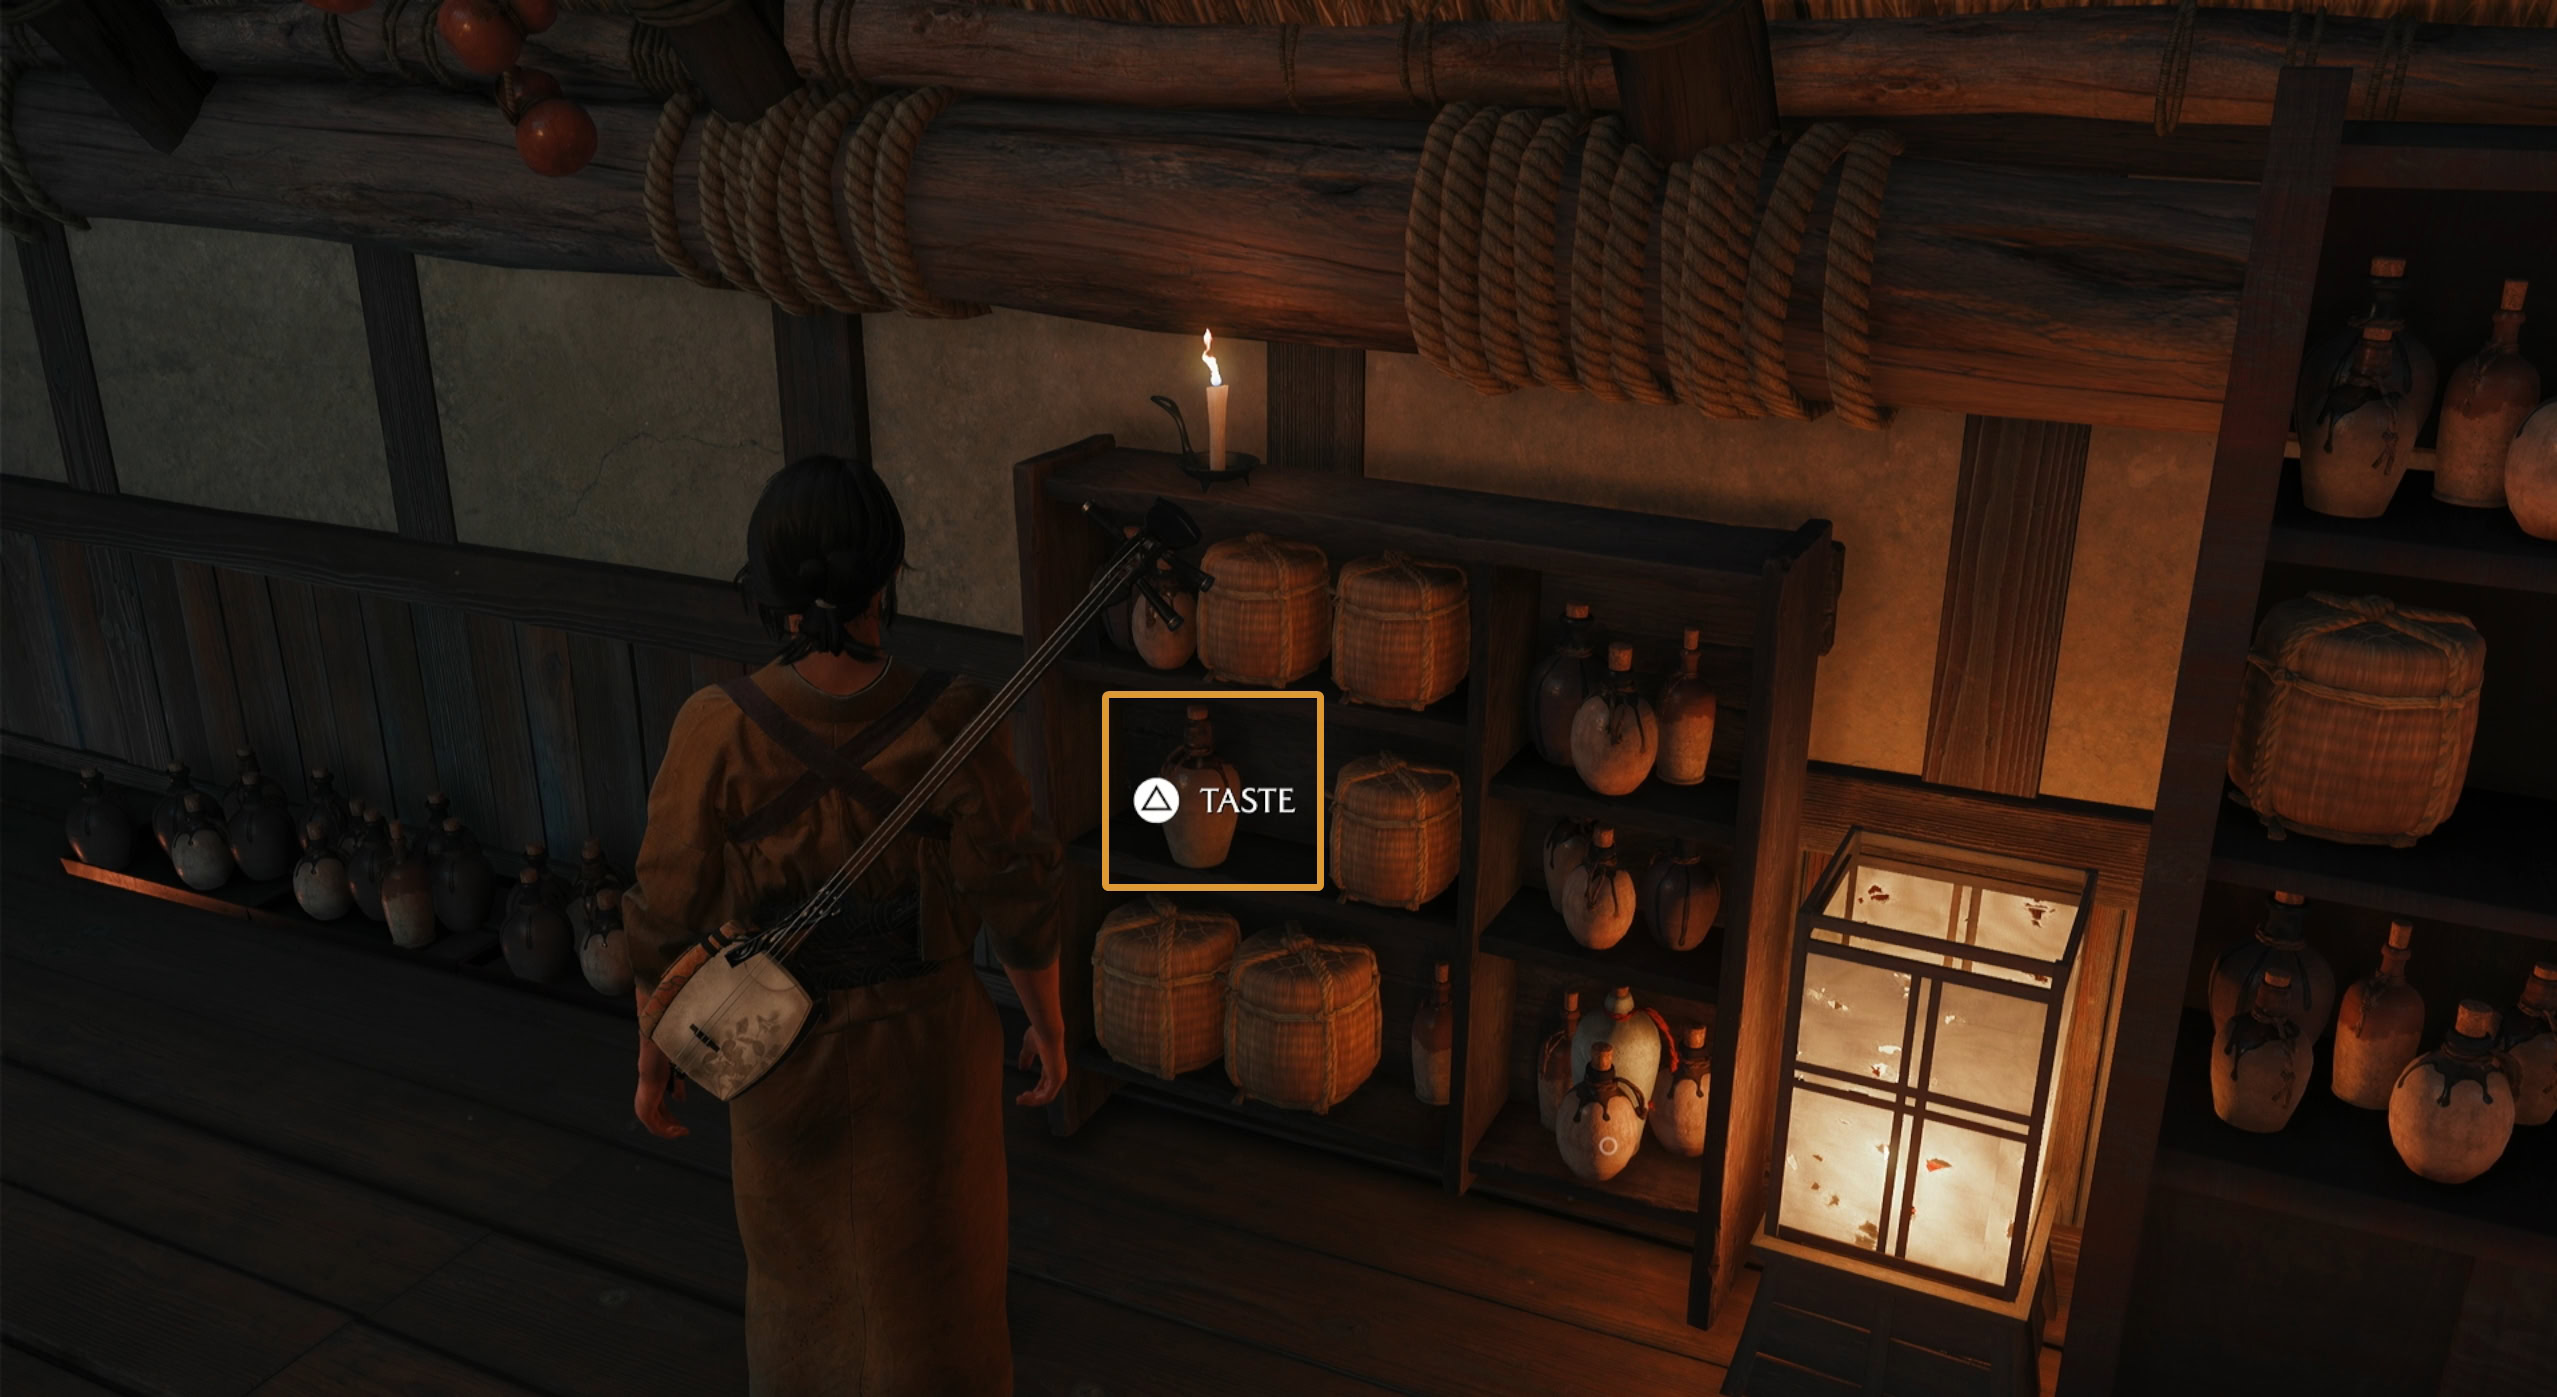
Which Sake to give Chosuke
To acquire his information, you’ll need to choose the most expensive sake to contaminate with the toxin Oyuki gave you. Choose the bottle to the far left.
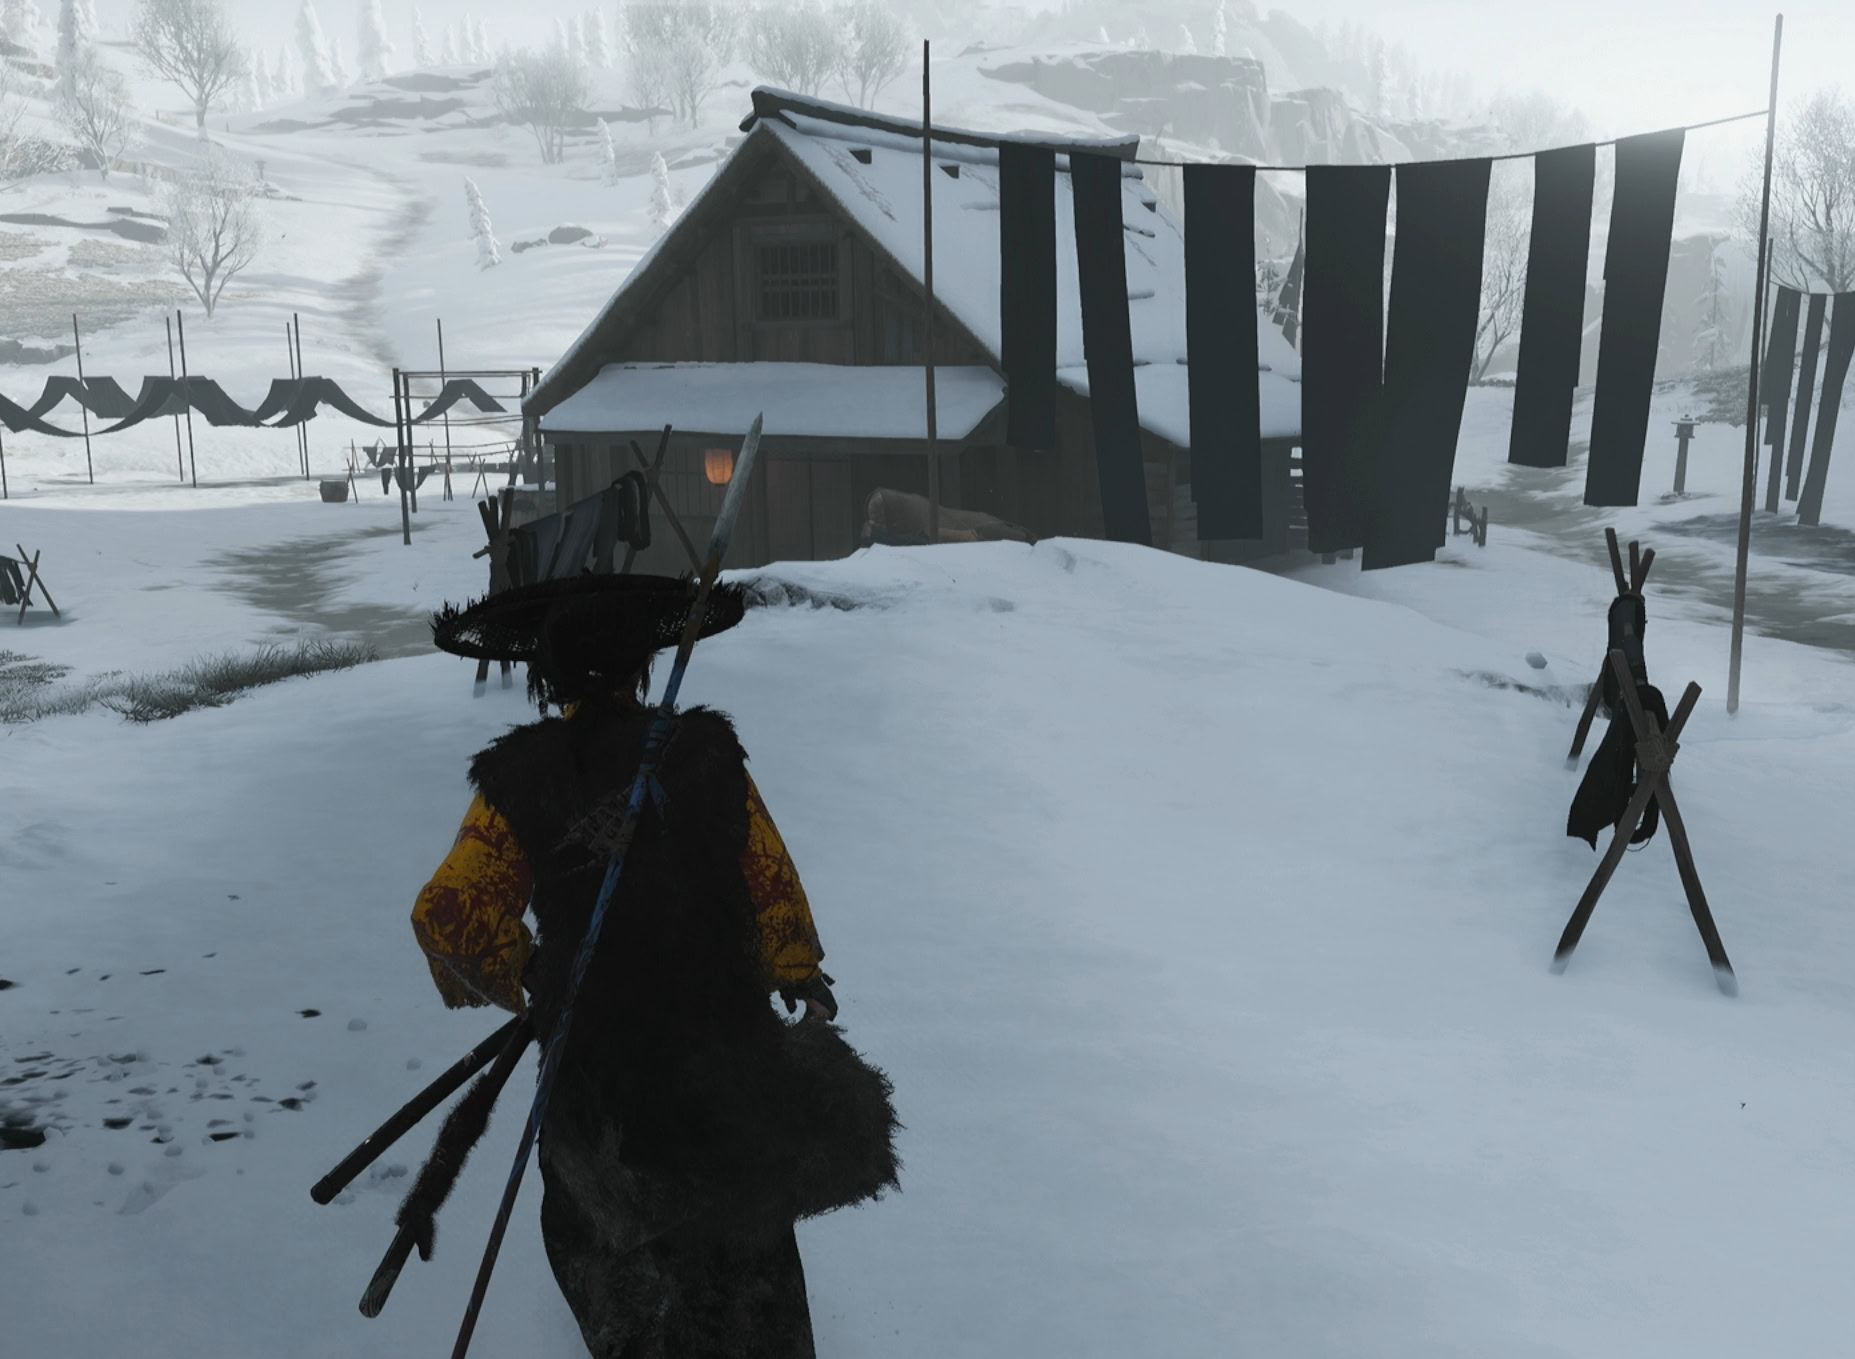
Return to Chosuke with the tainted drink and follow him outside for questioning. He’ll tell you about a Dye House where he saw the Kitsune’s symbol. Follow Oyuki there and get ready for some puzzles.
The Dye House
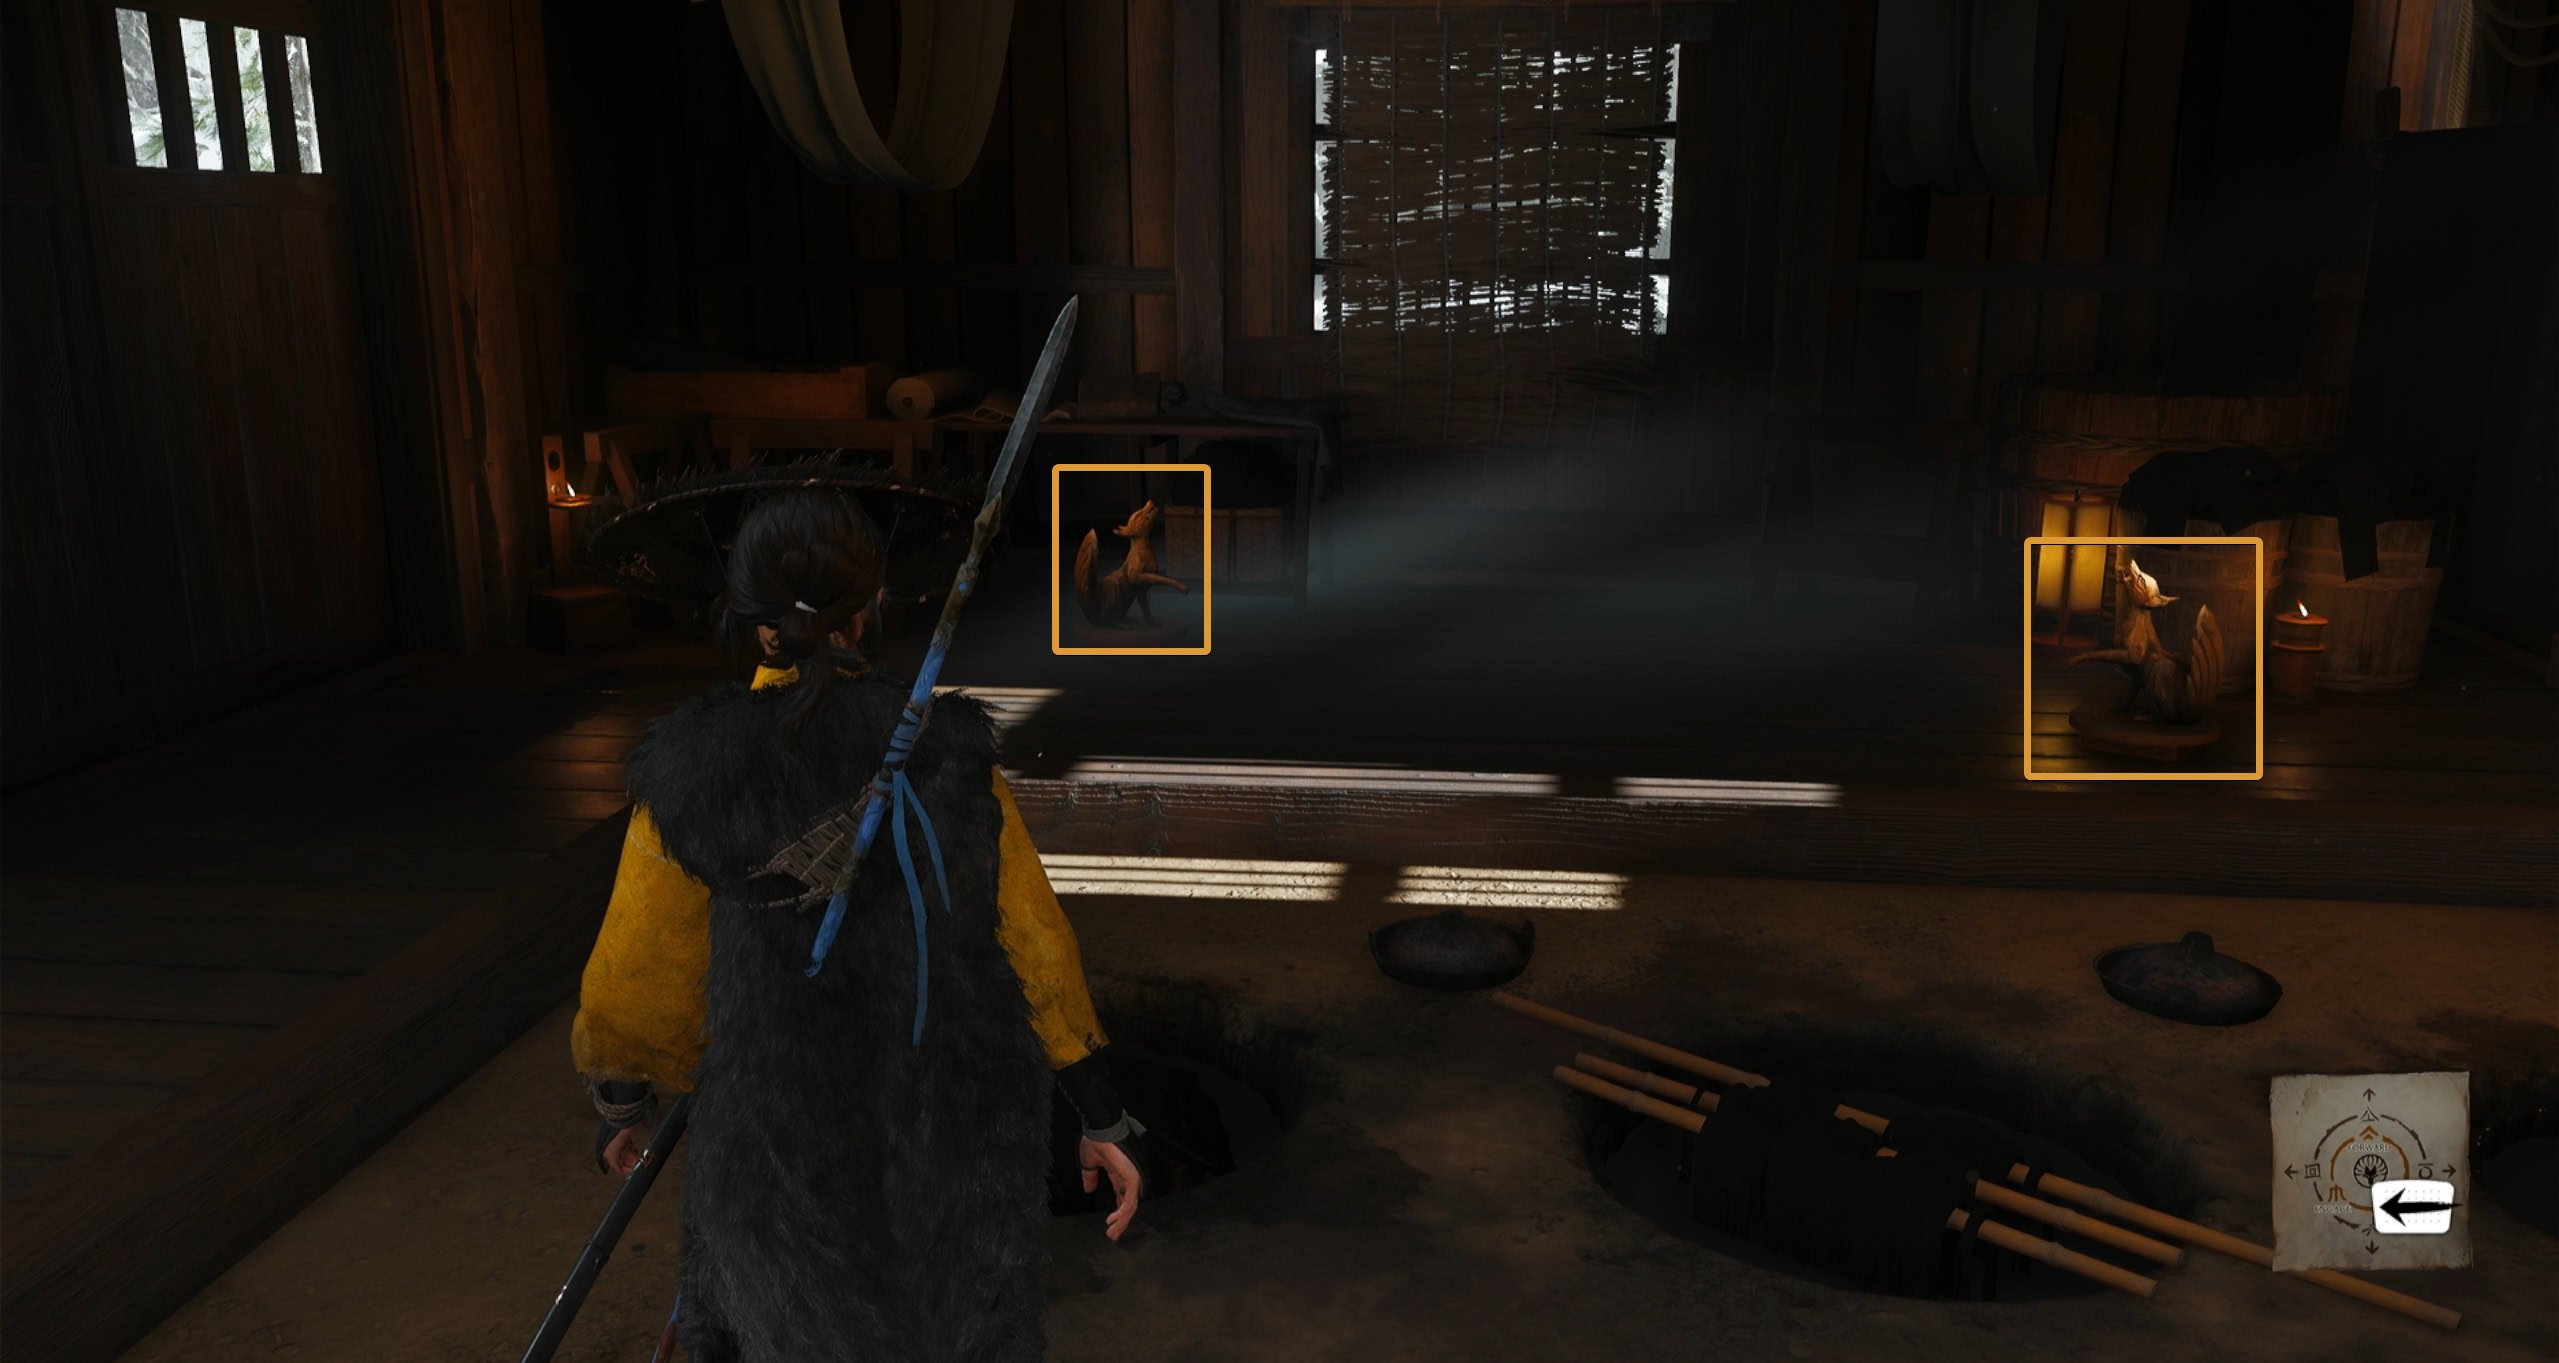
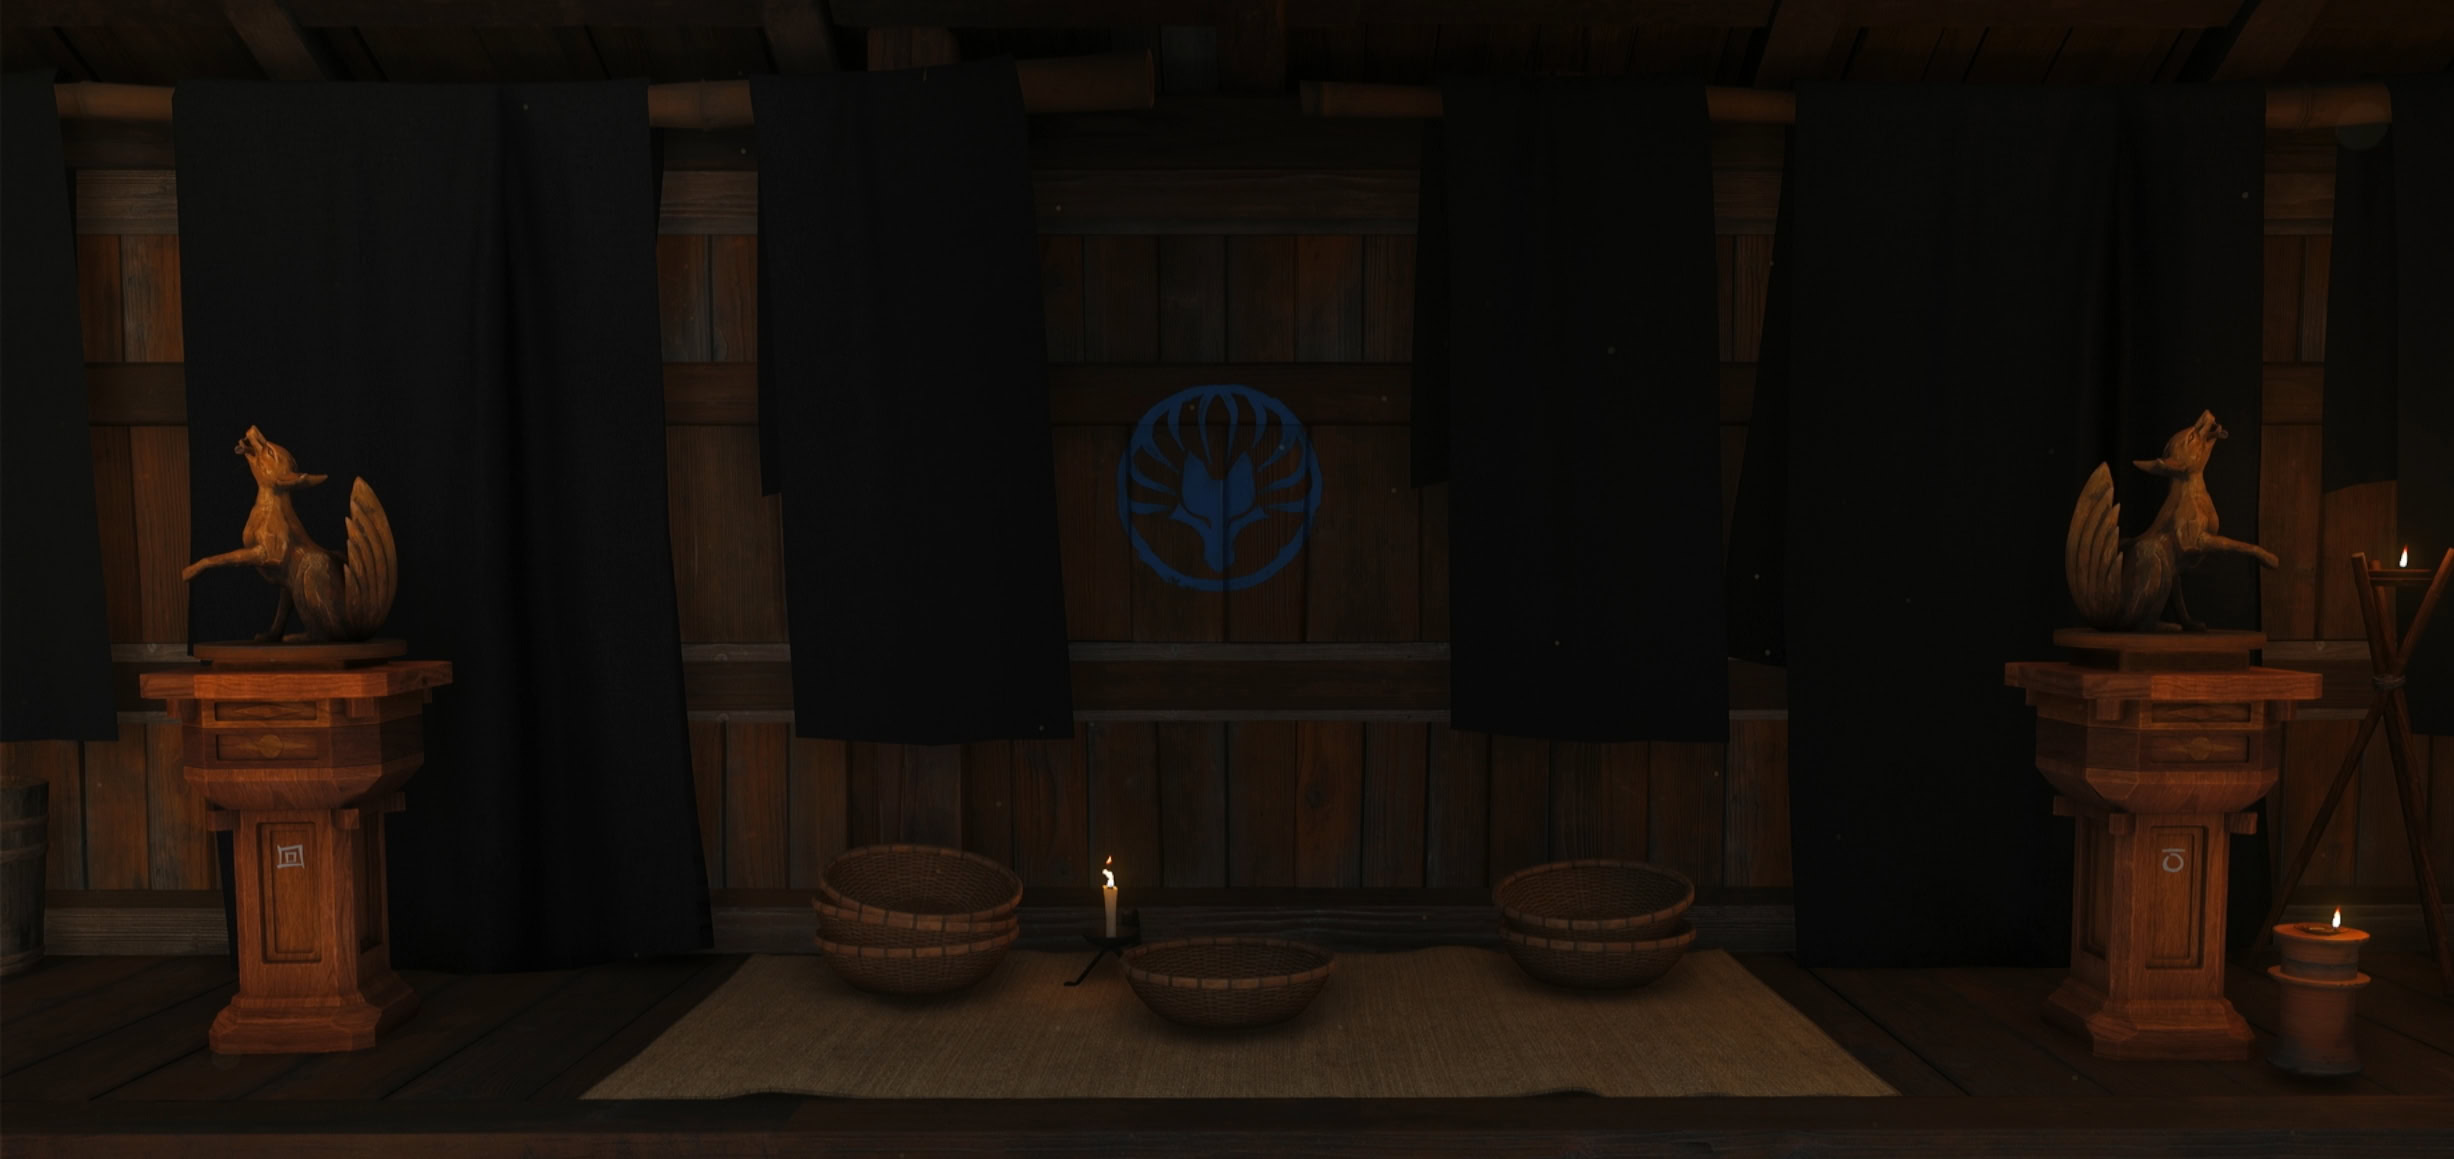
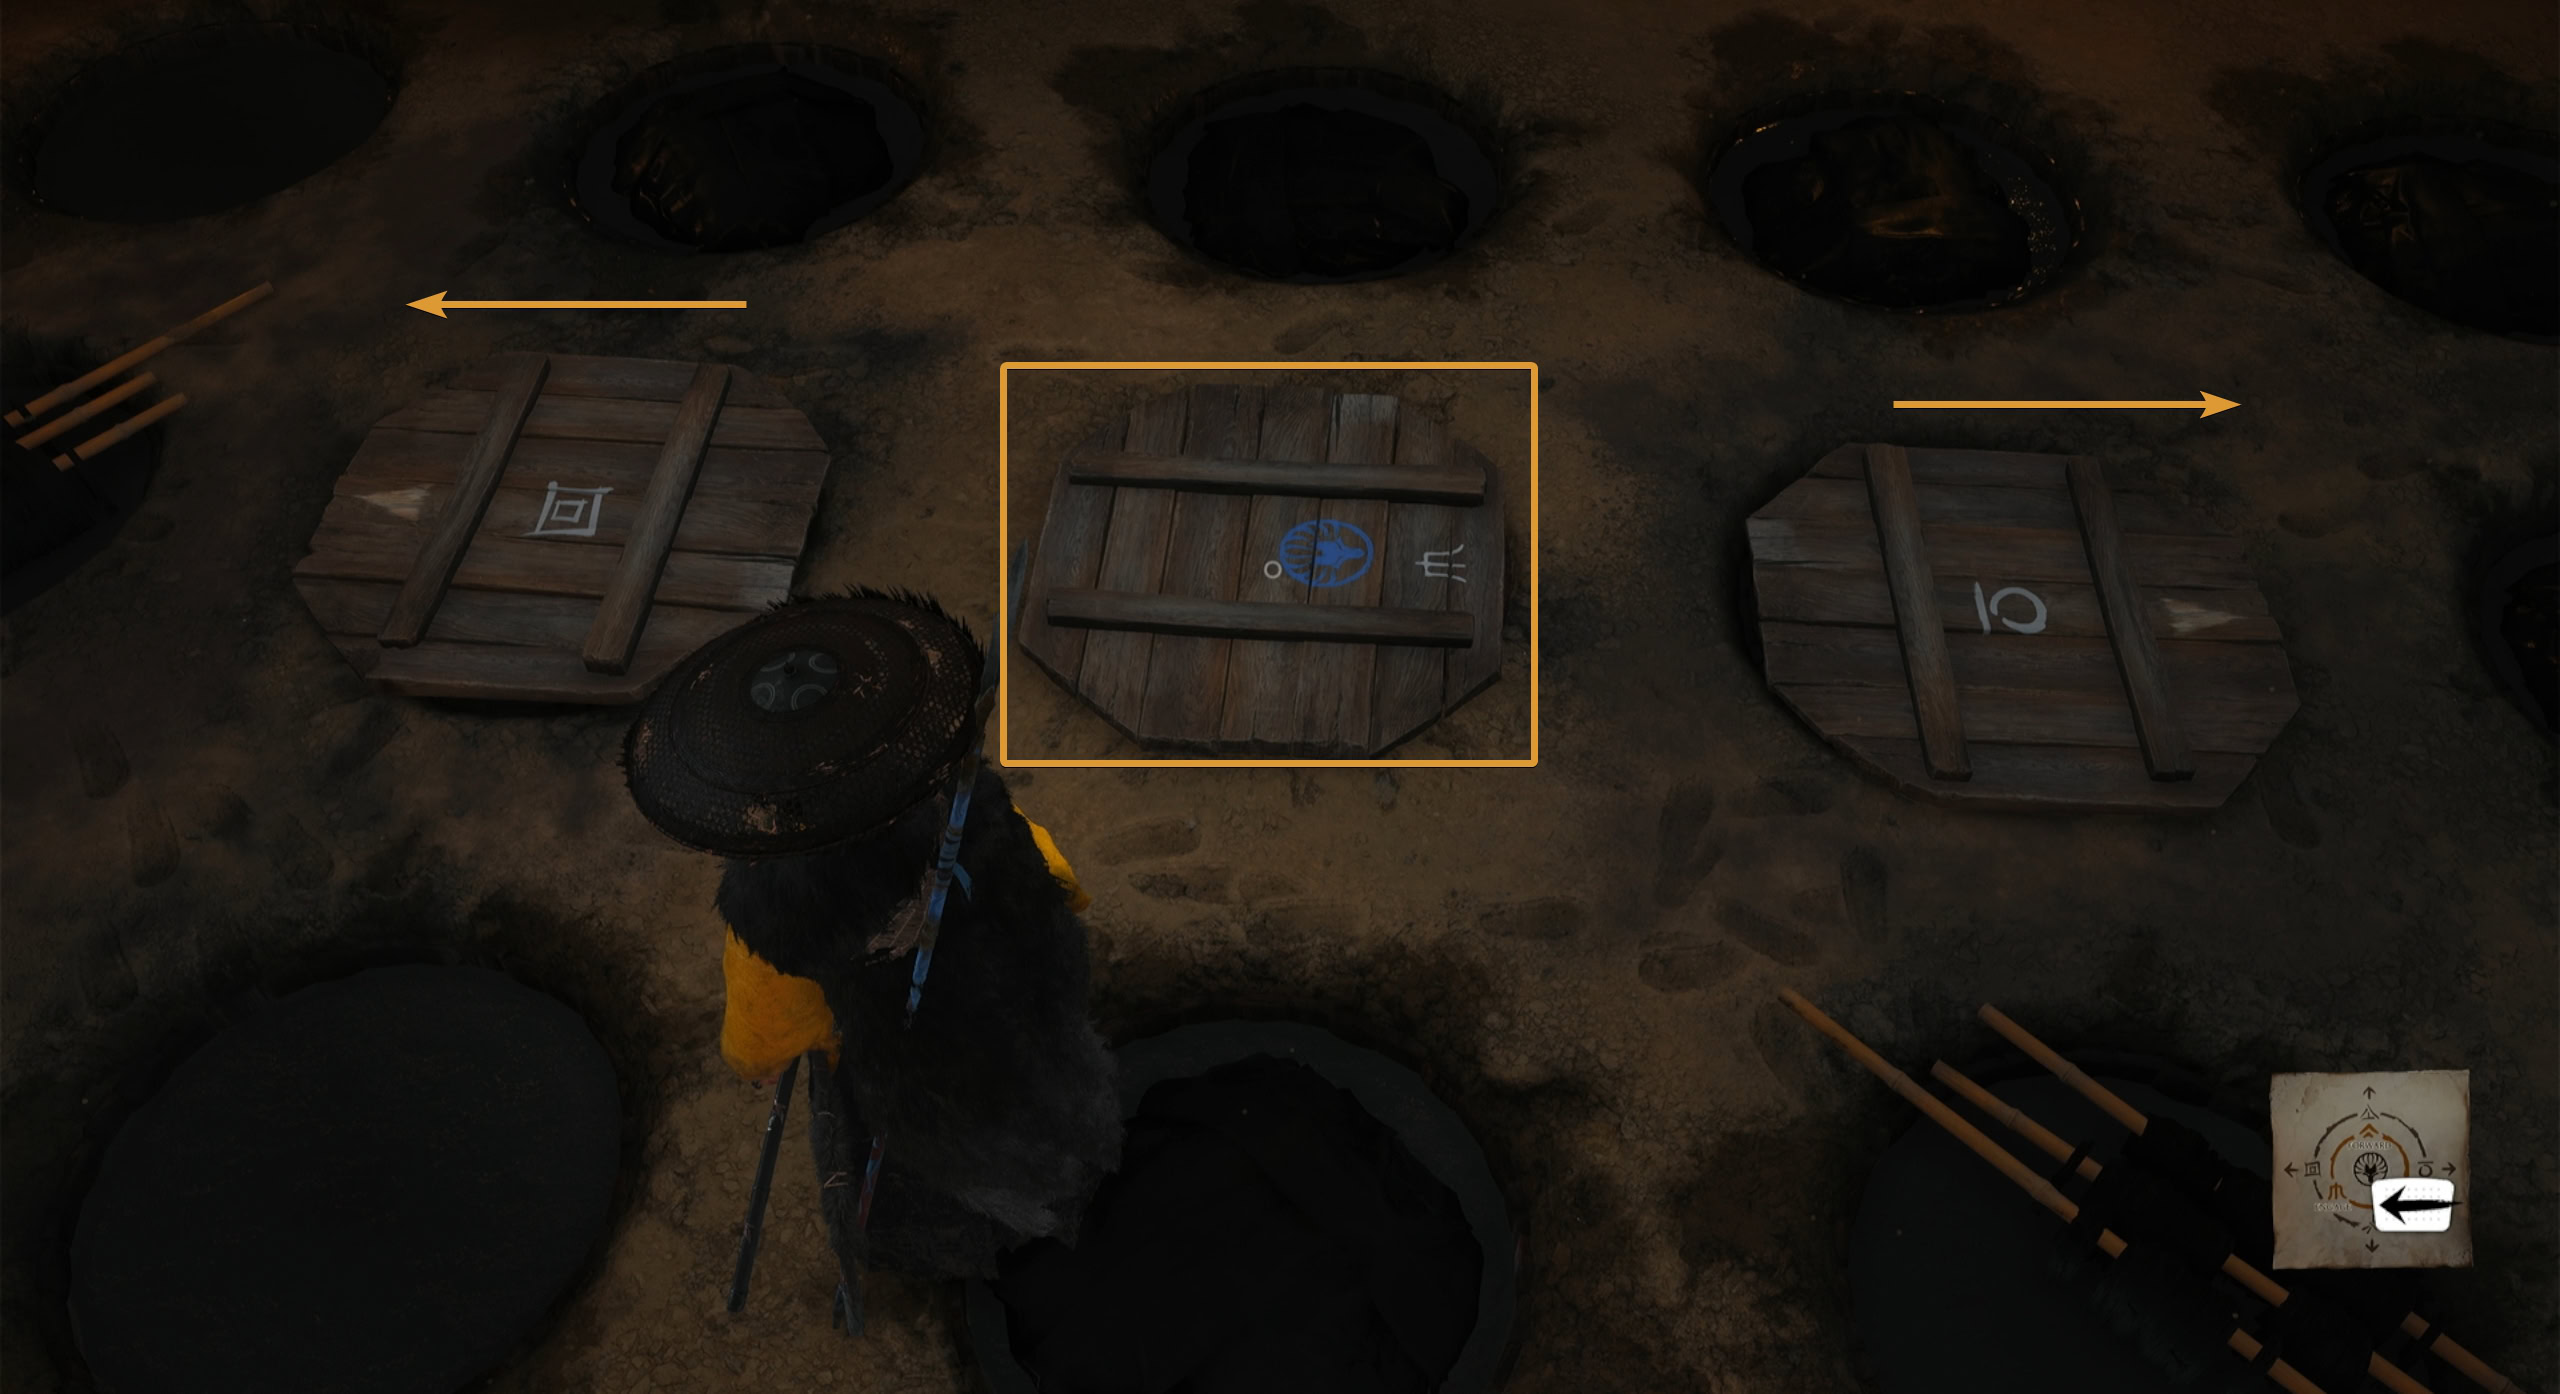
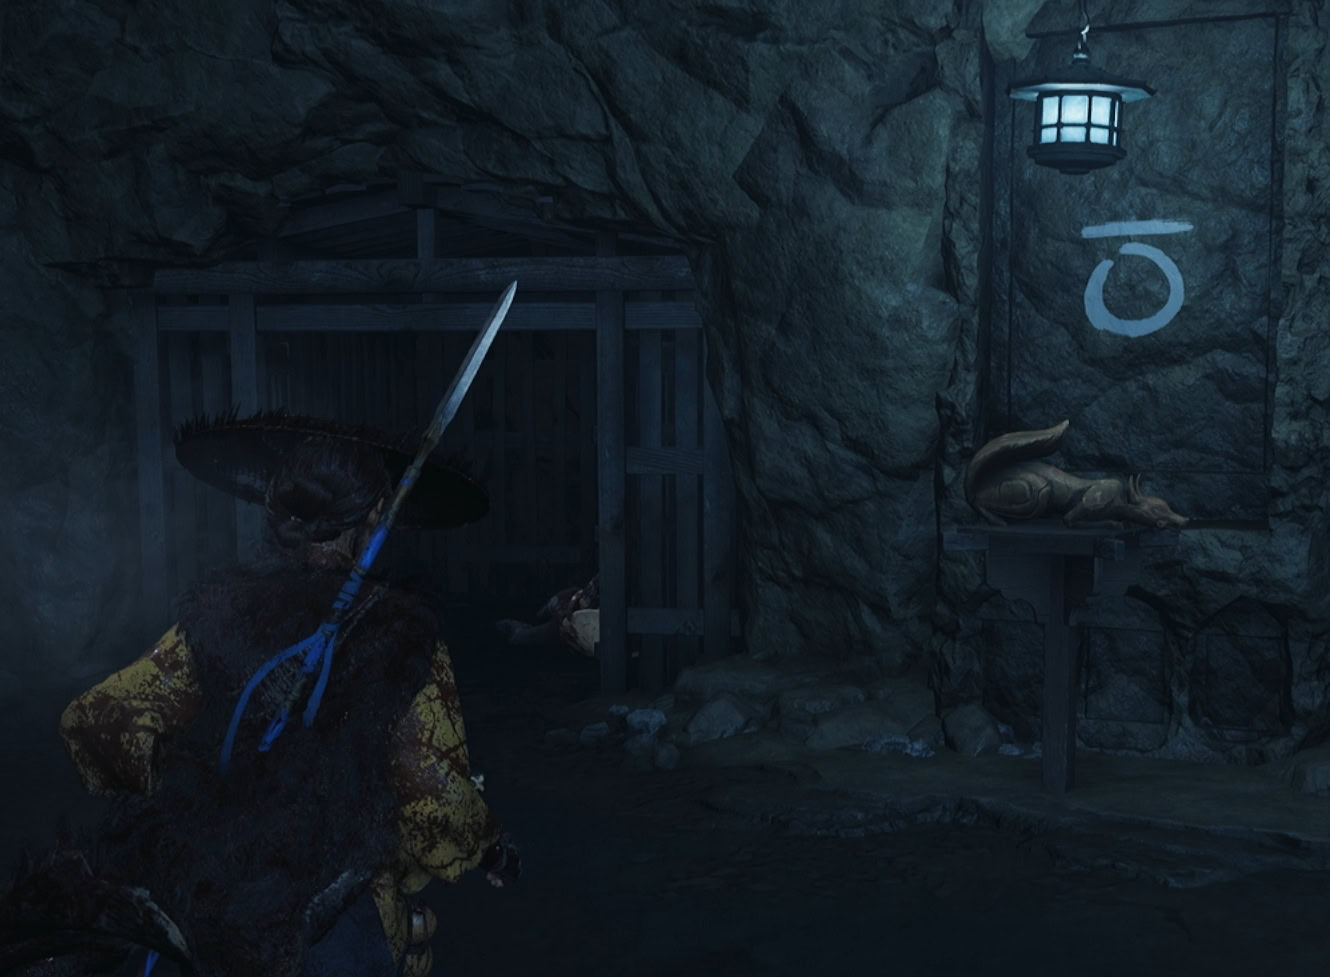
Go inside the Dye House and you’ll find two pillars with more of the Nine Tails symbols on them. In the middle of the room are some wooden lids with the same symbols, though the middle one has the Engage symbol.
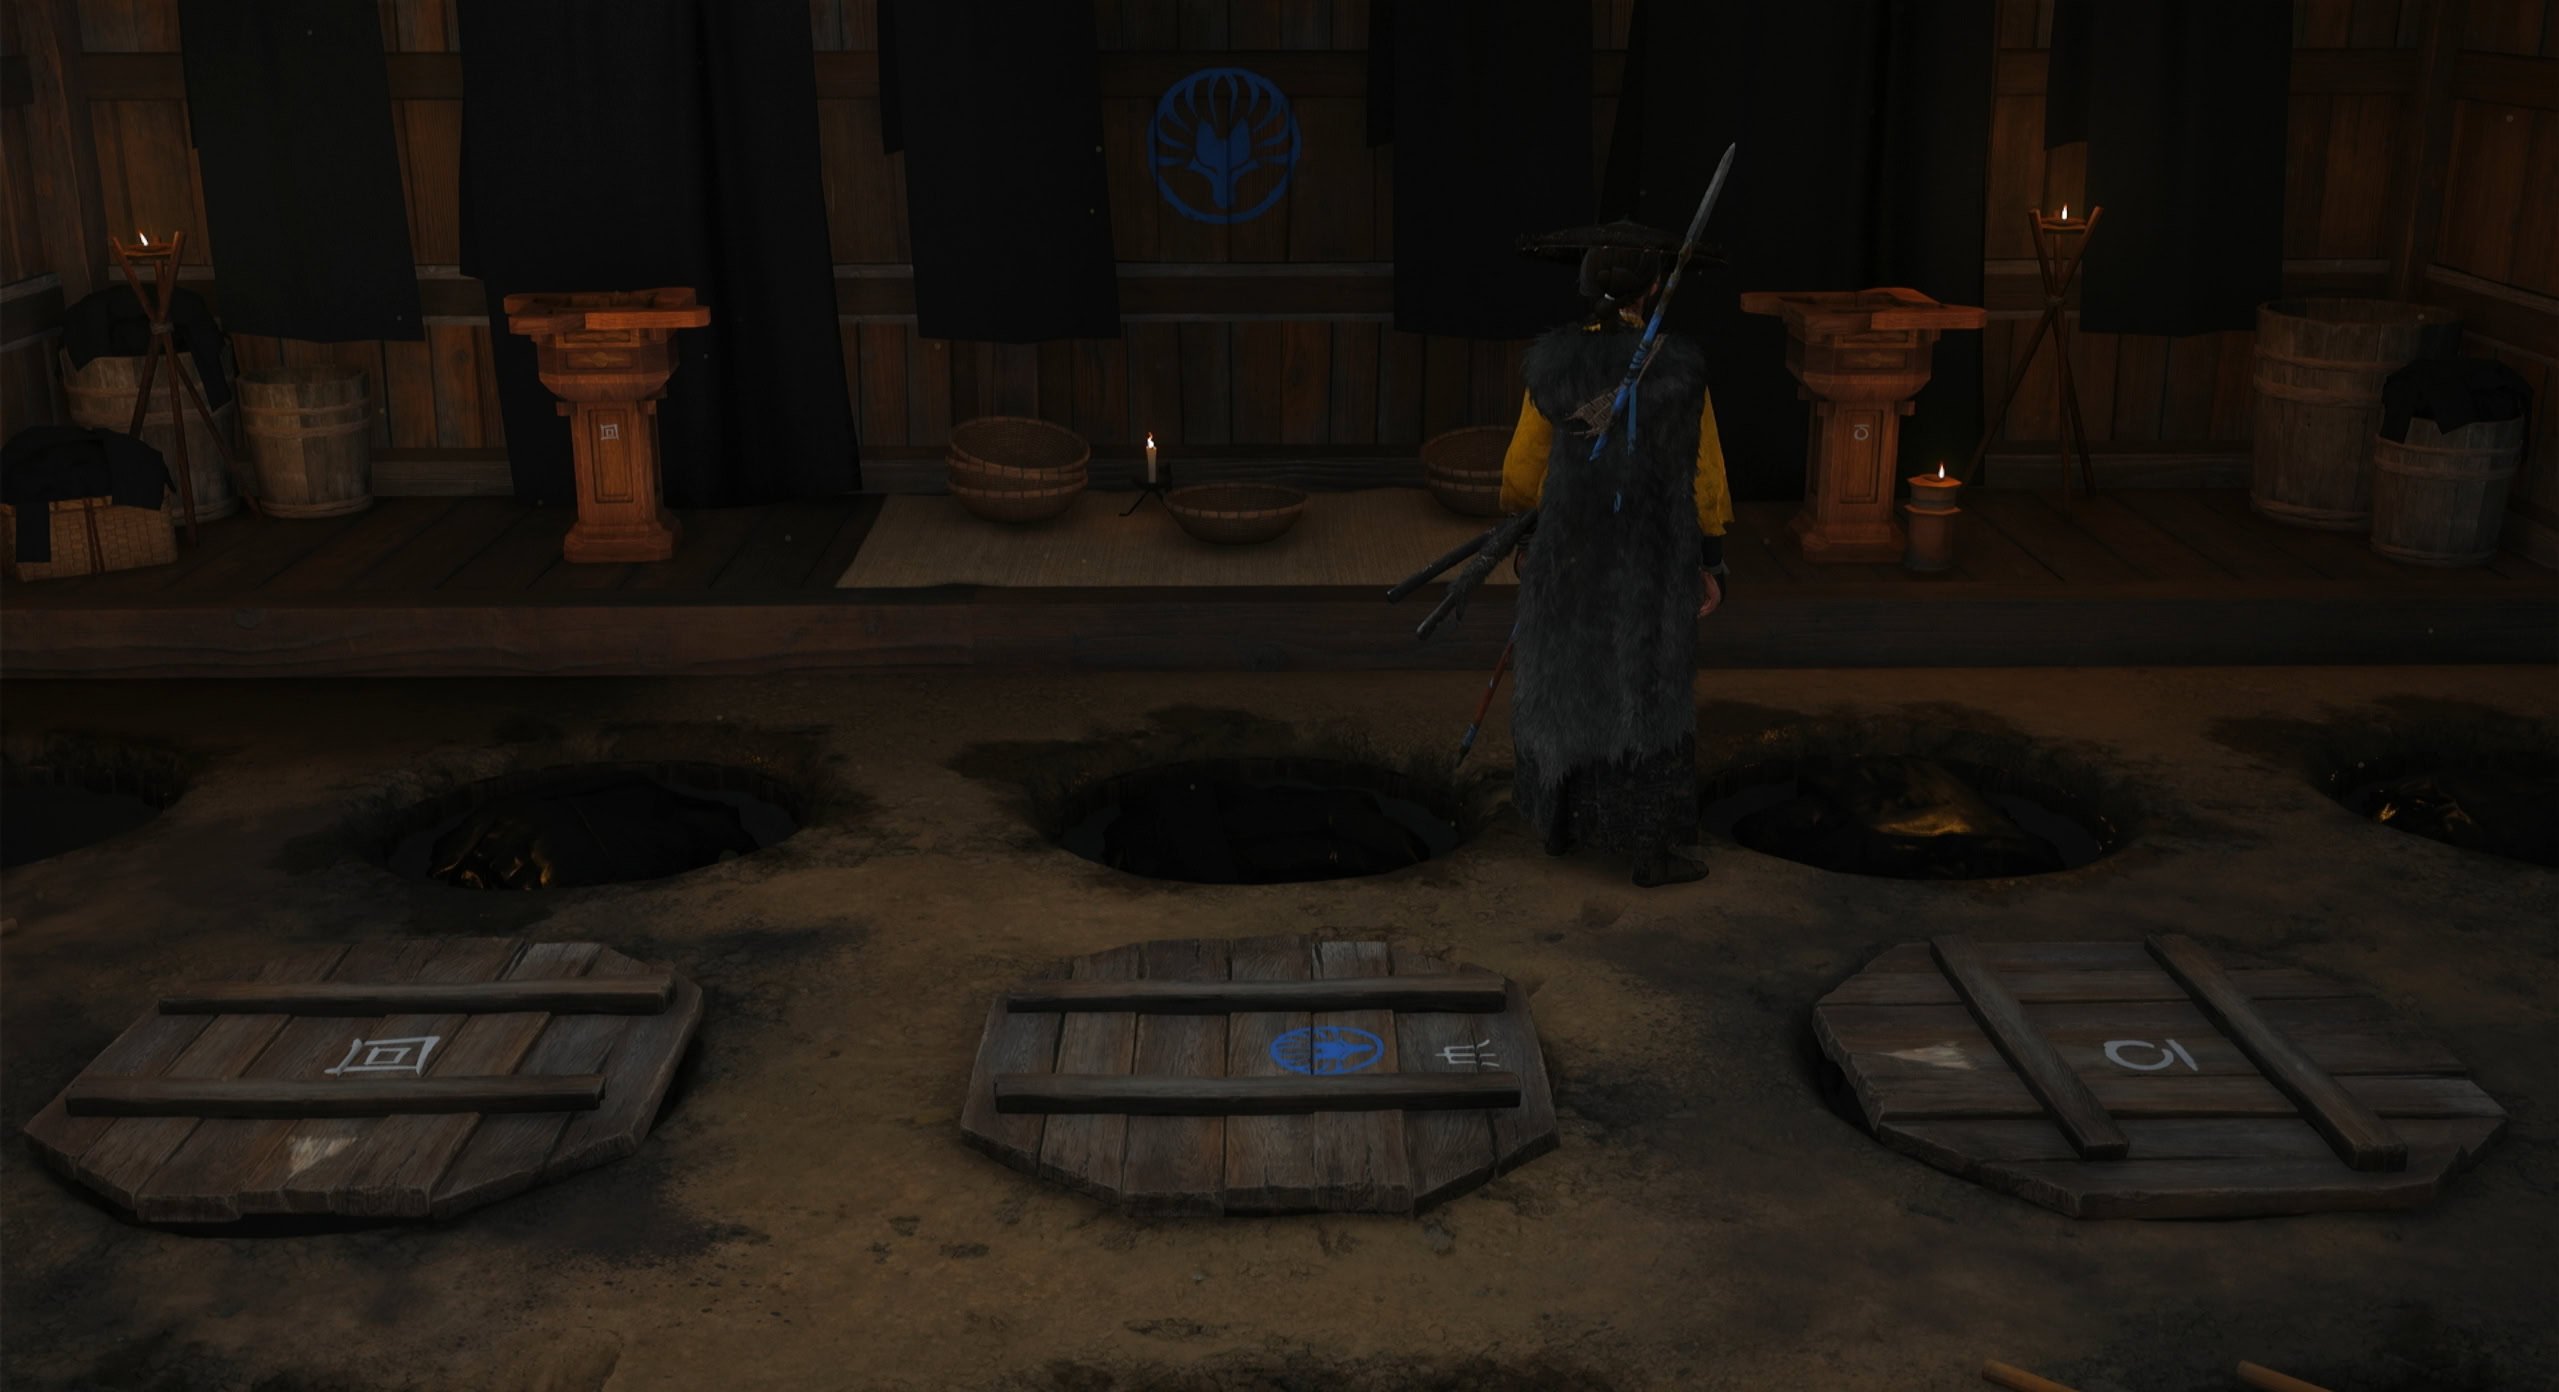
To the left of these pillars, two kitsune statues will be at the end of the room. Place them onto the pillars facing outwards, matching the left and right symbols on the pillars.
Next, rotate the lids to have their arrows point outwards. Doing this will allow you to enter the secret tunnels beneath the center vat.
Free the Prisoners
Climb down the vat to enter the secret tunnels beneath the dye house. Free the prisoners by taking out the two guards. Open their cell and Oyuki will escort them back home while you go further into the tunnels.
Navigating the Secret Tunnels
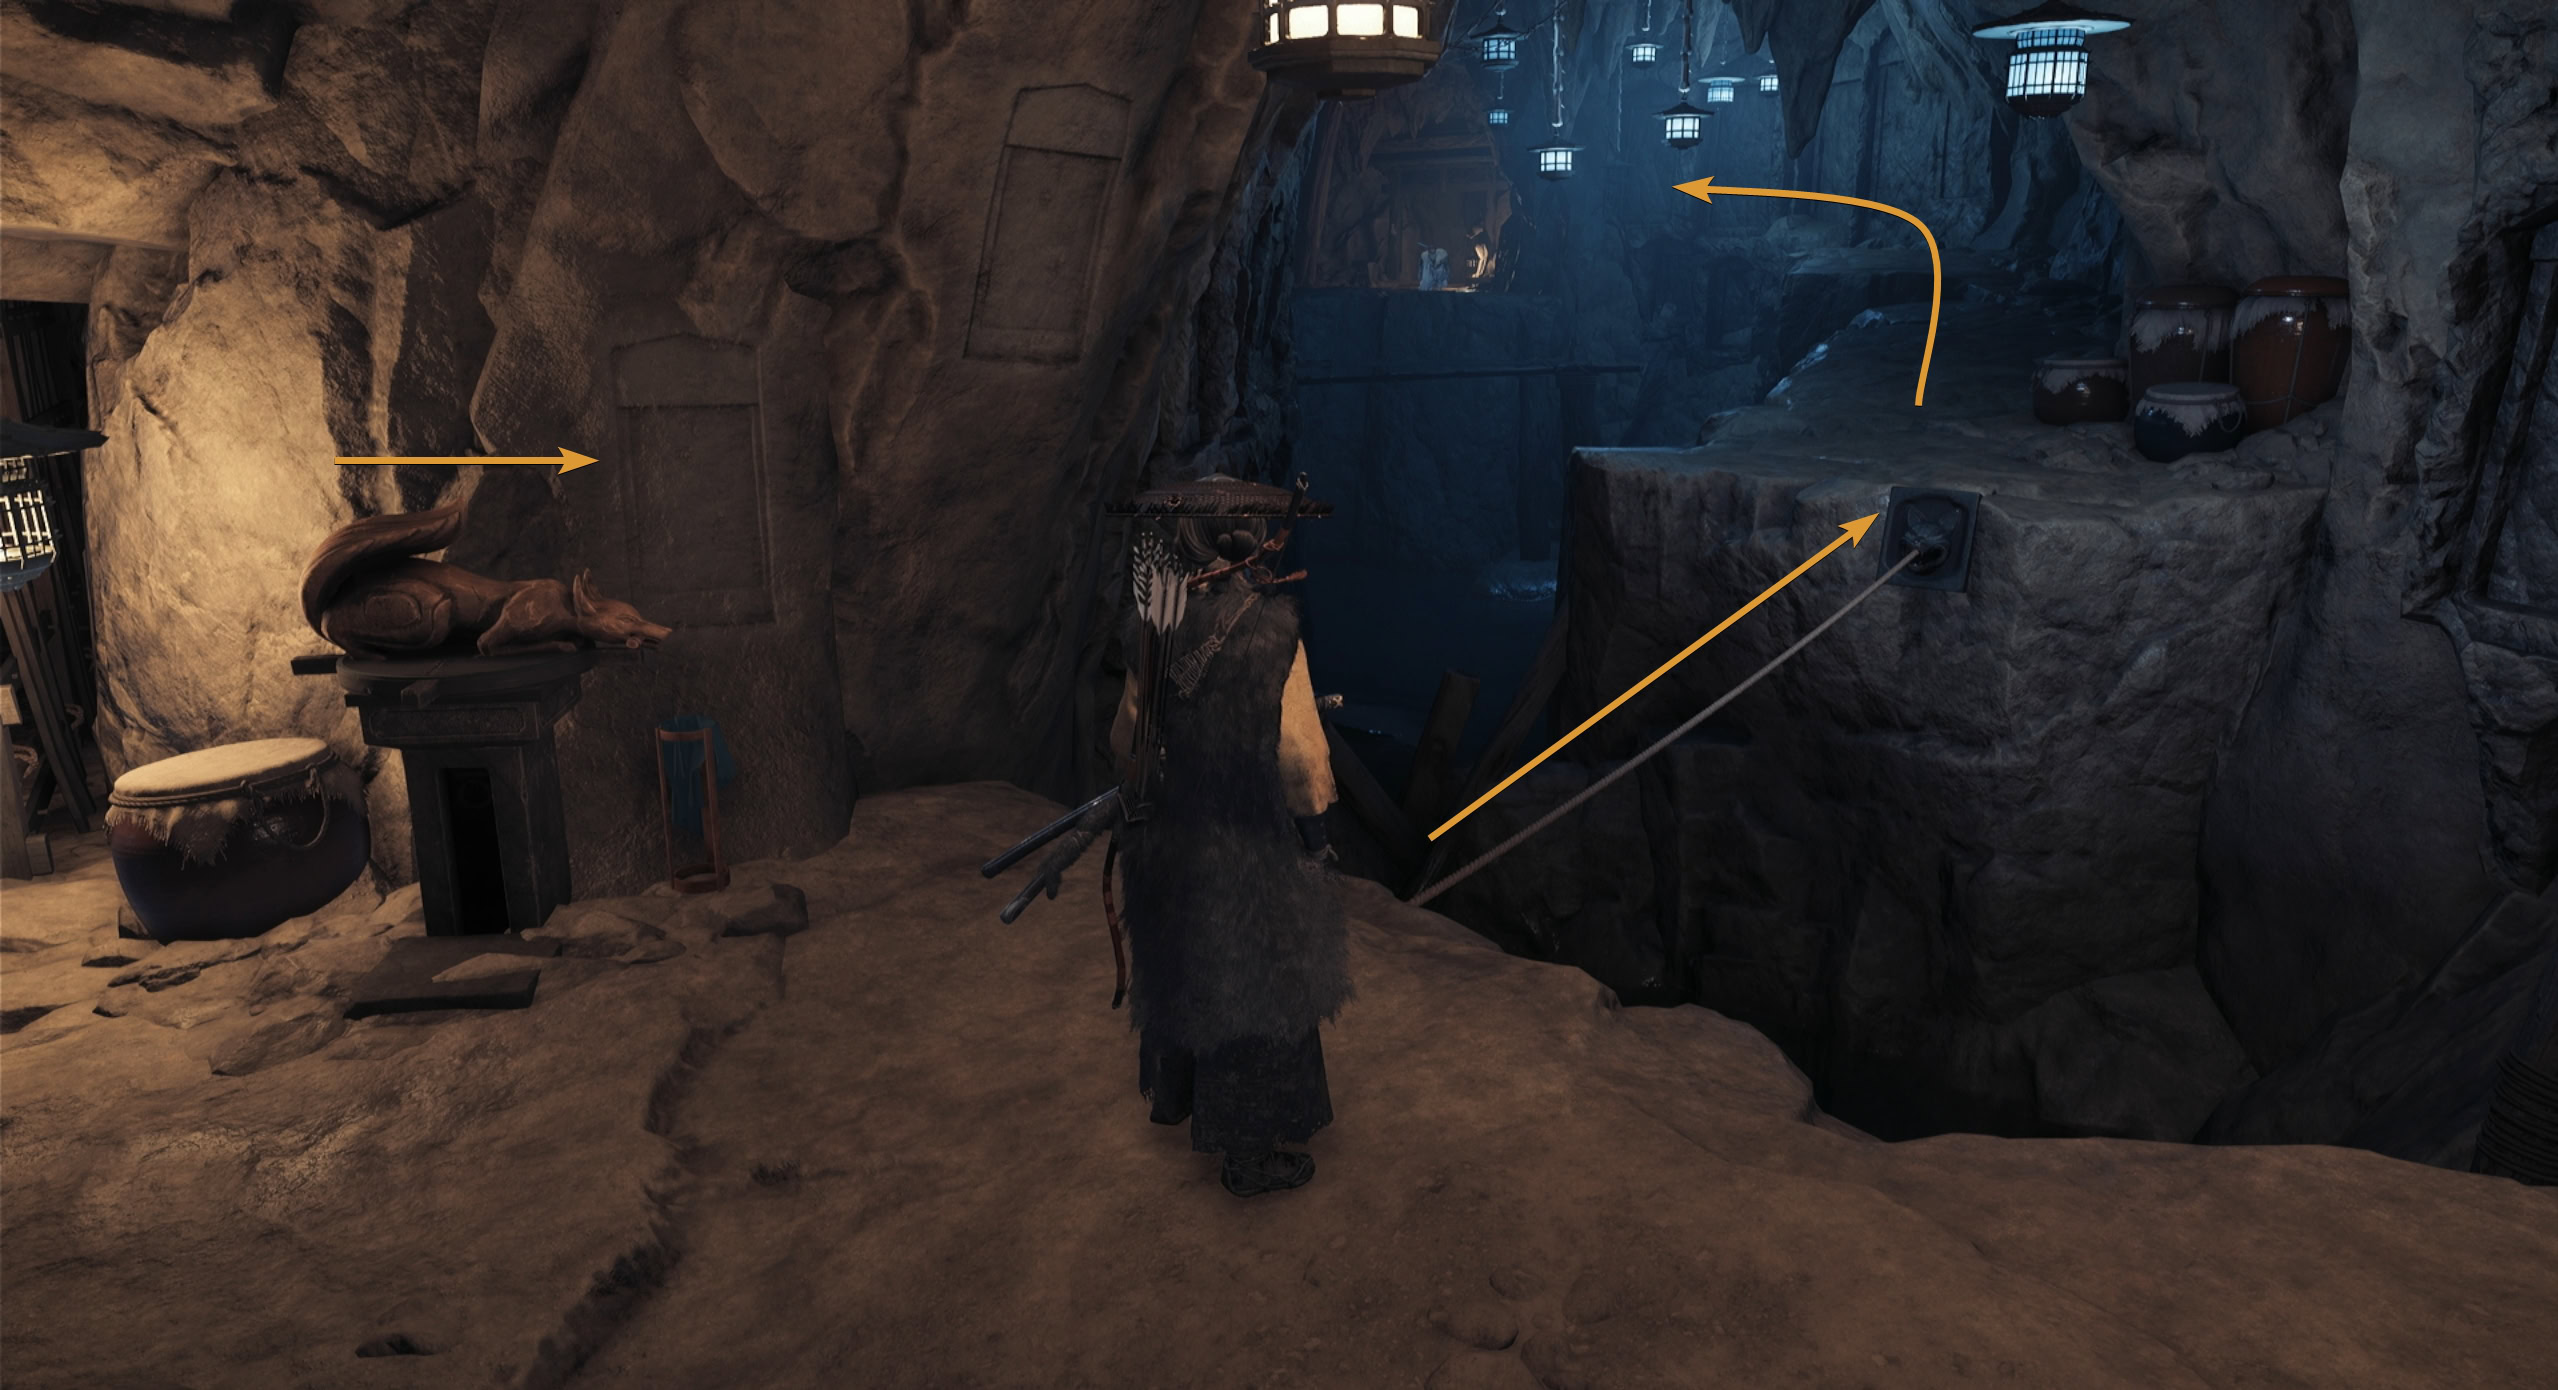
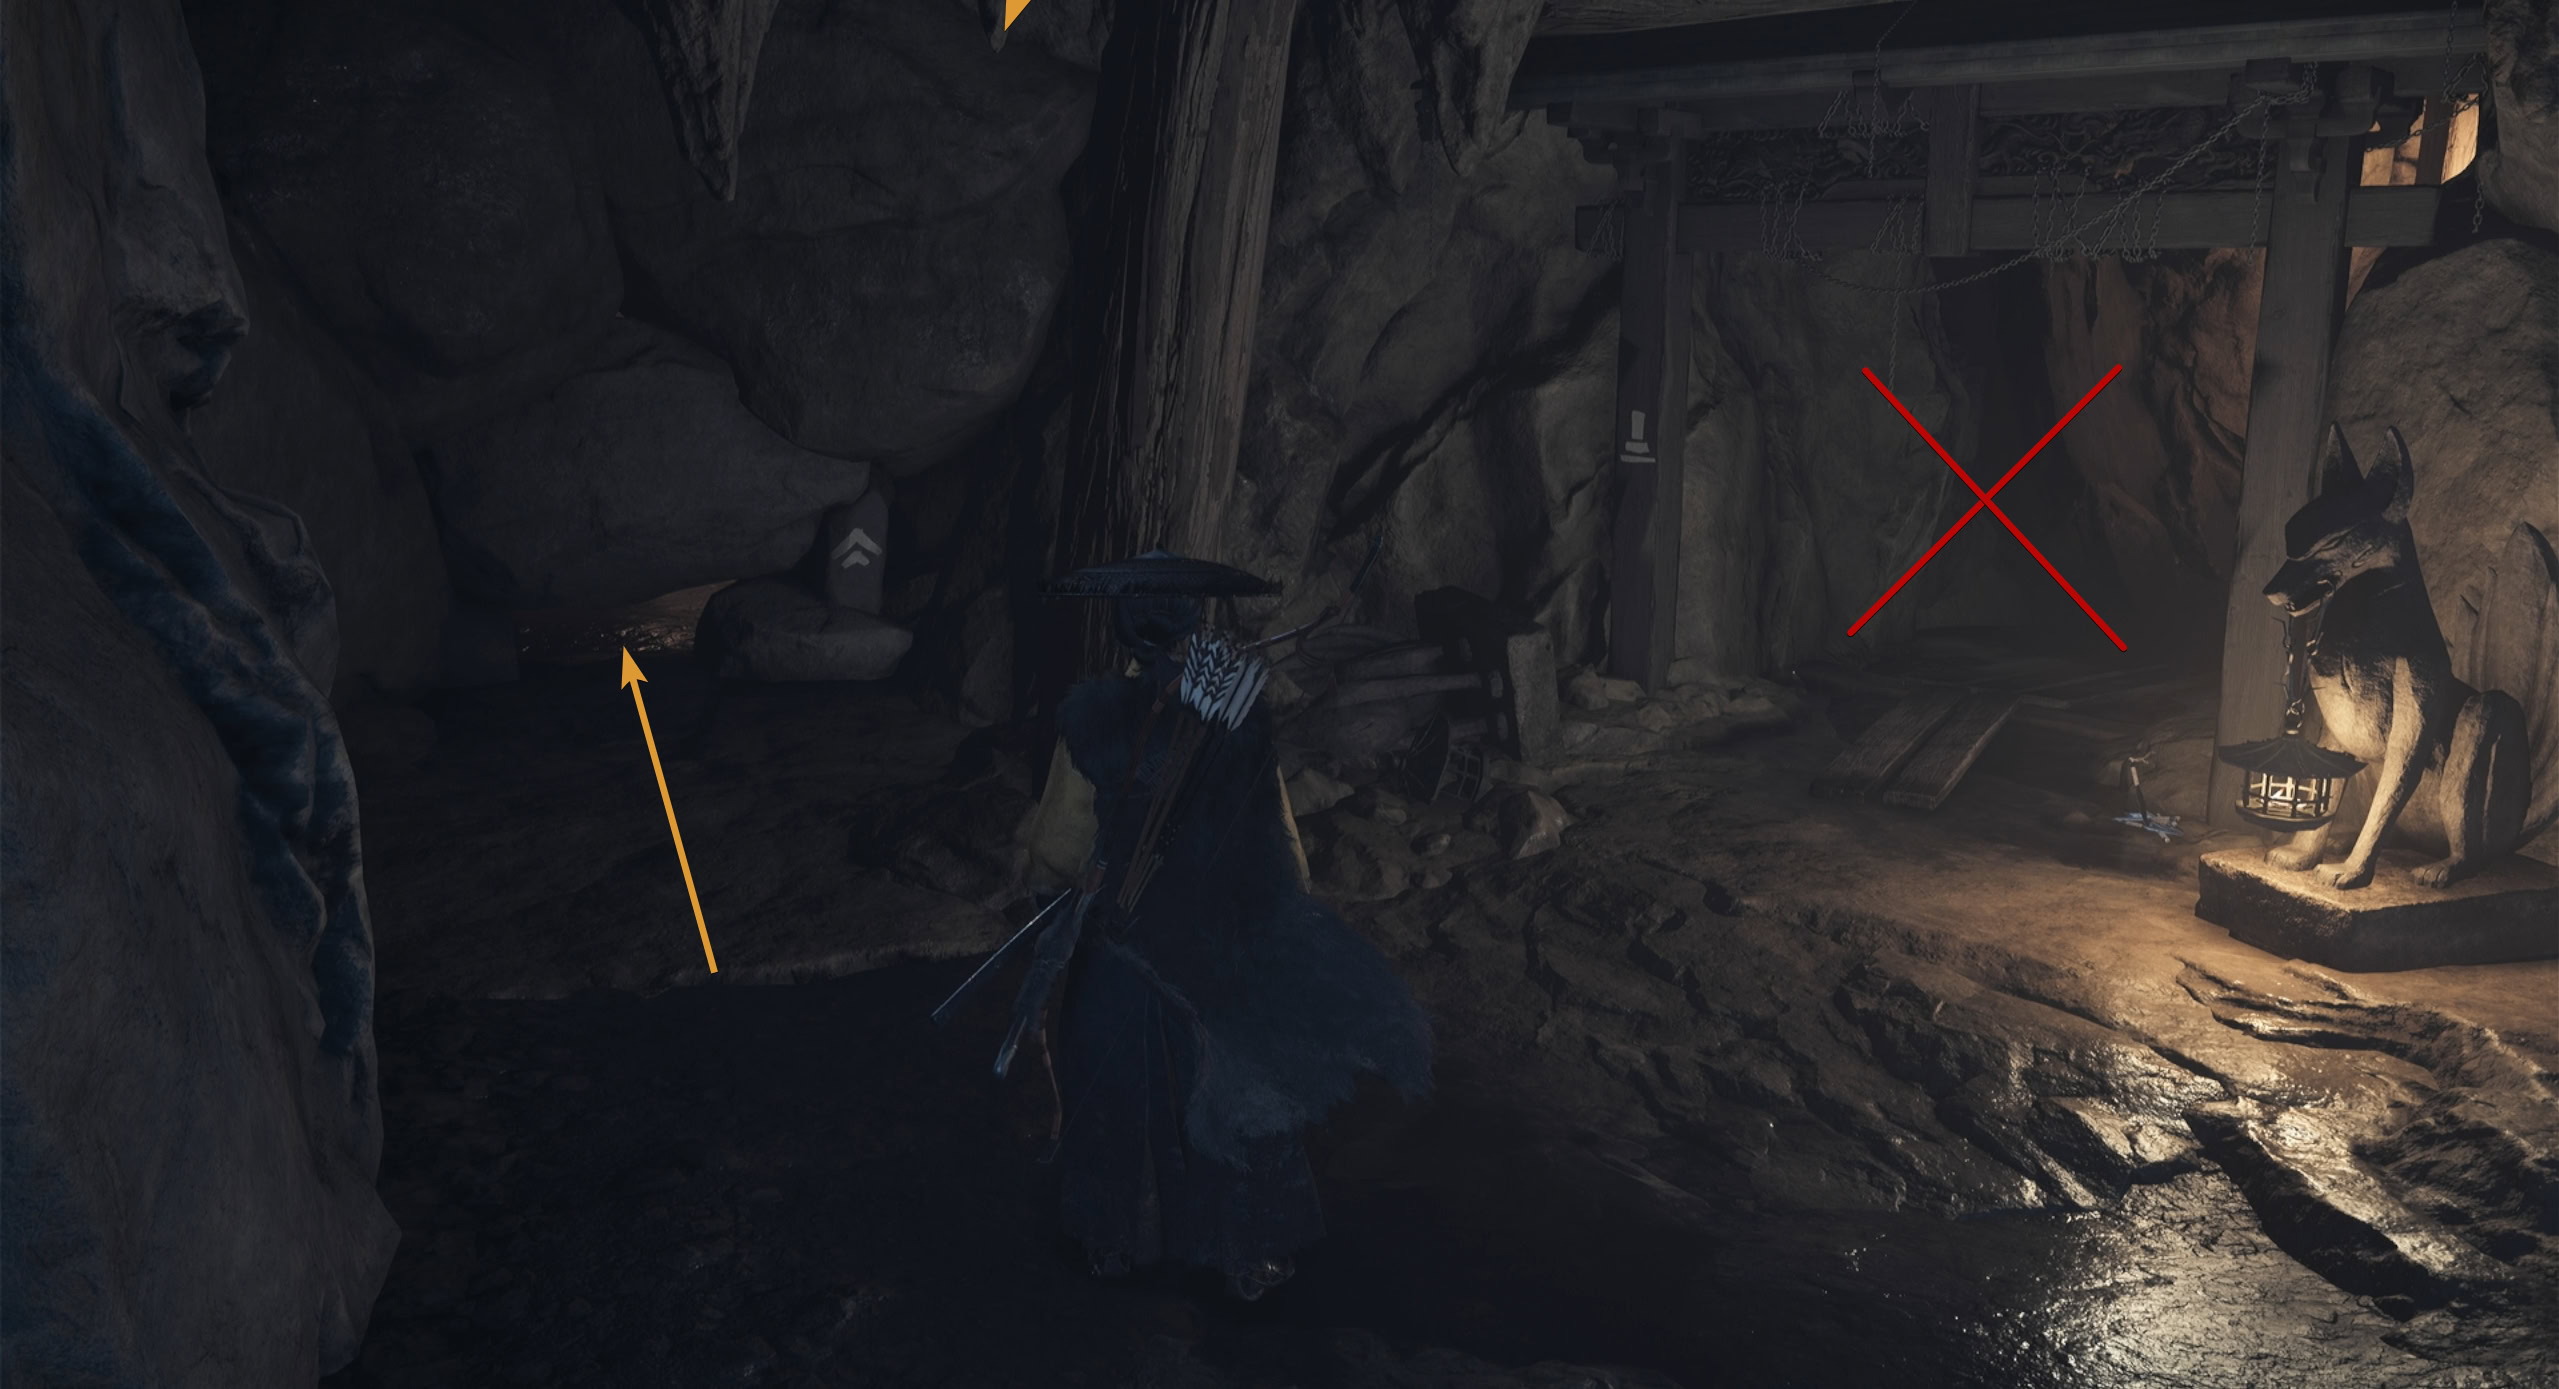
Next to the cell, interact with the kitsune statue to make it face right. This will create a rope for you to walk across to cross the gap ahead.

Up ahead, you’ll see a shinobi walk down the path ahead. Do not be hasty when you reach this spot as this is a trap.
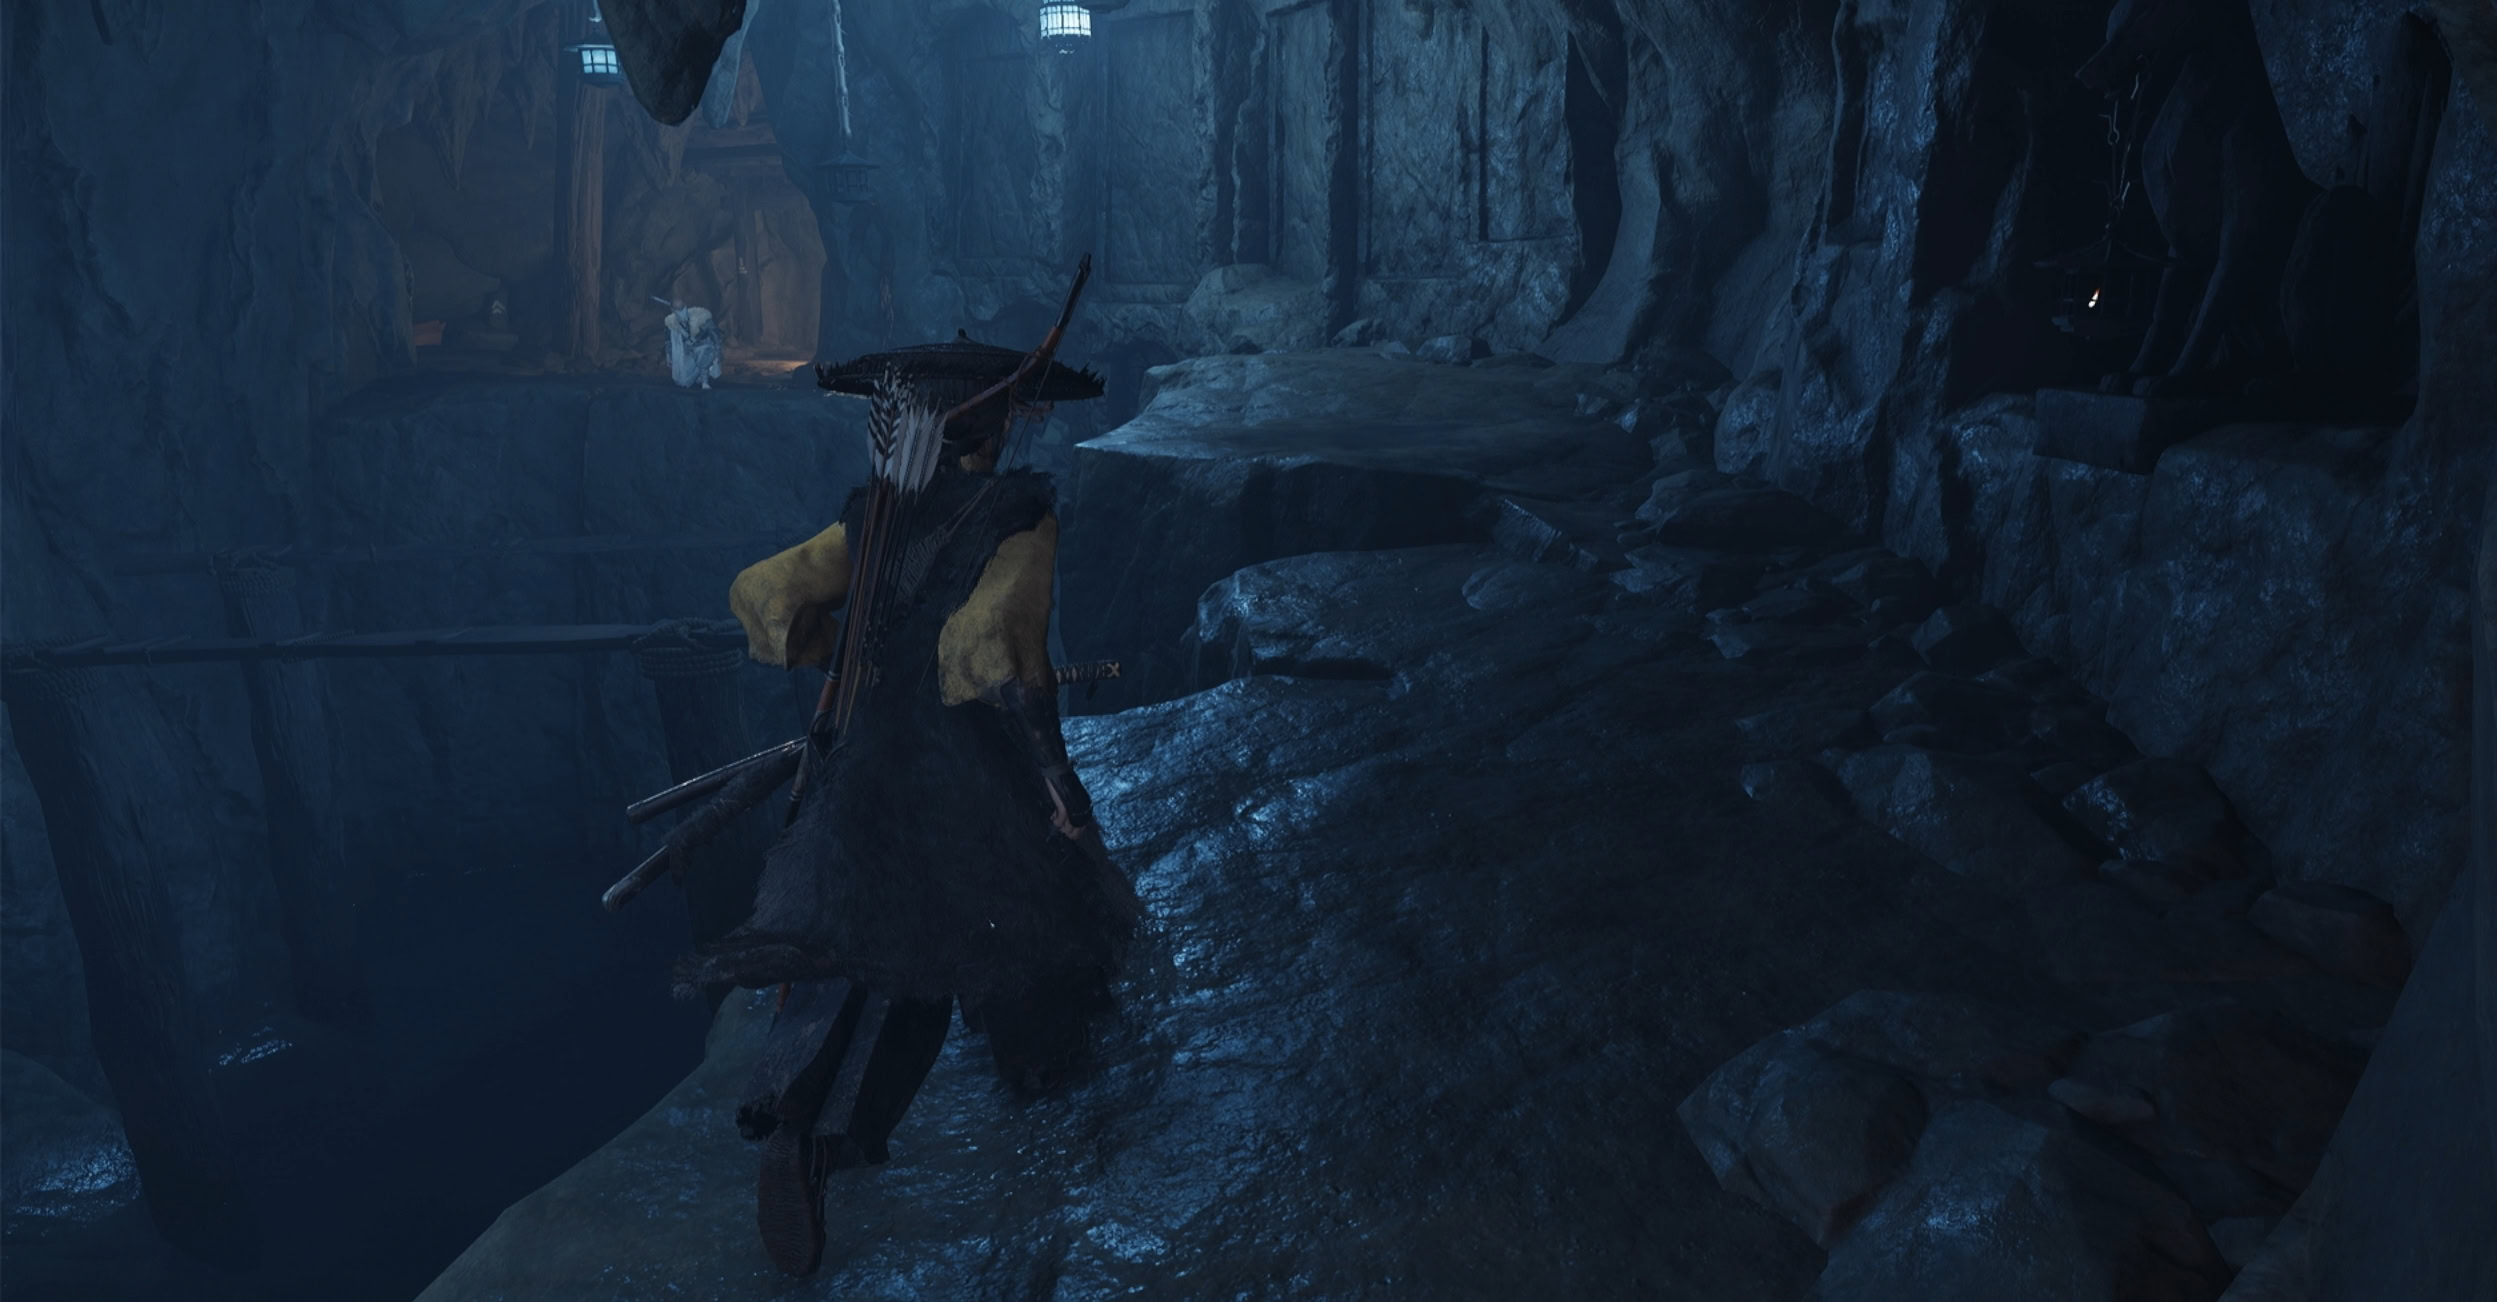
Even though you saw the shinobi go to the right, go to the left instead. The symbols on the walls indicate the right path leads to death.
The Holding Cell Room
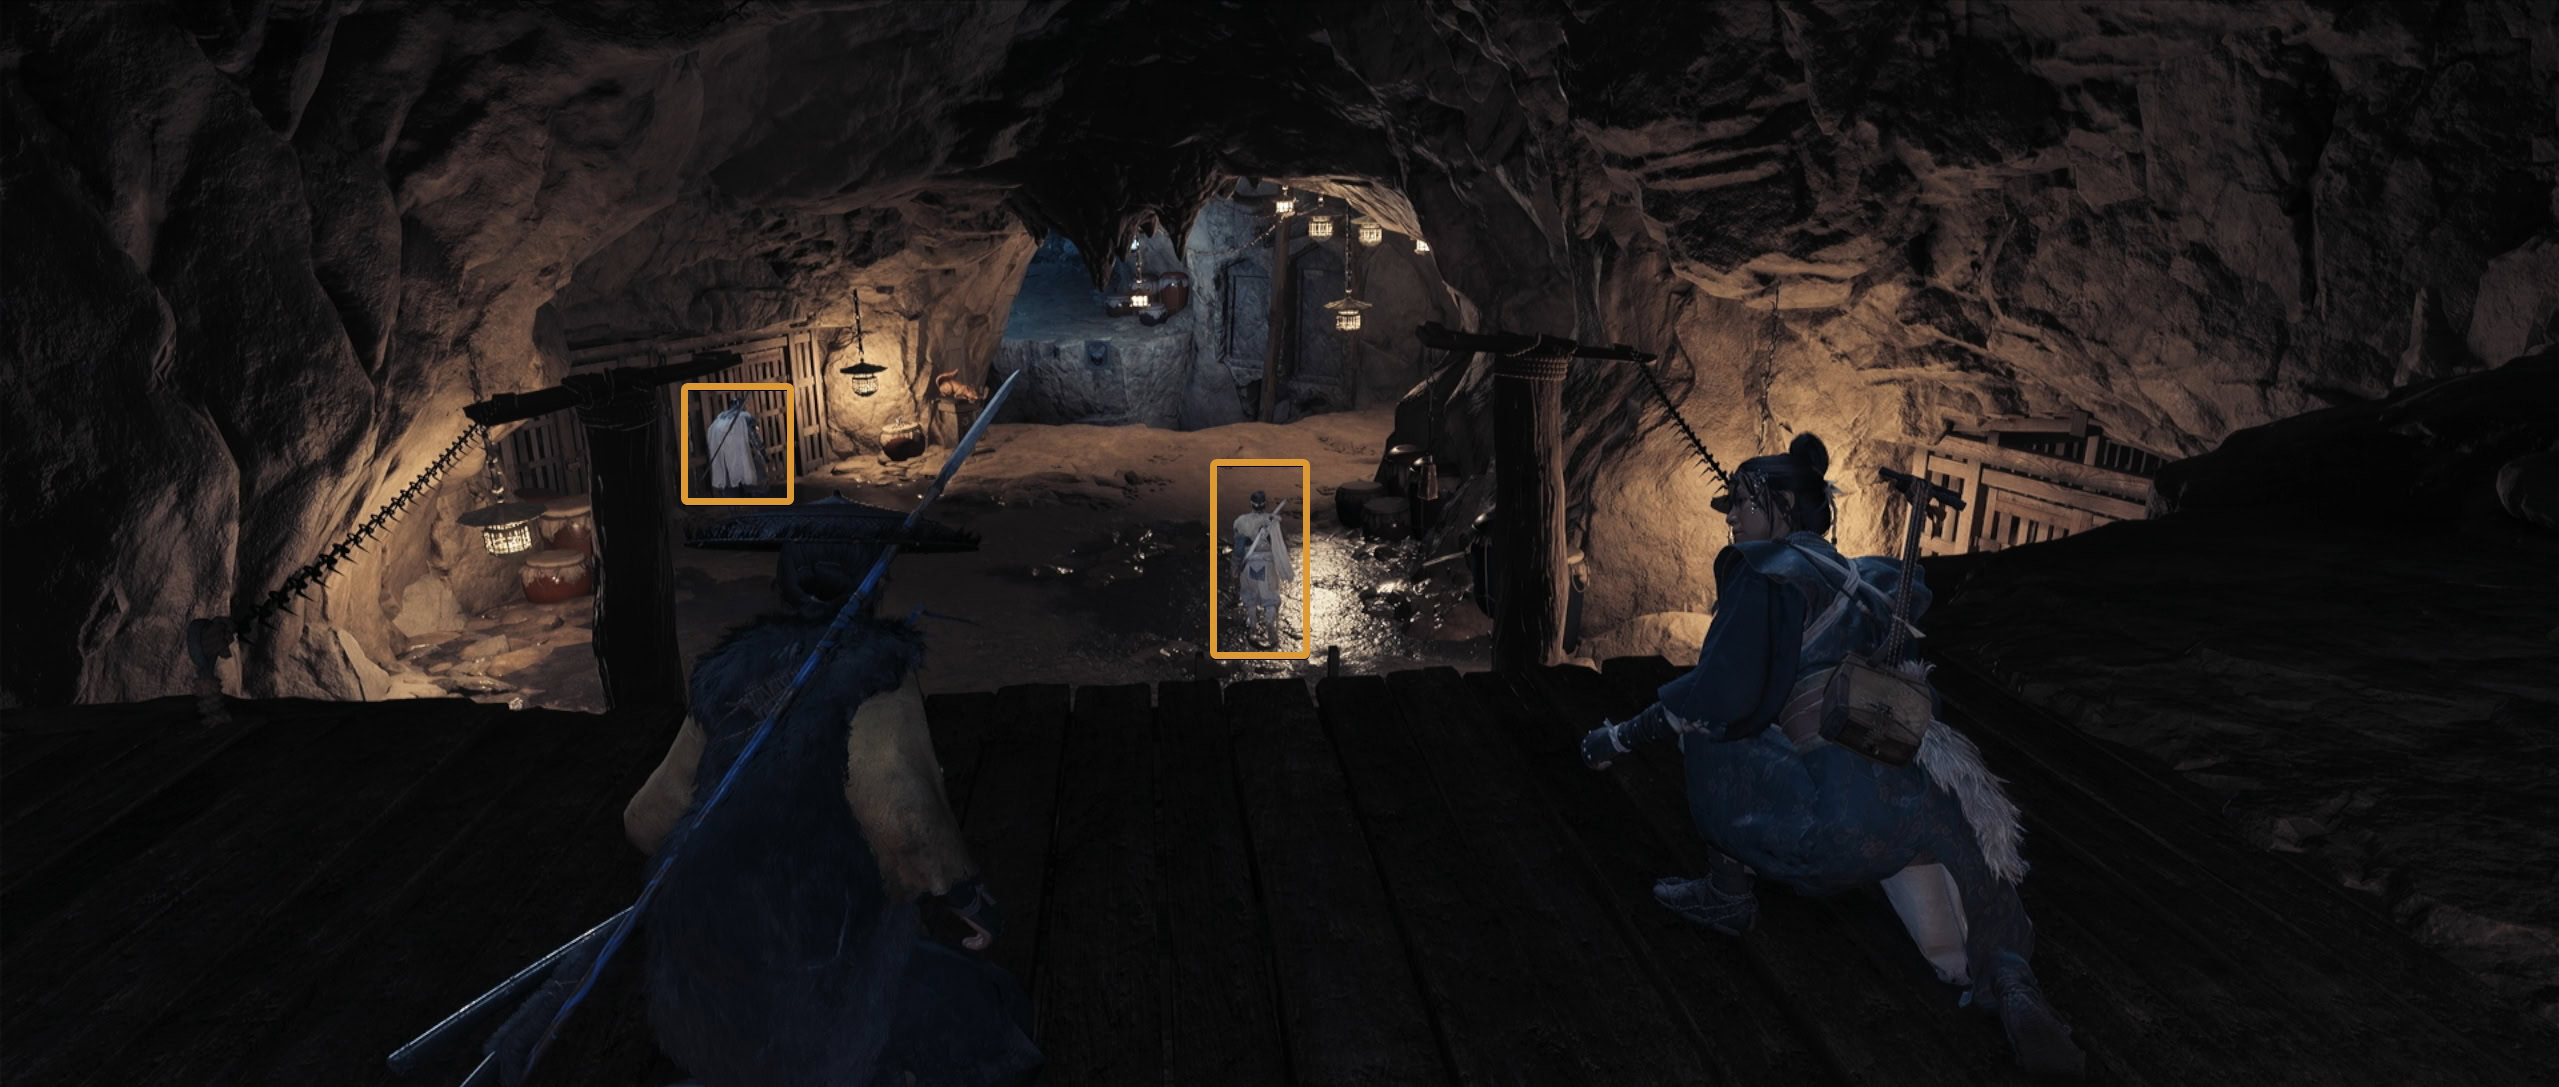
Continue your platforming journey through the tunnels to reach a large open cave. There are three paths up ahead you can take, each of which will lead to surprise attacks from shinobi.
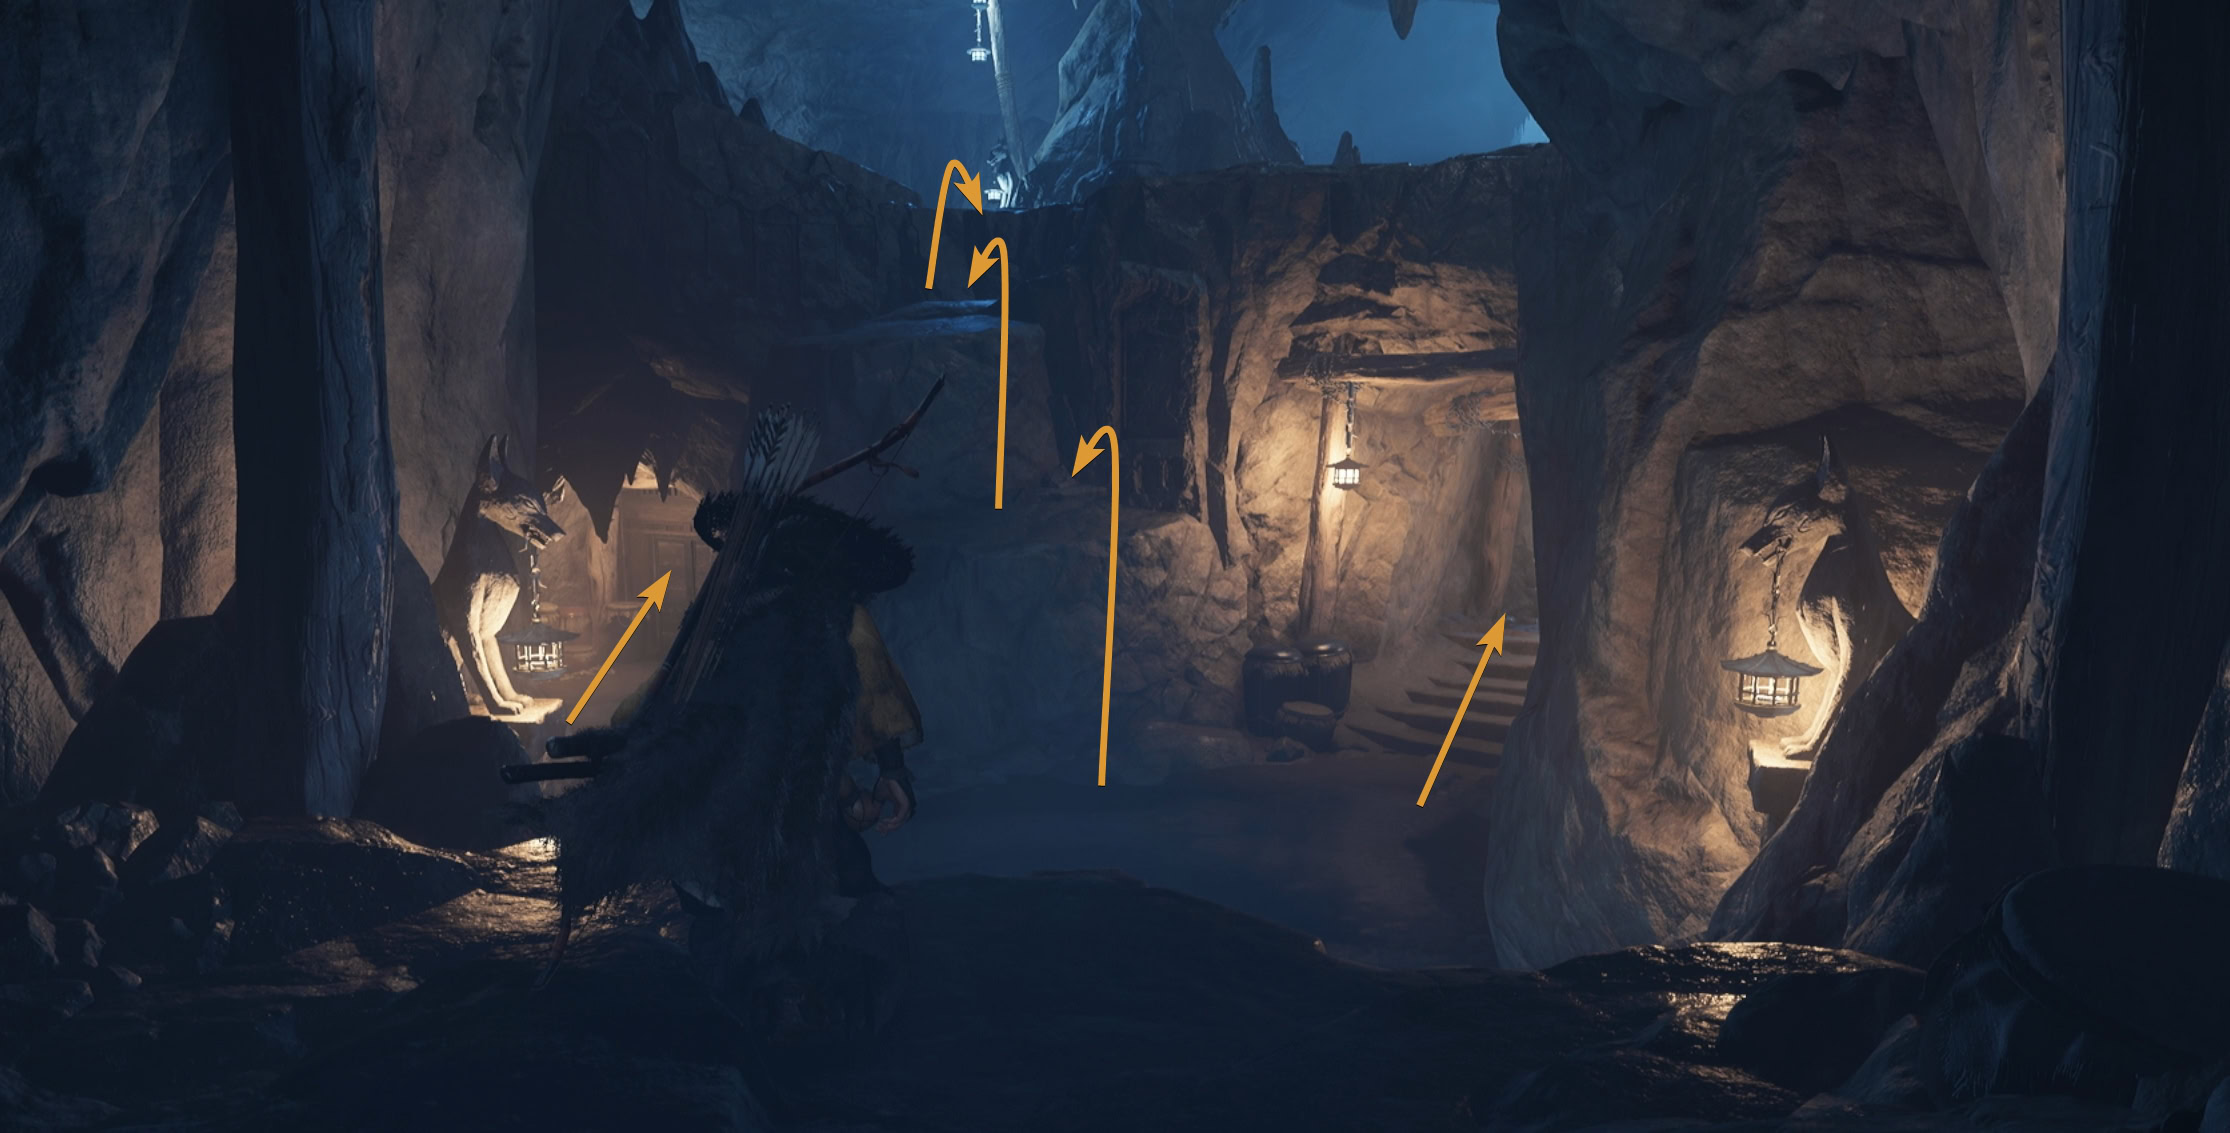
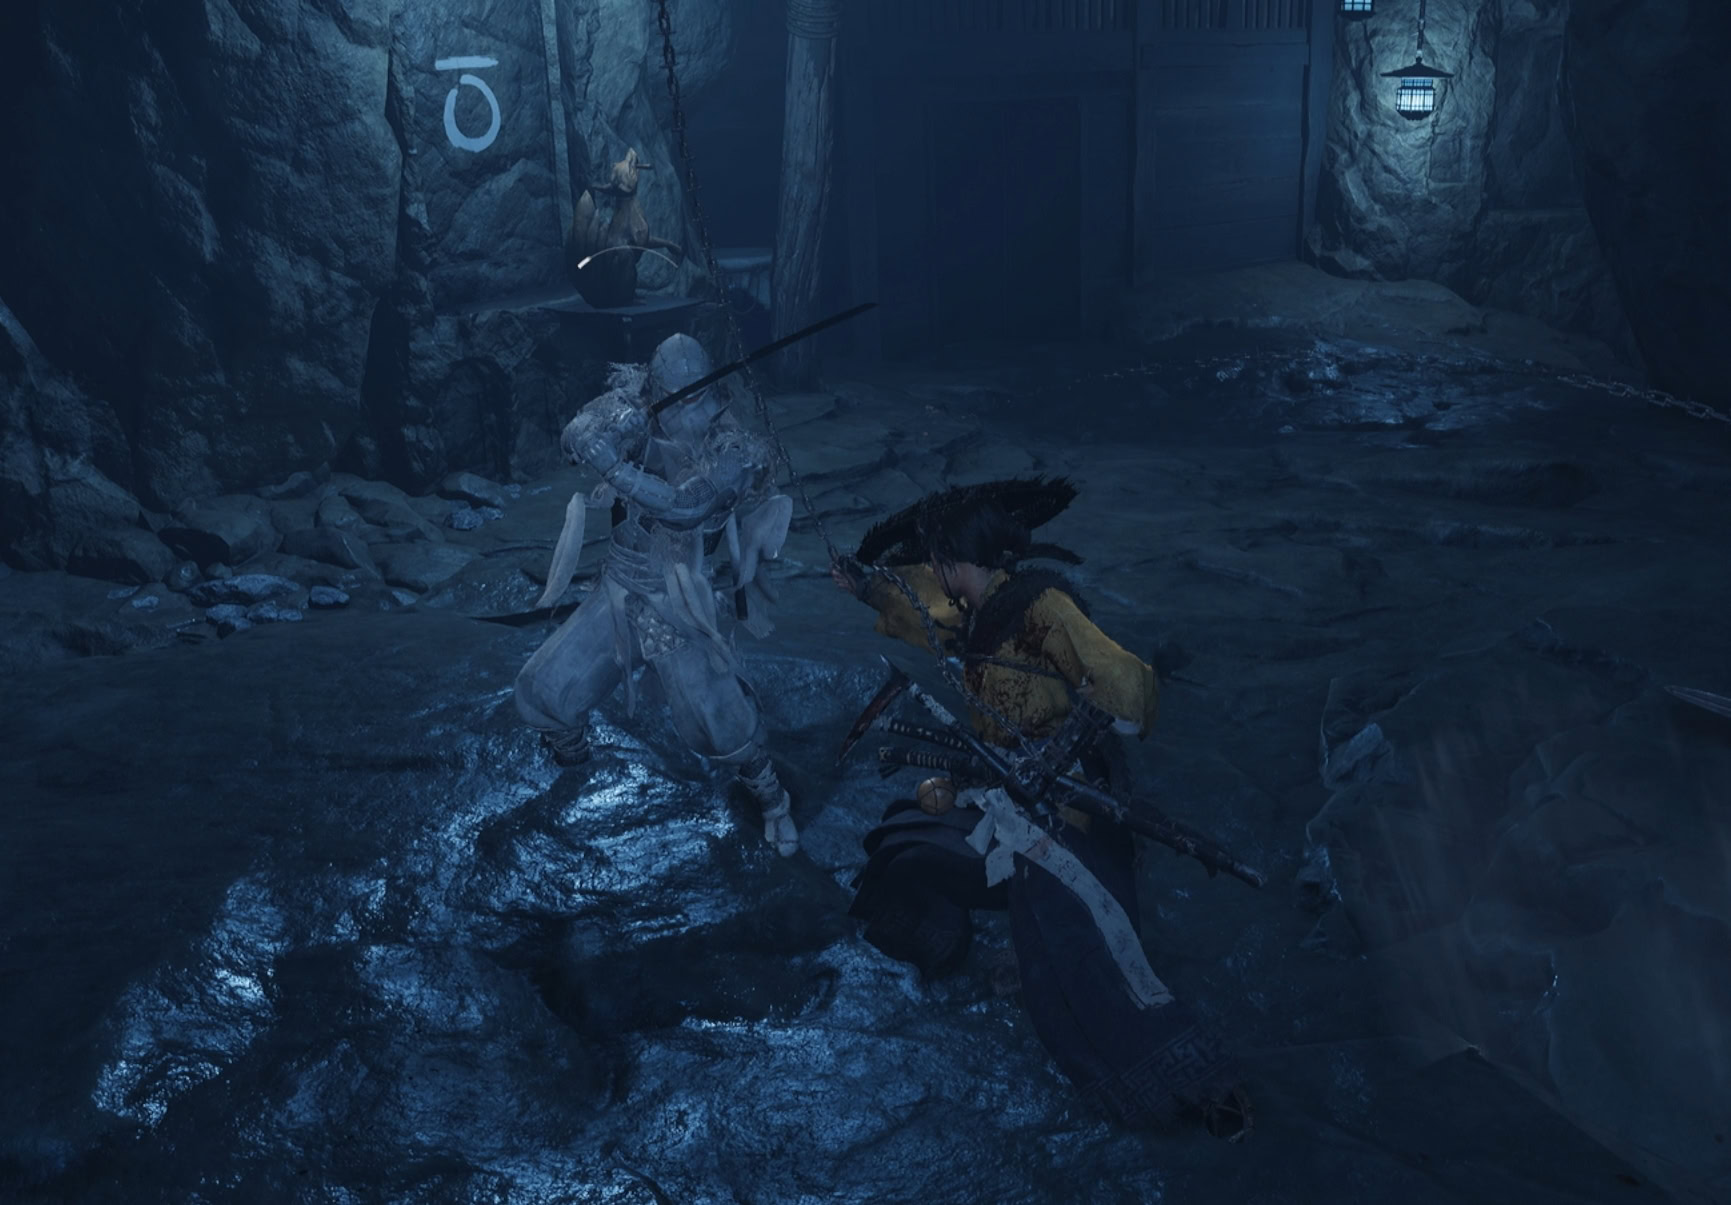
The shinobi will be hiding in the large pots and attack you if you get too close. Defeat the shinobi in the area to safely look for other prisoners.
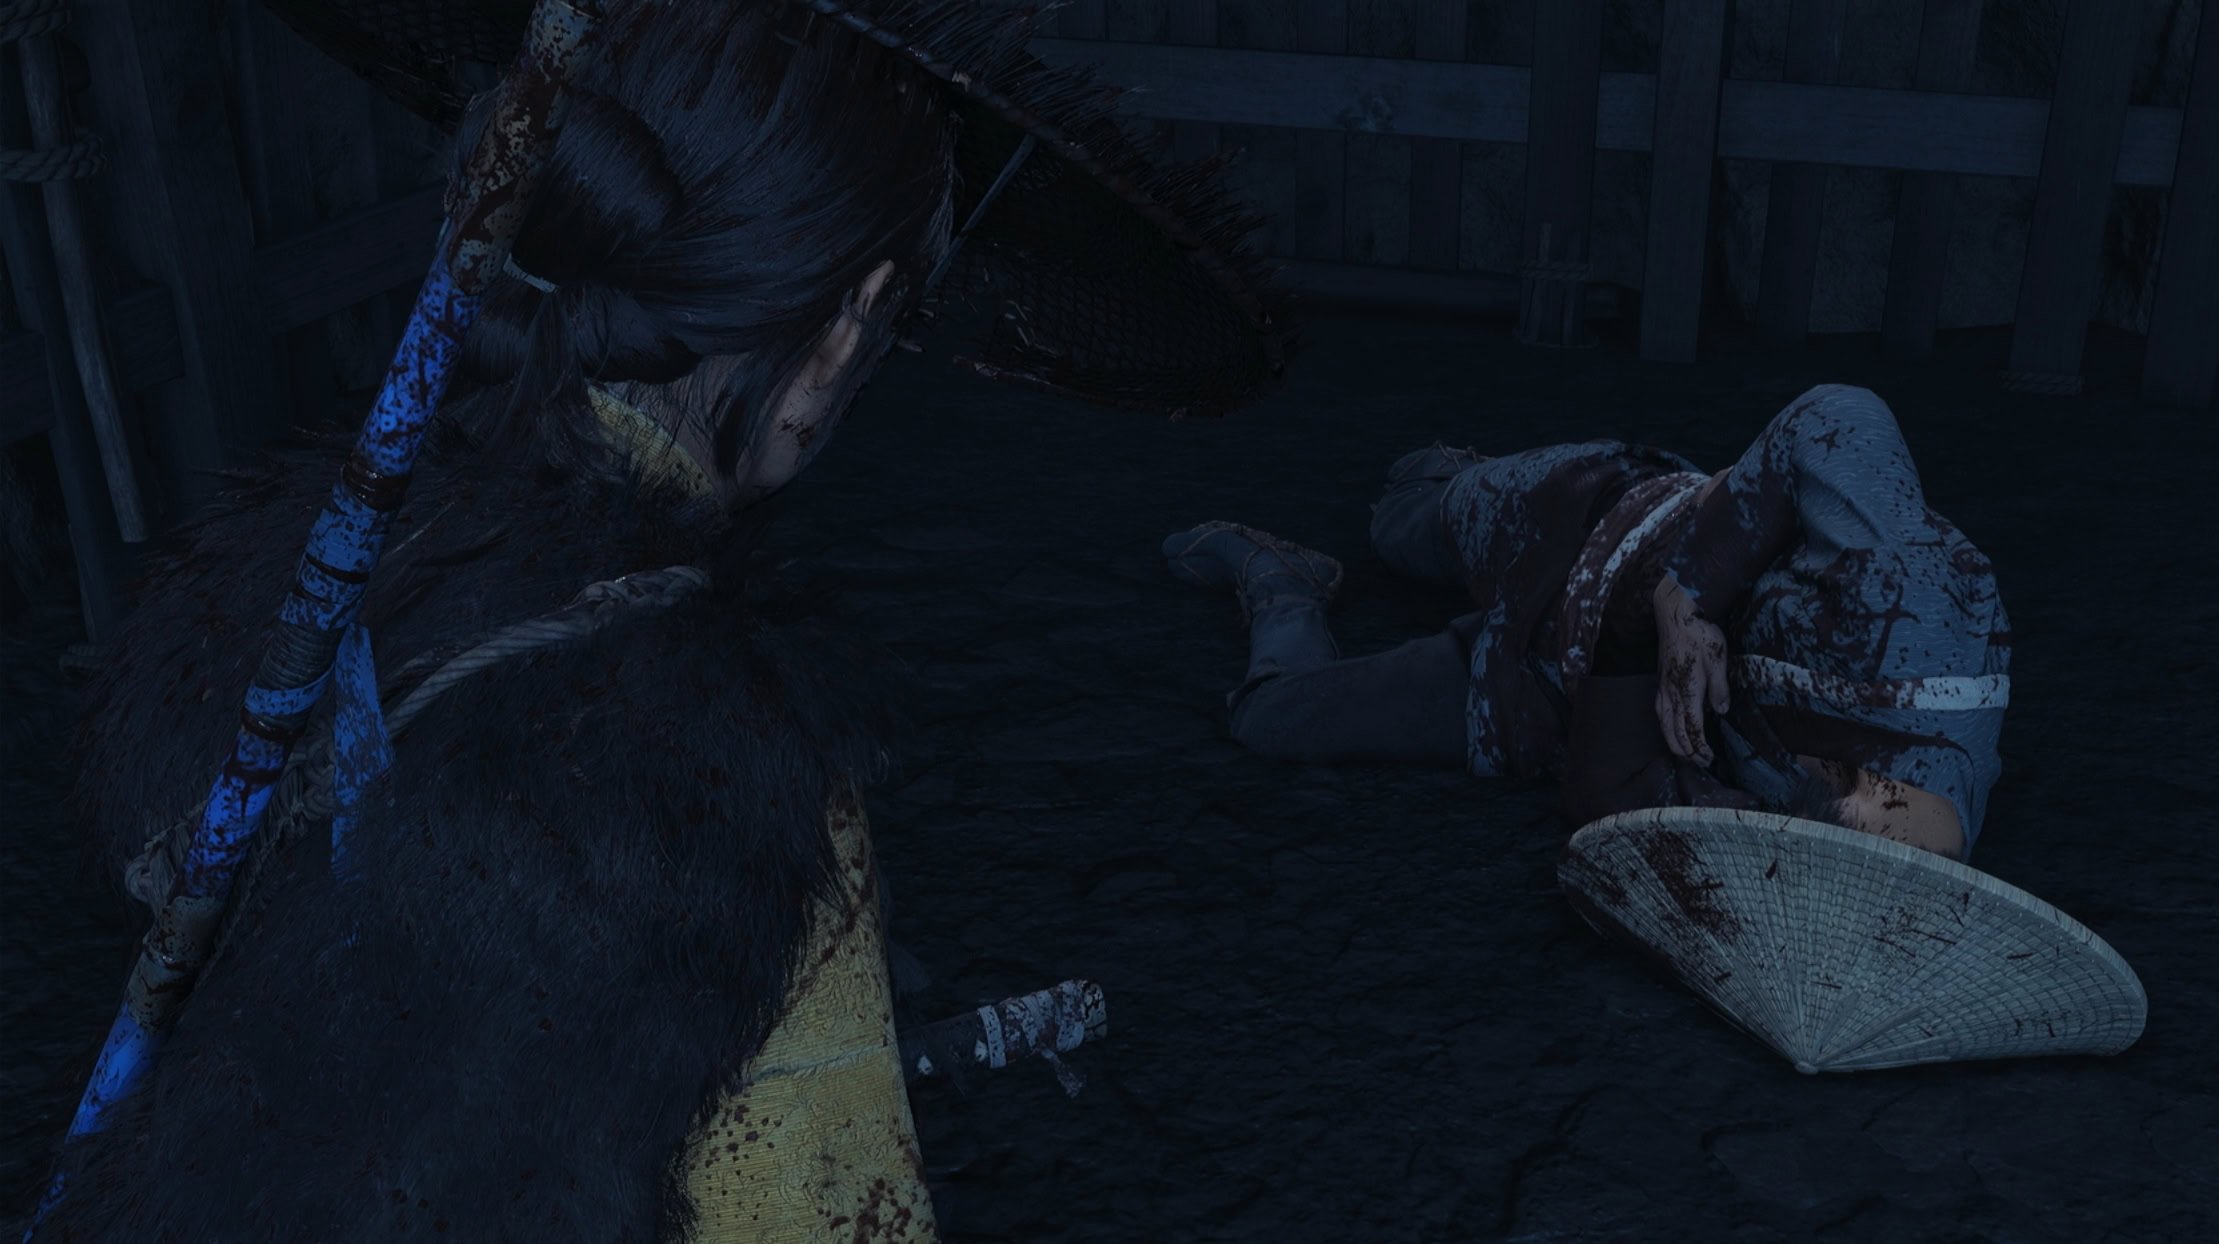
The Fate of the Prisoners
Any prison cells you encounter will have dead civilians inside. They died bleeding and foaming from the mouth. If you’ve played Ghost of Tsushima, you know exactly what caused their deaths.
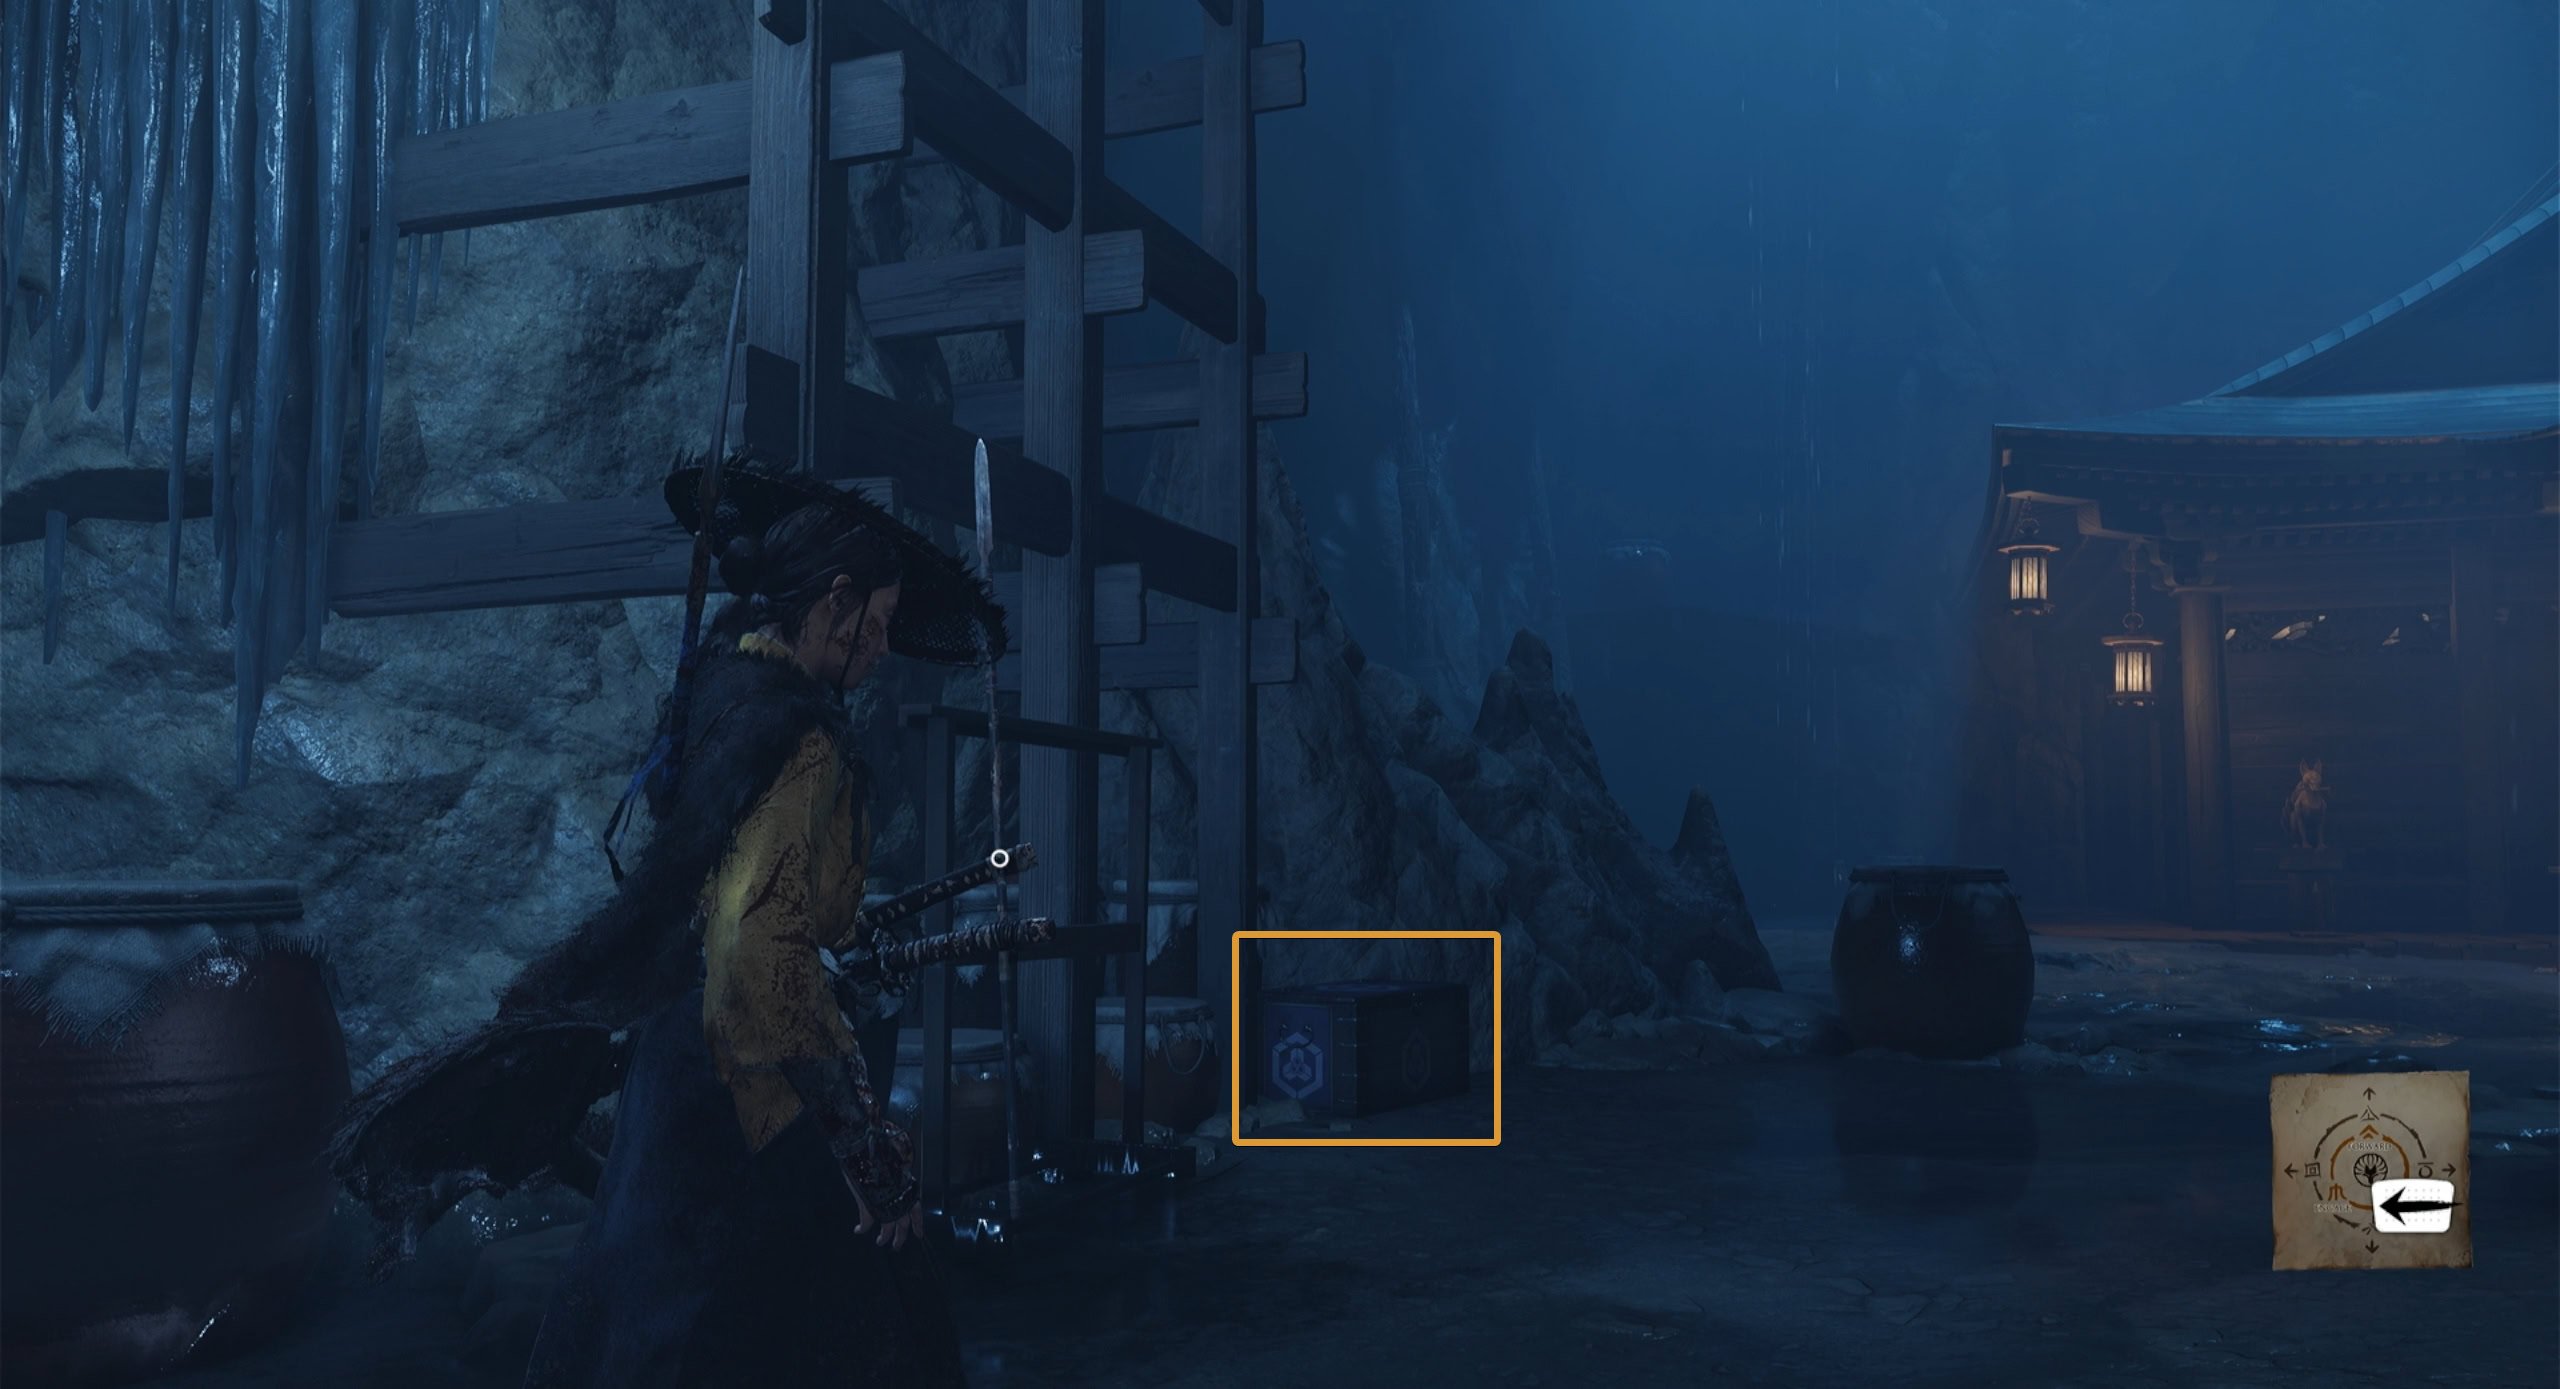
Don’t forget the Supply Chest
Before the small building located here is a purple chest. Be sure to open it to get some upgrade materials!
The Kitsune Building Puzzle
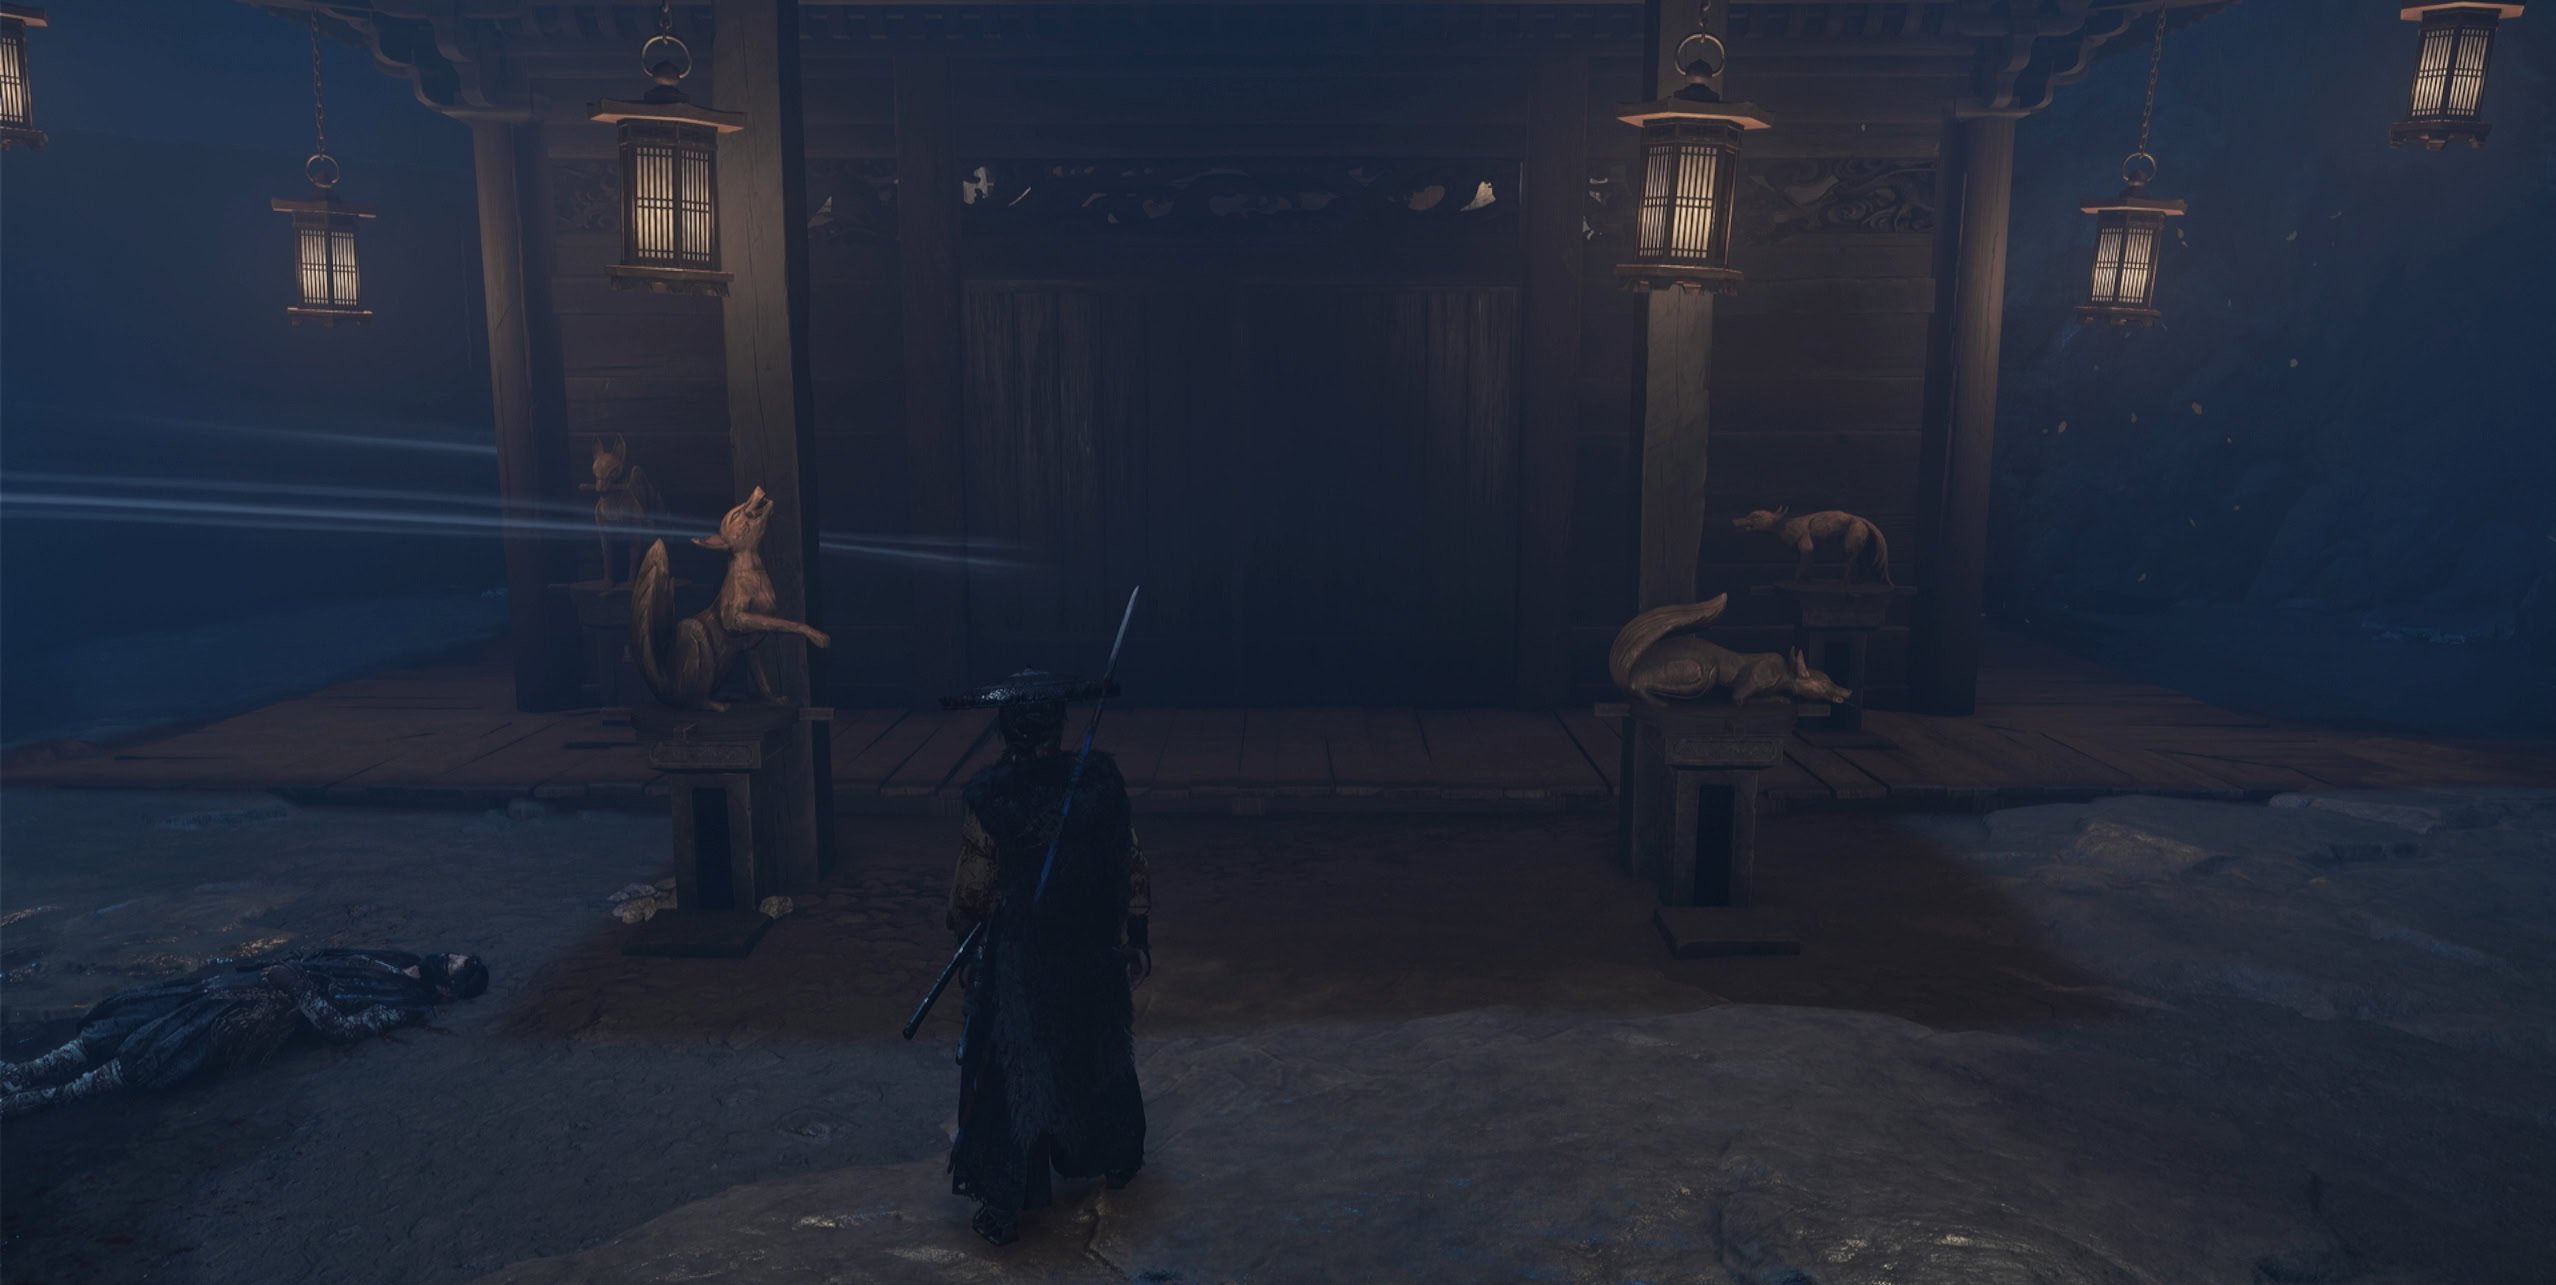
When you get near the building in the Holding Cell room, more shinobi will attack. Defeat them then take a loot at the kitsune statues in front. There are four kitsune statues that can be rotated, but you’ll need to explore the room to find their correct orientation.
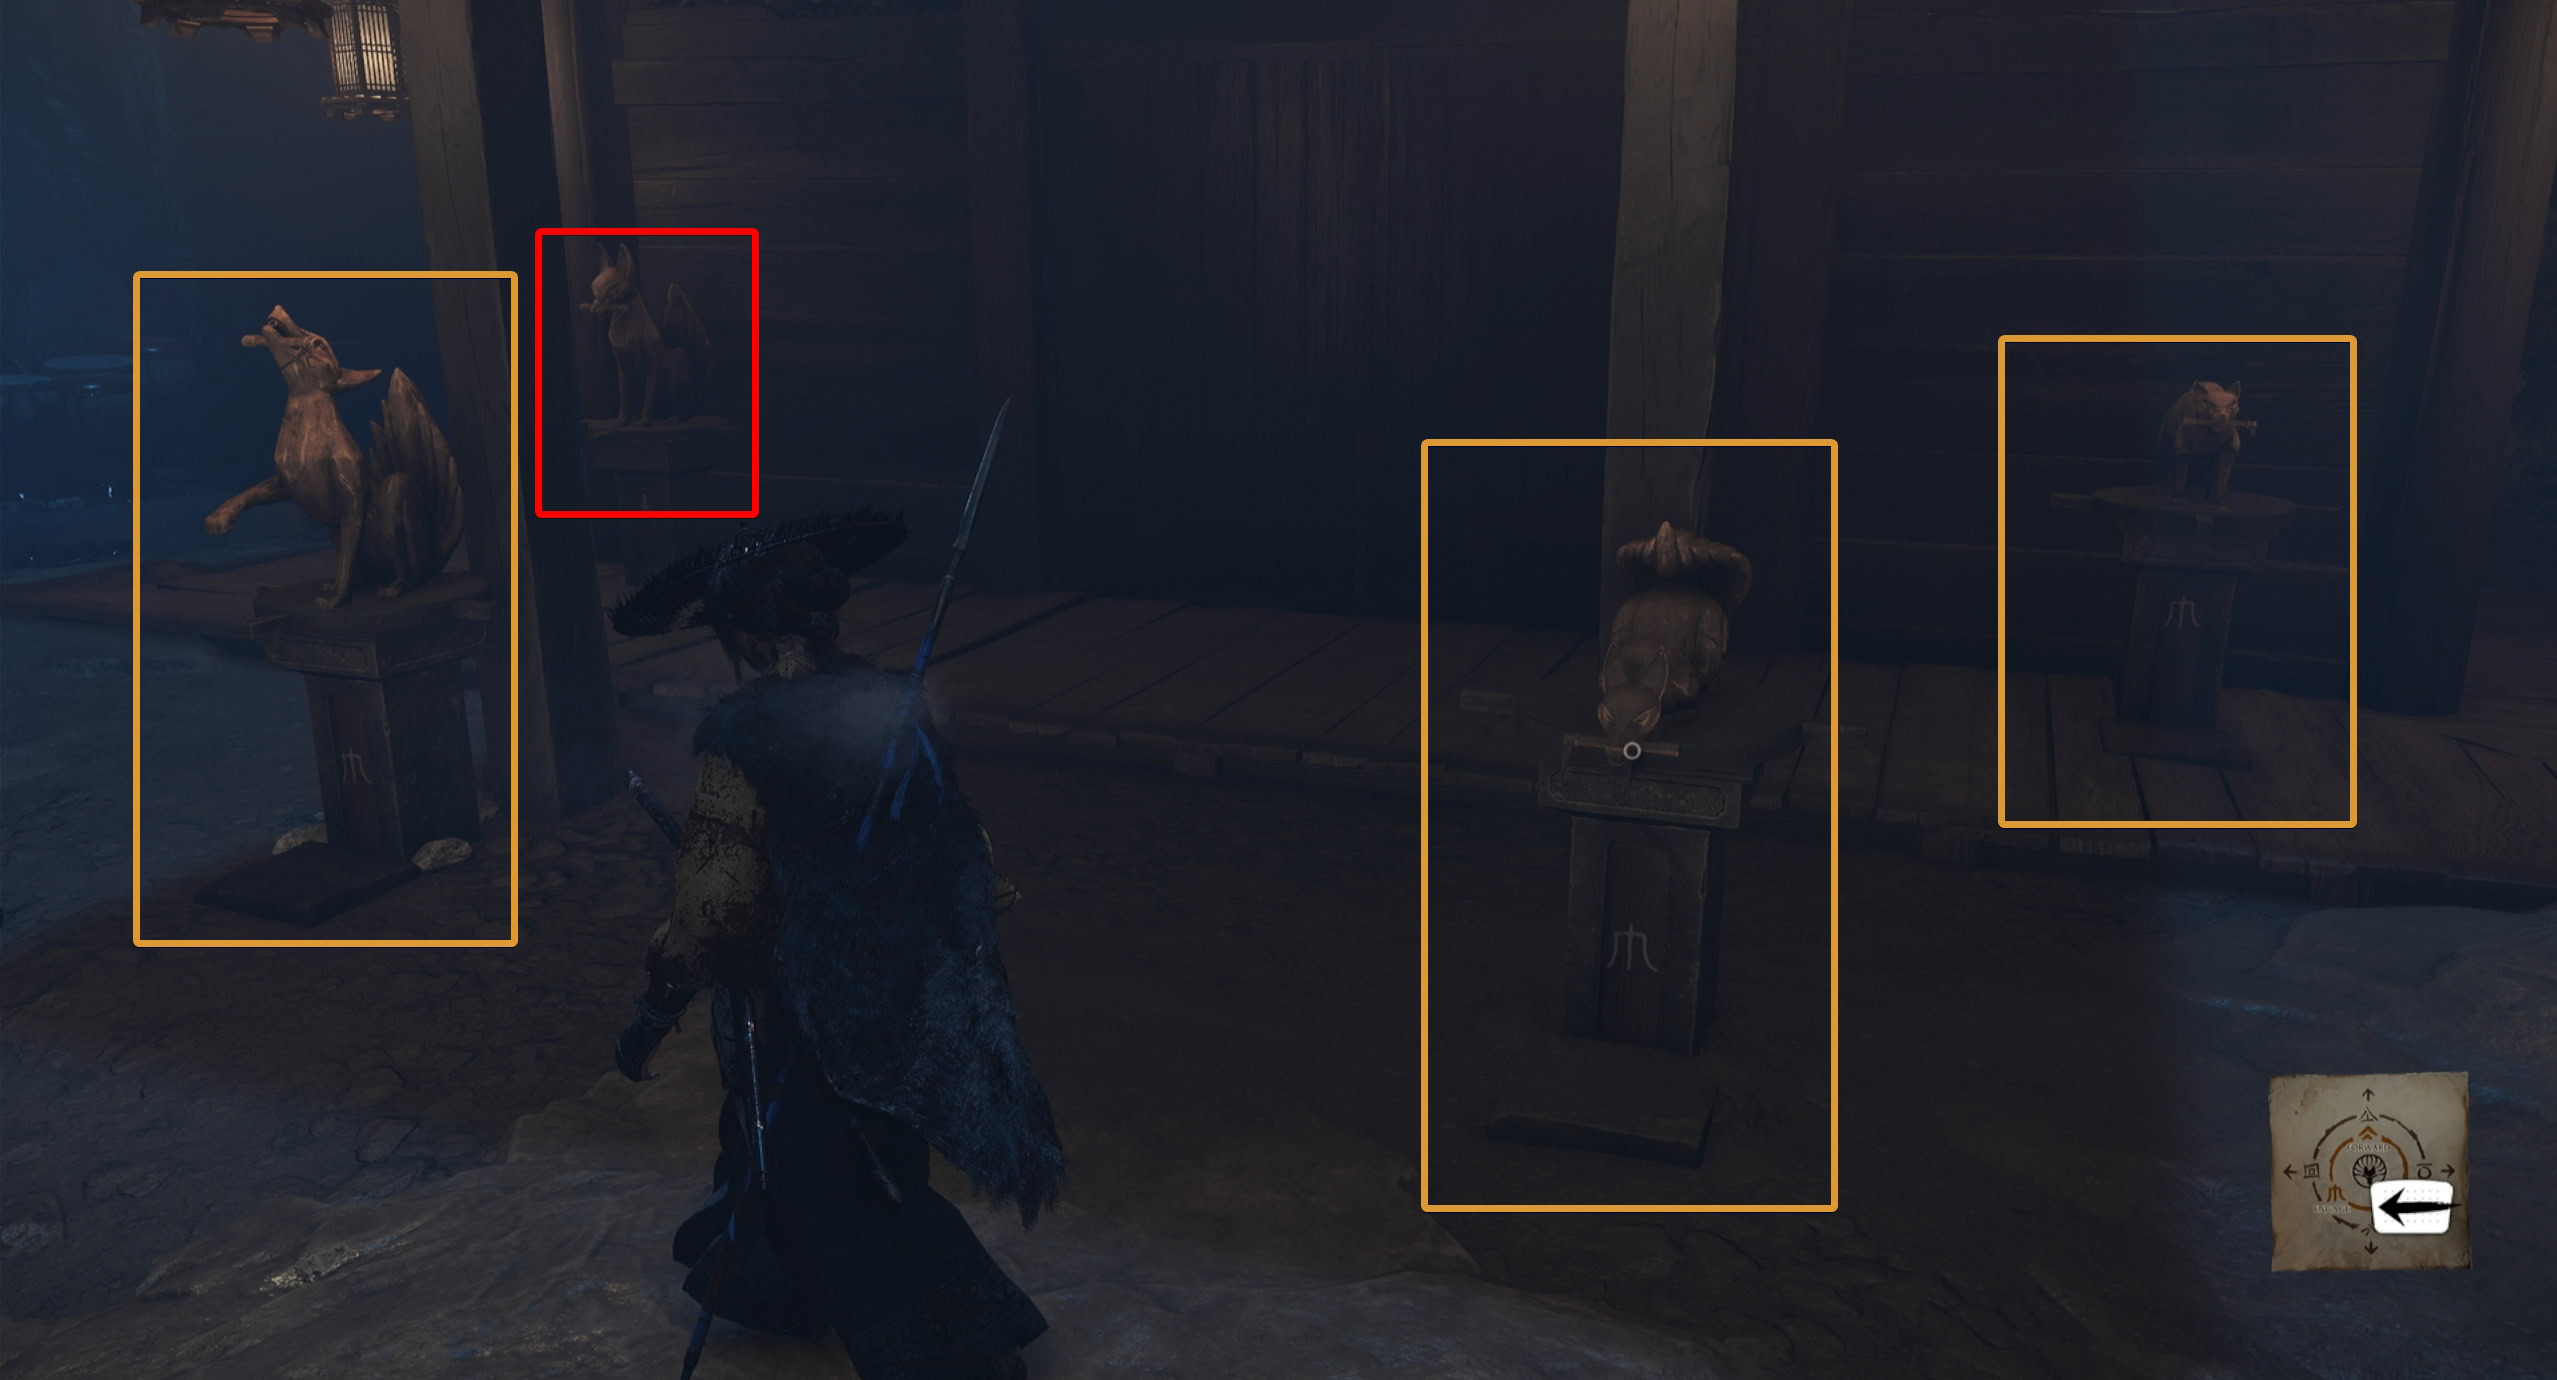
Hidden around this central room are three statues with a symbol next to them. Remember their symbol’s direction and the pose they’re in.
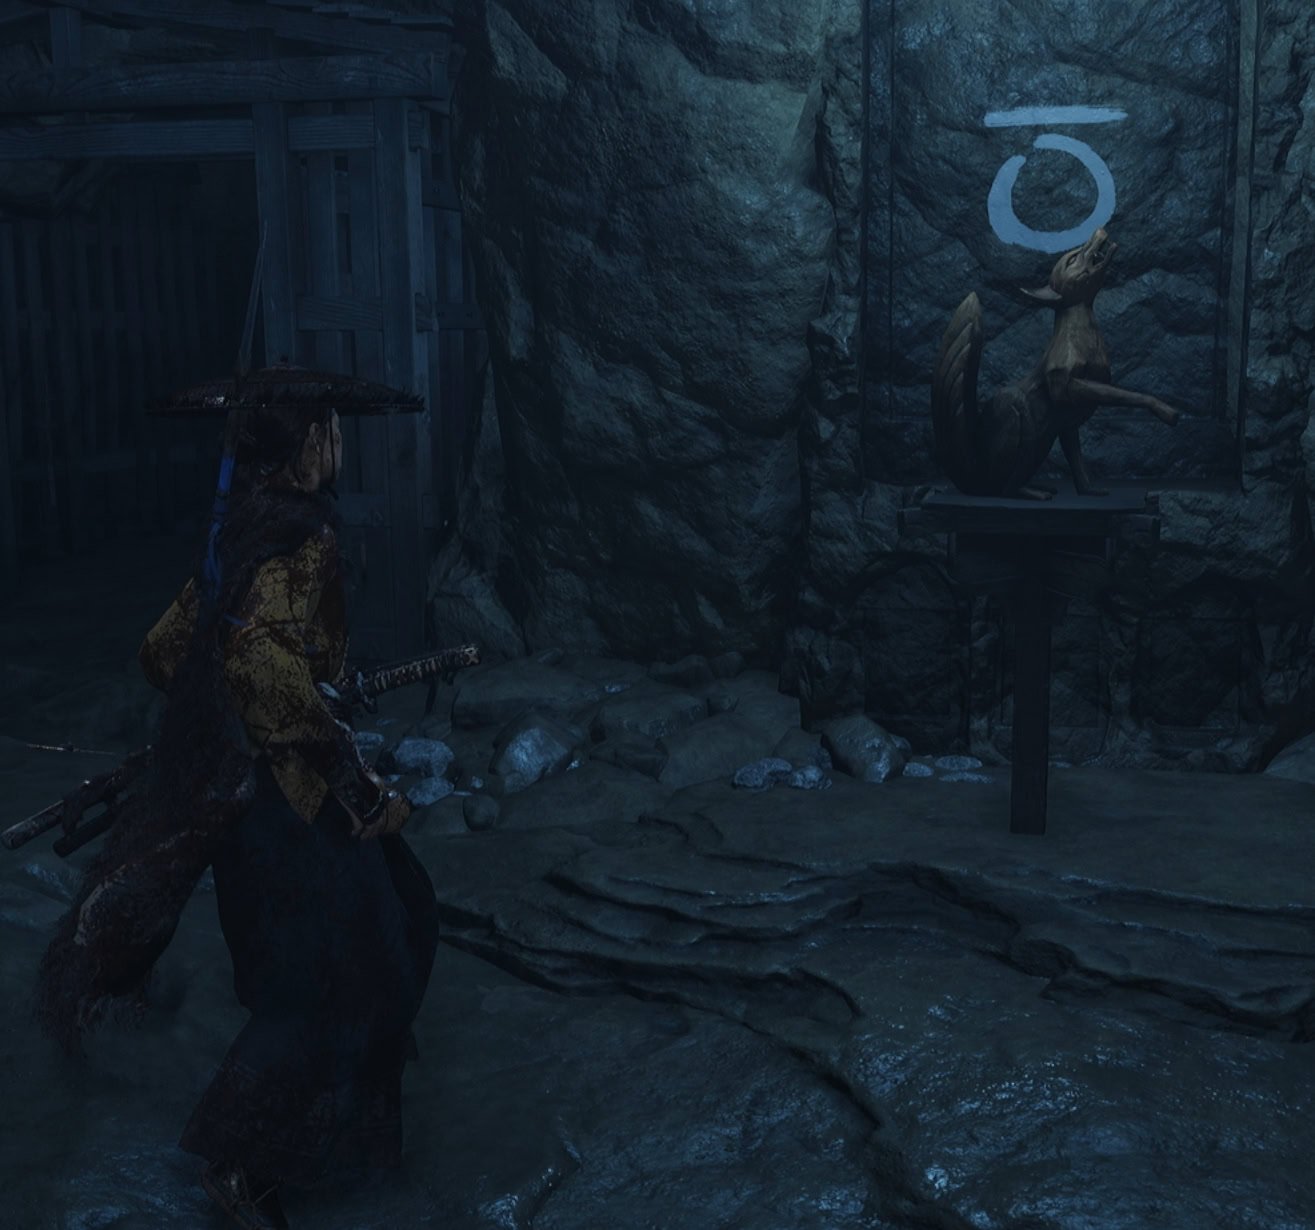
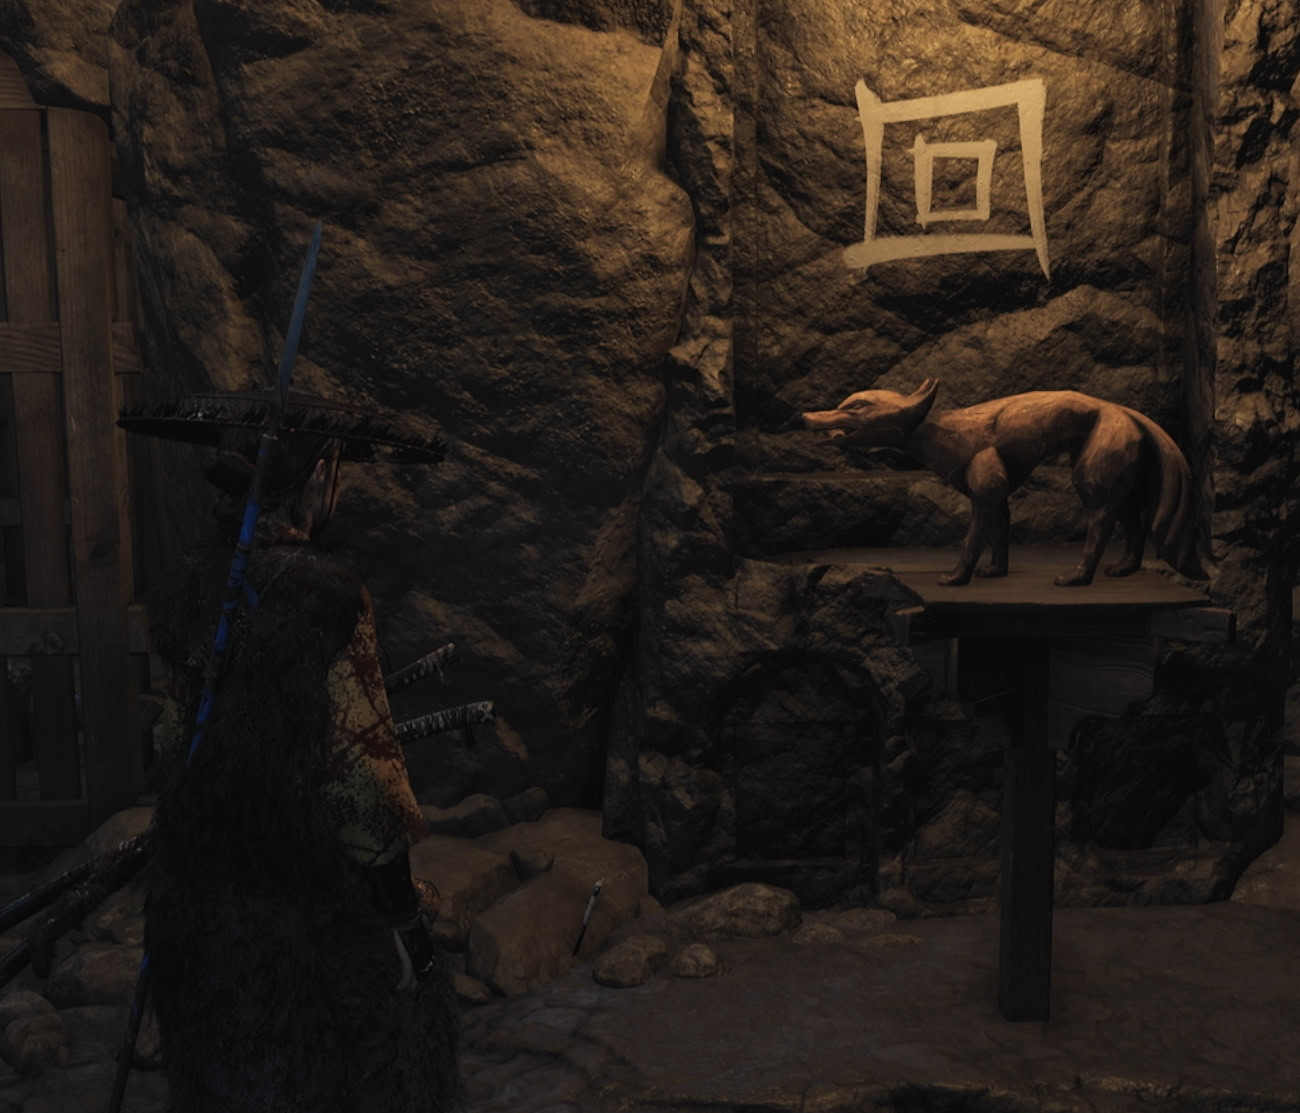
Orient the kitsune statues in front of the building to match the statues hidden around the room. This will unlock the door and allow you inside.
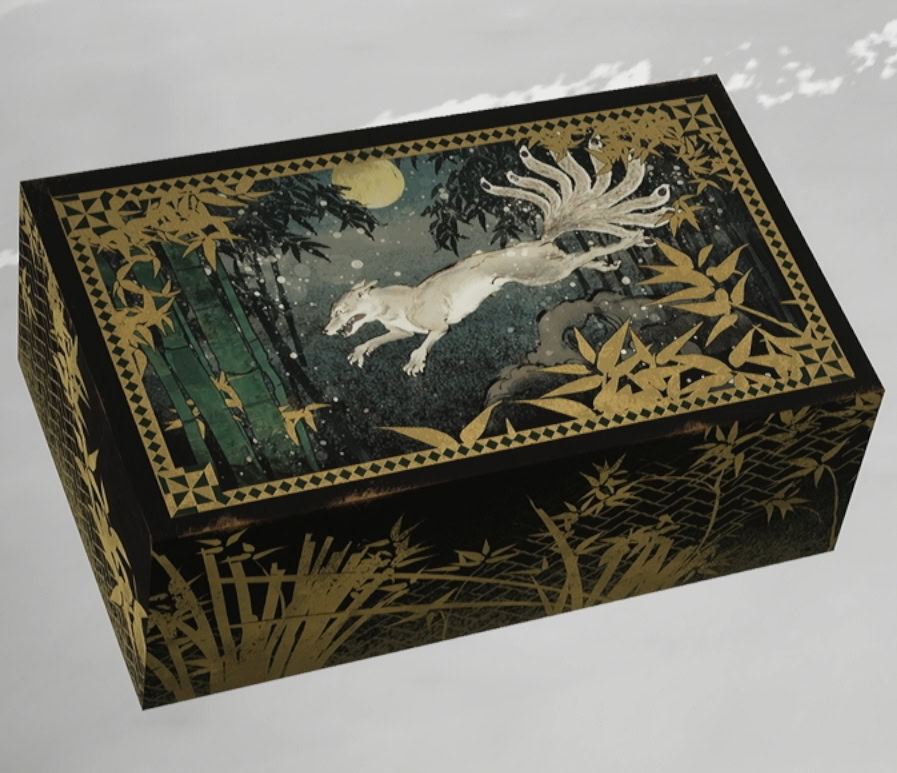
As a reward for your efforts for completing the puzzles, you’ll get The Kitsune’s Puzzle Box! Take the tunnel out to return to the surface.
Regroup with Oyuki and the Prisoners
Once outside, go to the building next to the Dye House to find Oyuki and the prisoners you helped free. This will start a cutscene, some flashbacks, and maybe some realizations.
The mission wraps up with the secrets of the puzzle box revealed. The Kitsune is making poison, and you must figure out where he’s doing this.