Everything you need to know about fighting Takezo the Unrivaled during the quest “The Five Teachings” in Ghost of Yotei including preparation, Takezo’s attacks and mechanics, builds, and rewards.
Table of contents
There are 5 Dueling Trees are scattered across Yotei Grasslands and Tokachi Range. You get a quest from Ugetsu the Storyteller upon visiting the first one. The quest is called “Takezo the Unrivaled“.
After you defeat all 5 of Takezo’s disciples, you’ll learn Takezo’s Dual Slash technique and get a new quest called “The Five Teachings”.
Preparing to Fight Takezo the Unrivaled
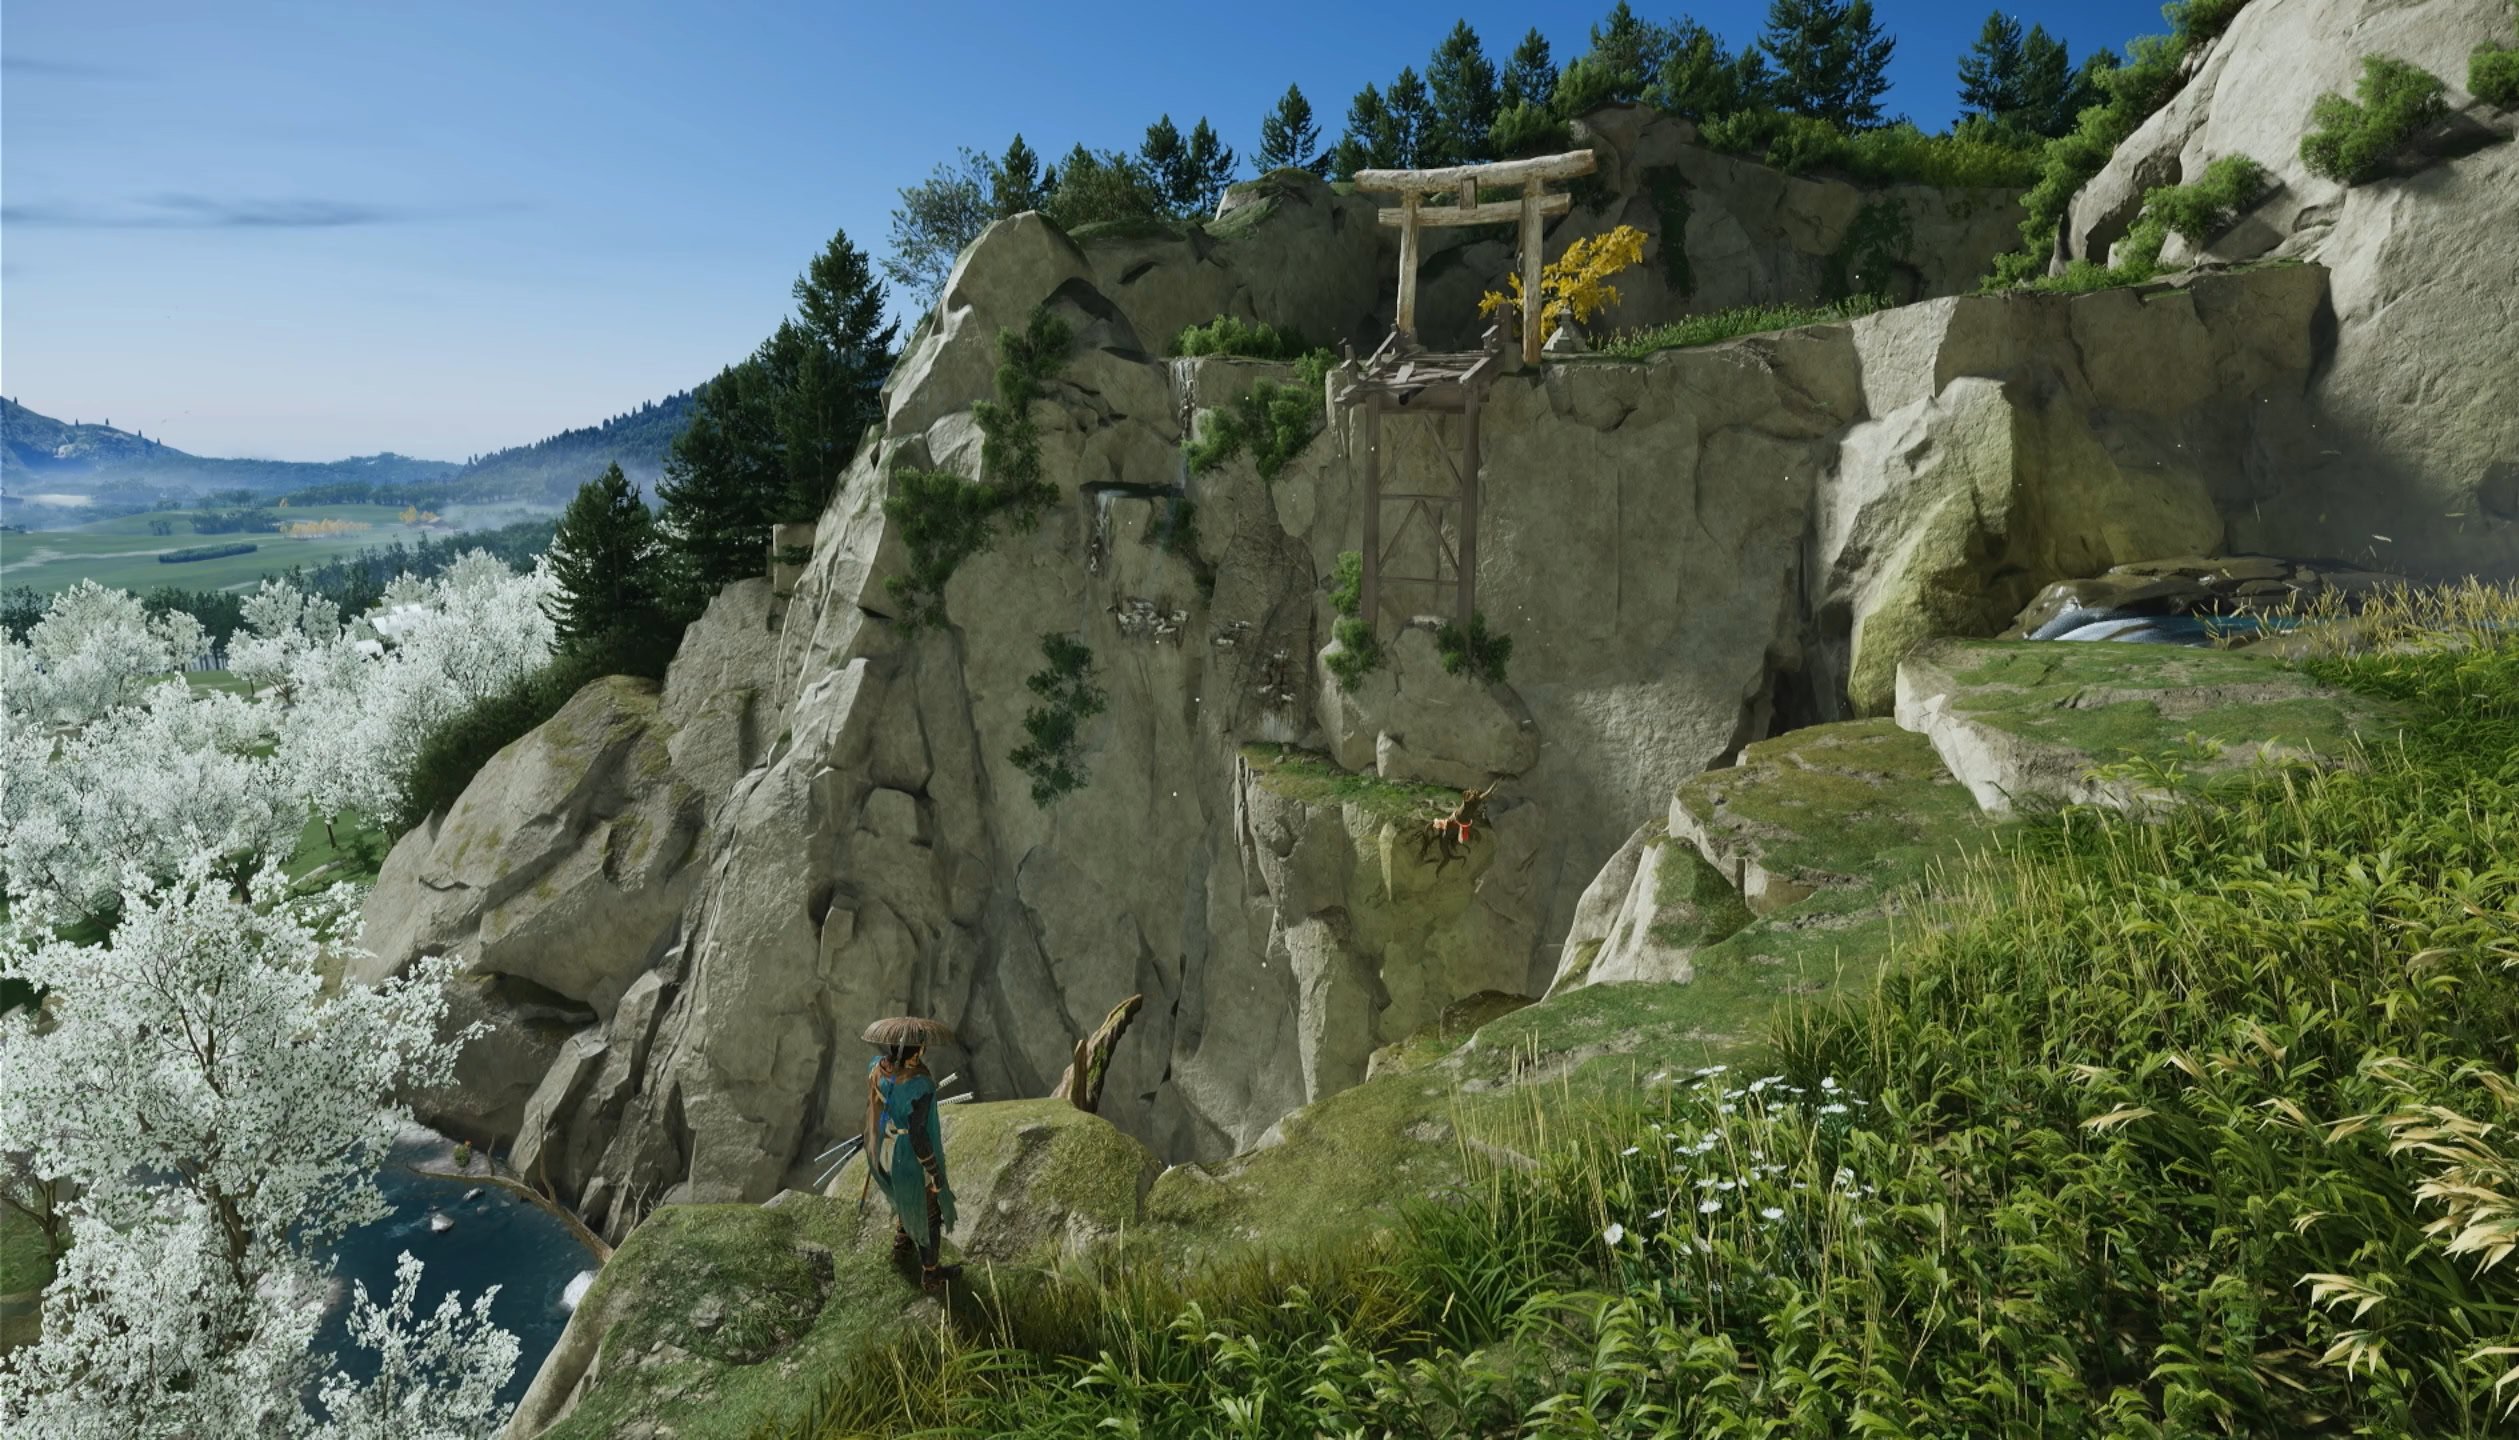
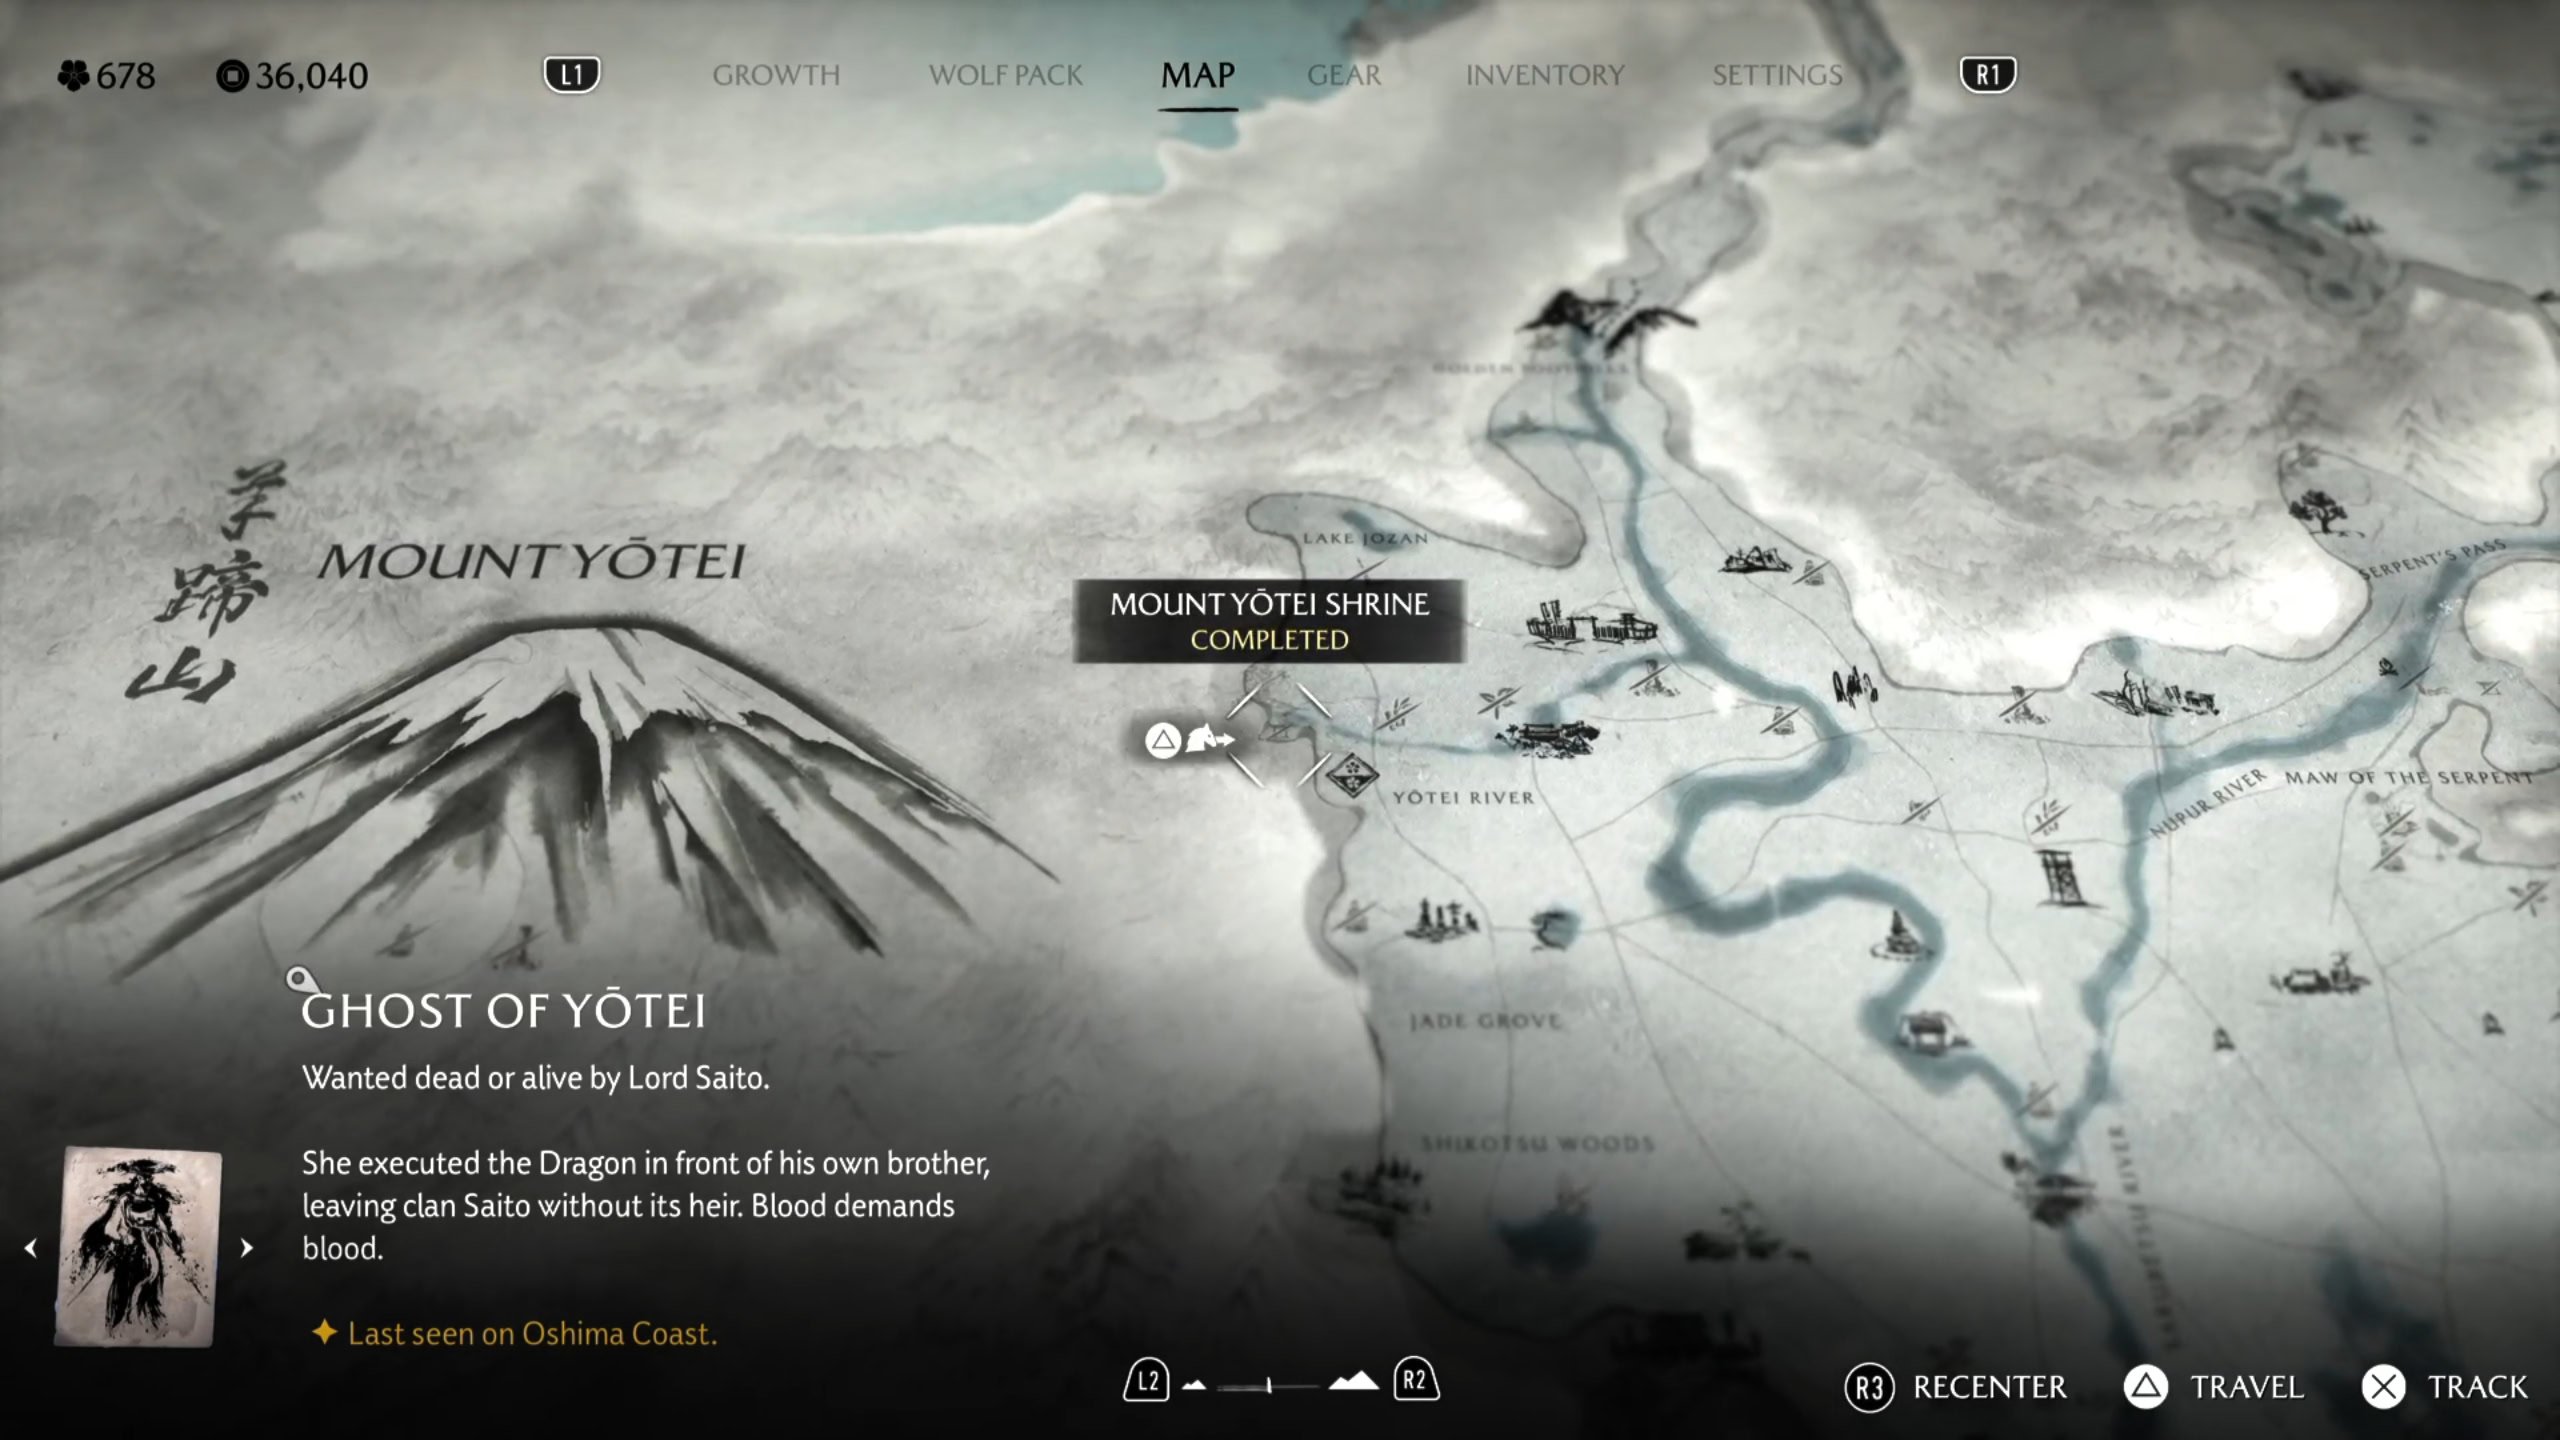
You can fight Takezo the Unrivaled as soon as you get “The Five Teachings”. He is located atop Mount Yotei, reachable via the Shrine in Yotei Grasslands.
You should wait to fight Takezo the Unrivaled until you’ve fully upgraded your armor and weapons, gotten all the Spirit buffs from Bamboo Strikes, and maxed out your HP by resting at all the Hot Springs.
You don’t need to get all of the Altars of Reflection, but you should fully upgrade your chosen weapon in the Melee tree as well as the Attacks and Survival branches in the Onryo tree.
Don’t forget to cook yourself some fish at a campsite to get a Major Perk before the fight! Make sure you’re buffing either Melee or Defense. Try camping in different spots to get a new perk to appear.
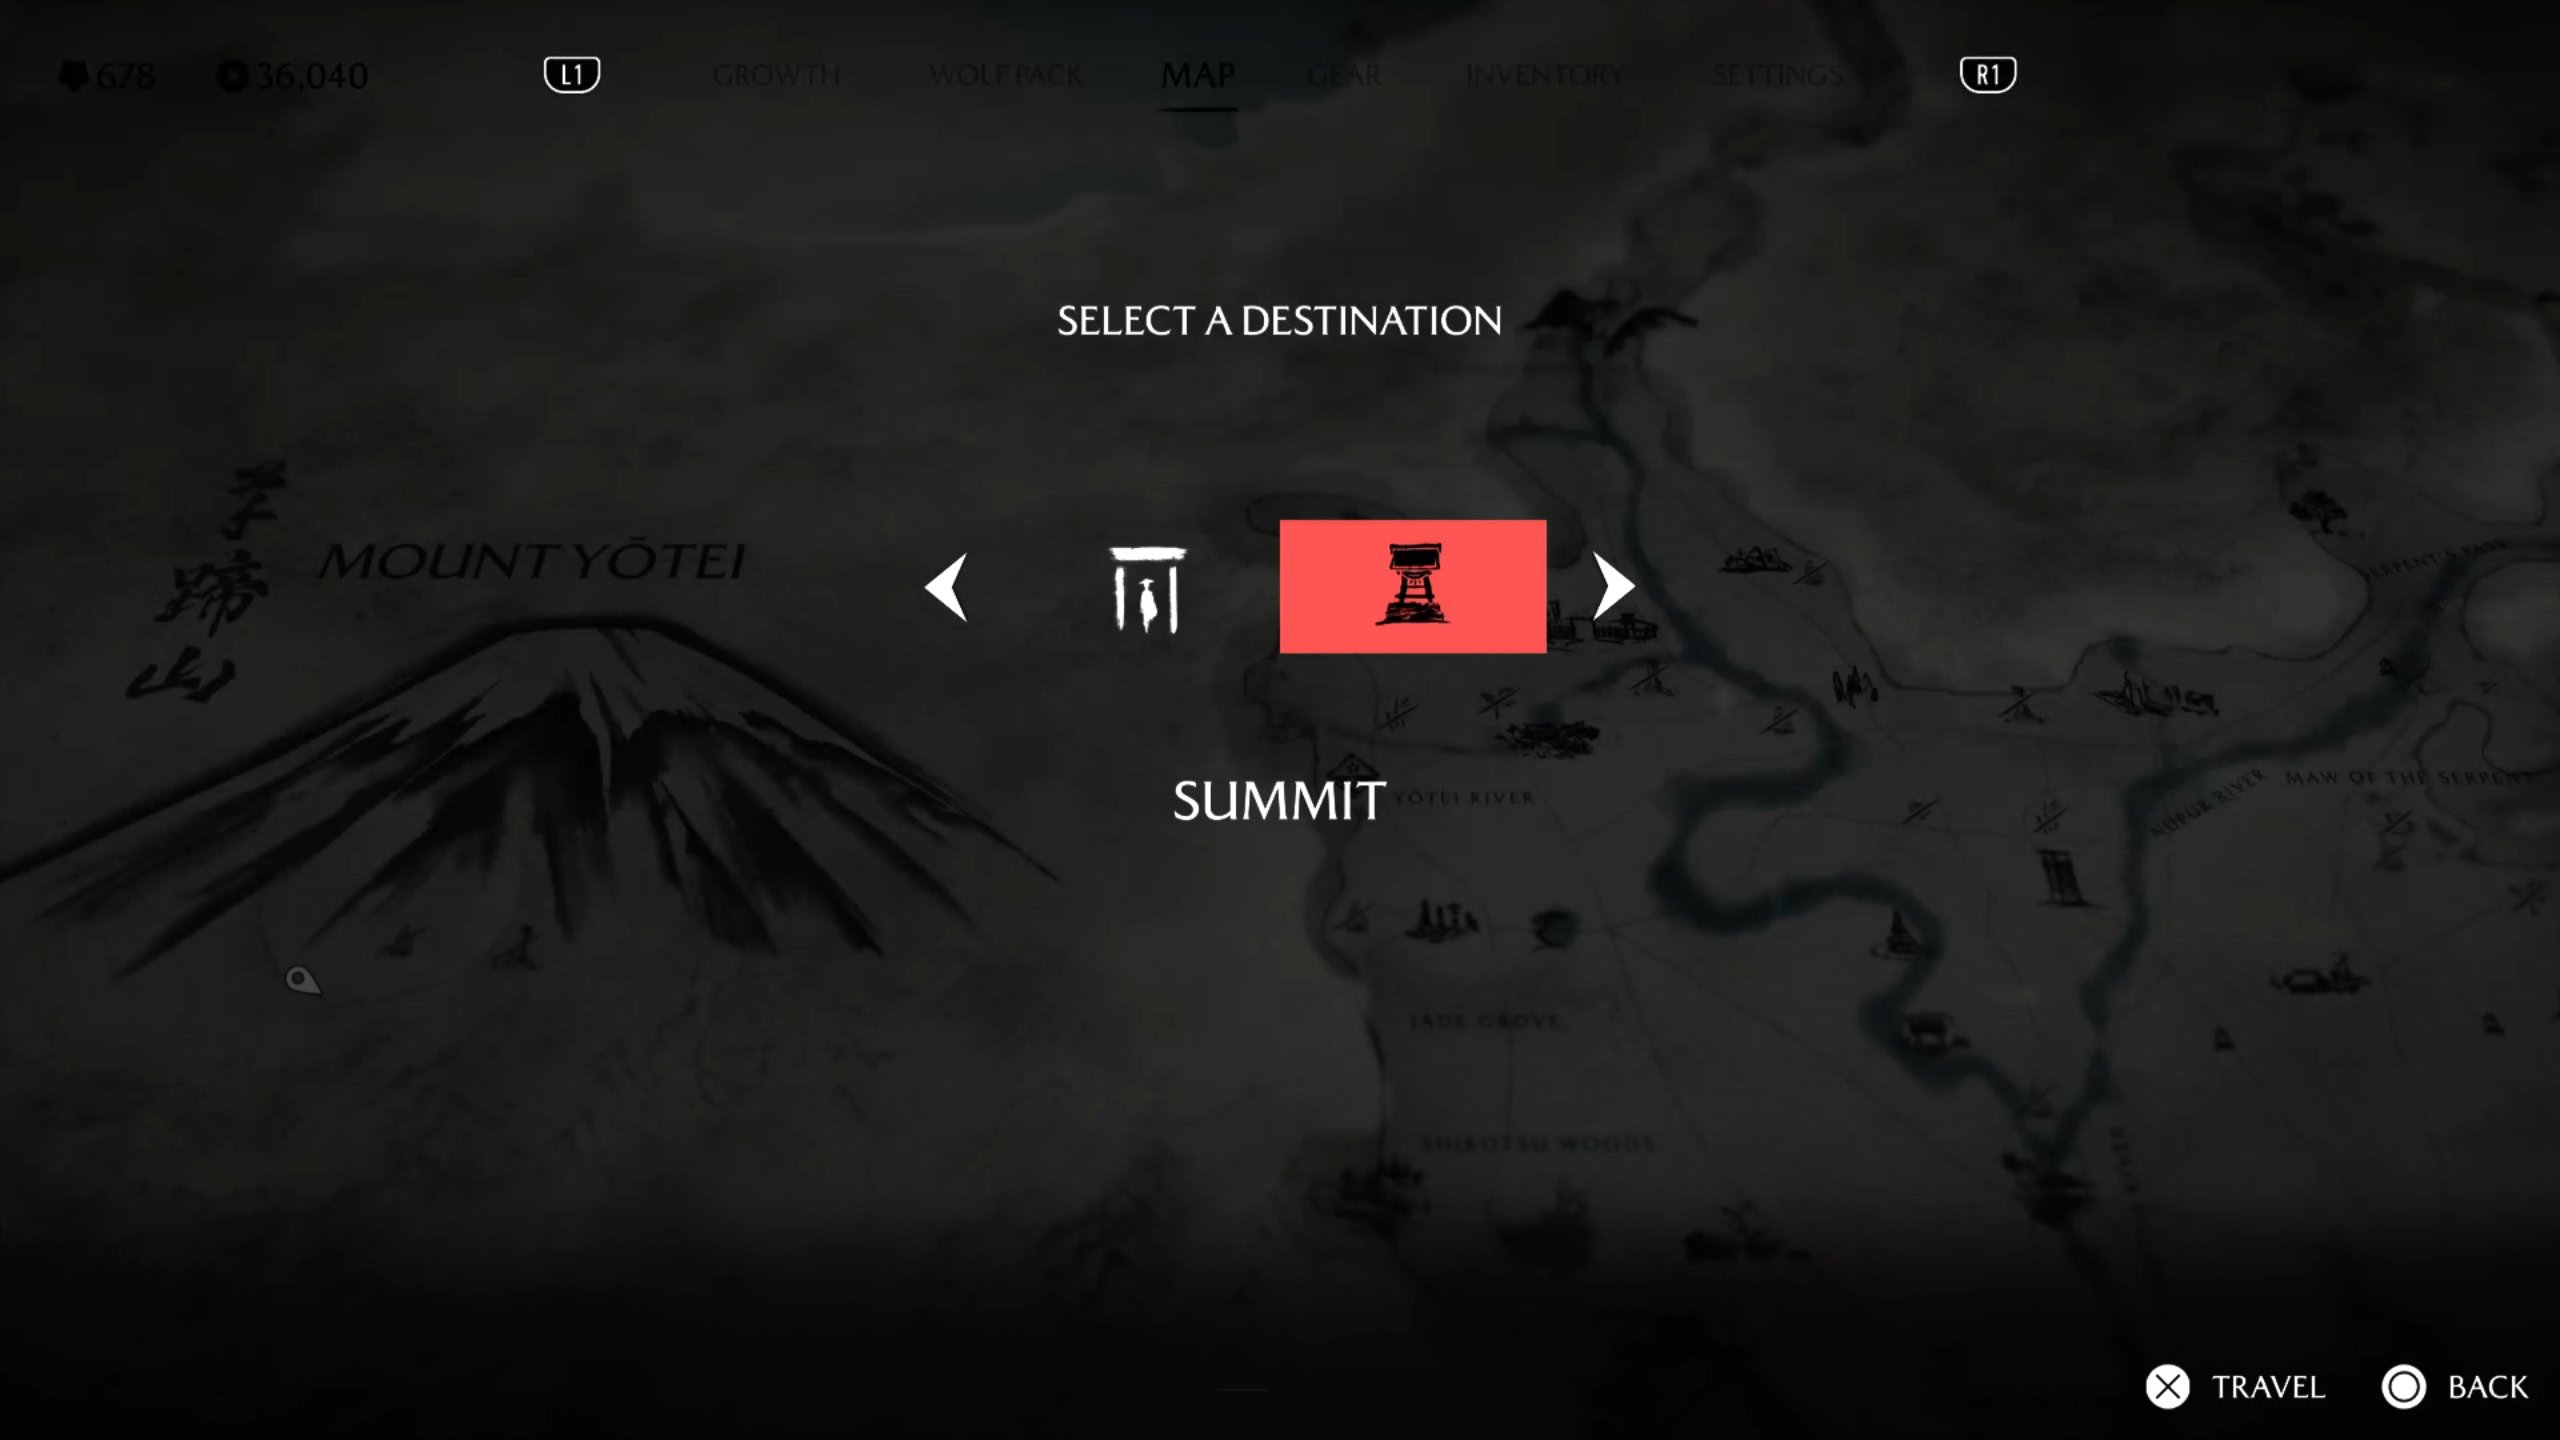
Once you’re ready to fight him, it’s time to climb Mount Yotei. There are a few options for Fast Travel points up there, including the Pillar of the Fallen and Altar of Reflection, but the one that puts you closest to your destination is by Fast Traveling to the Mount Yotei Shrine and selecting the Summit option.
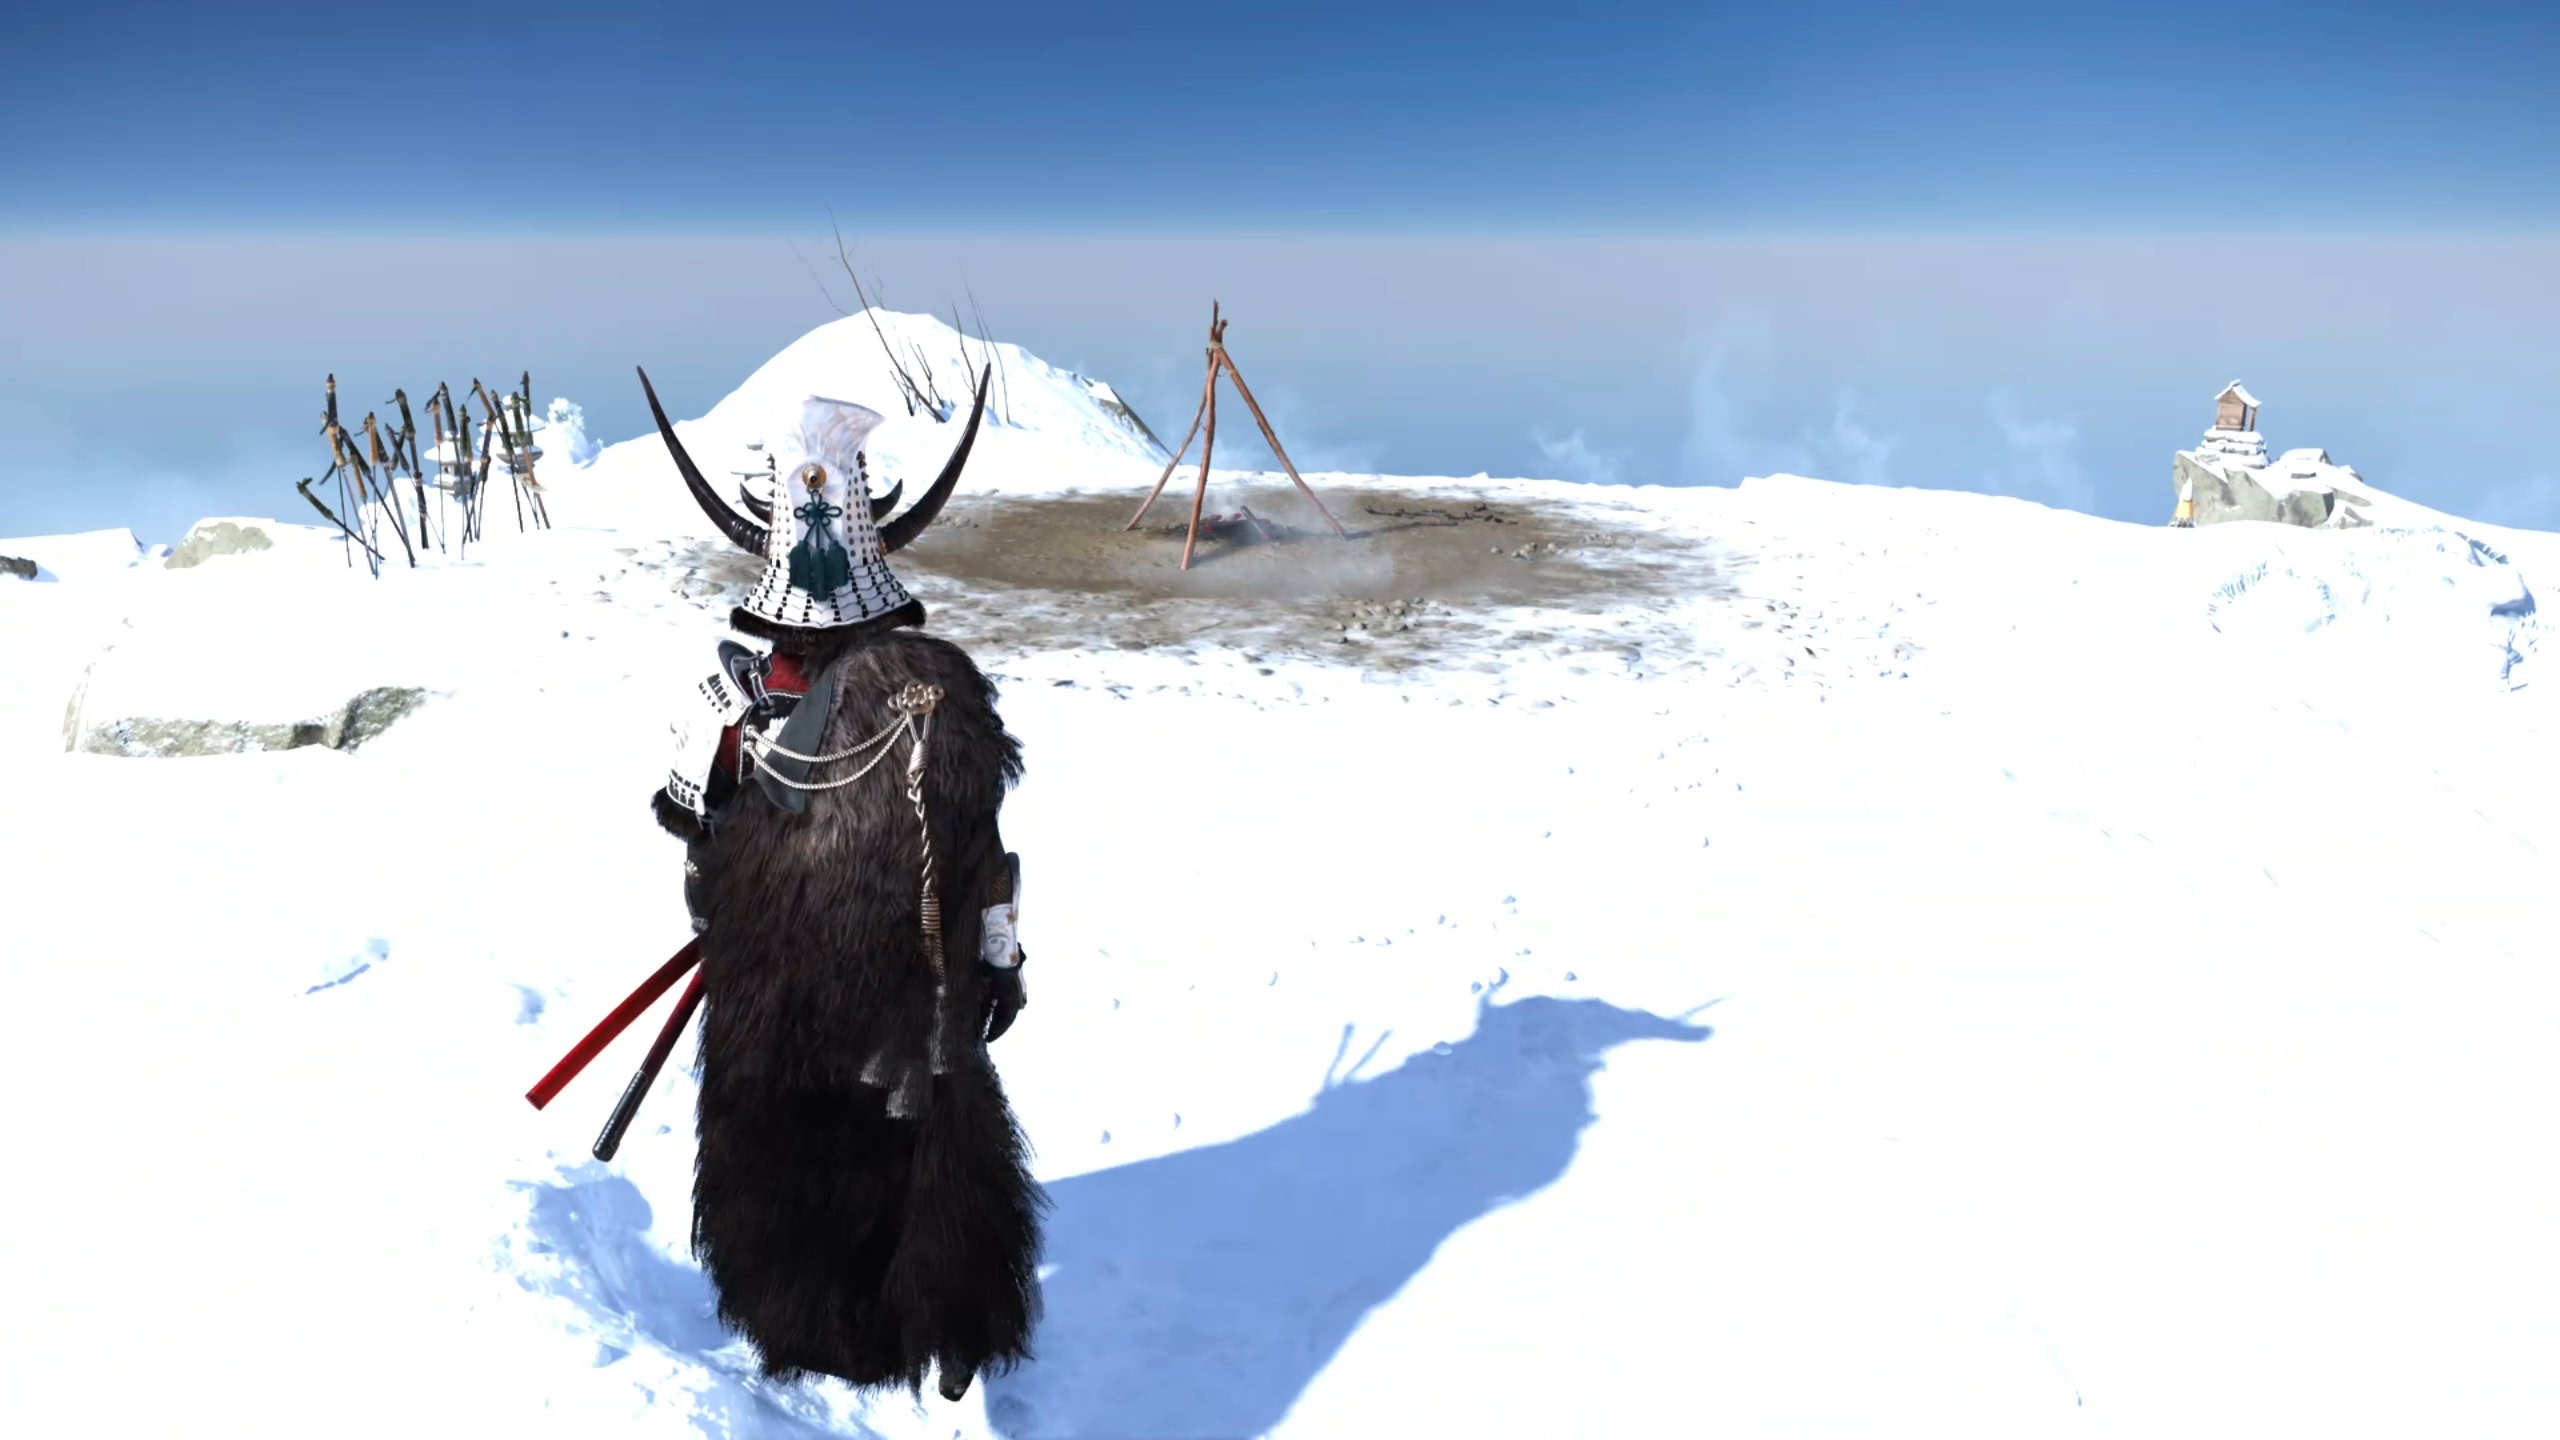
As you’re facing Mother and Father’s Shrine, turn left and head over to the camp. You can see it in the distance from the campsite.
Equip all 5 of Takezo’s Charms. The order does not matter and you can do whatever you want for the 6th Charm. Below is a list of all 5 of Takezo’s Charms with links to location guides for each one.
| Icon | Name | Category | Type | Upgradeable? | Region | Source |
|---|---|---|---|---|---|---|
| Takezo’s Charm of Renewed Determination Earn a minor amount of Spirit when taking damage from an enemy. | Defense | Minor | No | Yotei Grasslands | Quest | |
| Takezo’s Charm of Bold Deflection Parrying inflicts a major amount of additional Stagger damage. | Defense | Minor | Yes | Tokachi Range | Quest | |
| Takezo’s Charm of the Stout Heart Increase potency of the Heal Technique by a major amount. | Defense | Minor | Yes | Tokachi Range | Quest | |
| Takezo’s Charm of Bracing Victory A Killing Staggered enemies earns a minor amount of Health. | Defense | Minor | No | Tokachi Range | Quest | |
| Takezo’s Charm of the Unrelenting Warrior Deal bonus damage while at low Health. | Utility | Minor | No | Yotei Grasslands | Quest |
If you intend to use them when fighting him, we recommend equipping either the Charm of Futsunushi or Charm of Inner Fire in the final slot. It’s important to note that you do not have to keep using those Charms when fighting Takezo.
Takezo’s Attacks and Fight Mechanics
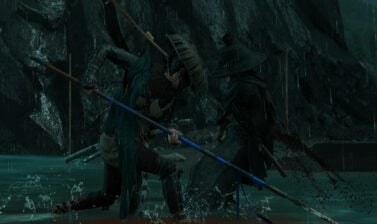
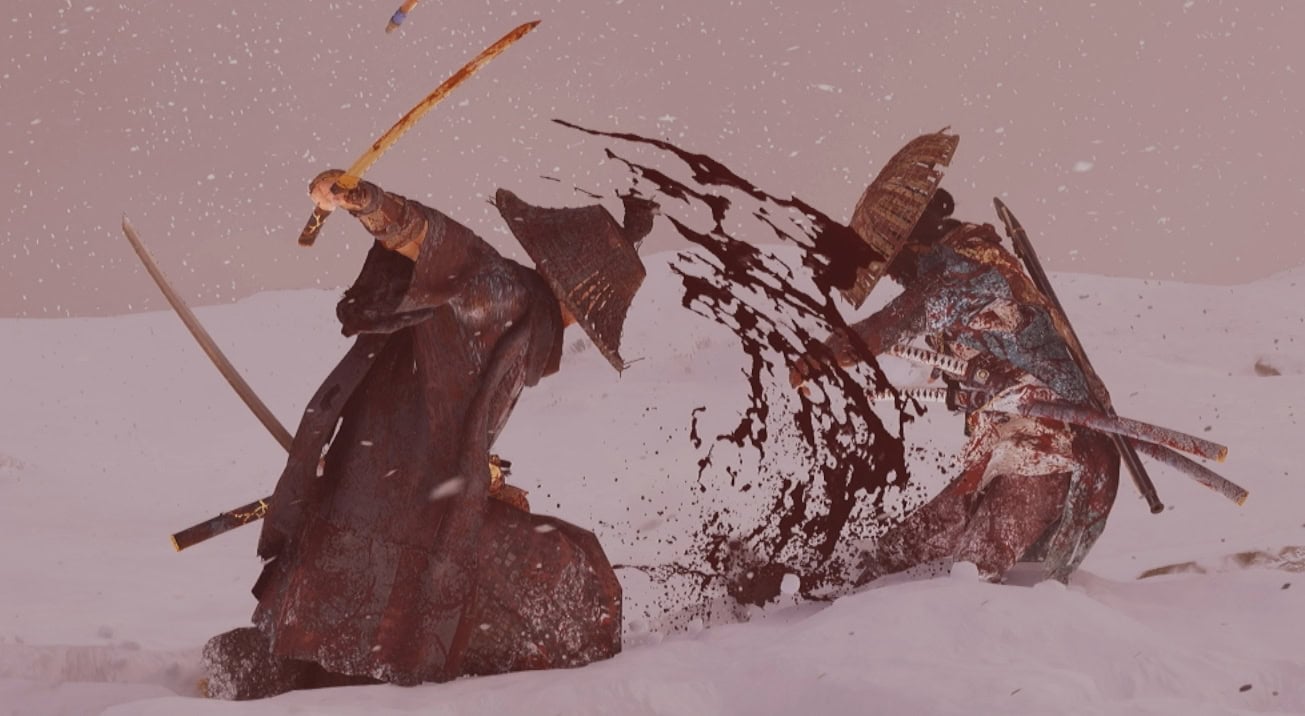
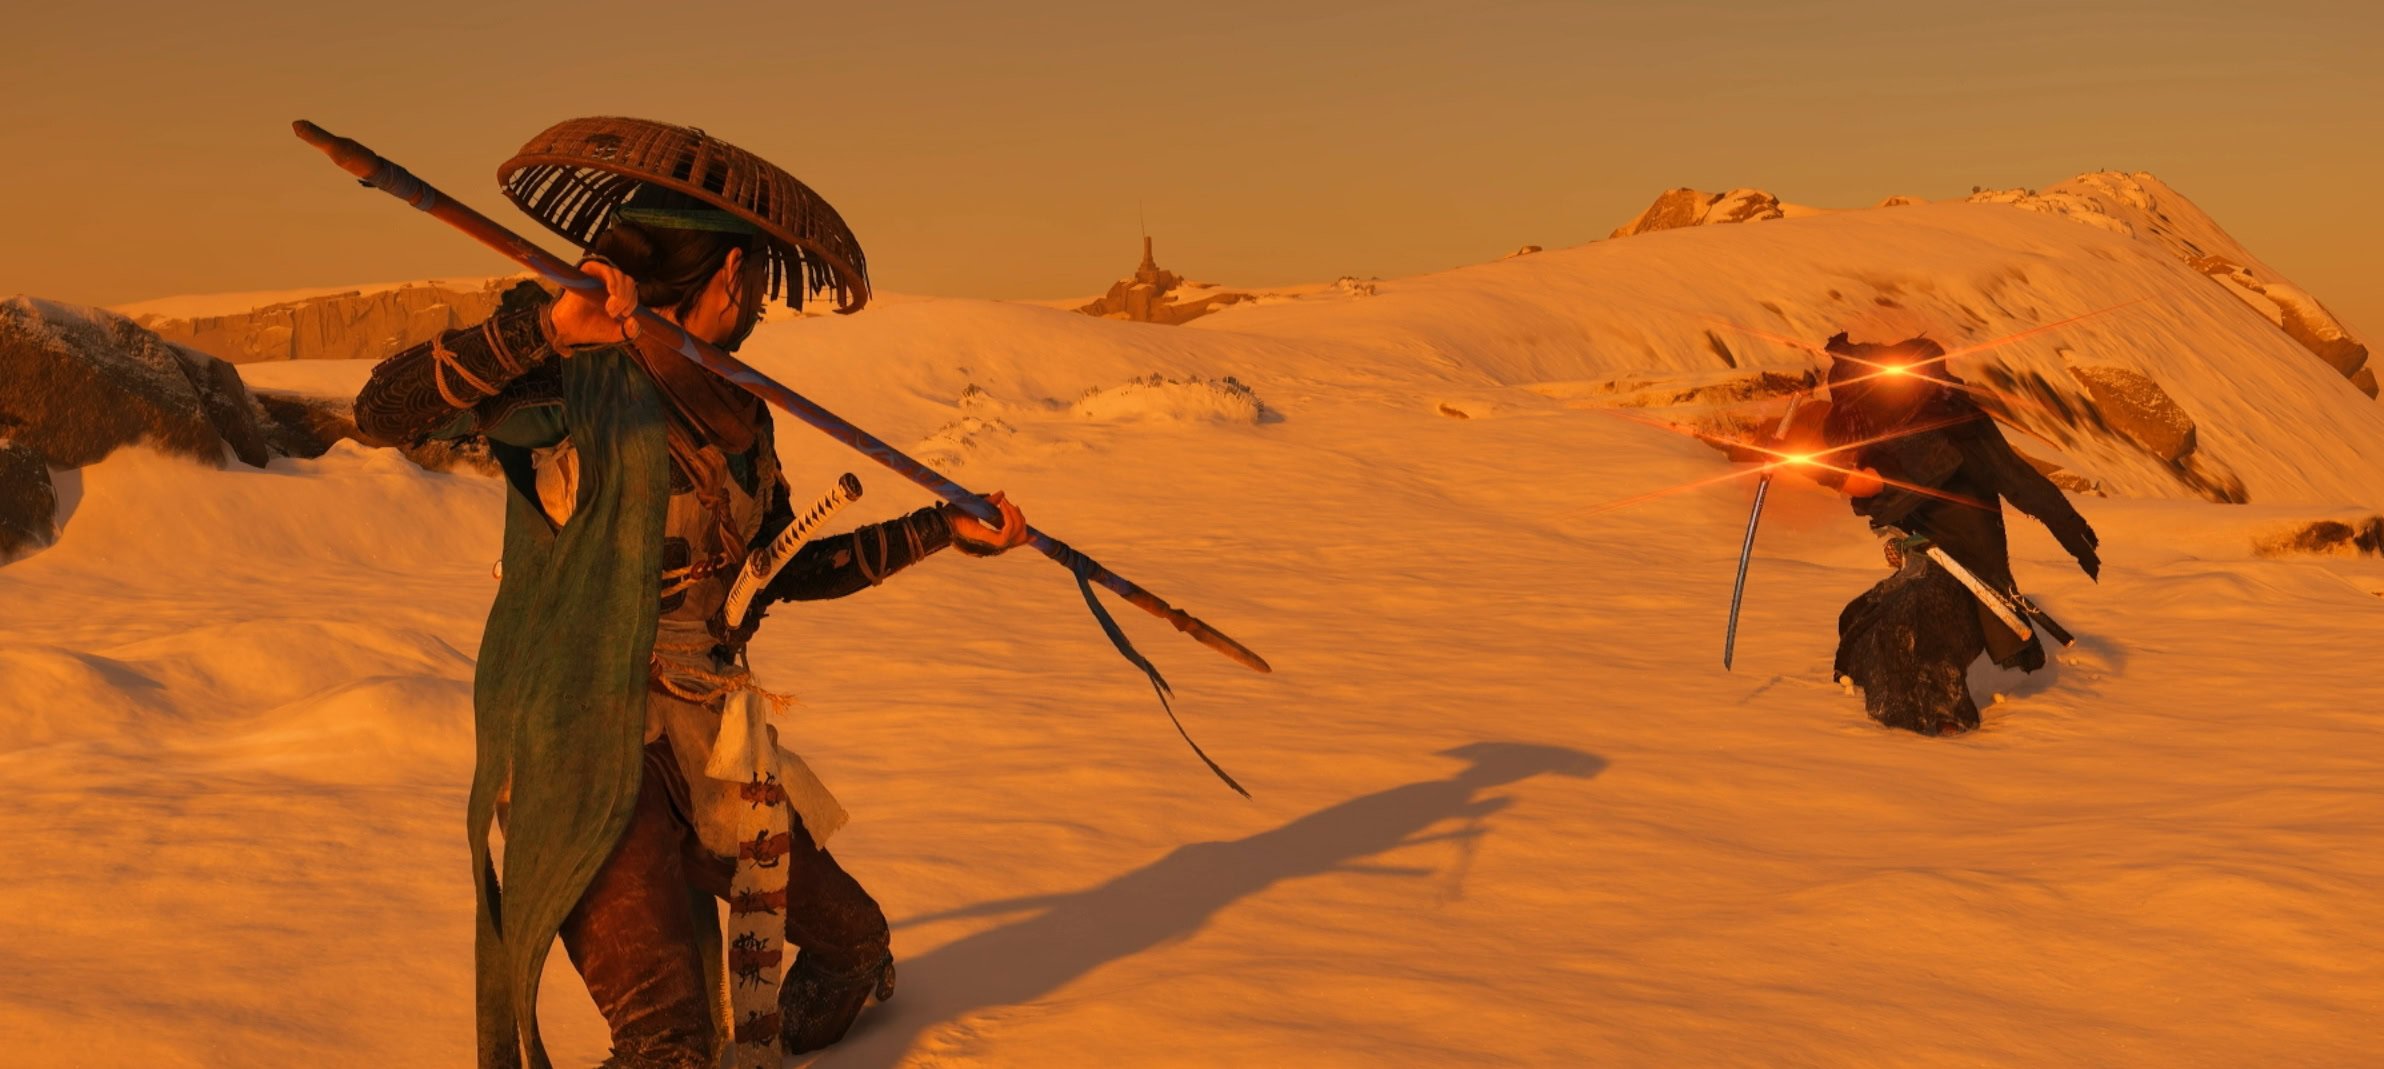
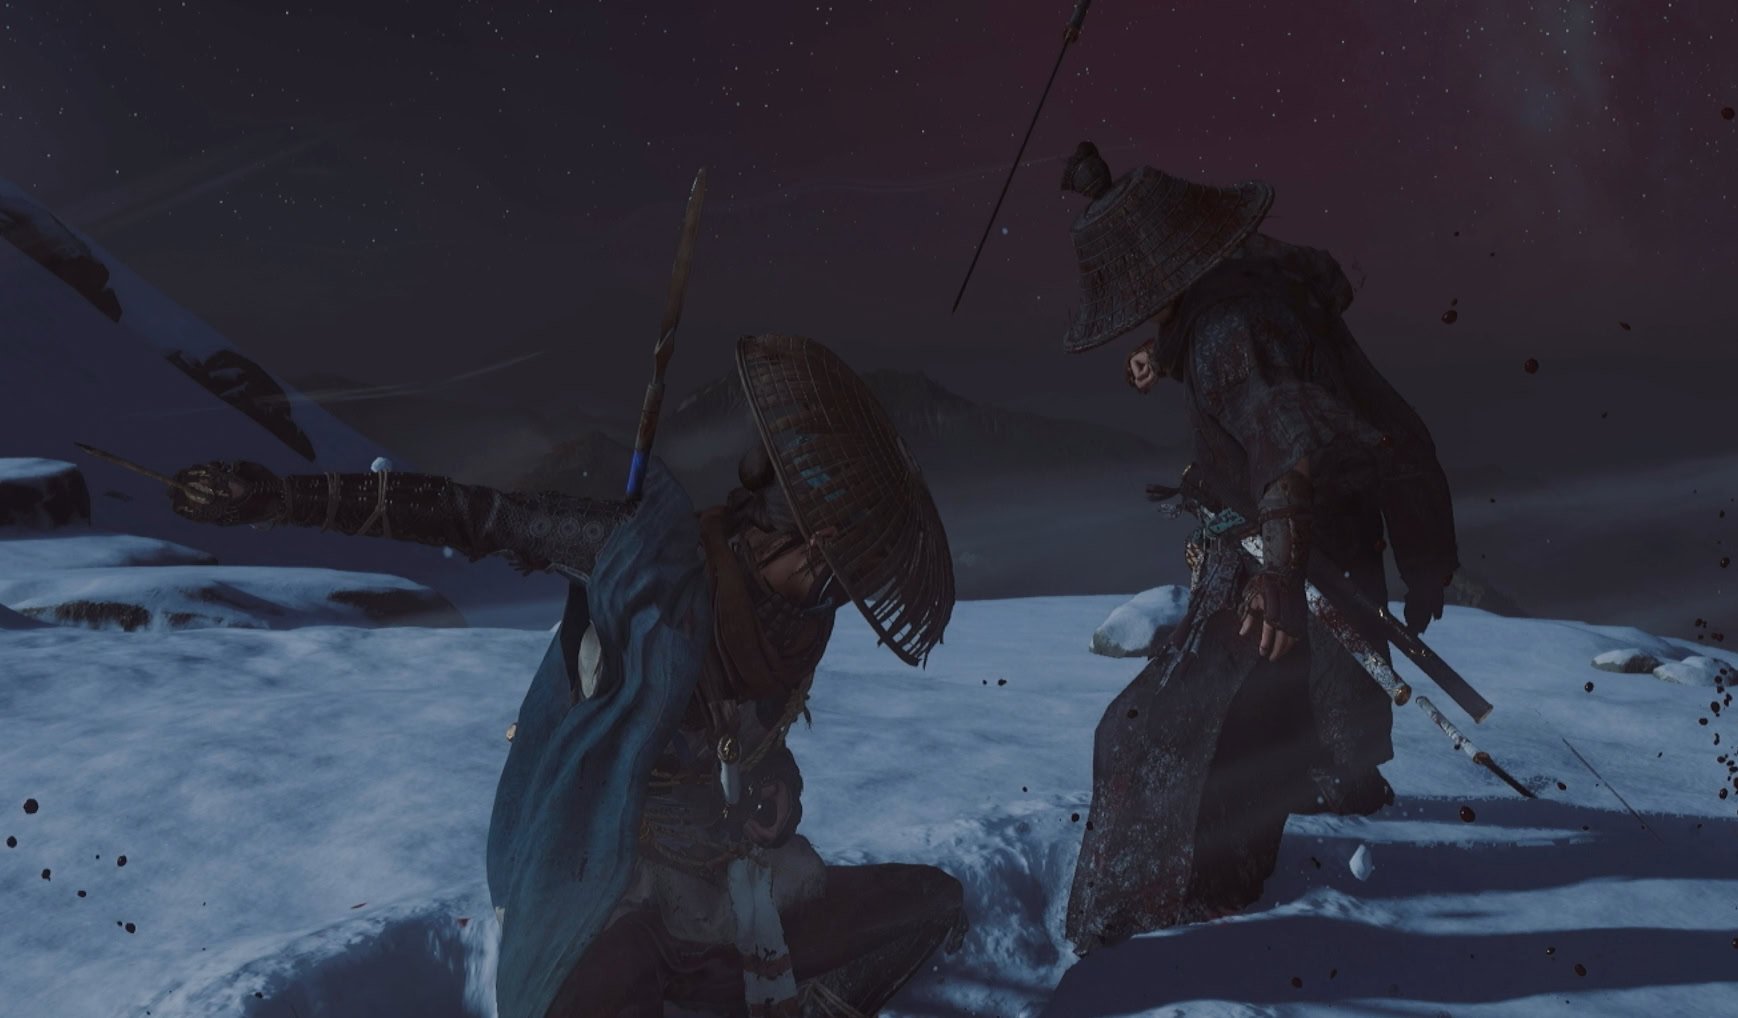
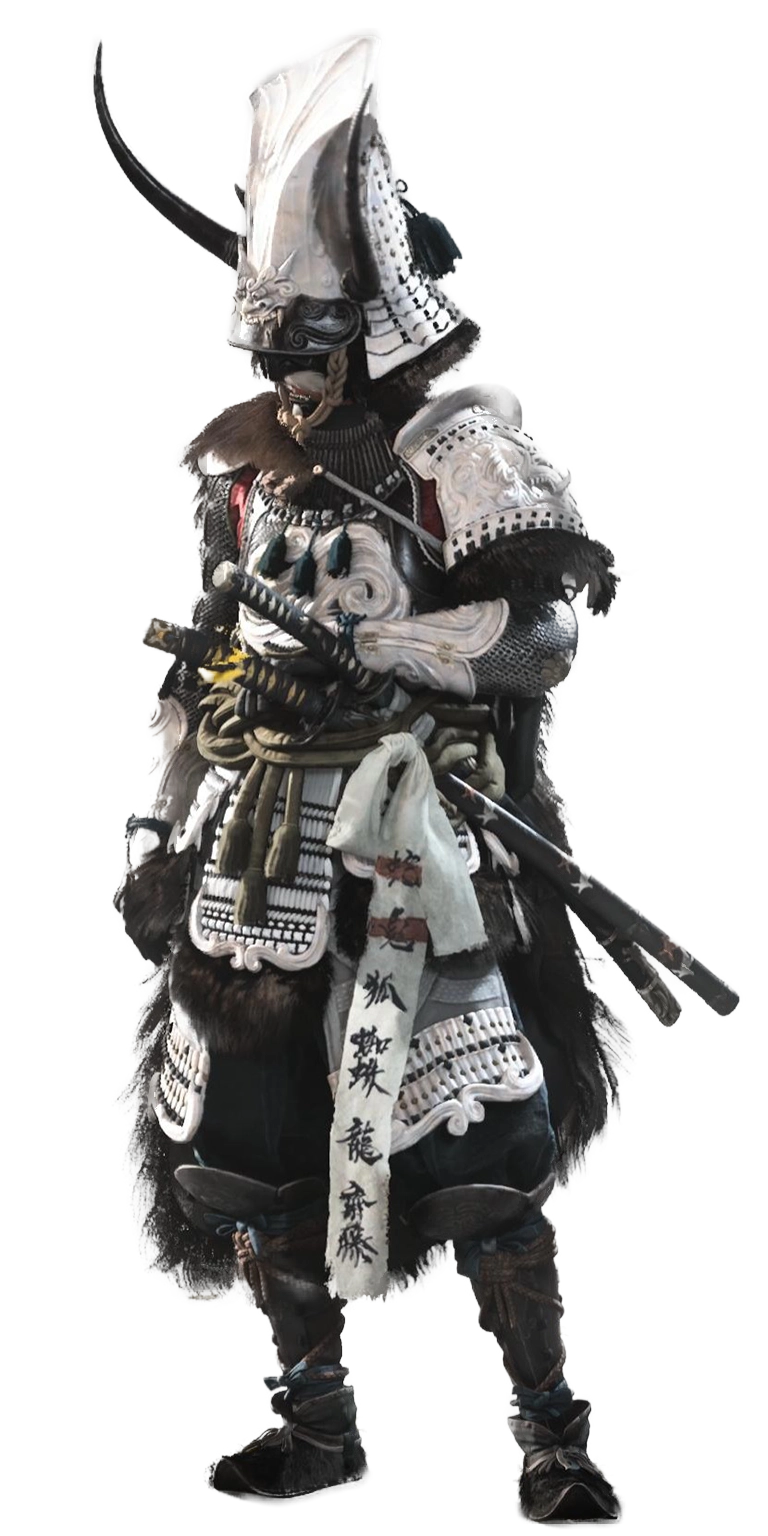
Takezo the Unrivaled is pretty simple and straightforward, it’s just the hardest fight in the game because his attacks are extremely fast and extremely powerful.
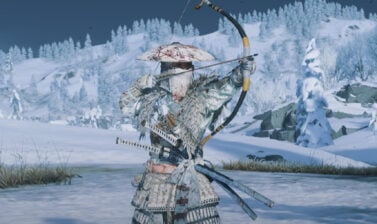
Dual Katanas
Takezo exclusively uses Dual Katanas. His attacks are so fast that you don’t have time to do a Focus Attack unless he’s currently staggered or distracted.
Each Smoke Bomb gives you enough time to do ONE and only one move. You definitely need to reserve two Smoke Bombs for your Sake. If you want to chug both jars of Sake, drop a Smoke Bomb, drink one, drop another Smoke Bomb, and drink the other.
Keep one in reserve to cover for a mistake, and you can use the final one igniting Oni’s Flame or shooting him with Tanegashima or something.
Glint Attacks
Takezo’s disarming strikes are always after a red glint attack. If you see a red glint, be prepared to dodge and keep dodging until he stops swinging.
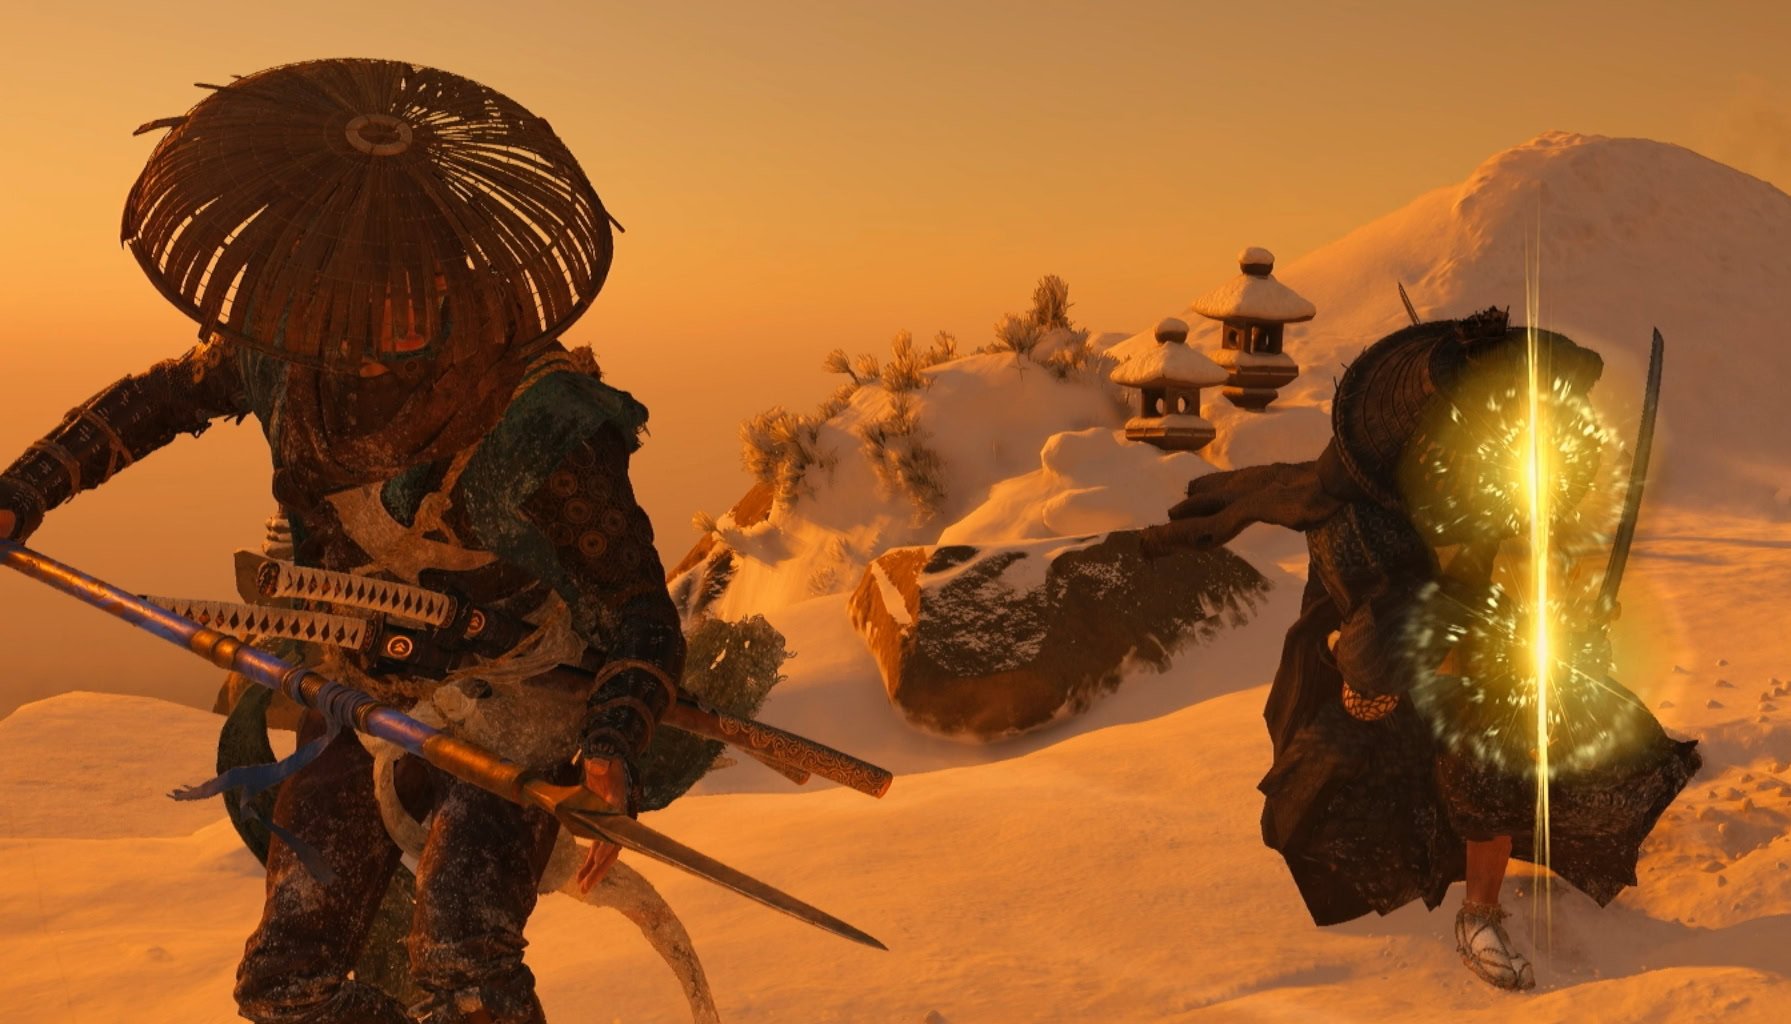
Spirit Attacks are the most reliable way to deal with his red and yellow glint attacks since yours will always go through and protect you from taking any damage. They also just look really cool.
If you don’t have any Spirit, consider using a Smoke Bomb and drinking some Sake. Barring that, be ready to dodge when you see a red glint, as Takezo can follow up with a disarming strike shortly after. There’s no set time he’ll do this; he can even do it as his opening move.
Each Quickfire weapon only works to interrupt his attacks a couple of times. After that, Takezo “learns” to deal with it, so you can burn the remaining ammo for damage and need switch to a different one for interrupts.
You can use your Onryo’s Strike or Dance of Wrath to disarm him, but 3 Spirit is pretty expensive, especially considering he picks up his weapons quickly. Still, it’s a good window to empty your otherwise useless Quickfire weapons.
Be sure to set your weapon on fire with Oni’s Flame right before he picks up his swords so you can continue wailing on him until he gets Staggered. You’ll need to rely more on this approach if you’re using something like the Dragonfly, Nine Tail, or Spider Lily Armor.
Blizzard at the Summit
After the first blade lock of the fight where Takezo says “Make this duel unforgettable”, a blizzard starts and you’ll begin taking Blizzard Damage.
Since his strikes cut through the majority if your health, it doesn’t take much blizzard accumulation for him to start one-shotting you from full. You cannot afford to miss your parries or blocks, lest you start the fight all over again.

It doesn’t help that you’ll probably be sloshed at this point as well from chugging your Sake. Unfortunately, drunkenness does not mitigate the effects of the cold.
Build Strategies
Siow and I were most successful using the Bounty Master Armor, which vastly improves your Perfect Parries, but I think you can also be effective with the Armor of the Undying and Taro’s Armor.
It’s worth noting that while you have to equip all 5 of Takezo’s Charms to get him to appear on Mount Yotei, you do not need to keep Takezo’s Charms equipped once you start fighting him.
Bounty Master Armor
Bounty Master Armor makes your Perfect Parries easier to execute, deal more follow-up damage, and increase your Spirit gains stronger, though you can’t parry normally.
- Perfect Parry and Perfect Dodge windows are increased by a major amount, but regular Parries are disabled.
- A Perfect Parry enables 3 additional counterattacks.
- All Spirit Gains are increased by a massive amount.
Since the emphasis is on Perfect Parrying, it doesn’t matter as much which weapon you use, though timings are slightly different for each one.
Check out our full guide on Bounty Master Armor for more details.
Your Charm selection should focus on buffing your parrying capabilities. You want to break his stance and heal off of your own perfect parries as much as possible so you can spend most of your Spirit on Spirit Attacks.
Parries, Perfect Parries, and Perfect Dodges are easier to perform.
A gift from your father, so your sword flows like a brush stroke.
Perfect Parries regain a major amount of Health.
Reduce all damage taken by a moderate amount.
Regain a major amount of Health after a Perfect Parry.
Takezo’s Charm of Bold Deflection
Parrying inflicts a major amount of additional Stagger damage.
Blizzard damage is reduced by half.
Abilities that use Spirit have a major chance to regain 1 Spirit.
Armor of the Undying
Armor of the Undying improves your Stagger capabilities and gives you a larger window to perform a Perfect Parry. However, it only grants these buffs if you are weapon aligned.
- If weapon aligned, Staggering enemies restores a major amount of Health.
- If weapon aligned, the window to perform Perfect Parry and Perfect Dodge is increased by a moderate amount.
- If weapon aligned, Focus Attacks have a moderate chance to increase Stagger damage.
Since Takezo uses Dual Katanas, you must use your Wolf Blade (single katana) in order to be weapon-aligned. If you want to use a different weapon, use a different armor set.
Check out our full guide on the Armor of the Undying for more
Armor of the Undying uses a similar combination of Charms compared to Bounty Master because it also interacts with Perfect Parrying, but this build can lean into the Katana a bit more since you’ll have to use that against Takezo.
A major chance to gain 1 Spirit when Staggering an enemy with the Katana.
Heavenly Slash has a moderate chance to unleash a lightning strike against a nearby enemy. There is a 30 second cooldown between successful strikes.
Parries, Perfect Parries, and Perfect Dodges are easier to perform.
Reduce all damage taken by a moderate amount.
Regain a major amount of Health after a Perfect Parry.
Takezo’s Charm of Bold Deflection
Parrying inflicts a major amount of additional Stagger damage.
Blizzard damage is reduced by half.
Taro’s Armor
Taro’s Armor specializes in survivability, and when combined with the Charm of Inner Fire, you will be completely immune to the blizzard that drains your max in the second half of the fight. It also gives you more Spirit when you’ve eaten a meal.
- All Spirit gains increased by a moderate amount when graced with a cooking bonus.
- Maximum Health increased by a moderate amount.
- Fire and Cold damage reduced by a major amount.
Since Taro’s Armor doesn’t increase your damage output, you will need rely on that tankiness to outlast Takezo.
I still recommend sticking with the Katana, but it is not essential like it is with the Armor of the Undying.
Check out our full guide on Taro’s Armor for more details.
My recommended Charms for Taro’s Armor further emphasize direct survivability, largely by increasing health and healing.
Blizzard damage is reduced by half.
Charm of Thoughtful Restoration
A reflection ripples in the water and the mind. Gain a major increase to maximum Health.
Takezo’s Charm of Bold Deflection
Parrying inflicts a major amount of additional Stagger damage.
Takezo’s Charm of the Stout Heart
Increase potency of the Heal Technique by a major amount.
Moderate chance to survive lethal damage and gain Spirit.
Using a Smoke Bomb regains a major amount of Health.
Rewards
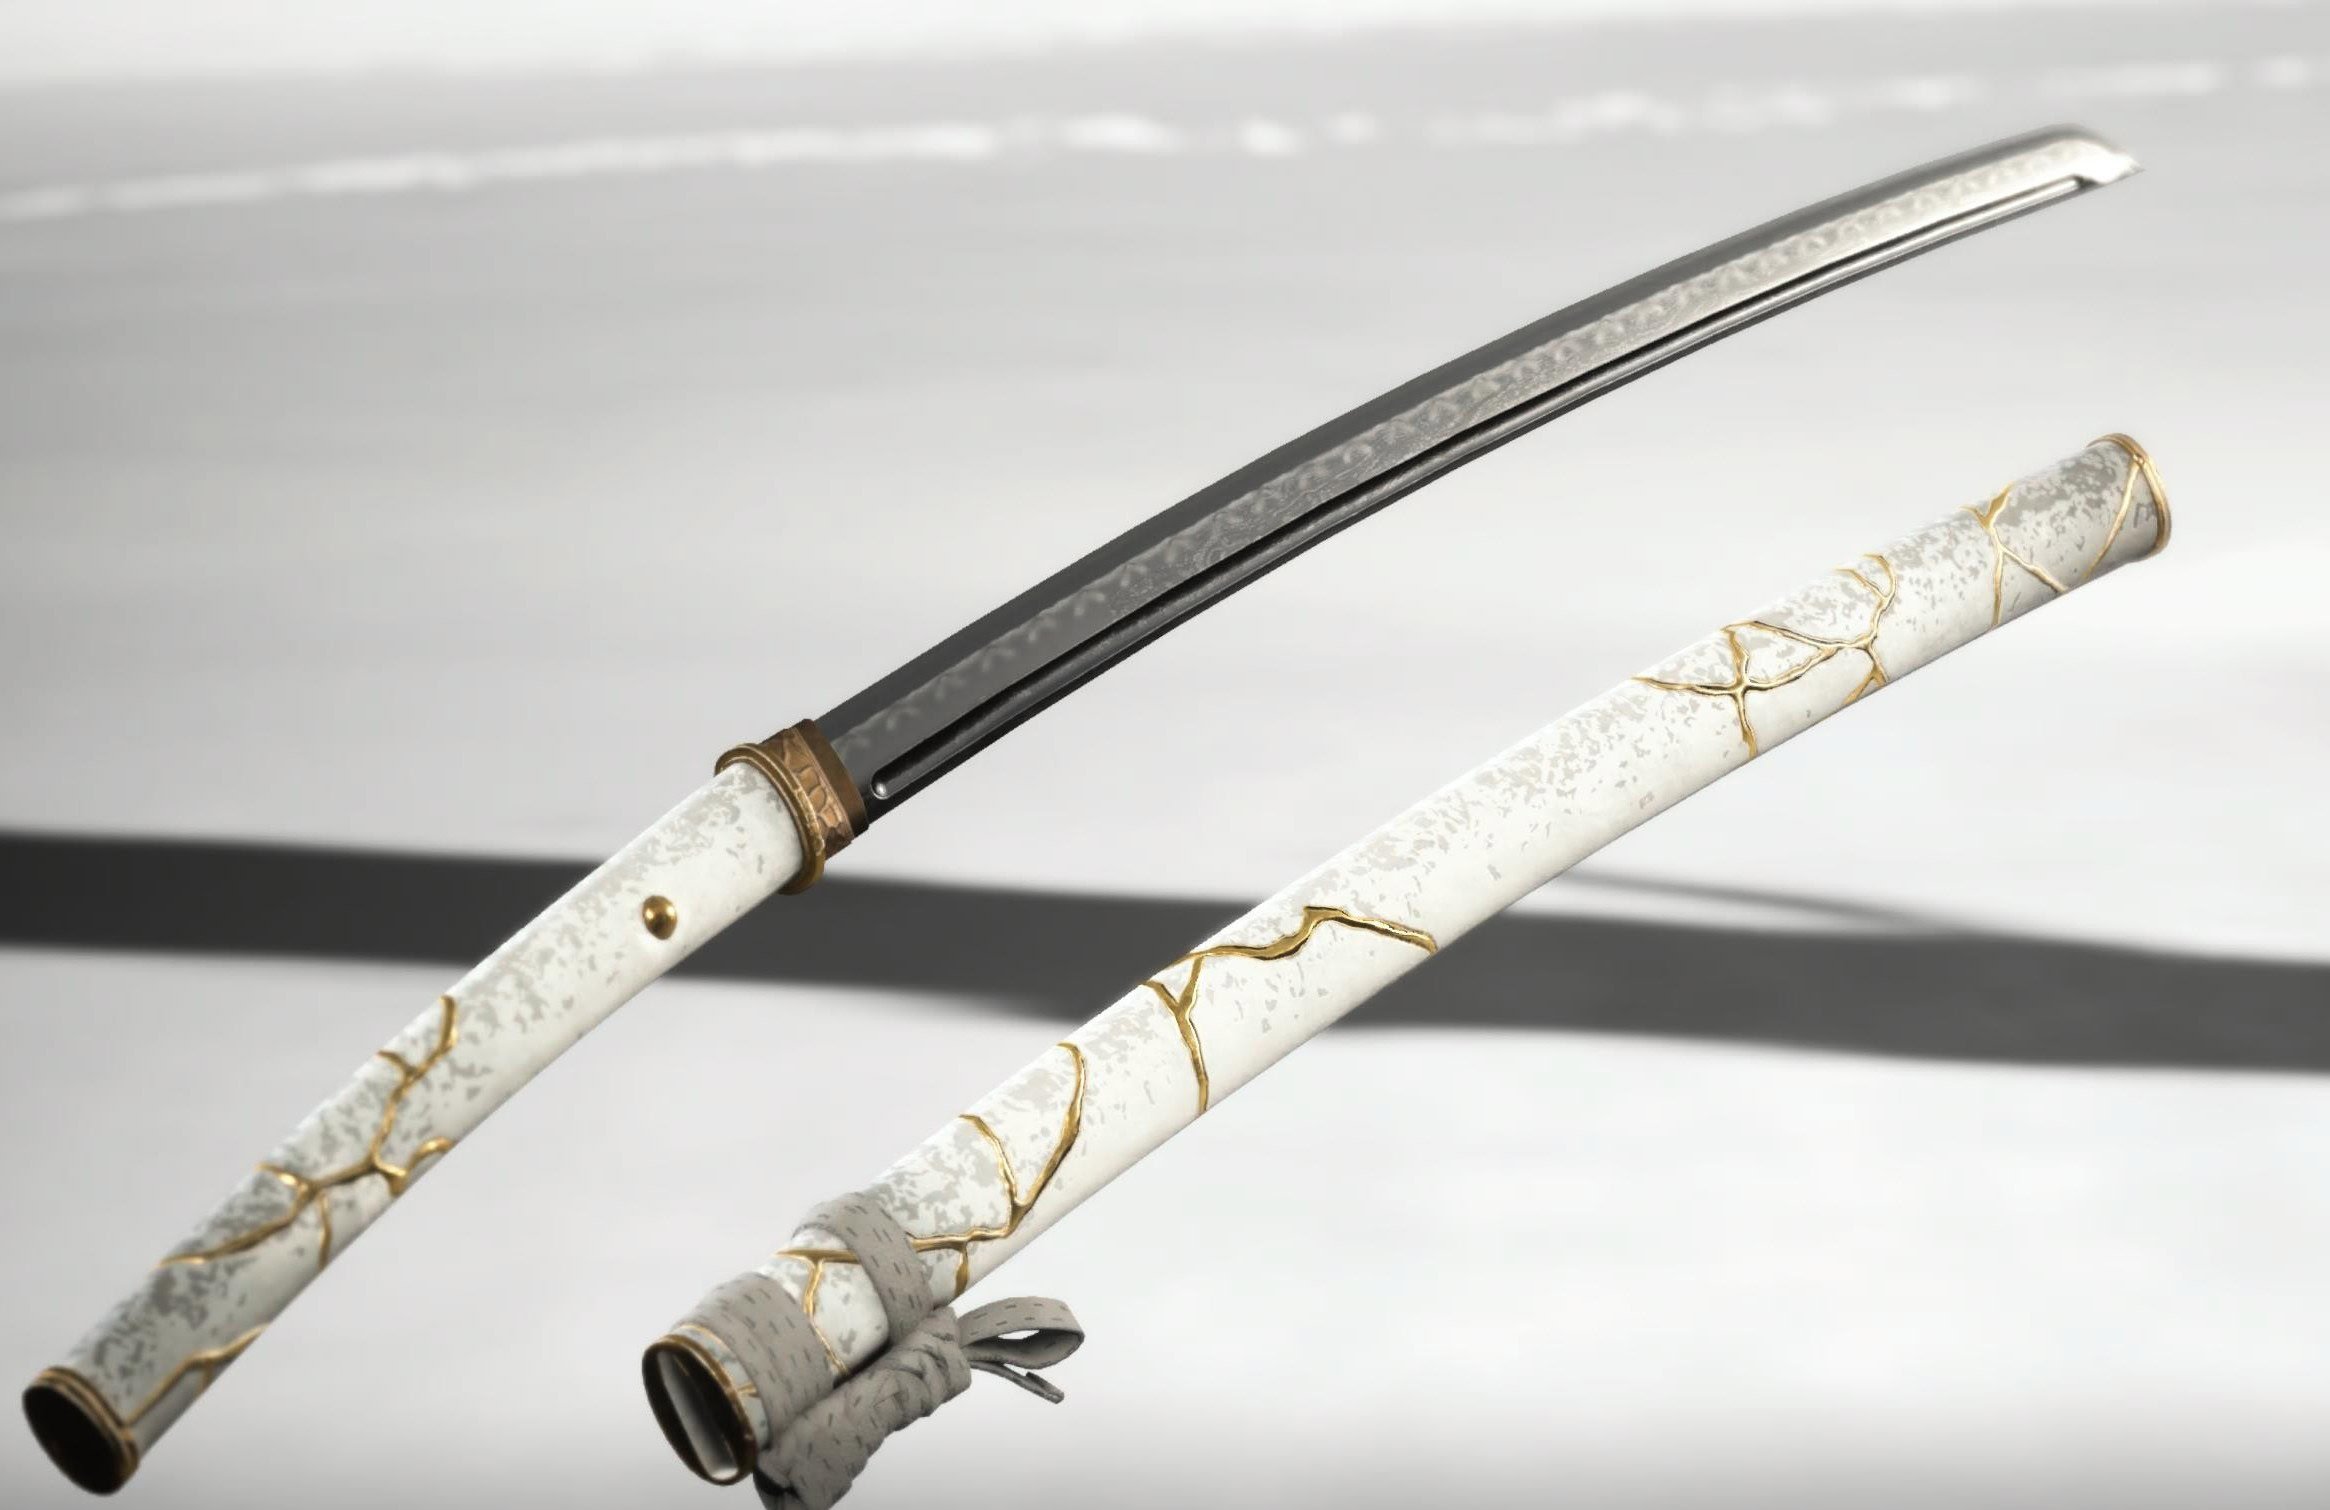
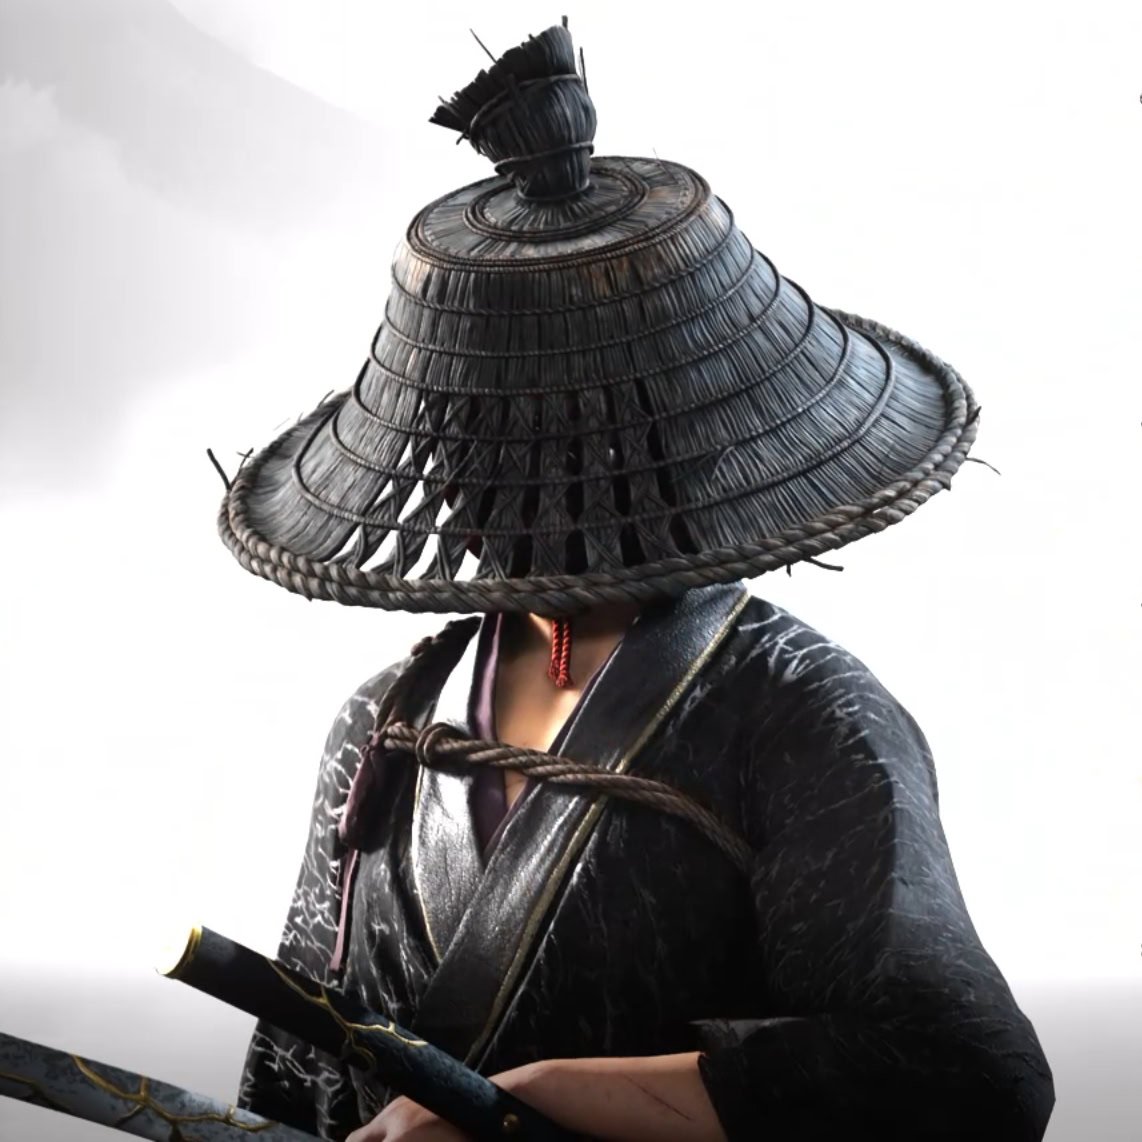
Aside from well-deserved glory, you get both of Takezo’s Sword Kits, Gilded Dawn and Gilded Night, his Straw Hat of the Unrivaled, and unlock the ability to purchase several color variants of said hat.
Gilded Dawn and Gilded Night
Gilded Dawn and Gilded Night are a snazzy pair of kintsugi sword kits for your Wolf Blade and Dual Katana. Night is the black one and is meant to be used on the Wolf Blade, while Dawn is the white one and is meant to be used on the Dual Katana.

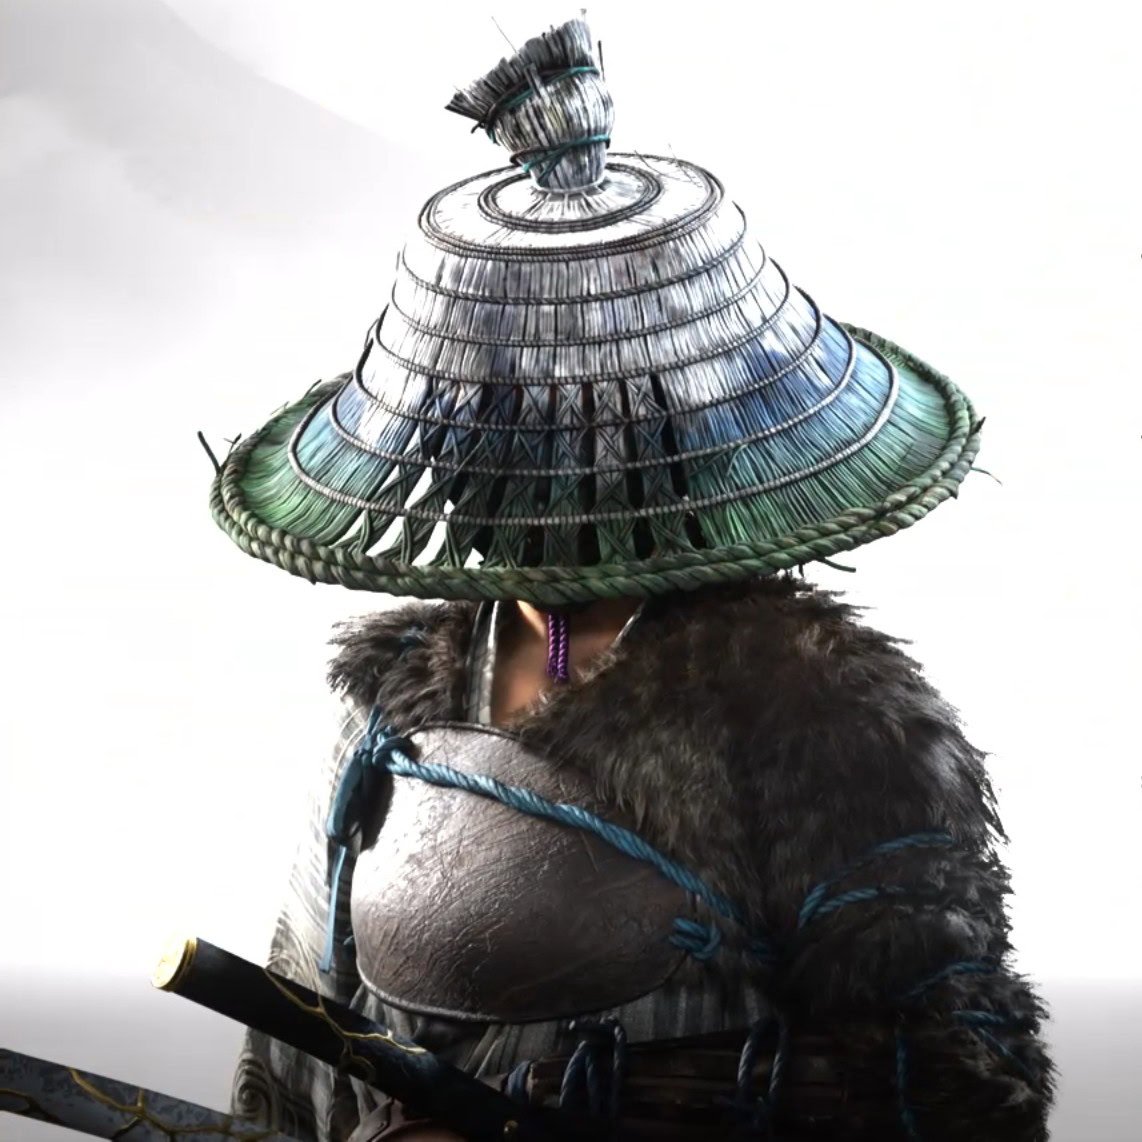
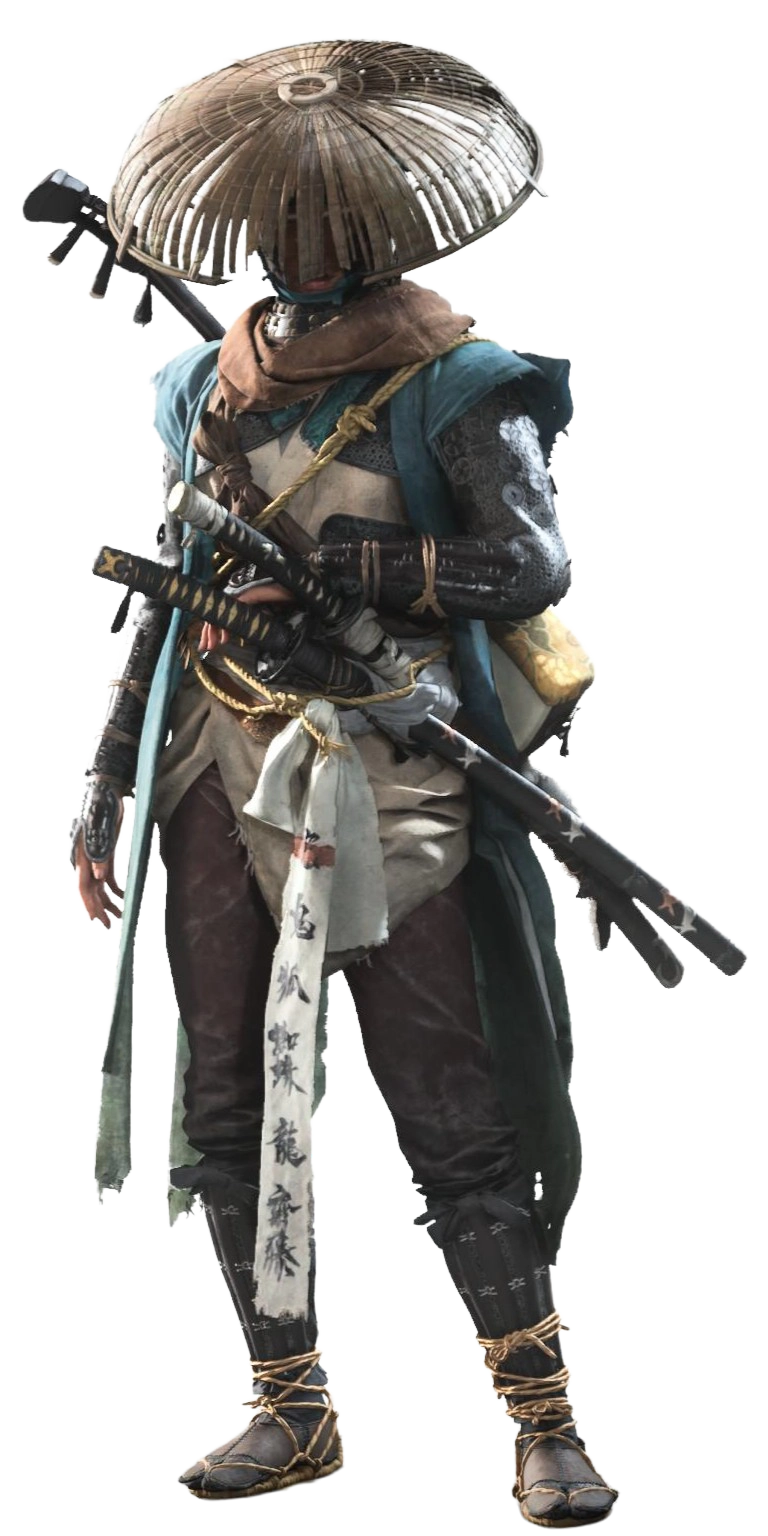
Straw Hat of the Unrivaled
Straw Hat of the Unrivaled is just Takezo’s black hat. Now it’s yours. If you’re trying to steal Takezo’s look, I recommend wearing it with the Onryo Armor with the Lightning in the Dark Dye.
Seasonal Straw Hats
You can also buy the Soaring Peak Straw Hat and Autumn Straw Hat, which look good with the Tier V Onryo Armor using the Endless Sky and Blood and Flies Dyes respectively.