This walkthrough covers the Picnic Table section of the Signals and Stashes sidequest and the collectibles found within the quest area.
Preparations
This section isn’t too combat-heavy, but it’s worth taking notes of the enemies we’ll see and may want to defeat along the way to the O.R.C. Transmitter for the quest.
The only required enemies are the two O.R.C. Ladybugs guarding the Transmitter and the O.R.C. Weavers guarding the reward. Along the way there, including from our base, we’ll also see Bombardier Beetles and Bees. If we opt to defeat some of these, they will provide useful resources and unlocks. Bombardiers in particular unlock multiple crafting stations.
That said, we’ll want to carry some Bandages and Smoothies to keep us topped up. We still recommend the combination of the Red Ant Armor Set, Crimson Saber, and Crimson Buckler for a good balance of offense and defense.
Bring Dandelion Tufts, as we’ll want to be able to glide down after the transmitter. There are also a few spots we can fall through the Picnic Table, and these are a good safety net if that happens.
As an optional choice, we can opt to bring a Northern Scorpion Stinger if we have one from an earlier quest. This will allow us to unlock the T2 Shovel by the end of this, and there’s a great use for it as well in the immediate area of the Outpost we’ll visit to unlock it.
Ascending the Picnic Table
Continuing our adventure after having unlocked the Red Soldier Ant Buggy from our visit to the Hatchery Anthill, we’ll look towards the Picnic Table next.
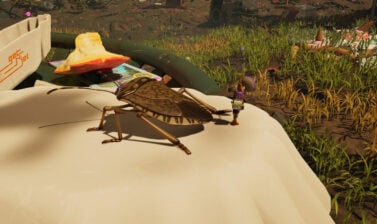
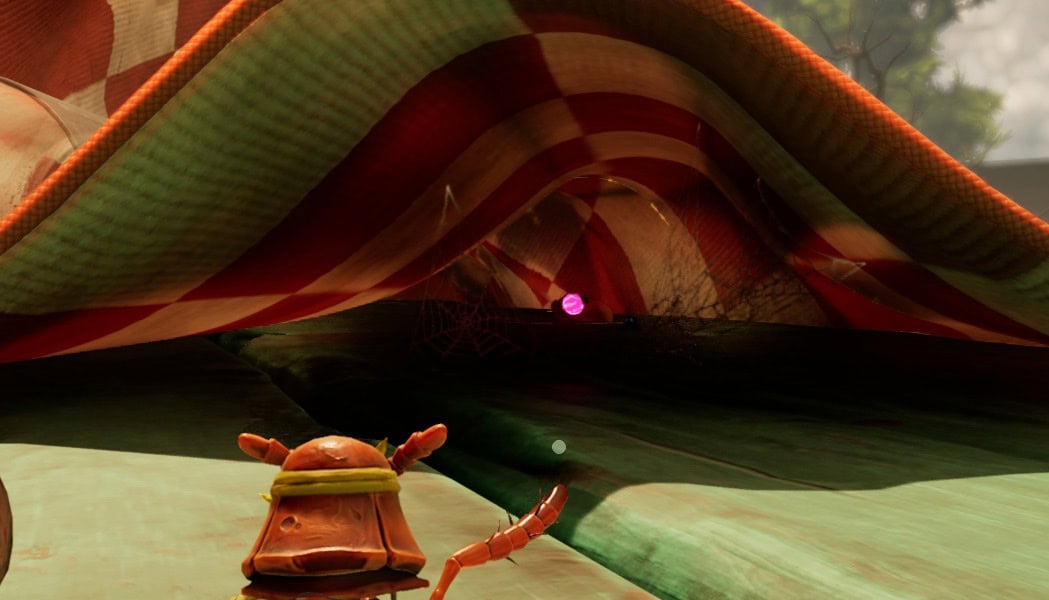
We’ll need to head to the start of our path up the Picnic Table, located at 54°N / -47°E. We’ll be looking for the ripple in the tablecloth.
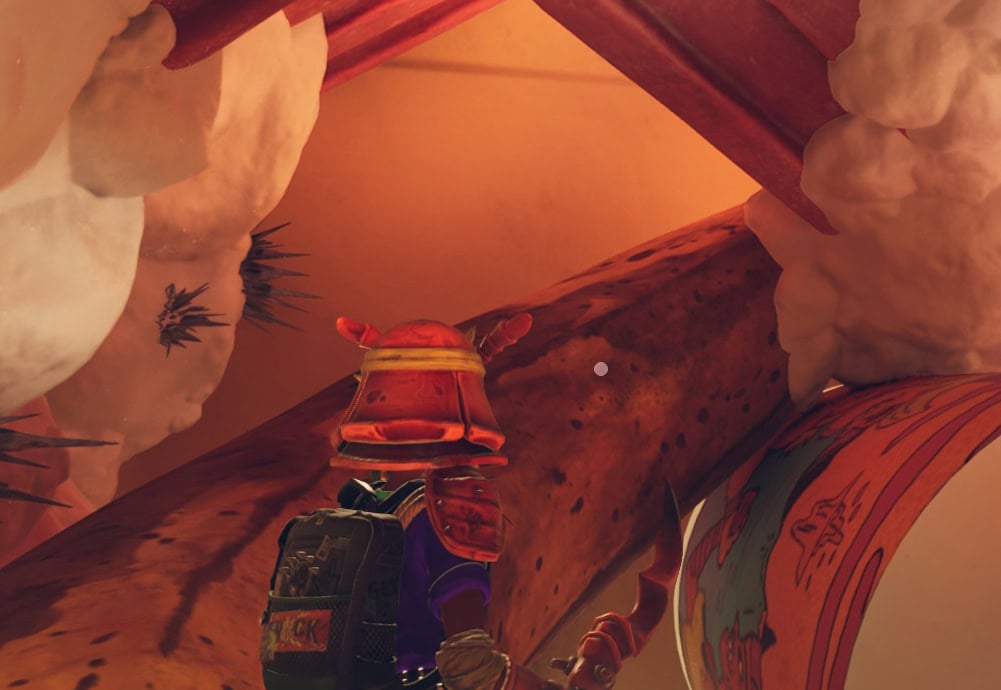
On the way up, we’ll see a few O.R.C. Weevils, but these aren’t really a threat. Continue forward and around the corner, following the cloth or the utensil here.
As we continue up also see some Flowers, which we’ll want to break for Flower Petals. These will allow us to unlock the Grinder, allowing us to break down Grass Planks and Weed Stems to Plant Fiber, or Mushrooms into Mushroom Slurry.
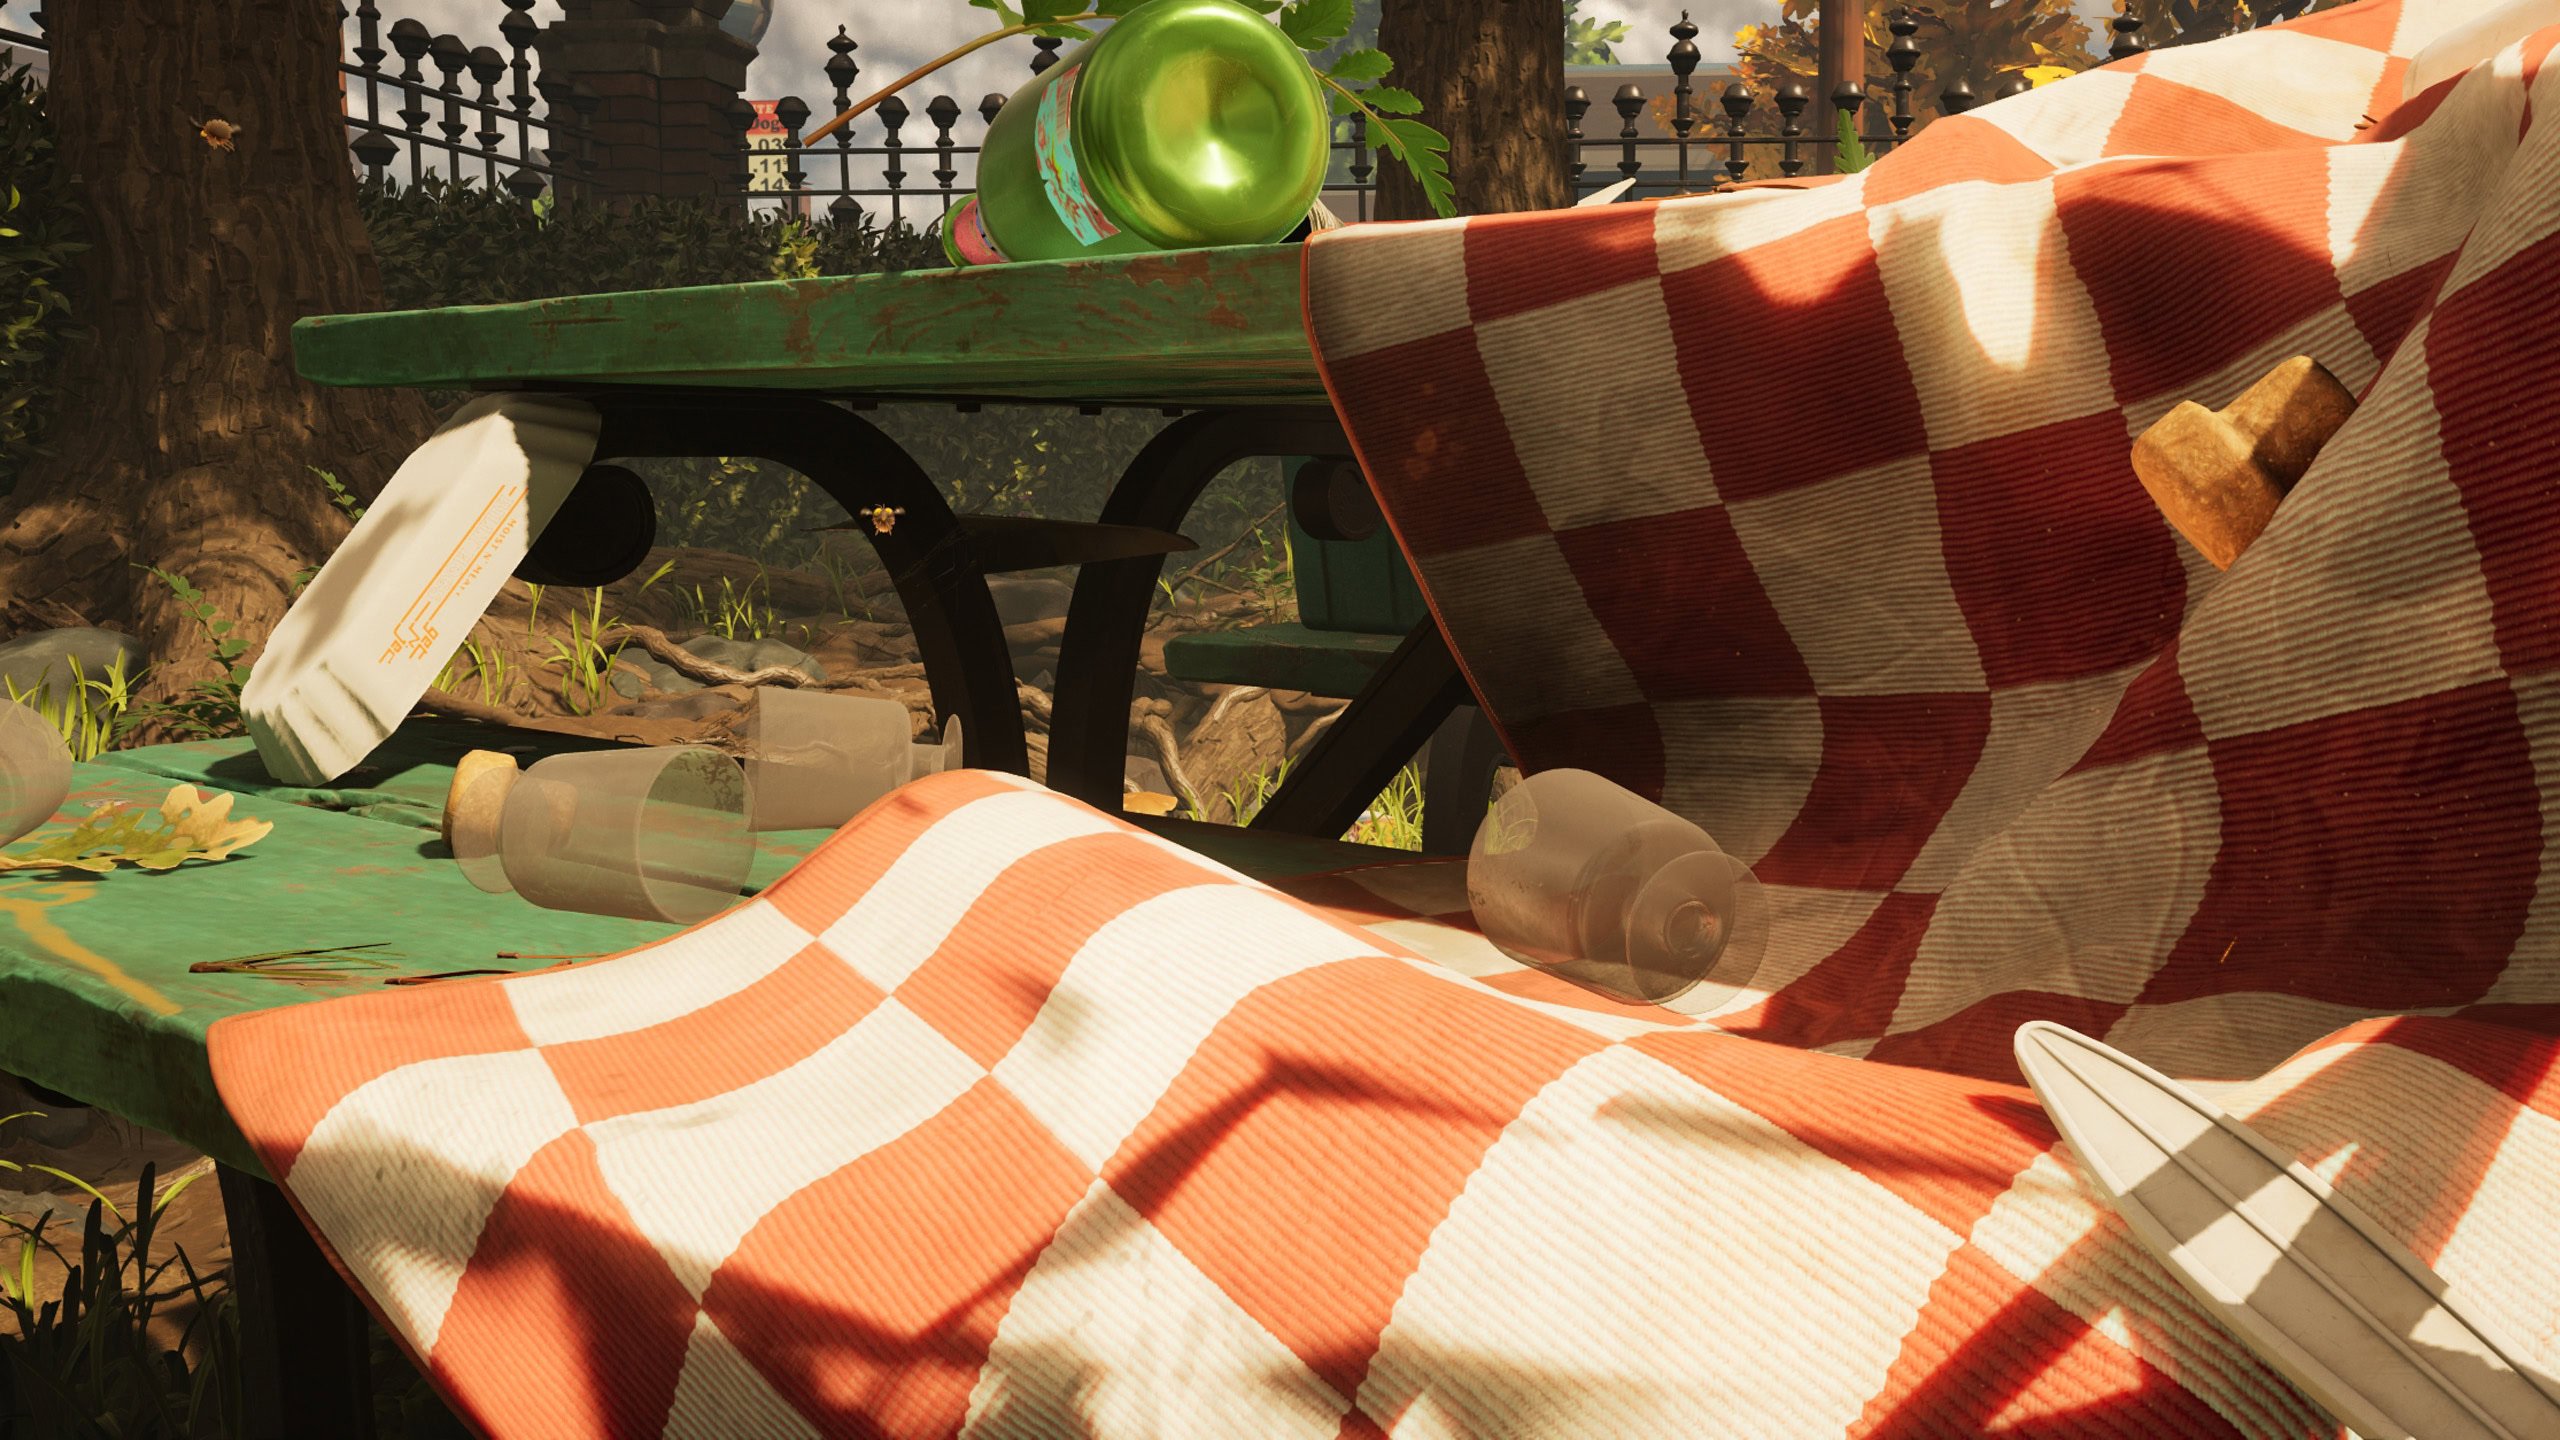
Once we reach the end of the cloth and land on the table itself, we’ll want to turn around and head under the cloth to move forward. There’s not much to grab toward the end of this part of the table, outside of Candy and Pine Needles, which require the T2 Omni-Hammer and T2 Omni-Axe, respectively.
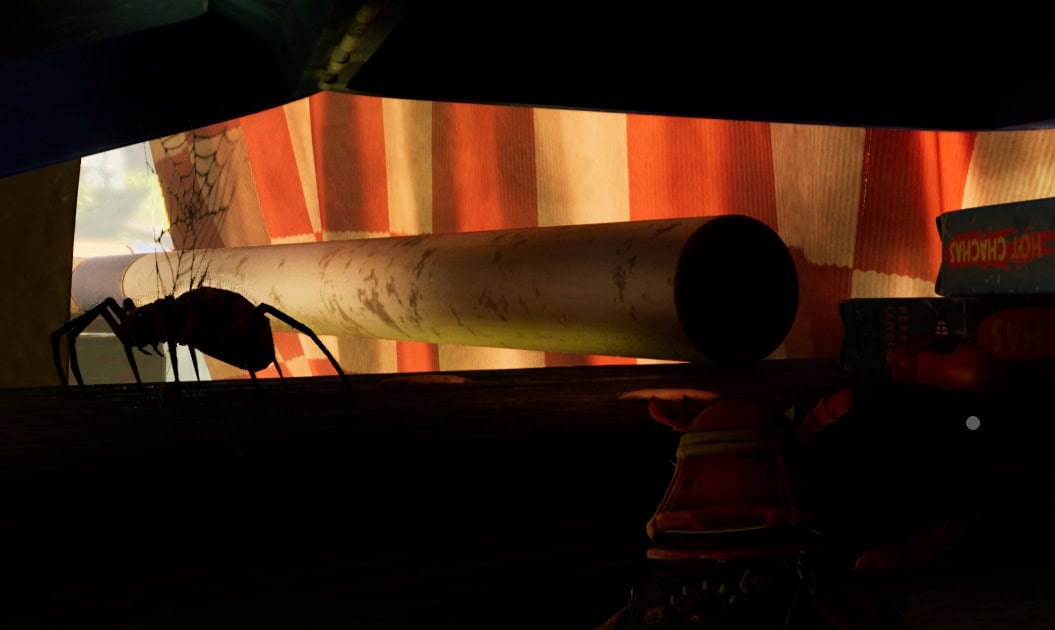
This section has just a single adult Orb Weaver here, as well as a couple of O.R.C. Weevils. We’ll want to make our way over to the croquet mallet lying across the table.
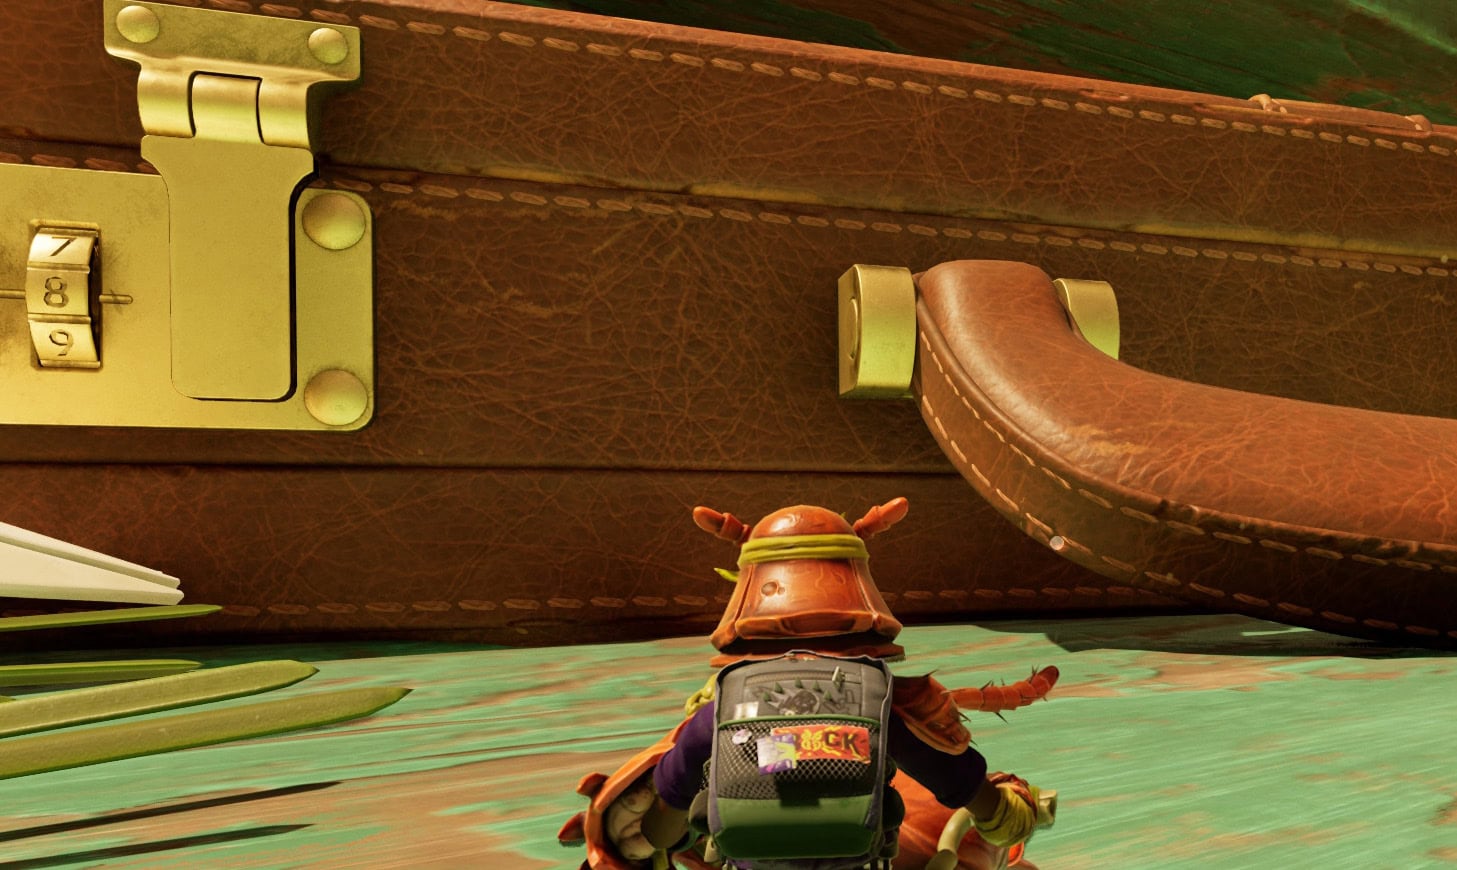
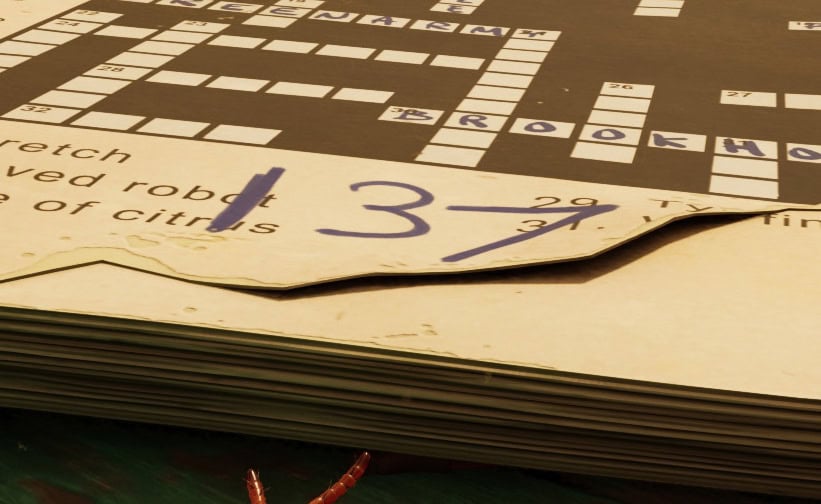
On the otherside, we’ll come across a Locked Briefcase here, which contains some nice items. We won’t be able to unlock this quite yet, as it requires two codes, including one from the Picnic Table, and the other from the Lectern that we’ll visit later.
SPOILER:
This Briefcase opens with the full code of 137 on the left lock (found on top of the Picnic Table), and 514 on the right lock (found on top of the Lectern). Through normal play, this wouldn’t be known just yet, but it can be grabbed now if we don’t want to come back later. It contains a Milk Molar and some other goodies and resources.
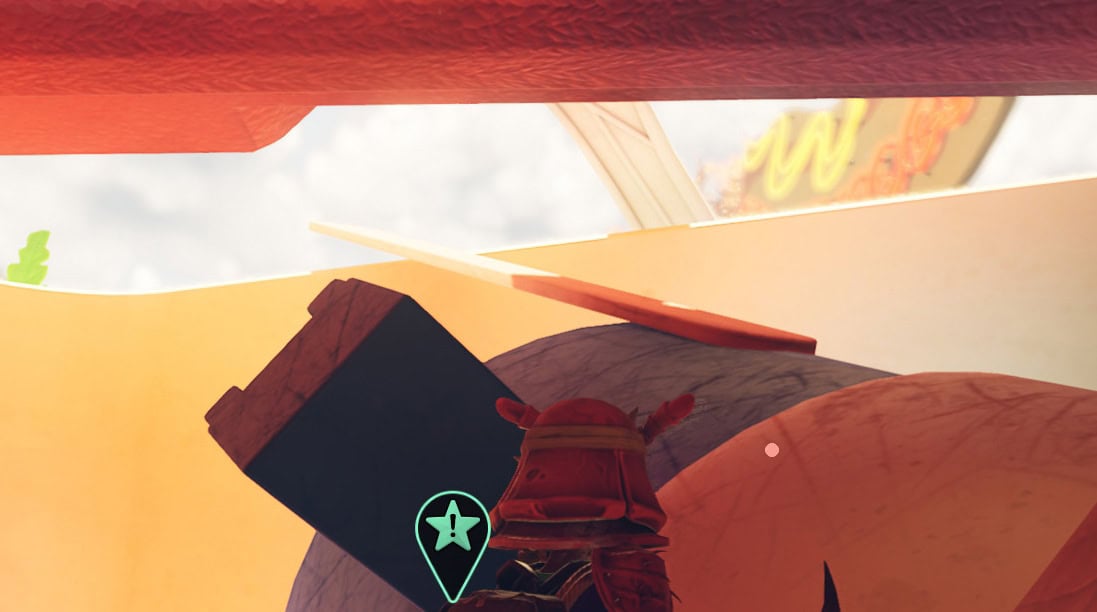
Continue past the Briefcase to the Cooler Entrance, where we’ll make the journey through and to the top of the Picnic Table.
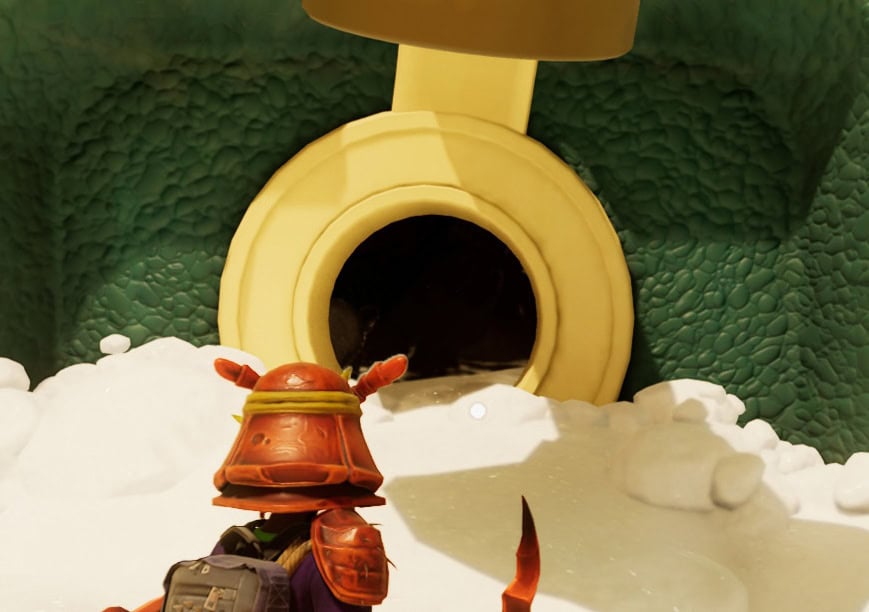
This Area will Chill and Freeze us, so try not to be here too long and don’t miss the milk Molar on the lower level.

We’ll head up the Banana here, then the Popsicles to make it to the top. There are Ice Splinters here, but we need to upgrade our Omni-Hammer to collect them.

Once we reach the top, any chill buildup will start to recede and we’ll no longer be slowed.
Top of the Picnic Table
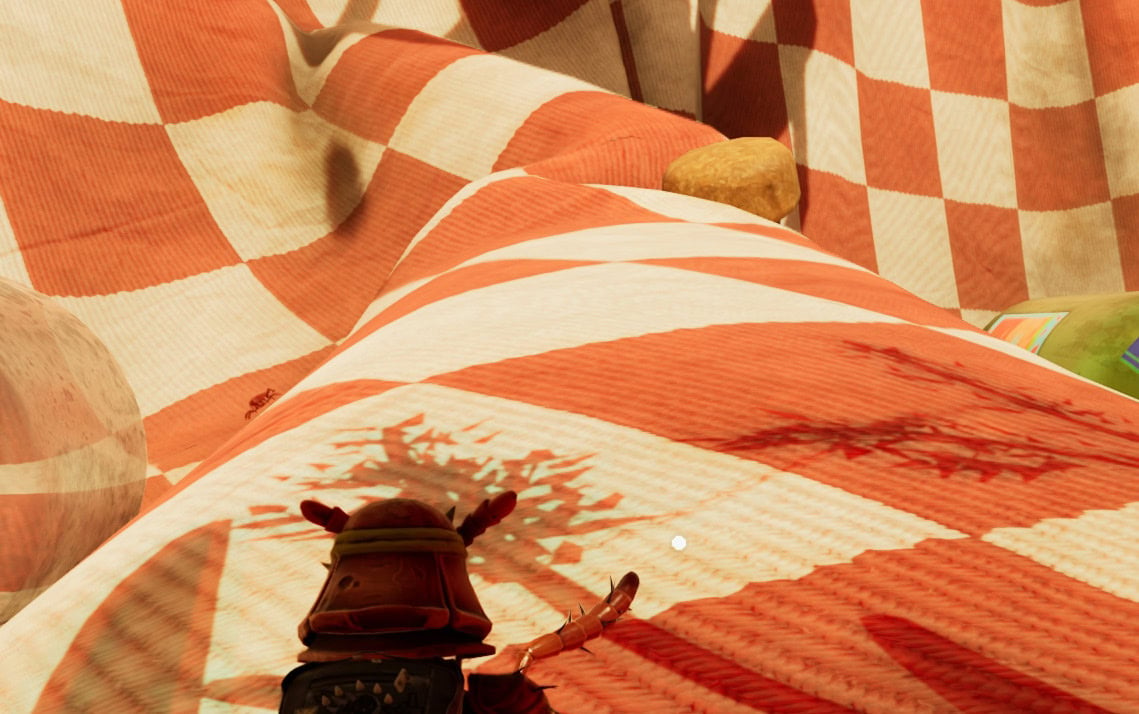
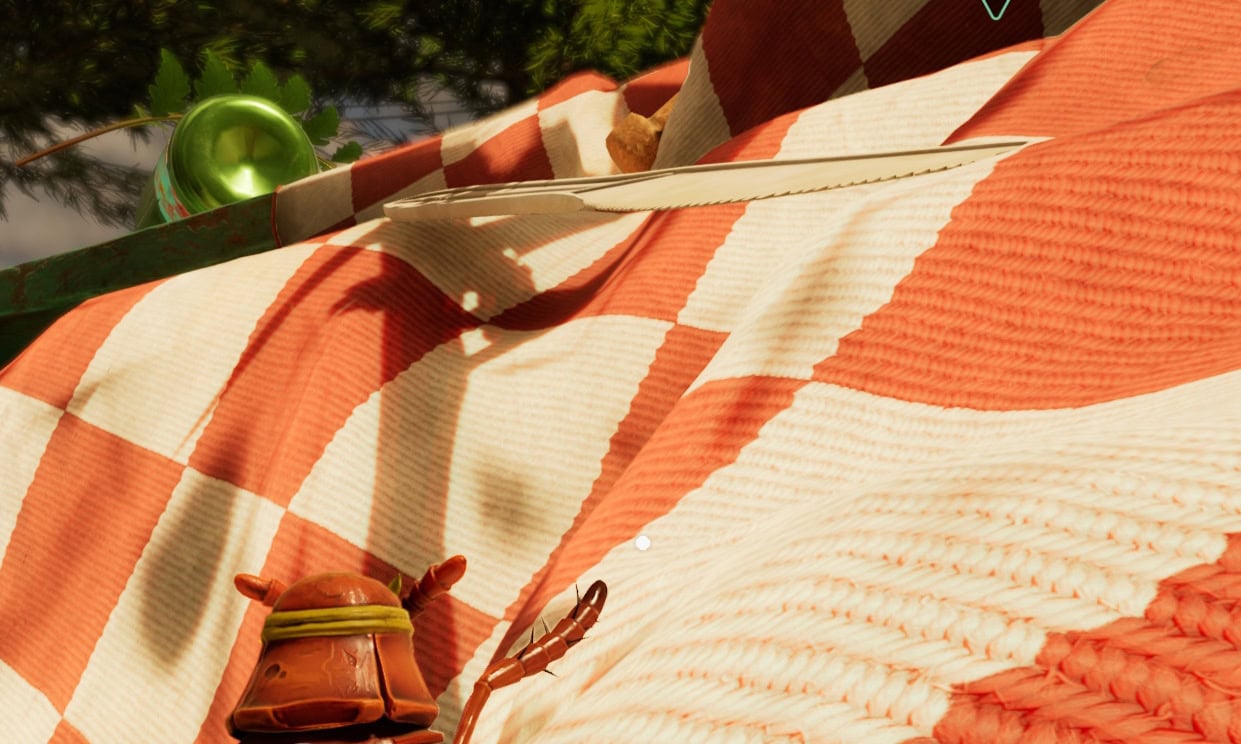
From here, we’ll be on top of the Picnic Table. One of the first things we’ll see is a slightly folded-over magazine. This narrow tunnel has some Spiderlings, Raw Science, and plenty of Spider Eggs. If we get lucky with the Spider Eggs, they can drop some fairly useful bug parts (Up to T2 Bugs)

Remember the Briefcase just a moment ago? Well, the first half of the code to open the Briefcase is just to the right of this tunnel on the magazine. The code listed here is 137, and open the left-hand lock of the briefcase.
Just past this magazine is a green Glass Bottle, containing a lootable corpse. This one has a Liquid Rage Smoothie, a Canteen (if we haven’t bothered to craft one yet), and some Quartzite.

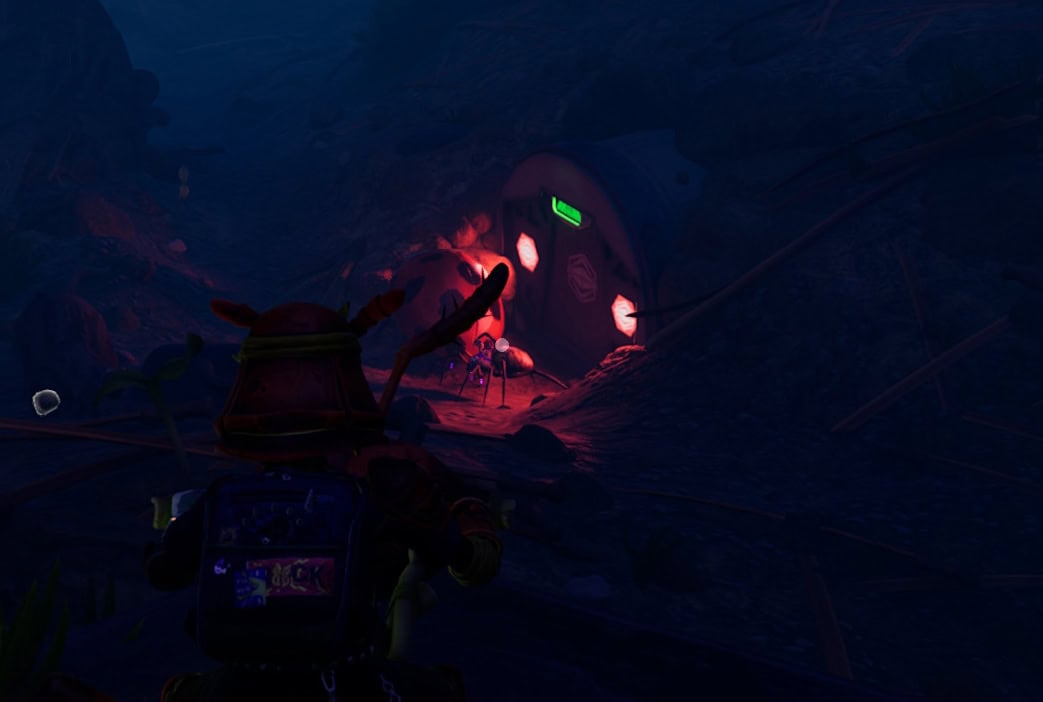
Just beyond this is the O.R.C Transmitter we’re after. But it’s guarded by two O.R.C Ladybugs. Thankfully, we won’t need to fight both at the same time, but that doesn’t mean they’re an easy fight either.
If you don’t parry them, these Ladybugs will do some serious damage, and part of why we recommend the Crimson Saber is to keep them from dealing high damage thanks to the Blademaster Perk.
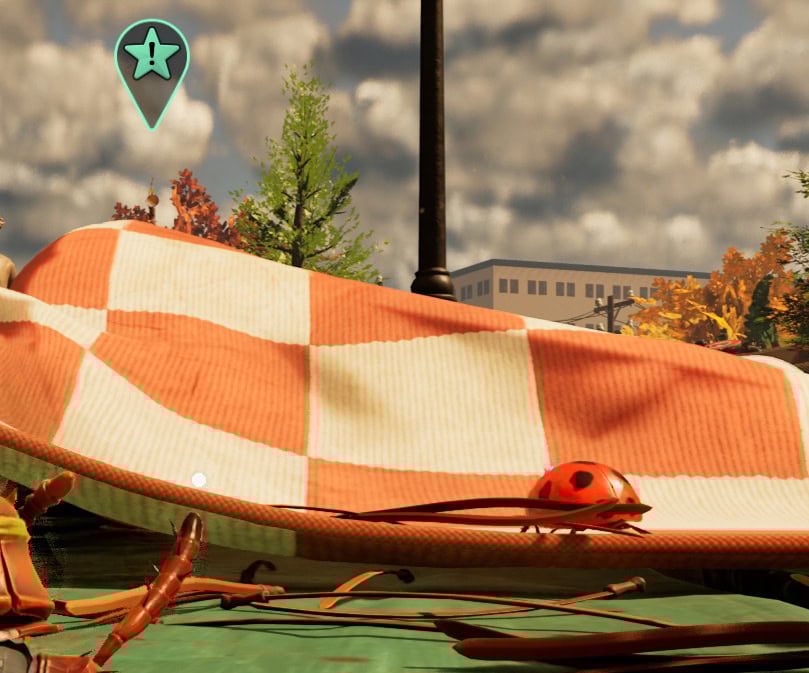
Once defeated, we can hack the transmitter and continue to the revealed stash, located at 72°N / -65°E. We can also make another small detour to the Billy Hog Tray just past the Transmitter, for another grouping of Spider Eggs and more chances at extra resources.
The Pine Hill Stash
Next, we’ll head towards the opposite side of the Picnic Table and glide down towards the Pine Hill Ranger Outpost, located at 70°N / -63°E, which happens to be guarded by an O.R.C Weaver and O.R.C Weaver Jr.
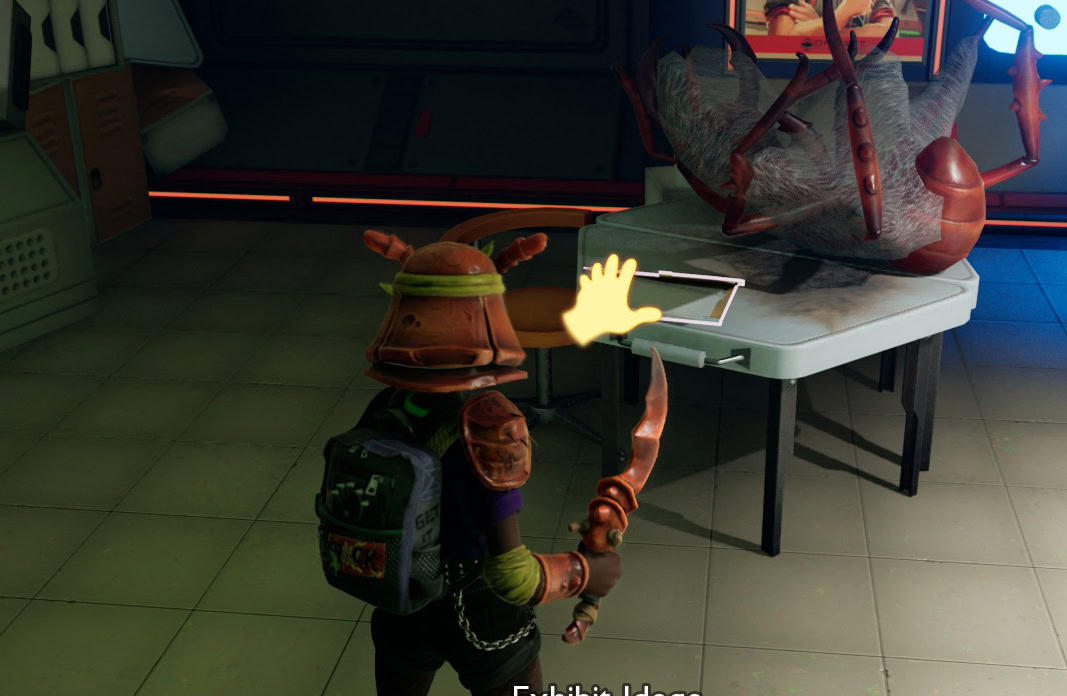
Inside this Outpost is the “Exhibit Ideas” Data File, as well as plenty of other goodies and resources scattered about.
These stations at the back will also allow us to customize our Omni-Tool and S.C.A.B 2K, at a high Raw Science cost, as well as some bug parts depending on the Teen we’re playing.
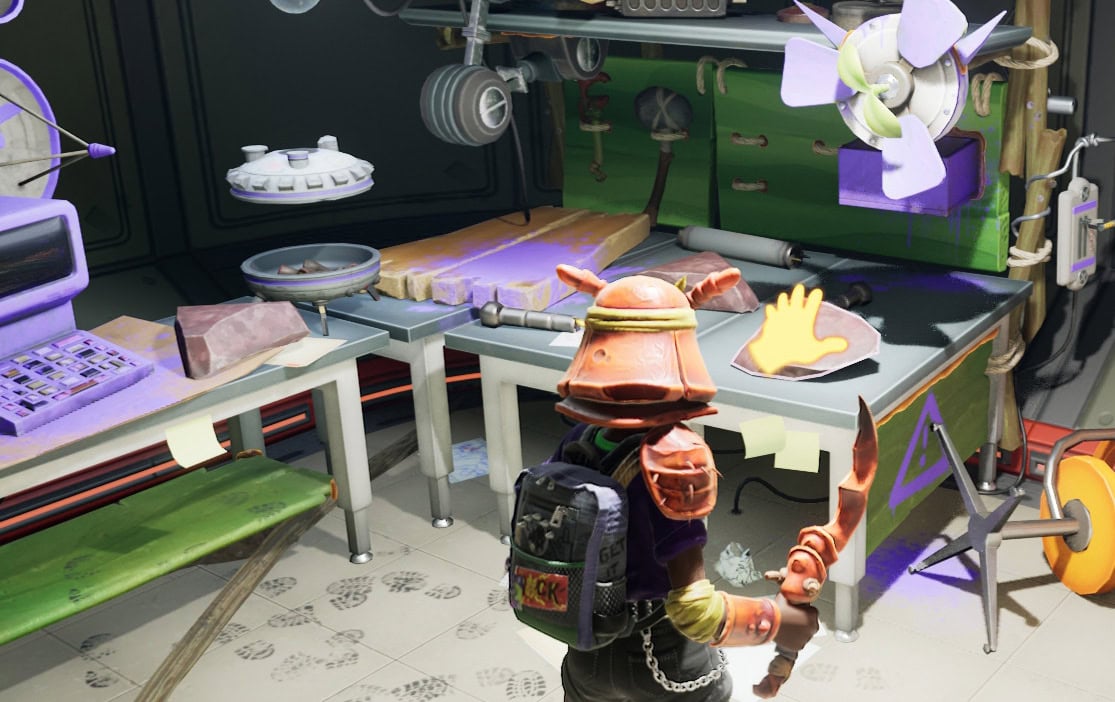
Next to them is a Chest, containing a Sticky Liquid Rage, Pine Needles, and Lingonberry Chunks. If we brought the Northern Scorpion Stinger, we’ll be able to use it to unlock the T2 Omni-Shovel while at this outpost. Just don’t forget to scan the Pine Needle with the Resource Analyzer first.
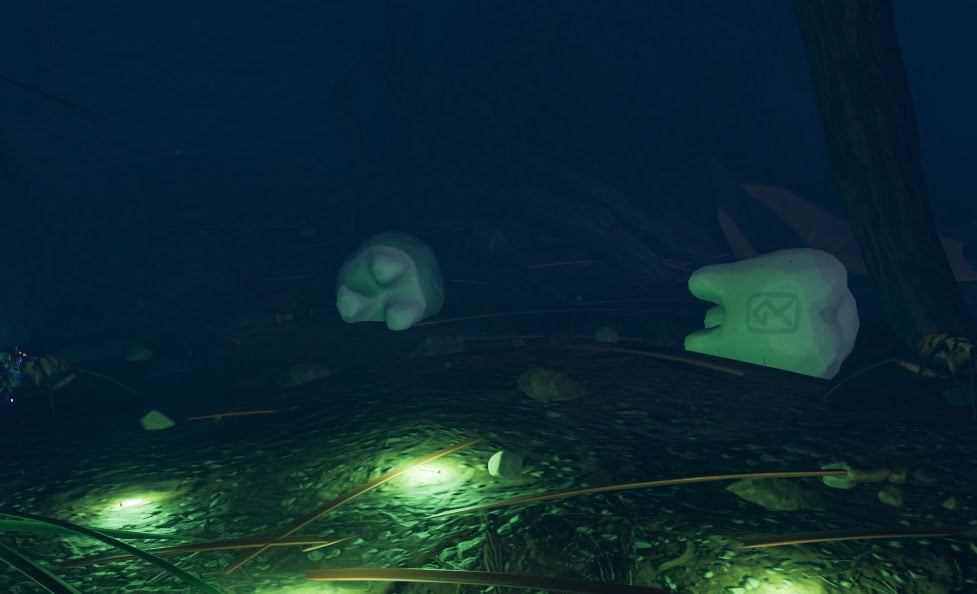
Once we’ve collected everything here, head outside and to the right, where we’ll find a couple of Milk Molars. These are guarded, of course, and by two O.R.C Weavers and a couple of O.R.C. Weaver Jrs at that.
Once everything is cleared and claimed here, we’re done with the quest, and can head back to base and prepare for our next destination, the Garbage Can, where our next high-priority transmitter is.
We can do one more thing while we’re in the area, assuming we unlocked the T2 Omni-Shovel. Some breakable roots just outside of the Pine Hill Ranger Outpost will lead us to the Spider Den Anthill.

This is entirely optional, but with the T2 Omni-Shovel in hand, we can get our hands on the Crimson Avenger, one of the many Hidden Weapons and Items in the game.
This serves as a powerful upgrade to our current Crimson Saber. We’ll also be able to pick up the Optional Spider Den Anthill Optical Disk here for some useful crafting options as well, even without the T2 Omni-Shovel.