This guide details the Garbage Can section of the Signals and Stashes Sidequest, including any collectibles found along the way.
Preparations
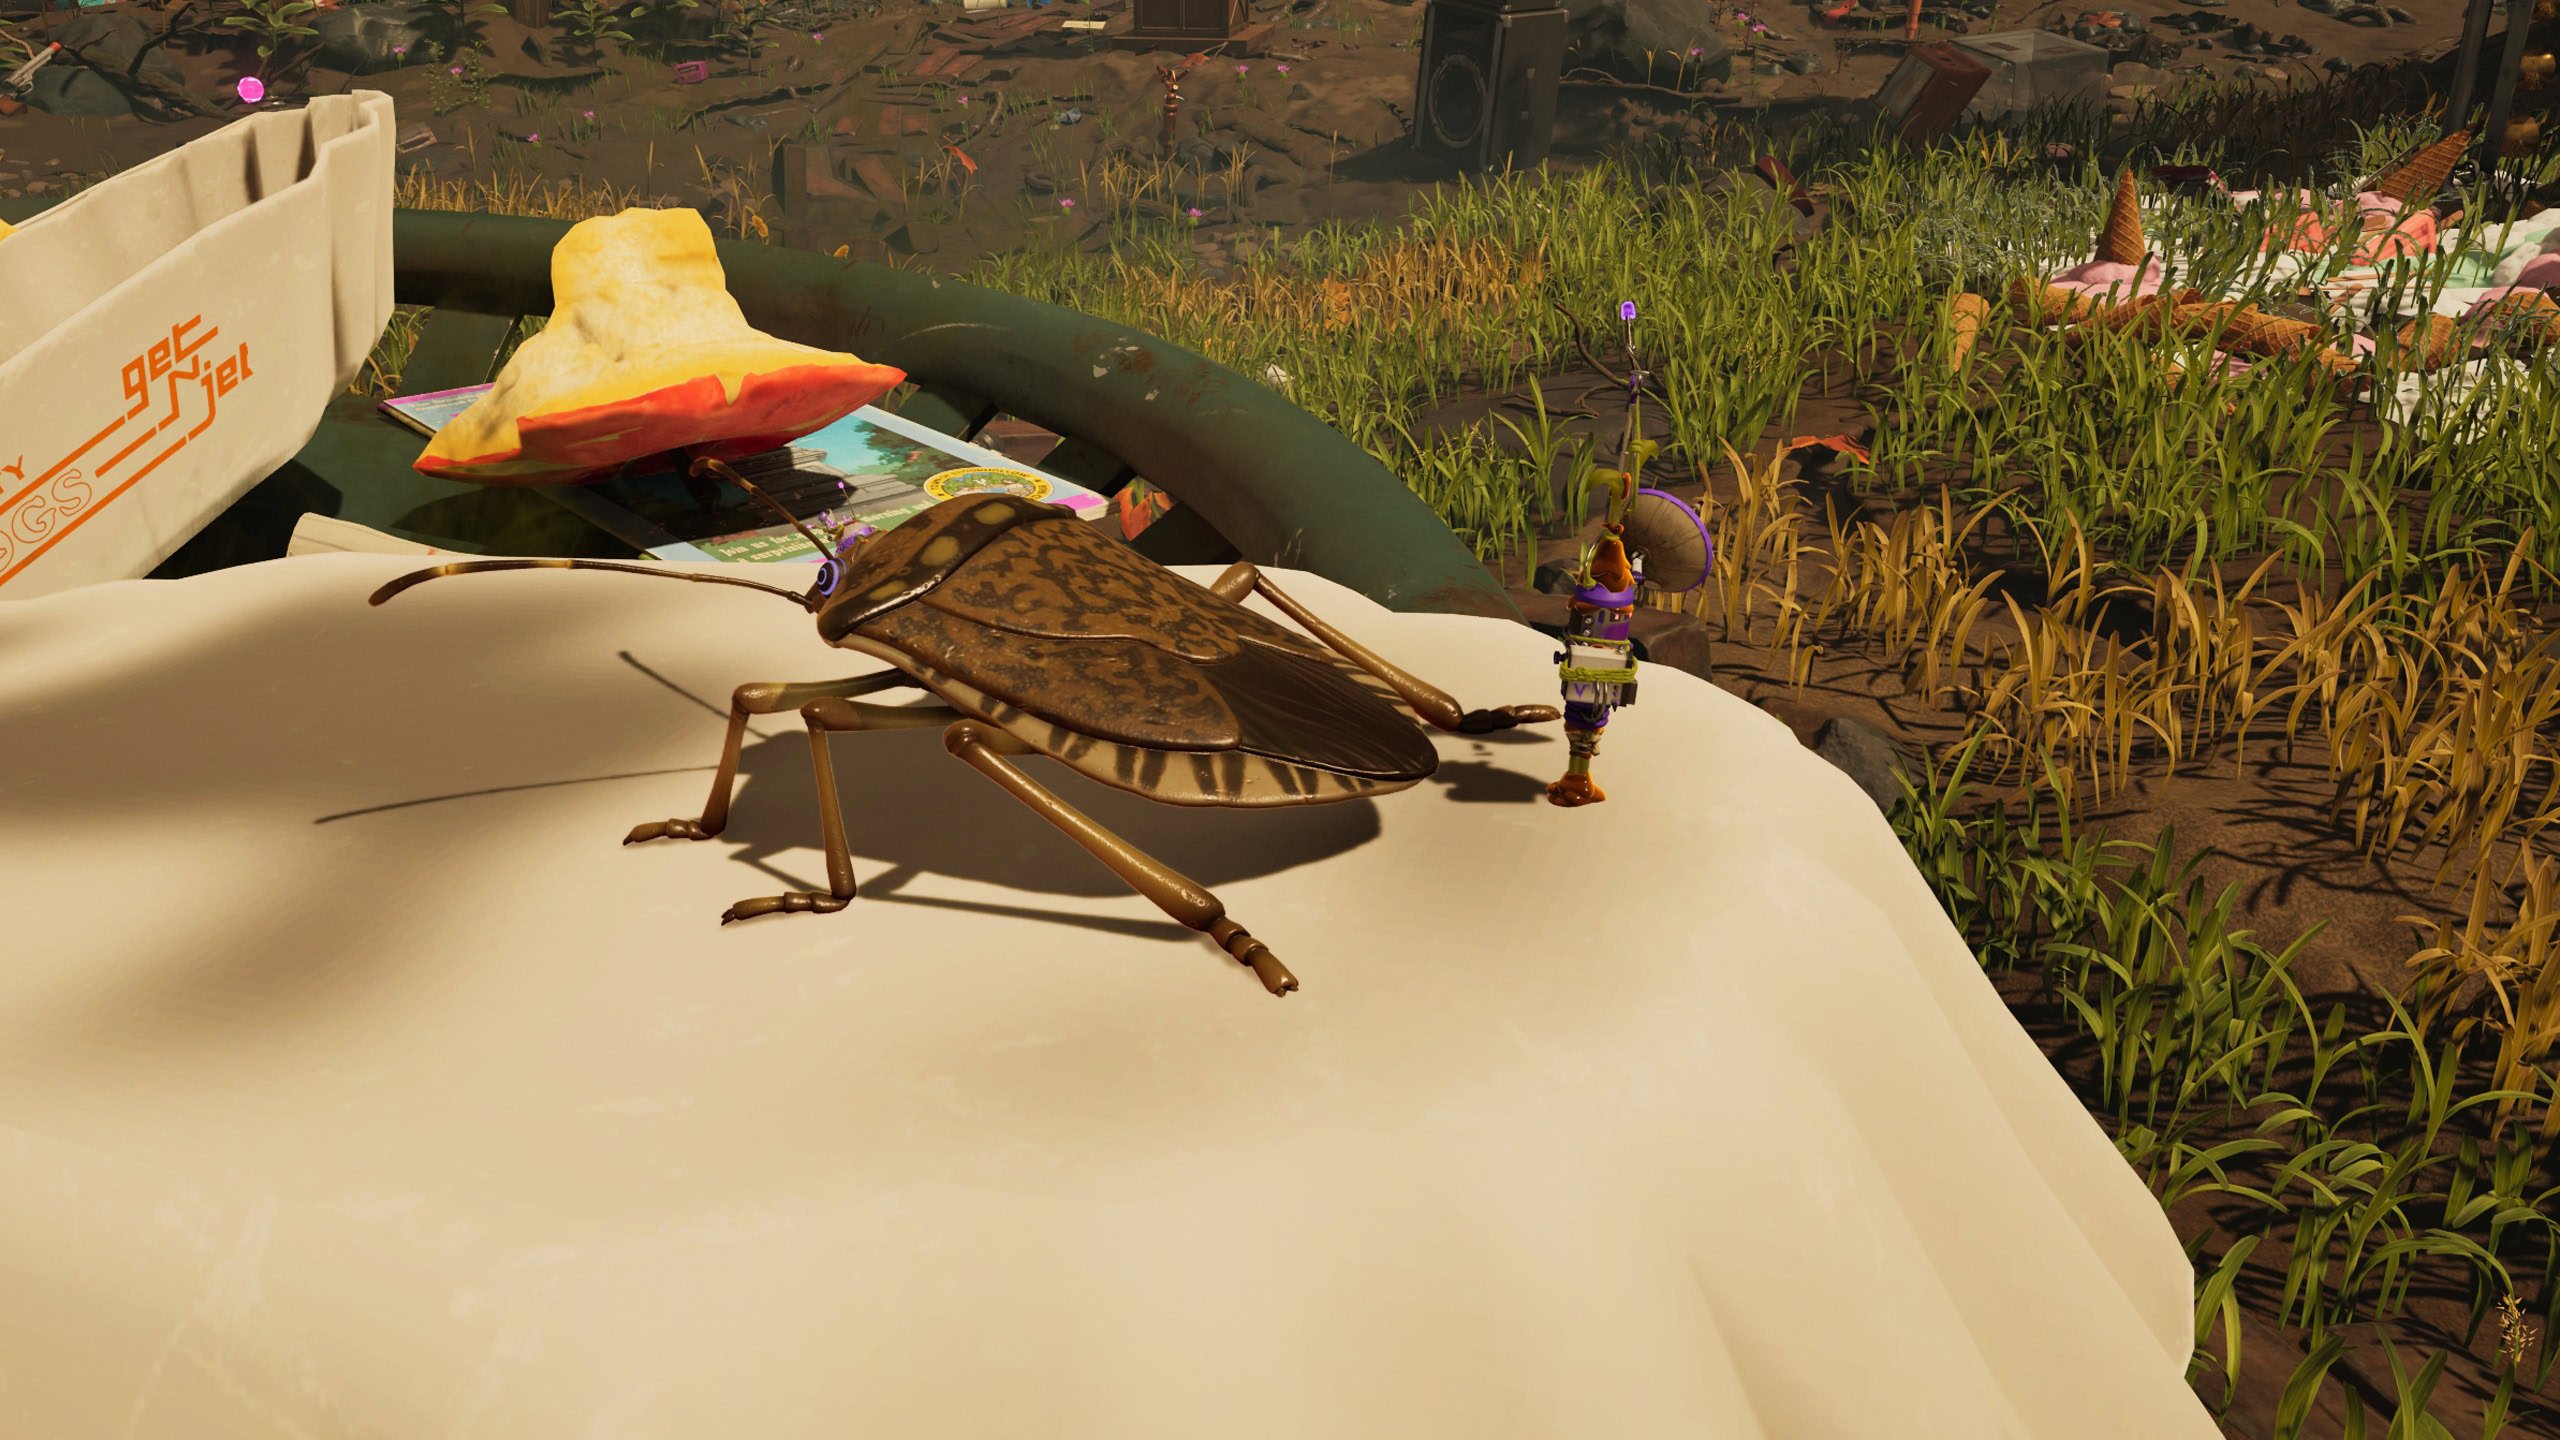
Crafting A Gas Mask is mandatory for this section of the quest, which means defeating a Stinkbug, if we don’t get lucky with any Spider Egg Sacs we break open.
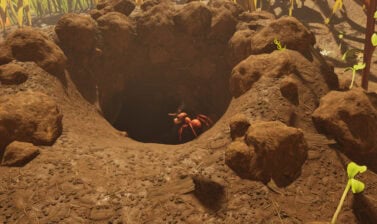
The easiest way to down a Stinkbug is to ride your Red Soldier Ant Buggy over to the Hatchery Anthill North Entrance, find the nearby stink bug, and bait him over to the Anthill. This will cause the ants to attack and heavily damage, or even outright defeat, the invader you coaxed over, and allow us to finish it off if they don’t.
We’ll also want to craft a Bow and some Arrows to use as well. We’ll need this as both a weapon and a tool. Which bow we craft doesn’t matter between the Sprig Bow or Spider Stringer, but if we have the supplies, the Spider Stringer is the better option overall.
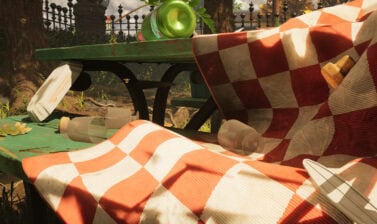
Outside of the Gas Mask and Bow, the only real change to our Gear would be the swap from the Crimson Saber to the Crimson Avenger, if we managed to do so after completion of the Picnic Table just before this. Be sure to still bring the Red Ant Helmet for the journey to the stash.
As always, make sure to bring Bandages and Smoothies for healing. Just note that without the Gas Mask, the residual Gas Damage from the Garbage Can itself will interrupt the healing of Bandages, though we only need to fight one creature here.
Once again, we’ll be gliding after the transmitter, so bring Danelion Tufts. If they aren’t already, we should have this in our inventory at all times.
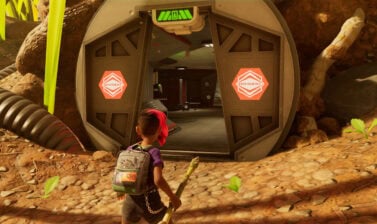
The Garbage Can
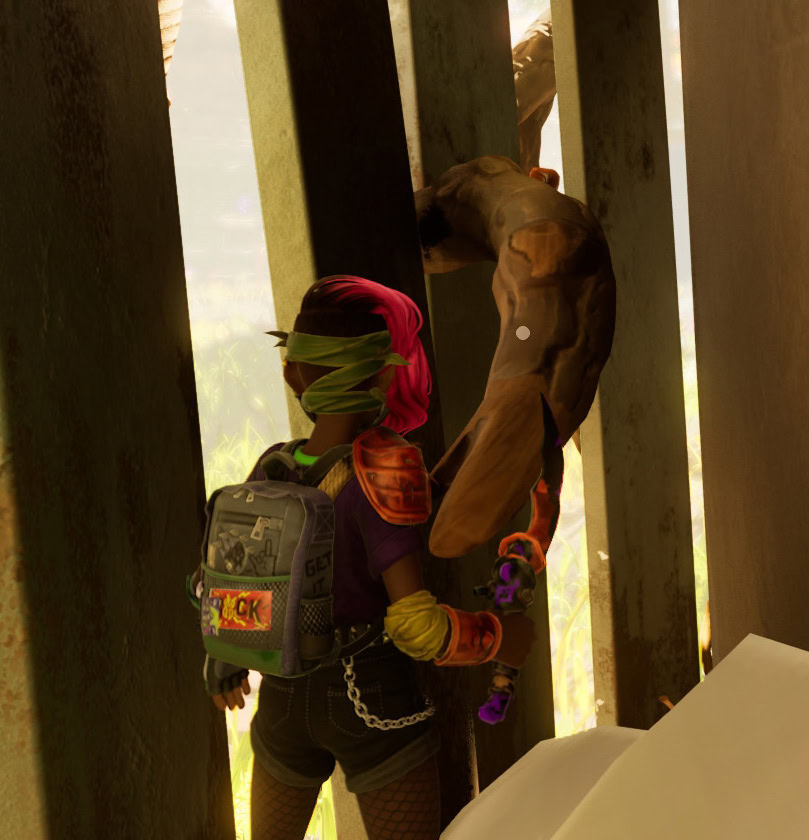
We’re heading out to yet another slightly less obvious entrance, this time a branch located at -8°N / -53°E.
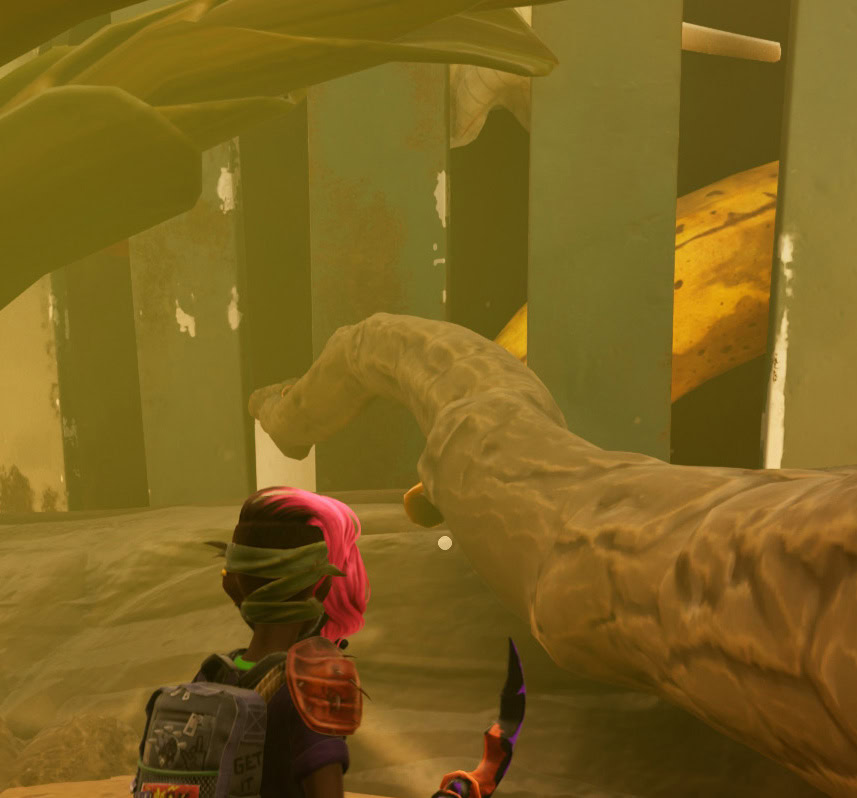
After crossing this branch, the Banana here will be part of our path forward. If we follow it all the way and onto a Billy Hog Tray, we can pick up an extra 500 Raw Science.
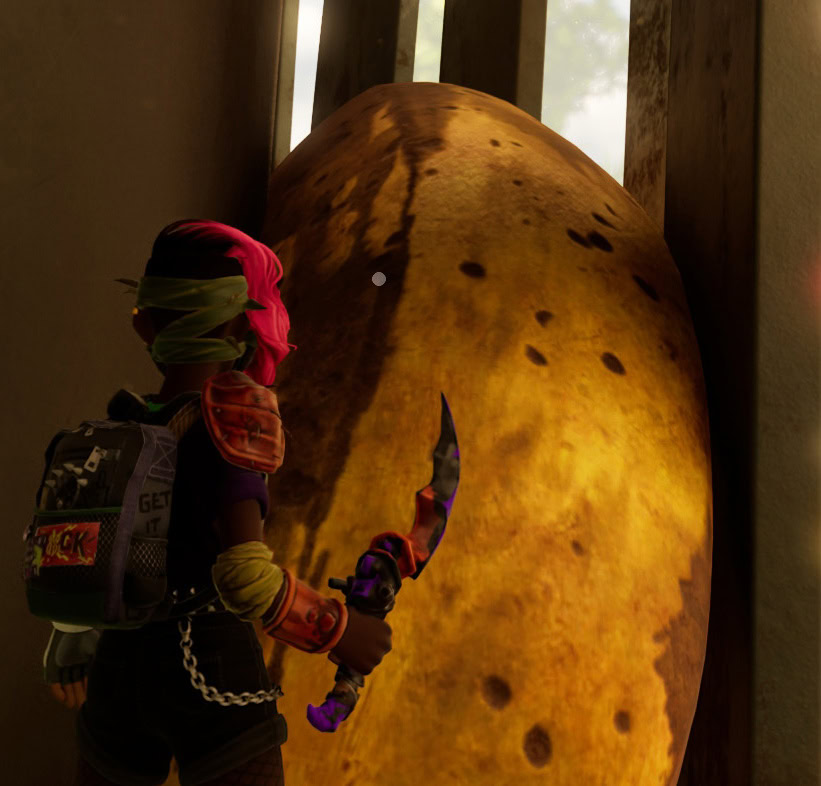
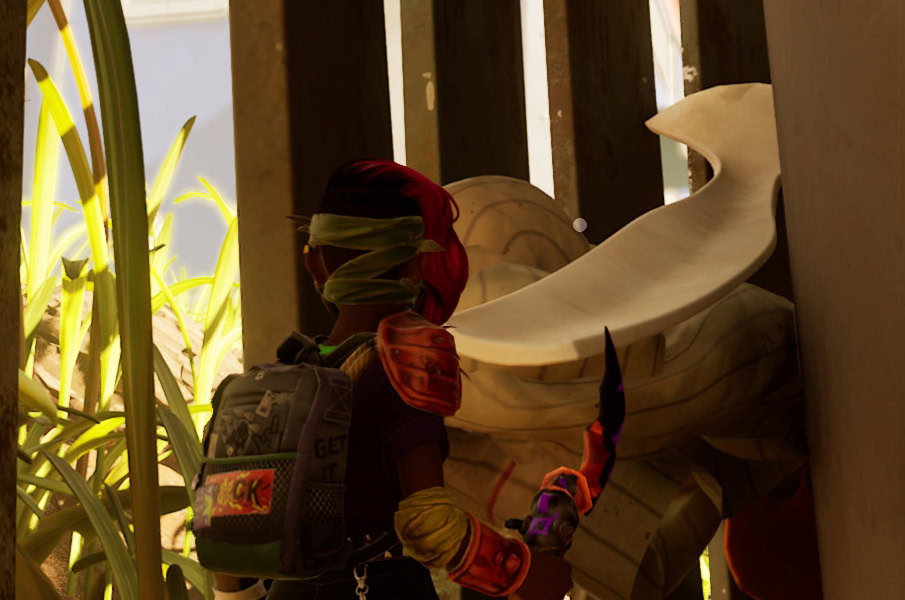
However, to progress forward, we need to hop onto the banana and turn around to face the utensil on the opposite side of the branch.
This will lead us towards a branch that leads out of the Garbage Can briefly, but will bring us back in as we follow it.
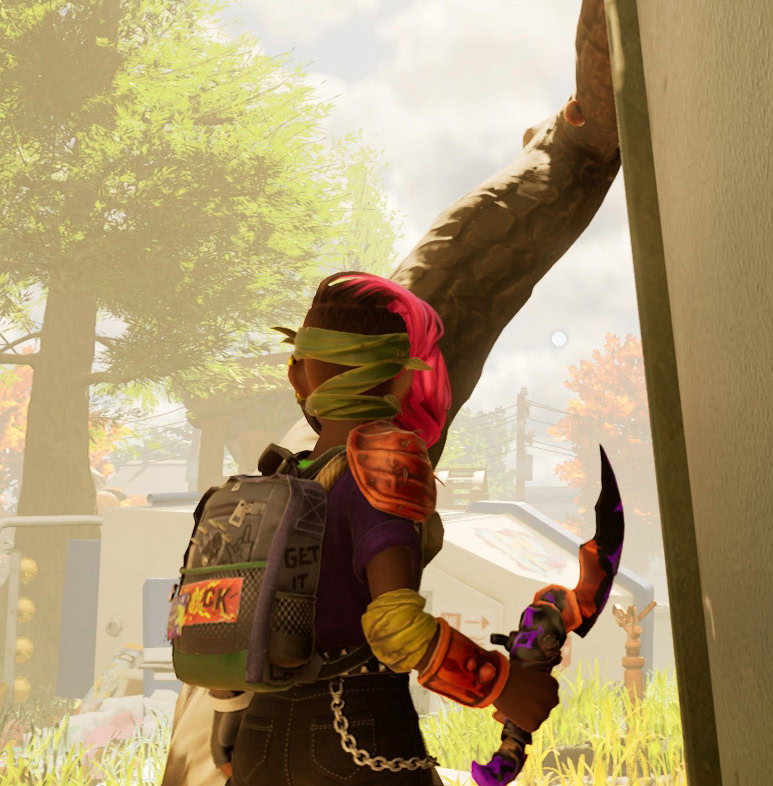
Near the end of this branch, we’ll be able to spot a rope that will continue to take us up to near the top of the Garbage Can.
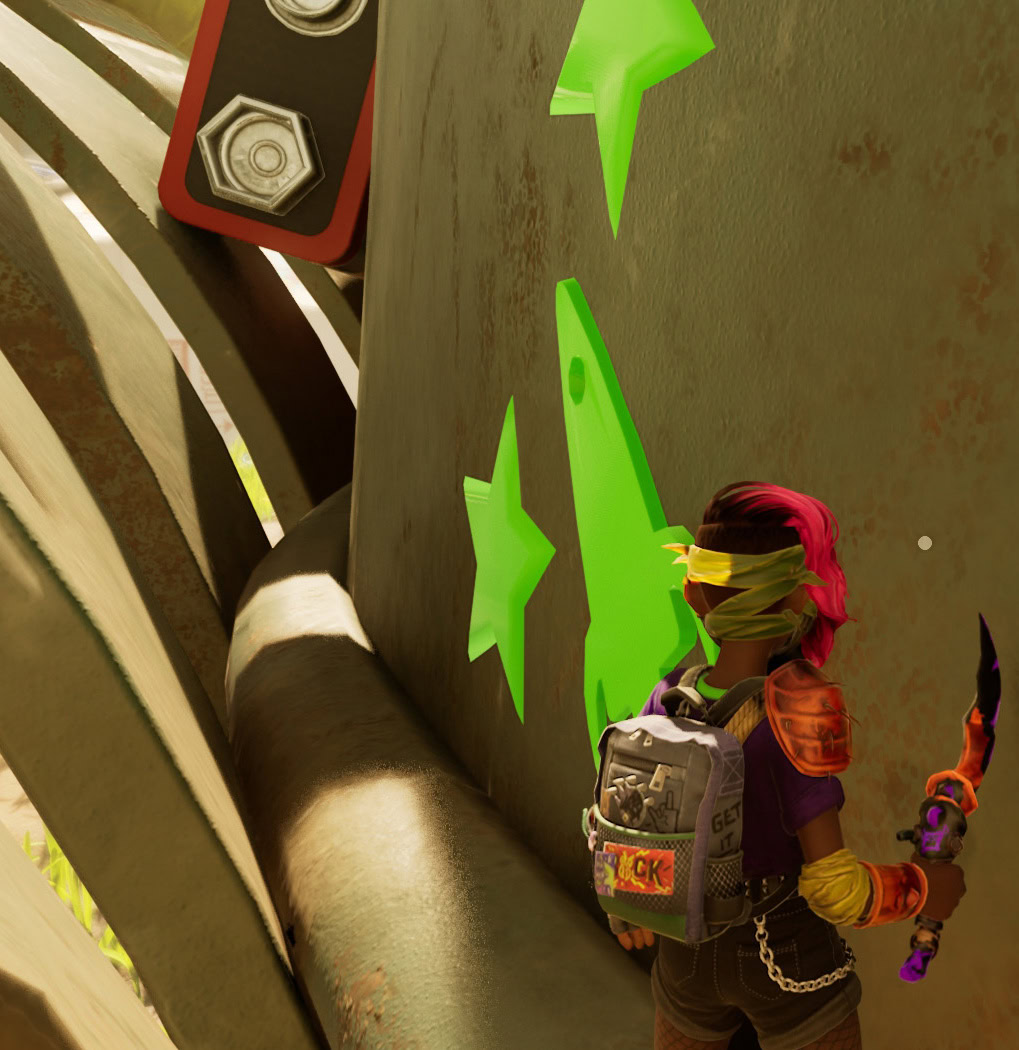
Near the rim of the Garbage Can, we should see a set of Green Glow in the Dark Stickers here that indicate where to jump up. From here, we’ll continue to the left towards the 9-volt battery, staying on the rim of the Garbage Can.
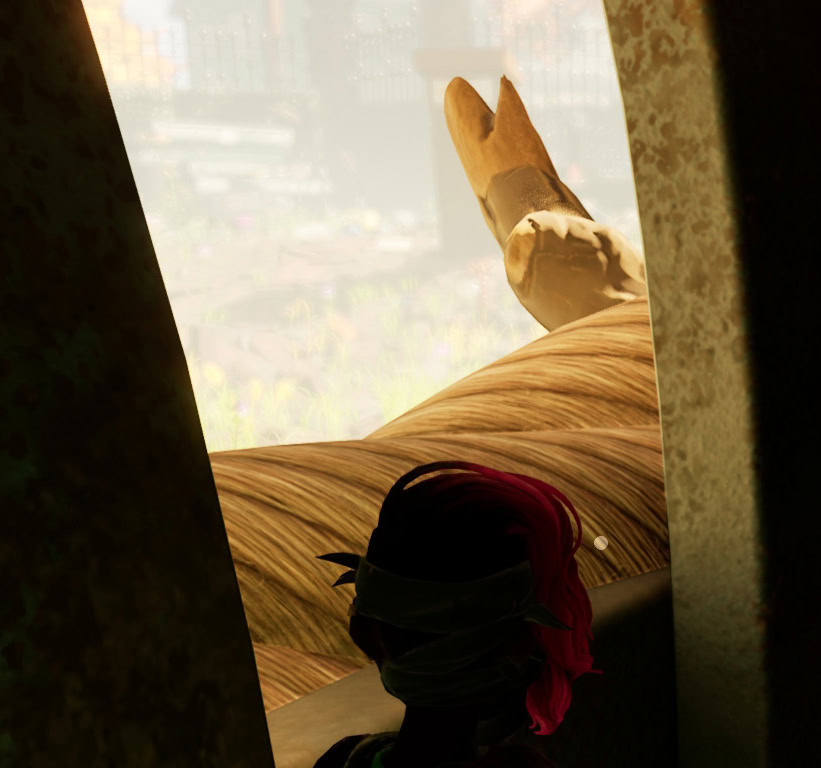
We’ll eventually reach a final plastic Utensil, which leads us to the top of the Garbage Can.
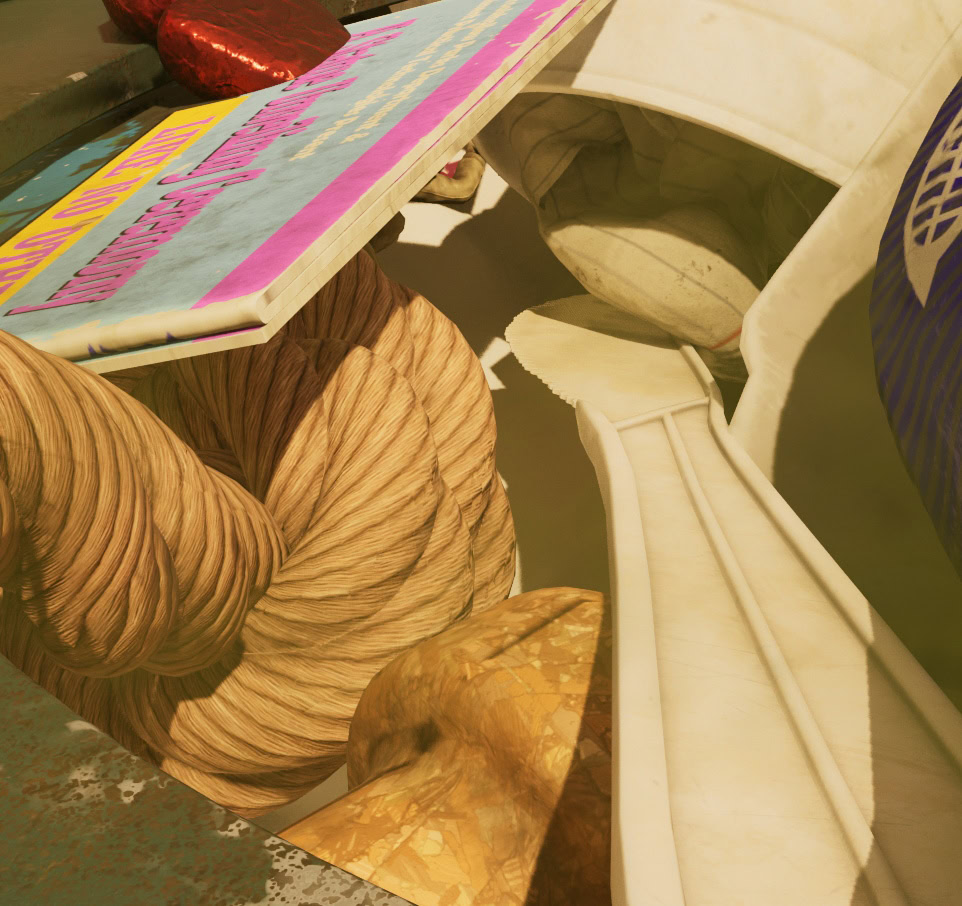
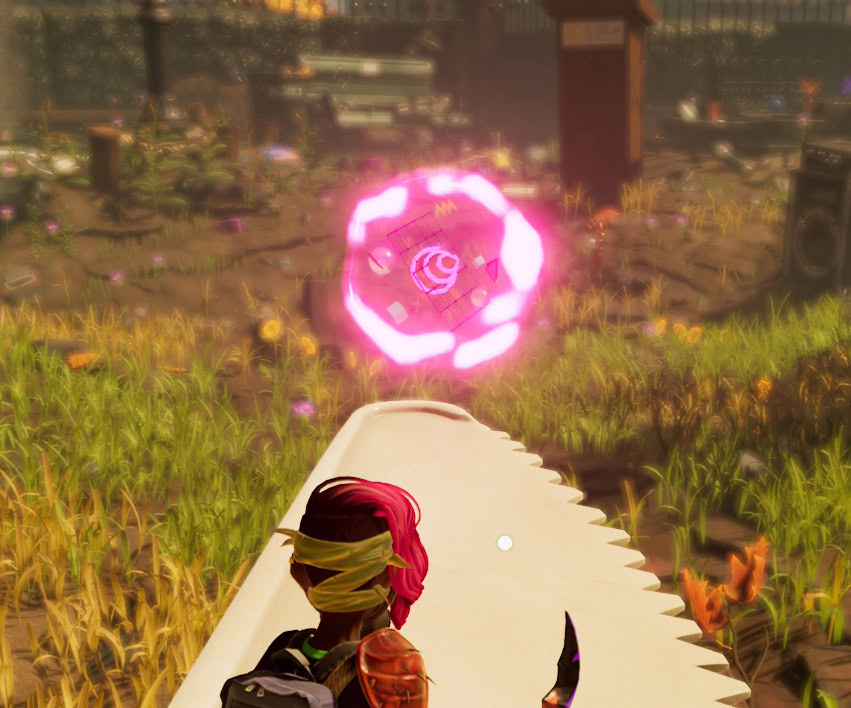
Up here is the Transmitter, guarded by an O.R.C. Stinkbug, as well as a few resources like Gum and Candy, which we can collect with the proper tools.

From here, we can head up to the Transmitter, hopping using the Paper Ball to the left, or the Soda can near the middle. The Paper Ball is more of a direct and easier path, but the Soda Can can also prevent the Stinkbug guarding the Transmitter from being able to immediately attack us, as he will often hop over to the can first.
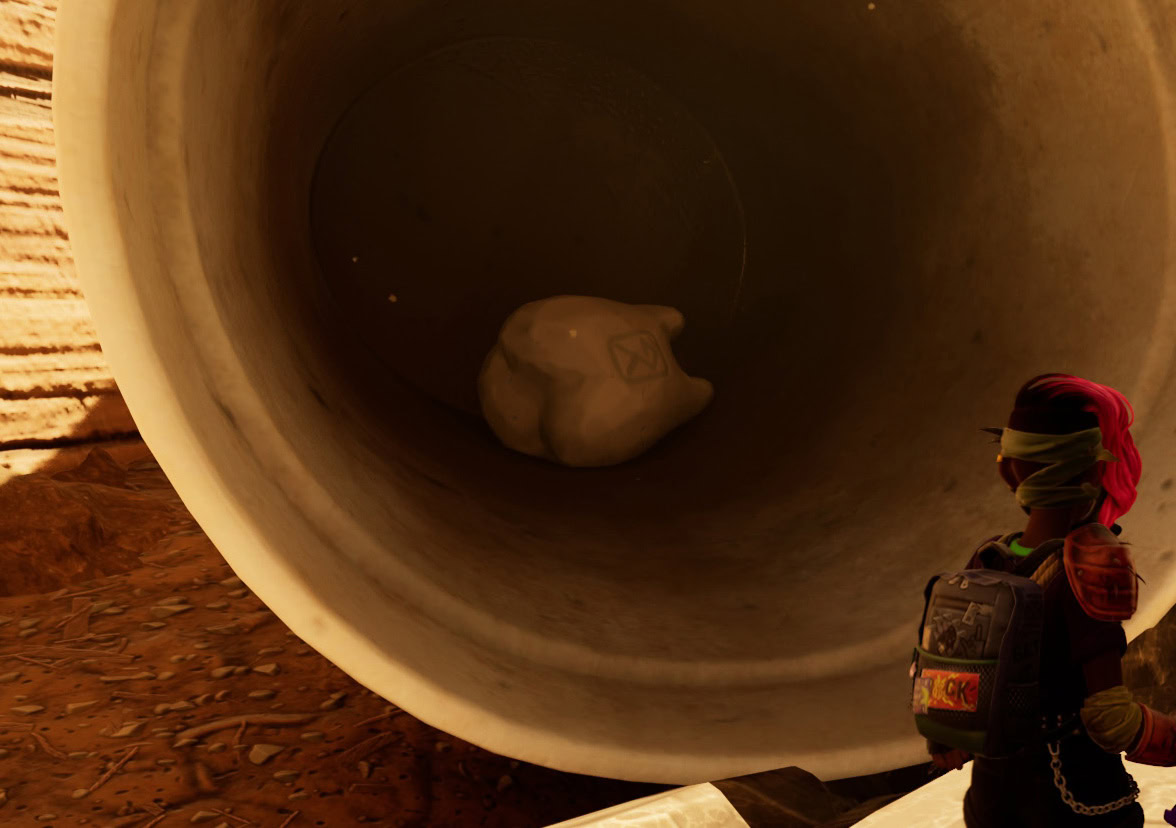
Defeat the O.R.C Stinkbug and hack the Transmitter. Instead of hopping off directly towards the marked location, we’ll hop down from this utensil with Raw Science on it and glide straight down.
By doing so, we’ll land at the very bottom of the Garbage Can, next to a cup. This cup happens to have a Milk Molar we can pick up while we’re here.
Now we’ll head towards our next Destination, the Berry Patch.
The Berry Patch
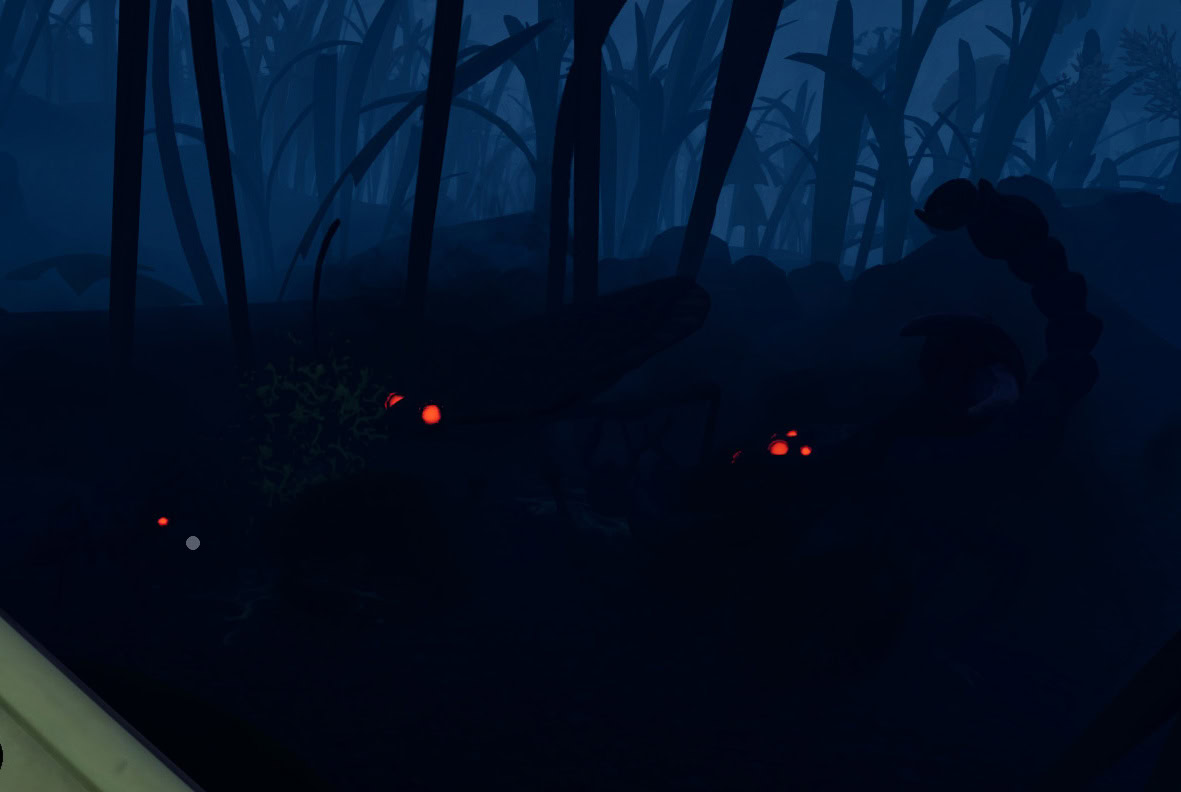
By following the marker to the newly marked location, we’ll be taken to the Berry Patch. Be wary of the Scorpion and other aggressive bugs along th way here.
Once we each enter the area, the Mysterious Stranger will hack us once again, but we’ll still see the O.R.C Bees here, one of the reasons for the Bow.

If we position and aim carefully, even the basic Sprig Bow will deal significant opening damage to one of the Bees, and hopefully not aggro both of them. Similar to the Ladybugs from the Picnic Table, these Bees can do some serious damage, but they also fly above us. However, landing a Parry on them will stun them and bring them to the ground for us to carve through with the Crimson Avenger.
Once defeated, use the bow to knockdown the berries and chop them up with the Omni-Axe. These will allow us to unlock the T2 Omni-Axe, which we’ll want for the location we’ll be going to next, the Flingman Disc. These also allow us to finally upgrade our Bandages by turning these chunks into leather.
If we got lucky from the spider egg sacs in the Picnic Table, or even took out Bombardier Beetles on the way there or back, we can even use a Jerky Rack to convert these to the necessary Blueberry Leather at a 1:1 ratio, as opposed to crafting them at a 3:1 ratio.