Learn strategies and tips for defeating the Reed Devil in Crimson Desert. This fight will require you to be proactive and observant if you’re going to give this devil his due.
Preparations and Recommended Skills
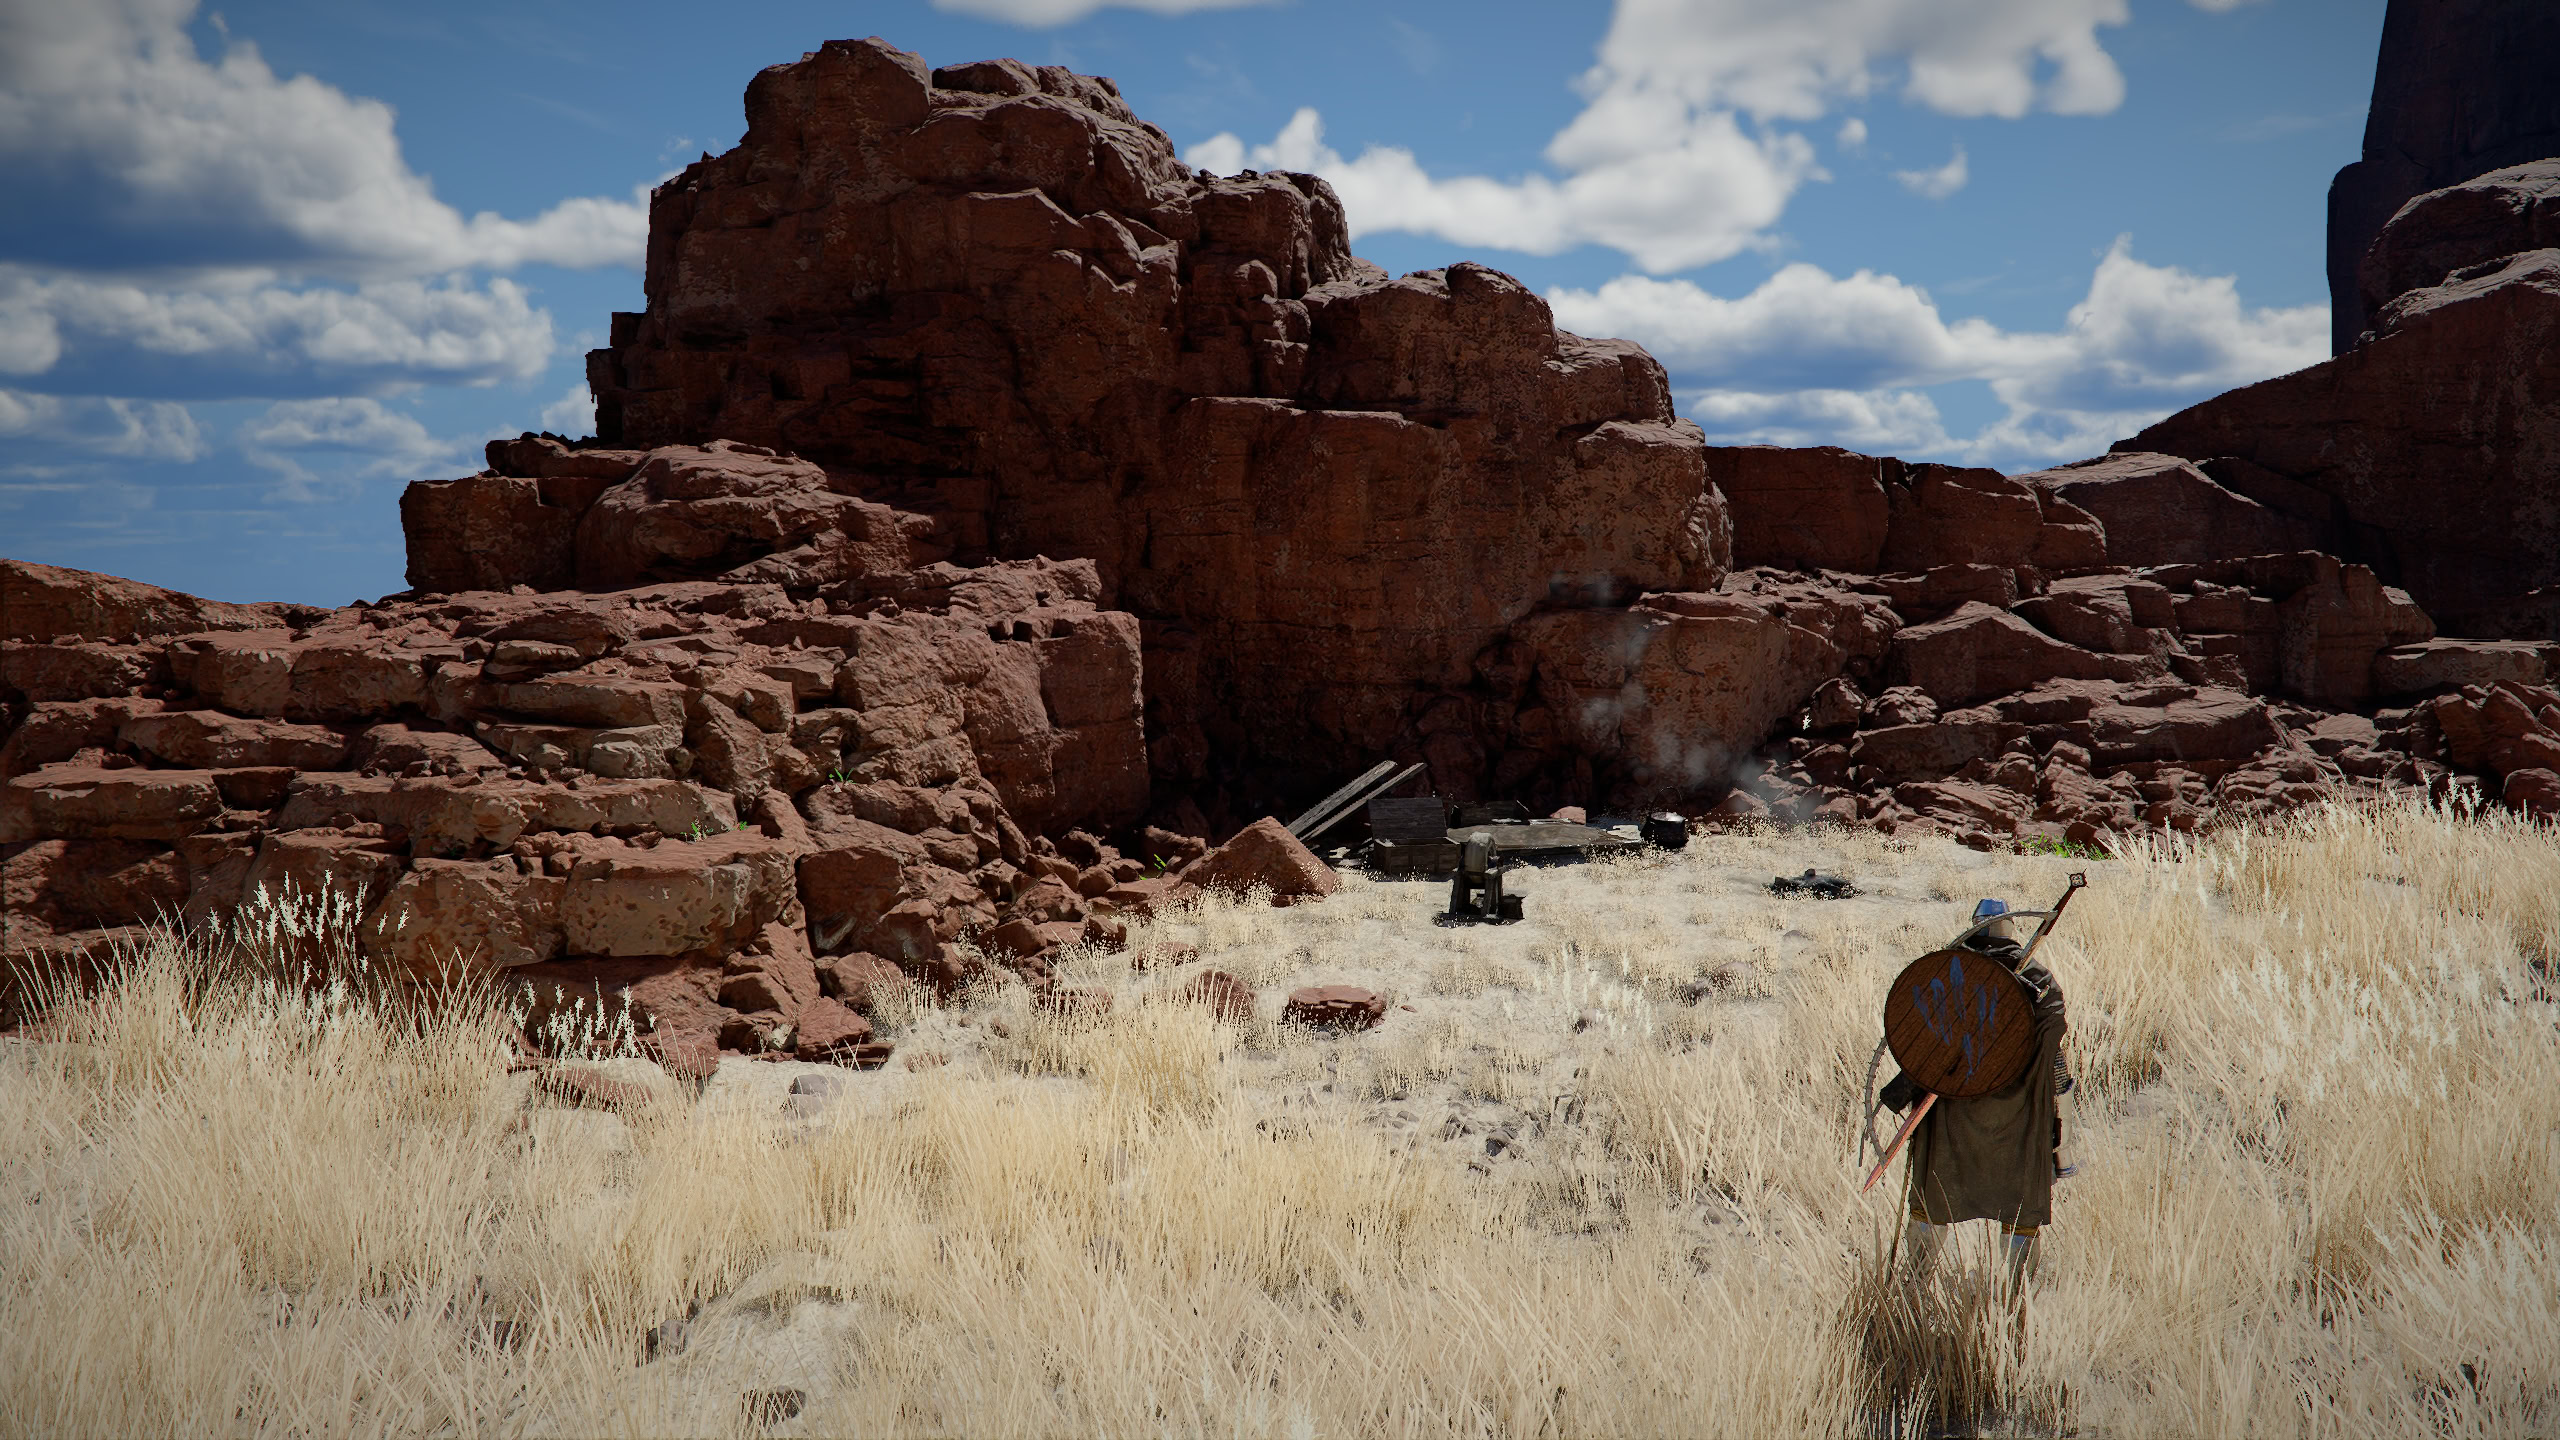
After chasing the Reed Devil by following his trail with your lantern in Chapter III, Dance with the Devil quest, you’ll find yourself in a field of reeds. Don’t rush in and look at the rocky outcrops to the east near the cliffs.
Fire and Grindstone
You’ll find a small camp next to an outcrop that will have a bonfire, grindstone, and supplies. Take the time to pick up the meat here and prepare as many meals as you can, sticking to the options in Field Grill Cooking and Field Pot Cooking. The fight ahead will likely burn through a lot of food.
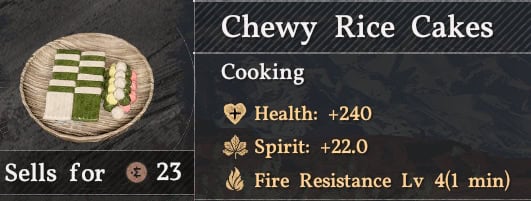
There are four great food options you can cook, with the amounts we can cook varying based on any extras you have on hand. Chewy Rice Cakes, Battered Meat and Fish, Fish Porridge, and Clear Soup.


Of these options, Clear Soup is the only one you’re guaranteed to have the Recipe for, making it a reliable option, despite providing a bit less healing than the other options at 180 health.
Assuming you have the recipe (from inside the Hernand Grocer) and a stock of ingredients, particularly fruit, Chewy Rice Cakes are the absolute best you can get, recovering 240 Health AND 22 Spirit. Giving you strong healing and more reliable access to your heavier-hitting skills.
Between these two are Fish Porridge, if “Renee’s Request” has been completed, and Battered Meat and Fish, if the recipe has been picked up from the Hernand Inn; both healing for 240 as well, but without the Spirit. Fish Porridge requires extra Salt on top of what is given to craft in Bulk, which Battered Meat and Fish require extra veggies.

Recommended Gear
For this fight, you’ll want to use a Sword and Shield and heavy armor. The Reed Devil attacks primarily through weapon attacks, so some upgraded plate armor will help.
You can purchase some Canta Plate Armor in Hernand if you don’t have any. If your funds are tight, focus on purchasing the chest piece and refining that. Sword of the Lord from Kailok, the Hornsplitter, is a good option to use as a weapon.
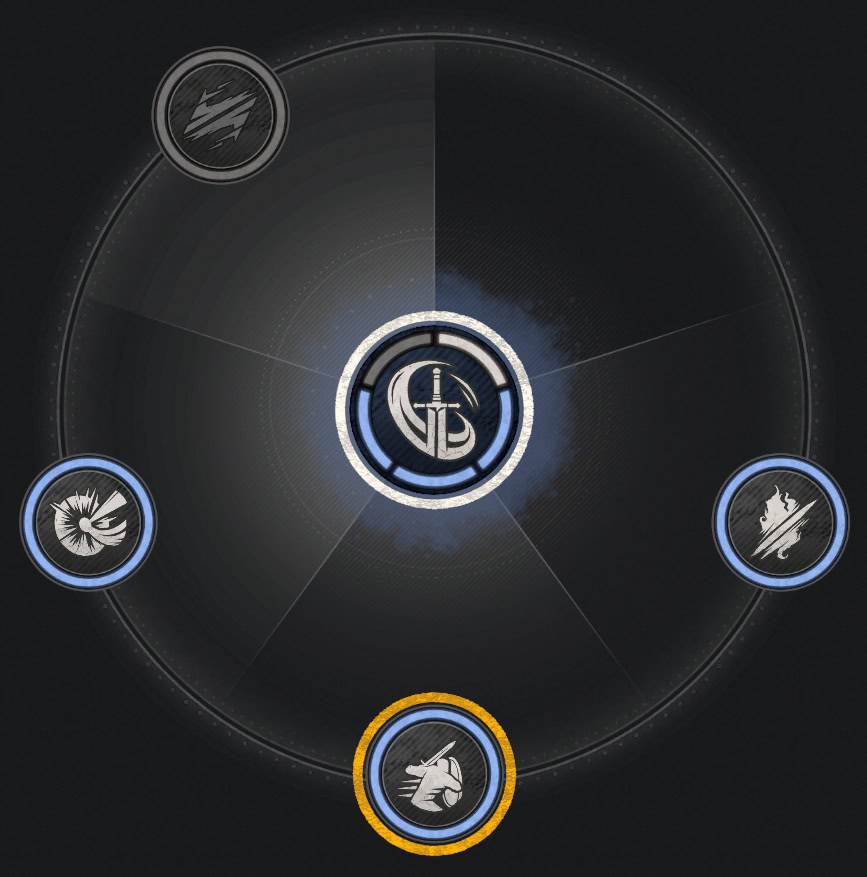
Recommended Skills
You’ll want Armed Combat at level 3 for the Charge ability. This ability will help you keep up with the Reed Devil as he weaves in and out between attacks. Level up your Forward Slash to get Proficiency for the finishing slash.

If you prefer dodging, upgrading Keen Senses to level 2 will also be useful as this unlocks the Dodge ability. It can help, but all you really need is the Evasive Roll ability to help restore stamina mid-combat.
Focusing upgrades to your core attributes such as Health, Stamina, and a little bit of Spirit will help in this fight. He can and will burn through all of these very quickly.
Video Guide
Phase 1
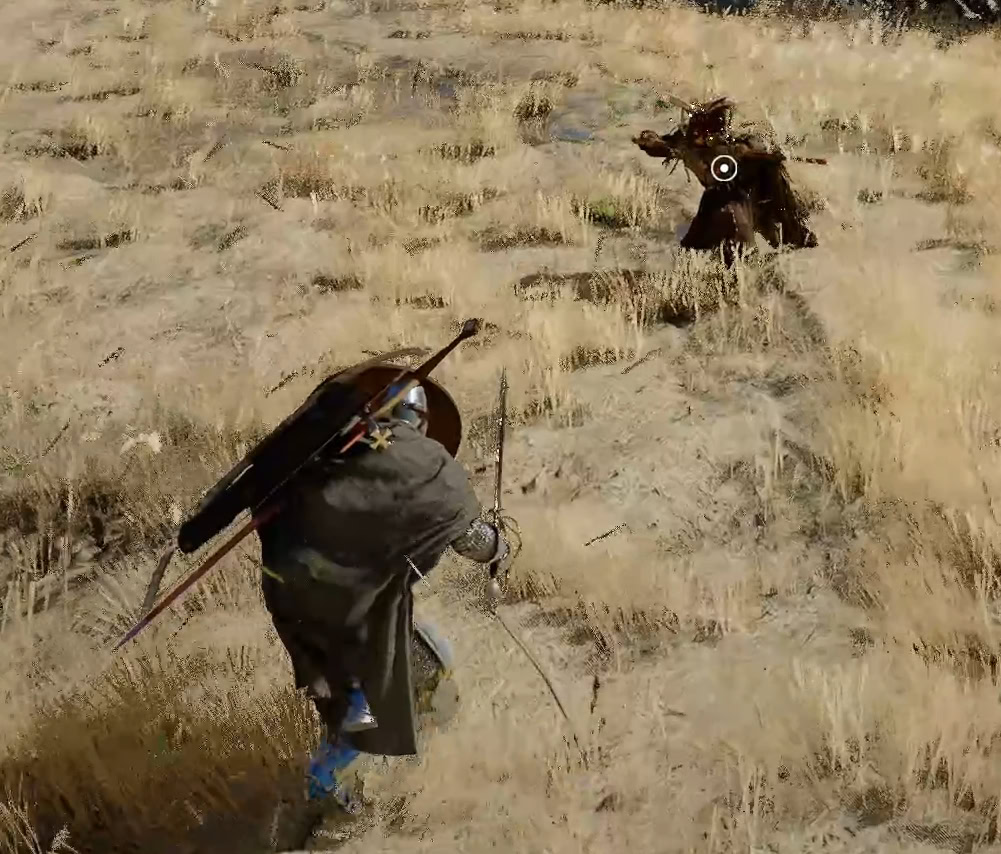
At the end of the intro cutscene, the Reed Devil will be charging an attack. When the black bars go away, dodge after 1 second as he’ll perform a dash attack to you. Blocking with your shield won’t be effective against this attack.
Learning the Swift Stab
If your vision turns blue, the Reed Devil is about to use the Swift Stab. This is the same attack he uses at the very start of the battle. Just dodge to the side and you’ll learn this technique once you’ve observed it twice.
To use the Swift Stab, land a fully charged Stab attack then follow it up with a light attack.
Keep your shield up
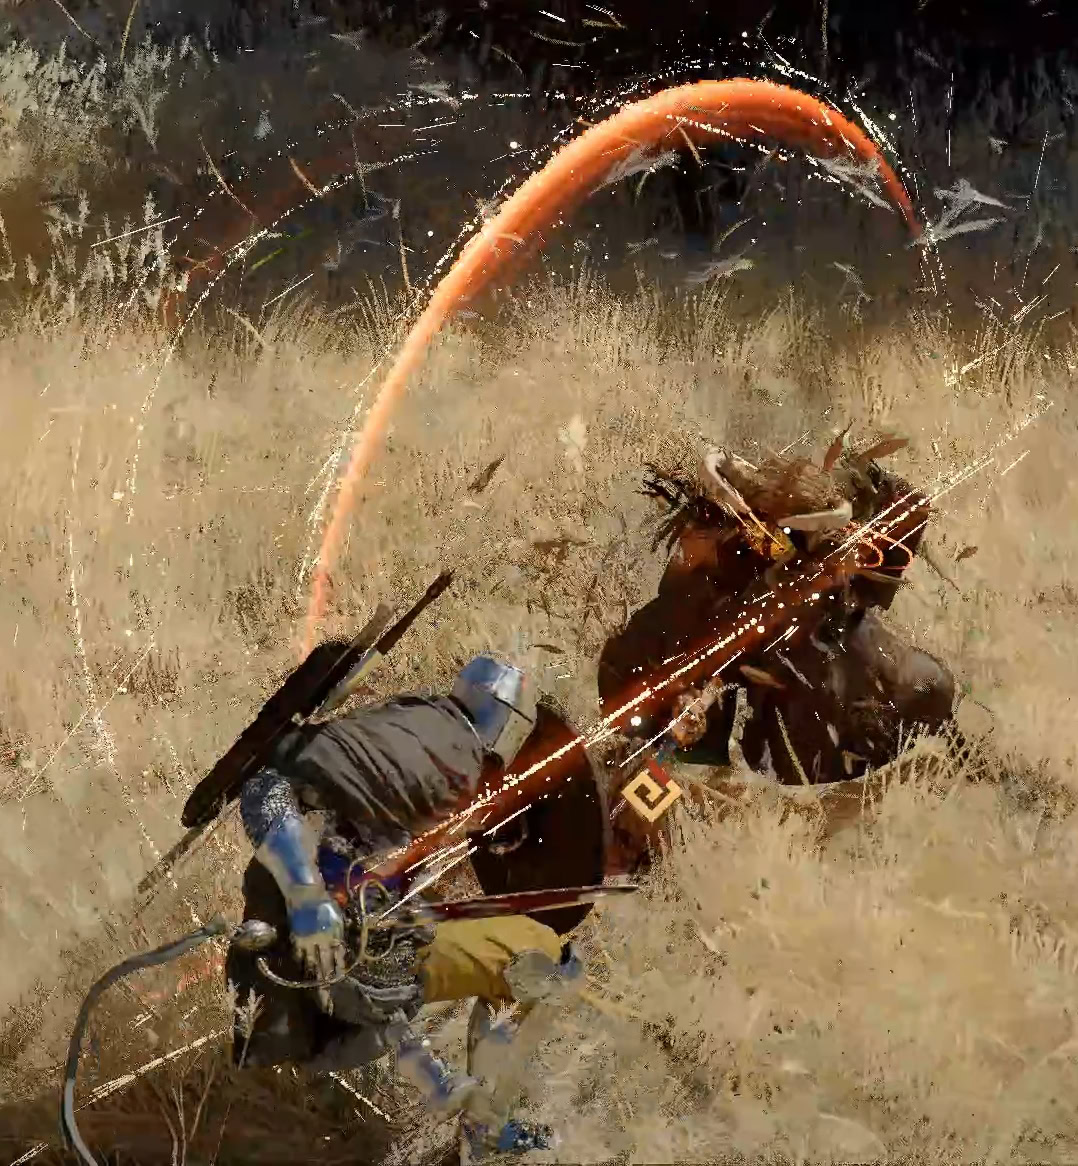
The Reed Devil’s attacks appear as a whirlwind of sword swings against you. Despite their speed and red coloration, don’t be intimidated. It’s a set of three attacks that can be parried.
Start by blocking these attacks to get a feel for his speed, then work on parrying the second or third attack. Do note that his attacks deals a lot of chip damage, so you can’t rely solely on blocking them.
A good combo to rely on is to parry an attack, Forward Slash, Force Palm, then continue using Forward Slashes until he teleports to reset. Since he’s lightly armored, Forward Slashes go a long way when you can chain them.
When the Reed Devil disappears, take a moment to recharge your stamina then put your shield back up the moment it’s full. Use Evasive Roll where you can to refill your stamina during the fight.
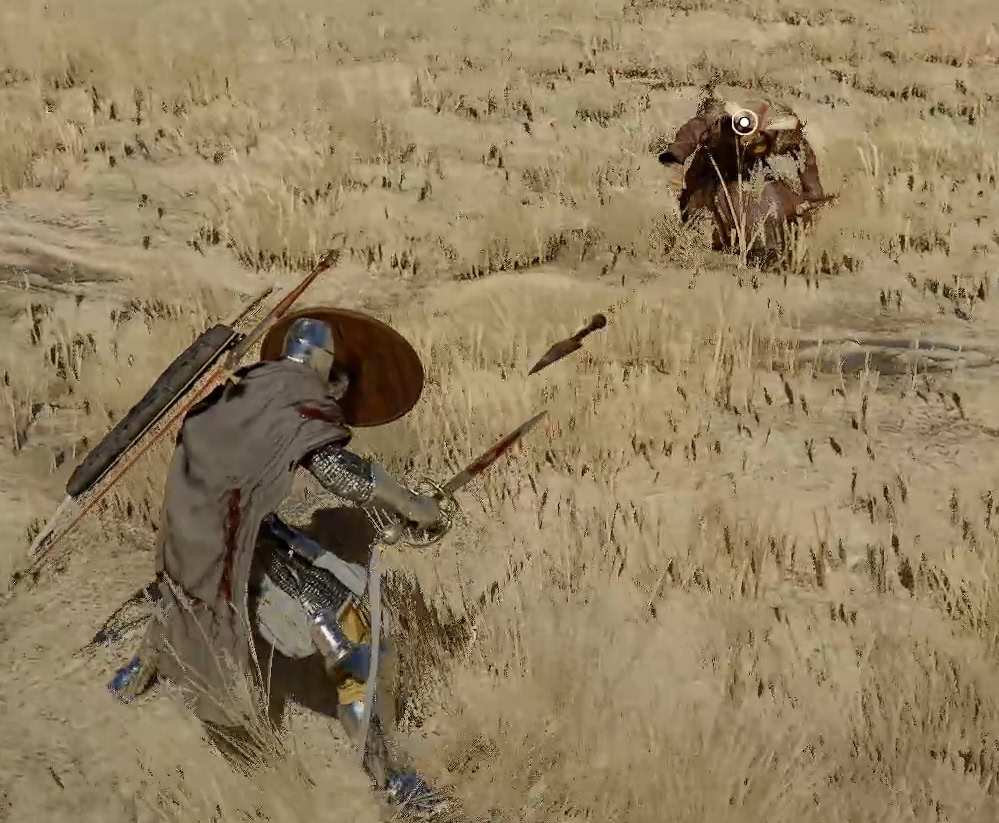
Another good reason to keep your shield up between his attacks is because he’ll occasionally throw three kunai at you. Block these and let him come to you.
Don’t stop moving and charge into battle
When the Reed Devil disappears, keep moving around with your shield up. Watch for plumes of dust around you as this shows where he’s going to attack.
If the dust disappears, run out of the way as he’s about to perform an overhead stab attack. Don’t run too far though, you’ll need to retaliate shortly.
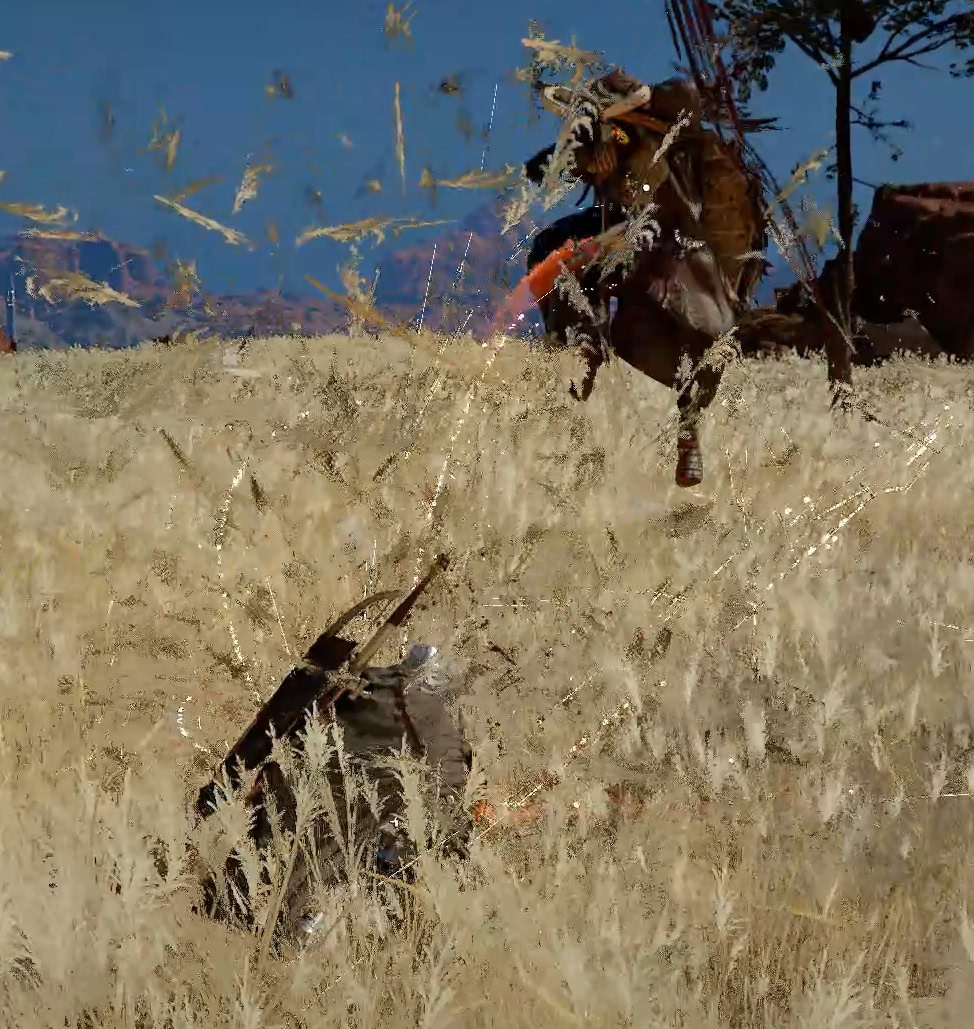
After landing, he’ll kneel and sheathe his sword. This is when he’s most vulnerable to your Charge ability. Raise your shield and charge him to knock him off balance for a second, then attack him while he’s down.
If you’re confident, you can take the offensive and charge at him whenever he appears. Even if you don’t knock him off balance, you’ll still deal a small chunk of damage and fill his Yellow Bar.
With how slippery the Reed Devil is, you’ll want to make every attack count and try to exhaust him. So long as you’ve been parrying, Force Palming between attacks, and charging at him, you should be able to fill his Yellow Bar to exhaust him long enough to do some serious damage.
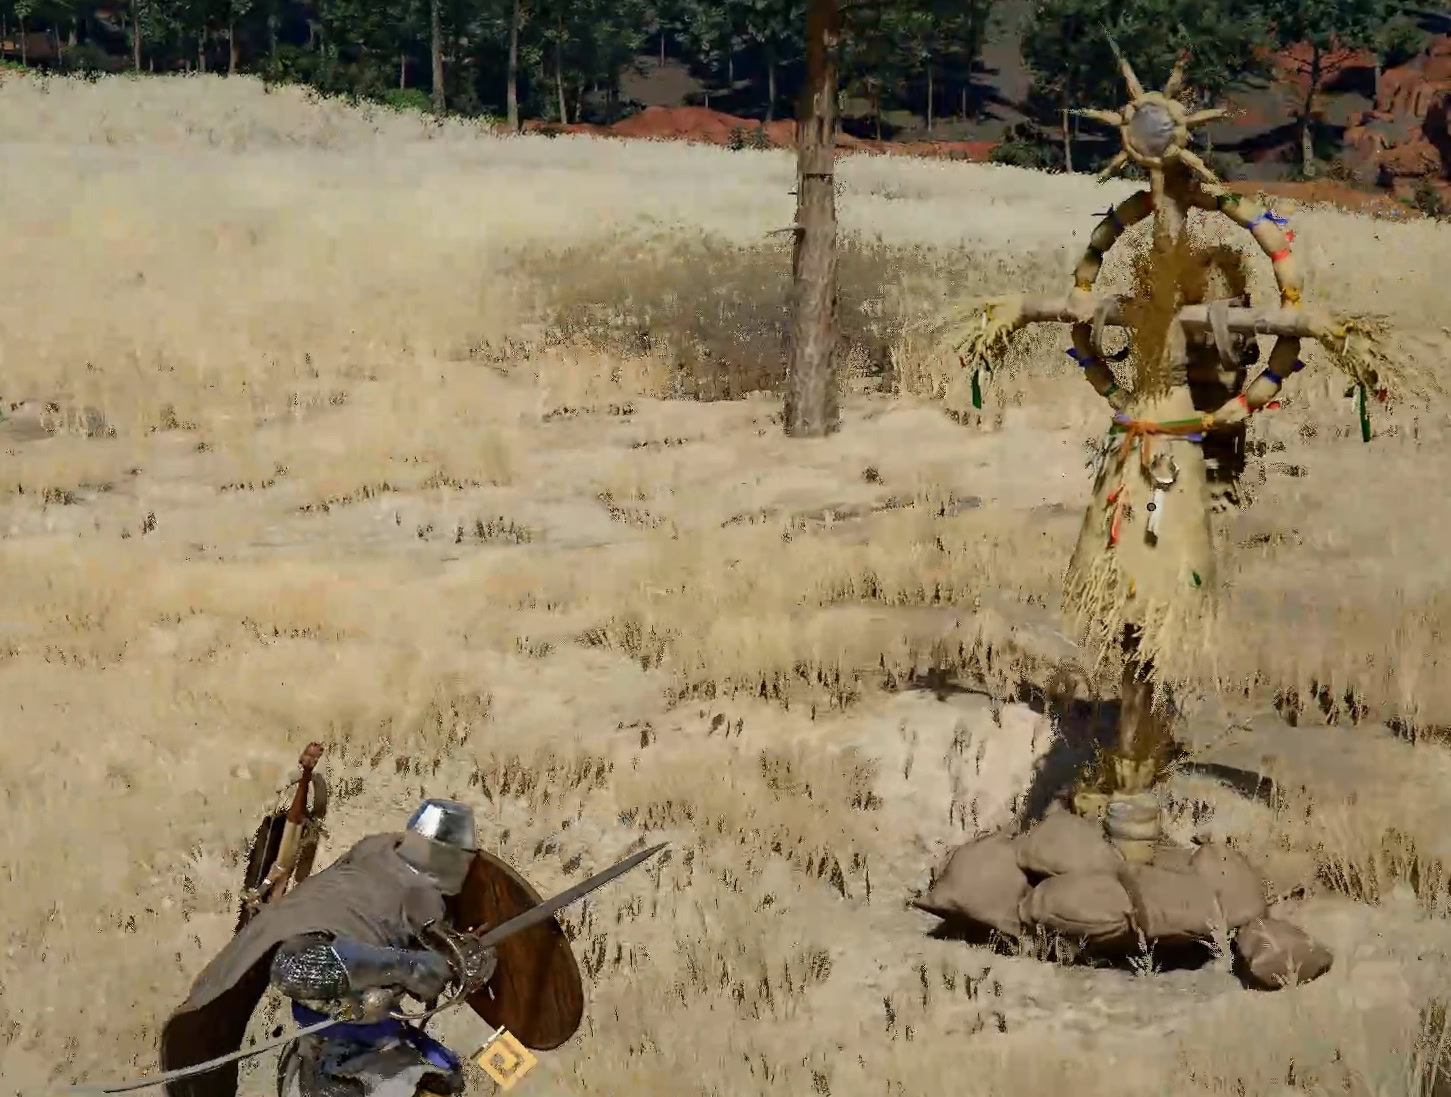
Transition Phase: Destroy the Totems
After depleting his blue bar of health, the Reed Devil will spawn duplicates to surround and overwhelm you. Don’t bother fighting the duplicates, focus on destroying the four totems around you.
Your progress will be seen at the top of the screen with each lit red circle representing a totem. Focus on dodge and running away from the duplicate attacks and destroy those totems as soon as possible.
Once the totems are destroyed, land an attack on the Reed Devil to start a short cutscene and begin Phase 2 of the fight.
Phase 2
The second phase of the fight is where you’ll burn through his red health bar. It’s mostly the same as the first phase, but he’s going to get far more aggressive. He’ll swing at you more aggressively which can quickly chip away at your health.
He gets a new trick where he’ll launch arcs of energy at you from a distance. Between each wave of arcs, he’ll run somewhere else to try to hit you from an unguarded angle.
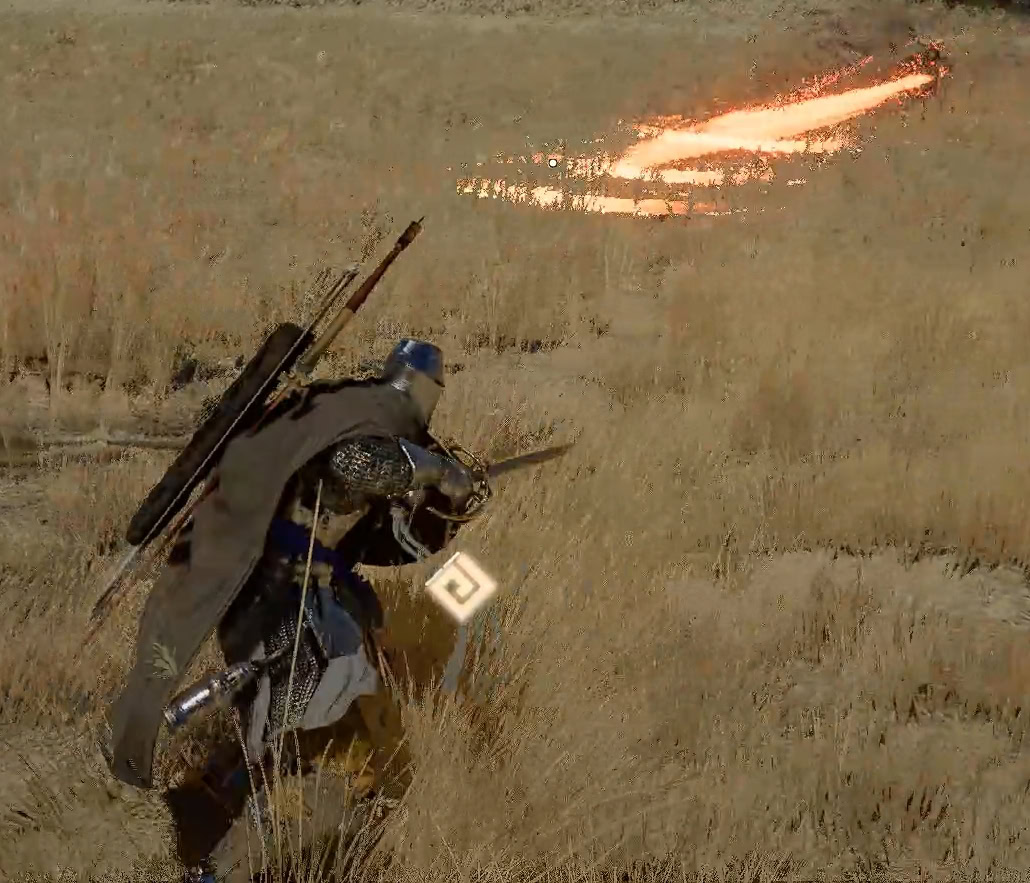
Keep looking around, maintain your distance, and avoid these arcs by dodging side to side. You should be able to defeat him by following the previously mentioned strategy of parrying, attacking, Force Palming, and charging.
The Sunset Reed Cloth Gloves
After some monologuing and punches to the face, the Reed Devil will be defeated and you’ll earn the Sunset Reed Cloth Gloves as a reward.
These gloves may not offer as much protection as a pair of gauntlets, but they have some useful features that are great for a dodge-based build. When you perectly dodge an attack, your attacker will be hit by Slashing Reeds.
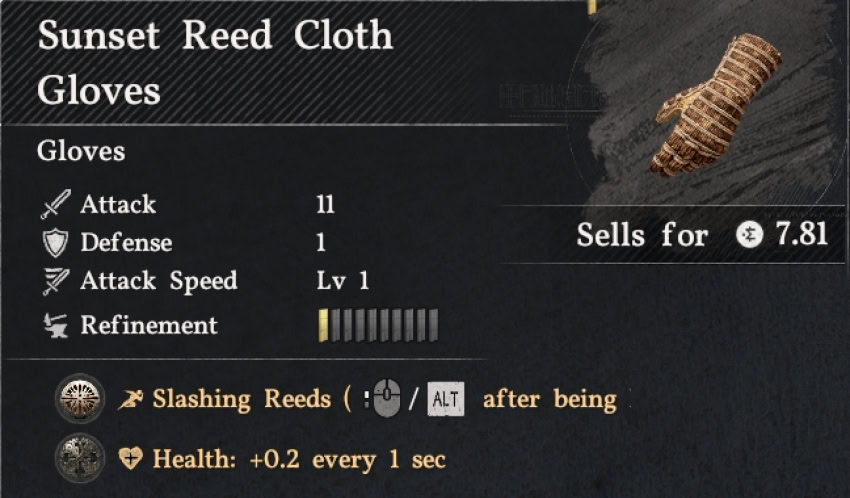
On top of that, these gloves will restore +0.2 Health every second. If you favor heavy armor, these can still be useful to regenerate your health between fights and during travel. With the Reed Devil down, you can begin the quest Hope After the Draught.