The Secret Garden is one of Crimson Desert’s many Abyss puzzles. Find out how to reach this section of the Abyss and how to solve the puzzle within to claim an Abyss Artifact in this guide.
How to reach the Secret Garden
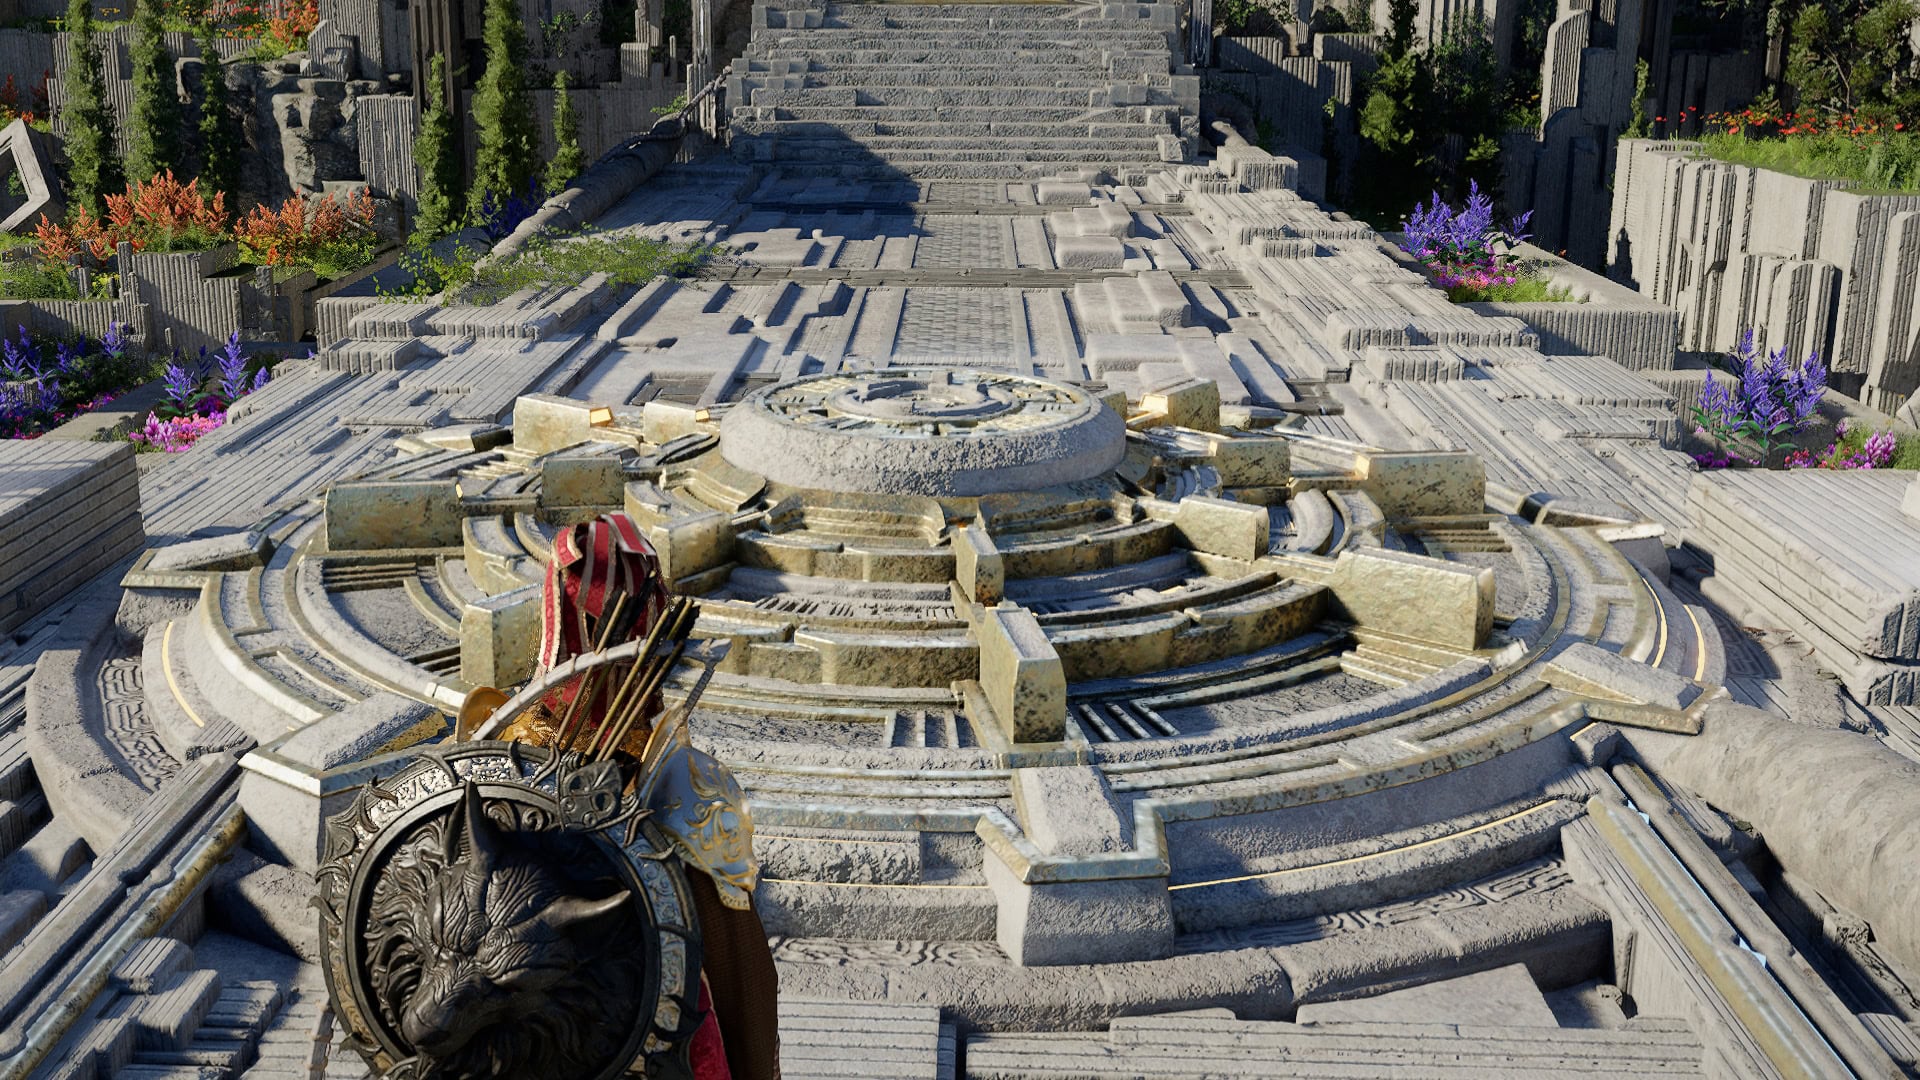
You can access The Secret Garden after completion of the Obsession and Madness Quest in Chapter IV. To Access it, we’ll need to revisit the Sanctorum of Insight by using its Abyss Nexus.
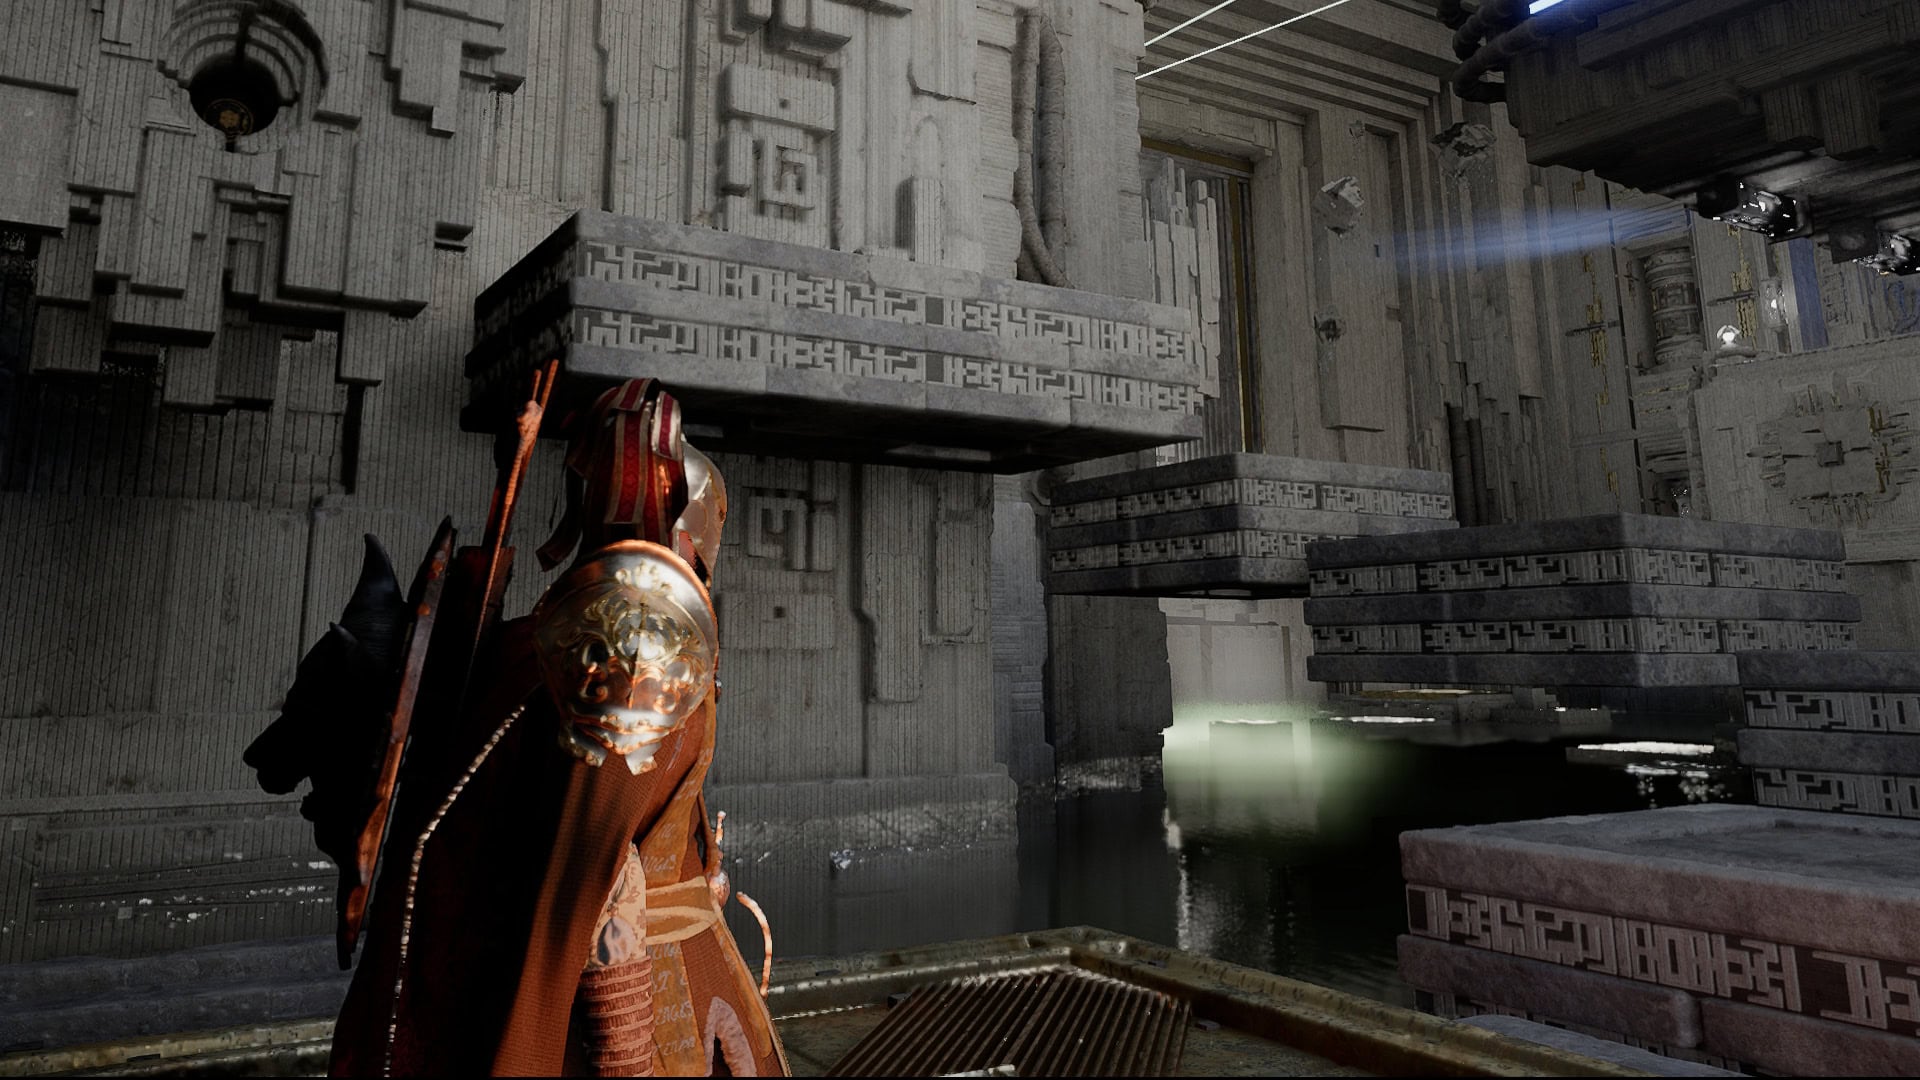
Once there, head to the end of the Sanctorum and access the Skybridge behind it.

Follow the path ahead until reaching the elevator, which may or may not be there on arrival.
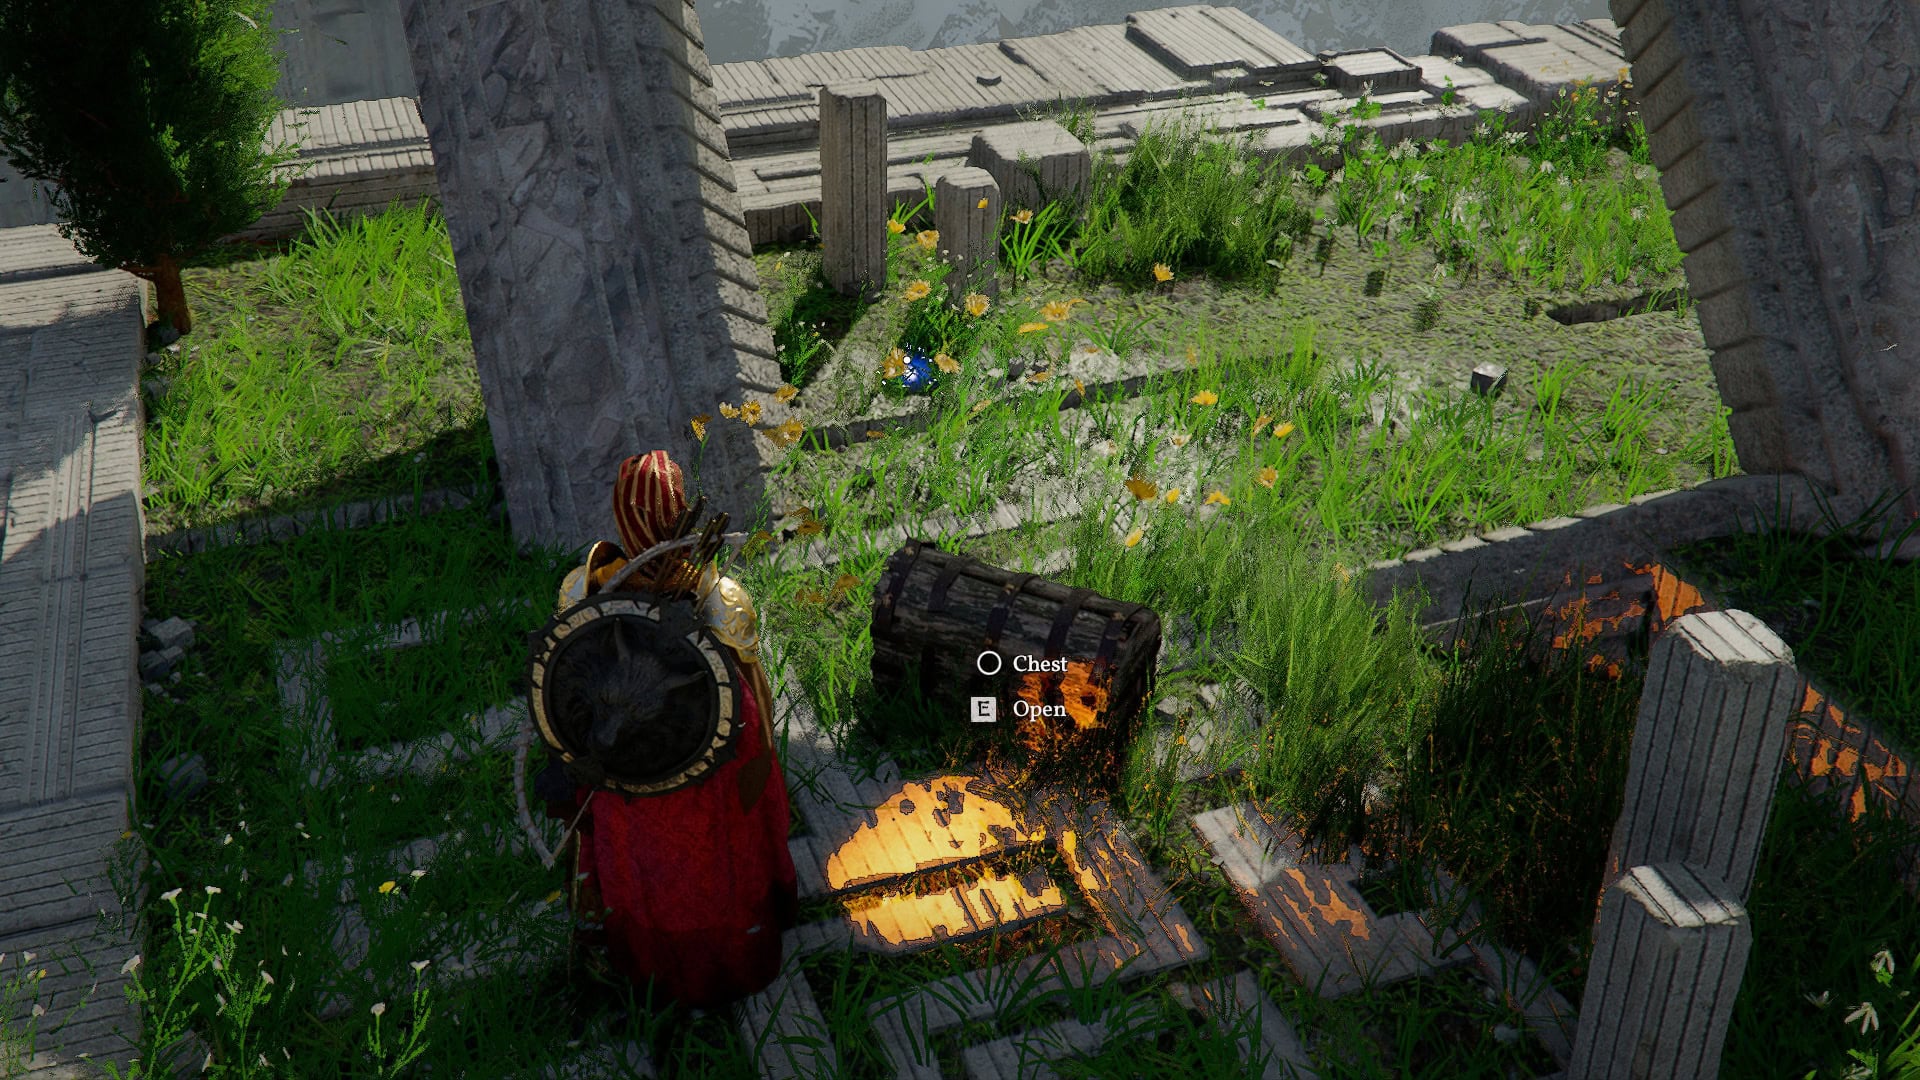
Take the Elevator down, but pay attention to the south side of it, and we’ll spot a hidden chest tucked away.
If we glide across, there’s a barrier in front of it. Use the wall to the left of the chest to climb around to the opposite side to get around it. Open it to claim 2x Epidote and a Shred I Abyss Gear.

Back on the Elevator, follow the path it connects to make our way towards the Teleporter that will take us to the Secret Garden.
Before we take the Teleporter though, off to the right of it is a small platform we can glide to for yet another extra Chest. This one contains a Faded Abyss Artifact and a Haste I Abyss Gear.
Once collected, we can step into the teleporter and be taken to the Secret Garden.
Secret Garden Laser Puzzle Walkthrough
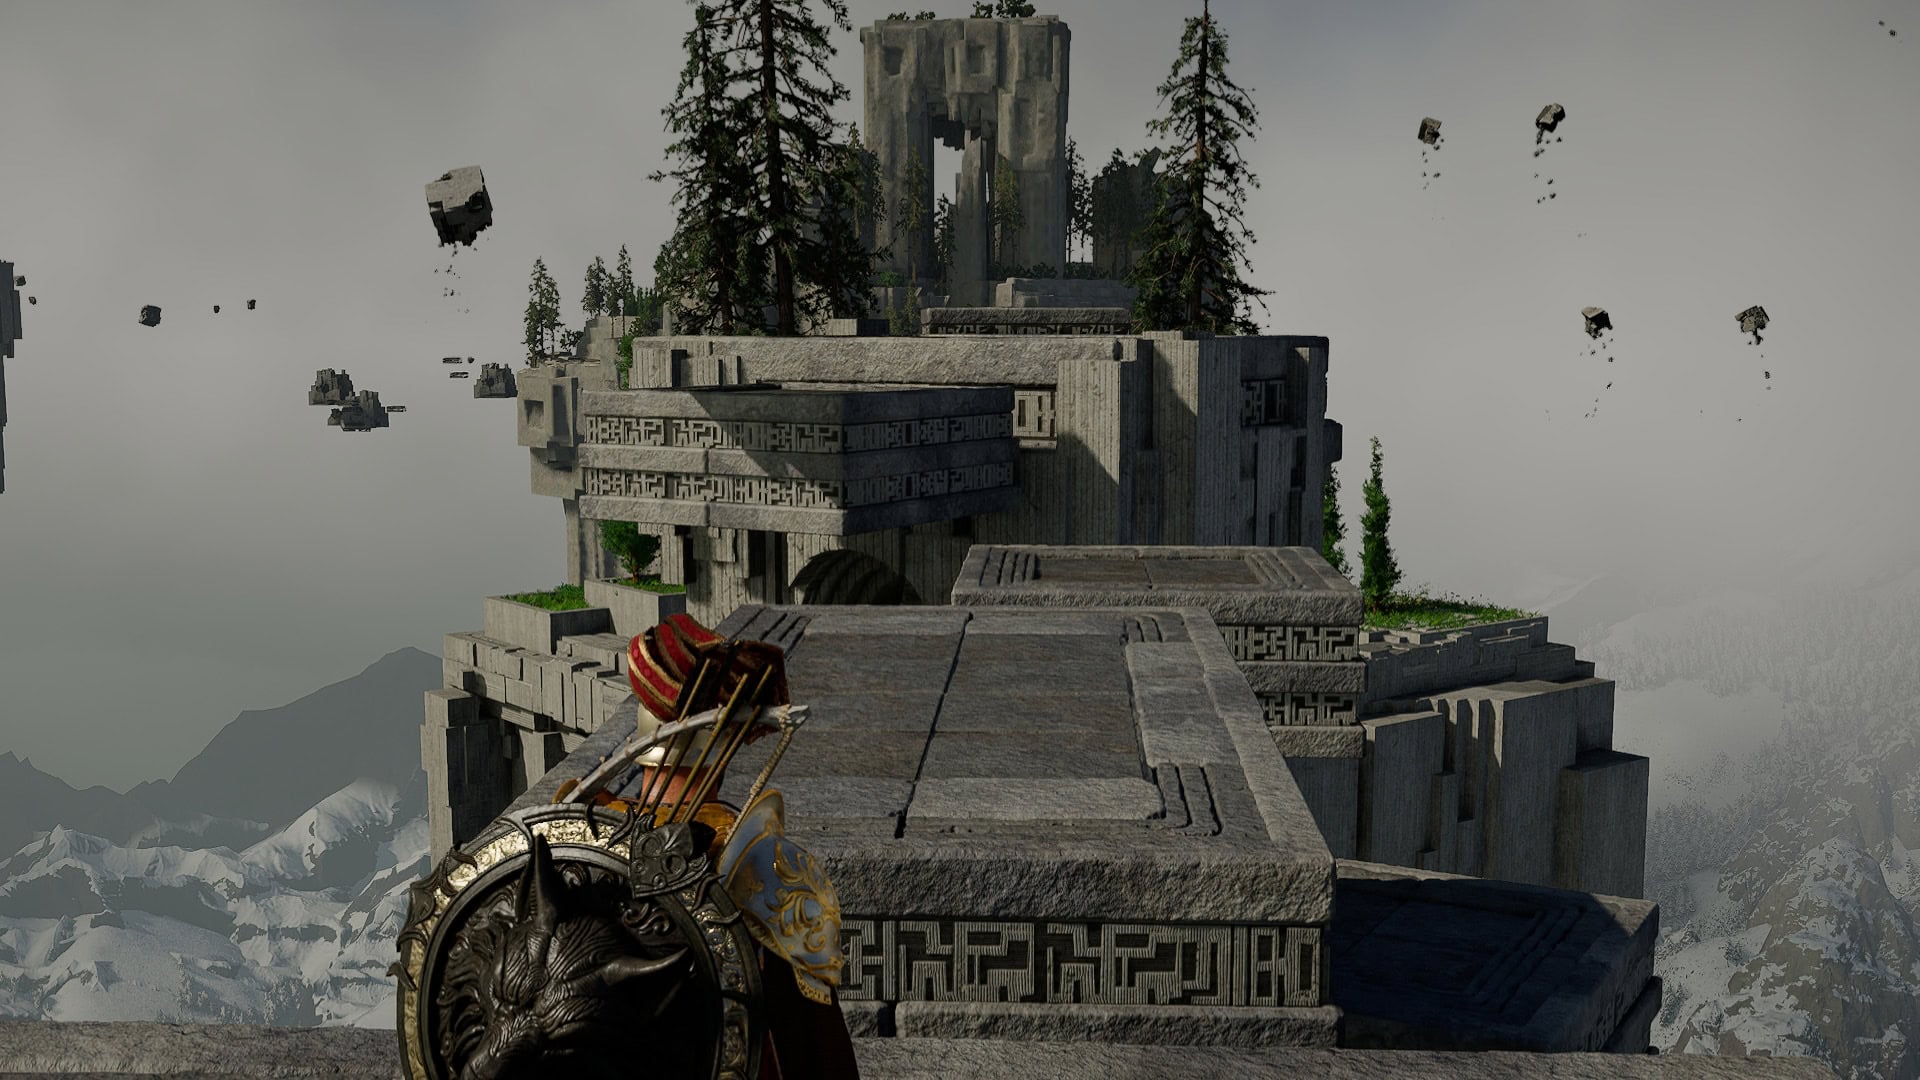
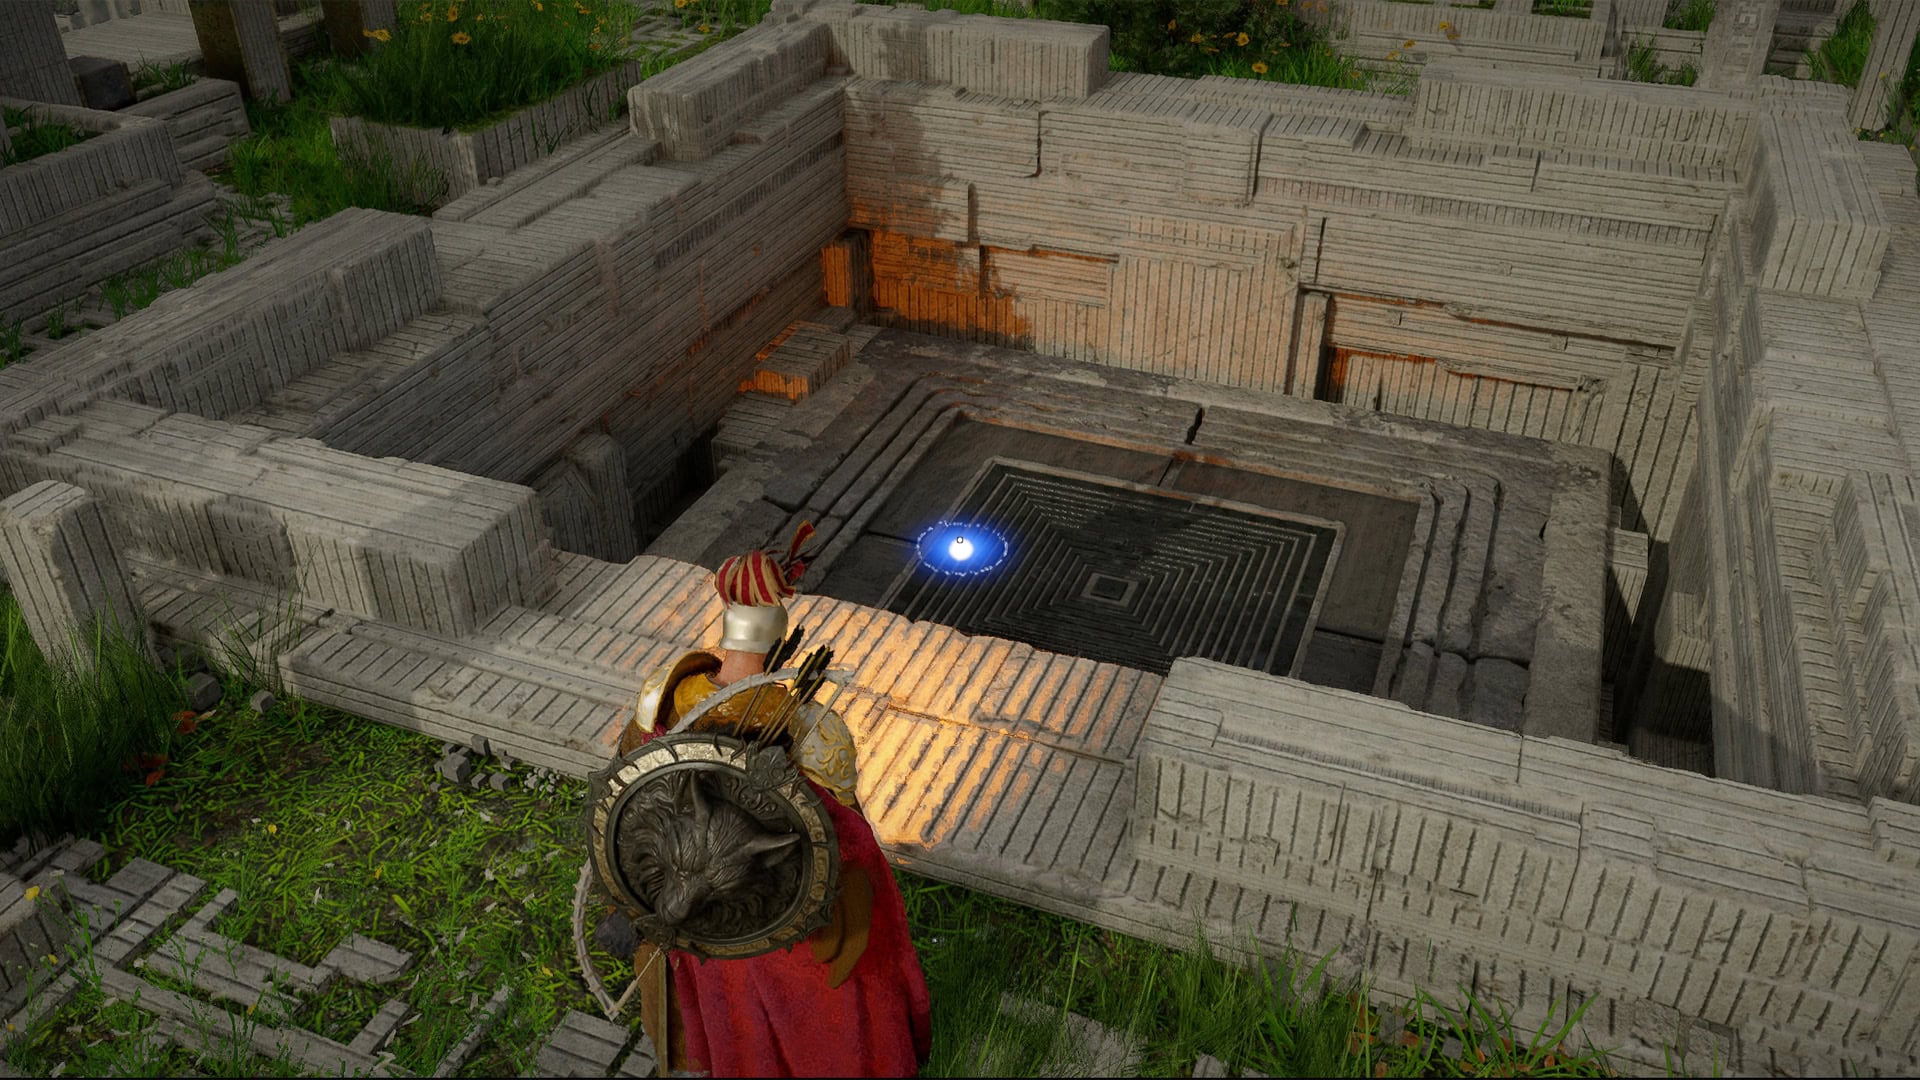
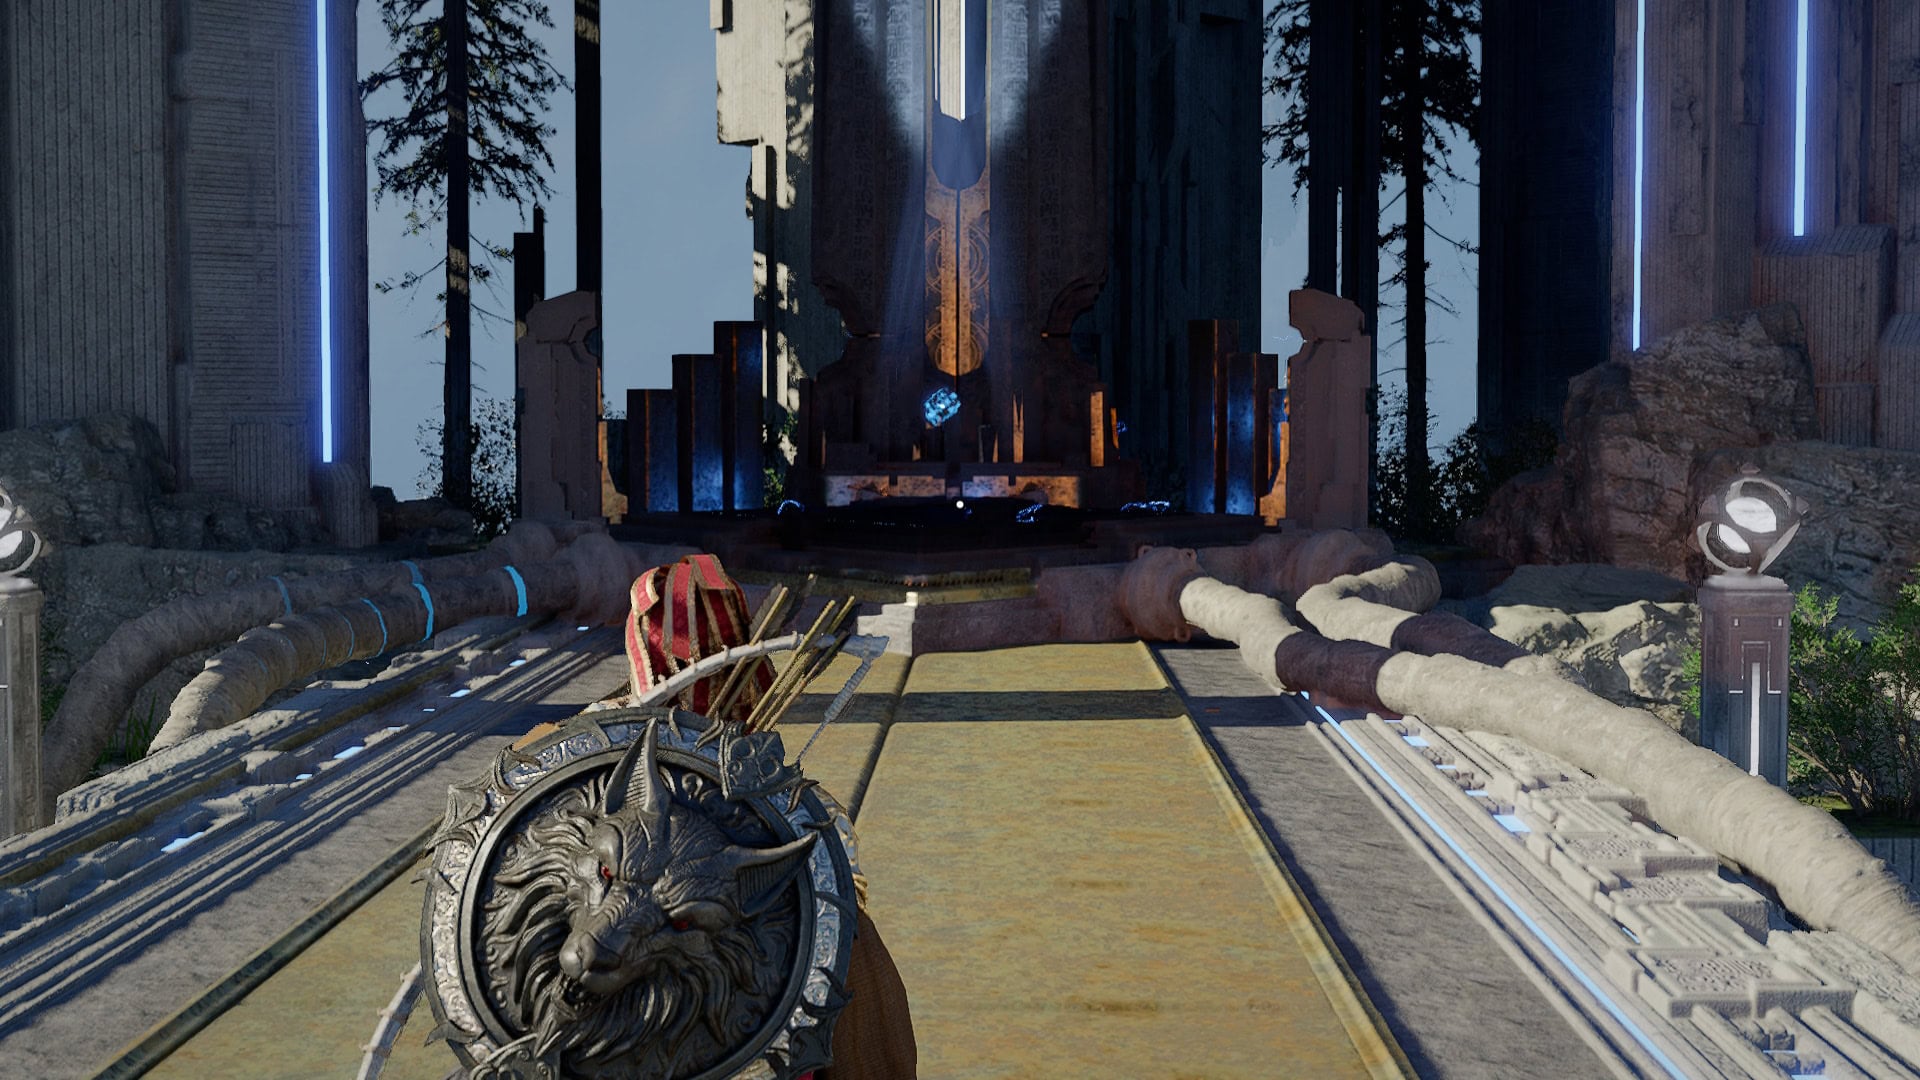
After arriving, follow the platforms and Elevator ahead to reach the Abyss Nexus.
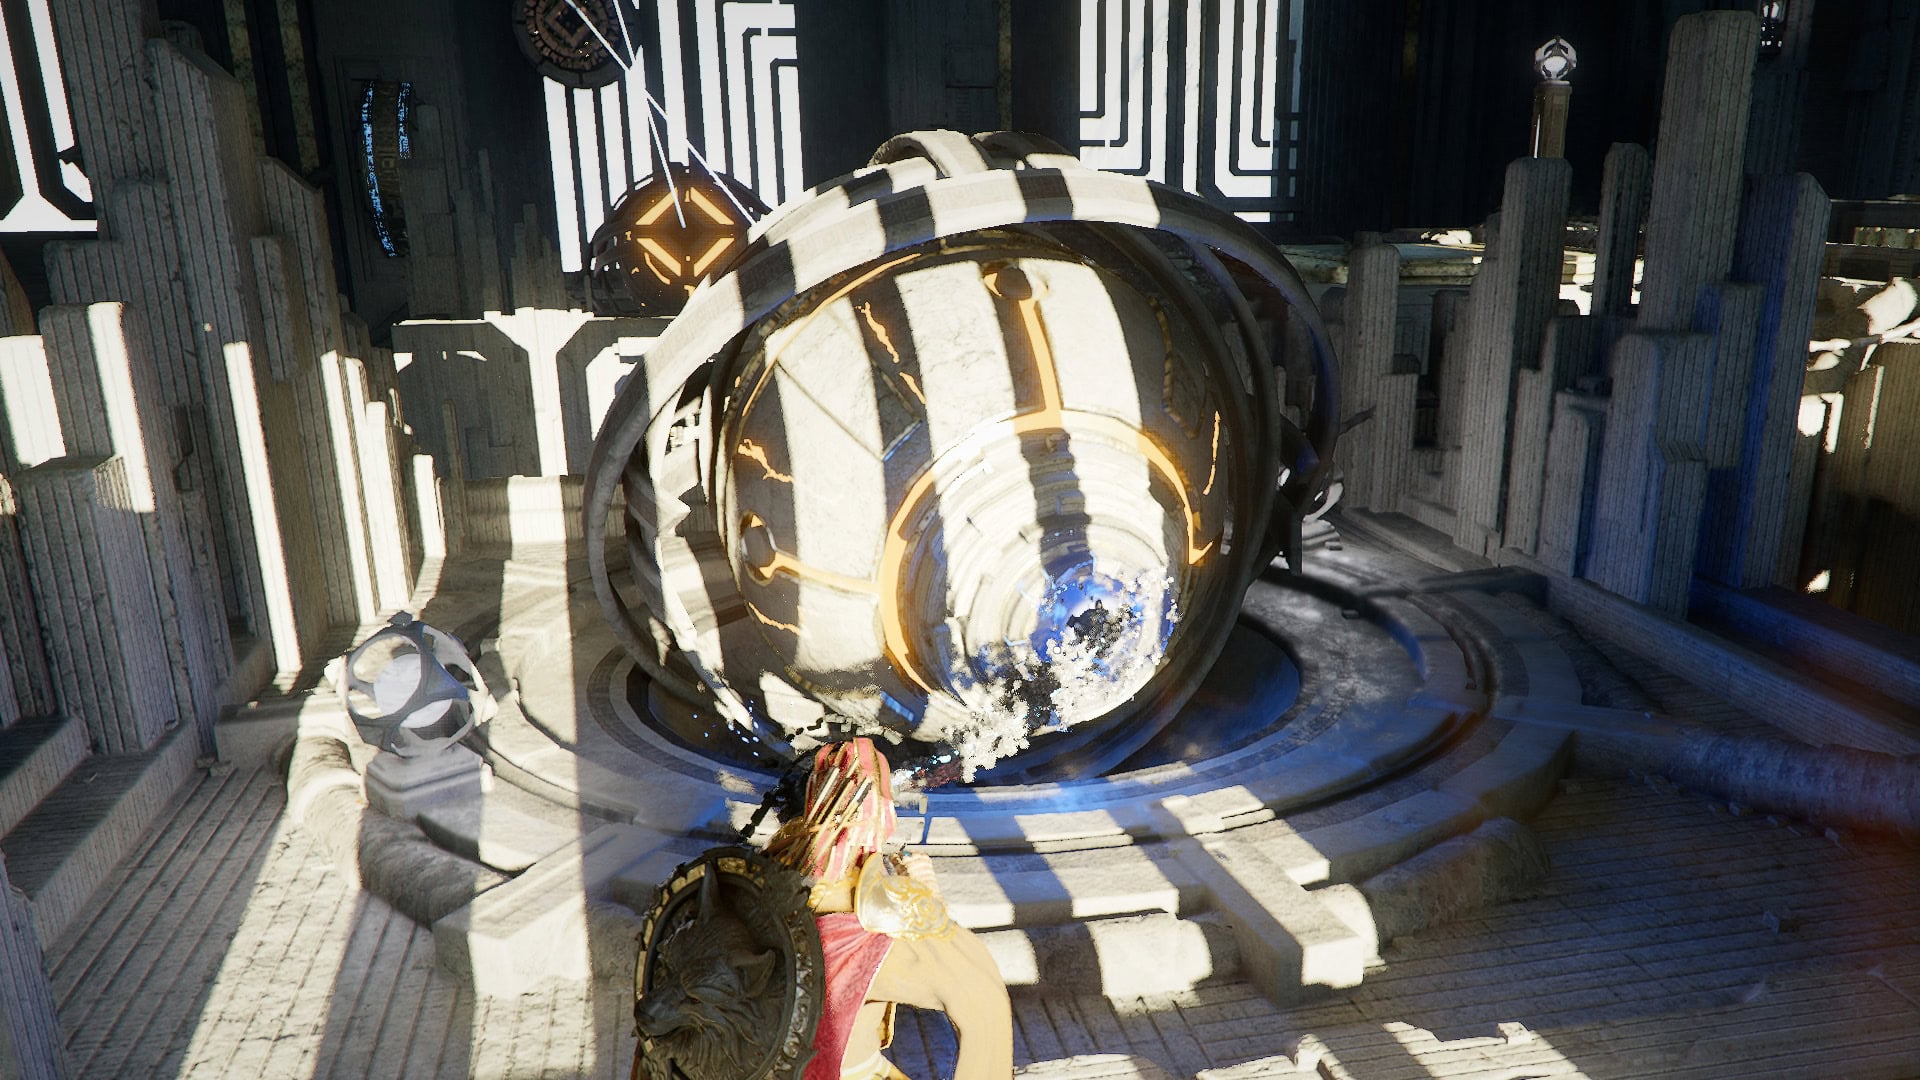
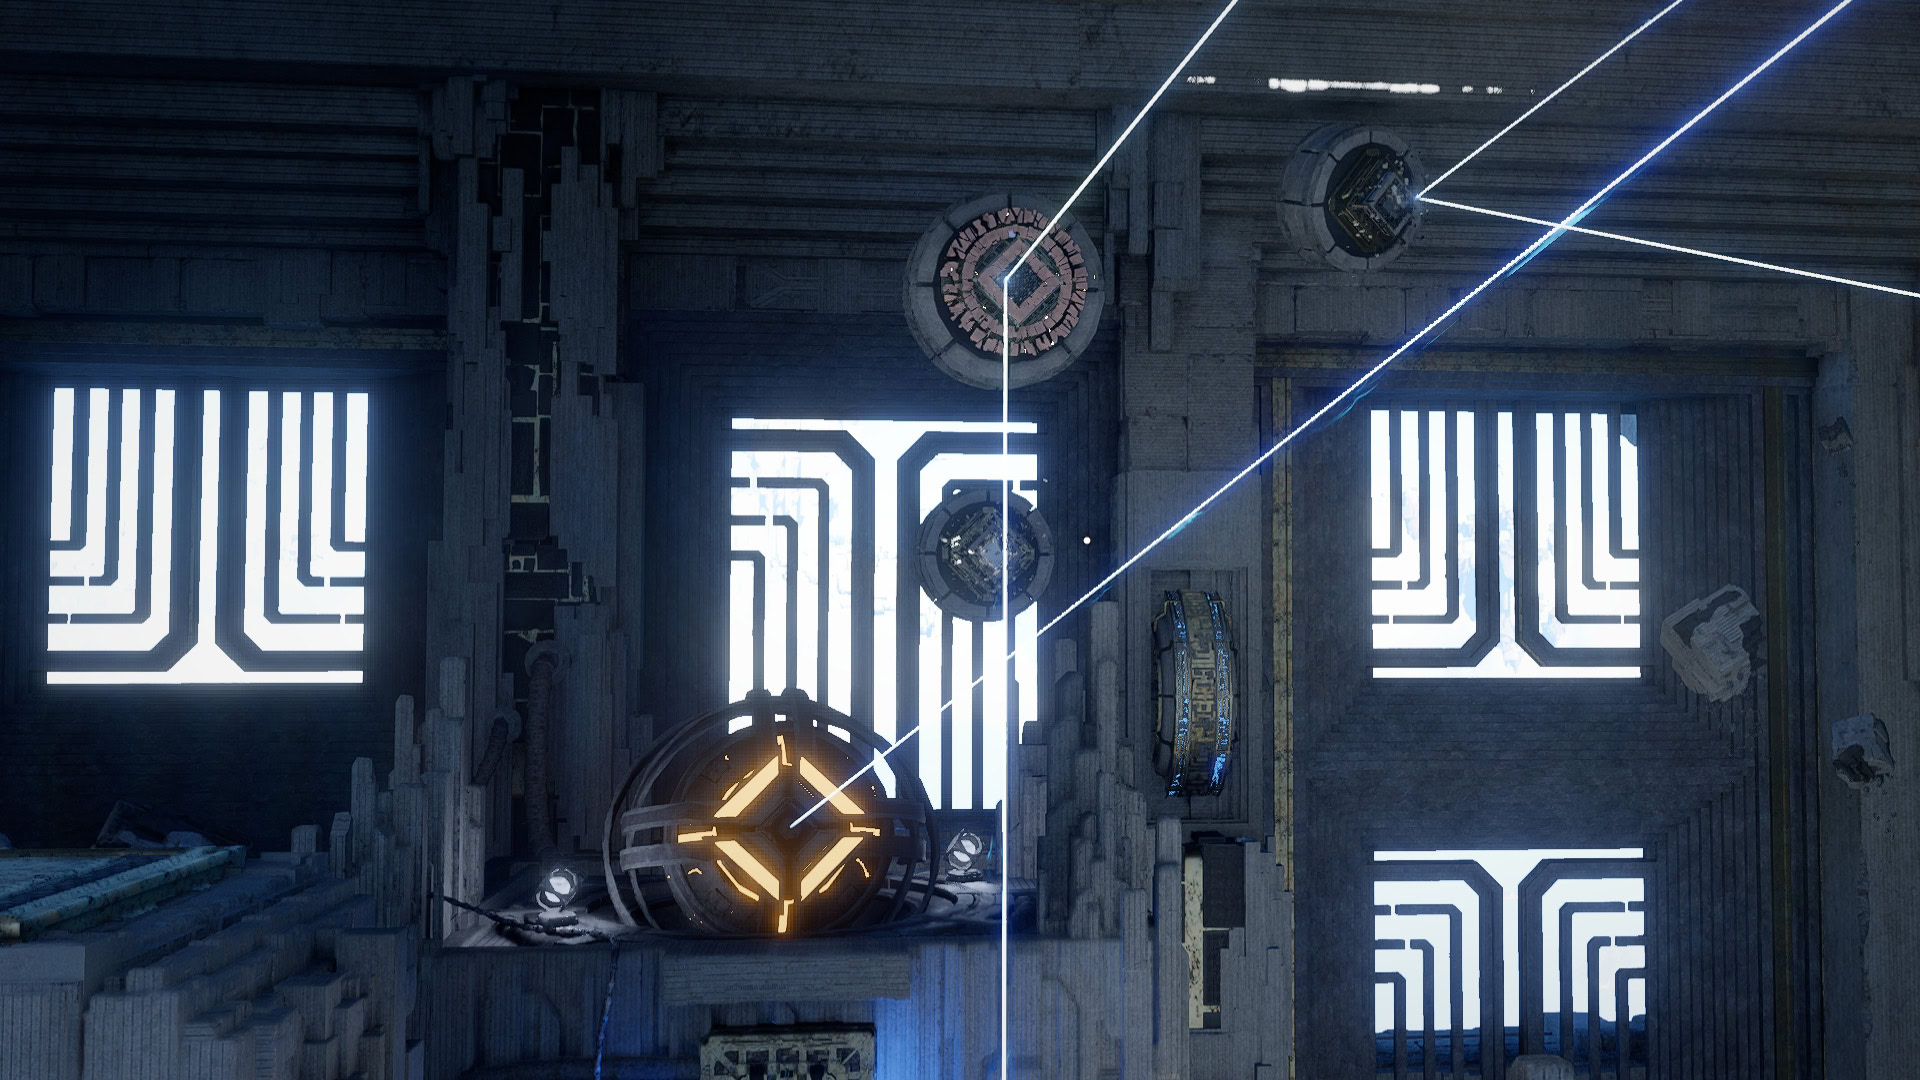
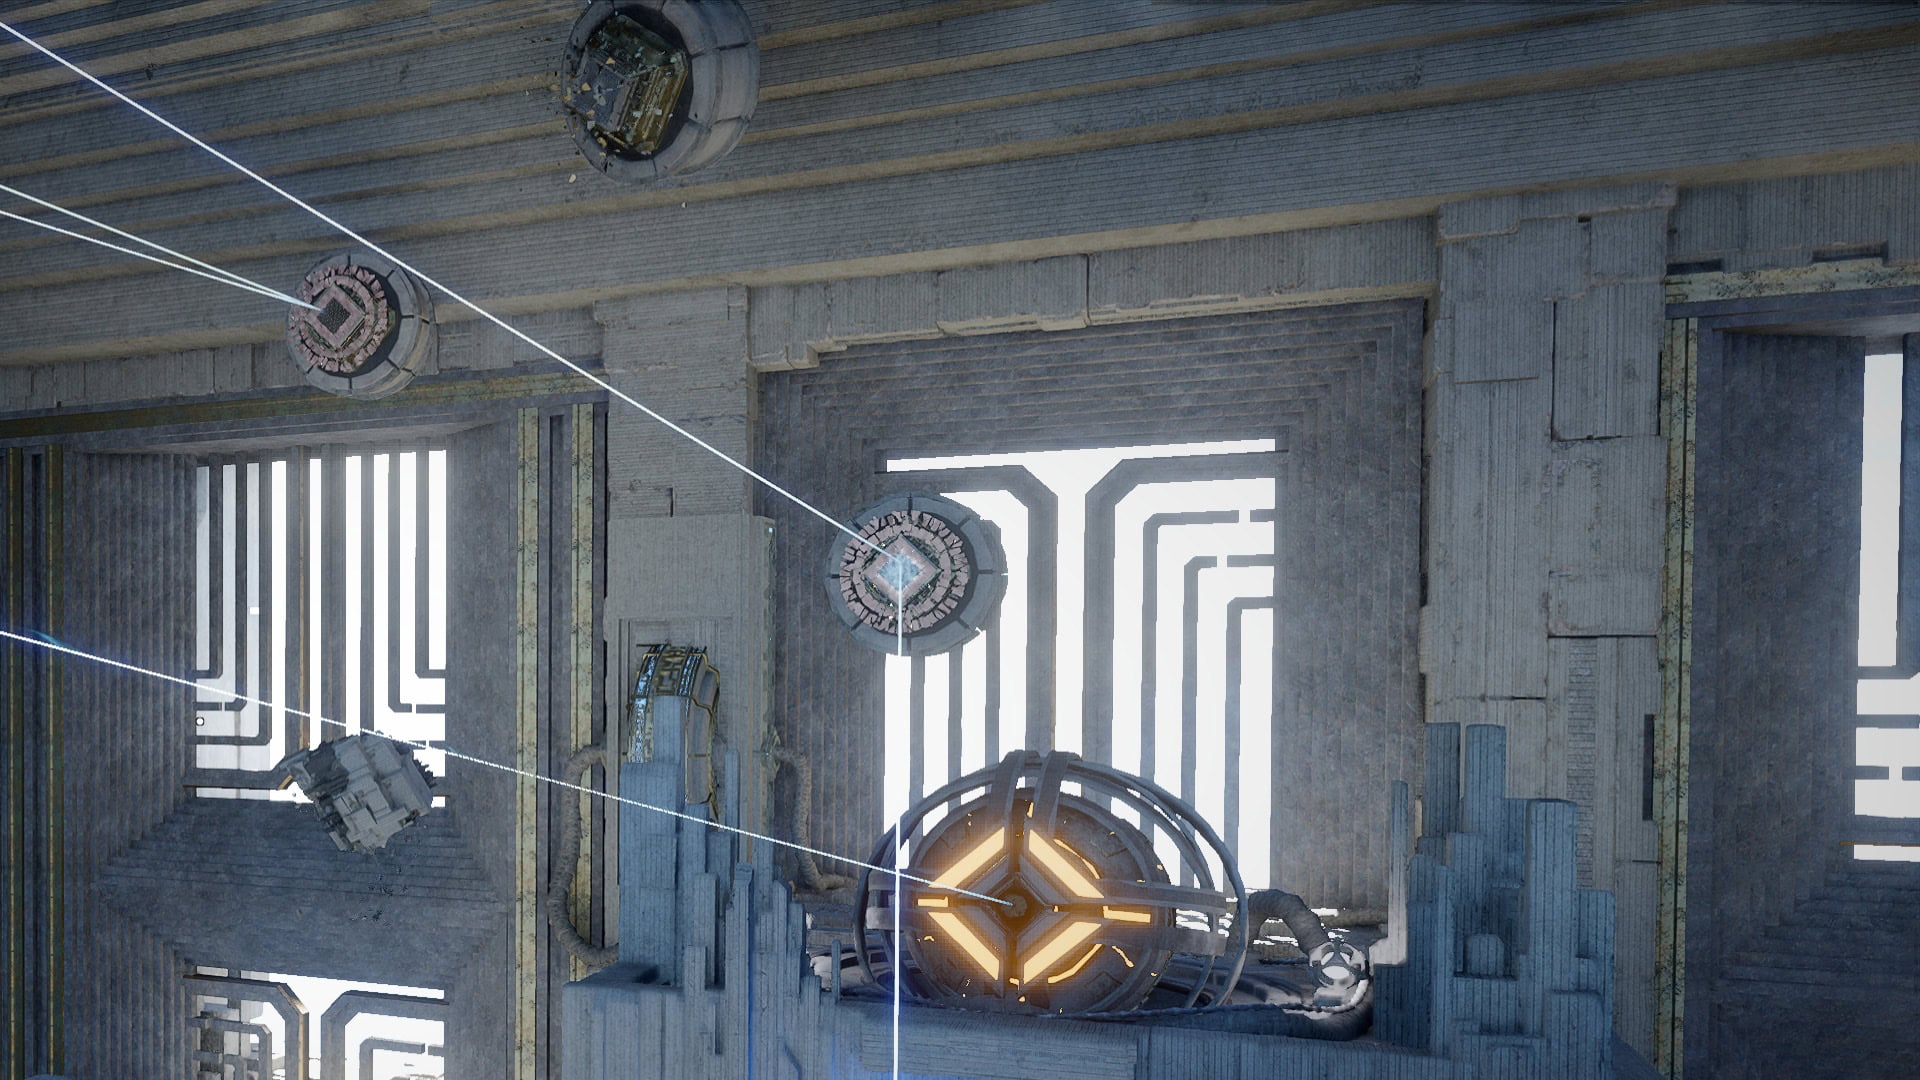
From the Nexus, we can get a real look at the Puzzle we’re dealing with.
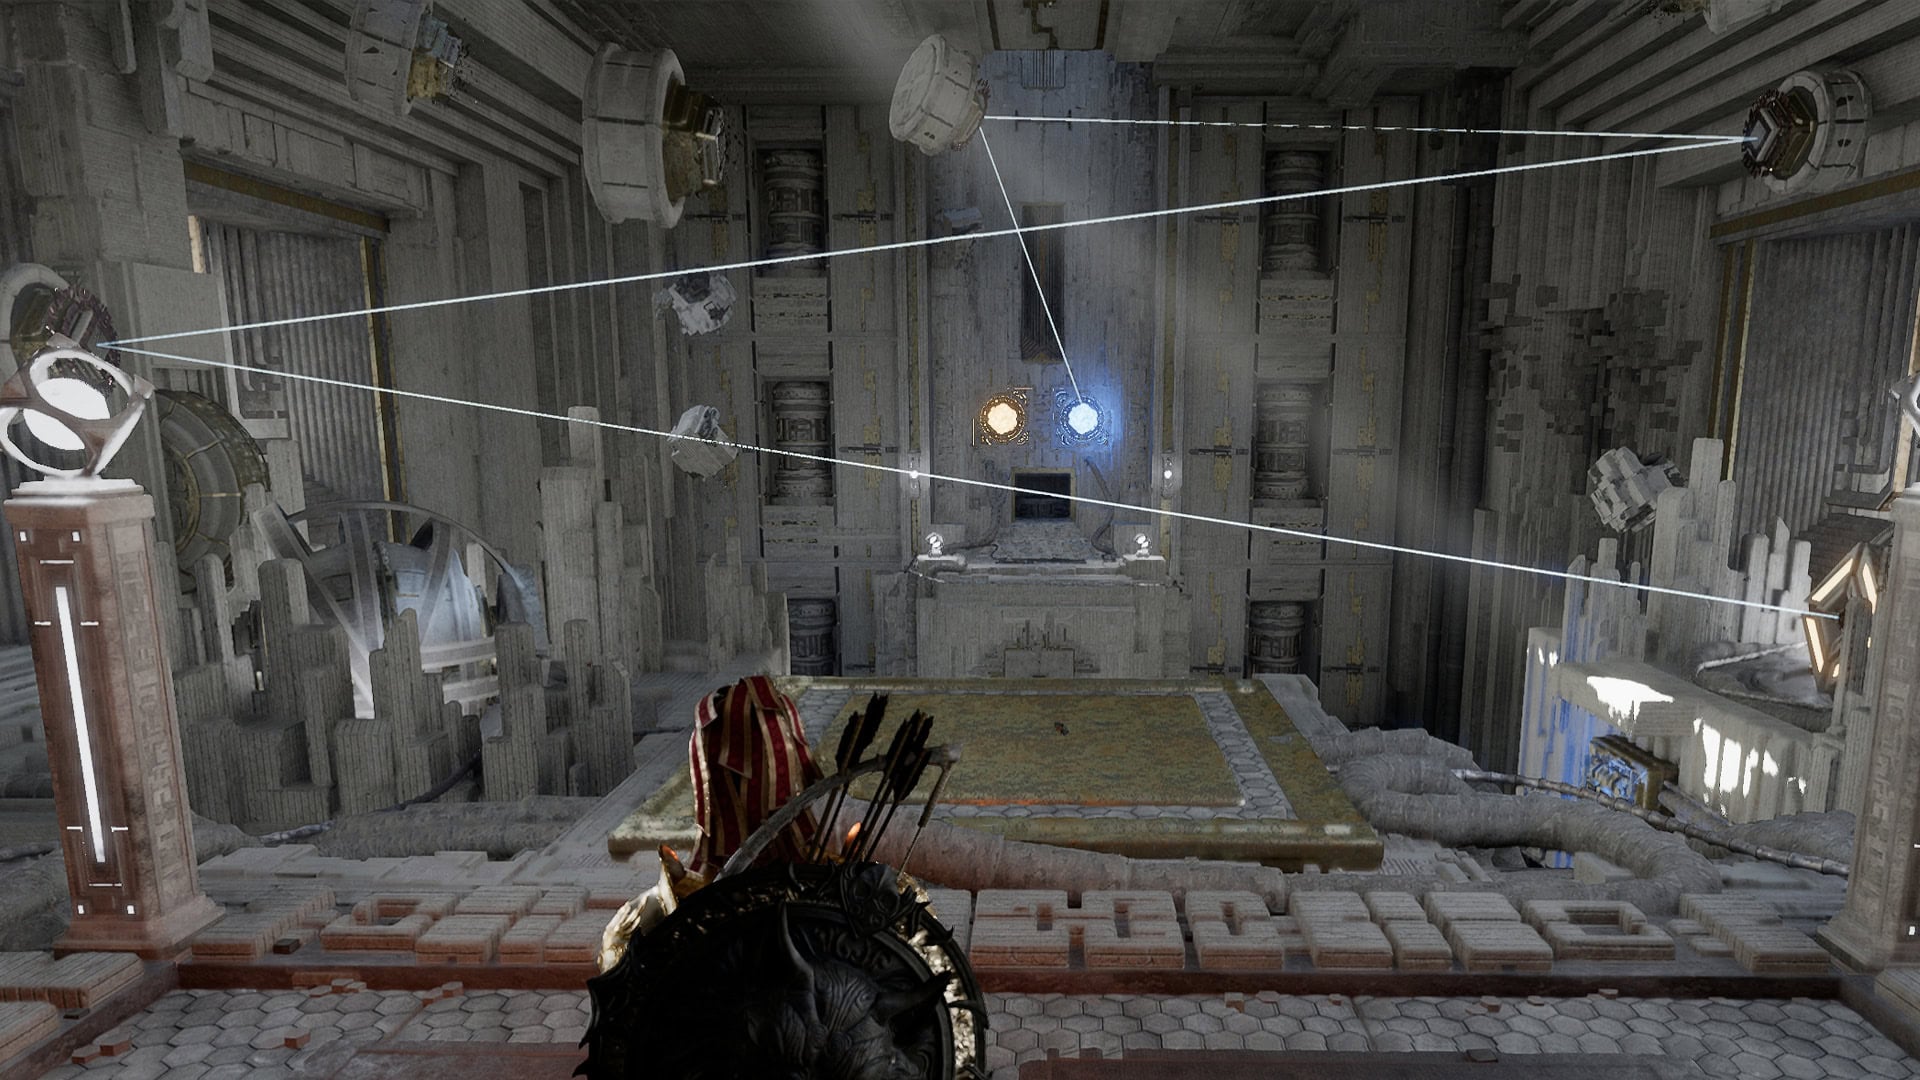
We have two laser devices, one on each side, with only one of them being powered up. So we’ll start by finding the power source for the second laser.
Power the Second Laser
If we step closer to the ledge in front of us, we’ll be able to spot it in the Southwest corner of the room, under a platform. Head over and use Axiom Force to grab it and move up towards the upper Platform.
Before progressing, we need to do a Quick Skill check. Why? This is because if we have Axiom Current, this puzzle is simpler. We’ll still detail the proper steps without it being unlocked, as it’s not strictly required.
For those without Axiom Current, we’ll also want to use Axiom Force to manipulate the large floating block found in the room, as well as the power source.
Grab both the Block and the Power Source and move them towards the center of the room. Then move to either laser platform and adjust them further so they can be reached from the Nexus side of the room.
Now, grab the power source, rotate it, and get it in place near the second laser. Leaves will swirl around it to indicate it’s in the proper spot. If we have Axiom Current, use it here to push the power source in place.
Now grab the large block and manipulate it until it’s turned in a way we can use it as a platform. Moving it and rotating it will adjust it; just get one side as level as possible. If it’s too high, hopping on top of it and using Axiom Force to grab it will cause it to slowly lower with very little rotation.
Hop down onto the Block and use Force Palm to push the power source in place.
Set the Laser Directions
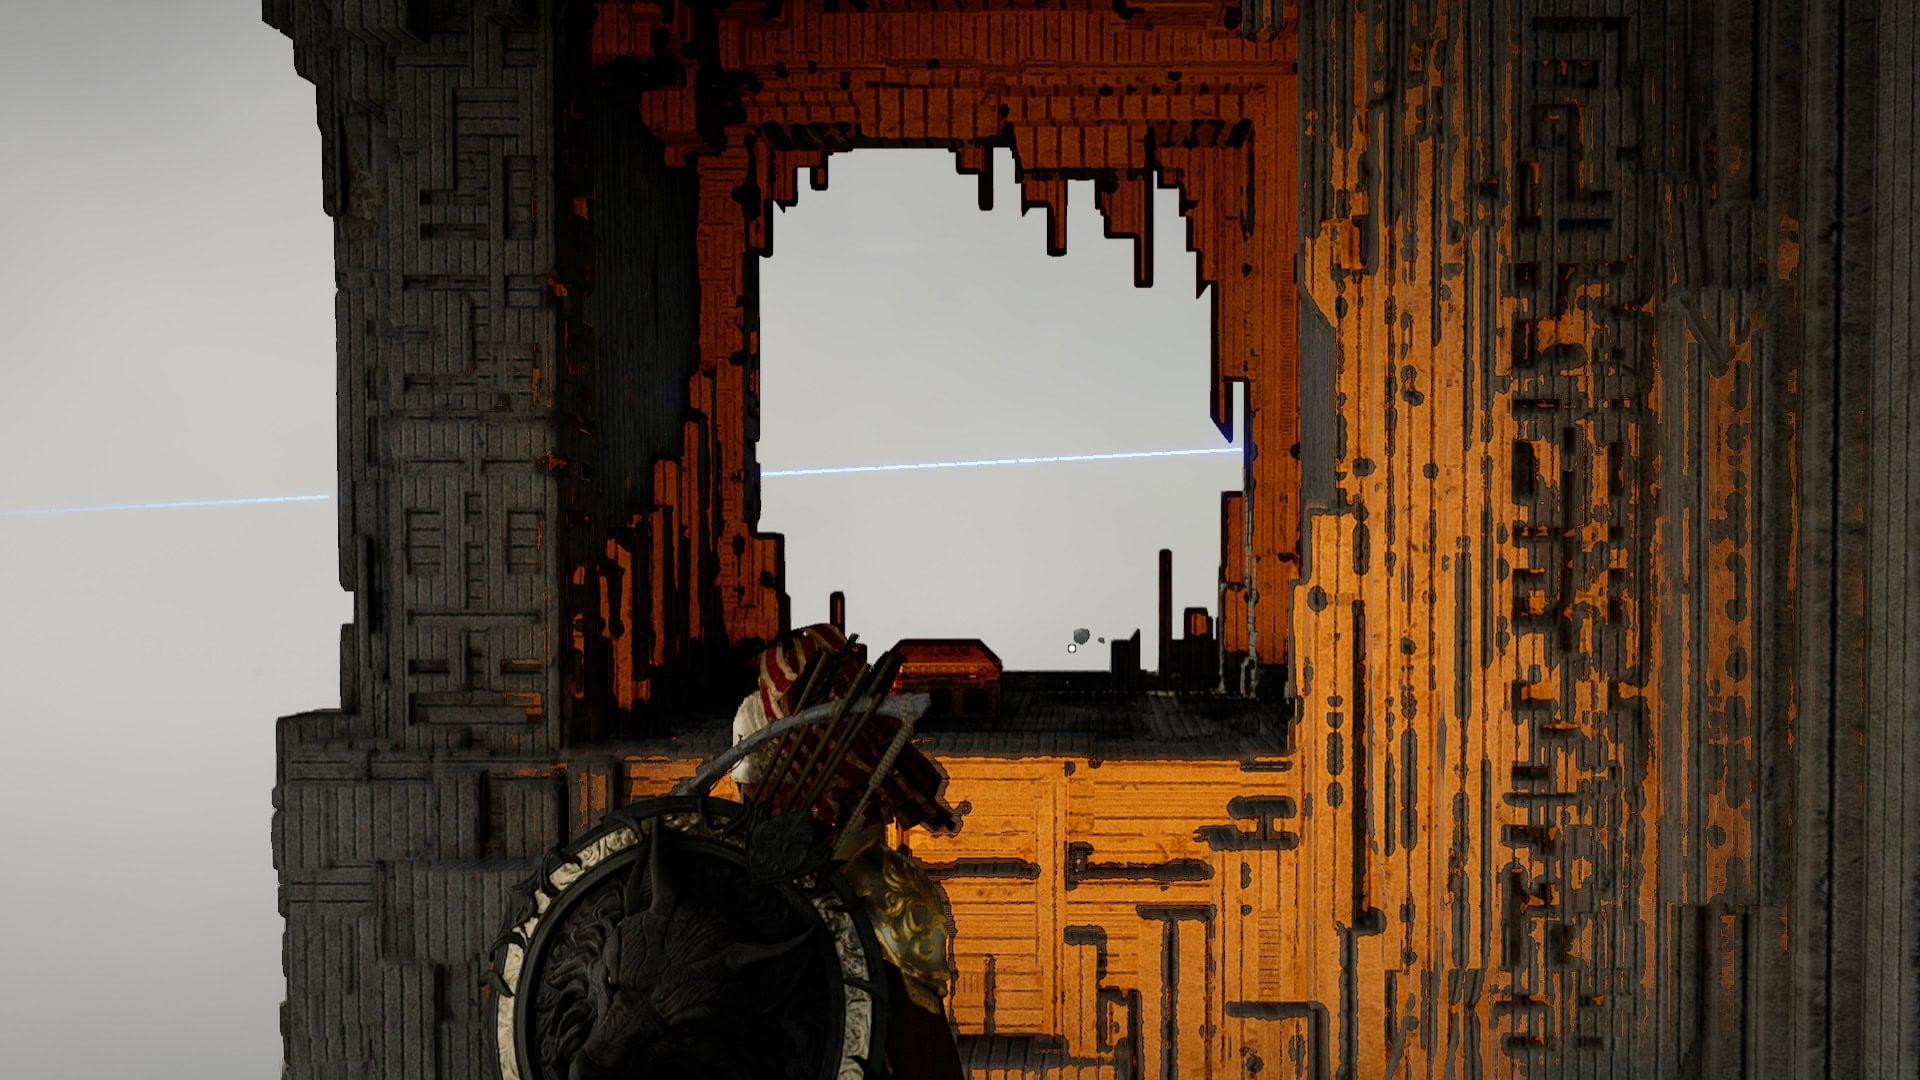
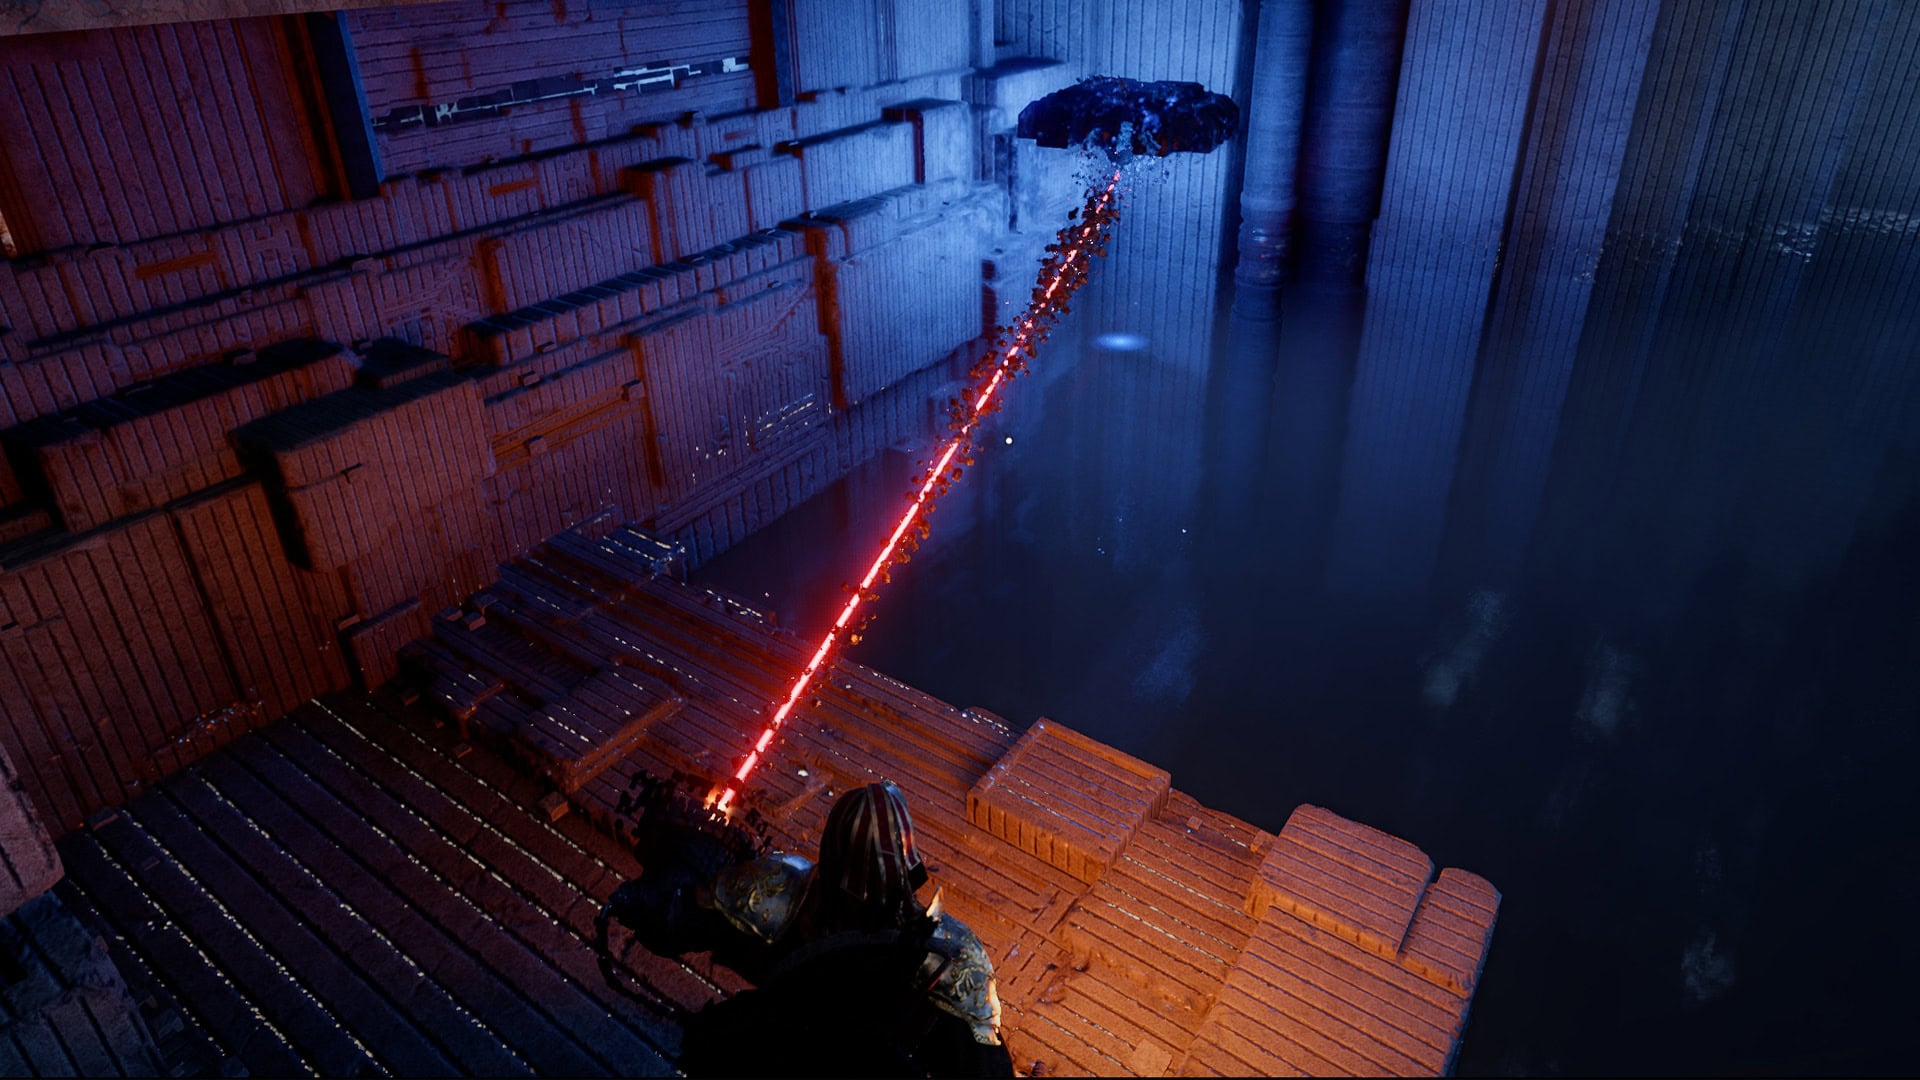
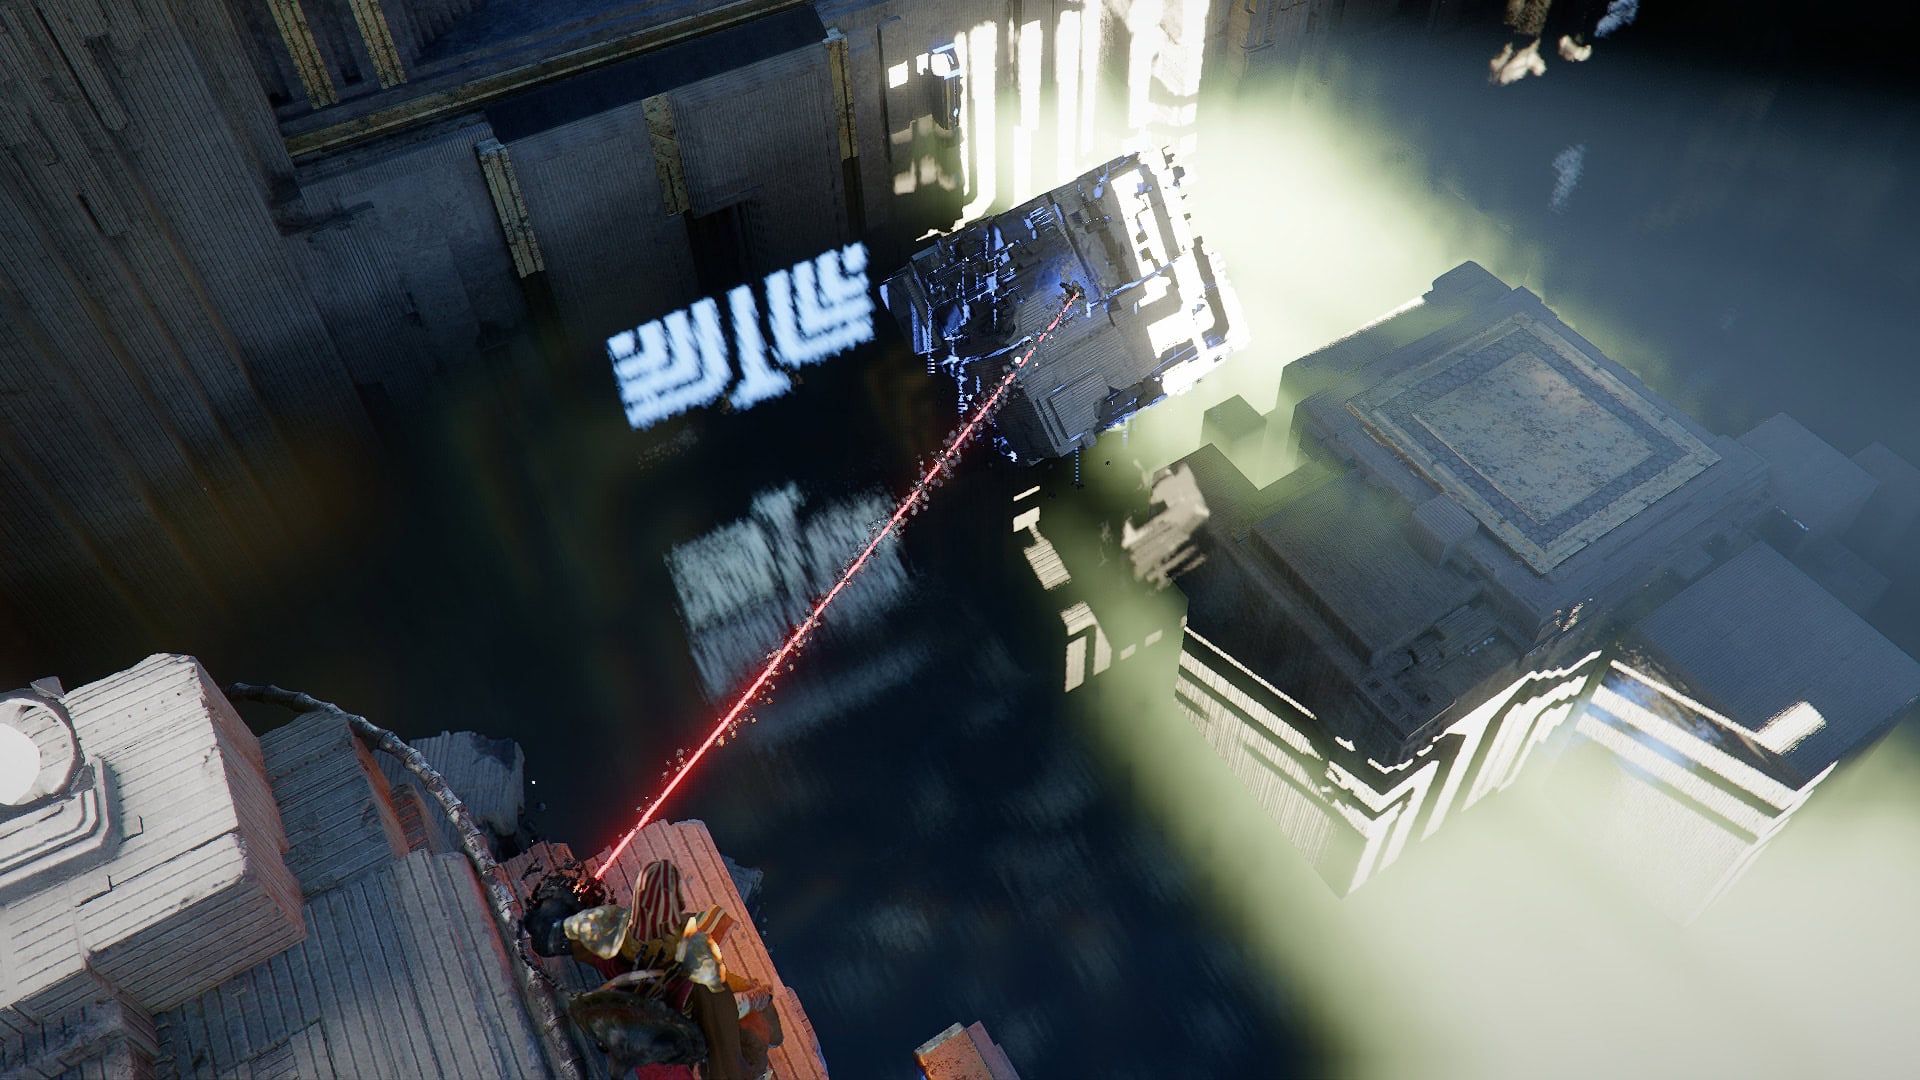
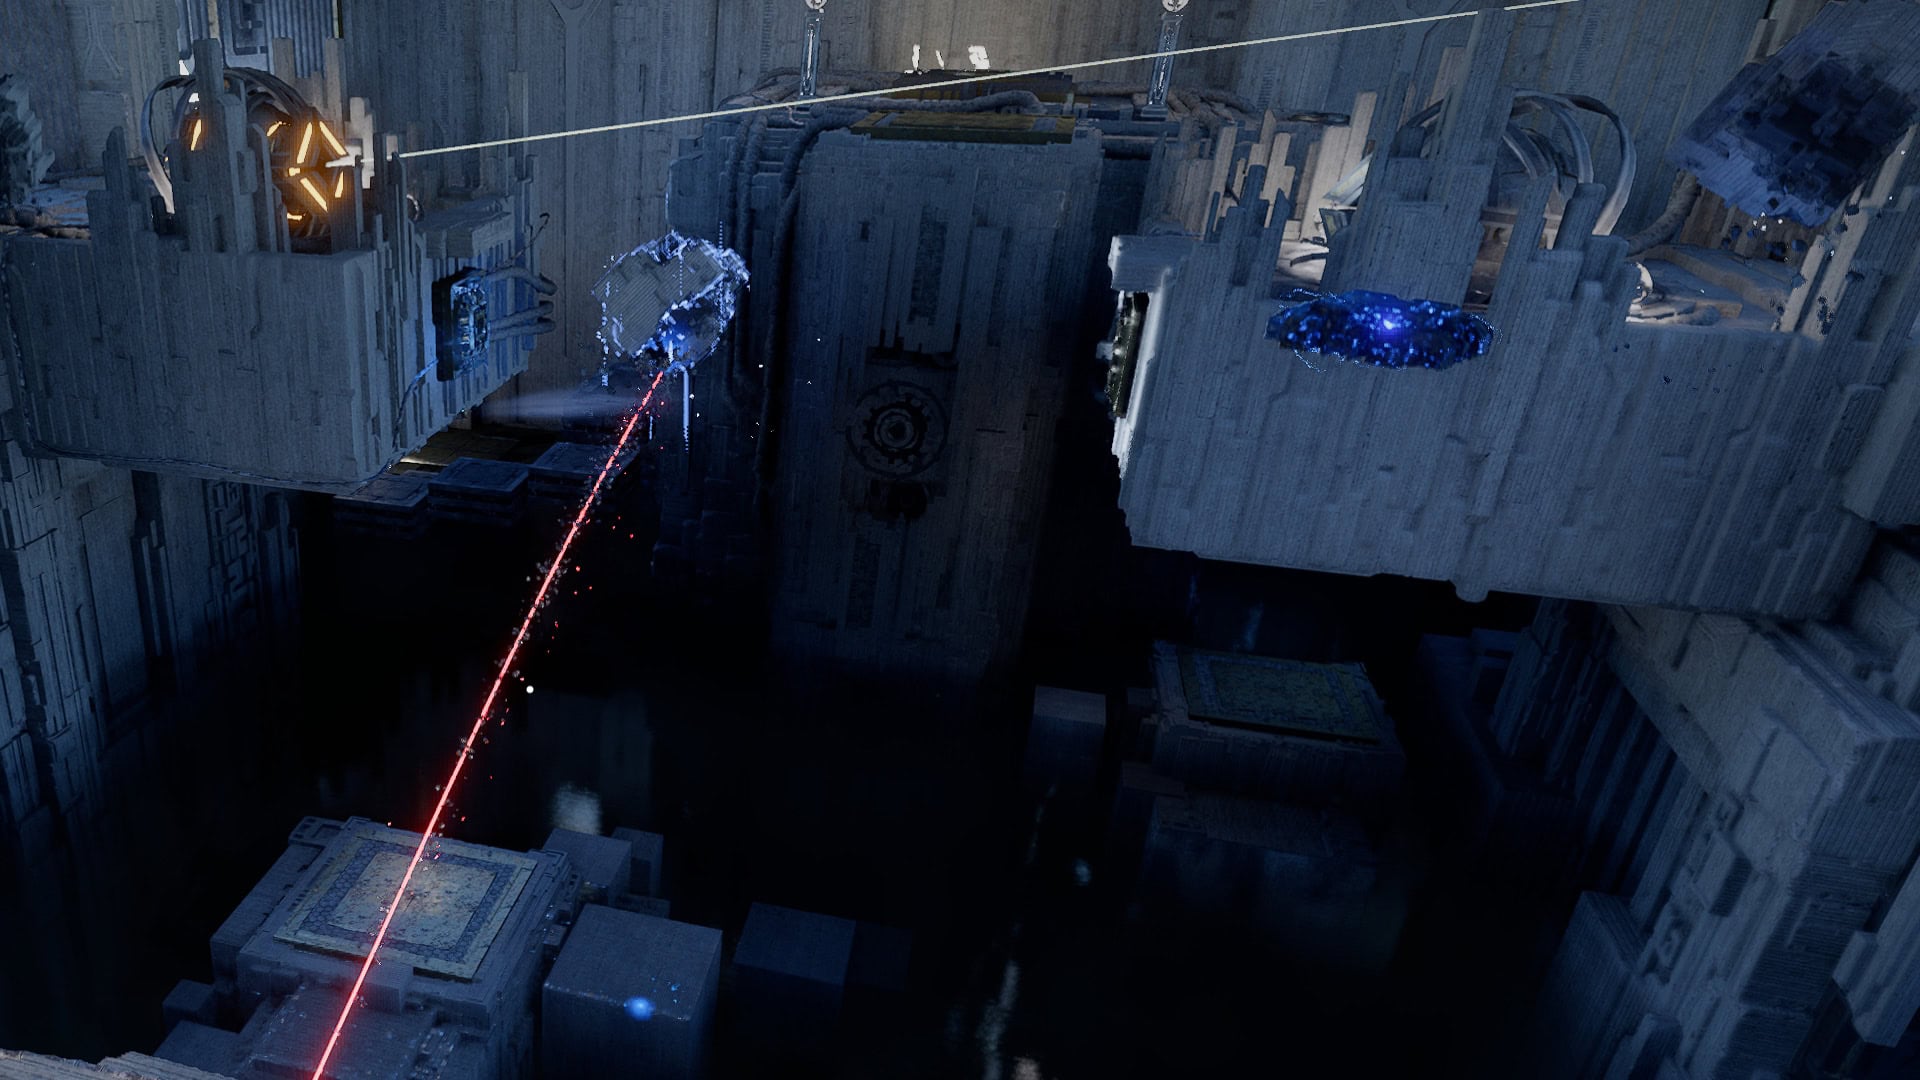
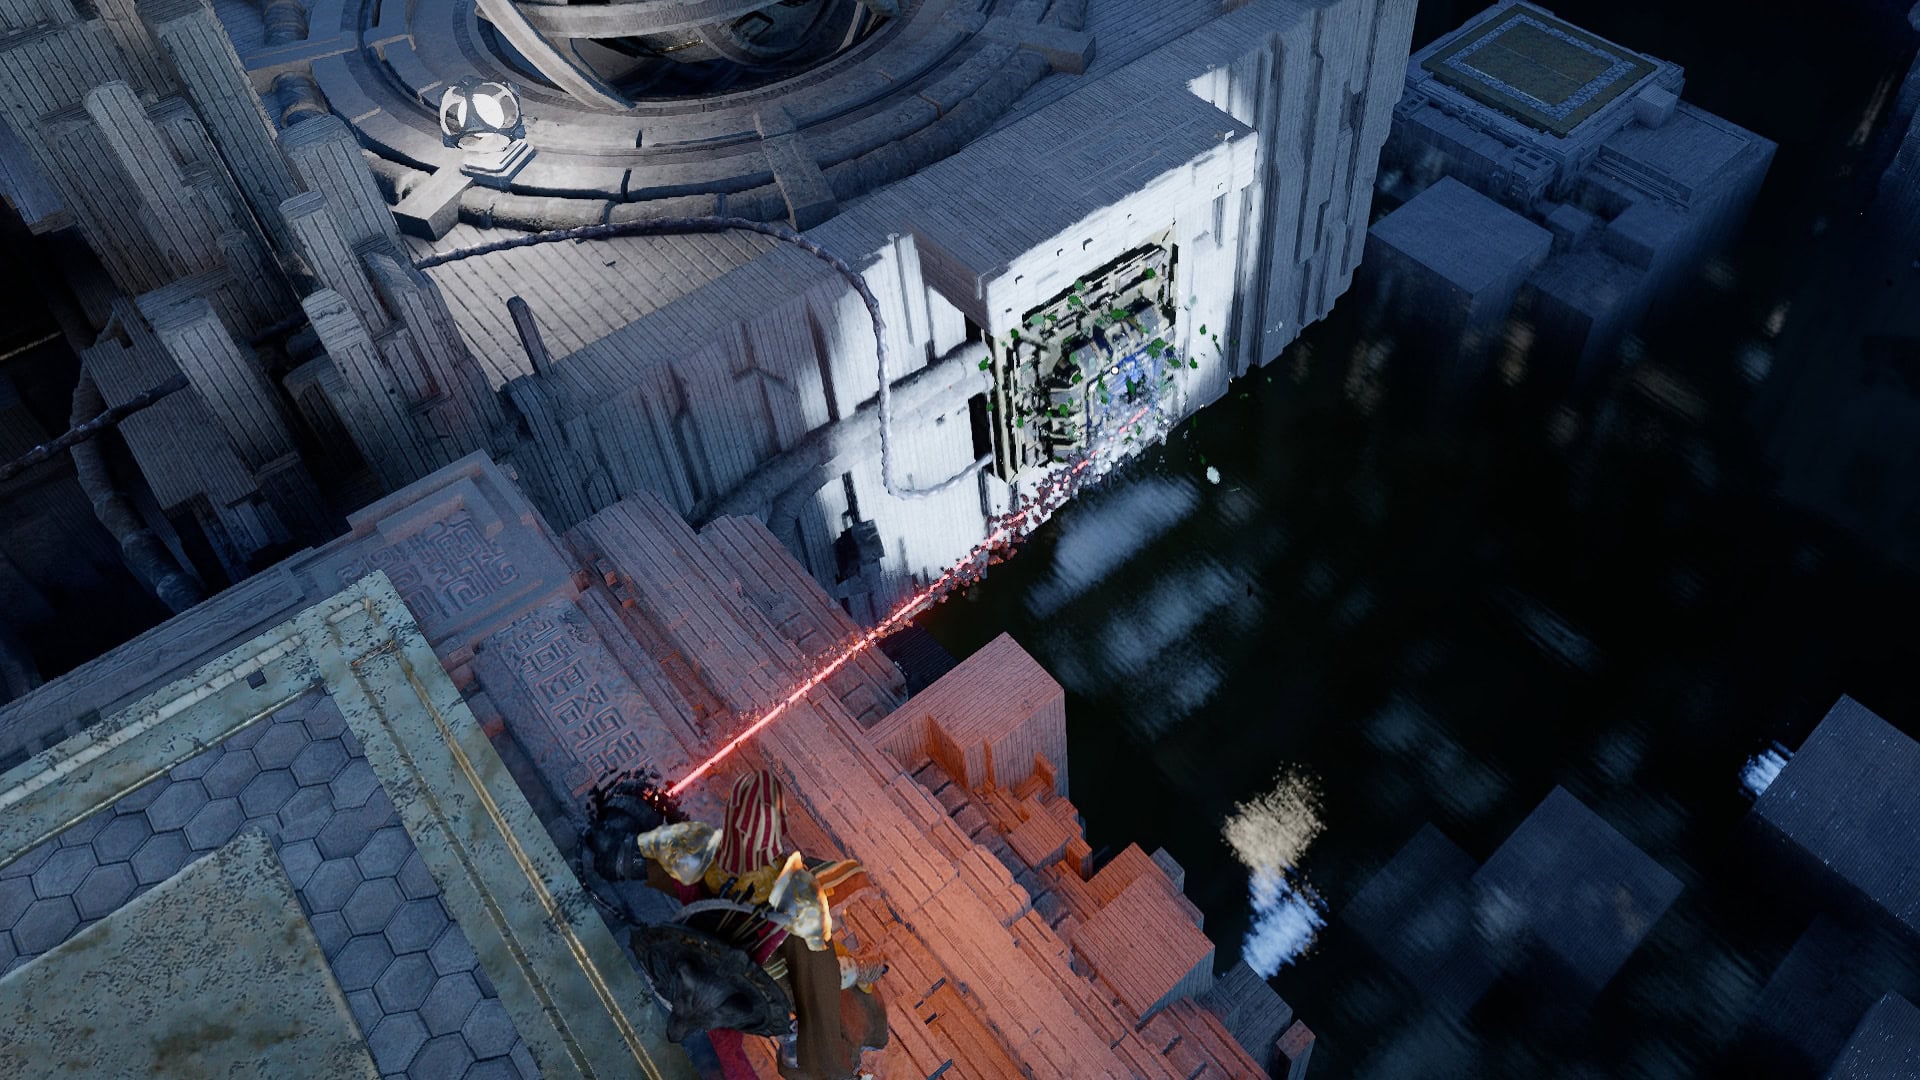
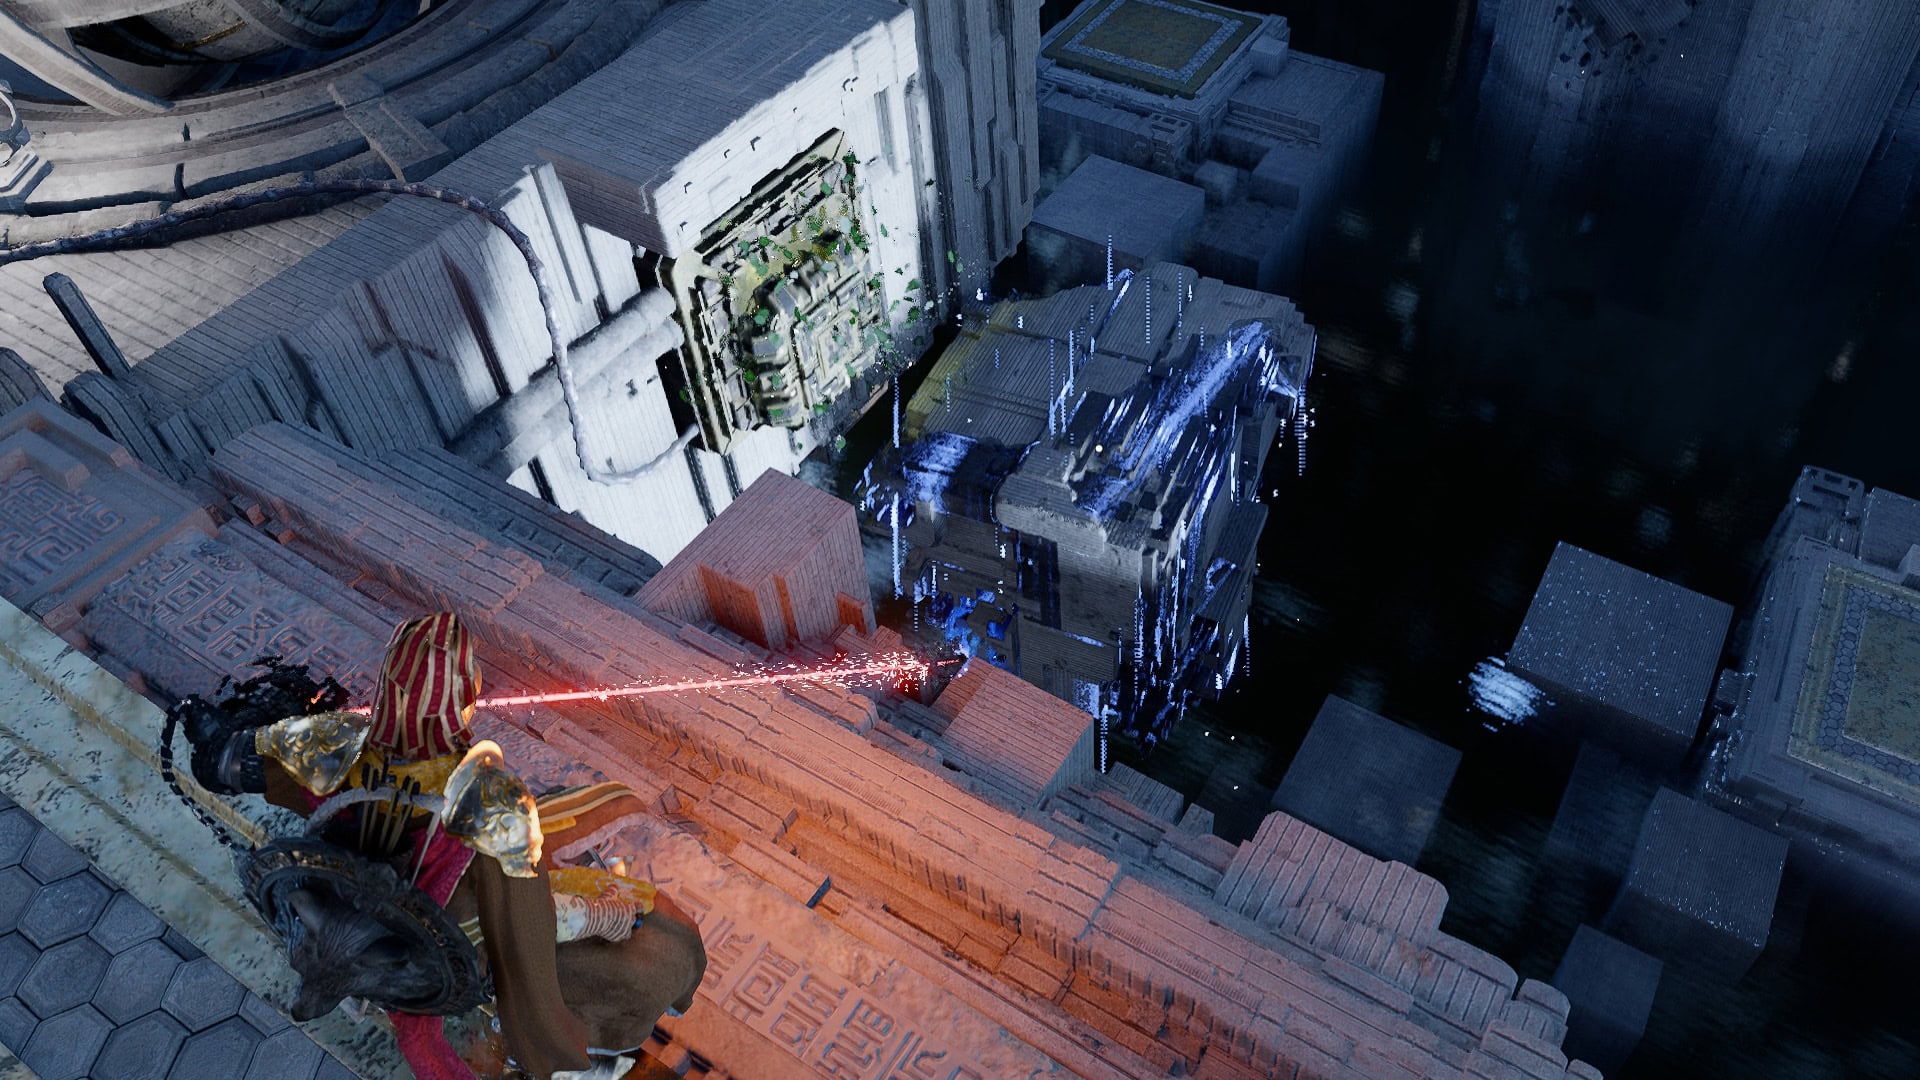
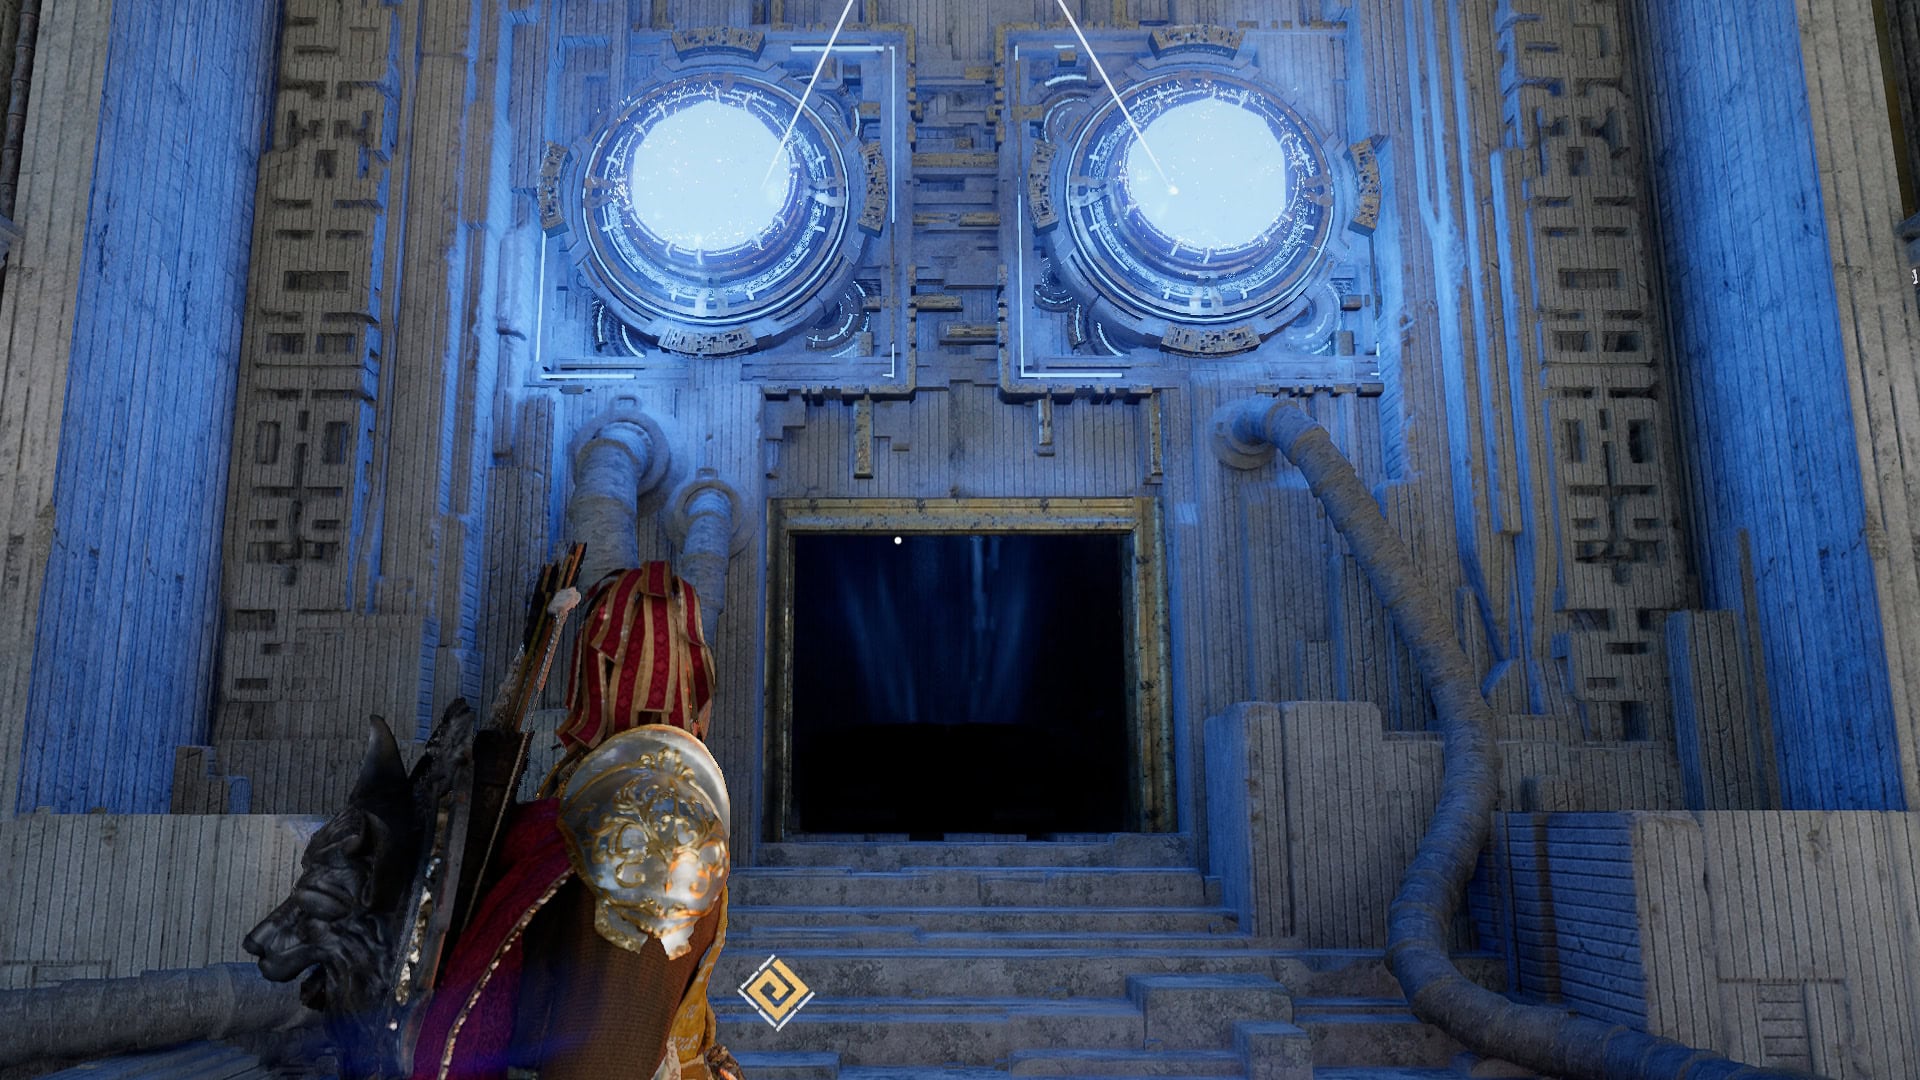
With both lasers now powered, we can start to adjust them so they’ll hit the panels near the door and open it.
To adjust them, we’ll need to grab the panels on the back of each laser device and wait a couple of seconds, after which, we’ll be taken into a view that allows us to move the camera and control the laser.
Despite already hitting a panel, the laser on the right needs to be adjusted. We’ll move it from its default position to the very left corner of the reflective panel above it, as shown below. This lights up the left panel.
For the second laser, we’ll need to adjust it so it’s angled at the upper corner of the reflective panel just above the first laser. This will light up the right panel.
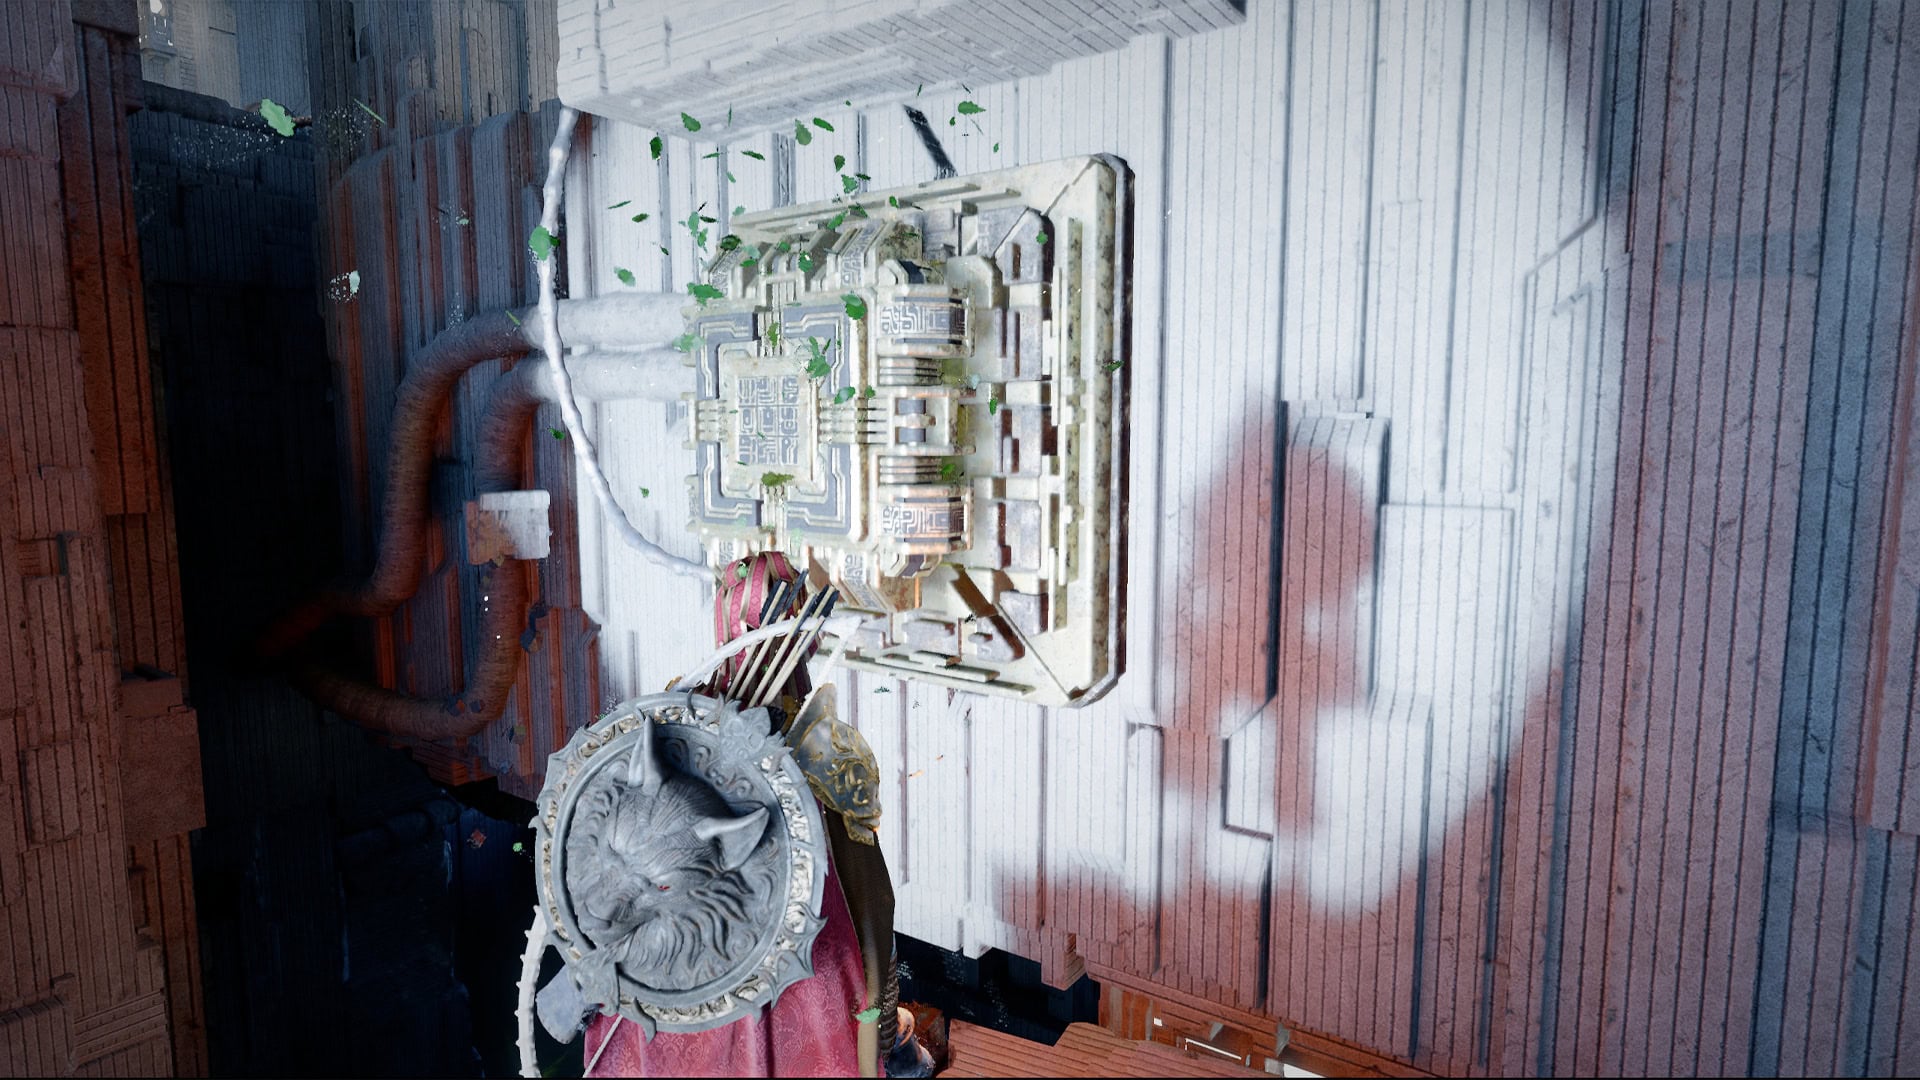
With both panels lit, the vbarrier cover the door will be gone, and an air vent will be activated. We can proceed through the door and Glide to have the air vent push us into the upper area.
Upon reaching the top, look near the air vent we just came from, and we’ll find a Conduit. Connect is a similar way to the one seen during the Kilnden Workshop Puzzles.
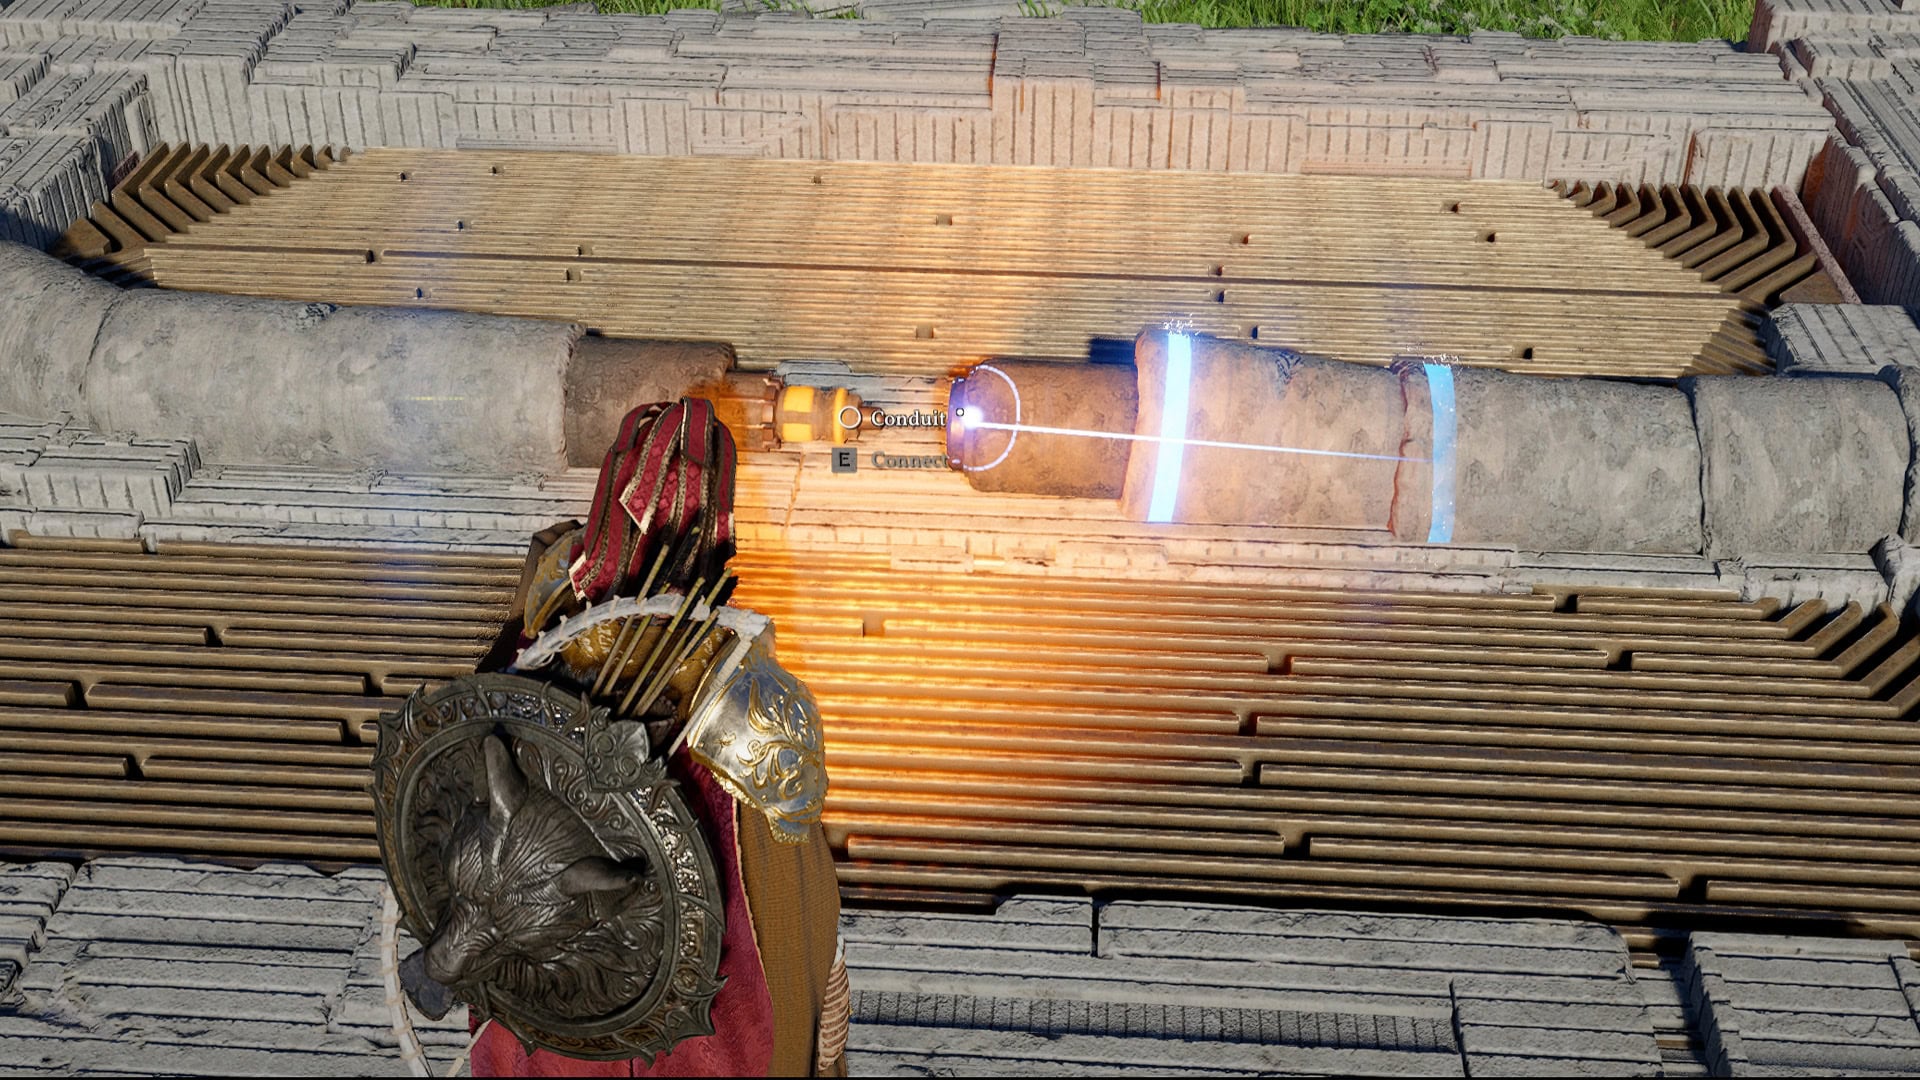
This will play a short cutscene showing a button on a nearby ledge we’ll need to activate using Aerial Force Palm, performed by jumping and pressing Force Palm mid-air.
Reward
With that, the Puzzle has been completed. Go ahead and step forward to claim the Abyss Artifact.
Like all sections of the Abyss, there’s yet another Skybridge just beyond here that will connect to the Vault of Vengeance. This will require further upgrades to complete, however.