Learn how to liberate Karin Quarry and defeat the Excavatron in Crimson Desert’s Troubled Count side quest. This detailed guide explains the occupied territory liberation mechanics you will encounter a lot later in the game.
Troubled Count
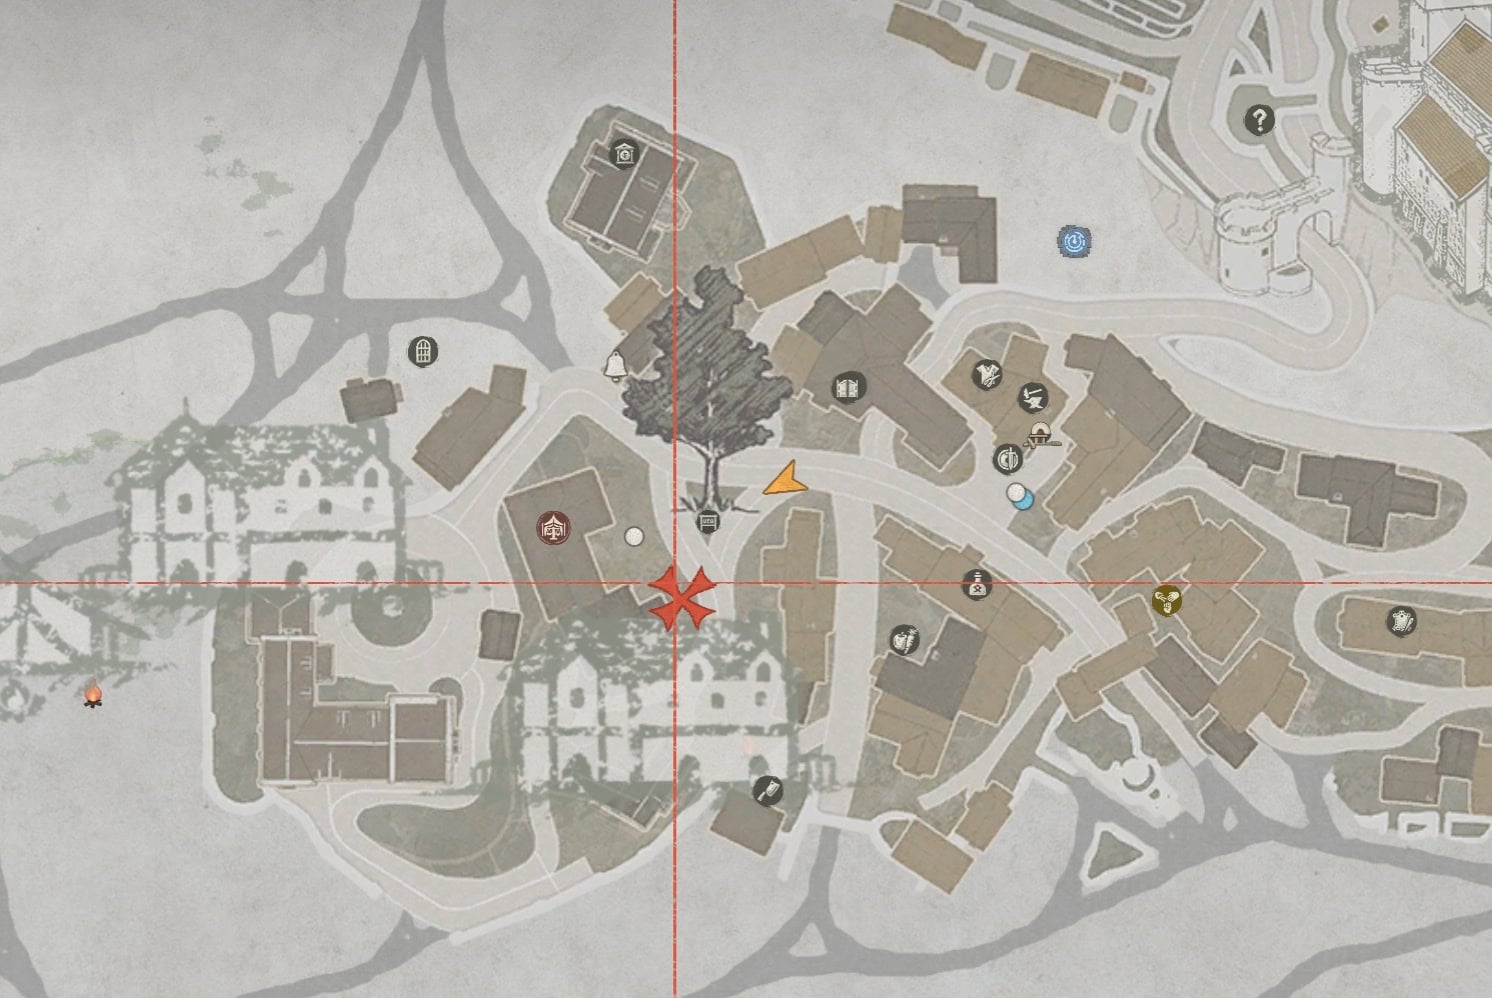
Chances are you’ve found the Cask House that was taken over by the Bleed Bandits. It’s south of the city in Hernand and a short trip northwest of Howling Hill. By clearing this out, you’ll start the first in a series of faction quests for House Roberts.
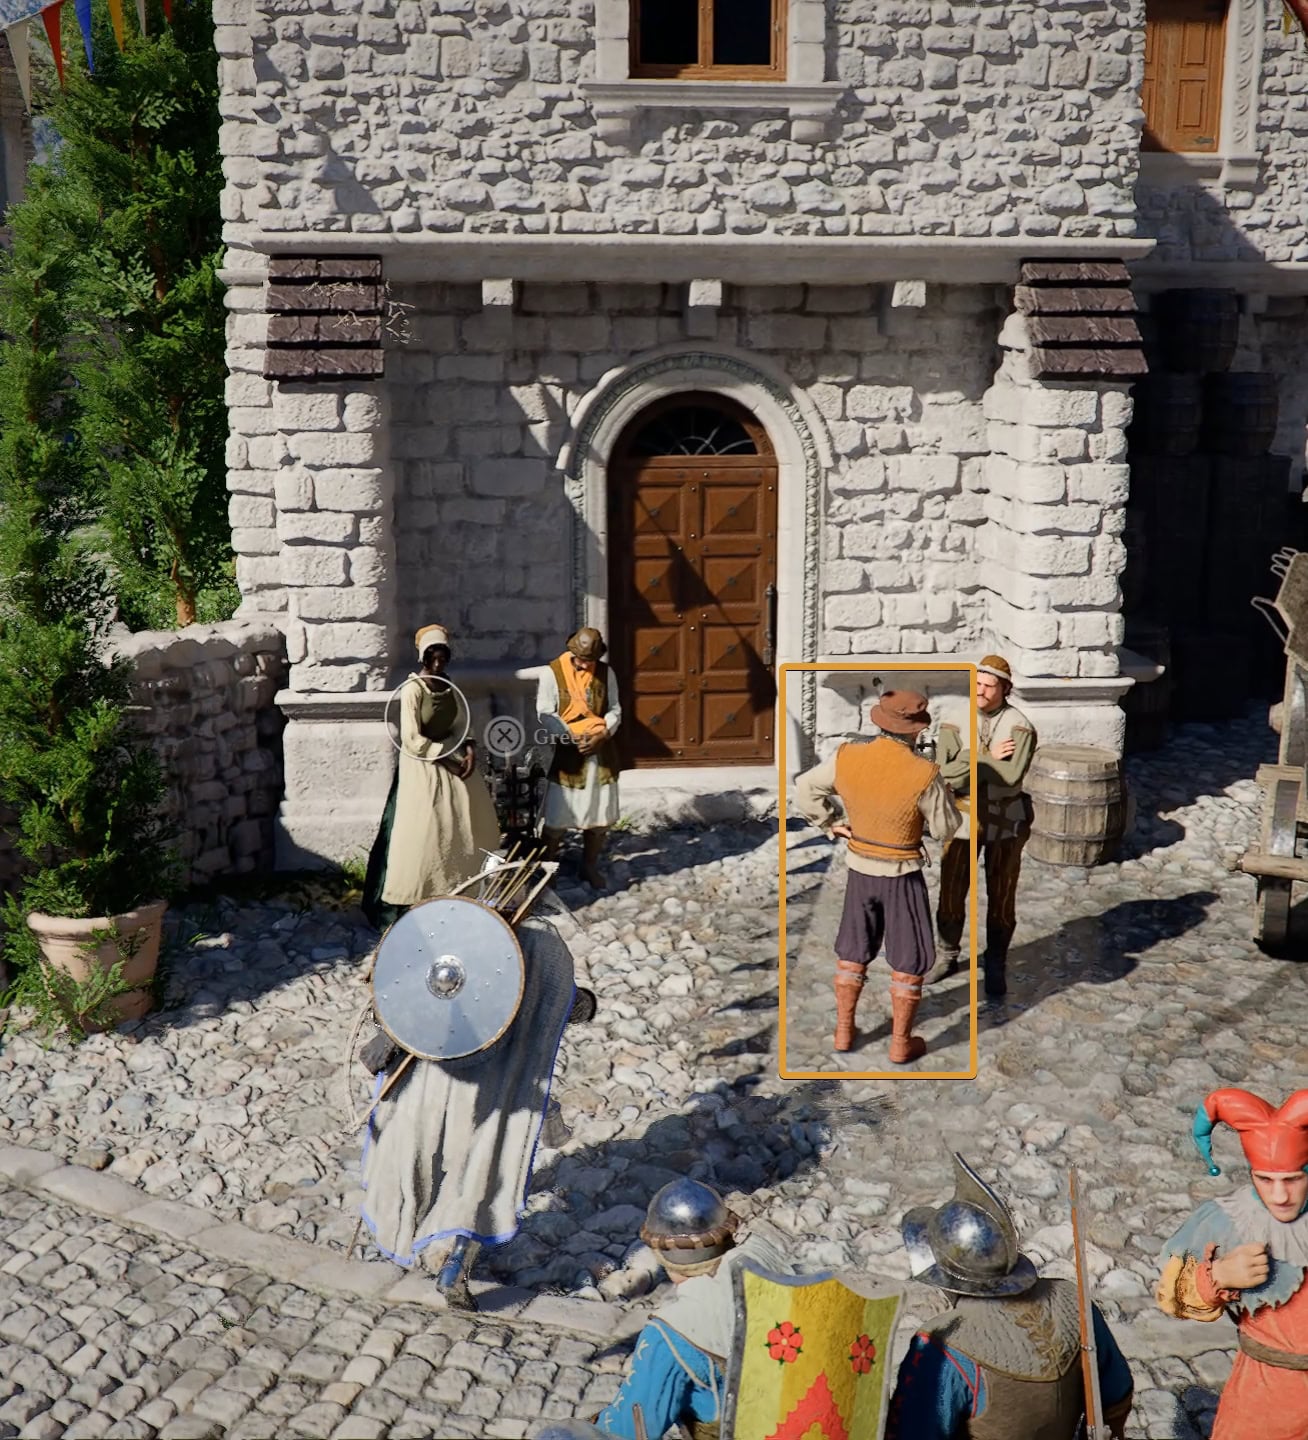
When cleared out, the Count of House Roberts will want to speak to you in Hernand for the quest Troubled Count. Talk to Erich outside Bluemont Manor and go inside and upstairs to meet Count Roberts.
You’ll learn that his family’s quarry was taken over by the same bandits that took over his cask house. Before you head there, you’ll need to prepare yourself as the fight ahead will get rough.
Prepare for the fight for Karin Quarry
Karin Quarry is a large facility that will have dozens upon dozens of bandits within. Ideally, you’ll need to prepare yourself with the following items:
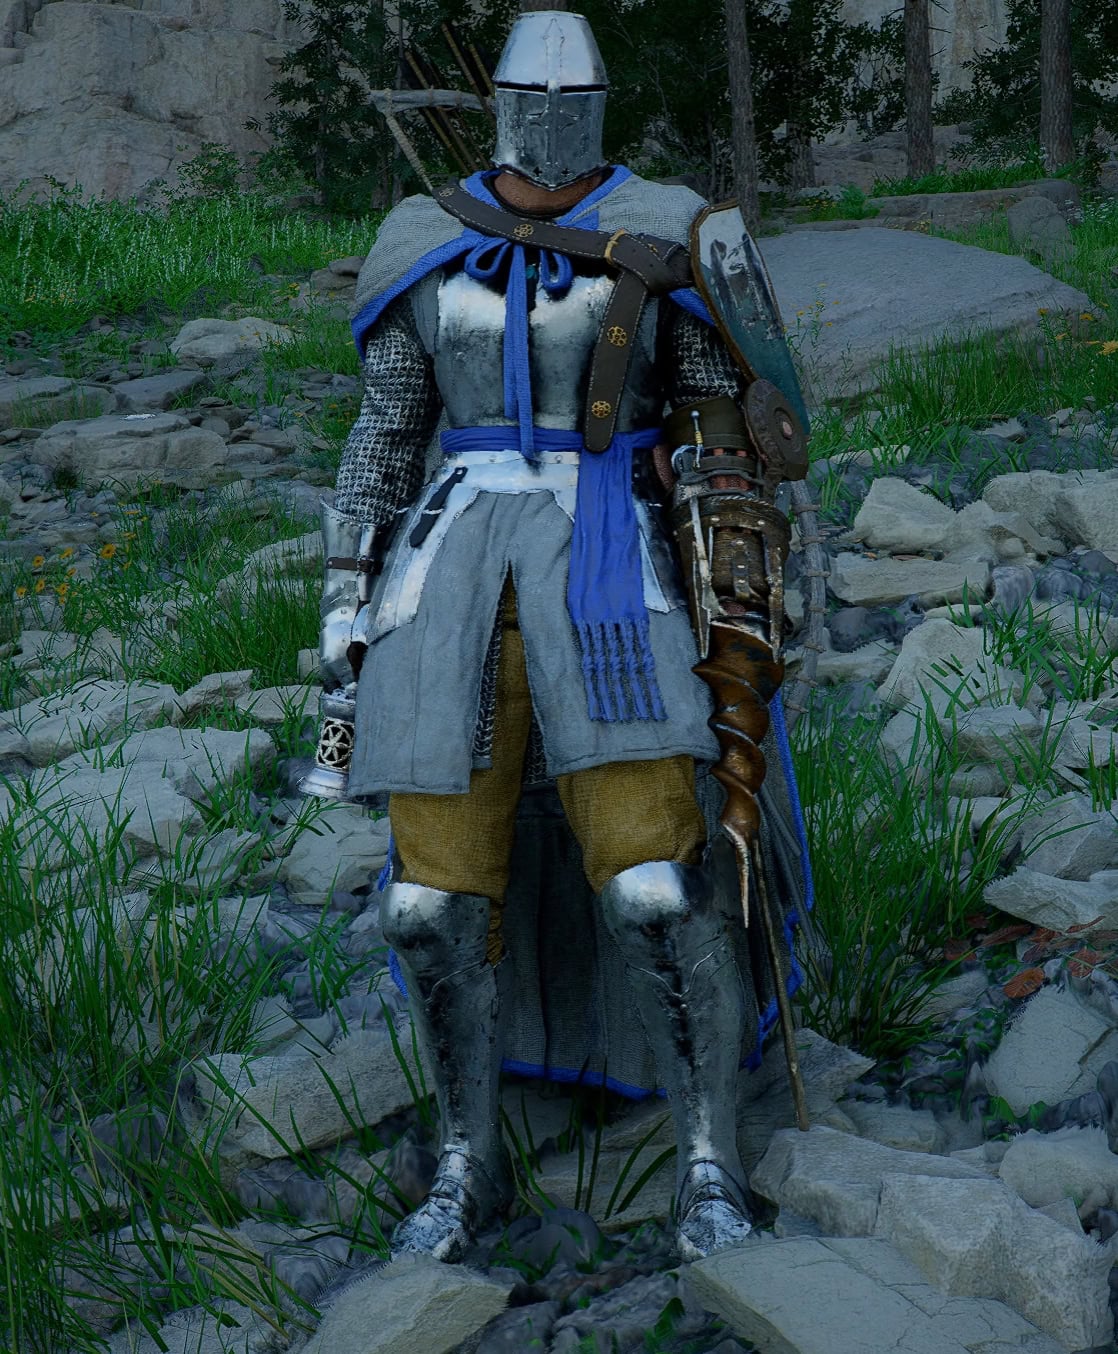
- A good set of armor (ideally with some levels of refinement)
- Lots of food for healing
- A few levels into Stamina
- Level 3 Force Palm Skill
- Evasive Roll Skill
- A Spear (not necessary but VERY helpful)
- Level 2 or 3 Armed Combat Skill
The armor upgrades and food goes without saying, they both keep you alive. The Level 3 Force Palm helps with the area’s boss immensely, while the spear will help with fighting the standard enemies.
Liberate Karin Quarry
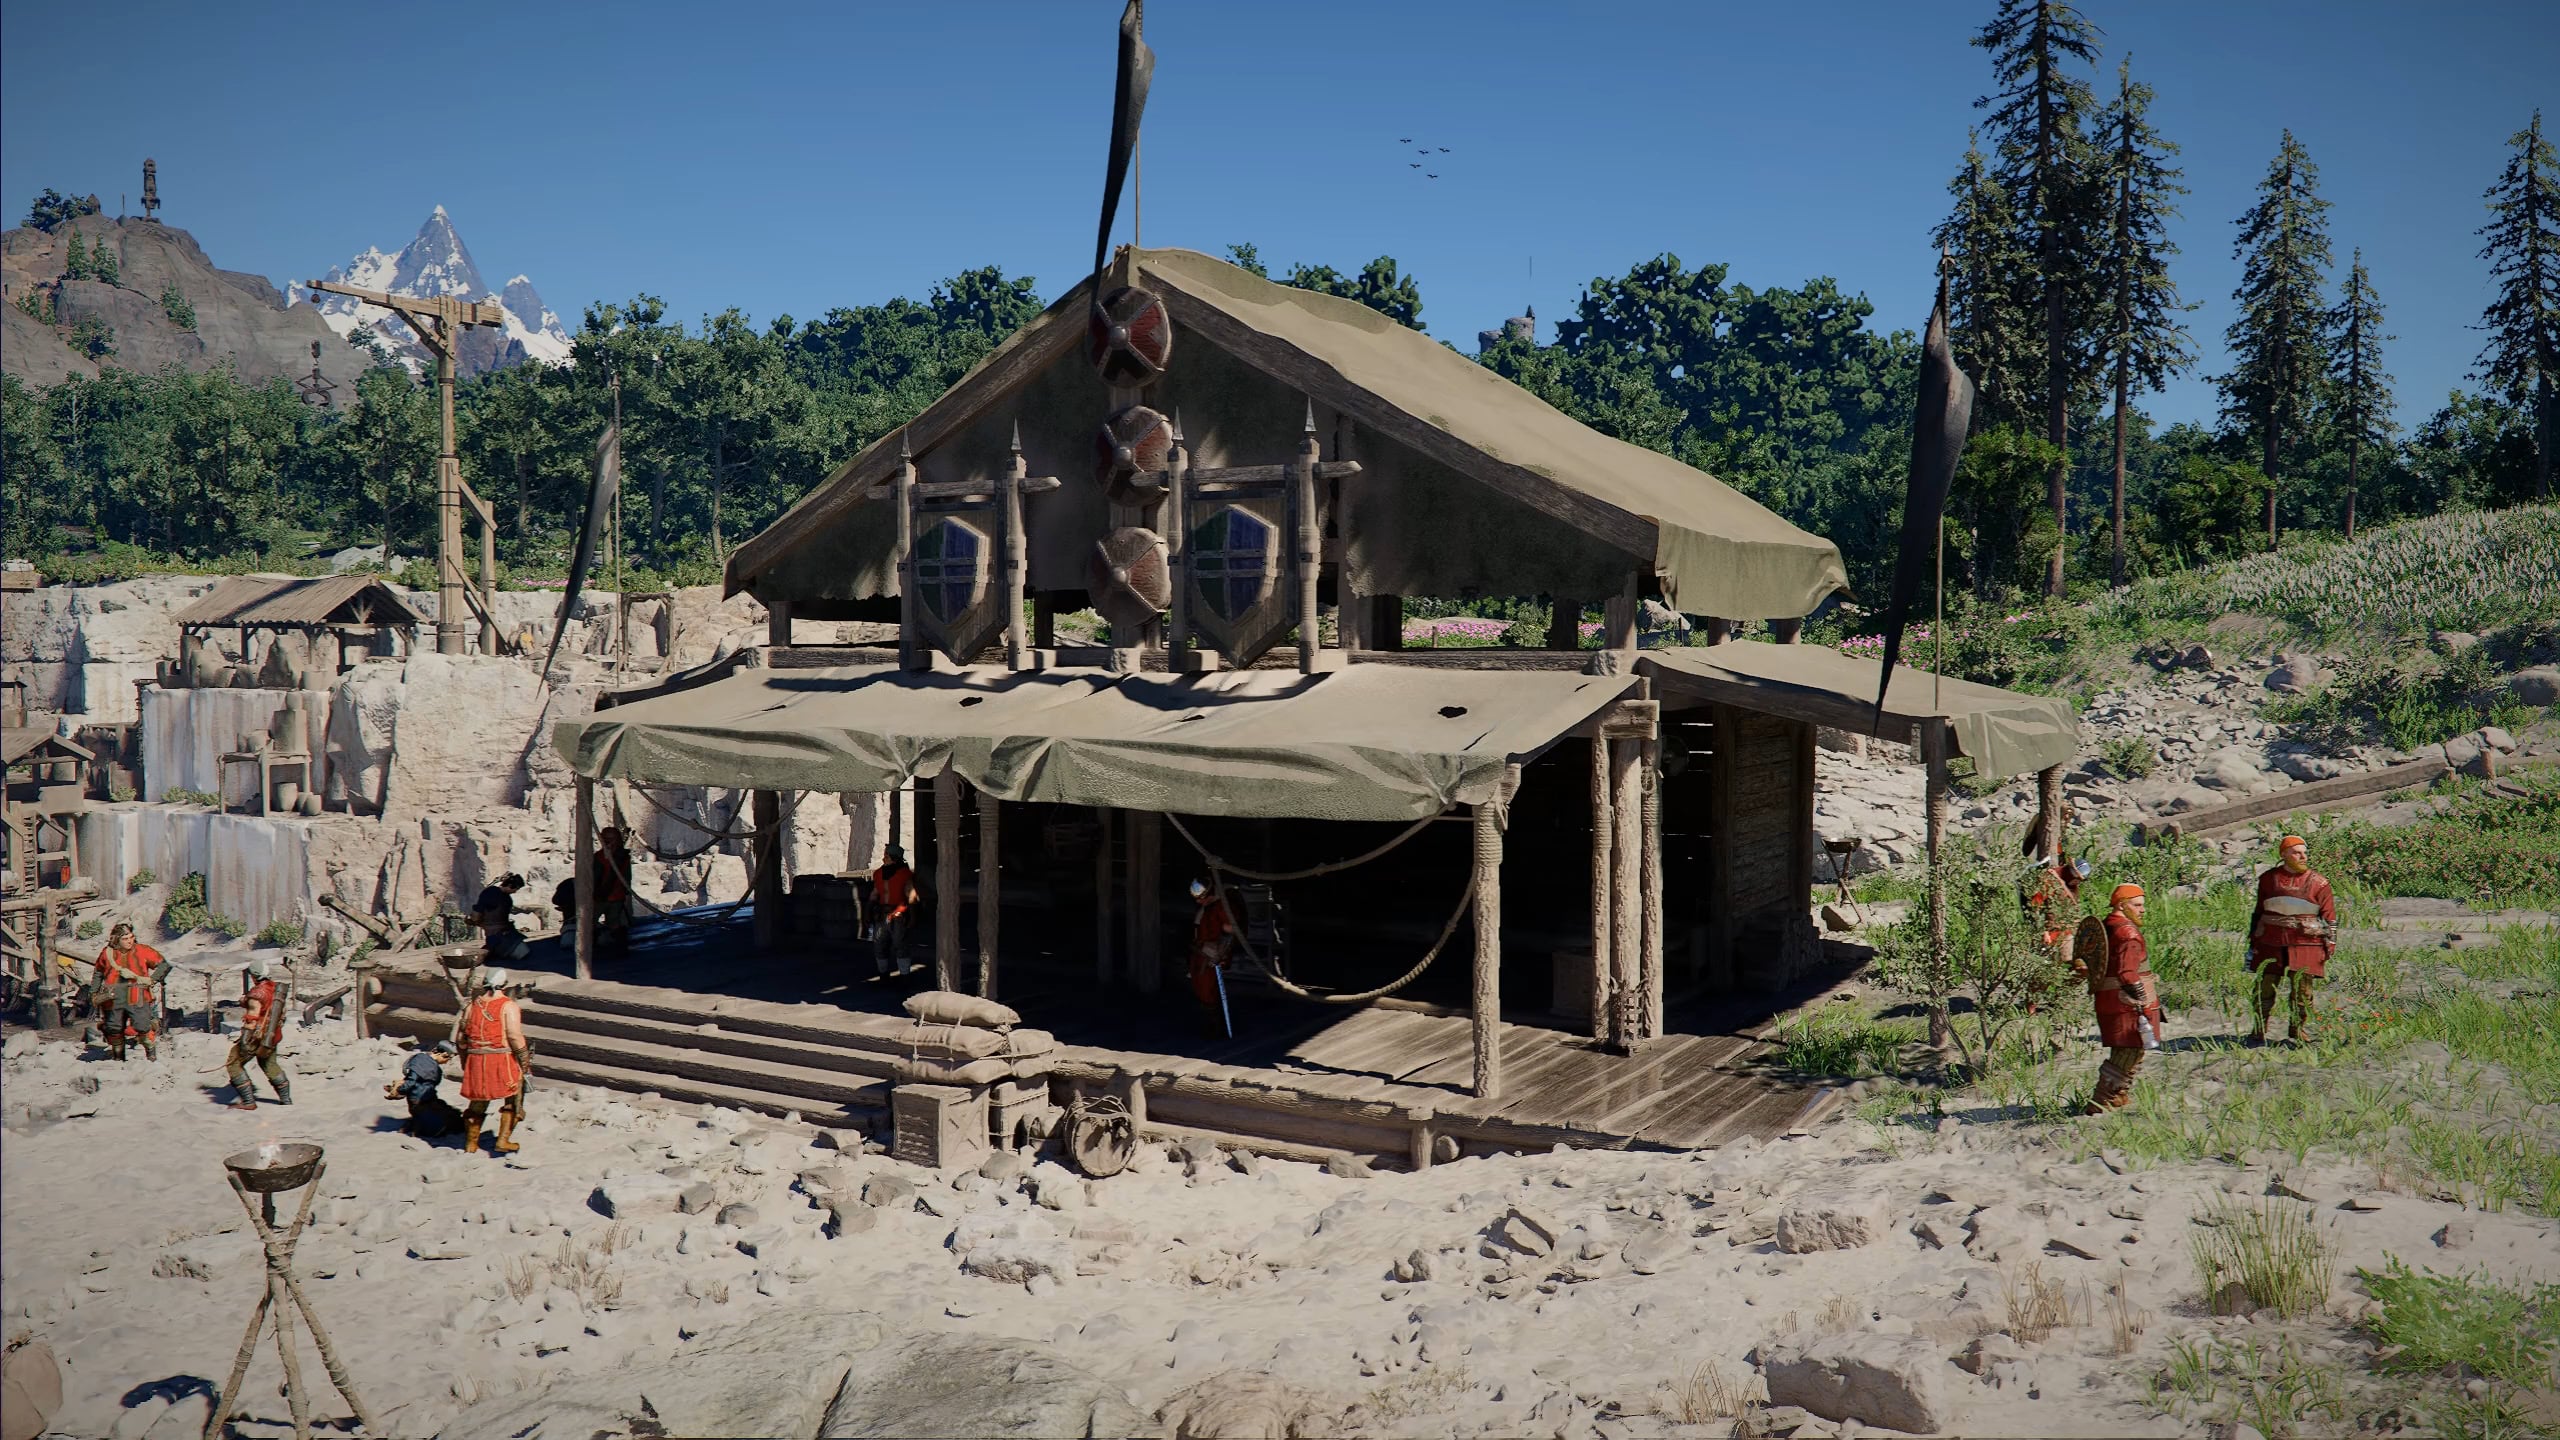
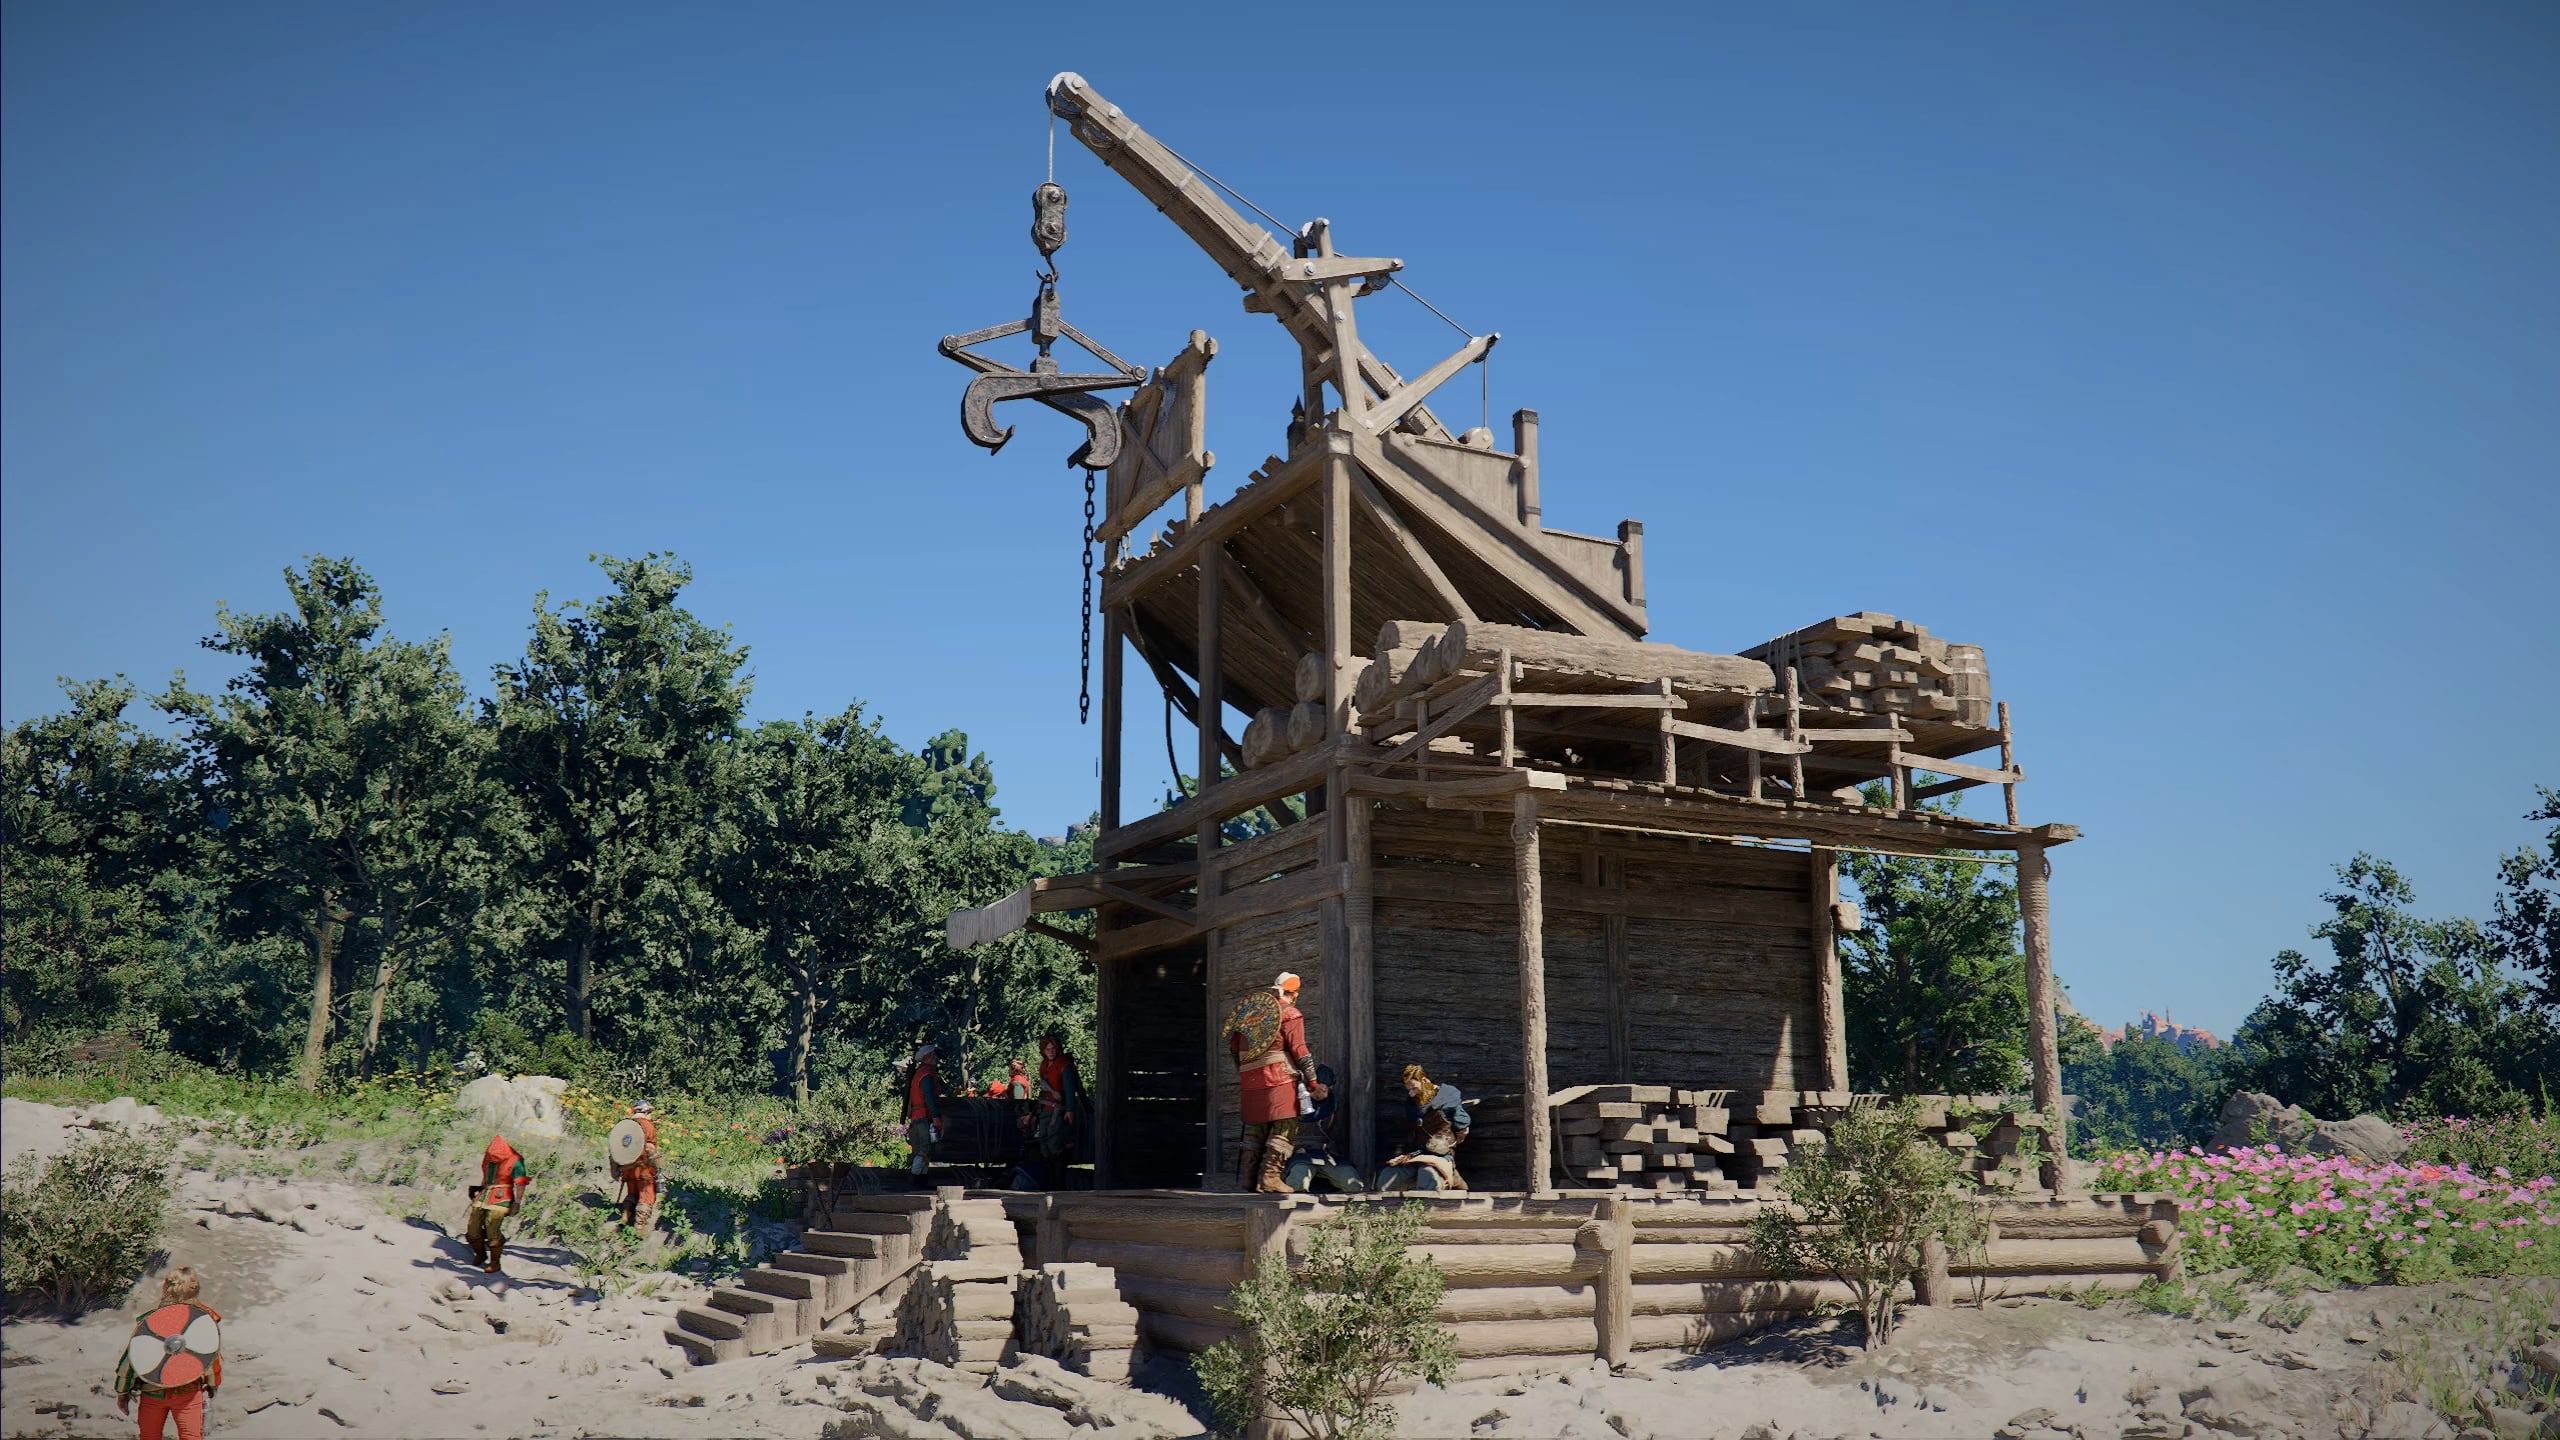
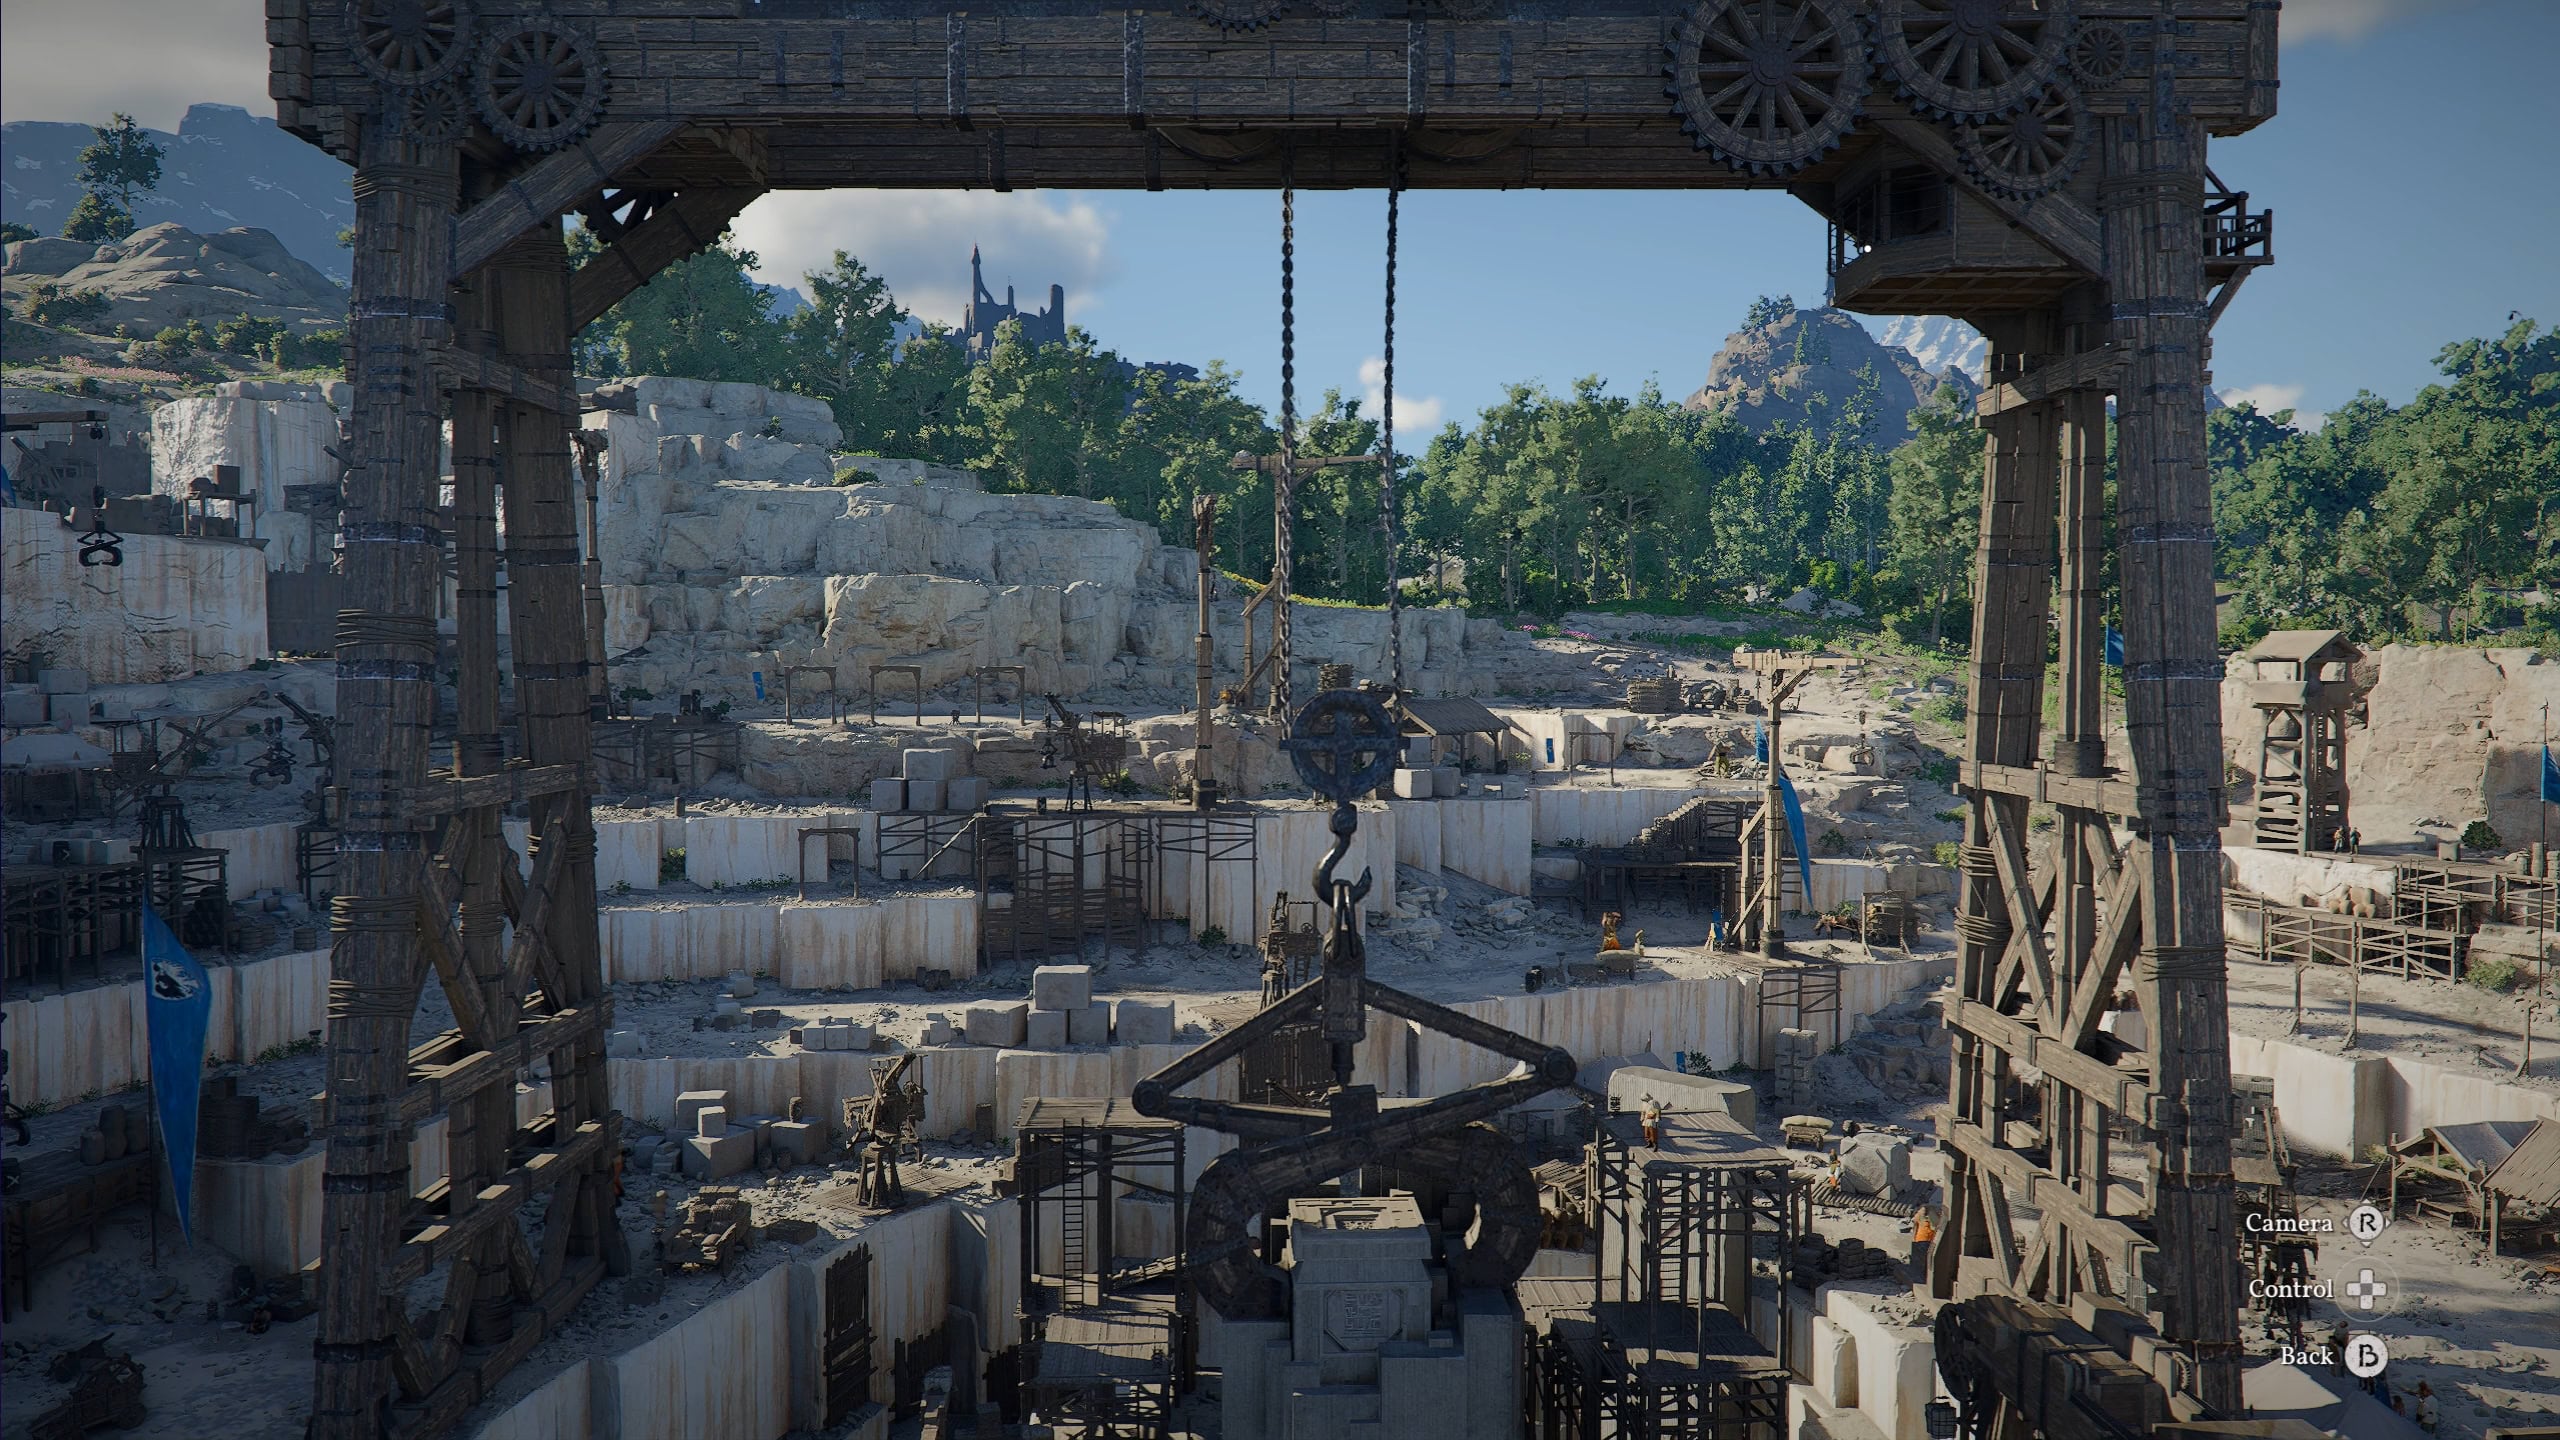
After preparing for the trip ahead, it’s time to go north towards Karin Quarry to start the quest Stolen Quarry. It’s hard to miss on account of the large hole in the earth and the giant crane.
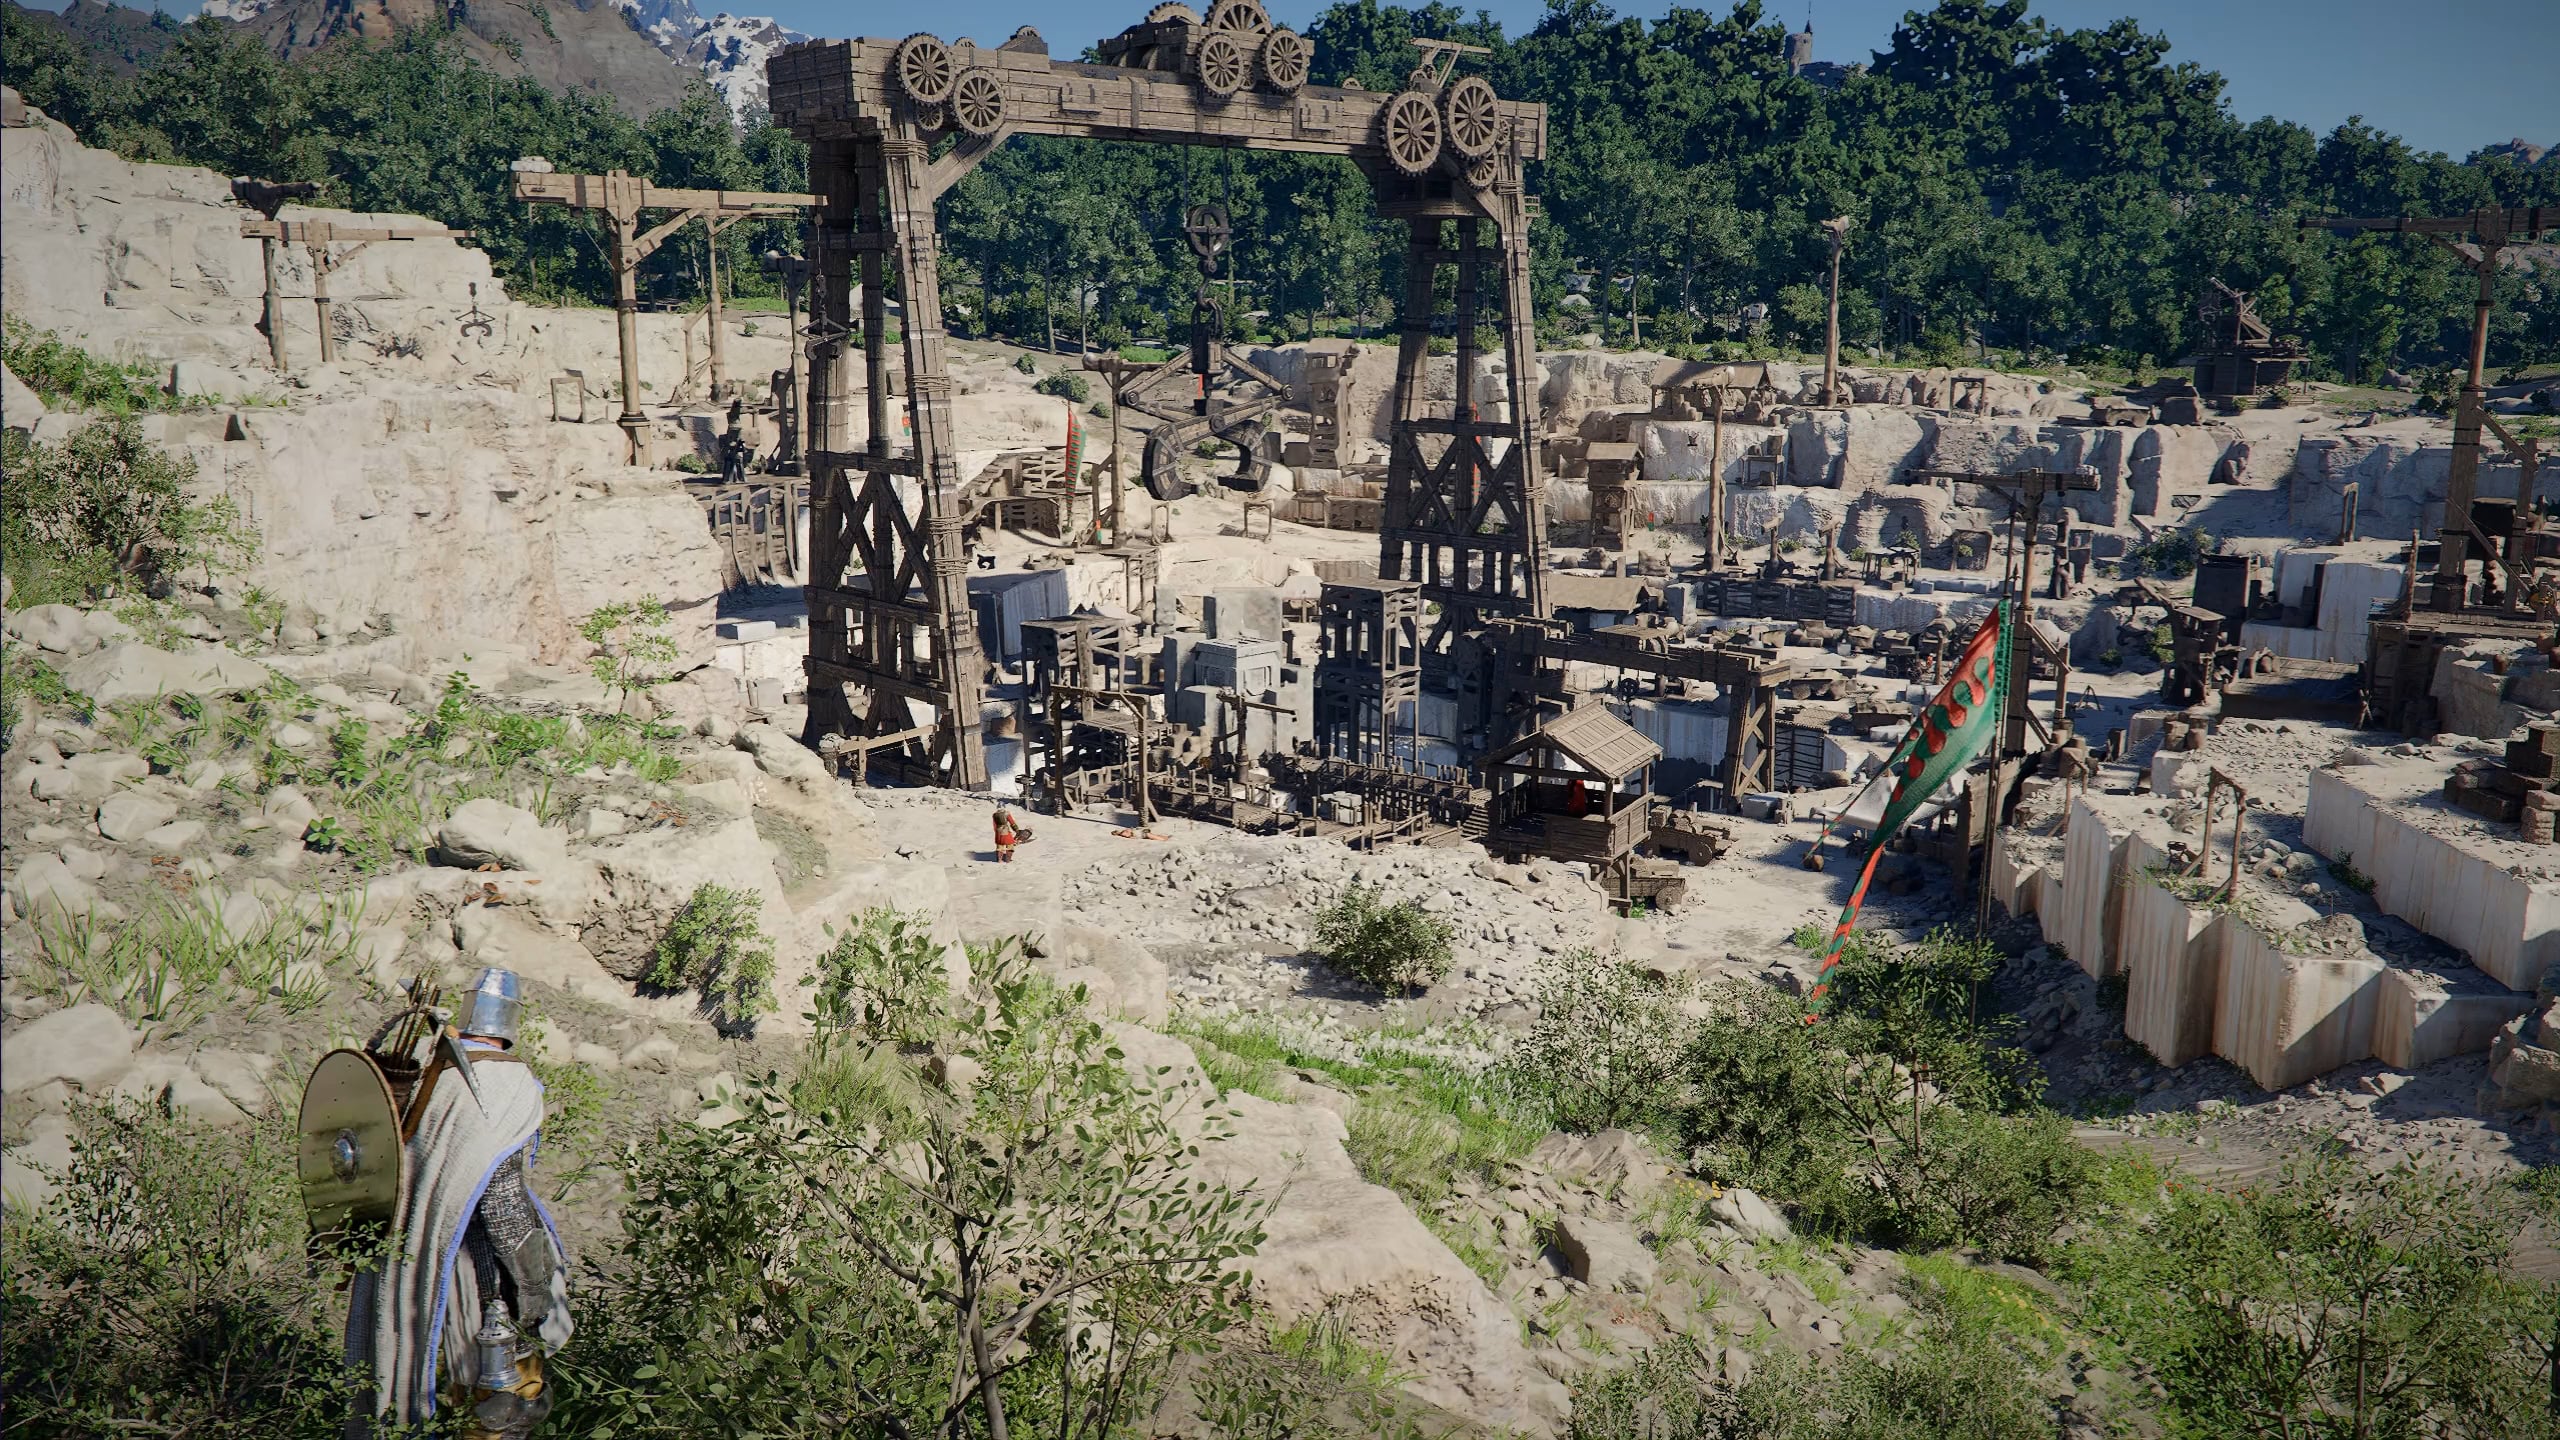
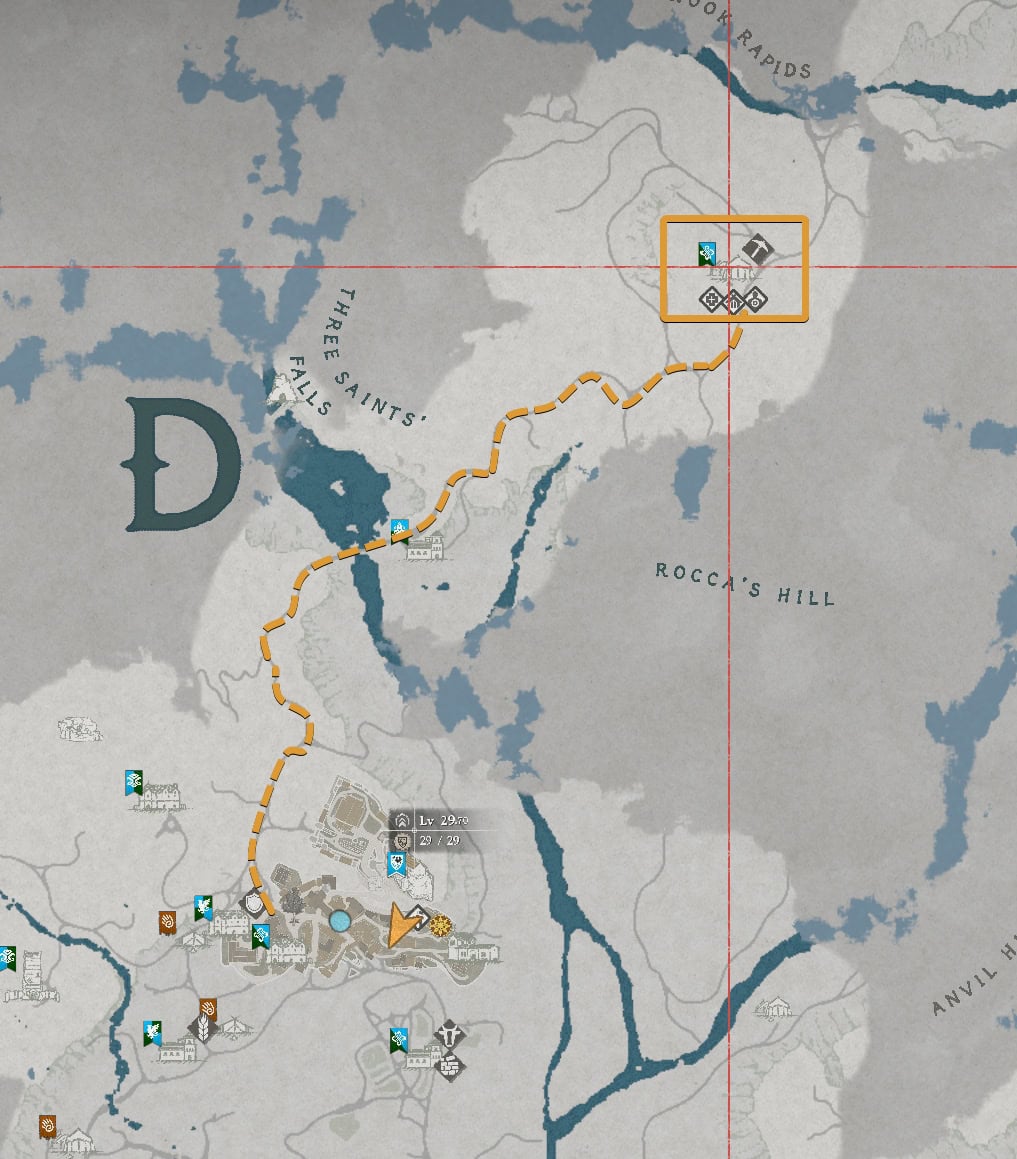
This is likely to be the first large territory you’ll liberate from bandits. Before you rush in, assess the situation and understand your surroundings.
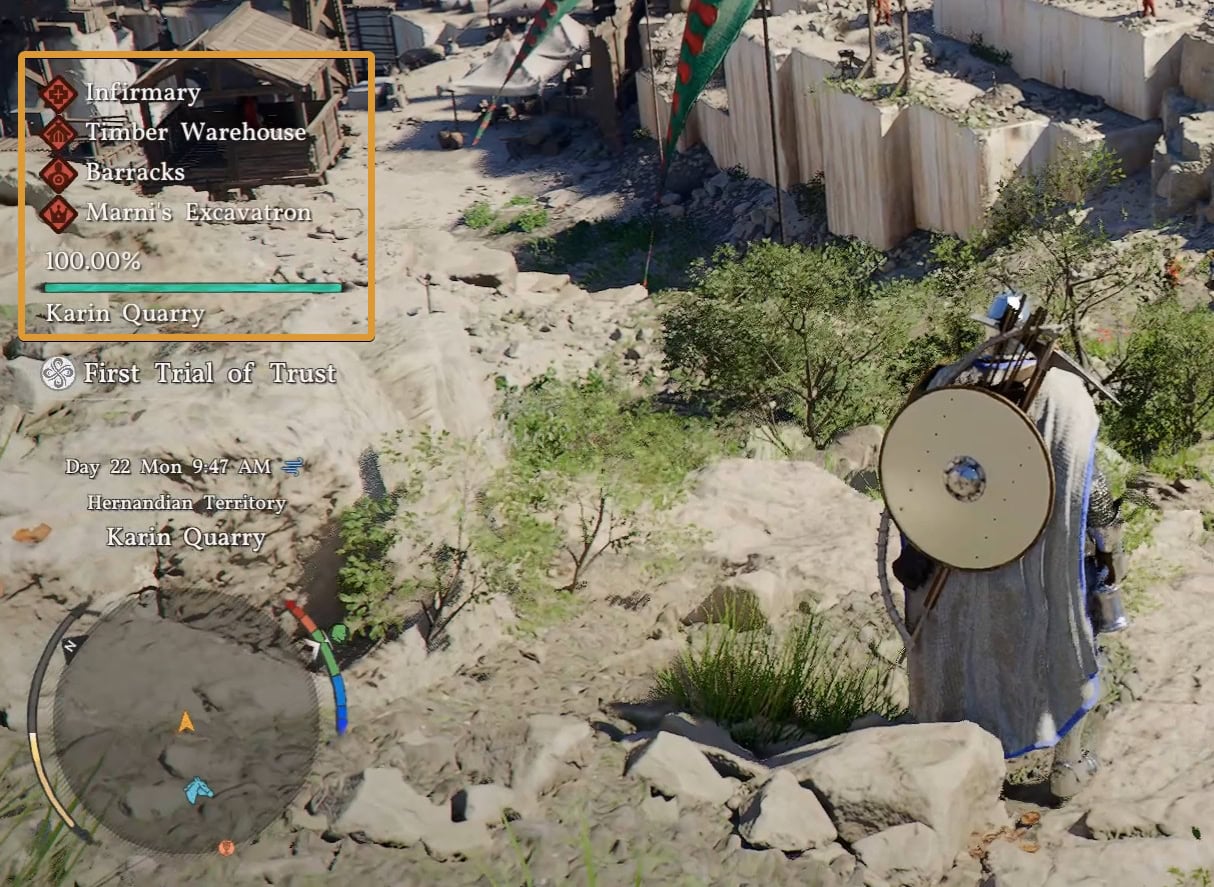
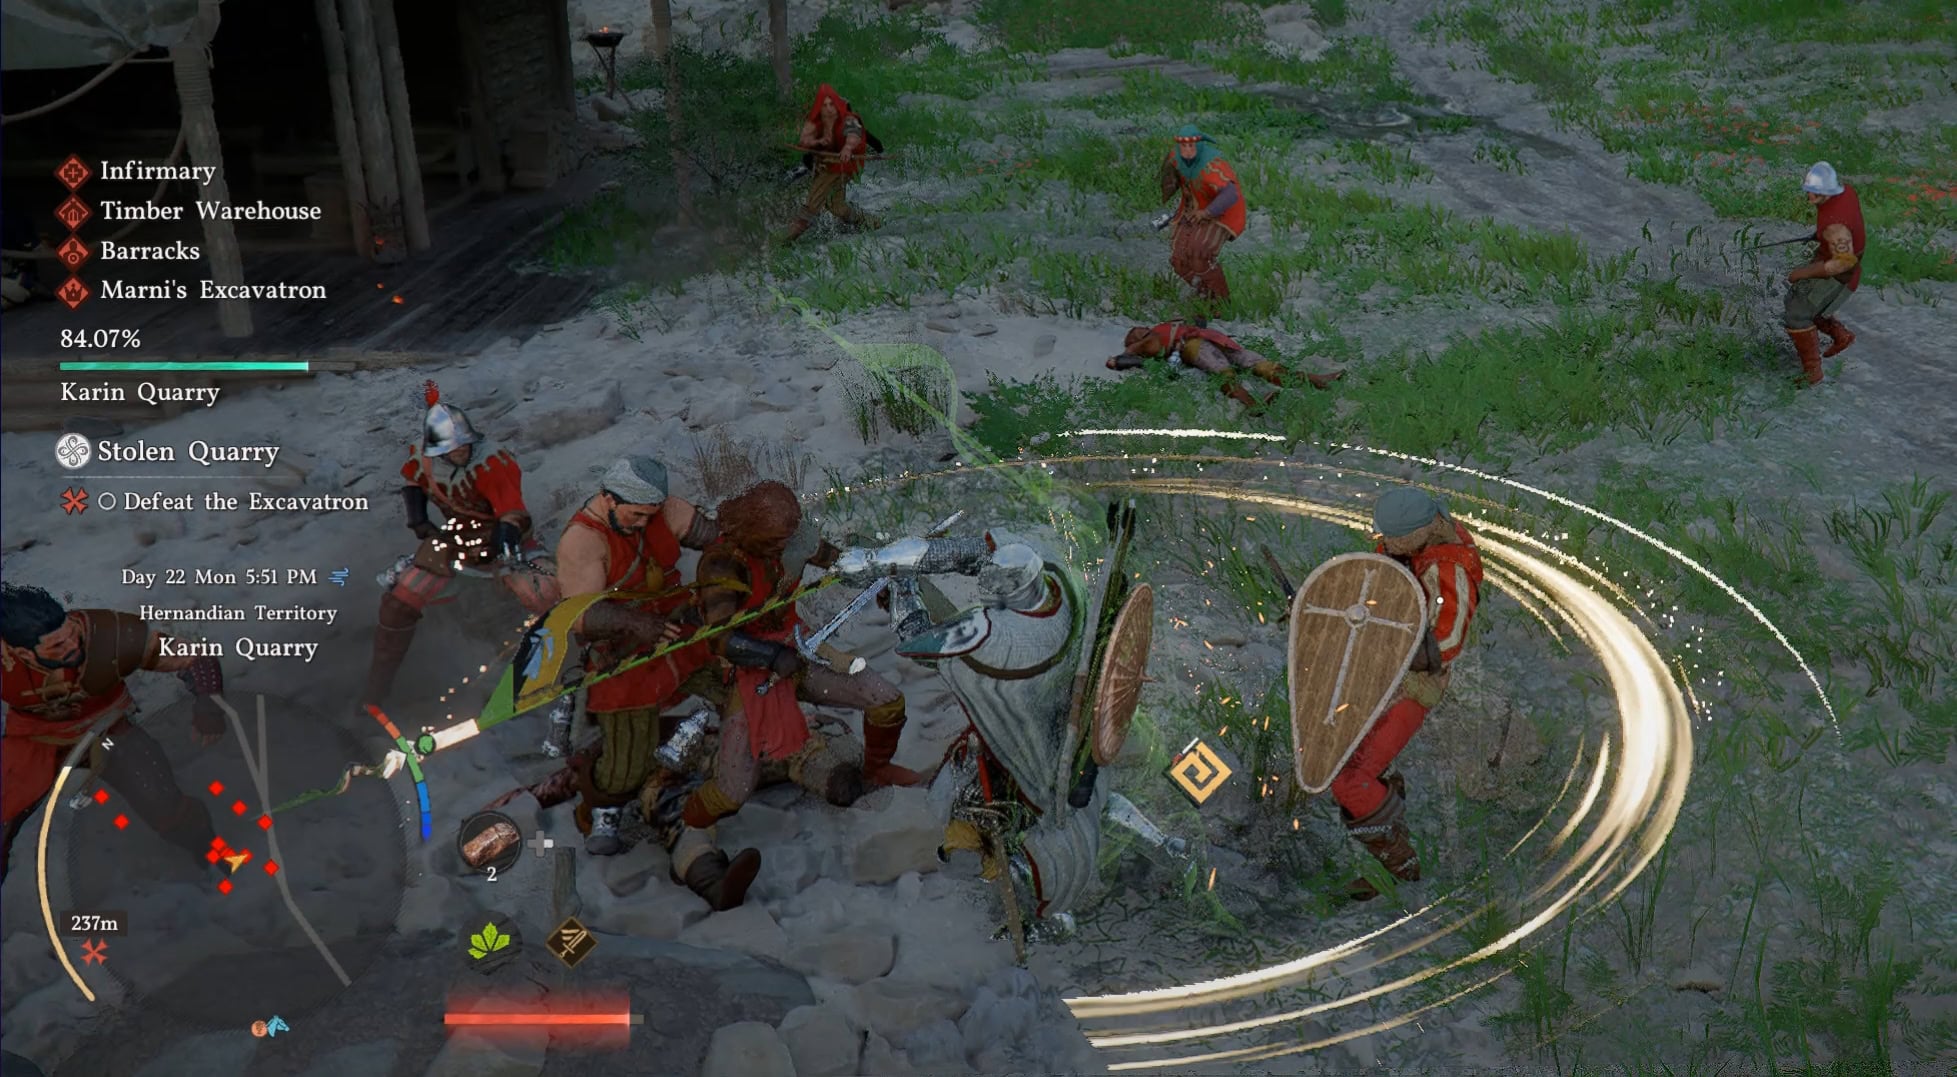
Understand your objectives
When you enter Karin Quarry, you’ll see four objectives to your left. These are the Infirmary, Timber Warehouse, Barracks, and Marni’s Excavatron. There’s also a green bar that states 100%.
As you defeat Bleed Bandits, this green bar will deplete. When it reaches 0%, you’ll be able to fight the boss, Marni’s Excavatron. You’ll need to fight a LOT of them, making the task dangerous and taxing on your resources.
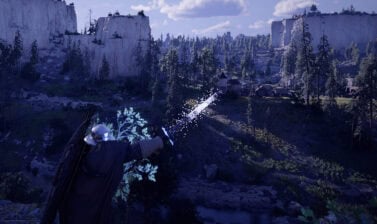
To have an easier time, you’ll need to deal with the sub-objectives. Use your Blinding Flash to find these sub-objectives, you’ll see a spinning red square above them. You’ll find them above the Infirmary, Timber Warehouse, and Barracks.
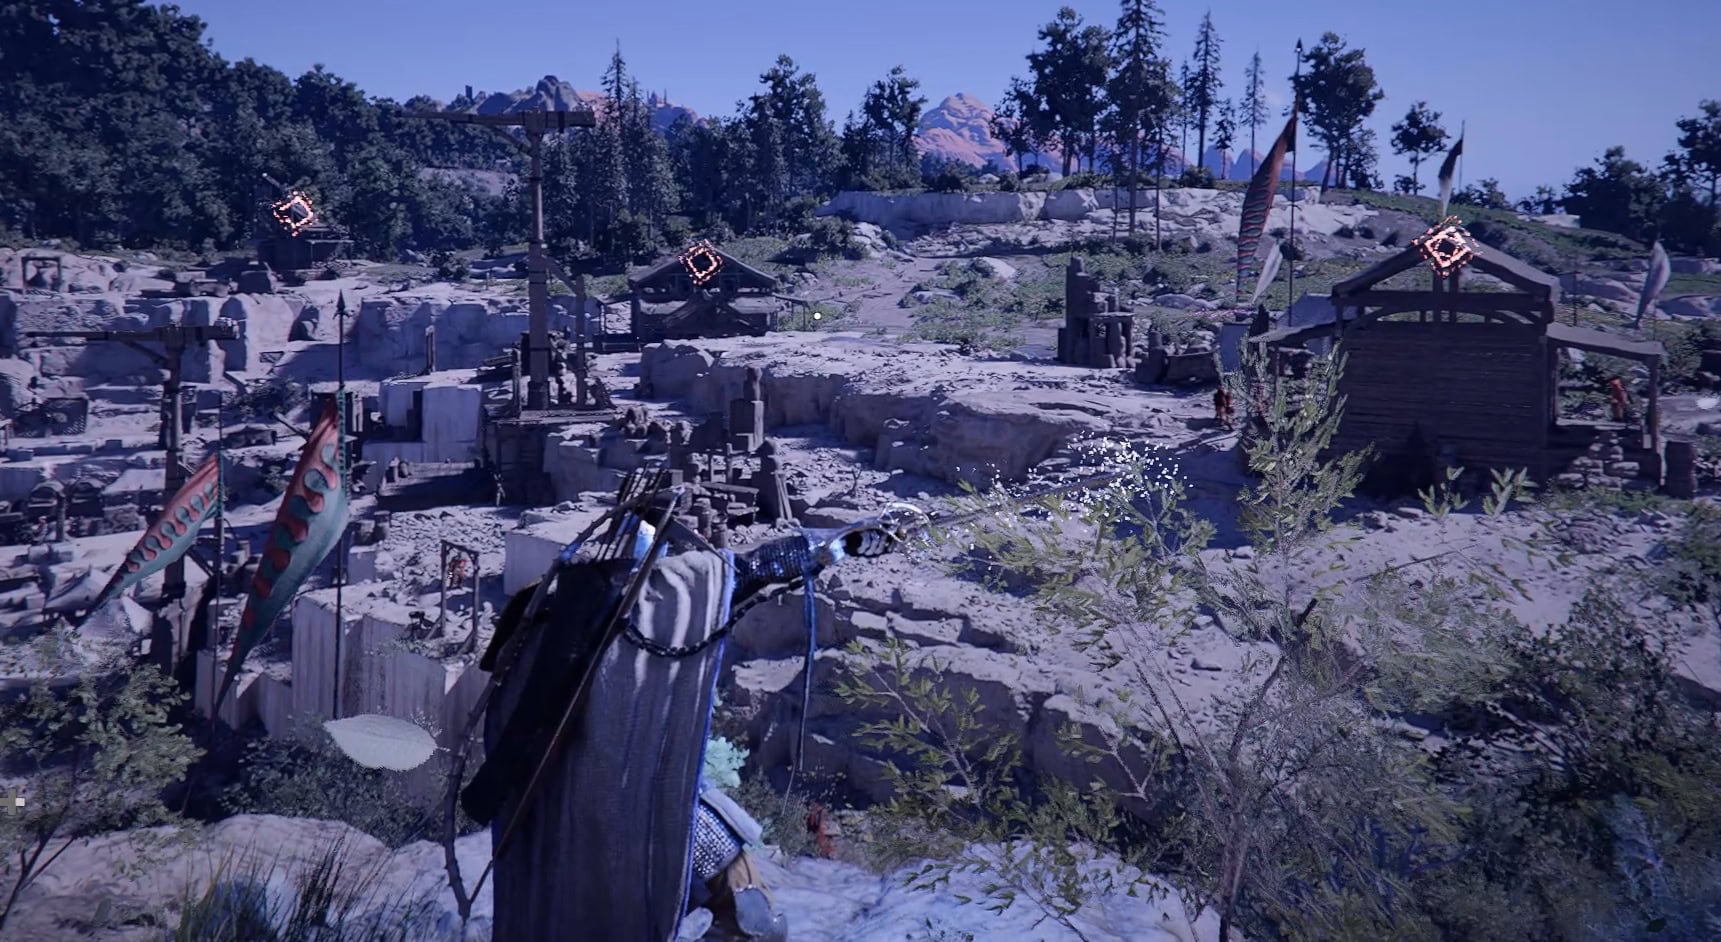
By destroying these objectives, you’ll weaken the enemy forces at Karin Quarry. This applies to any other occupied territories you’ll encounter. A good way to destroy them is to use the Turning Slash on the walls or load-bearing structures.
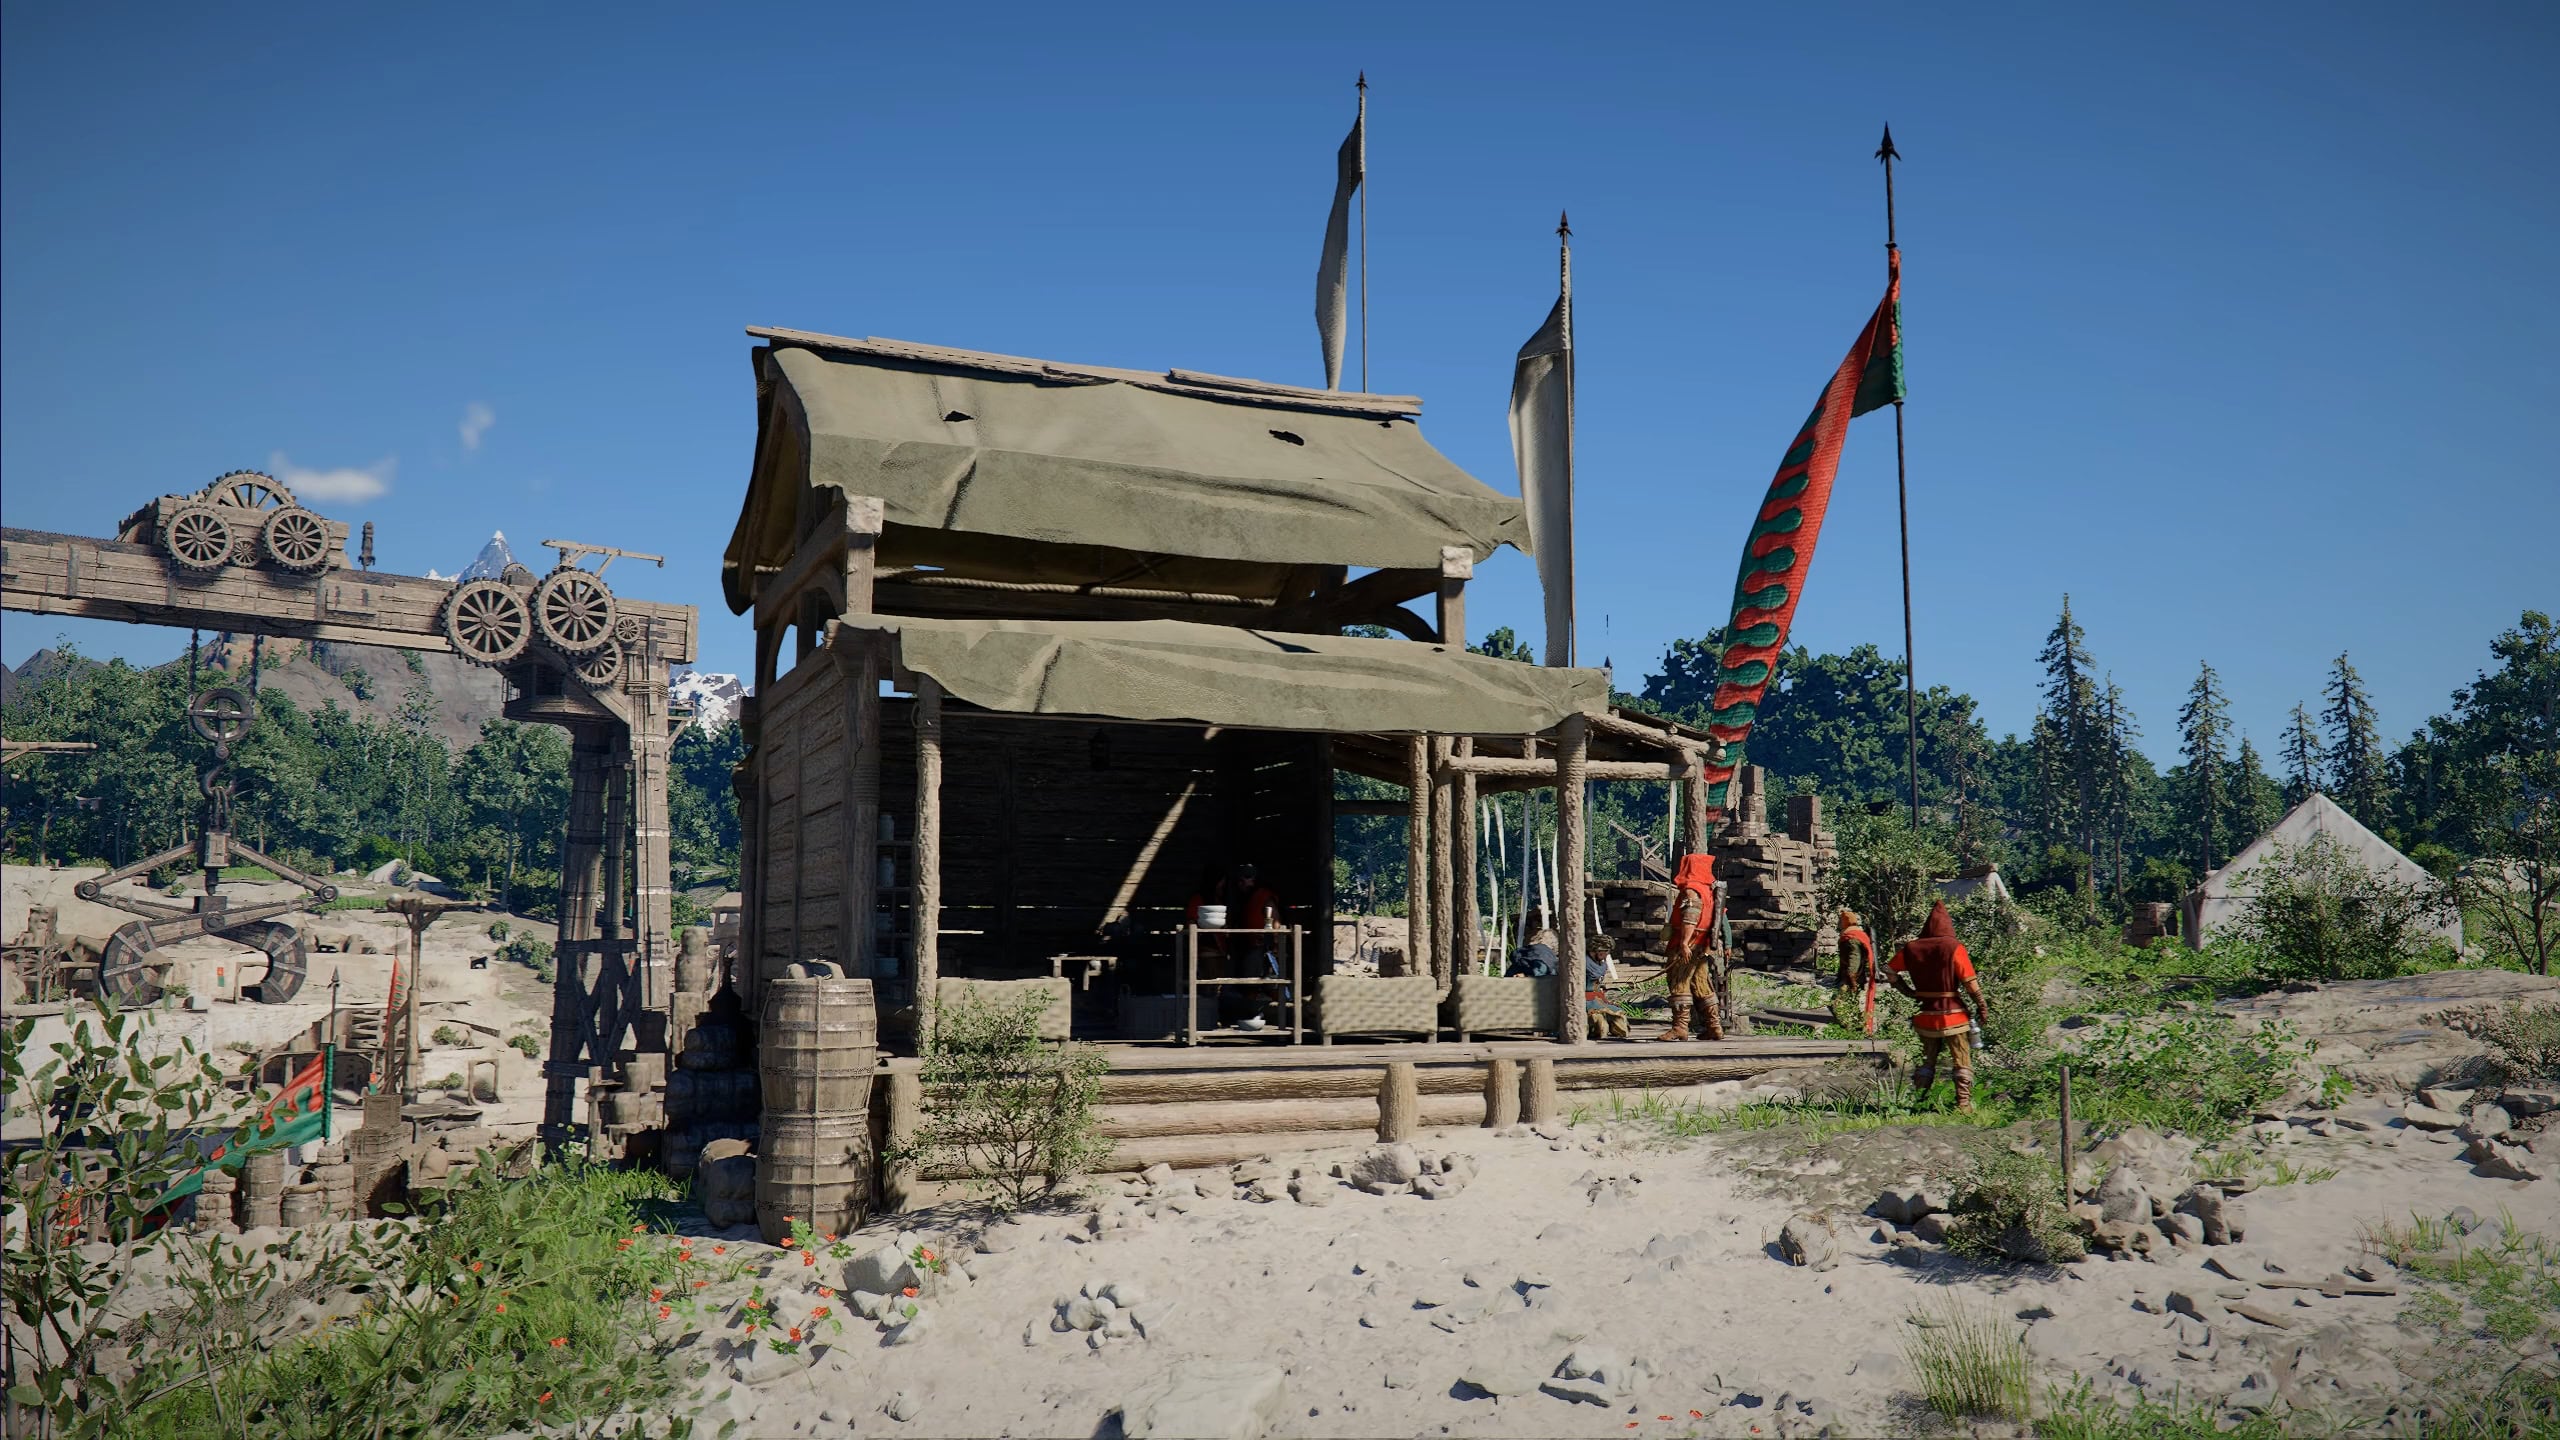
Infirmary
The Infirmary of Karin Quarry is found near the entrance. When you destroy the Infirmary of an occupied territory, wounded enemies will not return to the fight. This helps make the fight ahead more manageable as it’s easy to get overwhelmed.
Barracks
A short walk east of the Infirmary will house the Barracks. Destroying the Barracks of an occupied territory will reduce the enemy’s attack power.
Timber Warehouse
The Timber Warehouse is the storage facility of Karin Quarry. Destroying a storage facility of an occupied territory will reduce enemy HP.
Don’t worry about Bystanders
As you fight the Bleed Bandits, you might worry about friendly fire against their slaves. Don’t worry about them as you nor the explosions you may cause will hurt them.
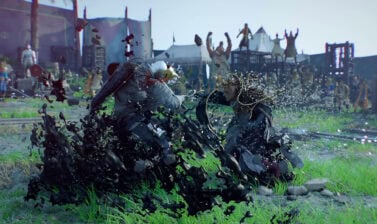
Fighting the horde of enemies
The quarry can get rather tight and dangerous for several reasons. You’ll have an easier time fighting enemies more towards the outer edge of the quarry. More importantly, this becomes incredibly easy with a spear equipped.
Spear for groups, Sword and Shield for archers
The spear is a great weapon for dealing with groups of enemies, especially when you have Level 2 Armed Combat. For the spear, this unlocks Counter Stance. Use this ability before an enemy strikes to attack enemies around you then at your target.
This can take out numerous enemies at once and even better, getting shot by an arrow will trigger this. This will keep you safe from archers as you deal with the melee enemies.
Once the melee enemies are down, you can switch to your sword and shield to deal with the archers. If you have Level 3 Armed Combat, you can use the Charge ability to catch up to the arches and knock them down.
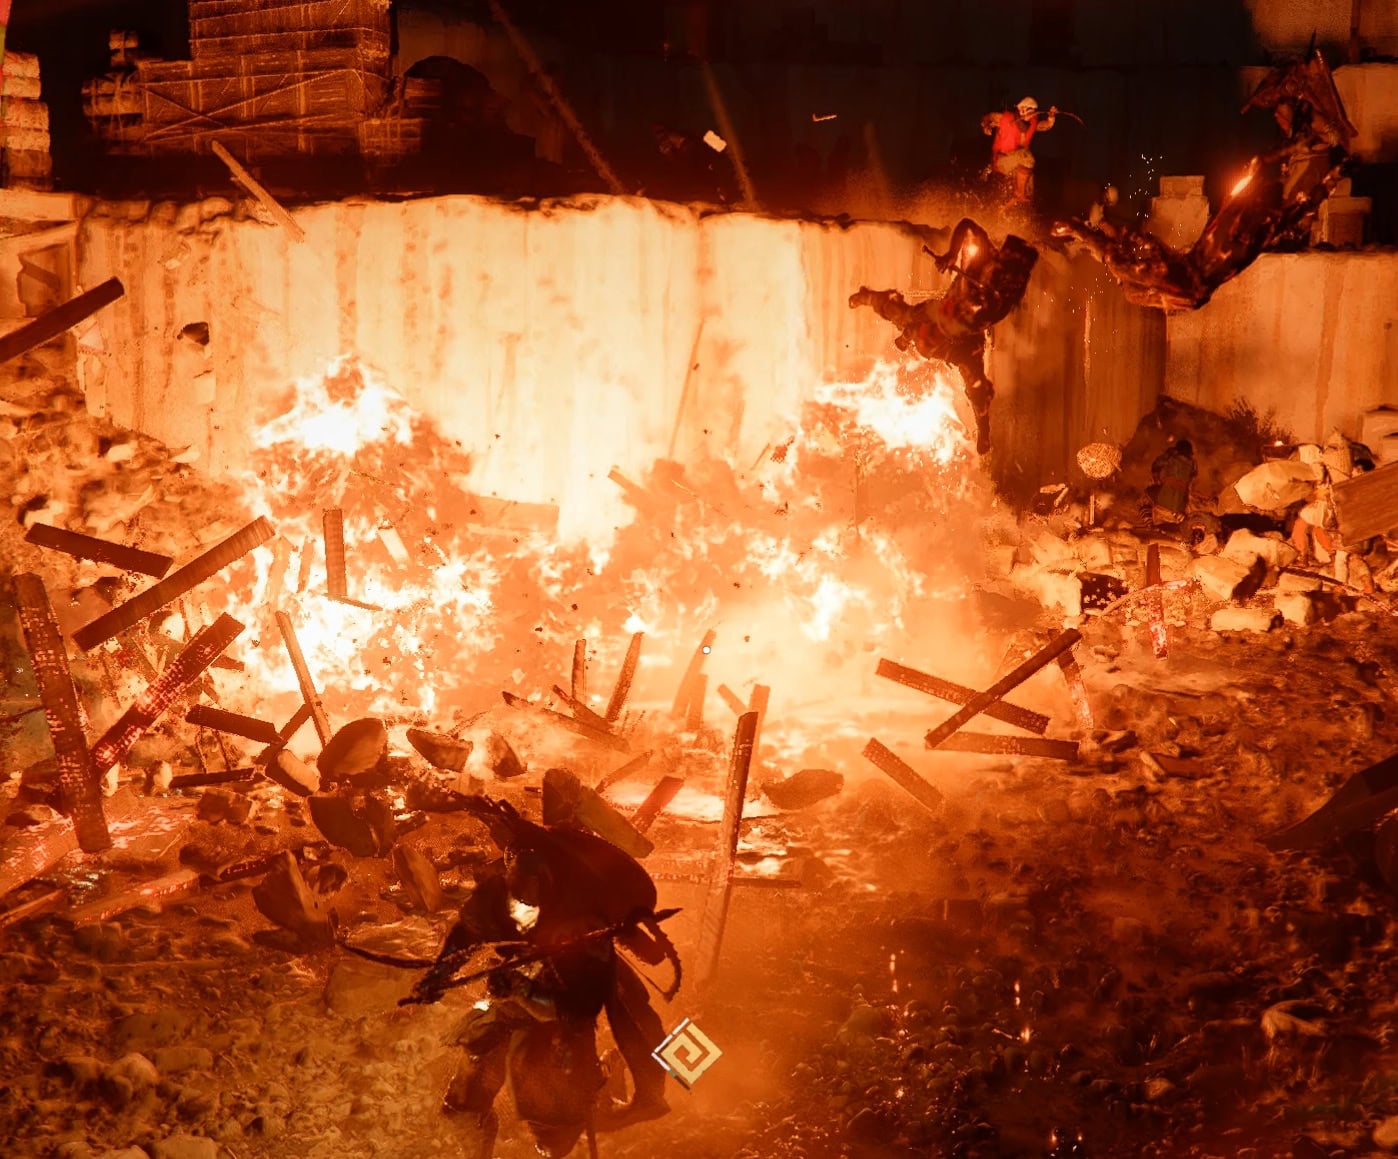
Watch out for explosive barrels
The primarily reason you want to avoid intense fights in the quarry are due to the explosive barrels lying around. These aren’t painted red for your convenience like most video games, they’ll instead have a white X on them.
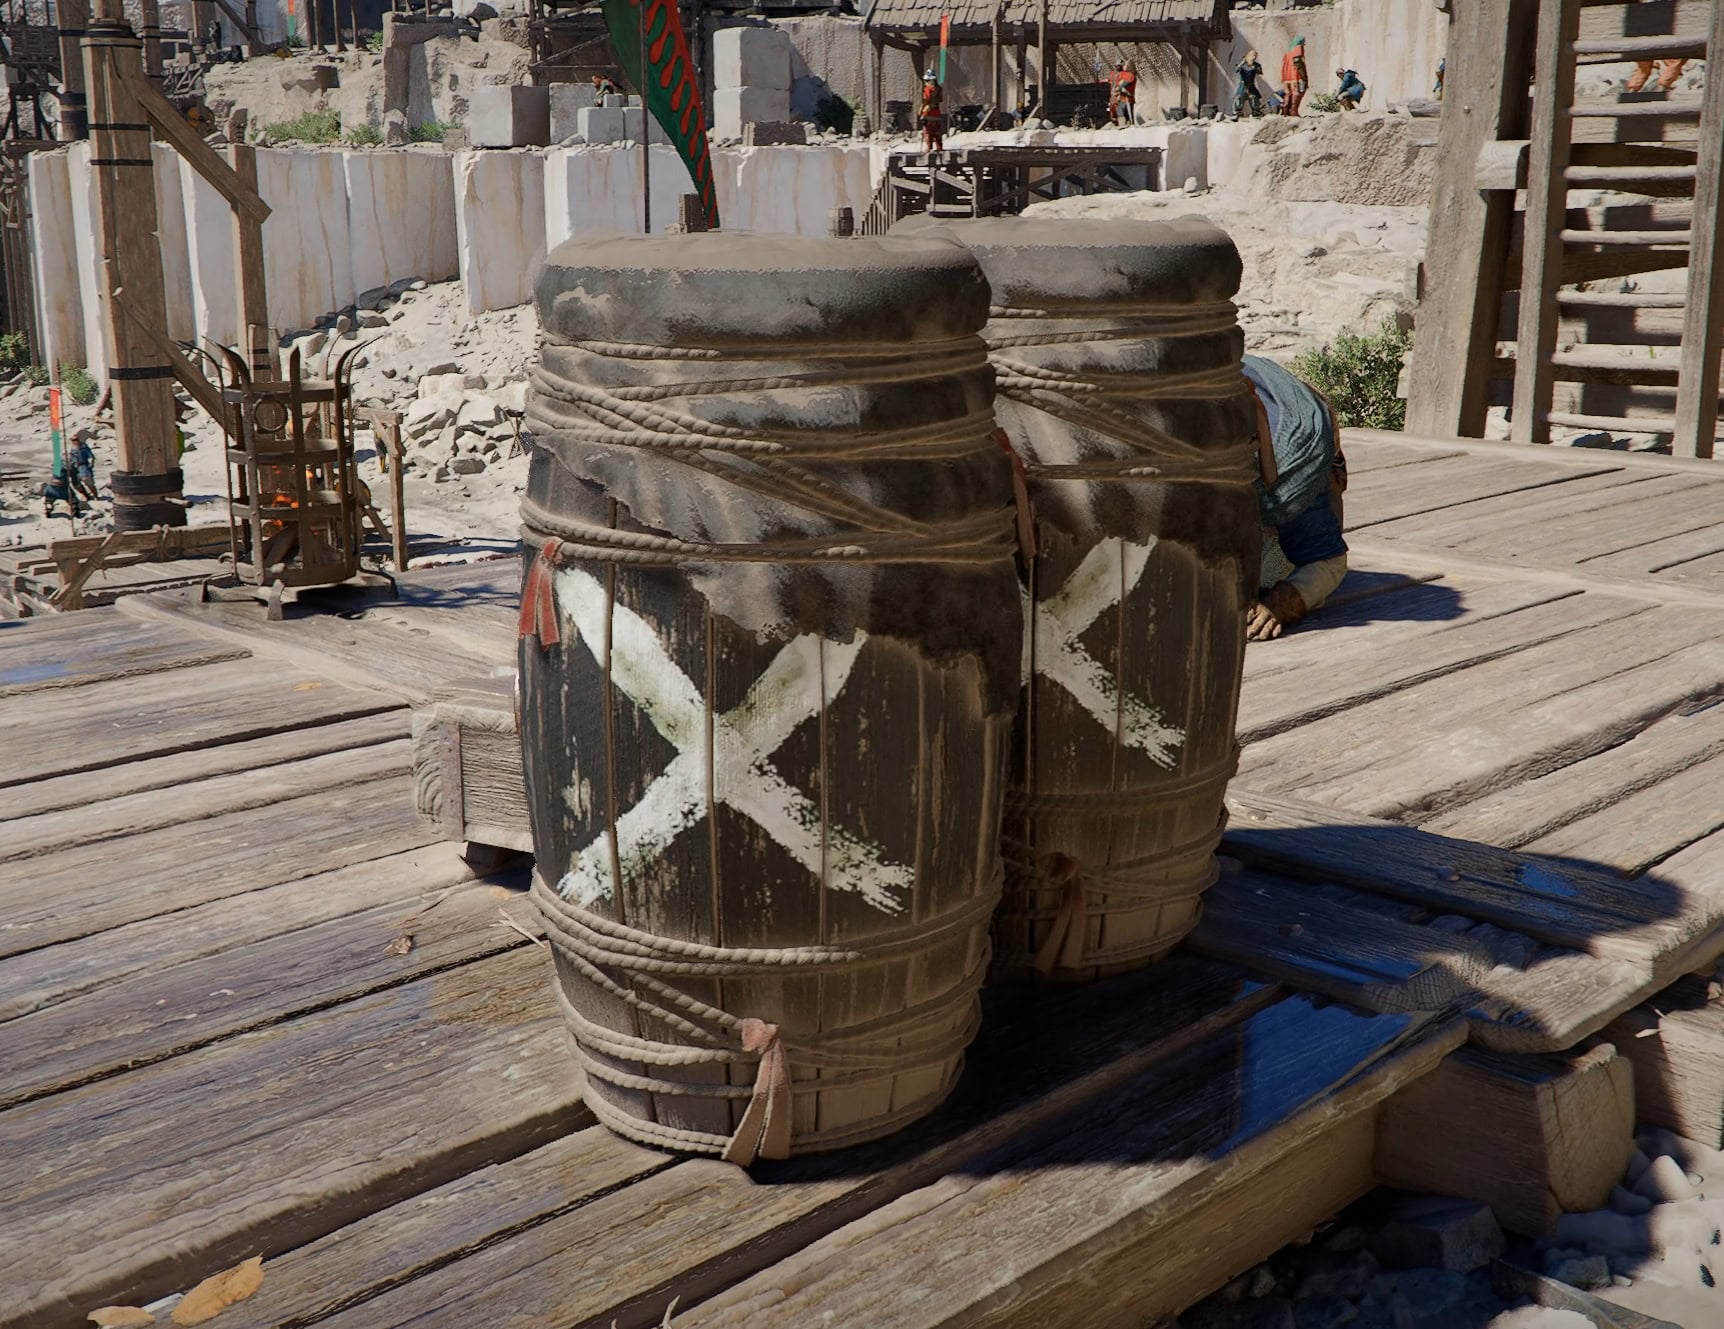
It’s incredibly easier to hit one of these barrels with a swing of your spear and sword. If you must fight inside the quarry, stick to your shield and rely more on Forward Slashes to fight.
With that in mind, you can use these to your advantage by shooting them with arrows. Be careful as this can start a chain reaction of explosions that can reach you. Clear out any barrels in an area before attempting to use the spear in the quarry.
Farming Abyss Artifacts
If you wanted to and have the food to spare, leave the Infirmary alone and farm enemies at the quarry. More will keep coming and you can fill that yellow bar to the left of your mini-map for more Abyss Artifacts.
This isn’t a terribly efficient way to farm Abyss Artifacts, but it’s still an option at your disposal. It doesn’t hurt to look for Abyss Cressets around Hernand as a safer (and recommended by us) method of getting Abyss Artifacts.
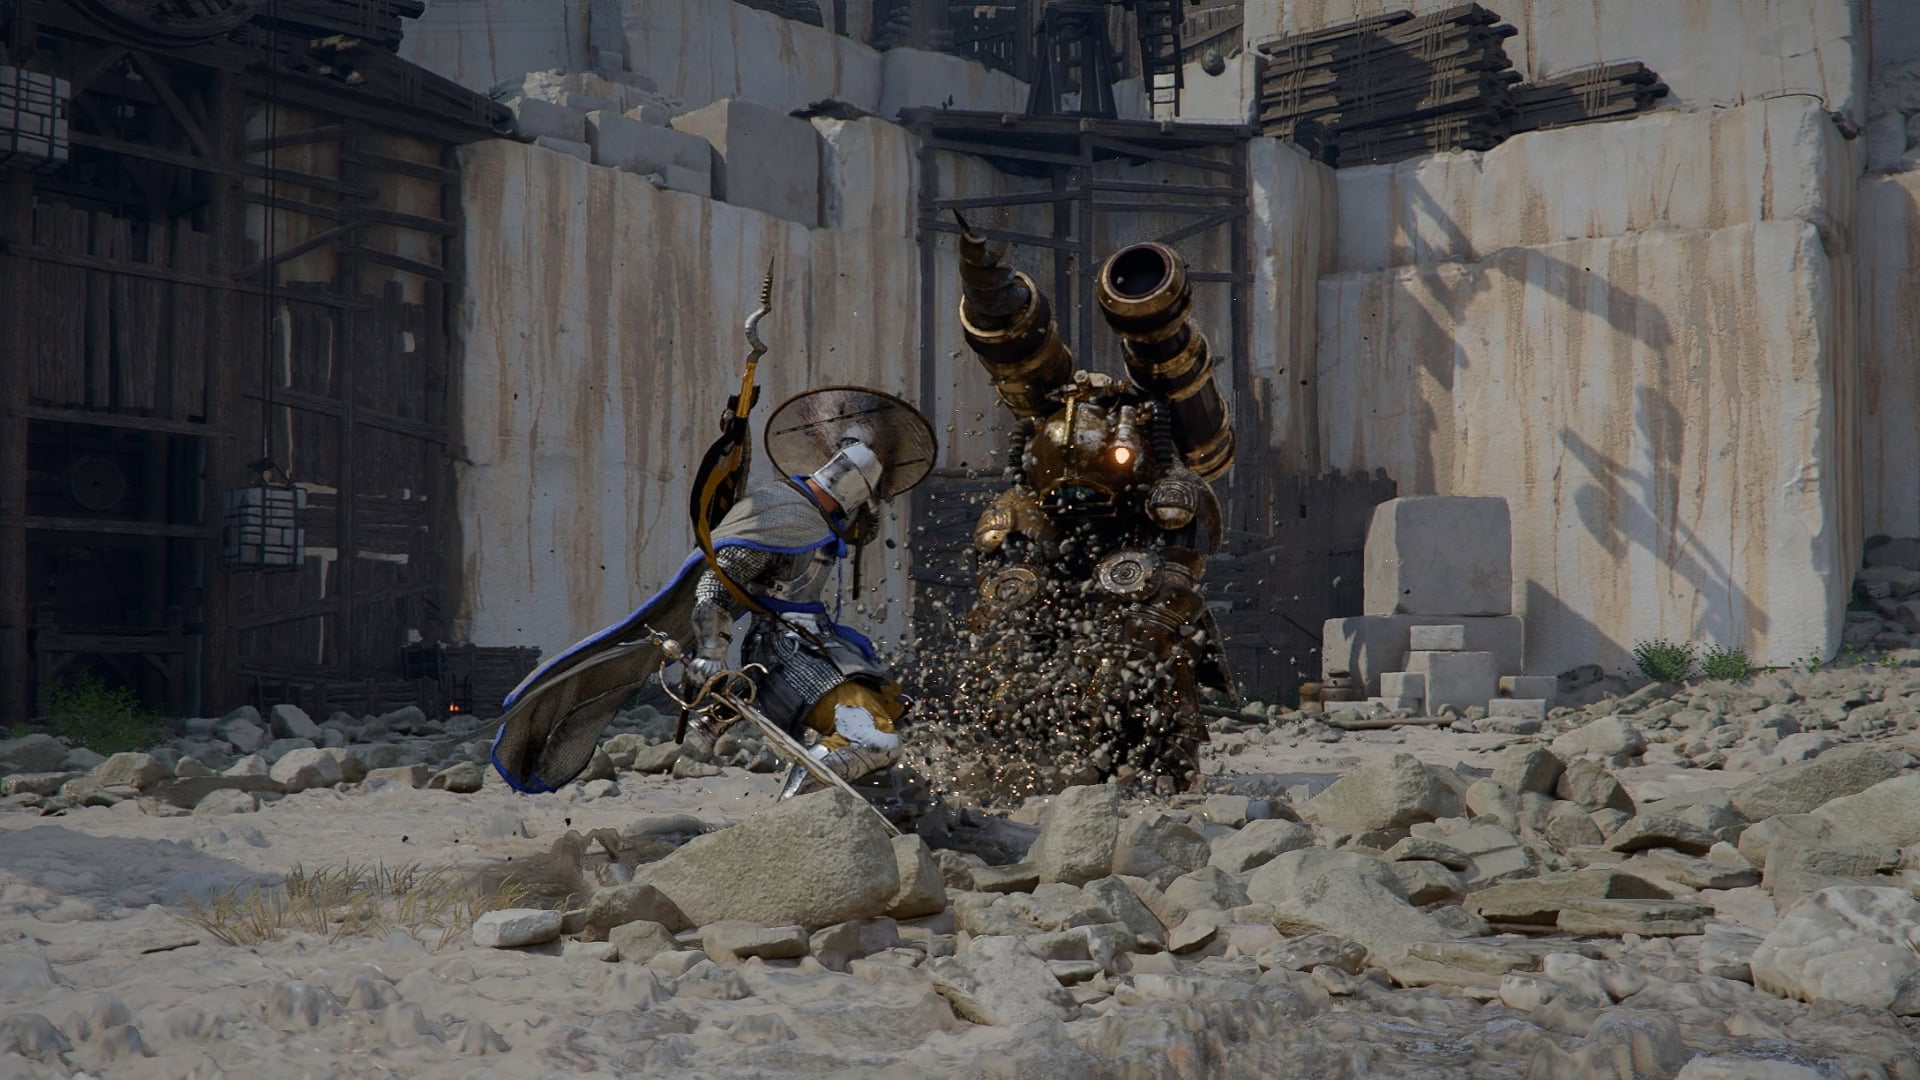
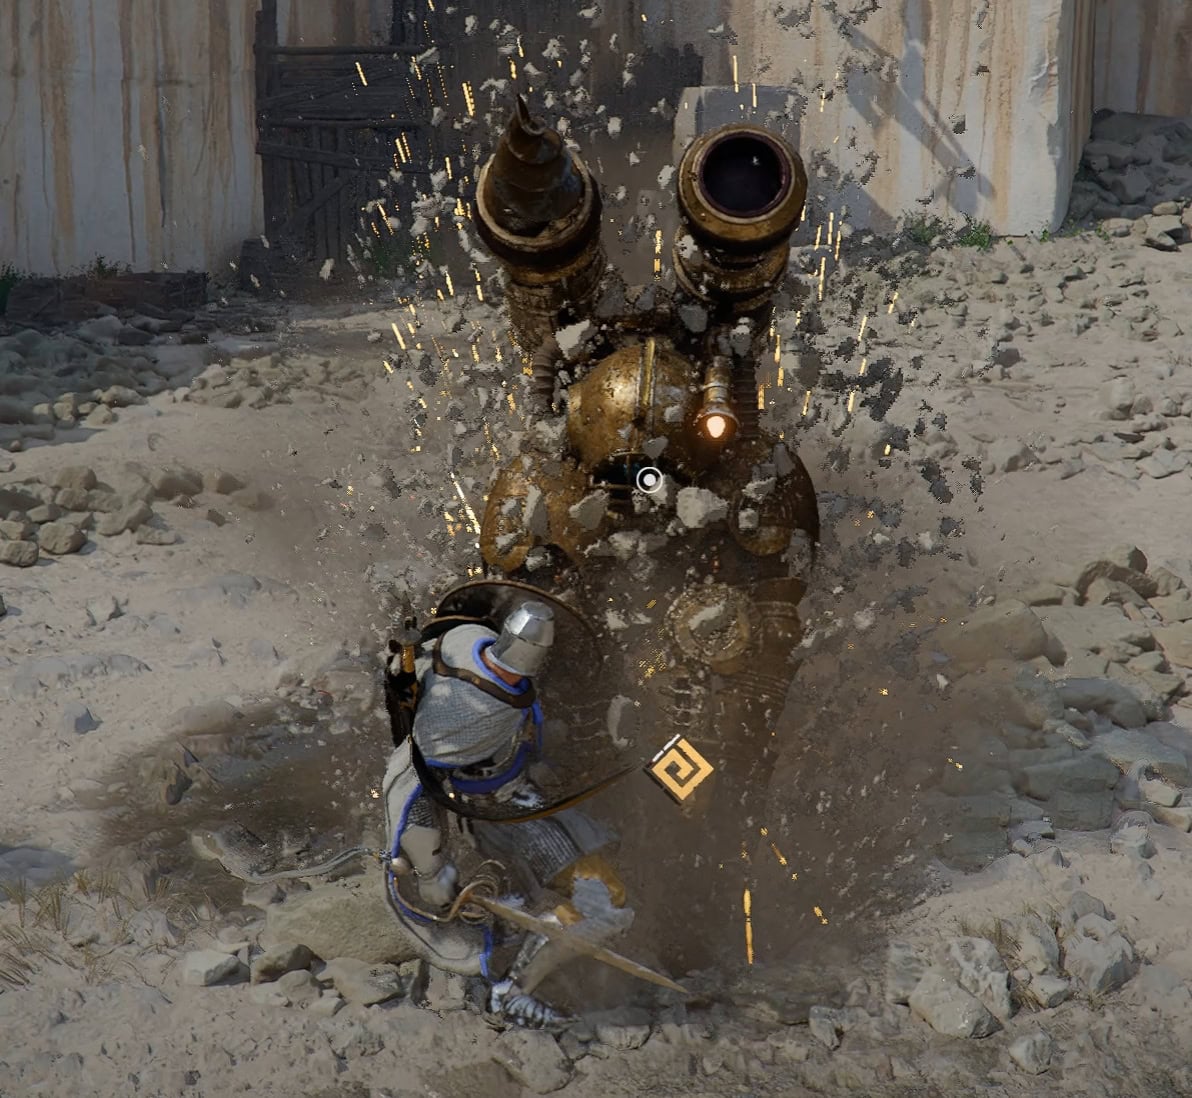
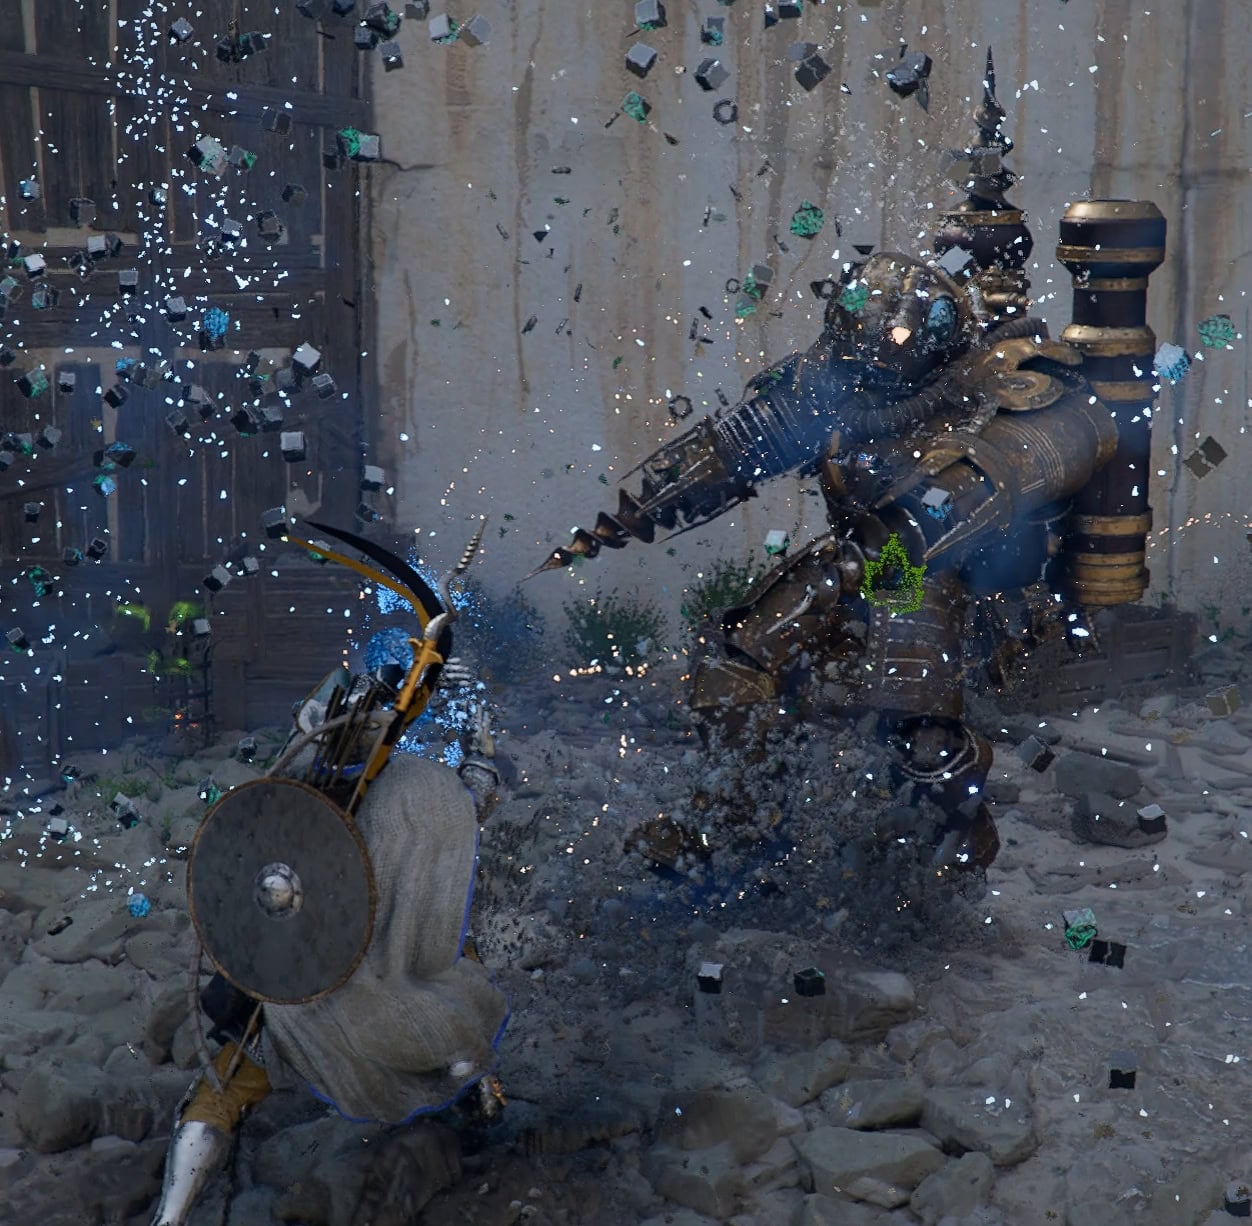
Defeat the Excavatron
Once you’ve brought the green bar to 0%, you’ll be able to fight Marni’s Excavatron. Make your way to the northeast part of the quarry and climb over the stone to reach the boss.
The Excavatron’s attacks are basic but they hurt and cannot be parried. Instead, blocking and dodging will be your methods of defense here.
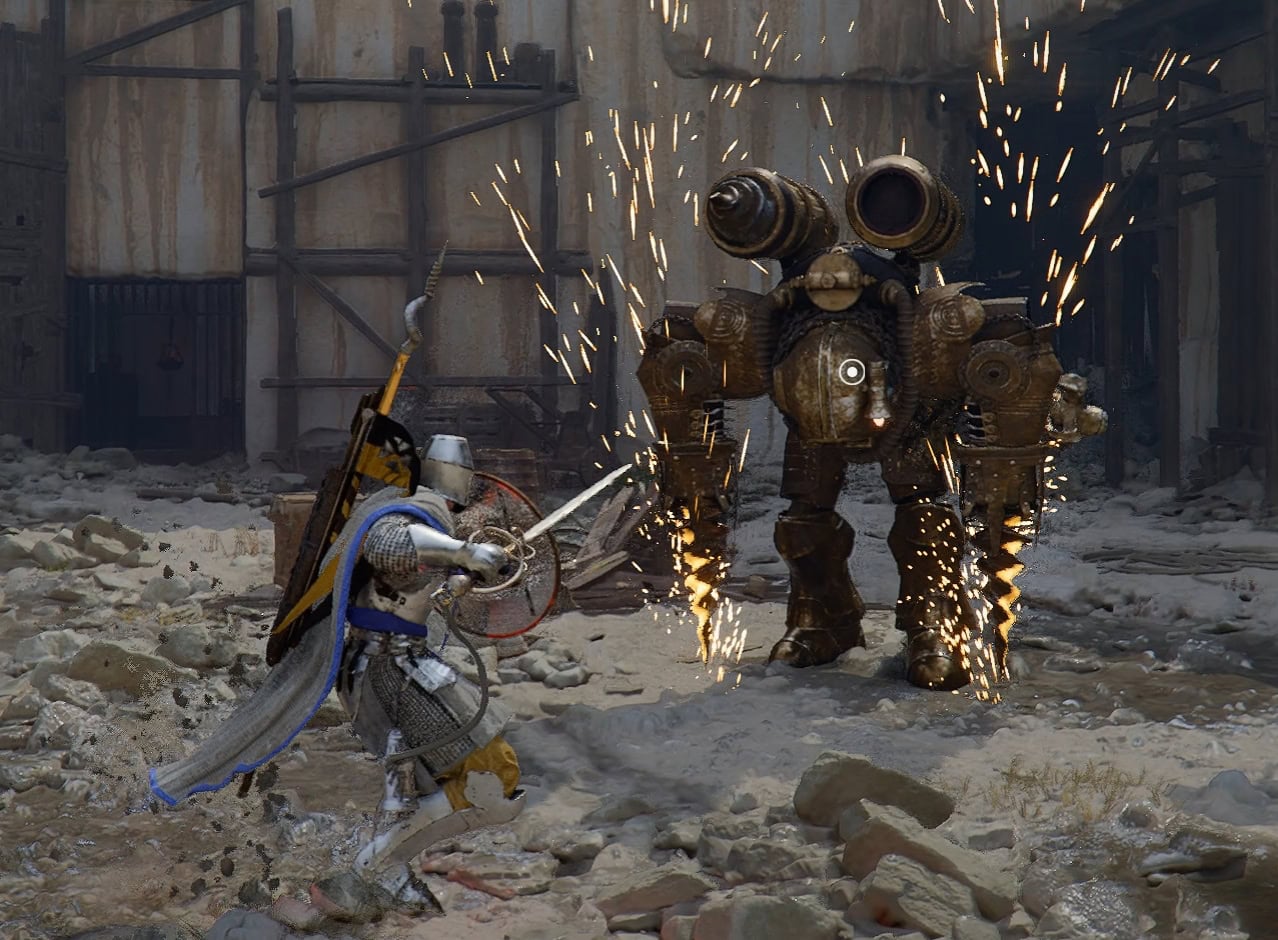
Block attacks with your shield
Many of the Excavatron’s attacks can be blocked by a shield, but will quickly drain your stamina. Watch out when the Excavatron places both drills on the ground and charges at you. Fortunately, this attack can be blocked by a shield.
If the Excavatron burrows its way underground, you can either dodge when it’s near you or block the damage. Move backwards as it comes your way underground to reduce the chance of hitting you.
If the area goes dim as the Excavatron is about to dig, it’s going to dig towards you, pop out, and go back underground a total of three times. So long as you dodge or block this without running out of stamina, you’ll be fine.
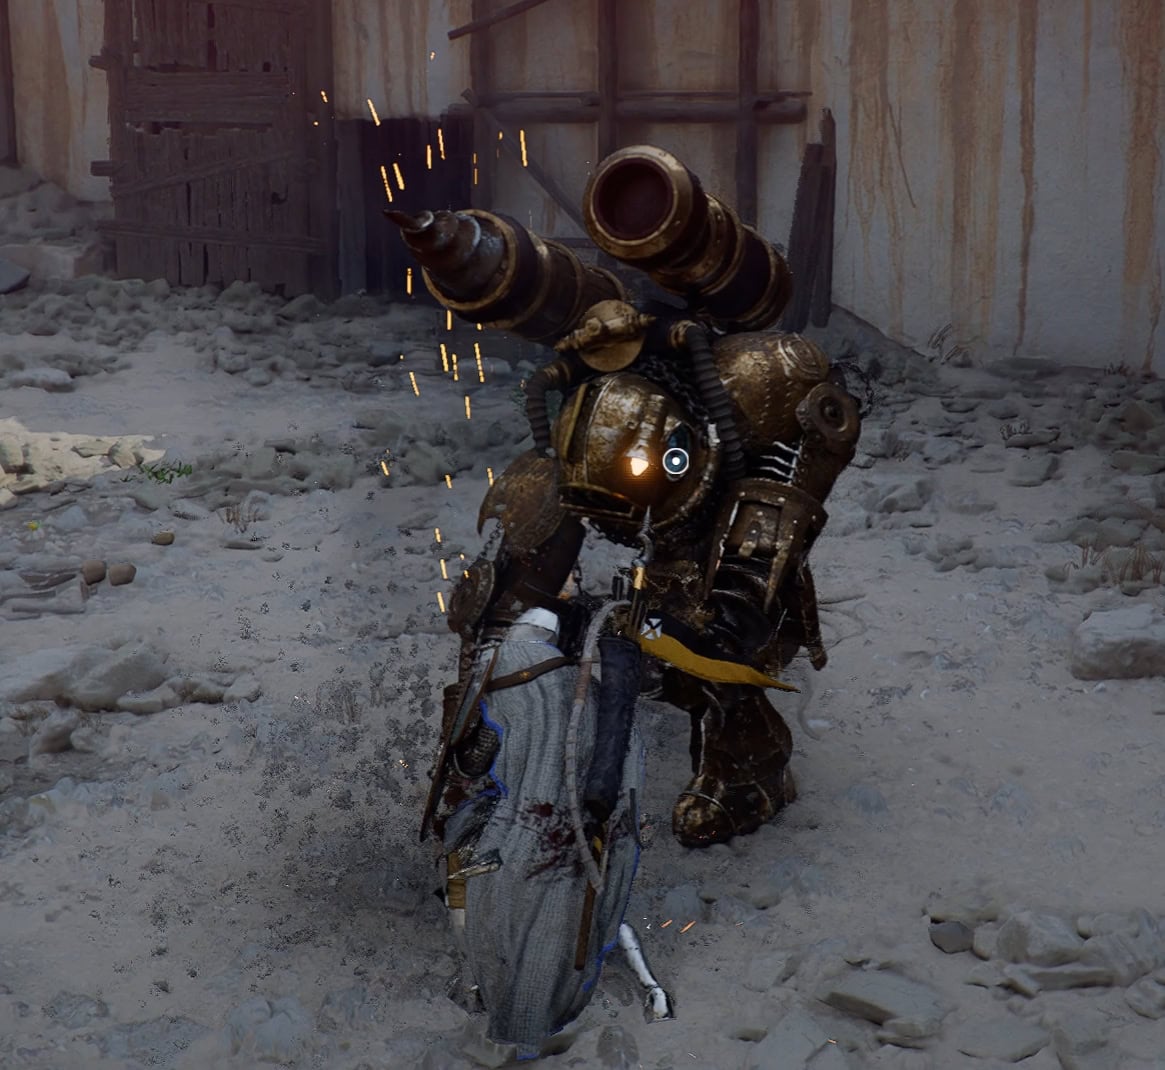
How to deal with the Drill Attacks
Do your best to avoid getting hit by the Excavatron’s drill attacks. These will quickly burn through your health while staggering you. Even if you invested into health and armor upgrades, its basic attacks hit like a truck.
Use Force Palm
Your Force Palm ability can make this fight incredibly easy, especially if it’s been upgraded to level 3. Use three Force Palms in a row between its attacks to stagger it.
The third Force Palm will fill its Yellow Bar a good amount. While staggered, hit it with everything you got and get back on the defensive when it’s active again.
Overall this is a very simple fight, but don’t let your guard down otherwise it’ll drill into you the importance of defense. Upon defeat, you’ll complete Stolen Quarry and obtain the Gold Vein Map and Mining Knuckledrill.
The Gold Vein Map and Mining Knuckledrill
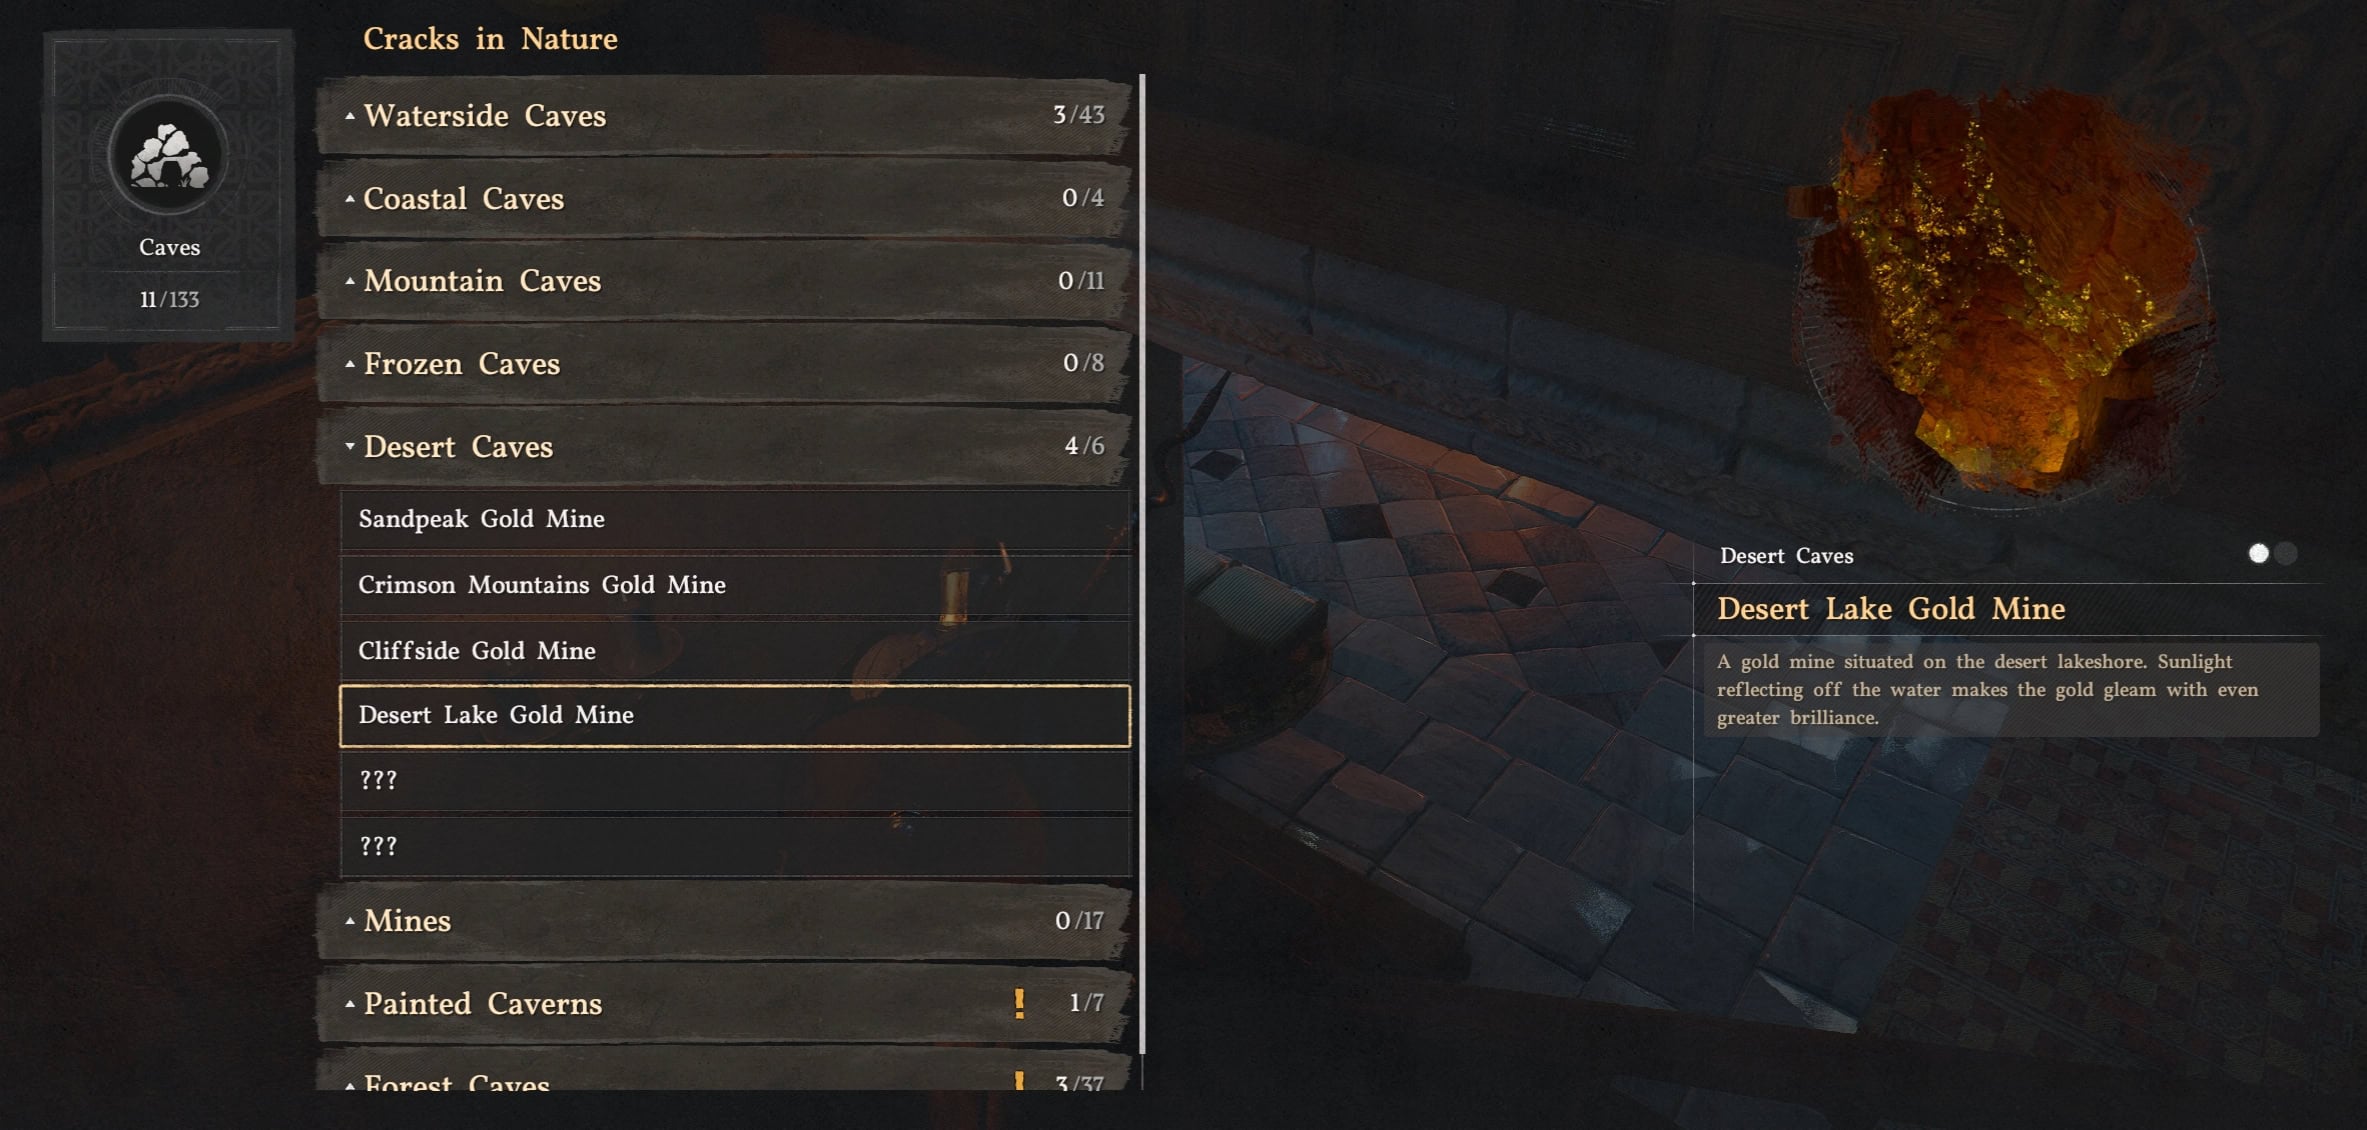
When you read the Gold Vein Map, you’ll unlock 10 locations of Gold Veins on your map. They aren’t that easy to find when looking at the map, so instead look at your Journal.
Select Knowledge, Adventure, then Caves to find the list of gold mines the map showed. You can then view these on your map to see their precise location.
The Mining Knuckedrill is a unique secondary weapon that you can equip to drill and stagger one or more enemies at a time. It’s not the most efficient weapon but it’s a fun one to use.
Use it to mine ore you find in the world as it has a 10% chance to increase the amount of ore you find. It’s not as efficient as a pickaxe but it’s still pretty fun to use.
You might be thinking “I can use this to drill the ore found on higher cliff walls!”, well I’m sorry to burst your bubble. The Miner’s Knuckledrill cannot be used while you’re climbing.
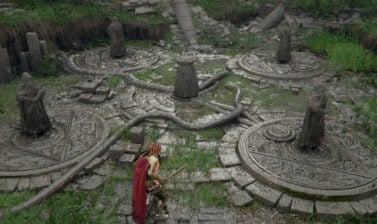
Sealed in Stone
With the quarry reclaimed, you’ll get the quest Sealed in Stone. Speak with Erich and go up the lift to access the Crane Controls. This crane is rather awkward to control and it wobbles a lot, so take it slowly.
The crane expands when you press it down against something, and closes up as it lifts. Do your best to gently grab onto the buried relic. The camera will zoom in when you’ve locked onto it, then pull it up from there.
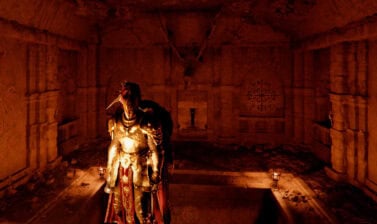
This completes the quest and you can return to Count Roberts to complete the next quest, The Count’s Honor. Before you do, you can go inside the area you pulled the relic from.
Beneath the relic’s location is the Hidden Ruins of the Quarry. This area has a turret that will lock onto and shoot you. To your left is a Bismuth Barricade and past the turret is a small room with 3 Palmar Pills.
I’m afraid I haven’t quite figured out how to get past the Bismuth Barricade quite yet. This walkthrough will be updated once I do and I can tell you what lays beyond it.
A Count’s Honor
To wrap up the Estate in Dismay series of quests, return to Count Roberts in Hernand. After talking to him, you’ll be rewarded with 3 Azurite, 3 Bloodstone, and an Engraved Gold Earring.
This earring will increase your defense and movement speed. I would advise against selling it as this is likely your first earring you’ll acquire in the early game. Every bit of stats helps!