Learn how to defeat Kearush the Slayer in Crimson Desert: tips and strategies to help you survive and come out victorious!
Prepare before starting Demenissian Delegation
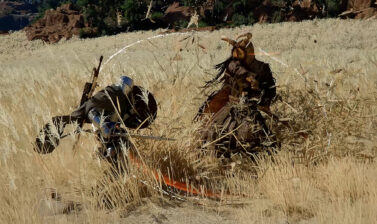
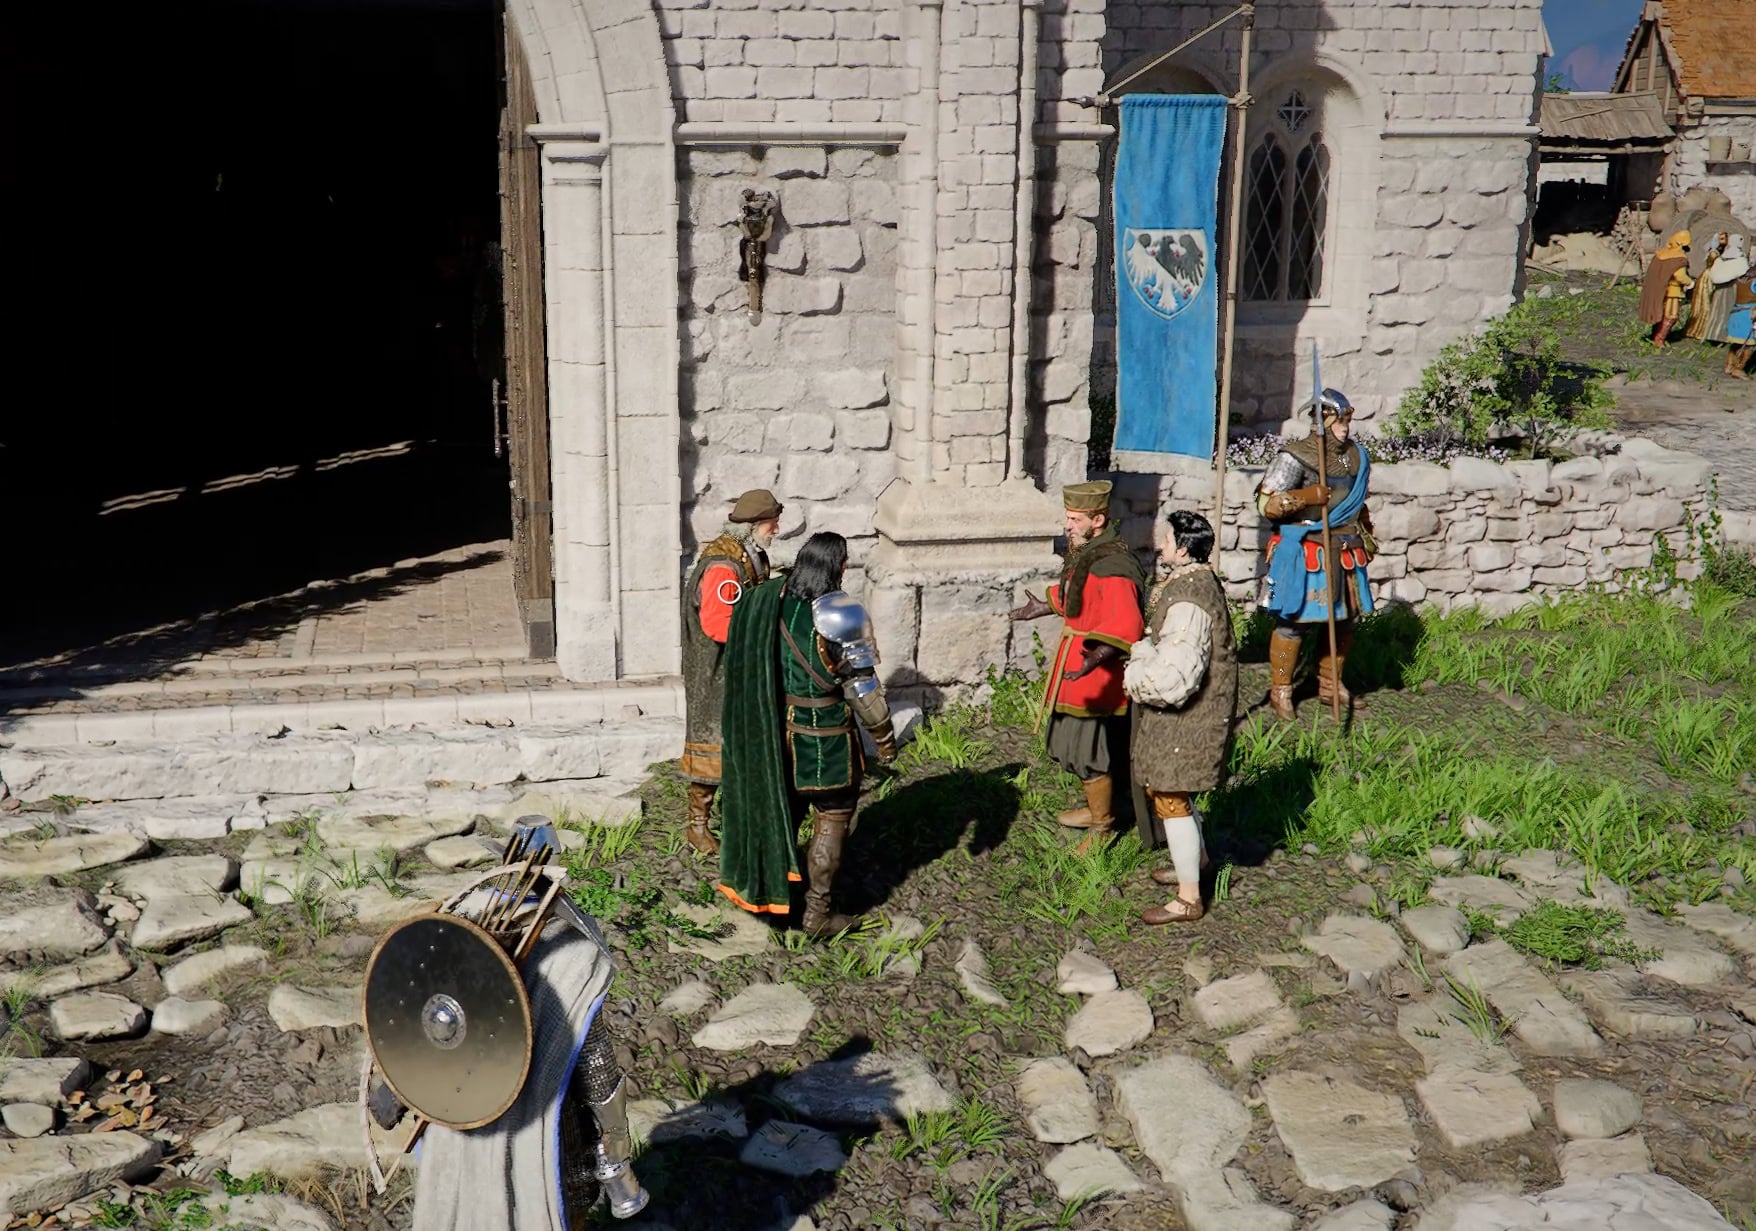
After wrangling a horse in Unwelcomed Guests, you’ll need to attend the banquet for the quest Demenissian Delegation. Pack a lot of food before talking to Marquis Serkis. The moment you talk to him, you’ll start a cutscene that leads into the boss fight.
For the fight ahead, it’s good to have some levels in your Stamina, Spirit, and of course Health. I would recommend a Sword and Shield or the Spear as your weapon of choice with a level 2 Armed Combat Skill or higher.
Having level 2 or 3 Force Palm can be very helpful in this fight. Regardless of which weapon you’re using, you’ll want to rely on dodging over blocking whenever possible.
First Phase
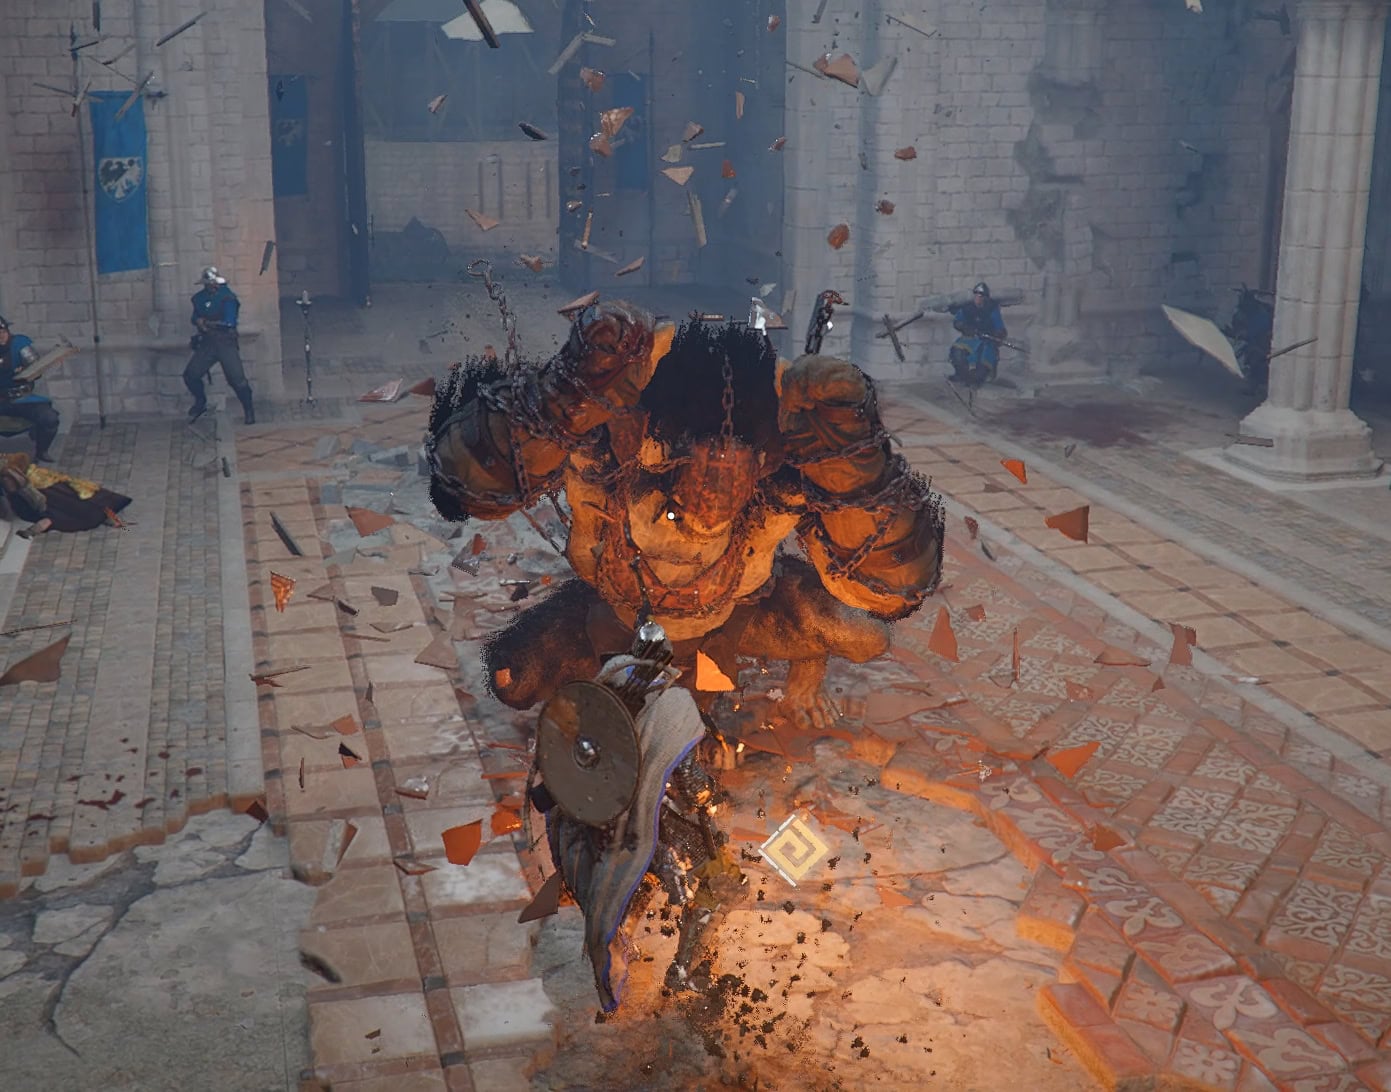
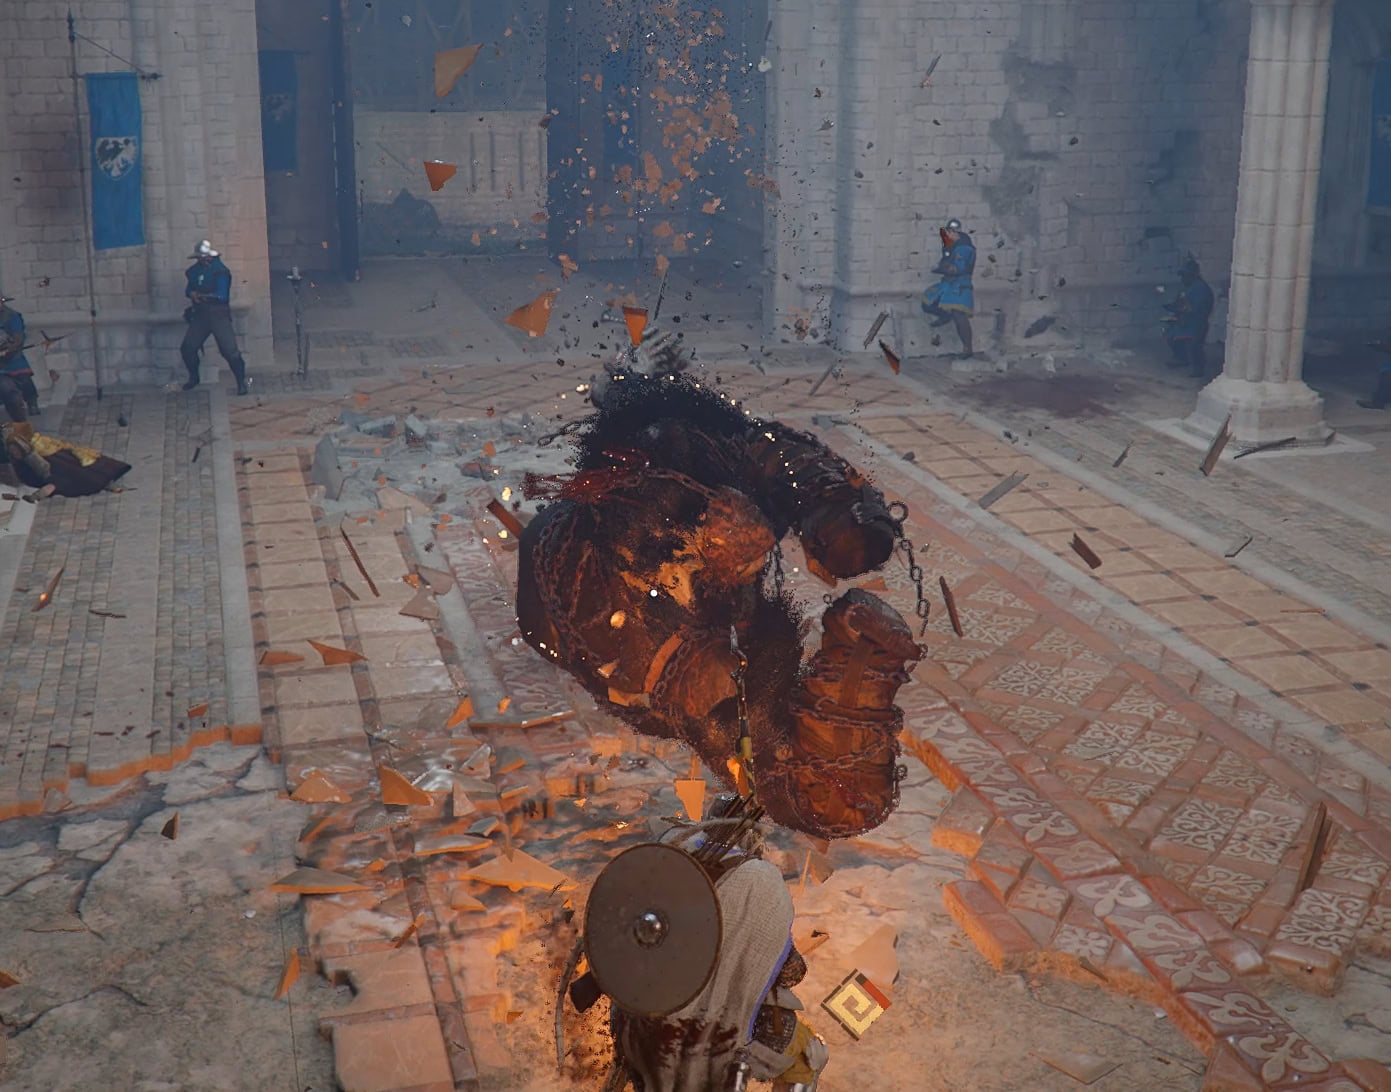
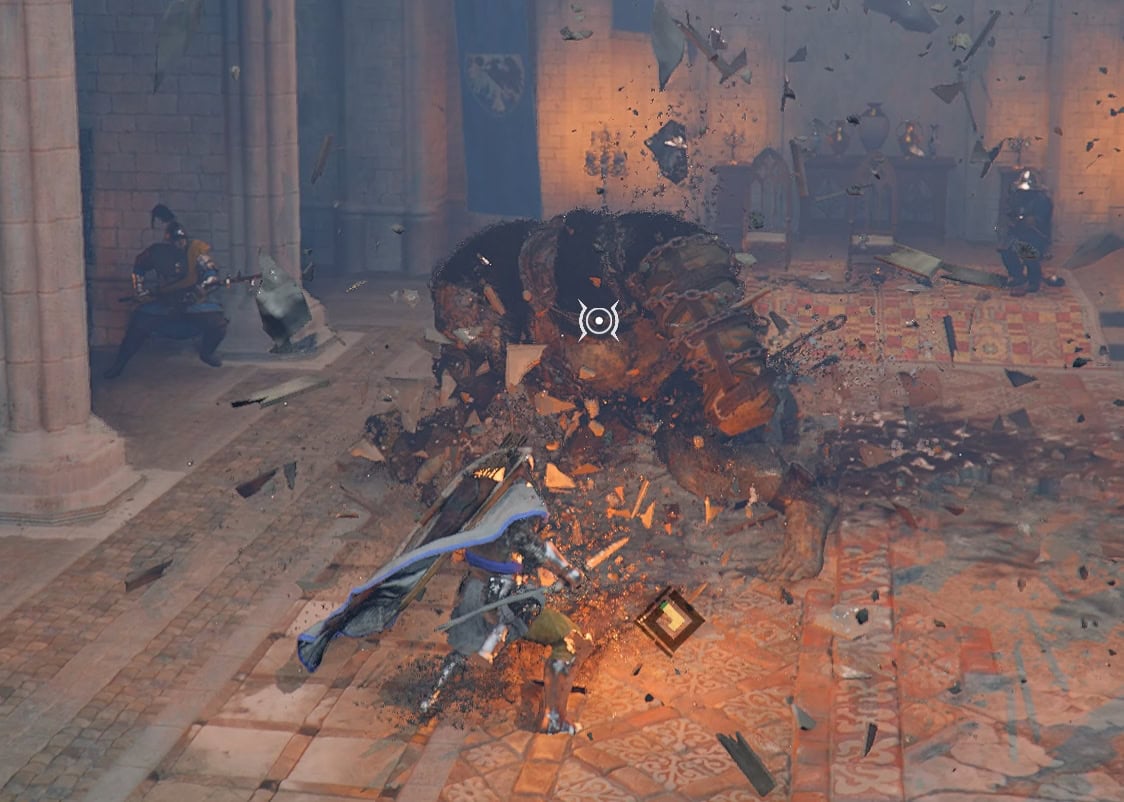
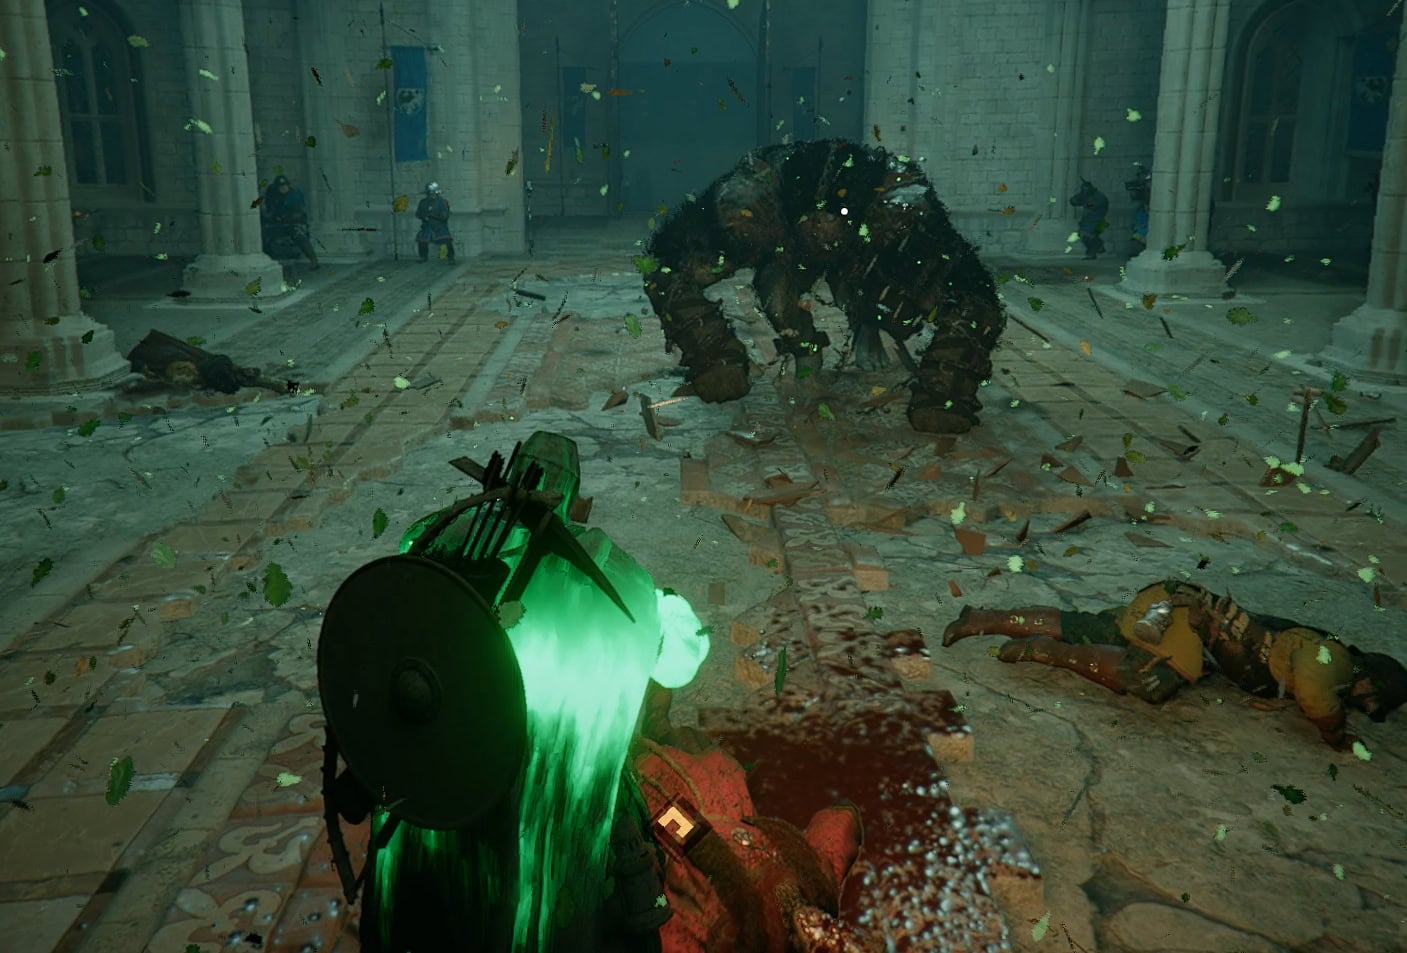
Kearush relies on brute strength to defeat you. Its attacks will deal chip damage through your shield and can be difficult to survive. This fight will have you alternate between full defense and full offense, having to switch at a moment’s notice.
Watch out for Kearush’s Slam and Leap Combo
Kearush’s attacks cannot be parried, so instead you’ll need to block or dodge his attacks. Failure to do so will result in you getting pushed away or knocked over, leaving you vulnerable.
Kearush has a deadly combo where he slams the ground five times while moving towards you, followed by a sick backflip body slam onto you. Focus on dodging these, especially the backflip body slam.
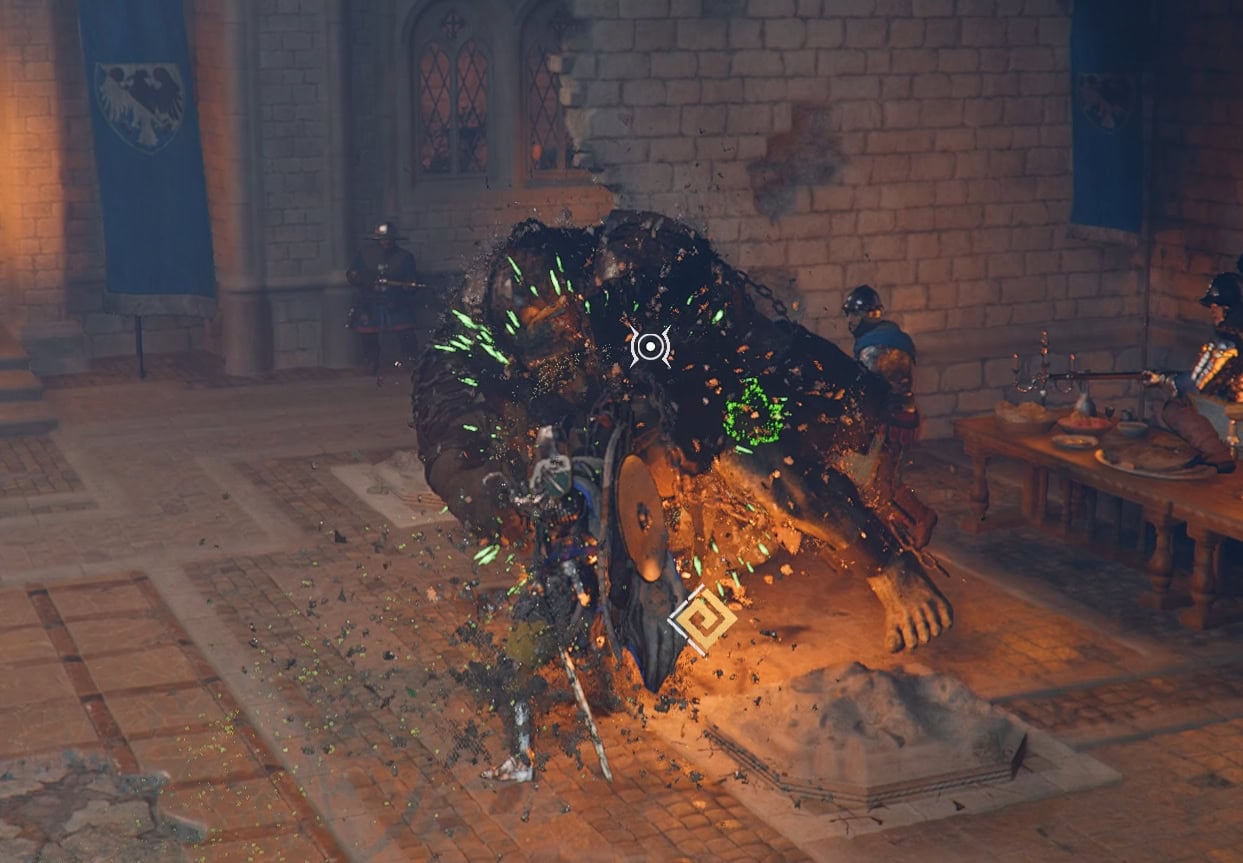
Using the Sword and Shield
The ever reliable sword and shield will allow you to work in blocks if you feel you can’t dodge his attacks in time. His attacks will drain large chunks of stamina and deal chip damage, but it’s better than taking the full amount of damage.
You’ll want to use the Sword and Shield if you’re looking to work in Force Palms to fill his yellow bar. It’s a bit slower than using something like a spear or greatsword, but when in doubt, tank it out.
Dodge or block his attacks then in some swings before putting your guard back up. Use Light Attacks so you don’t drain your stamina as you may need that for blocking his attacks.
If you want to use Force Palm, rely more on blocking than Evasive Rolls which would drain your spirit. If you’ve increased Force Palm’s level to 2 or 3, try to chain multiple Force Palms between Kearush’s attacks.
Getting a third Force Palm will not stagger him and he’ll go right back to attacking. If you manage to pull off a third Force Palm, bring your shield up to block immediately after.
Using the Spear
If you want to take the offensive, you’ll need to dodge and have good armor to pull this off. The spear is great in this fight as its Counter Stance ability gained from Level 2 Armed Combat can deal massive damage.
Study his basic attacks while using the sword and shield at first. Once you get a feel for them, switch to the spear and use Counter Stance before an attack hits. After counter attacking, Evasion Roll his second attack and counter his third.
You can also combine the two weapons. Sword and Shield to block and use Force Palm to get his yellow bar up. When it’s almost full, use the spear and counter stance to fill his yellow bar, exhaust him, and let loose.
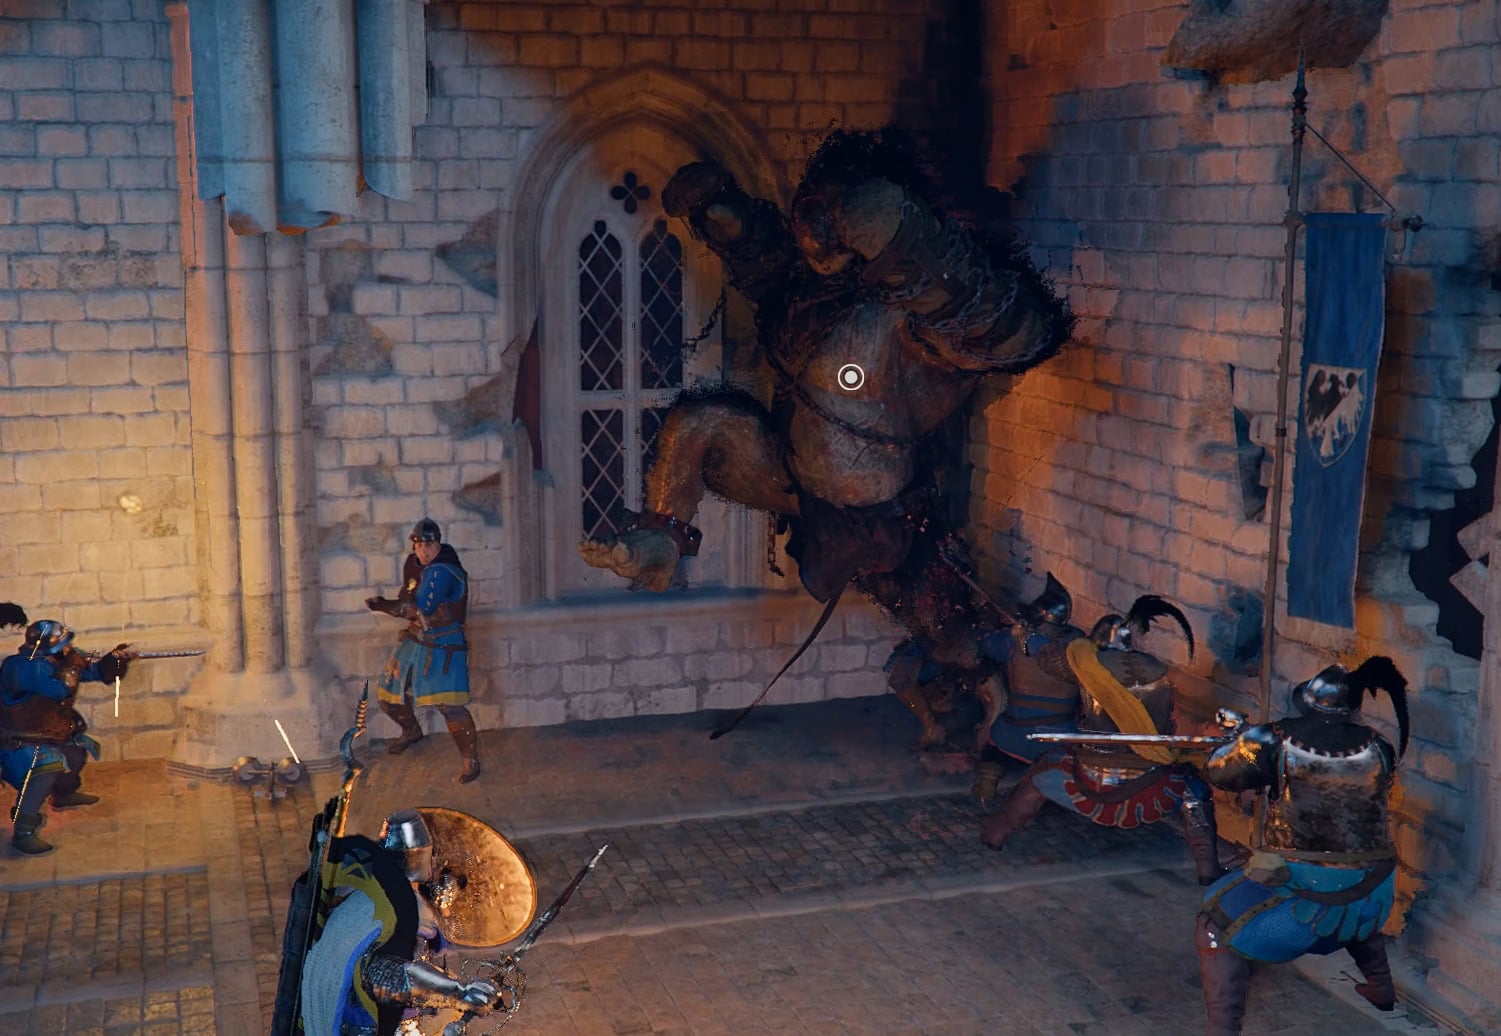
Lure Kearush to the Pikemen
While the Musketeers may take pot shots at Kearush every so often, encourage the others to fight by luring Kearush to the Pikemen. They’re immune to damage and they’ll poke at Kearush to chip away at his health.
Don’t rely on them to do any serious work, you’ll still need to put in the bulk of the effort for this fight.
Don’t get backed into a corner
You’ll be needing to dodge and keep your distance a lot. It’s easy to get careless and back yourself into a corner. This is the least desirable outcome outside of dying, so keep your back to the open area of the main hall.
If you get trapped in a corner and Kearush is blocking your exit, use a Force Palm to push him back then immediately run out into the open.
Use Focus to catch your breath
If you’ve been using Force Palm, need time to heal, or need to switch weapons, do so while using Focus. It can be vary dangerous to change or use your gear mid-fight against Kearush, so using Focus between his attacks to refresh yourself.
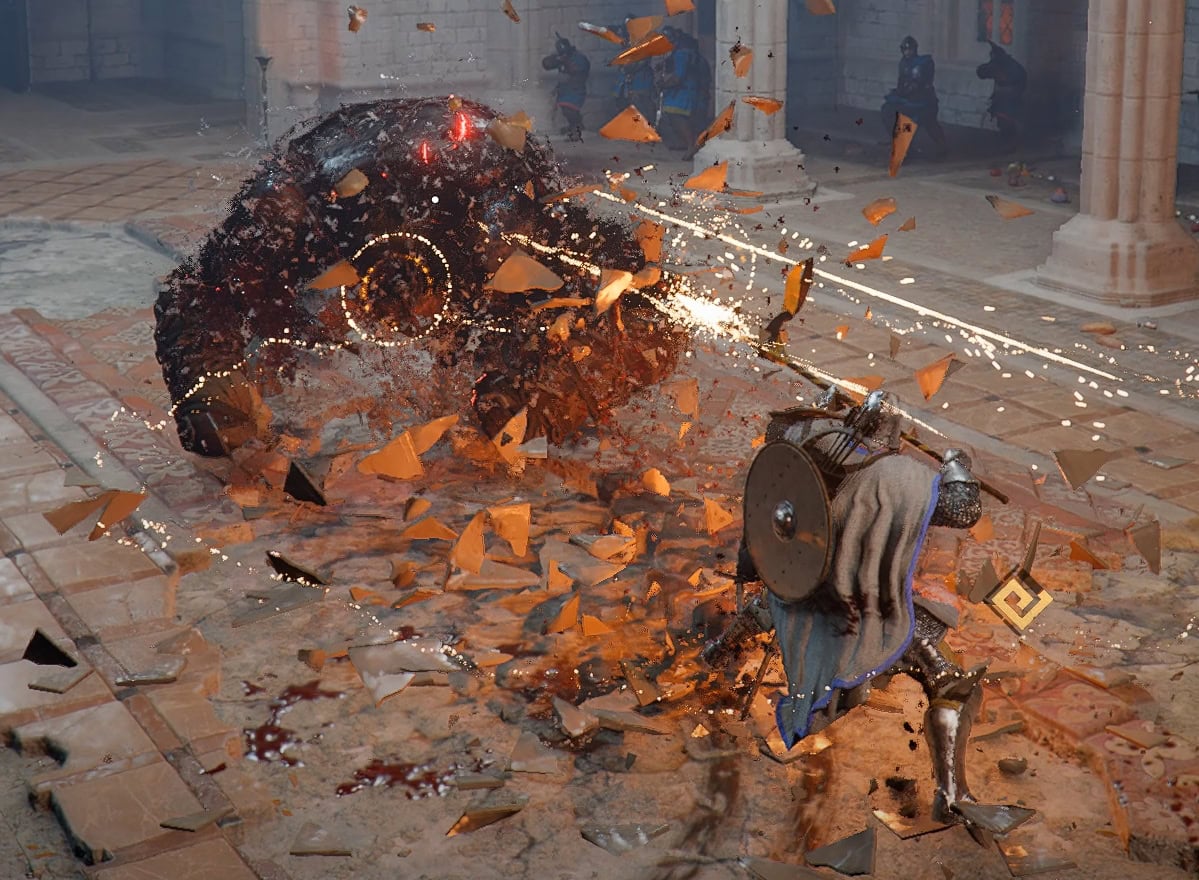
Second Phase
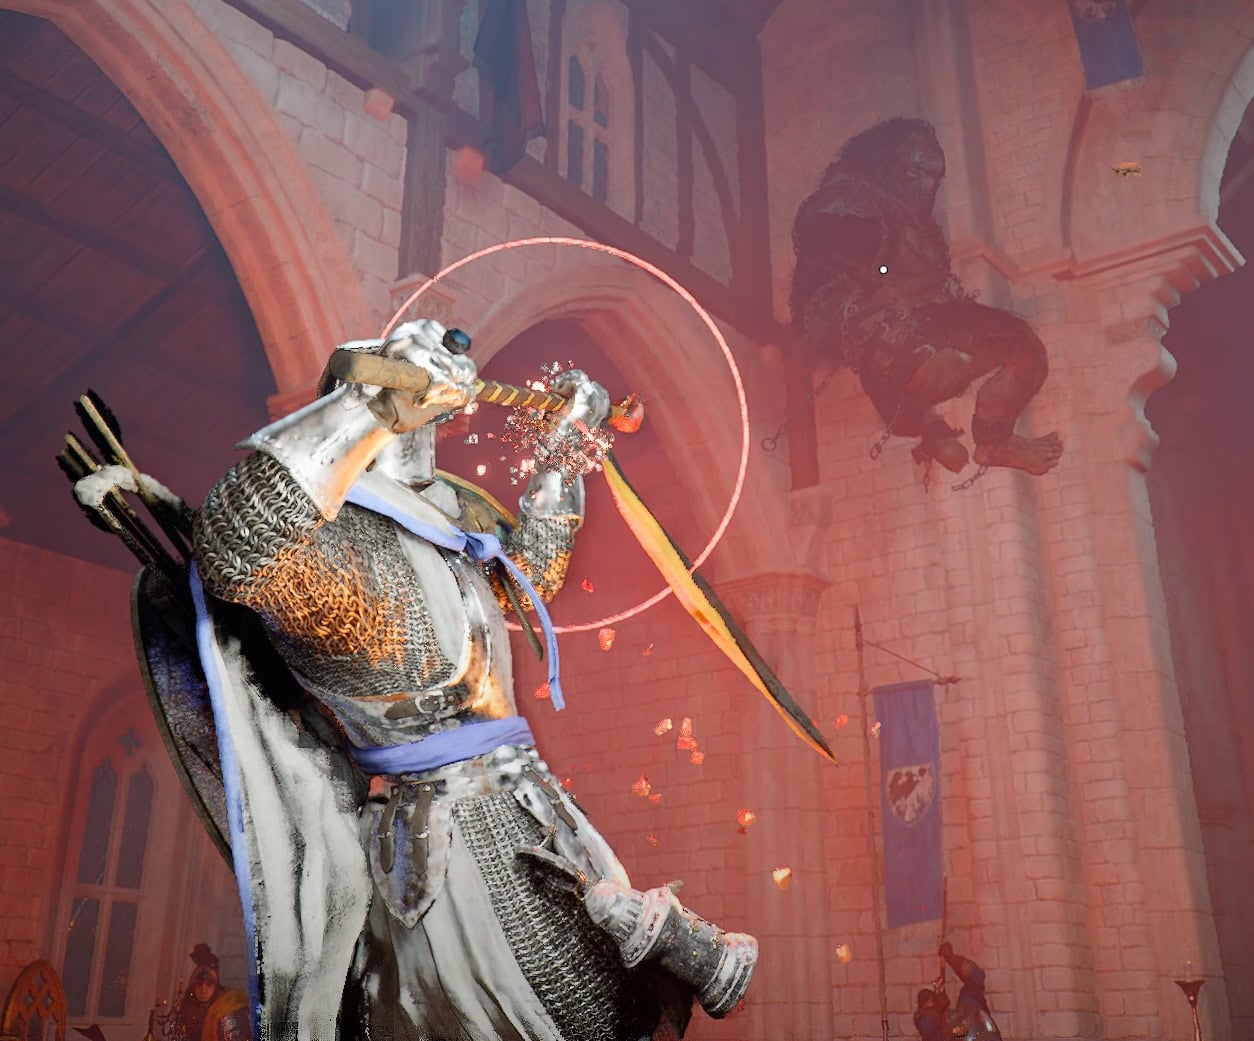
After bringing down Kearush’s blue health bar, you’ll enter phase 2 where he gains a green health bar. He can now do an aerial body slam at a moment’s notice (that can be Counter Stanced with the spear) and can now use a Flying Body Press against you.
Kearush’s Flying Body Press
When Kearush climbs up the wall, you need to keep running and don’t stop running until he body slams the ground. Squeeze an attack in then go back on the defensive.
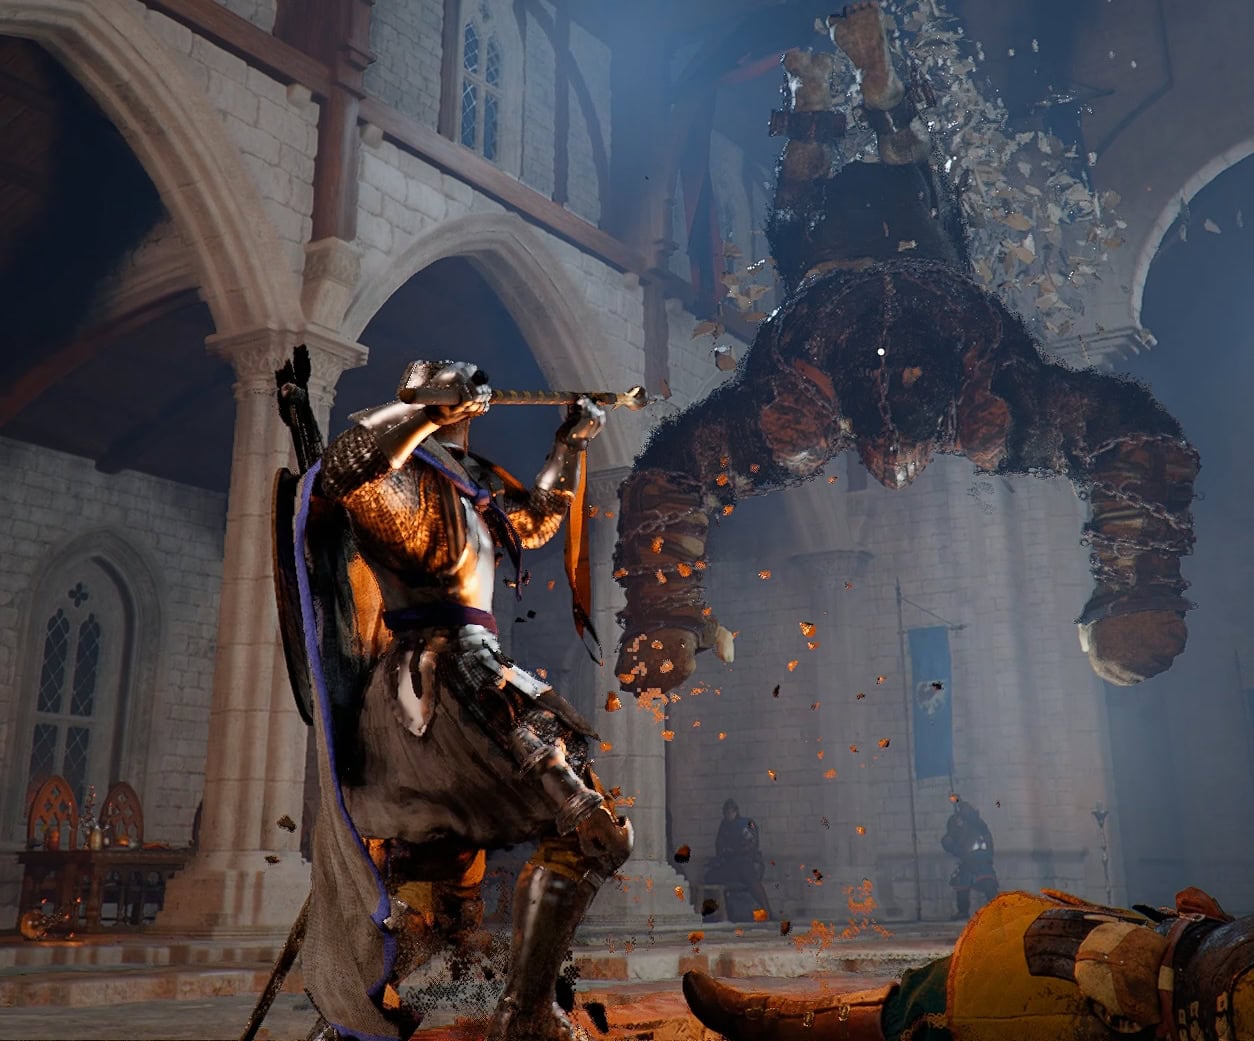
Enhanced Slam and Leap Combo
Remember his Slam and Leap combo I warned you about earlier? It’s even deadlier now that he can use a version that grants damage immunity. If the area goes dim, he’s going to use this combo while negating damage and the only thing you can do is dodge and pray you’ll survive.
Kearush will defy the laws of physics and as when he starts his body slam, there will be a short delay before he homes towards you like a heat seeking missile. This is extremely hard to dodge and you’re most likely going to have to eat the damage.
Third Phase
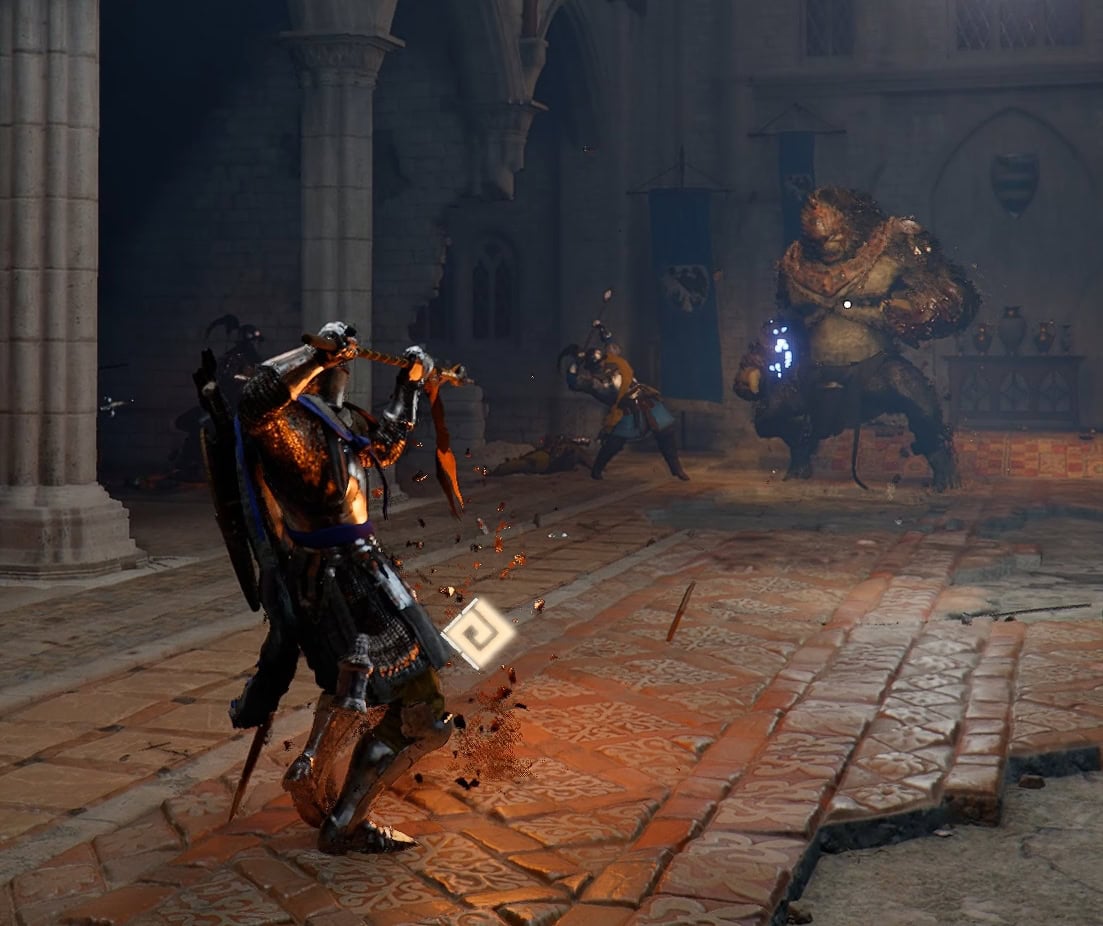
After bringing down his green health bar, it’s time to finish this by taking down his red health bar. It’s the same as you’ve been fighting before but he’s coming much more aggressive.
There will be less downtime between his combos, giving you little time to recuperate. Squeeze in attacks or counter stances where you can until Kearush is defeated. Talk to Damiane to complete the Guest Unbidden set of quests for Chapter V.
Rewards
For your efforts, you’ll get a new weapon and two Abyss Gears. The weapon is a morning star called The Grove’s Thorn. This will refresh your Spirit meter when you hit enemies. Gee, this would have been very useful earlier!

Additionally you’ll get the Howling of Chaos and Swift I Abyss Gears. The Howling of Chaos can be equipped to a weapon or shield and emits a shockwave to confuse enemies when you parry. Swift I can be placed on a weapon, gloves, or footwear to increase your Attack Speed.