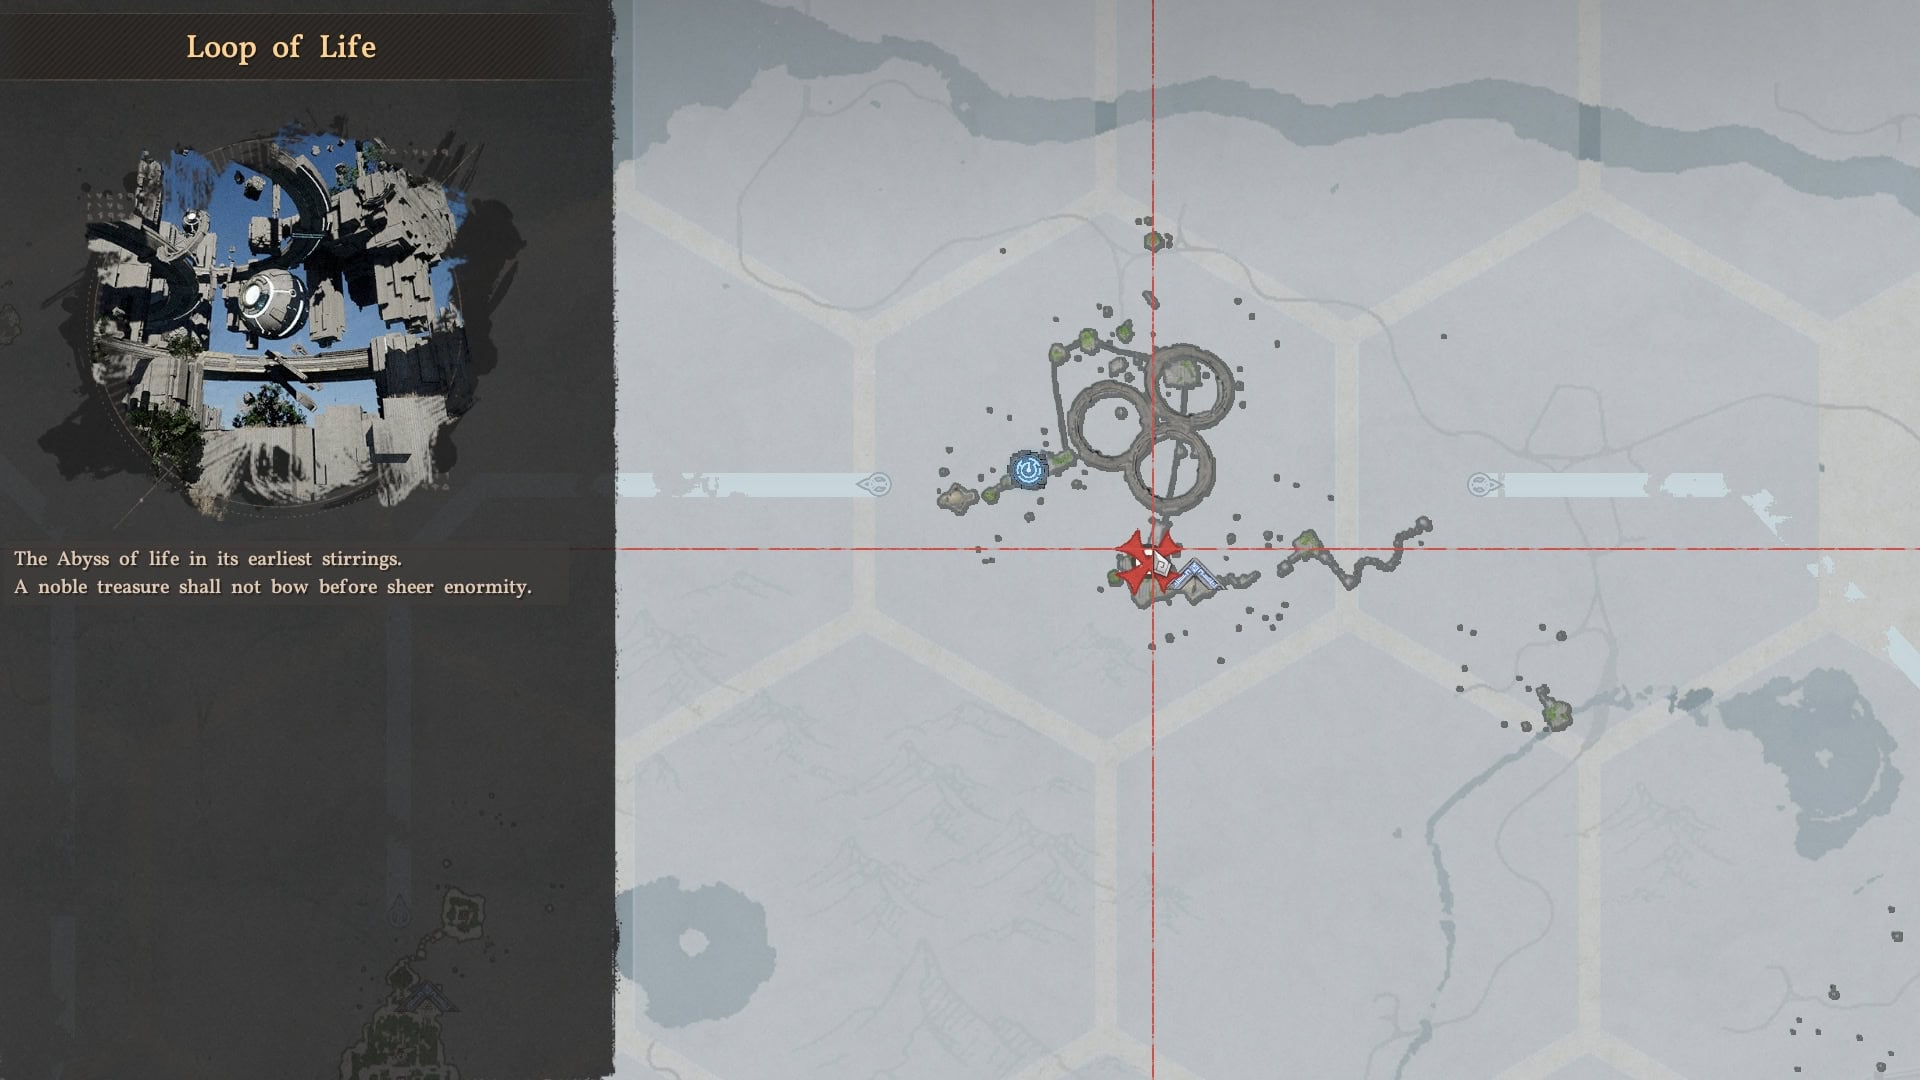
The Loop of Life is one of Crimson Desert’s many Abyss puzzles. Find out how to reach this section of the Abyss and how to solve the puzzle within to claim an Abyss Artifact in this guide.
How to reach the Loop of Life
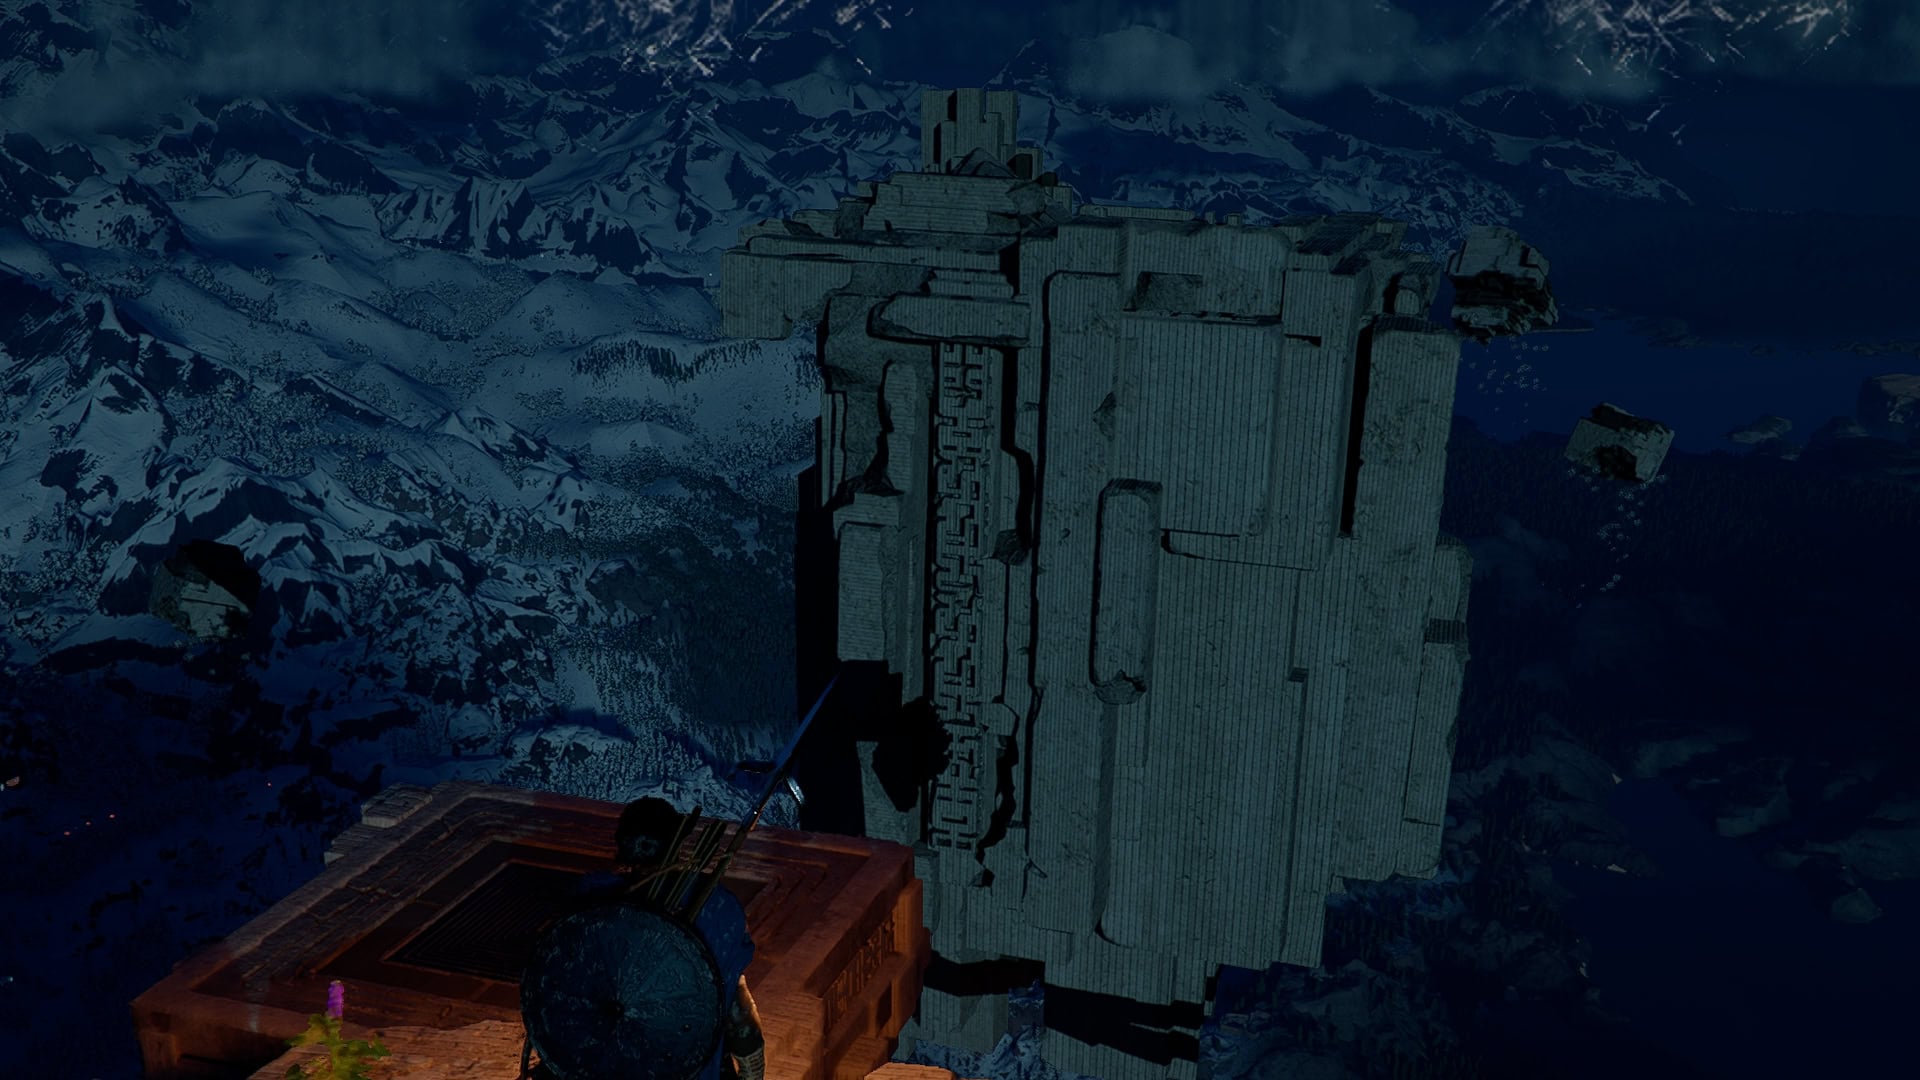
The Loop of Life is the fifth Abyss Puzzle in a chain starting from the Spire of Ringing Truth. A powerful boss is guarding the Abyss Gate here, so come prepared for a fight!
The Loop of Life is immediately preceded by Sanctorum of Darkness in this chain, with Ether Rest, Frostbitten Paradise, and Path of Trials between Sanctorum of Darkness and the Spire of Ringing Truth.
This means that the Spire of Ringing Truth and all previous Abyss Puzzles must be completed to reach the Loop of Life.
Here is the full list of all chained Abyss Puzzles and their order:
- Spire of Truth
- Ether Rest
- Frostbitten Paradise
- Path of Trials
- Sanctorum of Darkness
- Loop of Life (this one)
- Tree of Slumber
- Skyloop Bridge
Solving the Loop of Life Abyss Puzzle
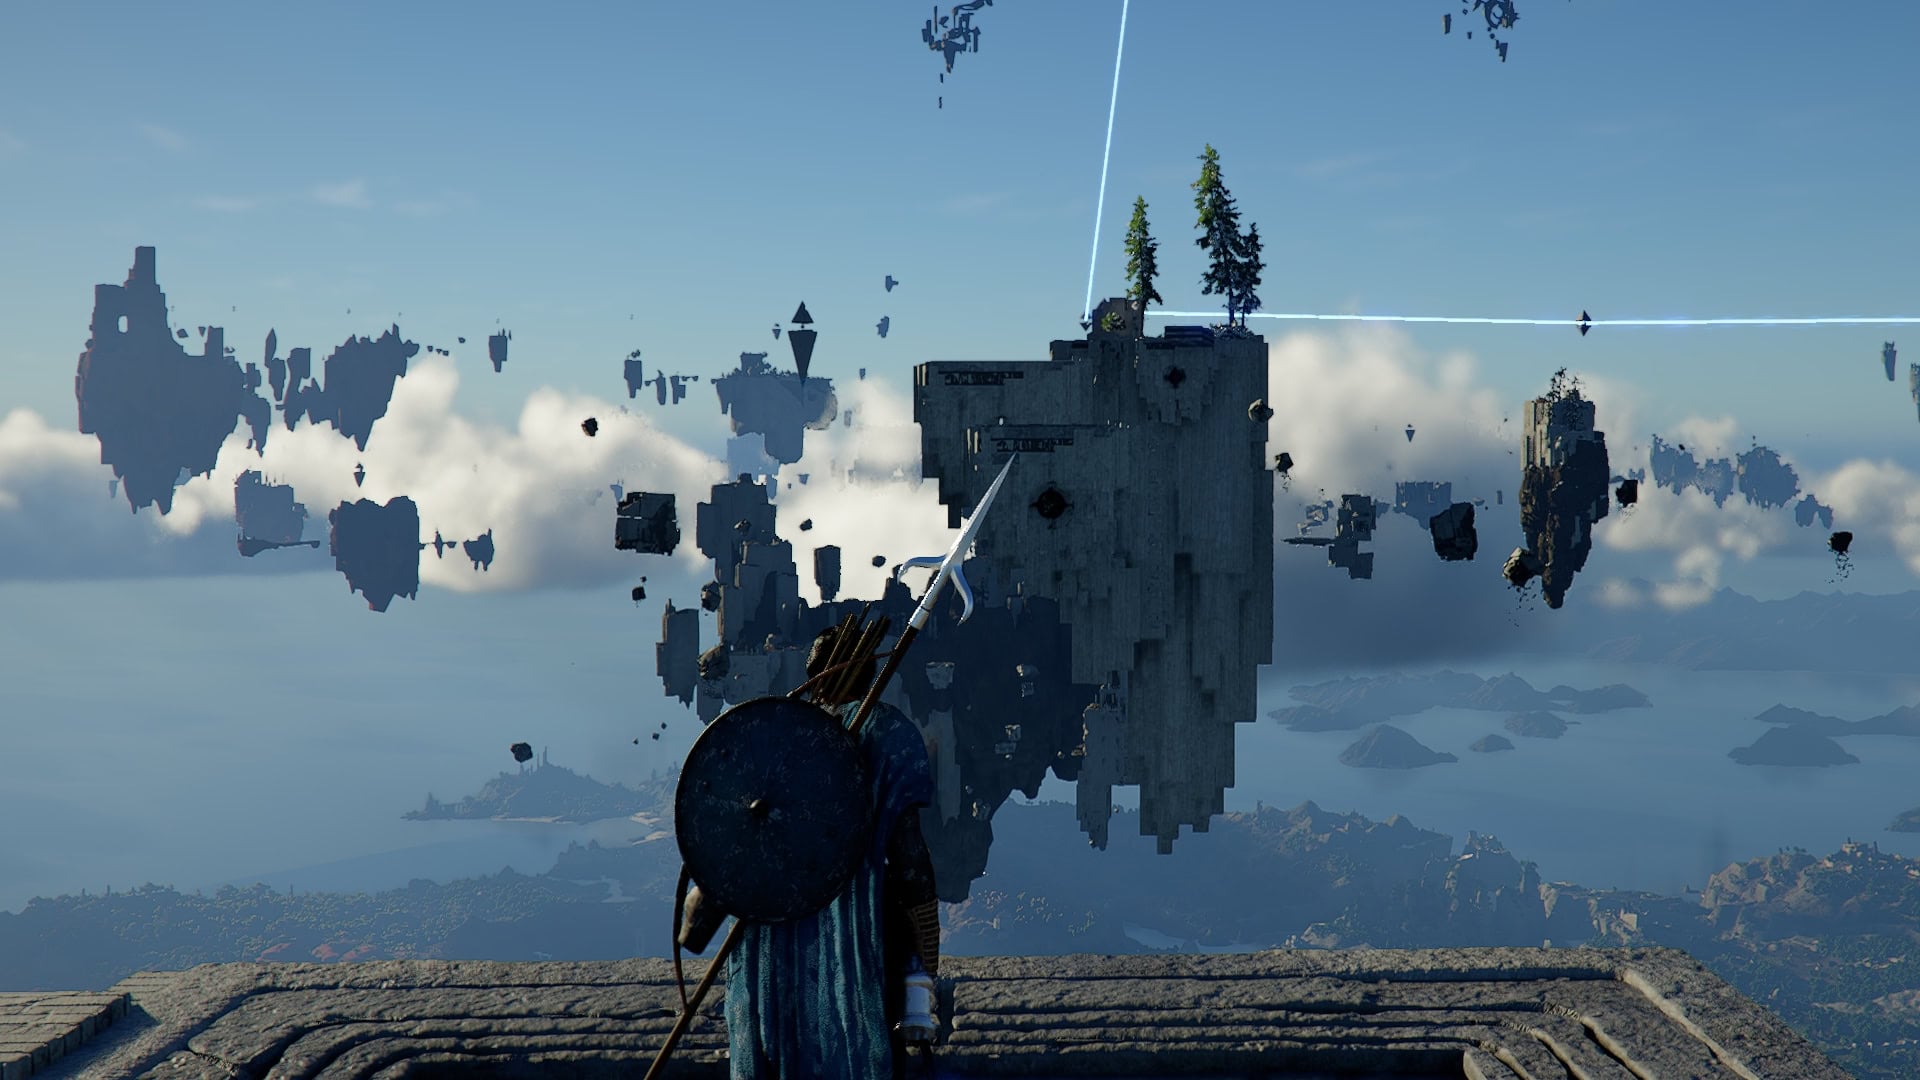
When you first arrive at the Loop of Life, go straight ahead to reach the Abyss Nexus.
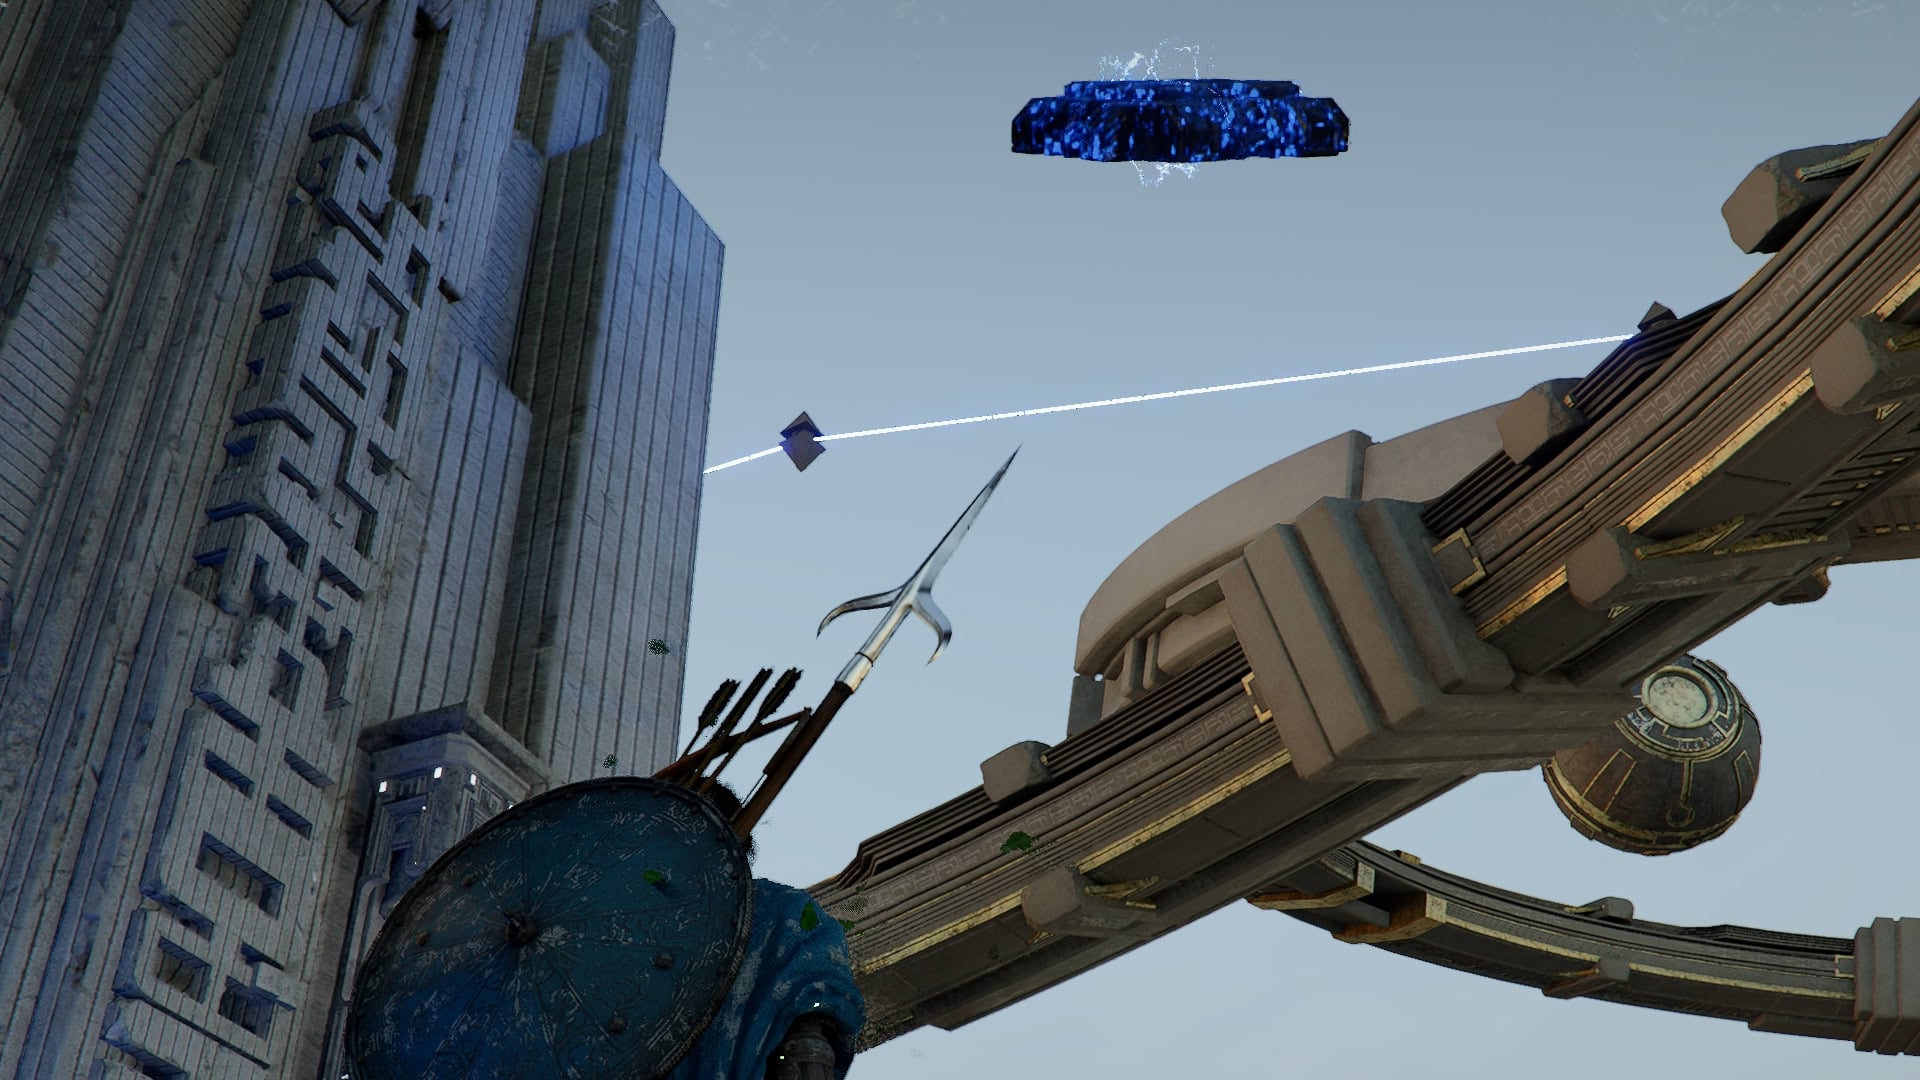
From the Nexus, if you move forward and look over the ledge here, you’ll see a Power Source in need of socketing.
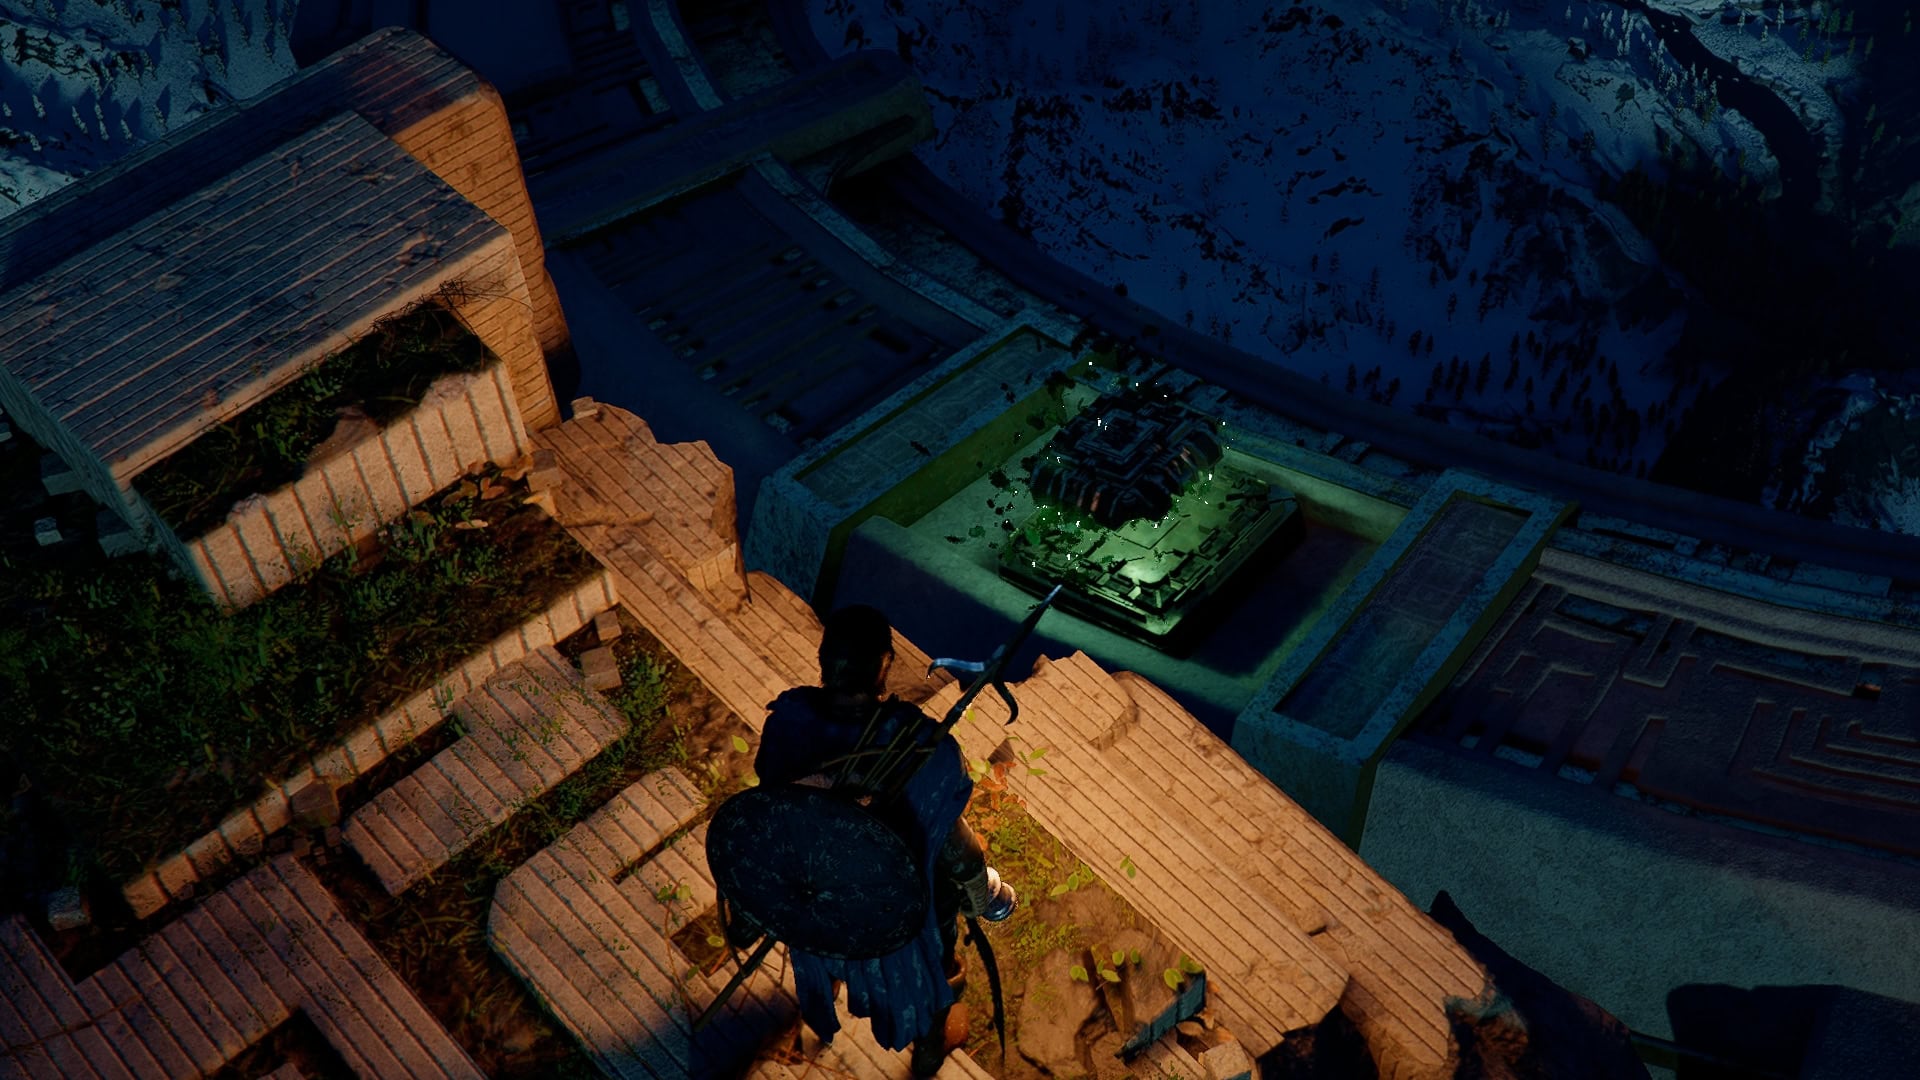
Go ahead and socket it, and after the power is distributed, the loop will begin to slowly rotate. From here, head to the North side of the loop to find another power source.
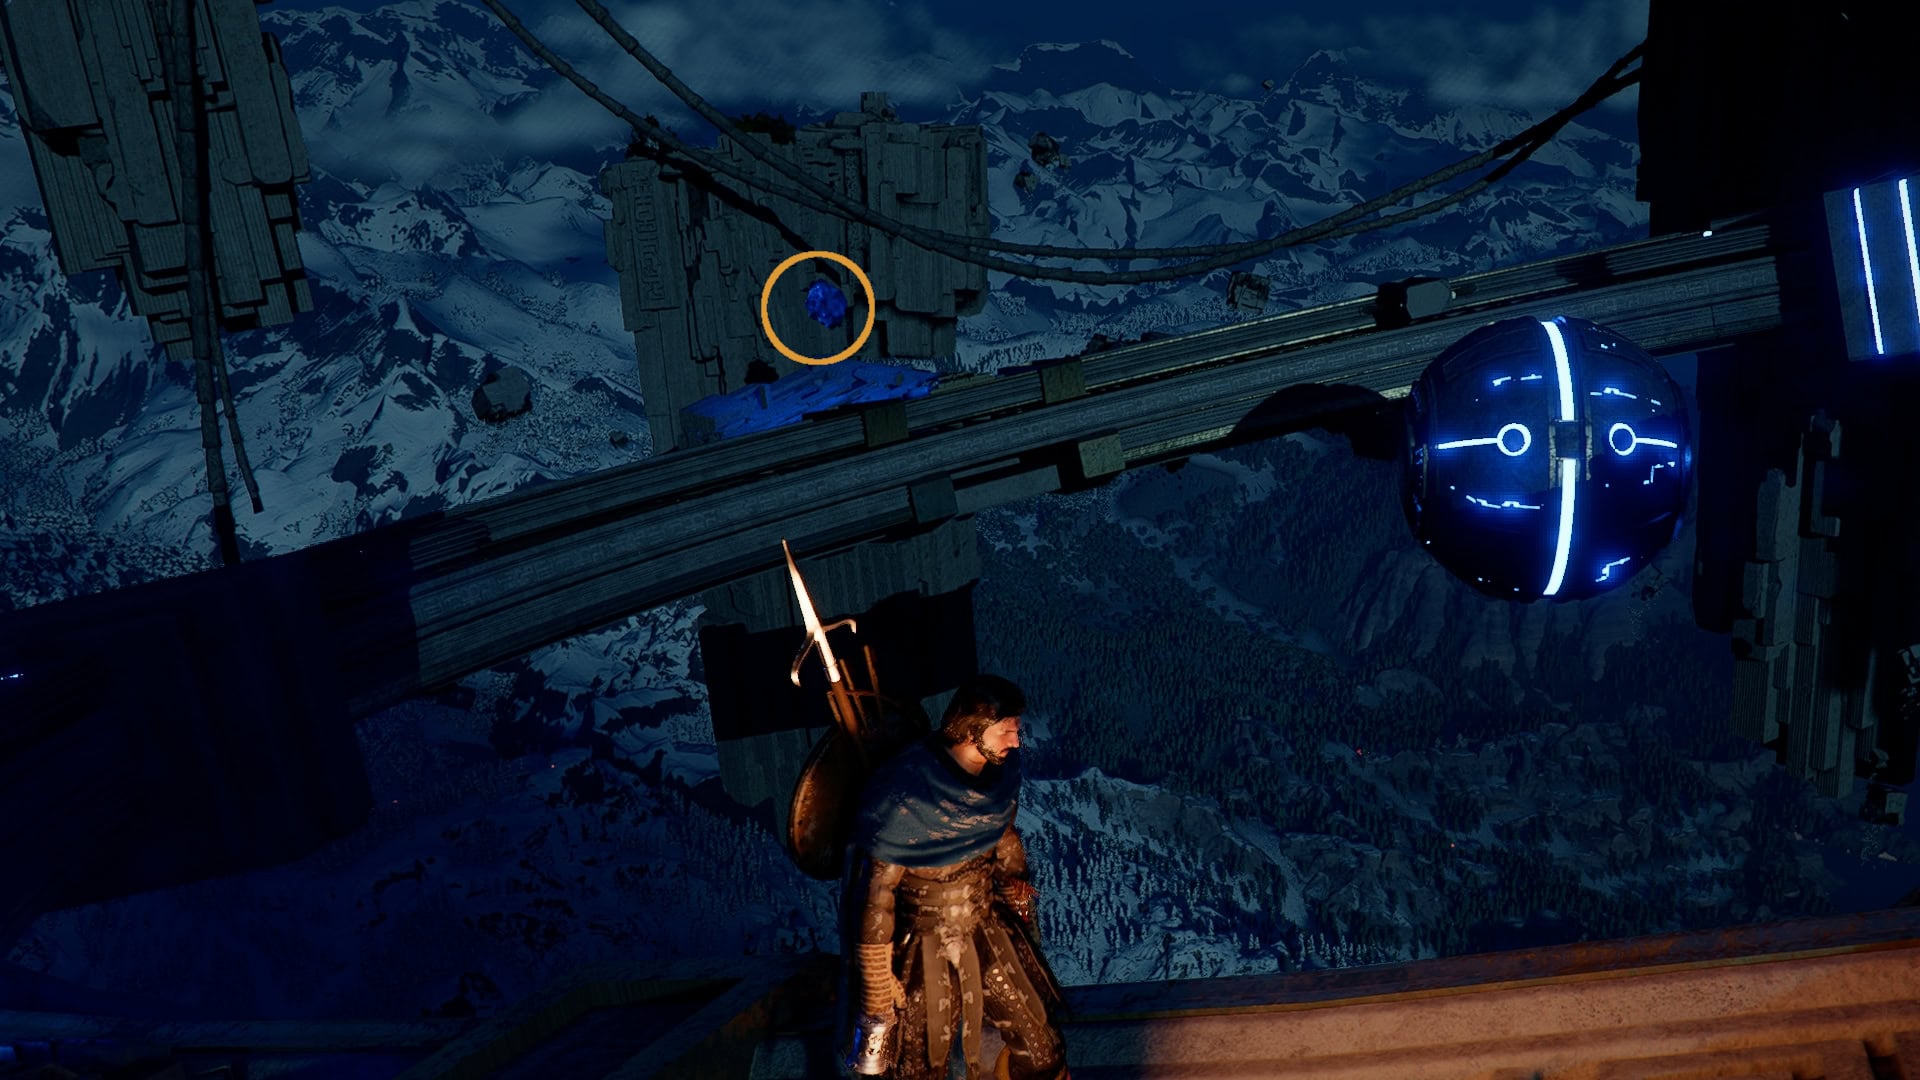
You’ll want to move this Power Source as high up and as close to the small passage above as you can.
Use Aerial Force Palm to gain height and glide up there, or balance across the wire spanning the gap if you prefer. Once up there, socket the Power Source to free another power source up.
Pull that Power Source out, and begin pushing both above you toward the loop directly above.
Take one of these Power sources over towards the Third loop, just off to the side of the second loop.
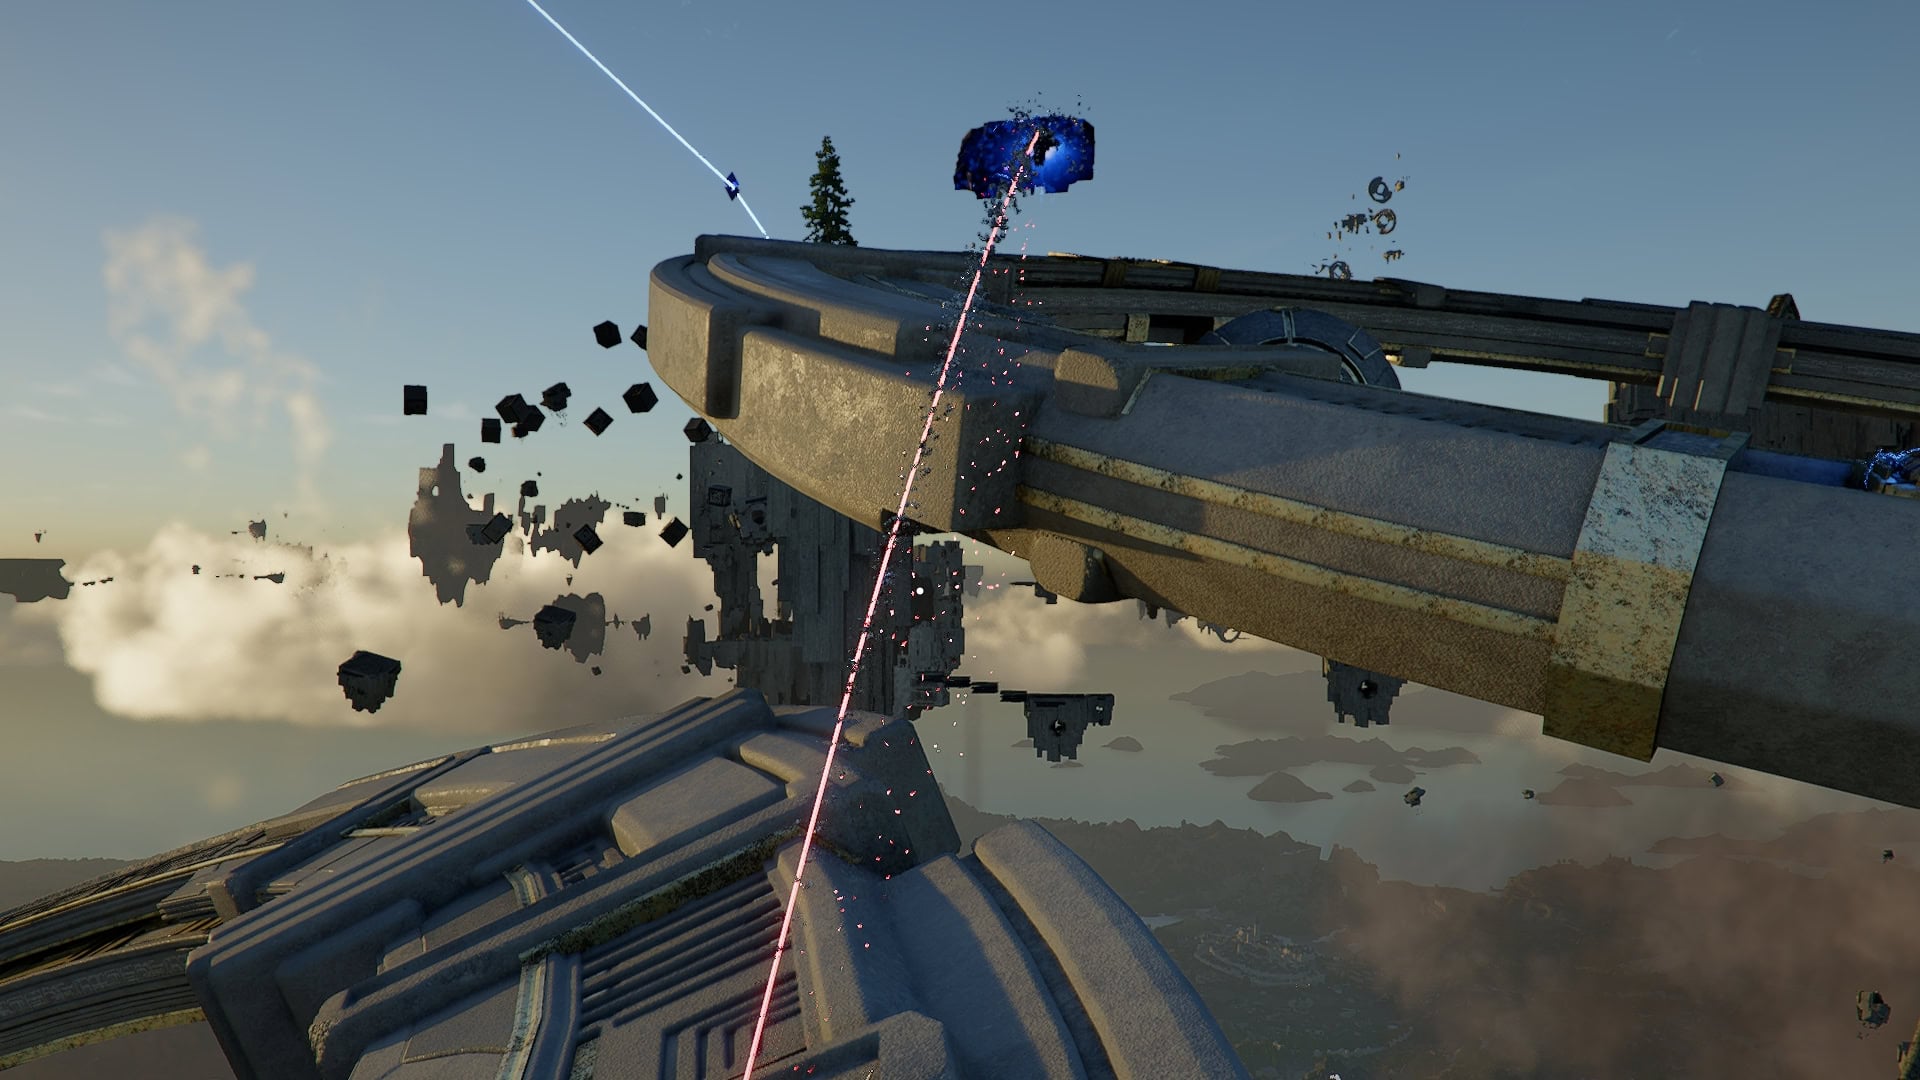
On the second Loop, grab the remaining Power source and socket it in place on the northeast side. This loop will now also begin to rotate.
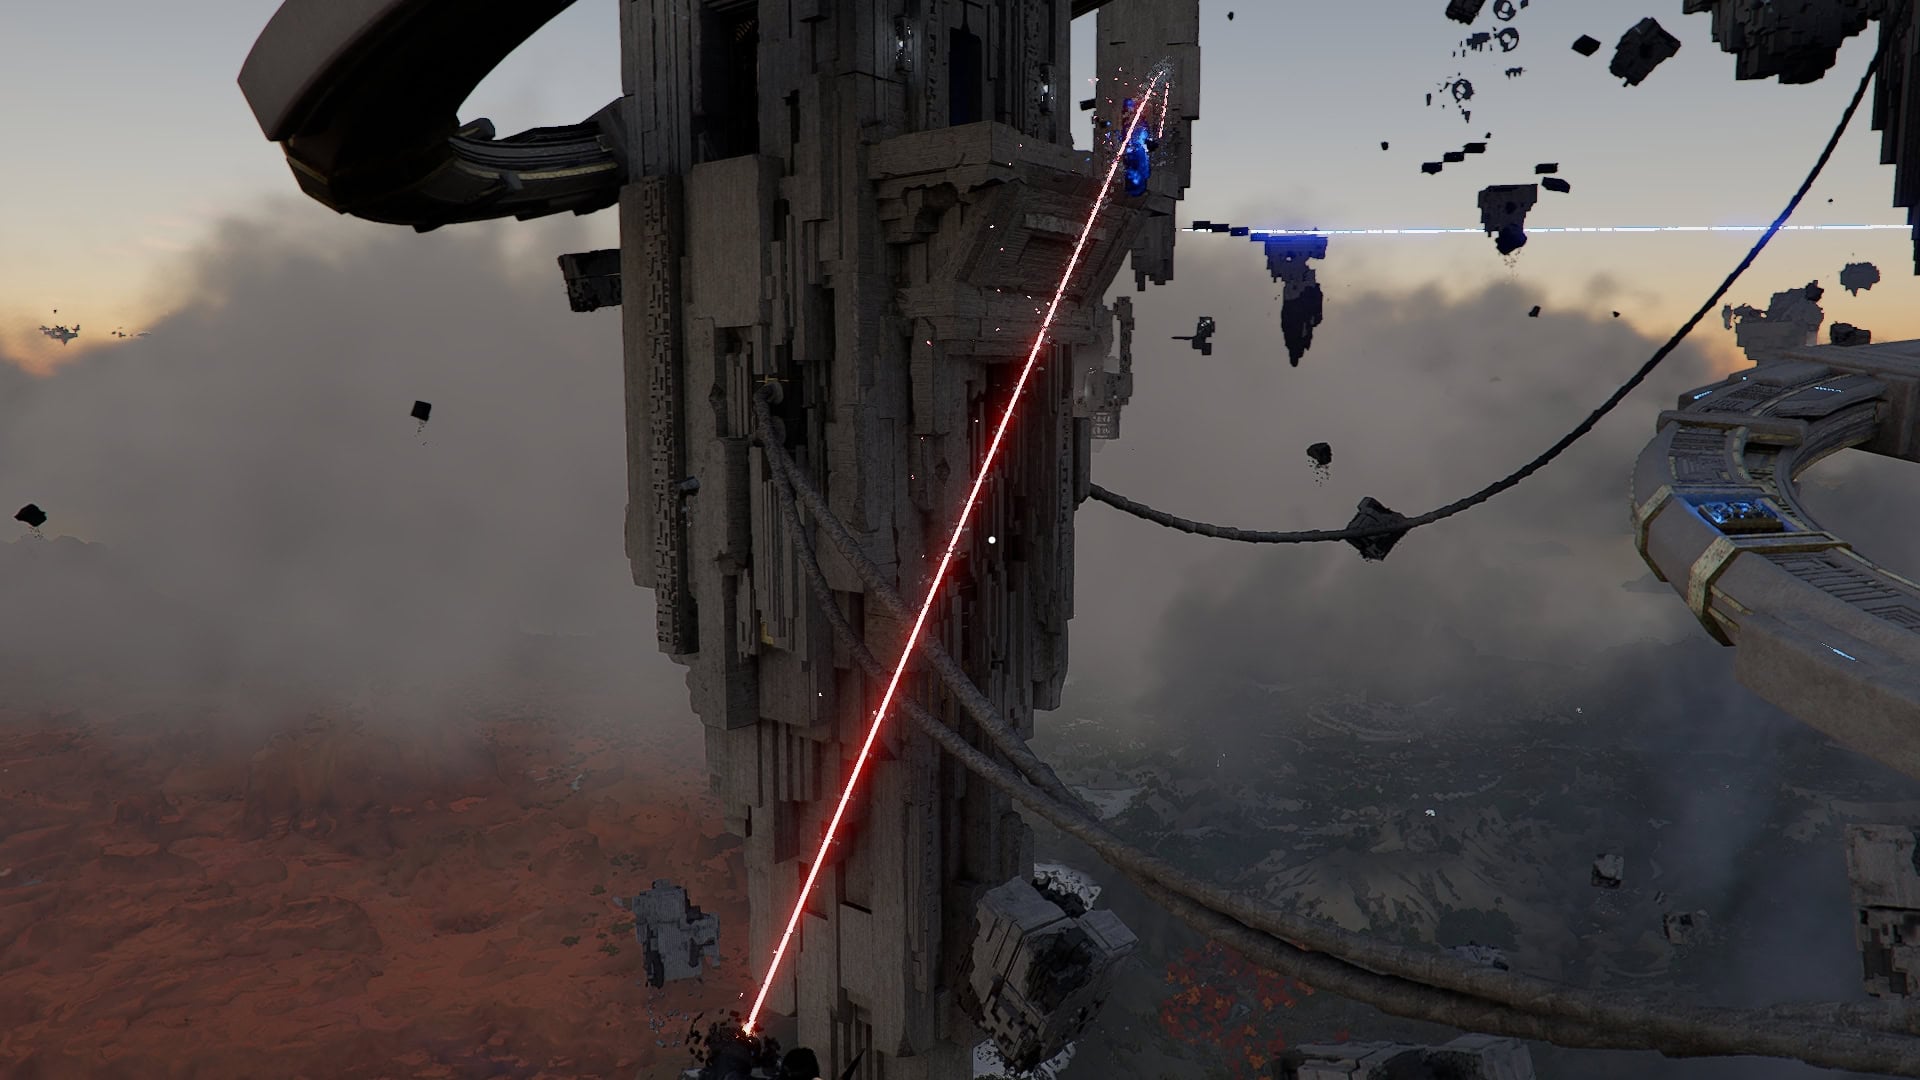
Head up to the third ring and place the last Power Source in the Socket. The final ring will begin to rotate and the button to complete the puzzle will be active.
Jump and glide over to it, hold Resist, and give it a good Force Palm to complete the puzzle. Climb up and claim the main reward for this puzzle, an Abyss Artifact.
Loop of Life Hidden Chest
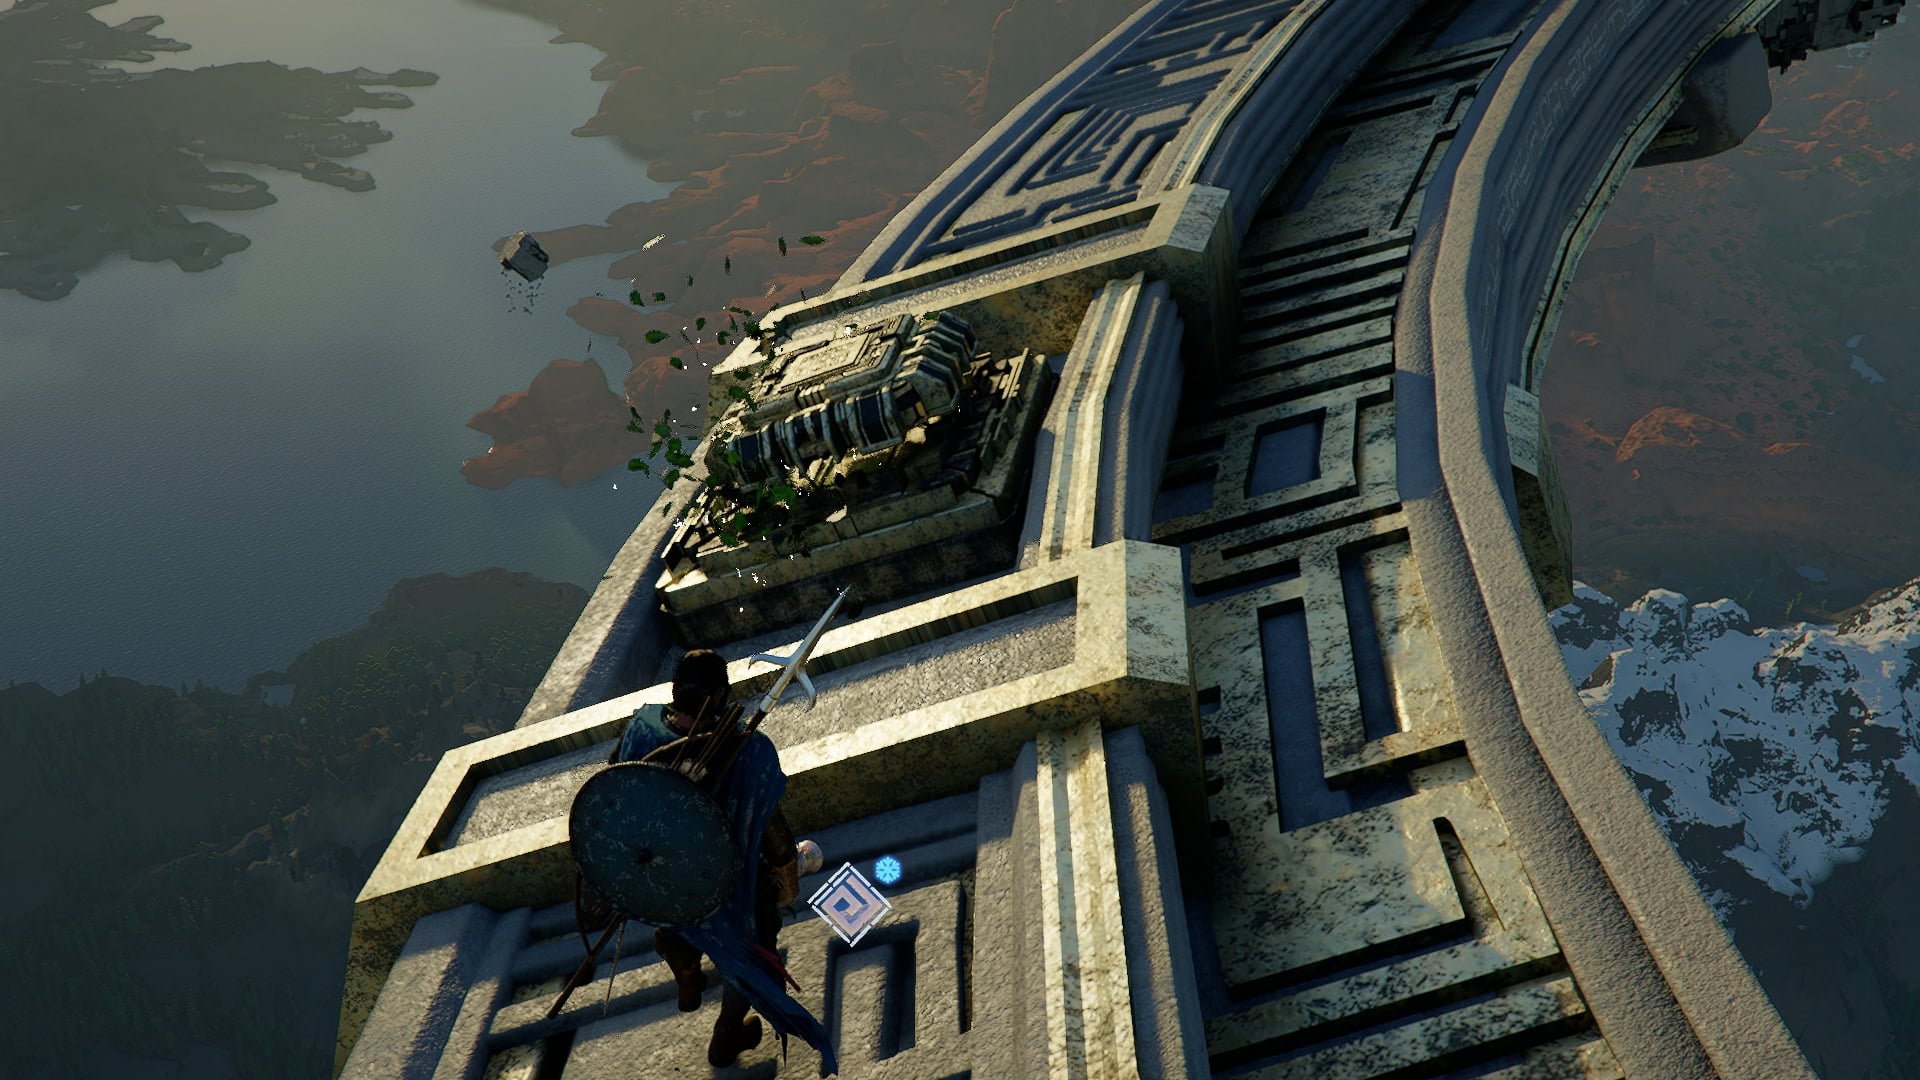
Before you consider heading to the Skybridge, though, you will definitely want to grab the hidden chest here in Loop of Life.
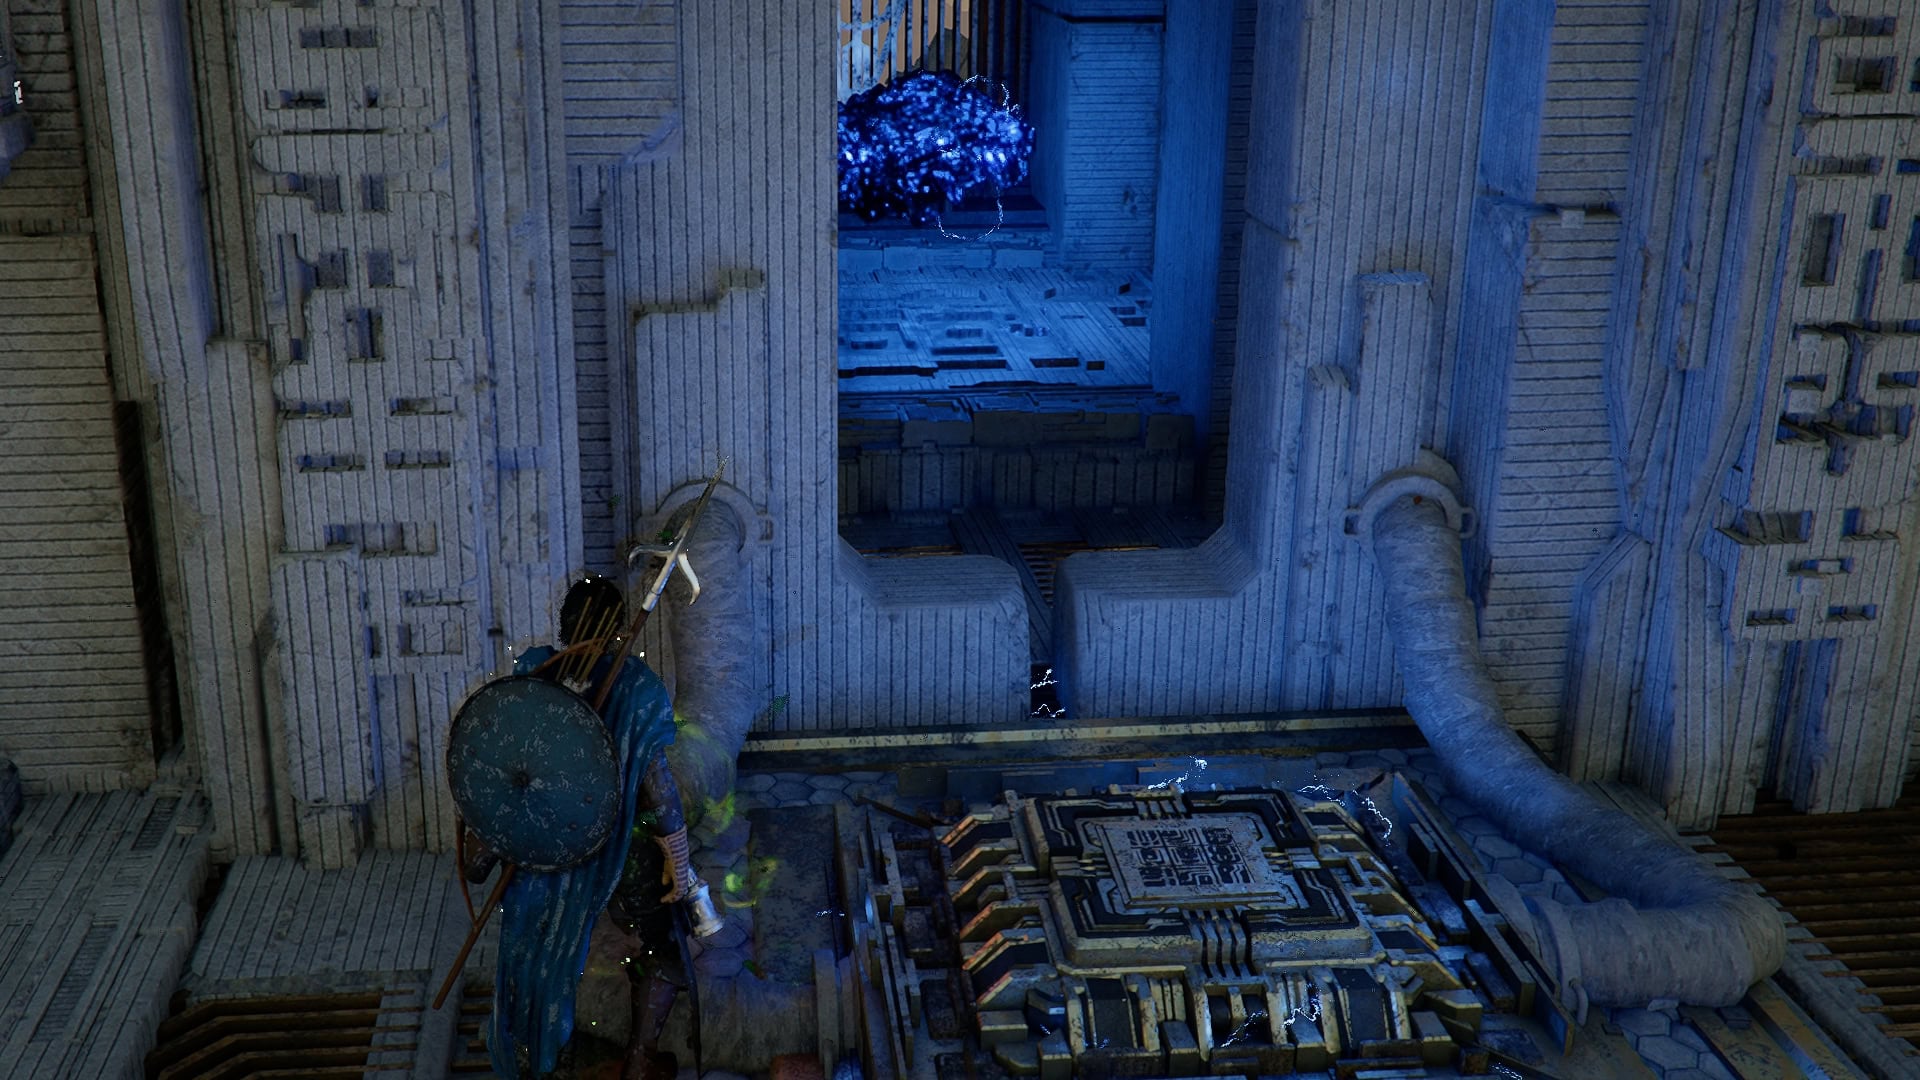
To do so, head back over to the Northern platform where the second Power Source was located, then glide and climb onto the small platform just behind that.

Just after this platform is a moving platform that will take you to another small platform with a secret. No, it’s not the chest just yet!
It’s actually a Visione Memory Fragment, and a special one at that!
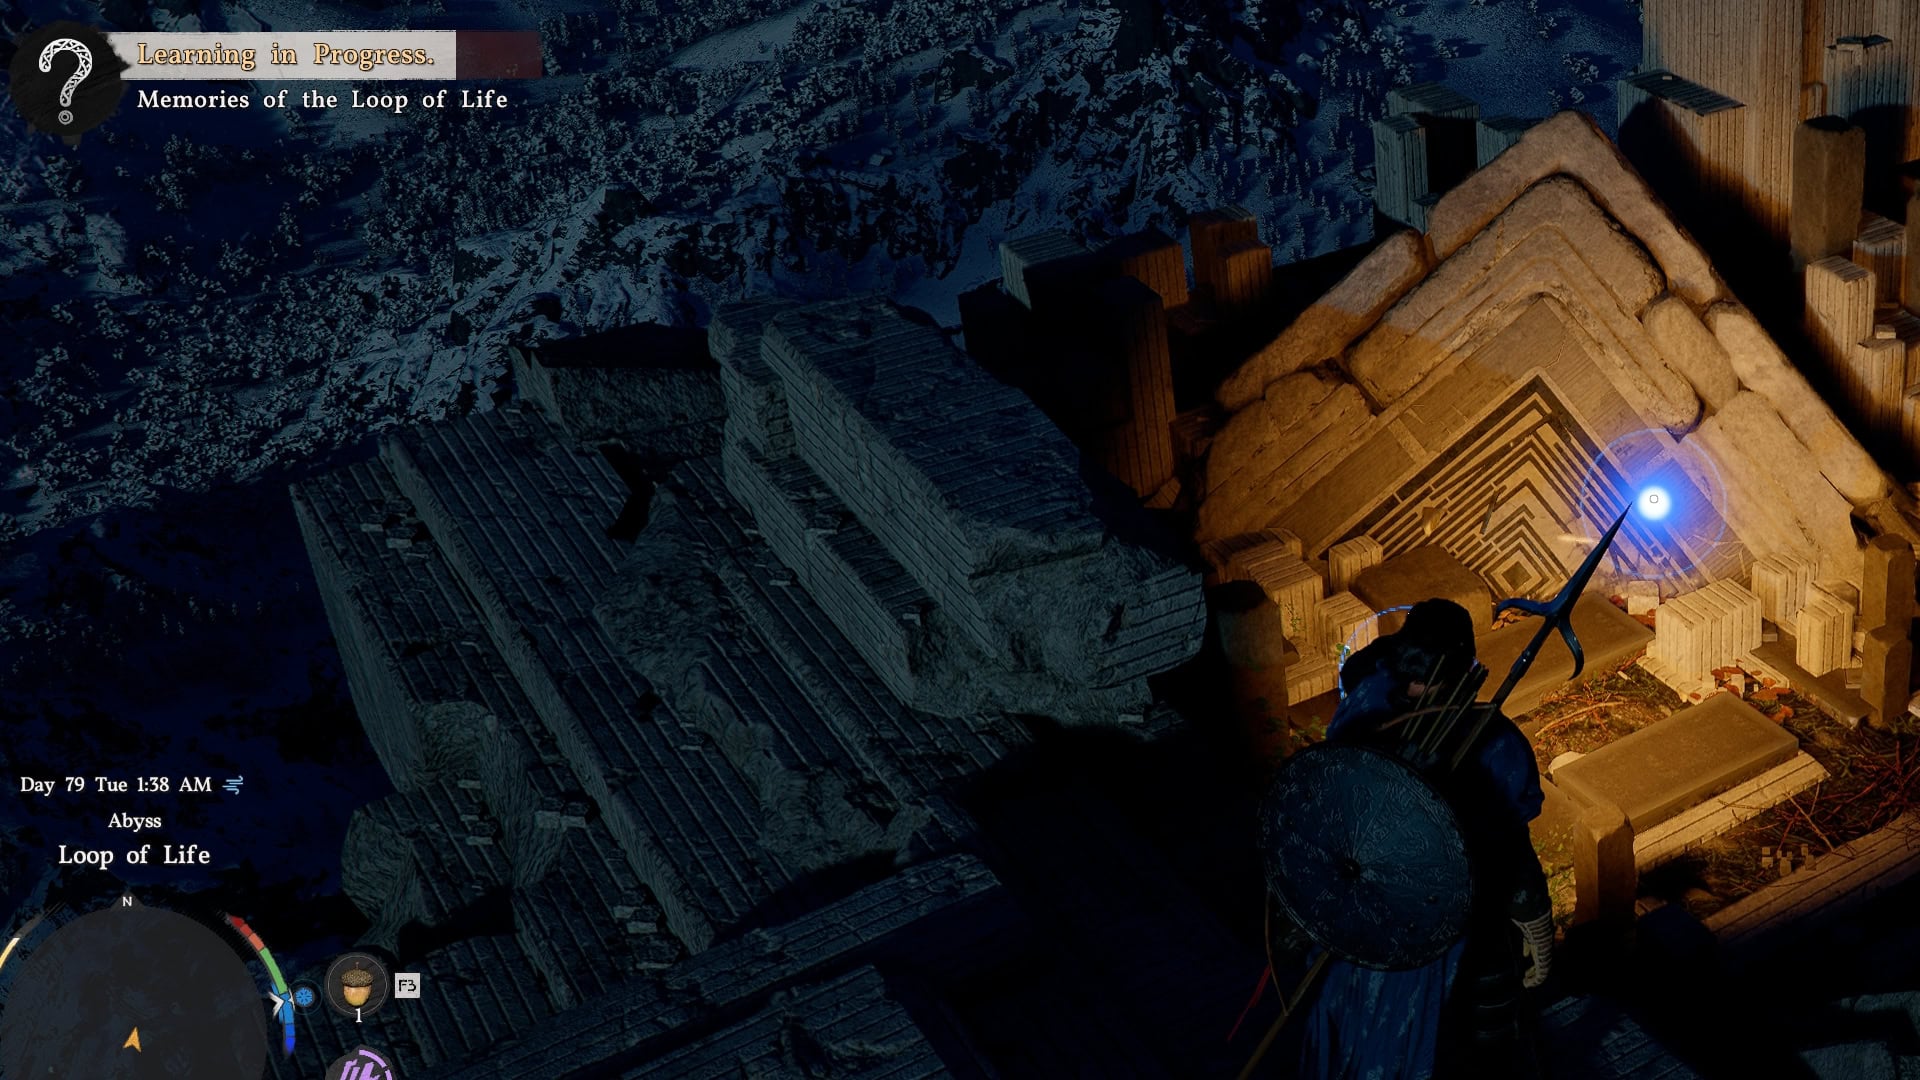
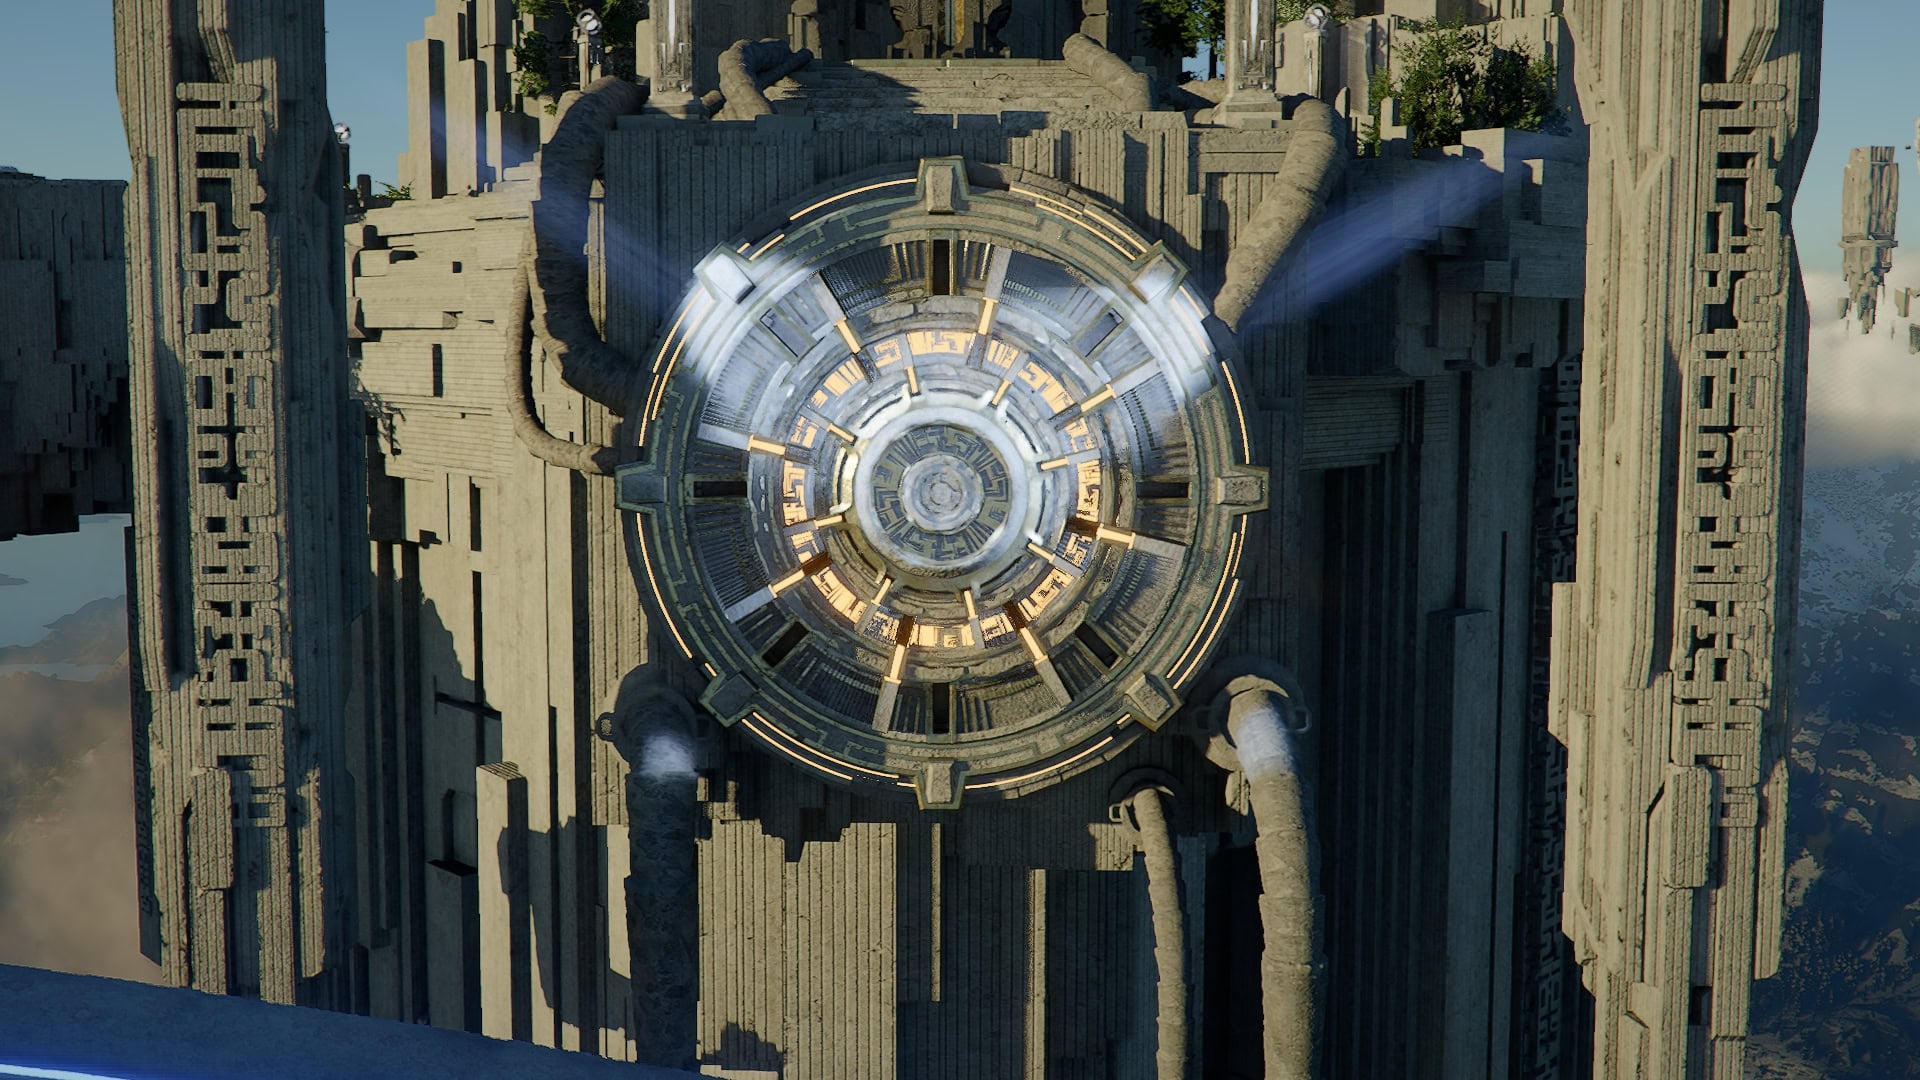
Upon activating and viewing the Memory, this Visione sequence has platforms you must climb before it ends. By far one of the coolest uses of the otherwise boring lore device.
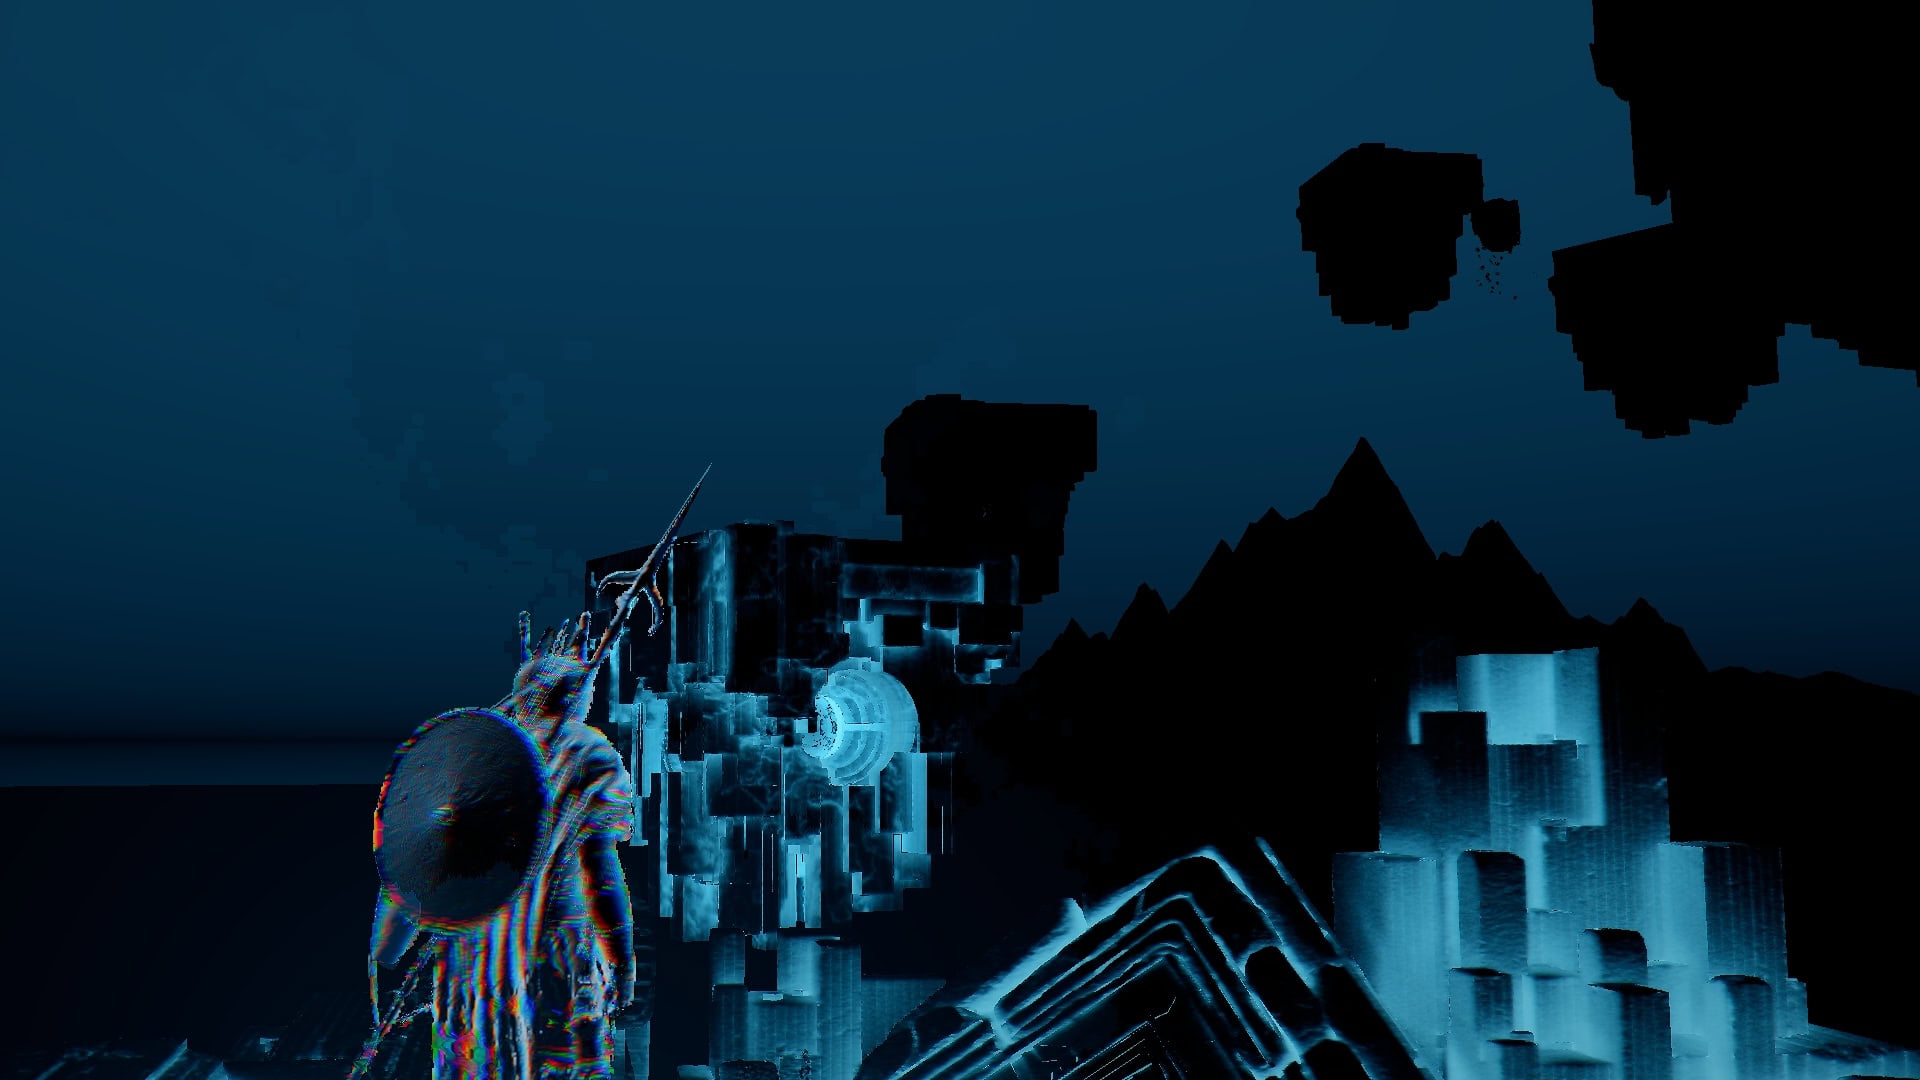
Follow the platforms up to the chest. where the Visione sequence can be ended safely. You can also use Aerial Force Palm and Glide to skip a number of the platforms to make the time here a bit less tight.
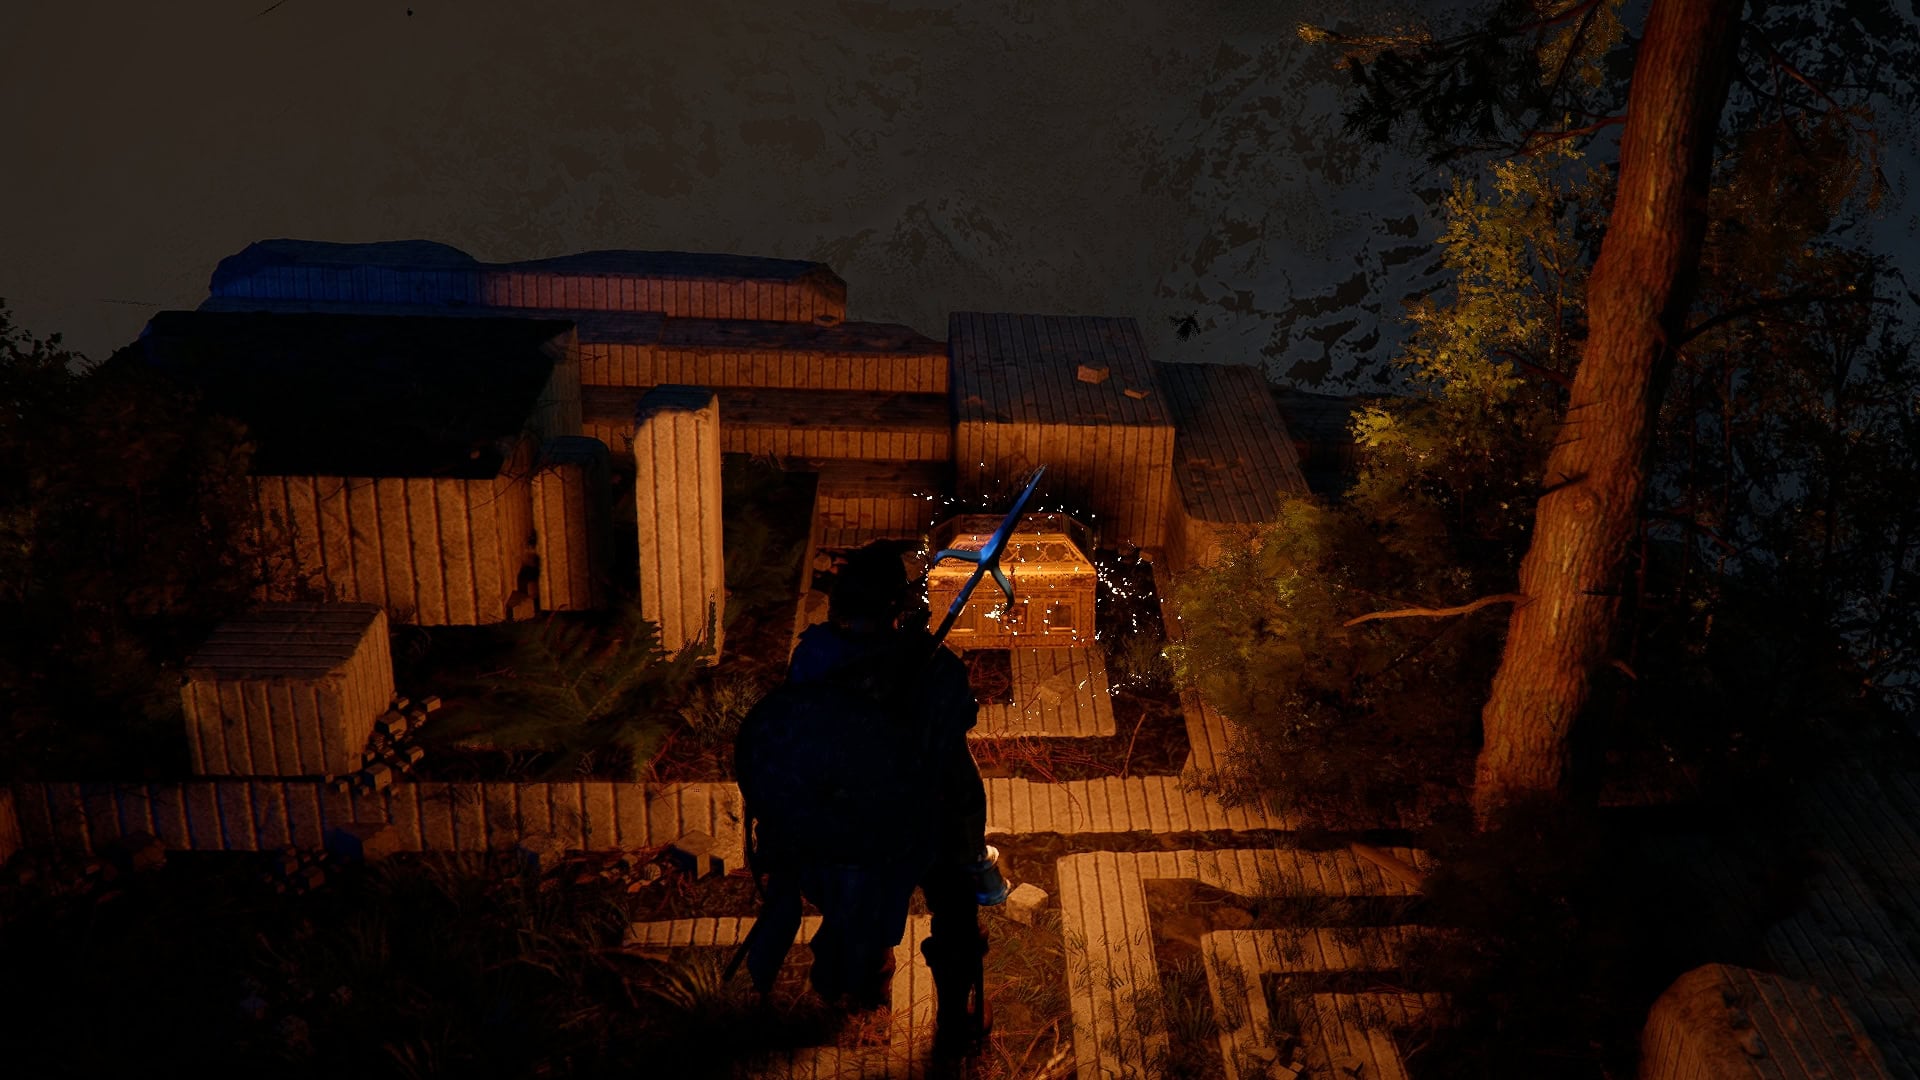
This Chest Contains a Faded Abyss Artifact, used to reallocate spent Artifacts, and a Vitality II Abyss Gear. You can safely glide back down and make your way to the Skybridge.
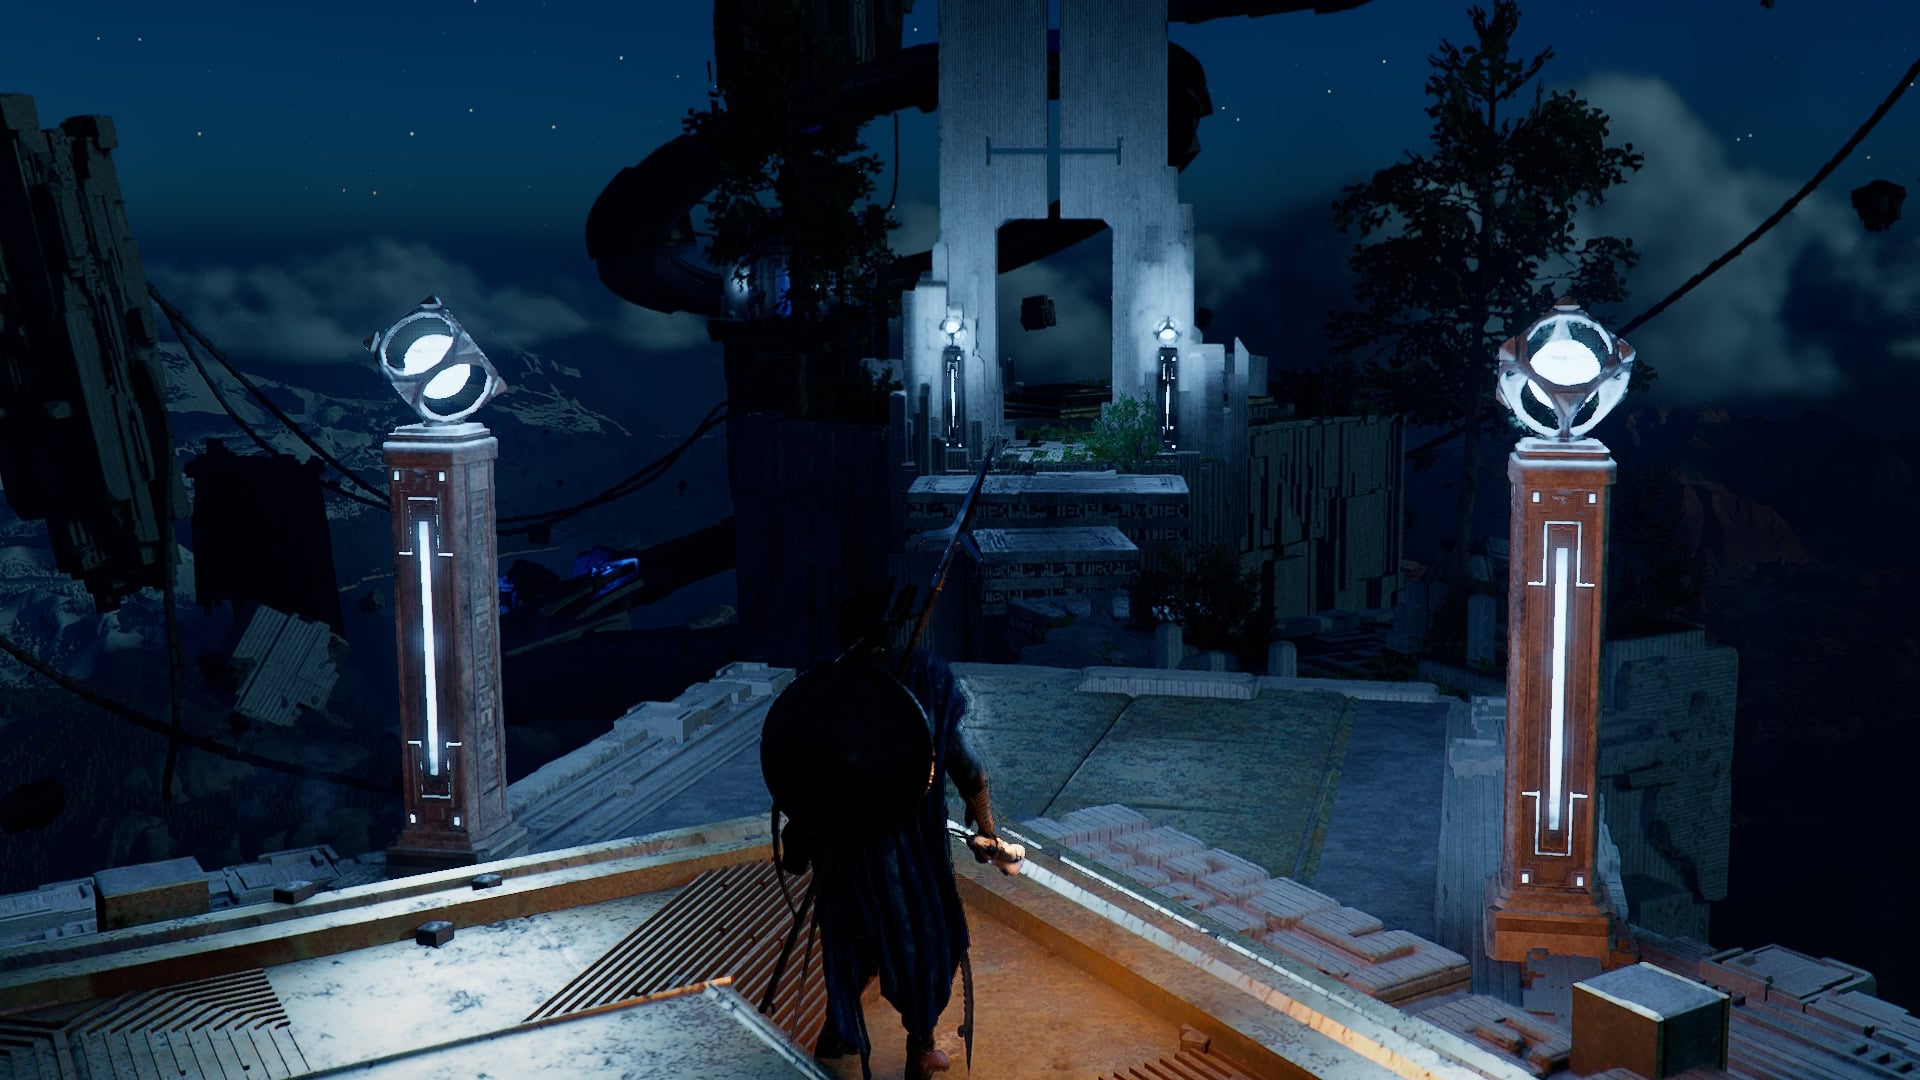
Loop of Life Skybridge
Just past the obelisk is the gate to the next Skybridge, this one leading you to the Tree of Slumber.
Crossing this Akybridge can be a real pain when trying to go the platforming route. It is much easier to glide past this line of rotating cubes that are very easy to slip off of.
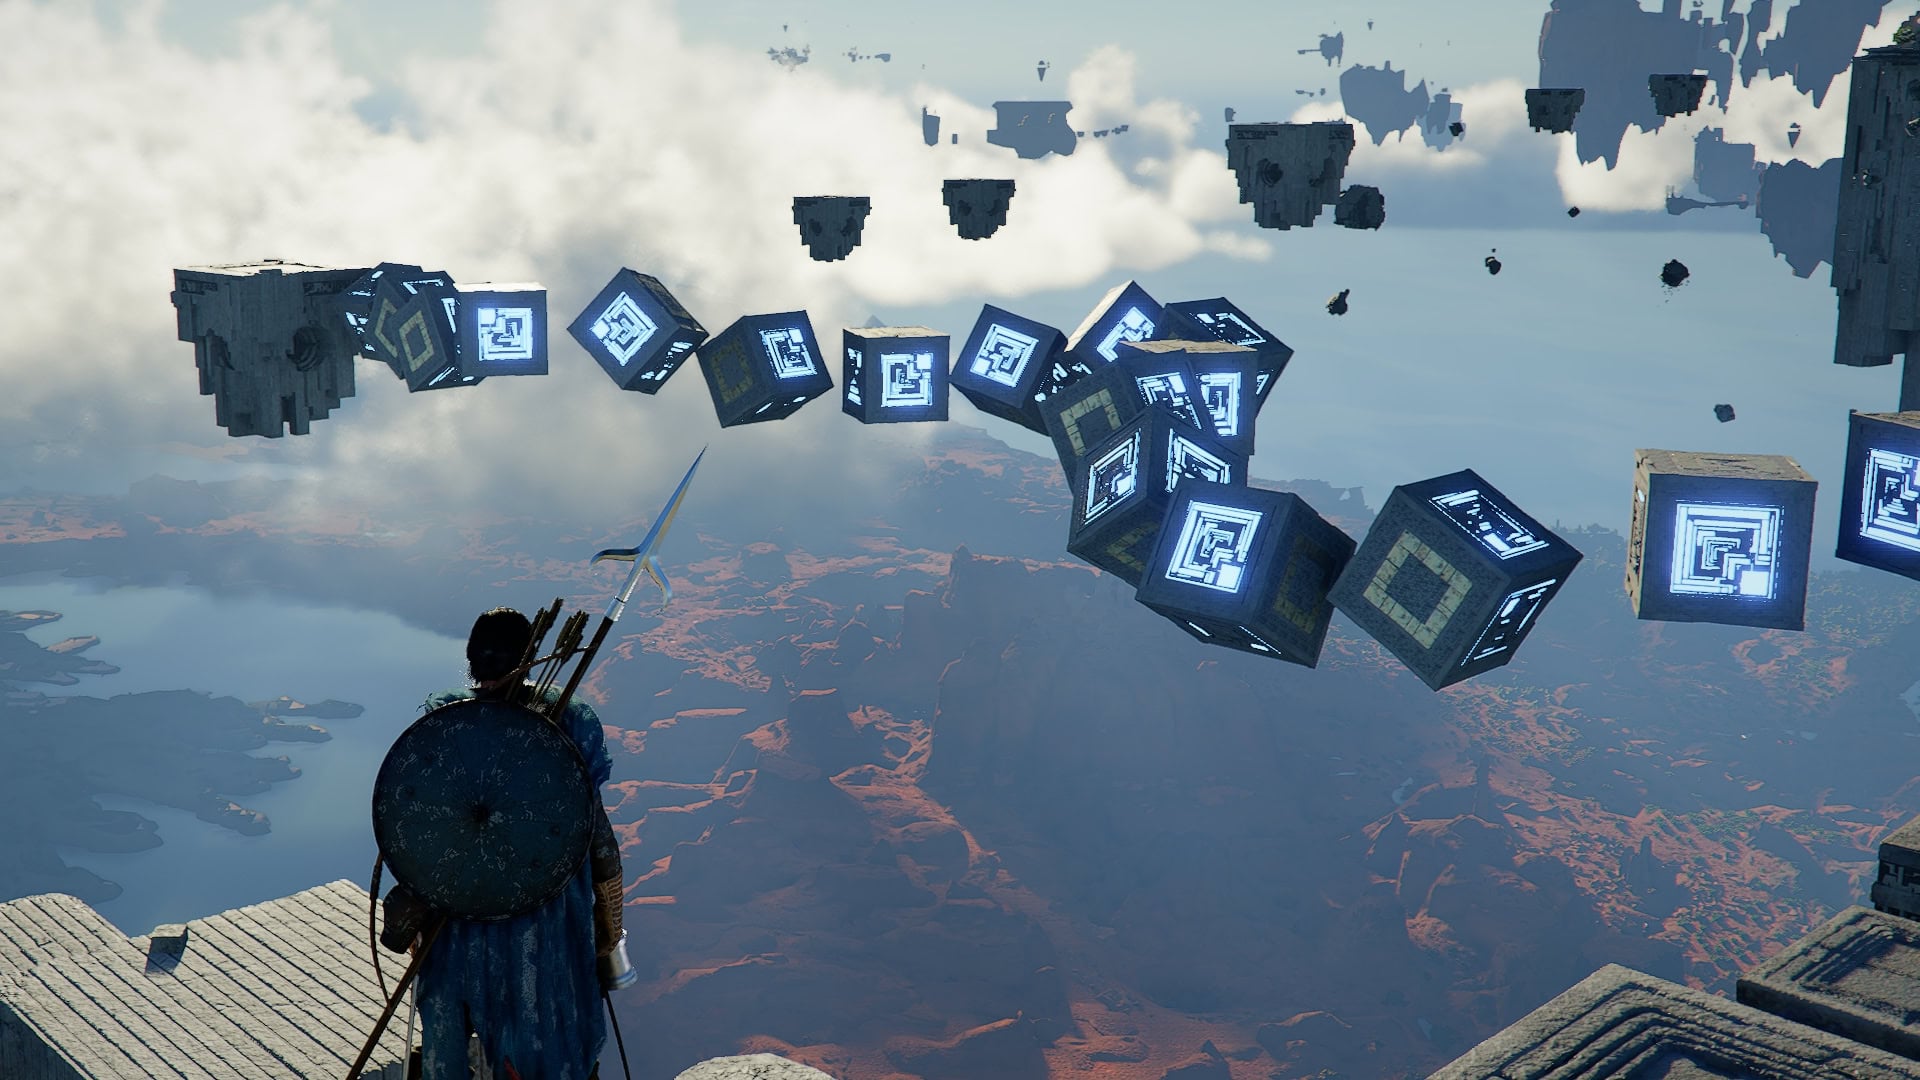
Following the cubes, though, it’s only simple moving platforms. No more threat to your ability to stay in the Abyss and not get sent plummeting down to Pywel.
Head to the Teleporter, and you can depart for the Tree of Slumber.
NEXT: How to solve the Tree of Slumber Abyss Puzzle