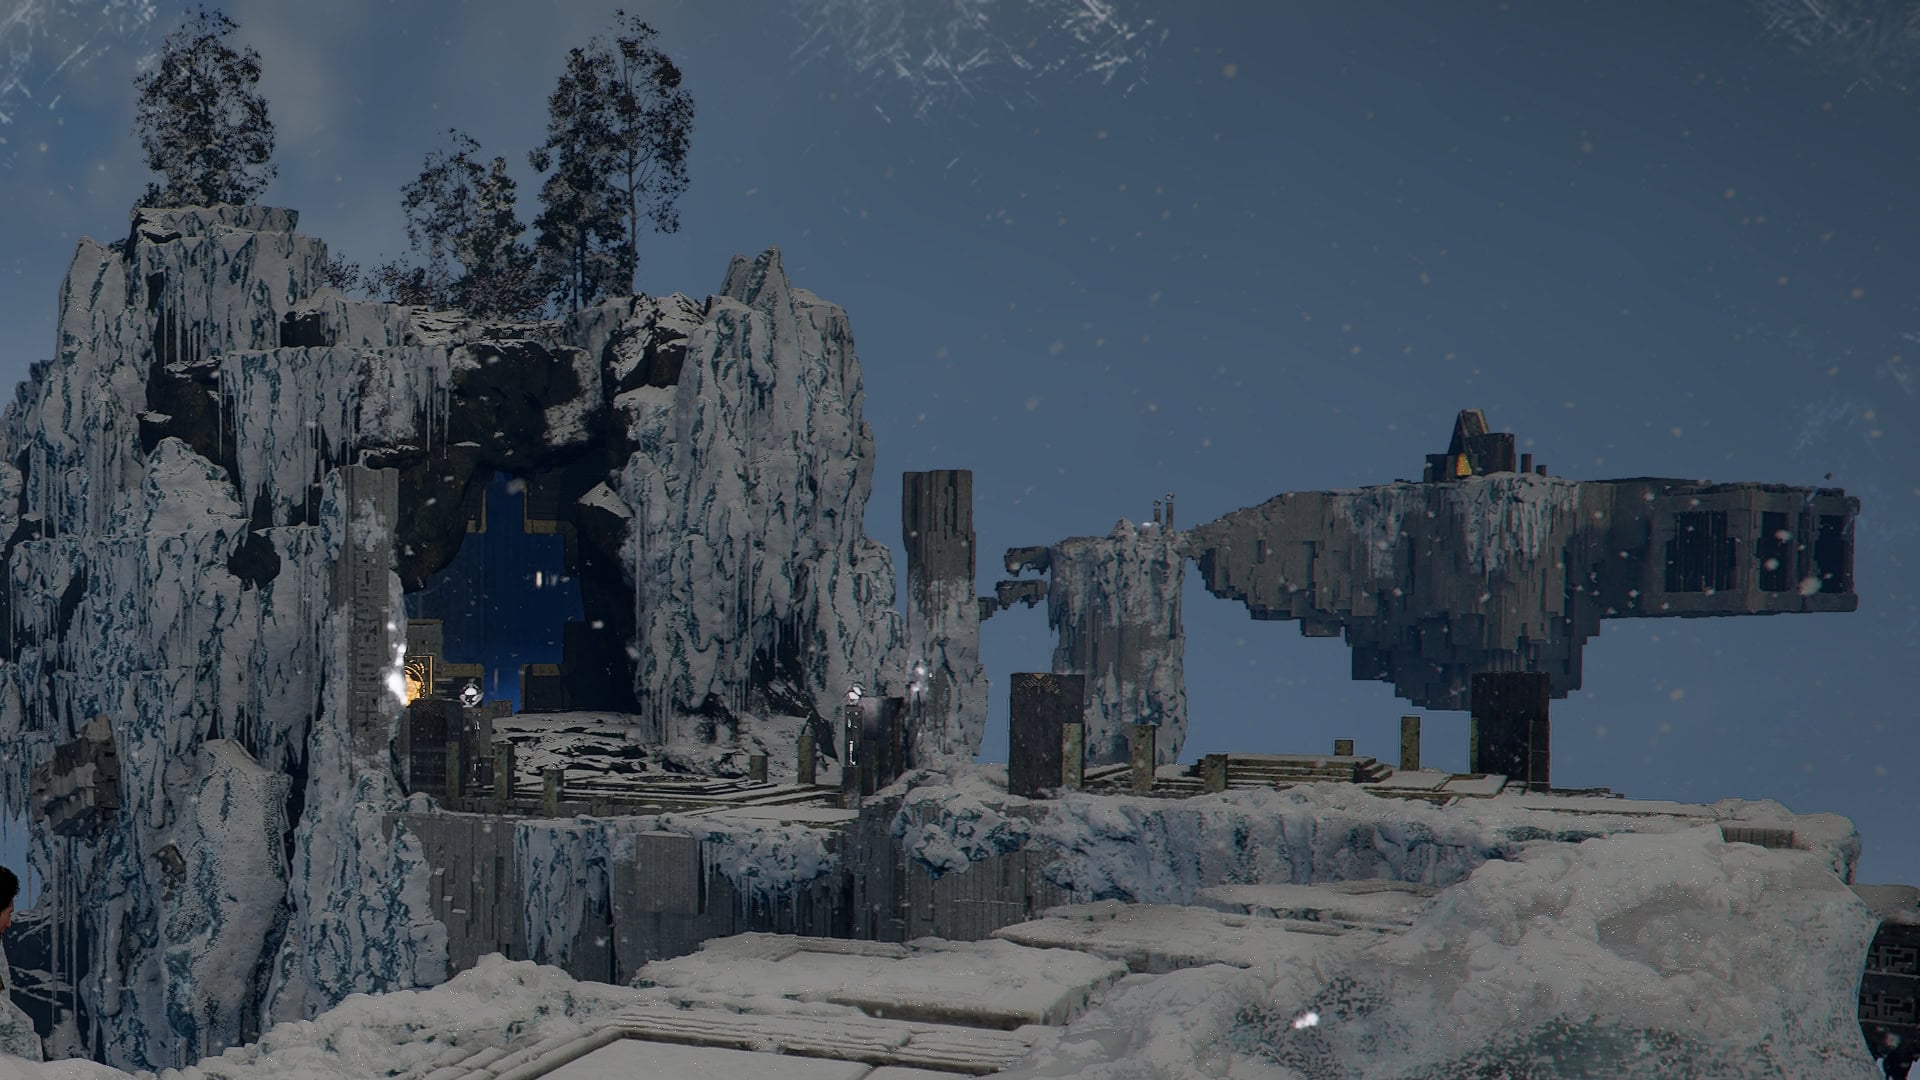
The Frostbitten Paradise is one of Crimson Desert’s many Abyss puzzles. Find out how to reach this section of the Abyss and how to solve the puzzle within to complete the challenge and claim an Abyss Artifact with this guide.
How to Reach Frostbitten Paradise
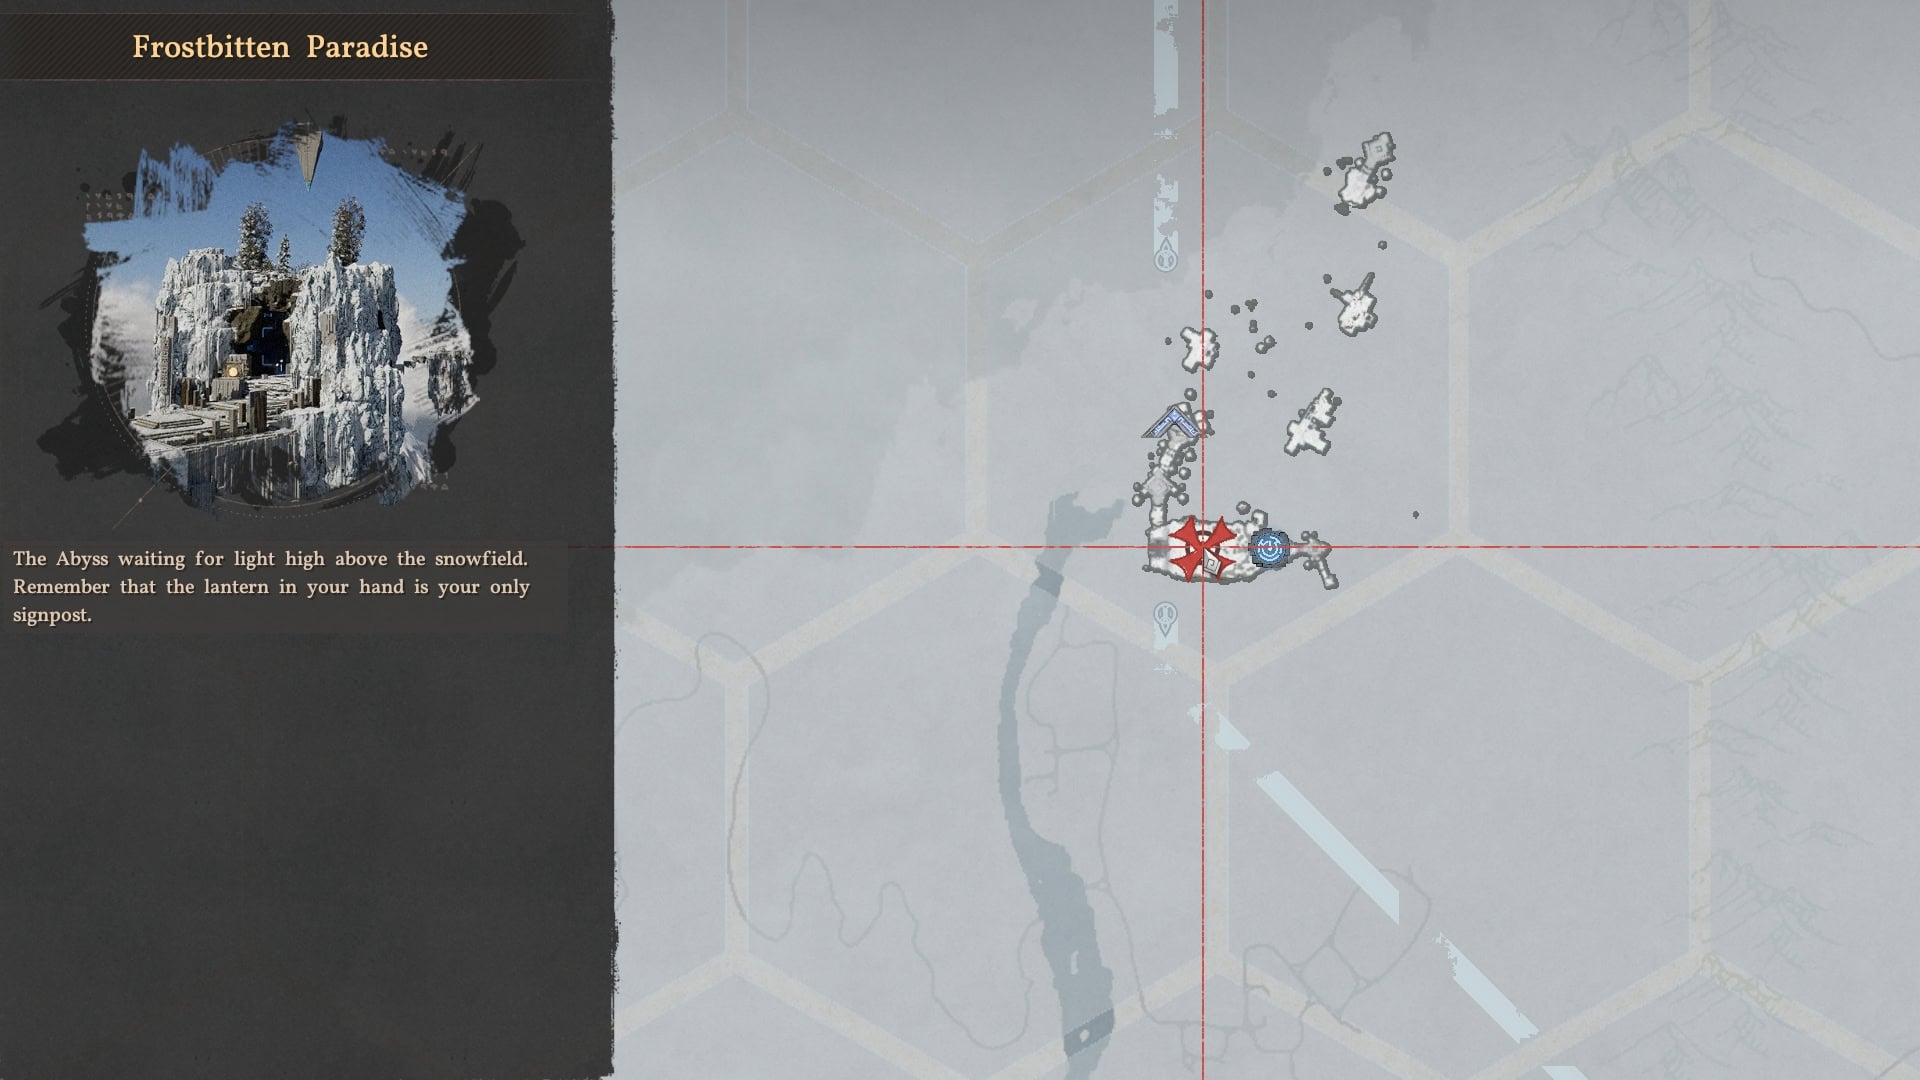
Frostbitten Paradise is the second Abyss Puzzle in the chain starting from the Spire of Ringing Truth. It is immediately preceded by Ether Rest, with only Ether Rest coming before it in its chain. This means completion of Ether Rest and crossing the skybridge is required to reach Frostbitten Paradise.
Here is the full list of all chained Abyss Puzzles and their order:
- Spire of Ringing Truth
- Ether Rest
- Frostbitten Paradise (this one)
- Path of Trials
- Sanctorum of Darkness
- Loop of Life
- Tree of Slumber
- Skyloop Bridge
Solving the Frostbitten Paradise Abyss Puzzle (Normal Method)
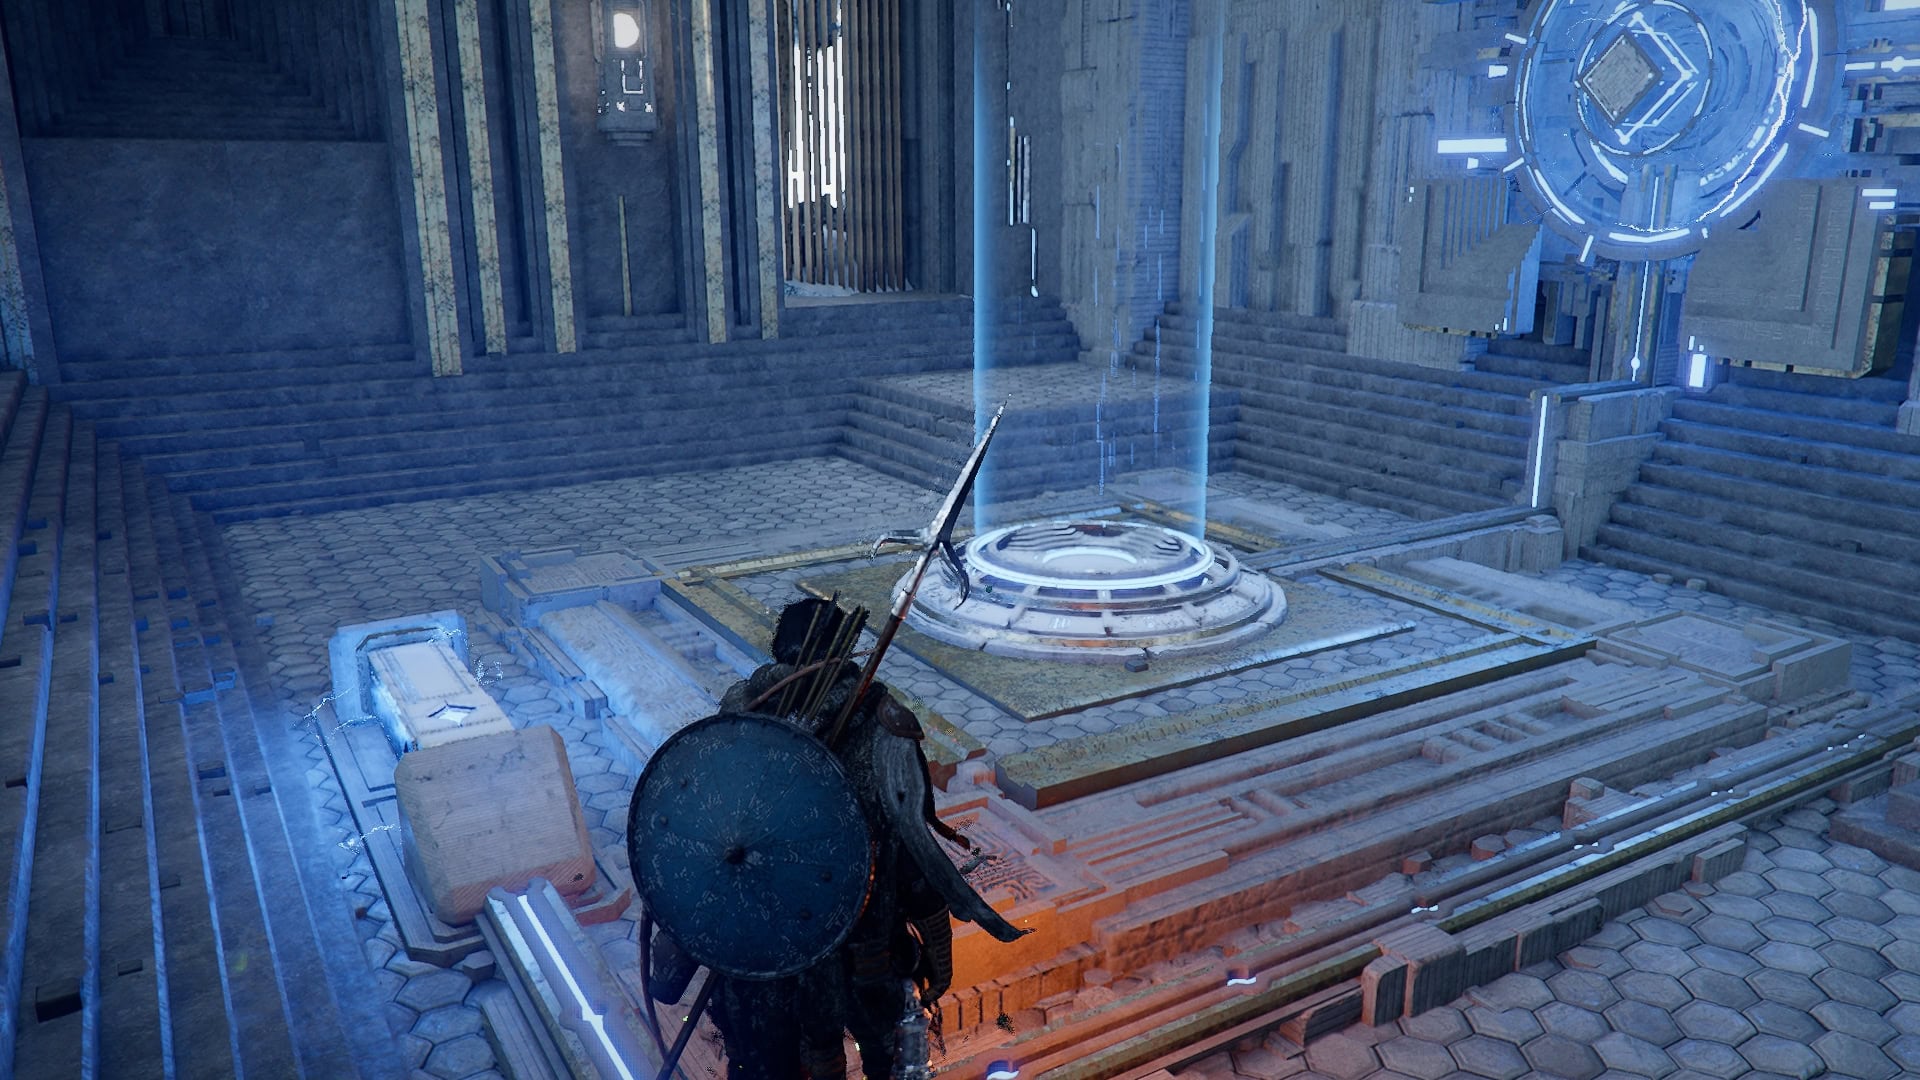
When you first arrive in Frostbitten Paradise, cross the path ahead and activate the Abyss Nexus.
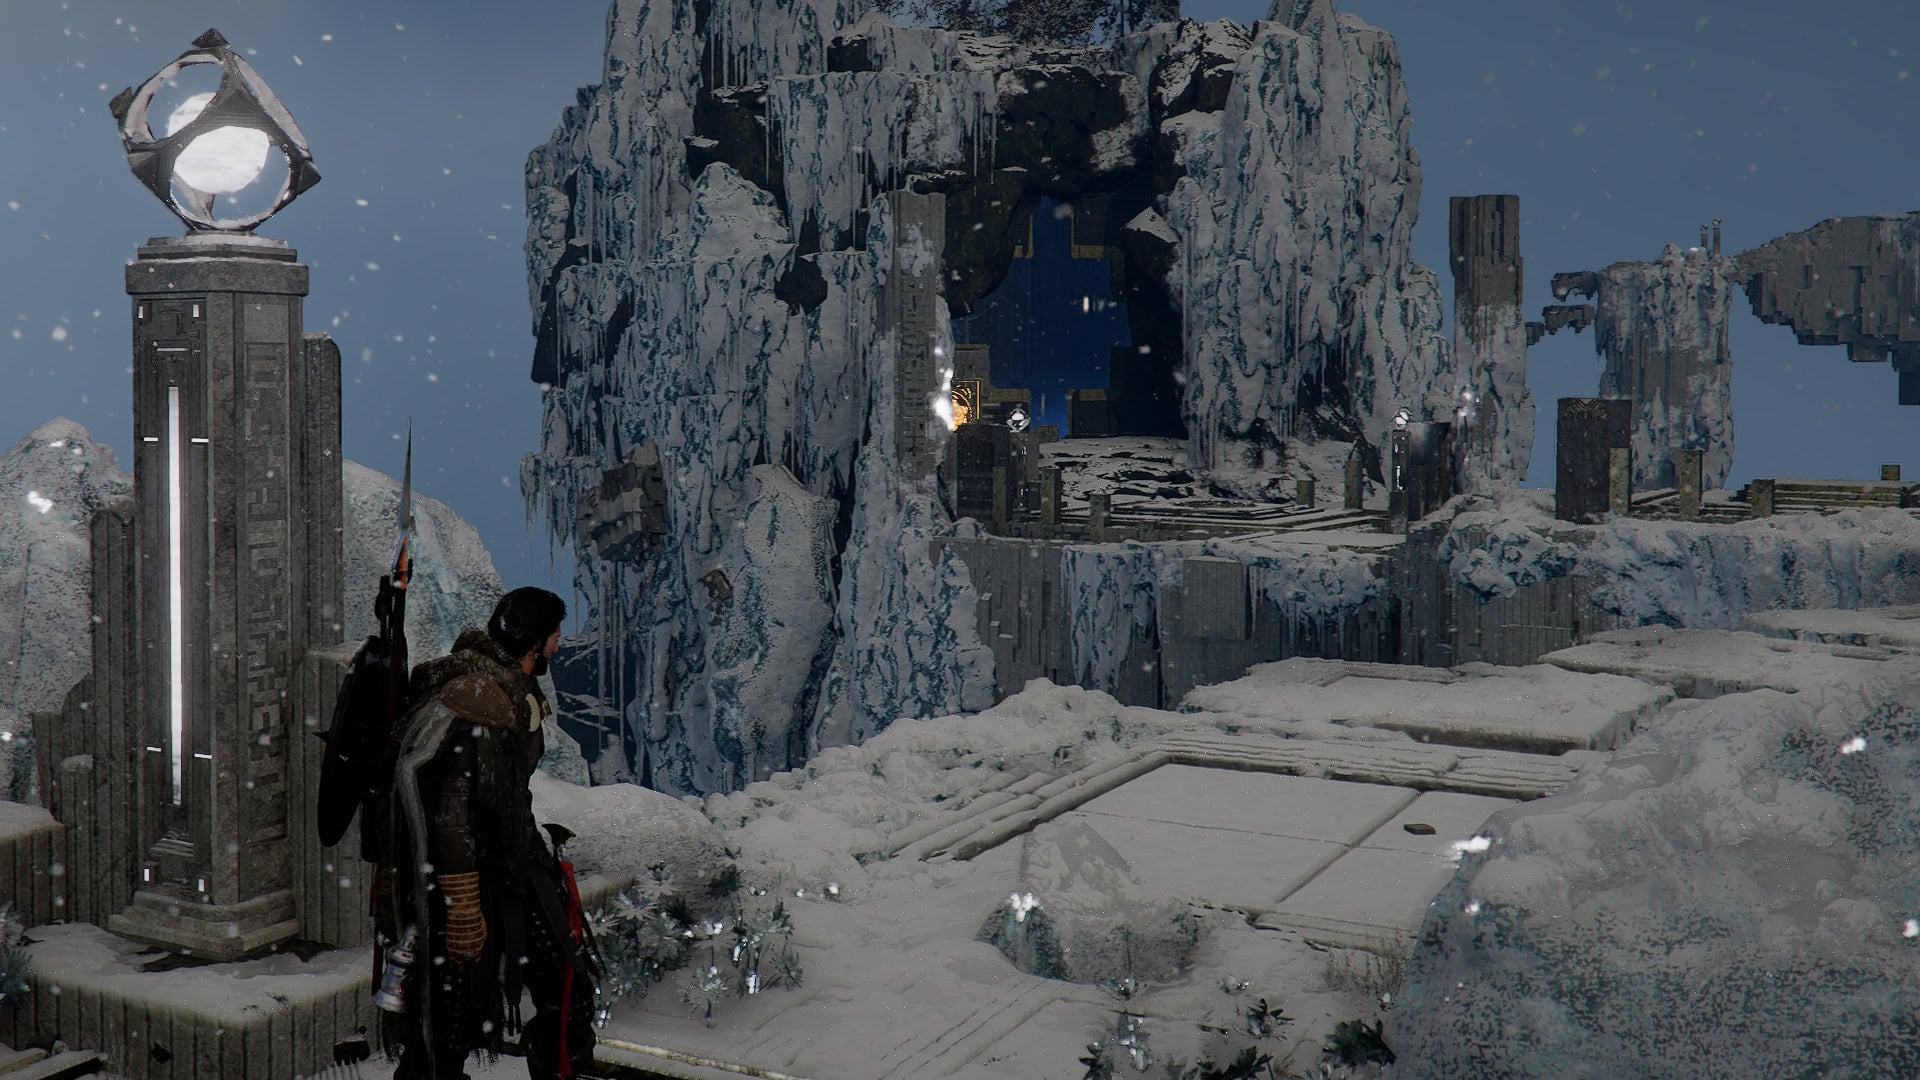
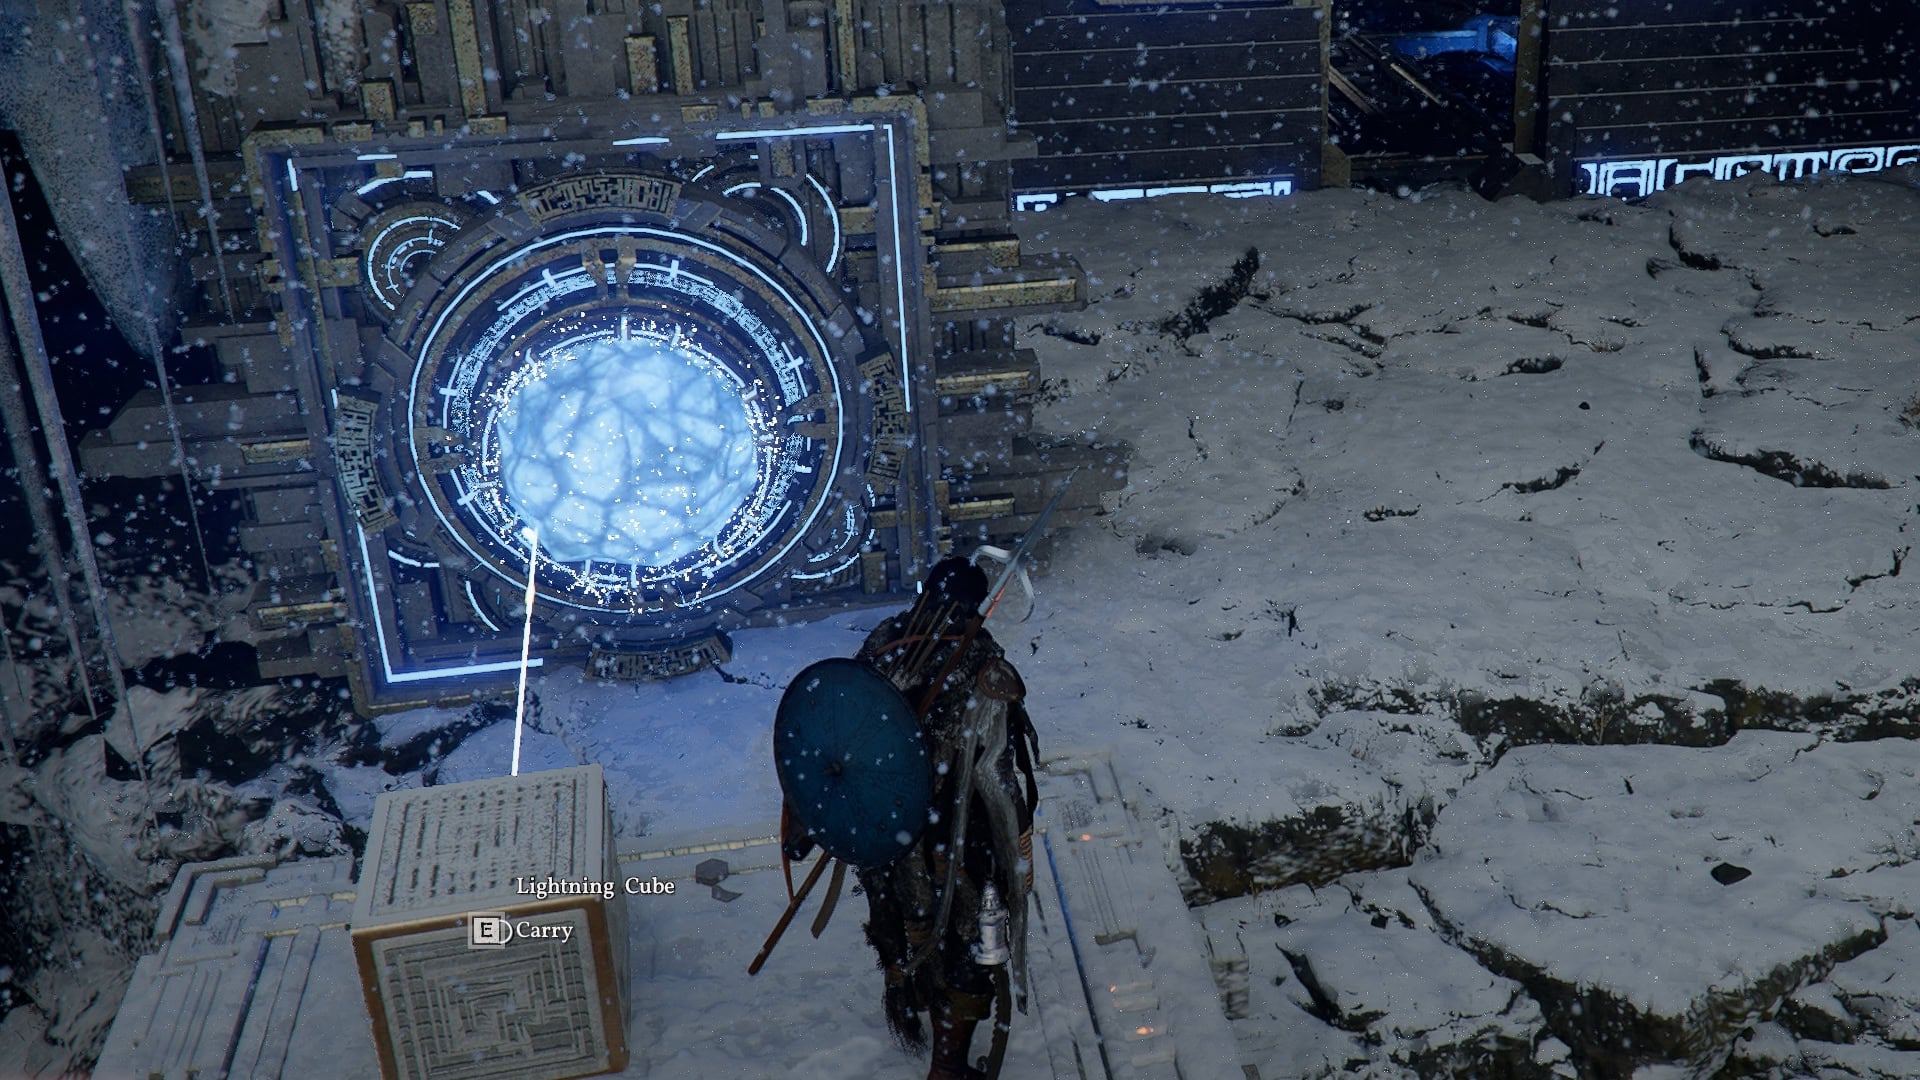
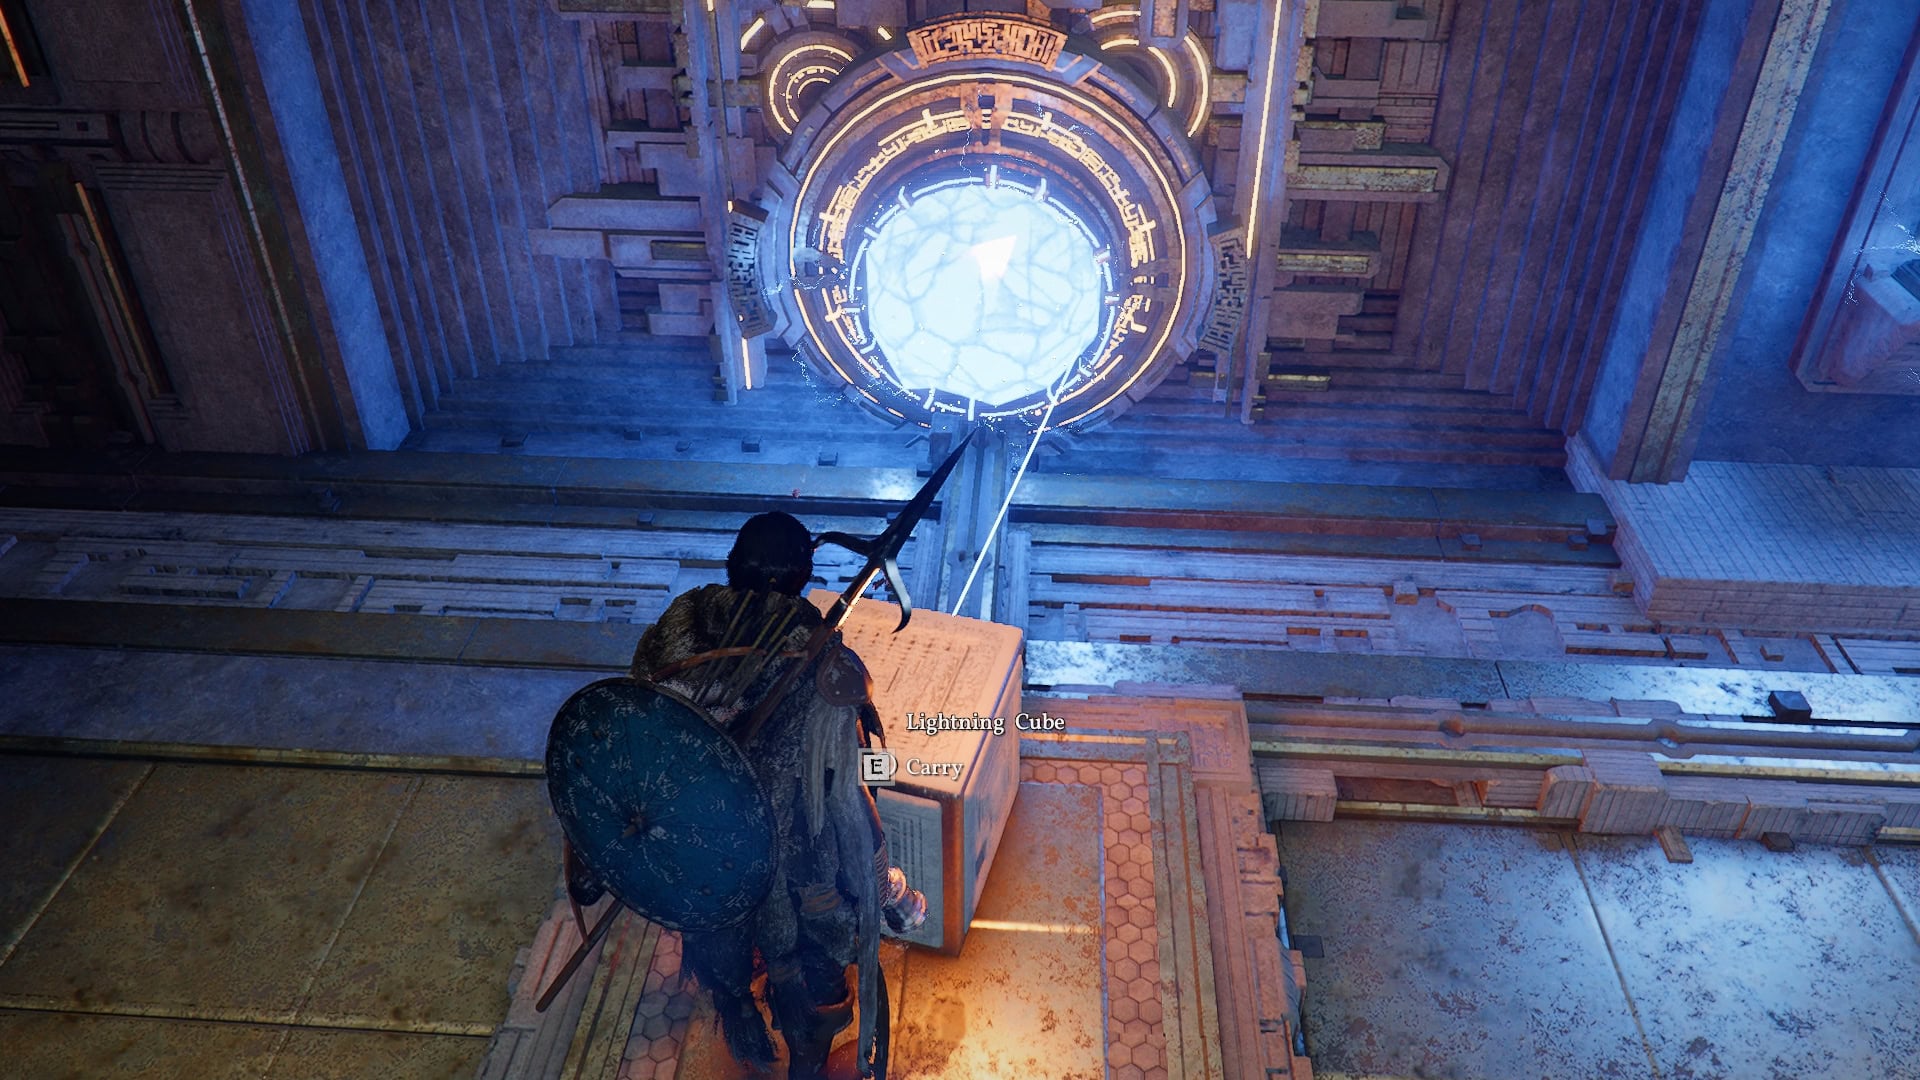
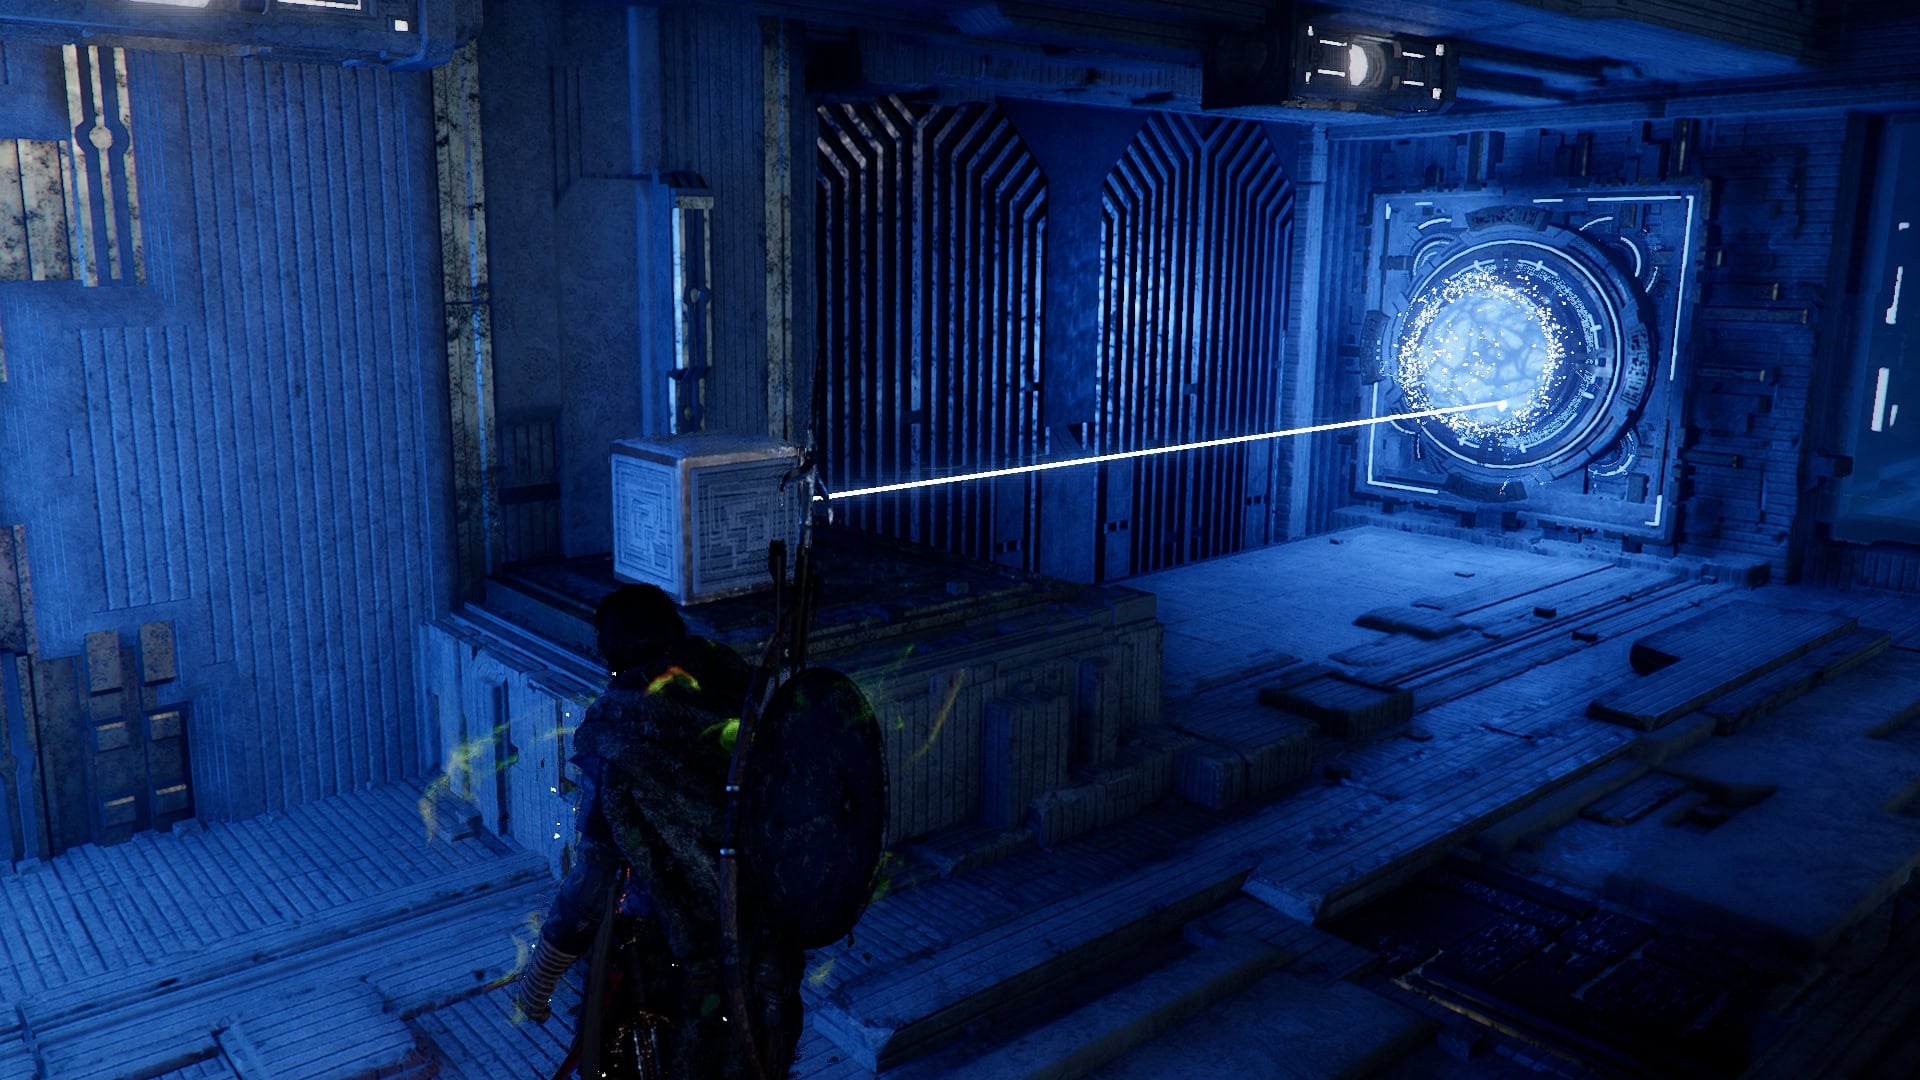
Just ahead of the Abyss Nexus is the first step of the puzzle. A Cube that emits a laser beam and a half-orb in the wall that needs powering.
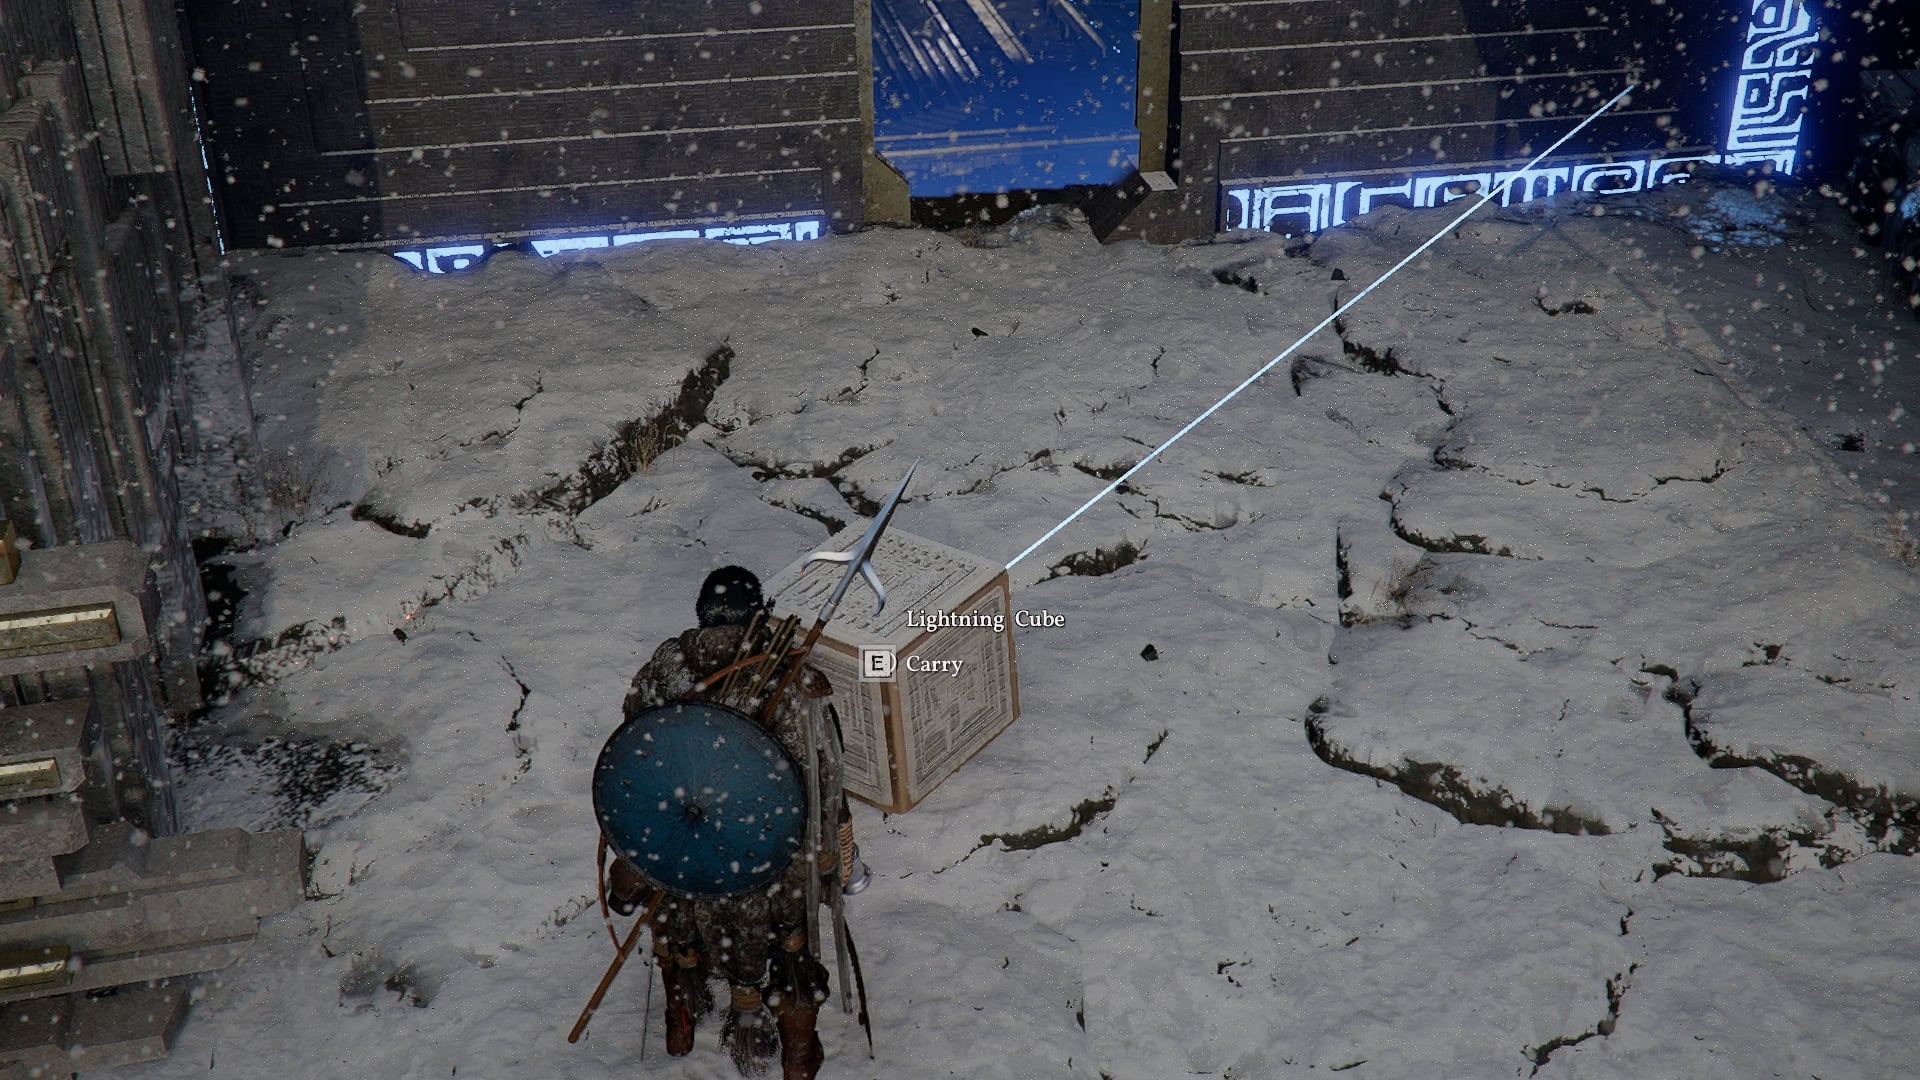
Pick up the Cube with the light beam and place it on the platform in front of the half-orb with the beam pointing toward it. This will power the half-orb and drop the barrier to the right.
It may be tempting, but avoid using the targeted Drop feature. This will never point directly forward, while simply facing a direction and dropping without aiming will point the laser from a Lightning Cube in the direction you face.
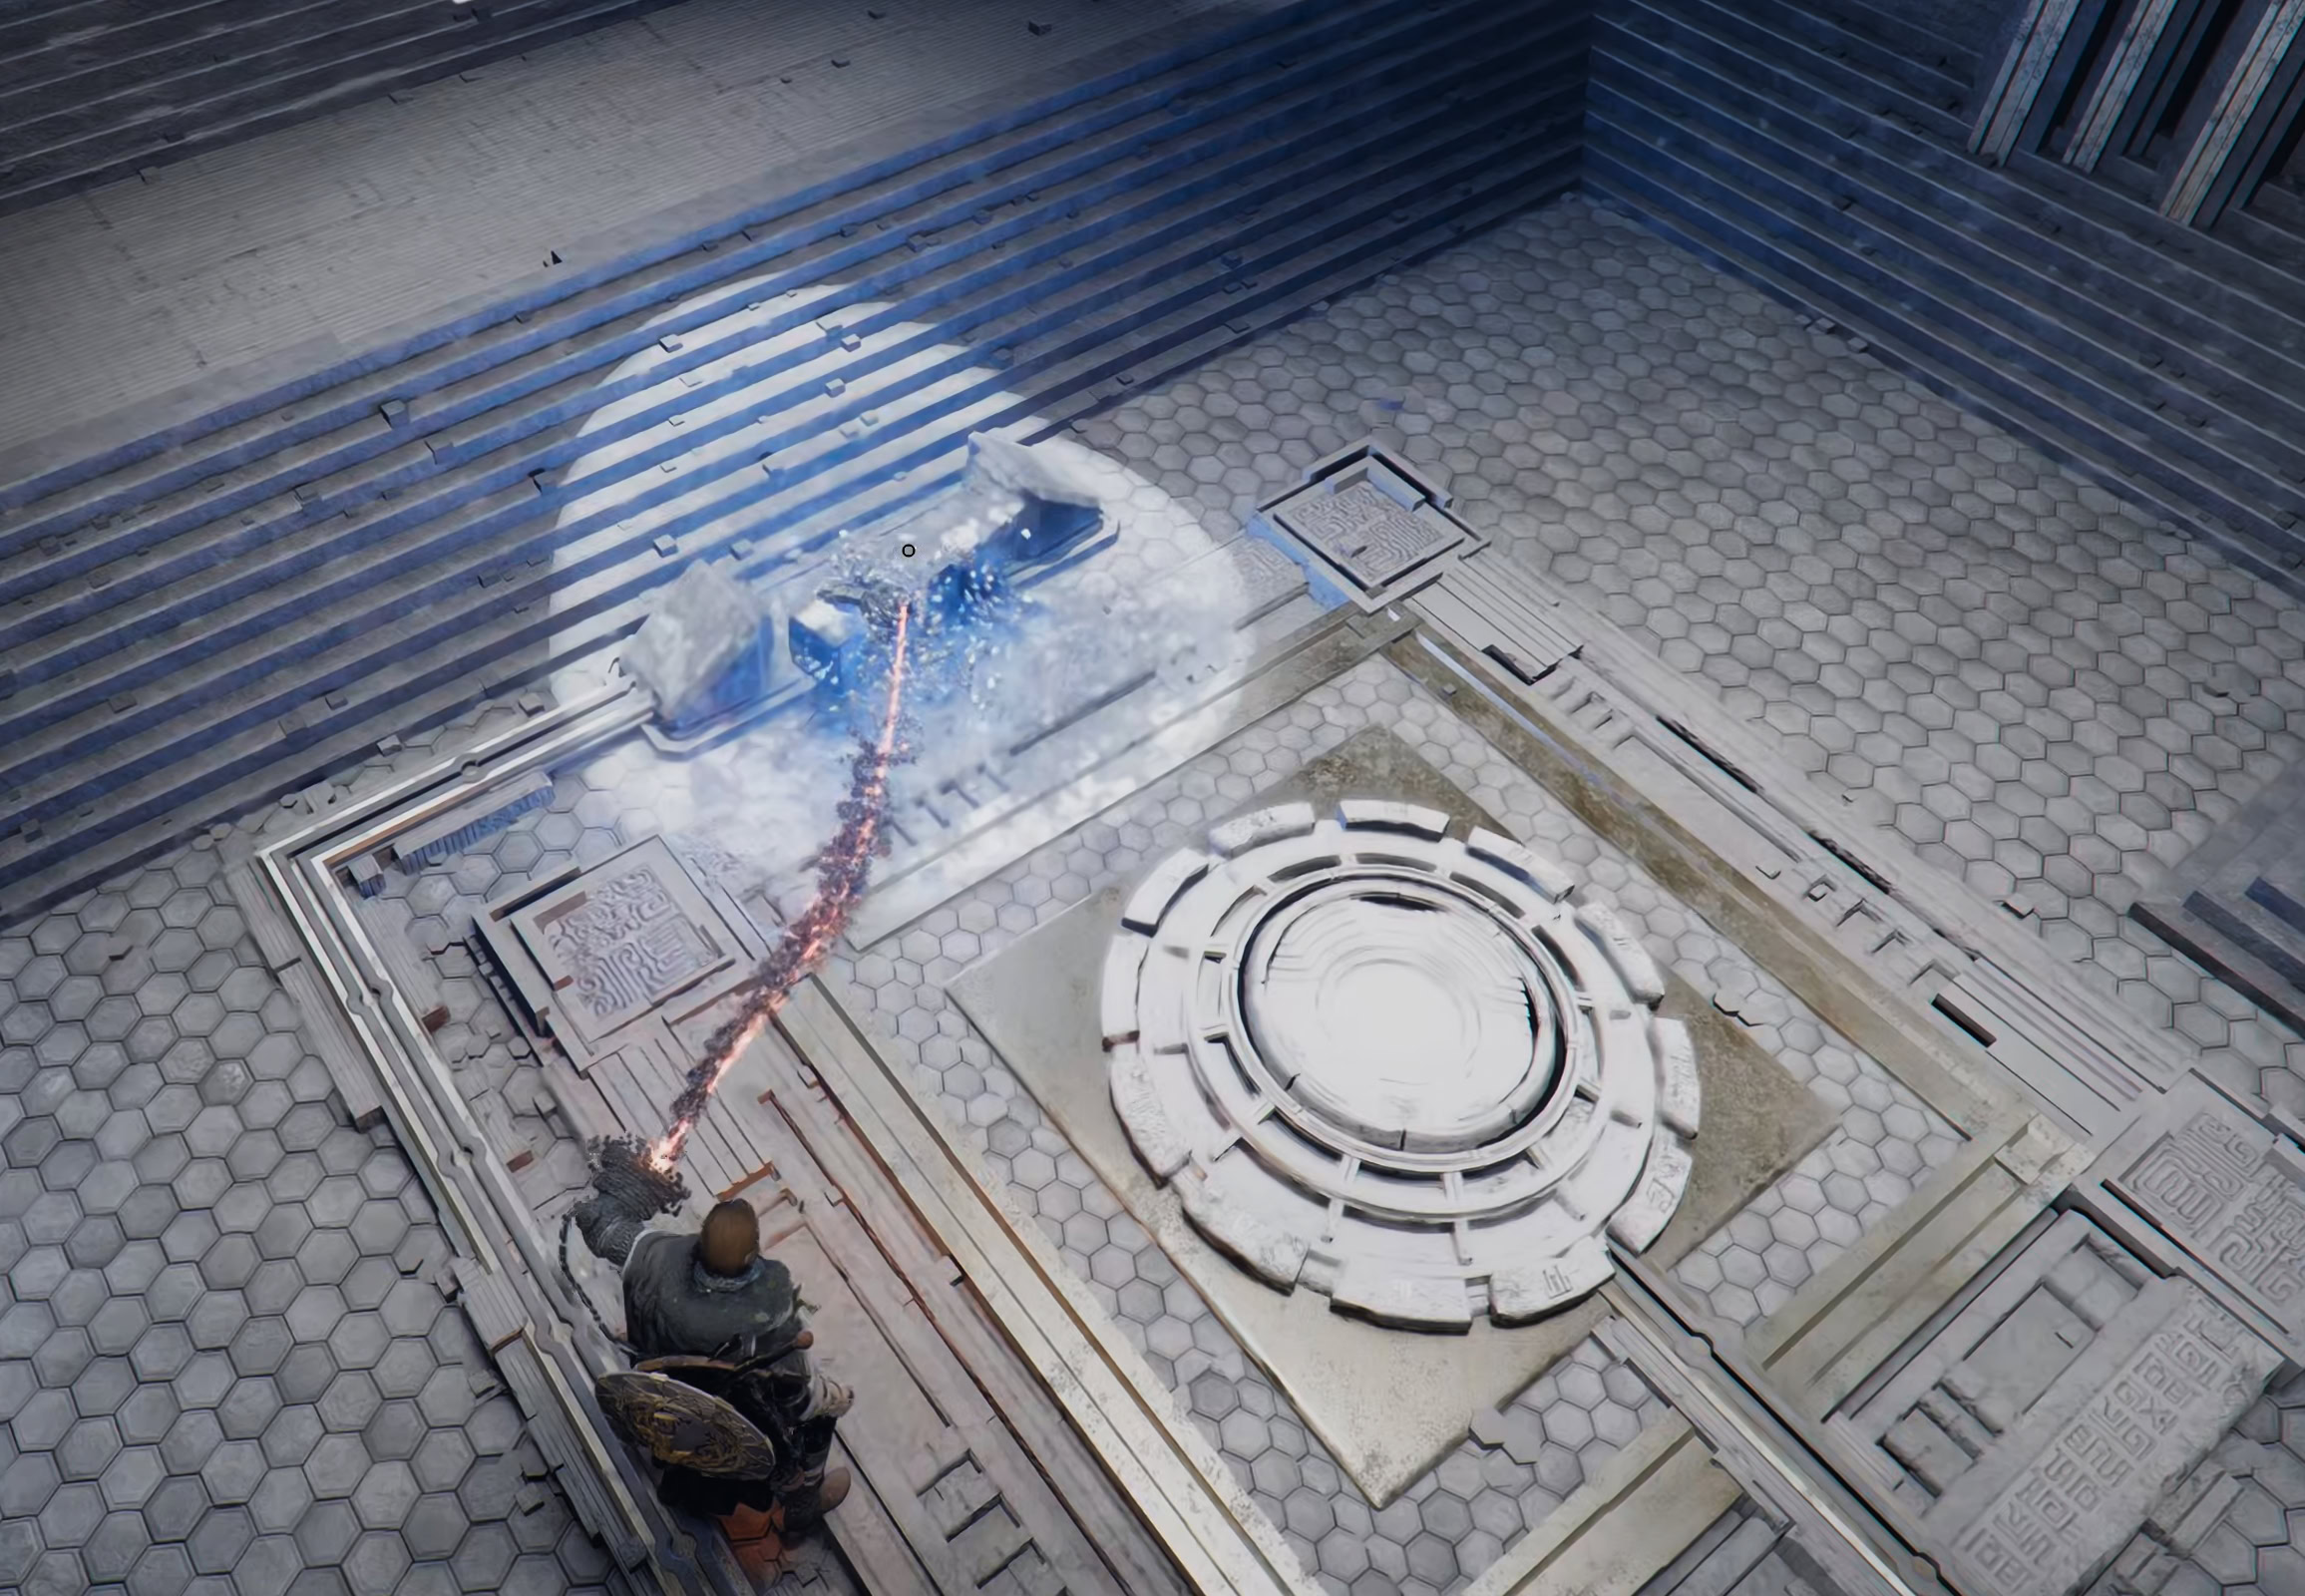
Head into the next area, where you can stand on the button on the left side to open the floor panel in the middle of the area.
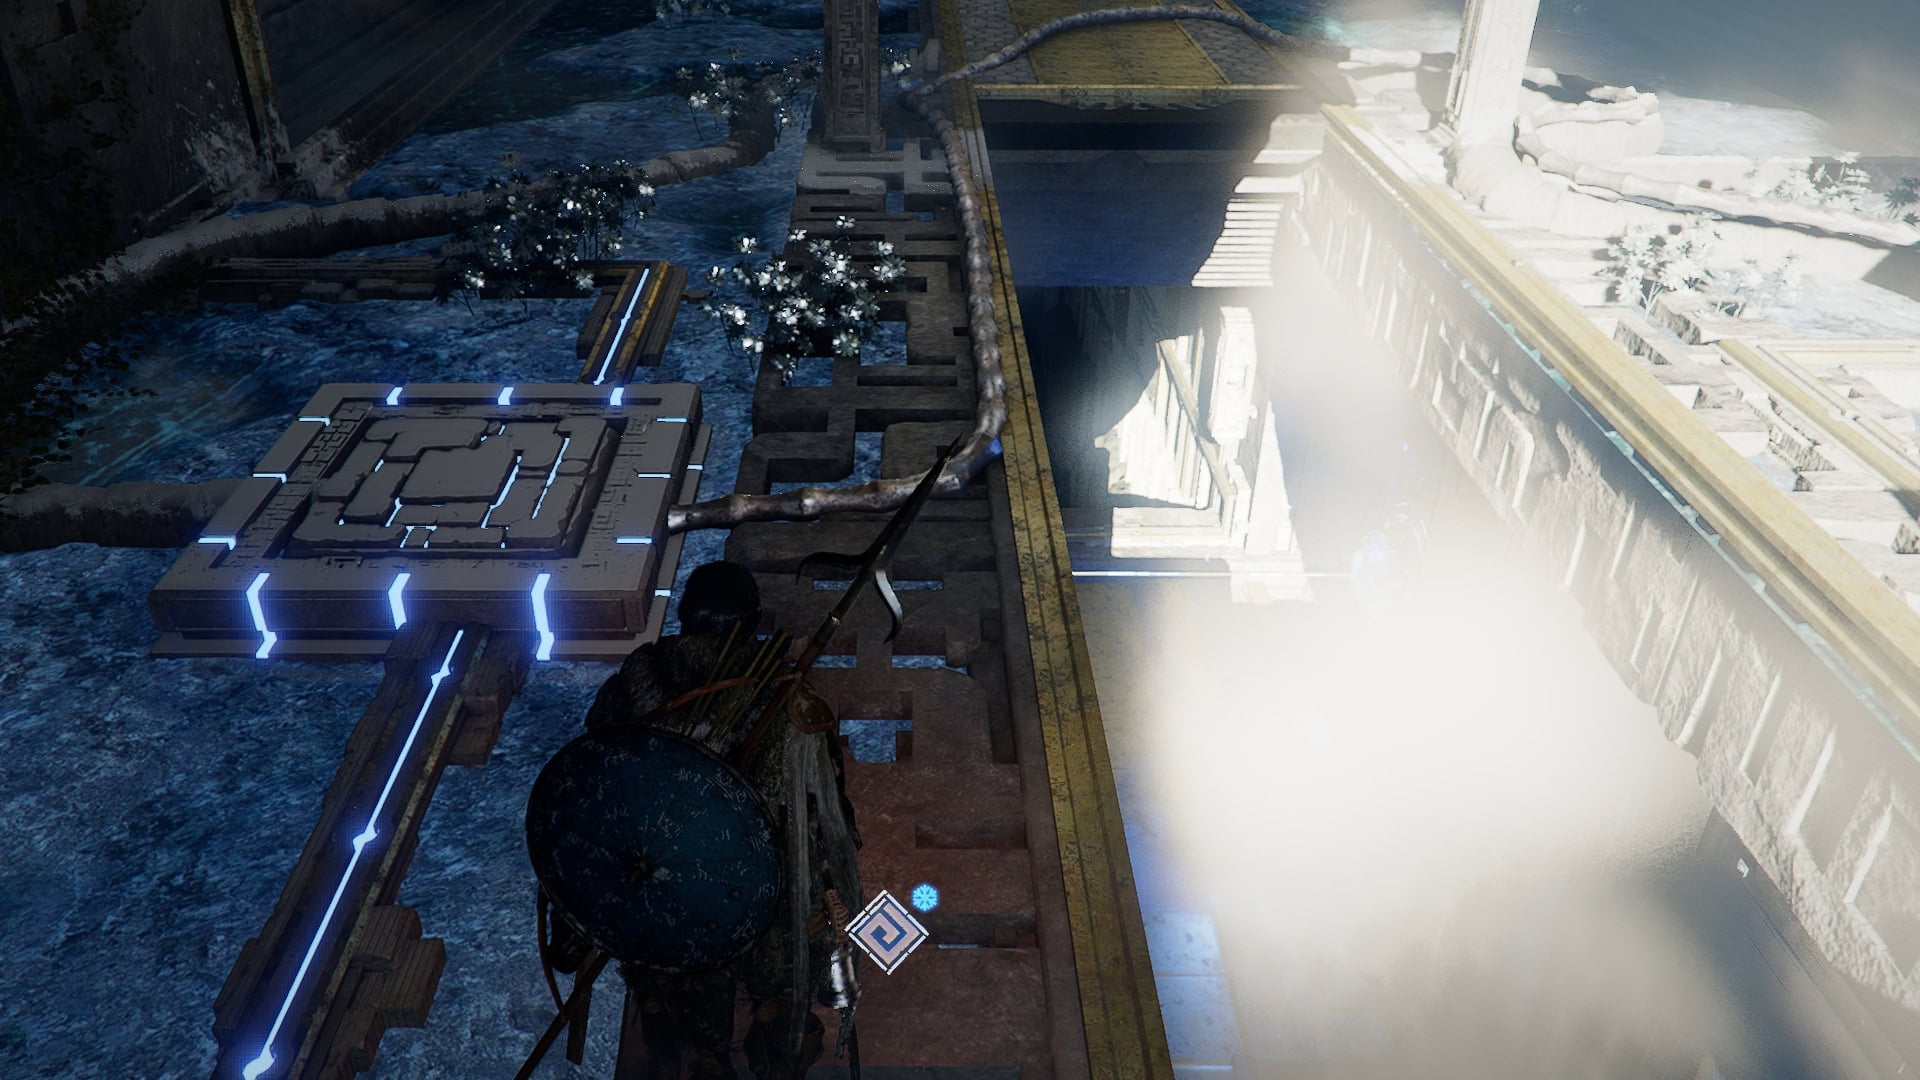
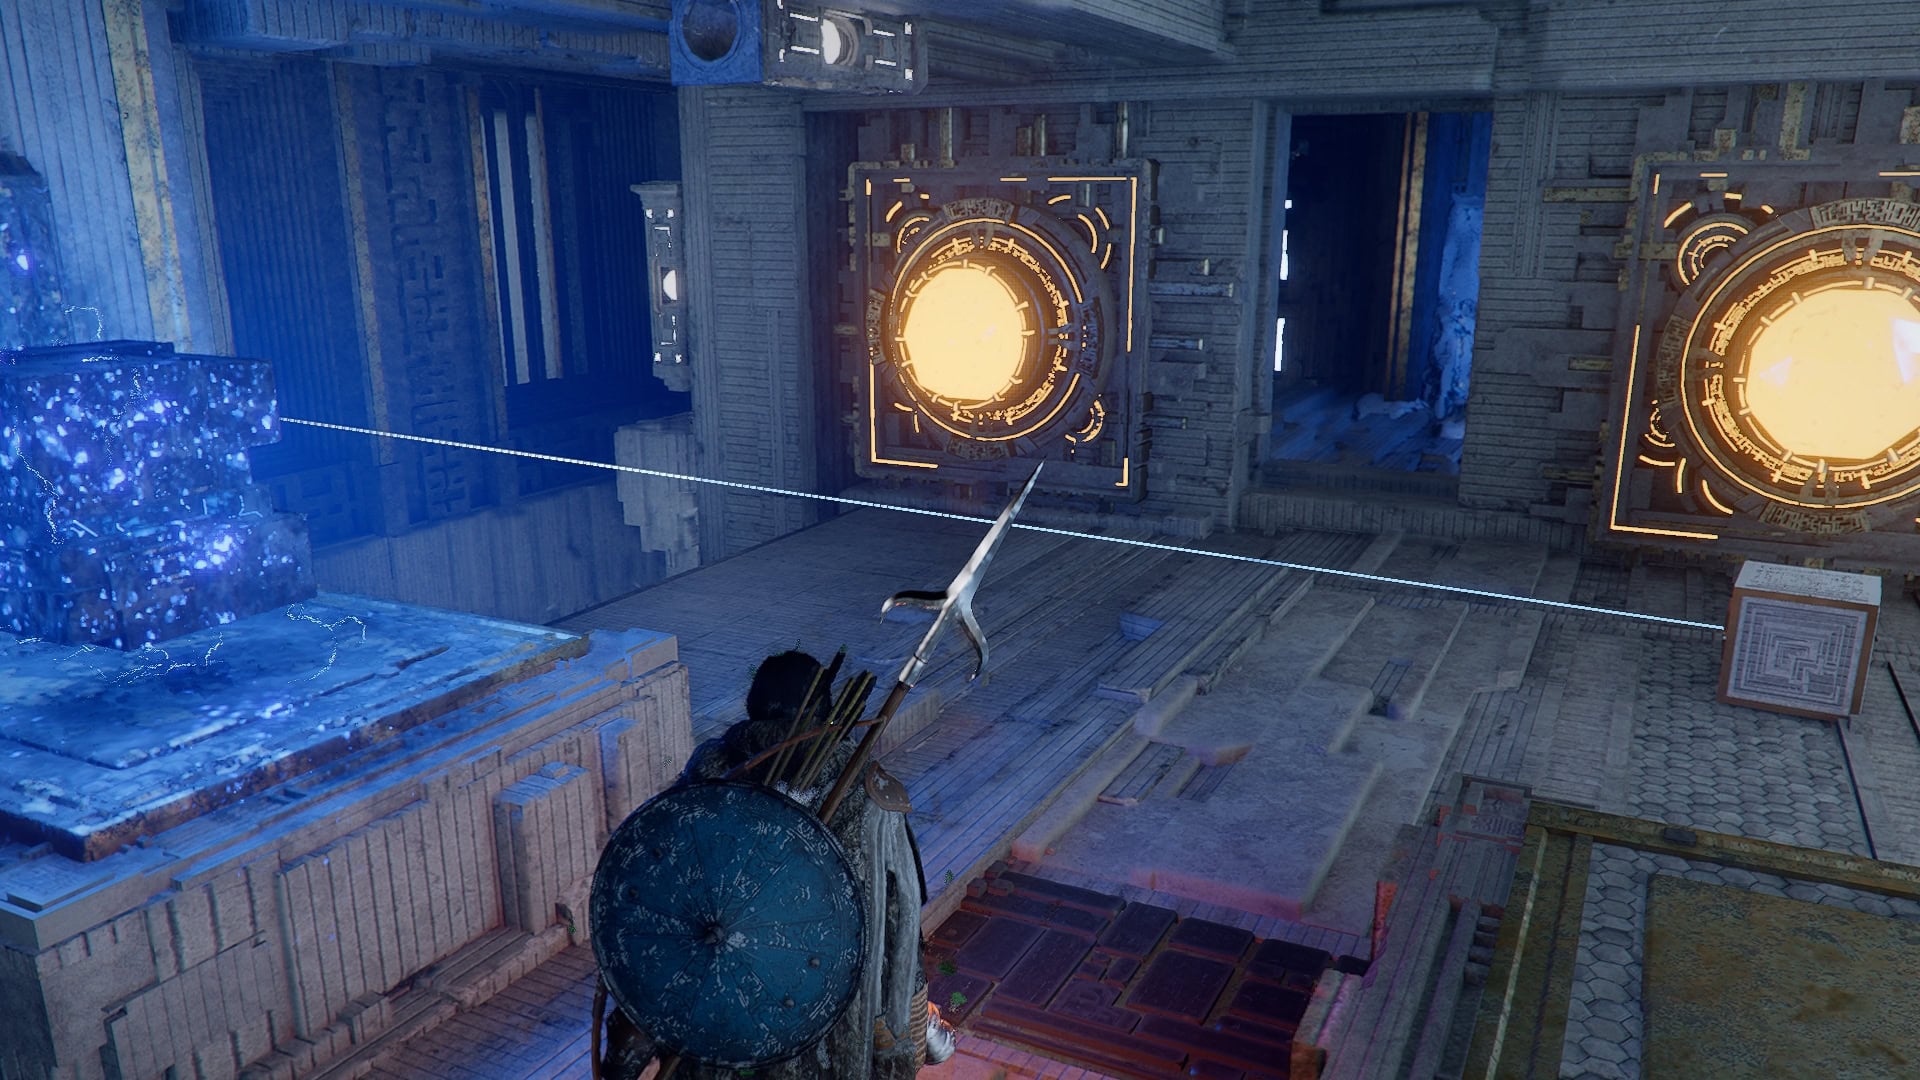
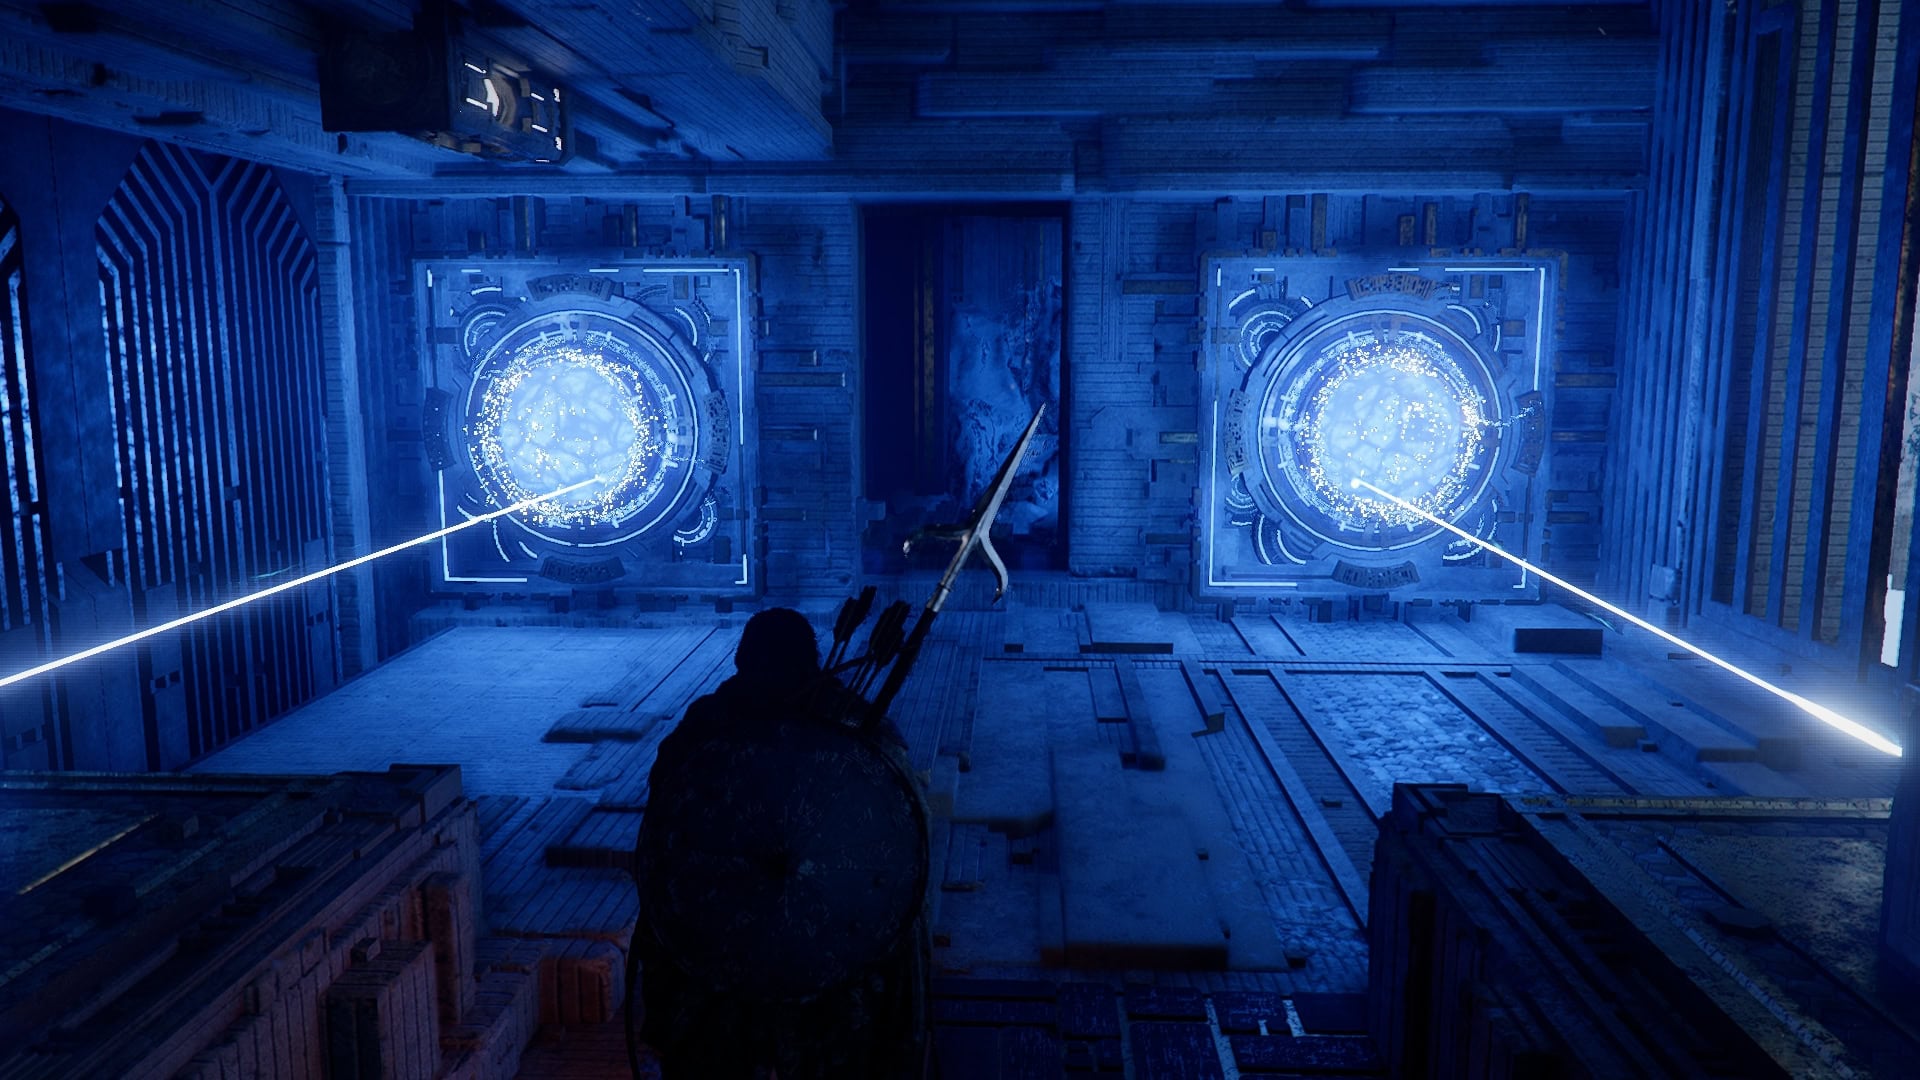
Drop down below, and you’ll find a couple of things here, two more half-orbs in the wall (one lit, one blue), a cuboid Power Source, and a Cube with a light beam just around the corner on the left.
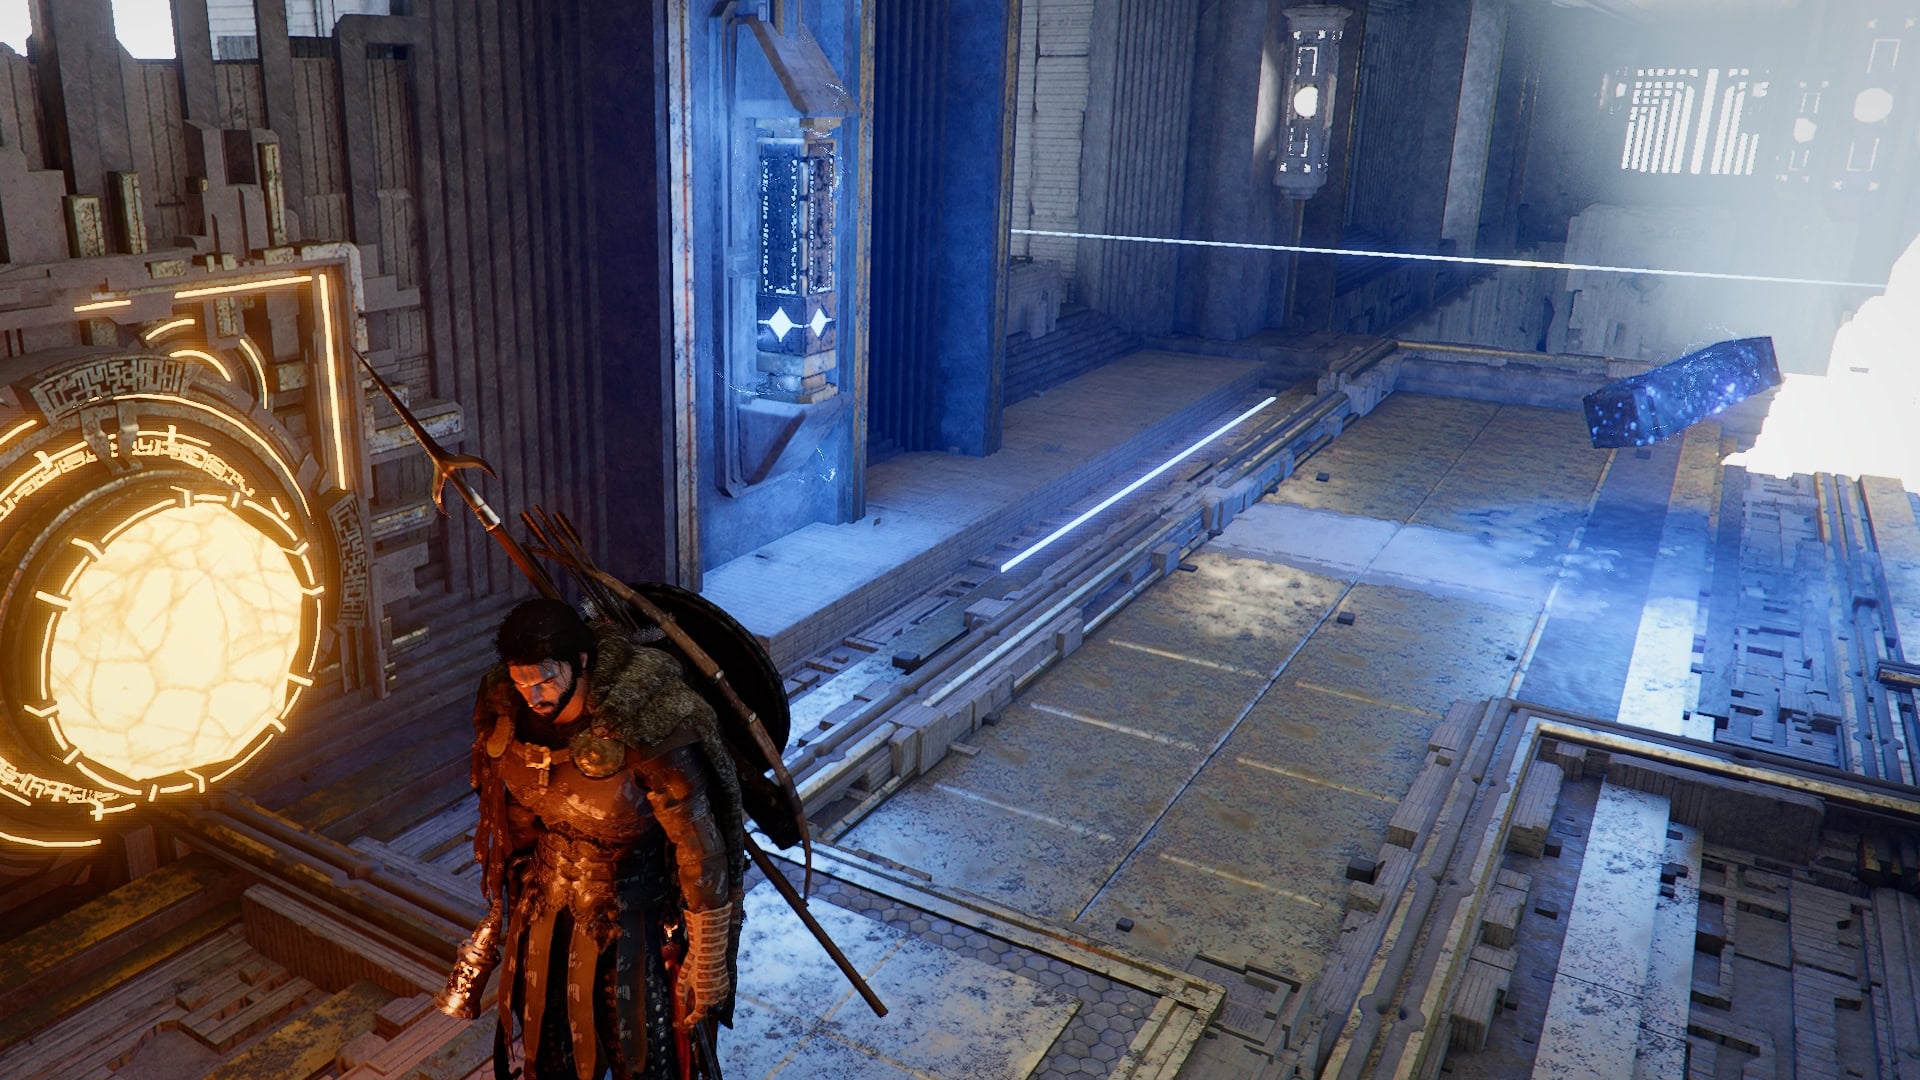
Start with the cuboid Power Source first and socket in the wall on the right. Doing so will cause the platform down the hall to begin moving back and forth across the large gap.
Now, grab the Cube emitting the light beam and align it with the half-orb that is currently orange.
This will open a room on the right side of the hallway. To reach it, ride the Platform or glide over and you’ll find two more half-orbs (both blue, unlit), a cuboid Power Source, an unpowered white Cube socket and another Cube emitting a light beam here.
Grab the cube emitting a light beam and place it on the dark grate on the floor. Make sure it is facing straight toward the wall when doing so.

Move the blue cube Power Source onto the pedestal to activate the white cube. This will start to move the Conveyor you just placed the cube with the light beam on.
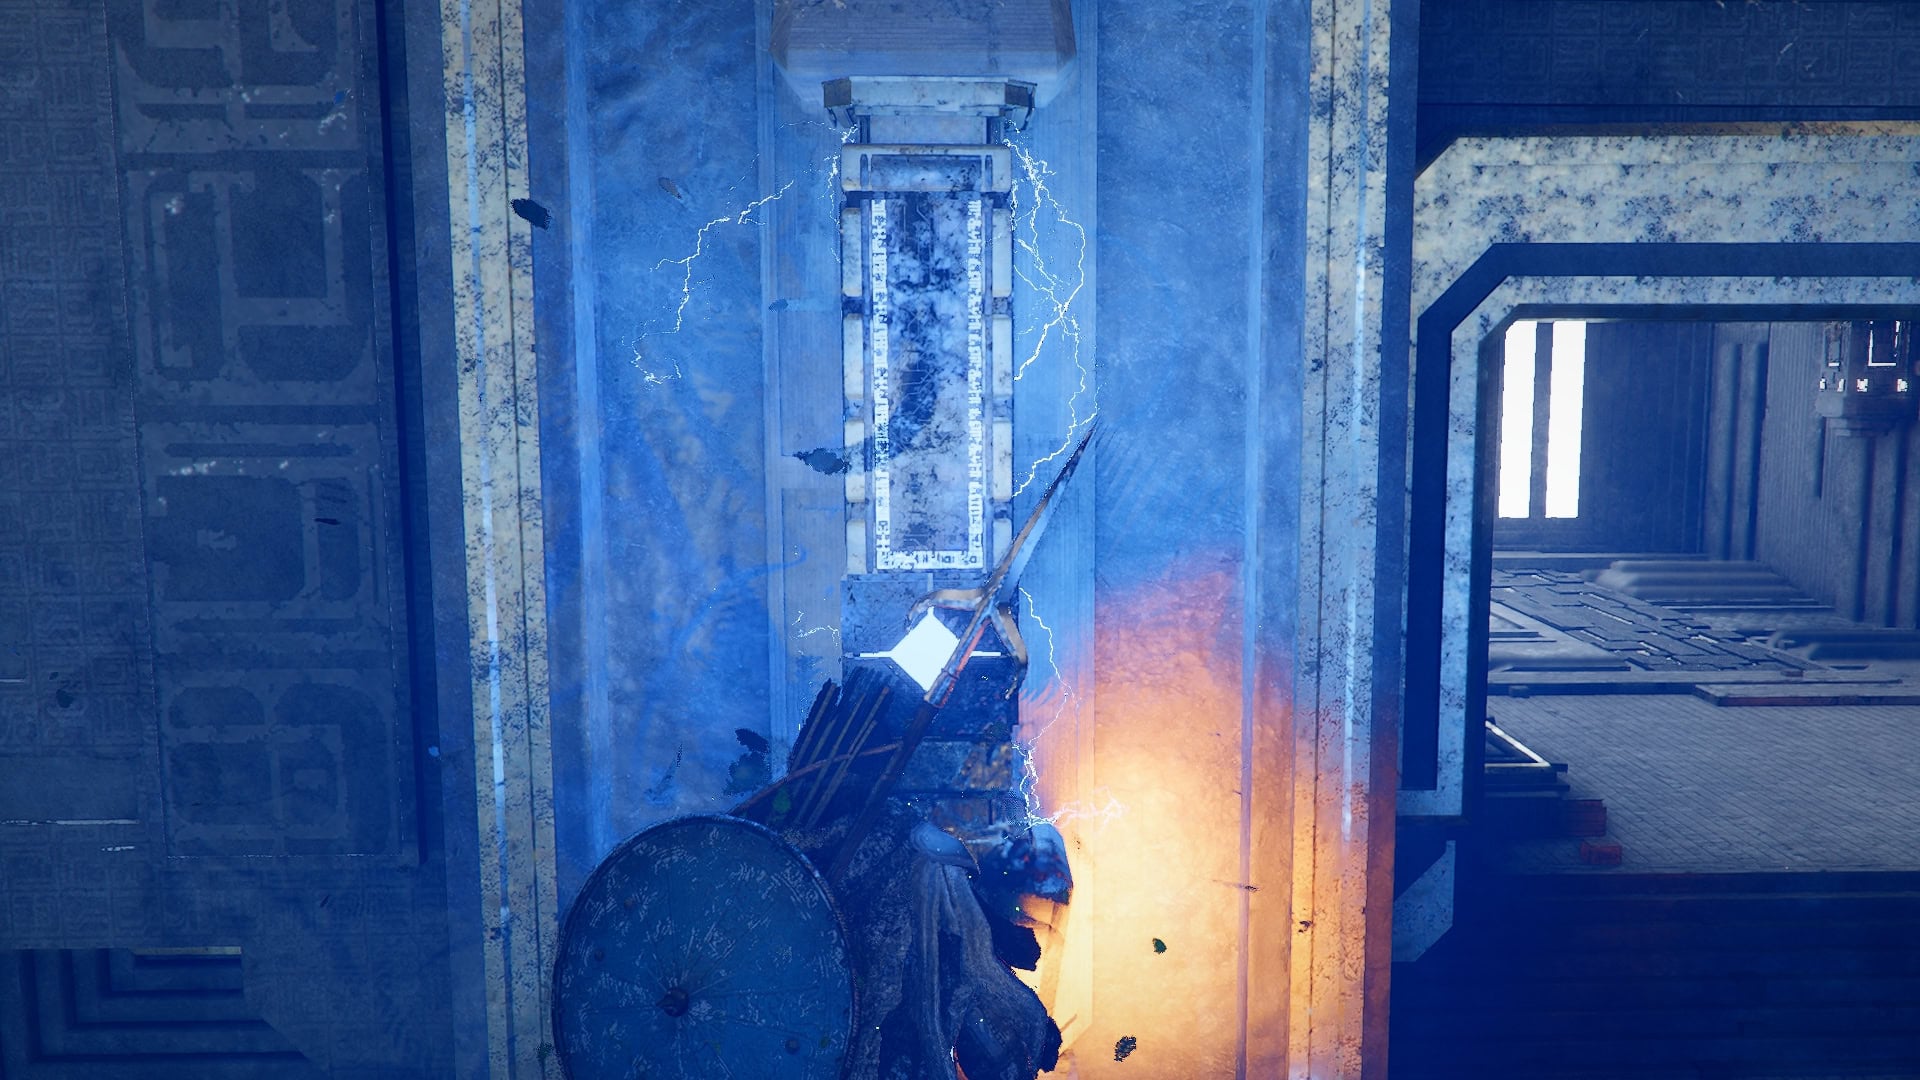
This will push the cube to the other end off the hall, where it will power another half-orb inside the blocked by grates chamber. This will drop the barrier to the left of the orb.
Pass through to the main hall and grab the cube with the light beam there. Carry it back to the two orbs in the adjacent room to the right and place it in front of one of them.
Move the cube Power Source to bring the other Cube with a light beam on the grate Conveyor back to you. Grab it and align it with the other orb to remove the barrier between them.
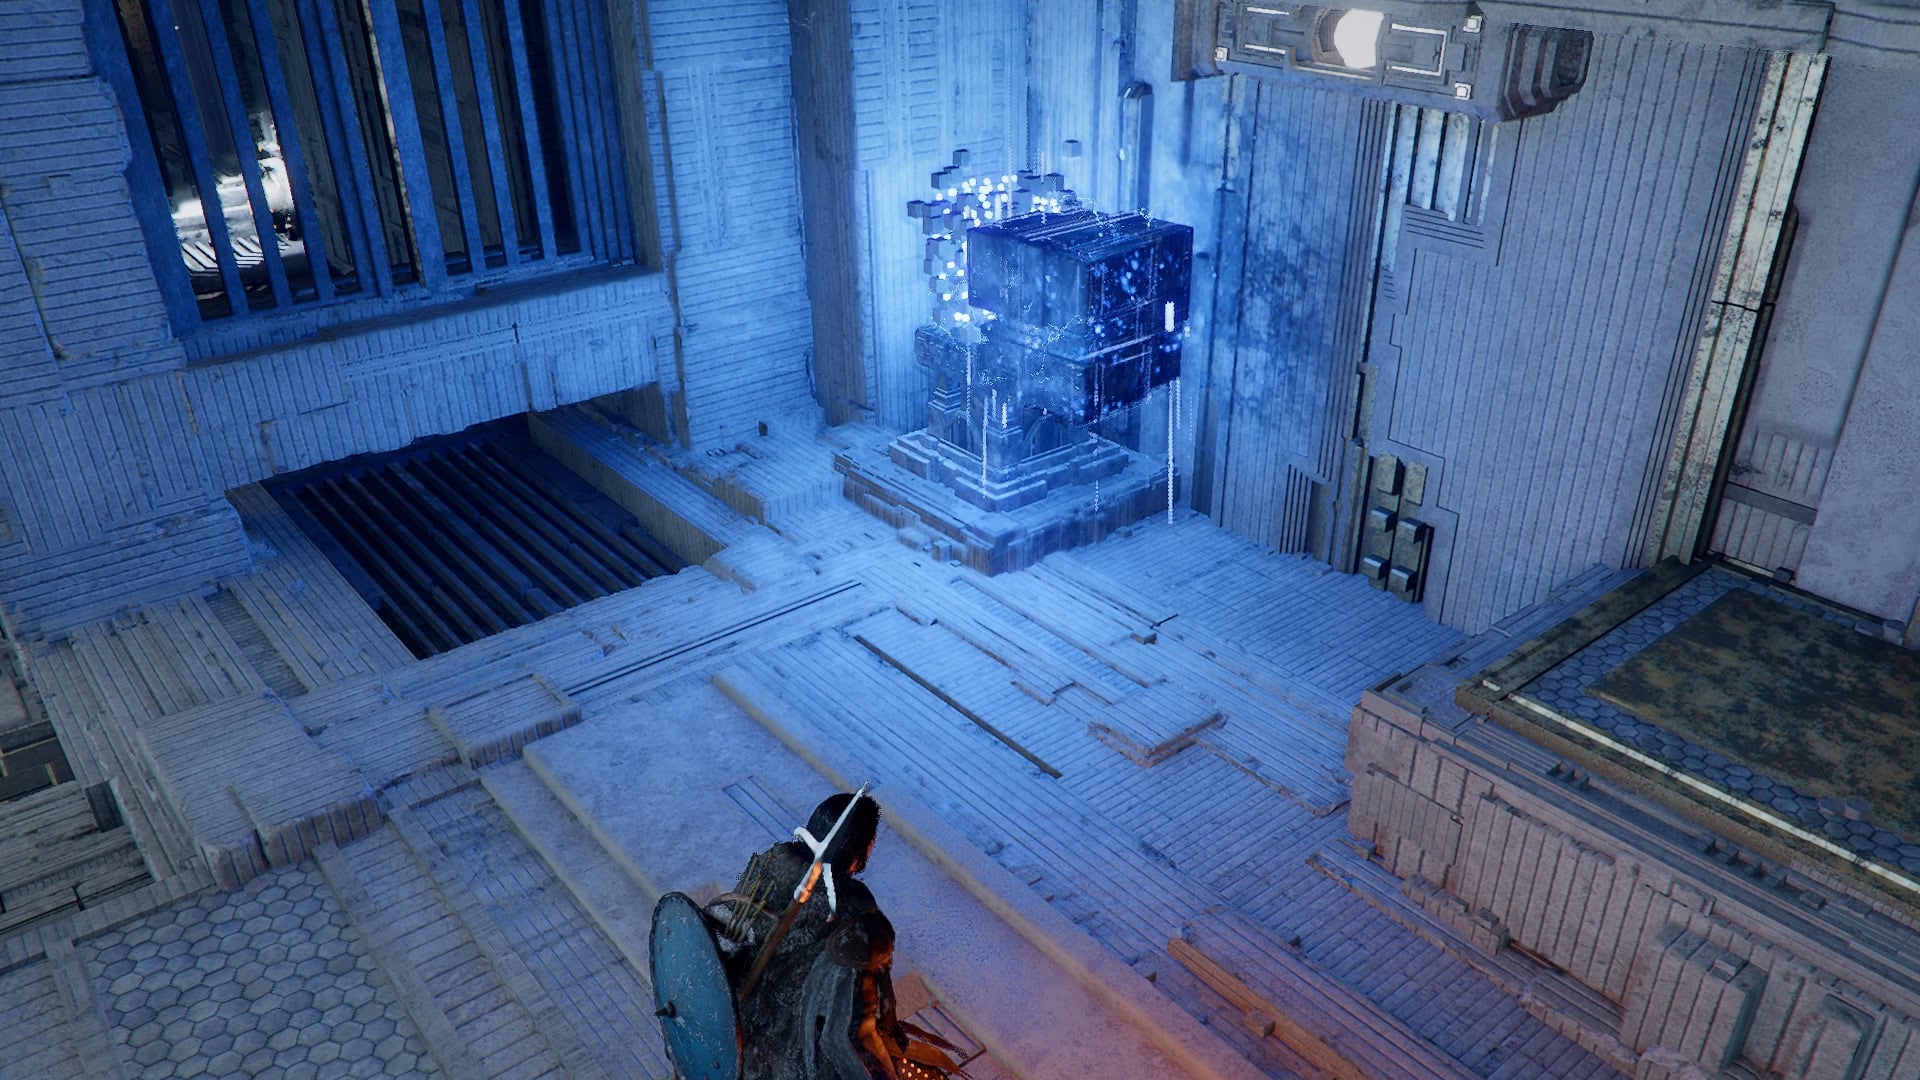
Head into this small room and retrieve the cuboid Small Power source found within the tiny area. However a wall manifests on one side of the room. Deactivate it by using Blinding Flash on the semi orb.
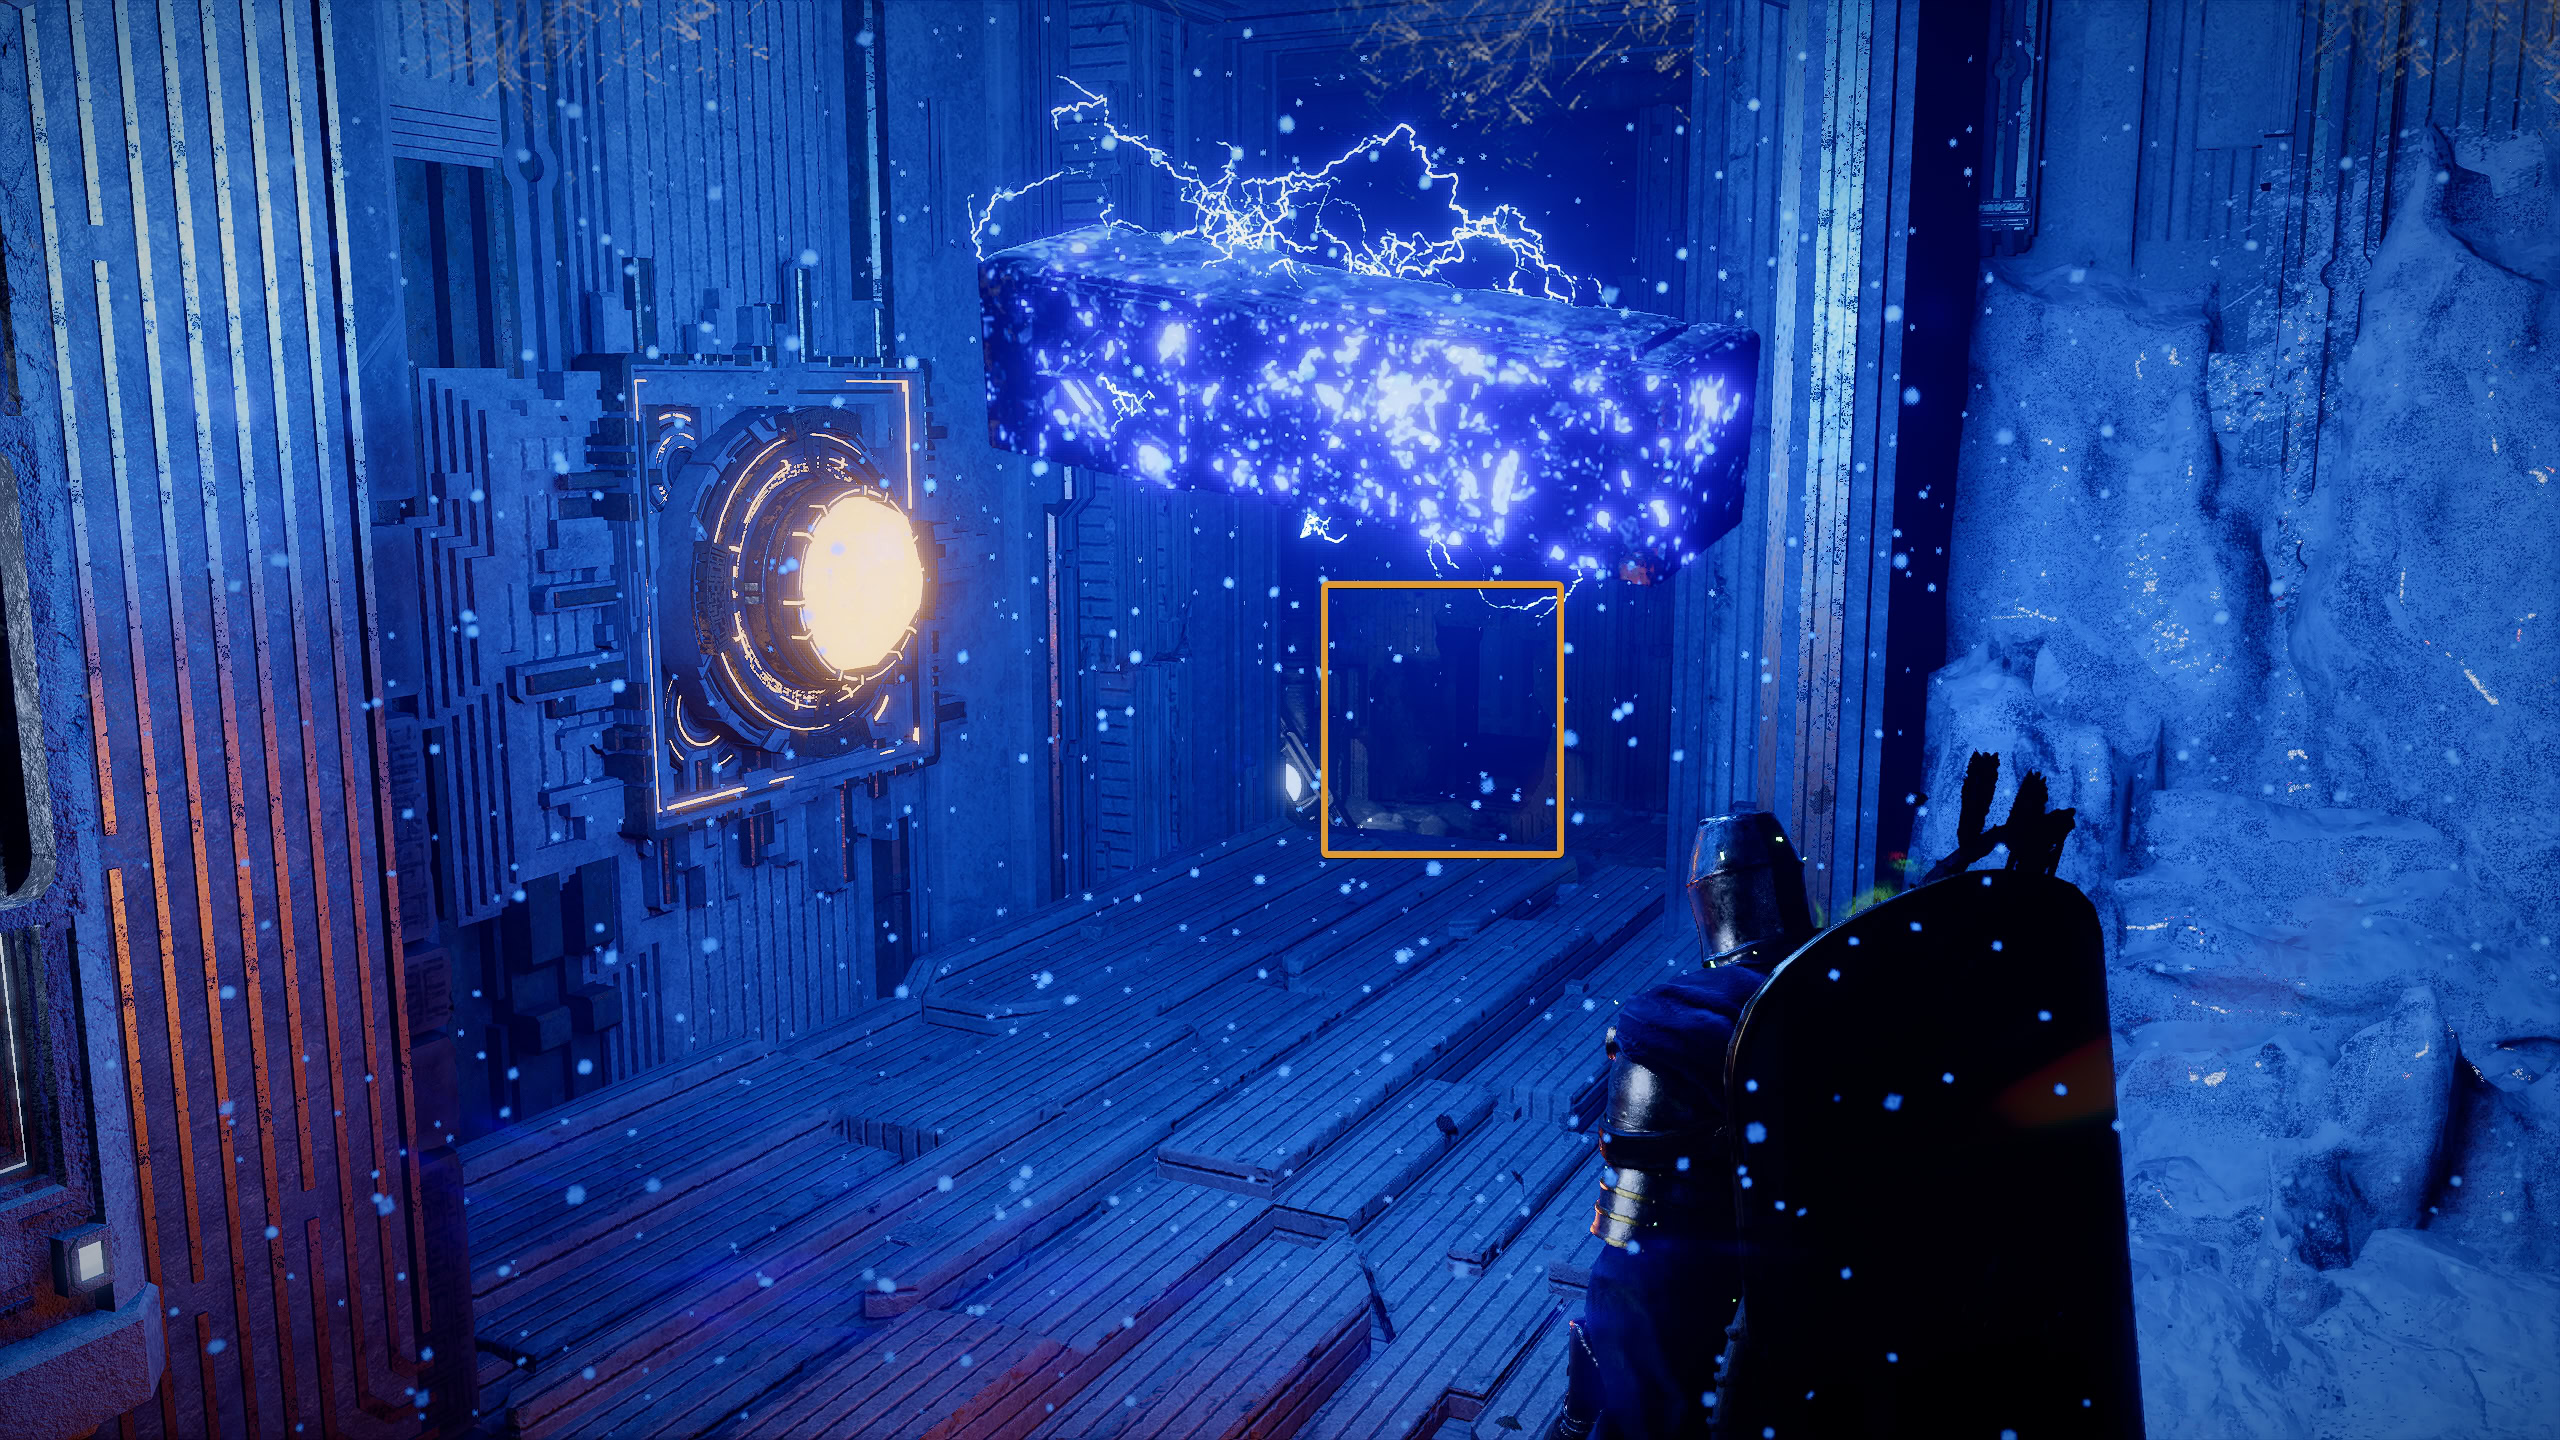
Once the wall is down, you can rotate and push the power source through the tiny gap into the next chamber. Crawl through the gap yourself and bring down the power source to the socket below and get it in place.
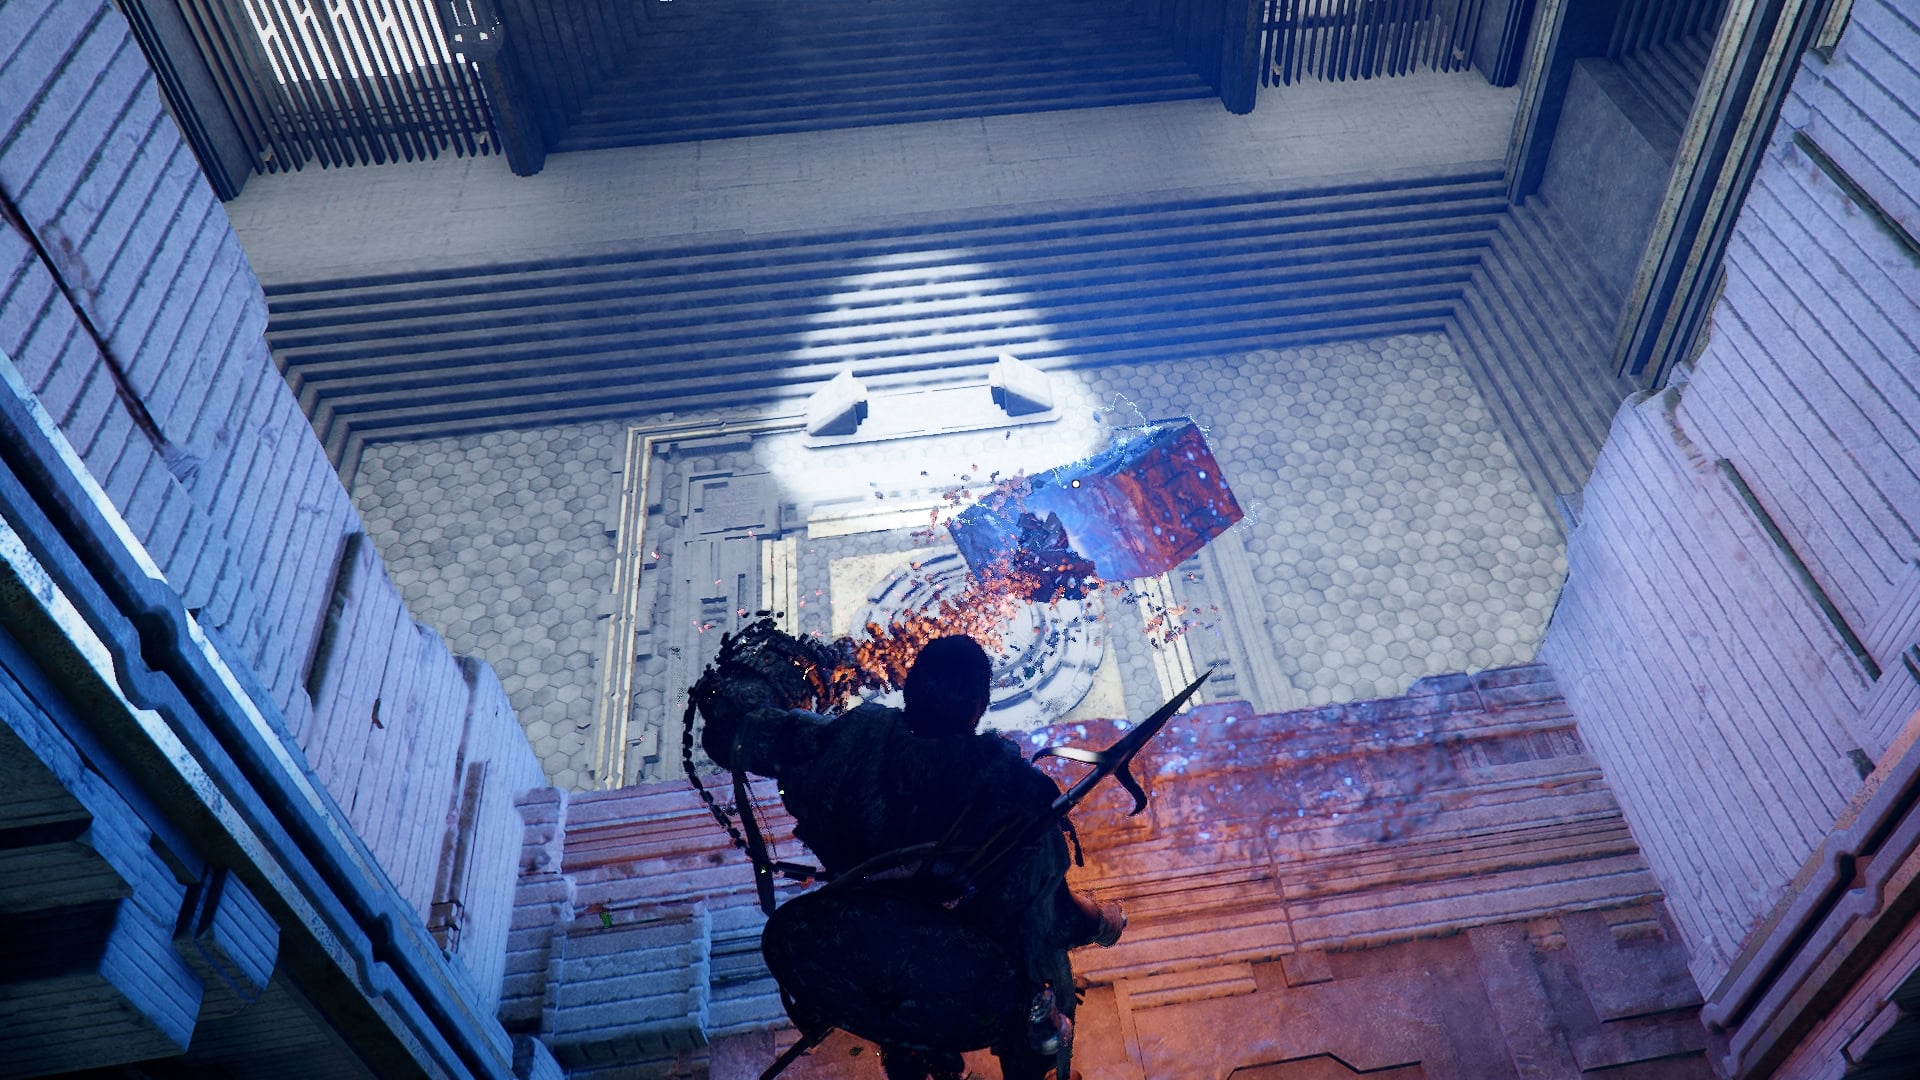
Once the power source is socketed, the Teleporter will activate. Take it to arrive back up top.
Use Force Palm to press the now powered button.

Continue forward to claim your reward, an Abyss Artifact.
Frostbitten Paradise Abyss Puzzle: Shortcut
There is an alternative method to solve this puzzle much faster. We are not sure if it’s intended or may be patched at some point, so we decided to share both. This method will save you from doing anything in the adjacent rooms, but requires you to do some extra platforming, using Glide and wall climbing.
Outside, after you place the cube with the light beam and unlock the door after the Nexus, go in and activate the button on the left, then drop down to the bottom area.
If you slot the cuboid power source into the right wall socket, this will start moving the platform down the hallway back and forth. You can use it to help you move quicker and easier the cuboid power socket to the other side.
When the platform is near you, jump on it, pull out the cuboid power source and push it across the gap as far away to the other end of the hallway as possible.

Cross to the other side using Glide and/or wall climbing. If you start falling, remember to grapple to the wall with Axiom Force.
When you are on the other side, pull the cuboid power source and bring it down to the socket on the floor in the next chamber to power up the teleporter.
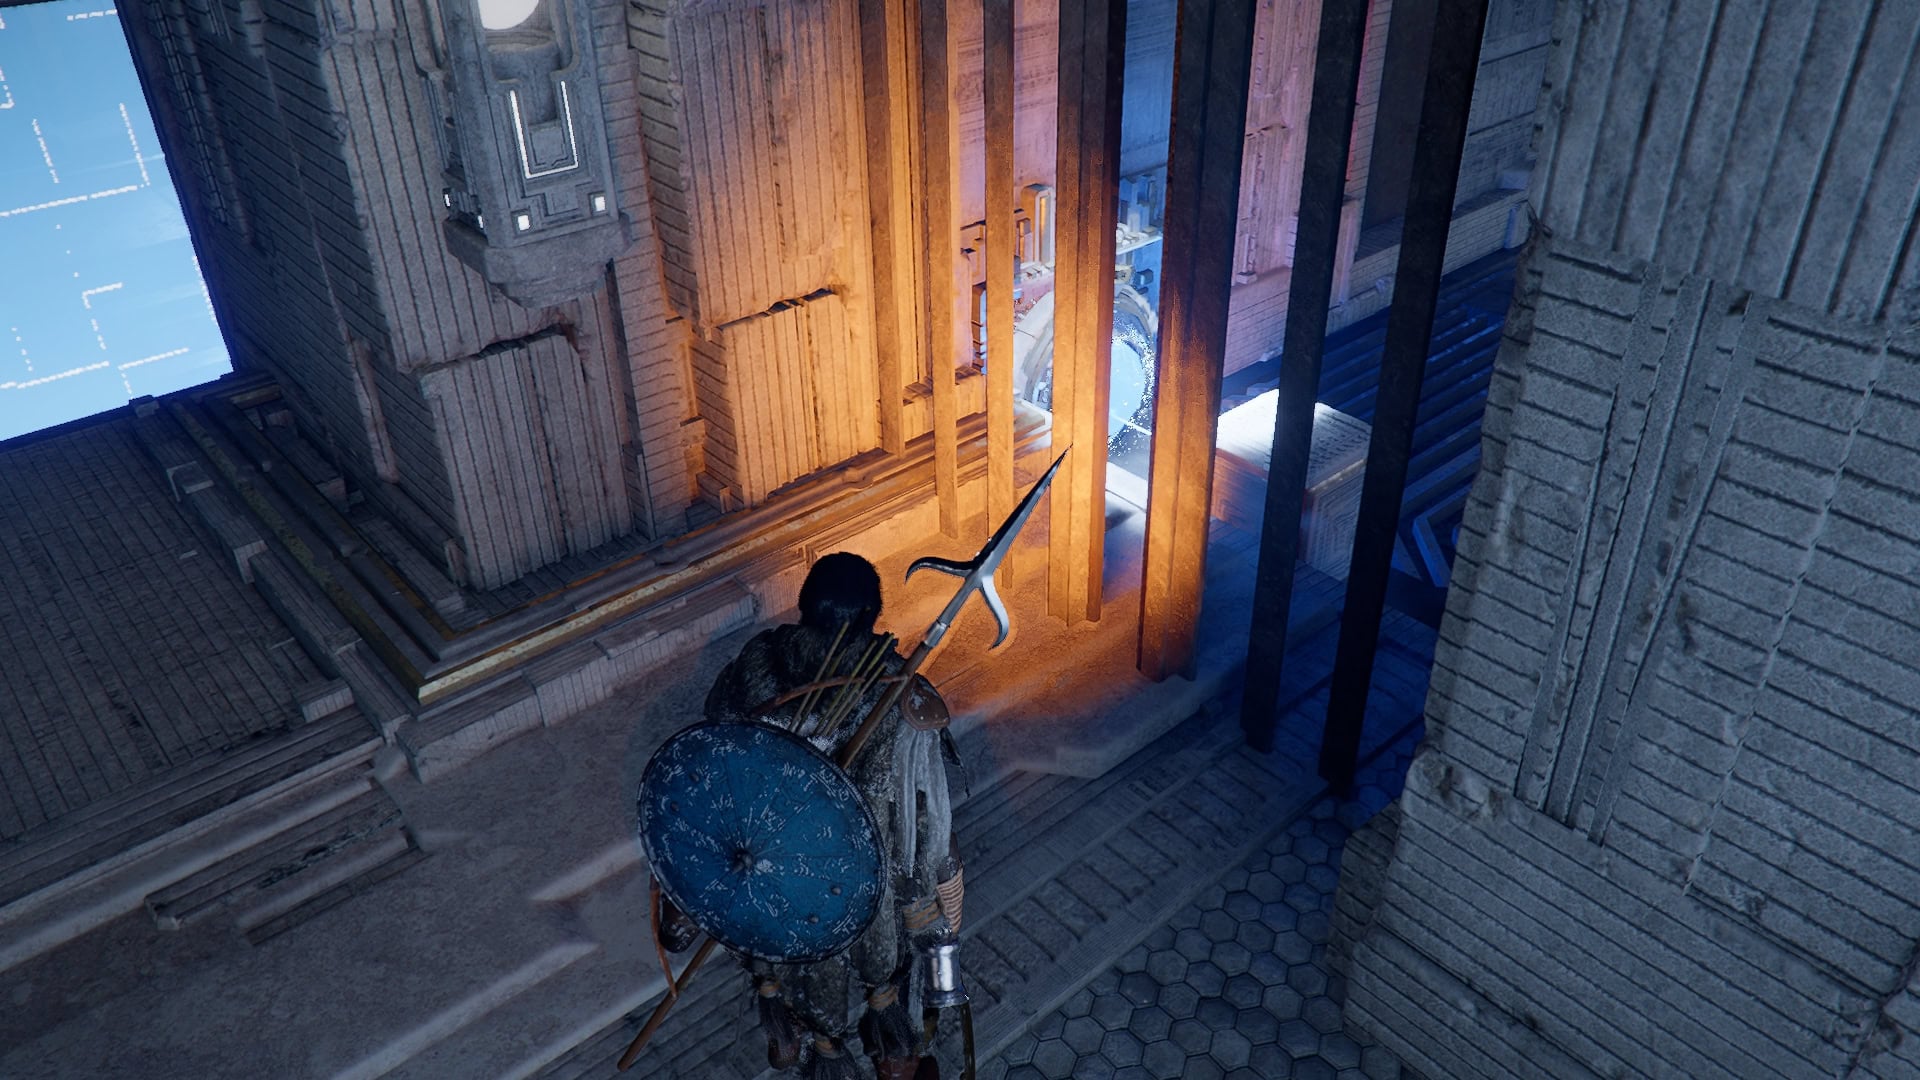
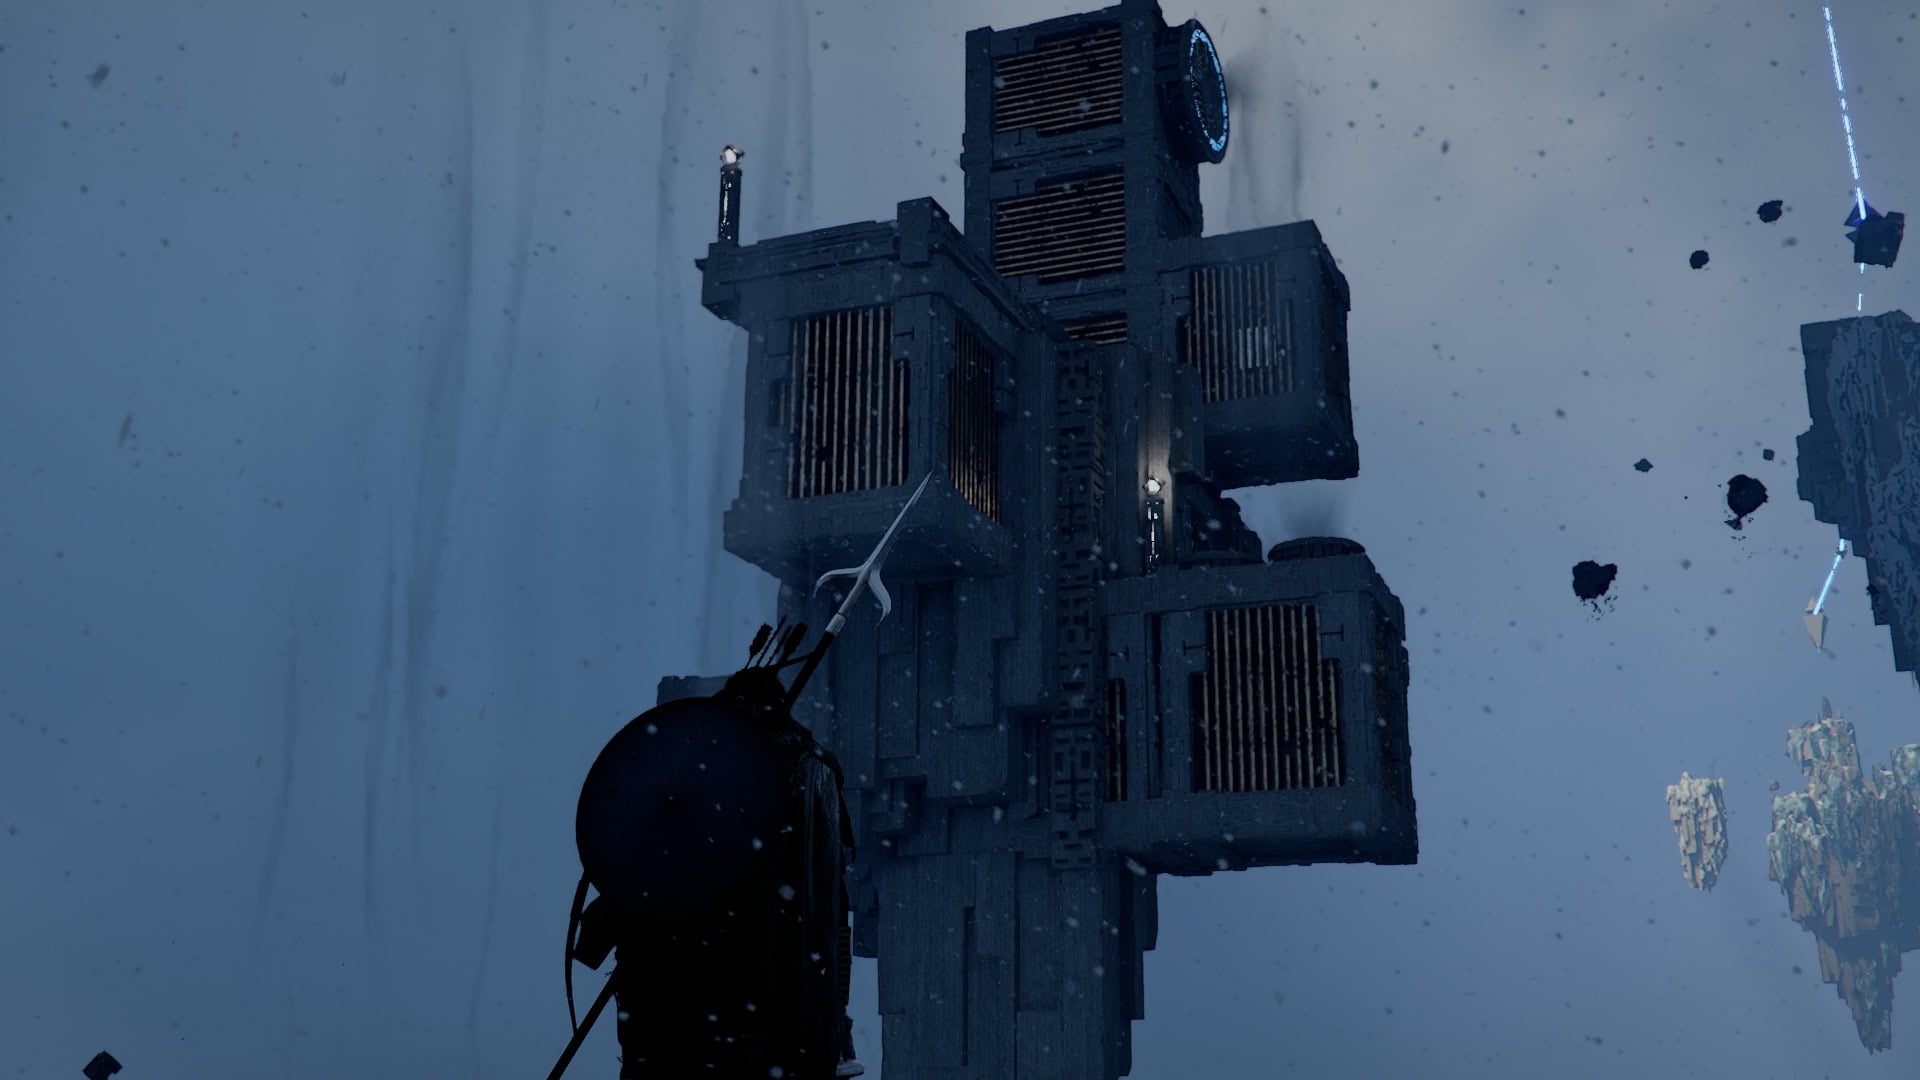
Frostbitten Paradise Skybridge
Just past the obelisk is another Skybridge you can cross to continue the chain of Abyss Puzzles into the Path Of Trials.

Head forward up the platforms to reach the Skybridge. This one is made up on platforms covered in Air vents that push you toward the teleporter.
These air vents make a linear path, which unfortunately has no treasure along it. Continue from structure to structure using the air vents to cross the gaps until you reach the teleporter to the Path of Trials.
NEXT: How to solve the Path of Trial Abyss Puzzle