Everything you could possibly want to know about Howling Hill Camp in Crimson Desert including Upgrades, Unlocks, Mission Dispatches, Vendors, Amenities, and Secrets.
This is a massive resource. Use the Table of Contents, located in the left panel (top left button on the mobile menu) for quicker and easier navigation.
Upgrades and Unlocks
There are a total of 5 upgrade states for the Howling Hill camp you unlock during Chapter III, counting the return to Pailune as the final “upgrade”.
Each time, you get access to more Private Storage, quests to unlock additional vendors and camp features, and more Greymanes you can send out on missions to earn more resources for camp.
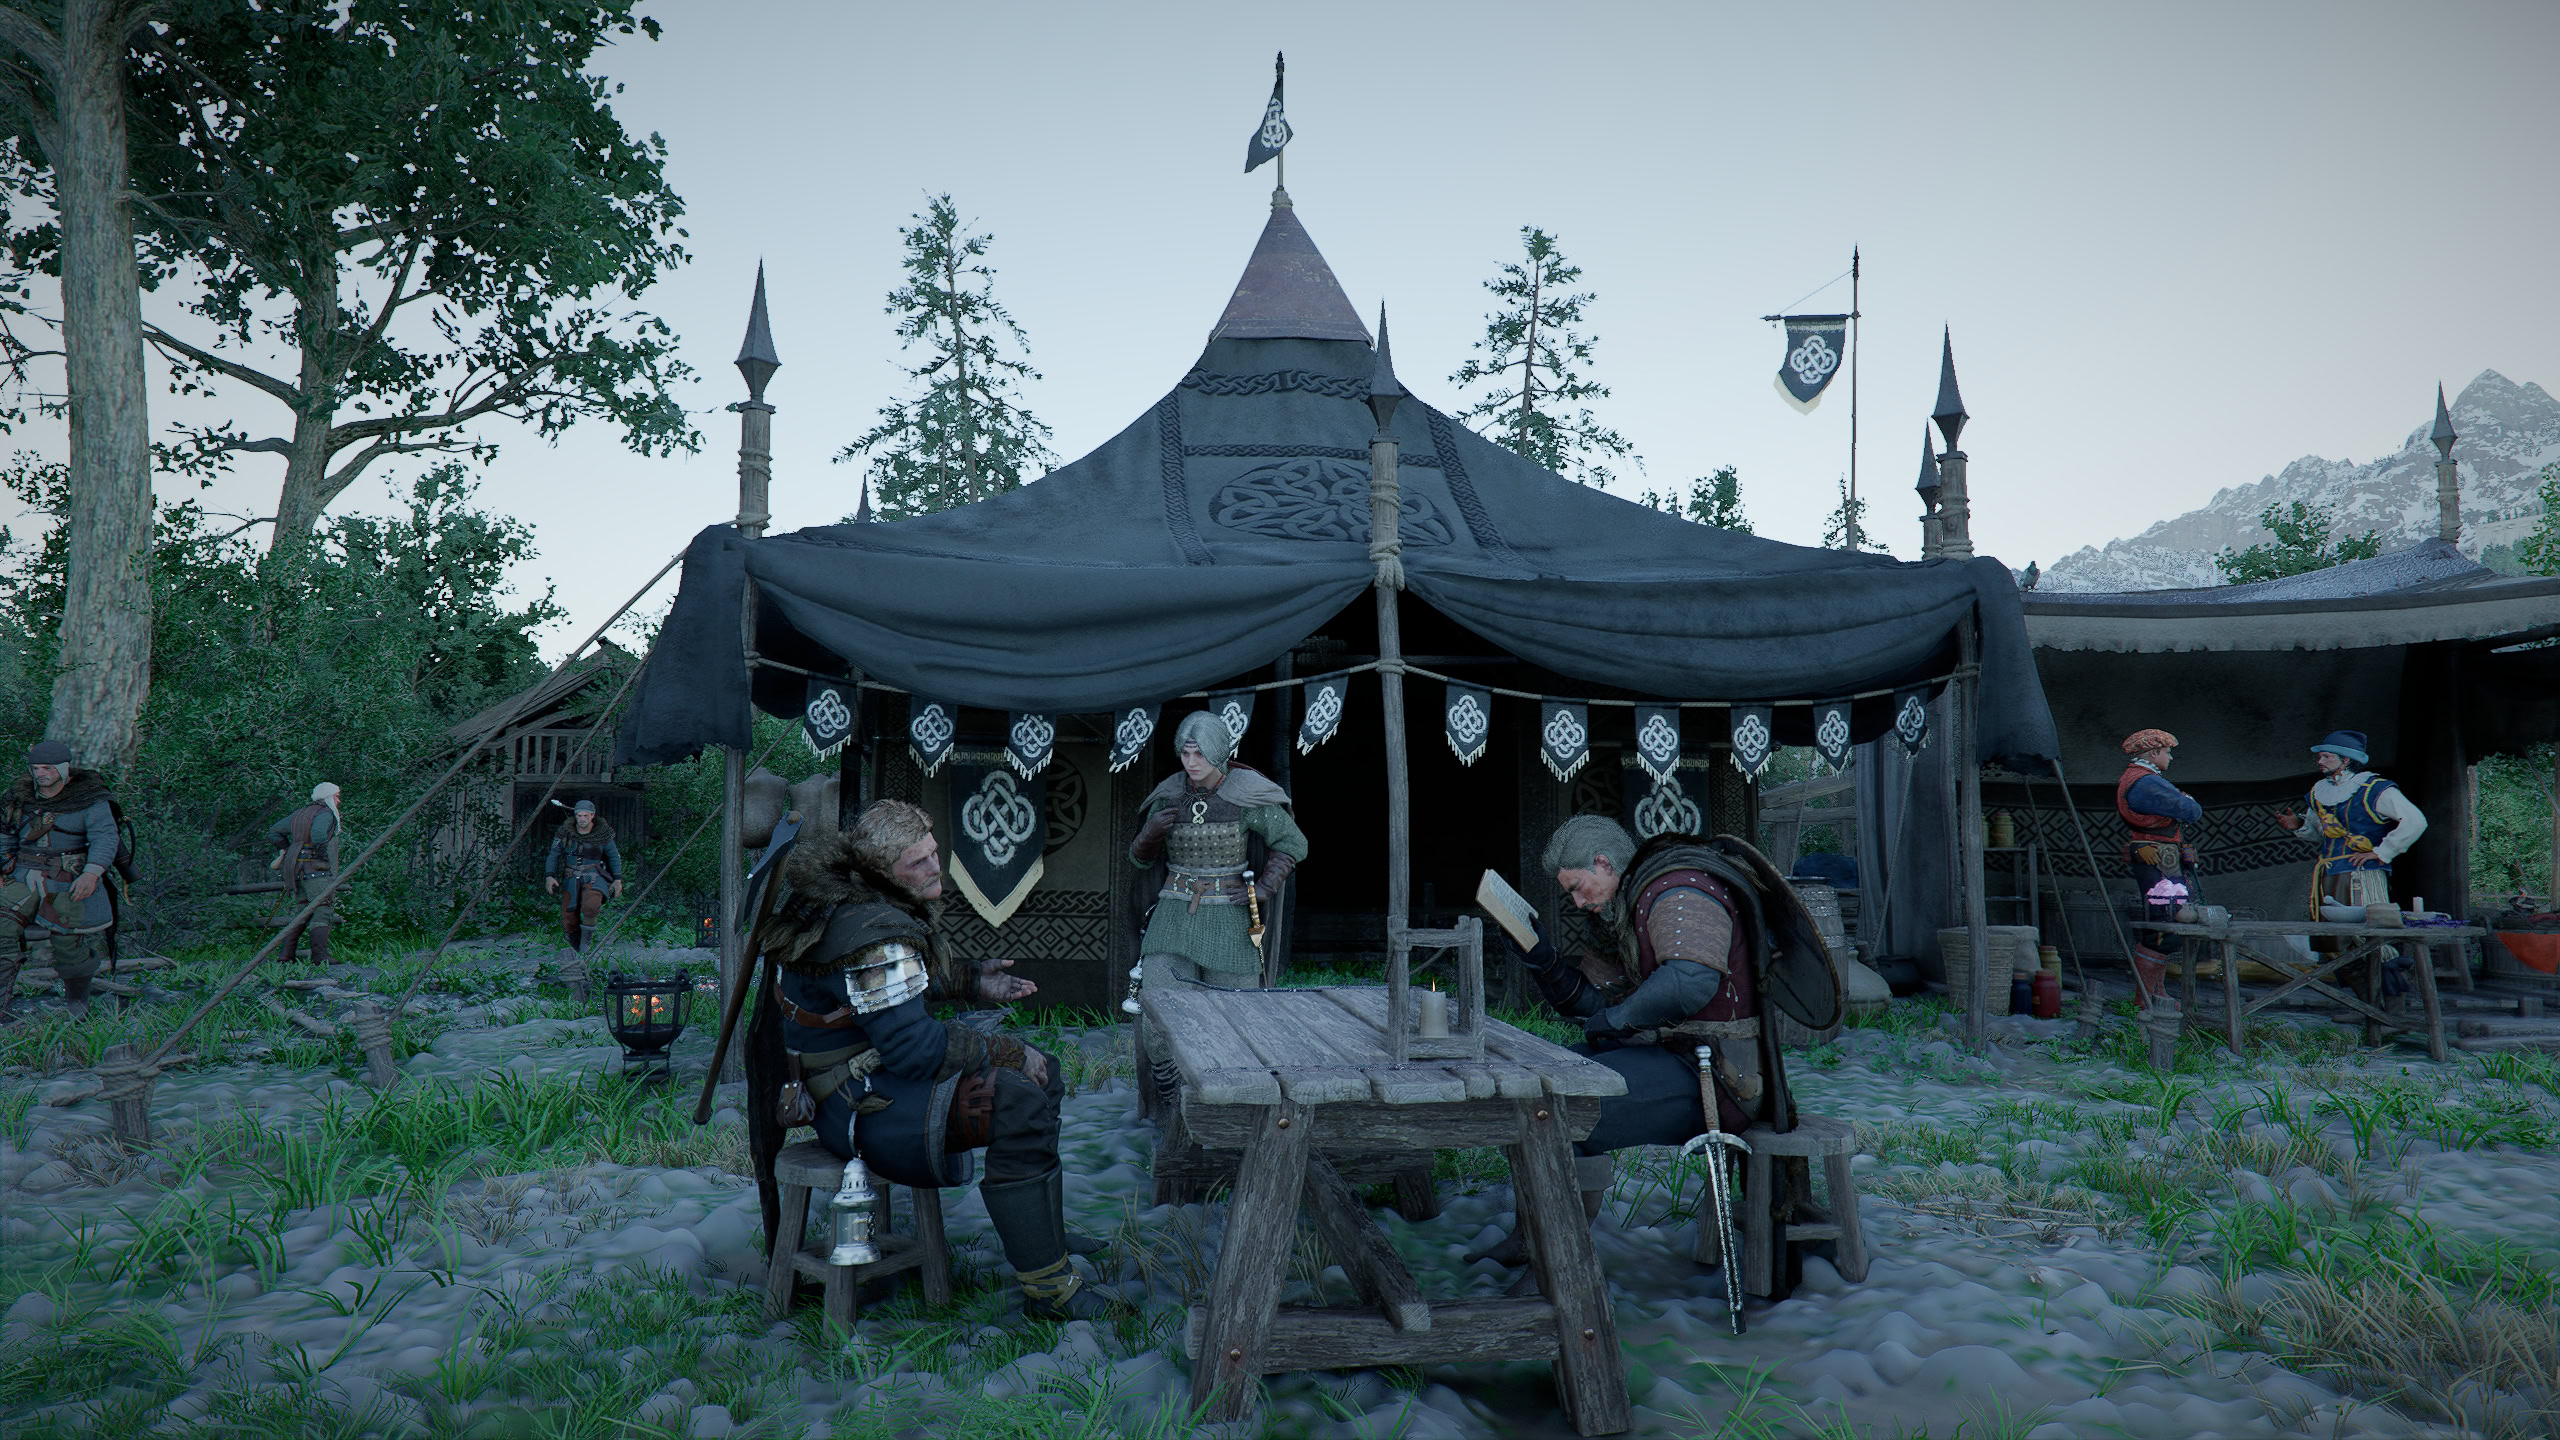
Starter Camp: Chapter III
You unlock the Greymane Camp at Howling Hill during Chapter III of the main quest, which includes a couple of camp-only vendors, unlocking Private Storage, sets up later Greymane quests, and introduces the Worker system.
- Private Storage unlocked with 240 Slots
- Starting Vendors
- Carl the Camp Provisioner (Trade Goods)
- Ross the Dispatch Coordinator
- Locate 2 Greymanes
- Rumors from the Sawmill: Luke, Ronald
- Locate Primary Unit
- Marius
- Yann
- Duane
- Andrew
- Naira
First Upgrade: Embers of Return
After completing Chapter III, you’ll unlock the Embers of Return questline, during which you can unlock a few essential vendors, find the Compact House, increase your Private Storage Capacity, and find a few more Greymane workers.
- Private Storage capacity increased to 340 Slots (+100)
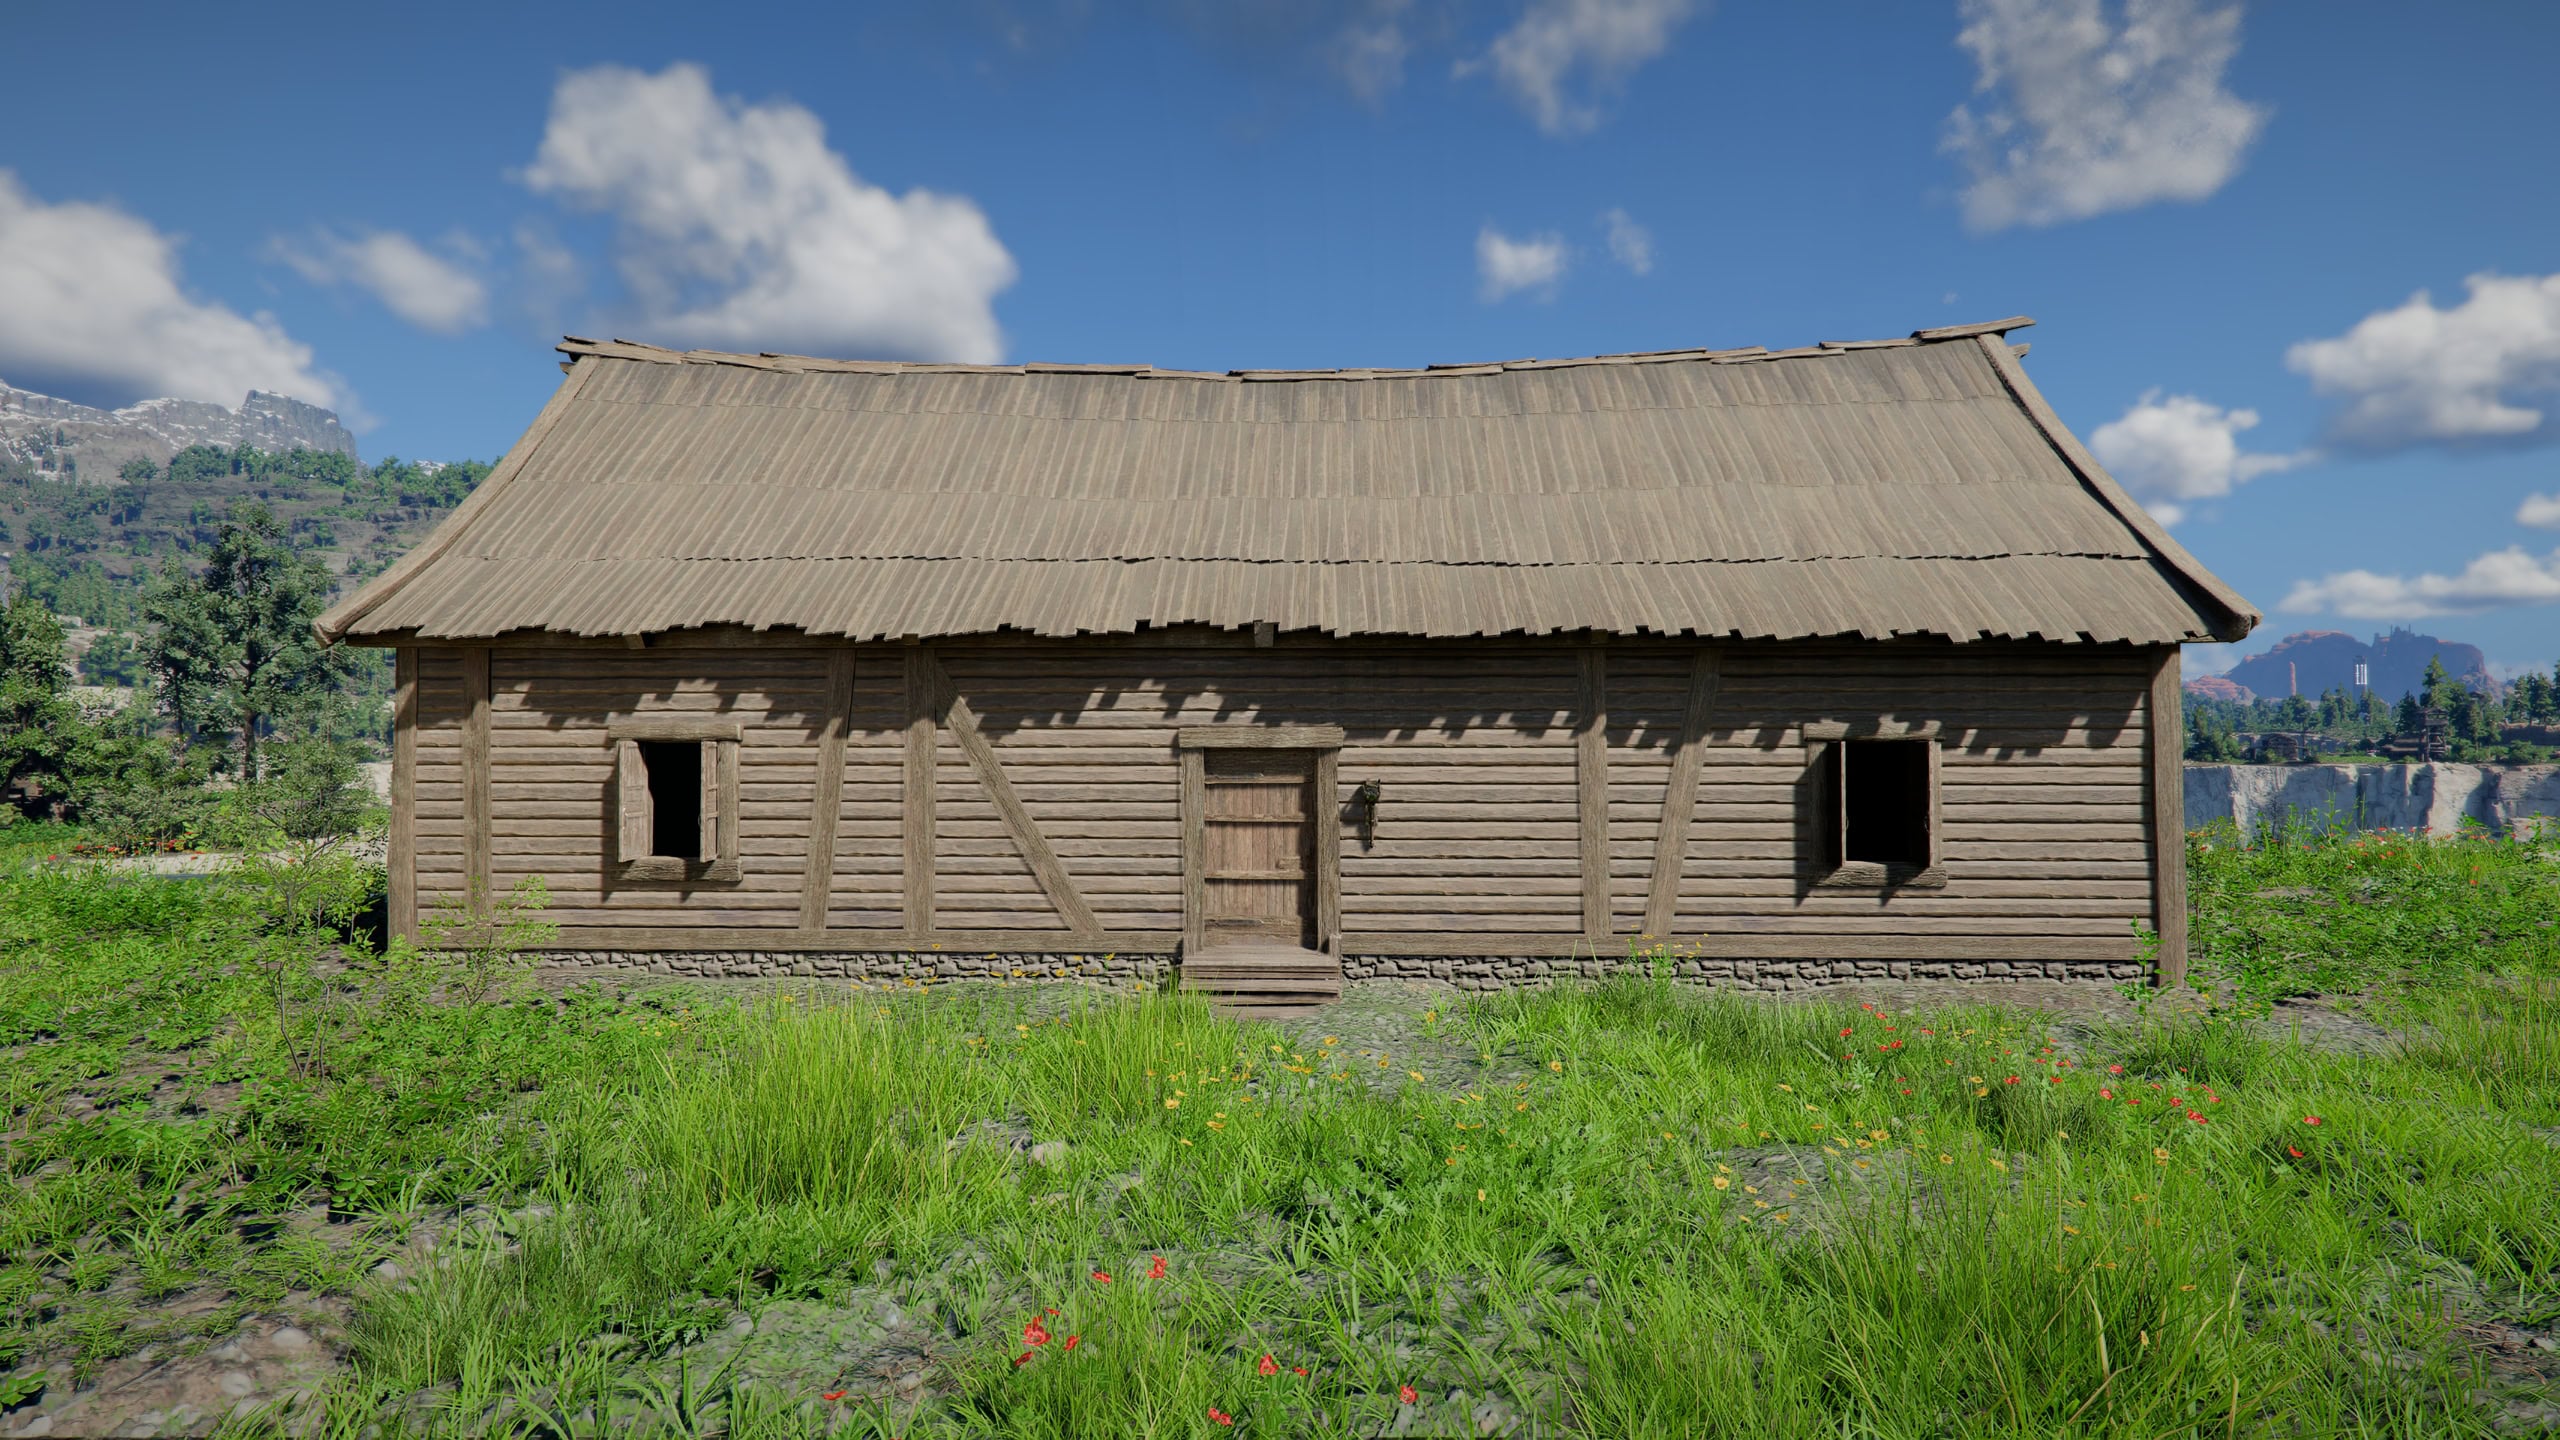
- Compact House Unlock
- Unlockable Vendors
- Ronnie the Cook
- Brice the Wagonmaster
- Tranan the Quartermaster
- Locate 4 Greymanes (6 Total)
- Rumor at Hills of No Return: Otto, Silvan, Aldric, Fritz
Second Upgrade: Gathered Will
The next upgrade increases Private Storage capacity further, unlocks the Standard House, the Novice Skill Tier for increased yields on relevant missions, and a ton of vendors, including most of the ones with camp-specific functionality.
- Private Storage capacity increased to 440 Slots (+100)
- Standard House Unlock
- Unlockable Vendors
- Wynstan the Provisioner
- Conrad the Furniture Maker
- Alec the Smithy
- Kamu the Cultivator (Farm)
- Ed the Stablemaster
- Ben the Rancher
- Locate 2 Greymanes (8 Total)
- Hook Rapids: Balder and Ryan
- Greymane Novice Skill Tier (+10% Yields) Unlocked
- Training Dummy (Likely)
Third Upgrade: Solid Foundation
The third upgrade emphasizes character customization with a trio of vendors and greatly expands the number of workers you have access to, alongside a larger house more storage capacity, and another worker skill tier.
- Private Storage capacity increased to 540 Slots (+100)
- Spacious House
- Unlockable Vendors
- Oliver the Dyer
- Eric the Barber
- Connor the Lapidarist (Jeweler)
- Greymane Skilled Skill Tier (+30% Yields) Unlocked
- Locate 29 Greymanes (37 Total)
- Rumor in Ivynook: Evelyn, Pierce, and Devan
- Rumor in St. Halssius: Colton, Arnold, and Fred
- Rumor in the Southern Quarry: Laurent, Kenneth, Wyburt, and Ashton
- Rumor in Pollengarth: Lucius and Mathilda
- Rumor in Calphade: Duncan, Falstaff, Anders, Luther, and Terry
- Rumor in the Calphade Gate: Lars, Joseph, Vernon, Gerald
- Rumor in Arboria Craftshop: Niall, Joan, and Brant
- The Greymanes’ Cabin: Morrow, Brennan, Xavier, Gilbert, and Max
Fourth Upgrade: Reuniting with Comrades
The fourth upgrade is the one you’ll be stuck with until you finish the main story. You can get the final vendor, a bit more Private Storage, and the highest Skill Tier for workers.
- Private Storage capacity increased to 640 Slots (+100)
- Unlockable Vendors
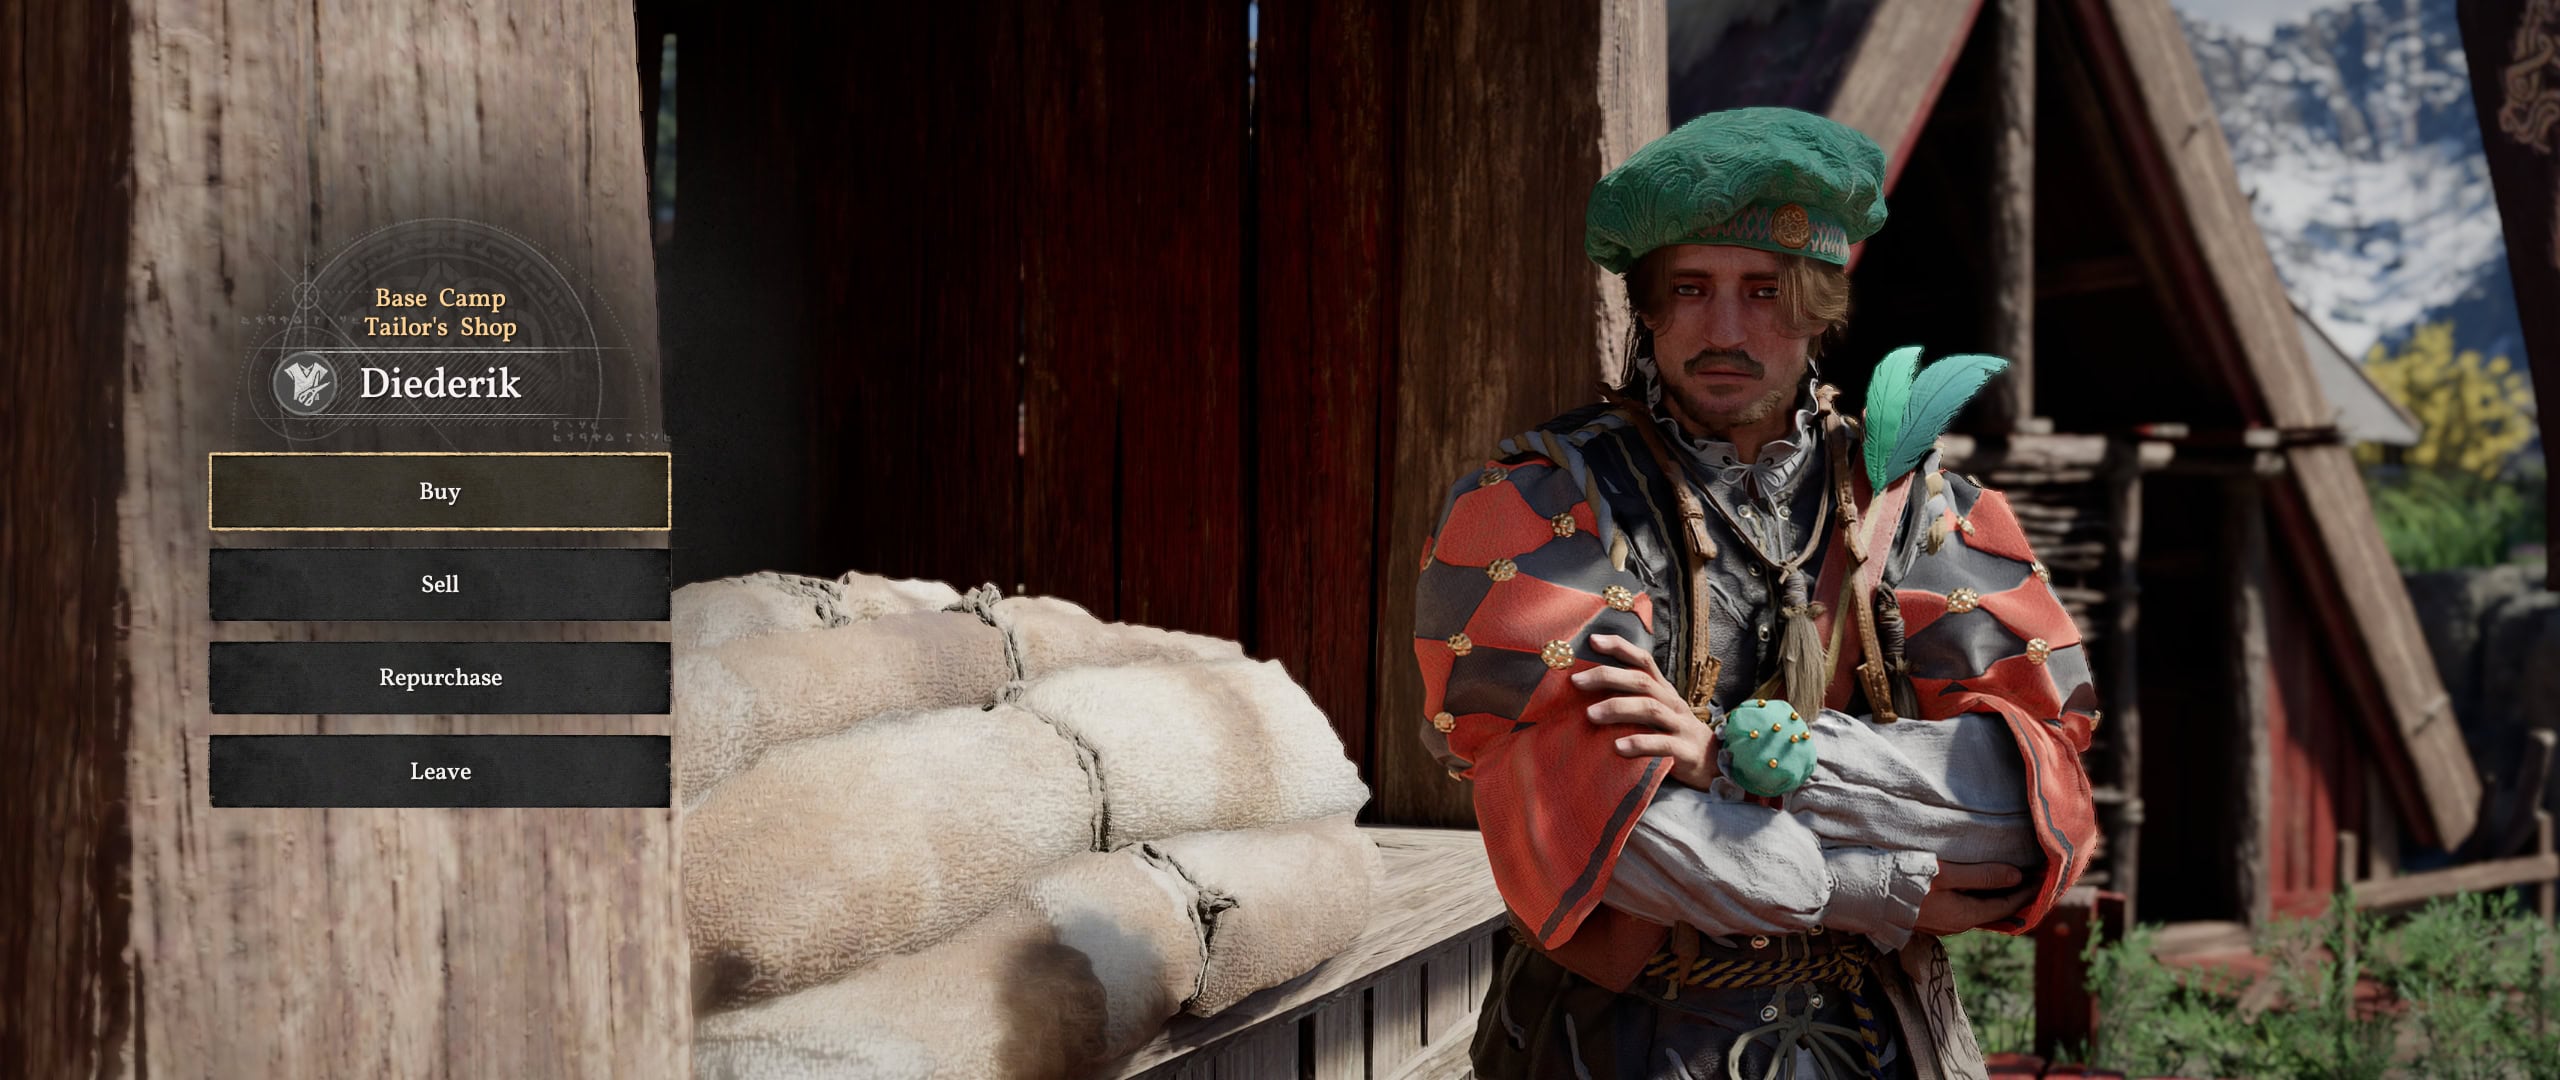
- Diederik the Tailor
- Greymane Expert Skill Tier (+60% Yields) Unlocked
- Reconstructing Pailune
- Pailune Council
- Institute of Pailune
- Infirmary
- Barracks
- Trading Post
Once you complete the Fourth Upgrade and finish Chapter VII: Homecoming, you can begin the expensive process of Reconstructing Pailune, which is a series of 5 large-scale construction projects in the city of Pailune that you must complete before you can move out of the Howling Hill camp and back into Pailune.
Move to Pailune
Once you finish Chapter XII: The Abyss, complete all Scattered Embers quests, and fully expand Howling Hill, you’ll get a quest that lets you move back to Pailune, which comes with a few nice perks.
- Private Storage capacity increased to 1000 Slots (+360)
- Private Storage Chest deco unlocked for House
- Spacious Pailunese House unlocked
- Farm Seed capacity increases to 32
- Ranch Animal capacity increases to 35
- Unlock Special Cooking Tools at camp
Strangely, you can’t interact with any of the stuff you spent all those resources rebuilding, particularly the Institute of Pailune and the Trading Post. The buildings are there and stocked appropriately, but there’s no Goldleaf Trading Center or Research Institute NPC.
Some players say you shouldn’t move to Pailune, but I think they’re just whining and complaining about needing to learn a slightly different layout for all the vendors. The layout is more efficient, and the benefits are significant. It goes far beyond everything being prettier.
The only real drawback from moving to Pailune is a complete lack of nearby Goldleaf Trading Centers or Royal Trading Posts.
The closest one is in Demeniss, the same one that Yann cons you into visiting, and it’s about as far, if not slightly farther away than it was when you were at Howling Hill, and you never unlock any Mission Dispatches so you can send Greymanes to sell all the stuff you’ve been giving to Carl.
That being said, you don’t need the money from Trading Posts at this point. The most expensive tasks by far were Reconstructing Pailune.
There are some pricey late-game Exploration jobs that let your fellow Greymanes get things like Abyss Artifacts, Gold Bars, and extra Aeserion Scales, but you’ll make more than enough money from Escort jobs to cover those costs.
Given the entire Trade Goods systems feels so unfinished, I’m curious what Pearl Abyss plans to do about it. Right now, the only thing you really need it for is to pay for Reconstructing Pailune, but the main story doesn’t take you to many places where you can sell stuff like that so there’s no reason to bother.
All Camp Vendors Explained
You unlock quests to find new Greymane vendors as you upgrade your camp. There are 15 vendors or vendor-like NPCs you can get.
Starter Camp: Chapter III
During Chapter III: Howling Hill, you’ll unlock the Camp Provisioner and the Dispatch Coordinator.
Carl the Camp Provisioner
The Camp Provisioner’s main function is to package your Trade Goods for a small fee of 100 copper per unit. These can later be sold to Goldleaf Trading Centers and Royal Trading Posts after you unlock the wagon.
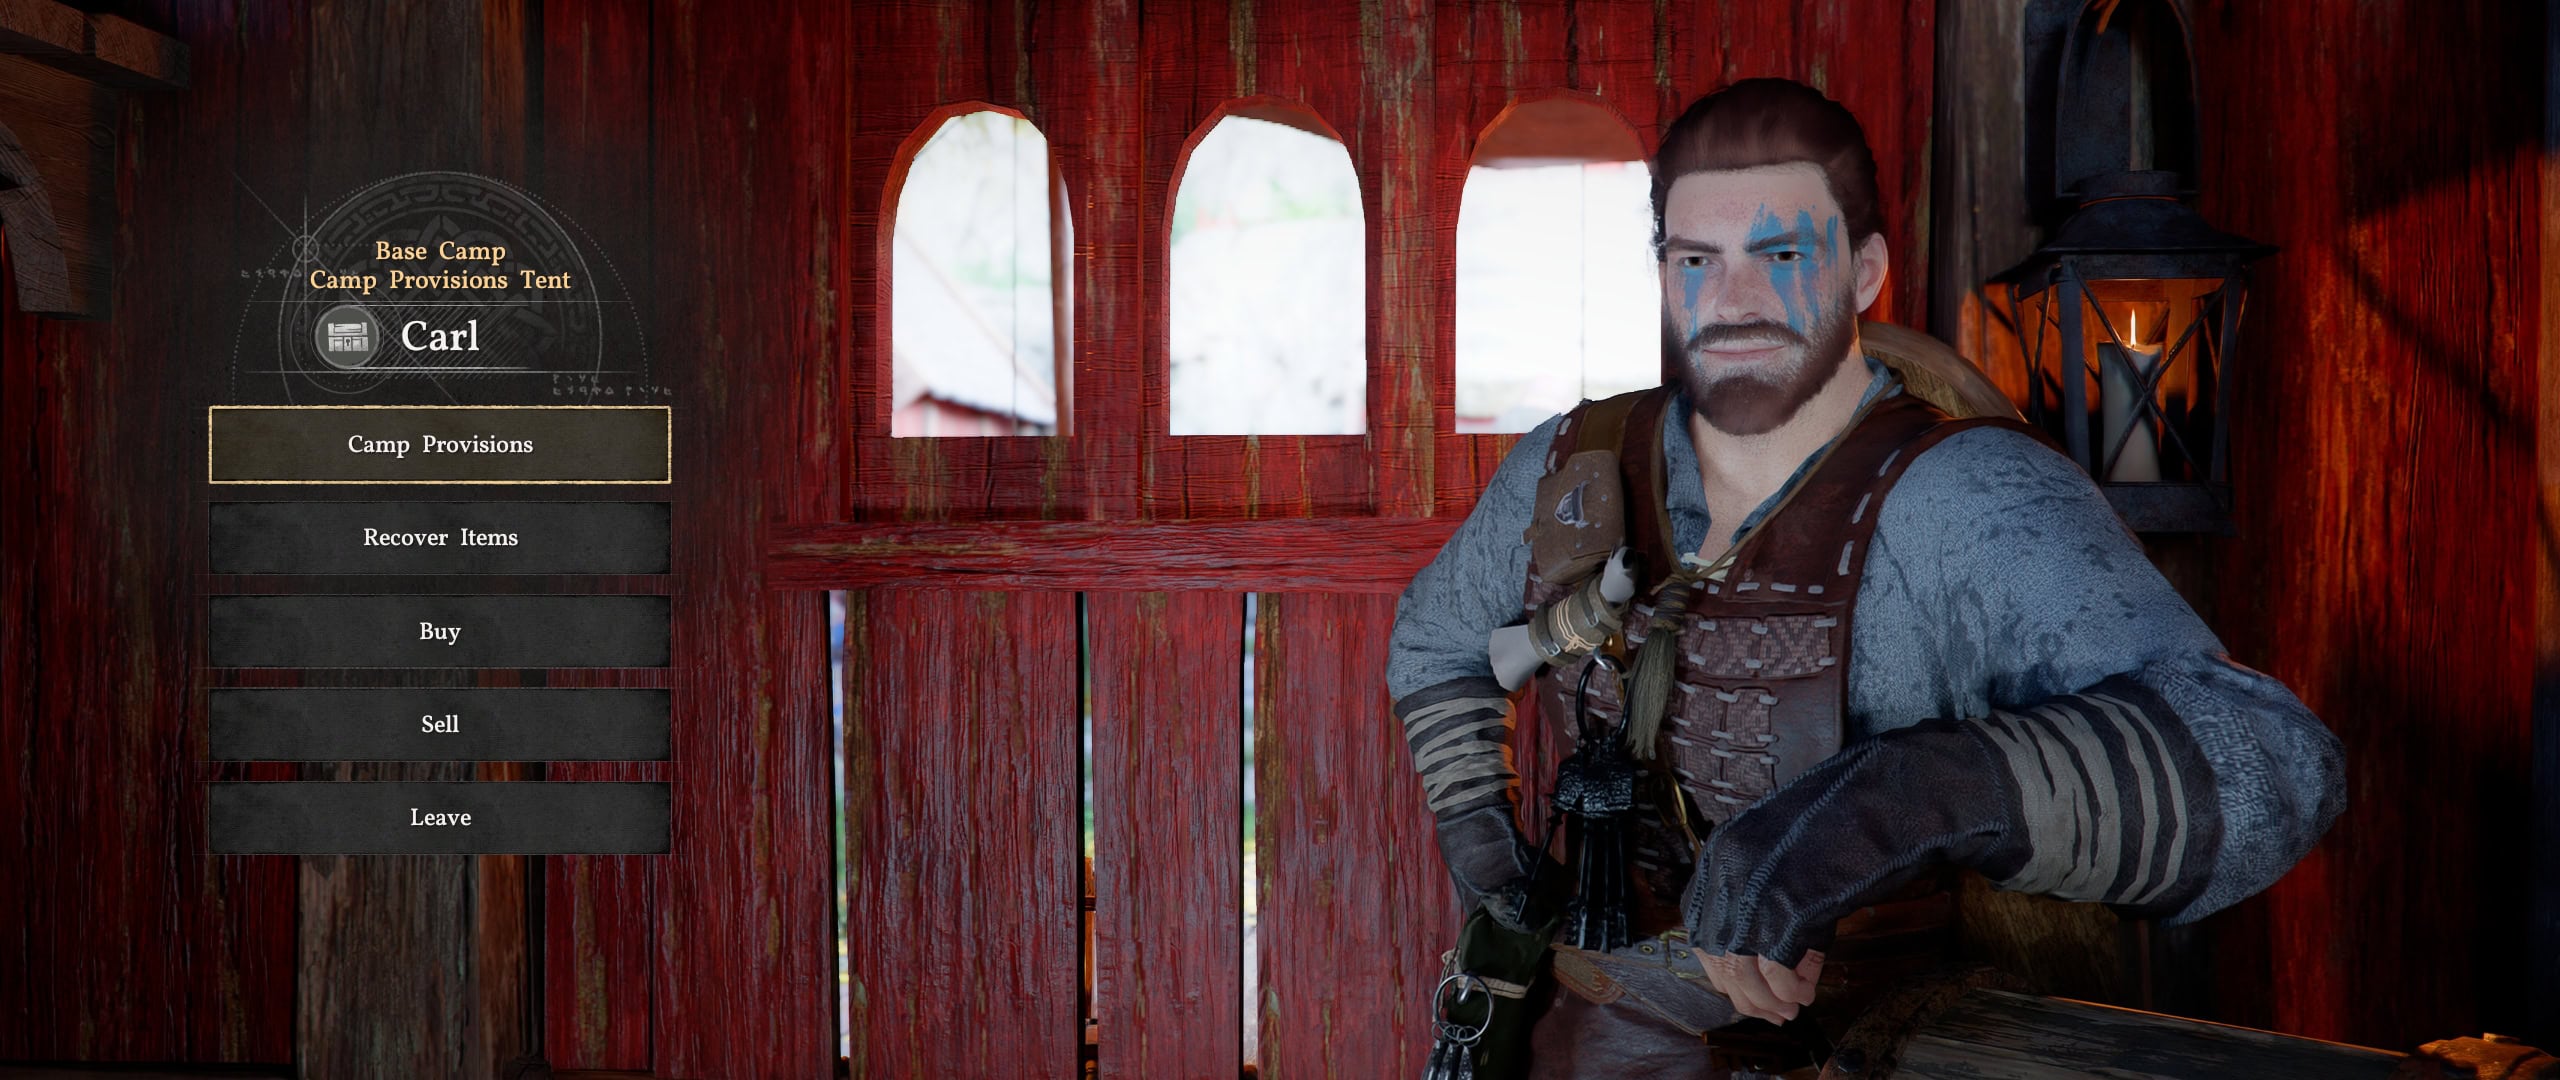
He also helps with Item Recovery in case you accidentally lose an important item, like something you’d store in the Kuku Pot.
You can buy a Greymane Cloth Armor and Cloak from him in exchange for some Greymane Contribution Tokens as well. This is your only real source of Greymane-themed armor in the early game.
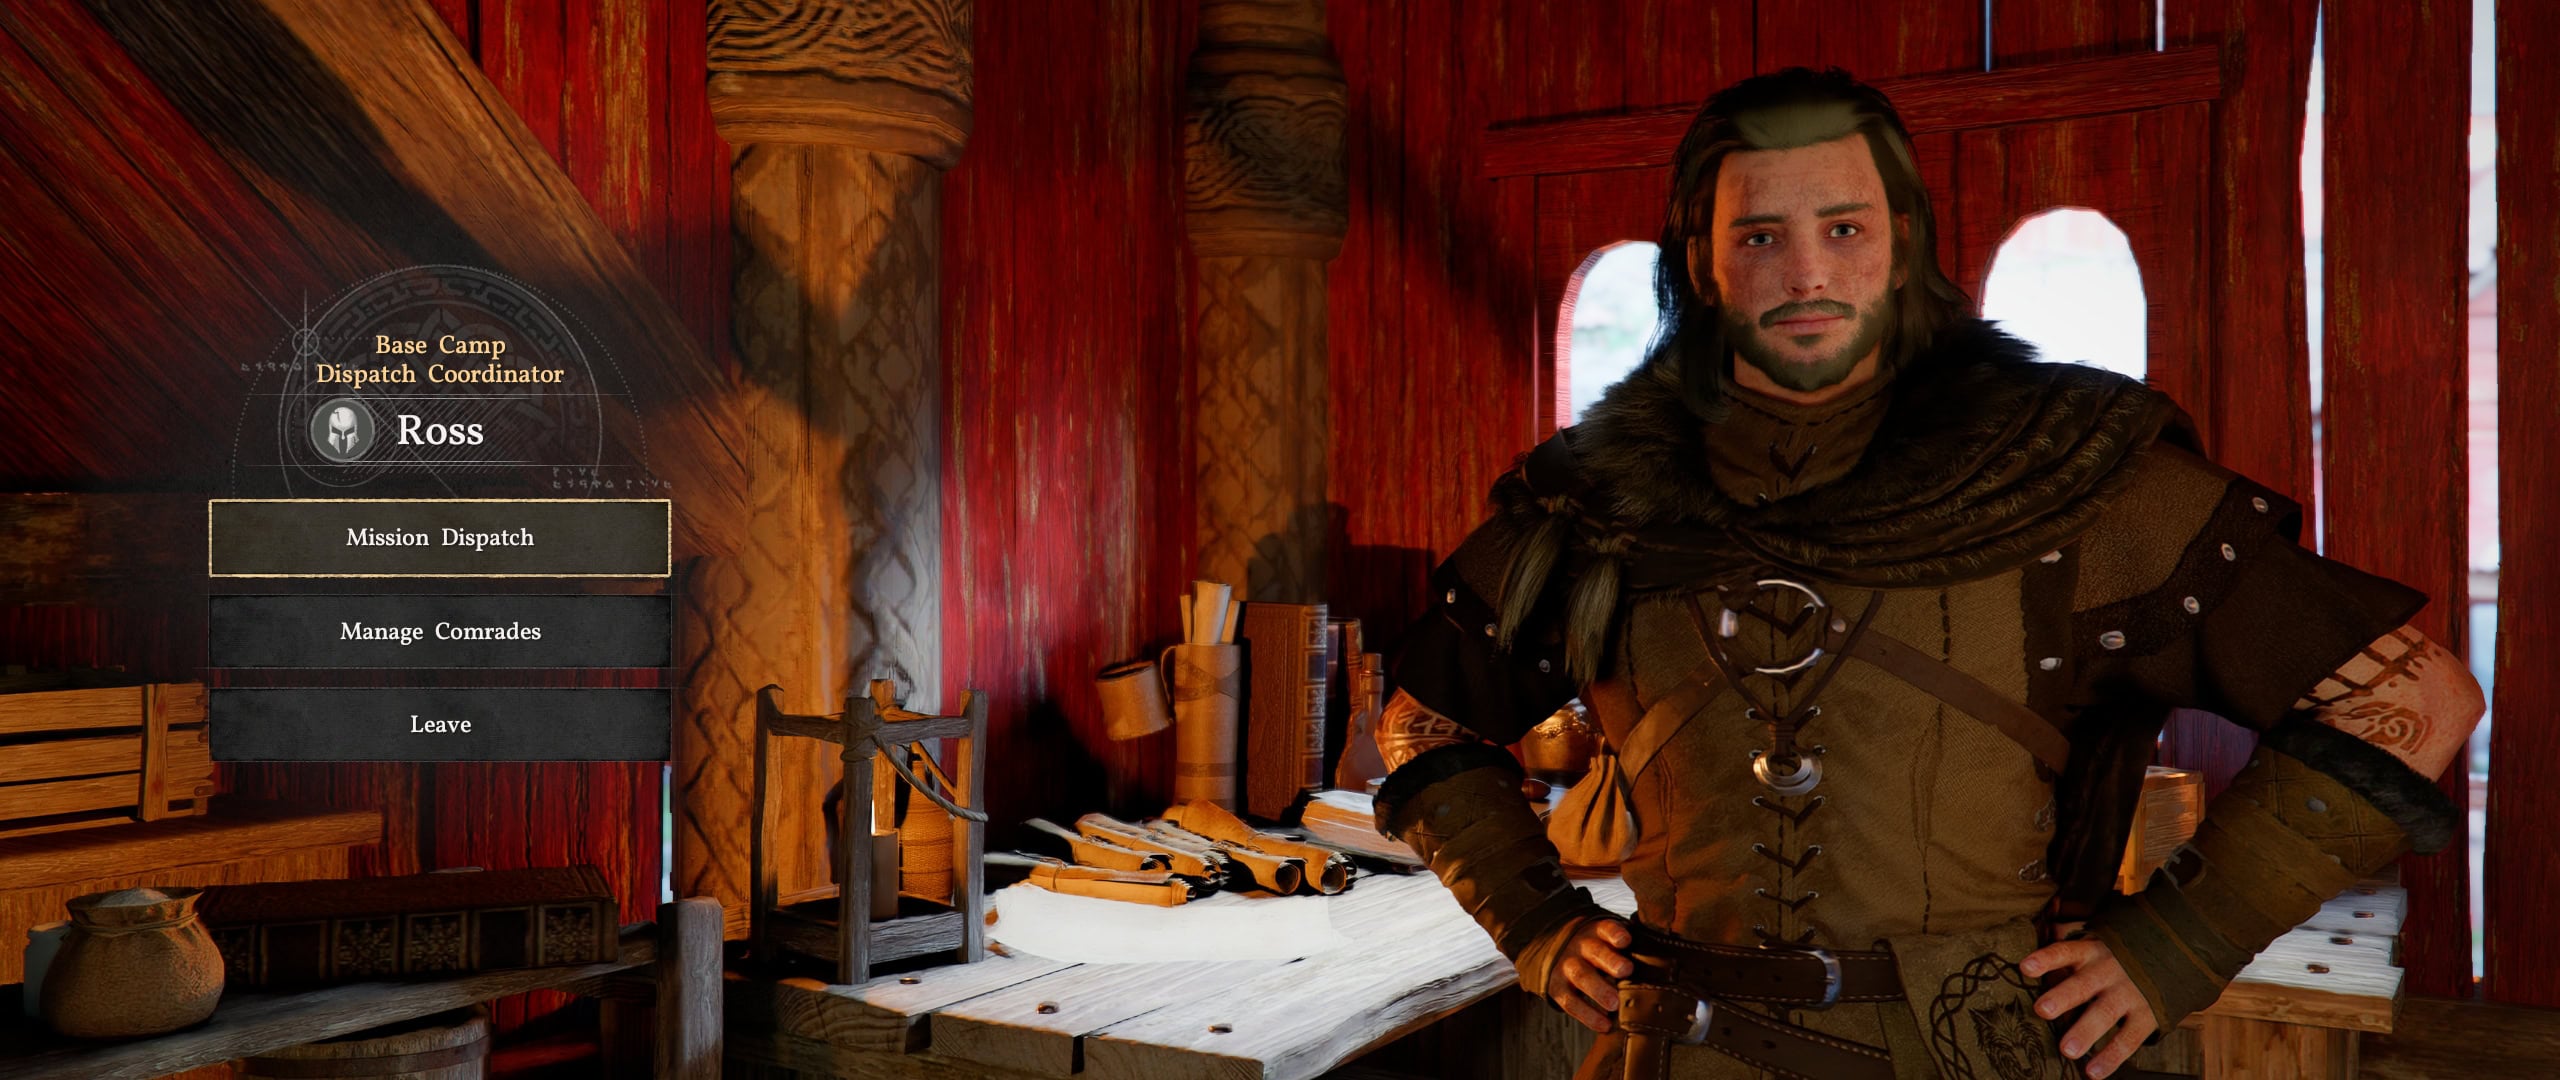
Ross the Dispatch Coordinator
The Dispatch Coordinator allows you to view the stats of each Greymane you’ve found and send them out on jobs to earn money and resources for the camp.
First Upgrade: Embers of Return
While working towards the first upgrade to camp, you’ll unlock the Cook, the Wagonmaster, and the Quartermaster.
Ronnie the Cook
The Cook is a combination of Grocer, Butcher, and Tavern vendors that you’ll find out in the world. He sells some ingredients, like a Grocer or Butcher, and sells specific meals, like a Tavern.
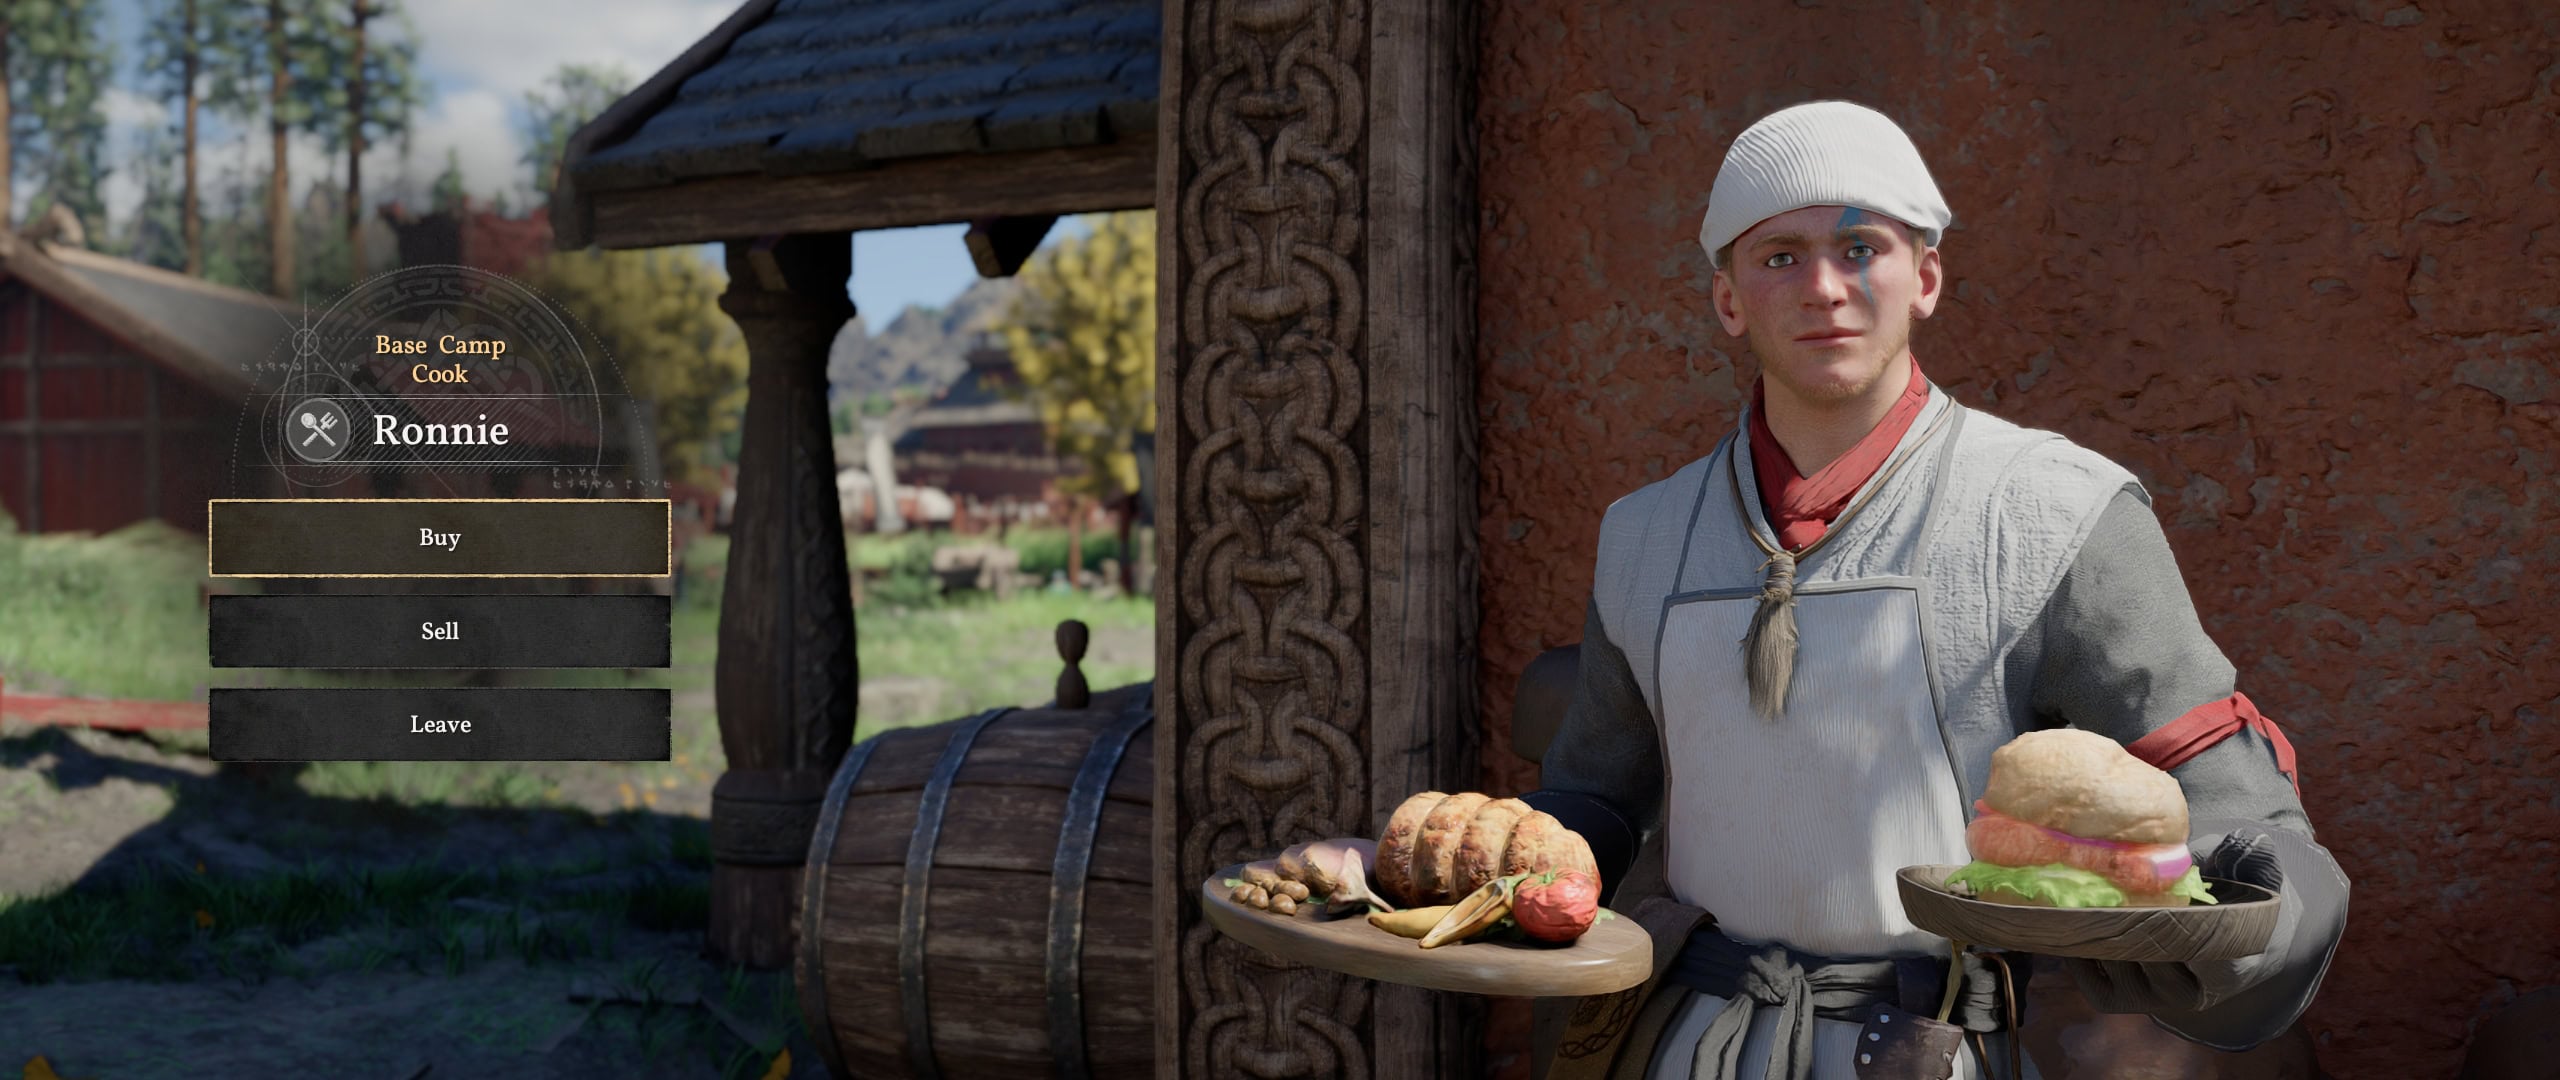
You can expand the meals he sells by purchasing contracts from each of the Taverns throughout Pywel.
Brice the Wagonmaster (and Brice’s Friend)
The Wagonmaster manages your Wagons, which you unlock as part of his quest. Wagons can hold a much larger number of Packaged Trade Good than your horse can carry, allowing you to play the commodity market more efficiently.
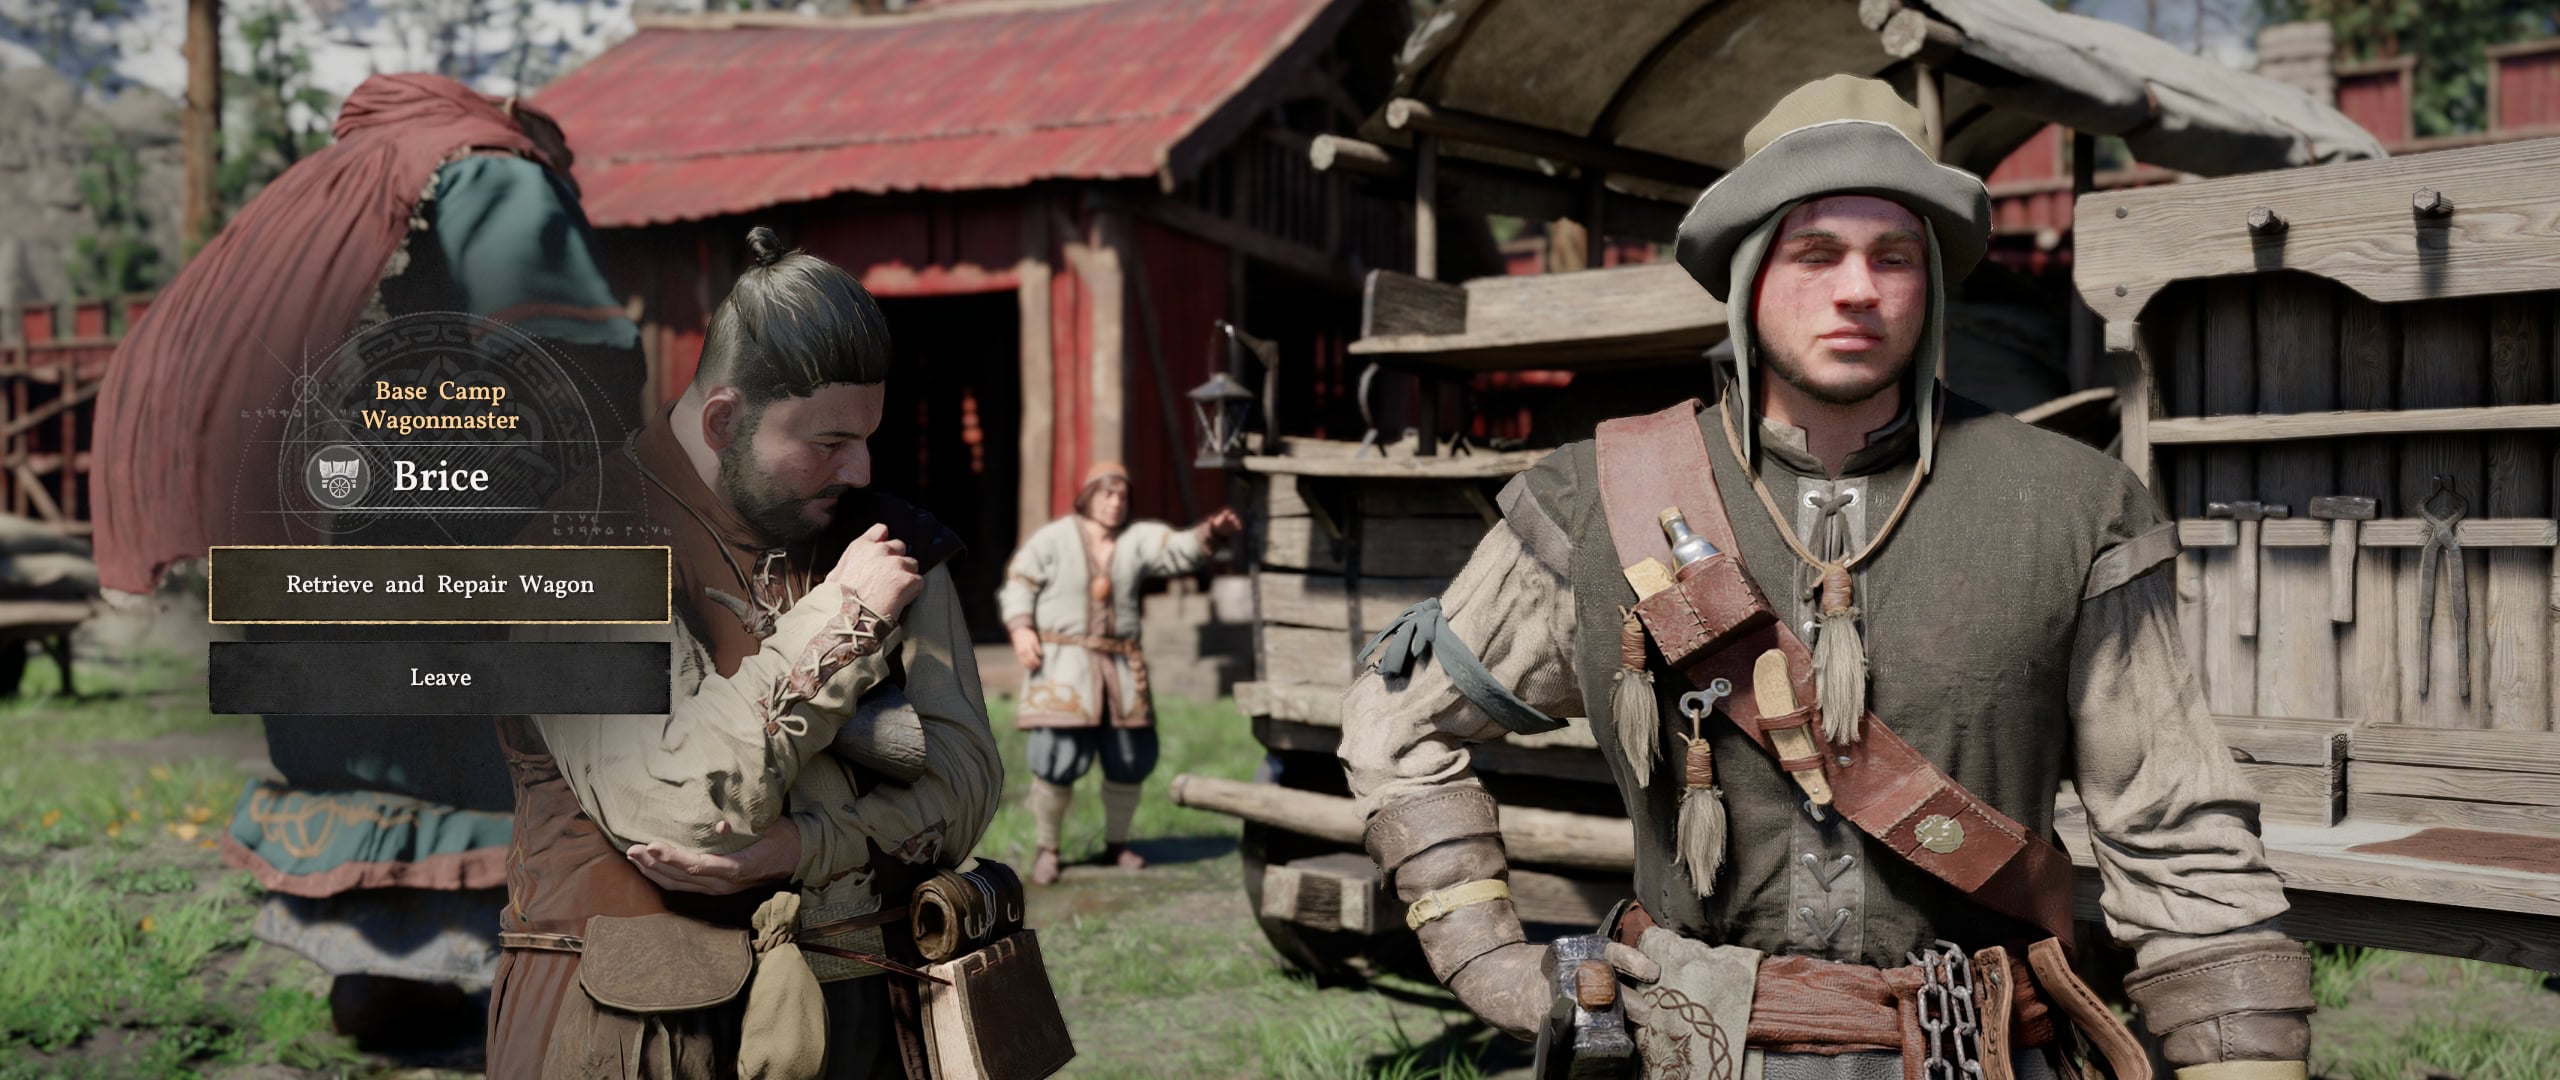
There are different tiers of Wagons with different carrying capacities, and the interface even shows that Wagons can level up, but the feature seems unfinished.
There is no real reason to make anything other than the Trading Wagon with the Timberturner Wainright Dispatch. It costs a negligible amount more up front and has the highest capacity.
Tranan the Quartermaster
The Quartermaster is an Equipment Shop. He sells Weapons, Plate Armor, and Minerals. The divide between him and the Tailor is the weight of the armor.

You can expand his stock by purchasing Contracts from major Equipment Shops in each region.
Second Upgrade: Gathered Will
As part of the second upgrade to camp, you’ll unlock most of the vendors that have analogs to other vendors throughout Pywel.
Wynstan the Provisioner
The Provisioner sells all the little random stuff like basic Tools, small Furniture, and cheap Materials. He is no different from other Provisioners you find throughout Pywel, and you can expand his stock by purchasing Contracts from the Provisioner in each city.

Conrad the Furniture Maker
The Furniture Shop has a collection of Furniture for your home, if you’re interested in decorating it. The only thing everyone will want to buy from Conrad is the Sturdy Gatherables Chest to store Crafting Materials and Alchemy Ingredients.
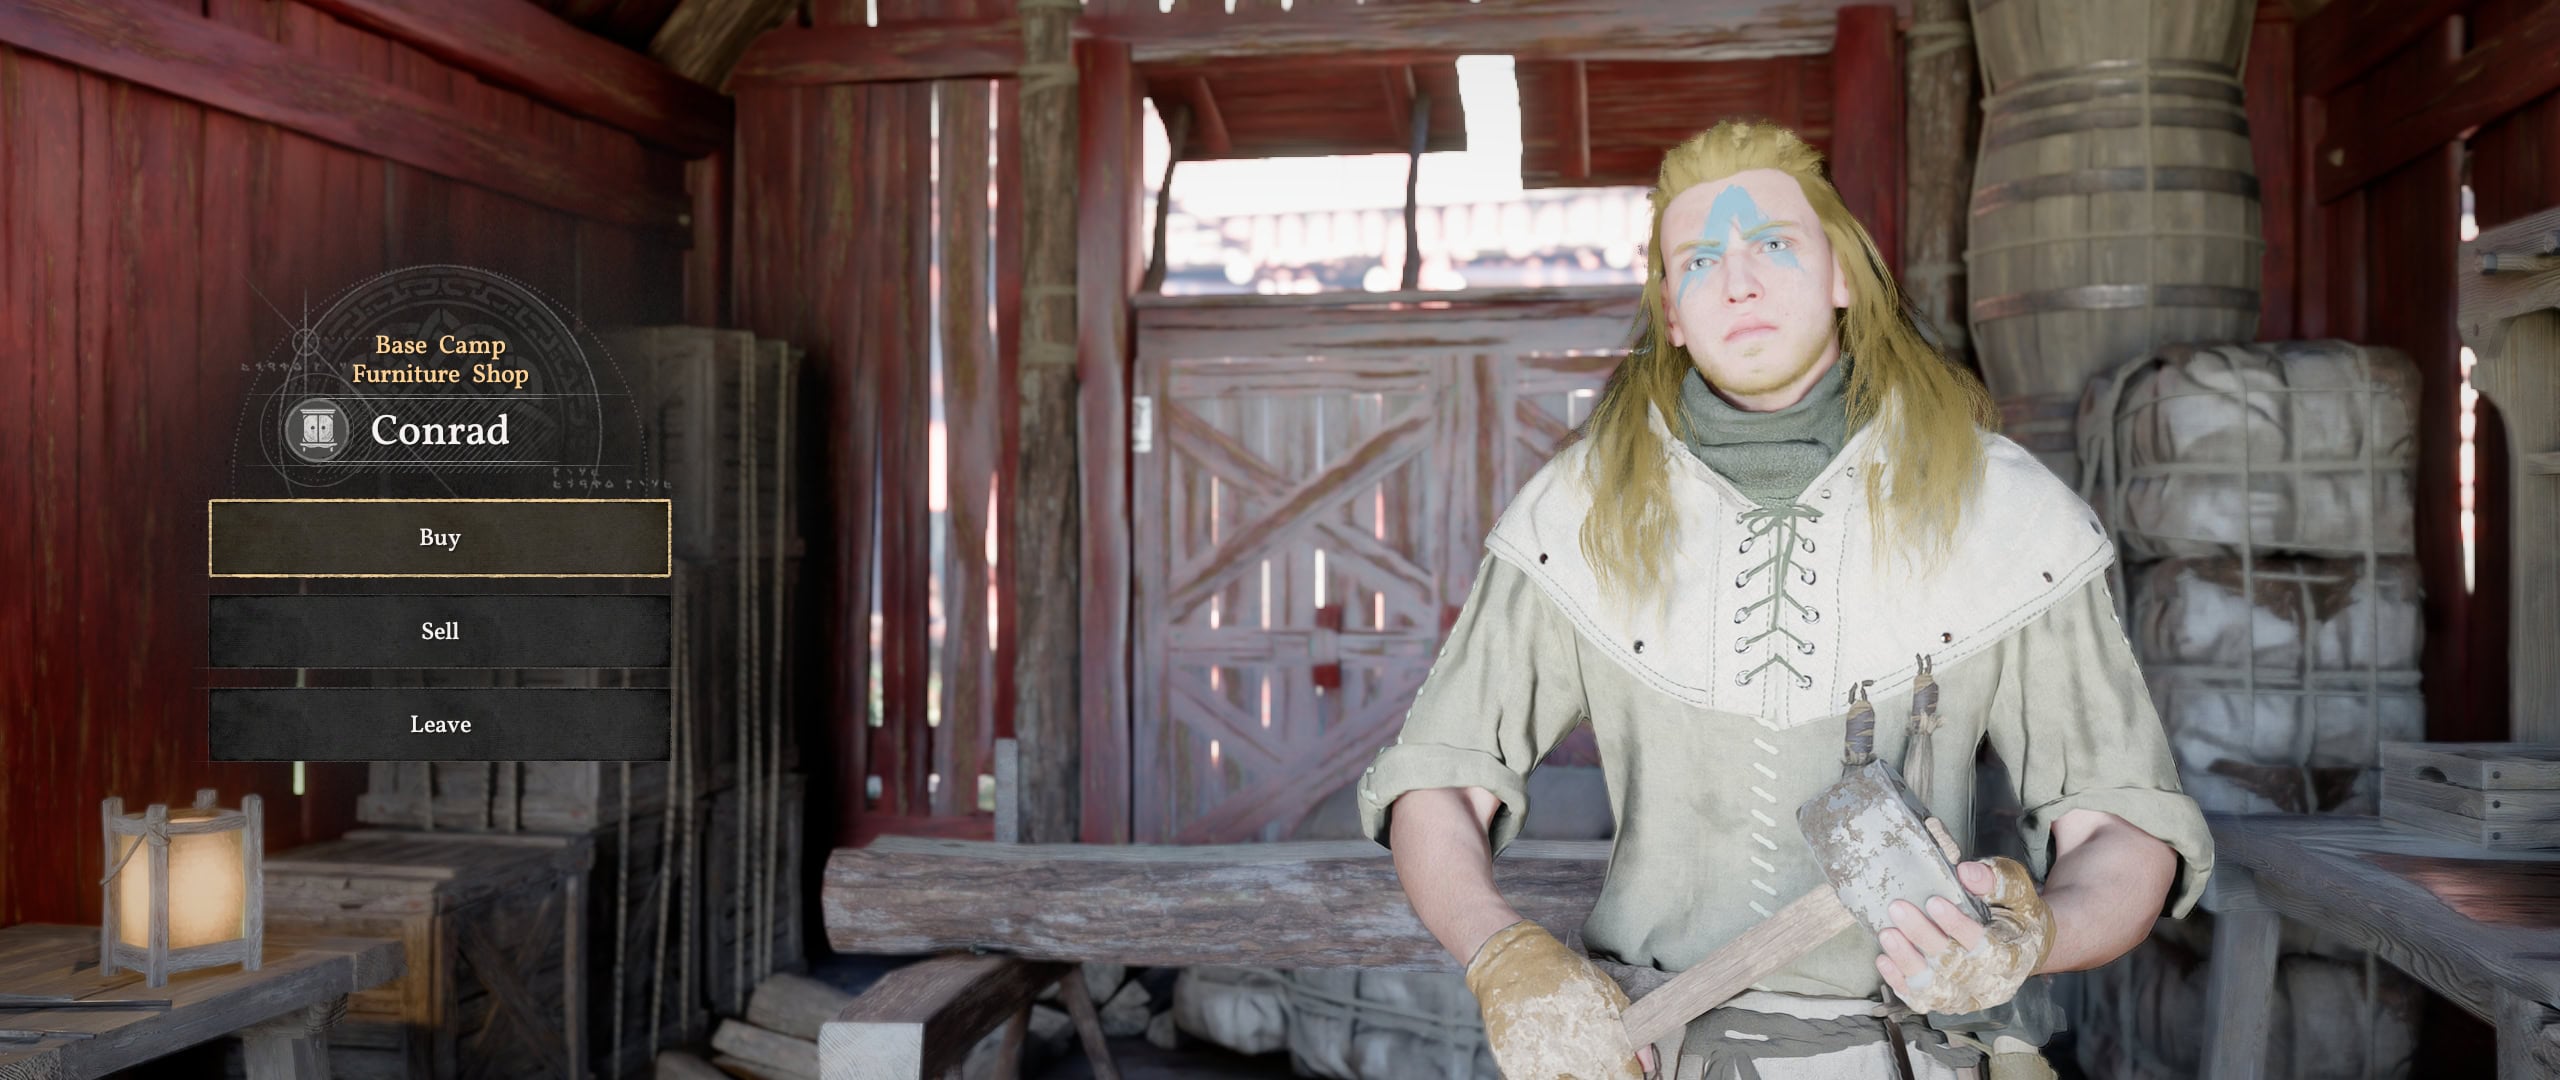
You can expand his stock to sell all available furniture in the game by purchasing Contracts from every Furniture Shop in the game.
Alec the Smithy
The Smithy is how you Refine (upgrade) your gear and Craft all types of equipment. Despite his claims to the contrary, Alec is no different from any other Smithy; he’s just more convenient.
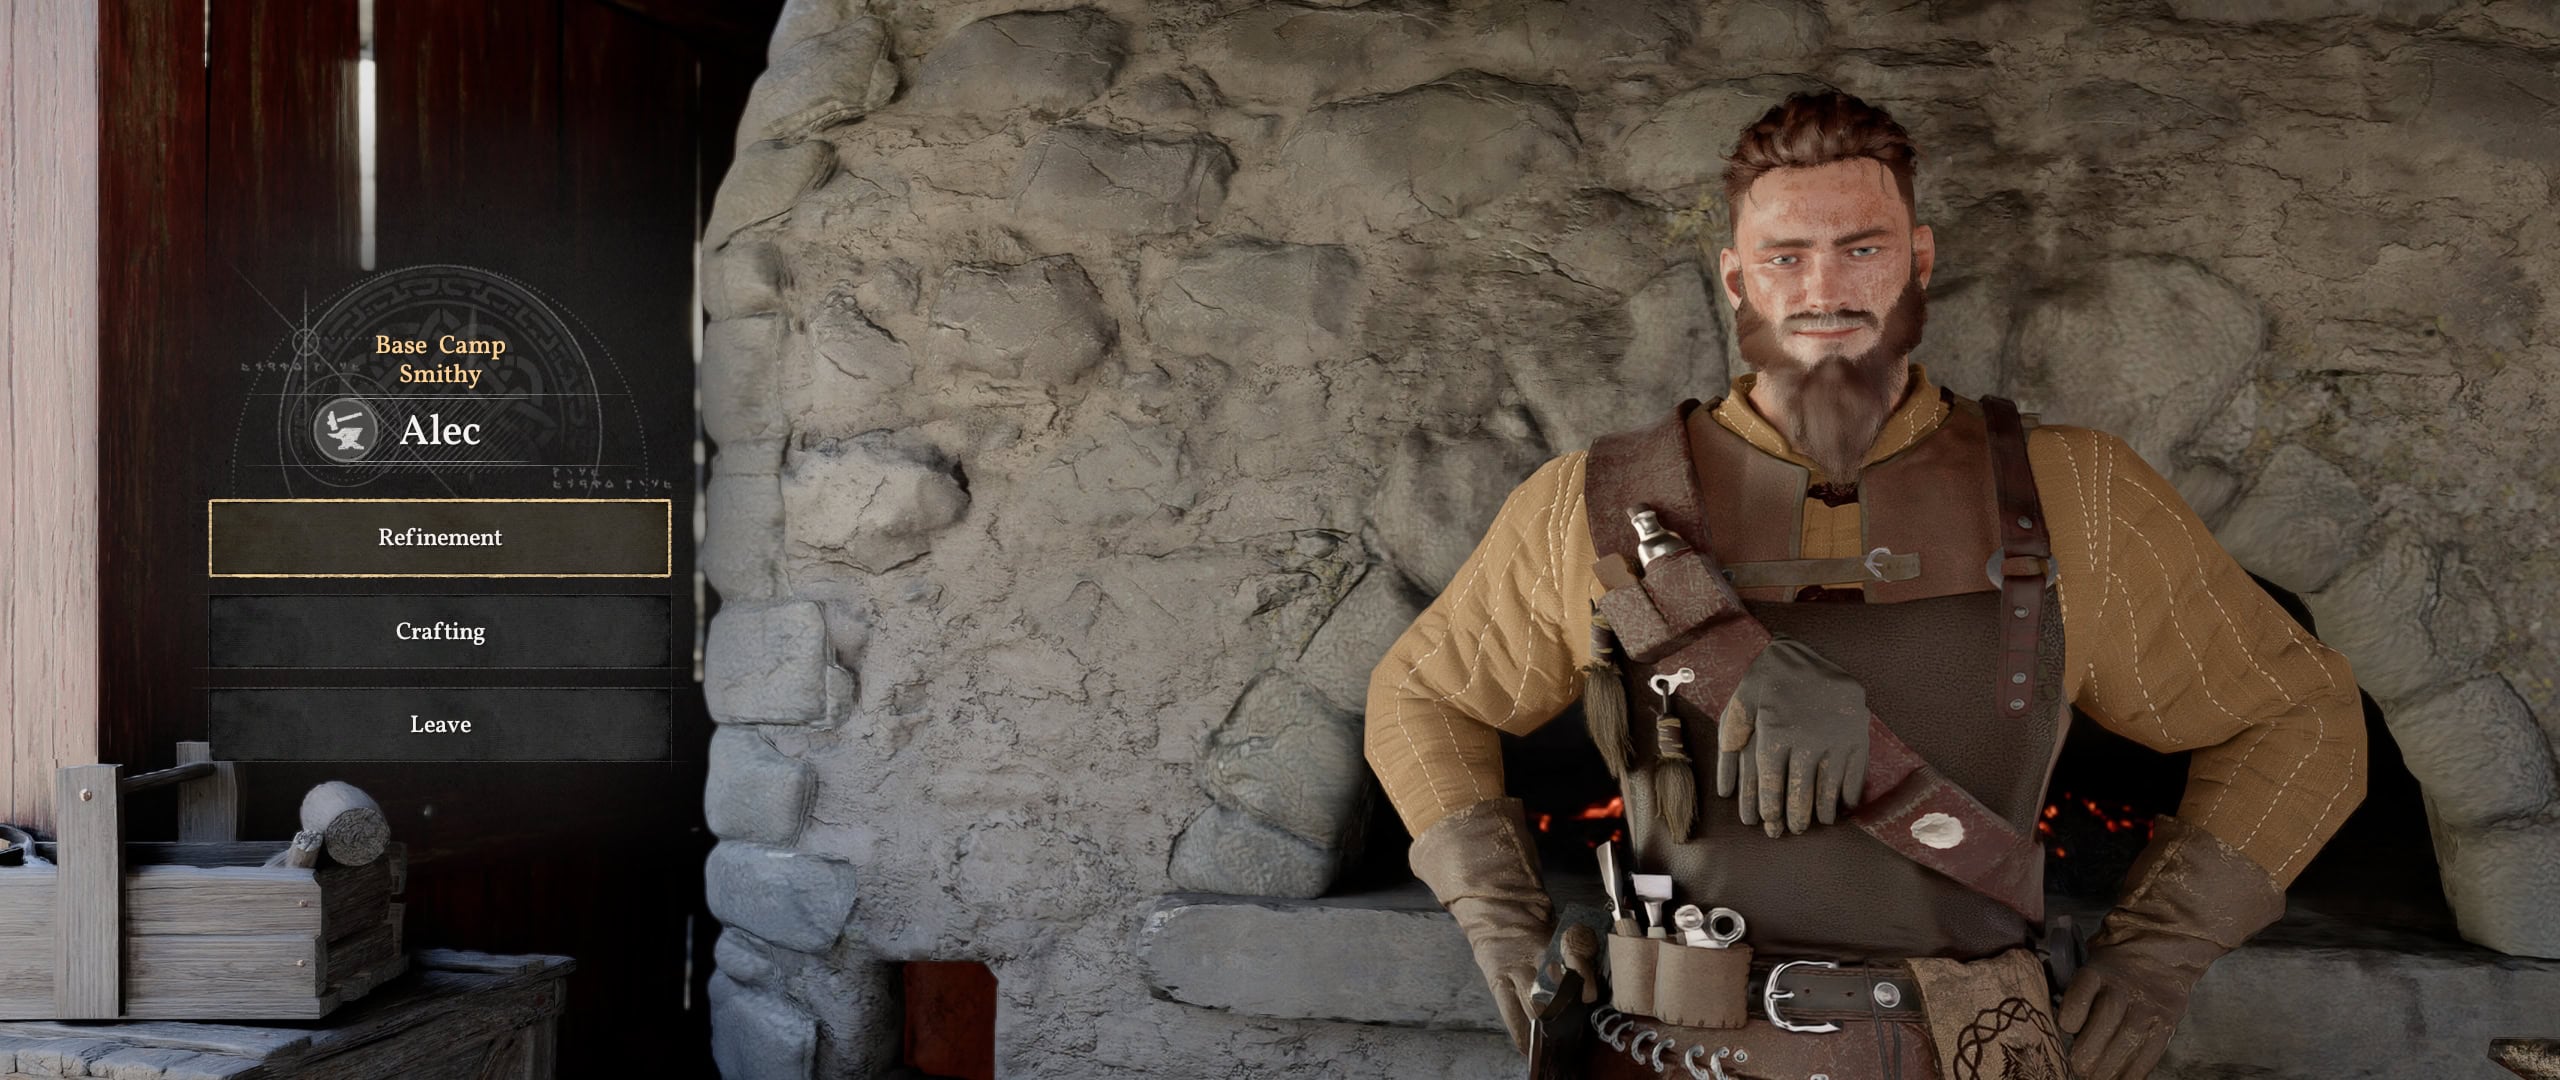
You can only craft items you have the recipe for, and each category of item has 3-4 [Item Category] of the World, Vol. I-IV, that you can find throughout the world and purchase from certain vendors.
Kamu the Cultivator
The Cultivator sells Seeds that you can plant at the 16 plots on the farm he unlocks at camp. He is most analogous to Grocers, who sometimes sell Seeds.
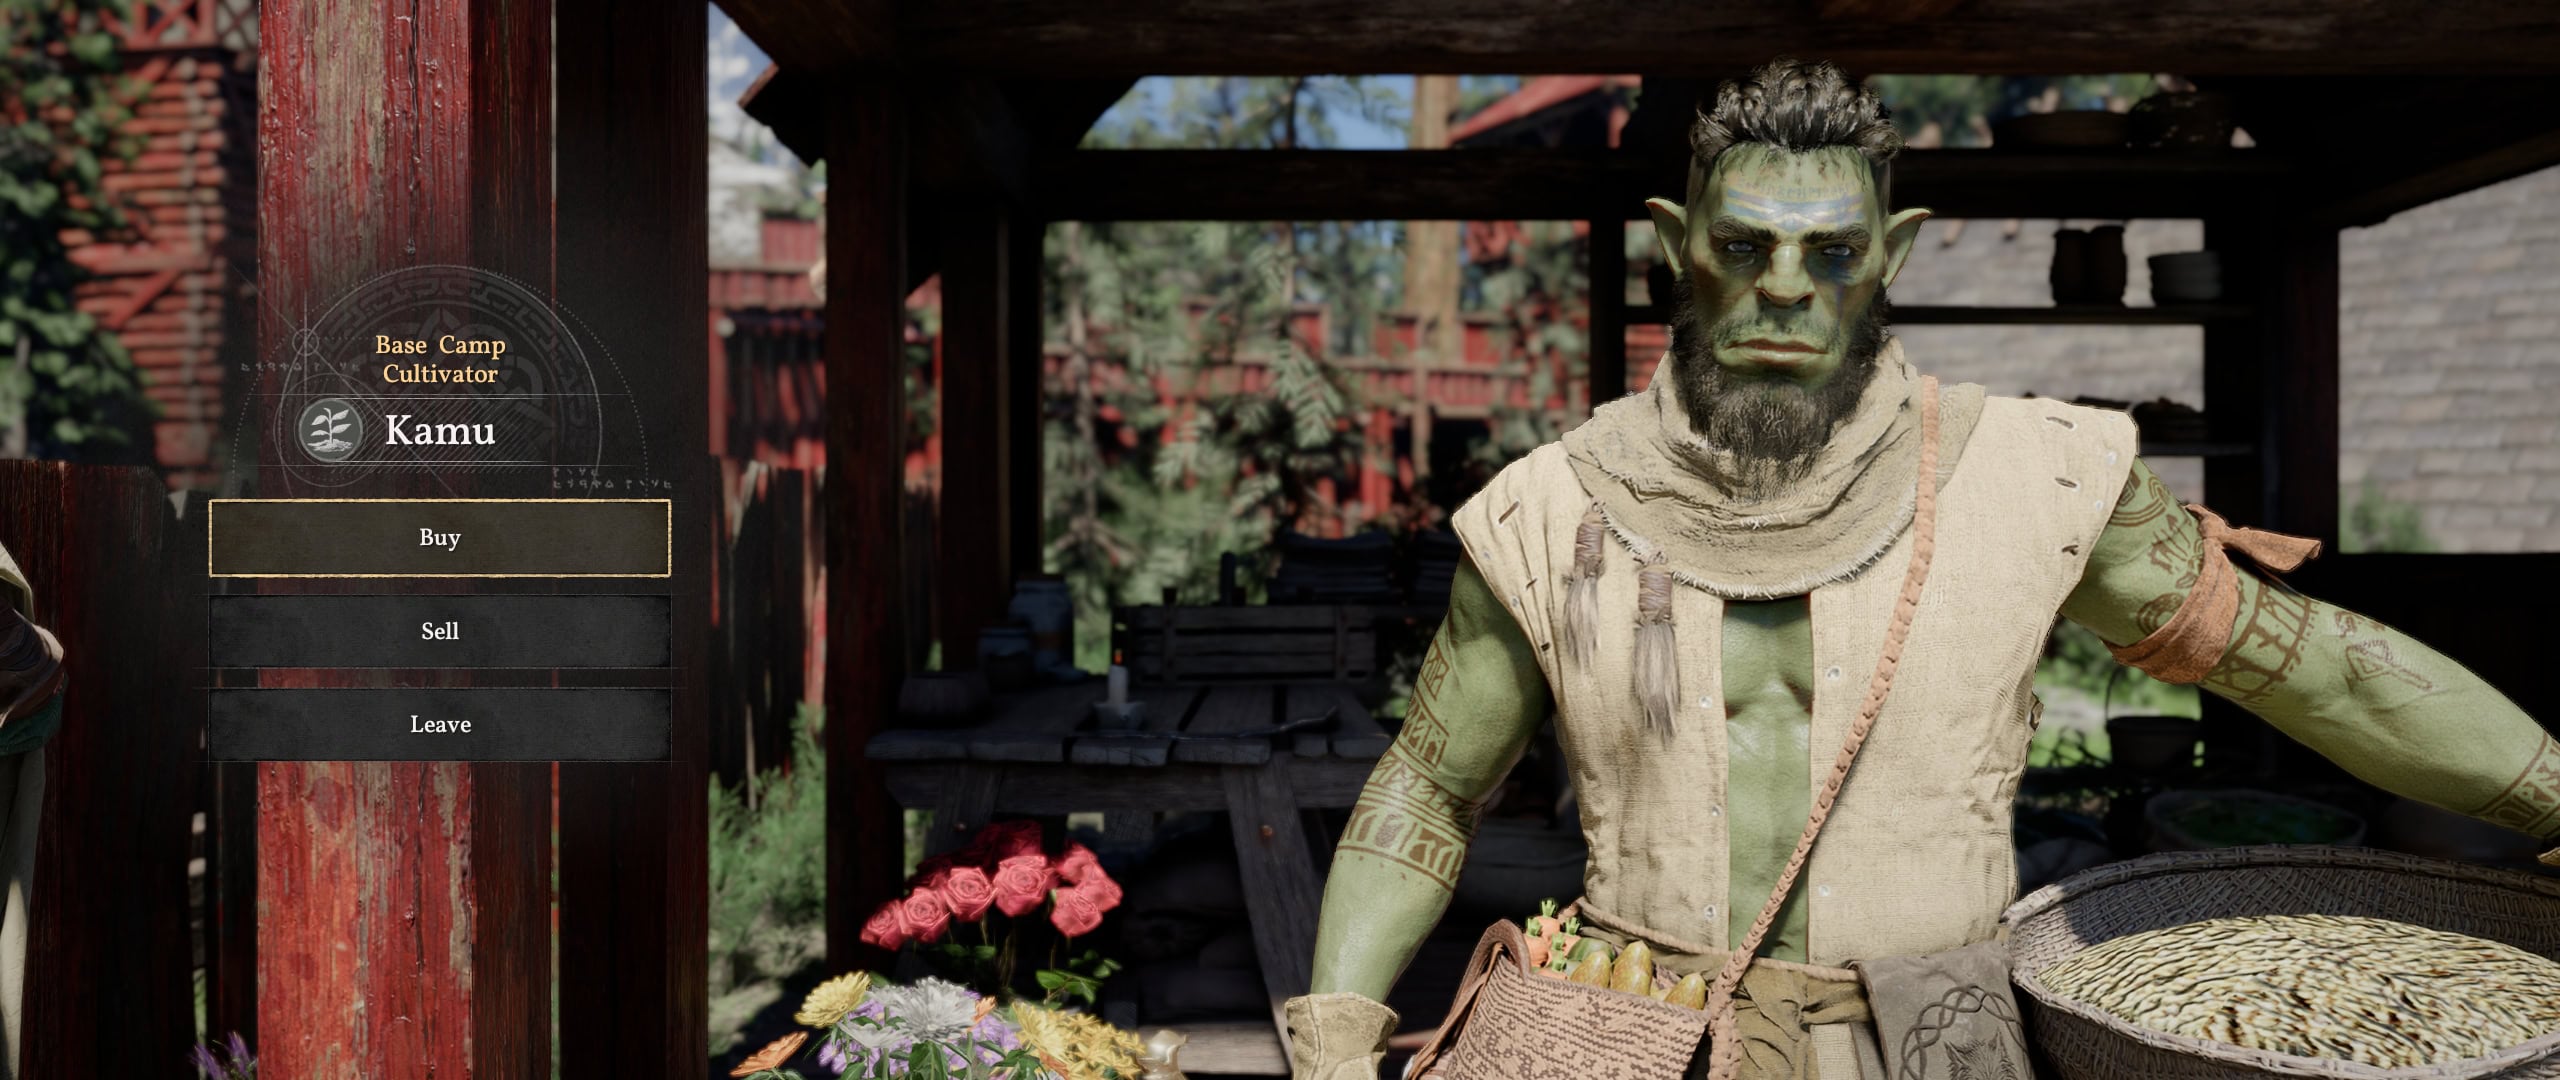
You can purchase Contracts from major Grocers throughout Pywel to enable him to sell a small number of almost every type of Seed in the game.
You can learn to Craft Field and Fertilizer Sprayers to water and fertilize each plant, which increases their growth rate and yields. Each crop you grow only bears fruit a single time. Small plants disappear automatically when you’ve harvested all fruit, but you’ll need to chop down trees with an Axe.
Ed the Stablemaster
The Stablemaster lets you assign your horses to Kliff, Oongka, or Damiane; sell horses you don’t want, load Packaged Trade Goods to your horse (instead of your Wagon), and will sell you a Priden and, eventually, an Elantrima. He does not help you manage any Legendary Mounts or equipment.
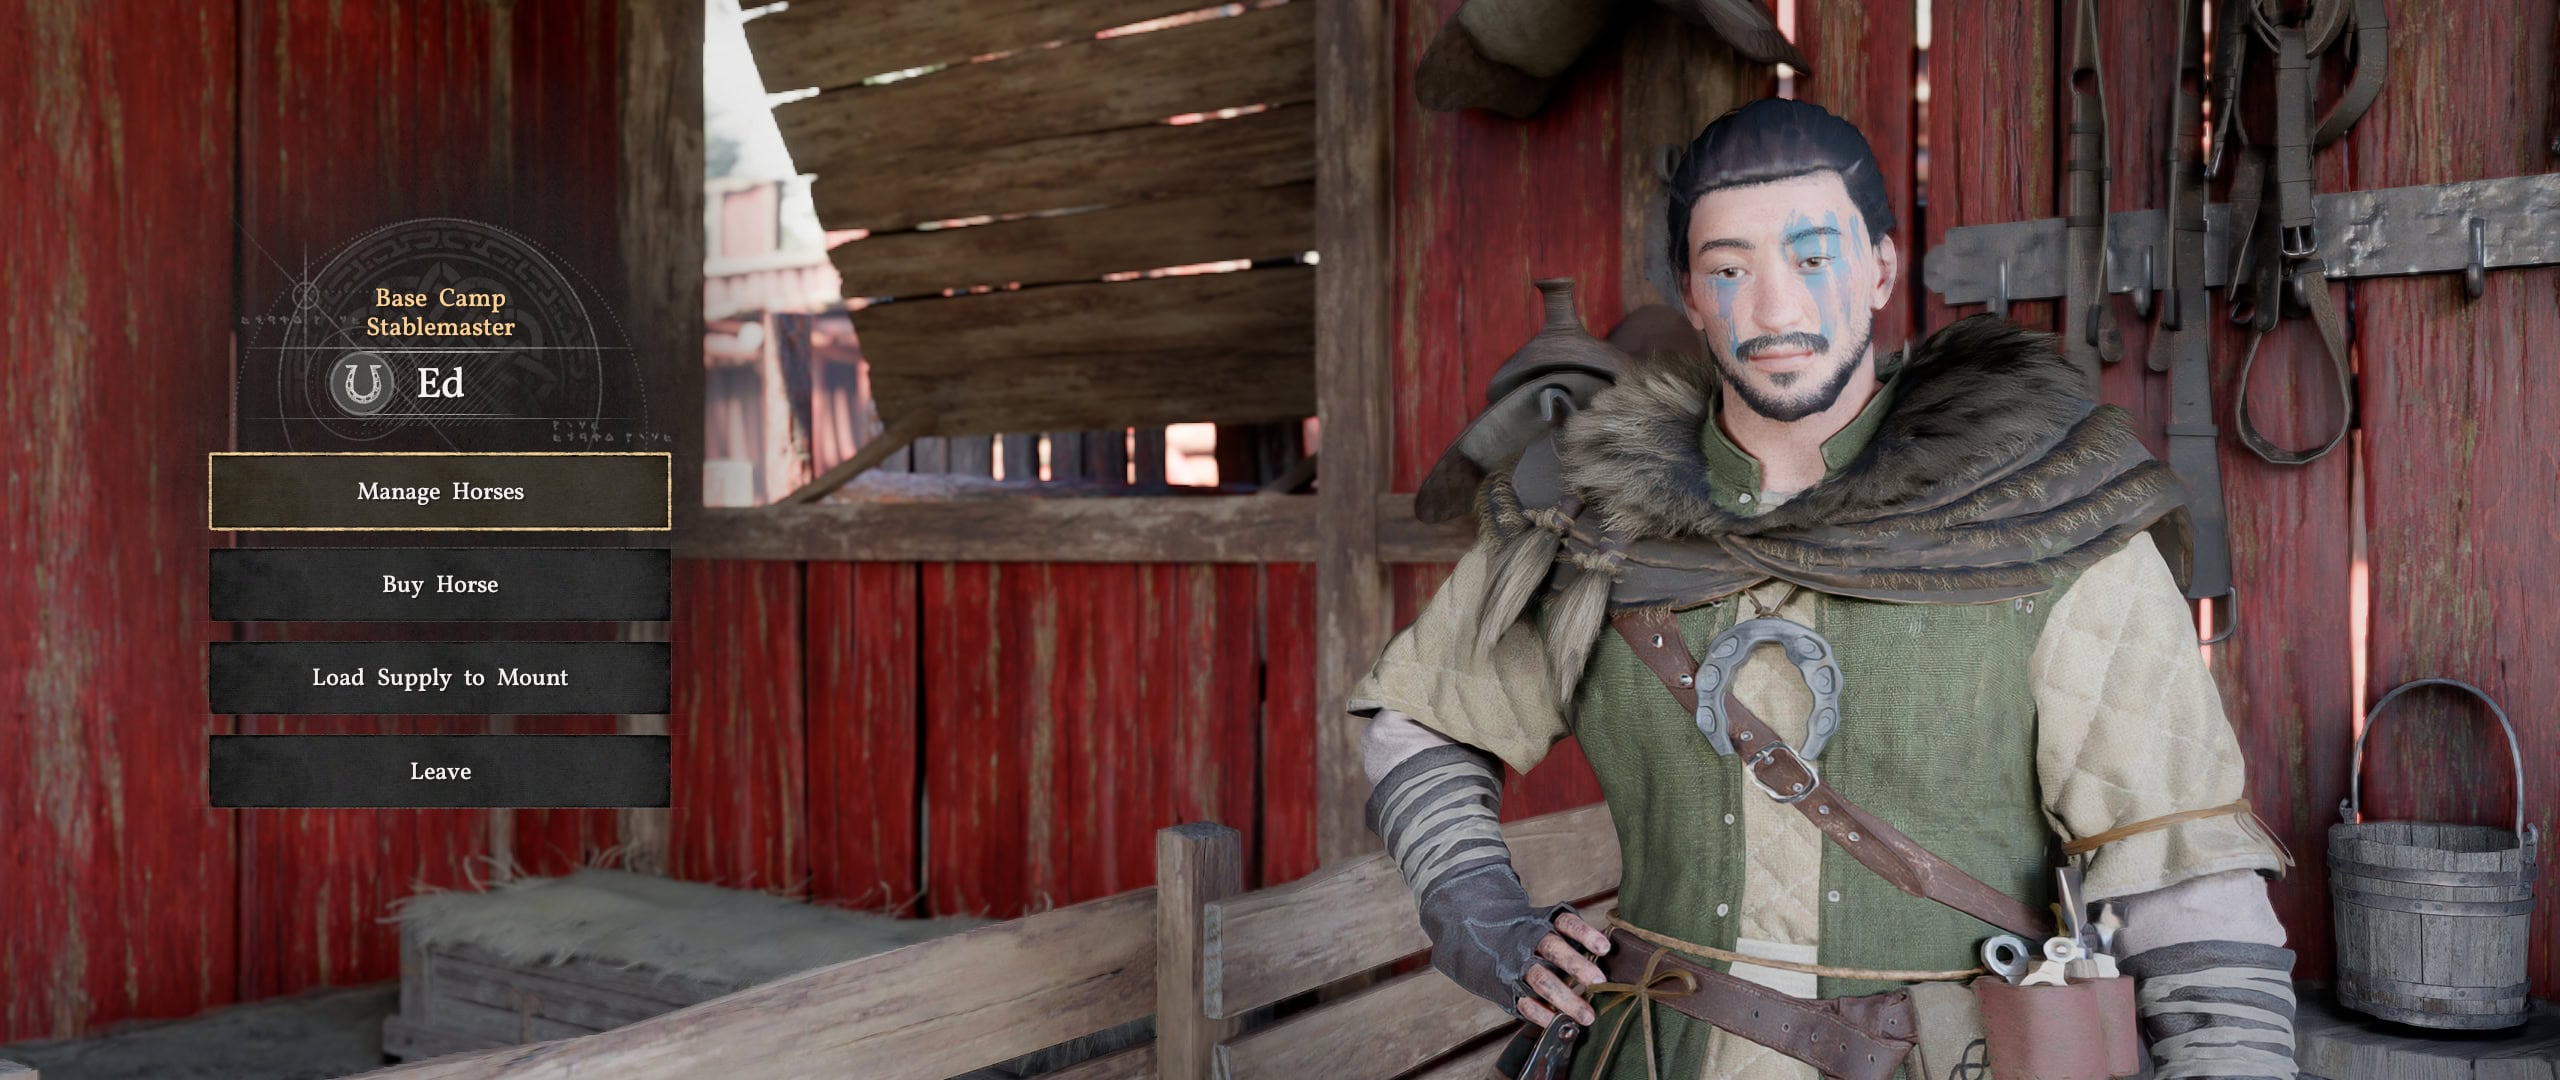
You can’t increase his supply of Horses and there is no benefit to increasing the Trust of any Stablemaster in the game. Strangely, there is no Saddlery at camp, though Horse Tack tends to be a prestige item that you can’t have multiple copies of, so perhaps that’s why.
Ben the Rancher
The Rancher sells livestock and lets you sell or slaughter the little beasties you have at the Ranch you unlock with him. You can also bring wild or stolen livestock to be slaughtered, sold, or ranched, though none of this is really worth the effort.
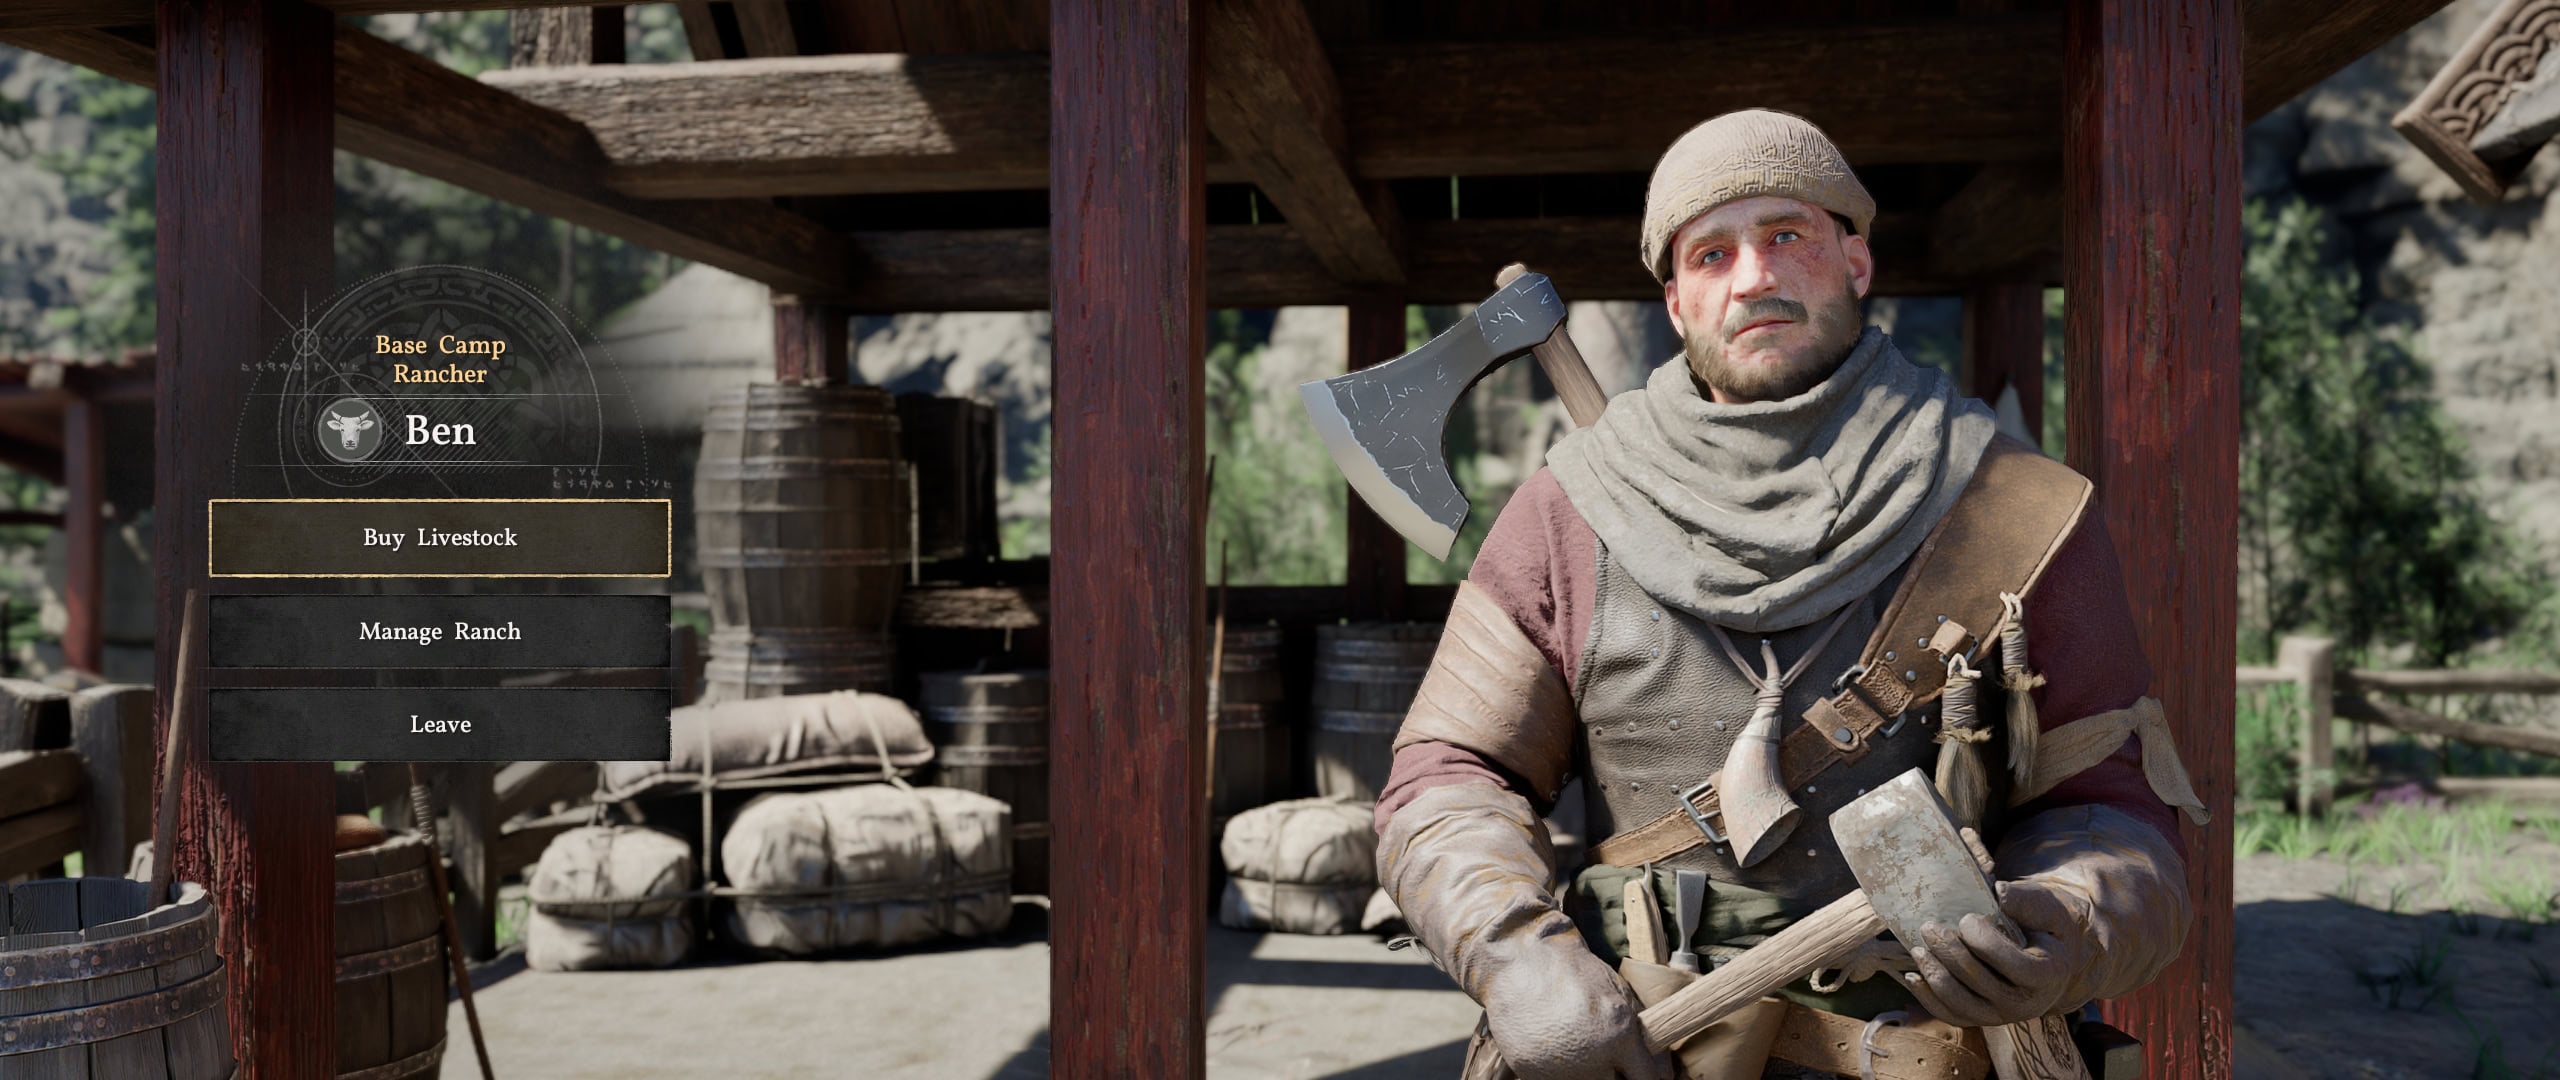
There are a few specific Ranchers with which you can buy Contracts to unlock the ability to purchase Calves, Lambs, and Baby Goats, but these also get unlocked when you move to Pailune.
The biggest benefit to Ranching is providing a steady supply of Fleece and Eggs, which come from Sheep and Chickens, respectively. These items get deposited into your Private Storage automatically each day based on the number of each animal you have.
High quality pigs and cows will give Marbled Meat, which is required for most of the better recipes that require the Special Cooking Tools.
If you have an adult male and female of the same species, they will naturally produce offspring, which you can raise and sell or slaughter.
You need to deposit food into the Feed Bin to make the animals grow and increase in quality.
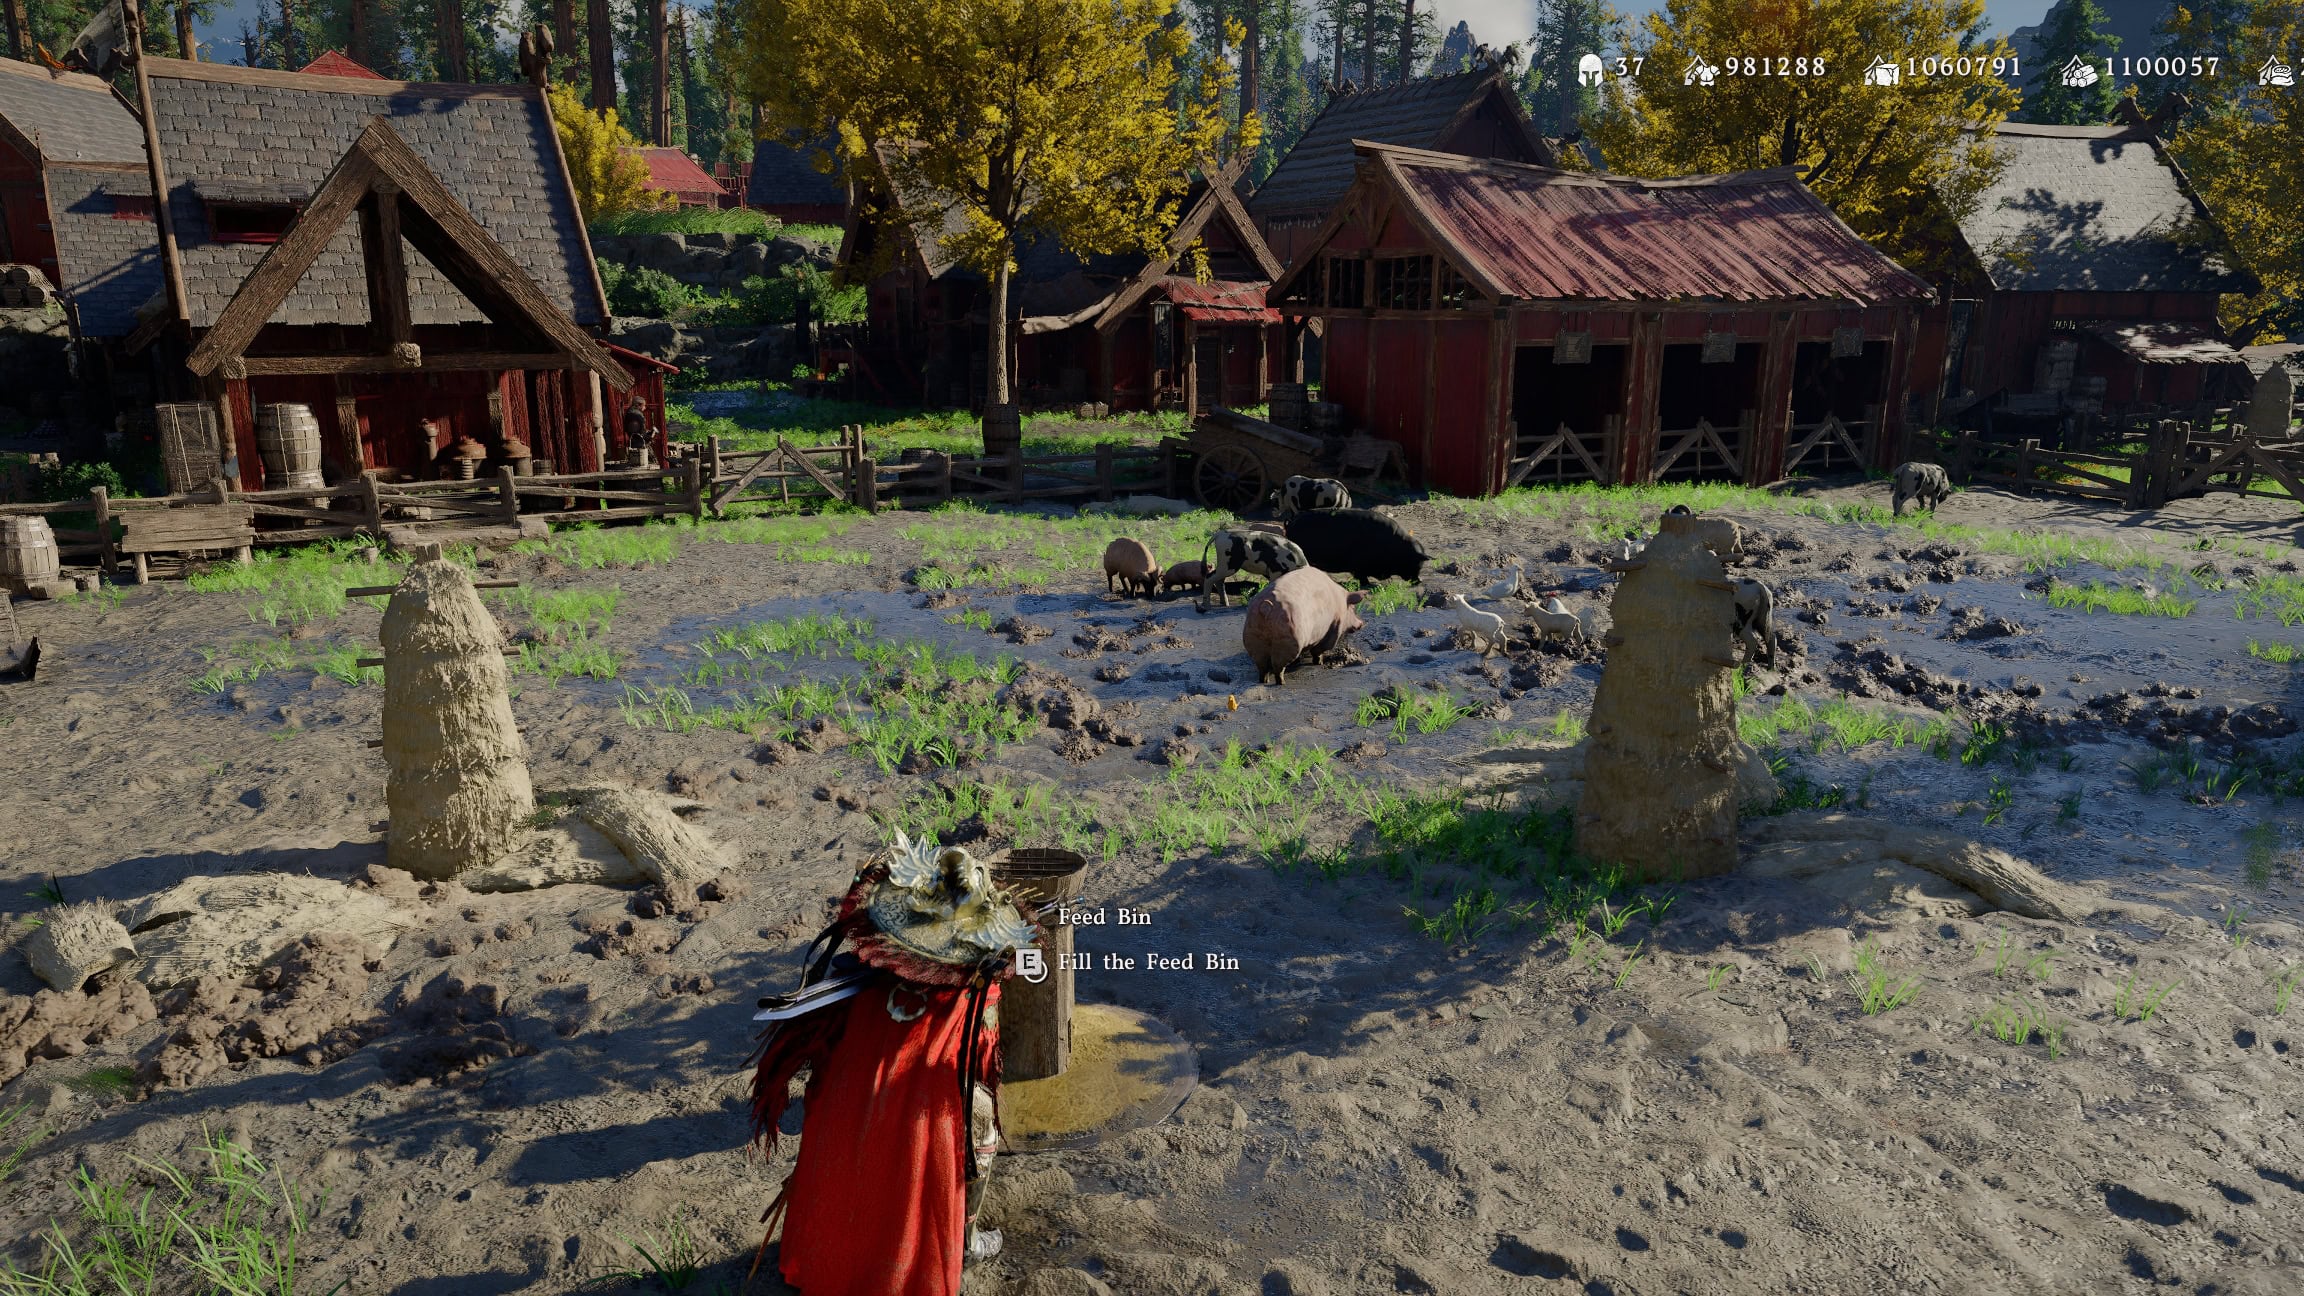
Livestock are never worth the effort for the price they sell for, even in top condition, so it’s best to keep a few Sheep and Hens on hand for the renewable resources and slaughter the others for their meat. You’ll probably have to sell the babies to make room.
Third Upgrade: Solid Foundation
The vendors you get as you upgrade camp for the third time are all about customization. Most importantly, the third upgrade to your camp is when you unlock the ability to change your hairstyle and dye your clothes in multiple colors.
Oliver the Dyer
The Dyer at camp is special because he’s the only one that can dye you and your horse’s clothes to be any color or material. All of the Dyehouses throughout Pywel only know how to do a single color and material.
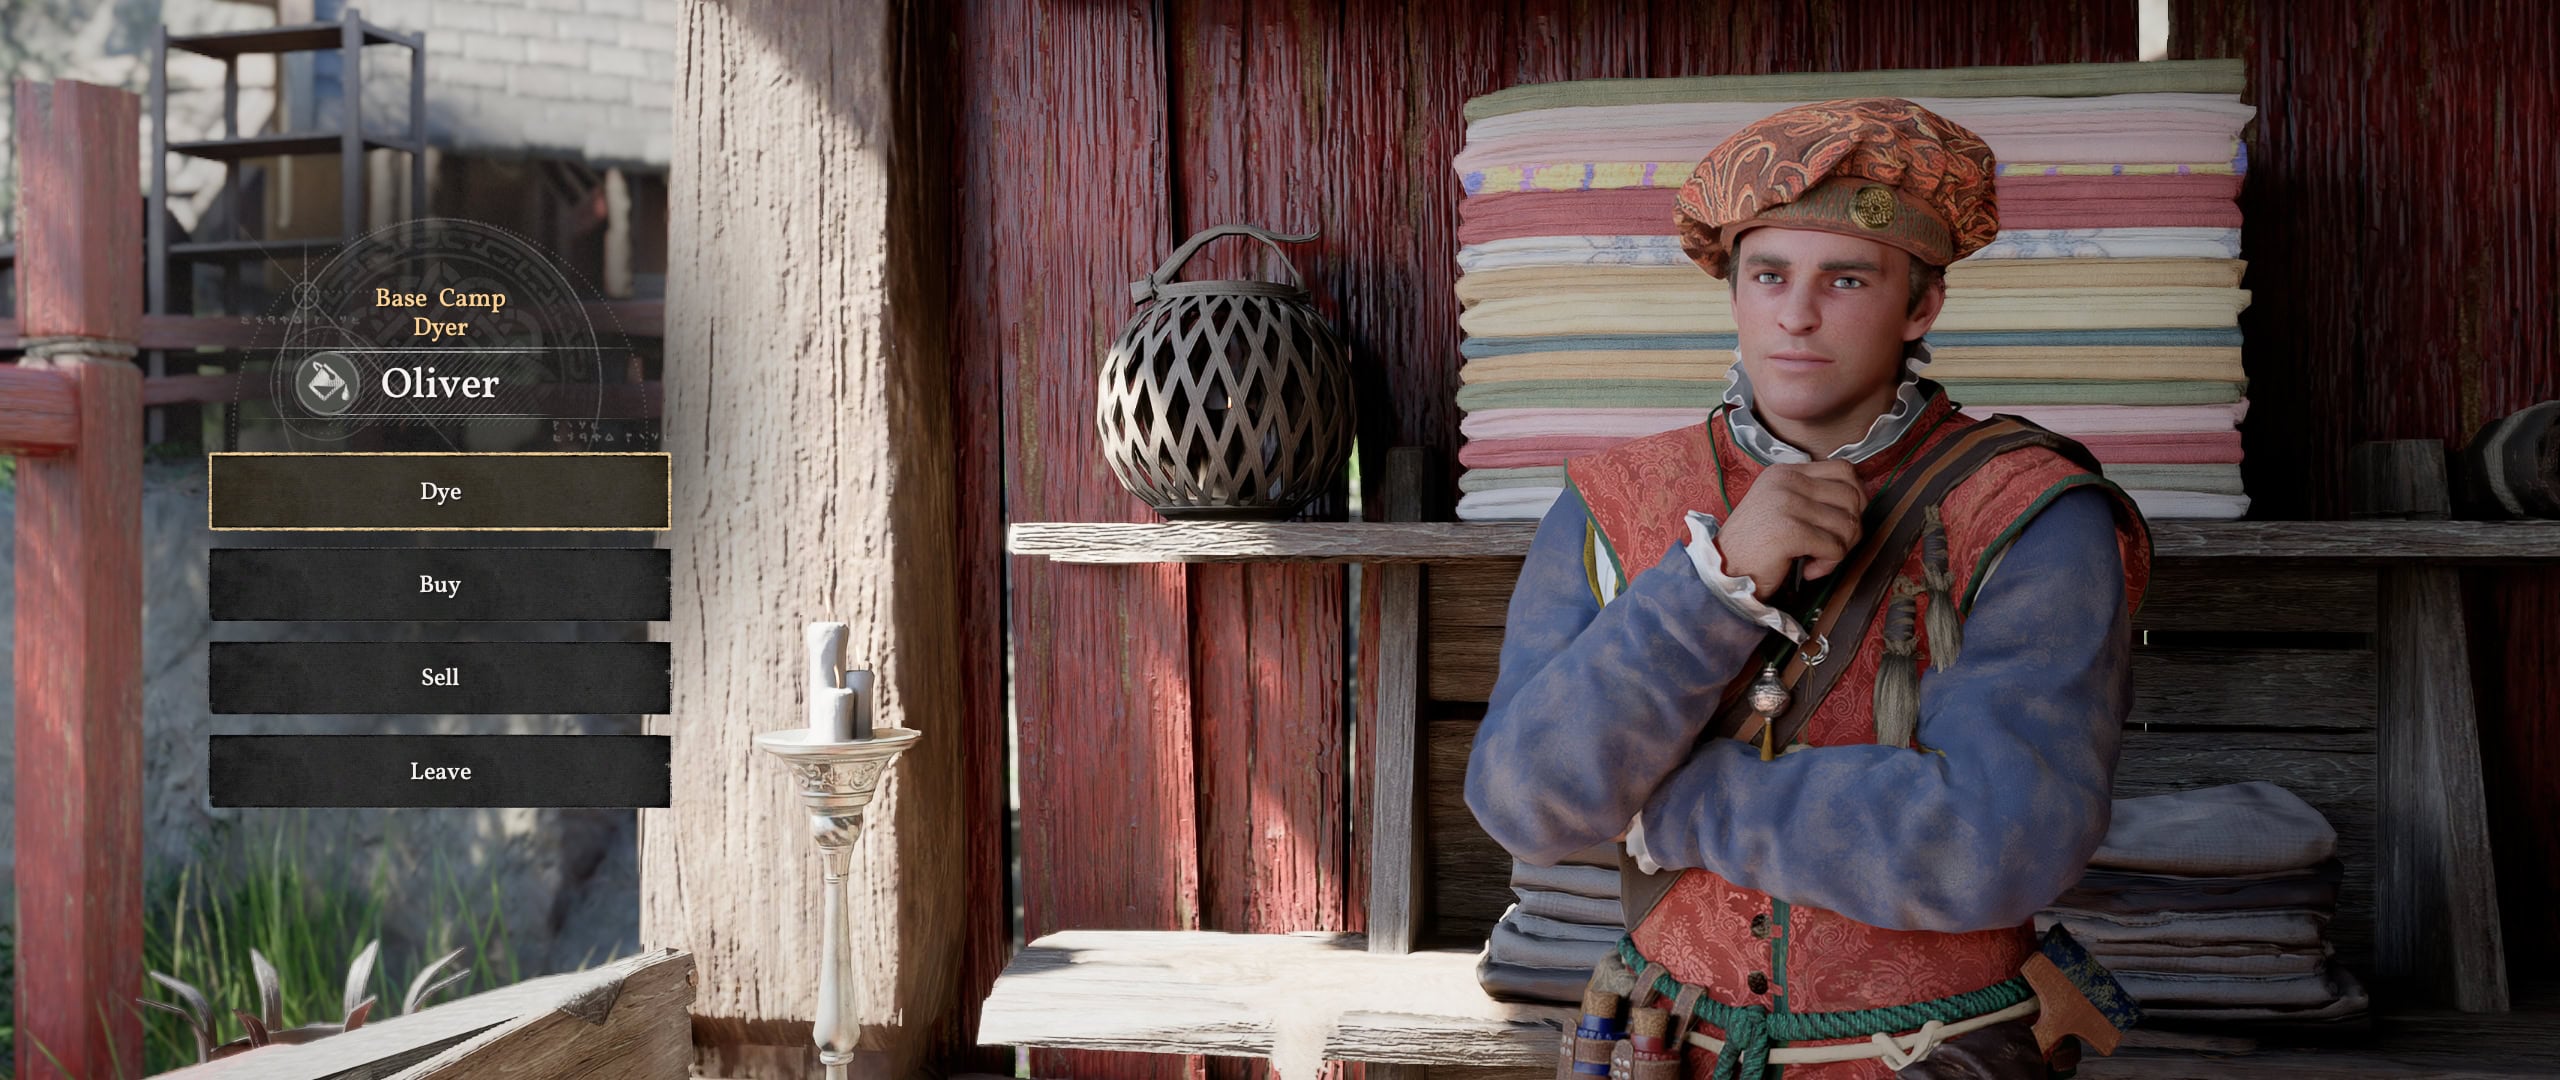
You automatically unlock each hue with Oliver upon speaking with the dye vendor associated with each color. There’s need to worry about Trust or Contracts.
Eric the Barber
The Barber allows you to modify all 3 playable characters’ hairstyle, beard (if applicable), and tattoos on both the face and the body. You can customize hair color and length as well as tattoo presence, color, and opacity.
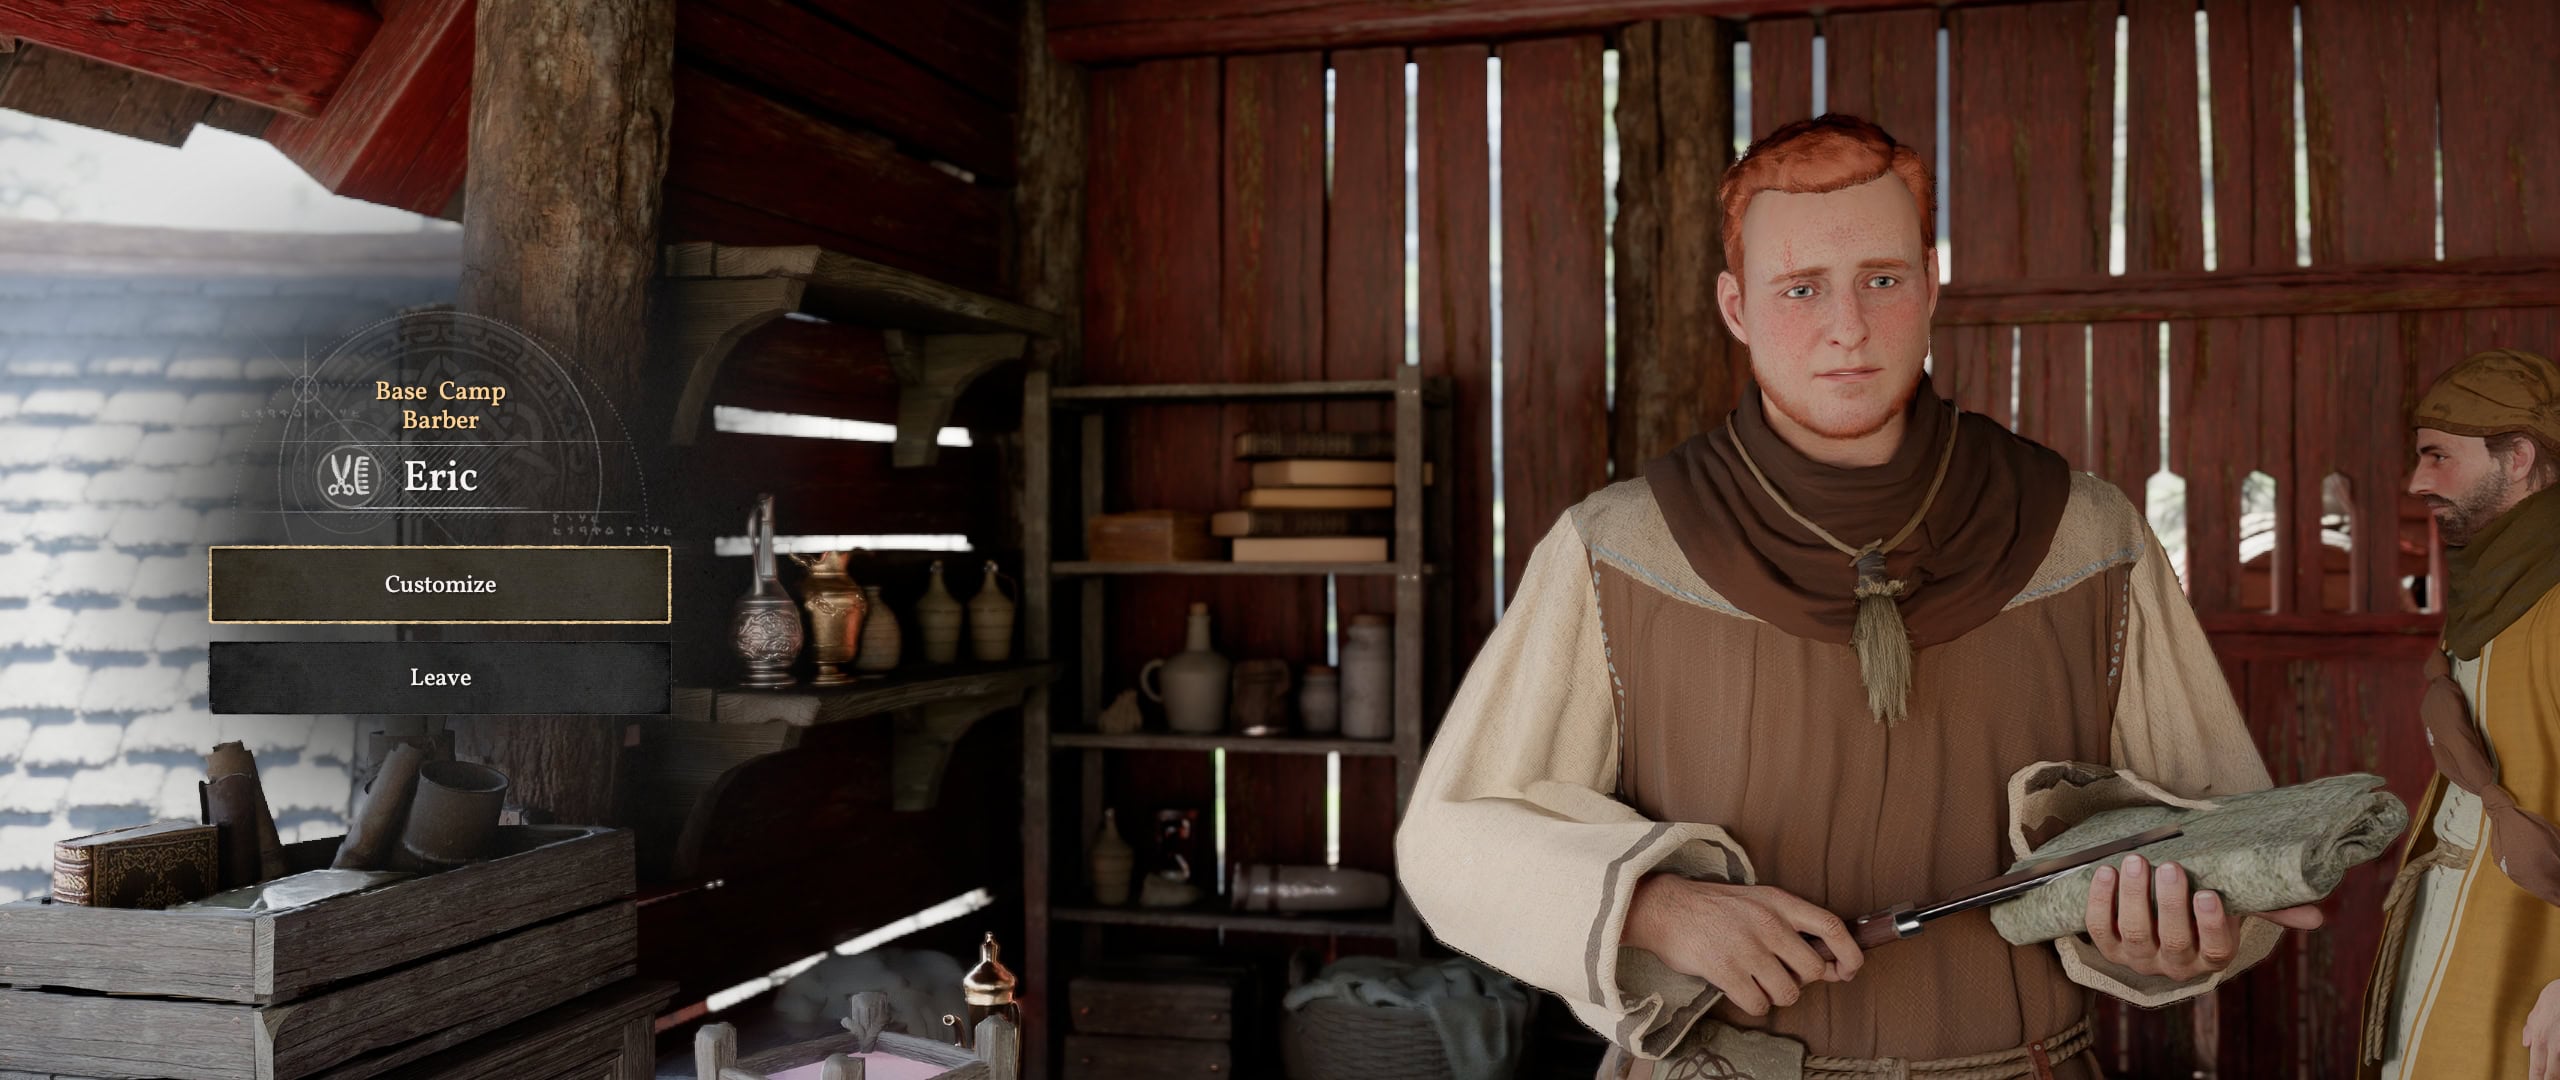
Eric is apparently the only barber and tattoo artist in all of Pywel and there is no way to get more hairstyles or tattoo designs in-game.
Connor the Lapidarist
Connor sells Necklaces, Rings, and Earrings, as well as various types of Gemstones. A lapidarist is a pedantic word for someone who cuts gemstones, basically a jeweler, but perhaps the former is more accurate because Connor only sells this stuff. You need to visit a Smithy to craft these types of Accessories.
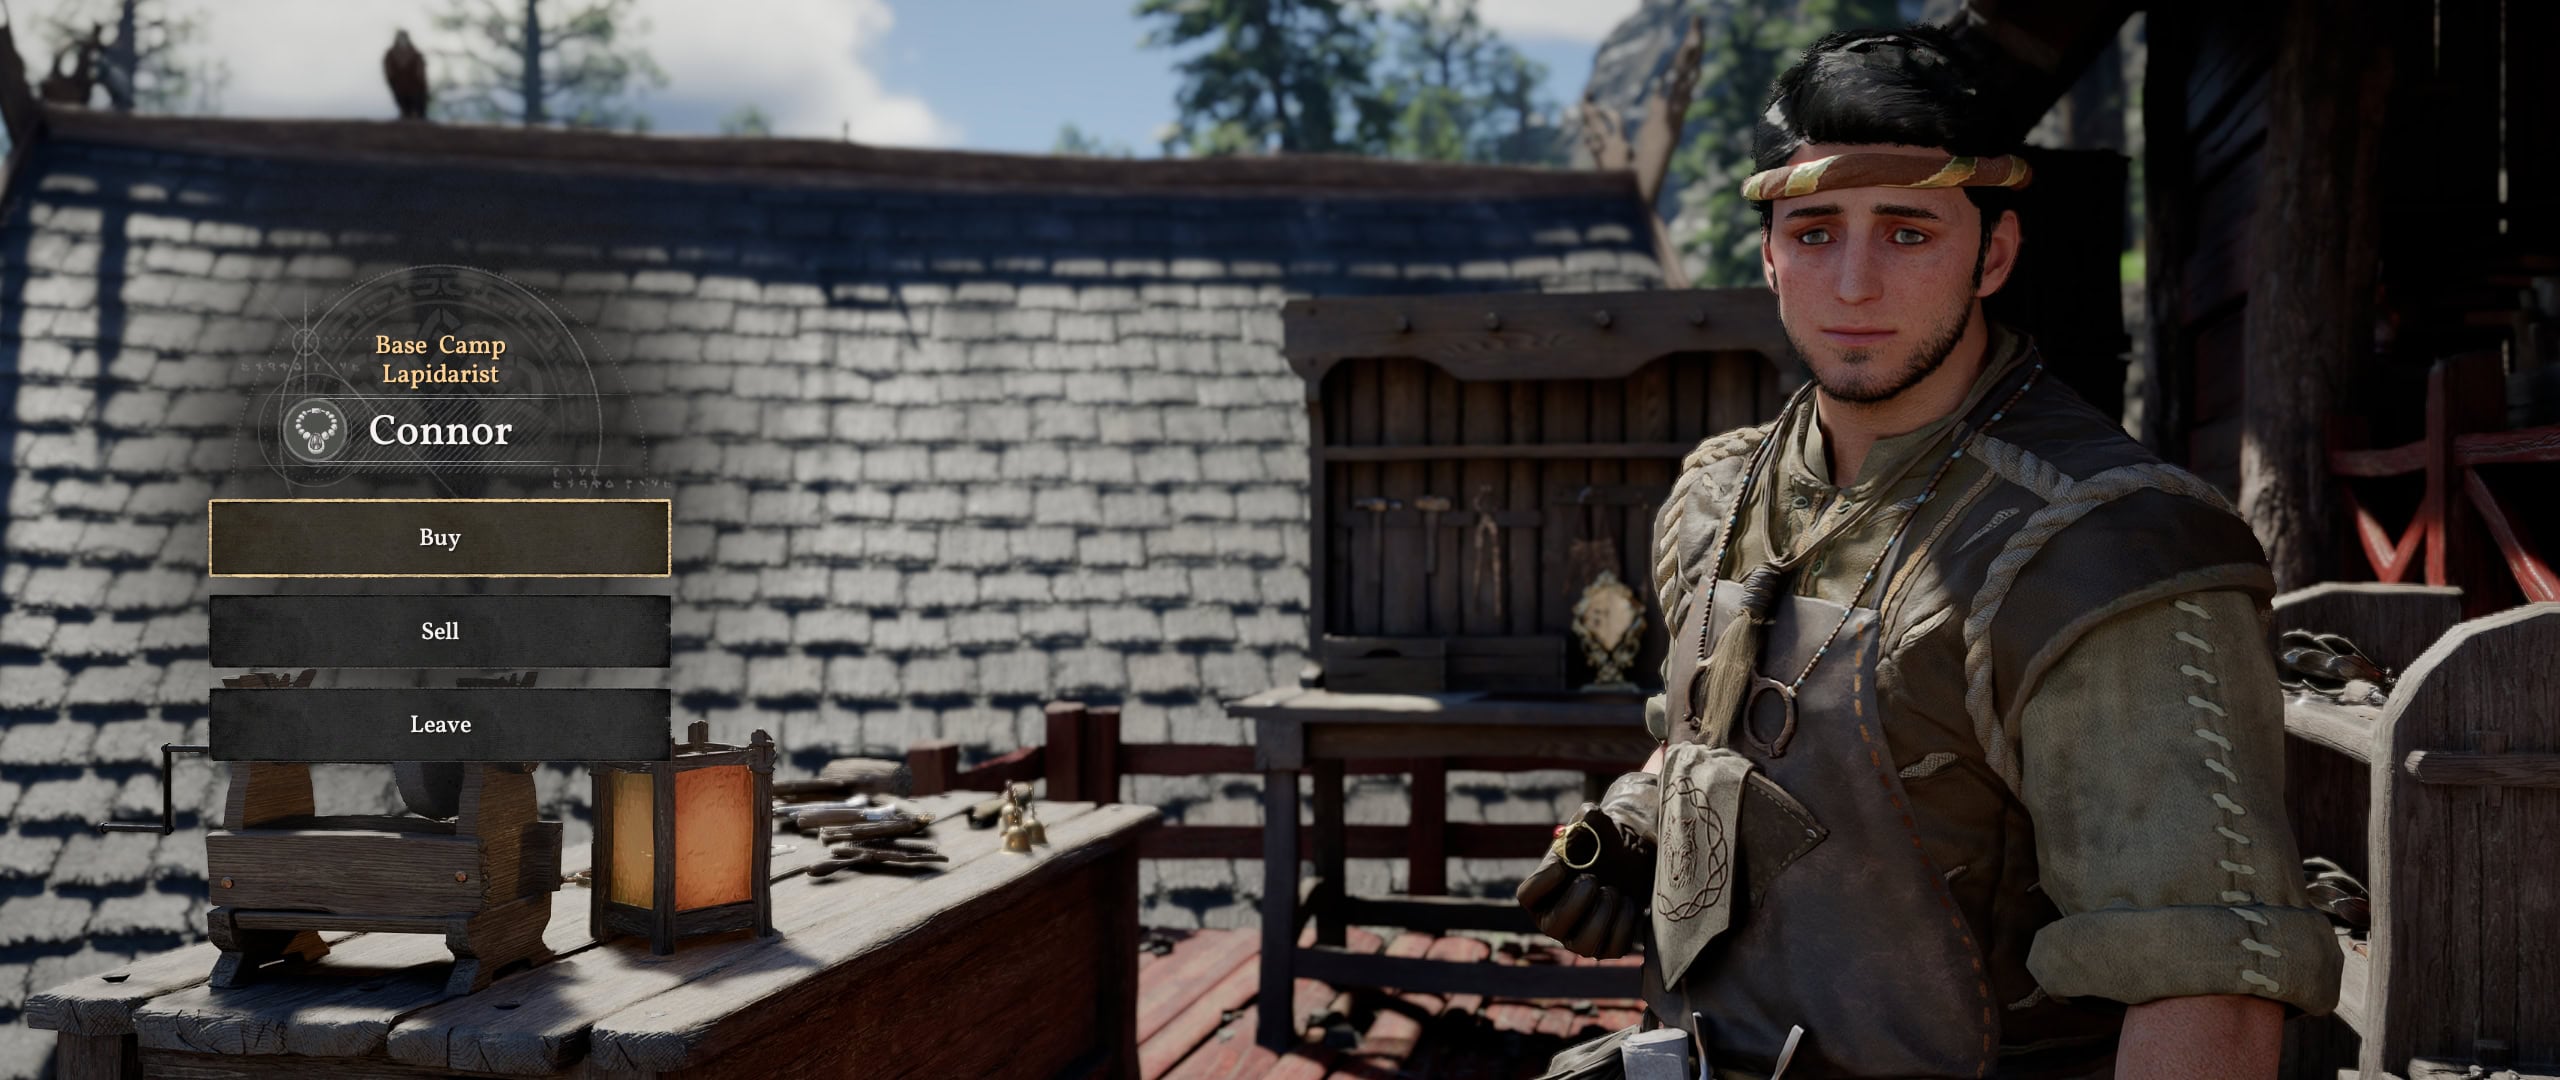
You can find Mineral Shops in some major cities and in Quarries throughout Pywel, but they sell a combination of the gemstones Connor sells and the minerals sold by Tranan the Quartermaster.
Connor’s jewelry stock expands automatically each time you max out your Trust with each of the 5 Witches in the game. They’ll also each give you a Golden Apple.
Fourth Upgrade: Reuniting with Comrades
The fourth upgrade is mostly about finishing touches to the Howling Hill Camp, so there’s only one vendor left to get.
Diederik the Tailor
Diederik sells Cloth and Leather armor sets only. If you want Plate Armor, you go to the Quartermaster, except for the Bedure Plate Helm, which is clearly a mistake. This armor weight distinction is usually why you’ll only find portions of some sets on singular vendors.
You can purchase Contracts from each Tailor in Pywel to unlock their inventory for sale at Diederik’s shop.
Unlike all the other Greymanes, Diederik decided to wander all the way out to the Delesyian Jungle. While you’ll get his quest long before you make it there, it follows a different naming pattern from the other recruitment missions and is called “A Familiar Voice at the Redfox Trading Post”.
Final Upgrade: Move to Pailune
You do not unlock any new vendors when you move to Pailune, though the size of Kamu’s farm doubles and the number of livestock you can store increases.
Ronnie’s cookpot is replaced with the Special Cooking Tool, and your house is a bit closer to everything as well.
Other Camp Amenities
The Greymane’s Camp has a bunch of extra amenities that make the premier hub for Kliff, Oongka, and Damiane.
House Decoration
You have a house that you can decorate with Furniture and Collectibles you find, earn, and buy. It’s mostly buying. The selection isn’t crazy huge, but you can put some utilities in there like Specialized Storage, Special Cooking Tools, Cauldrons, and a Bed.
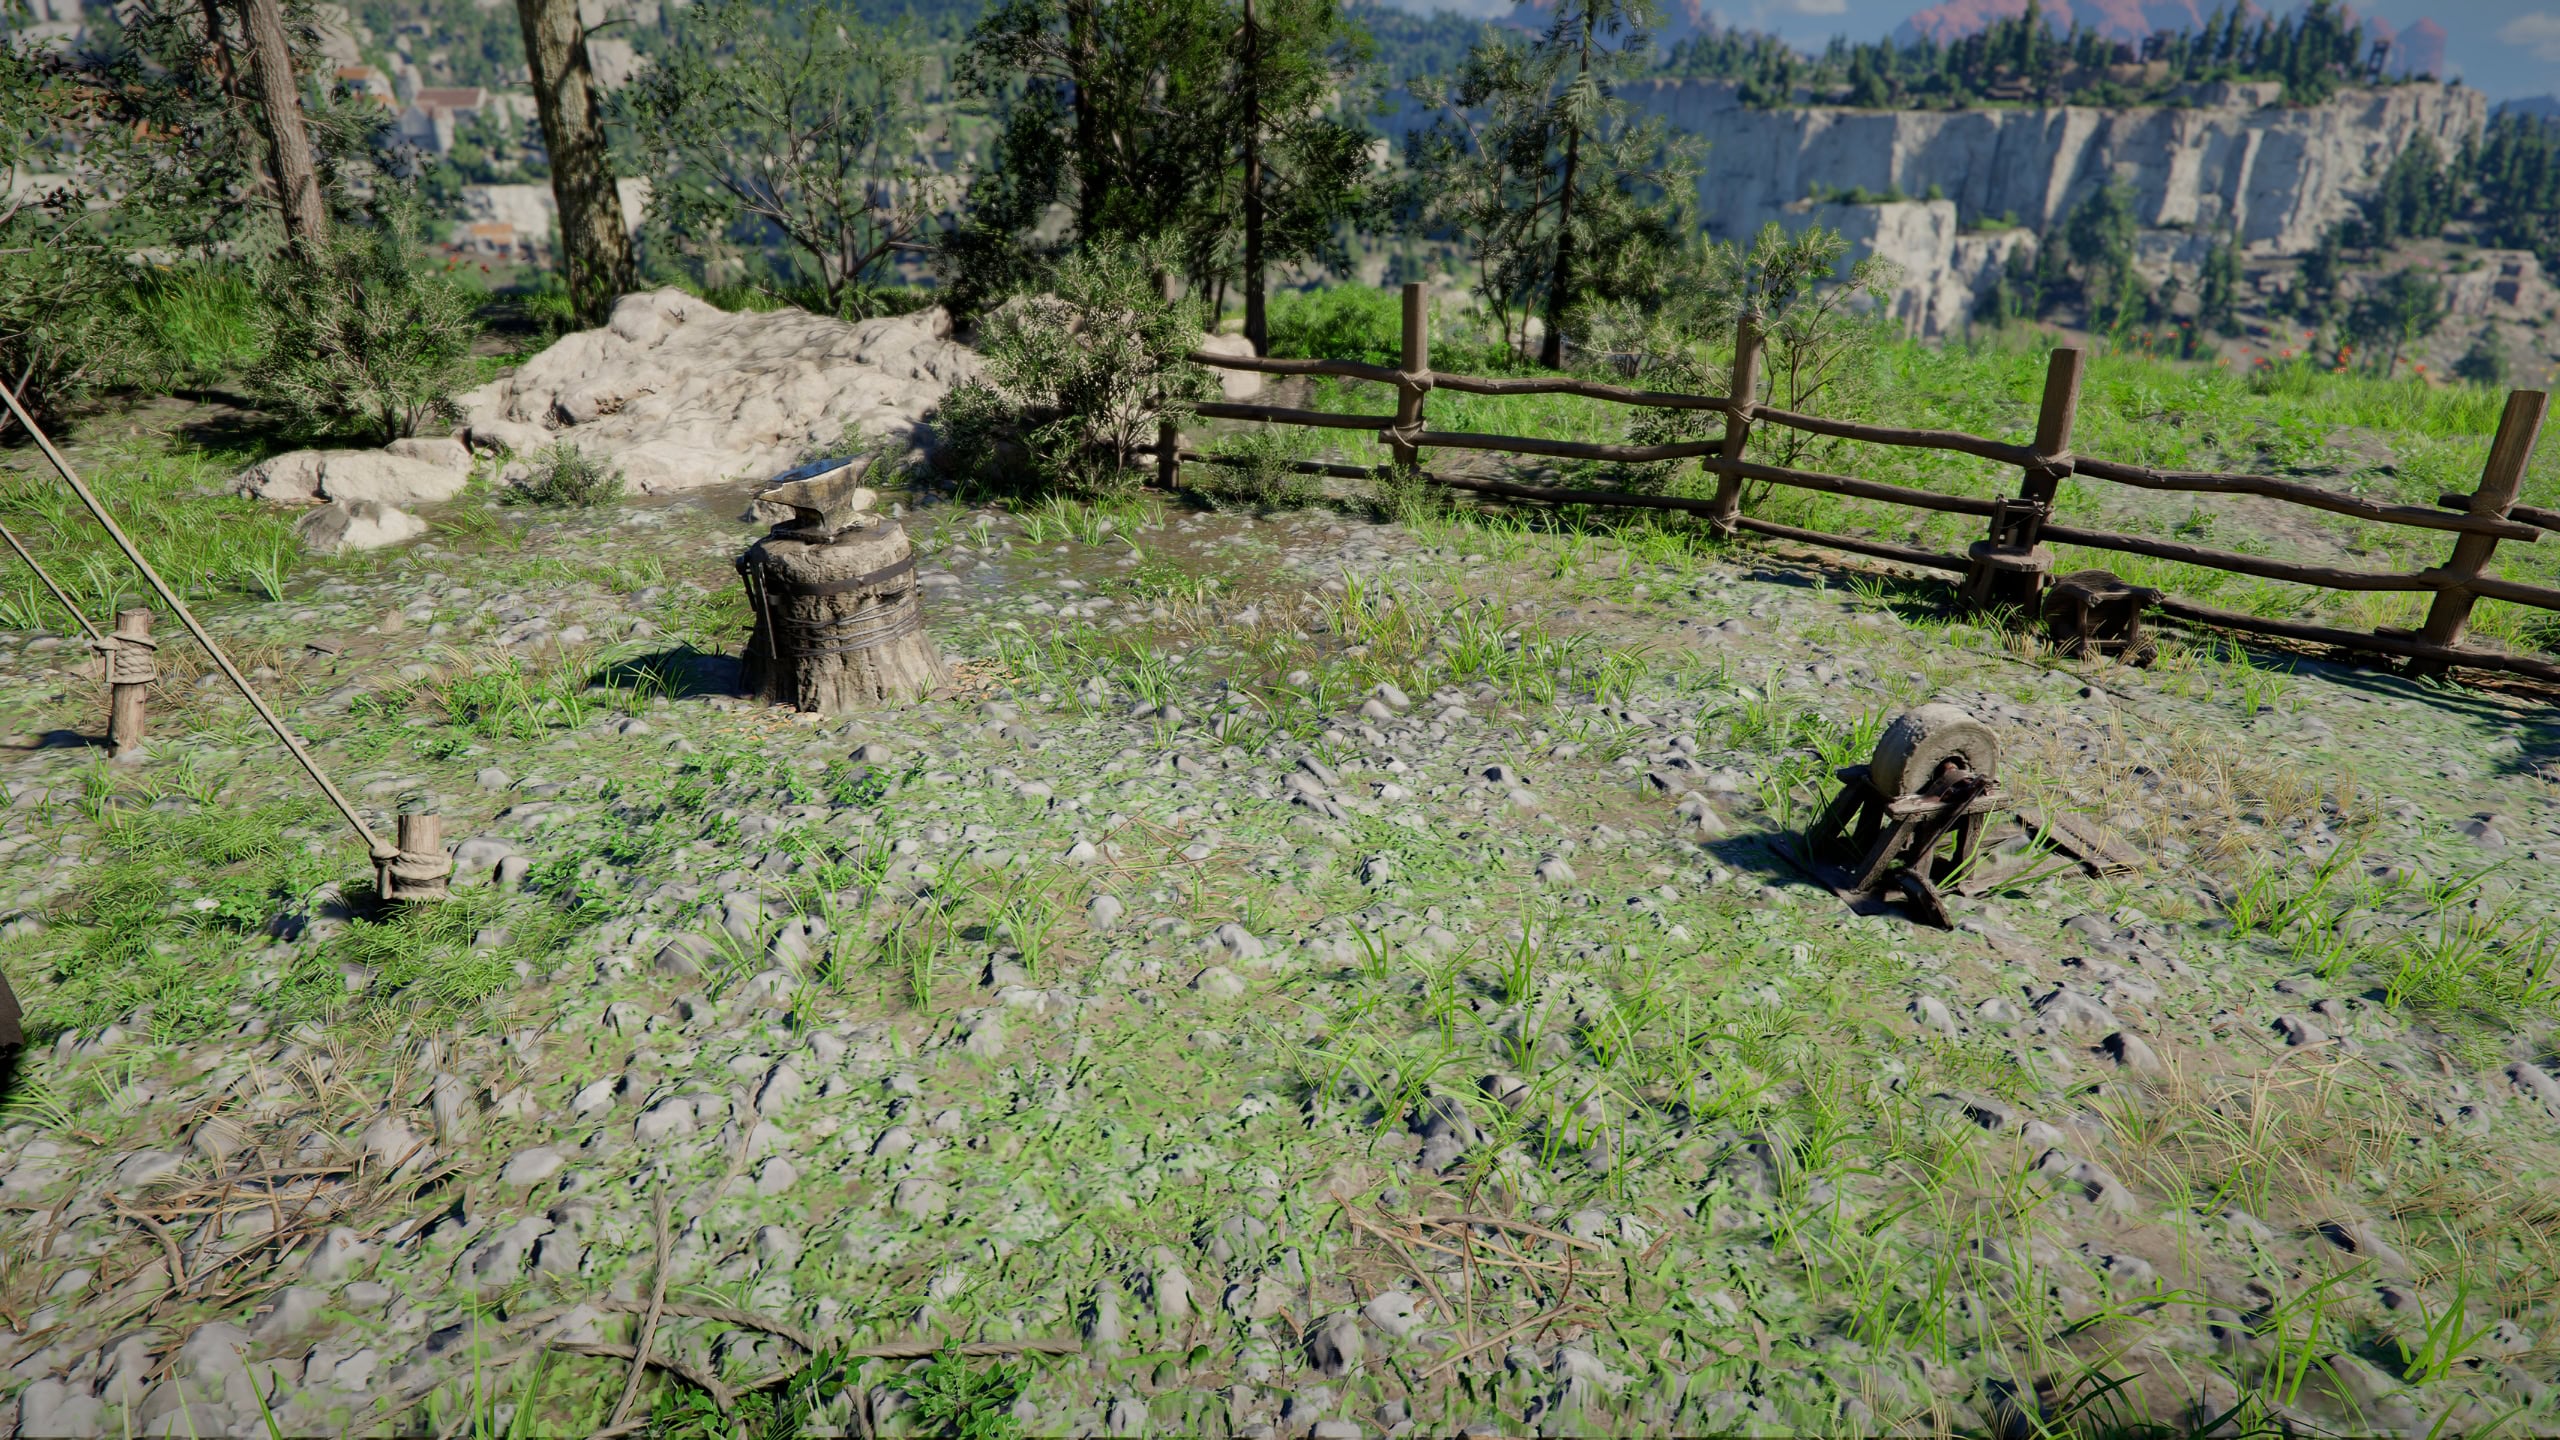
Anvil and Grindstone
Anvils temporarily improve the Defense and Attack stats provided by your Armor. Grindstones temporarily improve the Defense and Attack stats provided by your Weapons. You can find both out behind Alec the Smithy.
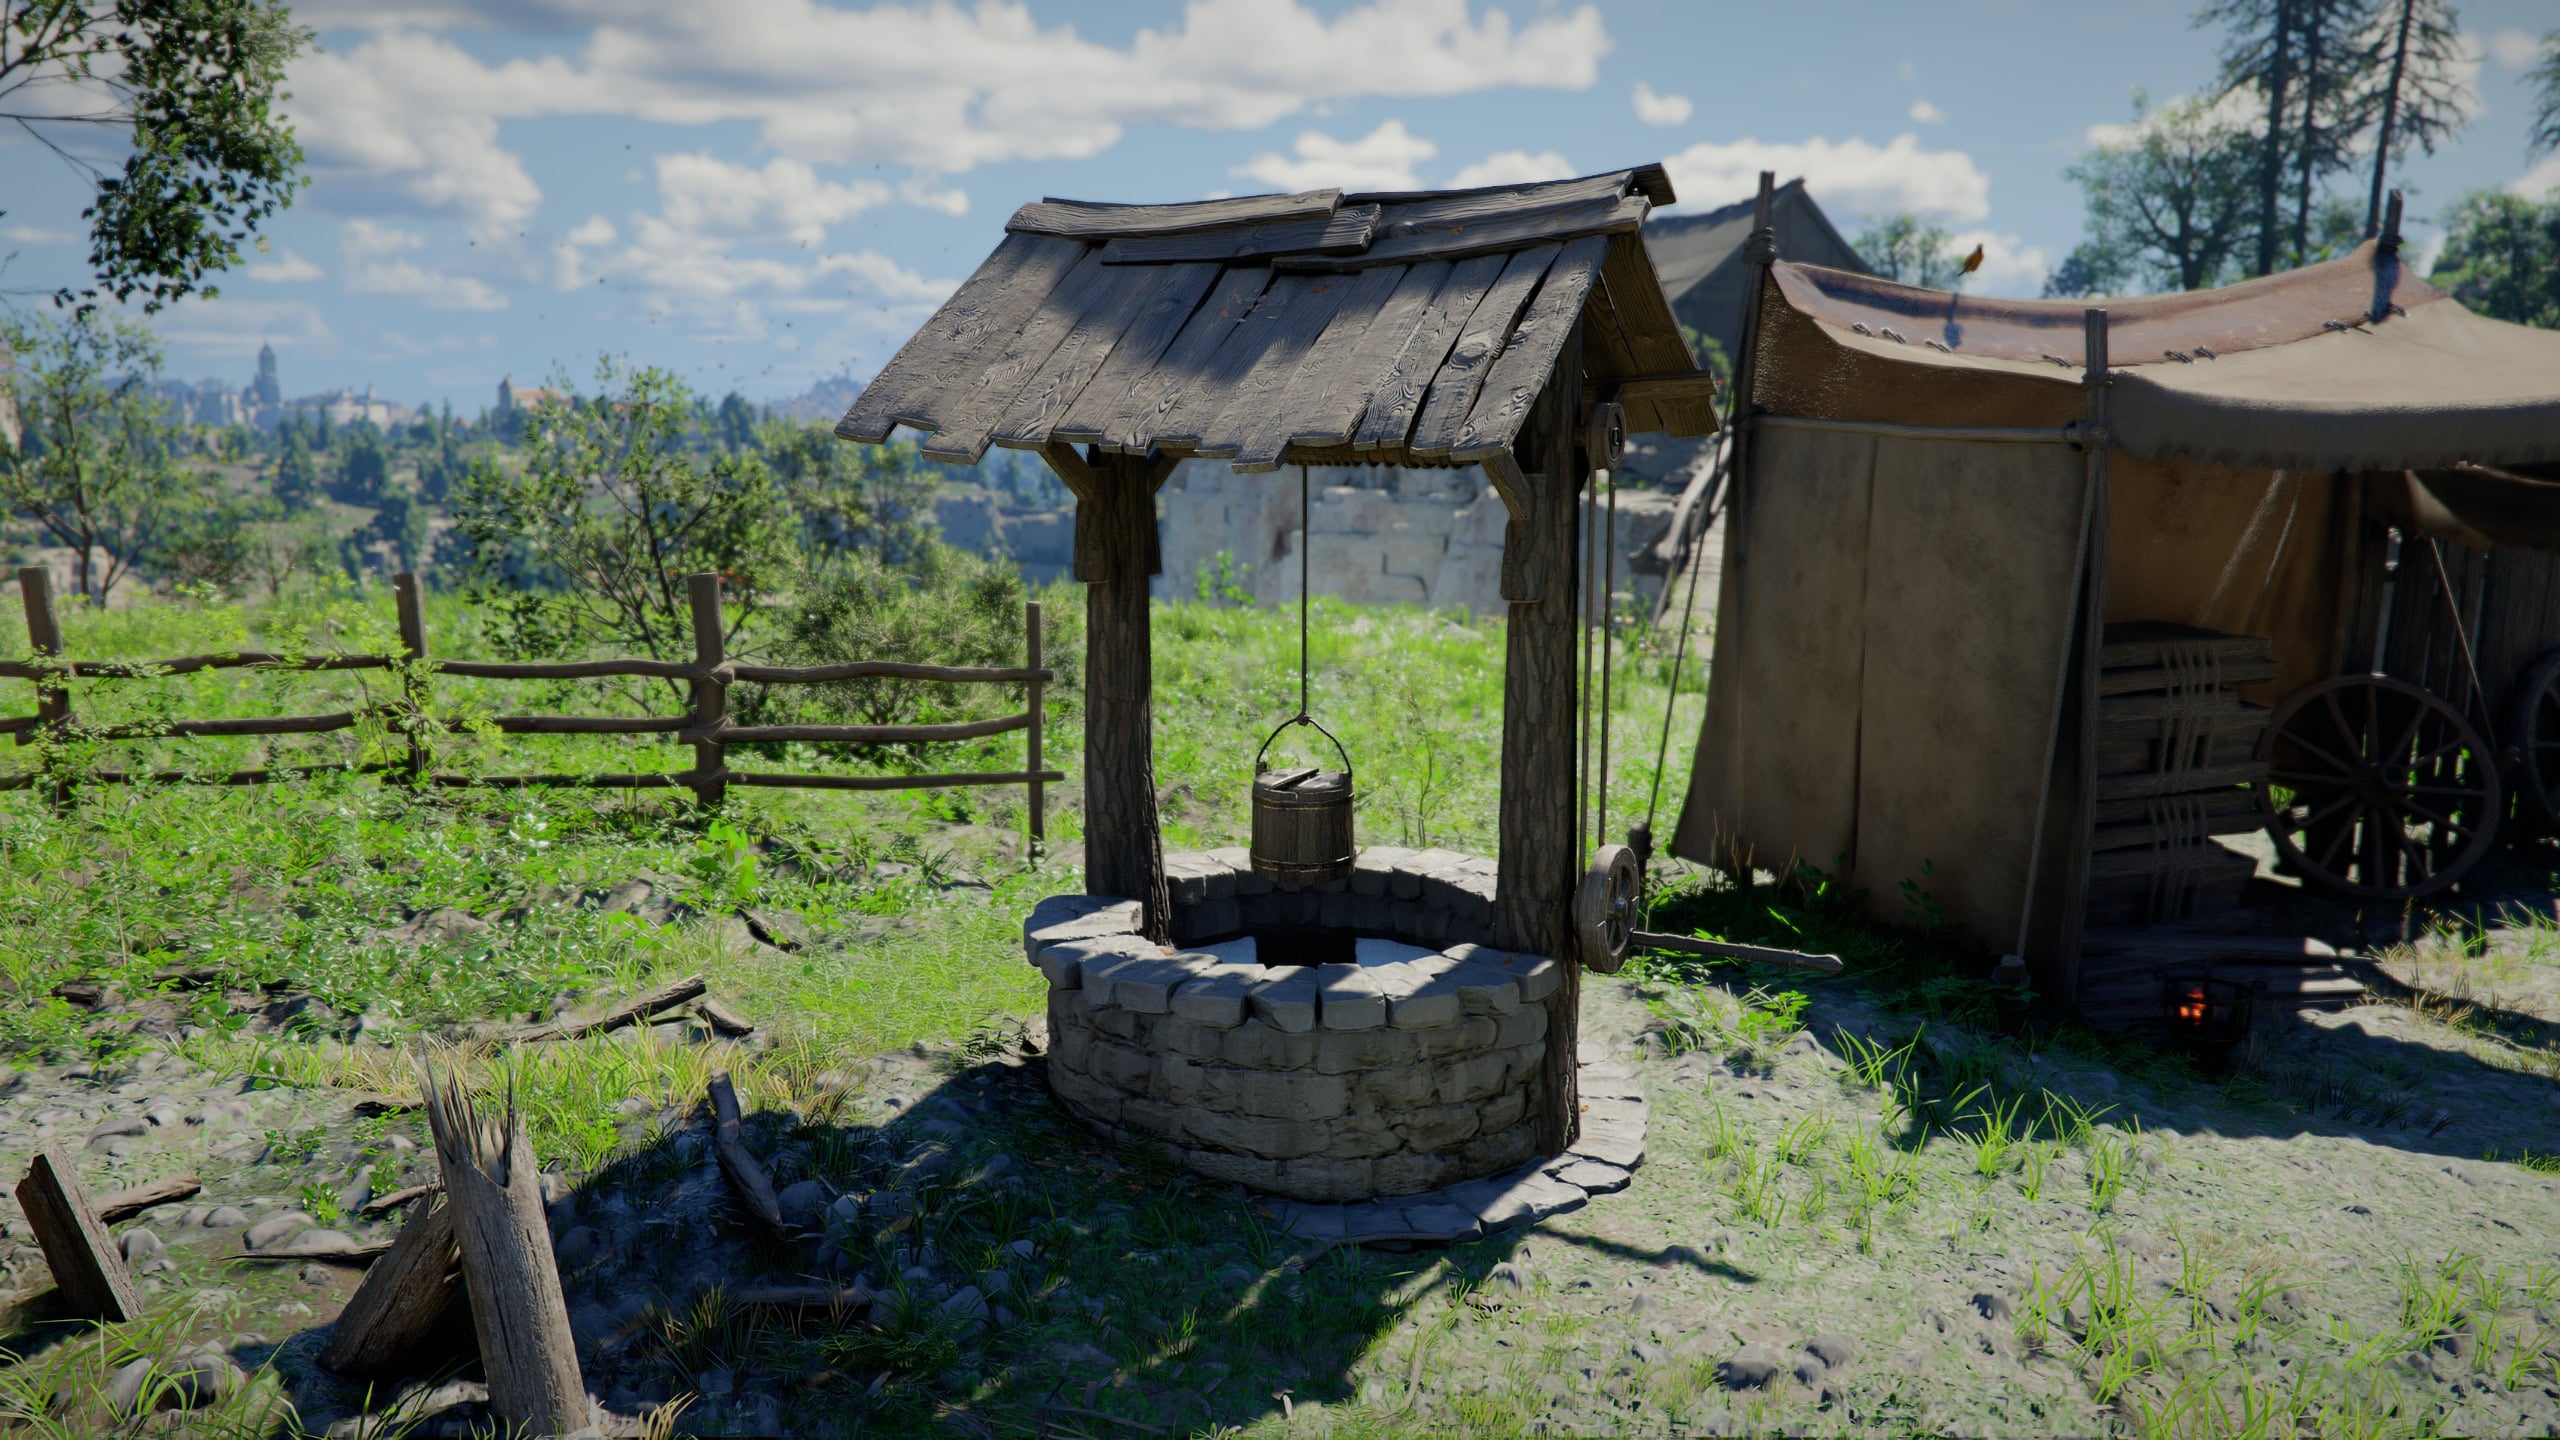
Water Well
Water is the main limiting factor in many recipes requiring a Cooking Pot. Each bucket from a Well gives 5 Water. You can find one not far from your house.
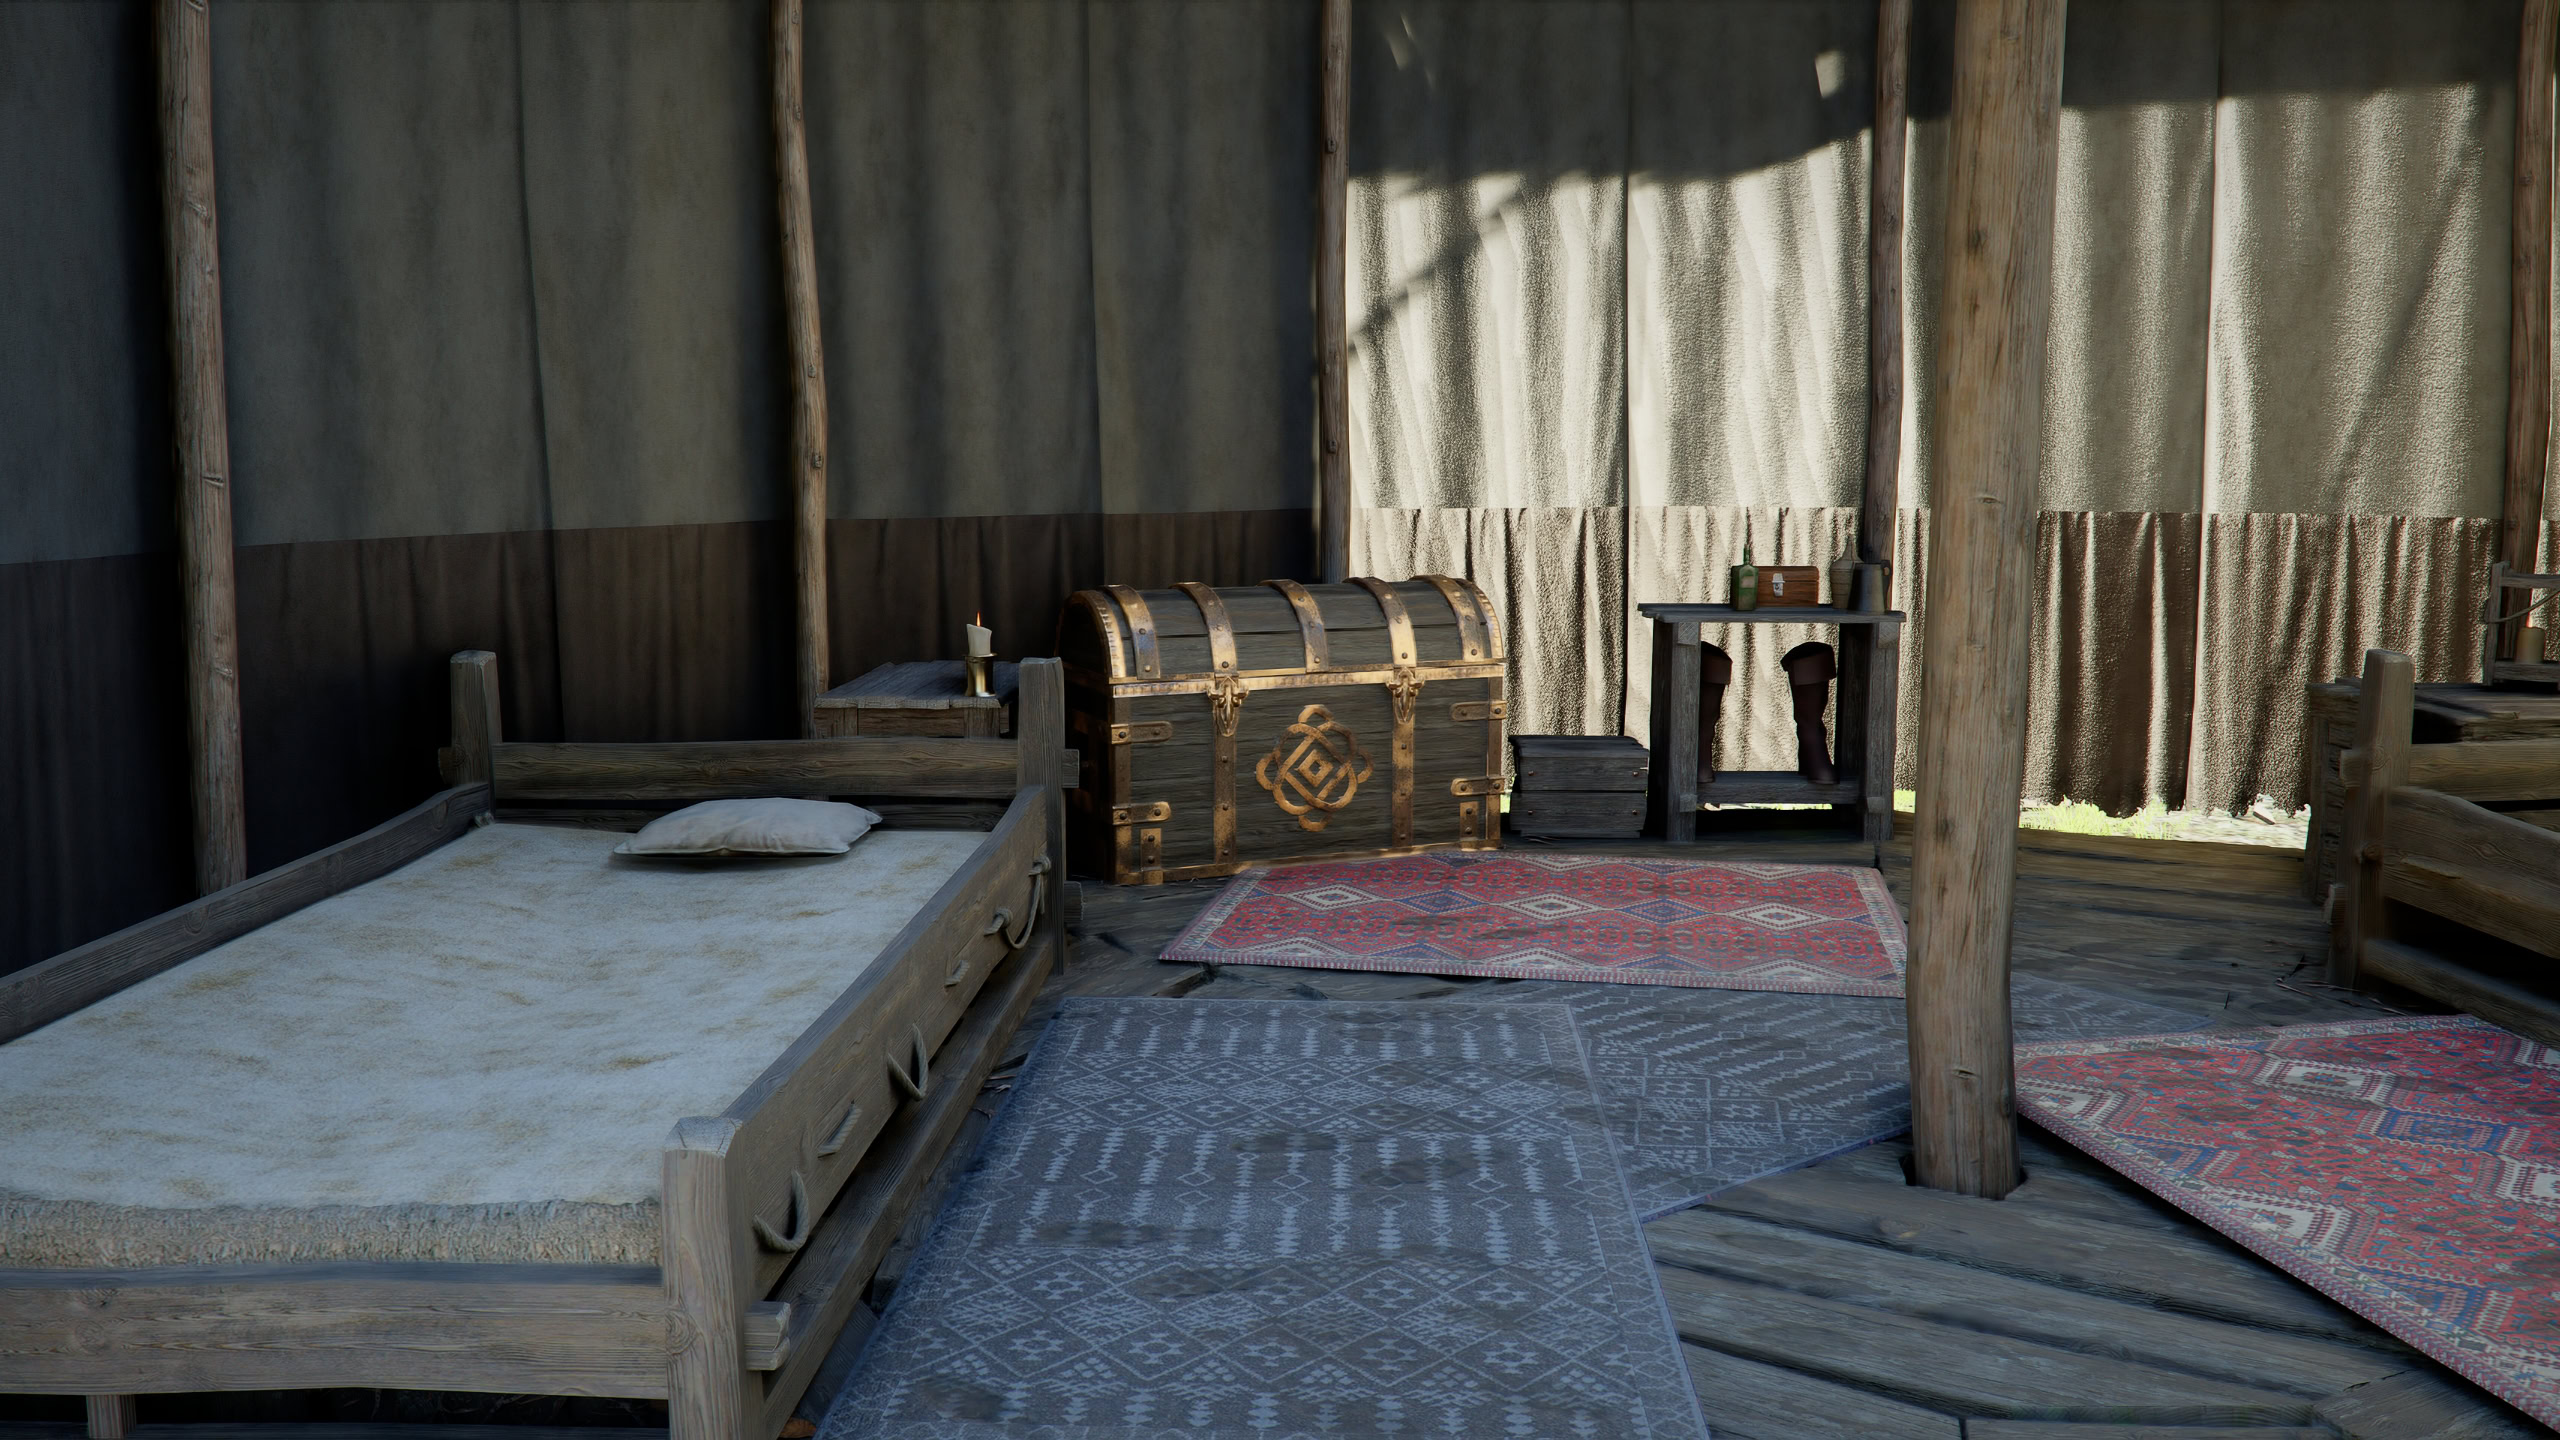
Private Storage
Your inventory on hand caps out at 240, but you can eventually store up to 1000 items. You can find it in your tent at Howling Hill and next to Carl and Ross in Pailune. You also unlock it as a furniture item to place in your home upon moving back to Pailune.
Training Dummy
On the edge of camp out past the Ranch, there’s a training dummy that you can use to practice your skills and combos. That likely gets unlocked when you build the Ranch, but this is unconfirmed.
It’s not marked on the map and seems to be absent from Pailune, though it’s possible this will get fixed in a future update.
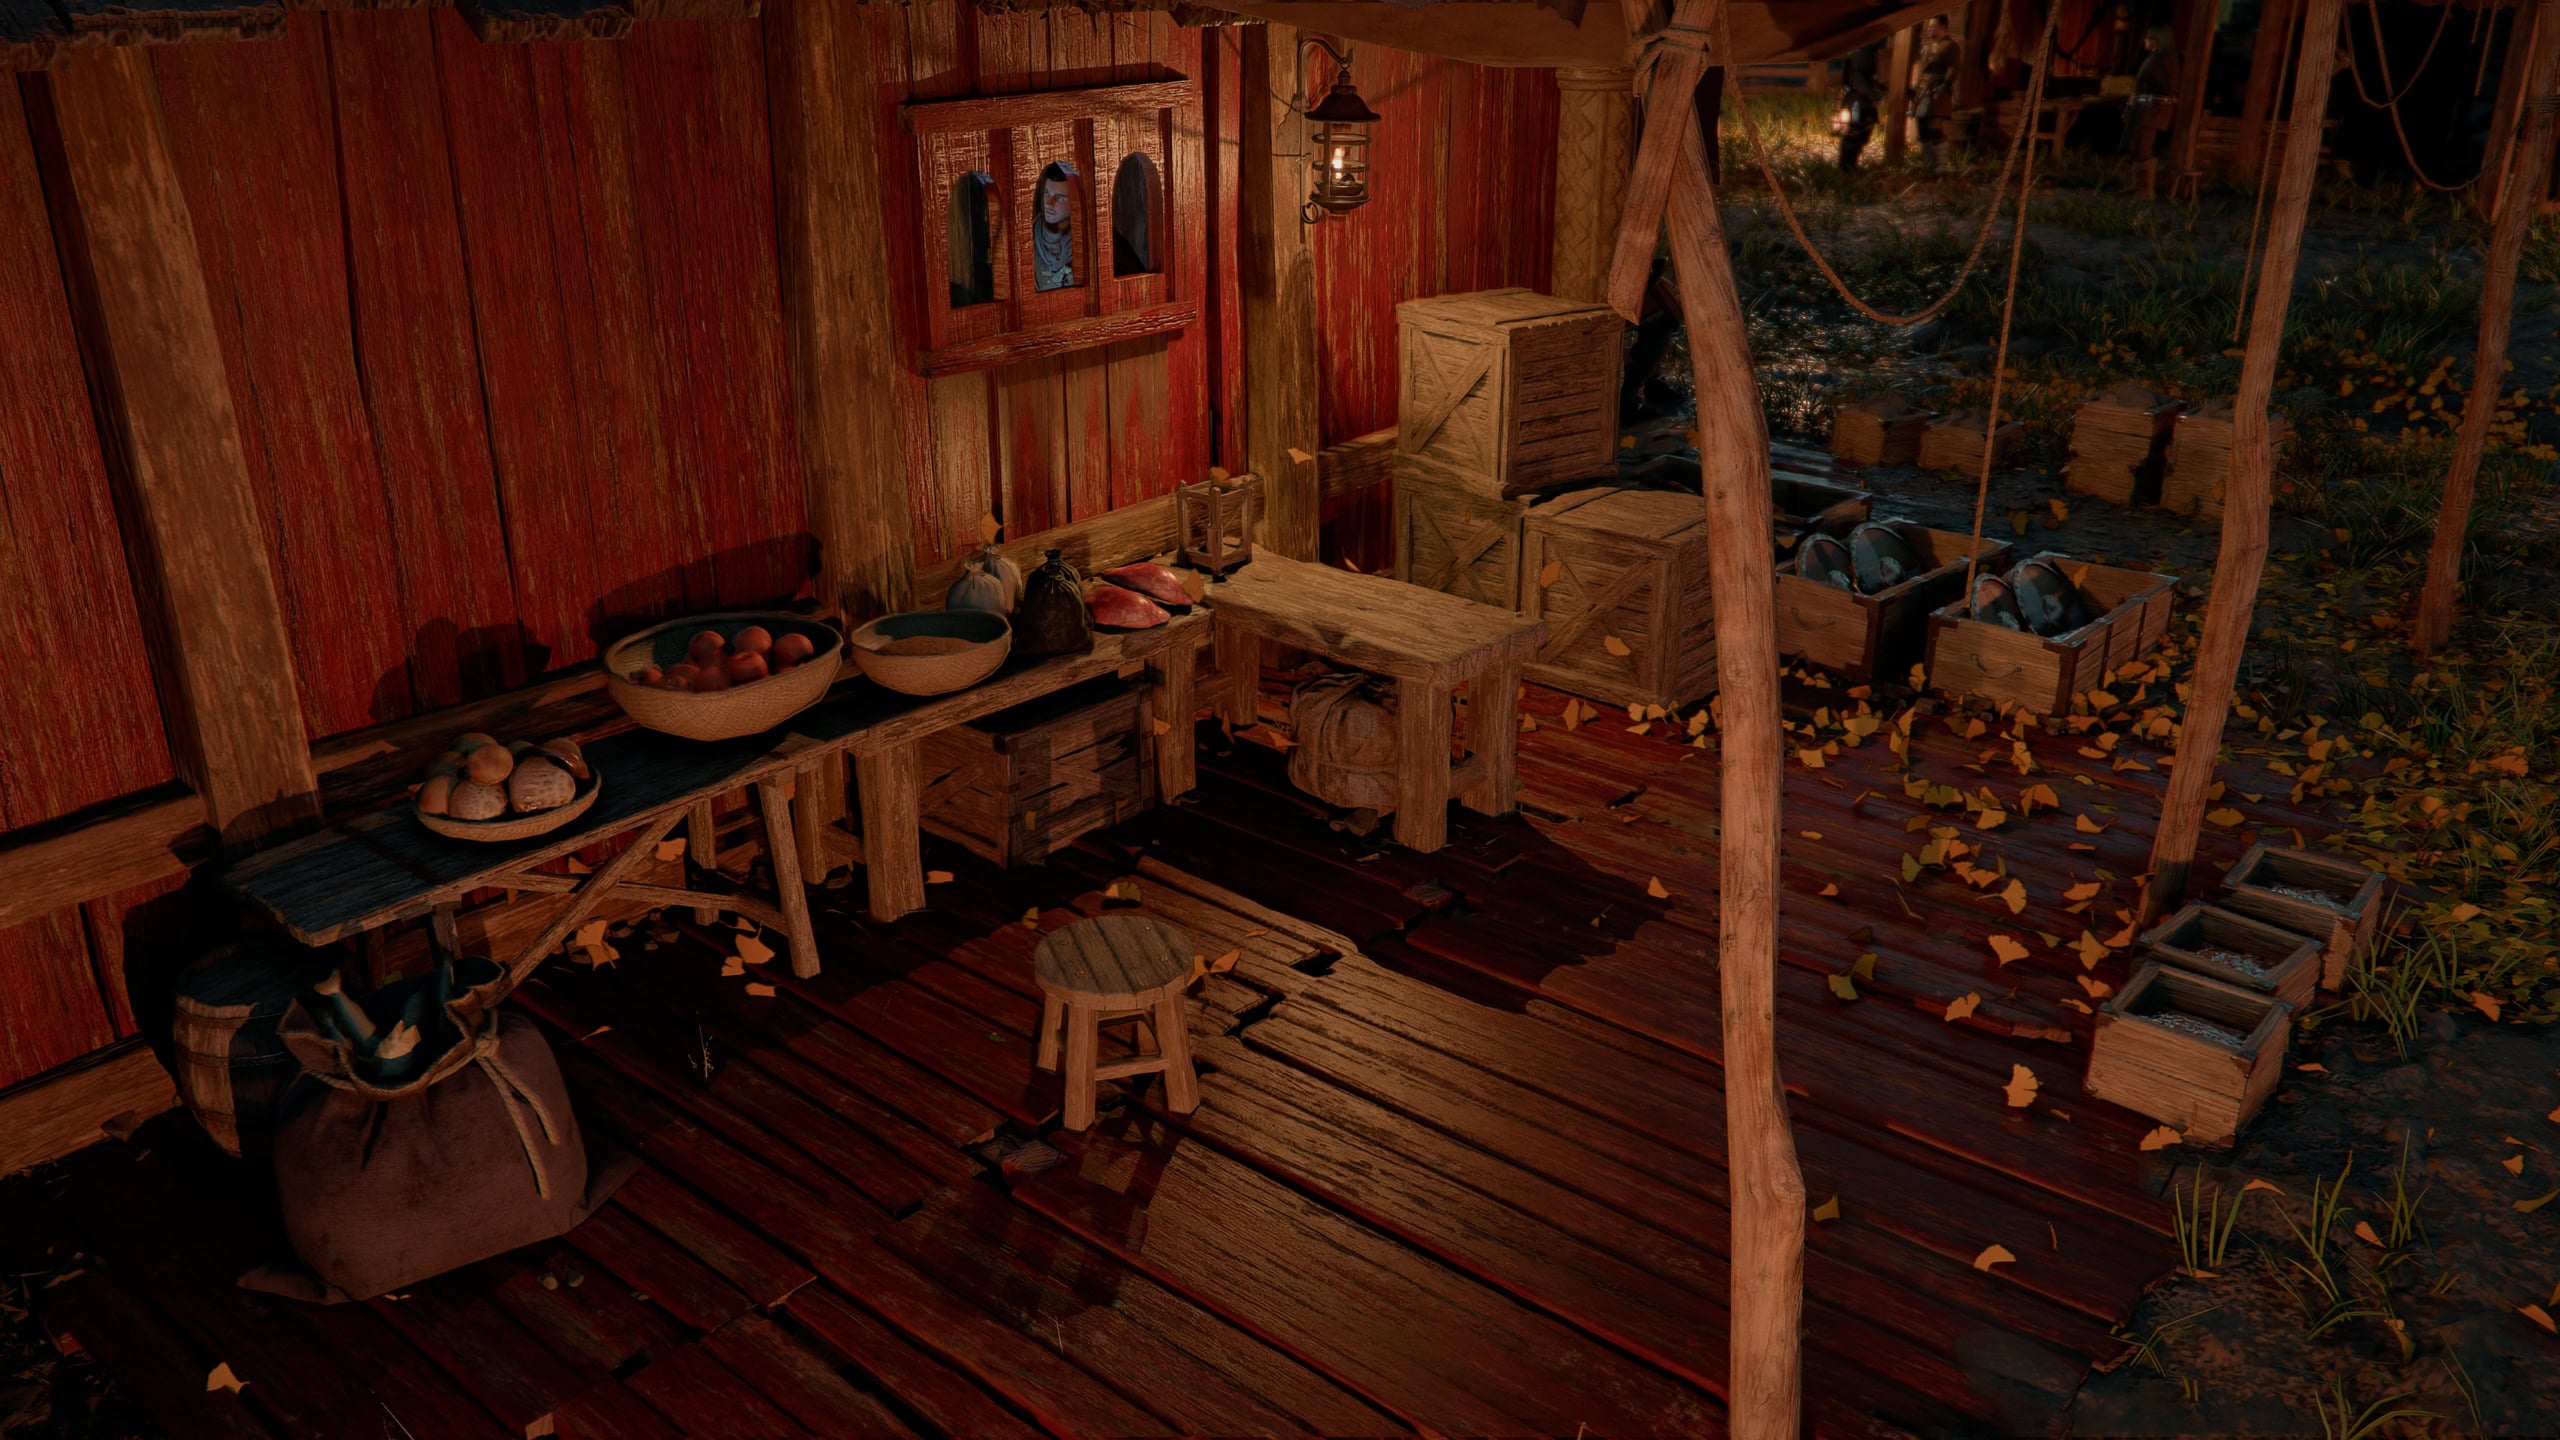
Free Stuff
There’s a bunch of free stuff you can take that replenishes frequently around camp. You’ll find:
- Food items near the Cook and in the house at the Ranch.
- Flowers near the Tailor and Farm.
- Weapons near the Quartermaster, Mission Dispatch, and Training Area.
- Arrows (270 of them) near the Smithy
- Boxes of Silver (money) near Carl the Camp Provisioner
- Boxes of Stone and Blue Bottles near Wynstan the Provisioner
When you move to Pailune, some of it gets consolidated, which is nice little perk..
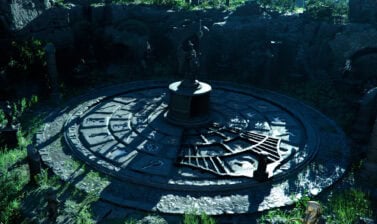
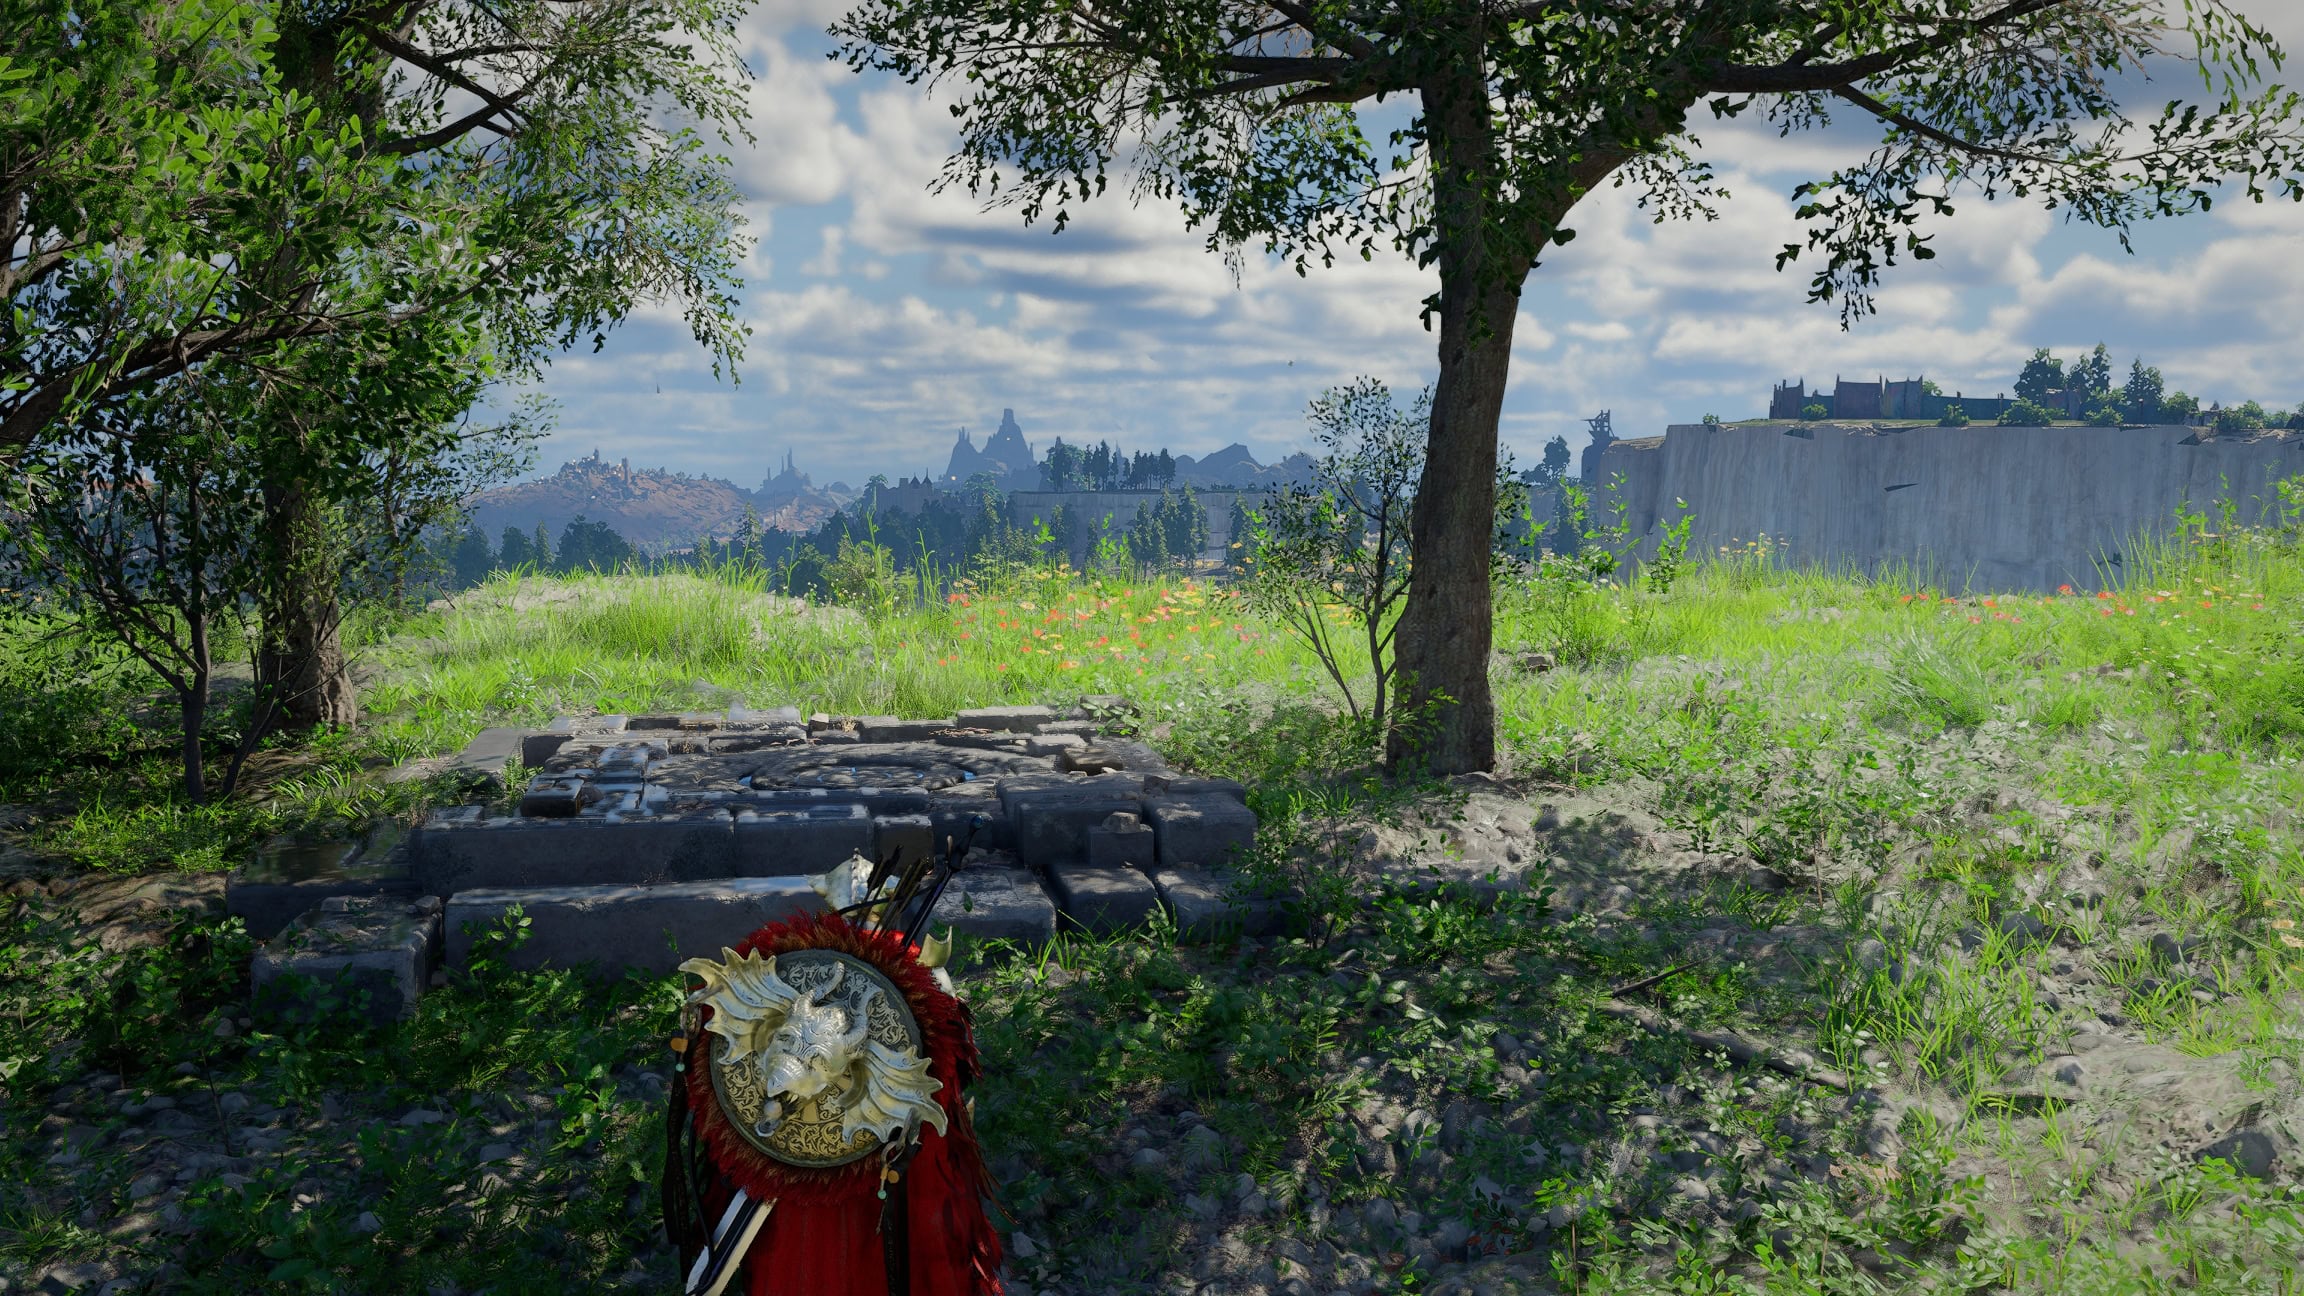
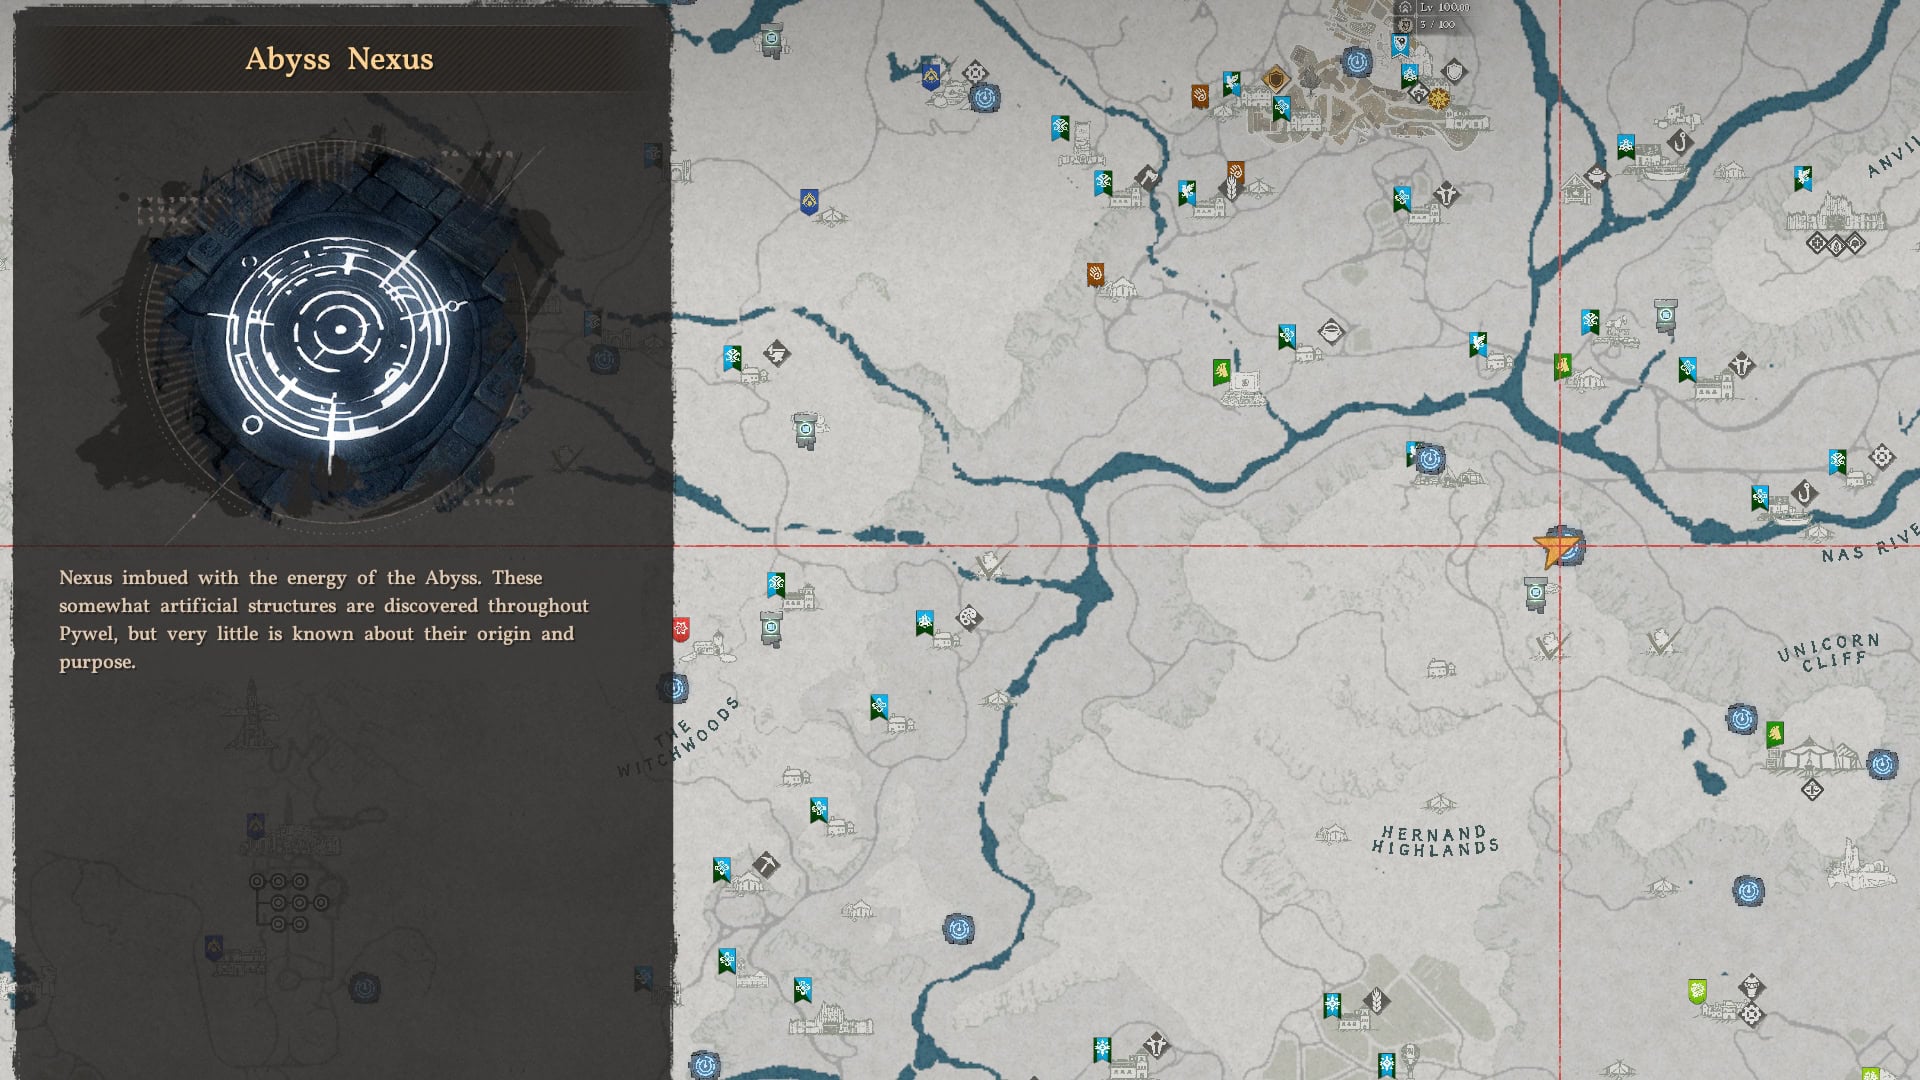
Broken Abyss Nexuses
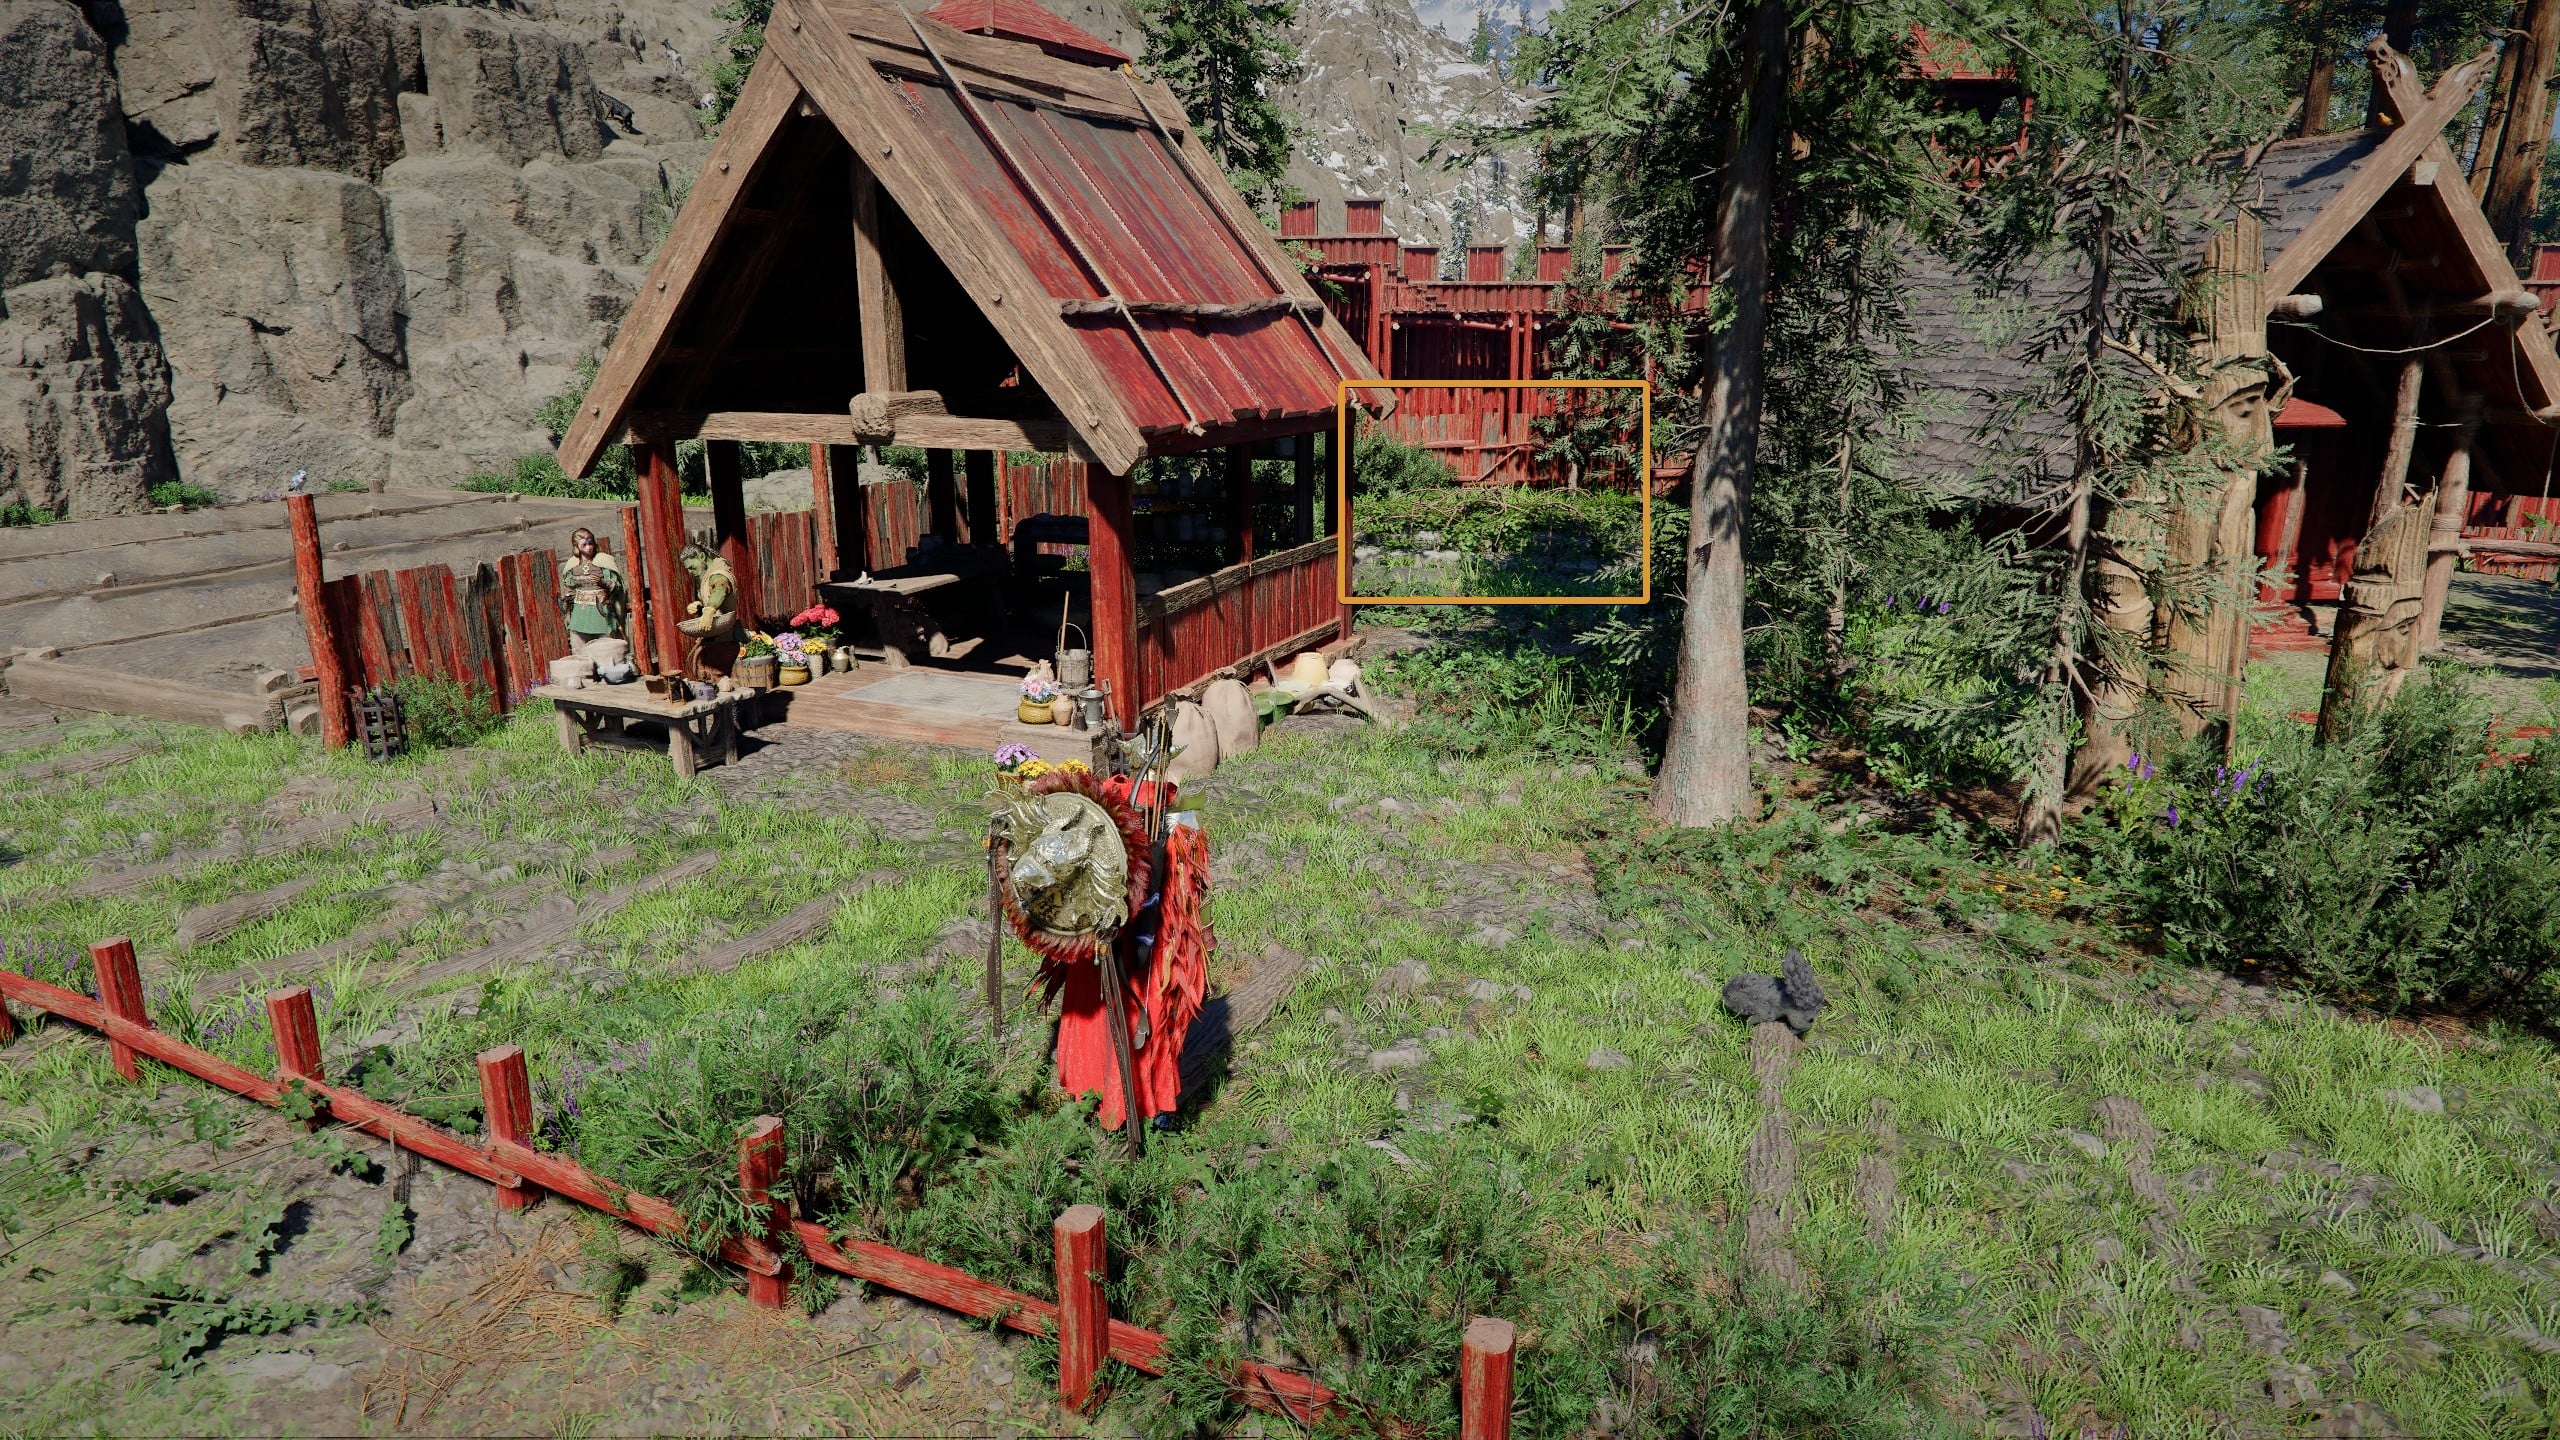
In both Howling Hill and Pailune City, there is a broken Abyss Nexus right next to your home. They’re both covered with flammable vines that are easy to miss.
Howling Hill Camp Broken Abyss Nexus
The broken Abyss Nexus in Howling Hill is located in the shade of some trees to the east of your house.
Pailune City Broken Abyss Nexus
The broken Abyss Nexus in Pailune City is located behind Kamu’s shed, across from your house next to the farm.
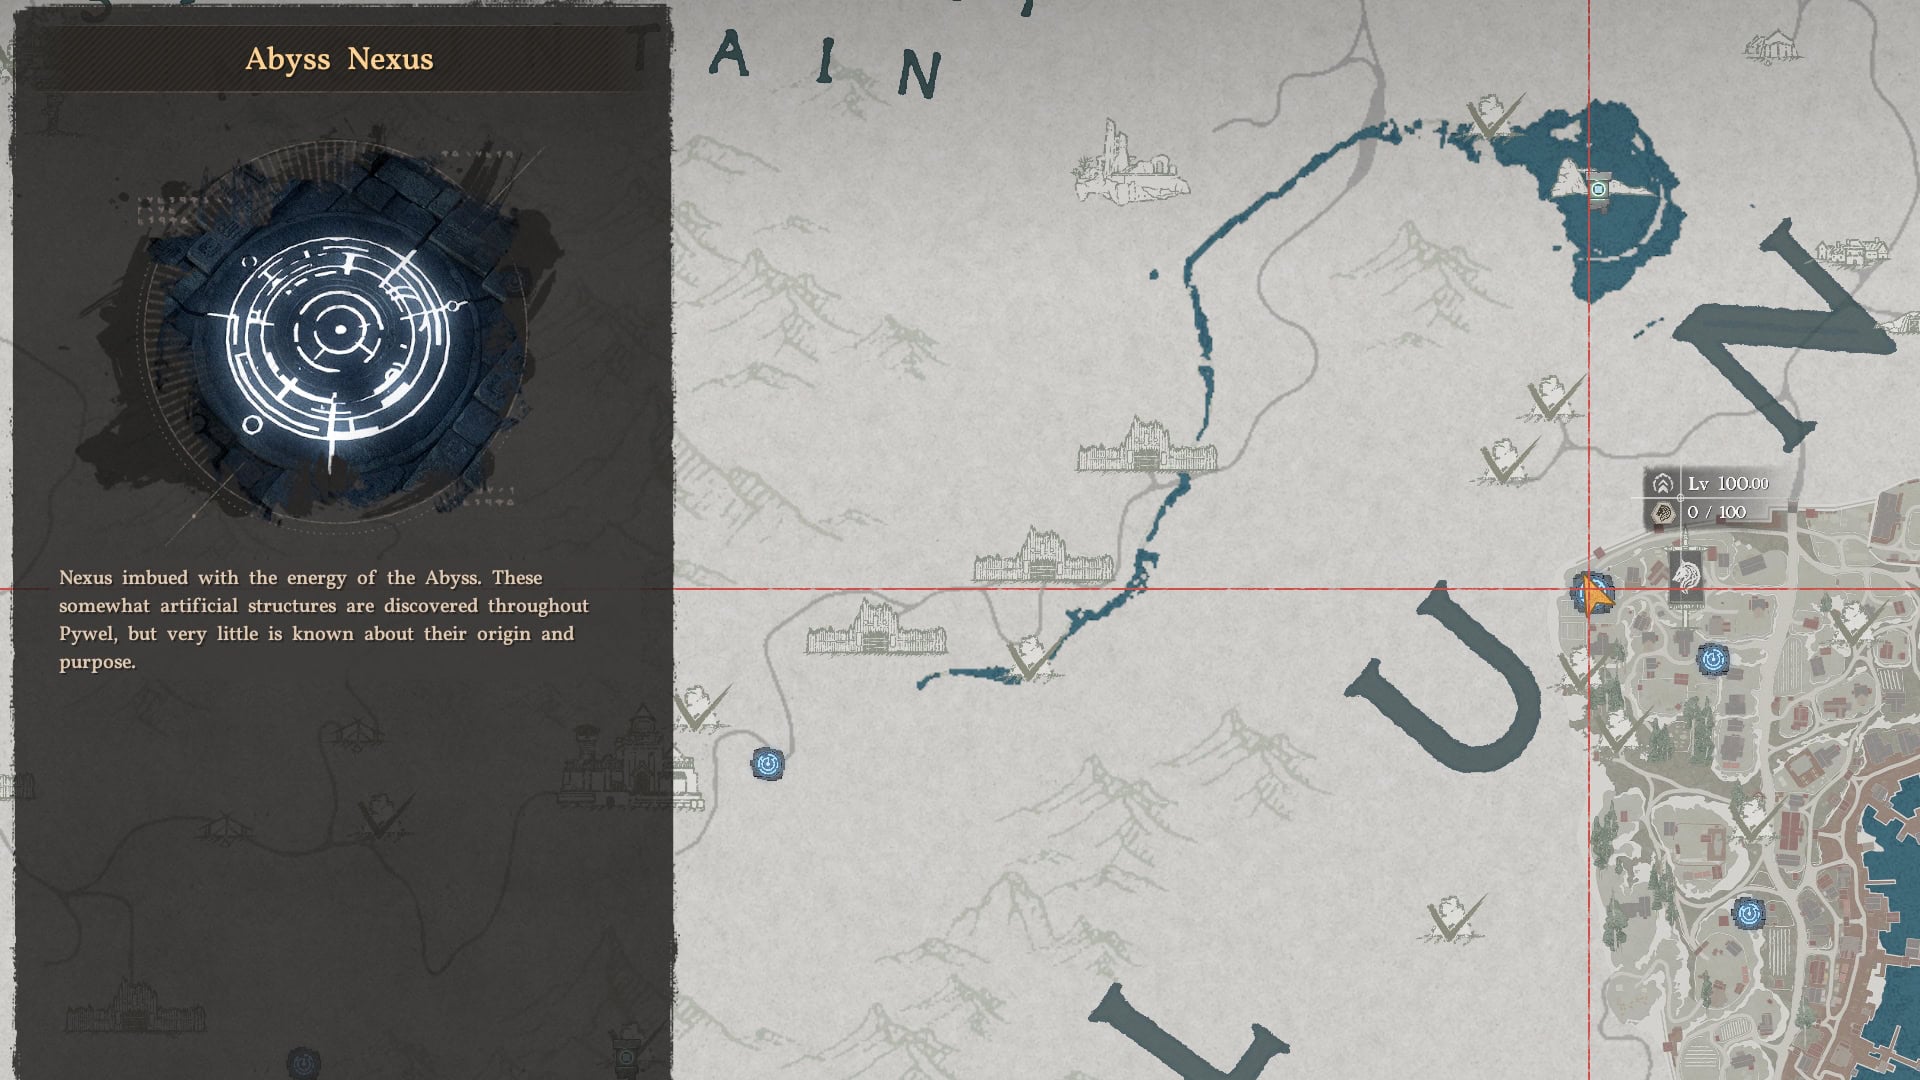
How to Fix the Broken Abyss Nexus
To fix each Broken Abyss Nexus, you need to find an Abyss Transporter, an item you can store in your Kuku Pot. You might have picked them up already and forgot about them.
There are two locations where you can find Abyss Transporters, but both are sealed behind Bismuth walls that require Focused Force Palm to break. You’ll also need the Kuku Pot to take them back to camp, so just wait to do this until you’ve finished Chapter IV: The Price of Knowledge.
Once you have your Abyss Transporter and burned away the vines, just pull it out of the Kuku Pot, grab it, and slam it down like you have to do in Abyss puzzles.
Abyss Transporter at Muckroot Ranch
You can find an Abyss Transporter in a secret area called the Lion’s Path of Return beneath Muckroot Ranch, south of Hernand Town. The entrance to the subterranean ruins is covered by a trapdoor in a shed on the northwestern edge of the farm.
Once inside, dodge, climb, or accept your incendiary fate and get past the flamethrower. At the end of the walkway, you’ll see a piece of Bismuth blocking your path. Use Focused Force Palm to break through. Be prepared to fight a Bismuth Stoneback Crab.
Once inside, use Axiom Force to grab the Abyss Transporter and press Y | △ | F to Seal it in your Kuku Pot.
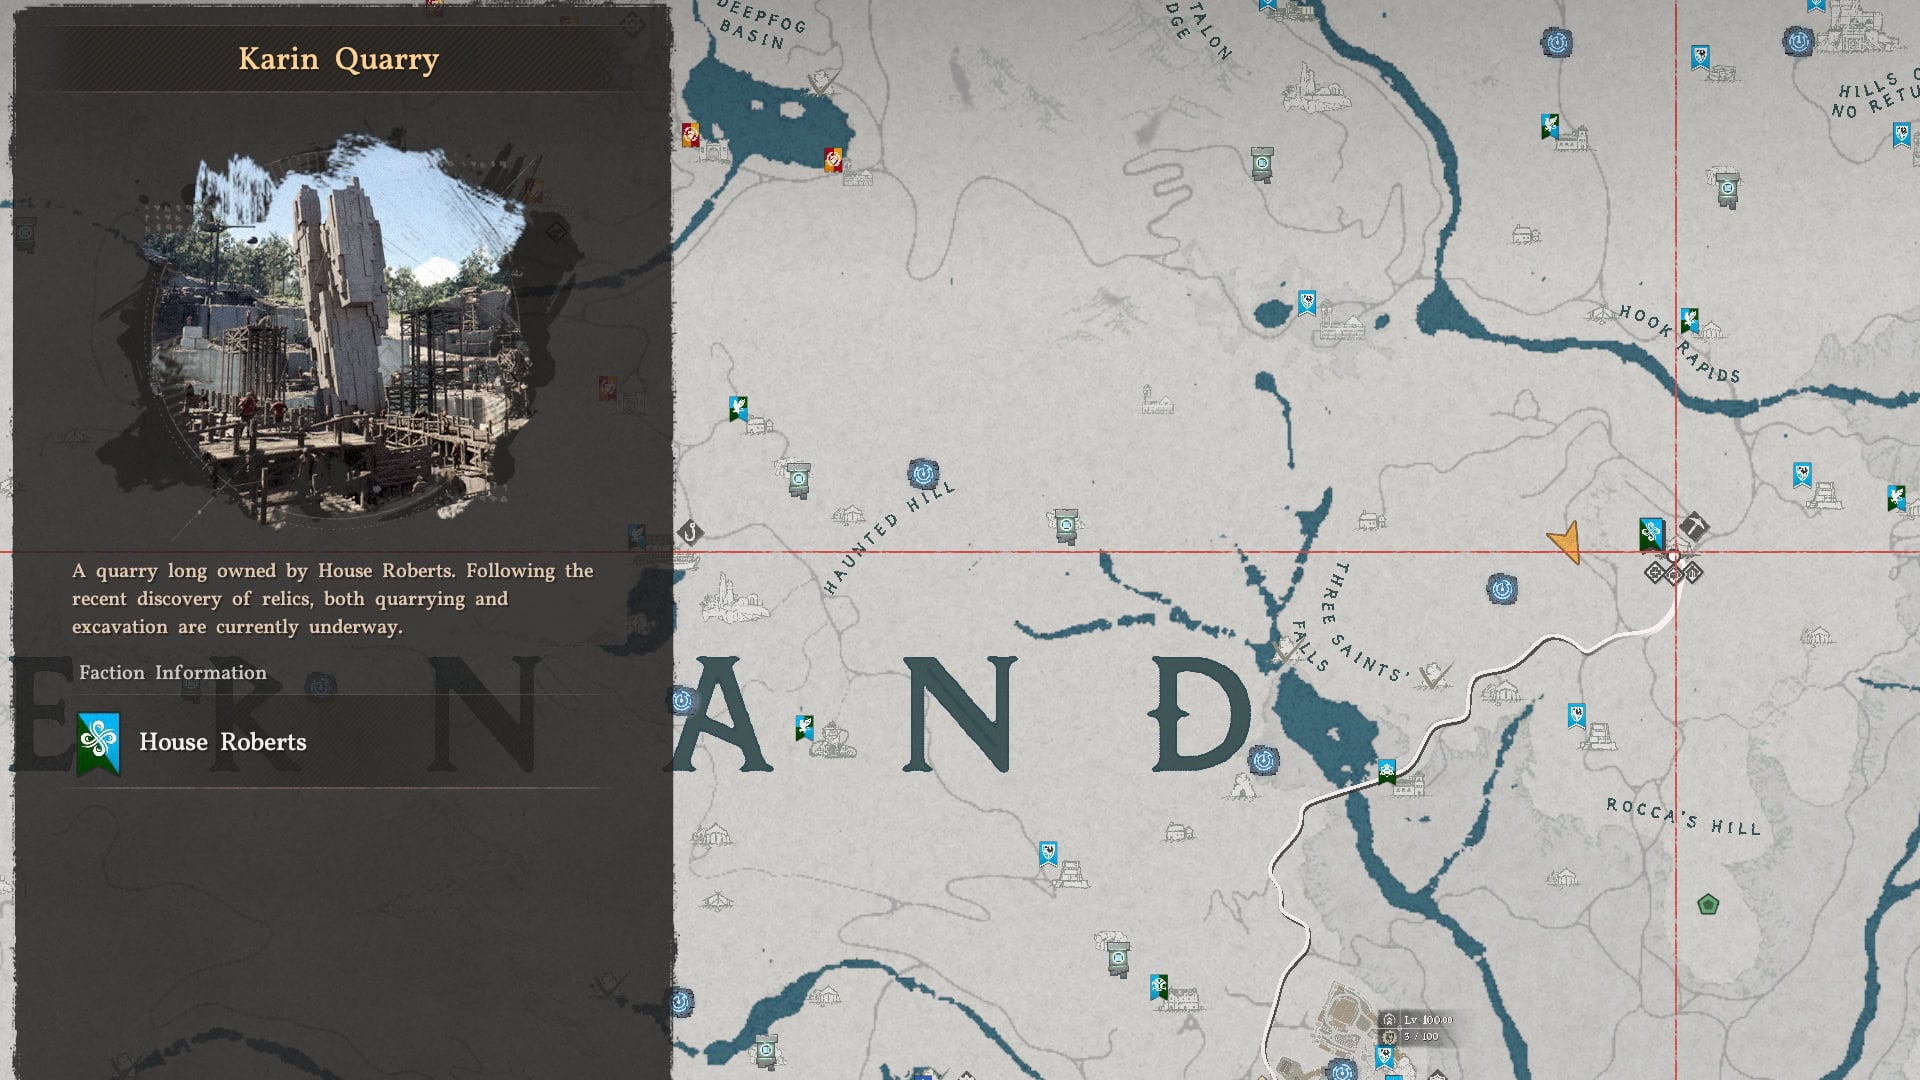
Abyss Transporter at Karin Quarry
Accessing the Abyss Transporter at Karin Quarry requires you to complete the quest Stolen Quarry at Karin Quarry, northeast of Hernand Town. Once you remove the central block with the crane, you can dive into the square hole to find the Hidden Ruins of the Quarry.
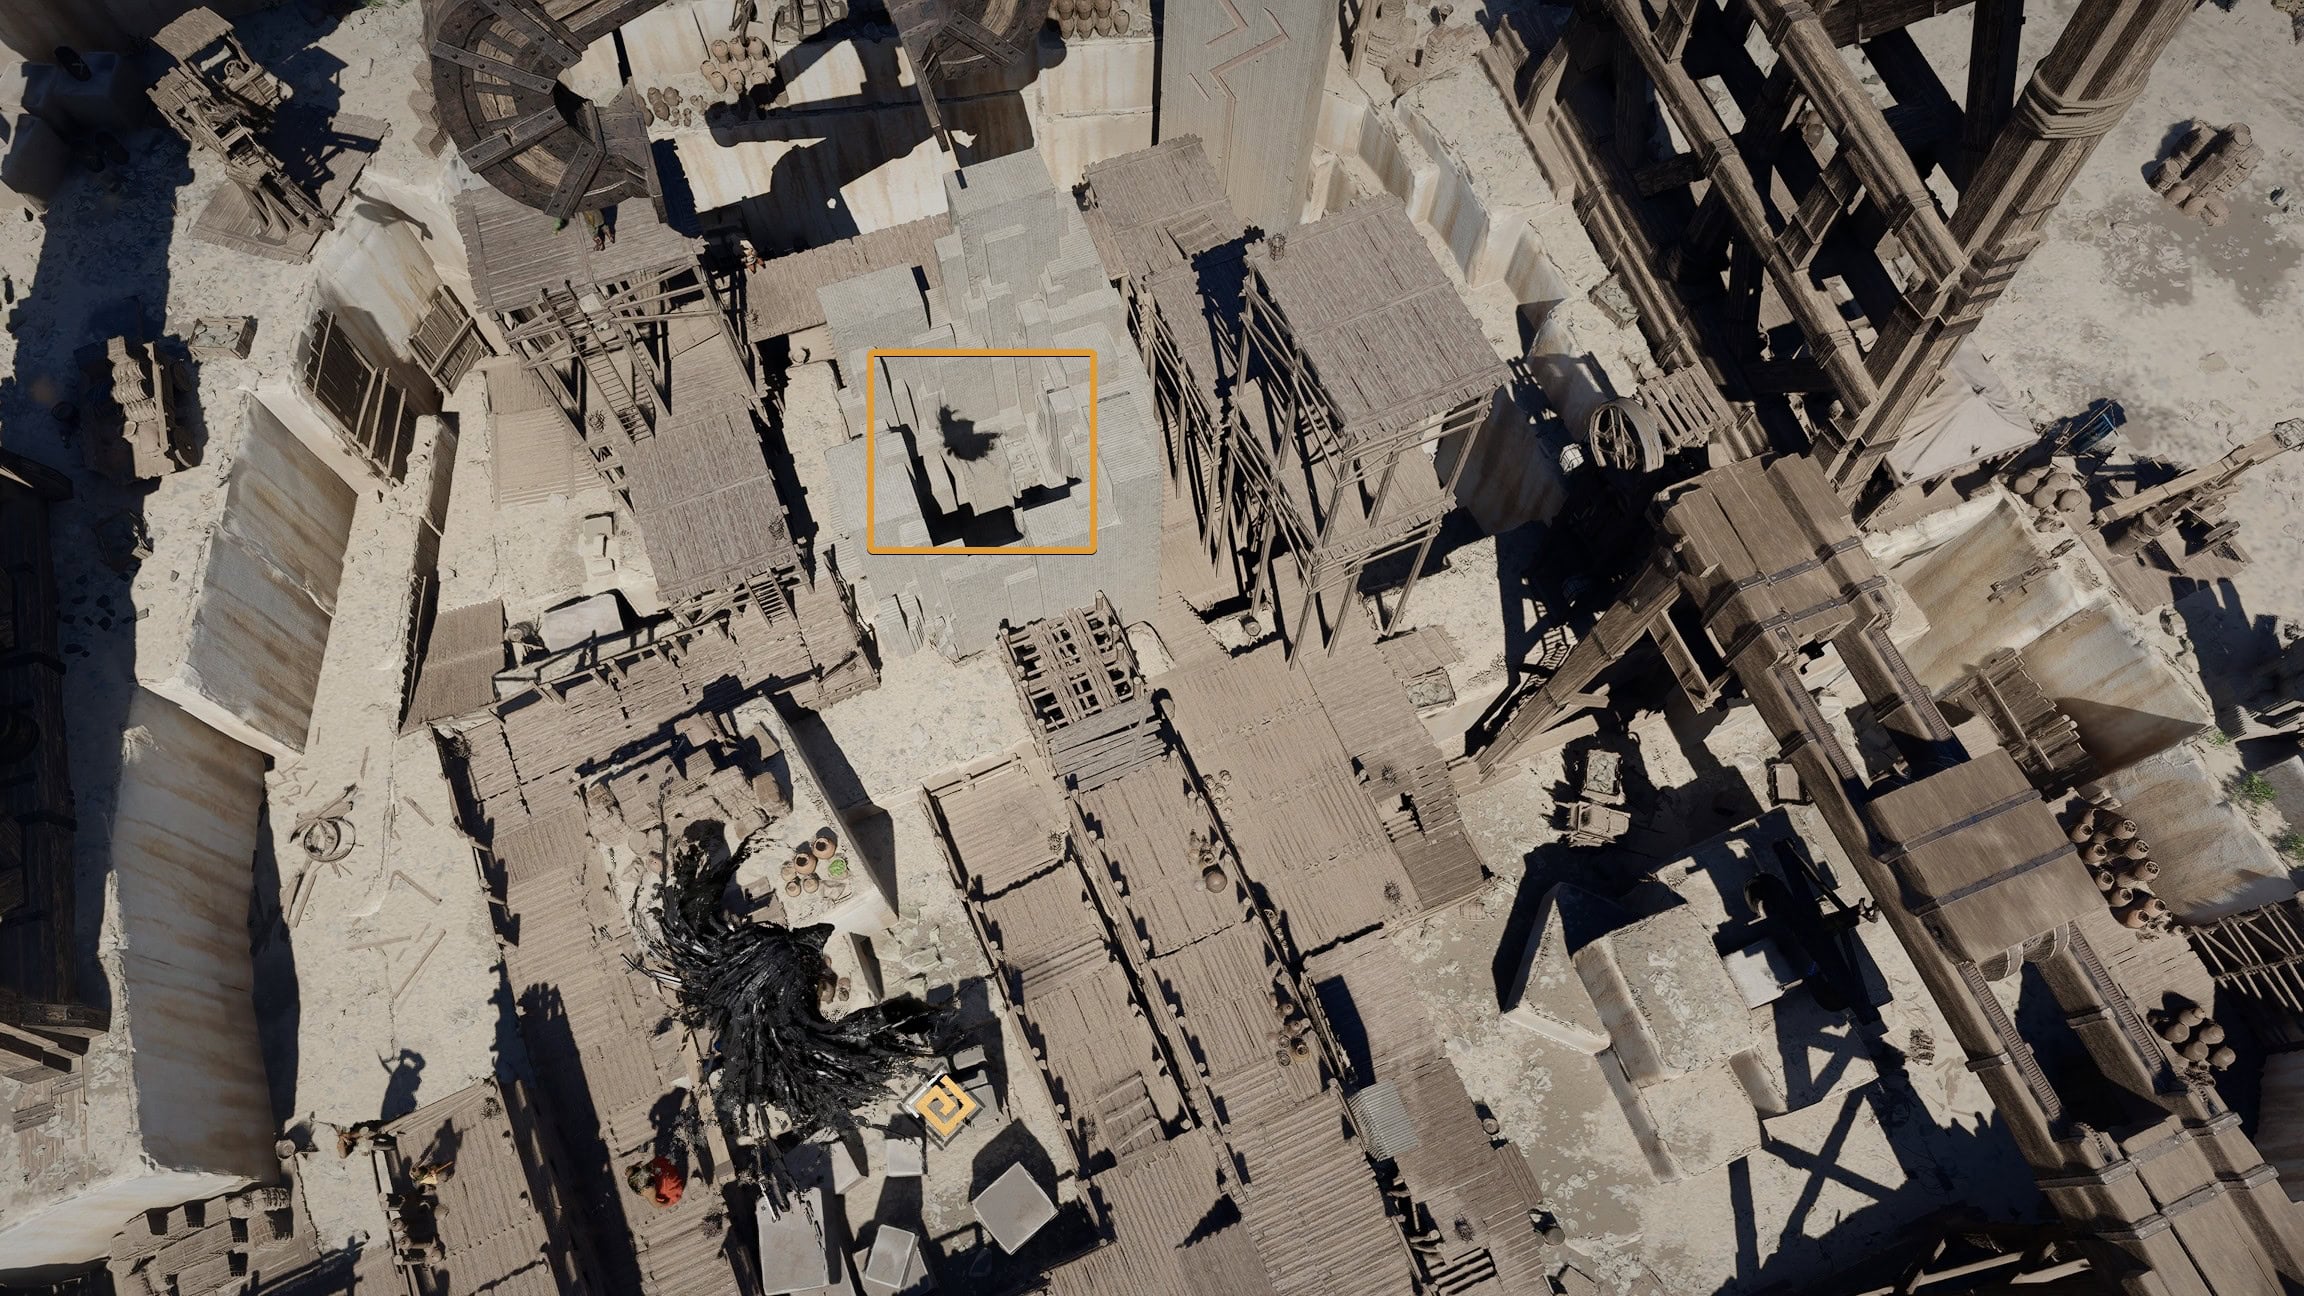
Down there, you’ll find a trio of Palmar Pills, laser pillars, and another Bismuth wall. You can defeat the laser pillars by grabbing the emitter with Axiom Force before they fire. Anyway, use Focused Force Palm on the Bismuth wall.
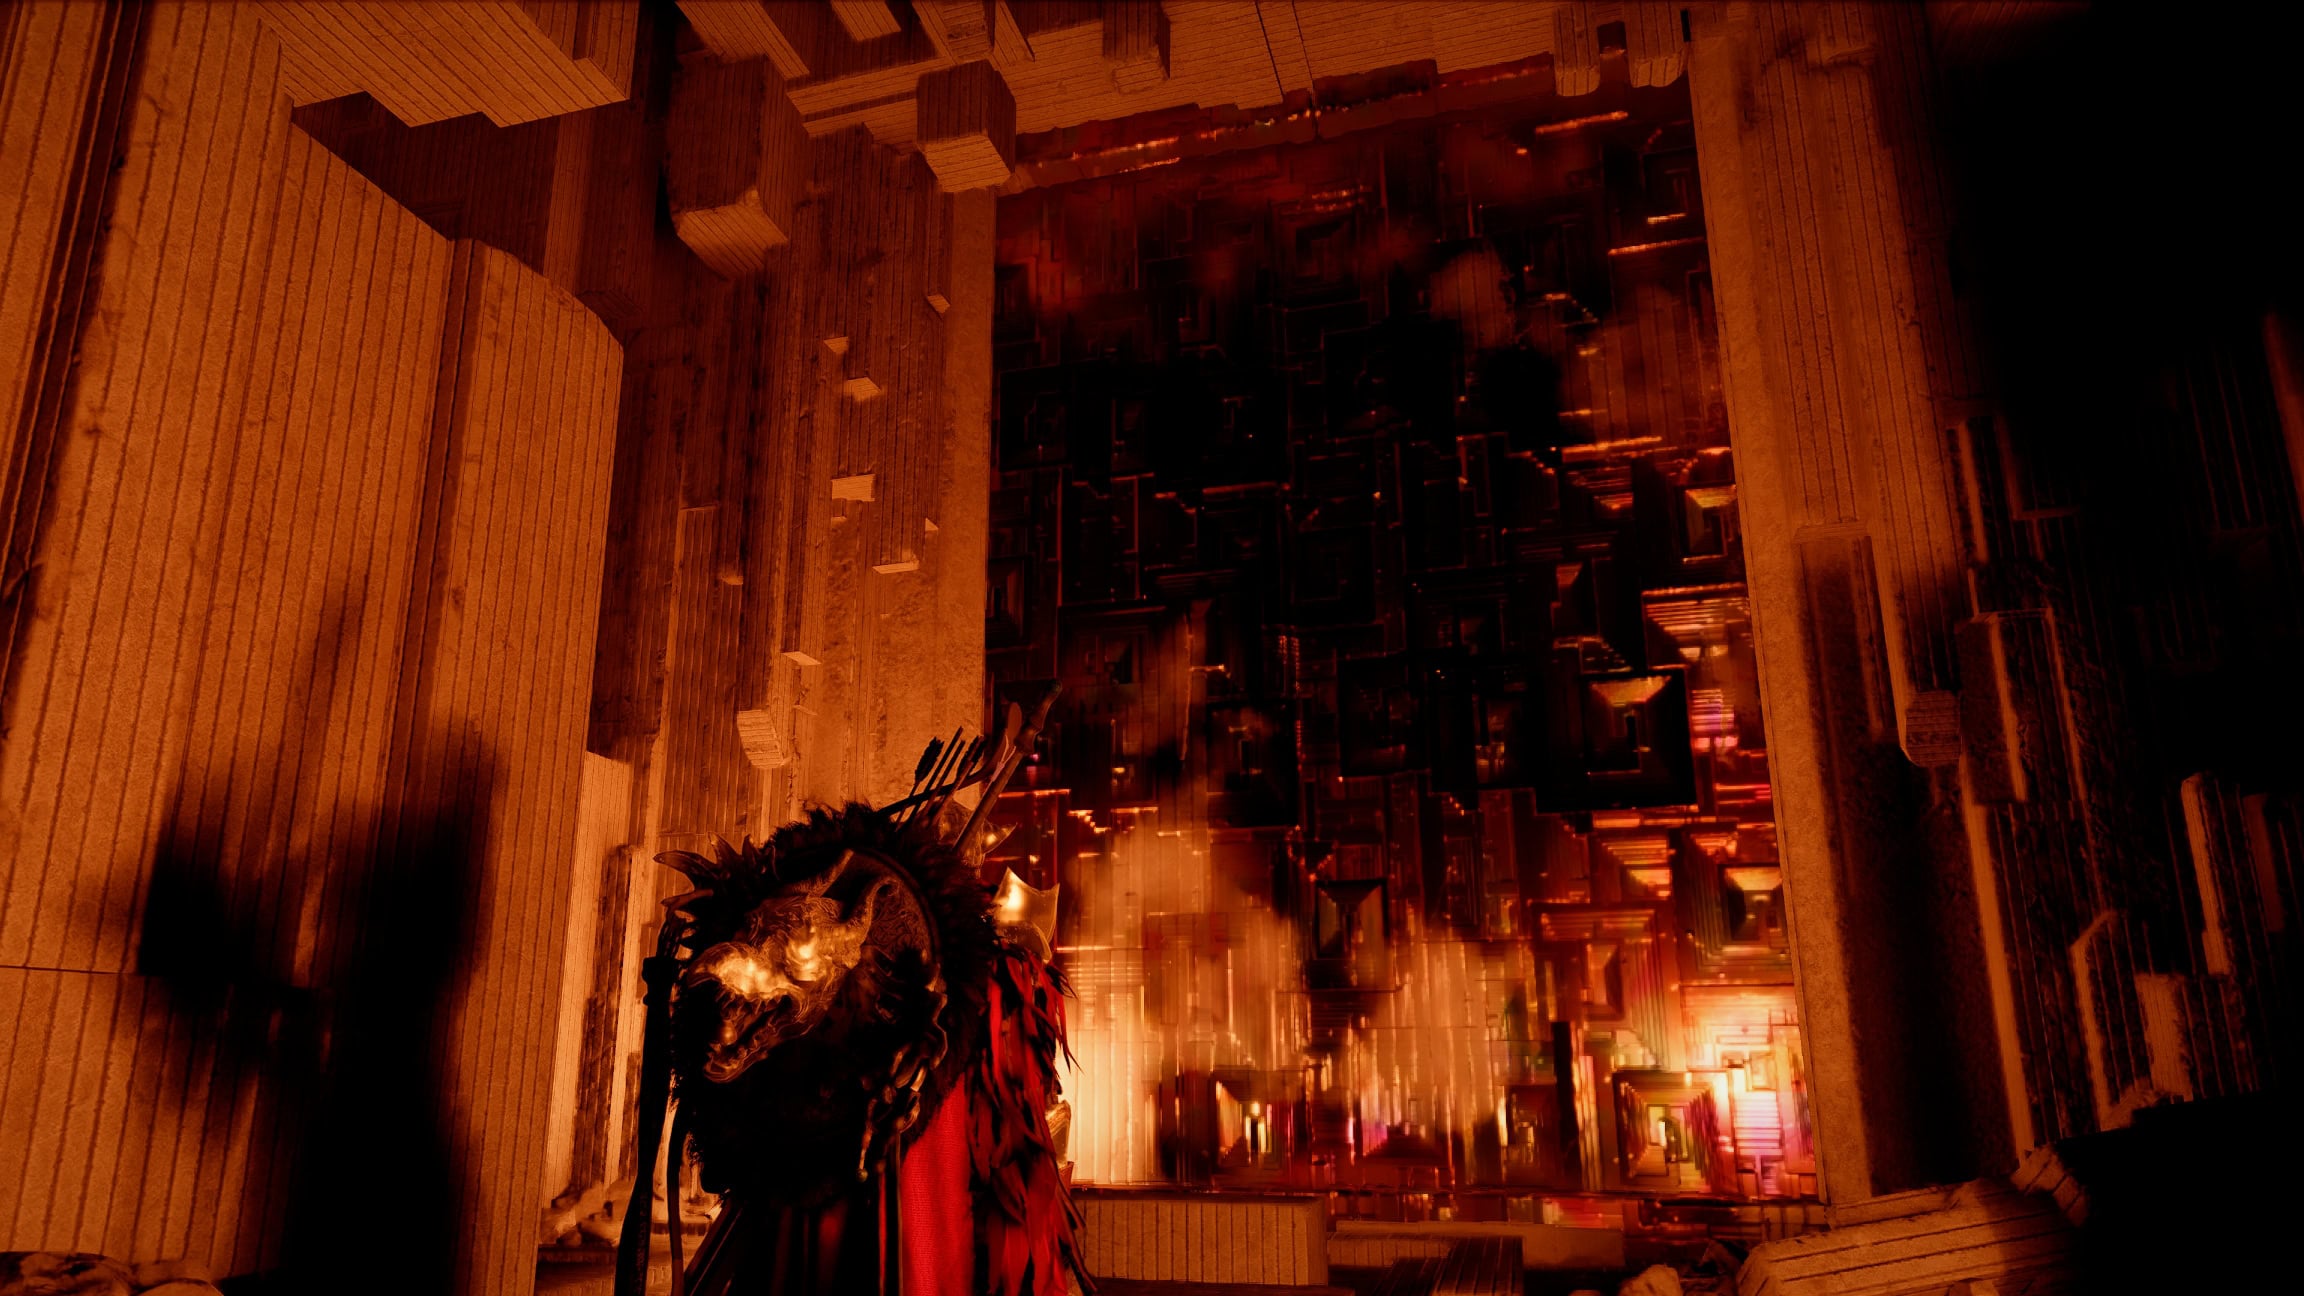
With these taller walls, you really have to wait until the thermal imaging kicks in and you can see exactly where the Abyss Cell is. The leaf has to overlap with the Abyss Cell. You’ll see a bright yellow flash if you’re aiming right (and in range).
Once you destroy the wall, you’ll have to contend with a few more laser pillars, but the Abyss Transporter is just floating around again.
Again, whip it out in front of the Broken Abyss Nexus and smash it down.
Mission Dispatches
There are a couple different types of missions and different bonuses that can get applied to massively boost the yields from those missions.
Mission Types
For the most part, mission dispatches either benefit you or the camp, not both. The major exception is food-based missions including Farming, Animal Handling, and Fishing, which grant food to the camp and a type of relevant ingredient to you.
Camp Yields
These are missions that provide camp resources as a reward. They will benefit from percentage boosts from Greymane worker skills. Applying the most skilled Greymanes to their trades is usually required to turn a profit, at least in the early game. Otherwise, you’re often just converting one resource to another.
You need that profit to cover the costs of the other type of projects and make small number go up, become big number, make happy.
Personal Yields
These are missions that provide you with rewards in Private Storage or offer some other tangible benefit. They typically cost significant resources and manpower and require Greymanes with specific skill to do them at all and their yields cannot be increased.
If you only do these sorts of missions, you will run out of resources eventually.
Mission Types List
| Icon | Mission Type | Camp Resource Reward | Potential Personal Reward | Mission Category |
|---|---|---|---|---|
| Handling | Food | Meat Ingredient | Camp Yields | |
| Construction | Mission-specific | Quest Completion | Personal Yields | |
| Escort | Money | None | Camp Yields | |
| Smithing | Equipment | None | Camp Yields | |
| Farming | Food | Fruit/Vegetable/Grain Ingredient | Camp Yields, Personal Yields | |
| Logging | Lumber | None | Camp Yields | |
| Mining | Stone | None | Camp Yields | |
| Exploration | None | Specific Rare Consumable | Personal Yields | |
| Fishing | Food | Fish | Camp Yields, Personal Yields | |
| Crafting | None | Trade Goods | Personal Yields | |
| Jewelcrafting | None | Trade Goods | Personal Yields | |
| Engineering | None | Crafting Materials, Consumable Weapons | Personal Yields | |
| Provisions | Food | Trade Goods, Food | Personal Yields | |
| Weaving | None | Trade Goods, Food | Personal Yields | |
| Calligraphy | None | Trade Goods, Furniture | Personal Yields | |
| Recapture Stronghold | None | Skip Combat | Personal Yields | |
| Ritual | Greymane EXP | None | Camp Yields |
Yield Bonuses
Your yields from specific missions can be increased by sending workers with specific Skills, bringing the maximum number of workers, donating to the local church, or getting special items.
Skills
Each Greymane worker has 3-4 Skills that either increase the yields from a particular mission type or satisfy requirements to do a specific type of mission. It’s as simple as matching symbols.
The yield boosts only apply to camp resources (not rewards that go into your Private Storage) and only the worker who brings highest relevant bonus is applied. Skill tiers on whoever is giving the bonus stack additively.
For example, if you bring Ryan and Mathilda to an Escort job, you’ll get +100% more camp funds because Ryan has tier III Expert Escort and Mathilda only has tier II Skilled Escort.
Ergo, when assigning workers, it’s most important to assign the workers with Tier III Expert Skill to the missions with the highest rewards. The Tier I and Tier IIs are really just there for support.
Most Greymanes tend to have Tier II or III for a specific job type or 3 different skills that enable multiple types of specific jobs to be performed.
Comrades
Jobs that yield camp resources typically only require a specific range of workers, usually give or take 2 workers. Each additional worker past the minimum grants a +20% boost to yields, usually for a maximum of +40%.
It’s always beneficial to get the full Comrade bonus by using the maximum number of workers for medium and large-scale missions, but not for small-scale jobs.
Mathematically, an individual worker would provide more value on a job where their participation represents more than 20% of the end result, so they need to contribute less than 20% to the total yield for it to be worthwhile to seek out that contribution bonus.
That threshold is 5 workers, which applies to medium scale missions that require 5-7 workers and large-scale ones that require 8-10 workers.
It is also beneficial to leverage the Comrade bonus if you can’t send that worker out somewhere else, either because you’re limited by resources or you only have 1-2 workers left and can’t send them on anything else.
Another thing to consider is profitability. Some missions cost as much of one camp resource as you’re getting in another. Unless you’re okay with 1:1 conversion because you desperately need more of one thing and have excess of another, that Comrade bonus might be the only way to make it a profitable exchange
Otherwise, if you have the resources to spare, particularly food, (and enjoy optimizing this little idle game), it’s better to send those final few workers on the 2-4 person missions.
Conversion
Conversion is the bonus determined by your standing with the Church of Solumen in that region. You get a +2% to the Conversion bonus per level of Blessings on [Region].
For example, if you have Lv 75 Blessings on Hernand, you’re going to get +150% yields from Conversion on all resource missions in Hernand.
You can increase your Blessings level by donating to the Church in that region. It costs more money to raise the Blessings level in later regions.
There are no donation boxes in Pailune or the Crimson Desert.
I’d wager this is a mechanic to balance the overall lower yields of early game missions with those in later regions, so a farming mission in Hernand isn’t a complete waste of workers once you’ve reached Delesyia.
There’s no need for these bonuses to exist in what are meant to be the final regions of the game because those are the last missions you’ll unlock.
Despite costing hundreds of thousands of copper to reach Lv 100 in each region, probably like a million copper to get to Lv 100 everywhere, it is definitely worthwhile to donate if you can afford it.
Remember, the donations are in Copper (cents) and come from camp funds, not Kliff’s personal Silver (dollars).
Special Effects
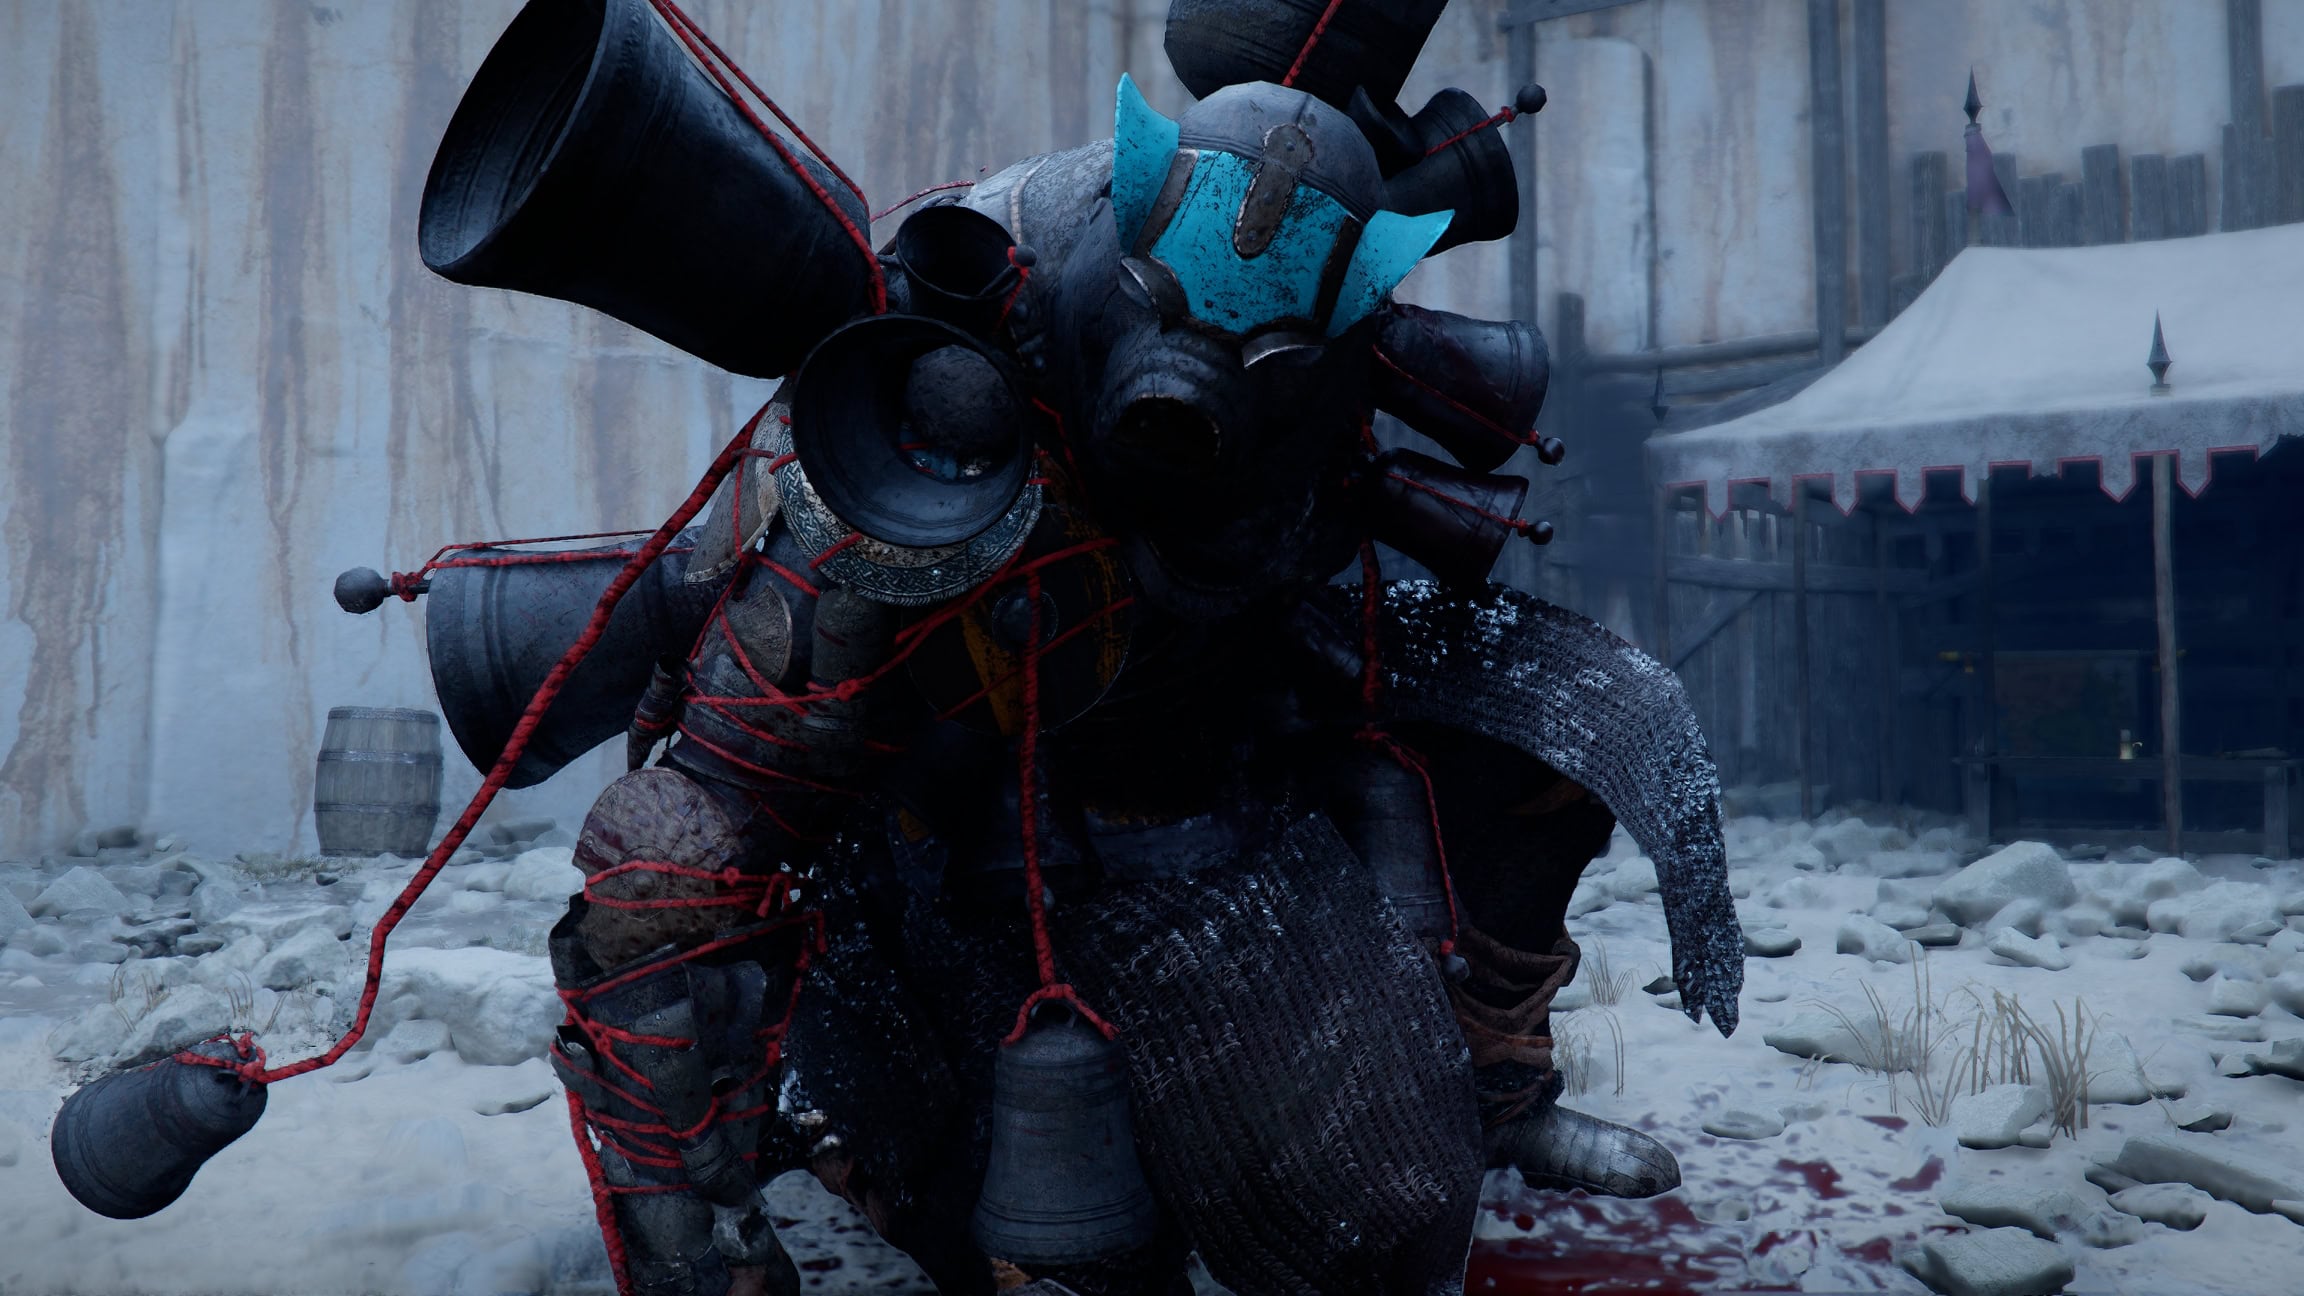
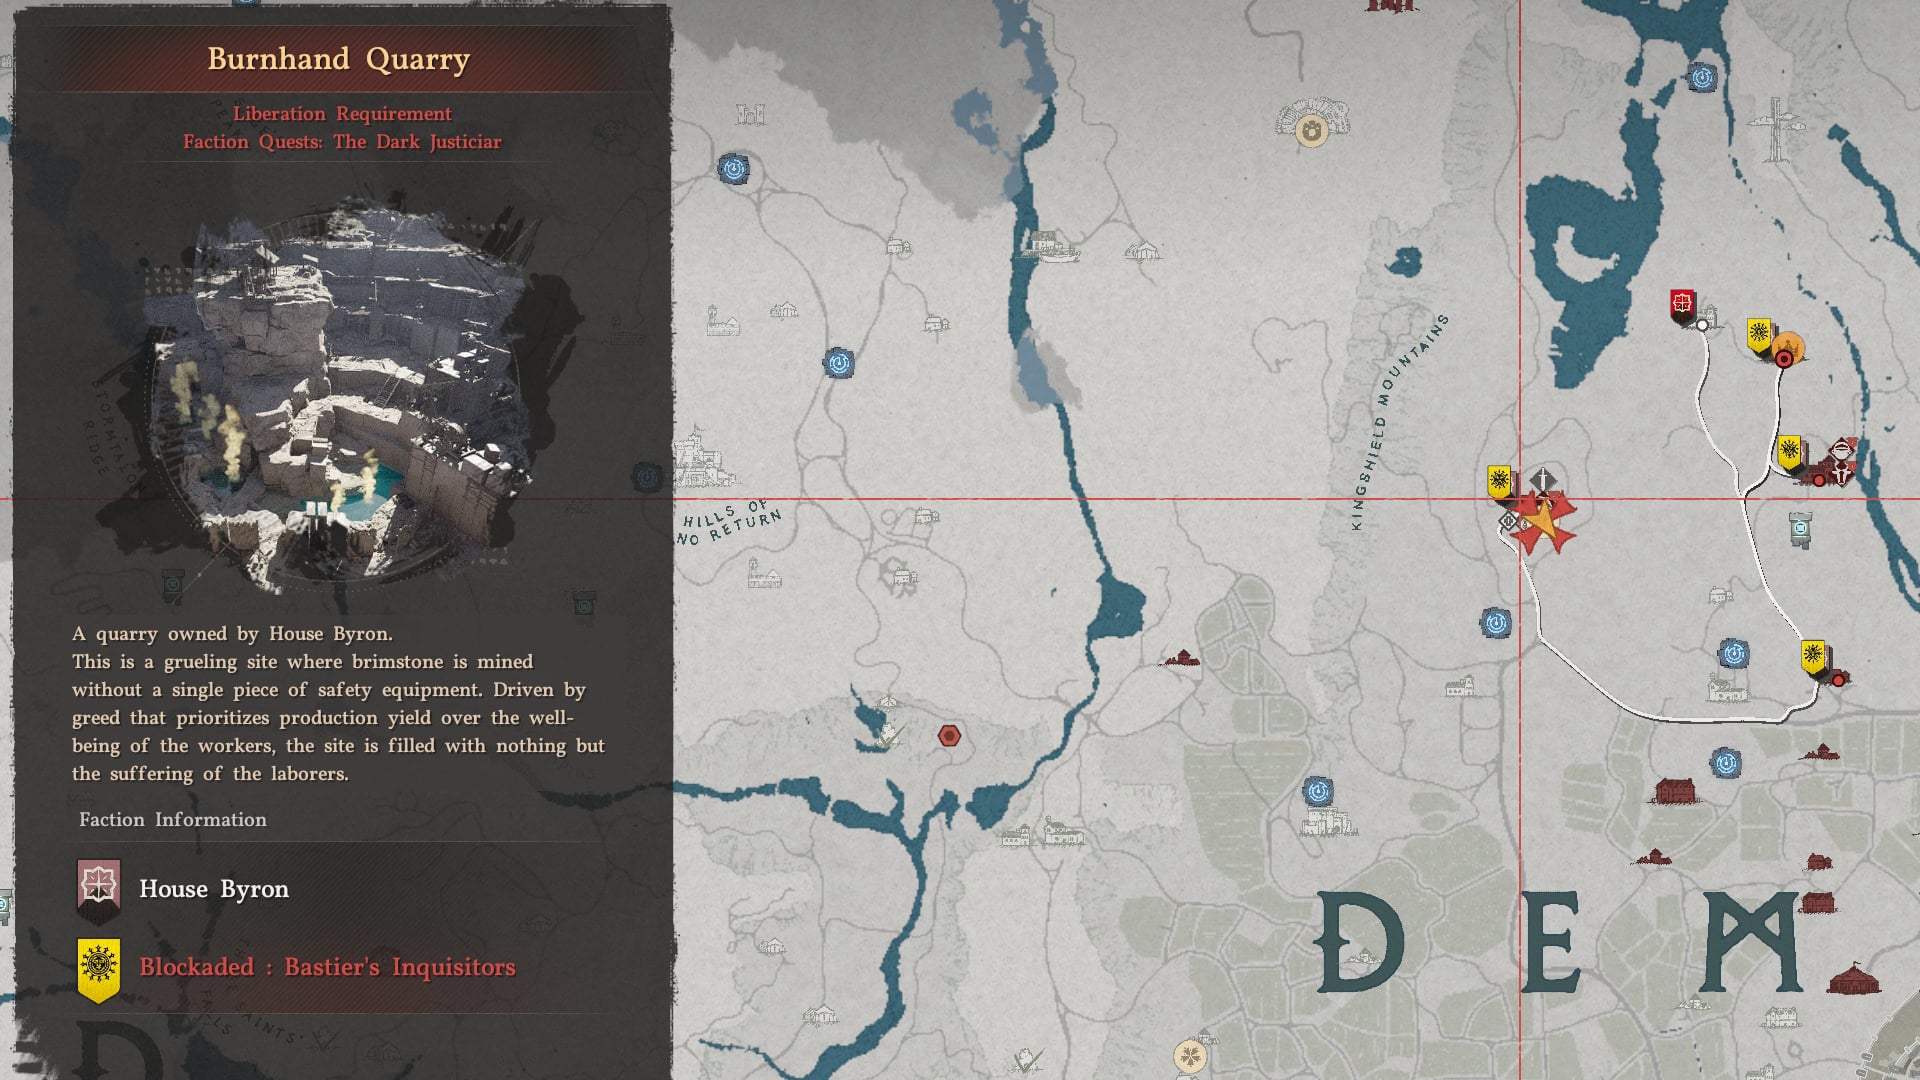
There is an item you can get called the Golden Beer, which permanently doubles all Mission Dispatch Rewards, and it’s just some random boss loot.
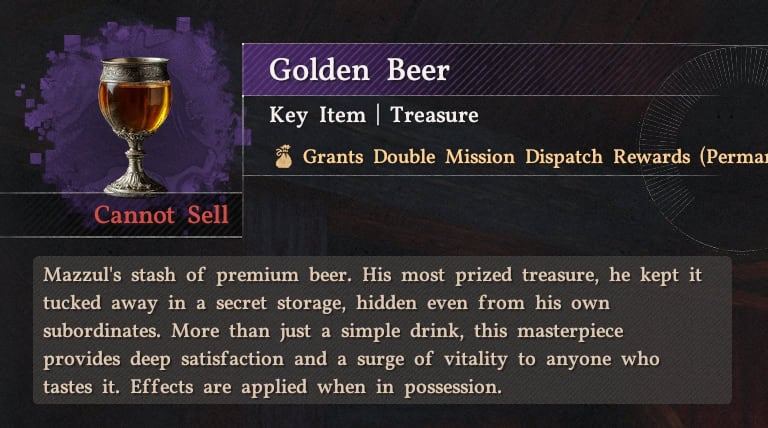
You get the Golden Beer as one of your rewards for defeating Mazzul, the Justicar, at Burnhand Quarry in northwestern Demeniss as part of the quest One Step Ahead. I don’t think you can fight him until Chapter VII: Blood Coronation.
Sustainable Approach
Unless you’re addicted to small numbers turning into big numbers, please don’t agonize over optimizing Mission Dispatches.
Just do the single highest yield mission available to you from each category and make sure you send the Tier III Expert on that mission. Send the remaining workers on as many Escort jobs as possible, prioritizing the Experts on the most lucrative missions.
If you run out of Escort missions to do or you have a huge surplus and have maxed out your church donations, use the remainder to make things for you.
How to Unlock Additional Workers
Greymane workers you find through the Rumor quests in the Grounds of the Sunrise category grant bonuses for bringing them for certain types of jobs and some satisfy specific job requirements.
While they’re always at the center of the Mission Dispatch system, there are only 37 Greymanes you can send out on missions, and that’s not a lot considering that most of the good late-game large-scale missions require 8-10 people.
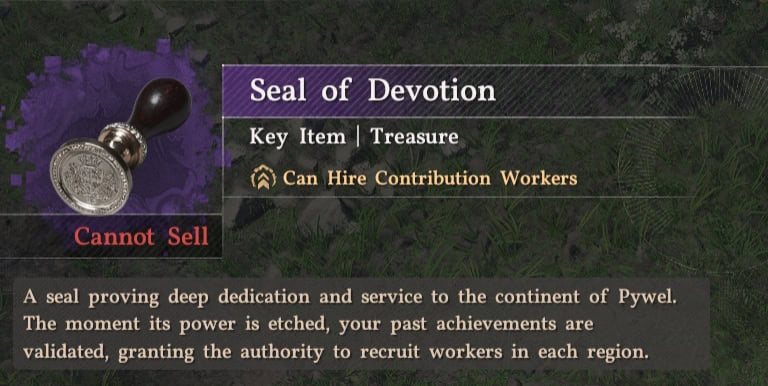
Hire Workers with Contribution Points
That’s where the Seal of Devotion comes in. You can also unlock the ability to hire additional workers with Contribution Points once you have the Seal of Devotion.
You receive the Seal of Devotion for defeating Tristan the Flame Knight at Flame Knights Castle in Western Demeniss. It’s hard to miss, but at the same time, it’s pretty shocking that such an important item isn’t a reward for the main quest.
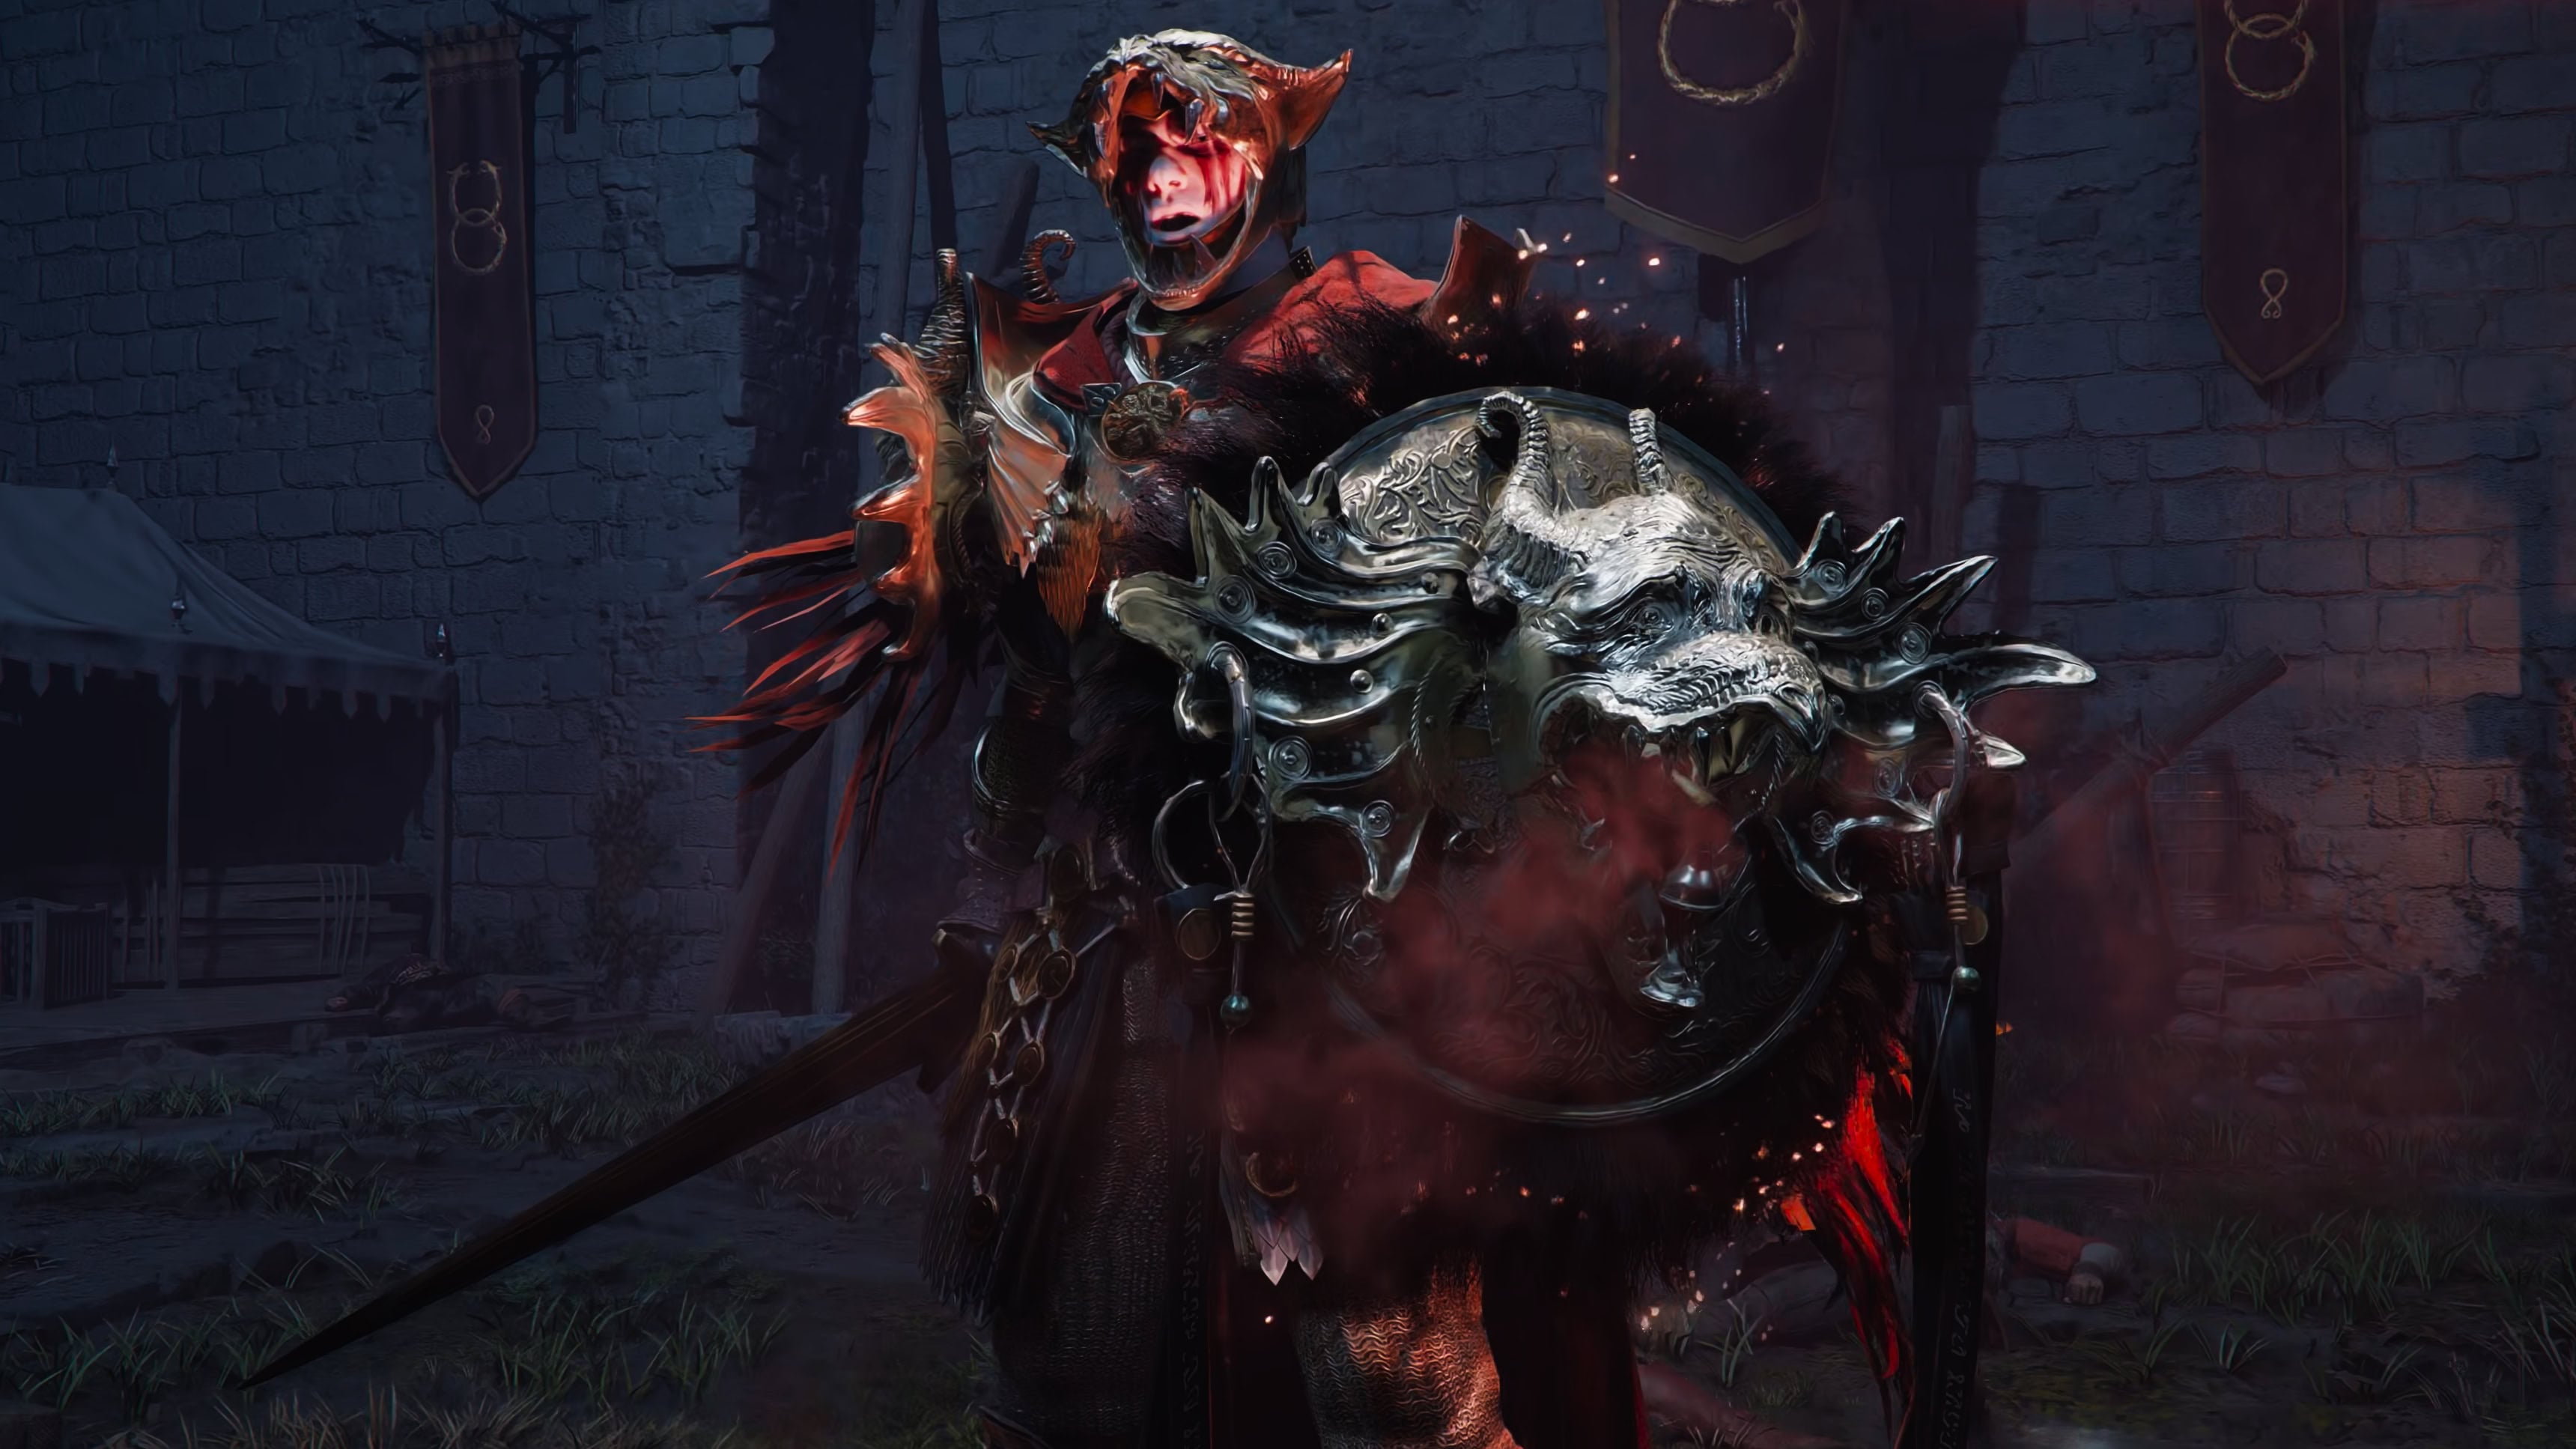
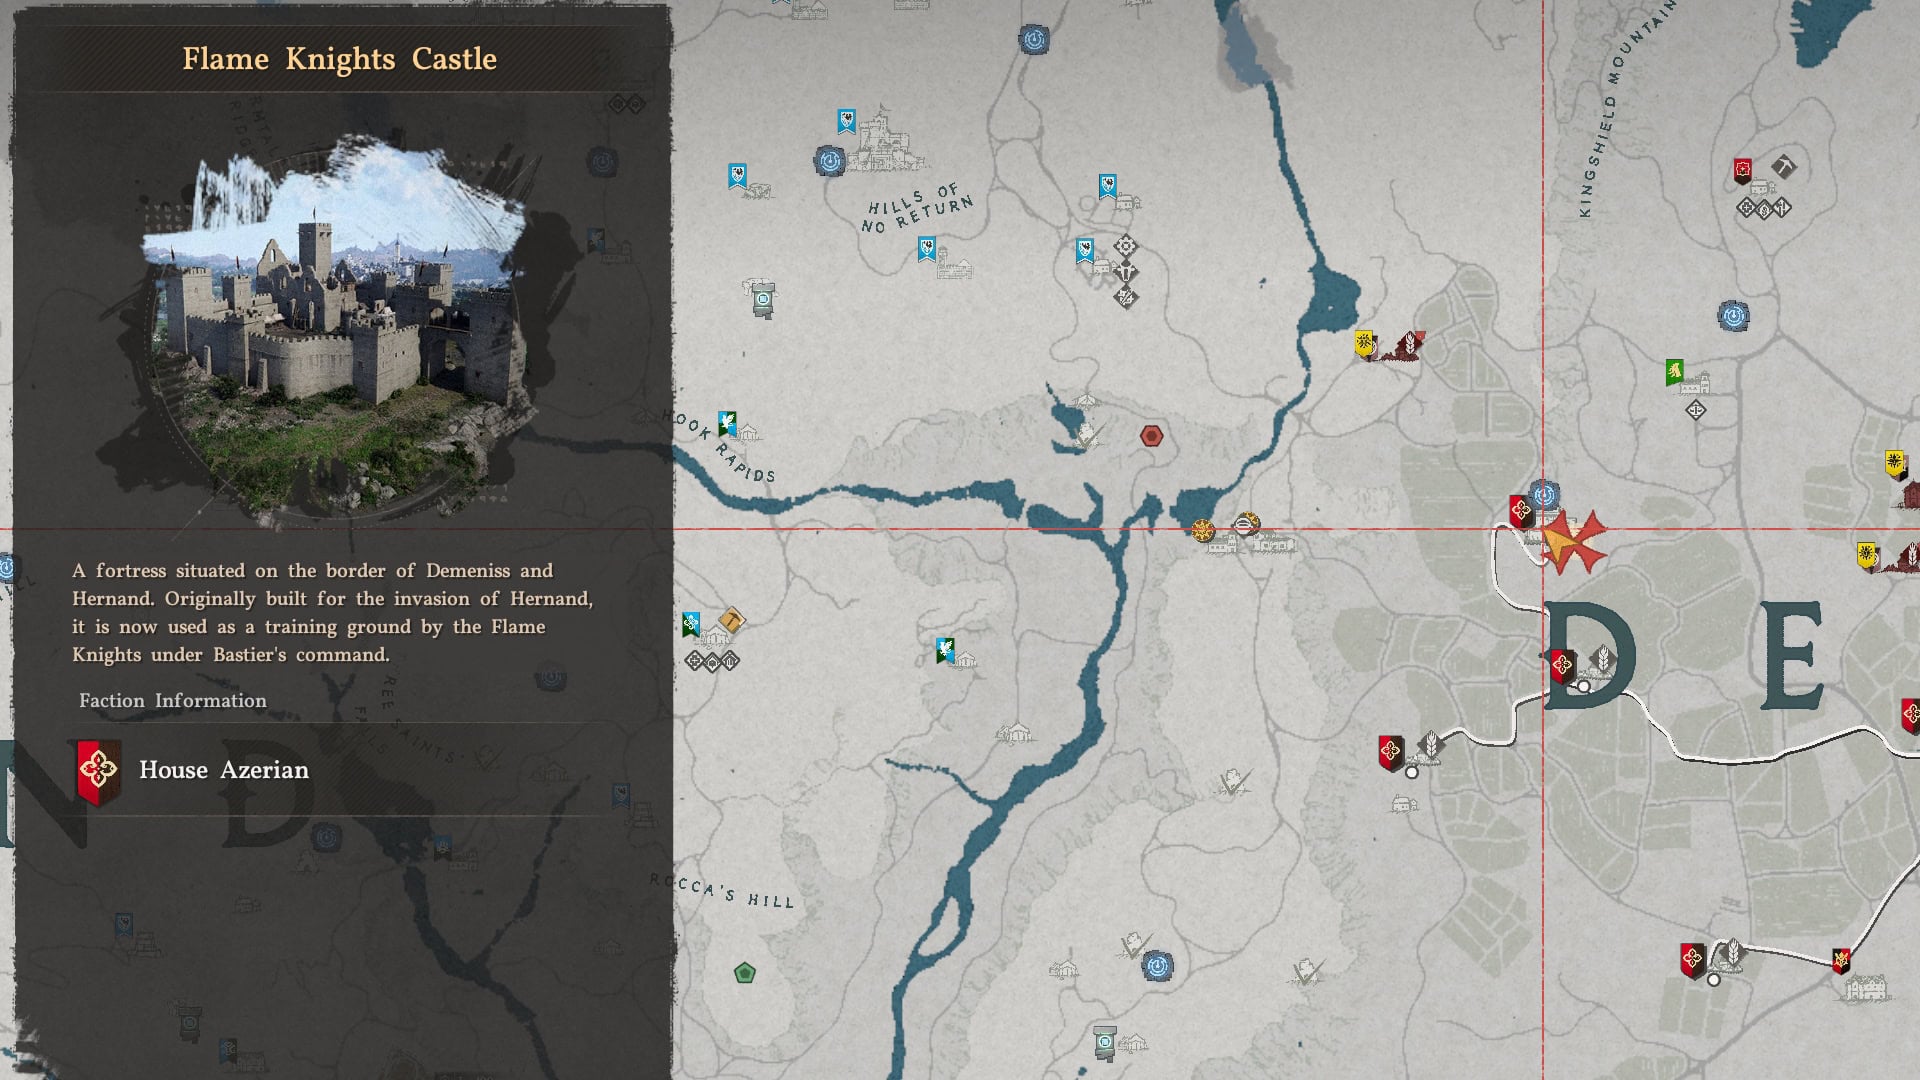
There is a House Azerian quest called Letter of Silence that begins in the capital city of Demeniss, but once the Flame Knights Castle icon on the map turns red, you can just go there directly and beat up the dragonslayer and get some cool Scorchflame loot, too.
Workers hired with Contribution Points don’t have any innate bonuses and can’t be used to help retake Strongholds. They’re only useful for satisfying body count requirements.
Greymane Contribution Points can be used in any region, but you can only spend a region’s Contribution Points to dispatch workers to jobs in the associated region. For example, you can’t use Hernandian Contribution Points to hire a worker for a job in Demeniss.
Each worker costs 4 Contribution Tokens, which you get back once the mission ends, regardless of whether it was completed or not, so it’s more like your Contribution Tokens are a security deposit for the worker.
Make sure to sell back any Contribution Shop items you’re not using to the associated Contribution Shop so you can make the most out of those additional workers.
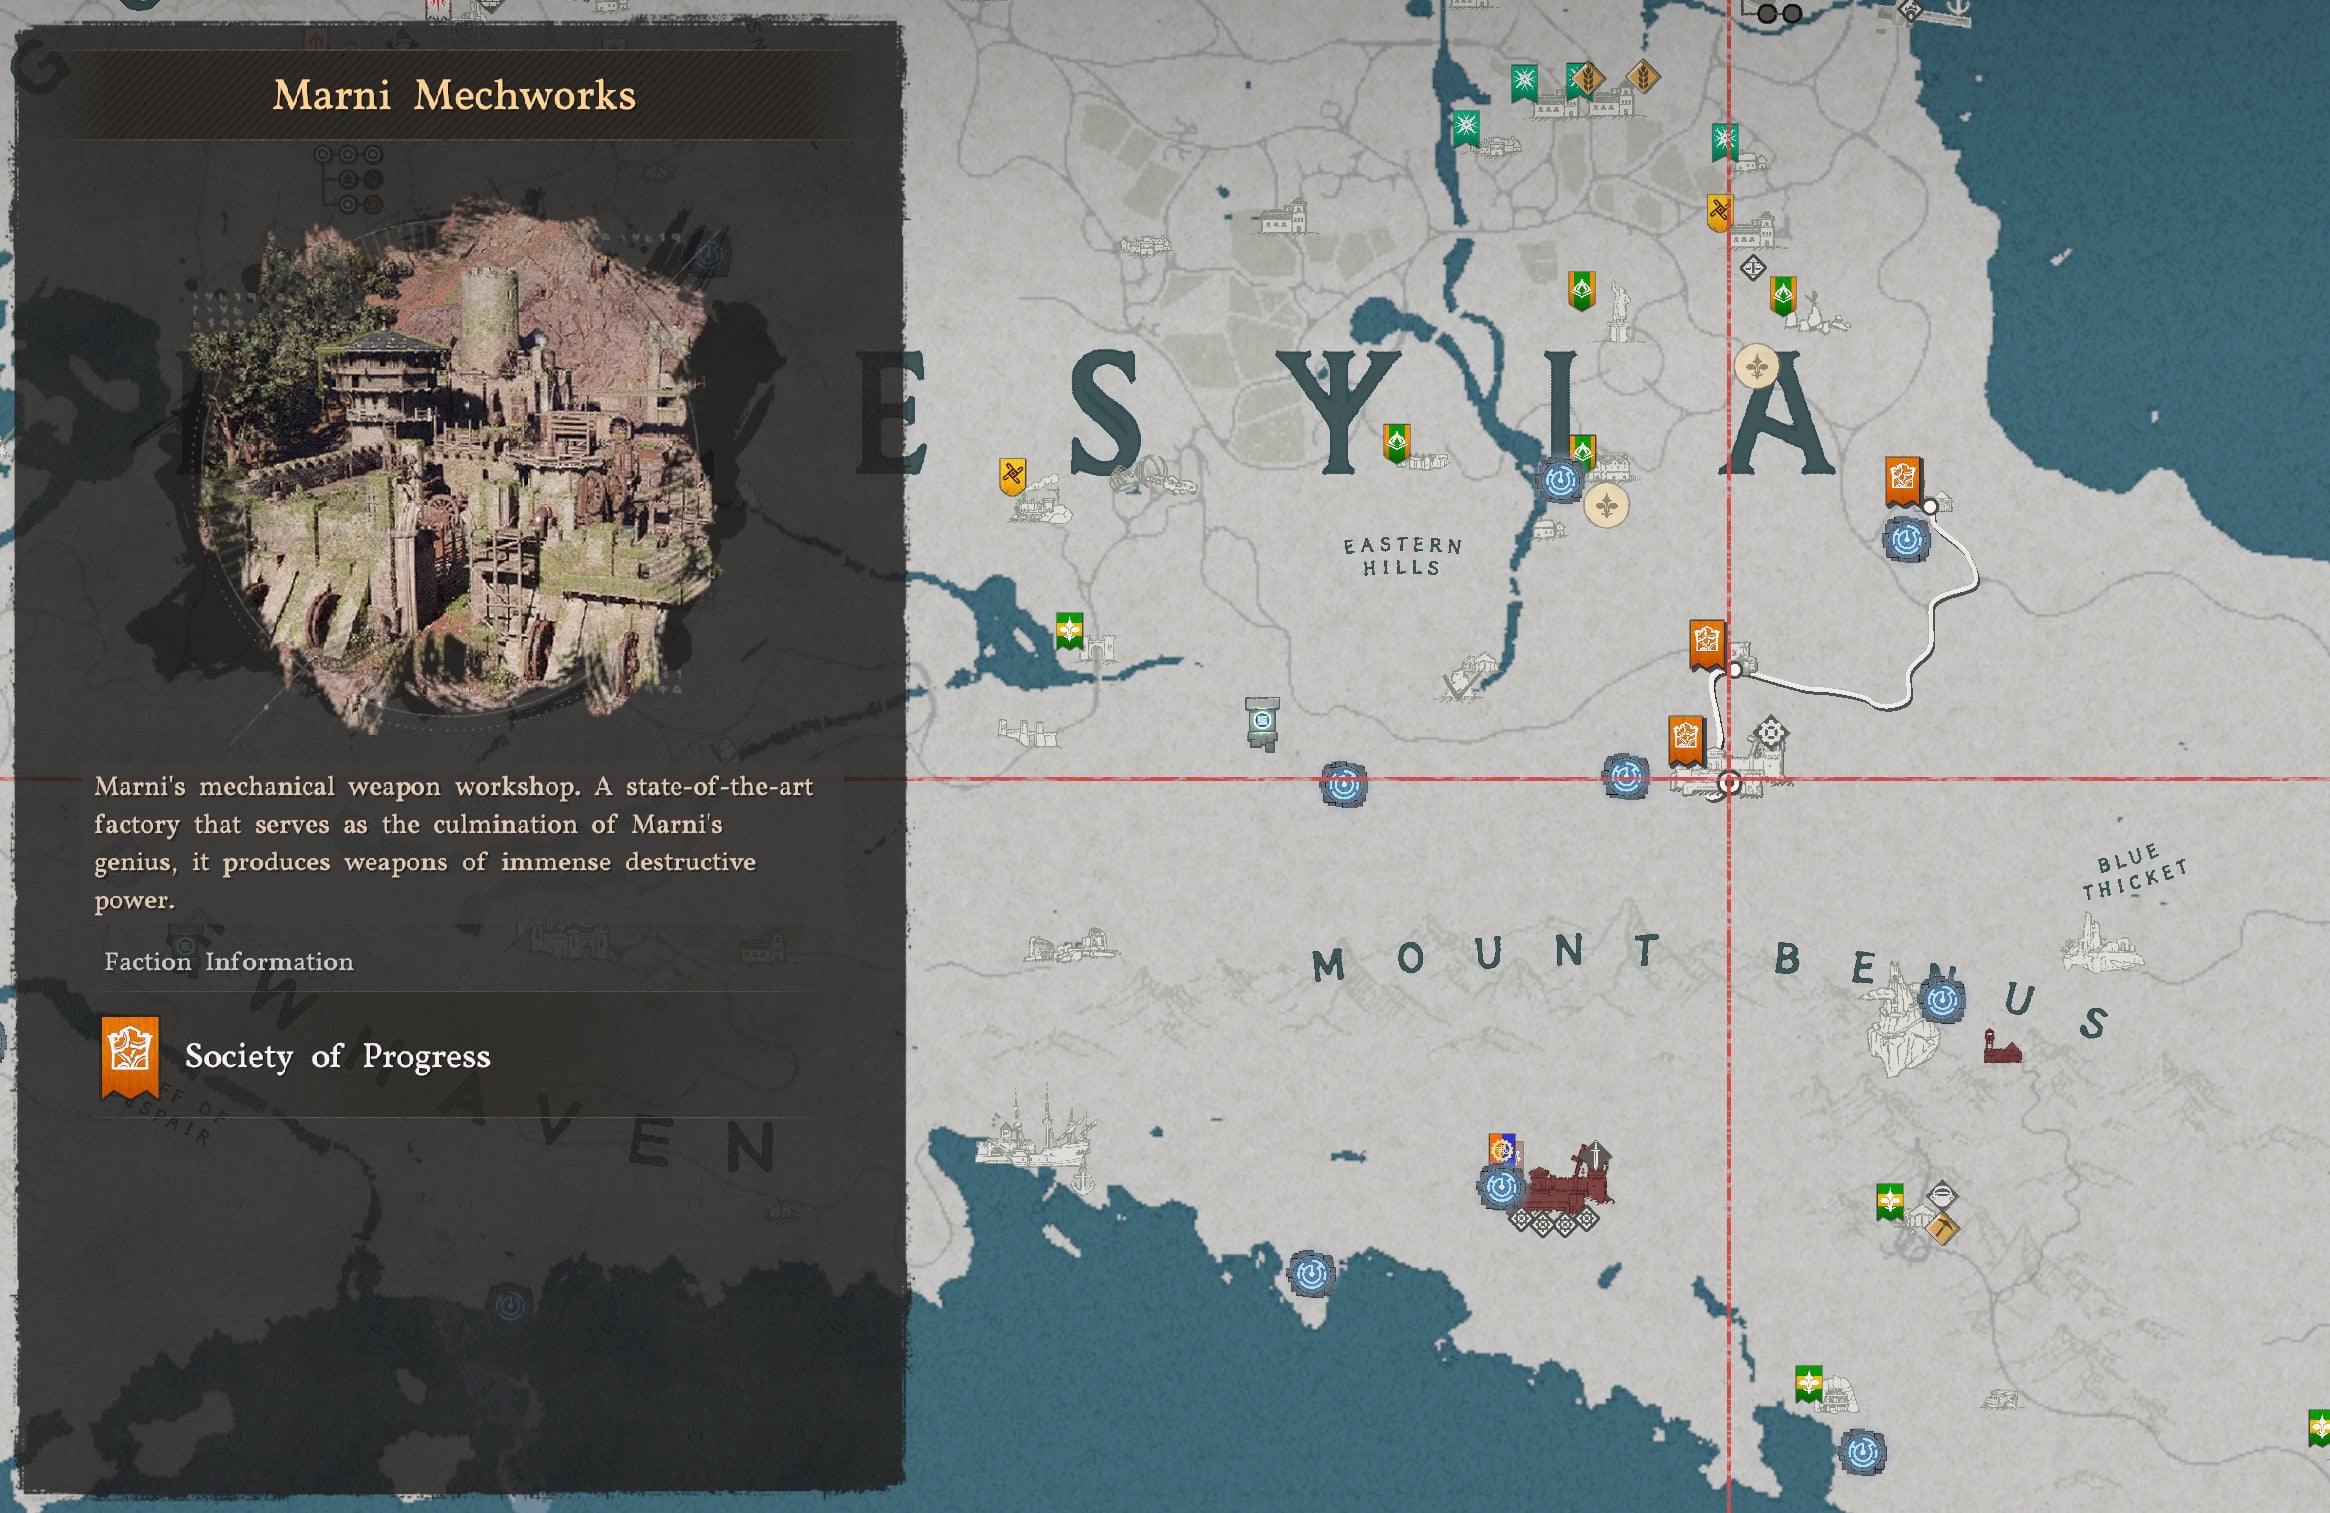
Build Mecha Workers
After progressing through the main story far enough, you can unlock the Marni Mechworks workshop. One of the missions that will become available there allows you to craft Mecha Workers.
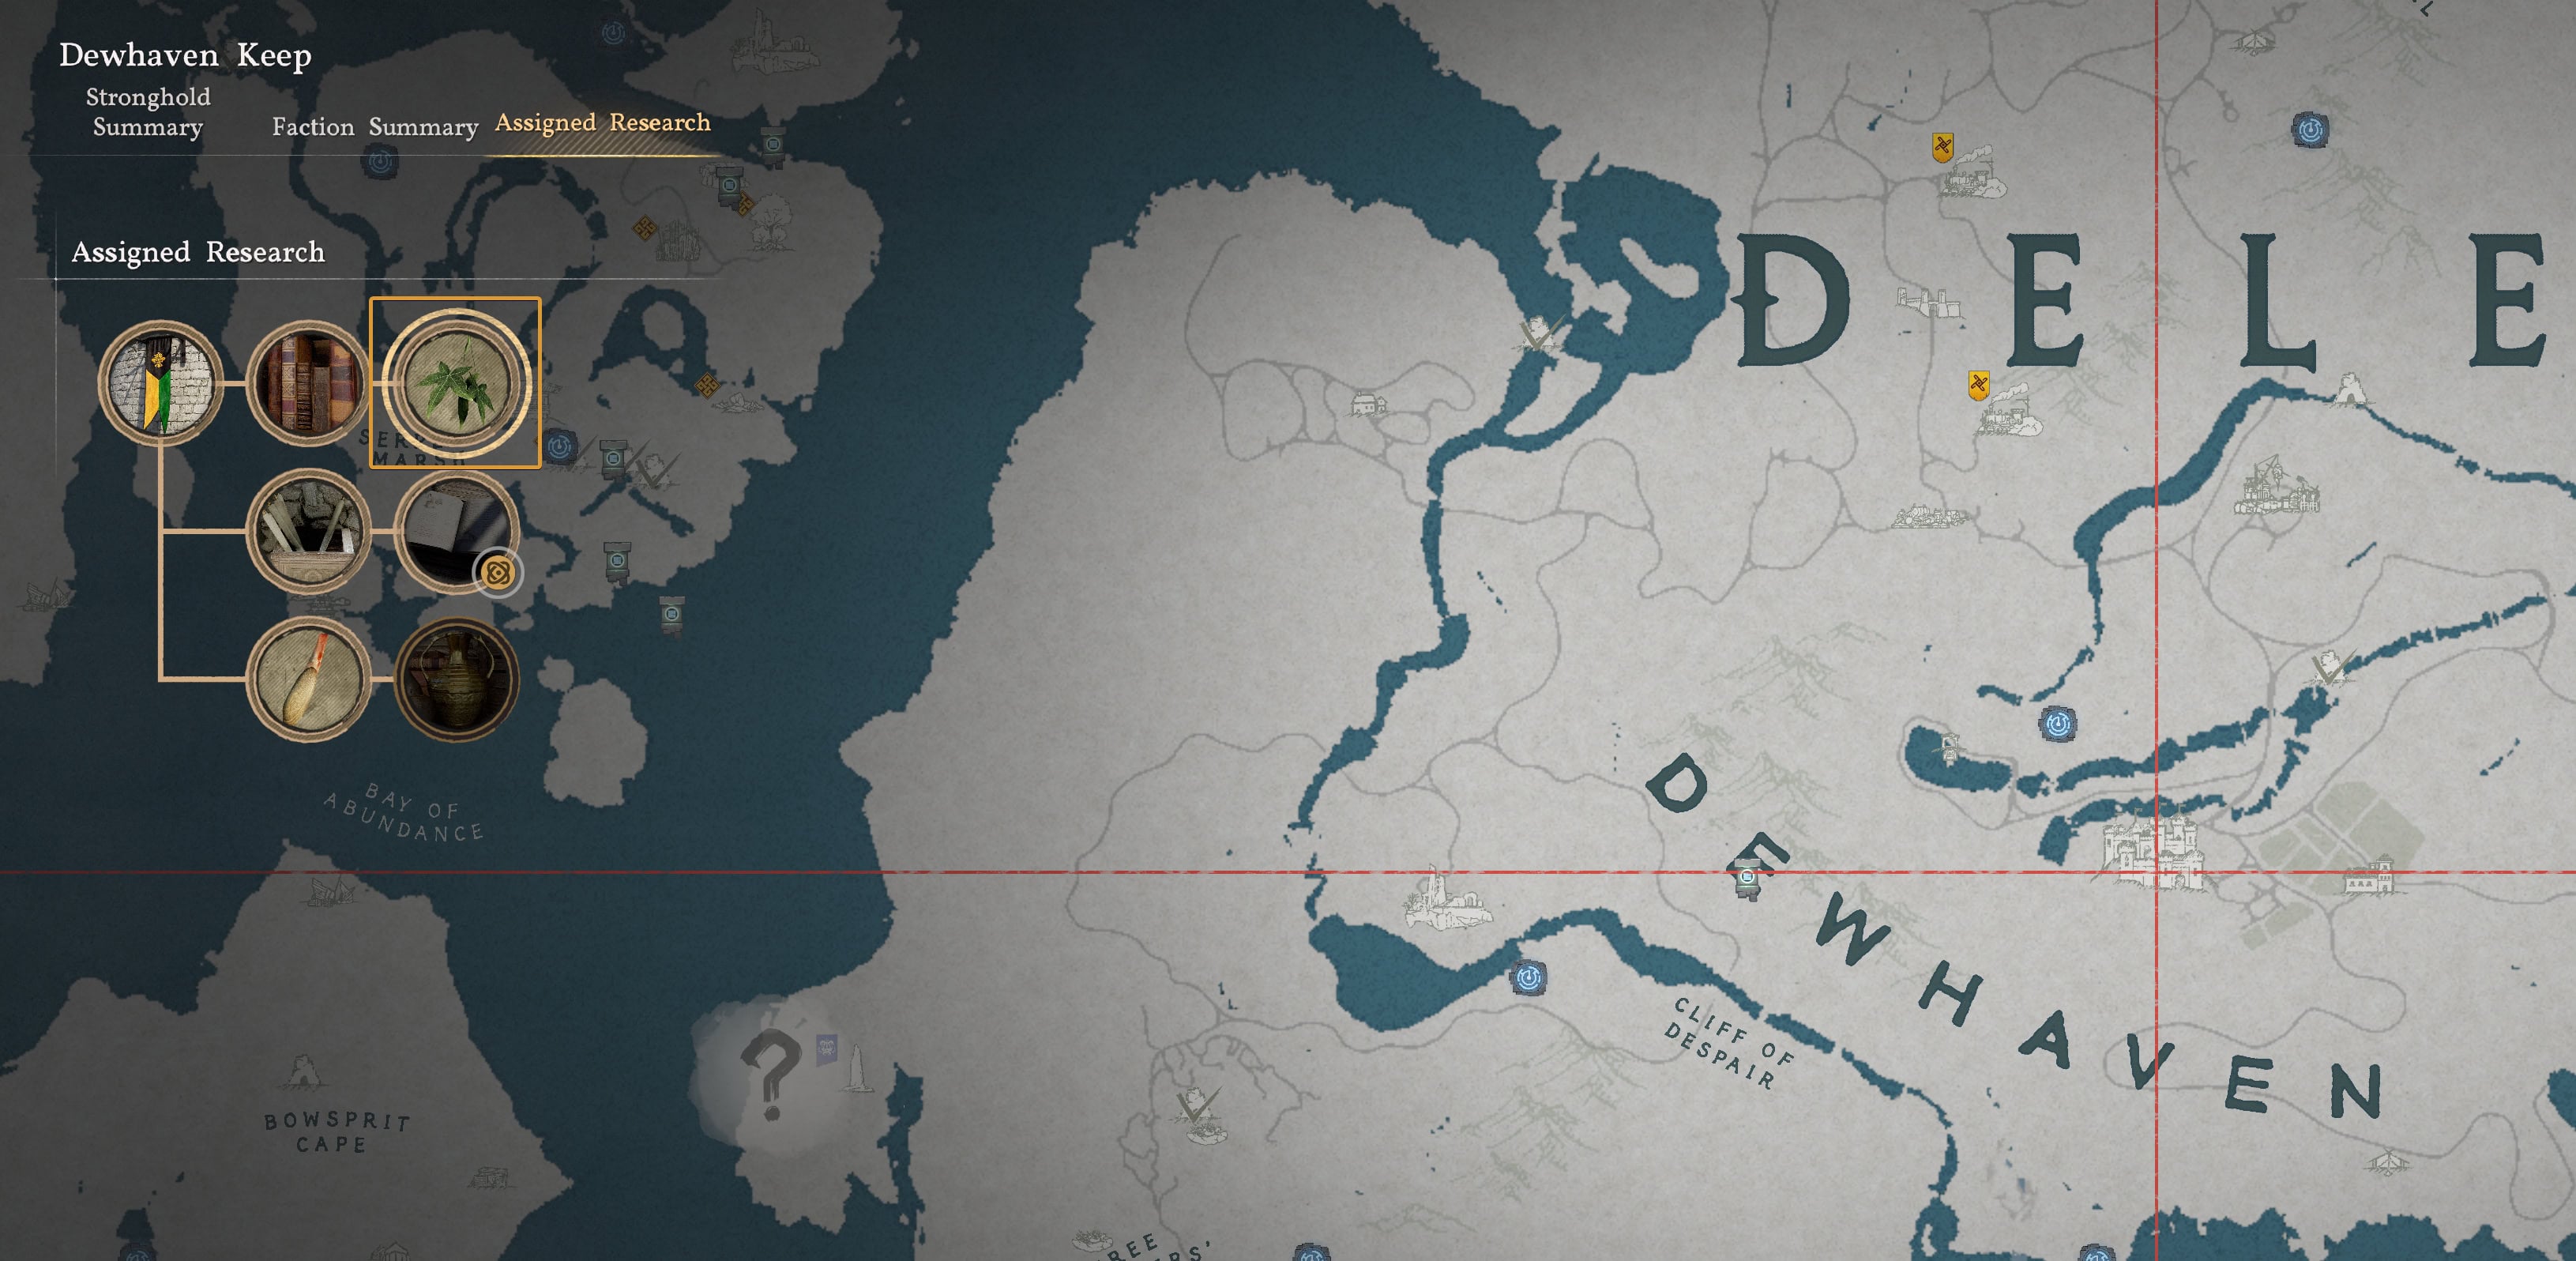
To unlock the mission, Craft Mecha Workers, you must complete the Chaya Research at Dewhaven Keep in Delesyia.
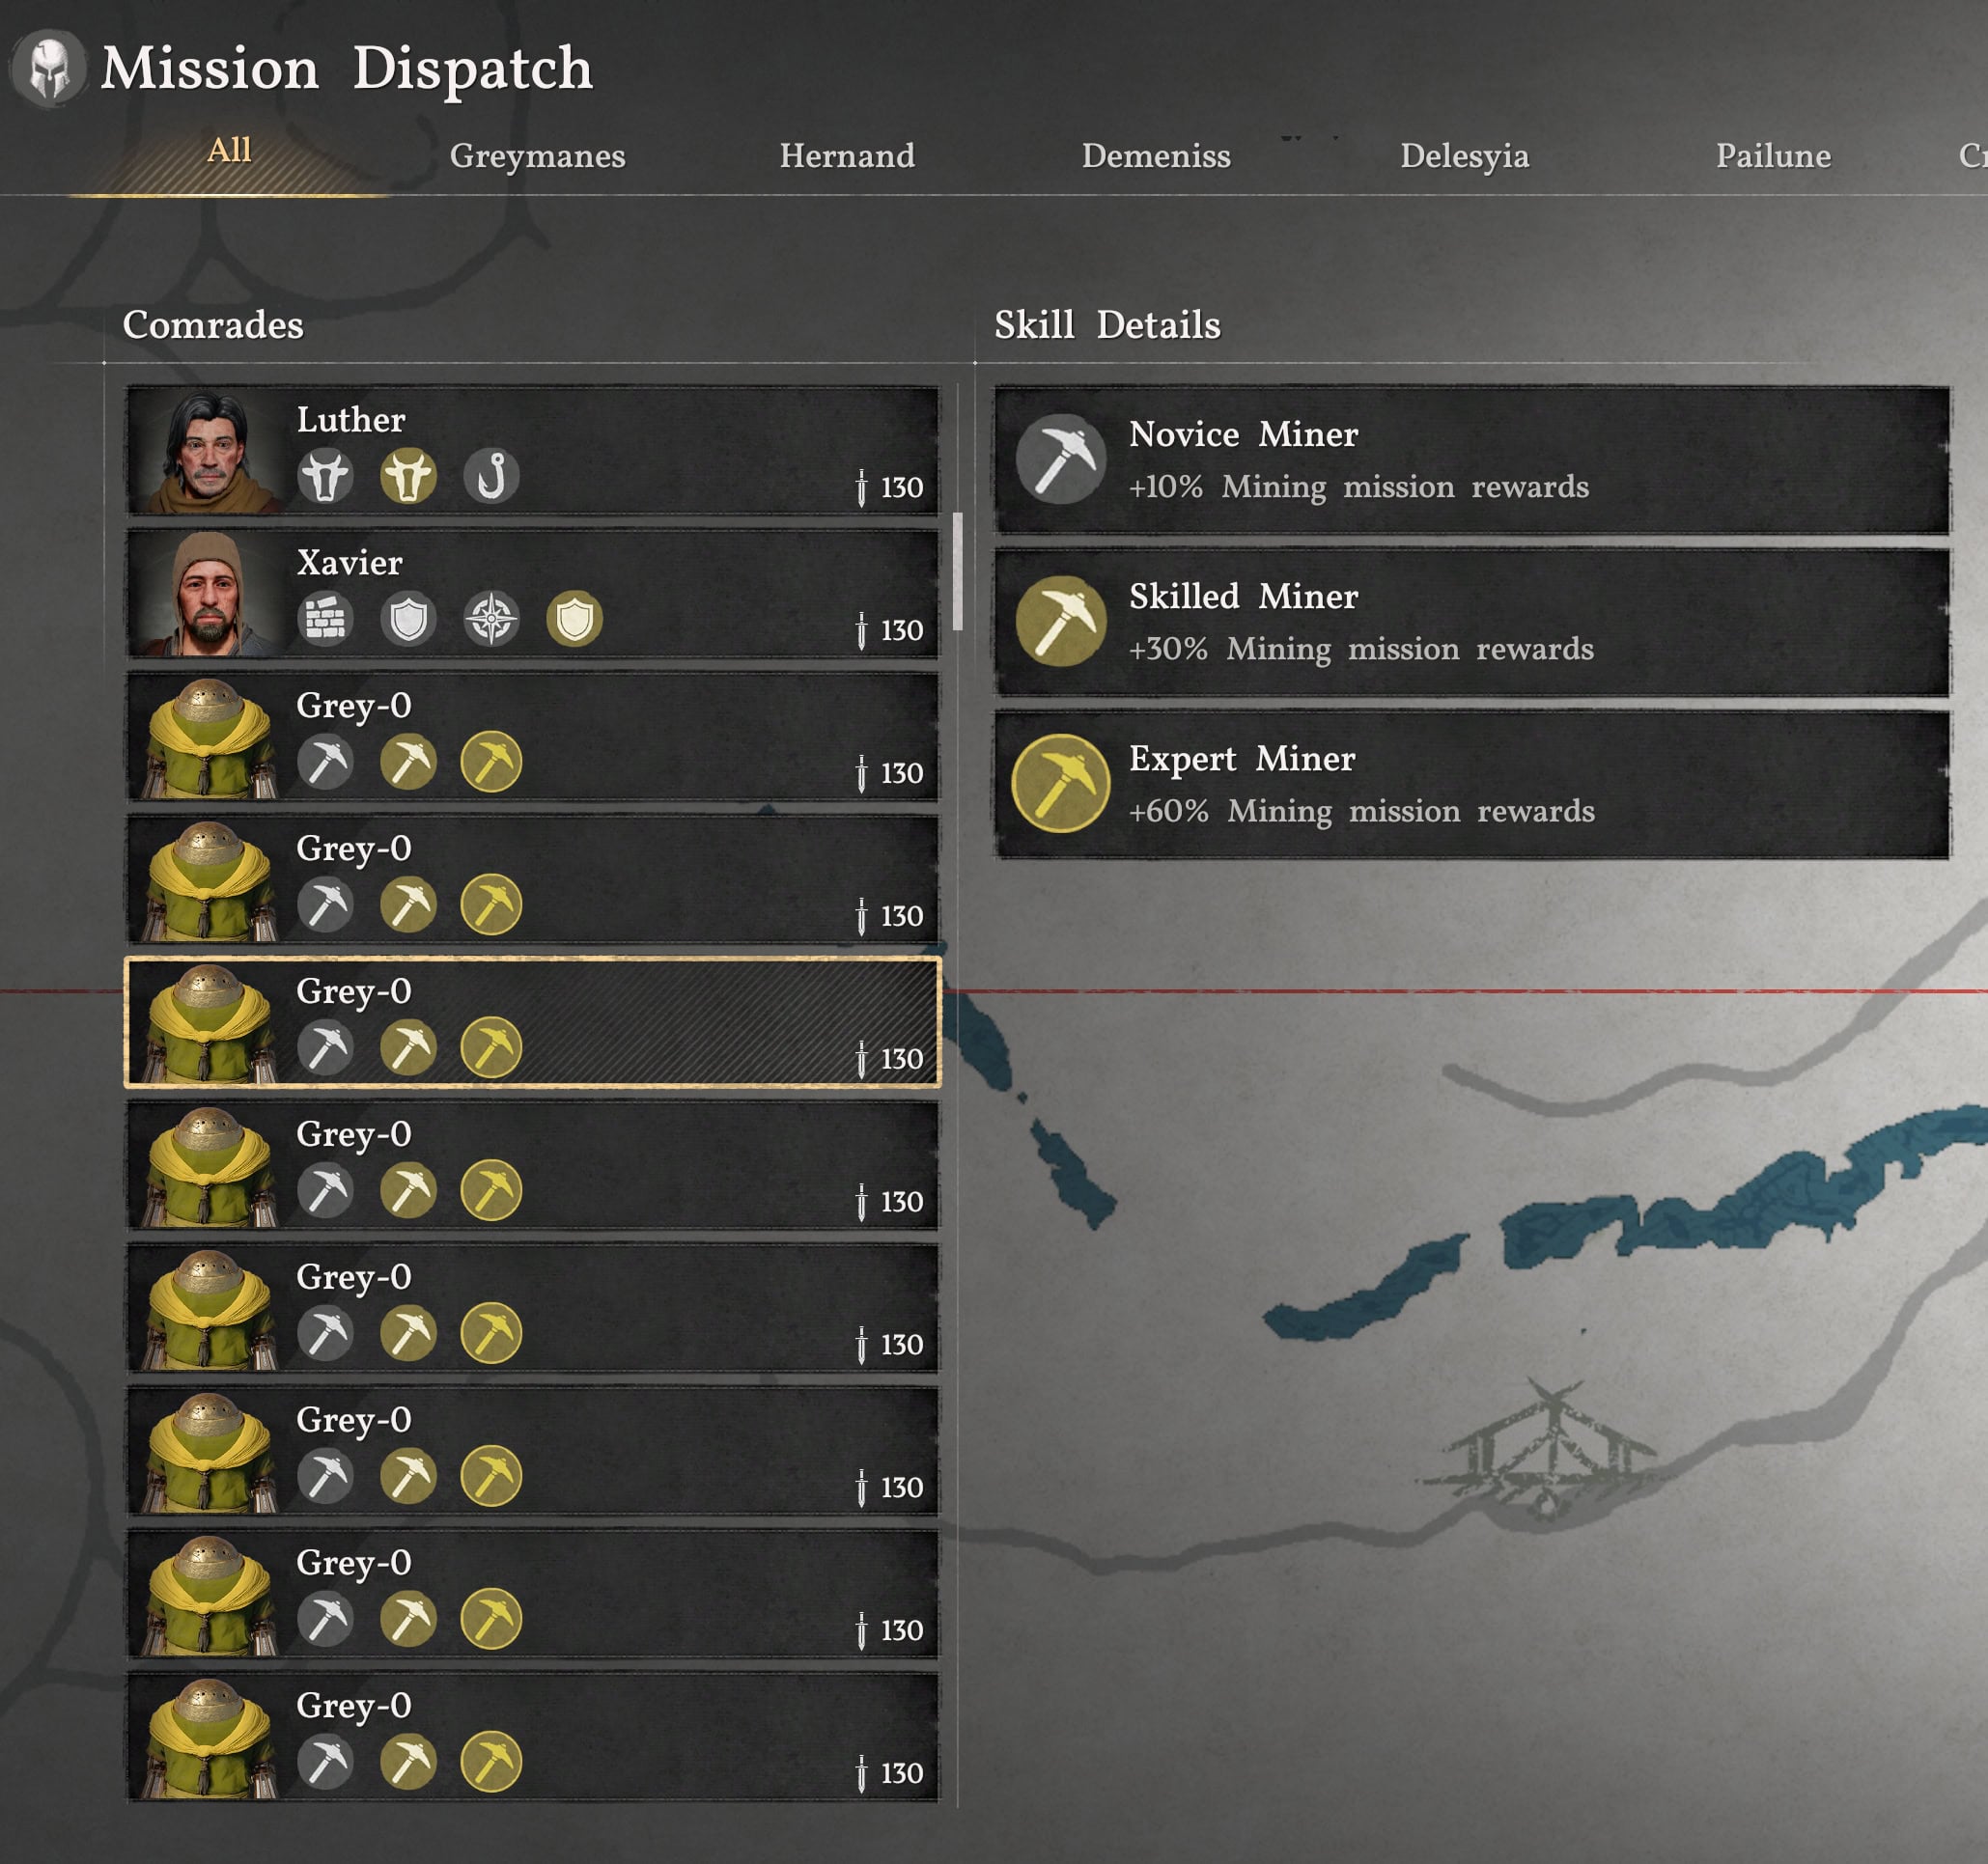
These workers remain yours forever, they do not disappear and are capable of doing any kind of work, despite being only proficient in Mining.
Some missions require you to send a Greymane worker, so you will not always be able to fill up mission rosters with only Contribution Point hired workers or Mecha workers.