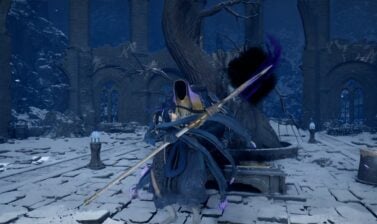
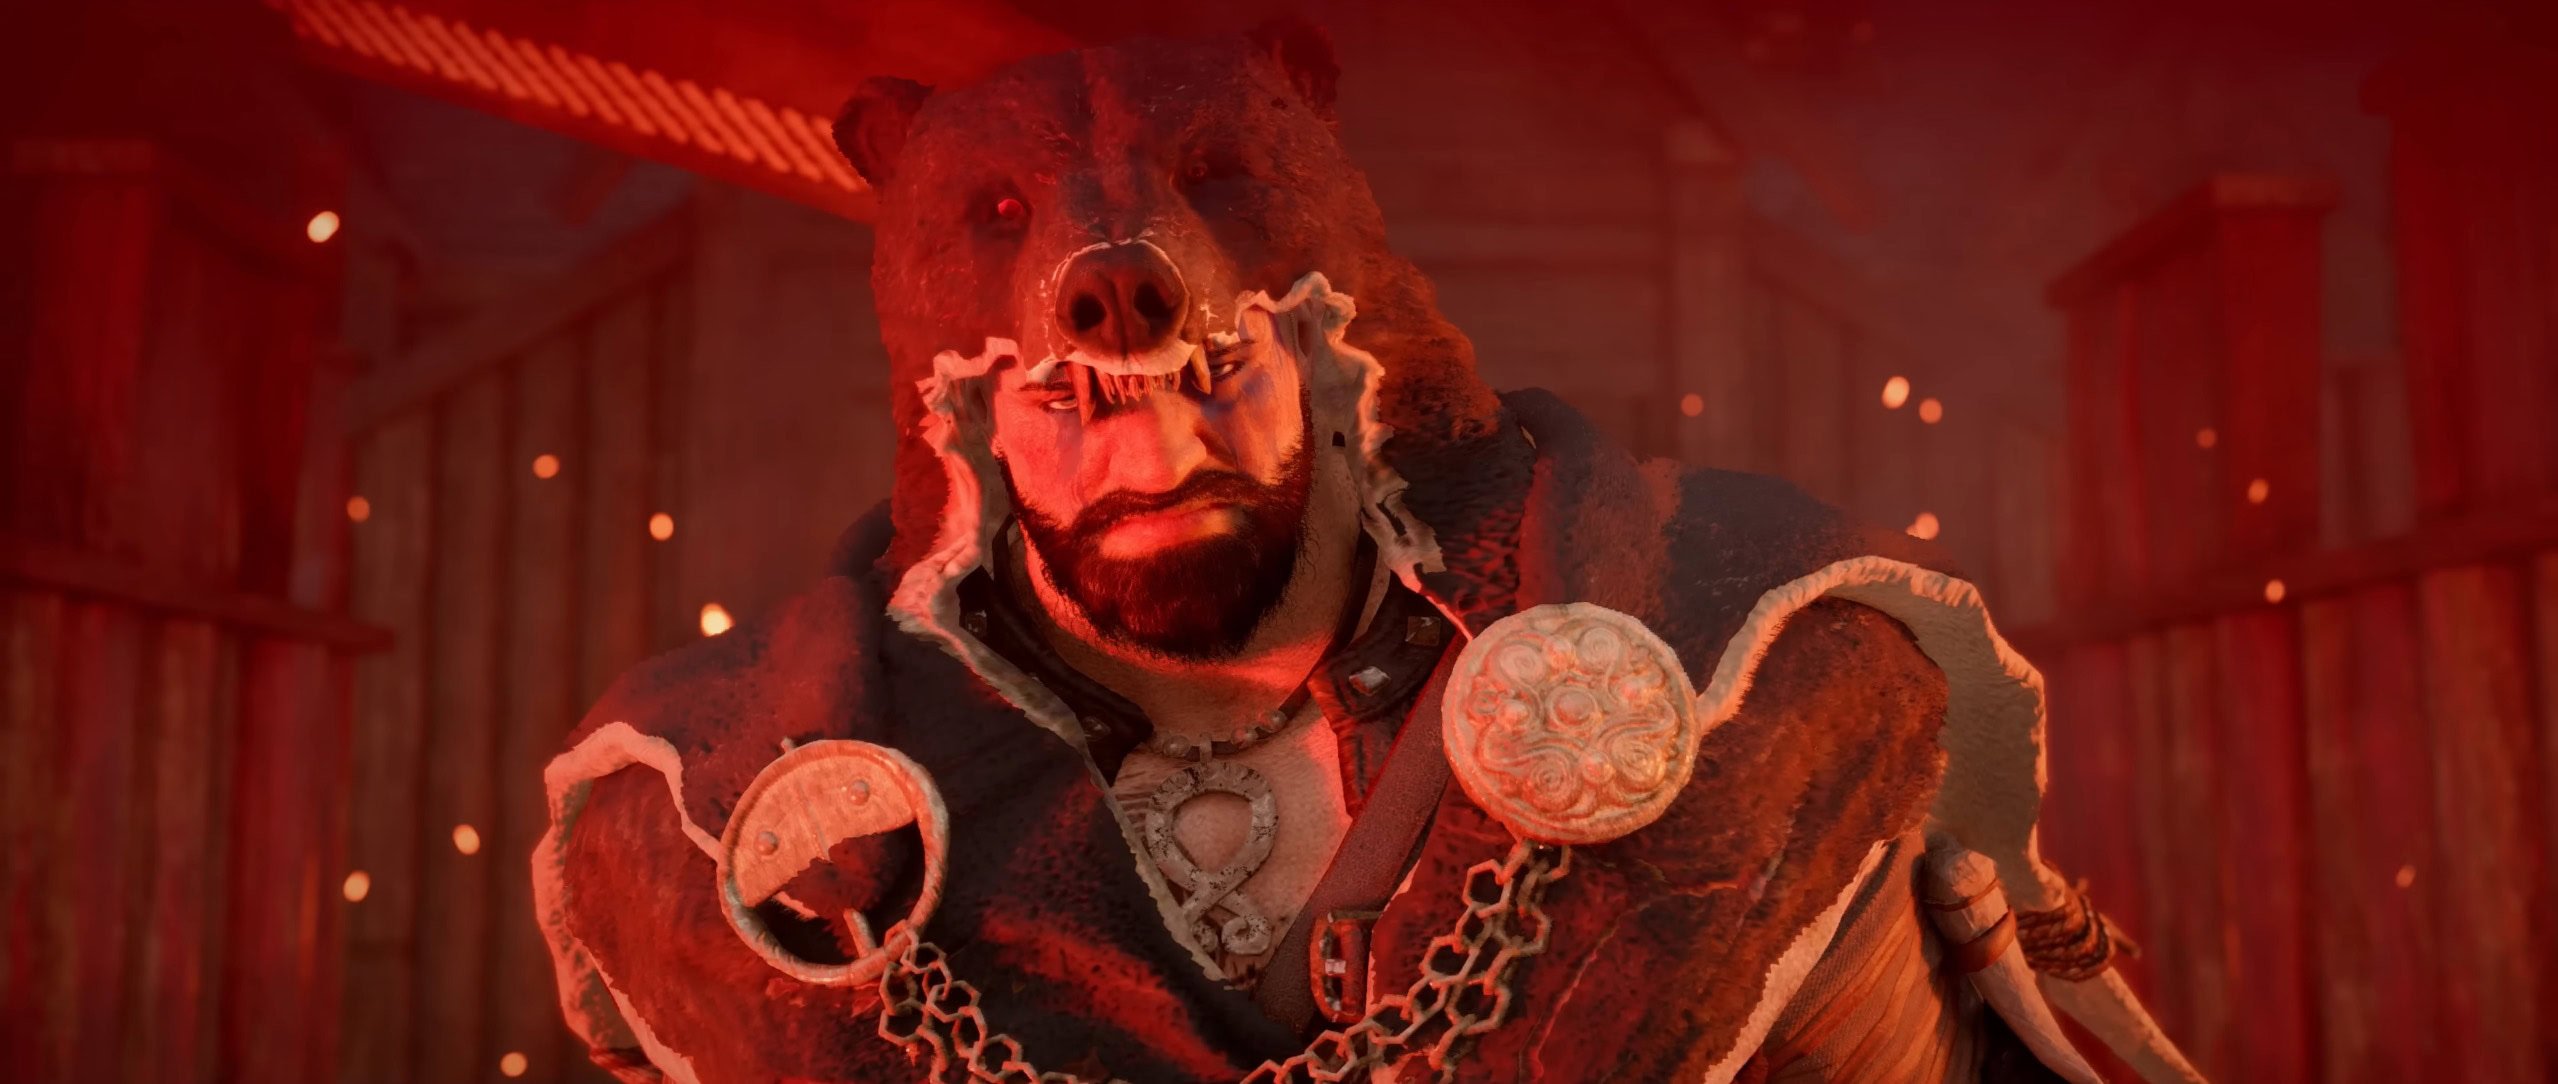
A complete walkthrough for all 12 Chapters of Crimson Desert’s main storyline. Includes all questlines, tips how to complete them, and important rewards you will earn.
Use the Table of Contents, located in the left panel (top left button on the mobile menu) to navigate through this long guide more easily and quickly.
For some of the more complex and difficult puzzles and challenges, including some of the boss encounters, we link to dedicated in-depth guides where you will learn every detail and strategy possible.
Full List of all Chapters, Quests, and Rewards
The table is interactive. You can search, sort and filter it to find what you need. Click or tap on the + symbol to see list of all rewards.
The table was updated for Patch 1.13 to include the new armor pieces awarded for completing some of the quests.
| Chapter | Questline | Quest | Region | Rewards? | Character | Rewards: |
|---|---|---|---|---|---|---|
| 0. Prologue. Dead of Night | Ambush | Unfamiliar Lands | Hernand | No | Kliff | – |
| 0. Prologue. Dead of Night | Ambush | In Ashes | Hernand | No | Kliff | – |
| 0. Prologue. Dead of Night | Unknown Space | Realm of Uncertainty | Hernand | No | Kliff | – |
| 0. Prologue. Dead of Night | Unknown Space | New Journey | Hernand | Yes | Kliff | Medium Bag x1 Oats x10 Blackberry x5 |
| 1. The First Encounter | Trials of Kindness | Where Rumors Gather | Hernand | Yes | Kliff | Silver x1 |
| 1. The First Encounter | Trials of Kindness | Mysterious Man | Hernand | Yes | Kliff | Medium Bag x1 |
| 1. The First Encounter | Trials of Kindness | True Wisdom in Kndness | Hernand | No | Kliff | – |
| 1. The First Encounter | Trials of Kindness | Heart Beyond Boirders | Hernand | No | Kliff | – |
| 1. The First Encounter | Trials of Kindness | Actions Speak Louder than Words | Hernand | Yes | Kliff | Medium Bag x1 Lentils x10 Apple x5 |
| 1. The First Encounter | Traces | Mystical Key | Hernand | No | Kliff | – |
| 1. The First Encounter | Traces | Polar Opposites | Abyss | No | Kliff | – |
| 1. The First Encounter | Traces | Abyss without Balance | Abyss | No | Kliff | – |
| 1. The First Encounter | Traces | Woman in White | Abyss | Yes | Kliff | Faded Abyss Artifact x1 Palmar Pill x1 |
| 2. Golden Greed | Unexpected Gift | Where the Light Leads | Hernand | Yes | Kliff | Arrow x10 |
| 2. Golden Greed | Unexpected Gift | Memory Fragment | Hernand | No | Kliff | – |
| 2. Golden Greed | Unexpected Gift | Reunion | Hernand | Yes | Kliff | Medium Bag x1 Palmar Pill x1 |
| 2. Golden Greed | Hernand in Chaos | For Honor | Hernand | No | Kliff | – |
| 2. Golden Greed | Hernand in Chaos | Awastruck | Hernand | Yes | Kliff | Hernand Refinement Token x1 |
| 2. Golden Greed | Hernand in Chaos | Shadow Casted Over the River | Hernand | Yes | Kliff | Medium Bag x1 Toasted Grains x10 Grilled Fruit x5 |
| 2. Golden Greed | Hernand in Chaos | Where Mistery Gathers | Hernand | No | Kliff | – |
| 2. Golden Greed | Hernand in Chaos | Trial After Trial | Hernand | Yes | Kliff | Silver x1 Medium Bag x1 Thin Hide x5 |
| 2. Golden Greed | Hernand in Chaos | The Man Trapped in the Mire | Hernand | Yes | Kliff | Silver x1.30 Medium Bag x1 Cloth Piece x5 |
| 2. Golden Greed | Hernand in Chaos | Missing Companion | Hernand | Yes | Kliff | Medium Bag x1 Fleece x5 |
| 2. Golden Greed | Hernand in Chaos | Secrets Hidden in the Dark | Hernand | Yes | Kliff | Medium Bag x1 Grilled Meat x5 Grilled Fruit x5 |
| 2. Golden Greed | The End of Greed | The Dark Veil | Hernand | No | Kliff | – |
| 2. Golden Greed | The End of Greed | The Flames of Greed | Hernand | Yes | Kliff | Copper x50 Abyss Artifact x1 |
| 2. Golden Greed | The End of Greed | Kidnapped Healer | Hernand | Yes | Kliff | Medium Bag x1 |
| 2. Golden Greed | The End of Greed | Rebellion or Revolution | Hernand | No | Kliff | – |
| 2. Golden Greed | The End of Greed | Cheers Echoing From the Edge | Hernand | Yes | Kliff | Silver x10 Sword of the Lord x1 Iron Ore x7 Copper Ore x2 Hernand Refinement Token x1s |
| 3. Howling Hill | Homestead | Old Friend | Hernand | No | Kliff | – |
| 3. Howling Hill | Homestead | First Step to Rebuilding | Hernand | Yes | Kliff | Arms x10 Stone x10 Wood x10 Food x50 Camp Copper x50 |
| 3. Howling Hill | Homestead | A Fresh Start | Hernand | Yes | Kliff | Iron Ore x5 Large Bad x1 |
| 3. Howling Hill | Homestead | Reward for Their Sweat | Hernand | Yes | Kliff | Clear Soup x10 |
| 3. Howling Hill | Homestead | Return of the Comrade | Hernand | |||
| 3. Howling Hill | Homestead | Familiar Curses | Hernand | Yes | Kliff | Abyss Artifact x1 |
| 3. Howling Hill | The Face Behind the Mask | Return | Hernand | No | Kliff | – |
| 3. Howling Hill | The Face Behind the Mask | Traces in the Manor | Hernand | No | Kliff | – |
| 3. Howling Hill | The Face Behind the Mask | Nonhuman | Hernand | No | Kliff | – |
| 3. Howling Hill | The Face Behind the Mask | Seed of Unease | Hernand | No | Kliff | – |
| 3. Howling Hill | The Face Behind the Mask | Dance with the Devil | Hernand | Yes | Kliff | Sunset Reed Cloth Gloves x1 |
| 3. Howling Hill | Pioneering | Hope After the Draught | Hernand | No | Kliff | – |
| 3. Howling Hill | Pioneering | Scattered Comrades | Hernand | |||
| 3. Howling Hill | Pioneering | Rumors from the Sawmill | Hernand | Yes | Kliff | Wood x1000 Abyss Artifact x1 Fine Timber x5 |
| 3. Howling Hill | Pioneering | A Gentle Touch | Hernand | Yes | Kliff | Food x200 Camp Copper x200 Thick Hide x6 Iron Ore x5 |
| 3. Howling Hill | Pioneering | Bustling Hill | Hernand | No | Kliff | – |
| 3. Howling Hill | Pioneering | Greymanes Reunited | Hernand | No | Kliff | – |
| 4. The Price of Knowledge | Mysterious Pot | Kilnden Workshop | Hernand | No | Kliff | – |
| 4. The Price of Knowledge | Mysterious Pot | Kiln Repair at the Kilnden | Hernand | No | Kliff | – |
| 4. The Price of Knowledge | Mysterious Pot | Workshop | Hernand | No | Kliff | – |
| 4. The Price of Knowledge | Mysterious Pot | The Mysterious Pot | Hernand | No | Kliff | – |
| 4. The Price of Knowledge | Mysterious Pot | The Pot’s Use | Hernand | No | Kliff | – |
| 4. The Price of Knowledge | Daily Life | Disturbance at the Arena | Hernand | No | Kliff | – |
| 4. The Price of Knowledge | Daily Life | Skilled in Archery | Hernand | No | Kliff | – |
| 4. The Price of Knowledge | Forbidden Knowledge | The Words of Alustin | Hernand | No | Kliff | – |
| 4. The Price of Knowledge | Forbidden Knowledge | Scholastone | Hernand | Yes | Kliff | Scholastone Uniform x1 |
| 4. The Price of Knowledge | Forbidden Knowledge | On the Right Path | Hernand | No | Kliff | – |
| 4. The Price of Knowledge | Forbidden Knowledge | Gate to the Otherworld | Hernand | Yes | Kliff | Abyss Artifact x1 |
| 4. The Price of Knowledge | Forbidden Knowledge | Spire of the Stars | Hernand | No | Kliff | – |
| 4. The Price of Knowledge | Forbidden Knowledge | Obsession and Madness | Abyss | No | Kliff | – |
| 4. The Price of Knowledge | Forbidden Knowledge | Cast Shadow | Hernand | Yes | Kliff | Honey Tea x10 |
| 5. Guest Unbidden | Uninvited Guest | Double-sided Invitation | Hernand | No | Kliff | – |
| 5. Guest Unbidden | Uninvited Guest | Unwelcomed Guests | Hernand | No | Kliff | – |
| 5. Guest Unbidden | Uninvited Guest | Demenissian Delegation | Hernand | Yes | Kliff | Food x200 Camp Copper: 1000 Silver: 25 The Grove’s Thorn x1 Swift I Howling of Chaos x1 Hernand Refinement Token x1 |
| 5. Guest Unbidden | Uninvited Guest | Exposed Plot | Hernand | No | Kliff | – |
| 5. Guest Unbidden | Black and White | The Missing Seal | Hernand | Yes | Kliff | Gear Blueprint: Haste x1 |
| 5. Guest Unbidden | Black and White | Crowcaller | Hernand | No | Kliff | – |
| 5. Guest Unbidden | Black and White | The Crow’s Warning | Demeniss | No | Kliff | – |
| 5. Guest Unbidden | Black and White | Bloodwind | Demeniss | No | Kliff | – |
| 5. Guest Unbidden | Black and White | Secret at the Church | Demeniss | No | Kliff | – |
| 5. Guest Unbidden | Black and White | Toward the Nest | Abyss | Yes | Kliff | Blackwing Leather Armor x1 Blackwing Mast x1 Tauria Curved Sword x1 |
| 6. Cracks in the Shield | Blazing Beacon | News | Hernand | No | Kliff | – |
| 6. Cracks in the Shield | Blazing Beacon | To the Battlefield | Hernand | No | Kliff | – |
| 6. Cracks in the Shield | Blazing Beacon | The Counterattack | Hernand | No | Kliff | – |
| 6. Cracks in the Shield | Below the Banners | Cradle of Defense | Hernand | No | Kliff | – |
| 6. Cracks in the Shield | Below the Banners | Hand of Deliverance | Hernand | No | Kliff | – |
| 6. Cracks in the Shield | Below the Banners | Fire on the Frontlines | Hernand | No | Kliff | – |
| 6. Cracks in the Shield | Turning Tides | Fire Support | Hernand | Yes | Kliff | Whistling Arrow x10 |
| 6. Cracks in the Shield | Turning Tides | In Ashes | Hernand | No | Kliff | – |
| 6. Cracks in the Shield | Turning Tides | Hidden Fangs | Hernand | No | Kliff | – |
| 6. Cracks in the Shield | Turning Tides | Reclamation | Hernand | No | Kliff | – |
| 6. Cracks in the Shield | The Unyielding Shields | A Thousand Troops | Hernand | No | Kliff | – |
| 6. Cracks in the Shield | The Unyielding Shields | Traitor | Hernand | Yes | Kliff | Shield of Betrayal x1 Unyielding Hero’s Plate Armor |
| 6. Cracks in the Shield | The Unyielding Shields | All Quiet on the Front | Hernand | No | Kliff | – |
| 6. Cracks in the Shield | The Unyielding Shields | News of Victory | Hernand | Yes | Kliff | Arms x500 Camp Copper: 5000 Silver: 50 Hernand Refinement Token x1 |
| 6. Cracks in the Shield | The Unyielding Shields | Return Home | Pailune | No | Kliff | – |
| 7. Homecoming | Morning Mist | Ashes of Treachery | Pailune | No | Kliff | – |
| 7. Homecoming | Morning Mist | Trust Lost | Pailune | No | Kliff | – |
| 7. Homecoming | Morning Mist | Bared Fang | Pailune | No | Kliff | – |
| 7. Homecoming | Morning Mist | Rekindled Hope | Pailune | No | Kliff | – |
| 7. Homecoming | Morning Mist | Podium of Resolve | Pailune | No | Kliff | – |
| 7. Homecoming | Dawn | Shadows Over Pailune | Pailune | Yes | Kliff | jackal’s Leather Helm x1 Jackal’s Leather Armor x1 Jackal’s Cloth Cloak x1 |
| 7. Homecoming | Dawn | Driving out the Shadows | Pailune | No | Kliff | – |
| 7. Homecoming | Dawn | Lurking Wolves | Pailune | No | Kliff | – |
| 7. Homecoming | Dawn | Reclamation | Pailune | No | Kliff | – |
| 7. Homecoming | Dawn | Lonely Jackals | Pailune | Yes | Kliff | Hungering Fang Leather Cloak x1 Hungering Fang leather Boots x1 |
| 7. Homecoming | Dawn | Resolution | Pailune | No | Kliff | – |
| 7. Homecoming | Decisive Battle | The Counterattack | Pailune | No | Kliff | – |
| 7. Homecoming | Decisive Battle | Unleashed Fury | Pailune | No | Kliff | – |
| 7. Homecoming | Decisive Battle | The Final Bridge | Pailune | No | Kliff | – |
| 7. Homecoming | Decisive Battle | Broken Claws | Pailune | No | Kliff | – |
| 7. Homecoming | Decisive Battle | Battle at Silver Wolf Mountain | Pailune | Melted Ambition x1 |
||
| 7. Homecoming | Decisive Battle | Incomplete Victory | Pailune | No | Kliff | – |
| 7. Homecoming | Twisted Fate | Ludvig’s Whereabouts | Pailune | Yes | Oongka | |
| 7. Homecoming | Twisted Fate | Time to Face Justice | Pailune | Yes | Oongka | Ignir x1 Solas Plate Armor x1 Solas Plate Boots x1 |
| 8. Blood Coronation | Ashen Steps | Healing Pailune | Demeniss | No | Kliff | – |
| 8. Blood Coronation | Ashen Steps | A Bond | Demeniss | No | Kliff | – |
| 8. Blood Coronation | Ashen Steps | Ritual Preparations | Demeniss | No | Kliff | – |
| 8. Blood Coronation | Ashen Steps | Where the Wind Guides You | Demeniss | Yes | Kliff | Golden Vanguard x1 Abyss Artifact x1 Radiant Necklace x1 |
| 8. Blood Coronation | Demeniss Bound | Chasing a Shadow | Demeniss | No | Kliff | – |
| 8. Blood Coronation | Demeniss Bound | Blazing Fire | Demeniss | No | Kliff | – |
| 8. Blood Coronation | Demeniss Bound | Whispering Shadows | Demeniss | No | Kliff | – |
| 8. Blood Coronation | Demeniss Bound | Bloodied Invitation | Demeniss | No | Kliff | – |
| 8. Blood Coronation | Demeniss Bound | Resolve Amidst a Storm | Demeniss | No | Kliff | – |
| 8. Blood Coronation | Demeniss Bound | Preparations for Advance | Demeniss | No | Kliff | – |
| 8. Blood Coronation | Demeniss Bound | Rebel Suppression | Demeniss | No | Kliff | – |
| 8. Blood Coronation | Demeniss Bound | The Cursed Knight | Demeniss | No | Kliff | Shackle of Might x1 Abyss Artifact x1 Demeniss Refinement Token x1 |
| 8. Blood Coronation | Demeniss Bound | The Blood Coronation | Demeniss | No | Kliff | – |
| 8. Blood Coronation | Traitor | Clue | Demeniss | Yes | Damiane | |
| 8. Blood Coronation | Traitor | A Fleeting Dream | Demeniss | Yes | Damiane | Official Knight’s Plate Armor x1 Official Knight’s Leather Boots x1 Official Knight’s Leather Gloves x1 Eclipsed Solas Plate Gloves x1 Spire of Clockwork Key x1 |
| 9. The Sage of the Desert | The Calling | An Unknown Voice | Demeniss | No | Kliff | – |
| 9. The Sage of the Desert | The Calling | Cloister of Enlightenment | Crimson Desert | No | Kliff | – |
| 9. The Sage of the Desert | Shattered Ties | Mark of the Scar | Crimson Desert | No | Kliff | – |
| 9. The Sage of the Desert | Shattered Ties | Shackles of Fate | Crimson Desert | Yes | Kliff | Stardust Necklace x1 |
| 9. The Sage of the Desert | Thinning Blade | Crossing Point | Crimson Desert | No | Kliff | – |
| 9. The Sage of the Desert | Thinning Blade | Unwavering Steps | The Abyss | Yes | Kliff | Witch’s Ring x1 |
| 9. The Sage of the Desert | Six Statues and the Beast | Morning Fog | Delesyia | No | Kliff | – |
| 9. The Sage of the Desert | Six Statues and the Beast | Jijeong Temple in Chaos | Delesyia | No | Kliff | – |
| 9. The Sage of the Desert | Six Statues and the Beast | Path to Enlightenment | Delesyia | No | Kliff | – |
| 9. The Sage of the Desert | Six Statues and the Beast | Path of the Disciple | Delesyia | Yes | Kliff | Abyss Artifact x3 Martial Monk’s Cloth Gloves x1 Martial Monk’s Cloth Boots x1 |
| 9. The Sage of the Desert | Six Statues and the Beast | True Strength | Delesyia | Yes | Kliff | Wooden Mask of Lost Justice x1 Wanderer of Faith Leather Gloves x1 T’rukan’s Fighting Spirit Martial Monk’s Cloth Robe x1 Abyss Artifact x1 |
| 9. The Sage of the Desert | Six Statues and the Beast | Face the Inner Self | Delesyia | No | Kliff | – |
| 9. The Sage of the Desert | Veiled Witch | Fragments of Darkness | Delesyia | No | Kliff | – |
| 9. The Sage of the Desert | Veiled Witch | Pursuit Beyond the Veil | Delesyia | No | Kliff | – |
| 9. The Sage of the Desert | Veiled Witch | Black Witch | Delesyia | Yes | Kliff | Earring of Dark Magic x1 Crow Whisperer x1 |
| 9. The Sage of the Desert | Enlightenment | The Cloister of Enlightenment | Crimson Desert | No | Kliff | – |
| 9. The Sage of the Desert | Enlightenment | The Sage of the Desert | Crimson Desert | No | Kliff | Master Du’s Circlet |
| 9. The Sage of the Desert | Enlightenment | New Perspectives | Crimson Desert | Yes | Kliff | Karmic Pulse x1 |
| 9. The Sage of the Desert | Enlightenment | Lust for Power | Crimson Desert | No | Kliff | – |
| 10. Counterattack | Secret Weapon | Untouchable | Delesyia | No | Kliff | – |
| 10. Counterattack | Secret Weapon | The Gate of War | Delesyia | No | Kliff | – |
| 10. Counterattack | Secret Weapon | Master of the Ironworks | Delesyia | No | Kliff | – |
| 10. Counterattack | Secret Weapon | Hidden Ace | Delesyia | No | Kliff | – |
| 10. Counterattack | Secret Weapon | Clockwork Insect Clash | Delesyia | No | Kliff | – |
| 10. Counterattack | Greater Firepower | Beating Heart | Delesyia | No | Kliff | – |
| 10. Counterattack | Greater Firepower | Invaders from the East | Delesyia | No | Kliff | – |
| 10. Counterattack | Greater Firepower | Frozen Hearted Predator | Delesyia | No | Kliff | – |
| 10. Counterattack | Greater Firepower | Lingering Shadow | Delesyia | Yes | Kliff | Camp Supplies Abyss Artifact x1 Leofric Musket x1 |
| 11. Truth and Reality | Brave New World | The City of Steel | Delesyia | No | Kliff | – |
| 11. Truth and Reality | Brave New World | Crossroads | Delesyia | No | Kliff | – |
| 11. Truth and Reality | Brave New World | Strange Manor | Delesyia | No | Kliff | – |
| 11. Truth and Reality | Brave New World | Fortress Keys | Delesyia | No | Kliff | – |
| 11. Truth and Reality | Brave New World | Truth and Lies | Delesyia | No | Kliff | – |
| 11. Truth and Reality | Foreboding Shadow | Master of a Forgotten Land | Delesyia | Yes | Kliff | Golden Star Power Core x1 Golden Fire x1 Blueprint II: Abyssal Fusion x1 Blackstar (Dragon Mount) |
| 11. Truth and Reality | Foreboding Shadow | Whispers in the Wind | Delesyia | No | Kliff | – |
| 11. Truth and Reality | Foreboding Shadow | Flying Fortress Orbian | Delesyia | No | Kliff | – |
| 12. The Abyss | The Final Battle | Precise Execution | Crimson Desert | No | Kliff | – |
| 12. The Abyss | The Final Battle | Deferred Advance | Crimson Desert | No | Kliff | – |
| 12. The Abyss | The Final Battle | Departure of the Brave | Crimson Desert | No | Kliff | – |
| 12. The Abyss | The Final Battle | Forbidden Gate | Crimson Deert | No | Kliff | – |
| 12. The Abyss | The Void | A Shadow in the Void | The Abyss | Yes | Kliff | Twisted Verdict x1 |
| 12. The Abyss | The Void | Blinding Darkness | The Abyss | Yes | Kliff | Axe of the Apocalypse x1 |
| 13. Epilogue. Journey’s End | Journey’s End | A New Beginning | Pailune | No | Kliff | – |
| 13. Epilogue. Journey’s End | Journey’s End | Peace in Hernand | Hernand | No | Kliff | – |
| 13. Epilogue. Journey’s End | Journey’s End | The Unyielding Shields | Hernand | No | Kliff | – |
| 13. Epilogue. Journey’s End | Journey’s End | The Heart of Pywel | Demeniss | No | Kliff | Dark Executioner Leather Armor |
| 13. Epilogue. Journey’s End | Journey’s End | The Enduring Flame | Delesyia | No | Kliff | – |
| 13. Epilogue. Journey’s End | Journey’s End | Evolving City | Delesyia | No | Kliff | – |
| 13. Epilogue. Journey’s End | Journey’s End | The Desert•s Edge | Crimson Desert | No | Kliff | – |
| 13. Epilogue. Journey’s End | Journey’s End | New Horizons | Crimson Desert | No | Kliff | – |
Prologue – Dead of Night
Ambush
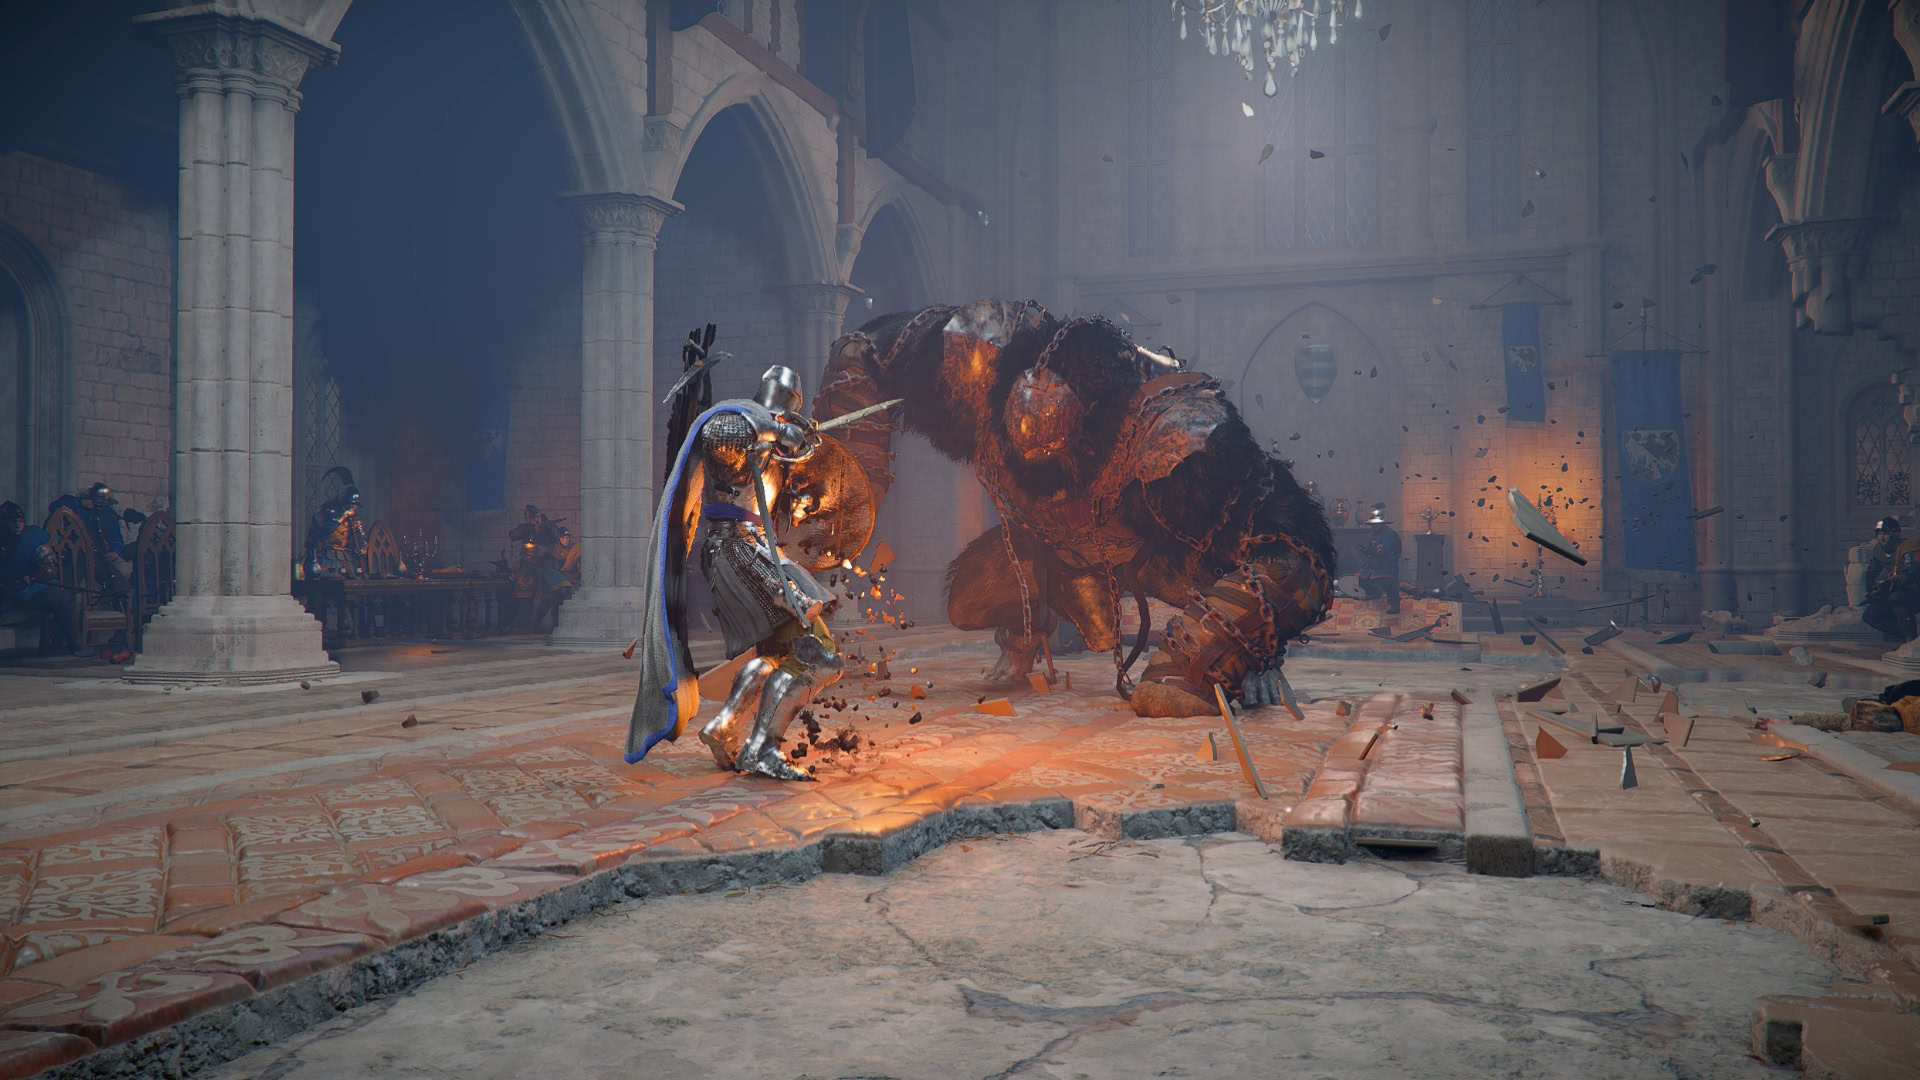
This introduces us to Kliff and the Greymanes. The leader of the Greymanes has been killed, and now, the Blackbears arrive at the Greymanes camp to eliminate all the remaining members. This serves as the first tutorial for things like combat and interacting with your environment.
Timing your Blocks in combat will instead parry the blow, leaving the enemy vulnerable for a short time.
Unknown Space
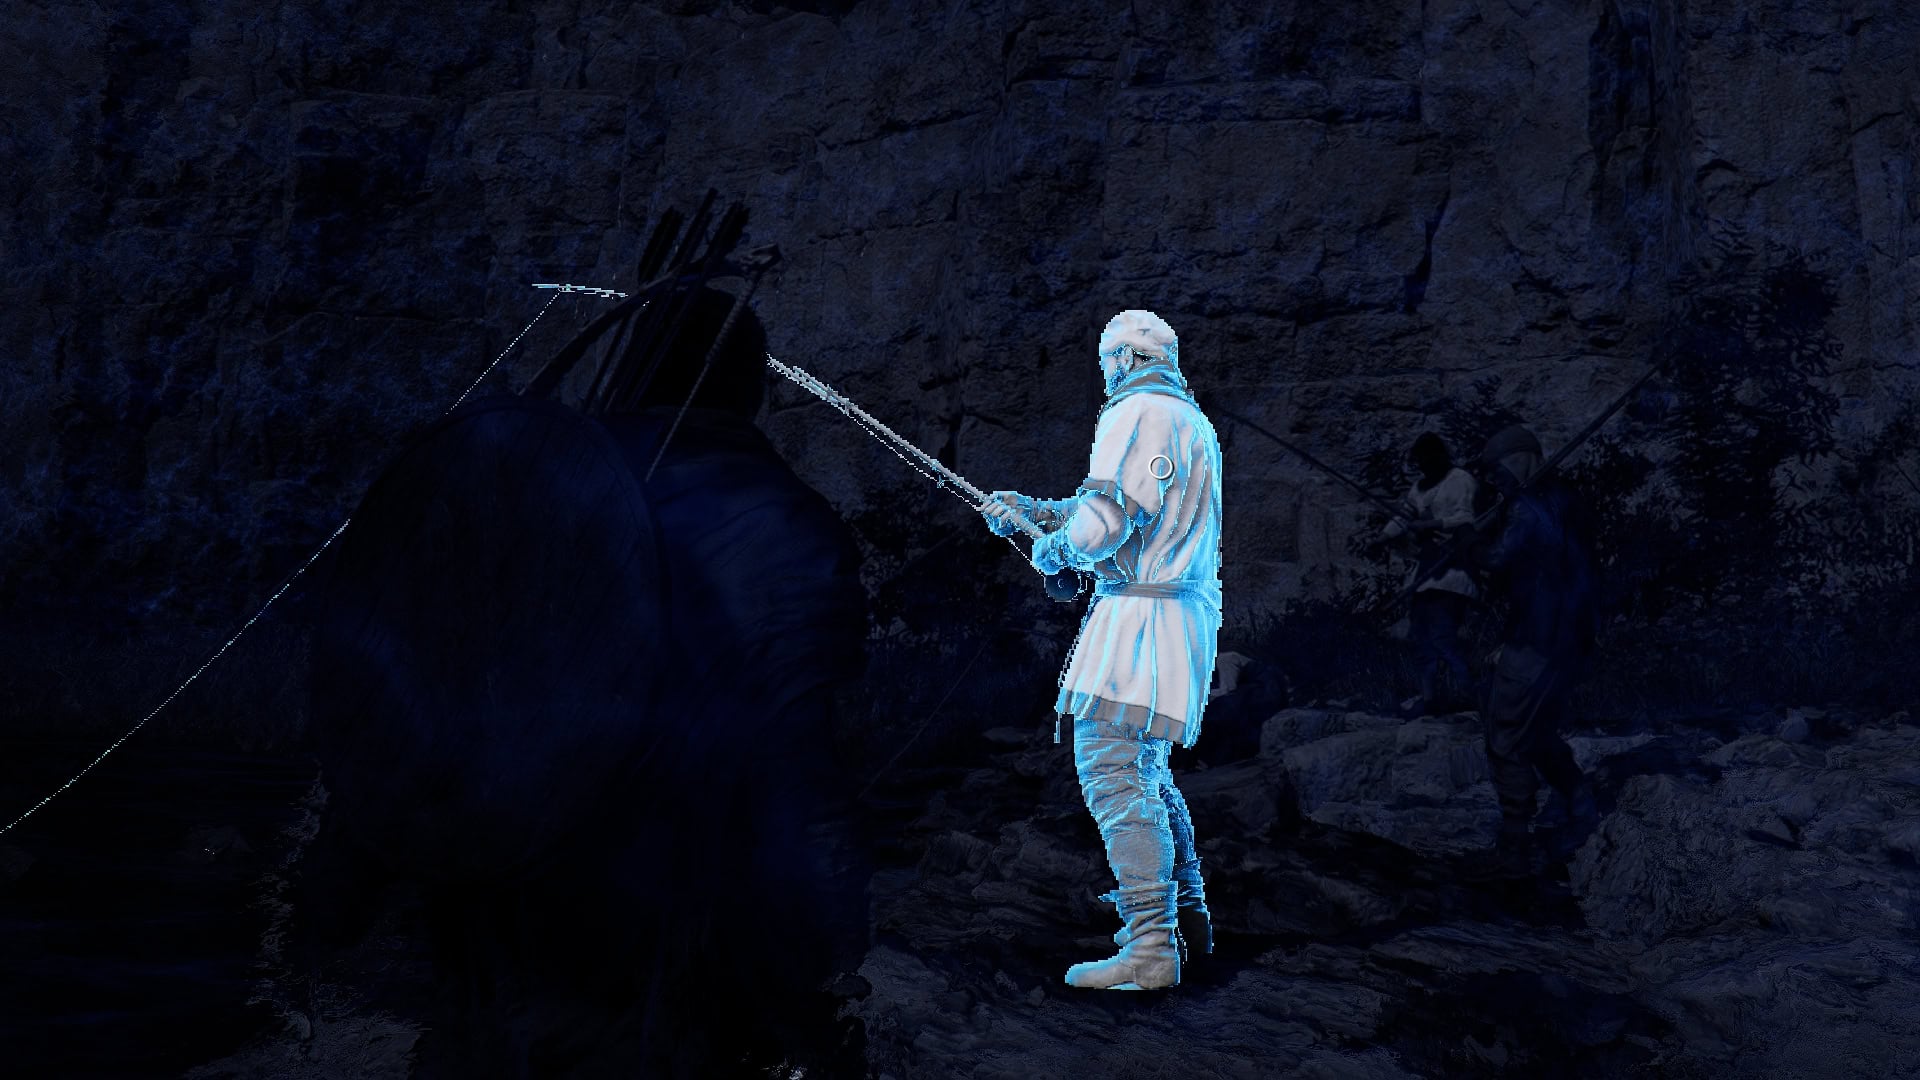
In an attempt to be done with you, Myurdin will slit your throat and cast your body into the river. You’ll end up in a strange realm, which serves as a Movement tutorial and introduction to the Blinding Flash Skill.
After what feels like a dream, you wake up next to Sebastian, a good man who pulled you out of the river. After the two deal with some bandits, you and Sebastian head to the Hernand Tavern to gather information.
You can observe the Fishing Skill before leaving this initial Location. There’s even a Fishing Rod you can pick up, just off to the right side of the trail ahead. This is just one of many Skills that you can learn through observation.
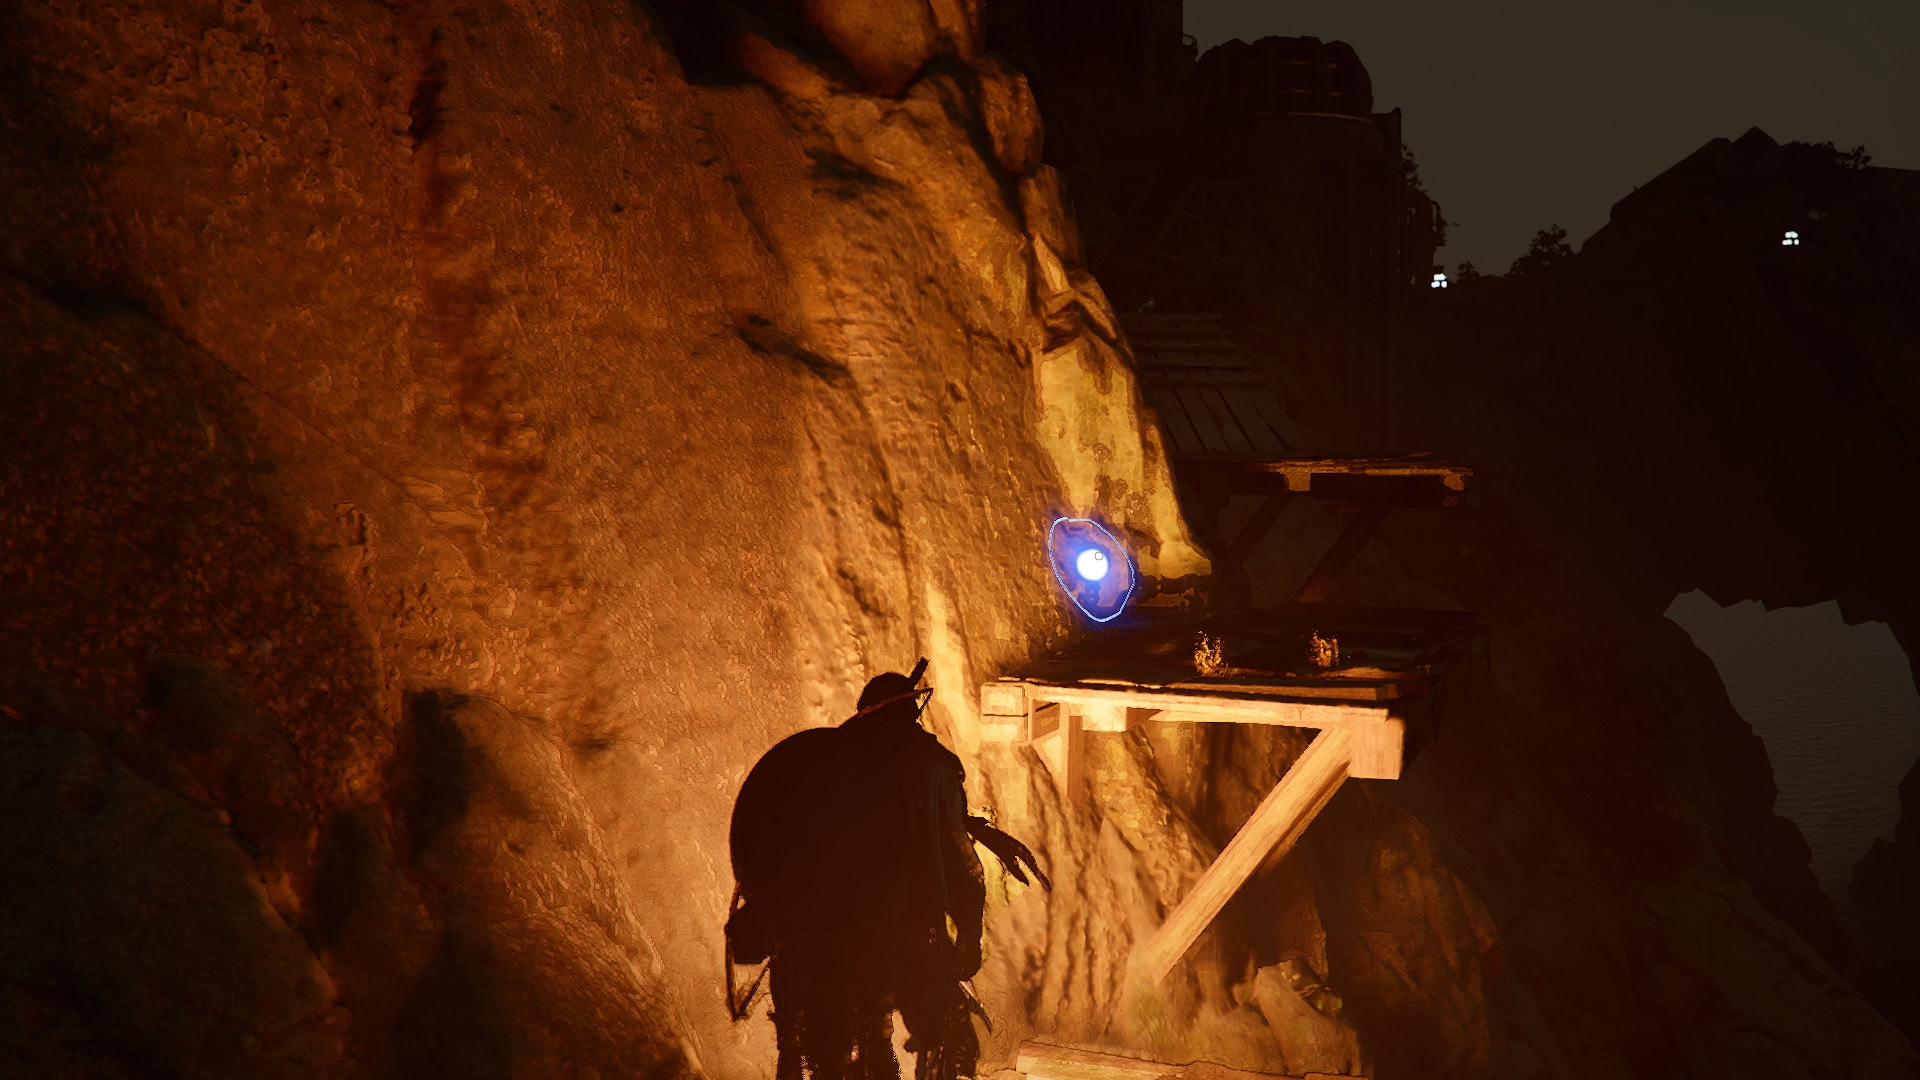
Don’t Miss These Crucial Upgrades: Along the path to the Tavern, keep your eyes peeled, and Lantern held high to pick up two very early Sealed Abyss Artifacts, granting Abyss Artifacts (Skill Points) upon completion! There are plenty of these Sealed Abyss Artifacts scattered across Hernand and beyond to collect.
Chapter I – The First Encounter
Trials of Kindness
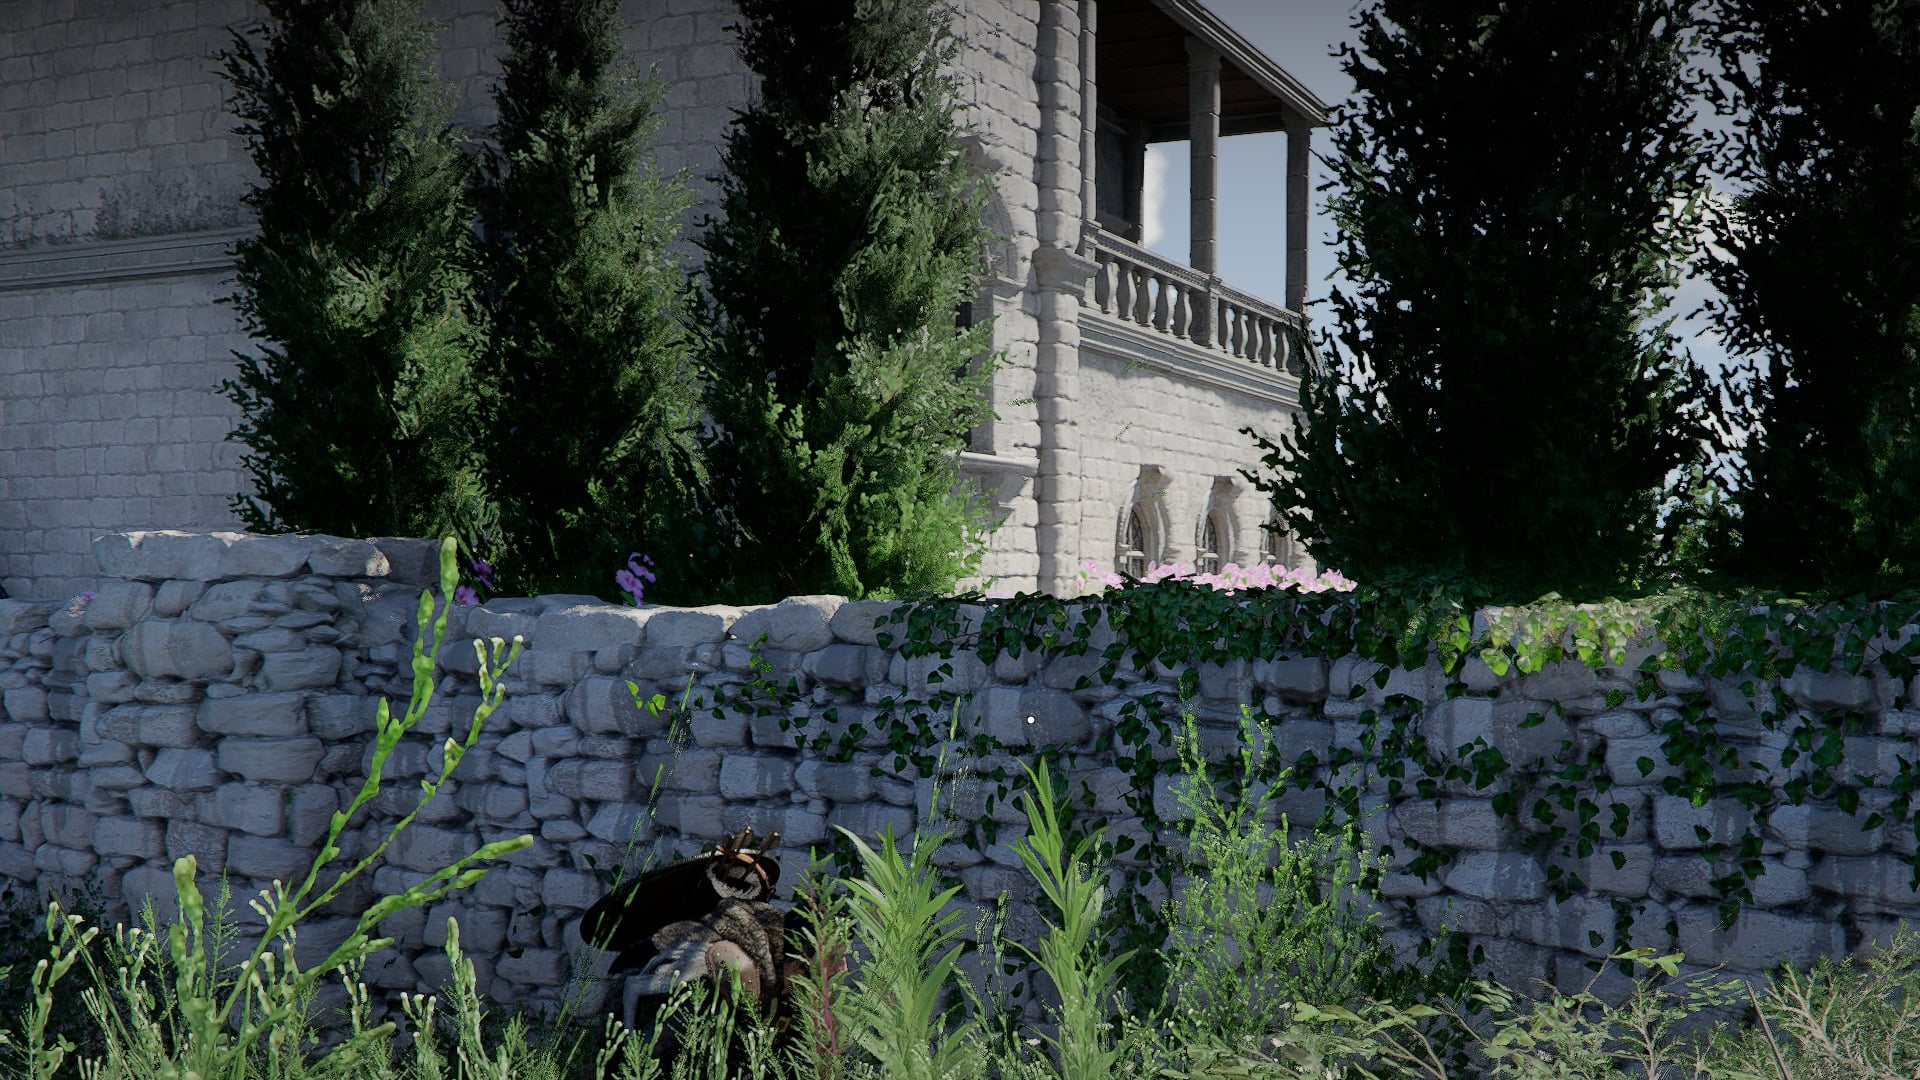
The Trials of Kindness questline requires you to help out five groups of individuals in and around Hernand. A Beggar, a noble woman, a kid, and two villagers. Each one grants a unique reward: a wooden key, a letter, a pendant, and some Hernandian Attire, respectively. These all play a part in progressing the next Quest Chain.
Unlock the Abyss Nexus North of Hernand’s main town to make it easier to return as needed.
Traces
Now, the puzzle pieces of the assorted rewards will come together, starting with the Wooden key, which promptly turns into a Mystical Key. Kliff needs to take this to a room on the second floor of Hernand Castle, accessible with the attire you were given.
By observing the Sparring Guards in the Hernand Castle Courtyard, you can learn the Counter Skill. Saving the Abyss Artifacts that would otherwise be needed to learn it.
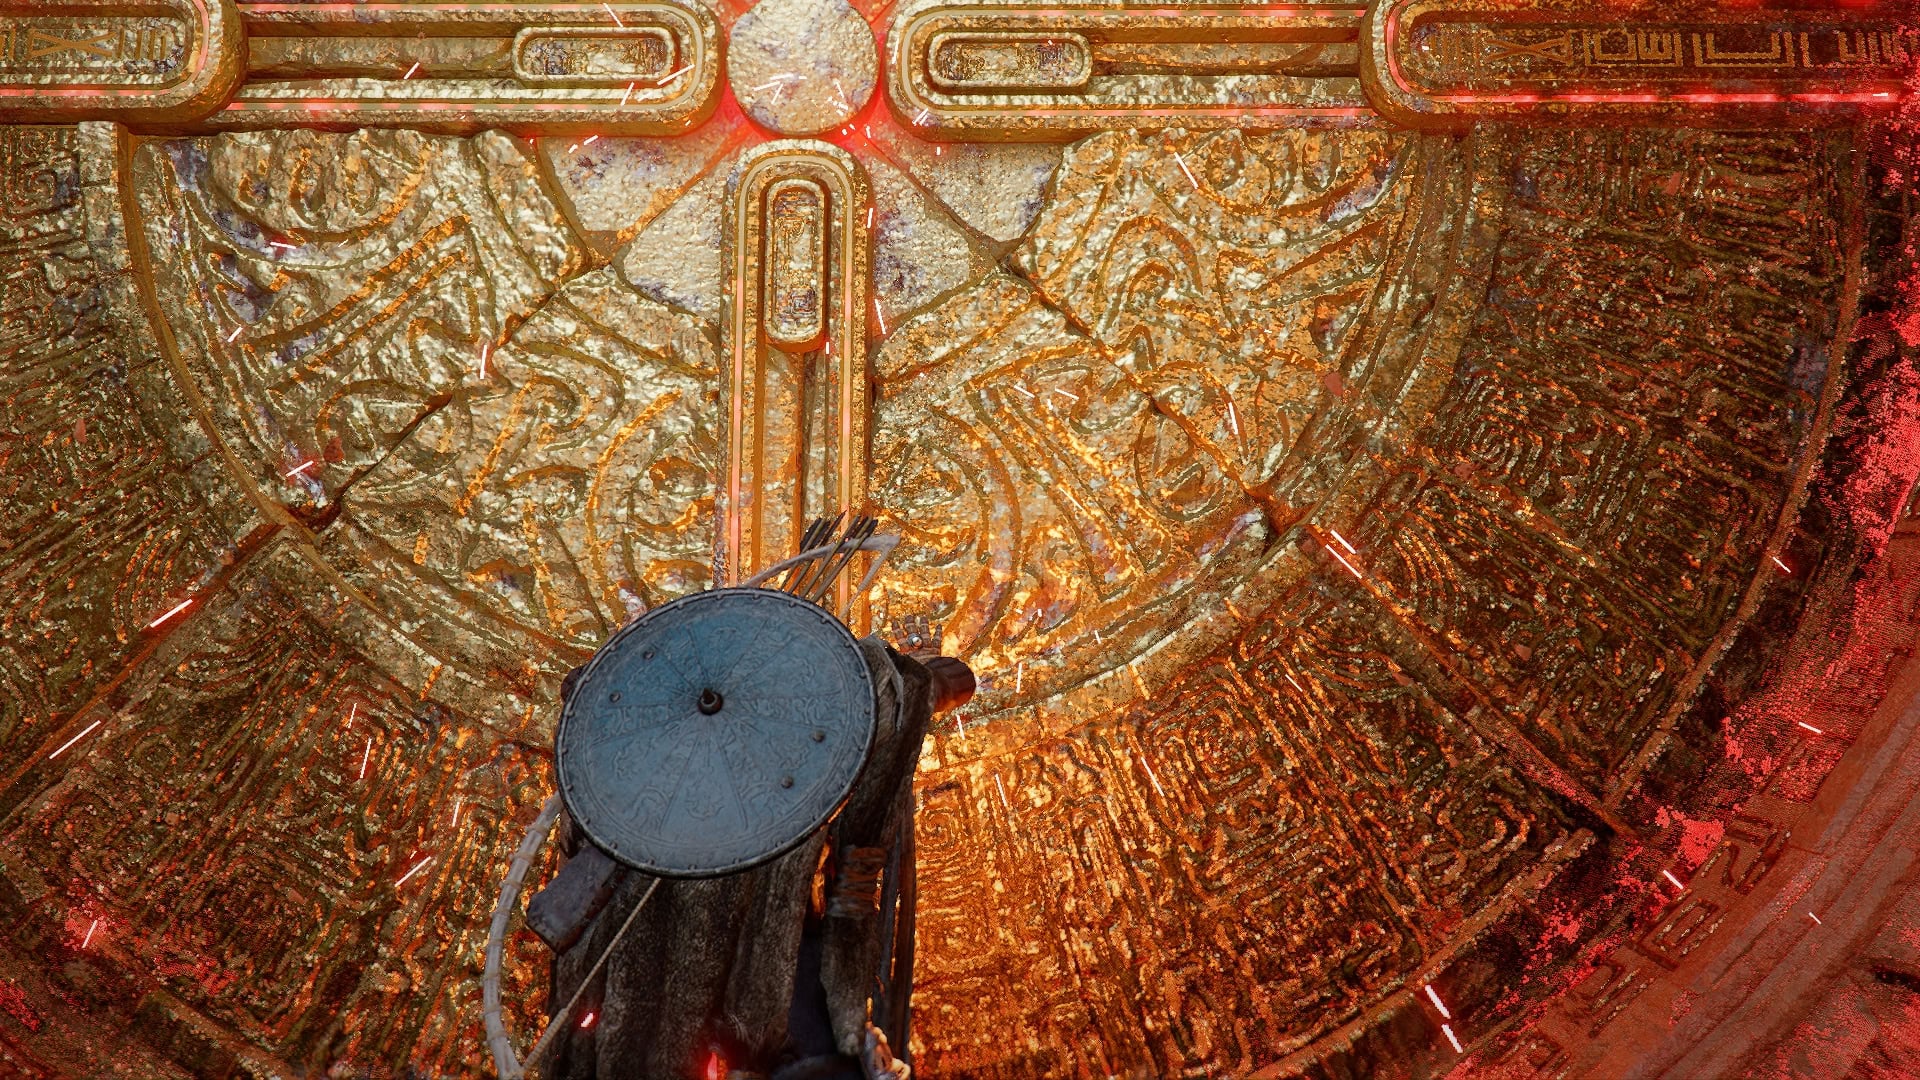
The next steps involve getting into the Axiom Archive and completing the Abyss Without Balance Puzzle, where the Letter comes into play. By the end of this section, you will have unlocked the Axiom Force, Force Palm, and Glide Skills.
Almost every Abyss Puzzle has a hidden chest, sometimes multiple. Keep a sharp eye out while clearing them going forward to collect lots of Abyss Gear and Materials.
Chapter II – Golden Greed
Unexpected Gift
The Unexpected Gift Questline starts with Shai’s Pendant, leading us to Lioncrest Watchtower. After dealing with some bandits and burning down some vines, Kliff ascends the trap-filled tower to claim the Visione, granting Kliff the ability to find and view memory Fragments.
Memory Fragments are collectible lore bits you can find and activate with either your Lantern or the Blinding Flash Skill.
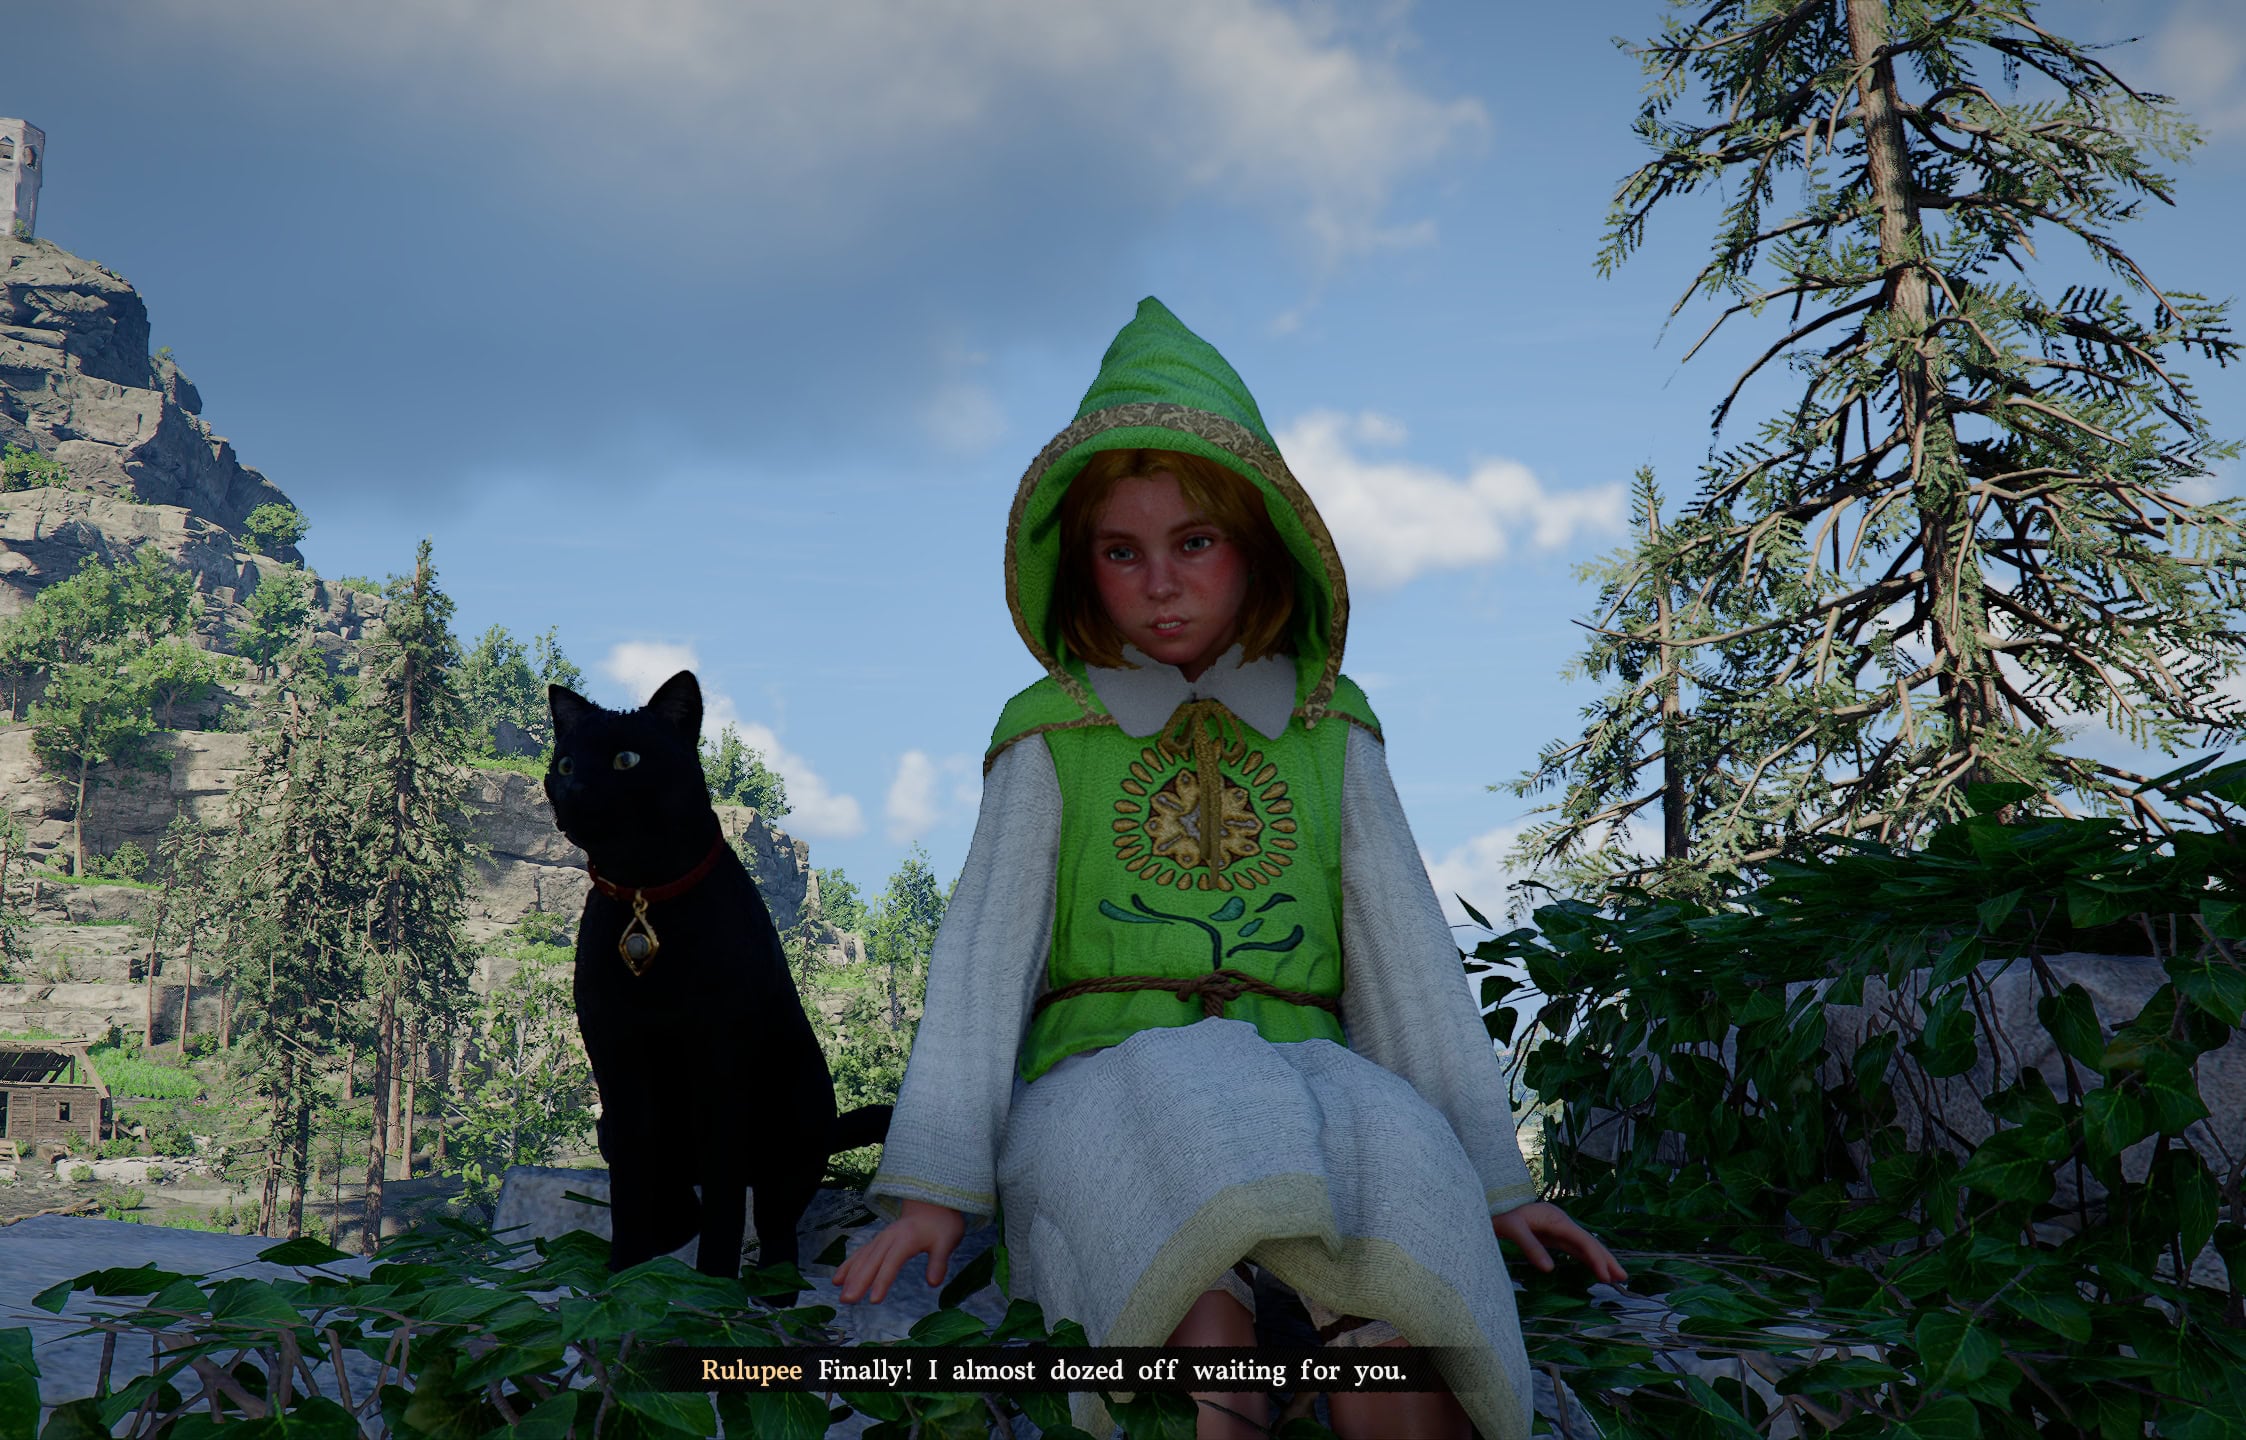
After descending, the Shai, Rulupee, or more accurately, their cat Jiji, guides you to some nearby ruins where you learn the Nature’s Grasp and Focus Skills.
You’ll also be given an Abyss Artifact as well to help power up before speaking with a second Shai returning to Hernand
Hernand in Chaos
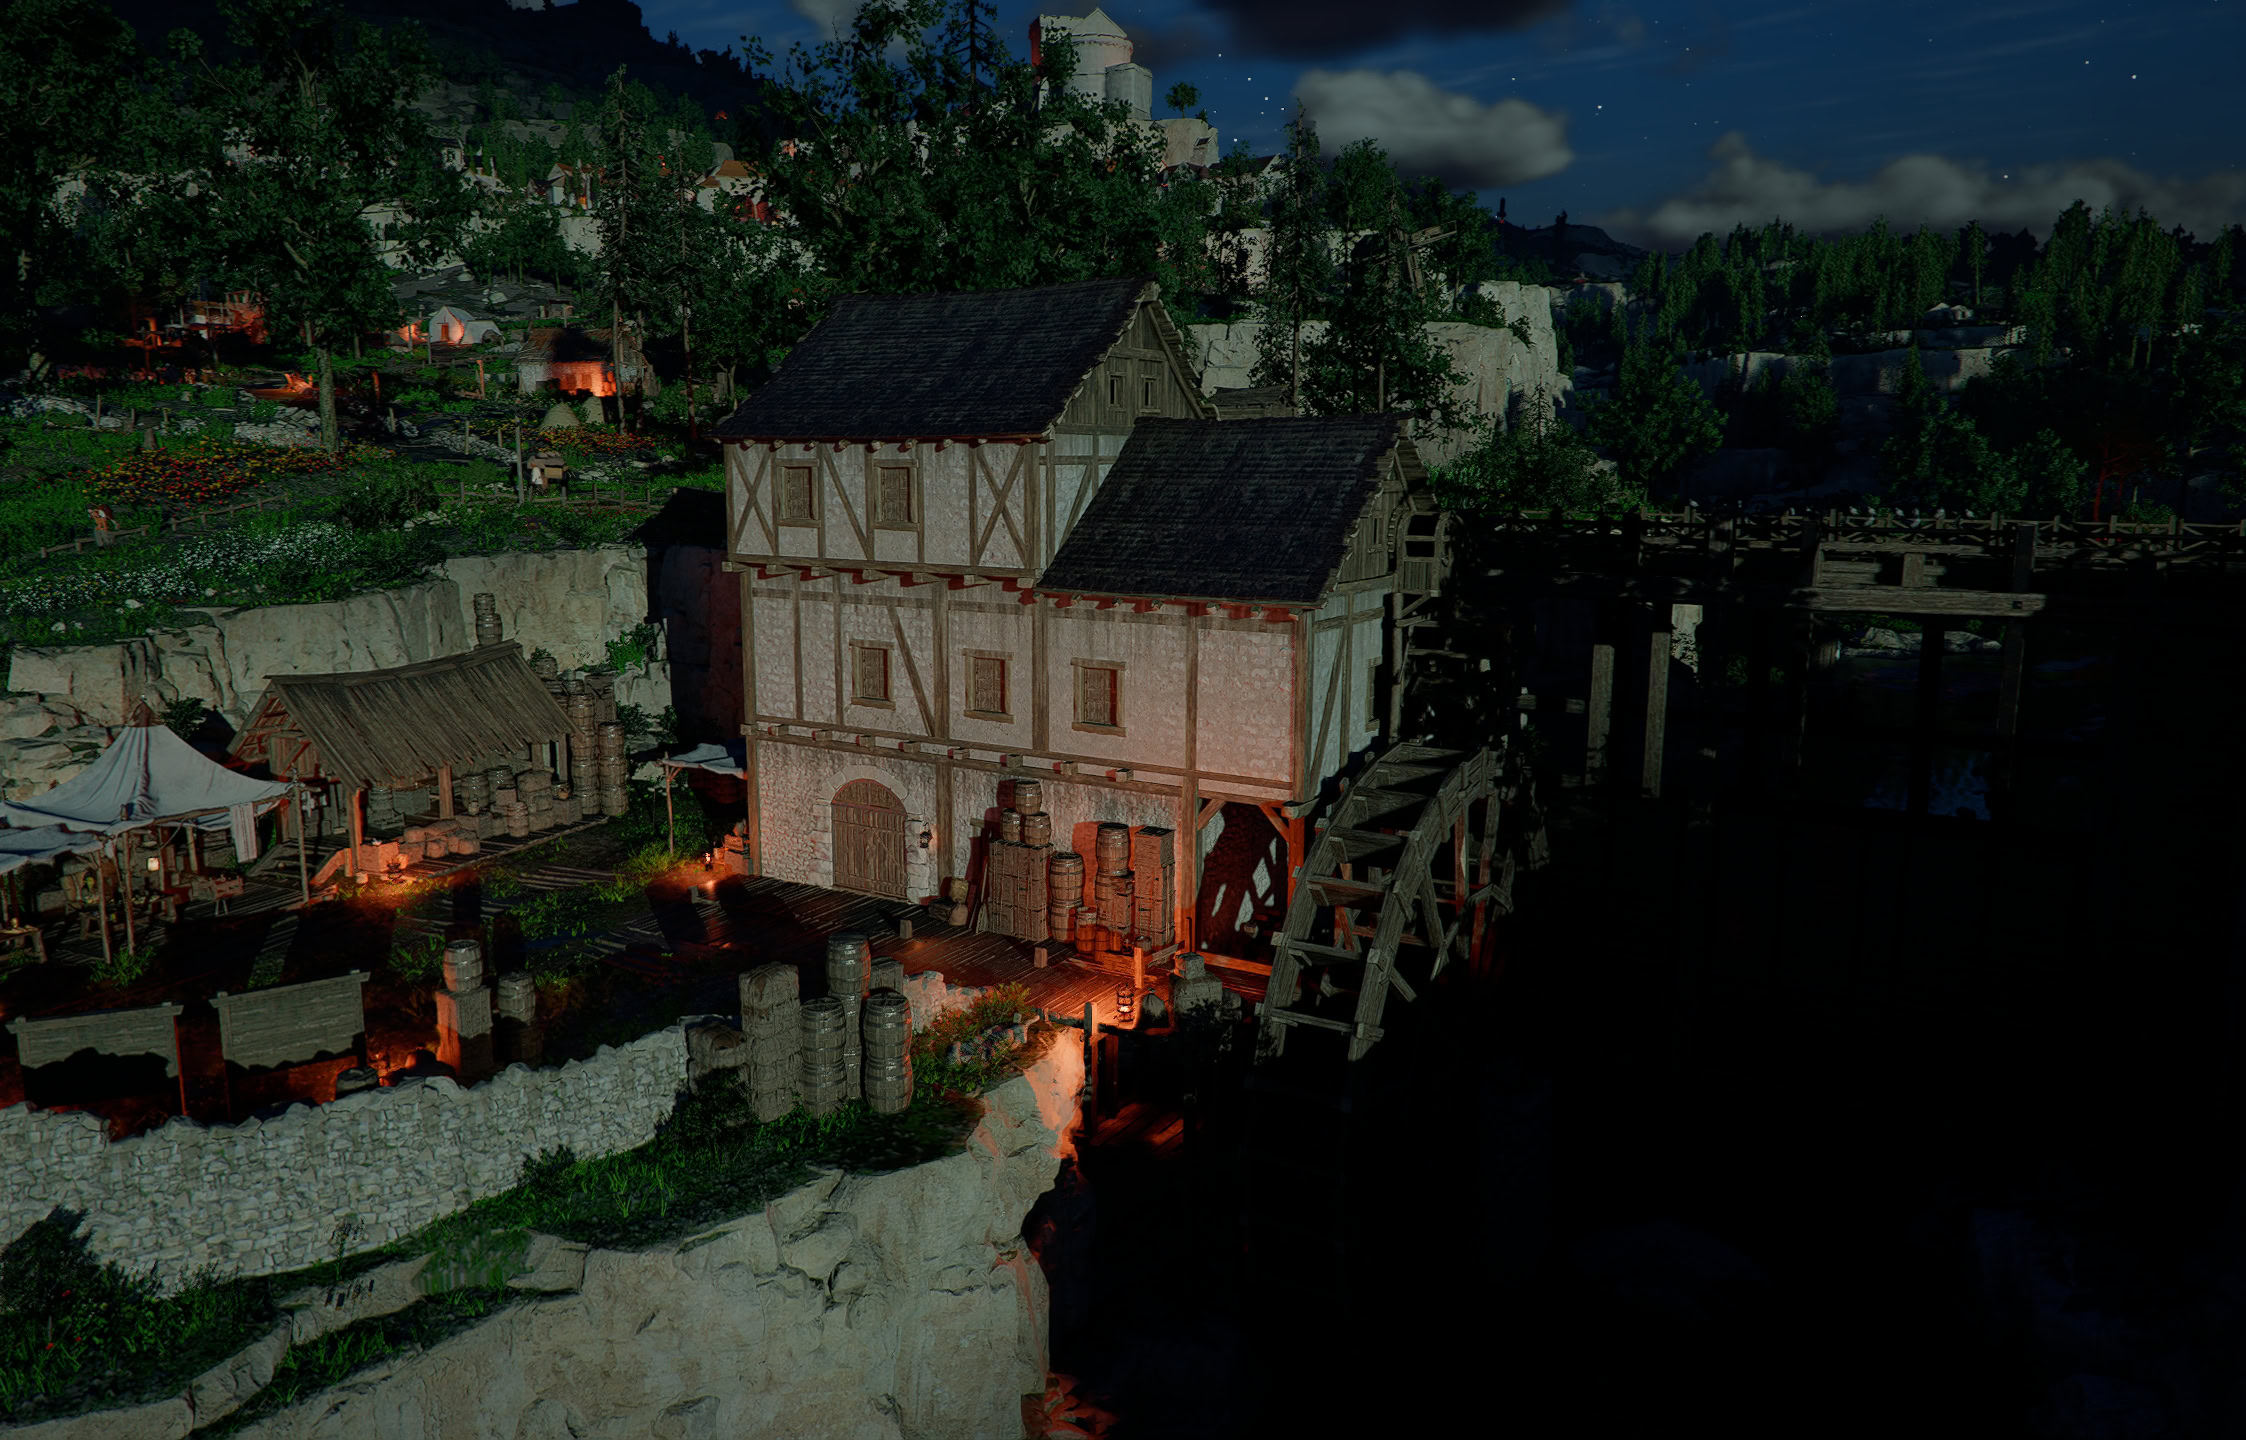
After returning to Hernand, you’ll run into Matthias near the main square, who is looking to test the strength of a Greymane; so naturally, you fight him one-on-one. This brawl catches the attention of Barden Middler, the Marshal of Hernand, who requests you to clear Springtide Mill of Bandits.
Spingtide Mill is your first introduction to Liberating Areas and Regions. While it’s only a simple single area liberation with no requirements, there are more involved ones available later on.
After clearing the mill of bandits, you will be directed towards the Notice Board full of different notices, four in total.
Through completing these simple requests and using the Visione, you learn that bandits have been causing trouble all over, stealing and harming livestock at the behest of the Goldleaf Merchant Guild, or more precisely, their tyrannical leader, Kailok, in search of “skystones”.
The End of Greed
You’ll set out toward a nearby Goldleaf Merchant Camp to try and figure out what’s going on, where you meet Shakatu, who asks you to meet him outside the camp to discuss the state of the Goldleaves.
Upon leaving, you’ll overhear of a healer in a nearby village being threatened, so you’ll offer to help them. Upon arrival, you find the house set ablaze with someone trapped inside. After rescuing the man, you are told that the healer was taken by the bandits, and you set off to rescue him.

After locating and rescuing from the Goldleaves, you’ll be pointed to the location Shakatu mentioned previously. After a brawl with some Goldleaves hotheads, Shakatu will explain the situation and ask you to remove Kailok, the Hornsplitter, from power.
After preparing, head into the main camp to take on Kailok, the Hornsplitter. After you defeat him in battle, the Goldleaves rejoice in being freed from this tyrant.
Shakatu becomes the new leader of the Goldleaves, with the goal of setting their stained reputation right. He offers Kliff a deal to be his primary trade company, which Kliff reluctantly accepts to receive information on the whereabouts of a surviving Greymane.
The Sword of the Lord, earned by defeating Hornsplitter, comes with Abyss Gears that make it an incredibly potent weapon for a long time.
Chapter III – Howling Hill
Homestead
With the information provided by Shakatu, you return to Hernand, where you will seek out the Greymane mentioned and spot Marius in the back alley. After speaking with him and telling him the Marquis plans to reward you for defeating Hornsplitter, Kliff and Marius part ways for a time.
After speaking to Marquis Serkis, you are permitted to set up camp in Howling Hill. In fact, Barden has already set out to help establish the camp ahead of you. One of the Marquis’ soldiers will await you outside and guide Kliff to his new camp.
After reaching the Camp and speaking with Barden, you’ll complete a handful of tasks to clean up, set up, and organize the small camp you have. Afterwards, Kliff will cook a meal to share with everyone who helped with the camp.
After this point, Damiane will be playable, with her own selection of Weapons and Skills she can use, as well as Quests just for her. She can also be summoned to fight alongside you and help with combat, provided you summon her ahead of time.
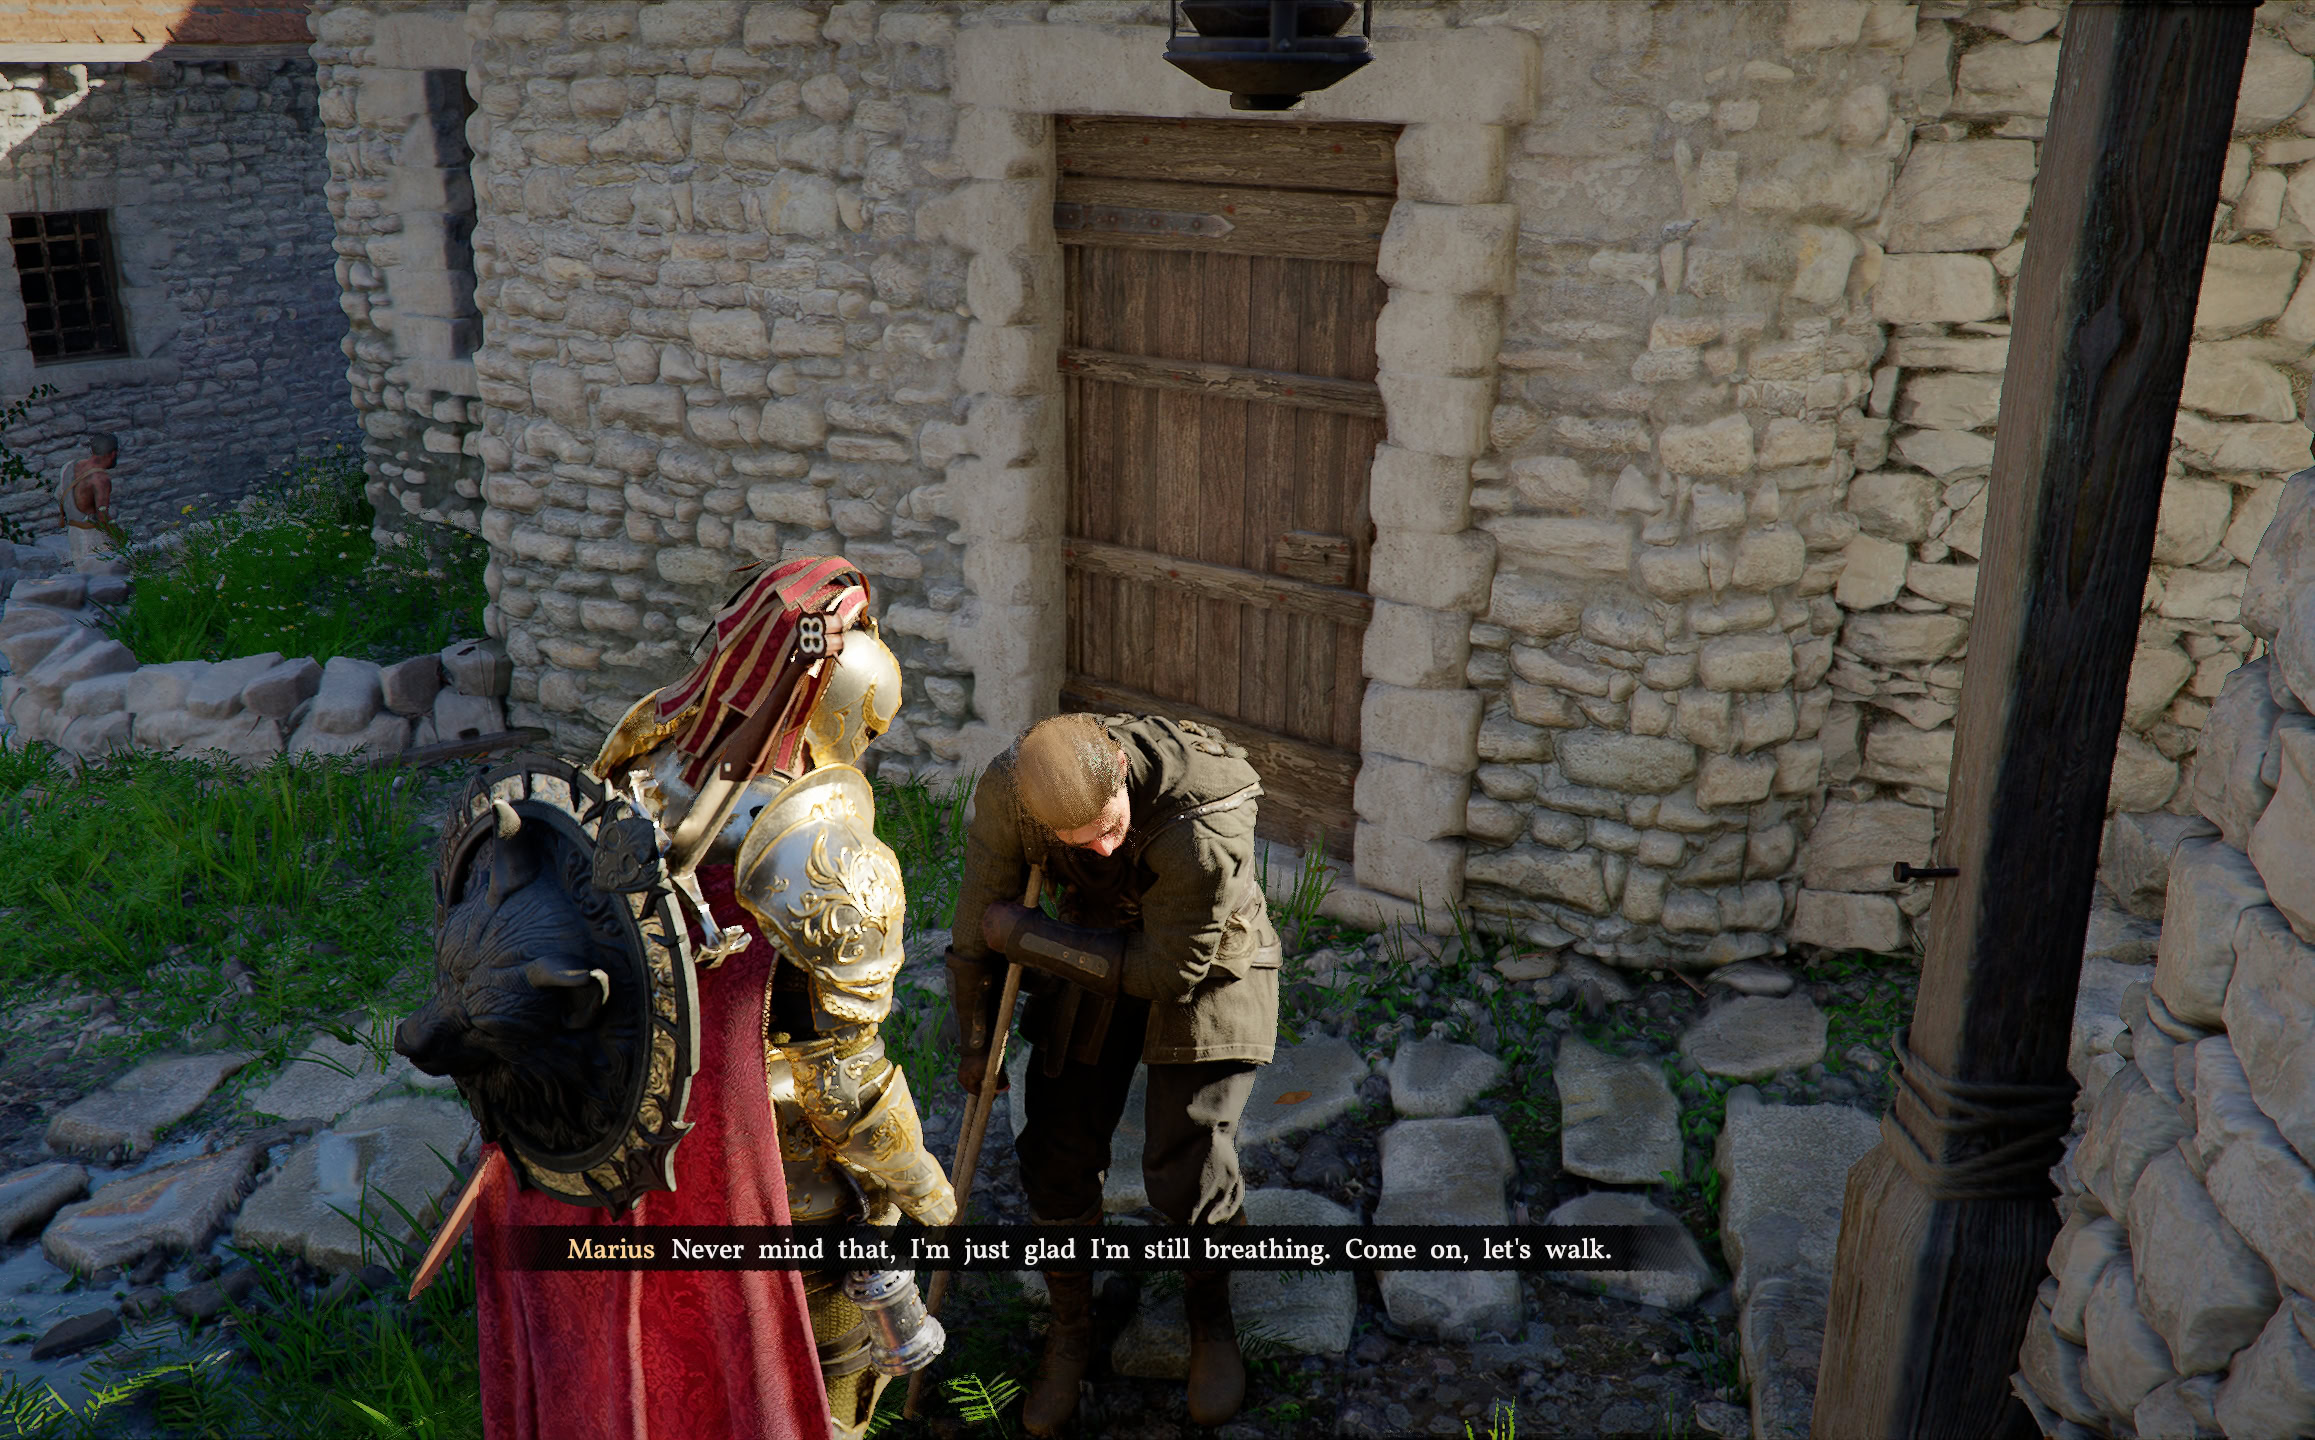
The following day, you’ll head to the Scrapfold, a camp primarily occupied by beggars, to find Marius. With the camp established, you’ll take Marius with you back to Howling Hill, with Marius explaining that he hangs out near the Scrapfold as a means of gathering information.
Upon your return to camp, you and Marius are greeted by Ross, another surviving Greymane who found his own way to the camp. Ross imparts the knowledge that there have been whispers of a Greymane that was taken to Halssius’ House of Healing.
You’ll immediately set off to investigate this rumor and, upon reaching the house of healing, learn that there has been a lot of suspicious activity going on. You’ll meet a woman who worries about her son, who was admitted there recently, but can’t check on him as she’s not being permitted to enter.
You should sneak into Halssius’ House of Healing without a disguise, saving an otherwise costly 10 silver for the early game. If Stealth isn’t your thing, buy the priest robes from the shady guard, or head back to Hernand and purchase a pass to get in at the church.
While checking the area out, as you get near the large church-like building, you’ll hear screaming. Following the screaming, you’ll see that this house of healing is anything but, being lined with cages. On the upper floor, investigate the commotion, and you’ll discover that the rumor was true and another Greymane, Yann, is being held here.
After a brief reunion, you and Yann escape the House of Healing, while Yann fills you in on what’s been happening inside. You’ll be told that a helmet, which looks similar to the Visione, is being made in Delesyia and turns the person wearing it into a brainwashed husk. Once outside, you’ll escape on a cart with Yann, before parting ways, with Yann not wanting to head to Howling Hill just yet.
The Face Behind the Mask
Return to Howling Hill and speak with Marius, who has been trying to contact a pair of Geymanes dispatched to Glenbright Manor. To ease Marius’ growing worry, you’ll set out to check up on your fellow Greymanes.
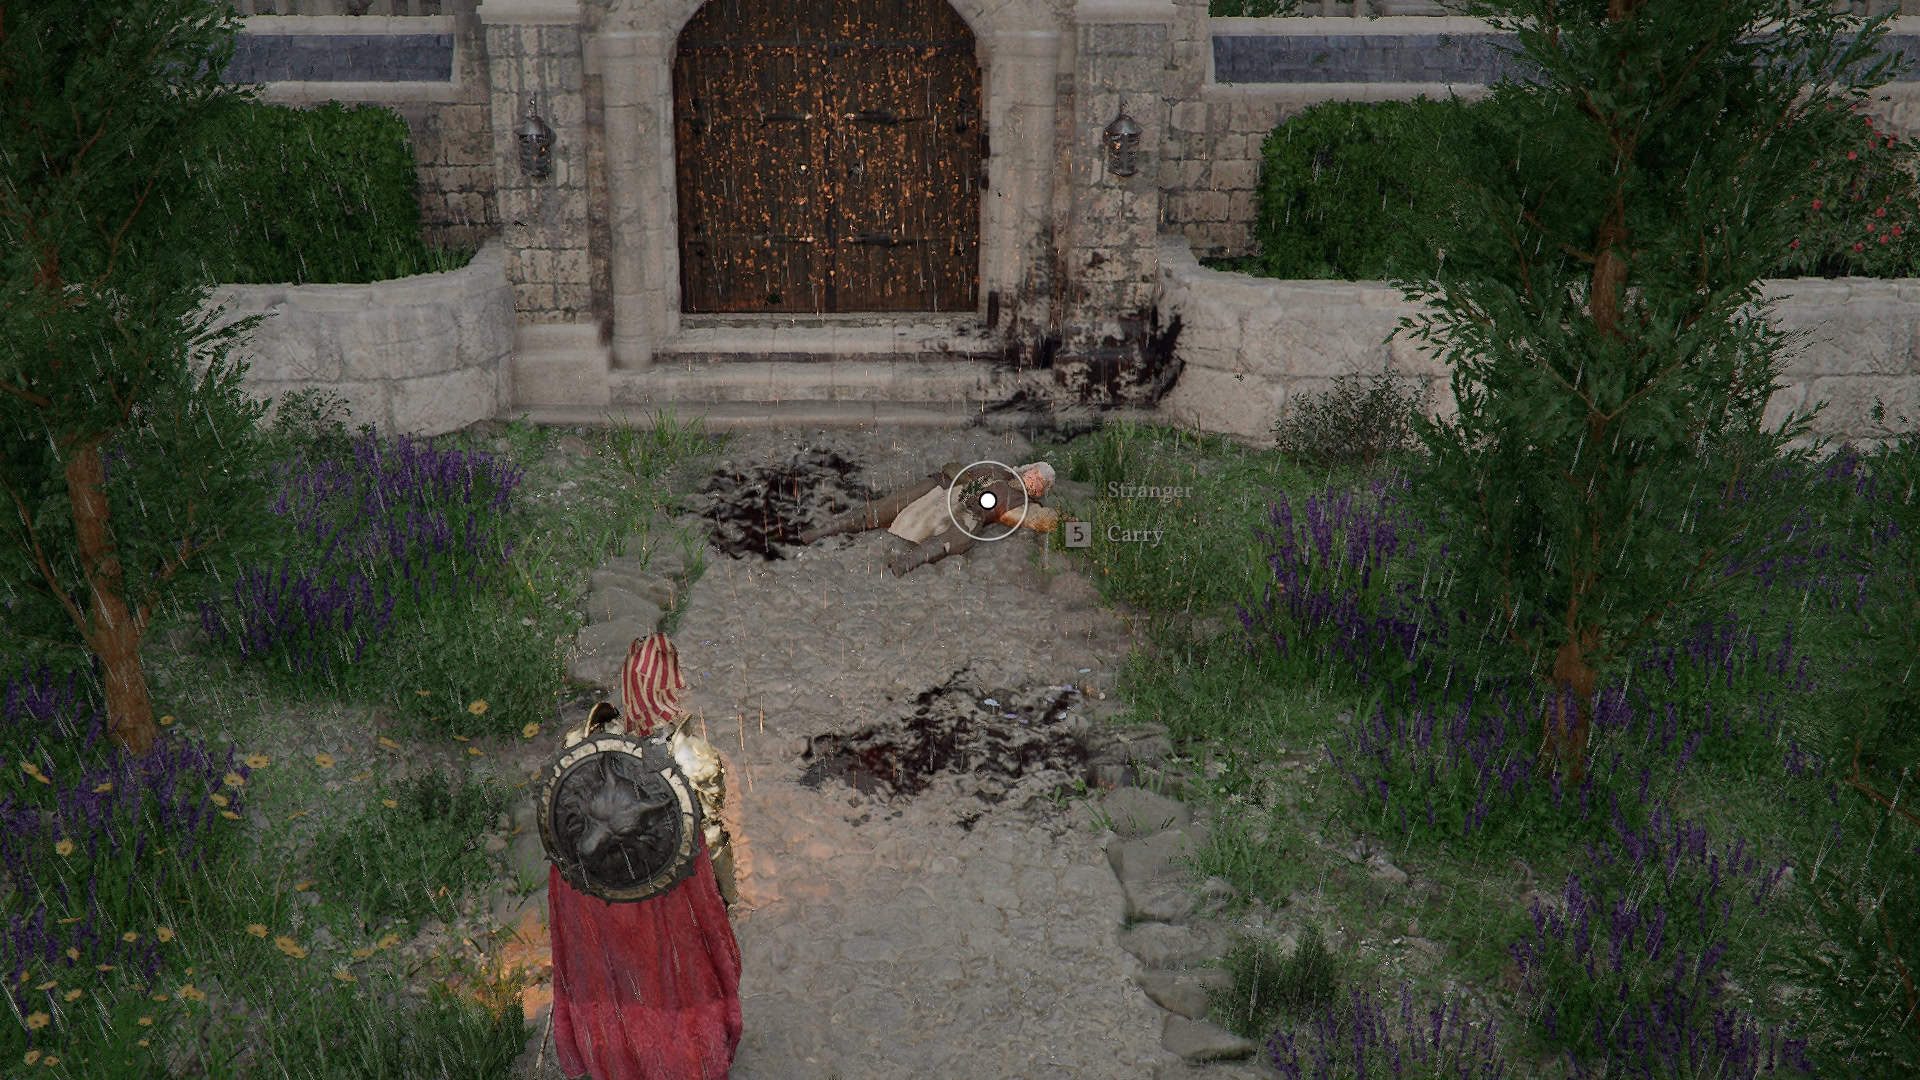
Upon arriving at Glenbright Manor, you’ll find that Marius’ worries may have been justified, as it appears every person in the manor has been slain. After surviving an ambush and investigating the manor, you’ll find a servant barely alive, who informs you that Count Grace and your fellow Greymane have escaped.
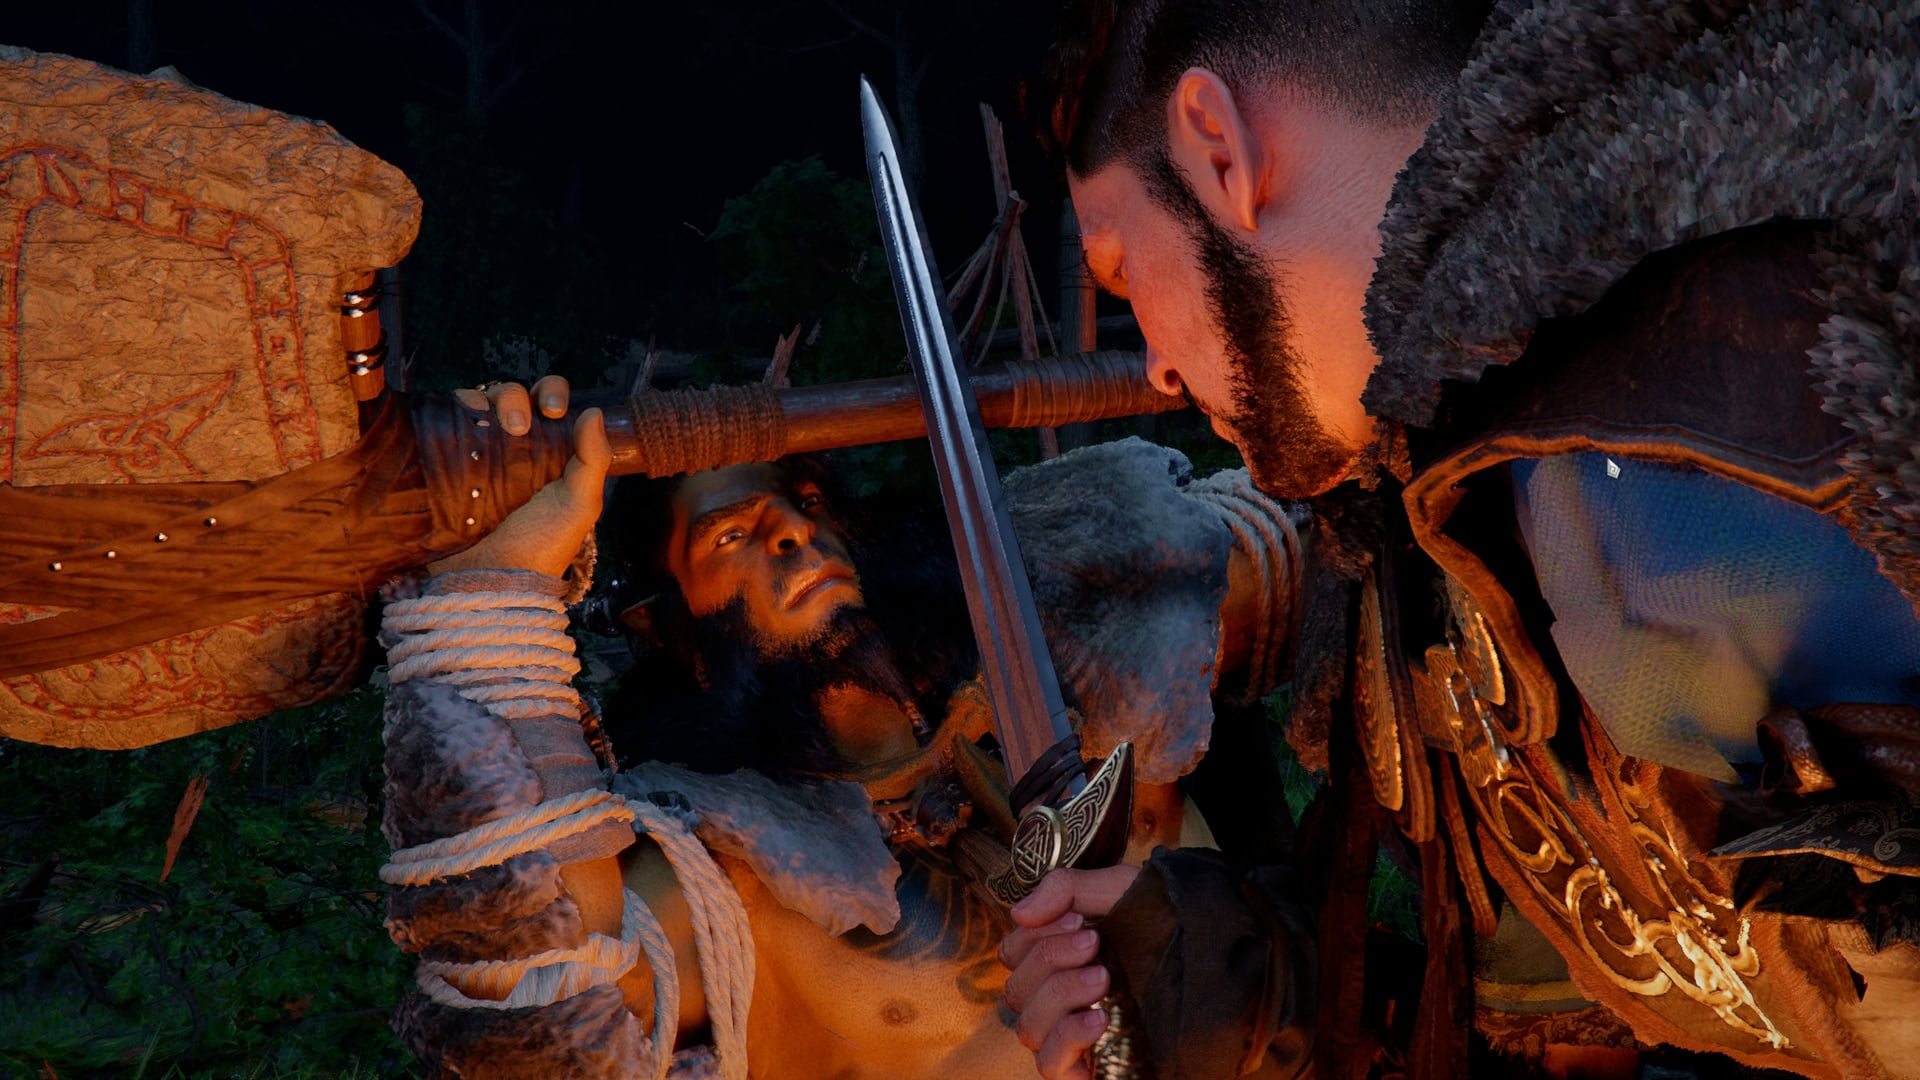
You can trace their trail with his Lantern, allowing you to meet up with the Count and his fellow Greymanes, after surviving multiple ambushes in the process. Before you arrive, the Reed Devil appears at their hiding location and slays the Count, injuring one of the Greymanes, Andrew, in the process.
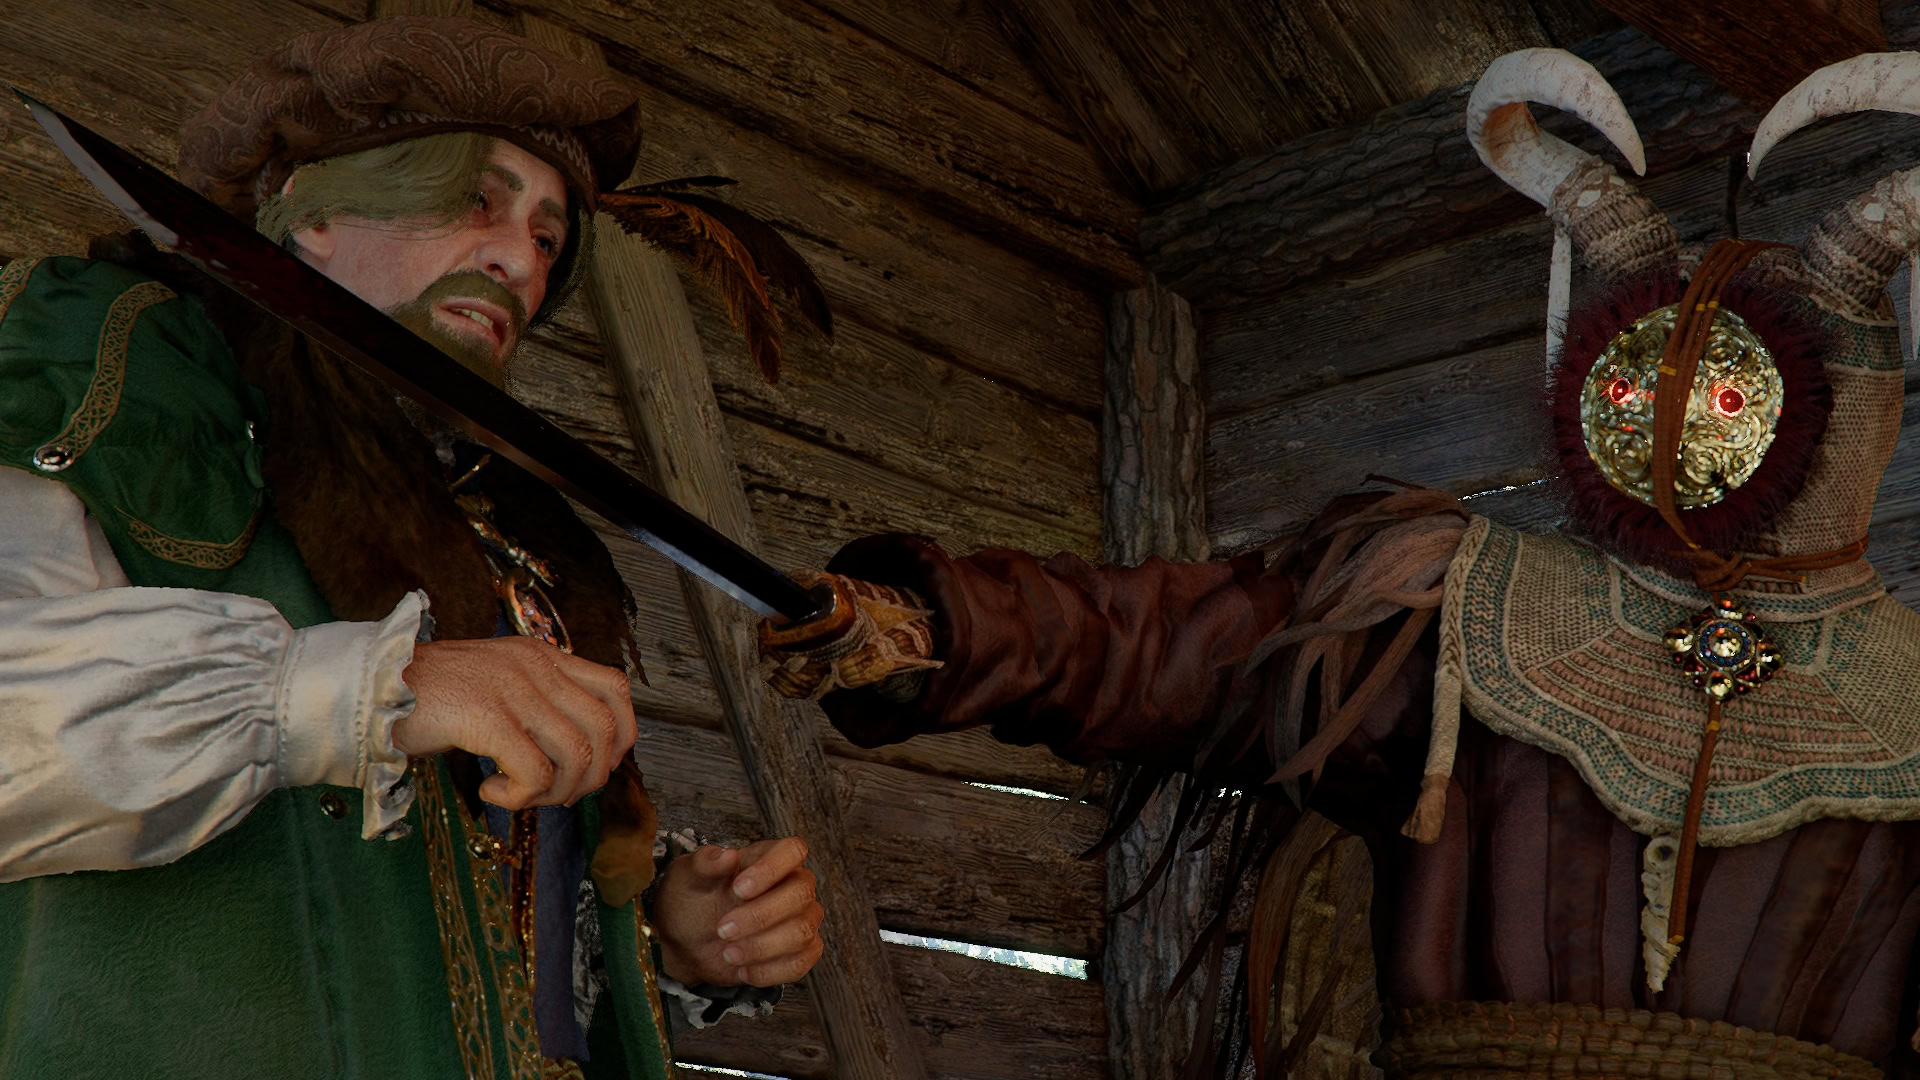
The Reed Devil disappears, and after you inform your fellow Greymanes of the new camp location, you’ll set off to track down and face off with the Reed Devil to prevent him from causing further harm. As you make your way closer and closer to the Reed Devil’s hiding place, you’ll be ambushed more and more frequently by his minions before finally reaching the Reed Devil and defeating him.
Pioneering
After dispatching the Reed Devil, Kliff returns to Howling Hill to check up on Andrew’s injuries. Soon after, Marius informs you of additional rumors about more Greymanes being spotted.
Naturally, you set out to find the comrades spoken of and find Luke and Ronald at Timberham Sawmill. With their return, the first Camp Expansion will become available, allowing you to gather more Comrades.
It’s very important to get as many of your comrades as early as you can. Keeping at least one Escort and one Harvesting/Ranching Mission active at all times will help ensure you have the funds and supplies for most other missions.
Chapter IV – The Price of Knowledge
Mysterious Pot
Awoken by a loud explosion, the Greymanes stir. Marius reports that the sound appears to have come from Kilnden Workshop. Head out to investigate what’s going on.
Upon arriving, you will meet Grimnir, who needs help fixing the kilns in Kilnden Workshop so they can continue to produce all kinds of pottery. As a reward for helping out, he makes you a Kuku Pot to take with you, a wondrous pot capable of storing large objects, particularly those with Abyssal Energy.
The Kuku Pot is essential for making a lot of Abyss Puzzles easier. Much later on, you can even turn the Kuku Pot into different forms, including special weapons.
Daily Life
Return to Howling Hill, and you’ll be informed that Yann is being held prisoner at Goldenfist Arena for causing a disturbance. To set him free, you will have to compete in the arena to make up for the arena’s lost profits.
Then you’ll need to meet up with Andrew, Duane, and Naira at Capra Pasture. Naira will be taunting Duane about his poor performance with a Bow at a recent Archery Contest. Duane will ask you to compete in an Archery Contest to prove to Naira that she’s not the only Greymane who is good with a bow.
Afterward, Duane suggests heading to Hernand to take on odd jobs and help the camp coffers.
Forbidden Knowledge
Shortly after arriving in Hernand, you will be delivered a Letter from Alustin by a man bumping into you in the alley. In the letter, Alustin will suggest you visit Scholastone, but you will require the garb he left with the black market fence in Hernand.
After speaking with the fence and acquiring the garb, Kliff heads to Scholastone, passing through the Witchwoods to get there. Assuming you don’t climb the mountain and take the path wrapping around Fort Perwin, you’ll also learn the Focused Force Palm Skill along the way.
Observing NPCs allows you to learn Skills for free. This means you don’t have to spend Abyss Artifacts to learn them..
You’ll eventually reach the troll village of Kharonso, where a kindly troll will set you on the right path.
At the end of a mountain path located west of Kharonso is a small ruin that has Bandits. By clearing them out, you can harvest a ton of Palmar Leaves and Palmar Beetles for crafting Palmar Pills
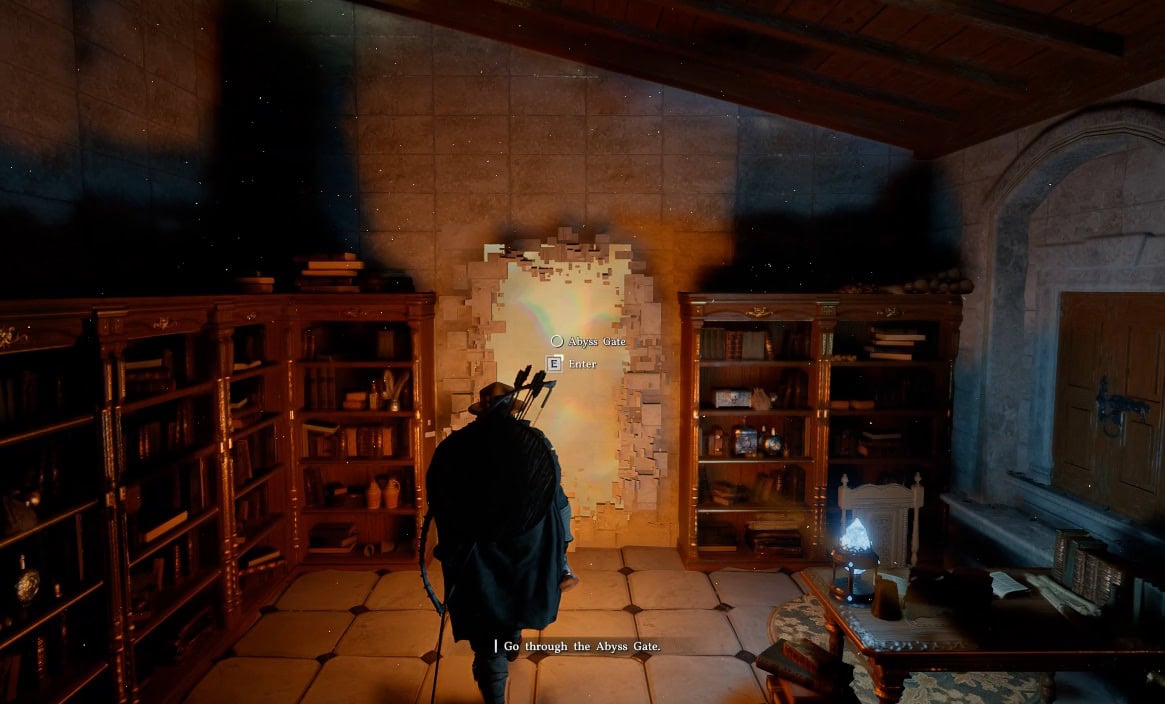
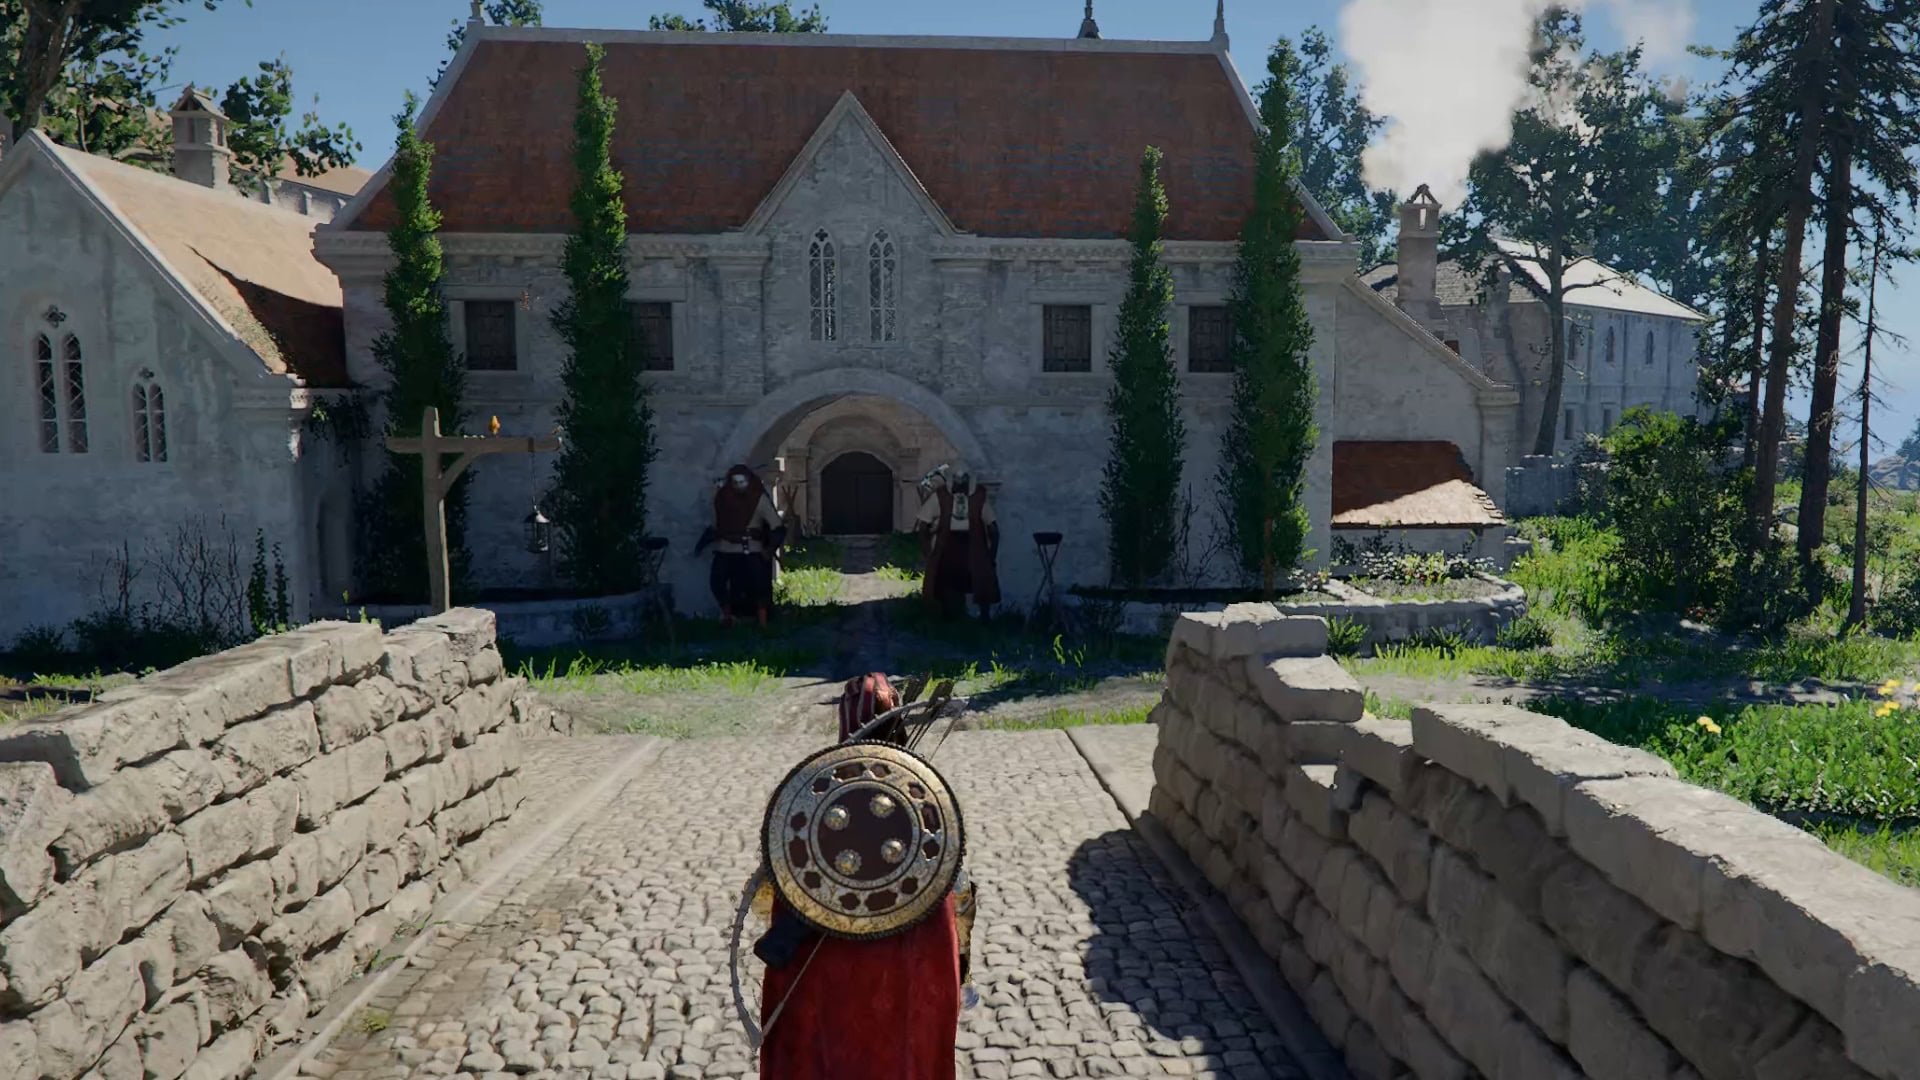
Upon arriving at Scholastone, you will meet with the Dean, who will introduce you to Octavius, an Abyss-obsessed scholar. The Dean will suggest you help with Octavius’ experiment, which by solving a few puzzles helps him activate the Gate to the Otherworld, as he calls it.
Despite successfully opening the rift to the Abyss, Octavius is pulled into the Abyss, and Tenebrum emerges to attempt to stop you from sealing the rift.
After this incident, the Spire of Stars will send off an energy beam, and the Dean will provide you with a key to investigate. After solving the puzzles in the Spire of Stars and reaching the top, you will find an Abyss Gate leading into the Sanctorum of Insight.
After solving the short puzzle here, you will meet an unknown entity, who will send you flying off the platform and to the world below once more. After a short discussion with the Dean of Scholastone upon landing, you will return to Howling Hill once more.
Damiane becomes temporarily unavailable to play and summon at the start of the next Chapter. If you have any side quests for her you wish to finish at this time, do so before returning to Camp
Chapter V – Guest Unbidden
Uninvited Guest
Upon arriving at Camp, you will be informed that a delegation from Demeniss is arriving in Hernand, and you have been invited to attend by Marquis Serkis. The Greymanes suggest warning Damiane of the impending visit.
As you head into Hernand towards the welcome banquet, you will help out with a horse going wild, which turns out to belong to Damiane. You’ll inform her of the incoming delegation, to which she replies she has long been aware that they were planning a visit and was expecting it due to her network of spies.
This short quest serves as an introduction to Horses and Horse Taming.
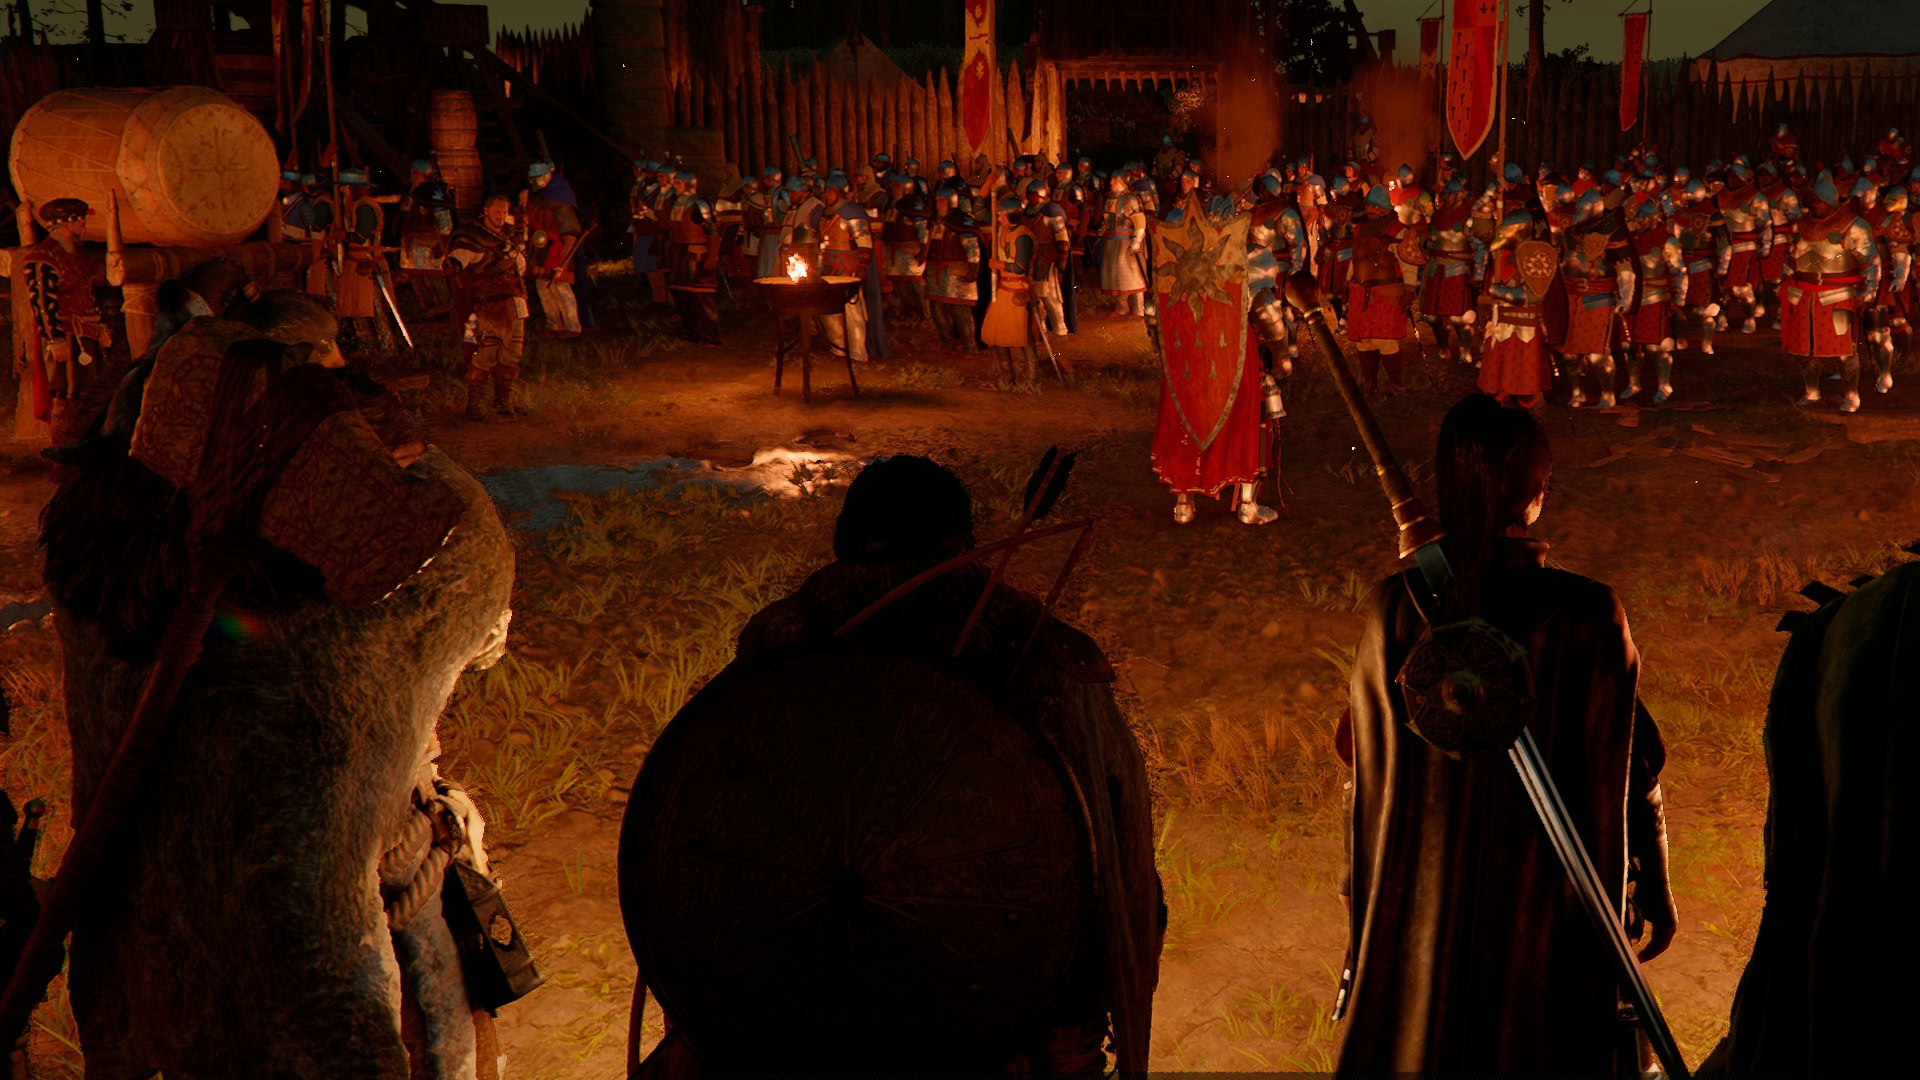
You’ll attend the banquet with Marquis Serkis, only to have to fend off the large creature, Kearush the Slayer, that Demeniss brought as an offering. After dealing with the creature and it escapes to who-knows-where, Damiane will pull us aside.
Damiane informs us that the Black Bears didn’t take Pailune on their own. Her intelligence network heavily suggests that someone is pulling the strings and targeting you specifically to have you dealt with.
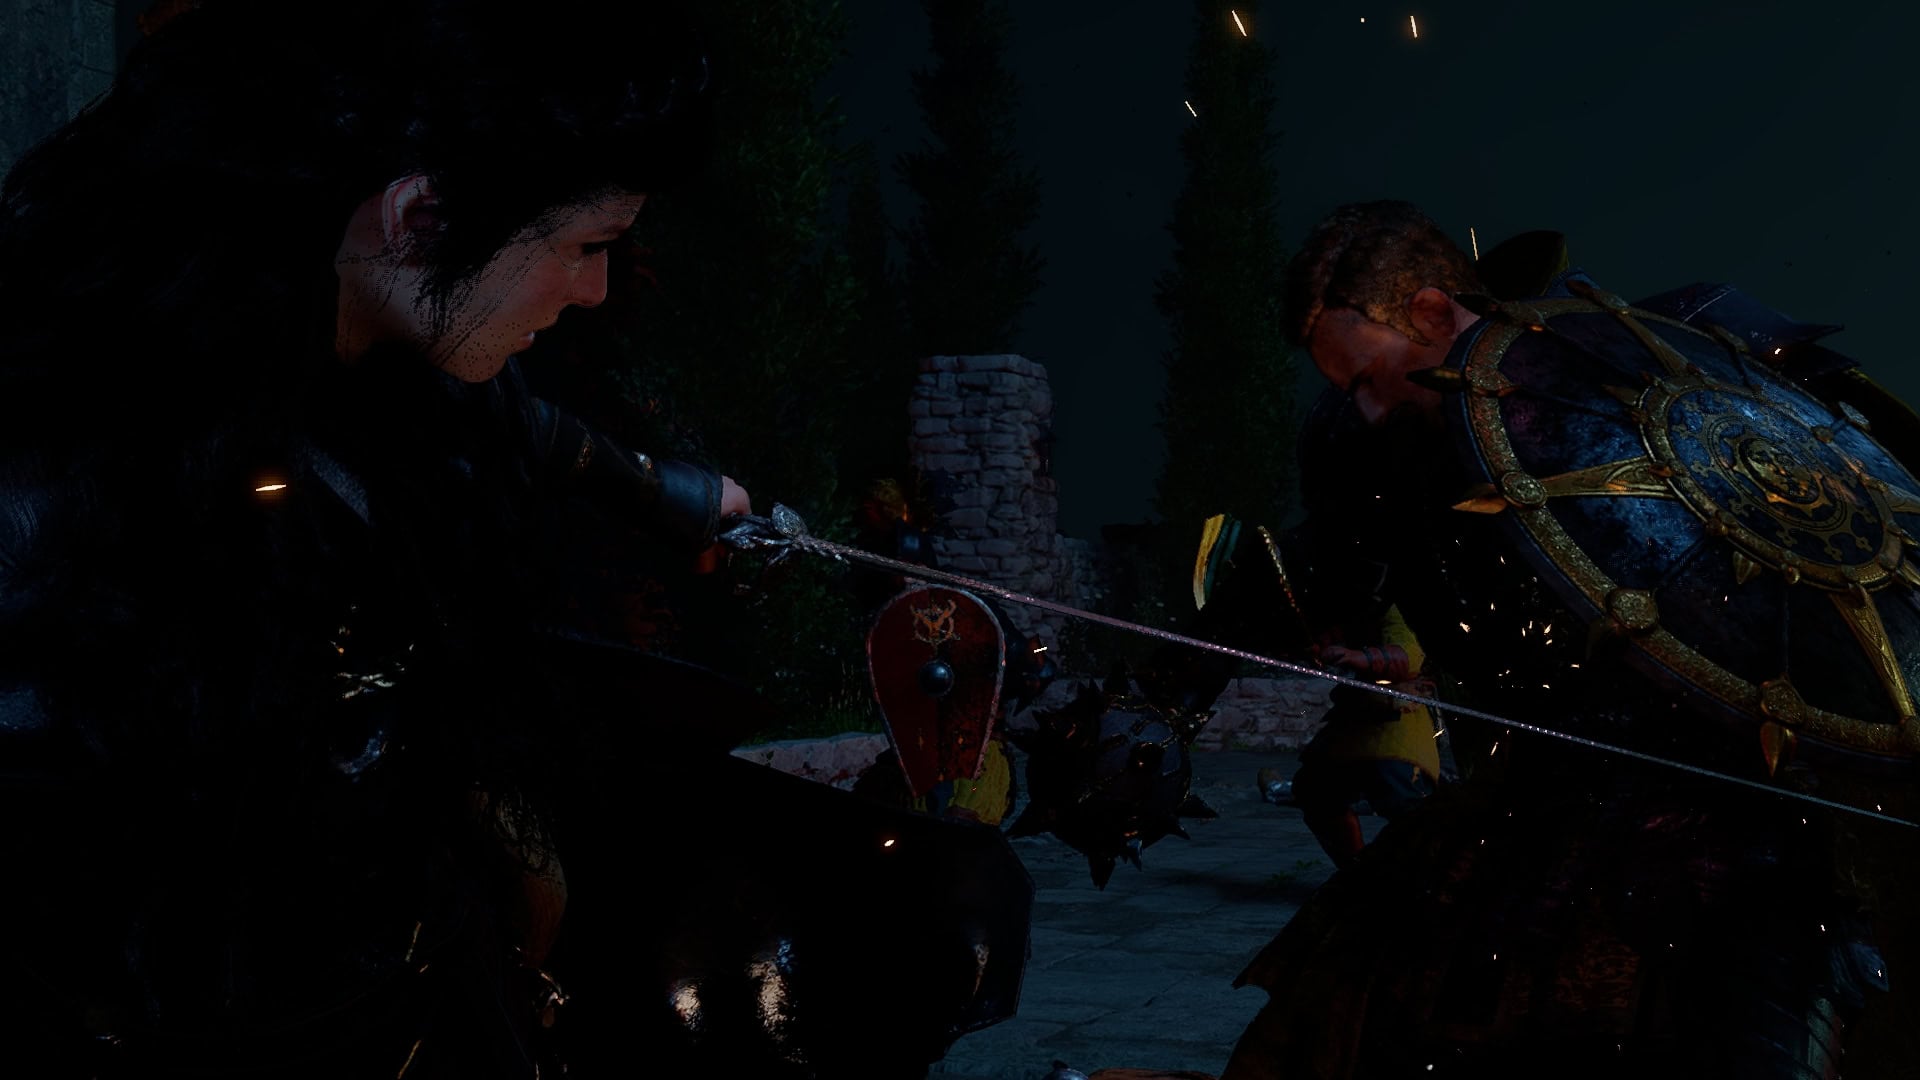
Black and White
After the Conversation with Damiane, a bird will arrive with a letter from White Crow. Reading the letter, White Crow suggests that the barrier between the Abyss and Pywel is starting to weaken.
You will be sent to investigate an intruder in Hernand Castle, who you will track to the Abyss Door located there. Upon heading to the Abyss and approaching the Axiom Archive, you will be ambushed by unknown forces.
After fending off the Ambush, head inside to find an injured Alustin, who relays that the White Crow has been abducted, and you need to save her. This means you will resume tracking the mysterious foe that captured her.
Upon tracking the foe to southern Hernand, your mysterious foe will refer to himself as the Crowcaller. After a brief encounter, he’ll taunt you and flee, leaving you to fight his lackies.
Following this, you will need to track him all the way to a Church in Demeniss. Upon arriving, you will find everyone in the church and the nearby orphanage slaughtered. When heading to the graveyard, the Crowcaller will appear again and fight you this time. He will, unfortunately, escape once again, forcing you to track him once more.
After Crowcaller leaves, by exploring the orphanage, you will discover a surviving Nun, and she’ll guide us to the key to opening the “Gate to Heaven”. After a series of puzzle to reveal the Secret at the Church, you will be pointed toward the Spire of Soaring.
Upon arriving at the spire, you will need to solve the multiple Puzzles within the Spire of Soaring and the Crescent Skybridge afterwards, where Kliff will have his final encounter with Draven, the Crowcaller.
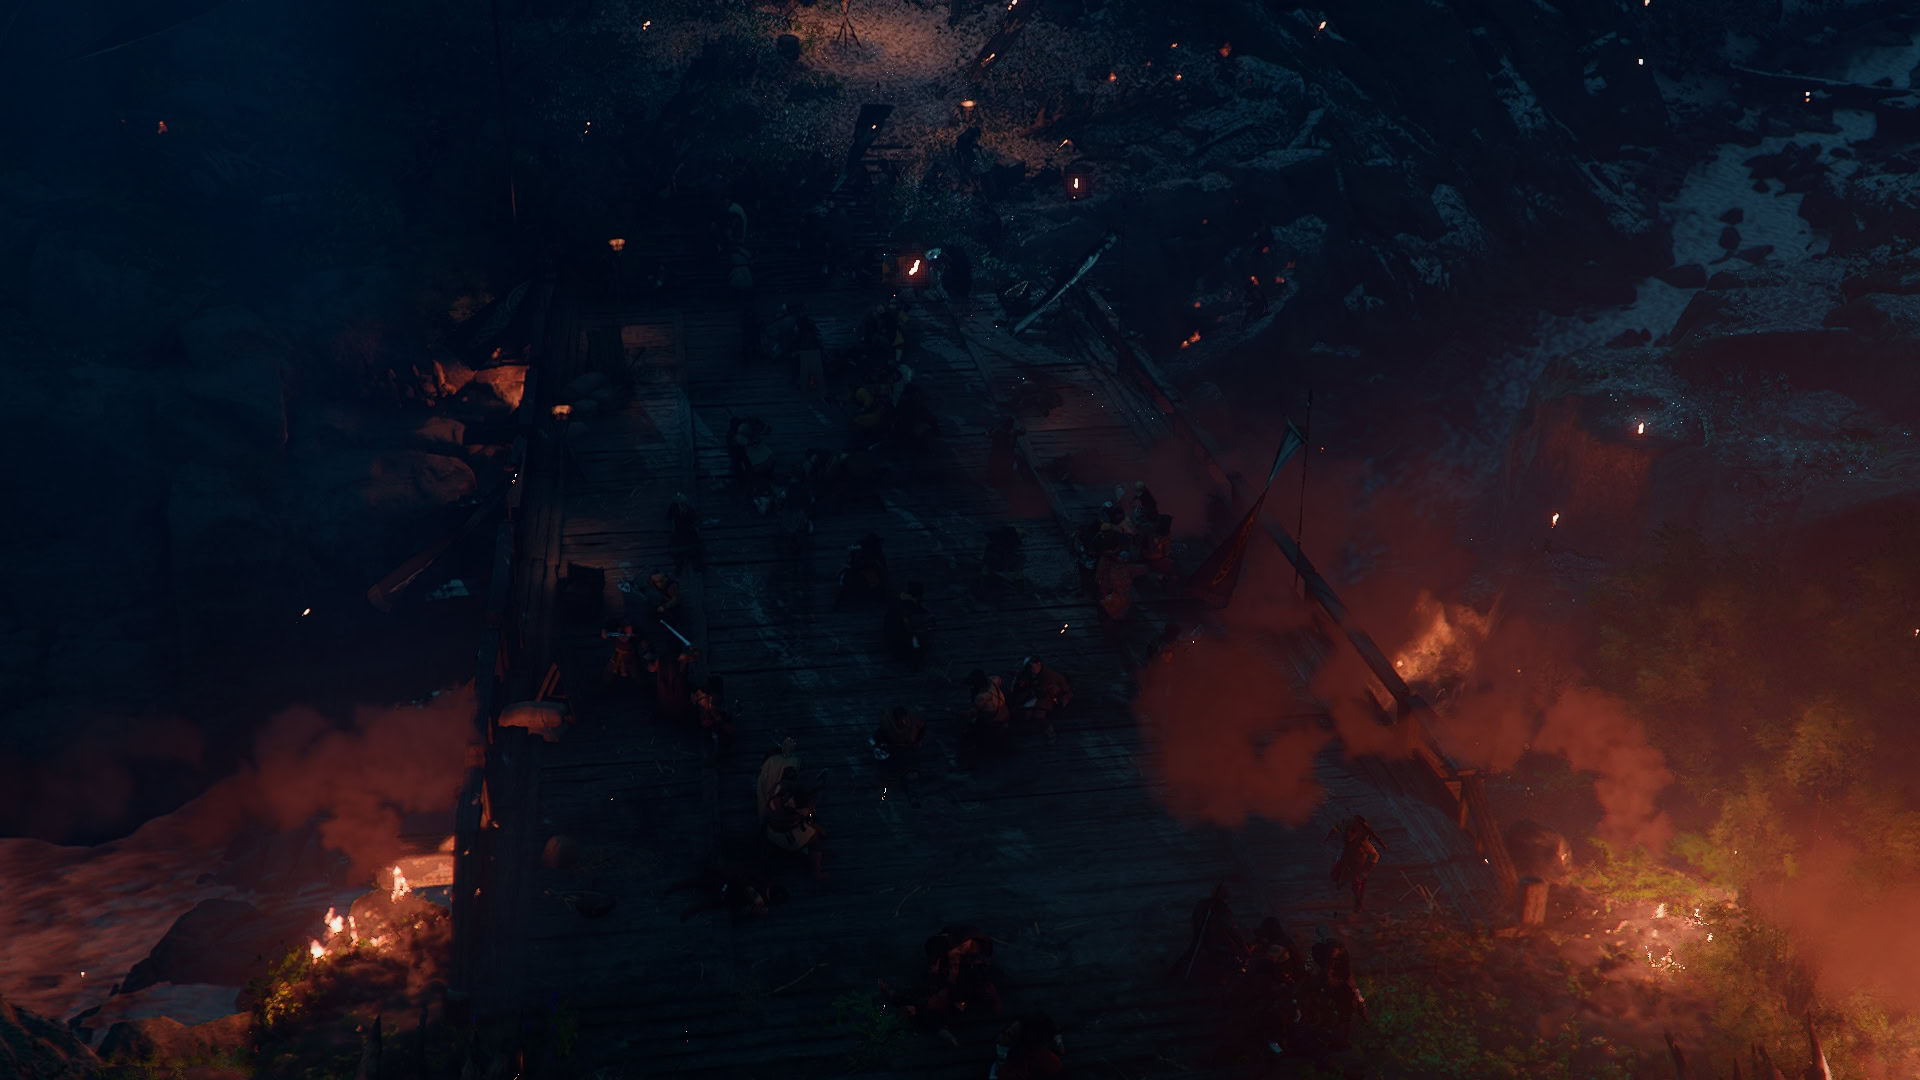
Chapter VI – Cracks in the Shield
Blazing Beacon
Following the Crowcaller’s defeat, you will return home to rest. Shortly after, Marquis Serkis will send a guard to summon you to a meeting with himself and Duke Celeste. They’ll explain a bit about the war happening in Calphades and request you to help out the frontlines to help both Marquis Lanford and Oongka, who are fighting alongside him.
Kliff heads to Calphades and meets up with Barden Middler, and gets a full rundown of the situation in Calphades. It seems a Traitor has taken the castle, and the Black Bears have been keeping most of the troops occupied and even overwhelming the frontlines.
Below the Banners
You will be asked to help with the frontline morale by restoring the banner of House Lanford. This means clearing the path forward and using Nature’s Grasp to lift and carry them to their designated Areas.
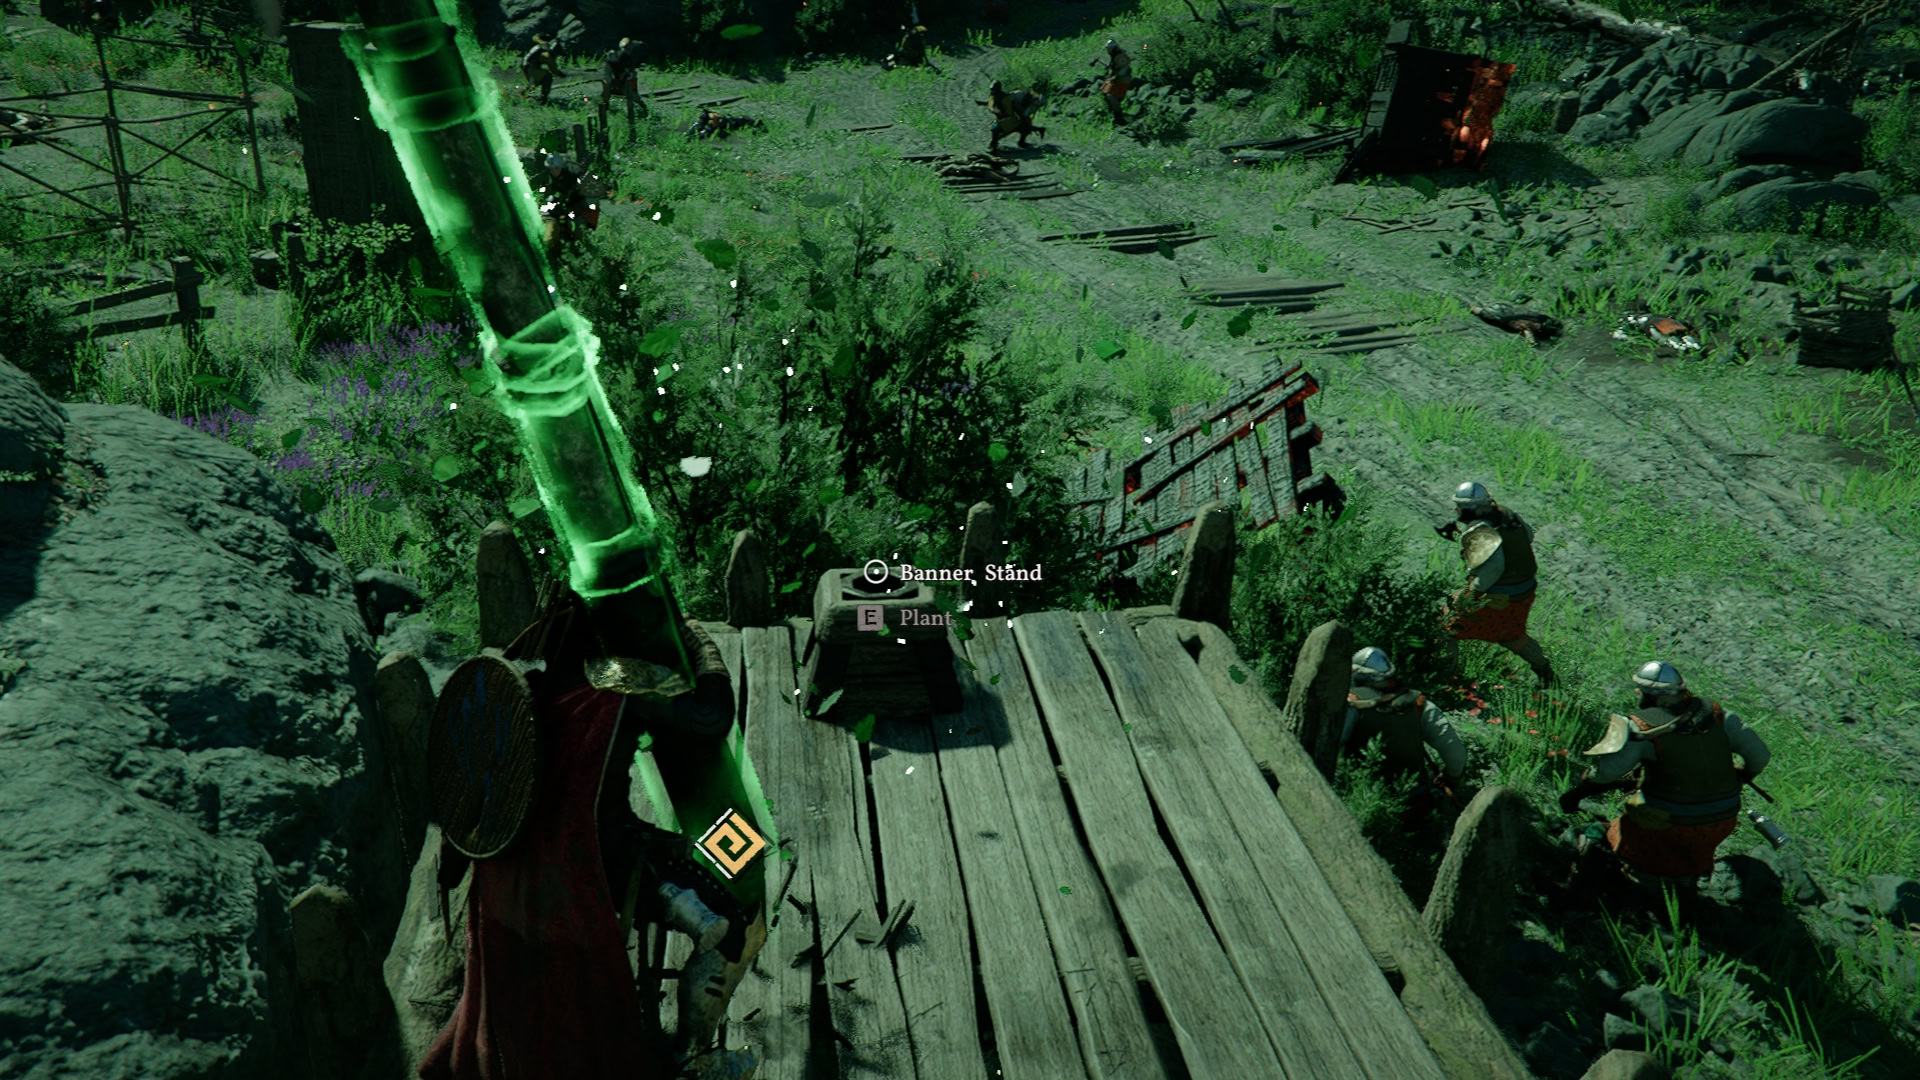
Following this, a forward camp will request aid with finding wounded soldiers and bringing them back for recovery. This much-needed morale boost encourages the Lanford forces to make a more offensive push.
Turning Tides
Now, you’re helping with the offensive push, destroying their supplies stashed in the Caphade Church. Following this, you’ll help to repair and fire a cannon, taking out the Black Bear-controlled Watch towers.
The final part of this push has you infiltrating a Black Bear Base, taking out the very dangerous Captain within. Following this, you will be provided with Whistling Arrows to help mark Siege weapons for artillery fire.
The Unyielding Shield
It’s time to help with the assault on Calphade Castle. You’ll fight your way there, meeting up with fellow Greymane Oongka as well as Marquis Lanford within the castle walls. They’ll be instructed to deal with the outside forces while you pursue Cassius Morten, the Traitor, who has taken the castle.
After Cassius has been felled, you will be led to the Calphade Beacon to light it and signal that the war here has been won. You will then return to Howling Hill for some much-needed rest. Upon waking, Yann will be arguing with fellow Greymanes and suggest that the Greymanes take back their homeland, Pailune.
Chapter VII – Homecoming
Morning Mist
You’ll head out towards a shrine used by a scout in Pailune with an escort there. You won’t need to ride all of the way, as a short time skip will happen bring you closer to the destination.
Upon arriving, you’ll get ambushed by enemies and need to defend yourself before discovering the latter tucked away in the Dragon Statue at the shrine.
After reading the letter and learning of a secret faction within Beighen, you’ll depart and try to set up a meeting with their leader. This proves to be difficult as many of the Pailunese people in Beighen are distrustful of the Greymanes.
You’ll have to resort to eavesdropping on multiple villagers to get the information needed to speak with the leader of the Blue Fangs.
After speaking with Torstein, the leader of the Blue Fangs, you’ll have to prove yourself by helping to rescue the many Pailunese people being held at the Pailune Beacon.
Given the Jackals’ tendency to execute their captive when approaching, Torstein suggests taking a quieter approach. Upon defeating the commander at the beacon, return to Torstein and report the situation.
Stealth isn’t required here, which can allow you to save supplies on the way to the commander. However, the area around the Beacon is very open, so pure stealth isn’t possible.
With hope renewed for the Blue Fangs, Torstein will bring us up to speed on his plans for reclaiming the city of Pailune from the Jackals. You’ll also be entrusted with the Wolf’s Fang, a sword previously belonging to Jian, the previous leader of the Greymanes.
Dawn
At dawn, you and Torstein will head out to enact the plan he put together. Starting by rescuing a captured Scout, Shane, and recovering an explosive vital for the mission.
This will require sneaking your way past a ton of Jackals patrolling the cabin where the scout was last seen, as well as to the location you need to plant the explosive you recovered from the cabin.
The stealth approach here isn’t required, but there are far too many Jackals to be a reasonable idea to rush in headfirst. Similar to the previous section, Stealth isn’t possible near the destination
After detonating the explosive on the docks, cutting off their supply route, the full assault and recapturing of Pailune will begin. Once enough forces are defeated, you’ll be directed to the castle, where Ludvig, the leader of the Jackals, awaits your arrival.
While fighting Ludvig, you’ll have him cornered, but he’ll use the power of an Abyss Artifact he holds to imbue himself with Lightning. After taking him down a second time, you’ll tie him to a chair where a fellow greymane will try to torture information out of him by cutting off his arm.
He’ll manage to escape, despite having just one arm. Despite the frustrations, you and your fellow Greymanes think it wise to go after Myurdin before he can try to prepare a proper defense, as he’s sure to be aware you’re coming.
Decisive Battle
After some rest, you and the Greymanes will regroup at Hinvolt Ranch before heading to Ashclaw Fortress, where Myurdin awaits. As night falls, the assault begins.
You and the Greymanes will be met at the bridge outside Achclaw Fortress by the Black Bears as they mount their final defense. Proceed toward the fortress while assisting your allies and preventing them from being overwhelmed.
You’ll make your way to the slave camp outside the fortress, which you’ll need to liberate with assistance from Shane before moving on.
Then you’ll head for the Fortress itself to take down Myurdin. He’ll put up a fight, but just like with Ludvig, he’s no match. He’ll turn to using an Abyss Artifact as Ludvig did, imbuing himself with Fire.

He still proves to be no match, where he’ll cower behind his men and slowly back into a deeper part of the fortress. Unfortunately for you, Ludvig is here and shoves you into a pit, knocking you unconscious for a bit.
Twisted Fate
Kliff is taken to rest at camp while Myurdin and Ludvig retreat from the Fortress, but you’ll now control Oongka for a brief time.
You’ll meet up with Shane and Duane, who manage to find information regarding some Jackals being spotted nearby. You’ll head out to investigate the area where they were spotted and come across a frightened man who will point you in the direction of Ludvig, who can now be tracked with the Lantern.
Upon arriving at the location the lantern leads you, you’ll find an area with several dead greymanes. Inspecting one of them reveals that they were carrying Jian’s pendant, and while examining it, Ludvig will attempt to catch you off guard.
You’ll end up finishing him off for good this time, not giving him another chance to escape. Following his defeat, you’ll meet up with a recovered Kliff in Pailune and head out to the vigil taking place for Jian.
Following this cutscene, the questline “Words by the Riverside” will become available. Upon its completion, Oongka becomes playable and summonable at any time.
Chapter VIII – Blood Coronation
Ashen Steps
You’ll be back in control of Kliff now that he’s recovered, and you’ll meet up with Torstein in Pailune. Follow him to the docks, and he’ll explain that Myurdin and the Black bears fled to Demeniss, who seemed to be behind them this entire time.
He’ll hand you Jian’s Journal as well, in which Jian recorded details of the goings-on in Pailune before his death. It will also initiate a lot of sidequests as well, so it’s worth reading.
He’ll also provide you with a letter from a woman with white hair requesting your help. This letter will point to a shrine in the Ironwoods, south of Demeniss. Upon arriving, you’ll meet Maegu, a witch from a distant land who will explain her request in full now that you’ve arrived.
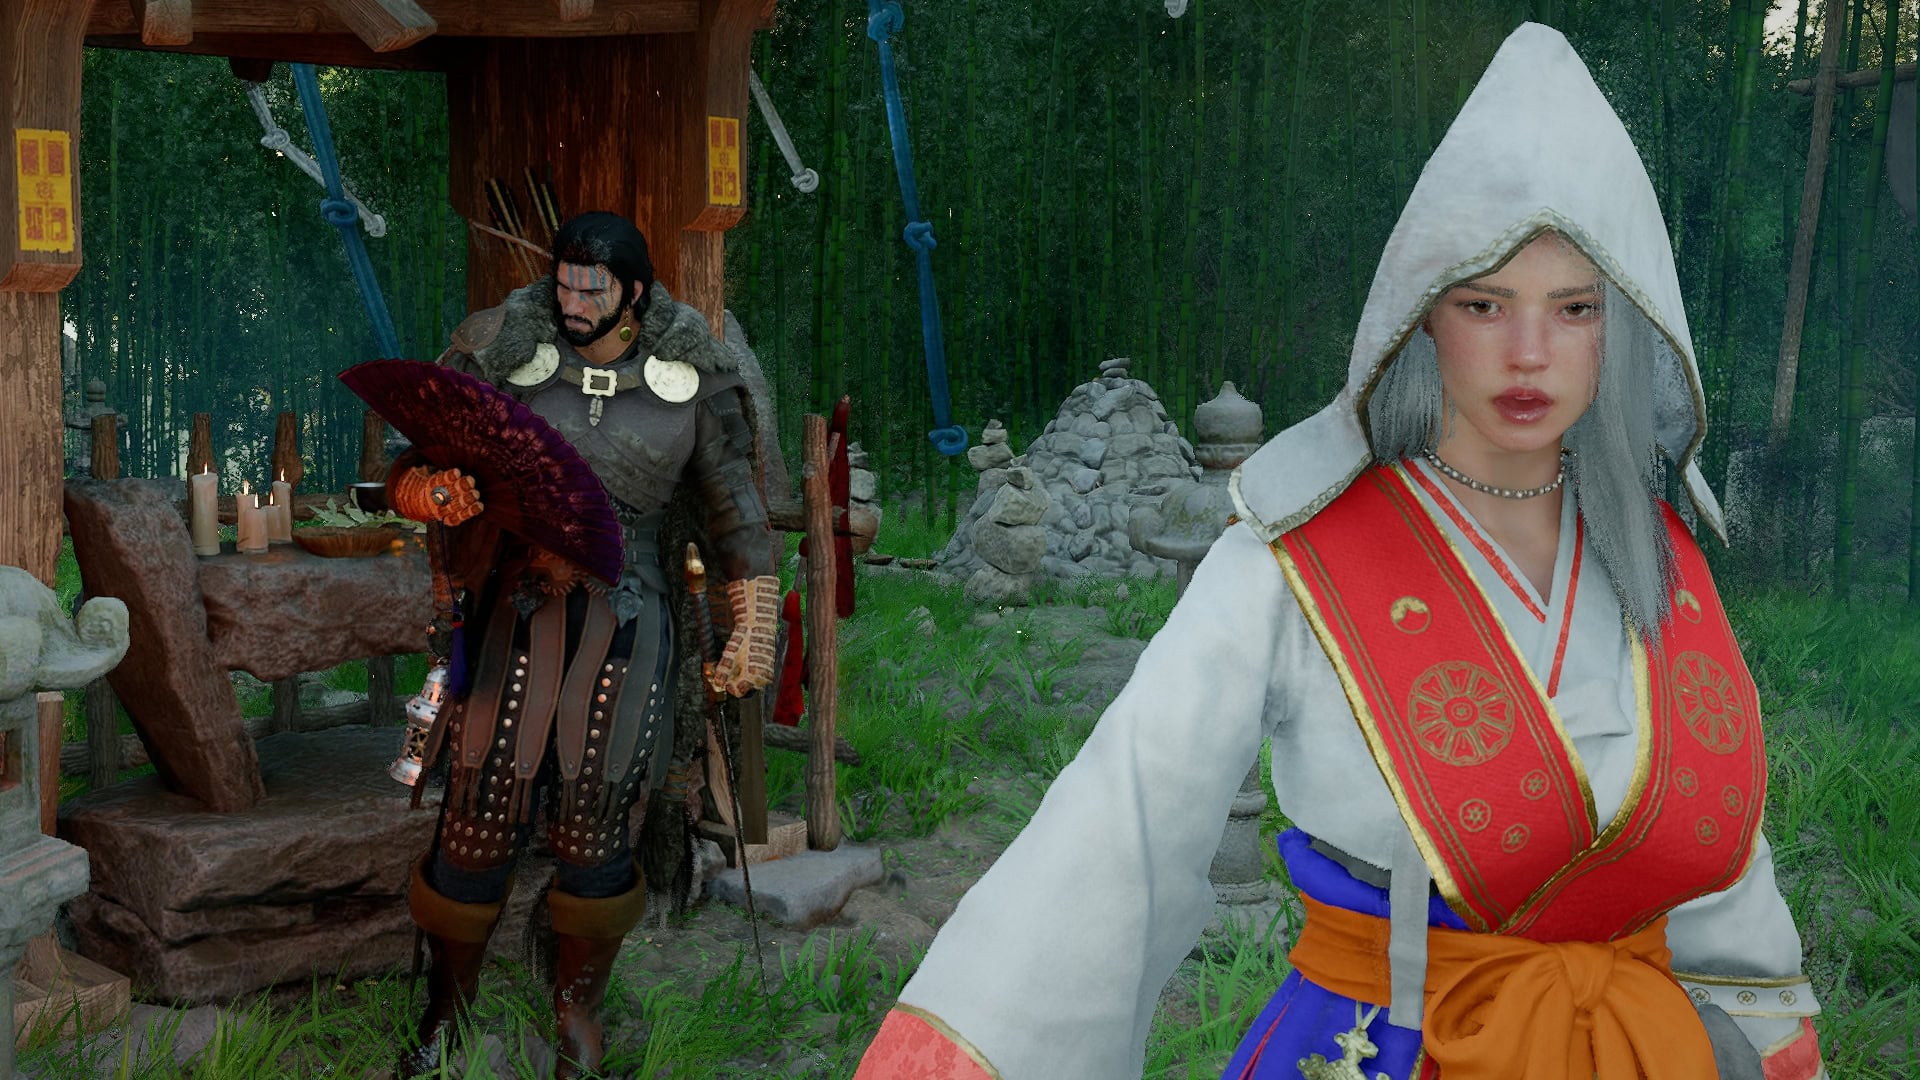
Maegu needs you to head to the location where her ship wrecked on the nearby coast to recover some materials for a ritual. There will be some Demenissian Soldiers around the shipwreck you’ll need to clear out, and a Memory Fragment to view here before looking for the items.
Once everything is clear, head to the larger shipwreck. You’ll need the Talisman, located in the debris on the northeast side of the wreck; the Censer, located under the southern half of the ship, which Nature’s Grasp can lift; and the Bell, located a bit south of the wreck. With everything collected, you can return to Maegu.
This beach is also home to some Red Seaweed, an item you’ll need to upgrade Stamina past a certain level. Picking some up now may net an extra level or two of Stamina if you’re at that point.
Upon returning, Maegu will perform the Ritual, which guides you towards where her sister, Woosa, is being held. This points you towards Fort Ironclad, which you’ll need to fight your way to.
As you approach the Fort, you’ll notice the Demenissians fighting Shadow Harpies. These annoying enemies can only be defeated by the Focus Light portion of Blinding Flash. It’s recommended to do so before engaging any Demenissians, as both will focus on you once spotted.
Inside the Fort, we’ll need to take down Gregor, the Halberd of Carnage. Compared to the previous boss encounters in Chapter VII, this fight is much easier. You only need to be mindful of the traps in the arena that can occasionally damage and interrupt you.
Once defeated, you can take Woosa on horseback to the Shrine and reunite her with her sister.
Demeniss Bound
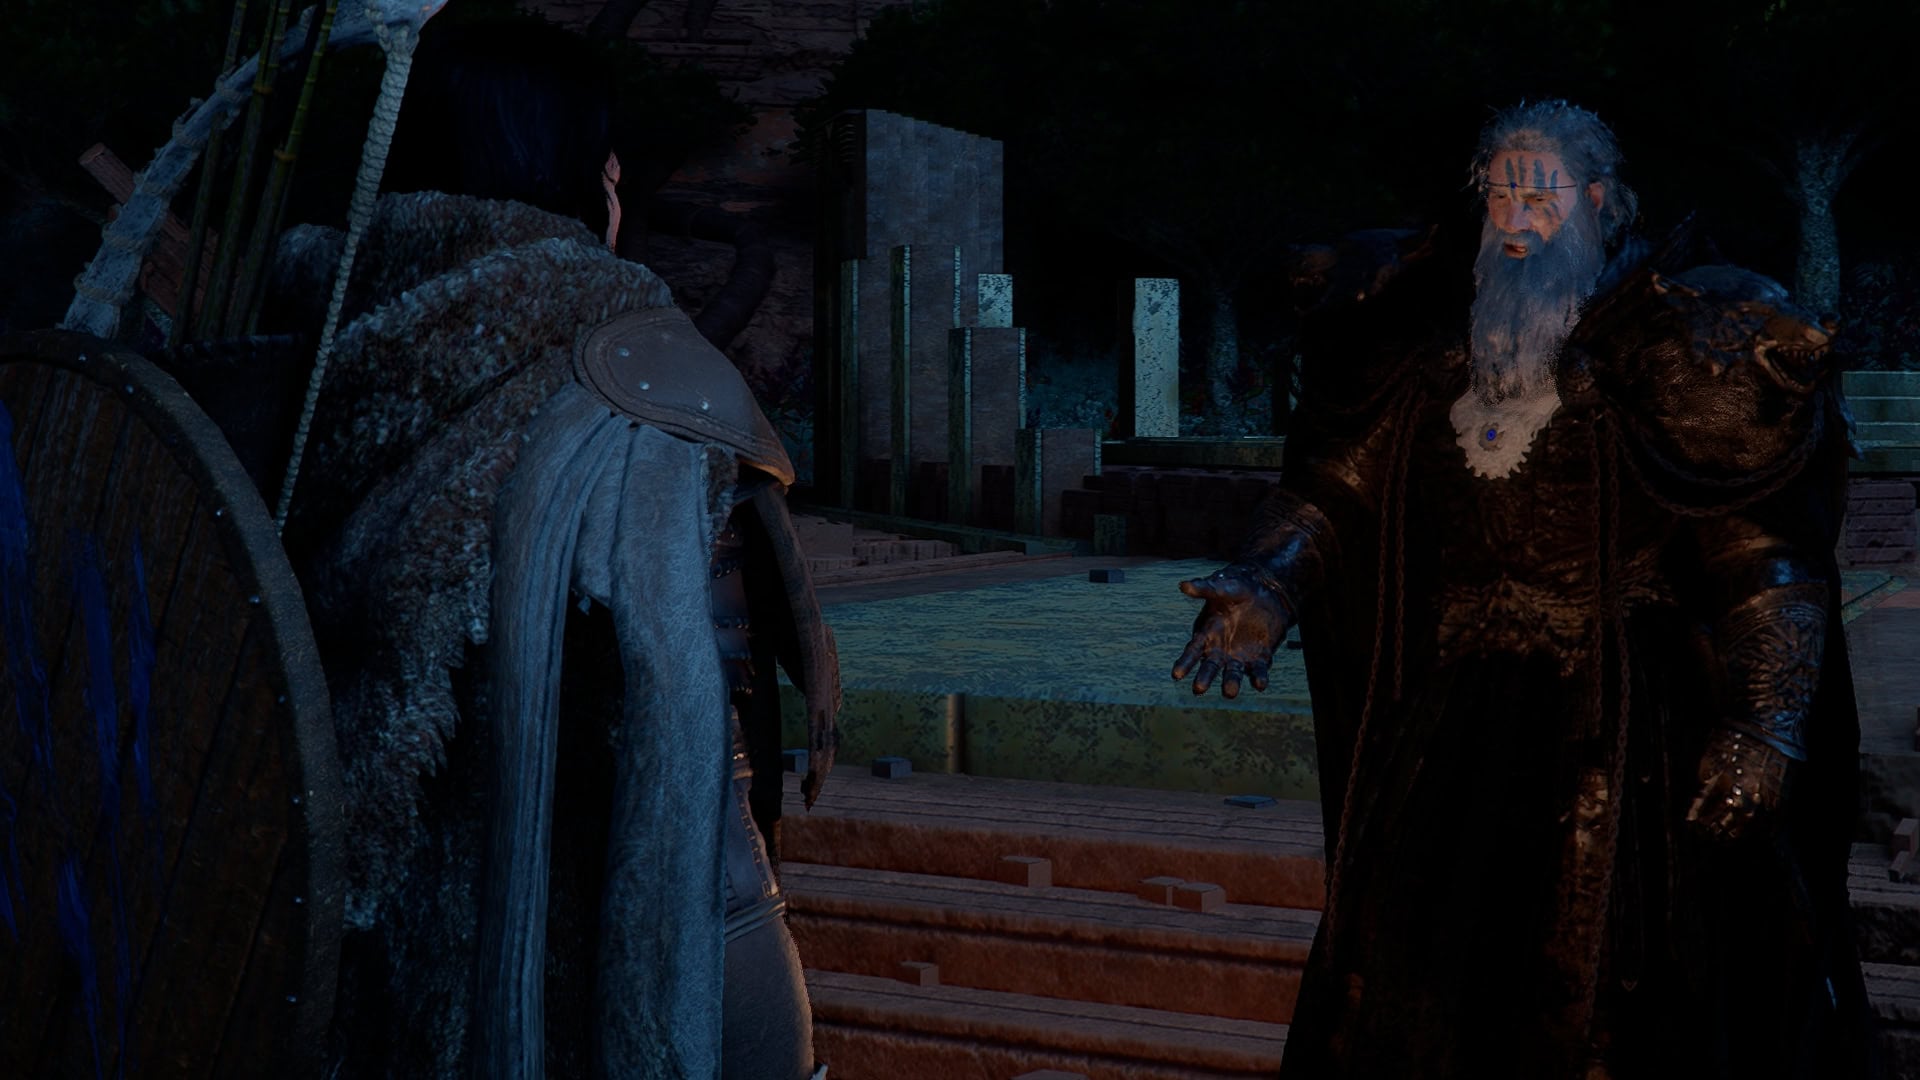
Following these events, you’ll return to Howling Hill to find a letter has been delivered to the Dragon Statue. Reading it reveals that Myurdin has ties to the Bastier Faction in Demeniss.
After a discussion with the Greymanes, it’s proposed that you head to meet with Countess Azerian, the head of one of the houses of Demeniss, who appears to have locked herself within her Manor. To not spark any conflict, it’s also suggested to depart for Rustleleaf Farm first.
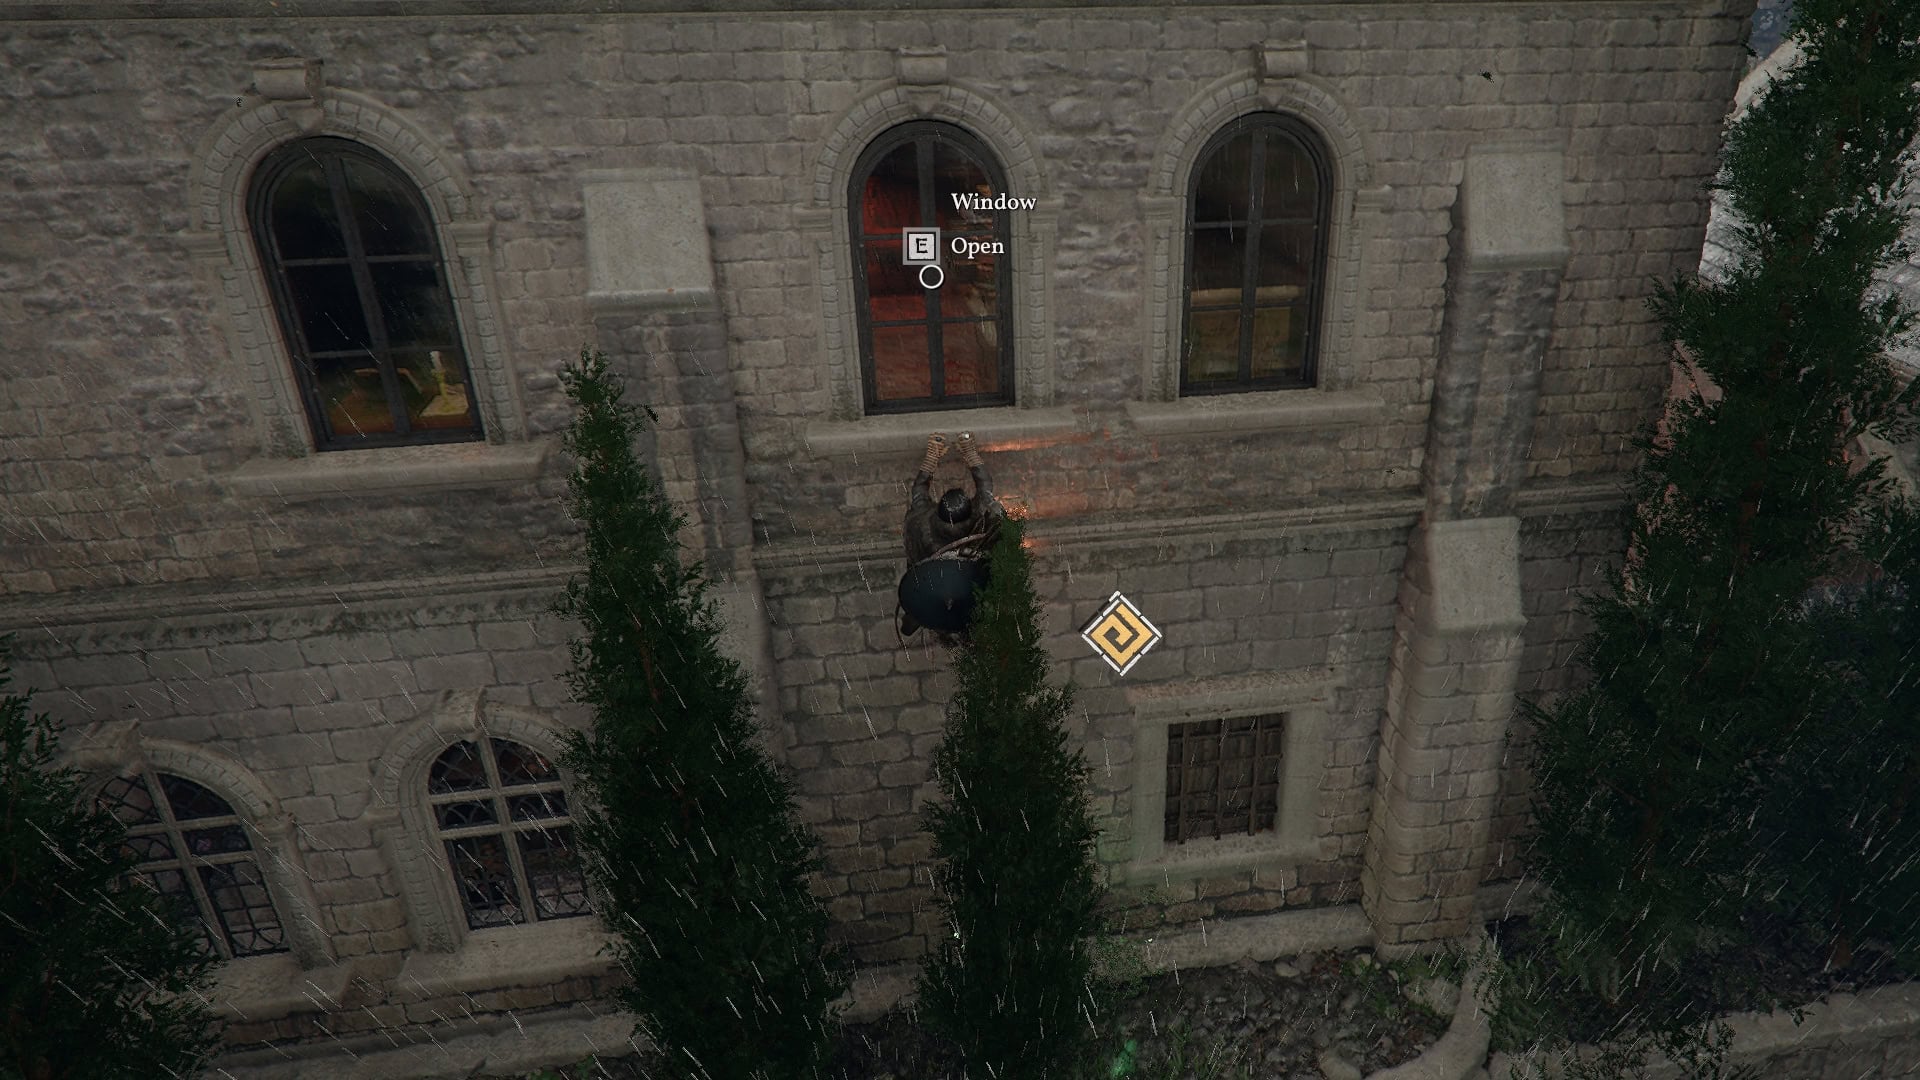
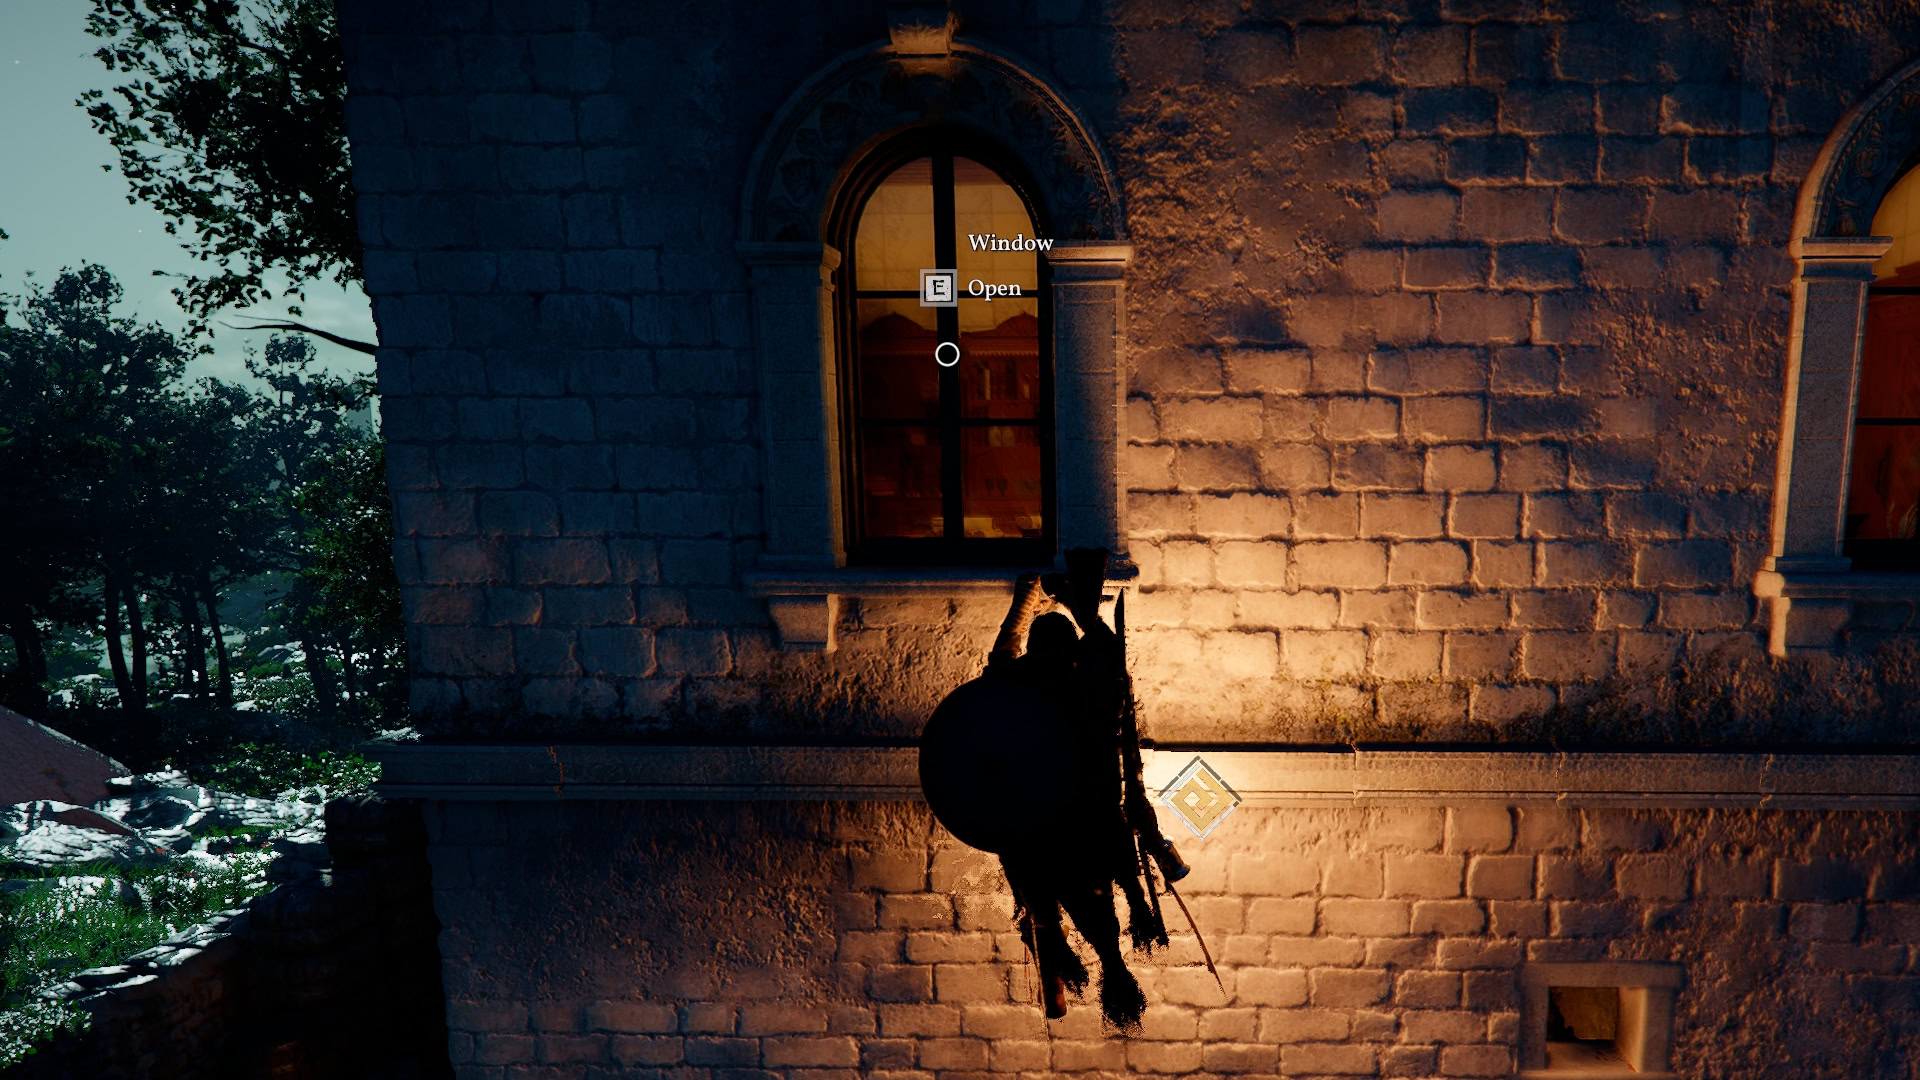
From Rustleleaf Farm, you’ll head to Azerian Manor and be required to sneak inside. This can easily be done by heading around to the back of the manor and carefully making your way onto the nearby balcony.
Inside, you’ll need to push your way through the false wall on the second floor and collect the investigative report on the bedside table.
After leaving this room, you’ll be confronted by guards, before Countess Azerian calls them off to speak with you privately. She’ll send you to the manors of the other high houses of Demeniss (House Byron and House Marshell) to track down information, but she suspects they are all under Duke Caliburn’s grip.
You’ll be forced to head to Sungrove Manor first, which is House Marshell’s territory. This is easiest to sneak in through a second-floor window, as no guards are patrolling the outer walls, but you can opt to fight through as well.
You’ll need to find and view both Memory Fragments here. The first one in the office you’ll typically enter into has additional Paper on the desk to examine in the Visione Sequence. The second is downstairs, with nothing extra to worry about.
Then you’re off to Windmere Manor in House Byron Territory. You’ll want to take a similar approach of entering a second-story window, but there are guards to be aware of this time. Once in the office, you’ll watch the Memory Fragment here, and as you come out of it, the leader of House Byron will suddenly be in the room, and you’ll need to assassinate him before leaving.
With the necessary information to relay to Countess Azerian, you’ll want to return to her. She’ll send you back out to support House Wells in the Steel Mountains to the south.
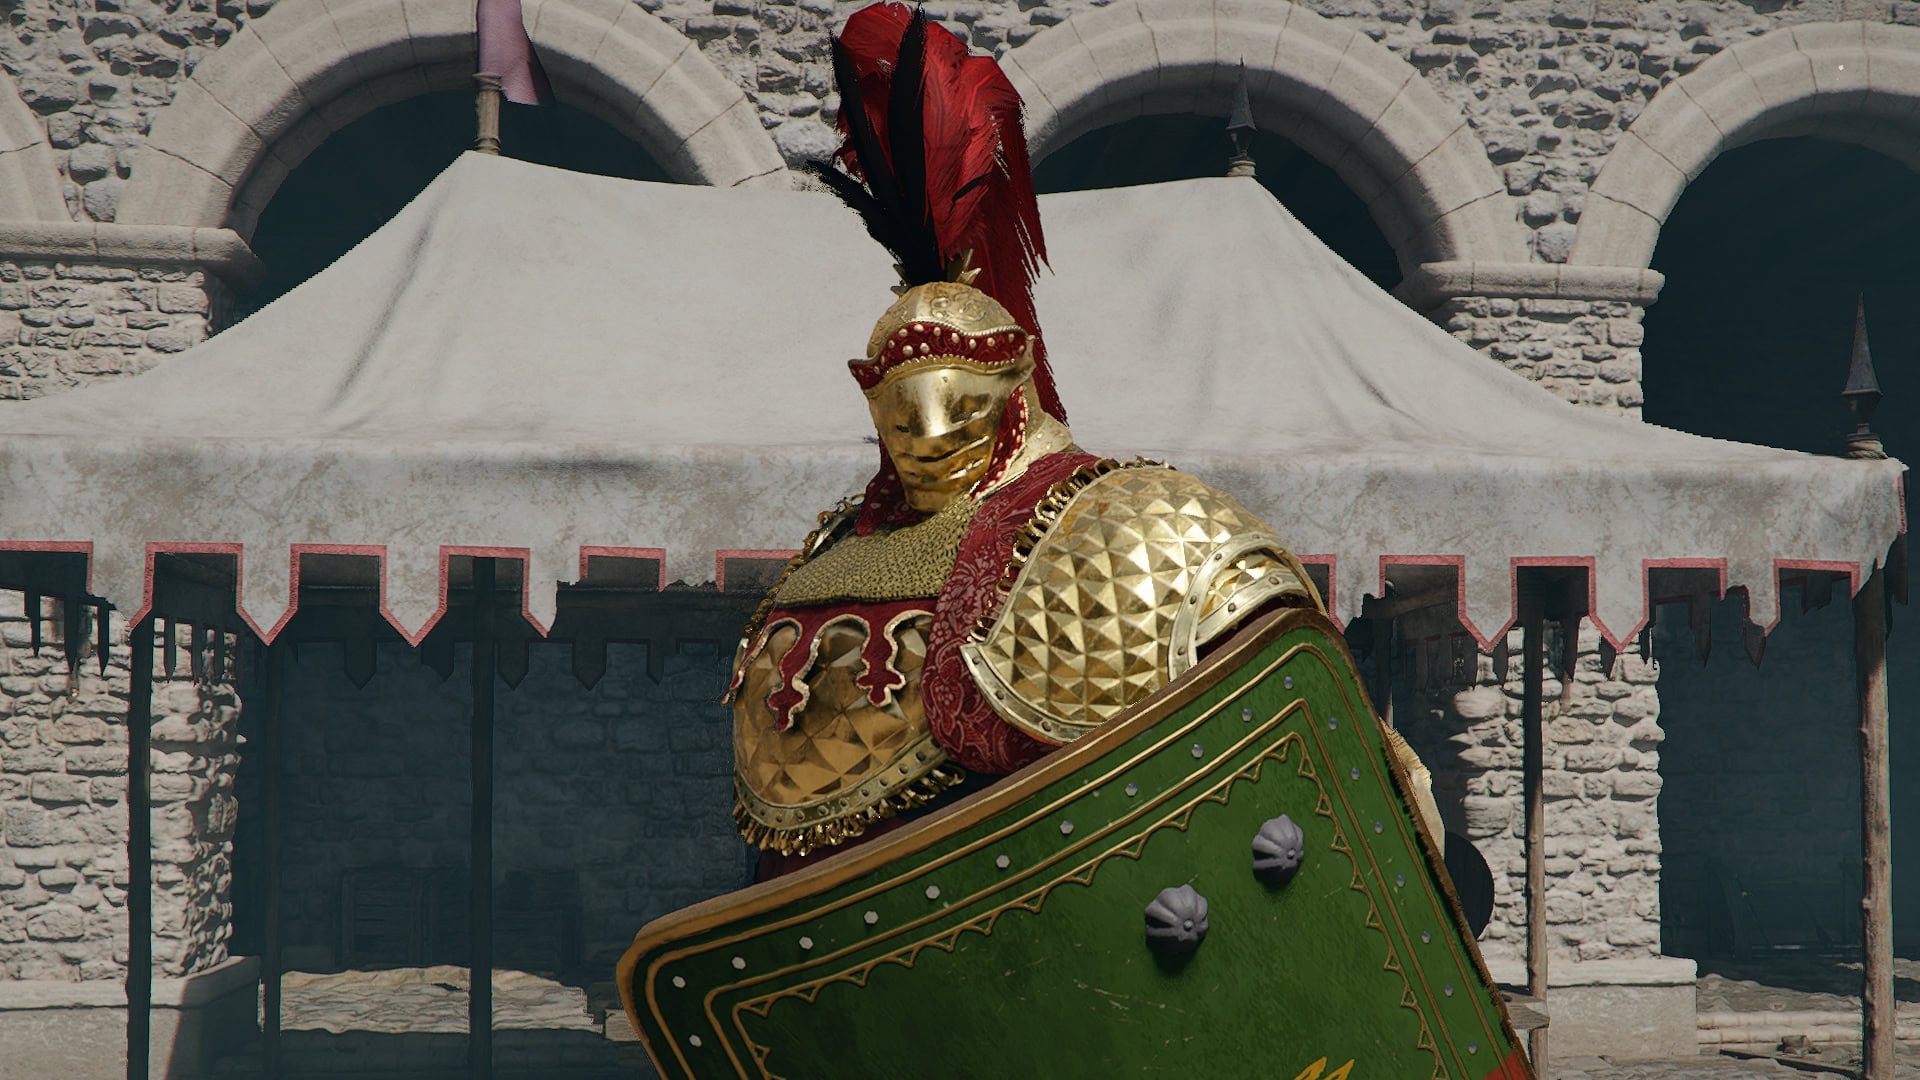
You’ll help Duke Wells retake his fort. This starts by destroying the Siege towers set up by the occupying forces. Then you’ll have to defeat Fontain, the Cursed Knight, to liberate the House Wells territories.
Following this, Duke Wells will suggest that Myurdin is likely to be with Duke Caliburn. He also points us towards Duke Caliburn’s Old office to possibly learn more about the event referred to as the Blood Coronation.
After you arrive and view the Memory Fragment, it will bring us downstairs. After listening to all the dialogue, Duke Caliburn will pull us out of the Visione Sequence and fight us. As a result, Kliff is rendered unconscious as he tries to escape and is saved by Maegu and Woosa
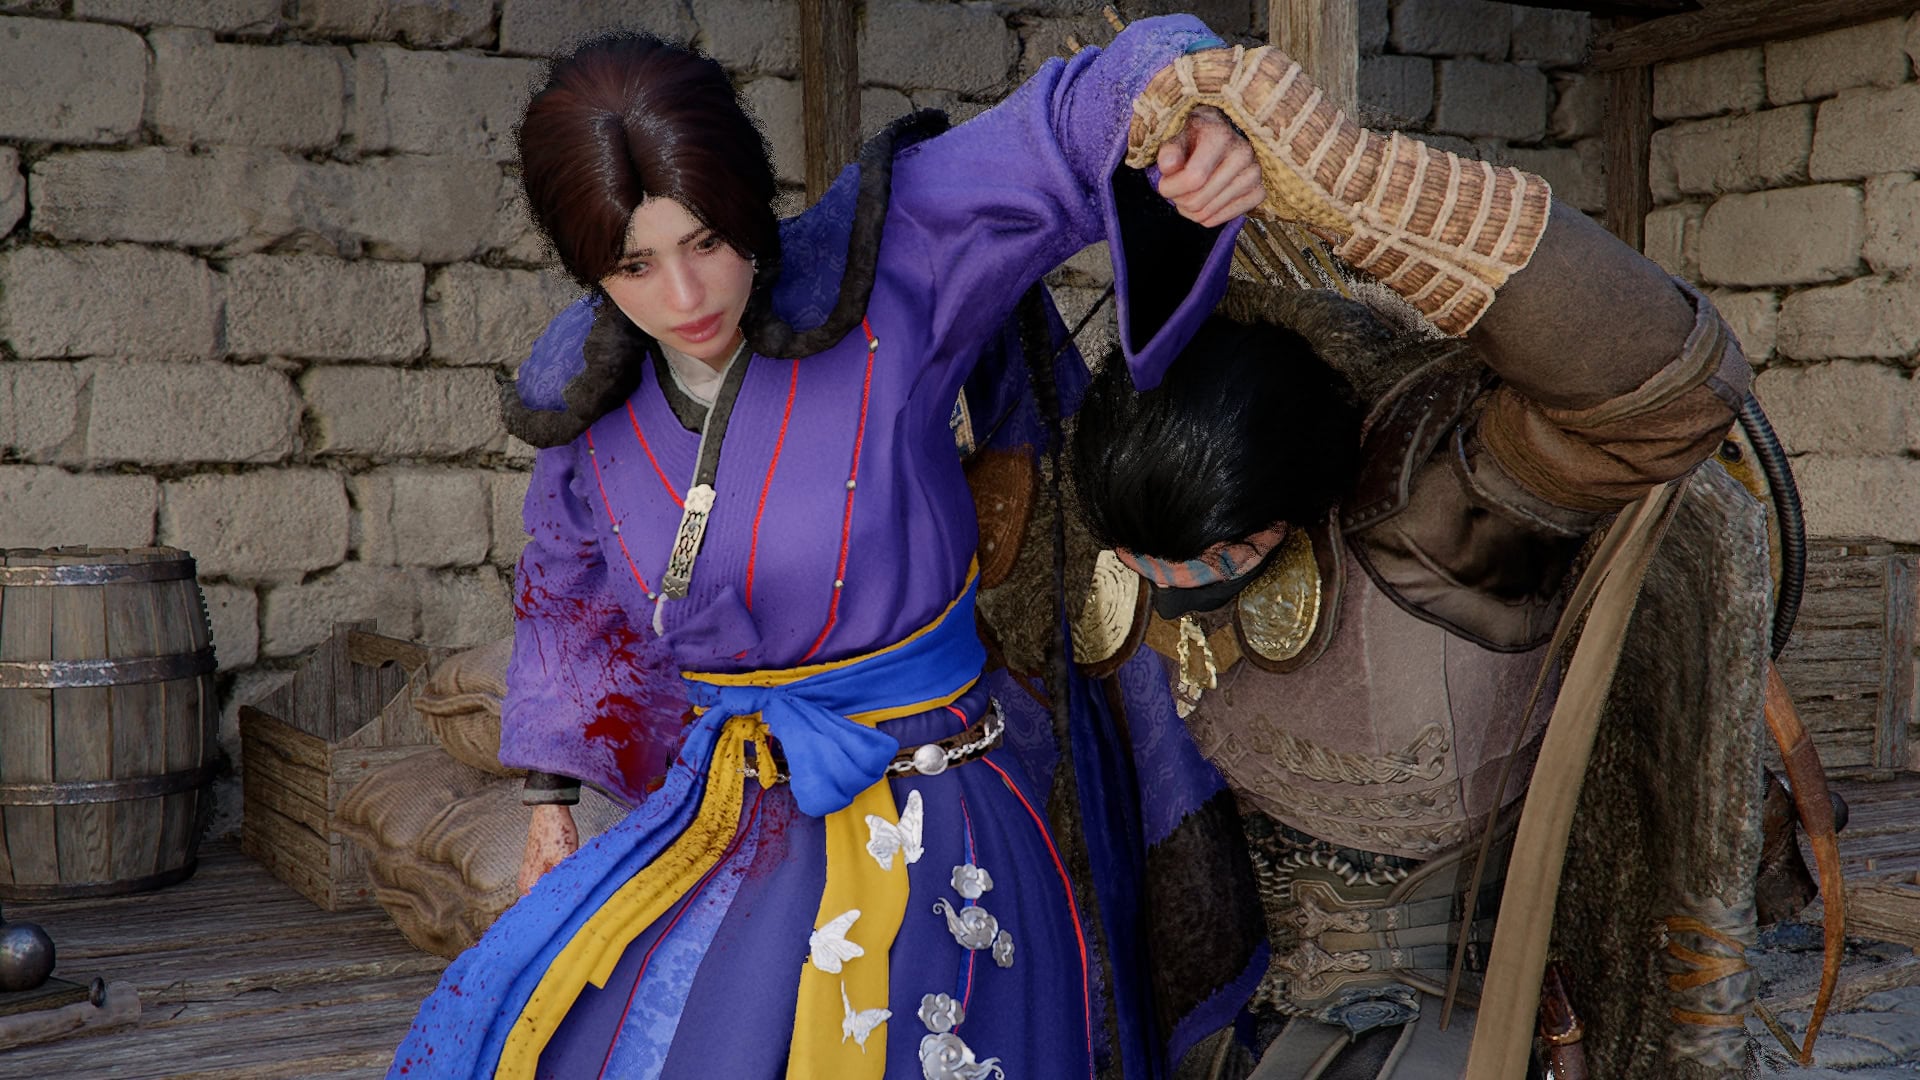
Traitor
Due to Kliff’s condition, this section forces you to play as Damiane, and she will remain available to play following this section.
Your first task while playing Damiane will be another stealth mission. While you can attempt this mission without stealth, the Demeniss guard will constantly tackle you in combat, preventing you from attacking and throwing you out outside the walls if you miss the timing to kick them off.
Stick to the roofs and make your way to the marked building on the map. It’s way over in the corner, so you can just scale the wall to avoid guards entirely. Once here, you’ll use the go-to breaking and entering strategy of using an unguarded second-floor window.

Make your way downstairs and assassinate the guard as the desk and continue past him to the trap door in the next room. Head down to the underground prison where you will discover that Damiane’s Swordmaster, Beatrice Azerian, has been murdered.
After some tears, you’ll need to escape. There’s no need to fight here if you don’t want to. It’s better to run and save supplies for the fight ahead.
You’ll need to track down Bastier, the man who murdered Beatrice Azerian, and take revenge on him. This fight isn’t all too bad, especially if you learn Shield Watcher with Damiane, which can interrupt a lot of his patterns.
Once defeated, Kliff will have recovered, and you’ll be back to playing him for the next chapter.
Chapter IX – Sage of the Desert
The Calling
Once awakened thanks to the help of the Shai, you’ll need to speak with Maegu and Woosa. You’ll inform them of the voice you heard while unconscious, and they believe they know who it was and offer to help you reach them and teleport you to a cave that leads into the Crimson Desert.
You’ll need to follow the path north, and it will lead you to the Cloister of Enlightenment. Here, you’ll need to use Focused Force Palm on the core in the middle of the large statue. This can be done by climbing the statue to its chest or charging Focused Force Palm for a longer time to be able to hit the core from lower.
Then, revealing each of the messages on the smaller statue below will open each of the next four questlines below. These can be completed in any order you see fit, but are listed in quest list order below.
The recommended order (from easiest to hardest) is Shattered Ties, Veiled Witch, Thinning Blade, then Six Statues and the Beast. This is based on the difficulty of the bosses in each section
Shattered Ties
To start this quest, you’ll need to head to the Great Wall of Urdavah, specifcally it’s upper level. Make use of the stairs and the elevators here to reach the top.
On the cliff next to the top of the wall here is an injured dragon. It will flee upon your arrival and begin flying around the area. You’ll need to jump from the Great Wall of Urdvah and grab on with Axiom Force or by simply landing on its back.
Don’t worry if you miss the landing. Holding the pause button will reset the Dragon to a position where you can try again. You can repeat this as many time as you need.
While on the dragon, you’ll need to hold on until you can use Focused Force Palm to knock the spears loose. This is mostly a waiting game, but you will need to resist being thrown off when the dragon decides to really try and knock you off. Otherwise, conserve stamina for when this situation comes up.
Once Freed of the spears, the dragon will fly off to recover. Sadly, no dragon mount just yet.
Thinning Blade
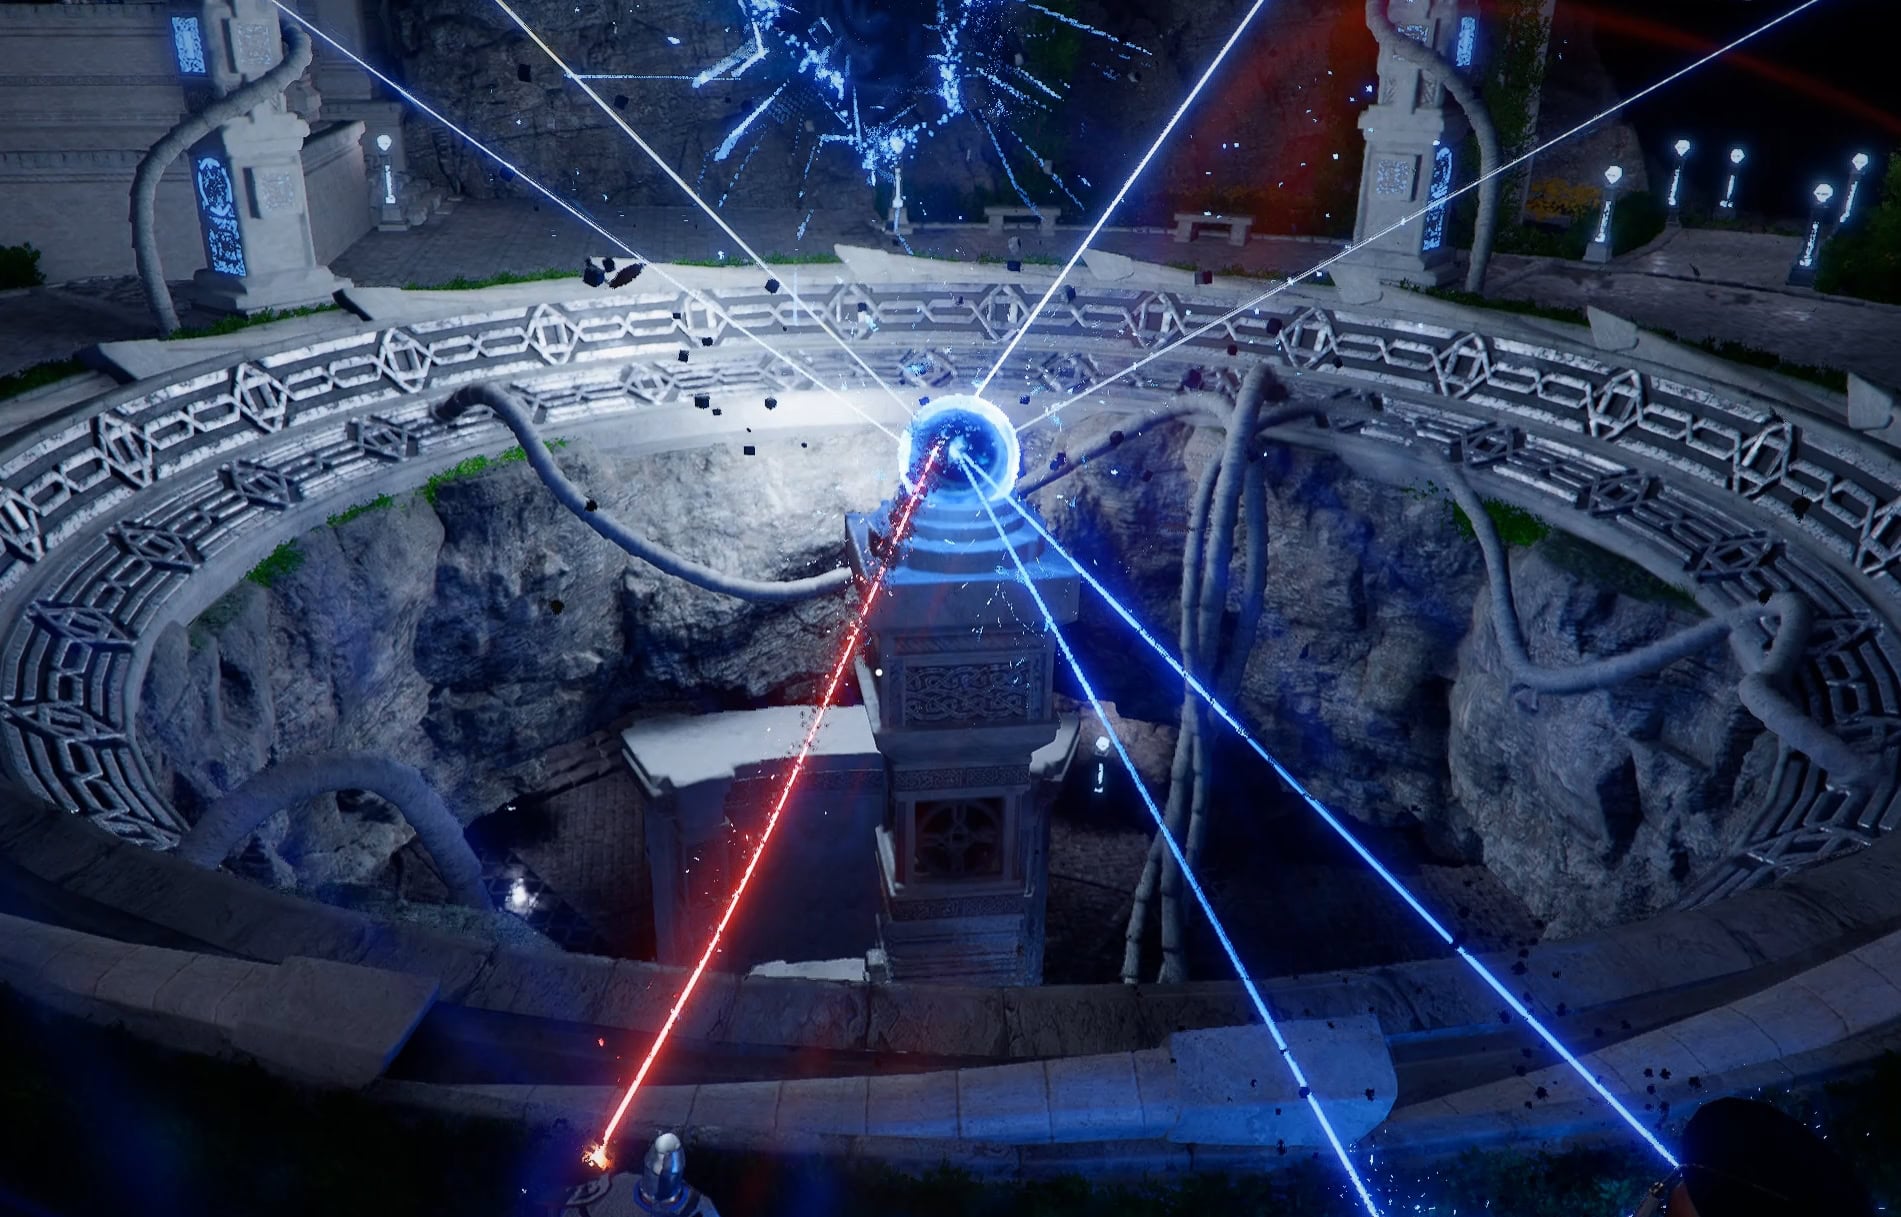
Thinning Blade begins heading out to the Spire of the Sun. Here you’ll need to solve a series of laser puzzles to open and ascend the spire and reach the Abyss beyond.
Once in the Abyss, you’ll face off with Goyen in the Nest of Valor, an older guy who shares a resemblance to the Greymanes.
As long as you’re patient, this fight can be very easy, with his most dangerous attacks being a series of unblockable overhead swings and a Meteor Kick that can potentially one-shot you.
You can learn the Meteor Kick Skill yourself, but you will need to observe the skill happening in the fight.
After defeating him, make sure to also check the small cave to the side of the arena to pick up the Legendary Sword, Fated Shadow. If you’ve been using Swords and don’t have a sword that has been upgraded past 4 or 5, this will be a big upgrade.
Feel free to also complete the remaining Abyss Puzzles linked to this location, but they are not required for progression of this chapter.
Six Statues and the Beast
To start this quest, you’ll need to head to Jijeong Temple, located in the Serpent Marsh. On arriving, you’ll need to speak with the Chief Monk here, and he’ll request that you visit and fix any damage to the statues in the area.
Upon visiting the first statue, a scene will play out where you are confronted by a mysterious monk wearing a mask. After this scene, he will leave, and you can repair the statue with Axiom Force and Force Palm.
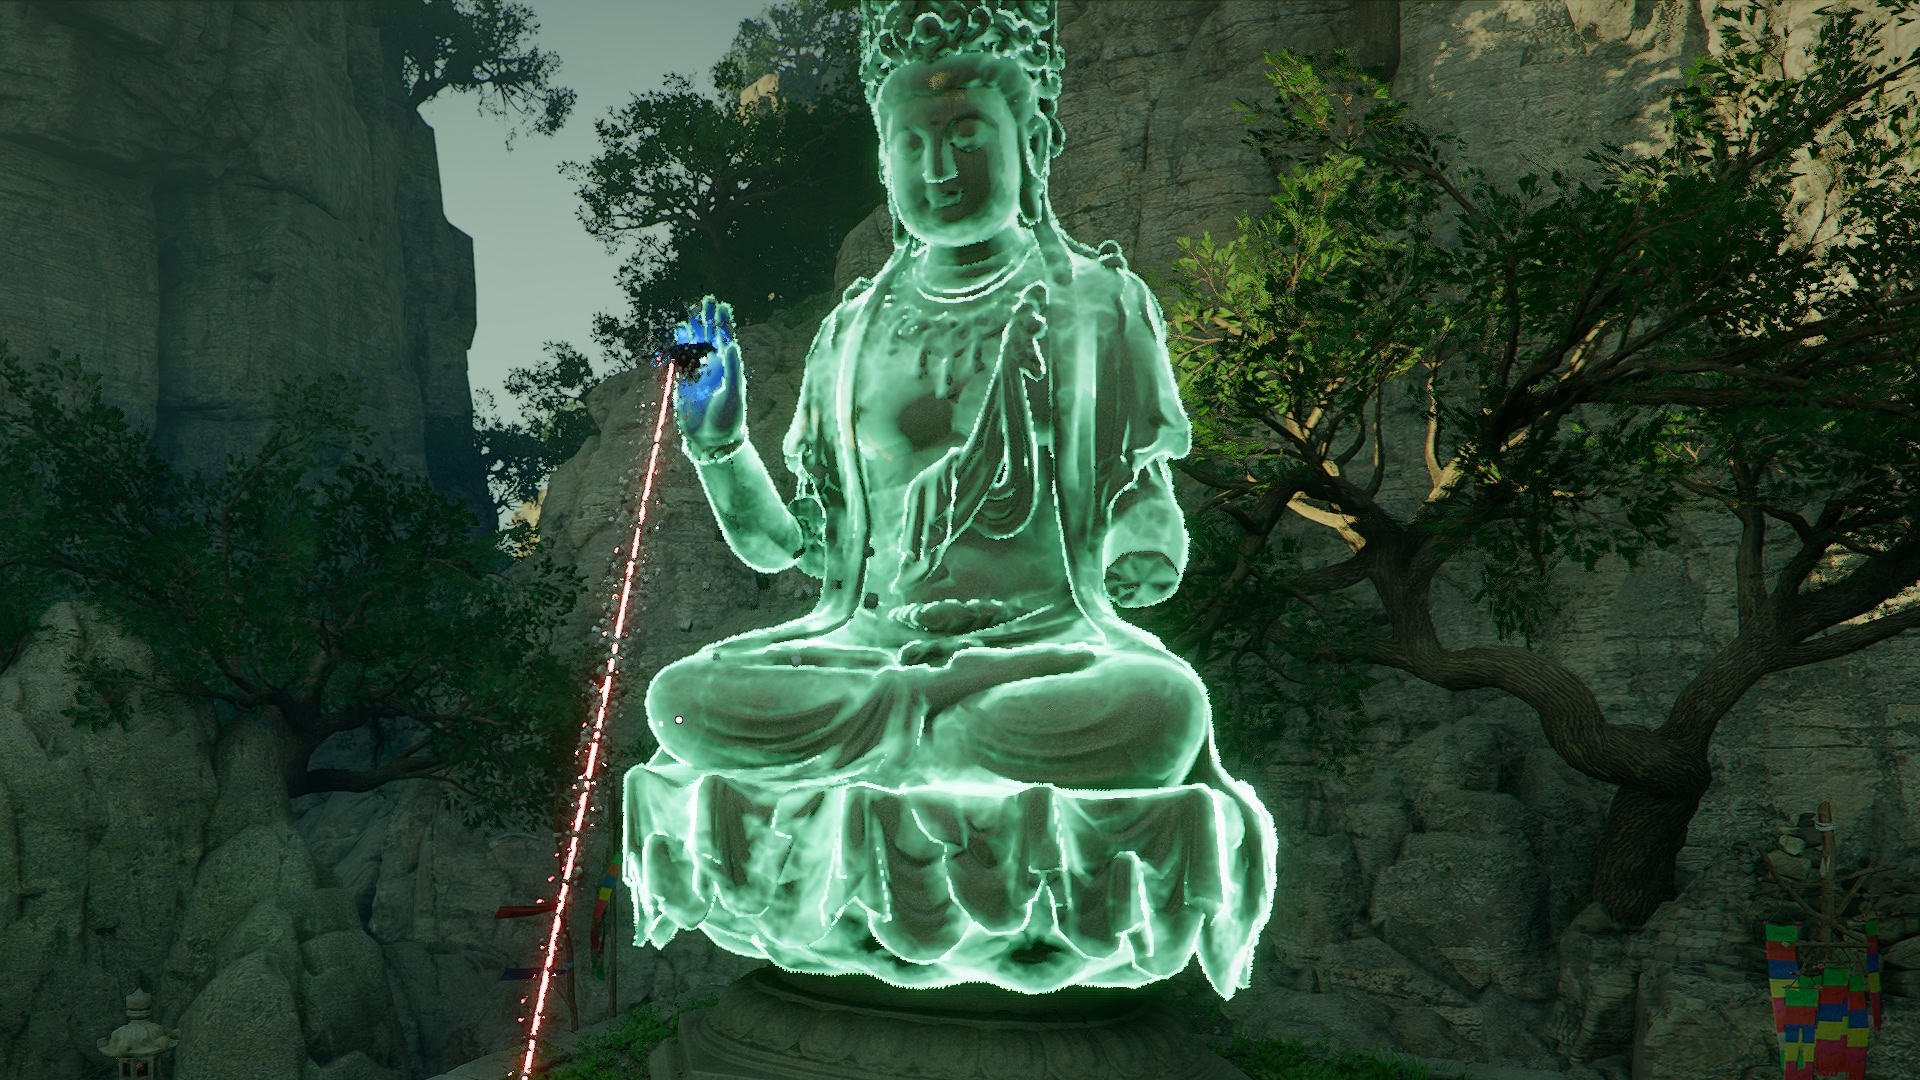
This will open a path toward a second statue, where you’ll need to repeat this process. The one final time, a path will open to another statue to fix. Once done, you’ll need to report back to the Chief Monk, who has moved to the Cliff Edge Altar.
The Chief Monk will insist you complete the Path of the Disciple, which is a series of three timed obstacle courses. Each of these will award an Abyss Artifact upon completion, giving a small boost just before the boss of this questline, T’rukan.
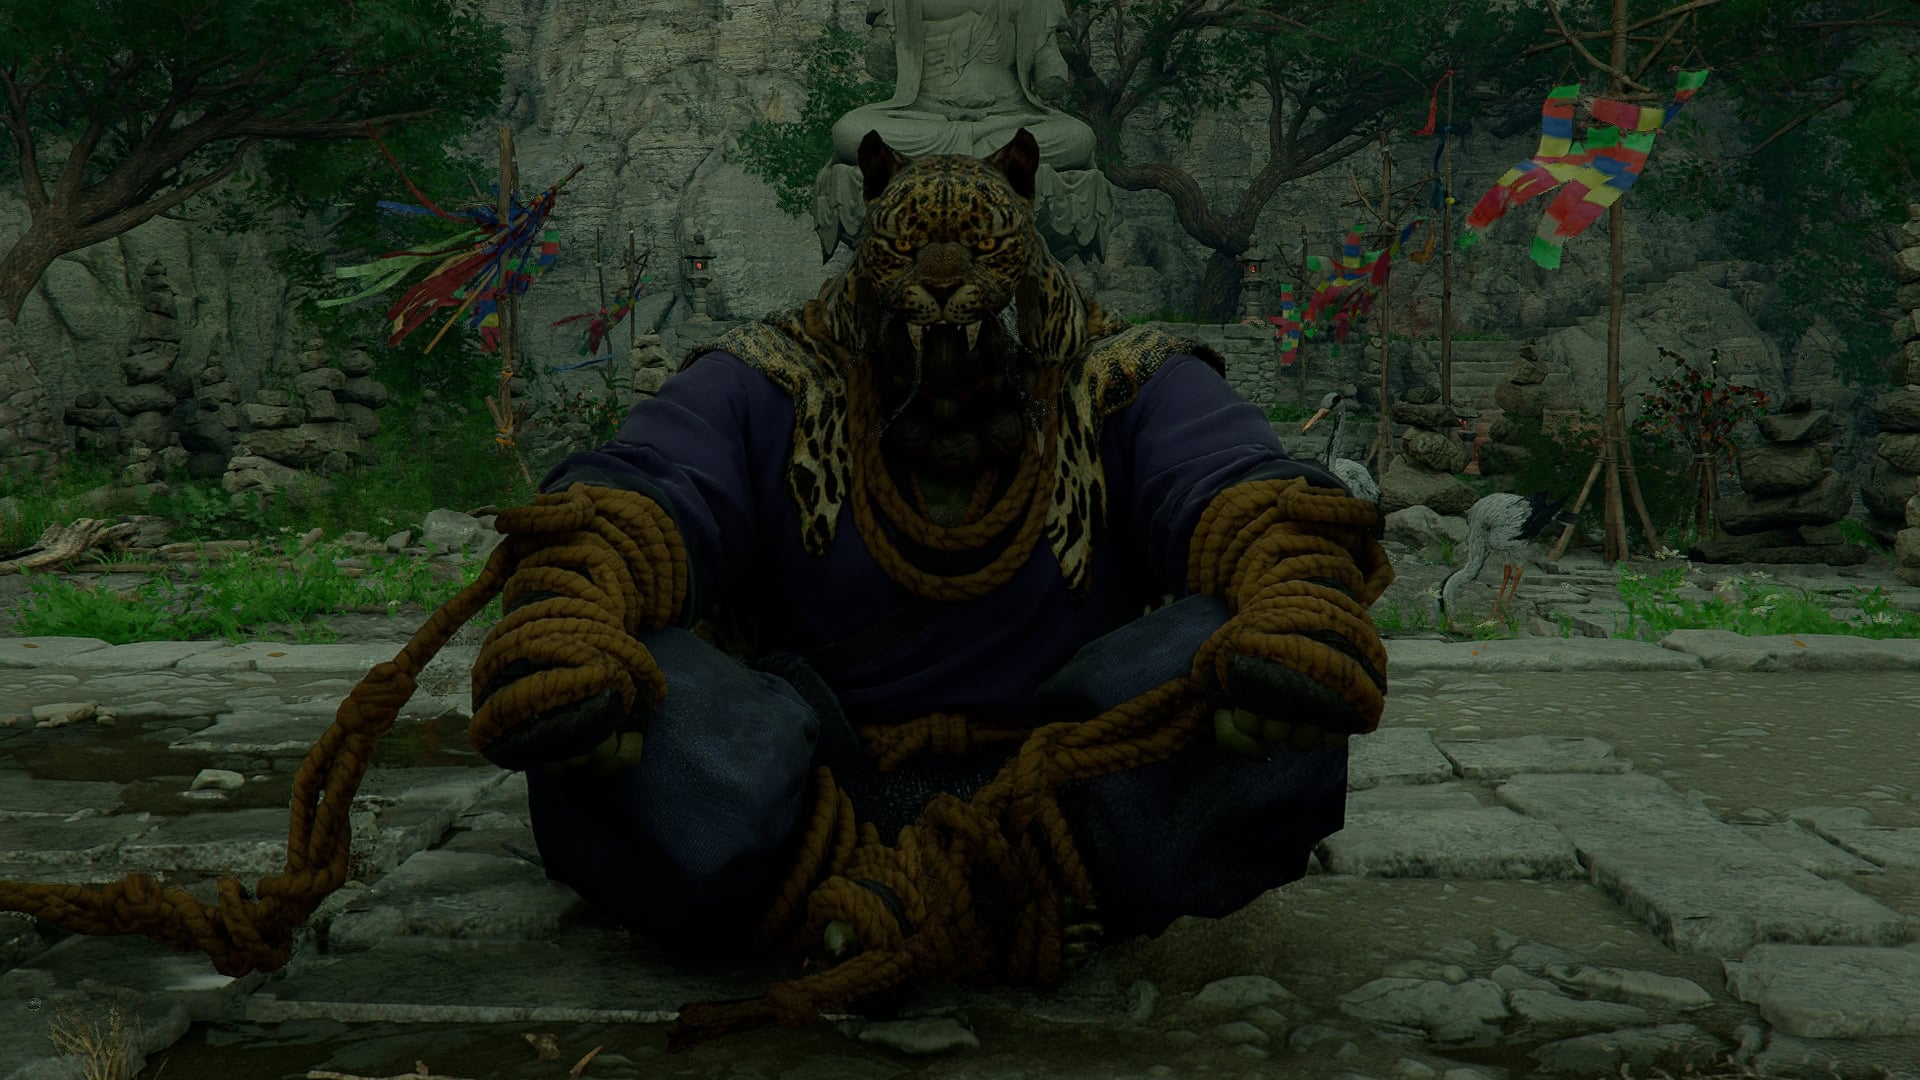
T’rukan the Ascended is by far one of the hardest bosses you will have fought up to this point. Compared to many other bosses, his attacks are quick and powerful. This makes him much harder to fight in an honest one-on-one in melee range. You’re better off using powerful Abyss gear skills like Ground Surge to quickly build up his stun meter.
Upon defeating T’rukan, you’re not done quite yet, as you’ll need to head to the Pagoda on the peak of the mountain to enter an Abyss Gate and complete the Ascetic’s Rest puzzle within to finish this chapter.
Don’t miss the Refined Palmar Pill Alchemy Formula near the end of this Abyss area.
Veiled Witch
The Veiled Witch questline will start by visiting a Sorcerer located in Tariv. They’ll request you to cleanse the Sanctum of Mortification to keep Hexe Marie from having control over it.
After clearing the sanctum, you’ll need to head to the areas near Tariv that are controlled by Hexe Marie’s earthen soldiers. Fight your way to the Totems located in each area and destroy them with Charged Shot, Turning Slash, or Nature’s Retribution. Hexe Marie will appear at each attempt to stop you, to no avail.
You’ll finally face off with Hexe Marie, the Black Witch, by far one of the easier bosses of the chapter if played patiently.
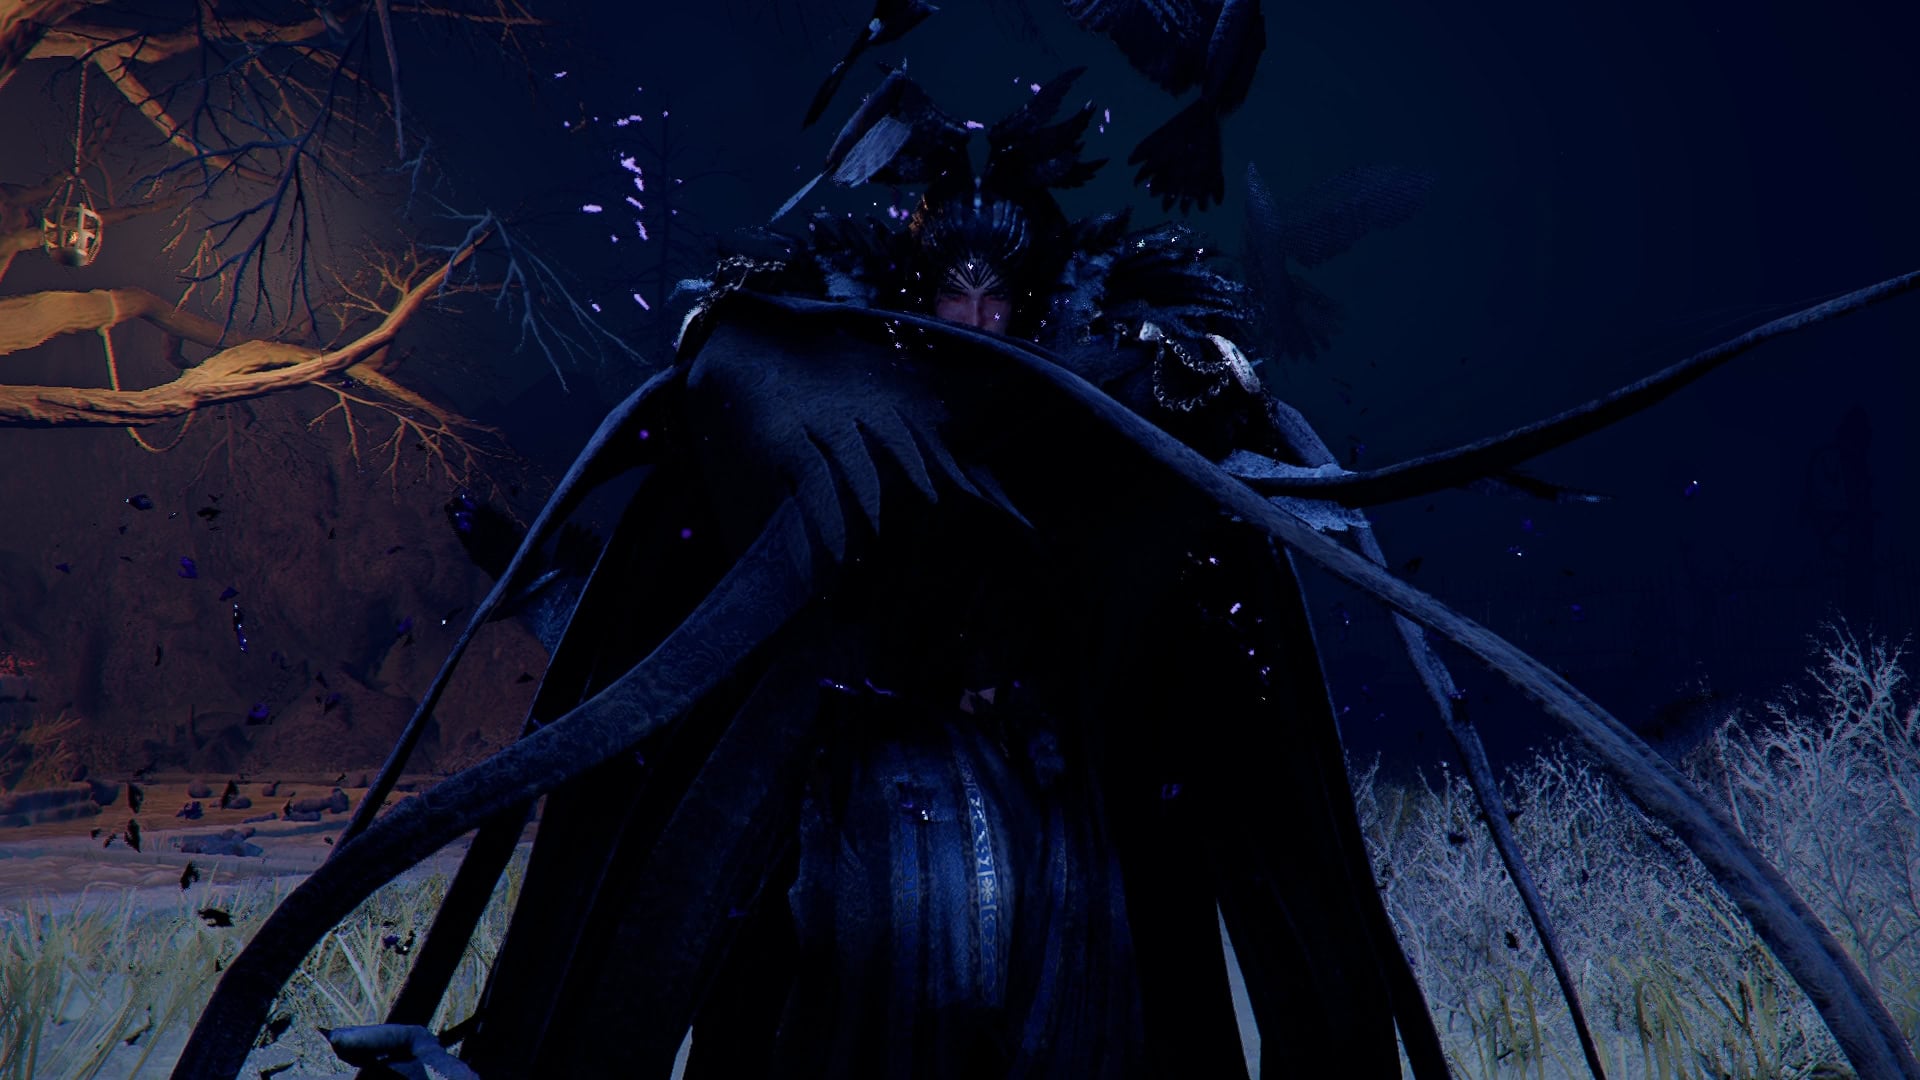
Since the majority of her attacks are projectile attacks, you can use Nature’s Snare to stop them and Nature’s Retribution to turn them back on her to great effect. She’ll also summon minions during this fight, but they’ll also block and protect you from her projectiles as well.
Enlightenment
With all four of the previous sections are complete, it’s time to return to the Cloister of Enlightenment. You’ll be called to the back of the cloister, where you’ll need to press on three doors until they turn gold and open.
Within the inner chamber is the Master Du, the Sage who has been guiding you this entire time. This fight is quite easy, compared to the other of the Chapter, as all of his attacks are extremely telegraphed. He does get a bit faster in the second phase, but not by much, outside of his attack, where he’s immune to damage.

Following this spar to prove yourself, he’ll lead you back to the Spire of the Sun and into the Throne of Truth, the puzzle immediately following the Nest of Valor, where you fought Goyen.
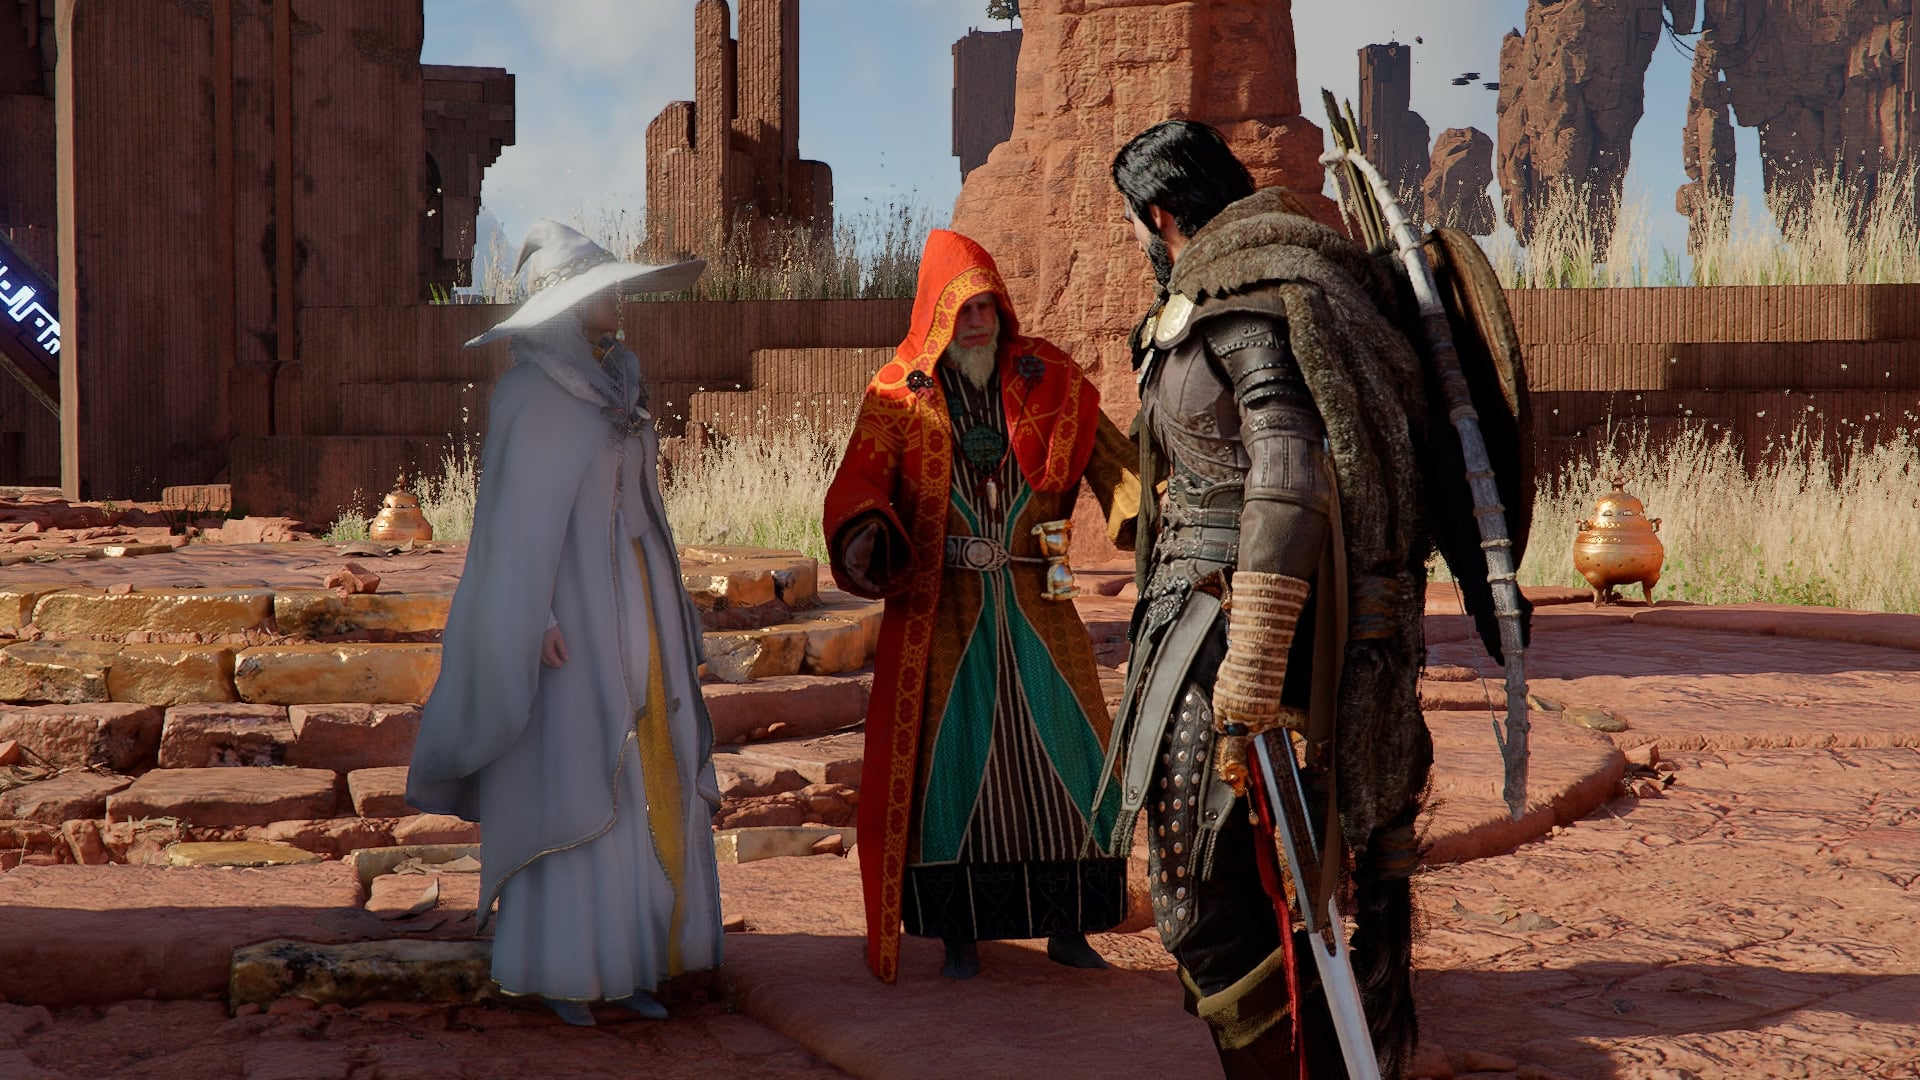
Here, Master Du, Alustin, and White Crow explain more in depth what the Abyss is and how it maintains the balance of the world. They also explain why your foes seek the power of the Abyss and the potential outcome of them claiming that power.
With that knowledge, you’ll return to your allies at Howling Hill to convey the plan to them. They agree upon a plan of a joint counterattack against Duke Caliburn, and spear out to make sure your allies meet us at the rallying point suggested by Damiane.
Chapter X – Counterattack
Secret Weapon
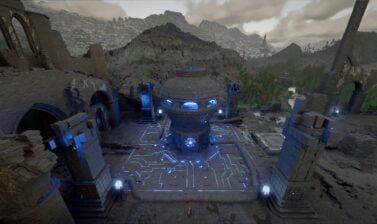
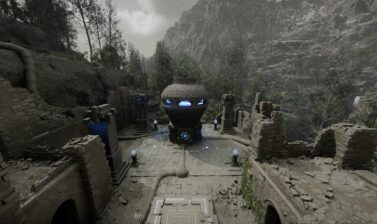
After rallying at the outpost outside Fort Musket, Stefan Landofrd will inform you that he has not gotten word from the Delesyian Weaponsmith, Valgash. He requests that you to check out the situation as to why nothing has been heard back.
Head to the Gate of Peace on the Demeniss-Deleysia Border. Once you head up top, you’ll immediately notice the gate is being heavily swarmed by Clockwork Insects. Speaking with Orb Captain here will have him request that you activate the disruptor at the top of the tower.
The clockwork insects here will self-destruct after being defeated. Take caution to avoid damage from the explosions.
With the Disruptor activated, most of the Clockwork Bugs flying around the Gate will be disabled, and the orc Cpatian will point you towards Valgash. There are still plenty of clockwork insects attacking soldiers as you make your way to Valgash.
Do not bother fighting the Clockwork insects here. You’ll only be wasting resources and healing.
Once meeting with Valgash, he’ll lead you to Zagran Tankworks, where he’s been working on a secret weapon to deal with the bugs. He’ll ask that you speak with Marek, who has been in charge of testing a weapon to help with the immediate problem plaguing the Gorthak Ironworks.
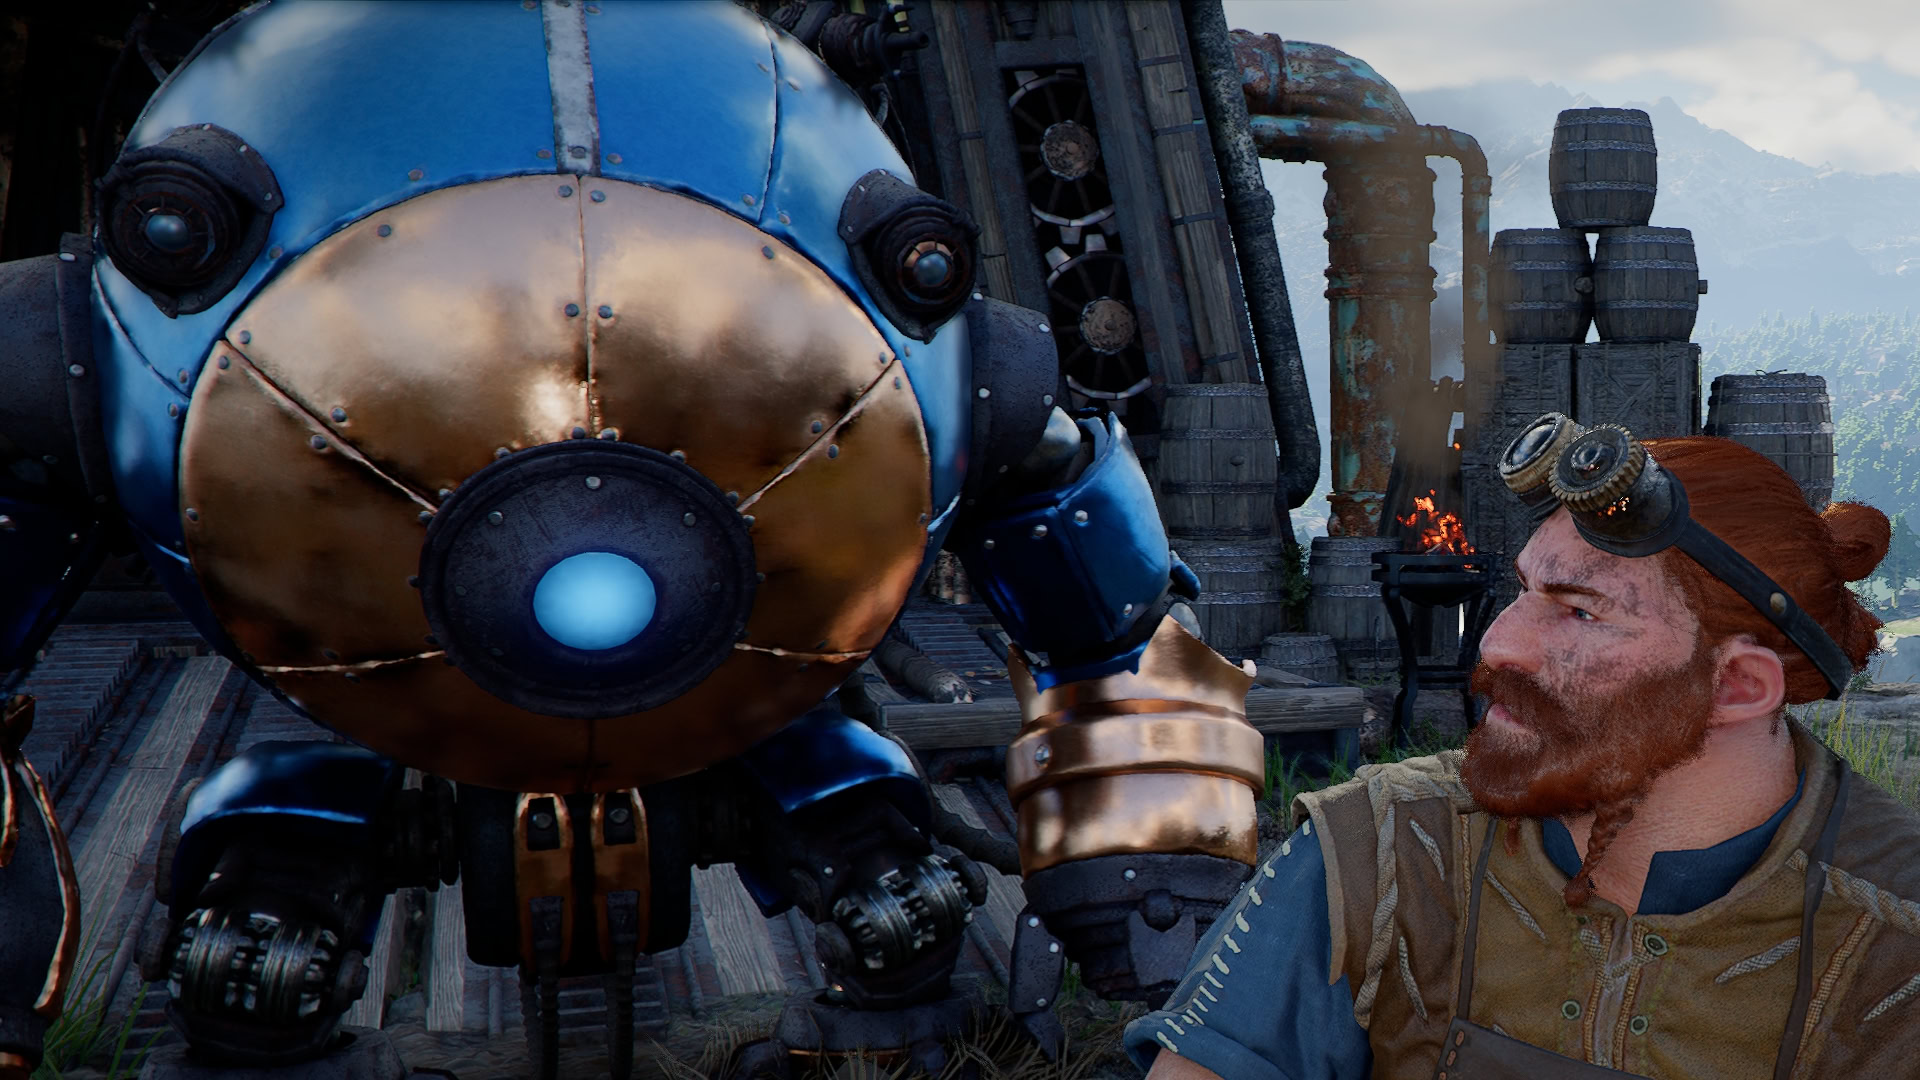
This weapon is none other than the A.T.A.G Mech, which we’ll be given the opportunity to pilot. This is the main reason to conserve resources earlier, as this mech will easily tear through the Bugs and make quick work of liberating the Gorthak Ironworks.
Greater Firepower
Following the liberation, Valgash will lead us to the power plant, which he says will provide enough power to activate their potentially war-ending weapon.
Here, you’ll need to activate the power plant’s energy source. This requires pulling a lever to activate the gas release, kicking a button, and then pulling the ignition lever to fire up the power plant.
Following this, a swarm of Clockwork Insects will start trying to attack the power plant. So you’ll need to do a bit of tower defense using the A.T.A.G Mech to prevent them from destroying the power plant.
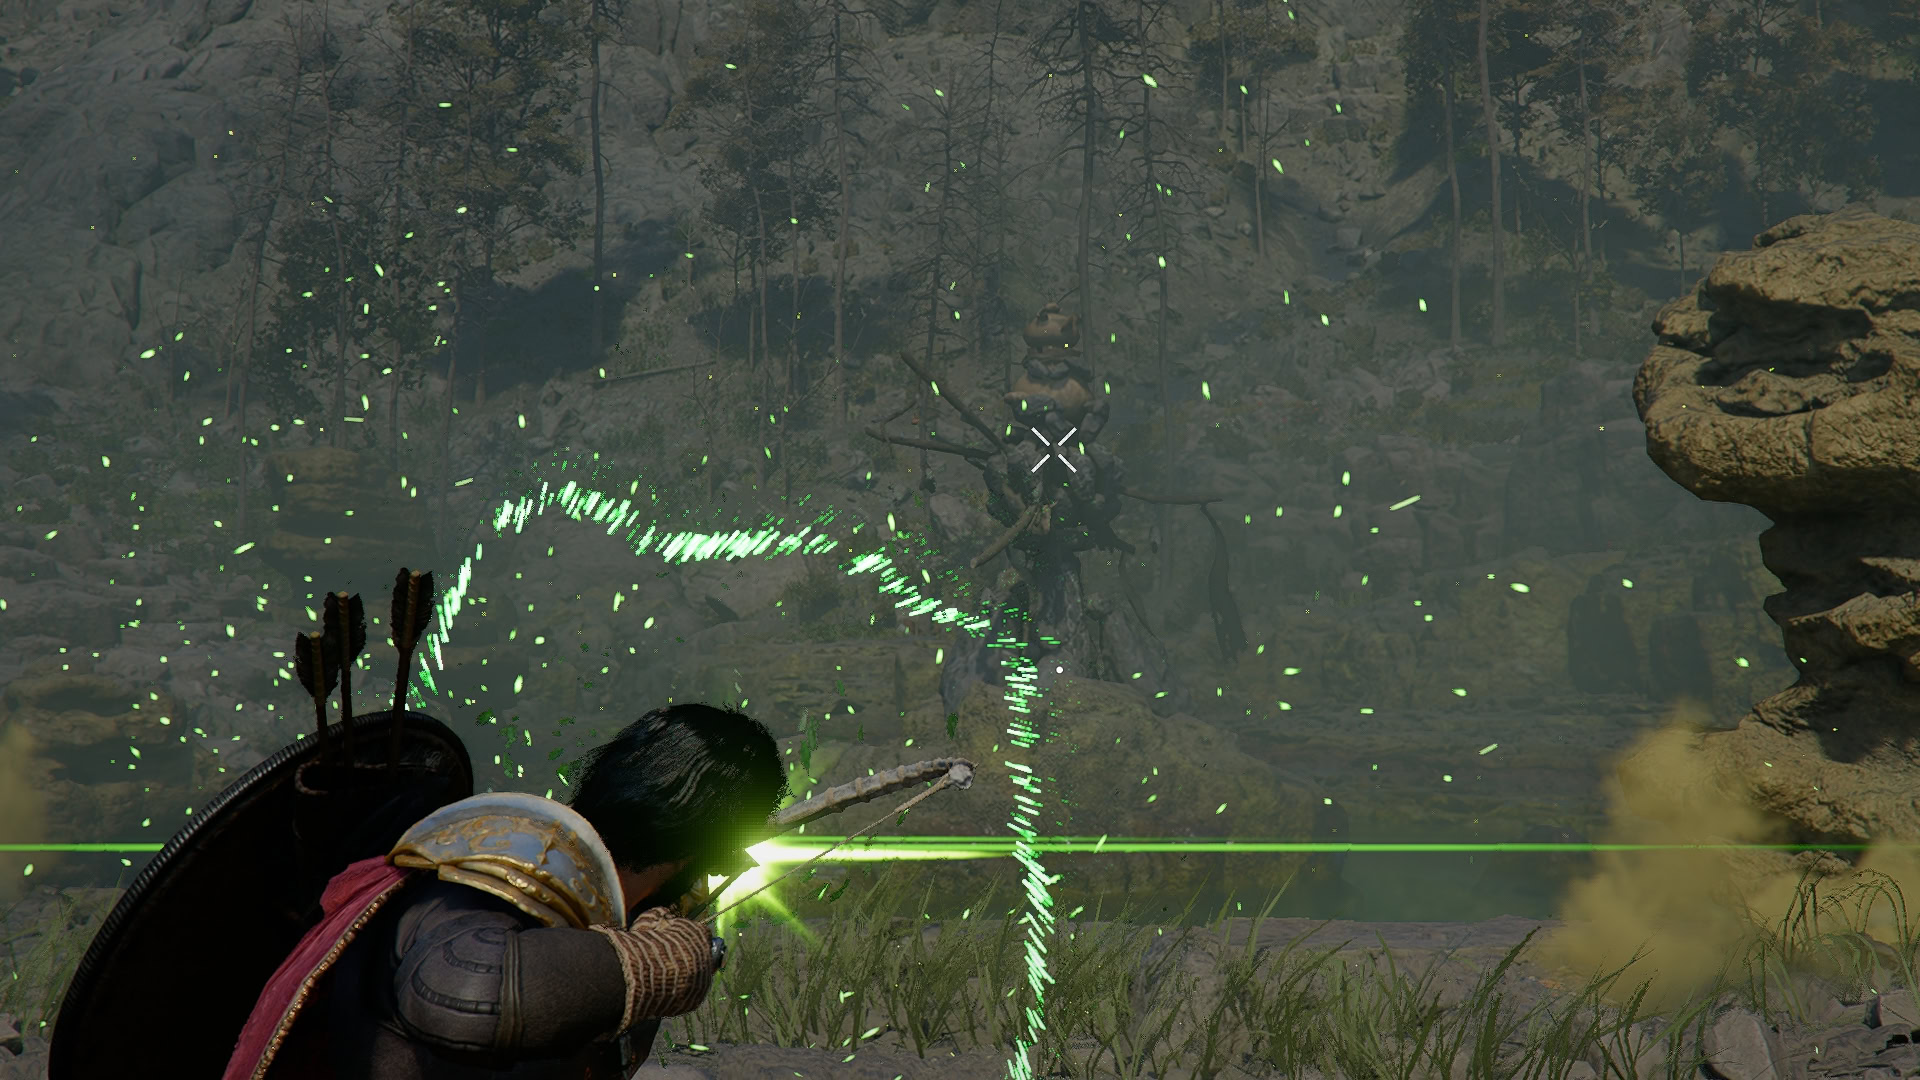
Focus on defeating the dragonflies flying directly at the power plant. These deal heavy damage, dealing the majority of the incoming damage.
With the power plant defended, you’ll need to operate the giant anti-air cannon and shoot down two galleons. Upon the second being destroyed, an unknown object crashes to the ground from it, and you’re tasked to investigate.
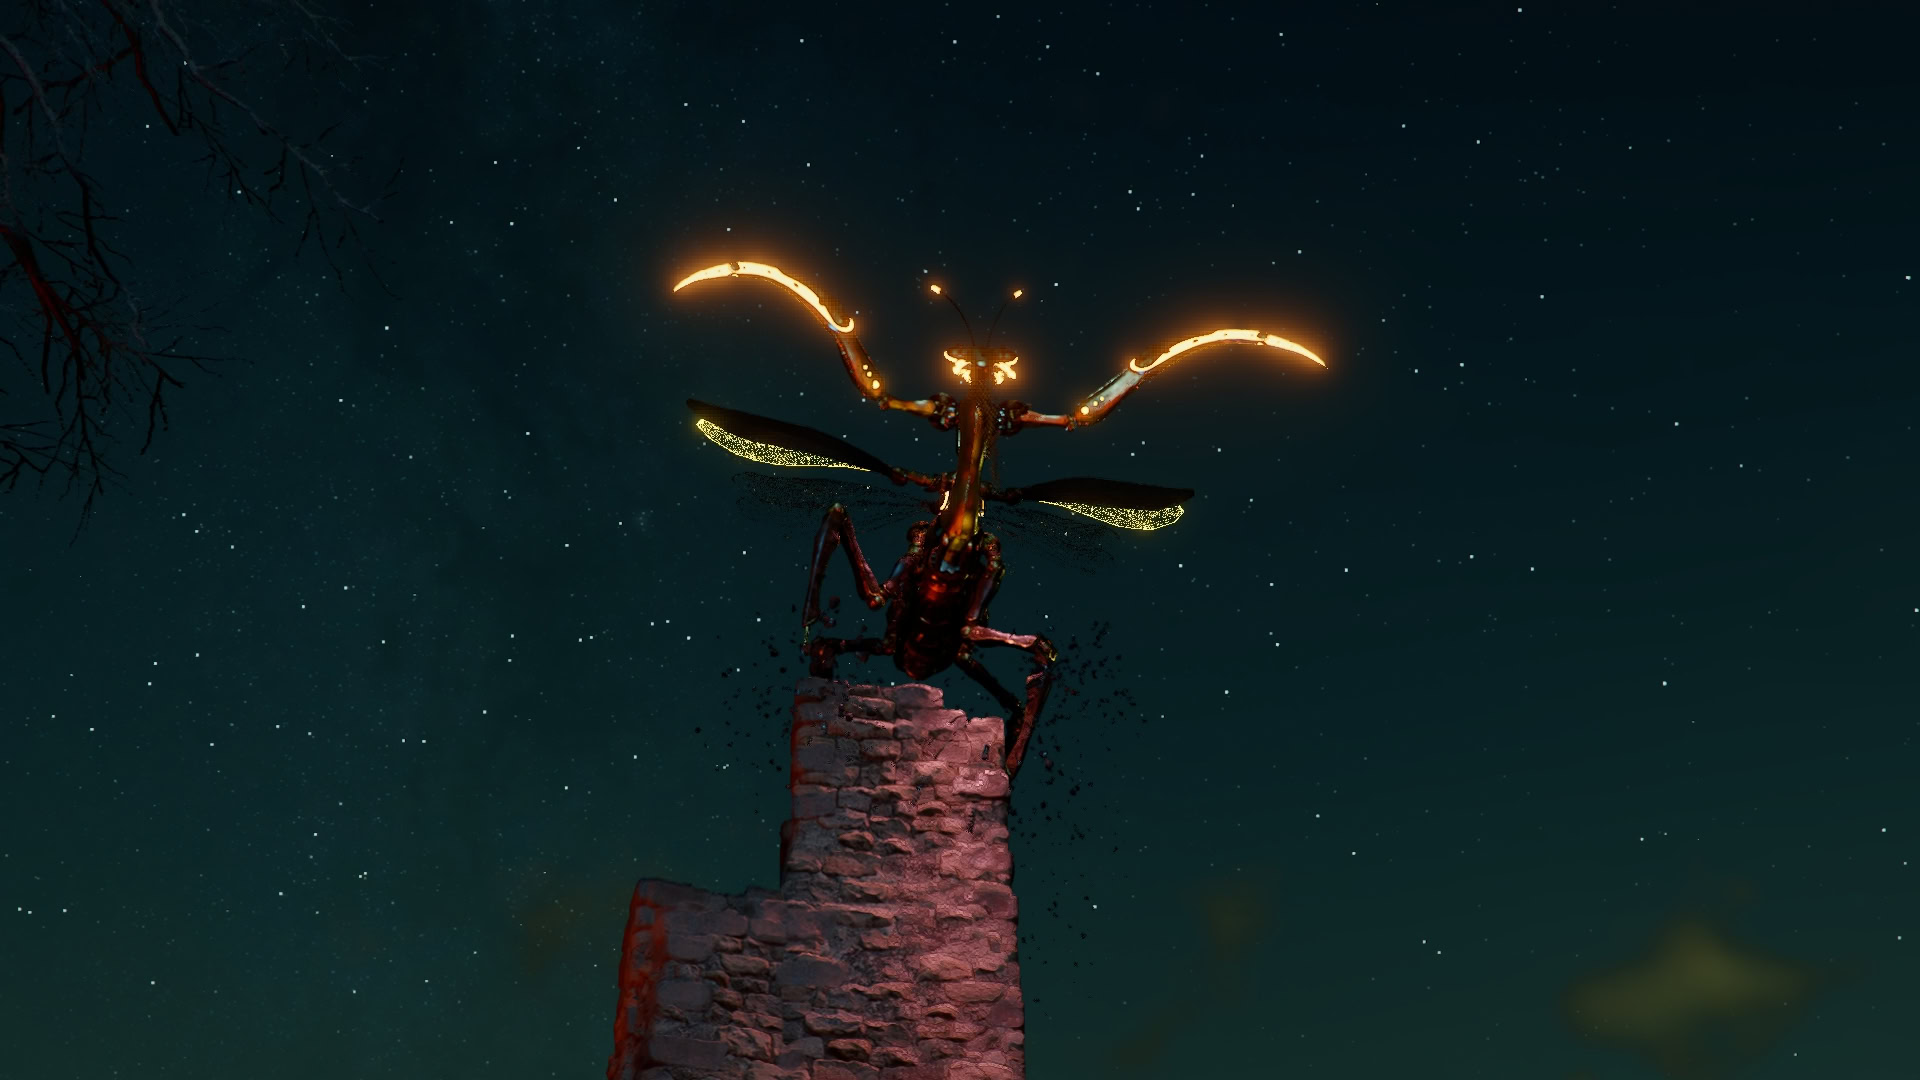
Upon getting closer, you’ll get attacked by Marni’s Clockwork Mantis. This boss uses a mix of melee and ranged attacks that are both dangerous. The melee attacks are pretty well telegraphed, so they can be easy to parry with a little practice. Its ranged attacks are incredibly dangerous and need to be caught by Nature’s Snare, as they can burst you down very easily.
After defeating Marni’s Clockwork Mantis, return to the power plant and speak with Valgash. You’ll need to follow him on horeseback while he explains that these were made by Marni, who used to create helpful devices rather than tools of war. He’ll suggest visiting Marni at Delesyia Castle as your path forward.
Chapter XI – Truth and Reality
Brave New World
Upon arriving in Delesyia, you’ll have noticed that almost everyone here has a Visione on. You’ll also need to wear your own Visione to even approach Delesyia Castle.
The Marni here in Delesyia Castle is quickly revealed to not be quite what he seems, dropping you into a dungeon below the castle using powers from the Abyss.
In this small dungeon, you’ll need push the handle on the large machine to the left, revealing a puzzle that solve and activate the Visione.
To do this, both of the clock hand needs to click into place at roughly the same time. The clock hands will always stop at the same location, so you can stop just before that after they reset to make it easy.
Upon doing so, you’ll enter a Visione sequence, in which the real Marni will explain that the Marni here in Delesyia Castle is actually an Advanced AI he created and has called H.A.L.L. before asking you to use the transporter hidden away here to reach the manor that holds another special transporter.
Before ending the Visione Sequence, you’ll need to step into the new section of the room, as the wall behind you has disappeared, or you’ll have to redo the puzzle again to get back in.
This is the first instance of Visione being used as part of a puzzle
Once exiting Visione, head through the door and the teleporter beyond. This will send us to a shed far to the south. Upon exiting the shed, the manor we’re headed to will be right in front of us.
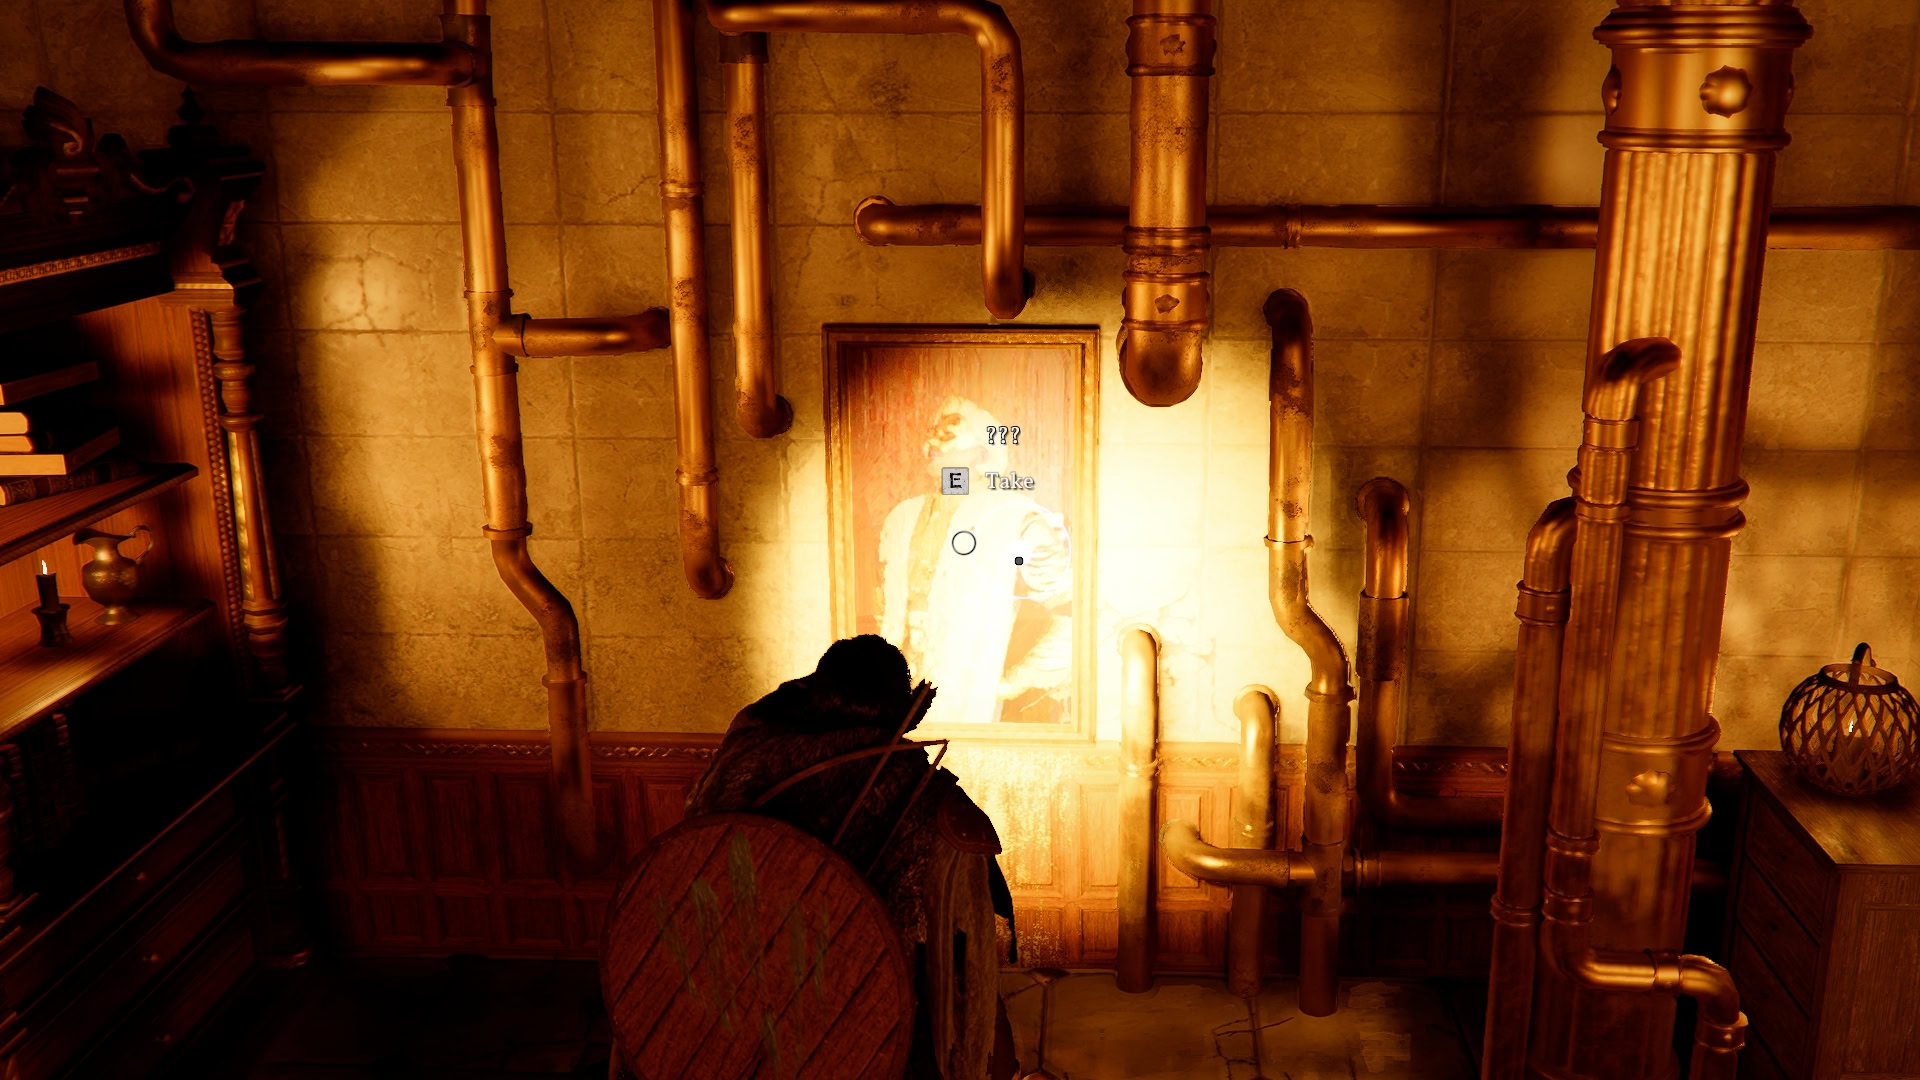
Inside the manor is another Visione Information Input Device with a similar puzzle to the last, this time hidden behind a painting.
Much like the dungeon we were in, there are walls, doors, and even stairs we can only access in or out of the visione. As Marni tells us, we’re doing this to access yet another teleport, which also has three keys we’ll need to acquire to access his hideout.
After activating the first Visione, head through the door to the left and continue through the series of doors until you reach a dead end. End the Visione and walk through the now accessible door to the next room. Here, you’ll need to re-enter the Visione using the Visione Information Input Device in the corner near the broken stairs. Head up the stairs and follow the series of doors to the right, going in and out of Visione as needed.
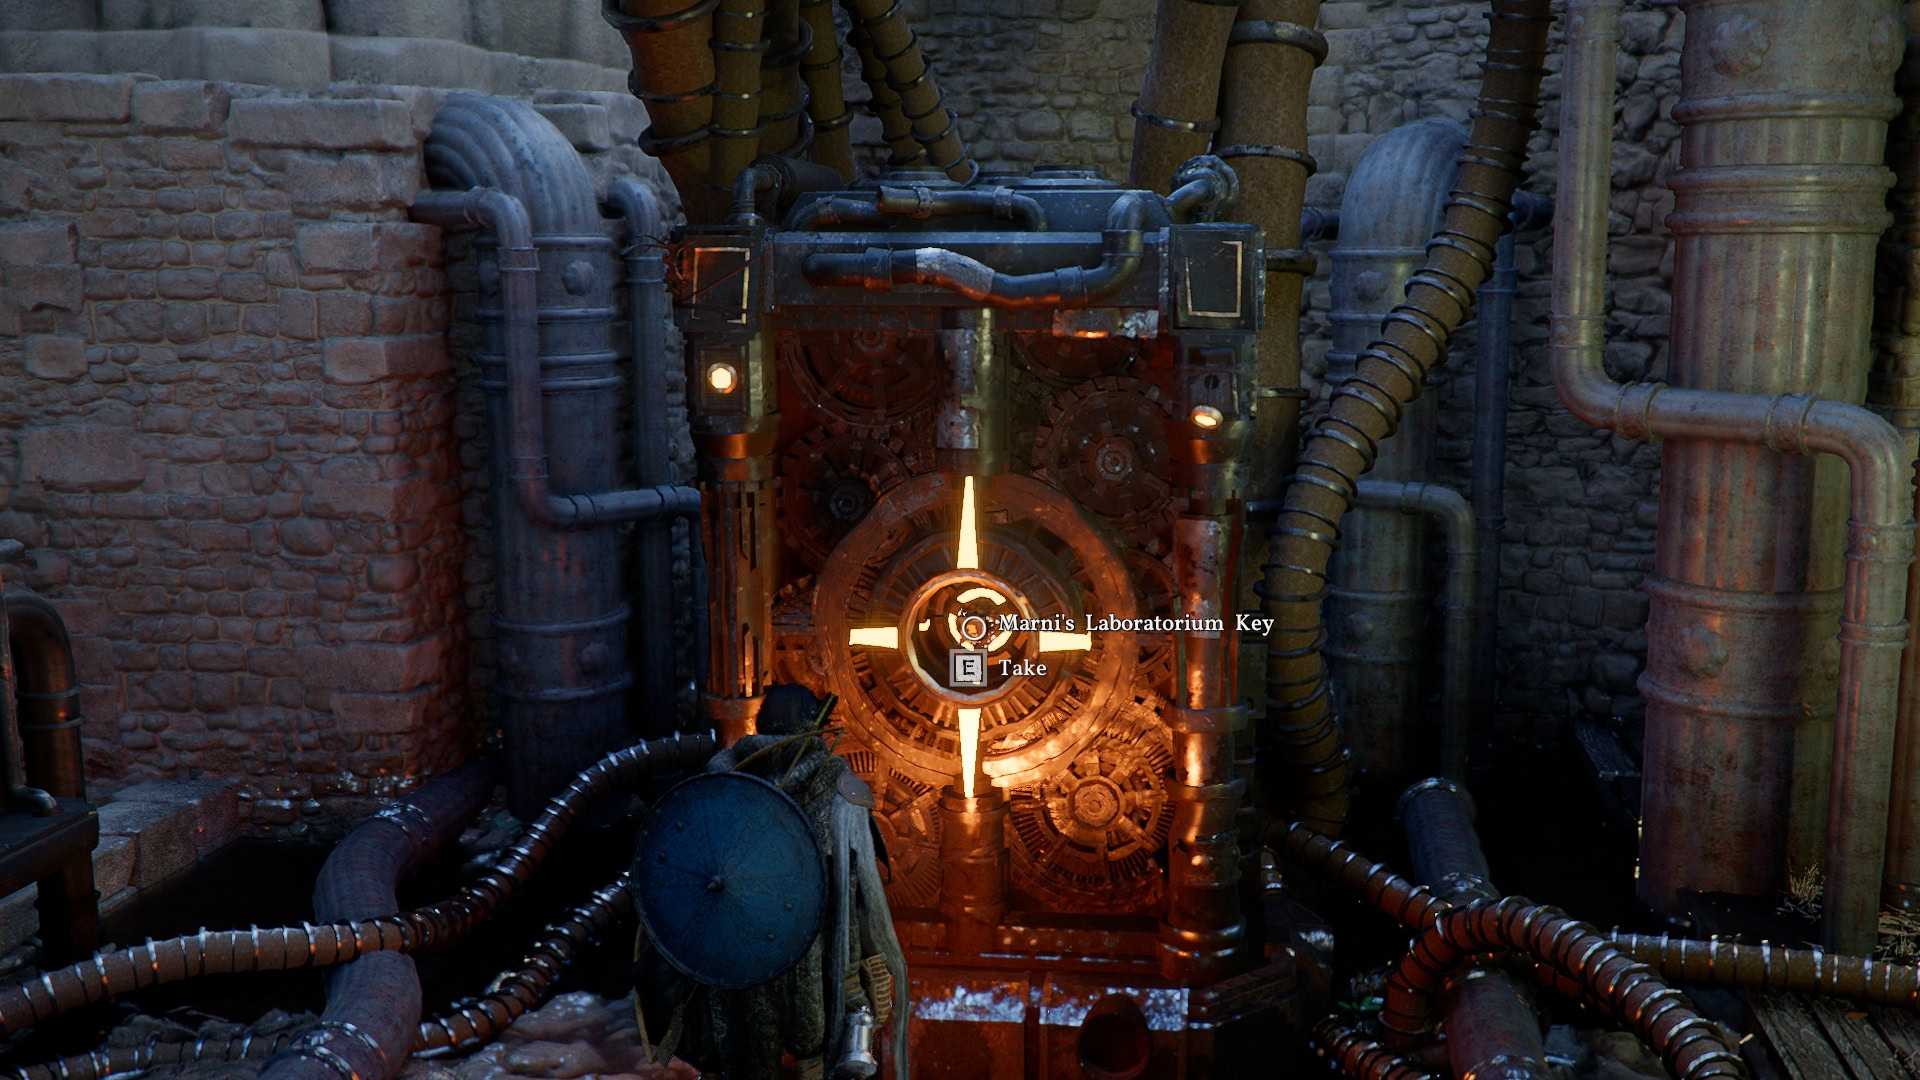
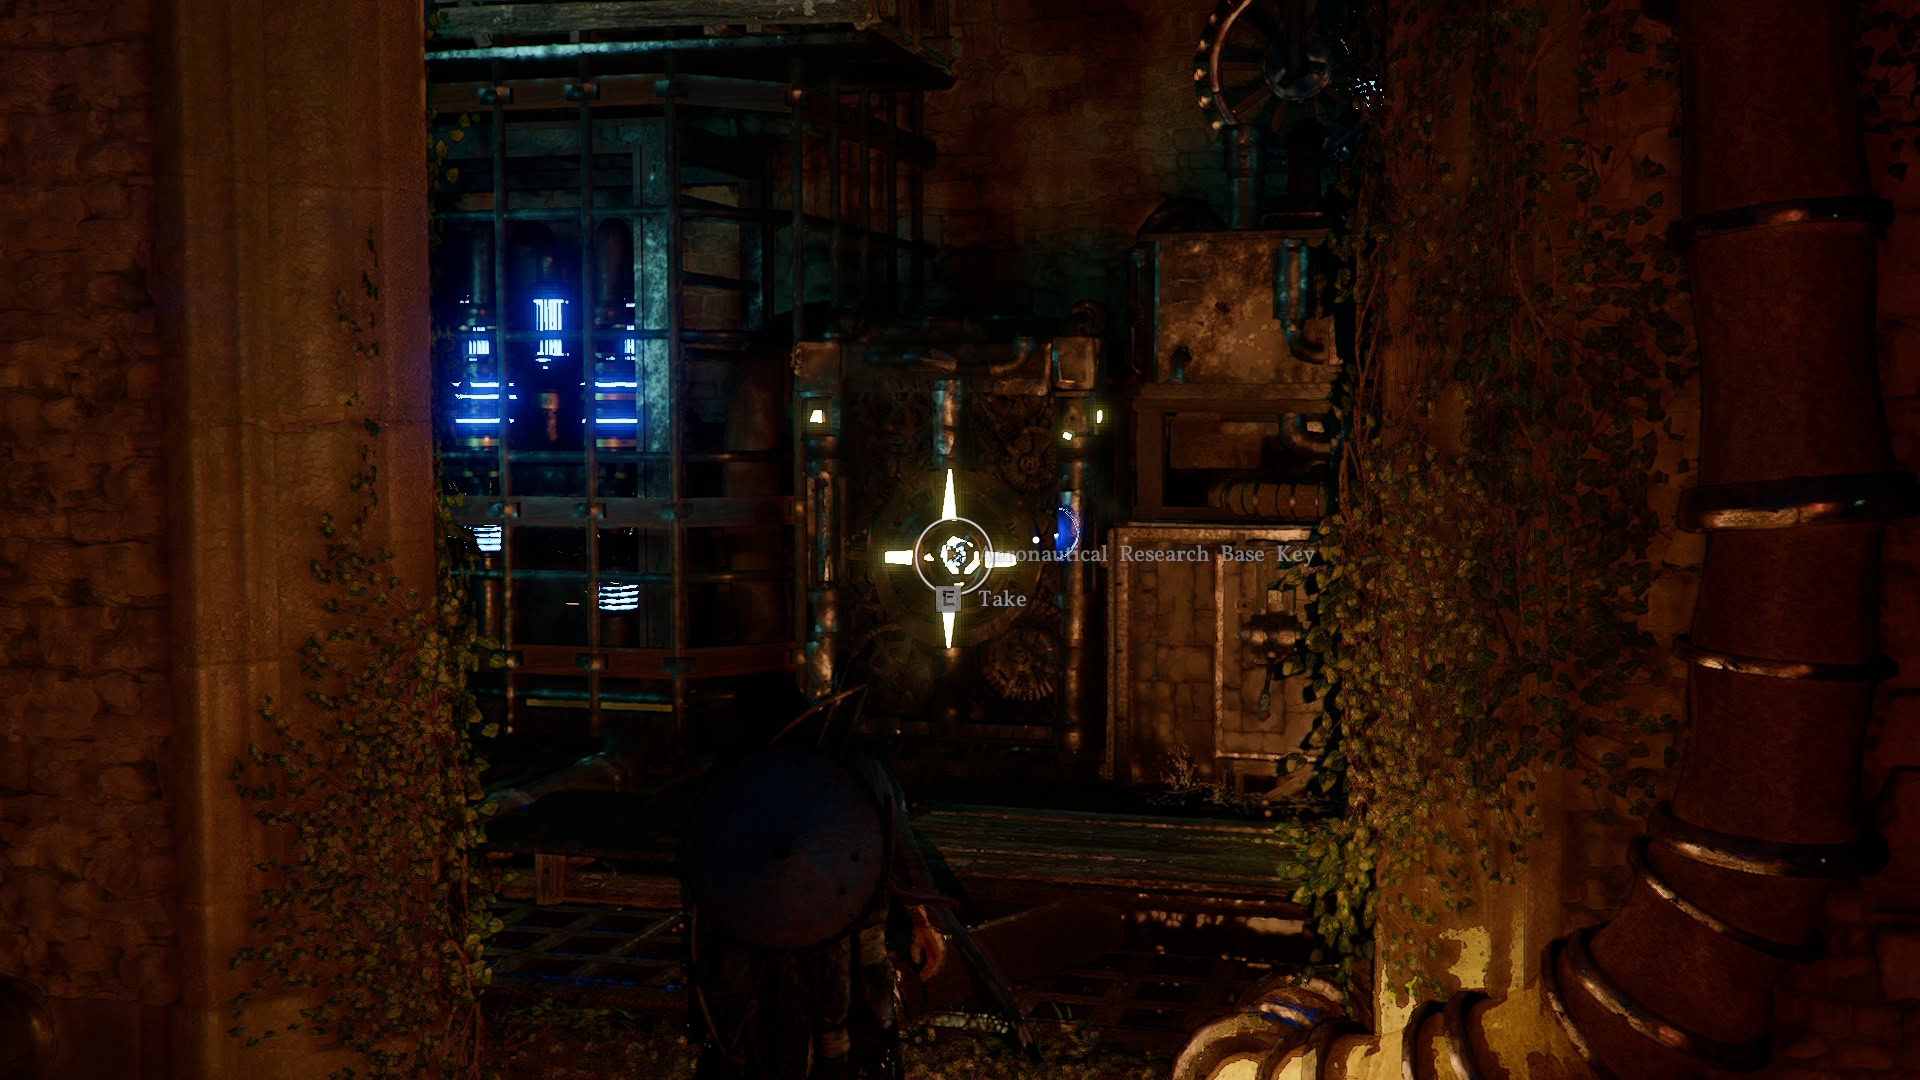
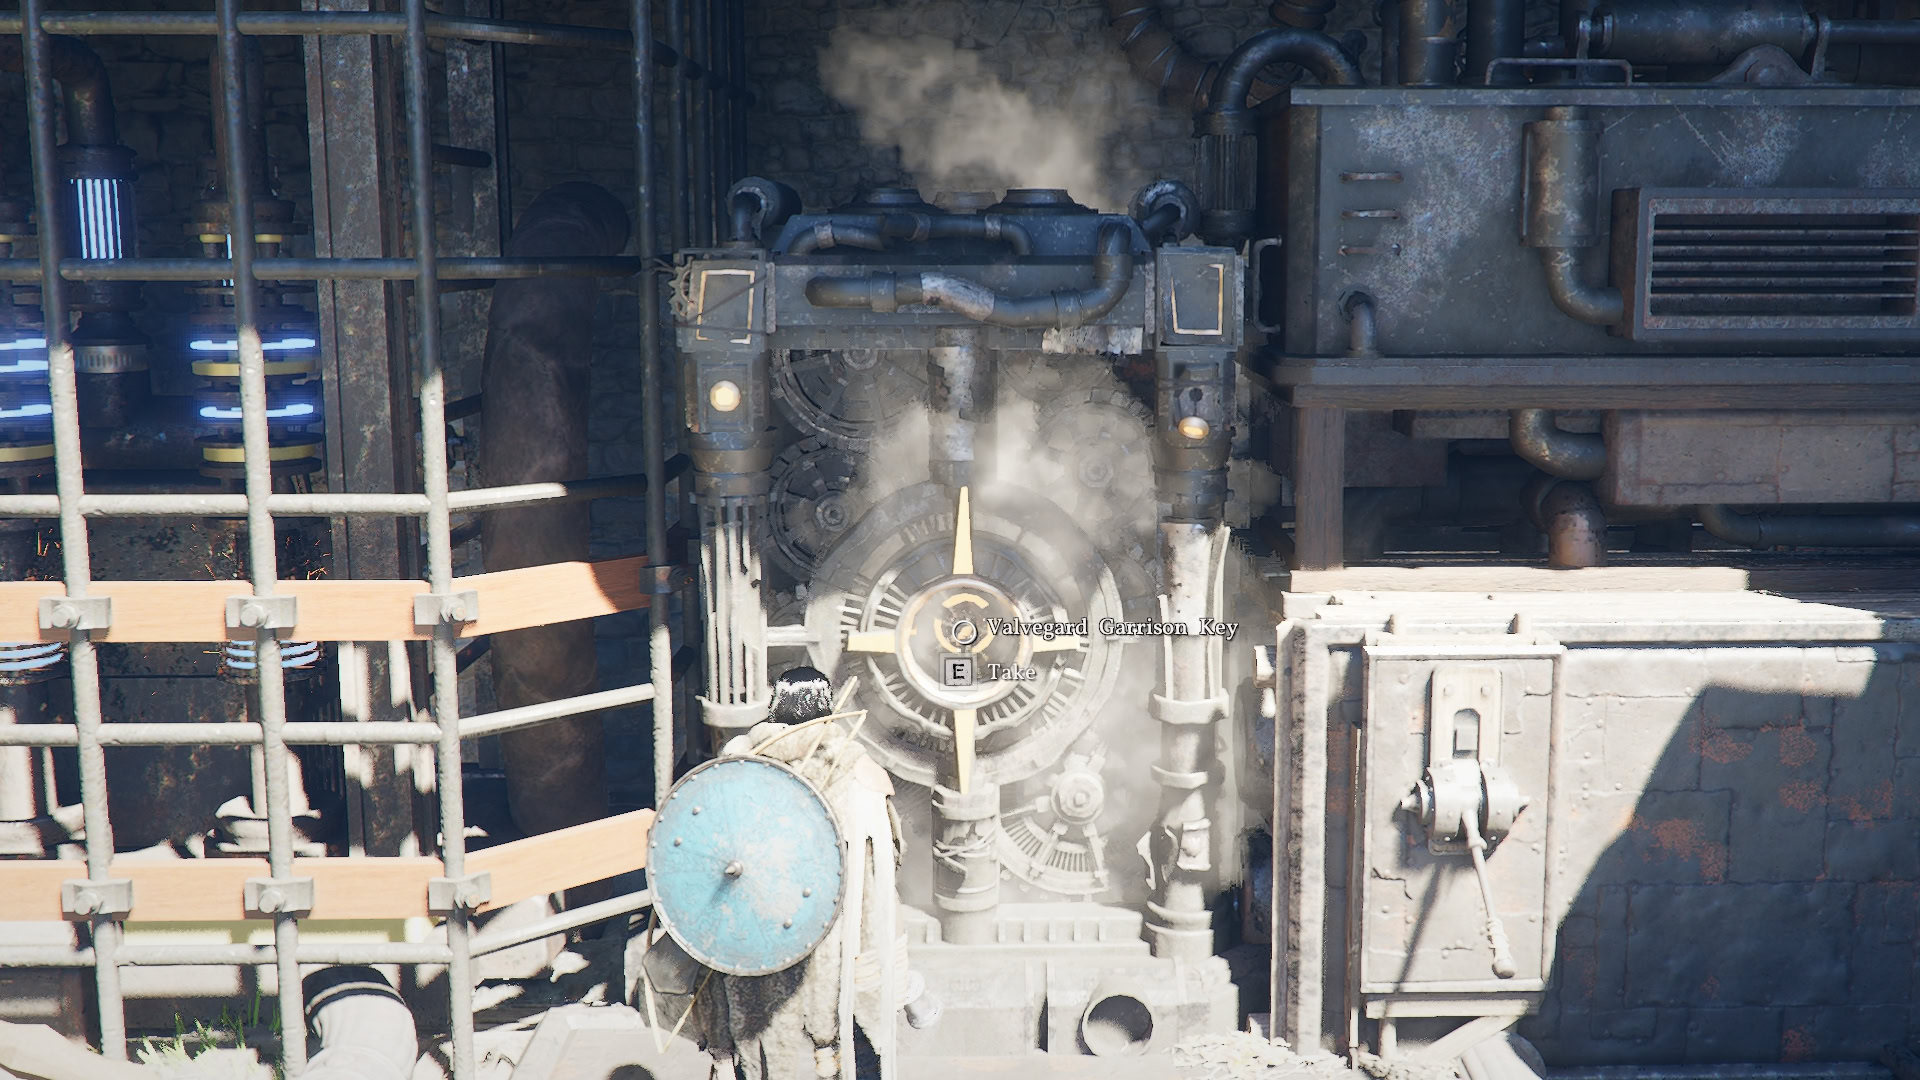
Once in the Teleporter Room, you can use the teleport to access one of three locations: Valvegard Garrison, Marni’s Laboratorium, or the Aeronautical Research Base. Each of these locations holds one of the teleporter keys, accessible after defeating the bosses within and liberating the area. In all of these locations, it’s best to run straight to the boss immediately and defeat them before liberating the area.
Marni’s Laboritorium is first, as it has the easiest boss, the Dreadnought. While he hits quite hard, all of his attacks are well telegraphed and easy to parry or avoid with minimal practice. Go grab the Key after liberating the area.
The next two areas have copies of identical machine bosses, but of the two, the one at the Aeronautical Research Base is the easiest. These require the boss to be stunned, climbed, and then use the Pierce Attack while holding on to their cores to shatter them and defeat them instantly. This has a very tight timing window, which is what makes them more difficult than the Dreadnought. They’re also capable of consistently one-shotting you in melee range with their ramming attack.
The first of these two is Storm Crusher, which thankfully fires a lot of projectiles, making it easy to stun through good use of Nature’s Snare and Nature’s Retribution. It’s easy to play the fight slower and safer, making it fairly easy outside of the limited stun time to defeat it. You can just chip it down with the same projectiles as well, but it will be a much longer fight that way. Don’t forget to pick up the Key before leaving.
The final boss of this quest is the Thunder Tank at the Valvegard Garrison. This is a lightning version of the Storm Crusher, which doesn’t have as many projectiles to rely on for stuns.
The most reliable way to get quick stuns seems to be going in for Turning Slash in between each attack, especially when paired with additional Abyss gear skills like Groundsurge. Still a slow process, but better than playing the fight risky. Remember to grab the key as well.
After getting all three keys, it’s time to head back to the teleporter at the manor. With the Valvegard Garrison being last, we can simply teleport back as it’s easier to access. Once in the Manor, insert the keys and use the new option on the teleporter to head to Marni’s Hideout.
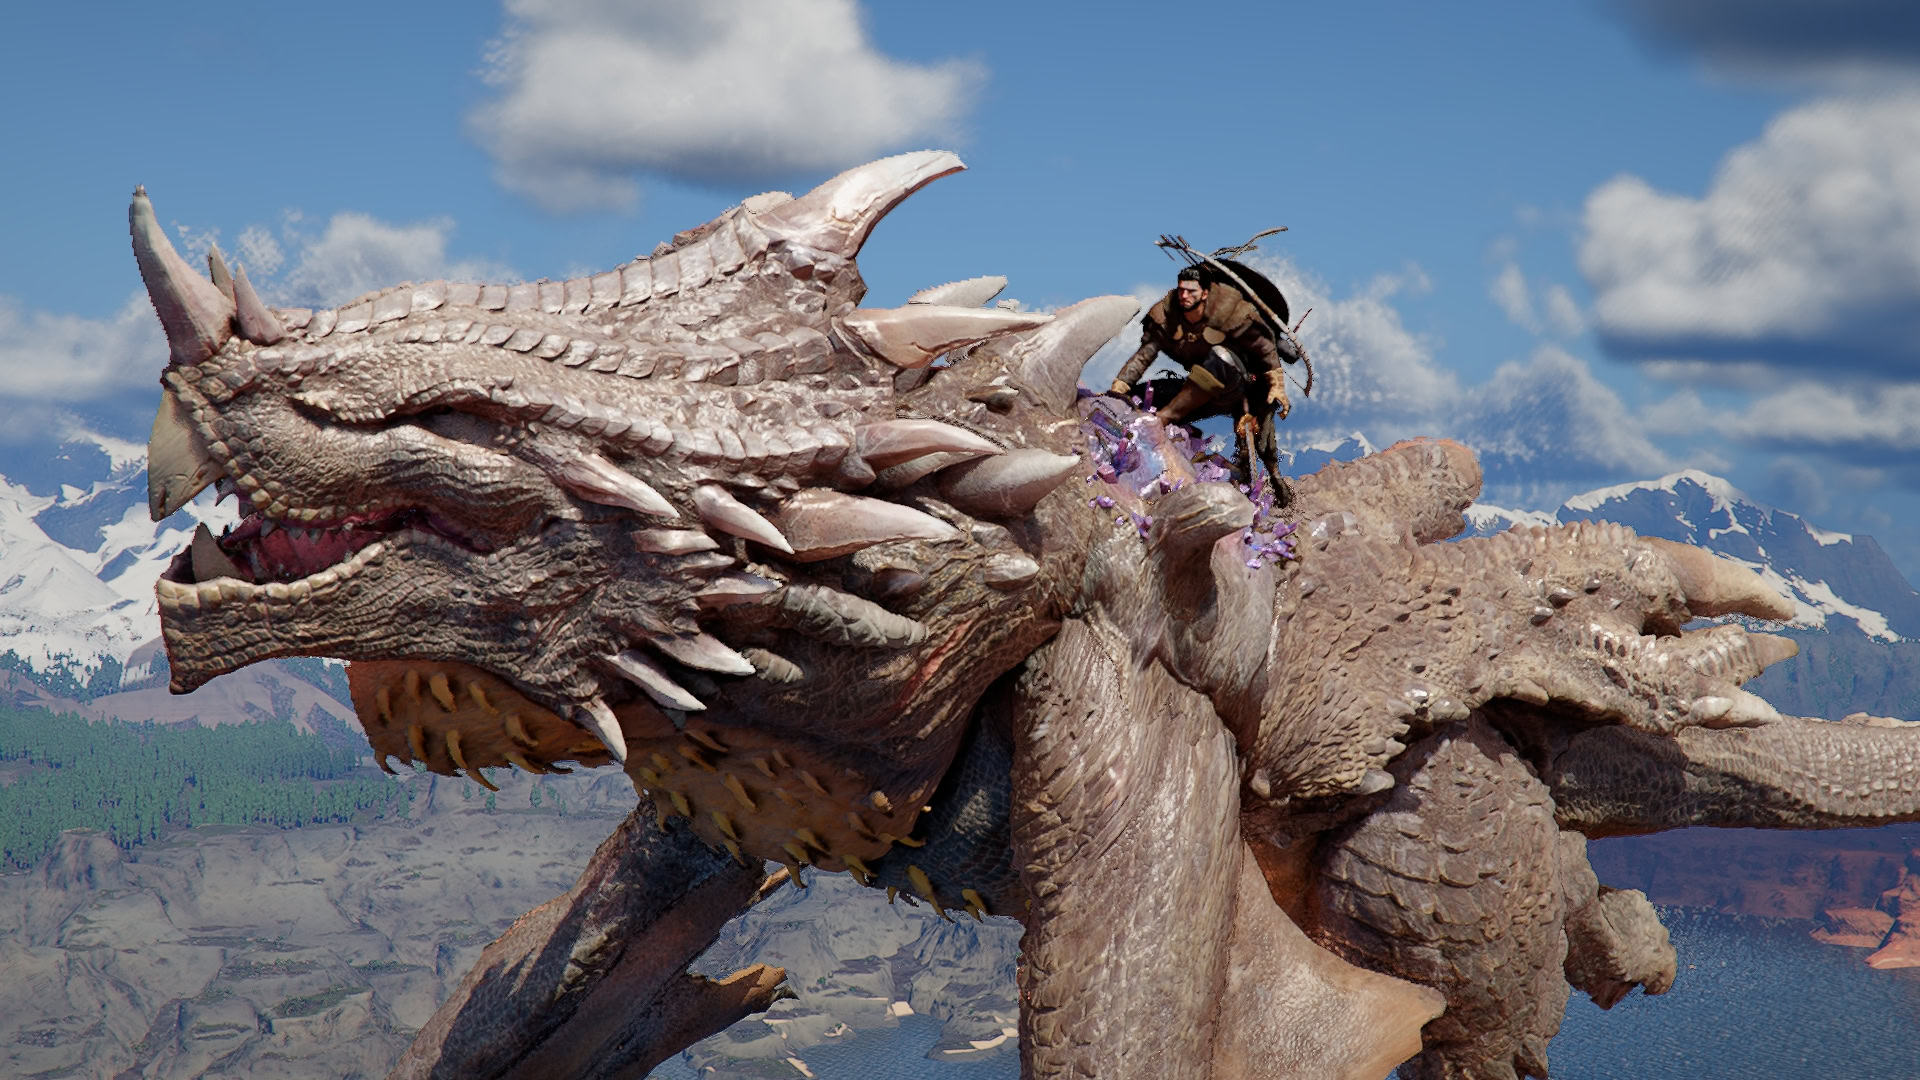
Forboding Shadow
Here, there’s another clock puzzle to access the Visione here. Marni will request that you retrieve the core from Golden Star. Feel free to grab the lore information scattered around here as well, before heading out through the door. The door leads into a tunnel, and eventually a path up the mountain.
At the top of this area is a fortress, where Golden Star resides. Feel free to fight the enemies here, as the upcoming boss is more or less not a threat with Nature’s Retribution.
Yes, it is a giant clockwork dragon; unfortunately for it, all attacks but its tornado attack are considered projectiles.
Two rounds of sending its fire breath back at it will stun it, where you can wail on it with your weapons. It will go down after two or three cycles of this.
After defeating Golden Star, you’ll extract its core and, with White Crow’s help, be able to get additional armor for Blackstar, who saves you from a fall, and is now a permanently accessible mount. Sadly, Blackstar has a long cooldown to summon, which will reset on loading a save.
There are Calling Horns that reset the lengthy cooldown and can be crafted via Mission Dispatch from camp, but require research found within the Delesyia region to access.
With Blackstar’s help, we’ll now be able to assault Flying Fortress Orbian. After flying towards the fortress, there will be cores on the barrier around it that you’ll need to hit with fireballs from Blackstar.
After three hits on each of the six cores, you’ll hop off Blackstar and land on the lower level of the fortress.
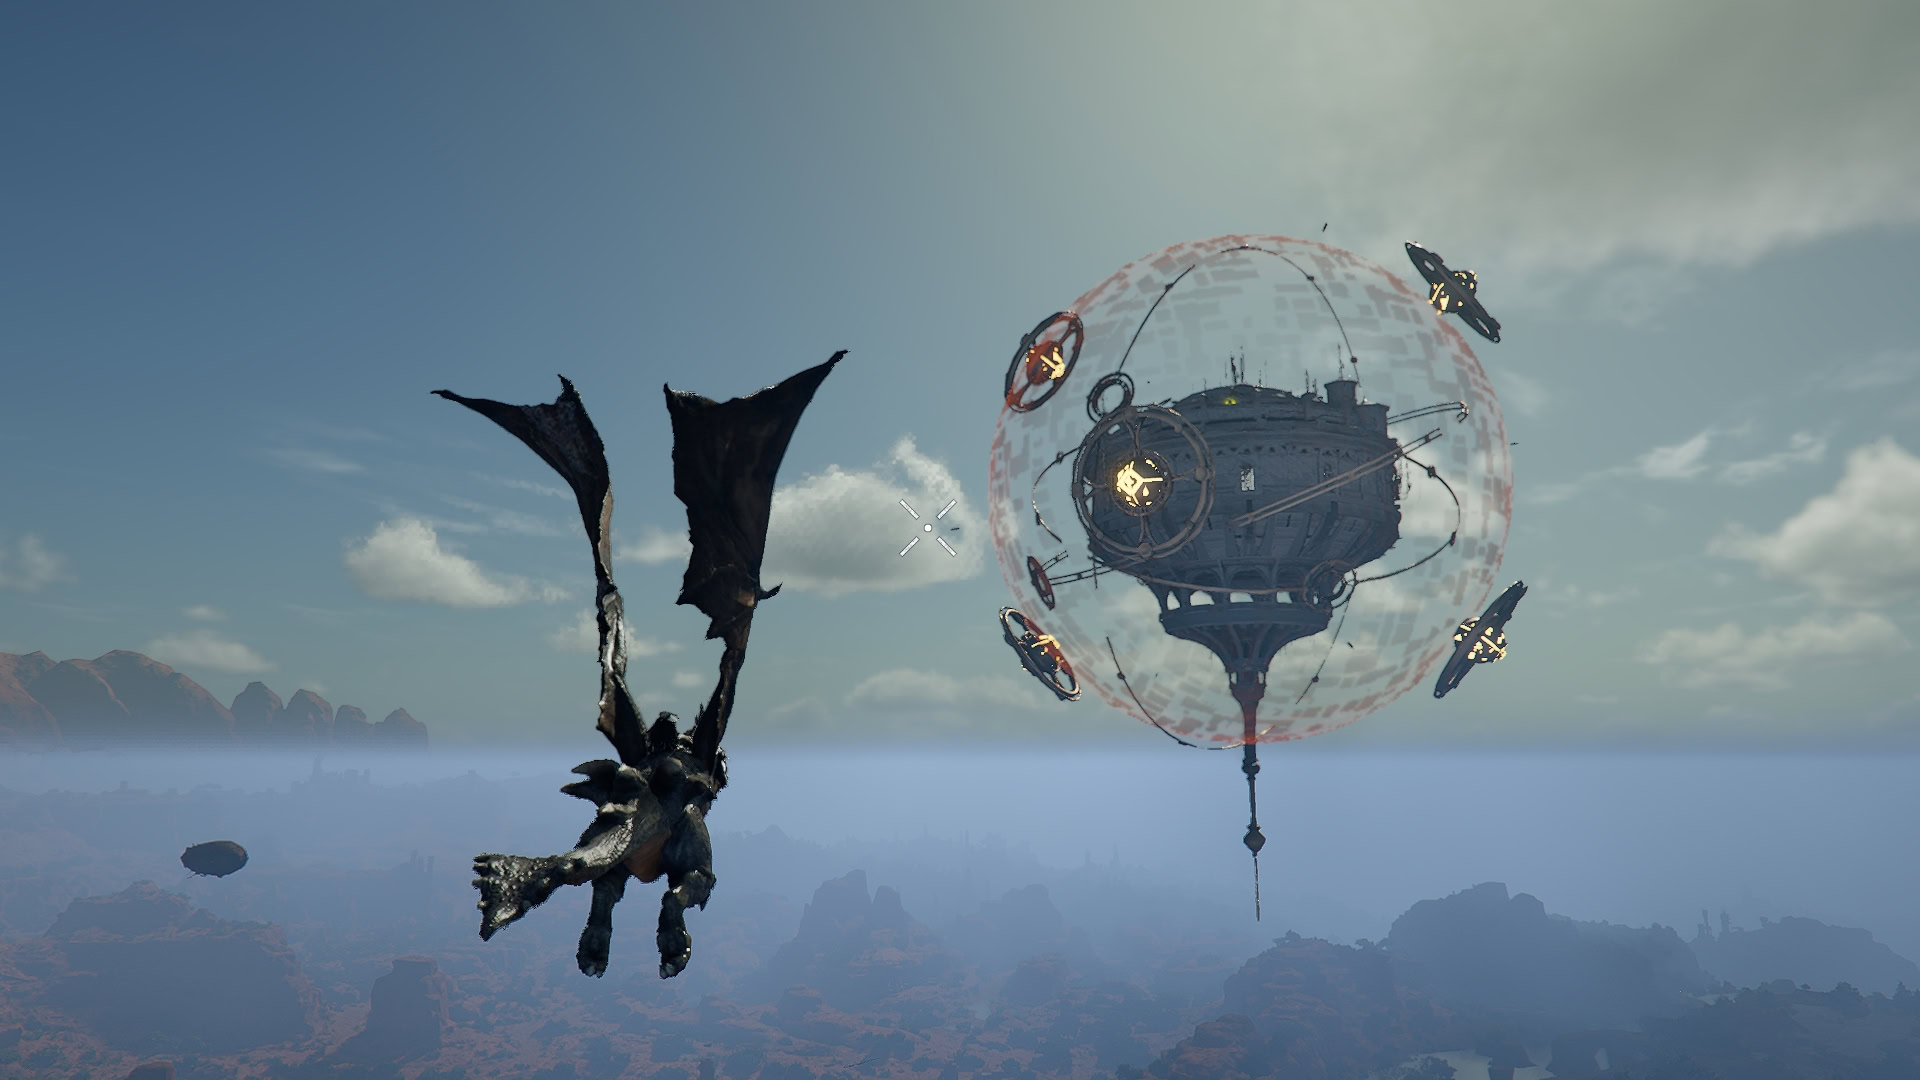
All of the turrets and drones here can be destroyed by a single Charged Shot. There is a glass core here you’ll need to destroy, which you can perform a Charged Stab on the ground and follow it with the Pierce attack to destroy.
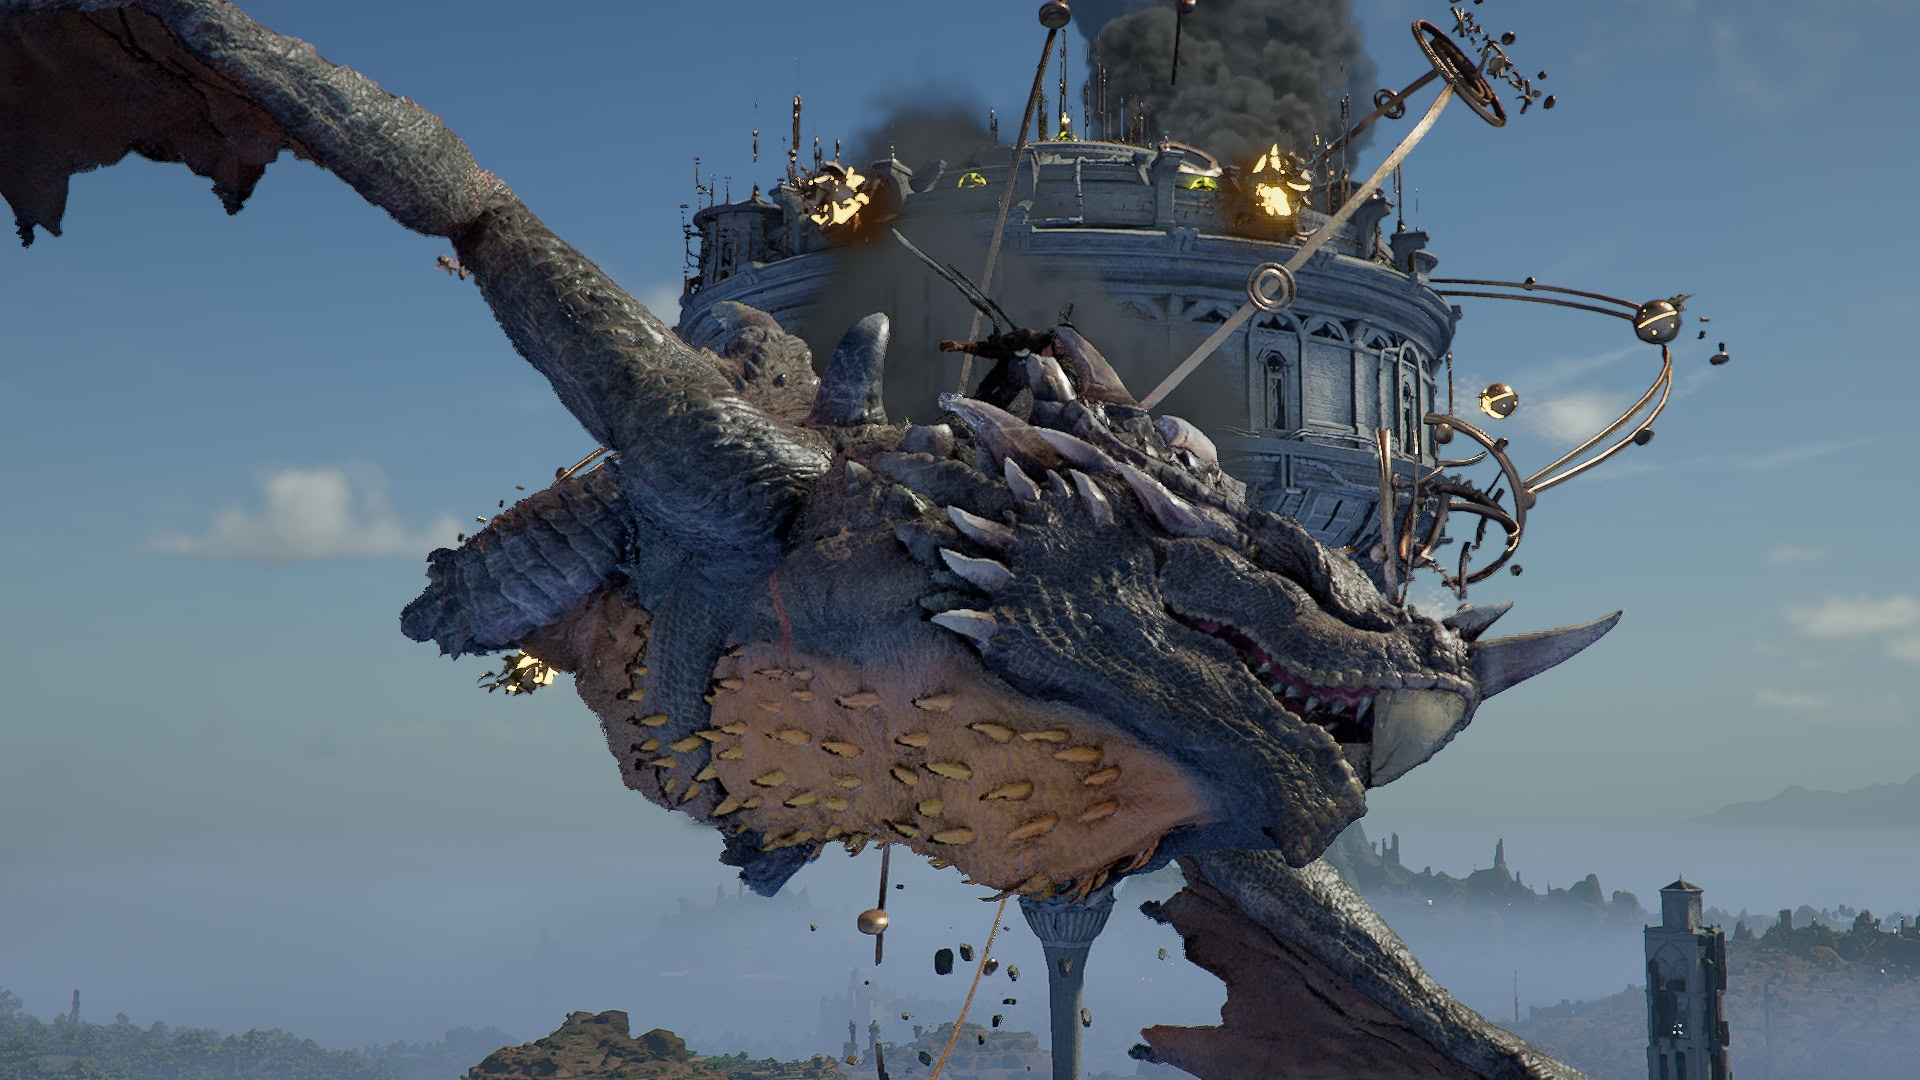
The same Charged Stab and Pierce combo holds for the cores found on top of the fortress as well. After all of these are destroyed, you can drop into the middle layer and find the final boss of the chapter, H.A.L.L., in control of the Flying Fortress, hidden behind a false wall you can flip with Force Palm.

This is a purely ranged Fight and as a result is a very easy one. Each time H.A.L.L. sends projectiles at you, send them back with Nature’s Retribution to stun him. Fire back at him while stunned using Focused Shot or Charged Shot, and the fight will end very quickly, especially if you have any investment into a Bow or Bow Skills at all.
After this, the Fortress will begin to explode, and you’ll barely make it out and escape with Blackstar’s help.
Chapter XII – The Abyss
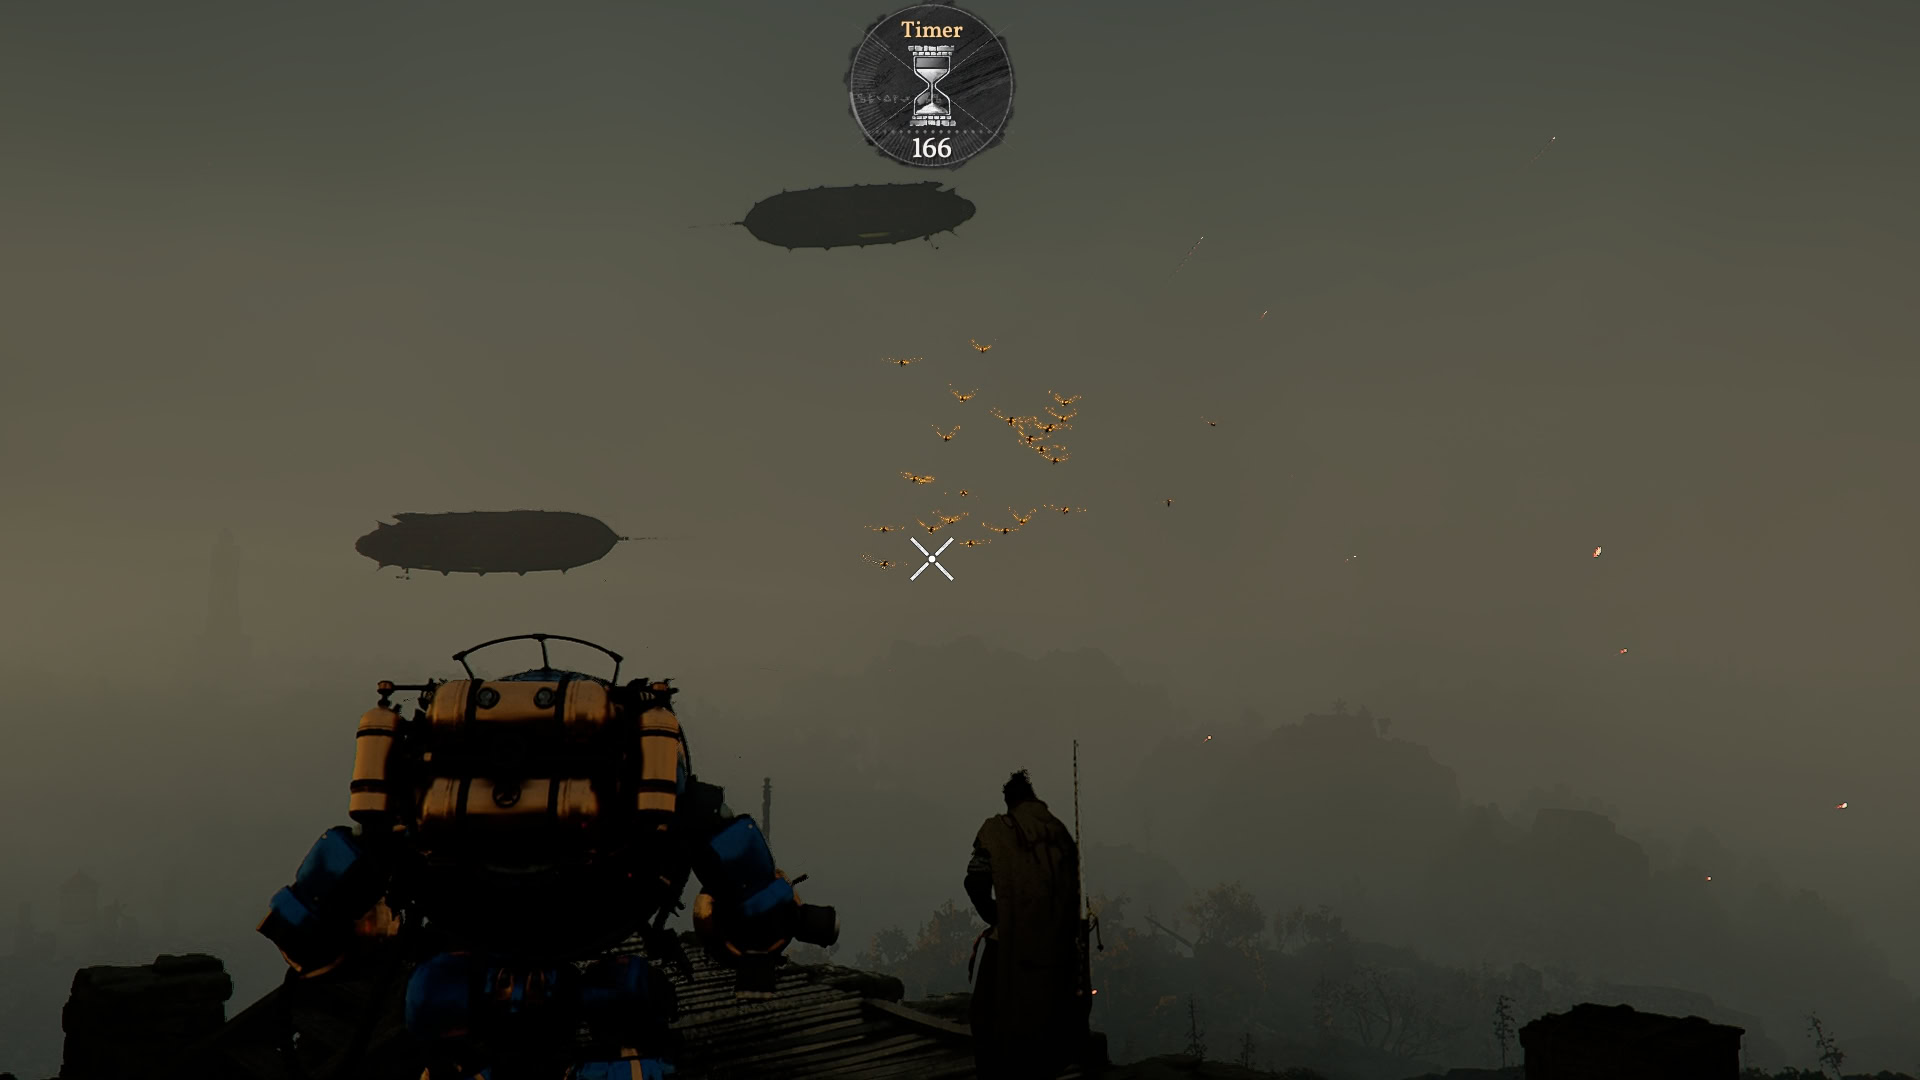
When returning to the Fort Musket Outpost, Stefan Lanford discovers the enemy is utilizing what they refer as Ultimate Weapons. he fears morale will be ruined if you don’t use Blackstar to take out their Ultimate Weapons. This just involves raiding the area with Black Star.
Deal with the middle Ultimate Weapon and the surrounding airships as a priority. These fire homing missles, which will continuously chip away at your health on Blackstar, making this almost impossible otherwise.
Upon returning to Fort Musket’s outpost, you’ll walk into Stefan Lanford giving a final speech to raise morale for the fight to come. The plan going forward, agreed upon by everyone, is that Lanford’s force will go in first, thinning their numbers and distracting the second squad with you, the greymanes, and other soldiers.
Once Stefan gives the signal, you’ll rush Fort Musket. Enemies will pour out to match, and your job will be to defeat the largest guy in these forces. He can be a threat if you let him, so keep him stunned with Force Palm while you shred him.
Follow this section; progressing further will leave Damiane and Oongka unavailable to play or summon until this chapter is completed. Make sure they aren’t using any potentially necessary Abyss Gears or accessories.
With these forces out of the way, you can now pursue Caliburn, who resides on the top of the Fort. You’ll attempt to engage him, with Damiane helping as well, before he ends up rending Damiane unconscious and retreating into the Abyss. Oongka and Yann will take care of Damaine allow you to pursue Caliburn.
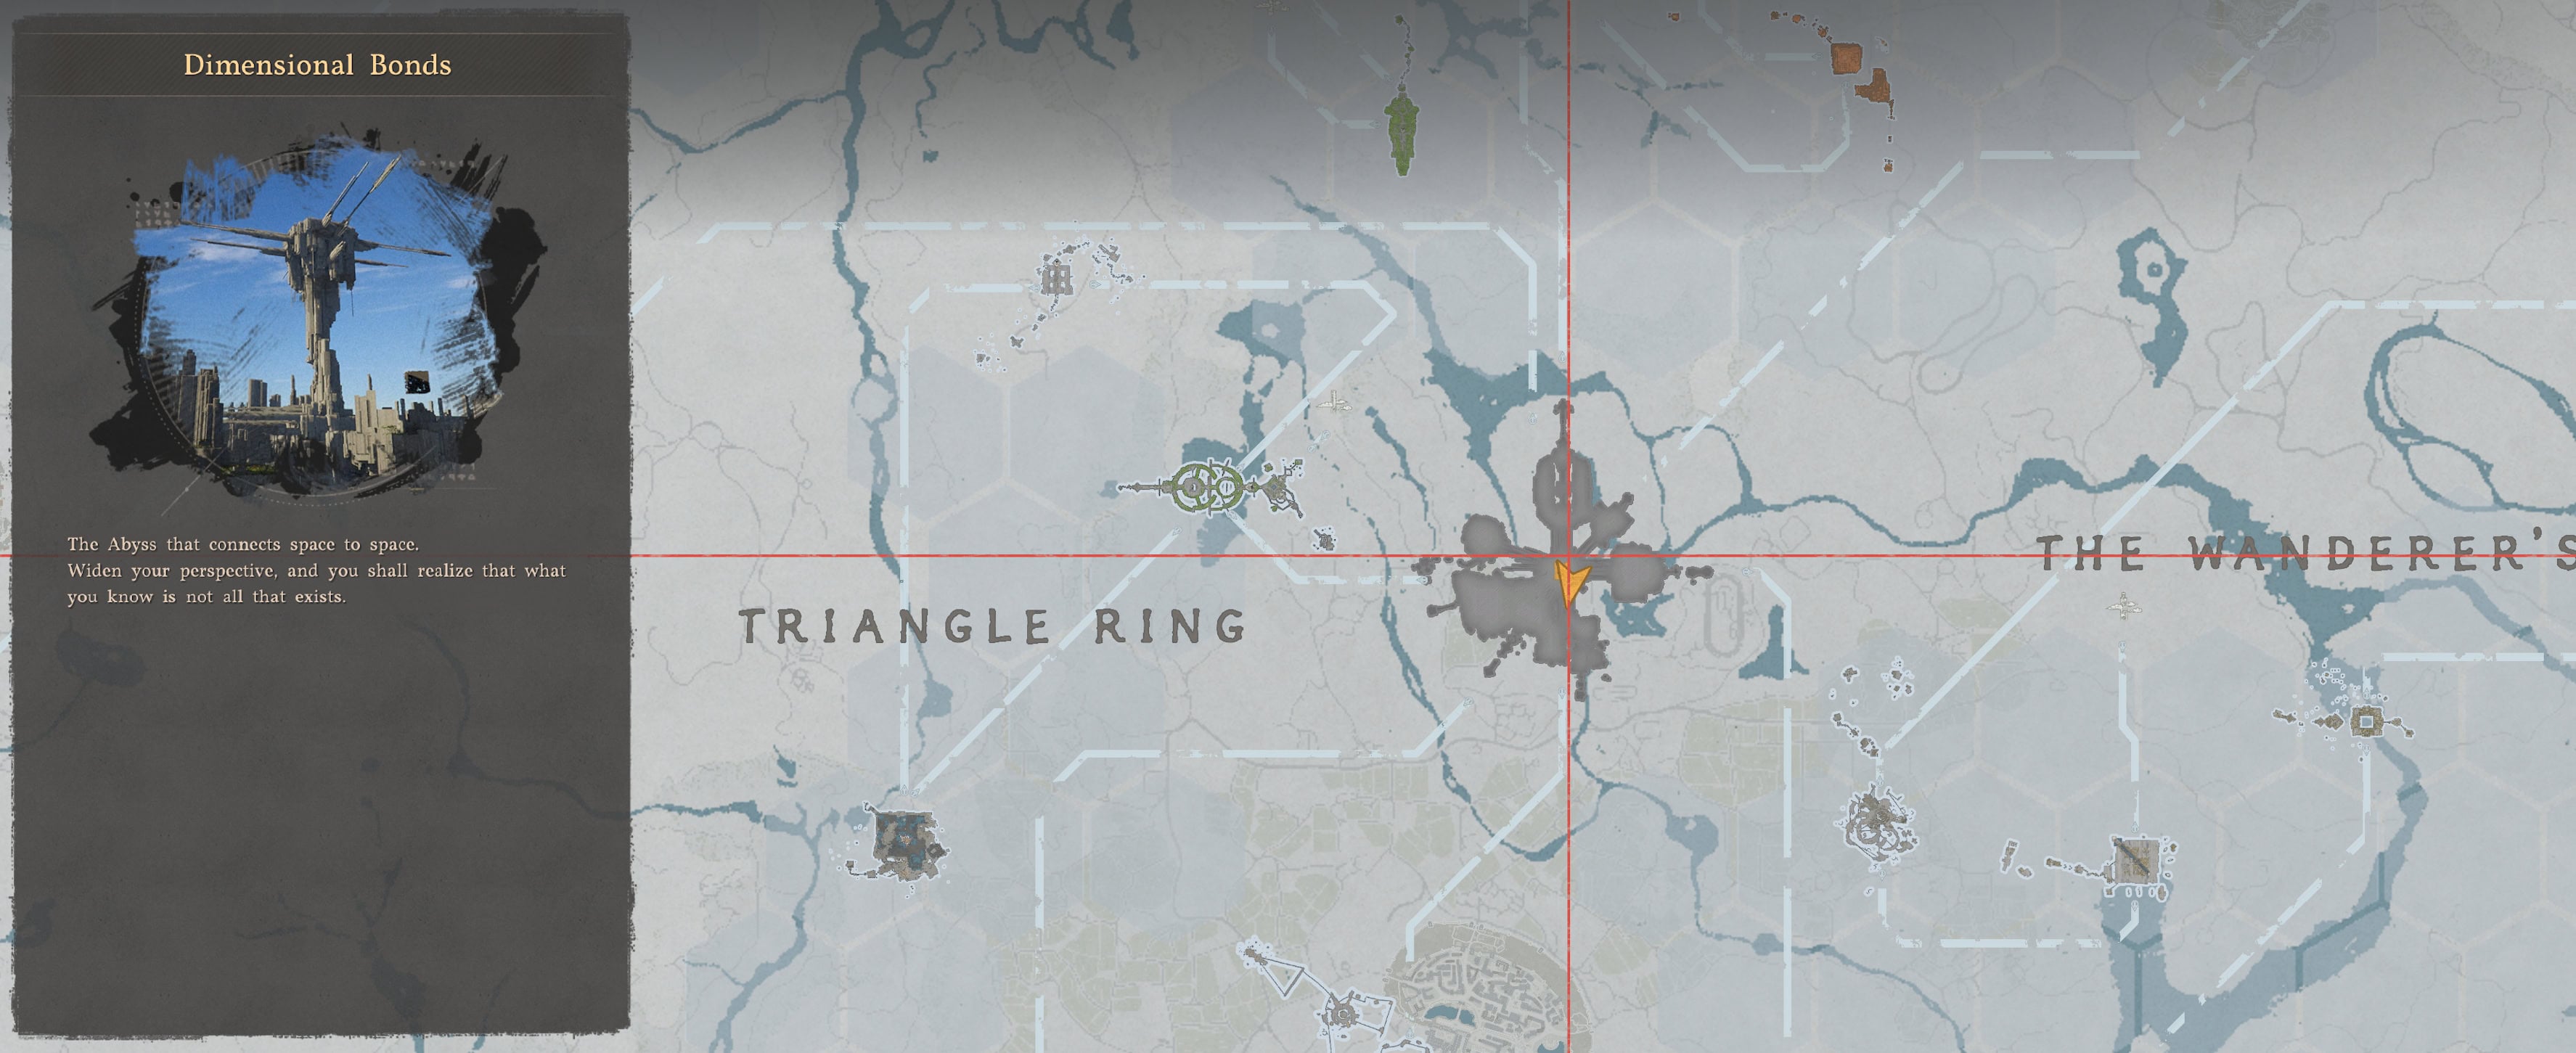
The Void
To pursue Caliburn, you’ll need to have completed any chain of Abyss Puzzles to unlock the special Abyss gates leading to this final Abyss area, Dimensional Bonds.
Remember the weird stop at the end of the chains with vertical pillars at the end of the last platform and a message you cannot go there yet? Now you can.
All Abyss puzzles do not need to be solved as the area may lead you to believe. However, each chain has its own section here with lots of Special Abyss Gears as well as Tier 3 versions of the common ones.
Abyss Puzzle Chains usually start with a Spire. Here are three chains you can follow to reach the door to the Dimensional Bonds Abyss area (it will be at the end) of these chains.
You can run past the puzzle area here if desired, an stright to the building in the middle where a special Abyss Gate will appear, taking you into the middle of the room leading to the final boss of the game.
This boss is more like a series of three bosses, with the first two being exceptionally difficult, while the third is more of a victory lap than anything.
First up is Corrupted Caliburn. He hurts a lot while being incredibly evasive, using clones to attack while rarely attacking himself directly. When he does attack, try to parry him for easy damage. He continually gets more aggressive and starts having his clones copy his more powerful attacks as you work through each of his three phases.
On his defeat, Corrupted Caliburn will seemingly become Myurdin and retreat once again into a final Abyss area.
Take the chance offered here to restock any Food or other supplies you need as the fight ahead will be very rough,
This boss is a huge jump in difficulty compared to any of the bosses that came before, including Corrupted Caliburn.
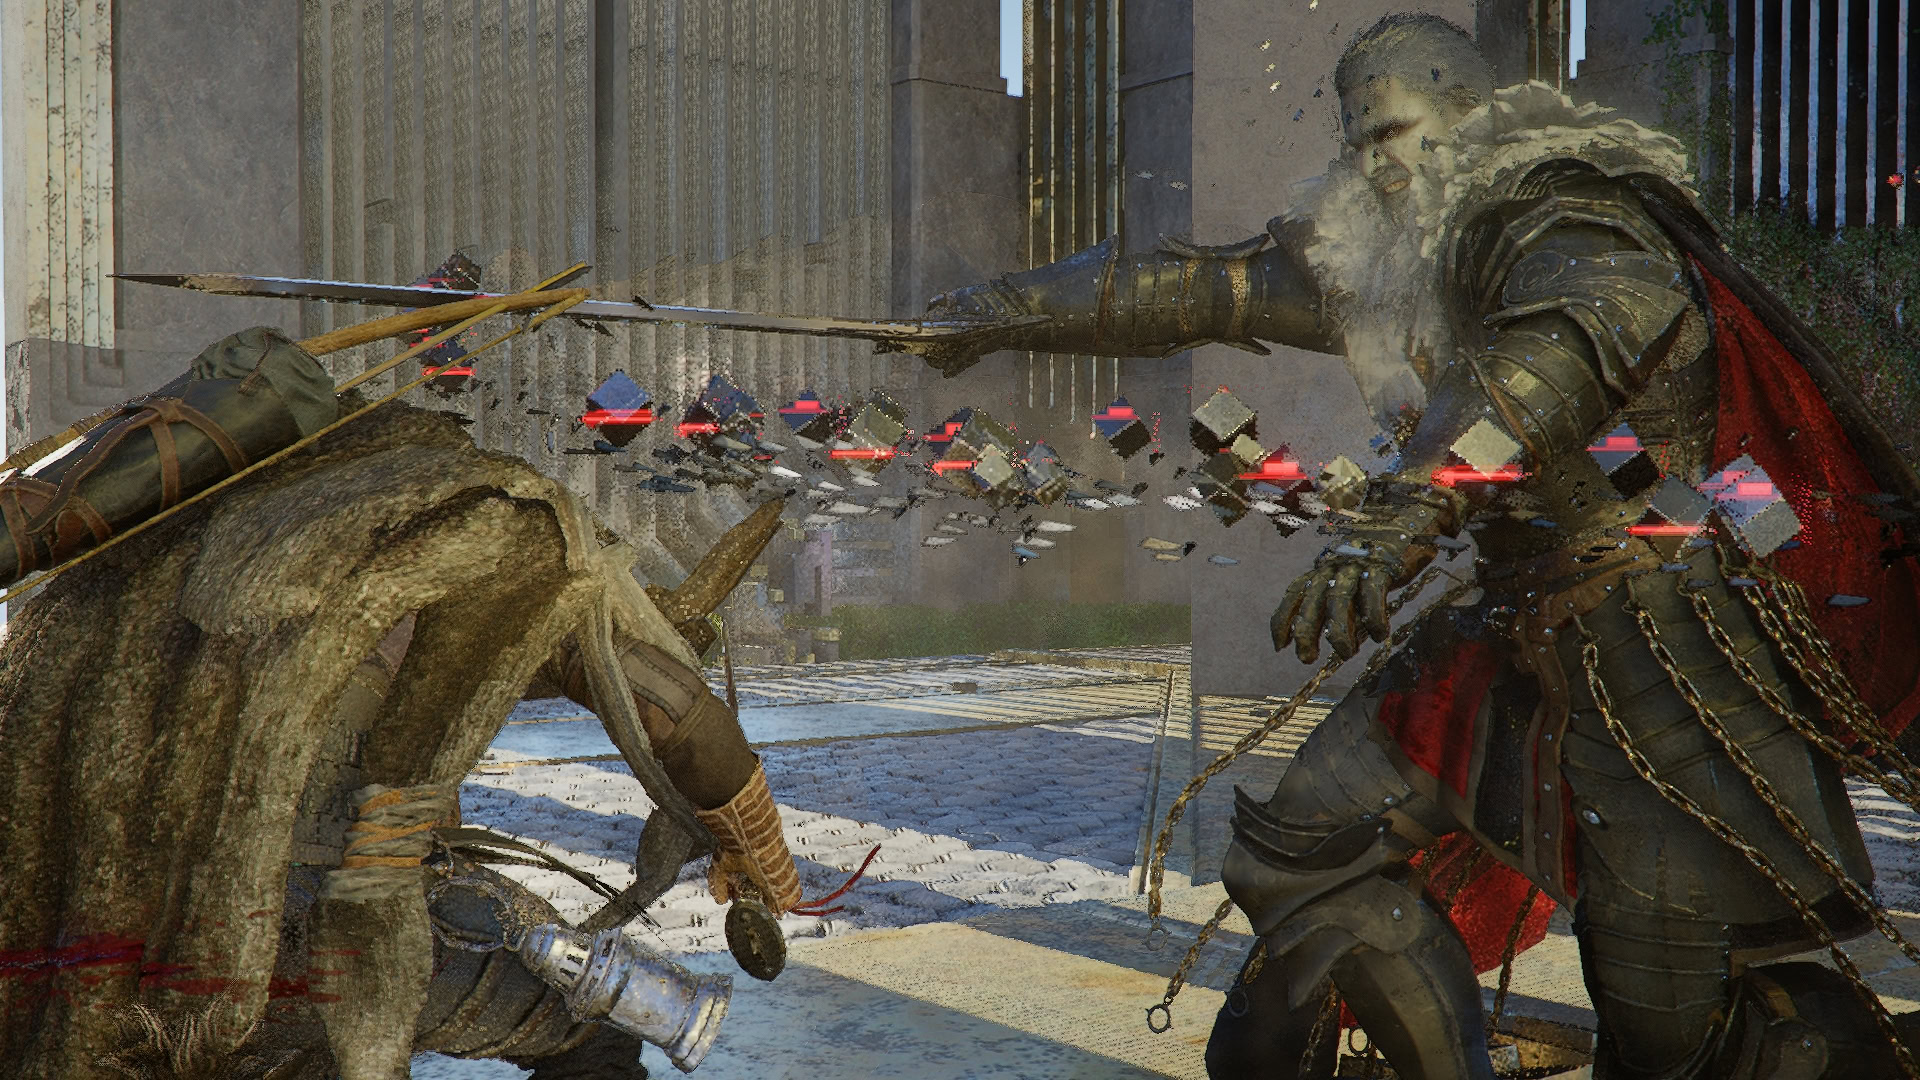
Myurdin, revealed to be possessed by Umbra, a god manifested from the dark desires of people’s hearts, will use attacks from many of the bosses, including but not limited to: Myurdin’s Groundsurge, Hexe Marie’s Crowstorm, the Spirit Knights of the Cursed Knight, among others.
Each of Umbra’s two phases here is loaded with plenty of attacks that make them immune to damage. This insanely aggressive boss can very easily one-shot you with multiple different attacks if you’re not careful here, and it’s very easy to get caught off guard by a sudden immune phase leading into one of these attacks.
Once both phases go down, Umbra will reveal it’s true form as a god. For this last section of the fight, you’ll be on Blackstar, and it will be nearly impossible to lose here.
Fly towards Umbra on Blackstar, and when you’re in range to land Fireballs, stay at the range until pushed away. Getting closer will only see you pushed away, and you have to fly closer more often.
After enough hits, Umbra will be stunned, and you’ll dismount Blackstar automatically and enter a gliding state with unlimited Stamina. Use Aerial Roll to quickly advance towards Umbra’s Core and hit it with Force Palm. Repeat this cycle twice, and the fight should be over.
If you fail to hit the Core, either by canceling your flight (which cannot be retriggered for some reason), or simply missing. The game offers you a quick reset via your pause button, which places you on Blackstar with full health, and any chip damage dealt to umbra will remain.
Kliff will seemingly end up in the Abyss, or some foggy area, as he begins to fall. Oongka will come to the rescue and grab onto Kliff as they fall before Blackstar comes to both their aid, flying them to safety.
Epilogue – Journey’s End
With your safe return and return to consciousness, there’s only one last thing to do for the Epilogue: revisit all of your allies met throughout the story. We’ll not go into the details here, as each goes into their plans for their people and things happening in their region without much complications.
However, because it’s immediately clear, to complete the section for Delesyia and speak with Marni, you’ll need to use the Visione outside the Castle Gate and play the “Visione” memory listed under Delesyia. Given that the objective starts as a large area that suddenly disappears with no marker, it is the only mission from the Epilogue that isn’t straightforward.
Secret Ending and Lore
There is more! After you complete all 12 chapters and the Epilogue of the story, you have to also complete all 40 Abyss Challenges. This will unlock the true ending and secret lore about Pywel, the Abyss, Kliff’s origins and every other plot hole you may have been left wondering about during your playthrough.
How to unlock the secret ending and lore in Crimson Desert’s story