Learn how to unlock and craft both the Kuku Cooler and the Enhanced Kuku Cooler to vastly improve both Food Storage and Cooking.
What is the Kuku Cooler
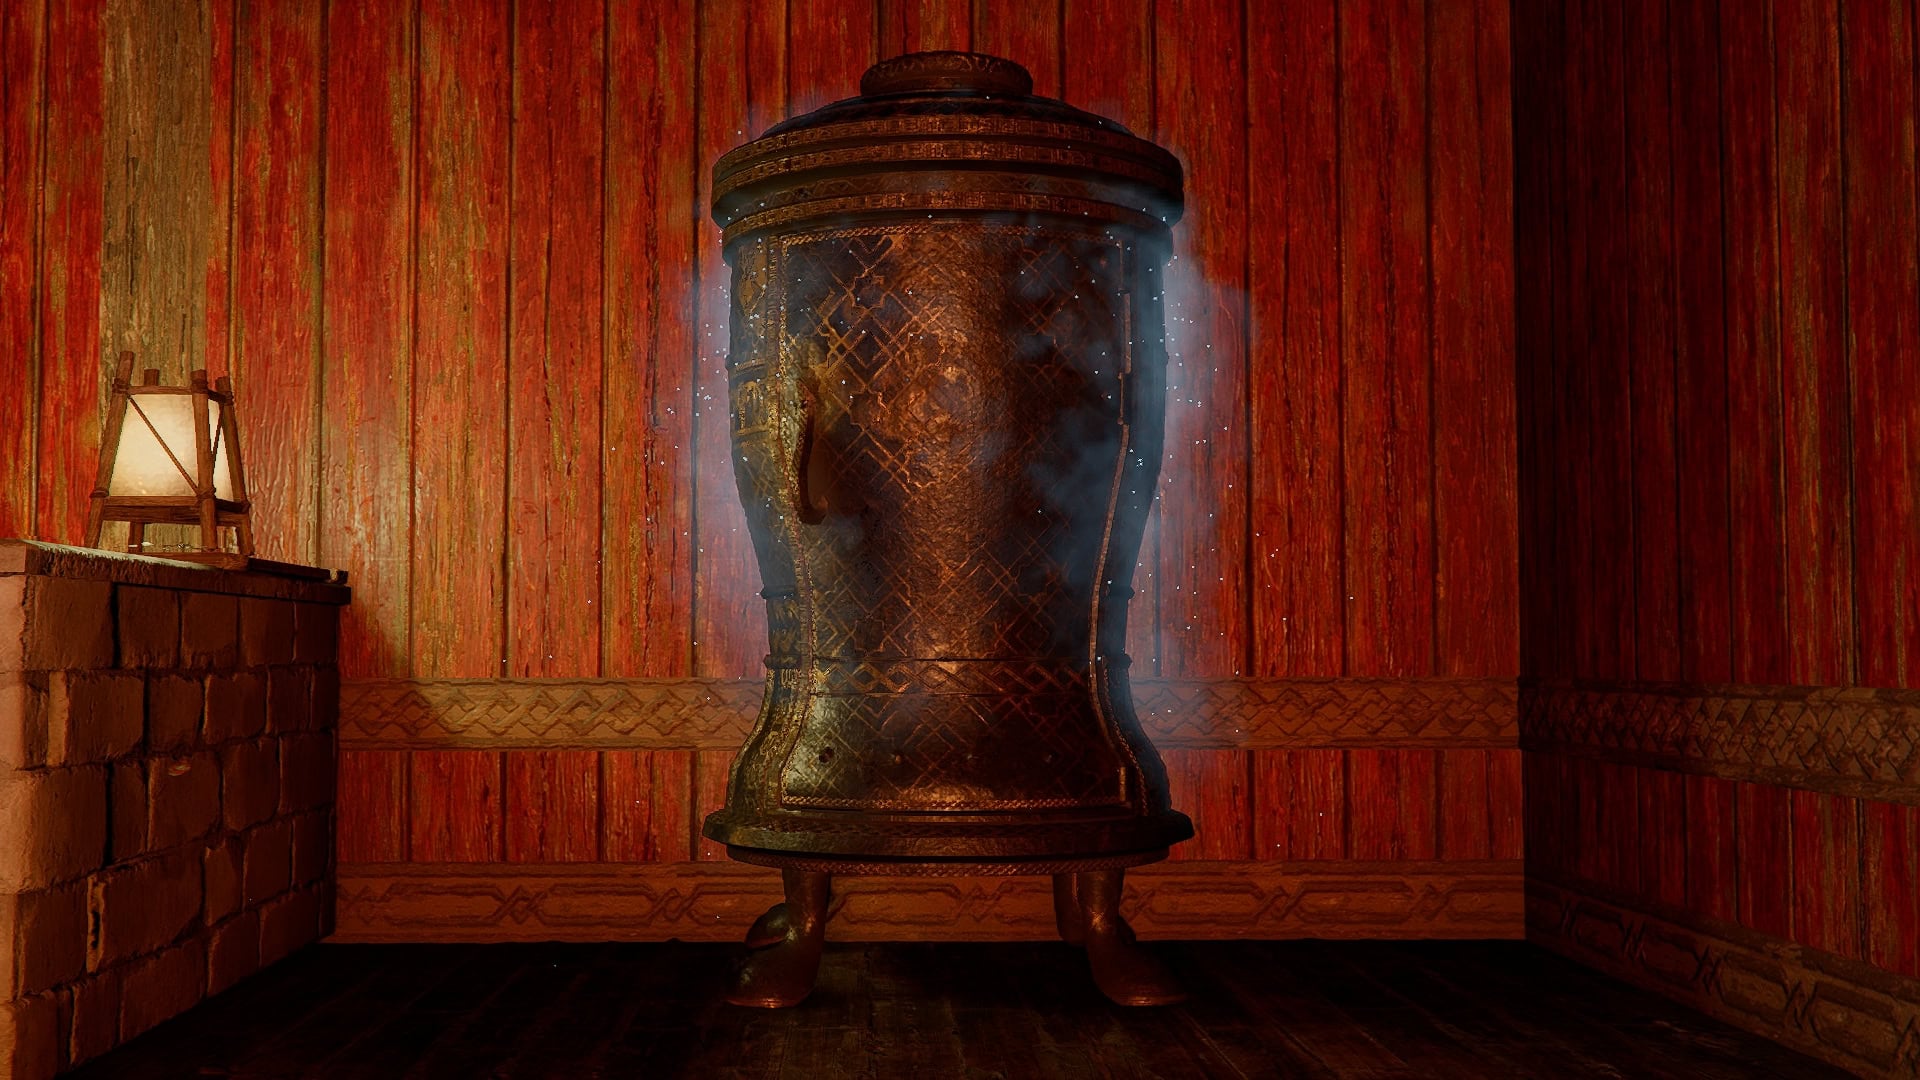
The Kuku Cooler is a Food Storage Chest added in Update 1.04, which holds all manner of ingredients for Cooking. Items stored within the Kuku Cooler can be used without needing to remove them.
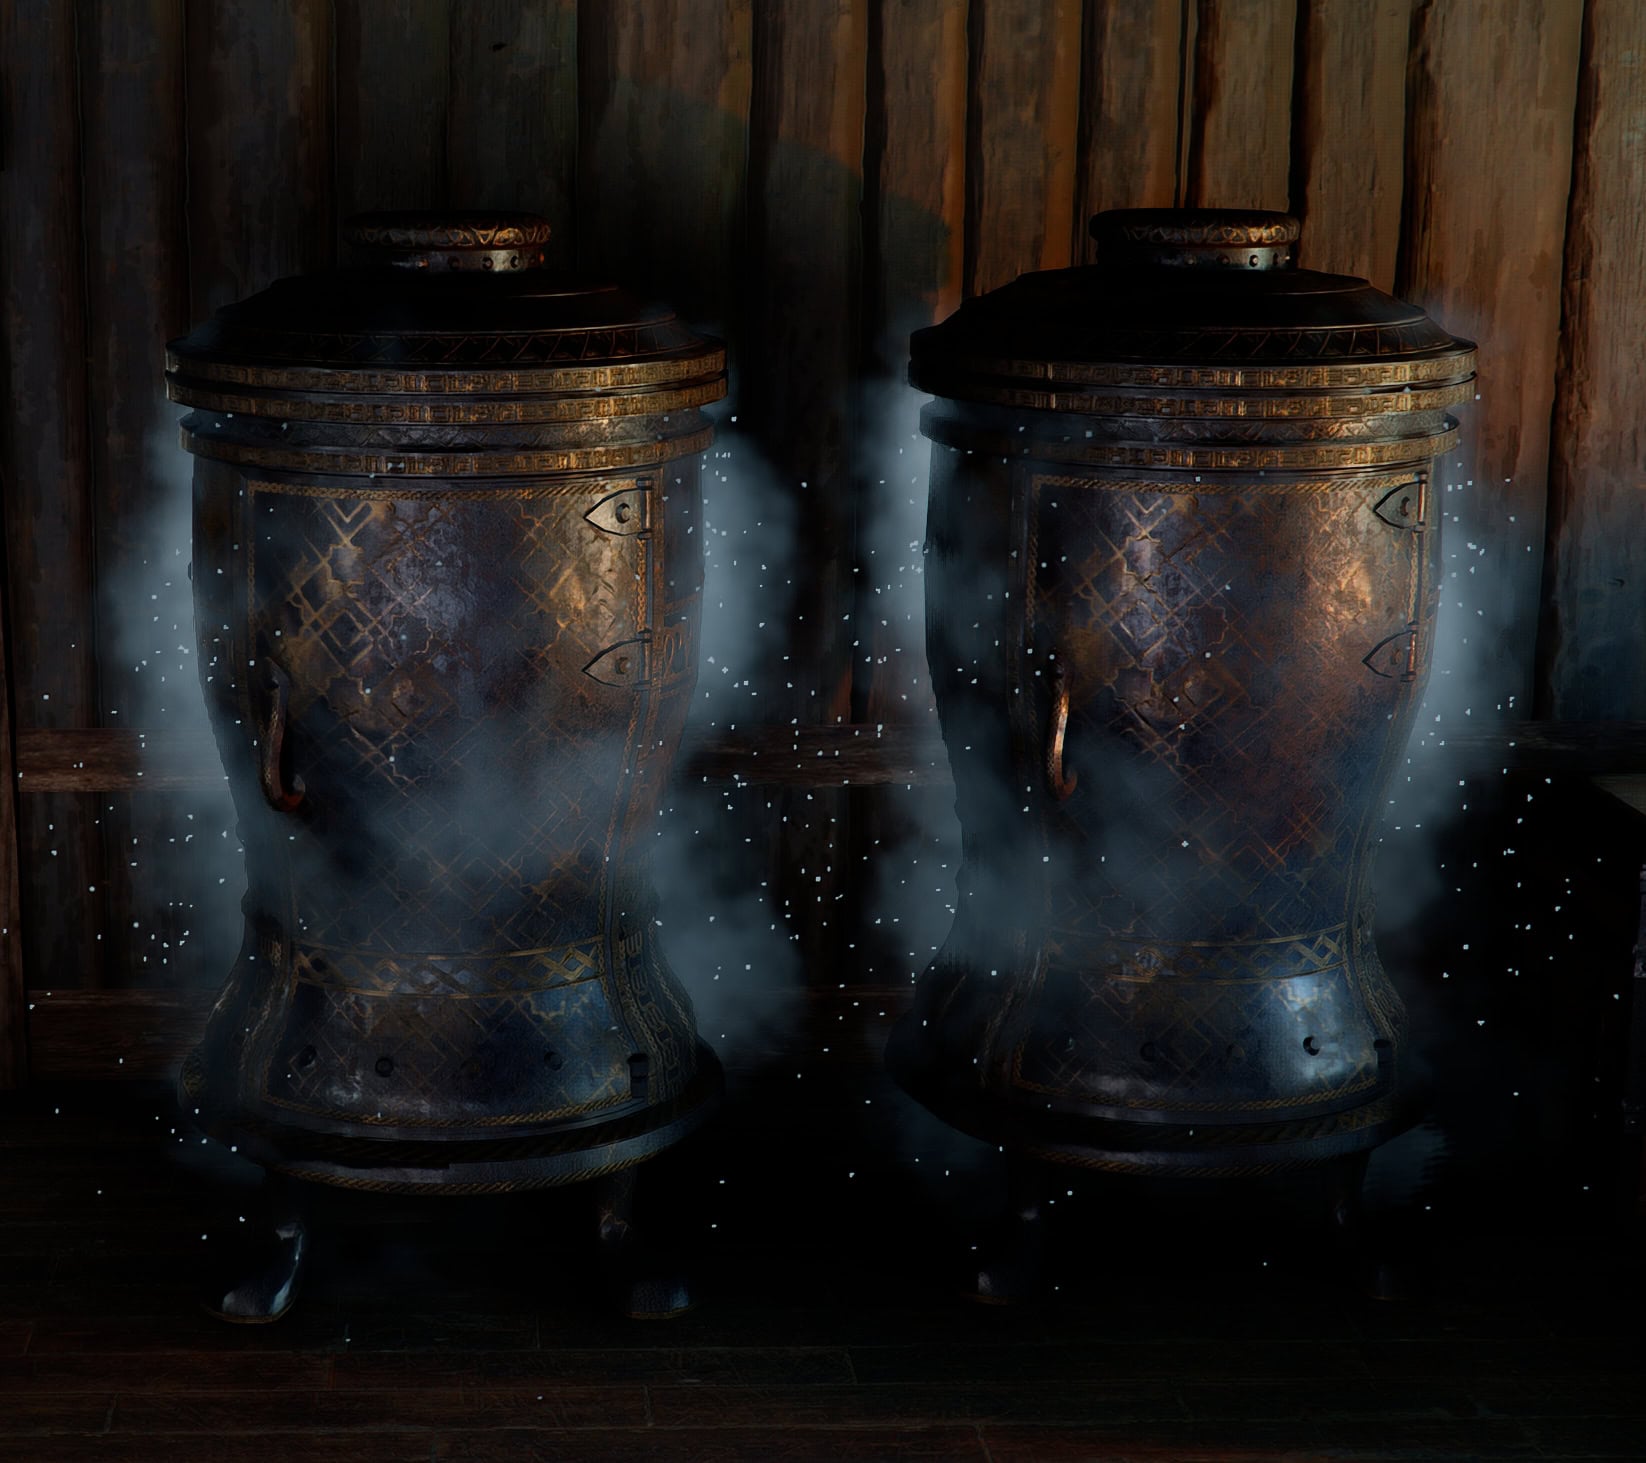
While the default Basic Kuku Cooler only has a meager 50 slots of space to work with, the Enhanced Kuku Cooler offers much more storage for the late game, but also takes a bit of effort to gather the required materials.
This powerful Food Storage upgrade is cheap to craft, though, so having multiple isn’t out of the question if you find yourself needing more storage before you can get the Enhanced version.
Unlocking the Kuku Cooler
The Kuku Cooler and Enhanced Kuku Cooler Blueprints are awarded as part of the Invention of the Workshop Side Quest, falling into the Hernand Requests category.
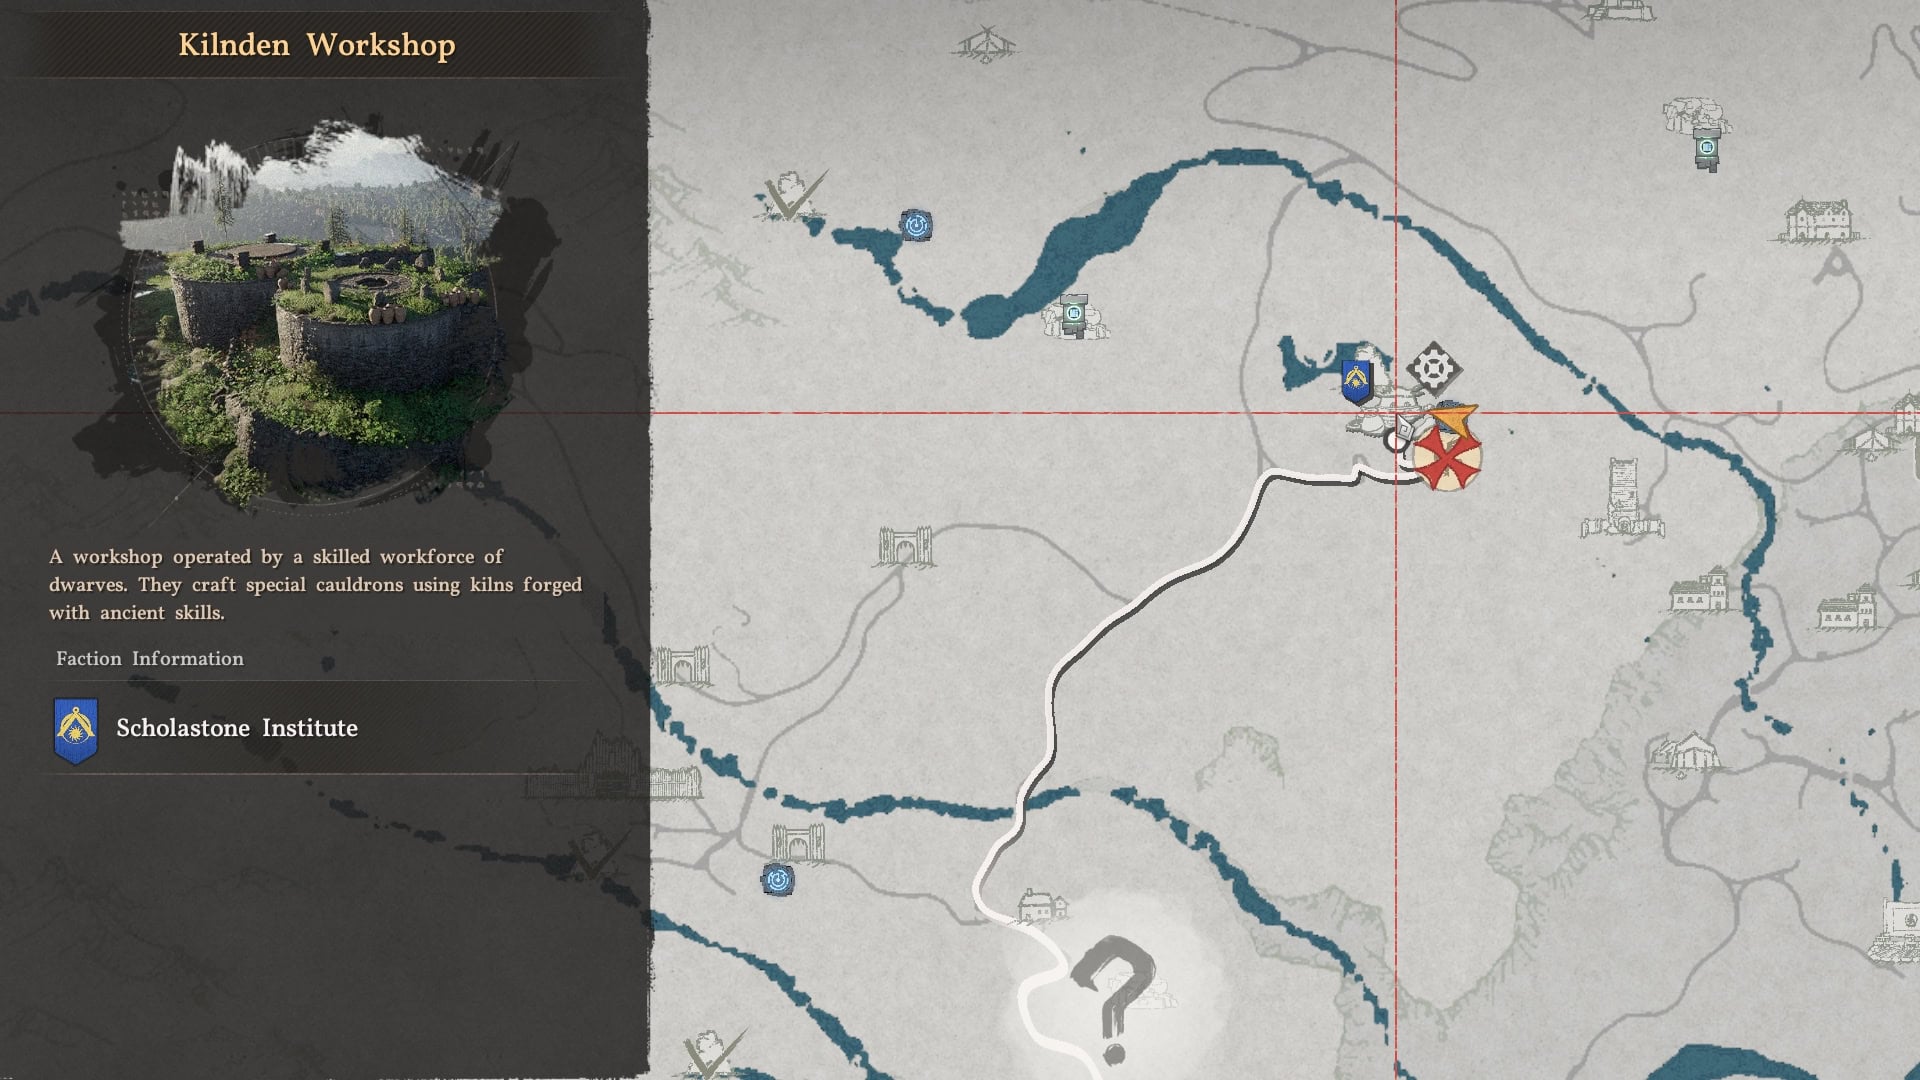
The Invention of the Workshop is available following Chapter IV’s Mysterious Pot Questline, involving repairing the kilns at Kilnden Workshop.
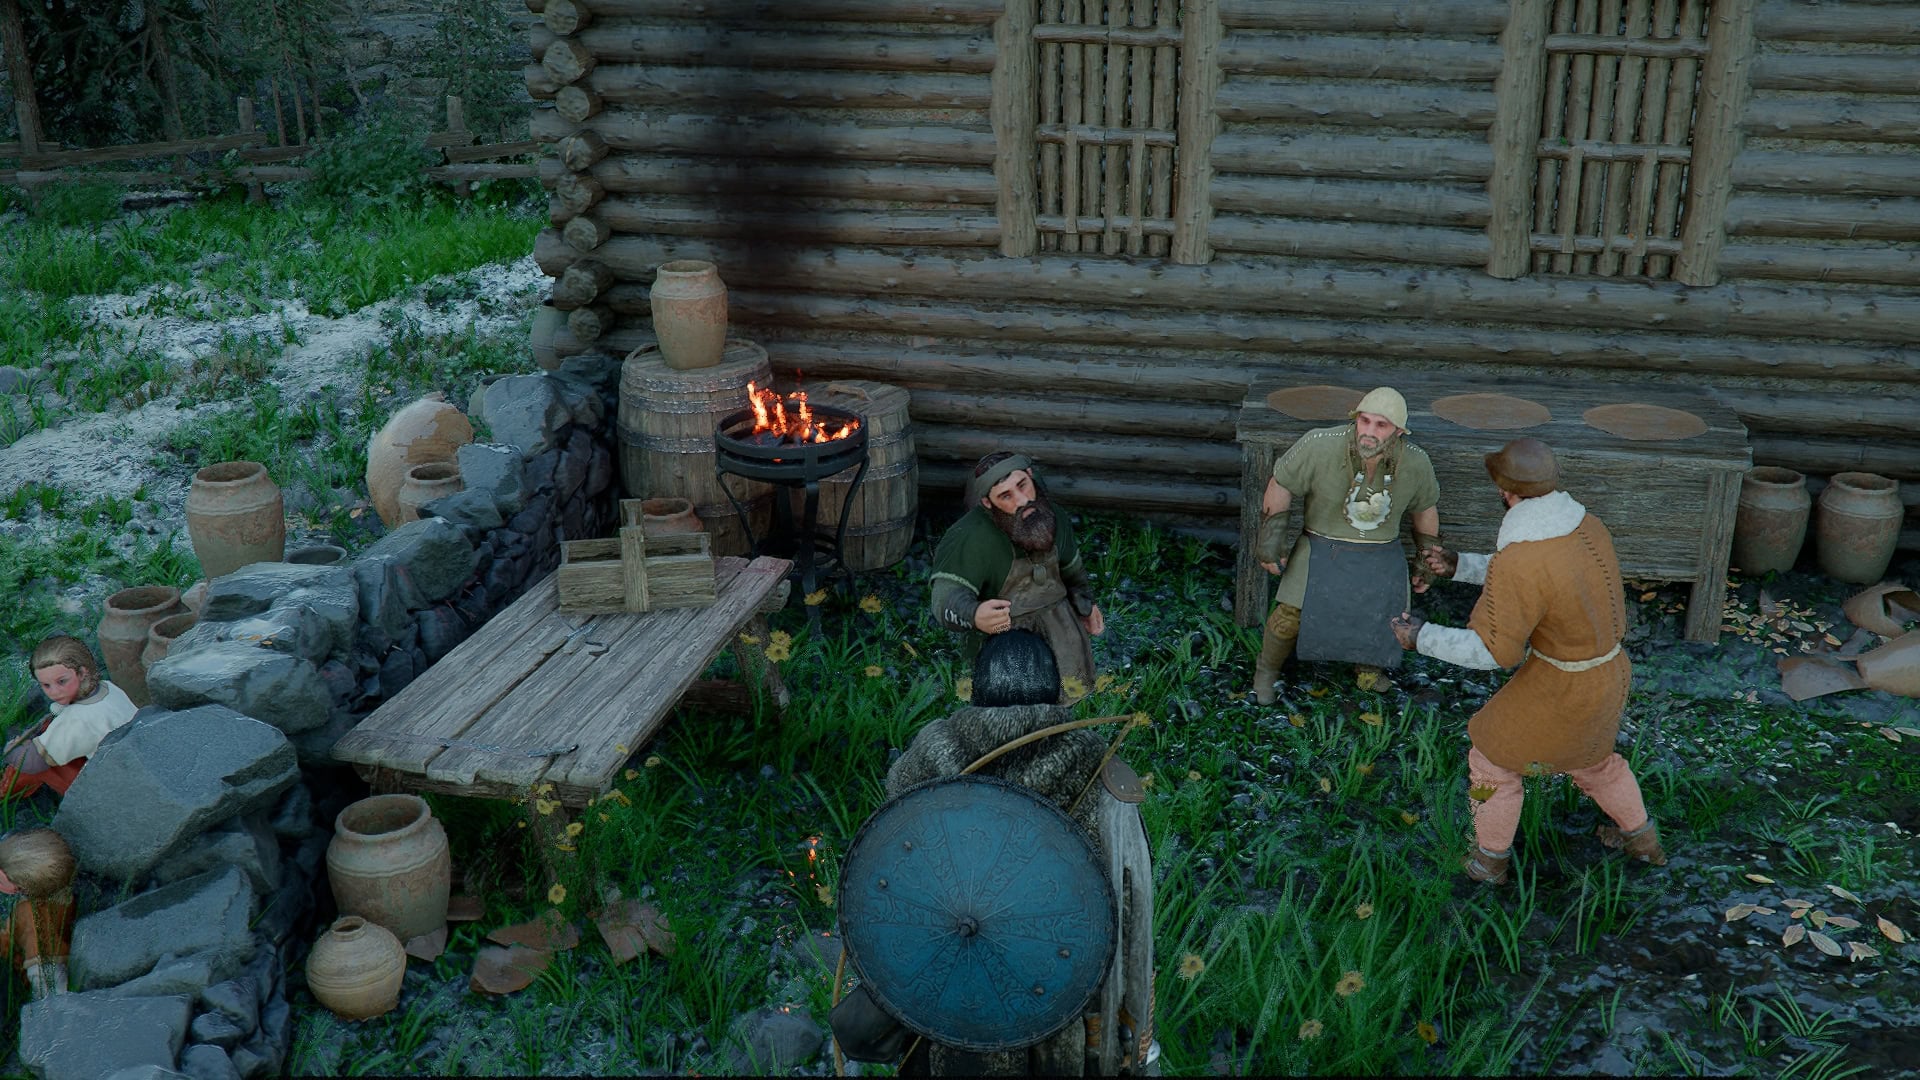
Once Available, you’ll be able to start this quest by speaking with the soldiers outside of Bloomwood Ranch.


After speaking with them, they’ll send you to the Kilnden Workshop to check on the gift Marquis Serkis has prepared, where you’ll need to talk to the Kilnden Workshop Artisan marked in the area.
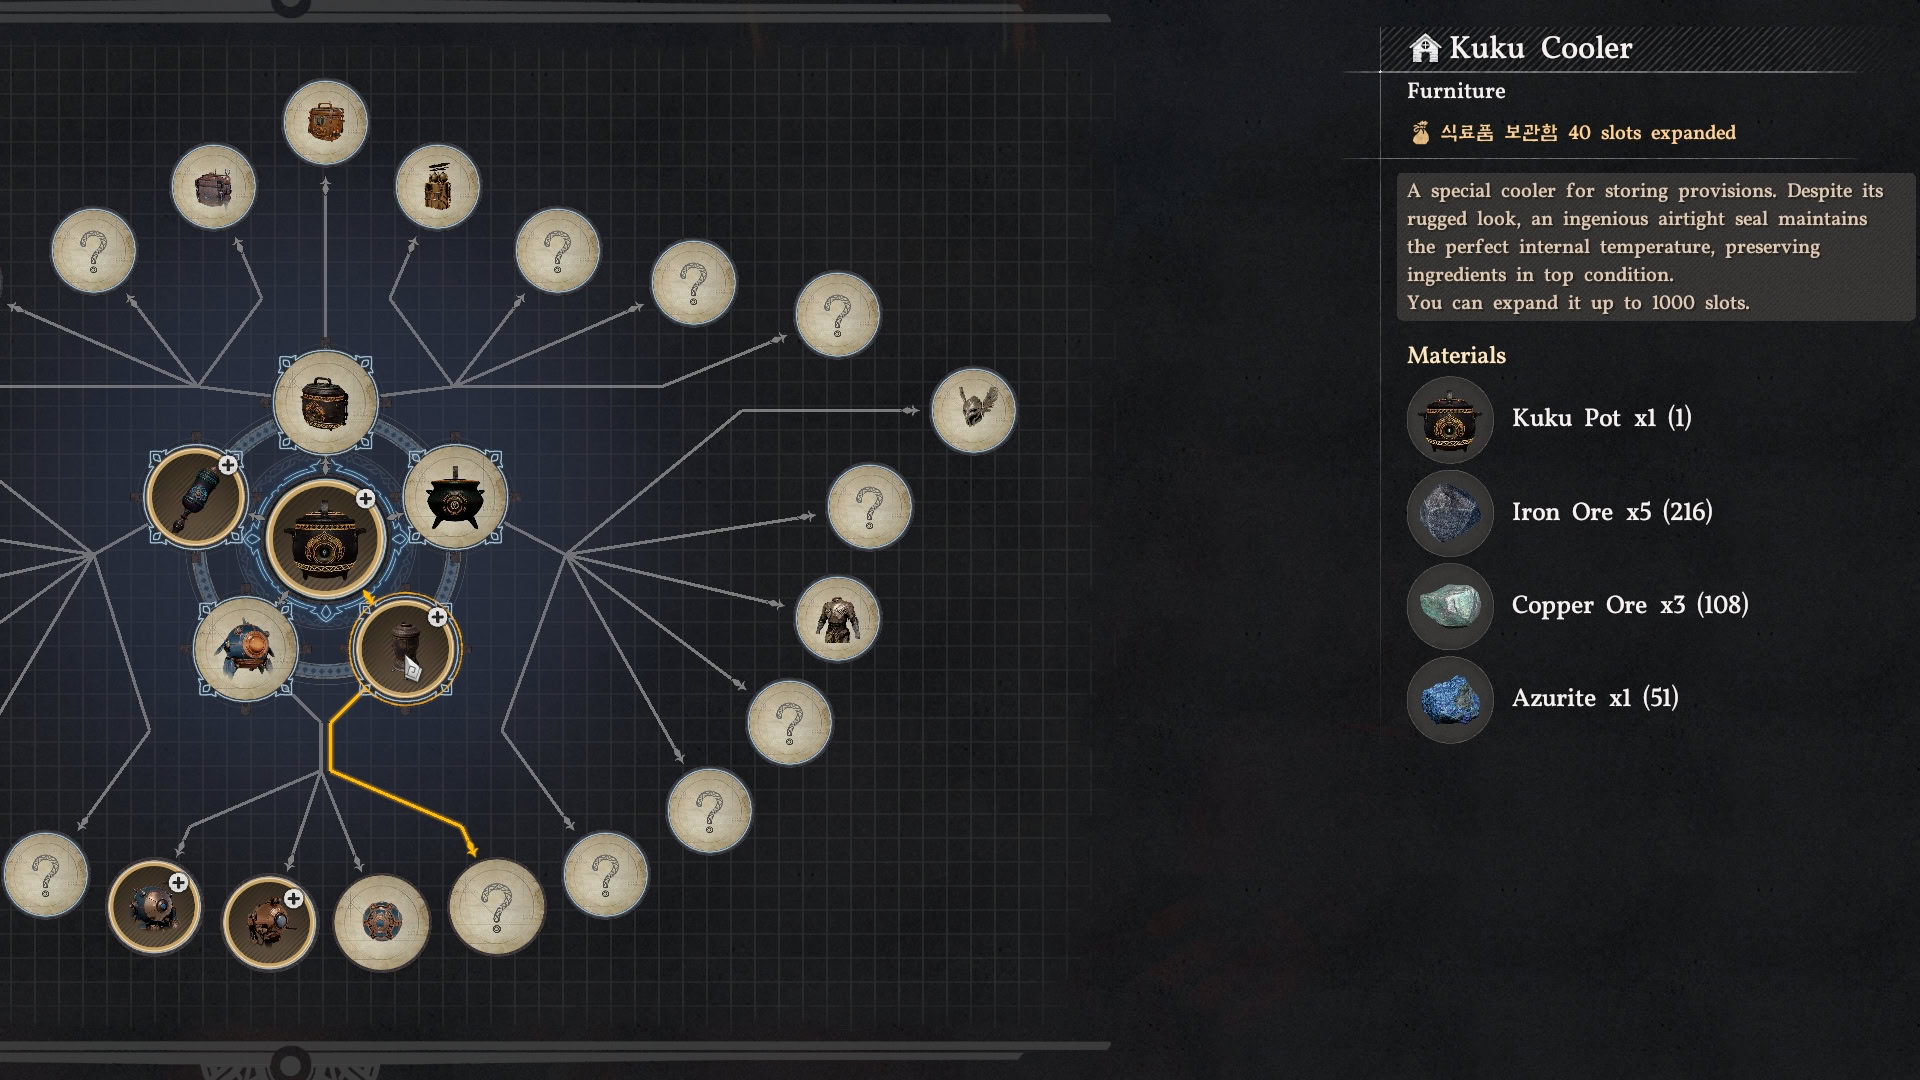
To save time while completing this quest, you can grab the required ores (5 Iron, 3 Copper, and 1 Azurite) from your Private Storage before heading to Kilnden Workshop.
After speaking with him, he’ll say it’s nearly ready, but they’re short on materials. He’ll request that you collect the necessary ore to complete the job. The Ores he requests are as follows:
- 5 Iron Ore
- 3 Copper Ore
- 1 Azurite
If you do not have these ores on you, the Quest will mark the nearest vein of each ore. Thankfully, they’re all relatively close to Kilnden Workshop, so it’s not a huge hassle if you need to mine them.
You can craft the item directly without obtaining any of the materials, but the quest will not update. You need to either bring the materials with you, or collect them when the quest asks for that.

The Artisan was kind enough to give you a Kuku Pot as well as the Blueprint already, so all that’s left to do is read the Blueprint you were given and speak with Grimnir to craft the Kuku Cooler.
Upon crafting the Kuku Cooler, when you return to the Artisan, he’ll be happy to see his creation being made and offer the Enhanced Kuku Cooler Blueprint on top. This one requires some tricky resources to craft, and will require much further progress in the Story.
Crafting the Enhanced Kuku Cooler
While the Quest gives you the Blueprint, you’ll be locked out of doing the crafting for it until Chapter XI, due to one of the items required being unlocked through research that only becomes accessible after that point.
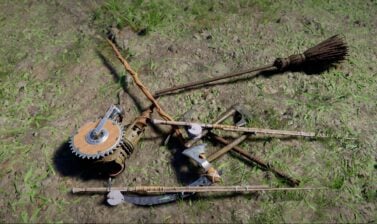
Below are the items you’ll need to gather to craft the Enhanced Kuku Cooler:
- 1x Kuku Cooler (you can craft as many as you want)
- 2x Electrical Components
- 3x Rubber
- 3x Brimstone
- 3x Mercury
If you happen to have all of these resources on hand, congratulations, you can go craft your
So let’s tackle each item it calls for in the order they generally become accessible.
How to Get Rubber
You can collect Rubber as early as Chapter IX, as the only requirement is to have access to the Crimson Desert area of the Map.
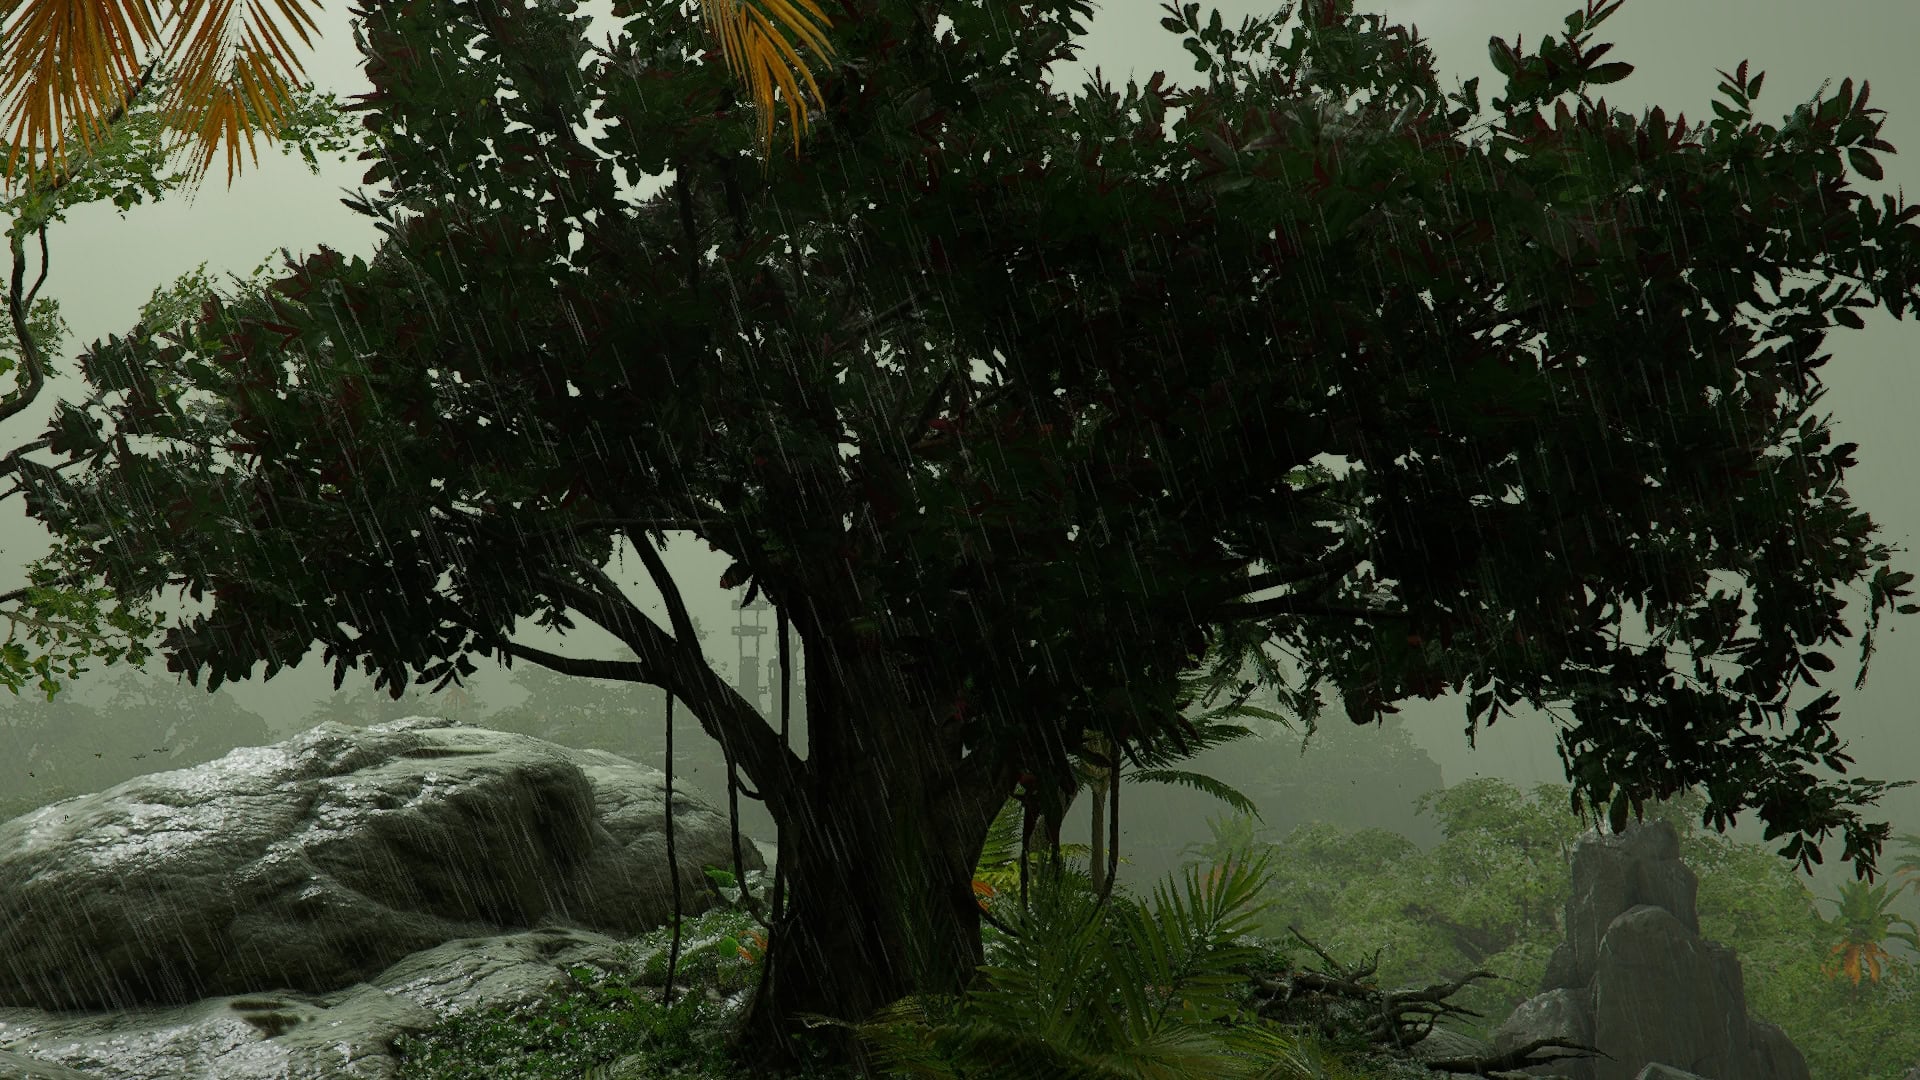
You’ll need to head to the southern rainforests of the Crimson Desert. Its stretch of rainforest that holds just a handful of Rubber Trees. Below is what the trees look like and where to find one, though there are multiple nearby.
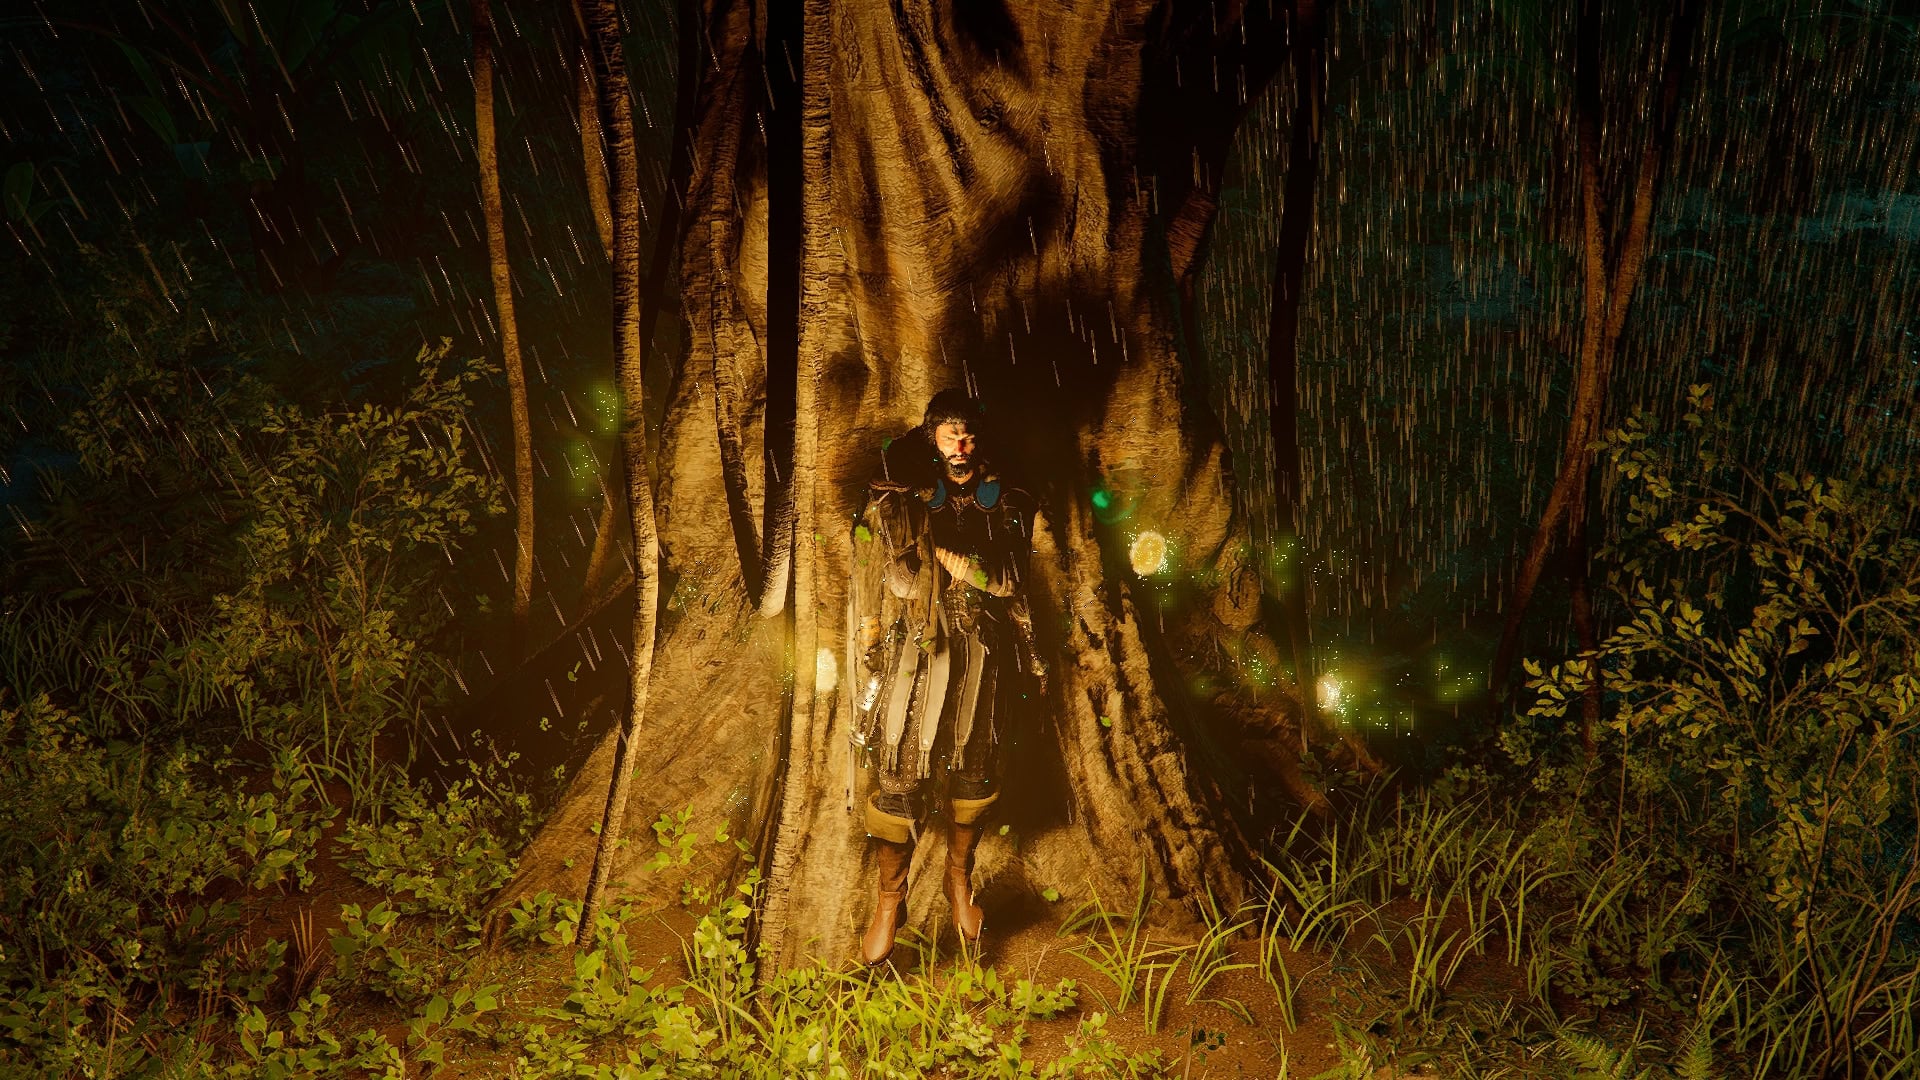
To collect Rubber you’ll need to find these trees and heal up their leaks using Healing Force Palm. This will leave a glowing mark behind, indicating that the rubber is forming. This will need to be repeated multiple times over multiple in-game days before collecting any Rubber.
If hunting these trees in a Rainforest isn’t your style, and you’ve recruited Kamu to your Camp, make the trek to Varnia wayu over in the northeast corner of the map. The Grocer there will sell Rubber Tree Seeds for you to grow on your farm at your camp.
By maxing out his Trust using Copper Pouches, you can purchase the Varnia Seed Contract. This will allow Kamu to stock and sell Rubber and Rubber Tree Seeds.


Last but certainly not least, it’s highly recommended to also invest in getting the Magic Scythe from the hidden town of Pororin. This will require a hefty sum of 630 total Silver to research, including the previous research before it.
This allows you to dispatch a Mission from your camp to craft a Magic Scythe. This powerful tool allows you to quickly harvest Rubber from a Rubber Tree, without the need to repeatedly tend to it with Healing Force Palm.
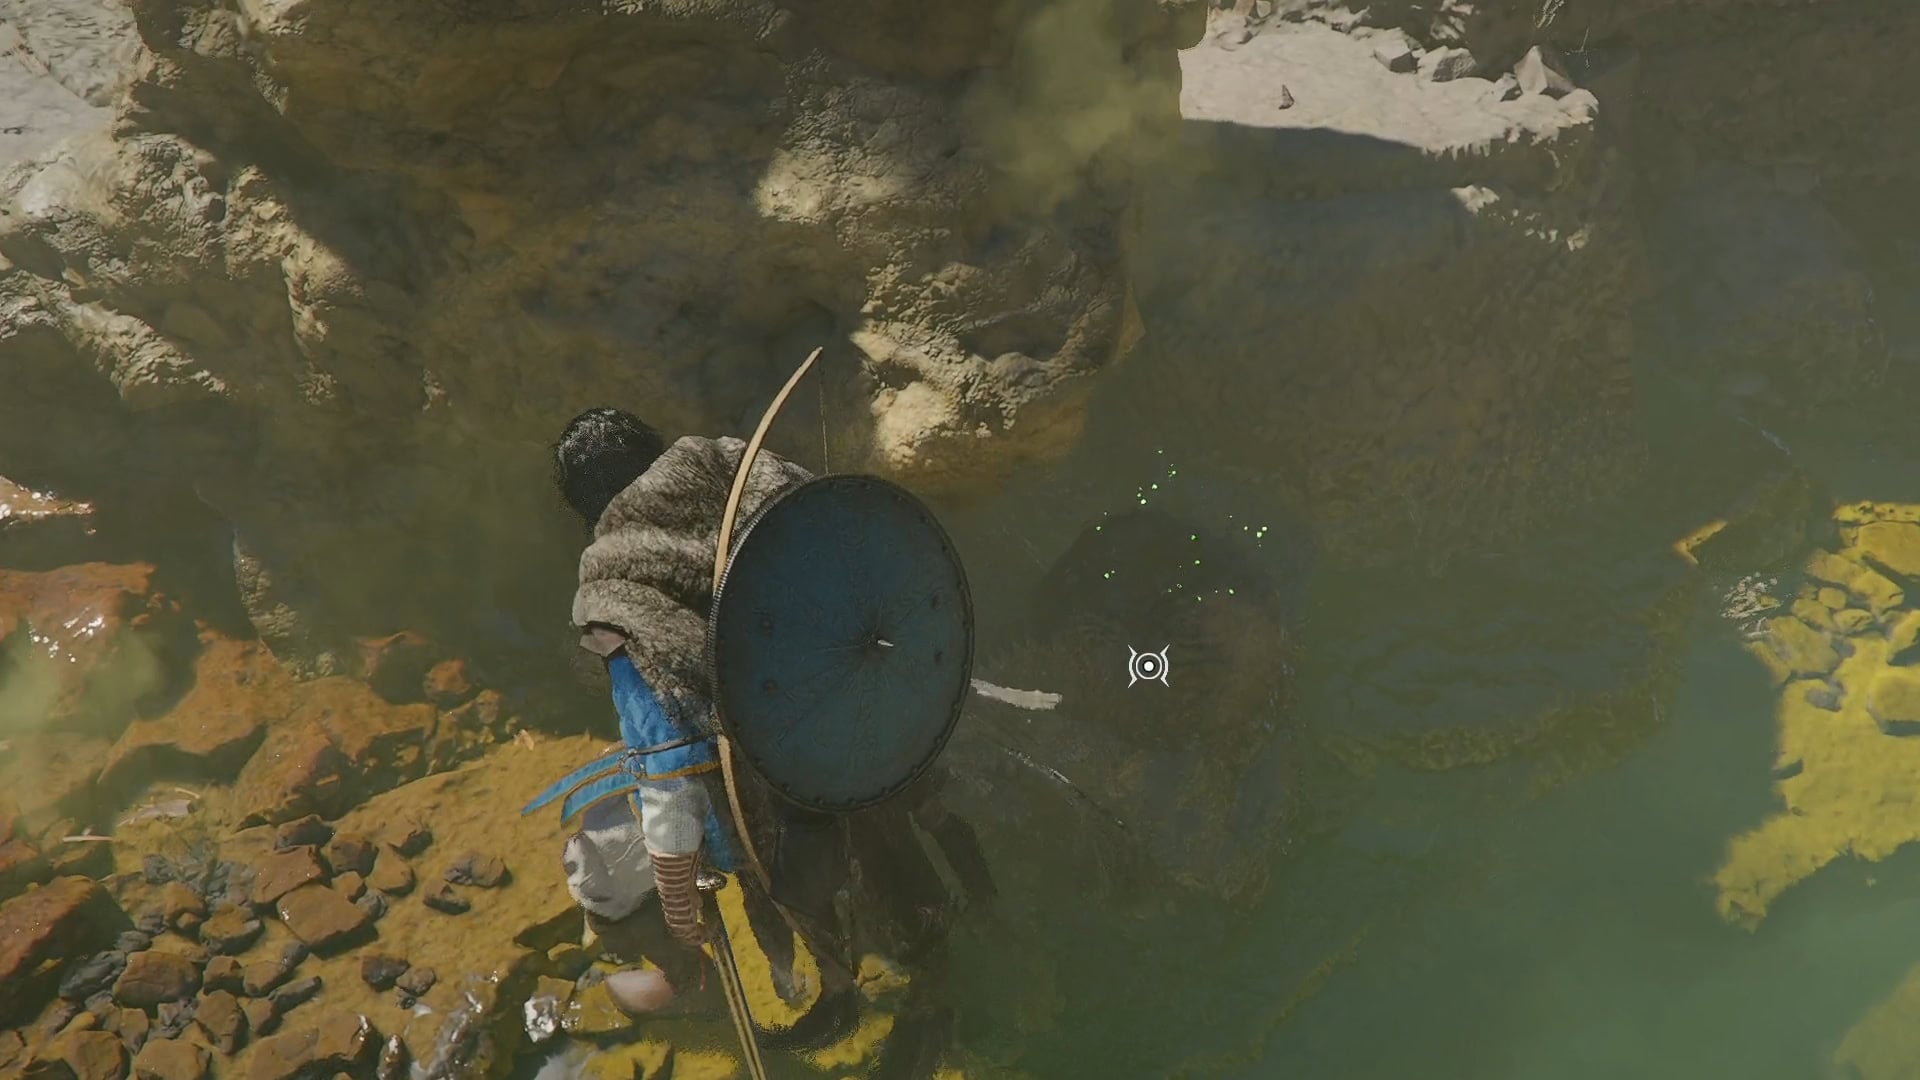
How to Get Brimstone
To acquire Brimstone, you’ll need to have completed the Veiled Witch Questline in Chapter IX to have easy access to Brimstone, as it is primarily located within Hexe Marie’s domain, so clearing her out is a must.
The method to collect Brimstone is normally revealed as part of a Research Quest from Gorthak Ironworks, available after Chapter X. Not having this research appears to reduce the number of Brimstone created.
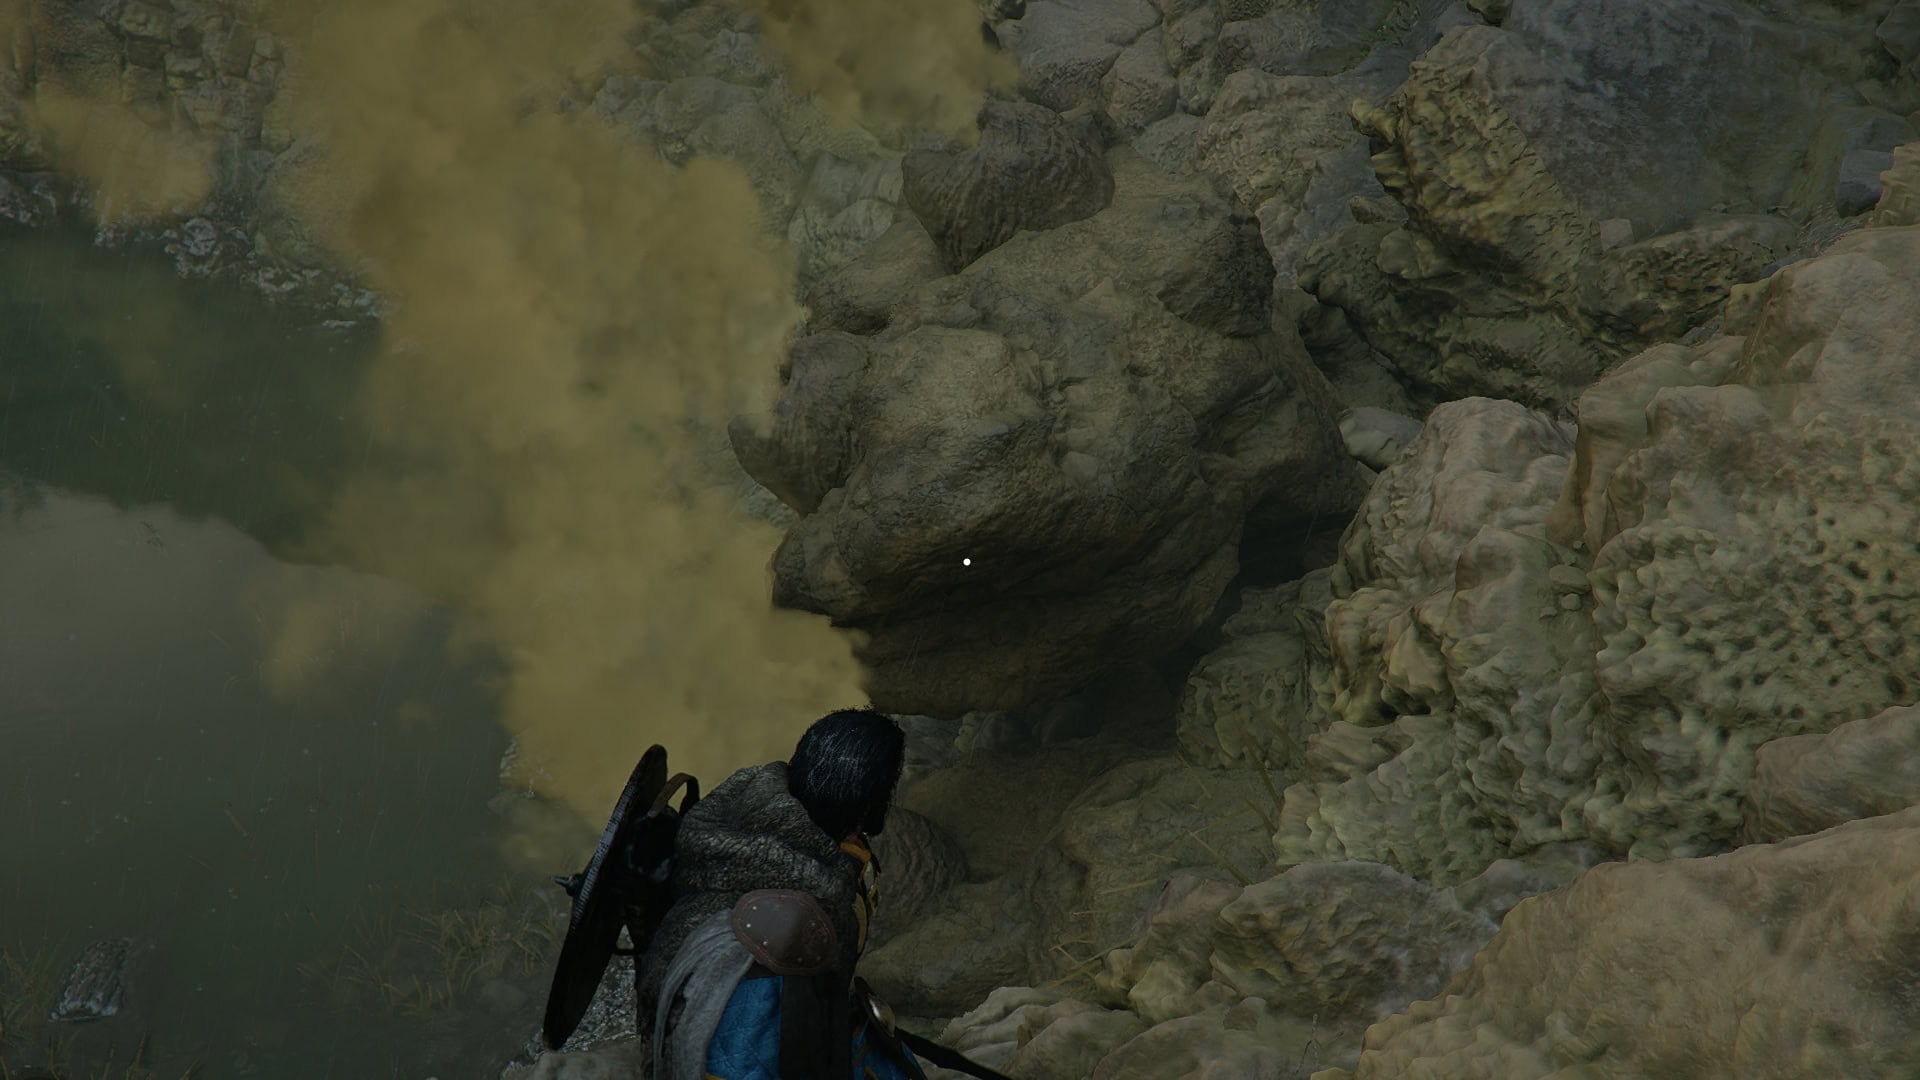
To create Brimstone, simply head to the Brimstone Springs or Brimstone Lake around Hexe Sanctuary.

Here, you’ll need to find the Brimstone deposits near the toxic pools that have multiple vents of gas coming out of them.
Next, you’ll need to use Healing Force Palm to seal all but one vent.
Then stand near the remaining vent and use Nature’s Snare.
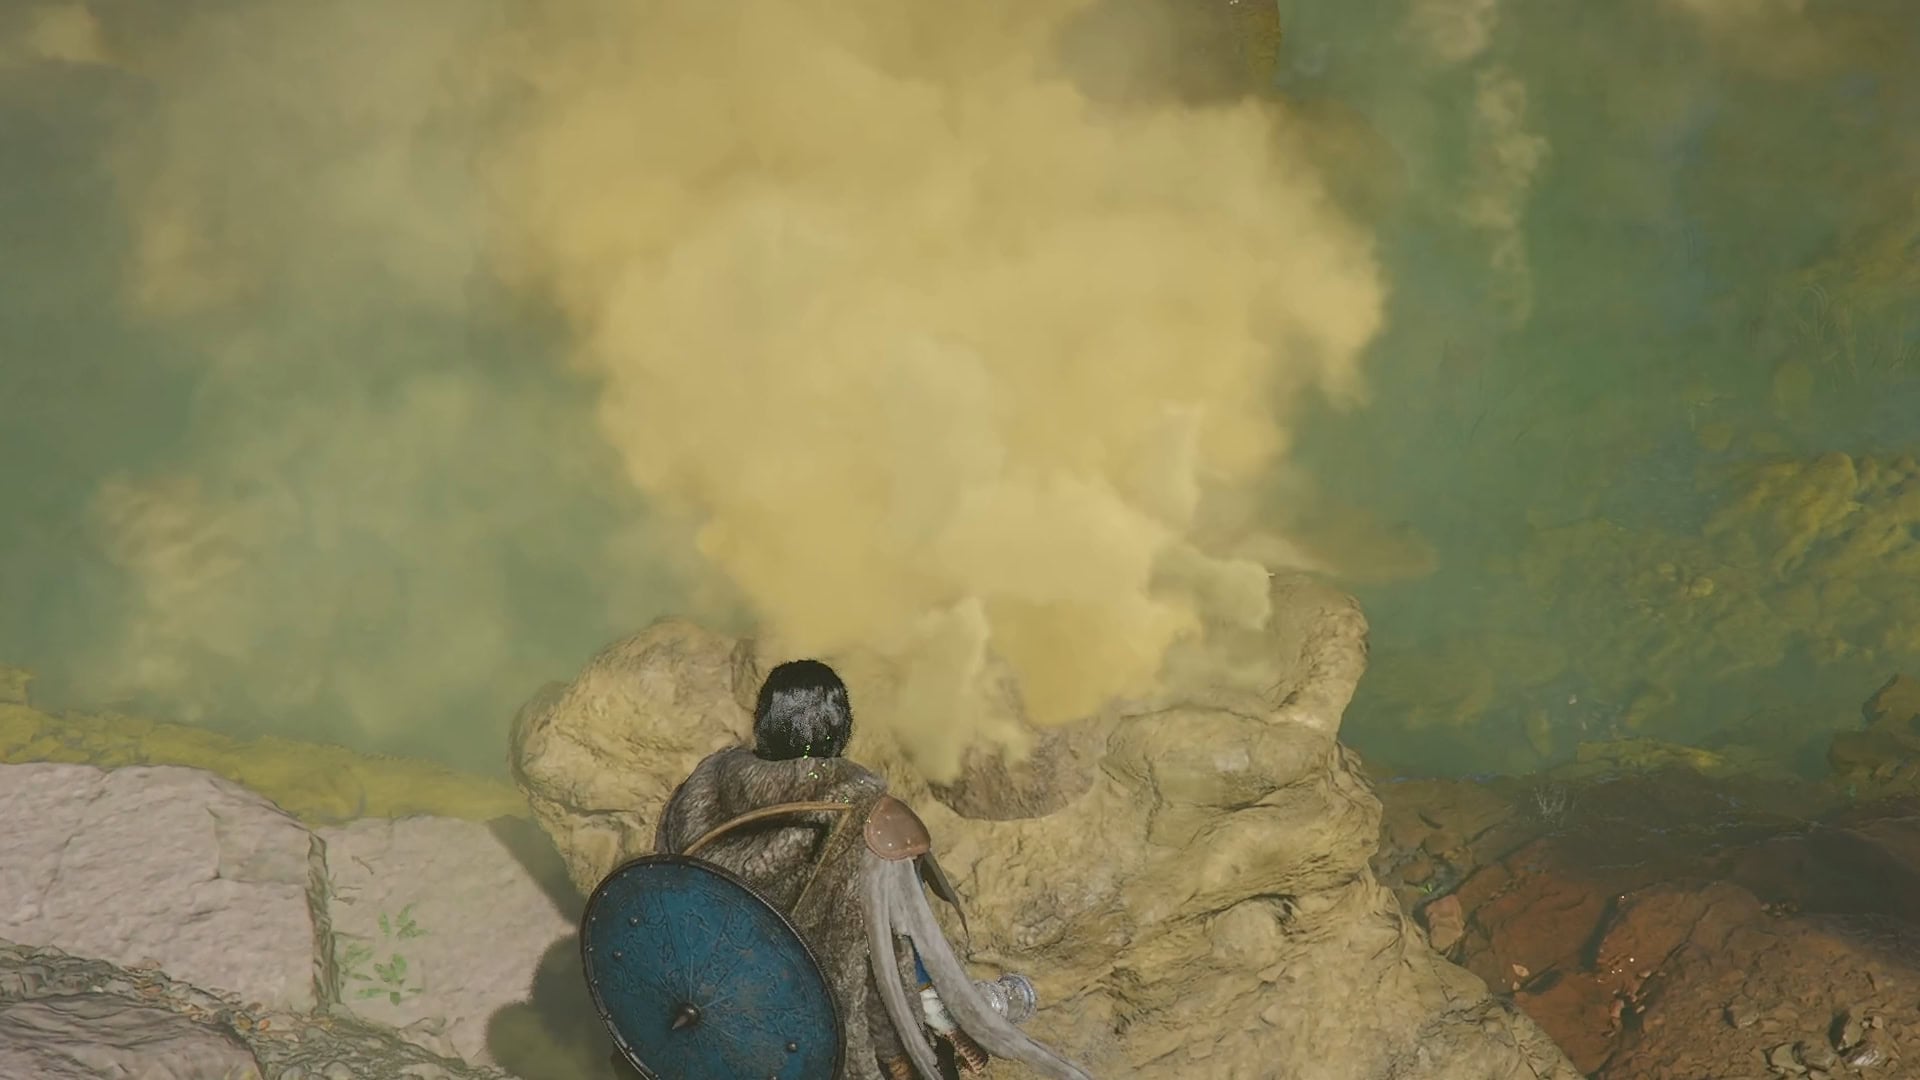
After a short time, you should see the fumes start to clear and gold sparkles indicating that Brimstone has formed.
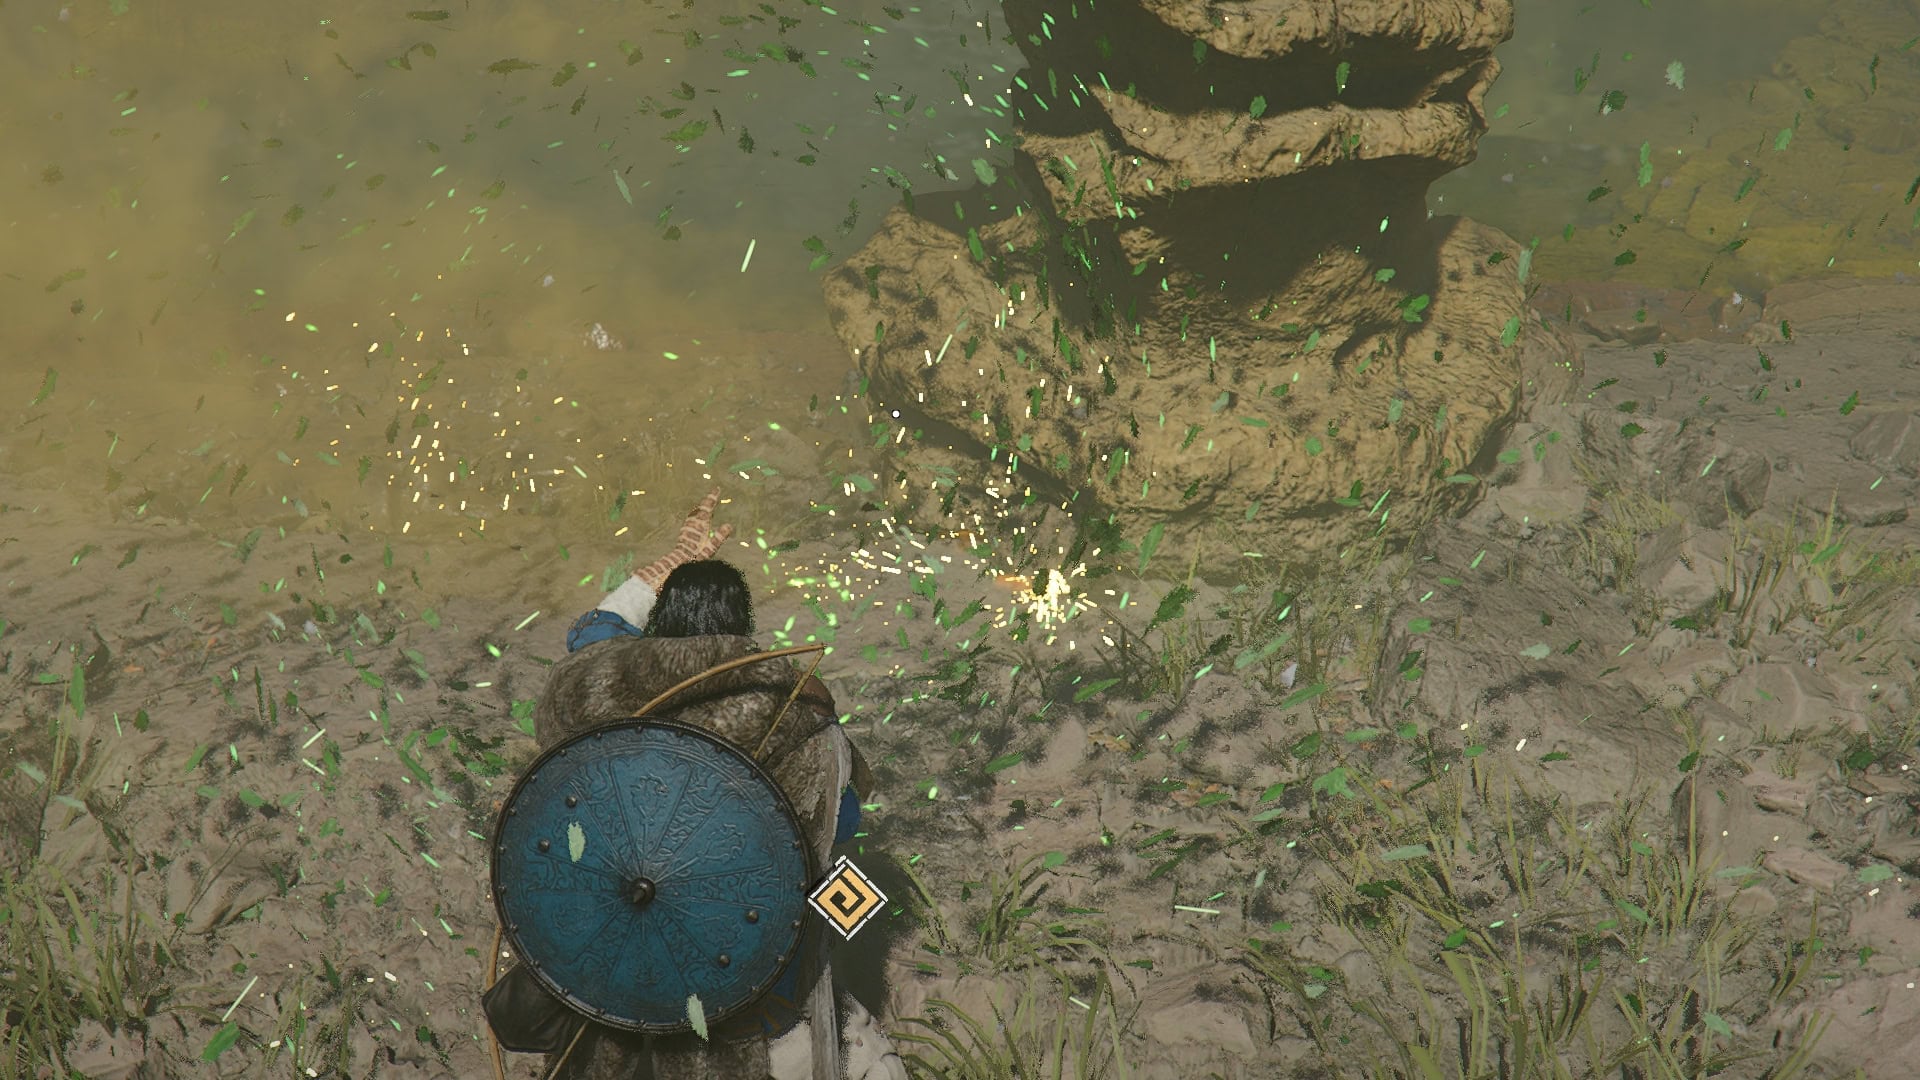
Cancel Nature’s Snare, and a pile of collectible Brimstone should form near the vent. Go ahead and collect it, repeating with different locations until you’ve collected enough.
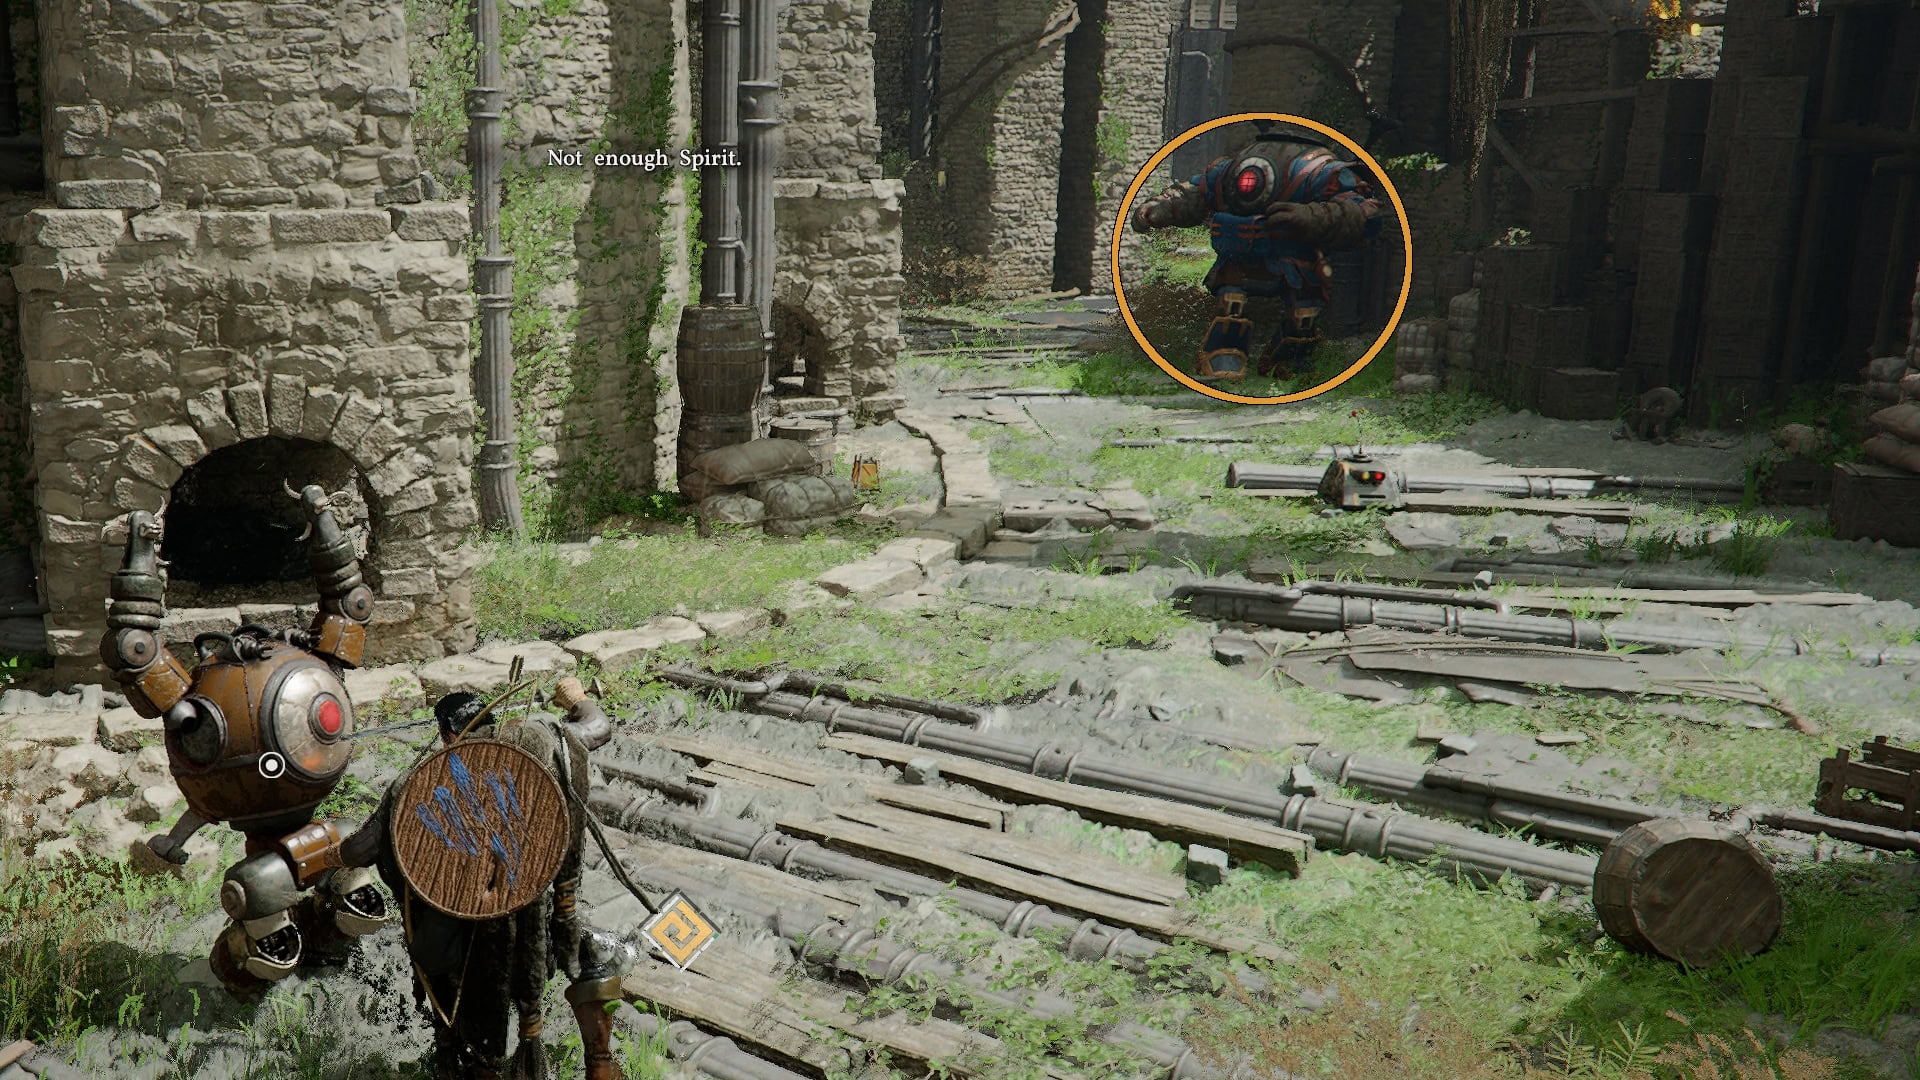
How to Get Electrical Components
Electrical Components are fairly easy to get, dropping from Elite Mechanical enemies, like those found in Delesyia. Or the Elite Clockwork Insects you will see at the start of Chapter X, around the Gate of Peace.
These will drop as items that specifically need to be collected by grabbing them with Axiom Force and sealing them inside your Kuku Pot.
You can also craft these by sending a Mission Dispatch from your camp to Marni’s Masterium, once you have liberated the area during or after Chapter XI.
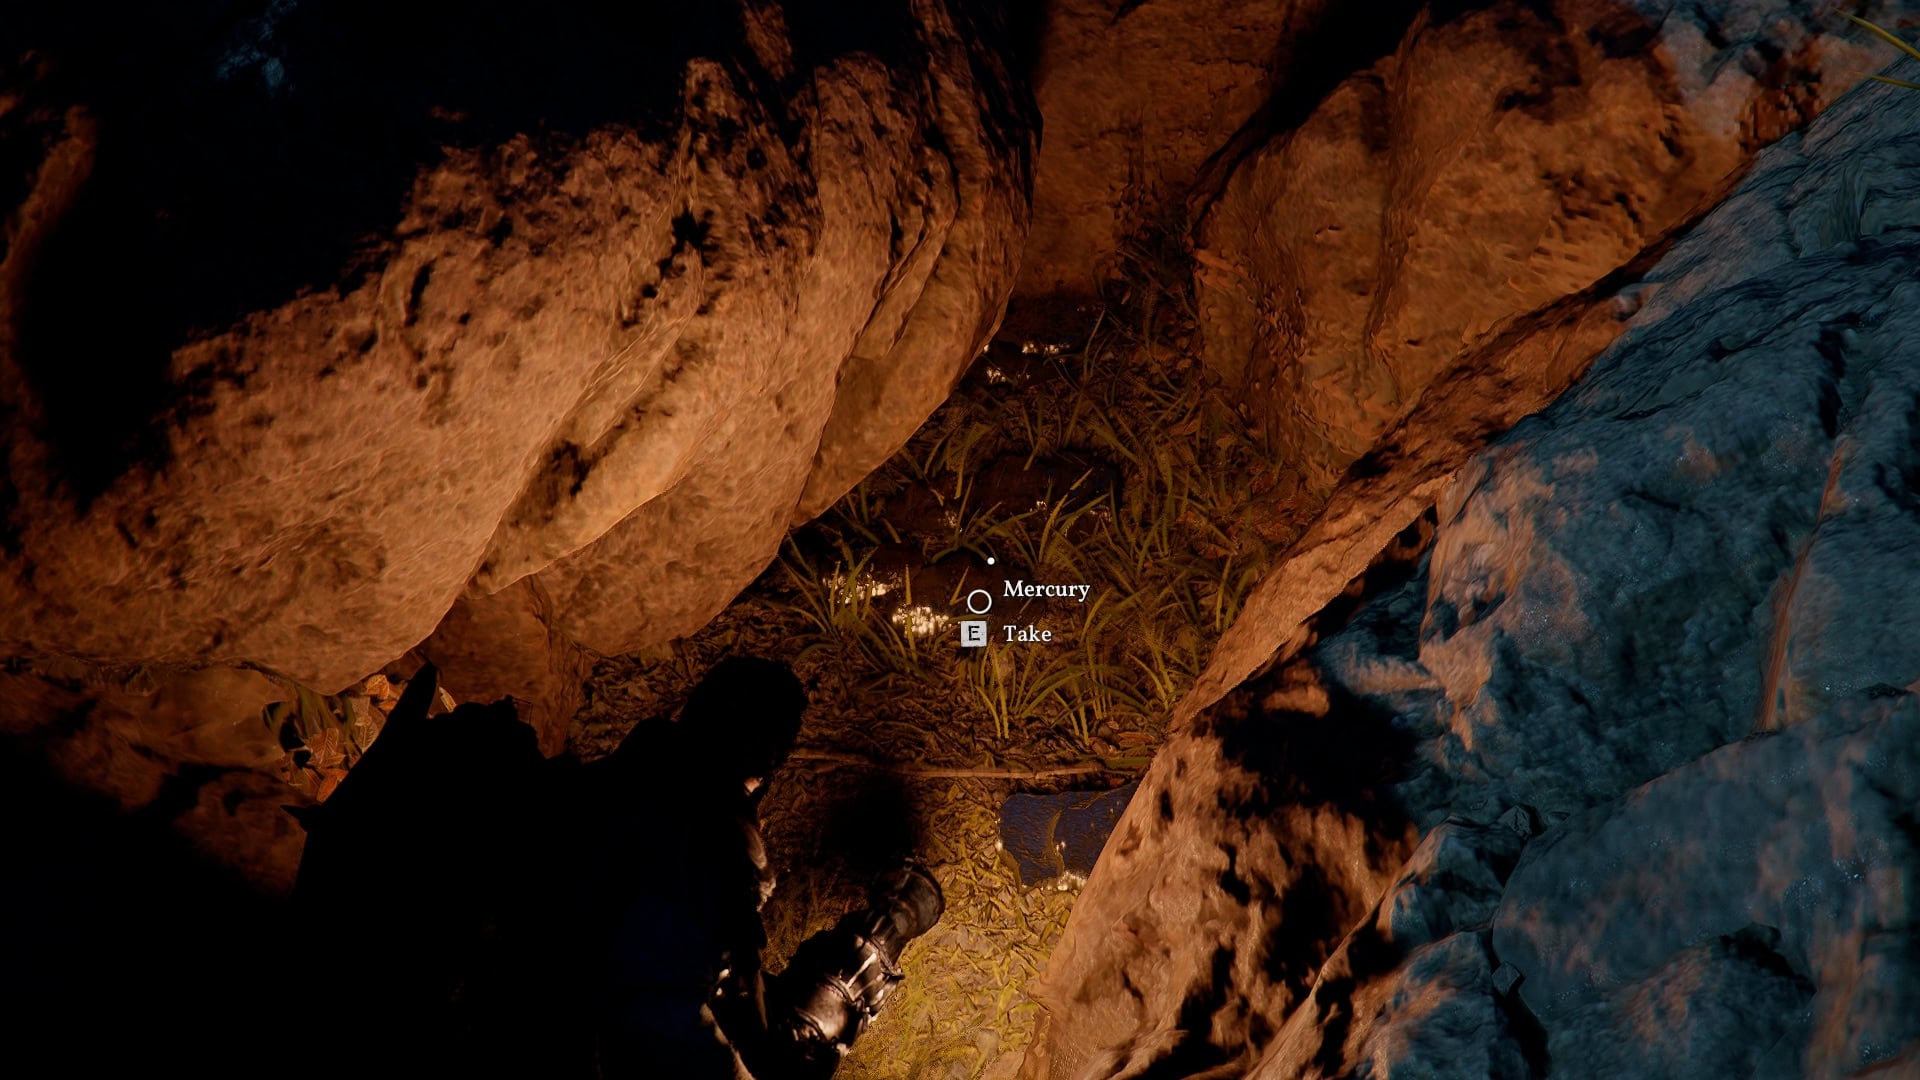
How to Get Mercury
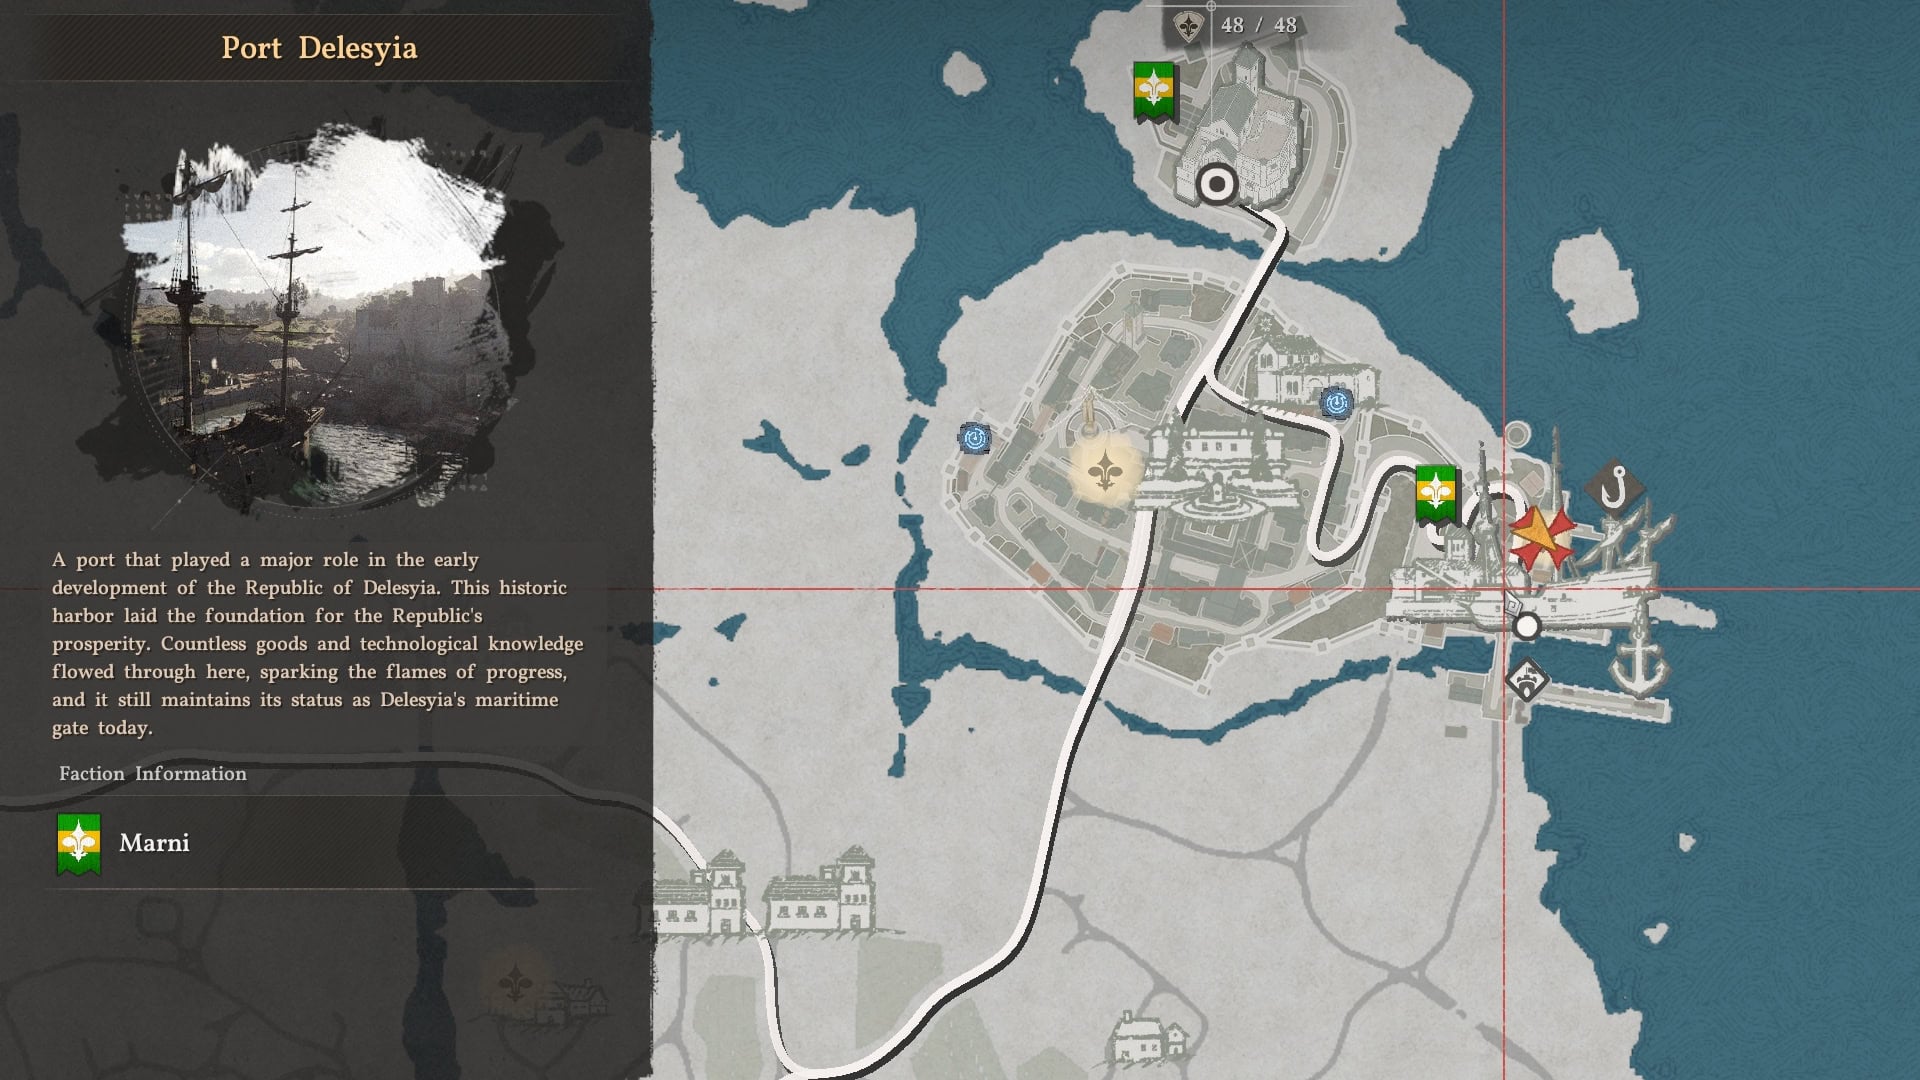
Mercury is the last item that becomes readily available. You can find it in chests around Pywel on rare occasions, but the Research for it lies in Delesyia.
To begin the required Research in Delesyia, you’ll need to have completed Chapter XI. Once done, you’ll need to complete the Basic Science Research there, followed by starting the Mercury Research.
Once this Research hits the halfway mark, the Research will pause. Upon taking on the short quest to investigate why, the researcher you speak to south of Delesyia will inform you he needs more Mercury to study, and asks you to collect some.

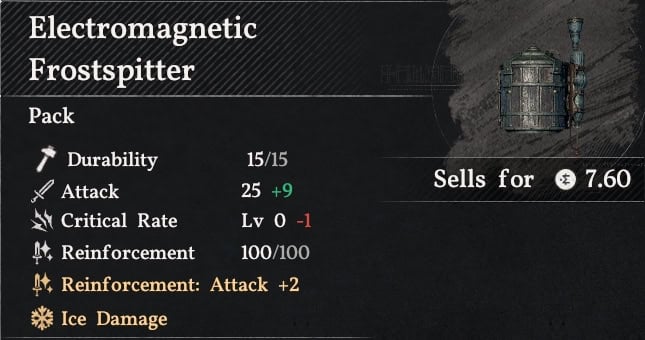
He’ll hand you an Electromagnetic Frostspitter, which you’ll need to equip.
Then you’ll need to locate a pool of liquid Mercury. The one shown here is actually found near Hexe Sanctuary, though it can also be found near Silver Wolf Mountain in Pailune.
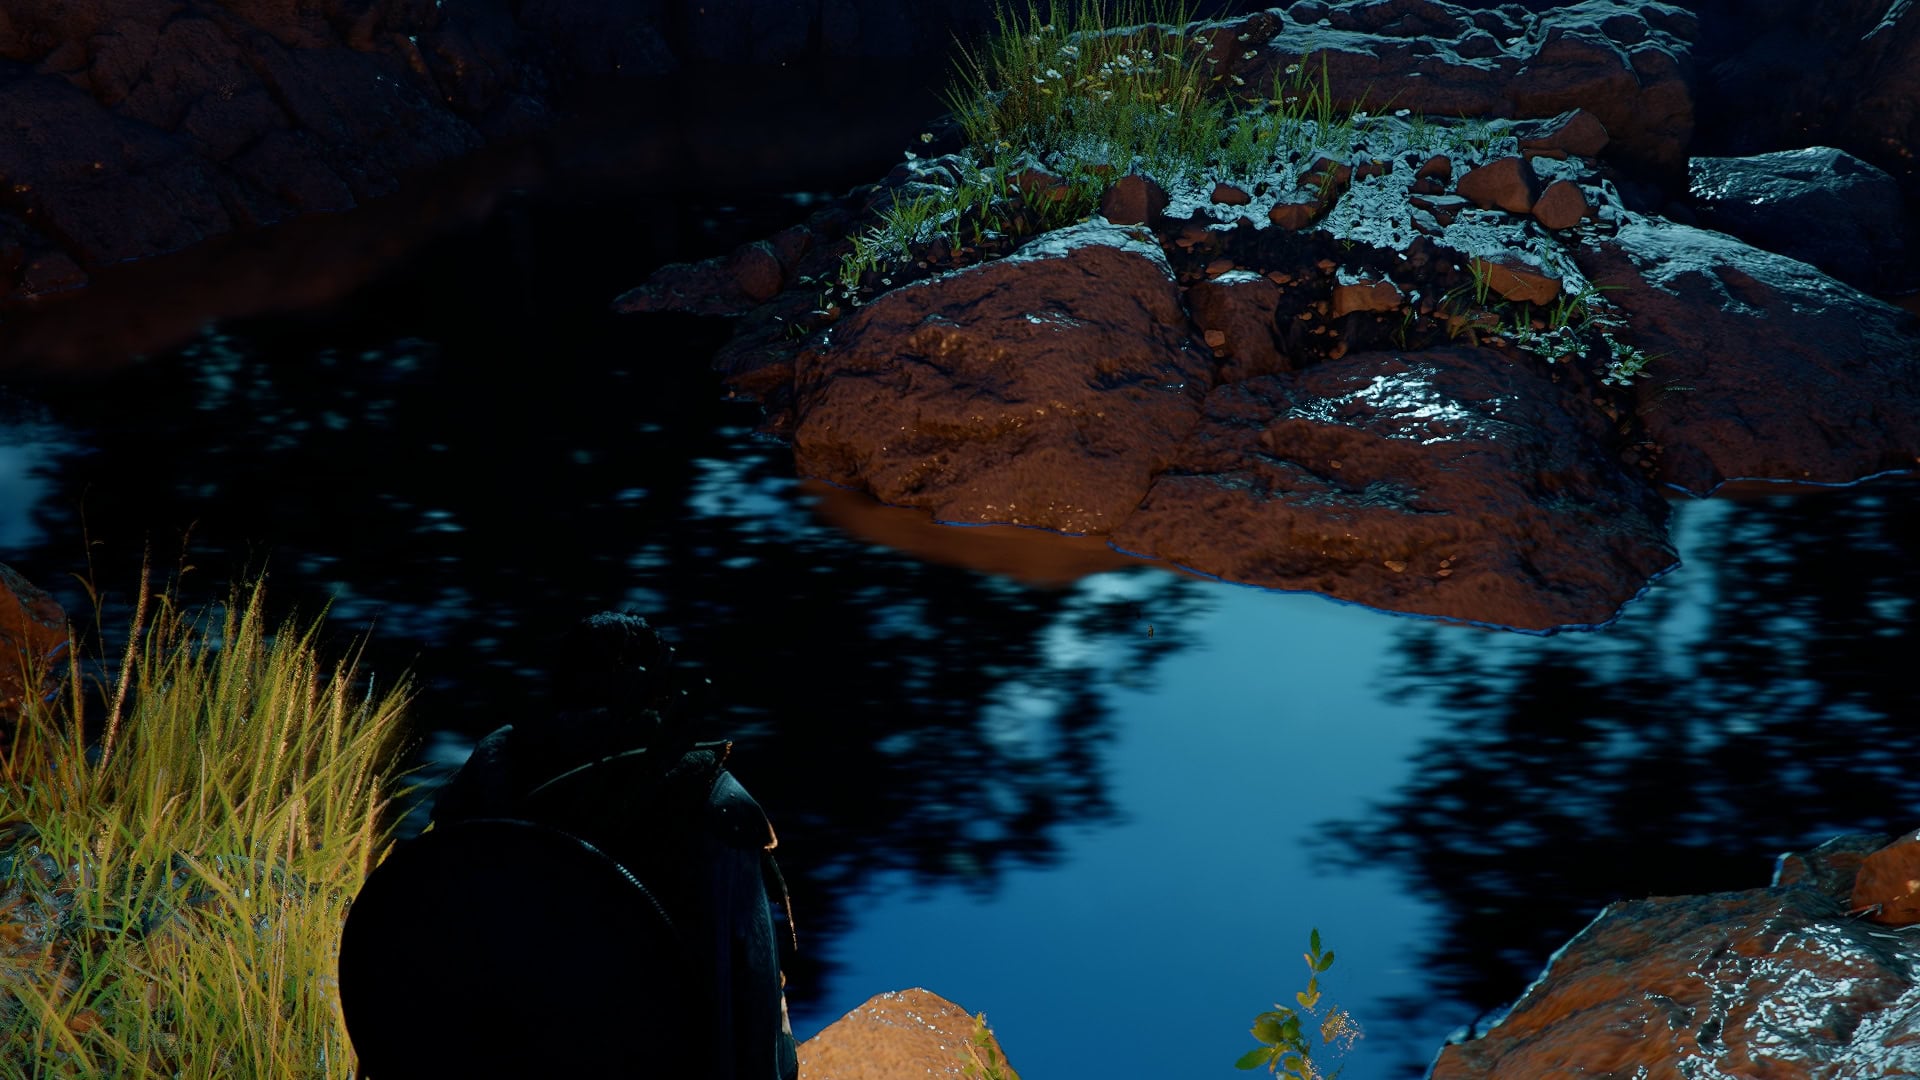
Once you find a pool of Liquid Mercury, simply draw the Electromagnetic Frostspitter as you would any ranged weapon, and use it to freeze the Mercury. Try to freeze as much of it as you can before it begins to shatter.
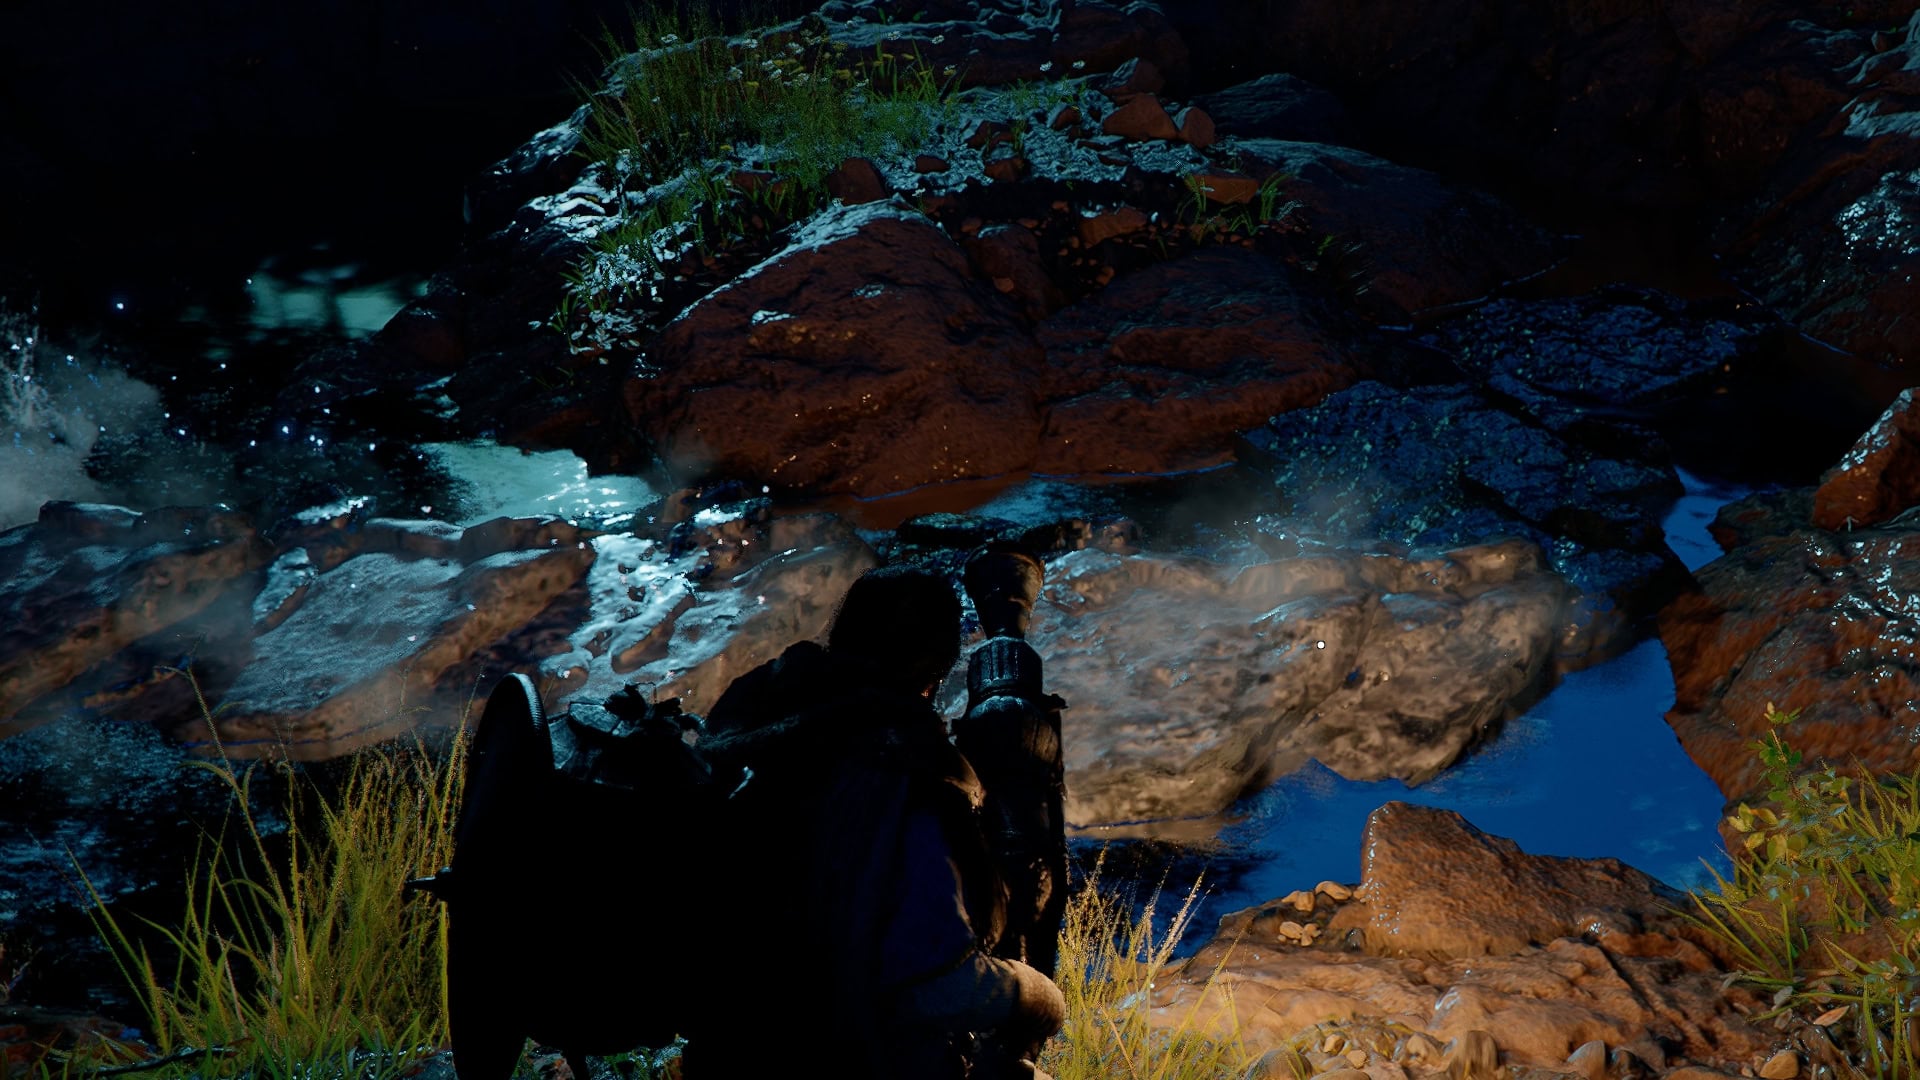
Once the ice begins to shatter, the pool will disappear, leaving behind chunks of Mercury you can collect for each chunk of ice.