Managing your inventory is important to get the most out of any excursion in Crimson Desert. Here’s everything you need to know about managing it wisely.
Why Inventory Management is Important
While some games are happy to provide unlimited Inventory space, Crimson Desert is not one of them. You’ll start with very little space and have to carefully manage everything if you want to avoid leaving stuff behind as youexplore.
Early on, this means storing almost everything in Private Storage, while later on it’s possible to carry up to 240 items at the maximum, which leaves a lot of space for looting and other goodies.
Note: When “Item” is used within this guide, we mean a full stack of items, which is what Crimson Desert uses to determine how many inventory Slots we have available. Item Stacks range in Stack Size from 1-100, depending on the item.
Keeping just what you need on hand is the way to go in most situations. This includes clearing out old quest items as well, which will take up space but provide no value.
Inventory Basics
Before diving into getting everything perfectly managed, let’s cover the basics first. This includes: Inventory Categories, Using, Discarding, Sorting, and Grouping Items.
Inventory Categories
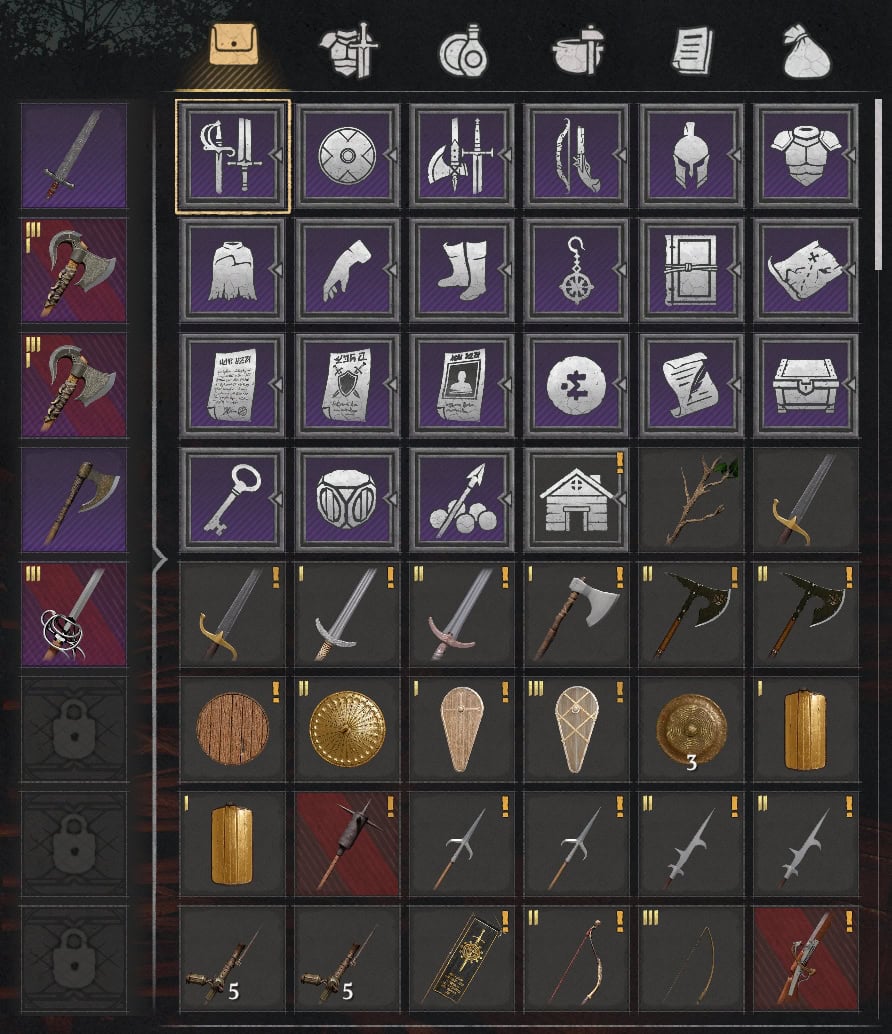
As part of Update 1.04, the Inventory now comes with a few preset Item Categories along the top.

In order, these will show the following Categories: All Items, Equipment, Consumables, Alchemy and Crafting Materials, Documents, and Miscellaneous.
The only category of these that isn’t straightforward is the Miscellaneous one, which holds effectively everything that isn’t part of the main four categories. So Currency, Abyss Artifacts, Ammo, Cultivation items, Housing items, Kuku Items, Trade Goods, and Damaged Gear.
Using Items
While using items can be as simple as highlighting them in the Inventory and pressing the Use command (Space, X or A), there are other options for using Items tucked away in the menu that pops up by holding the button. These are available if the Use prompt looks the same as below

Use All
Use All is a common appearance on one-time consumables, such as Copper and Silver Pouches. When selected, it will use the entire stack of the item at once, providing the content of the boxes or pouches you’re opening. This is also the default action for Use on these types of items.
Take Out
Take Out is a bit uncommon, allowing you to hold and place an item where you see fit. Though it currently seems limited to only those that fall into the Ingredient or Alchemy Material Categories.
Eat
Eat is Common among all Food and Ingredients, and the default option for them as well. You’ll consume the item, and recover Health, Stamina, or Spirit, as well as gain any buffs associated with the item.
Lock
Item Locking is a new option added with 1.04, and allows you to Lock Items in your Inventory. This prevents you from accidentally selling an item, but it will not prevent accidental storage.
Clean
The Clean is exclusive to Fish and some land creatures that are looted from supplies around bandit camps. This will extract Fish Fillets from Fish and Meat, Hide, and Bones from other creatures. Doing so may also result in Boxes with a variety of items, such as treasure map pieces or simply Copper.
Obtain Seed
The Obtain Seed option is exclusive to Fruits, Vegetables or any otherwise farmable item like Abyss Cells. This destroys the item to obtain a Seed for use at the Farm in the Greymane Camp (available after Second Expansion Mission) to produce more of that ingredient.
Feed Horse
The Feed Horse option is also exclusive to Fruits and Vegetables. This can only be used while mounted on our Horse, and will feed it to the Horse, restoring its Stamina.
Discarding Items
Discarding Items is as simple as pressing or holding the button to Discard (F, ☐, or X). Pressing the button will drop items one at a time, while holding will drop the full stack.
You won’t have to use this all too often outside of a full inventory mid-mission or to get rid of old quest items that cannot be sold.
Sorting Items
Pressing the Sort Button (G / R3 / RS) will cycle through several sort options, each with ascending and descending orders: Date, Type, and Price.
The sorting option will reset when leaving the Inventory, but will apply to both the Inventory and Private Storage when accessing Private Storage.
Date
Date sorts items by when they were obtained, with the default Ascending option sorting new items to the bottom. Descending, however, will put the newest items at the top, after key items.
Type
This sorts Items by their Gear Slot or Item type. The Ascending Sorting follows the order below, with Key Items at the top.
- Weapons (1H Melee, Shields, 2H Melee, then Ranged)
- Tools
- Armor (Helms, Body, Gloves)
- Accessories (Necklace, Earring, Ring)
- Masks
- Packs
- Pet Equipment
- Book
- Crafting Book
- Crafting Manual
- Documents
- Provisions (Food)
- Elixirs
- Alchemy Materials
- Crafting and Refining Materials
- Currency
- Keys
- Abyss Artifacts
- Ammo
- Cultivation Items (Seeds)
- Housing Items
- Kuku Pot Items
- Trade Goods
- Animal
- Provisions (Damaged Gear)
Price
Price adheres to the listed sell value, with descending order sorting Lowest First, while ascending order sorts Highest First . Great to use when offloading a slew of gear after any exploration or Liberation being done.
Grouping Items
Similar to those used by Type Sorting, this allows you to group items of a similar type into their broader categories by holding (T / L3 / LS). These will, by default, sort to the same order as the Type sorting method, regardless of Sorting chosen; the items within each group will still be sorted according to the sort method chosen.
Of the Item Categories above, we recommend that Crafting and Refinement Materials, Alchemy Materials, Provisions (Food), All Weapons, Tools, and Provisions (Damaged Gear) be grouped. They tend to clutter the inventory very quickly and make it much harder to find other items.
Expanding Inventory
While it starts small, our Inventory will eventually be able to hold up to 240 items at once. There are three main ways to expand our Inventory: Progressing the Main Story, Completing Requests, and Buying Bags.
As of Update 1.01.00, all bags granted after reaching 240 Slots will be replaced with boxes of crafting materials.
Progressing the Main Story
While this is more of a passive gain than the other options, it’s worth highlighting that many Main Story Quests will provide Medium Bags. These are most common on the middle steps, often being replaced by different rewards when it comes to quests for boss encounters
Completing Requests
Completing Requests is by far how you’ll gain the most inventory in the shortest amount of time. These usually require you to complete short gathering side quests for an NPC in town (often posted on the Notice Board) or the Greymane Camp.
Each Request you complete will award you with a Medium Bag, granting 3 inventory Slots. These are so numerous that it’s easy to have well over 120 slots by the mid-game, so long as you keep up with completing them as they come up.
Buying Bags
Buying bags isn’t the best option you have by a long shot, but every inventory space you get helps. Most main stores in towns (Provisioner, Tavern, Grocer, Butcher, and Smithy) will generally have a single Small Bag available for 50 copper. Each of these nets you one additional inventory space.
Early on, these may be a little out of reach, but later on, they’re very easy to buy on sight without a second thought. While it is just a single slot, they add up over time.
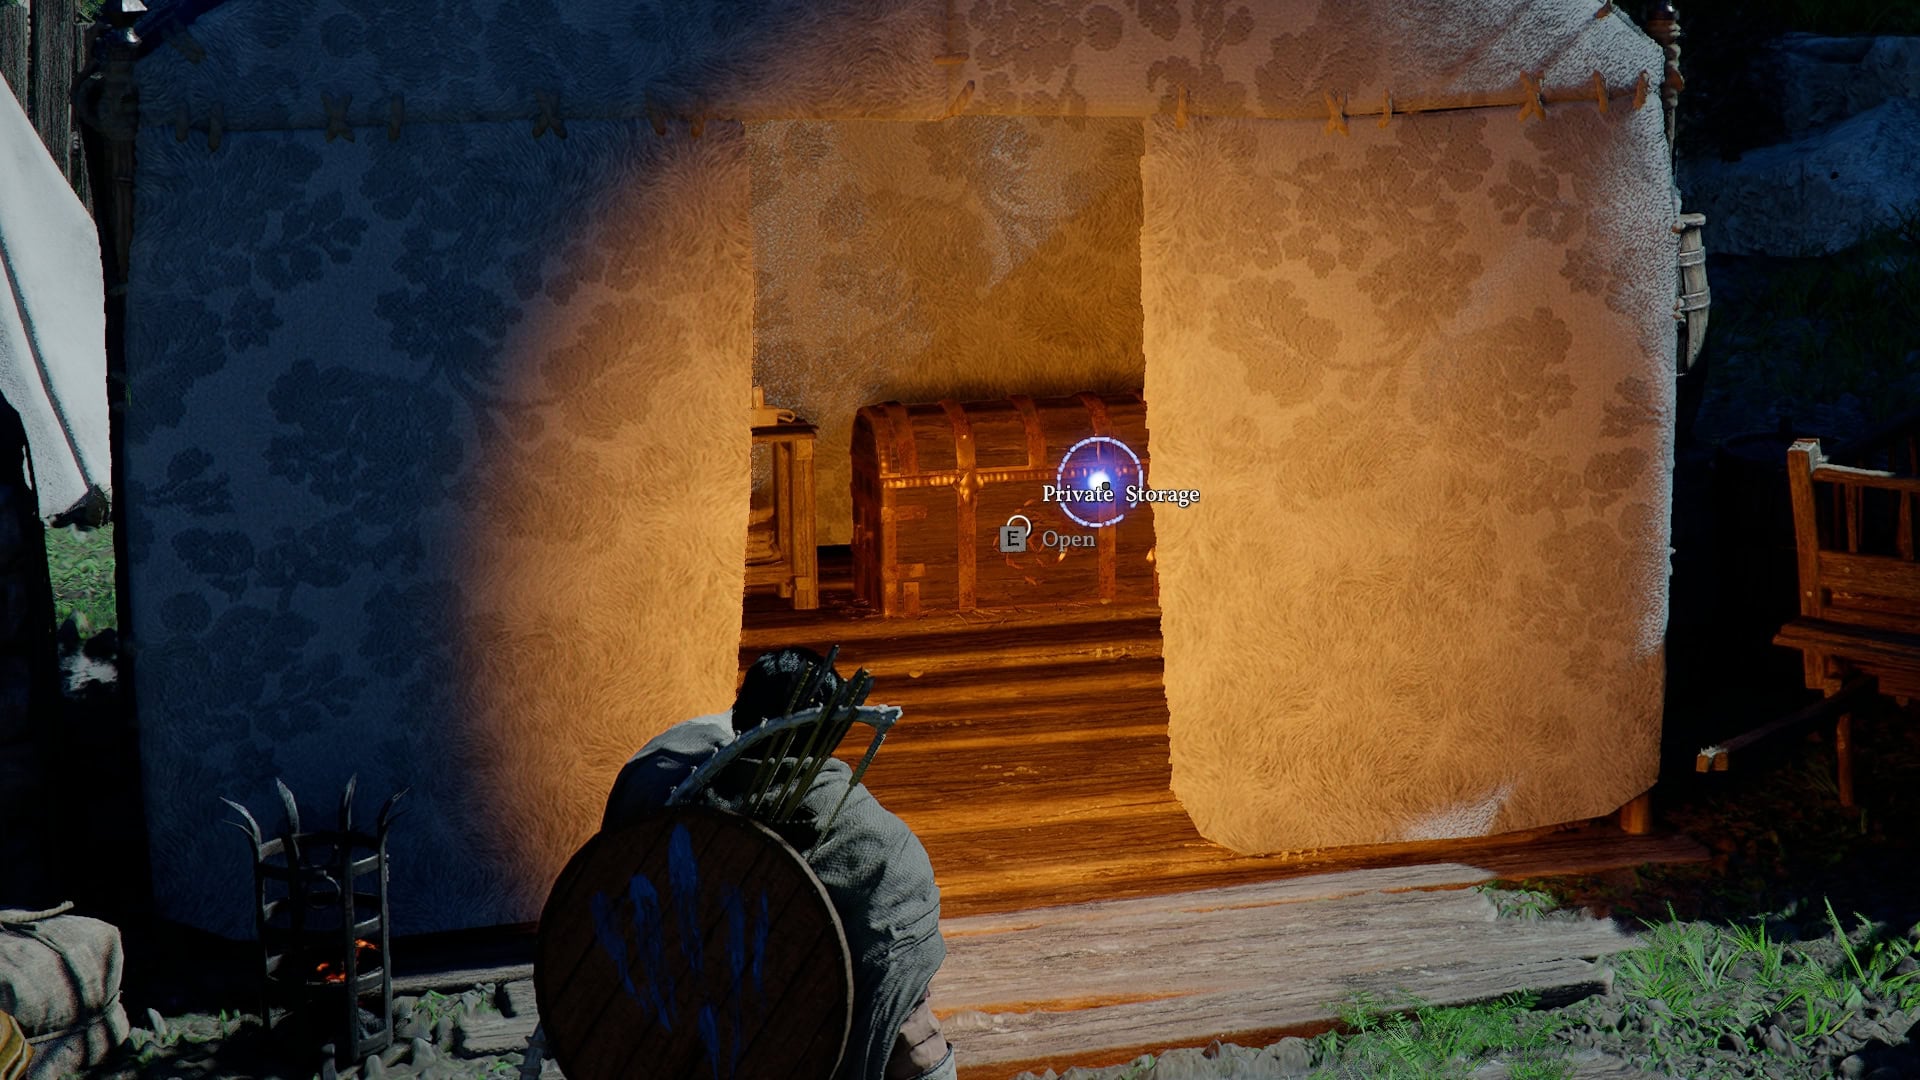
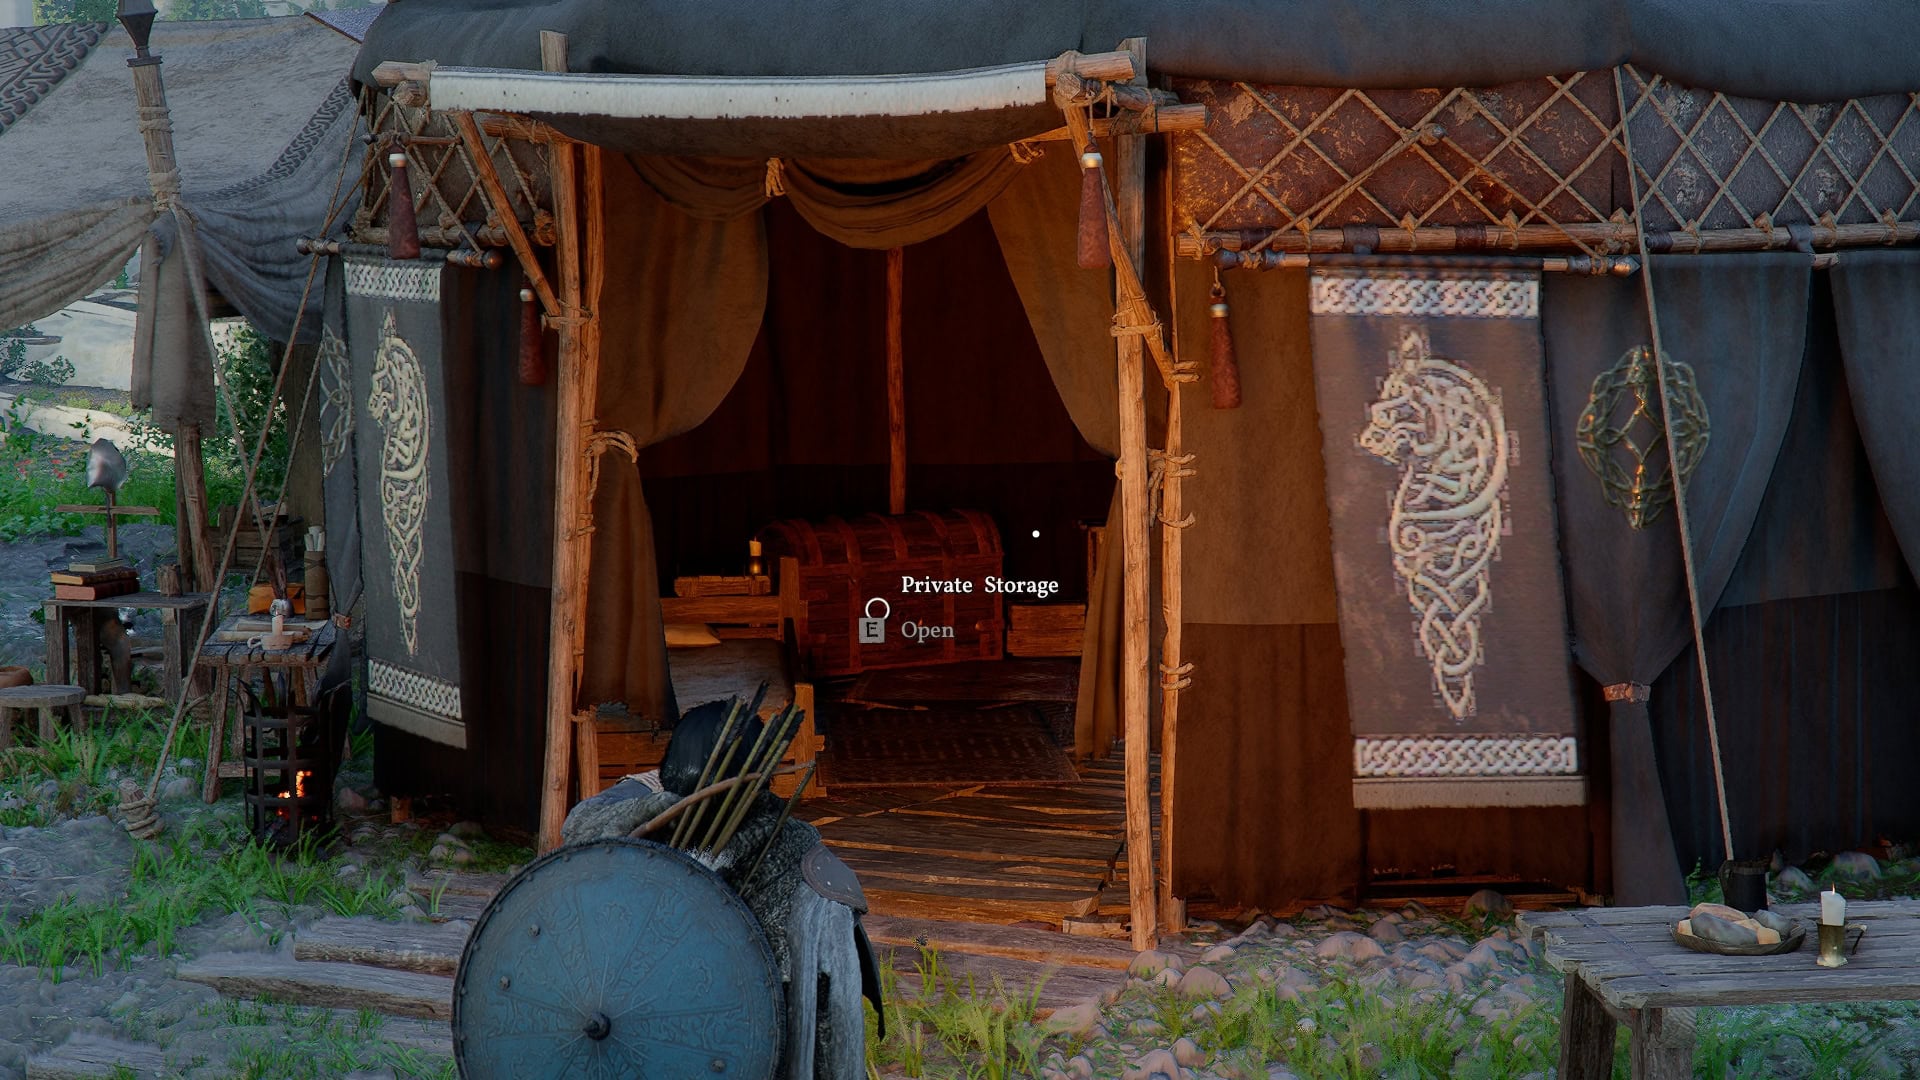
Private Storage
Private Storage allows you to store up to 240 additional items outside our Inventory and can be expanded up to 1000 items. This allows you to store important and rare items until you need them or for collecting. This has no additional cost or limitation attached to it other than having to withdraw items to use them.
Unlocking Private Storage
Private Storage first becomes available after the Prologue Mission that transports you to a Camp just outside of Hernand, where it will be found in the large tent you wake up in.
Following the Chapter 3 Homestead Questline, it will be moved to our tent in the Greymane Camp.
Using Private Storage
To use Private Storage, simply head to the location mentioned above, where our Private Storage is currently, and Interact (E, ☐, or X) with it to access it. From here, you’ll have the Options to Store or Withdraw Selected Items or Store or Withdraw Items
Storing or Withdrawing Items normally (by pressing Space, X, or A) will always bring up a prompt for an Amount, unless the item has a Stack Size of 1. This allows you to adjust the amount to anywhere between its minimum of 1 and the Max of how many are on hand or in storage. Great for mass cleaning Inventory for later selling.
Using Store or Withdraw Selected Item (Pressing Shift+LMB, ☐, or X) will always Store or Withdraw a single stack, regardless of stack size. Great for quick management of our Inventory.
Upgrading Private Storage
Private Storage starts at 240 item slots, but as you expand the Greymane Camp at Howling Hill, you’ll gain an extra 100 slots per expansion you complete, with the final one granting a whopping 360 slots. Below are the Camp Expansions, along with the slots they add, and the Total Private Storage Slots after completion.
| Expansion | Added / Total |
|---|---|
| First Expansion | +100 / 340 |
| Second Expansion | +100 / 440 |
| Third Expansion | +100 / 540 |
| Fourth Expansion | +100 / 640 |
| Fifth Expansion | +360 / 1000 |
This will primarily happen naturally as you play, but you’ll want to prioritize the currently available Faction Questline under the Greymane Faction Quest, Grounds of the Sunrise. The three questlines here, Scattered Embers, Gathered Will, and Solid Foundation, are all available as you progress the Main Story and lead to Expansions and by extension, larger private Storage.
Specialized Storage
As of Update 1.04, there are four types of Specialized Storage available: Wardrobes, Collectibles Chests, Sturdy Gatherables Chests, and the Kuku Coolers.
The Sturdy Gatherables Chest and Kuku Coolers also allow the resources stored within them to be used anywhere in Pywel. This gretly improve the overall quality of life for Cooking, Crafting, and Refining.
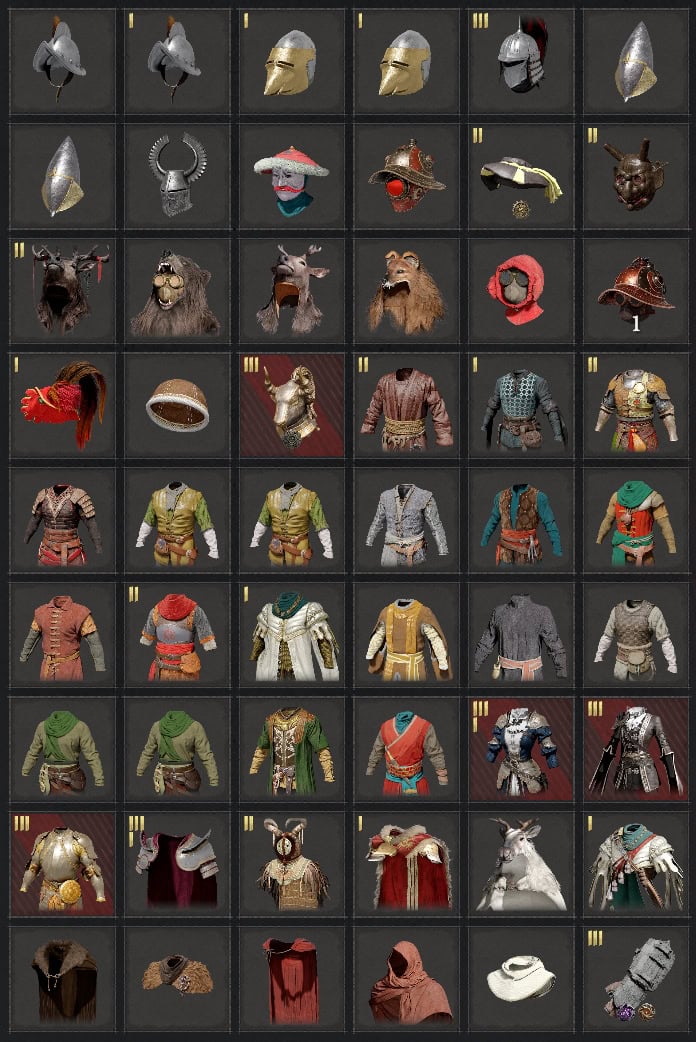
Wardrobes
Wardrobes serve as Specialized Storage for Armor and Clothing. While they can be expanded up to 1000 item spaces, most Wardrobes you can buy currently will only expand your space by 110 slots, so you may need two or three to hold all the unique armors and clothing available.
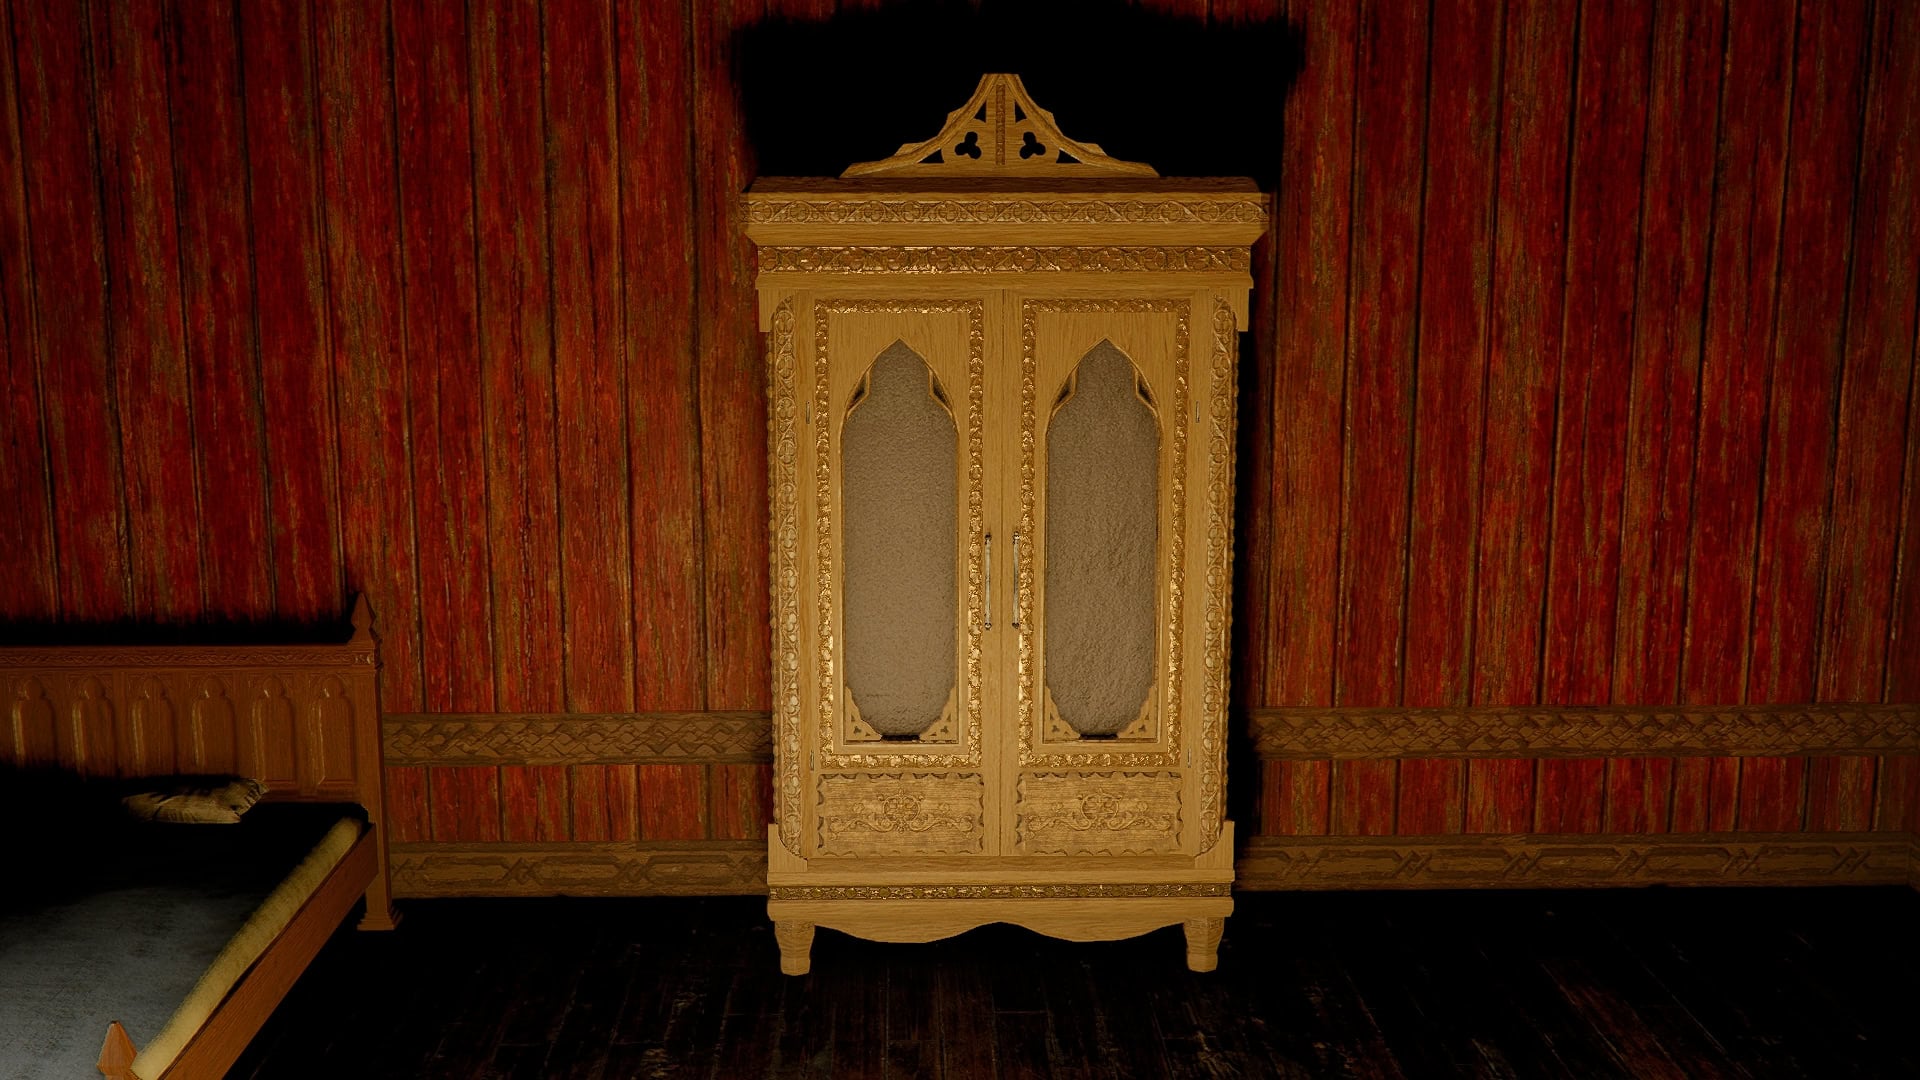
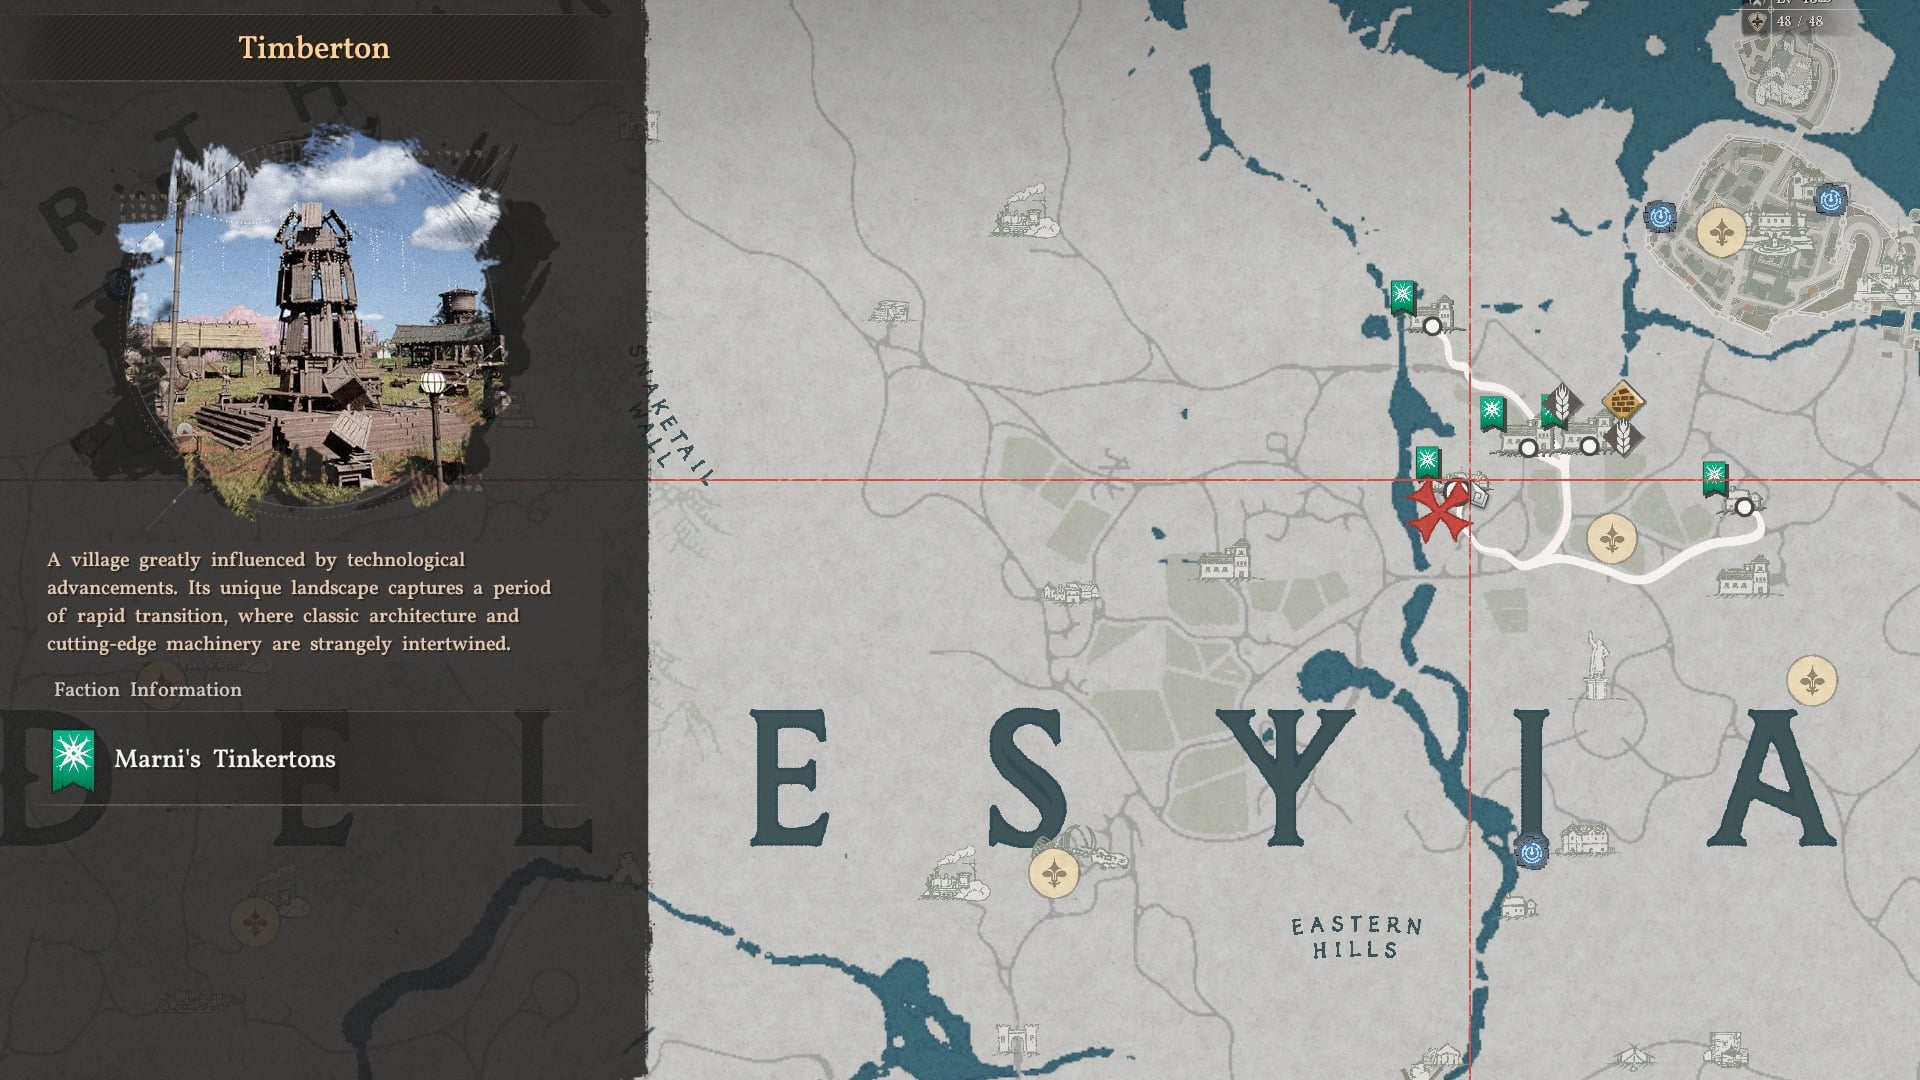
You can obtain a Wardrobe by purchasing one from the Timberton Furniture Vendor, located in Delesyia.
These are great for storing Unique Armors in particular, as they’d otherwise take up space in your private Storage. However, it’s also great for storing basic clothes as well; though that will have more use if we get a Tranmog system.
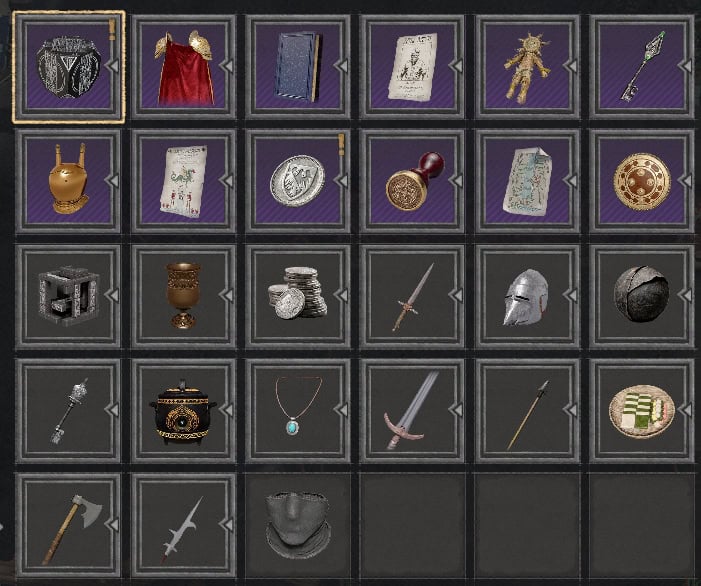
Collectibles Chest
The Collectibles Chest allows you to store up to 1000 Items, matching your Private Storage Upgrades. This can hold Crafting Manuals, Crafting Books, Documents, and Keys. Sadly, you cannot store Key Item tagged Keepsake items.
The Collectibles Chest will also reject duplicates, making it a decent way to track your collection or Lore Items and Crafting Manuals
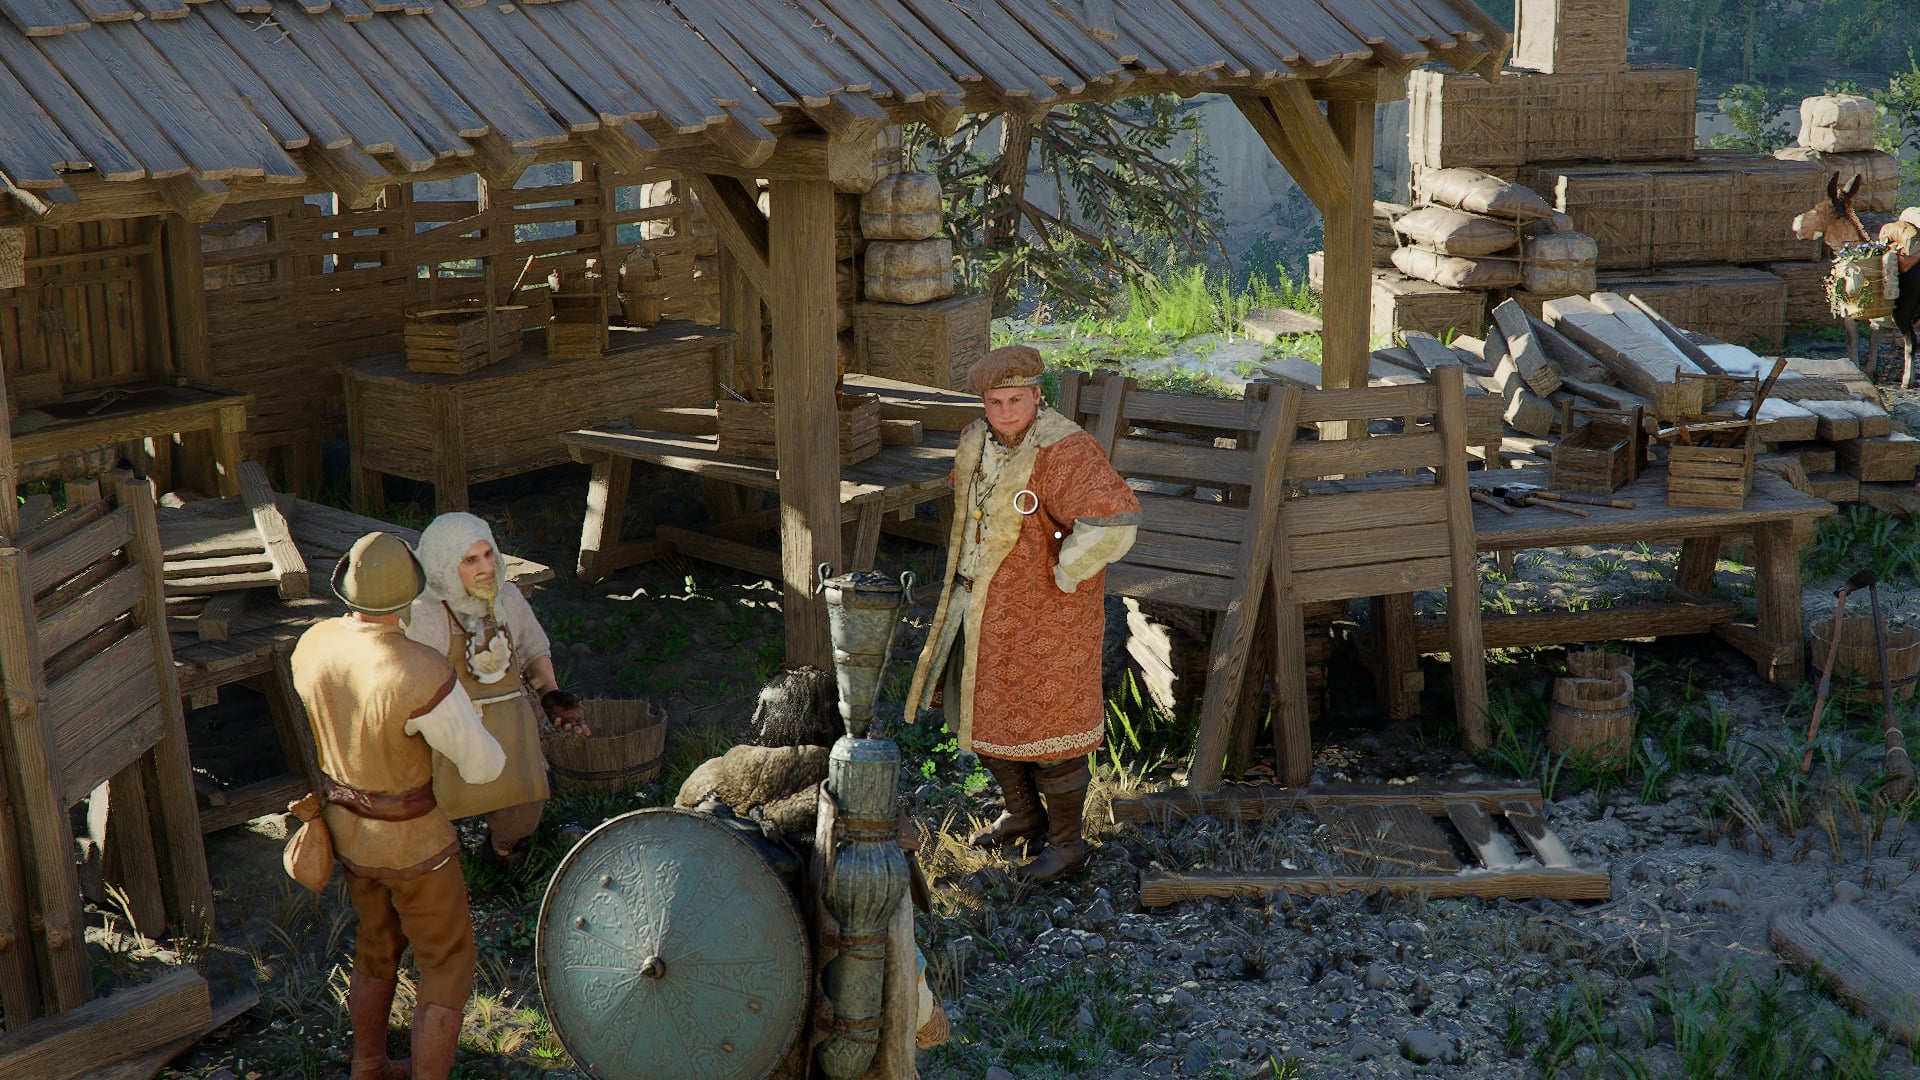
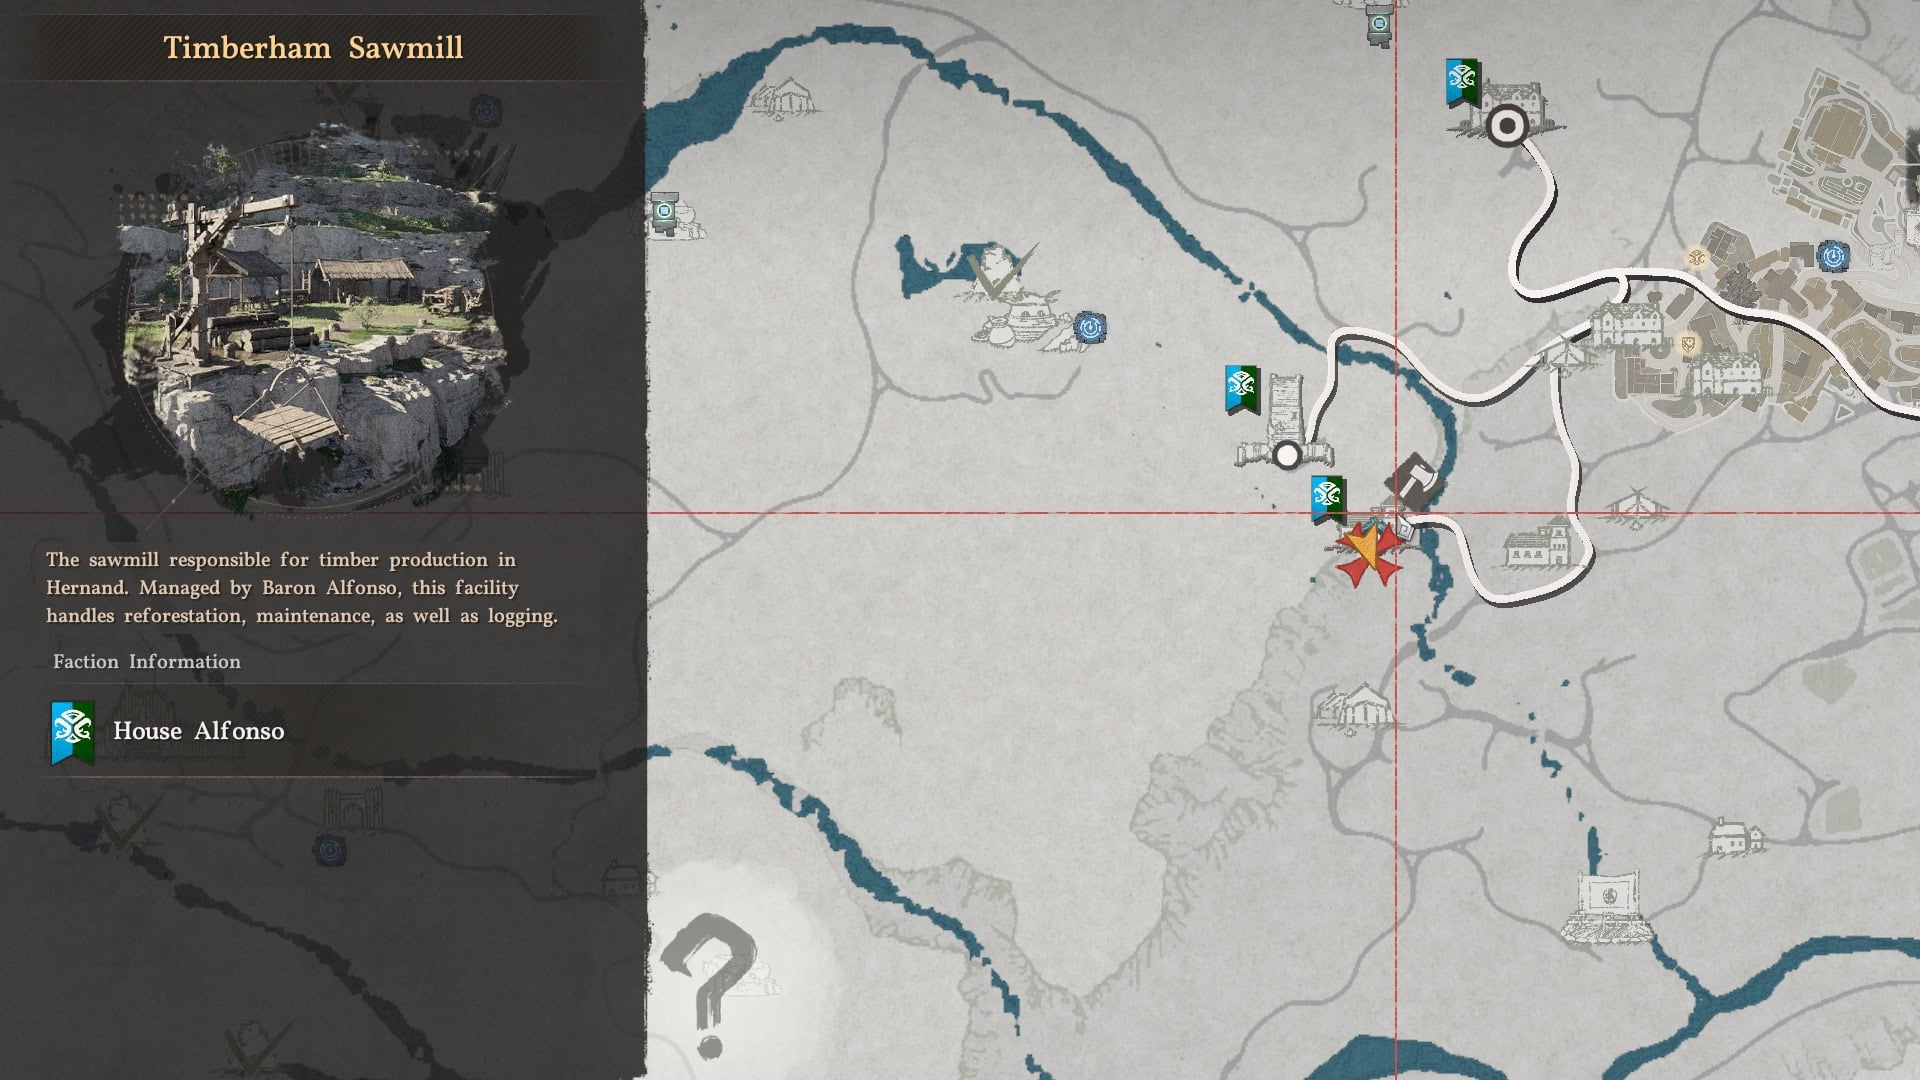
You can unlock the Collectibles Chest by completing the A Friendly Encounter quest line in Hernand. This has you meet with a servant of House Roberts at the Timberturner Wainwright.
This quest may require completion of the Count Roberts sidequests in the Hernand section to be accessible. This has not been confirmed just yet.
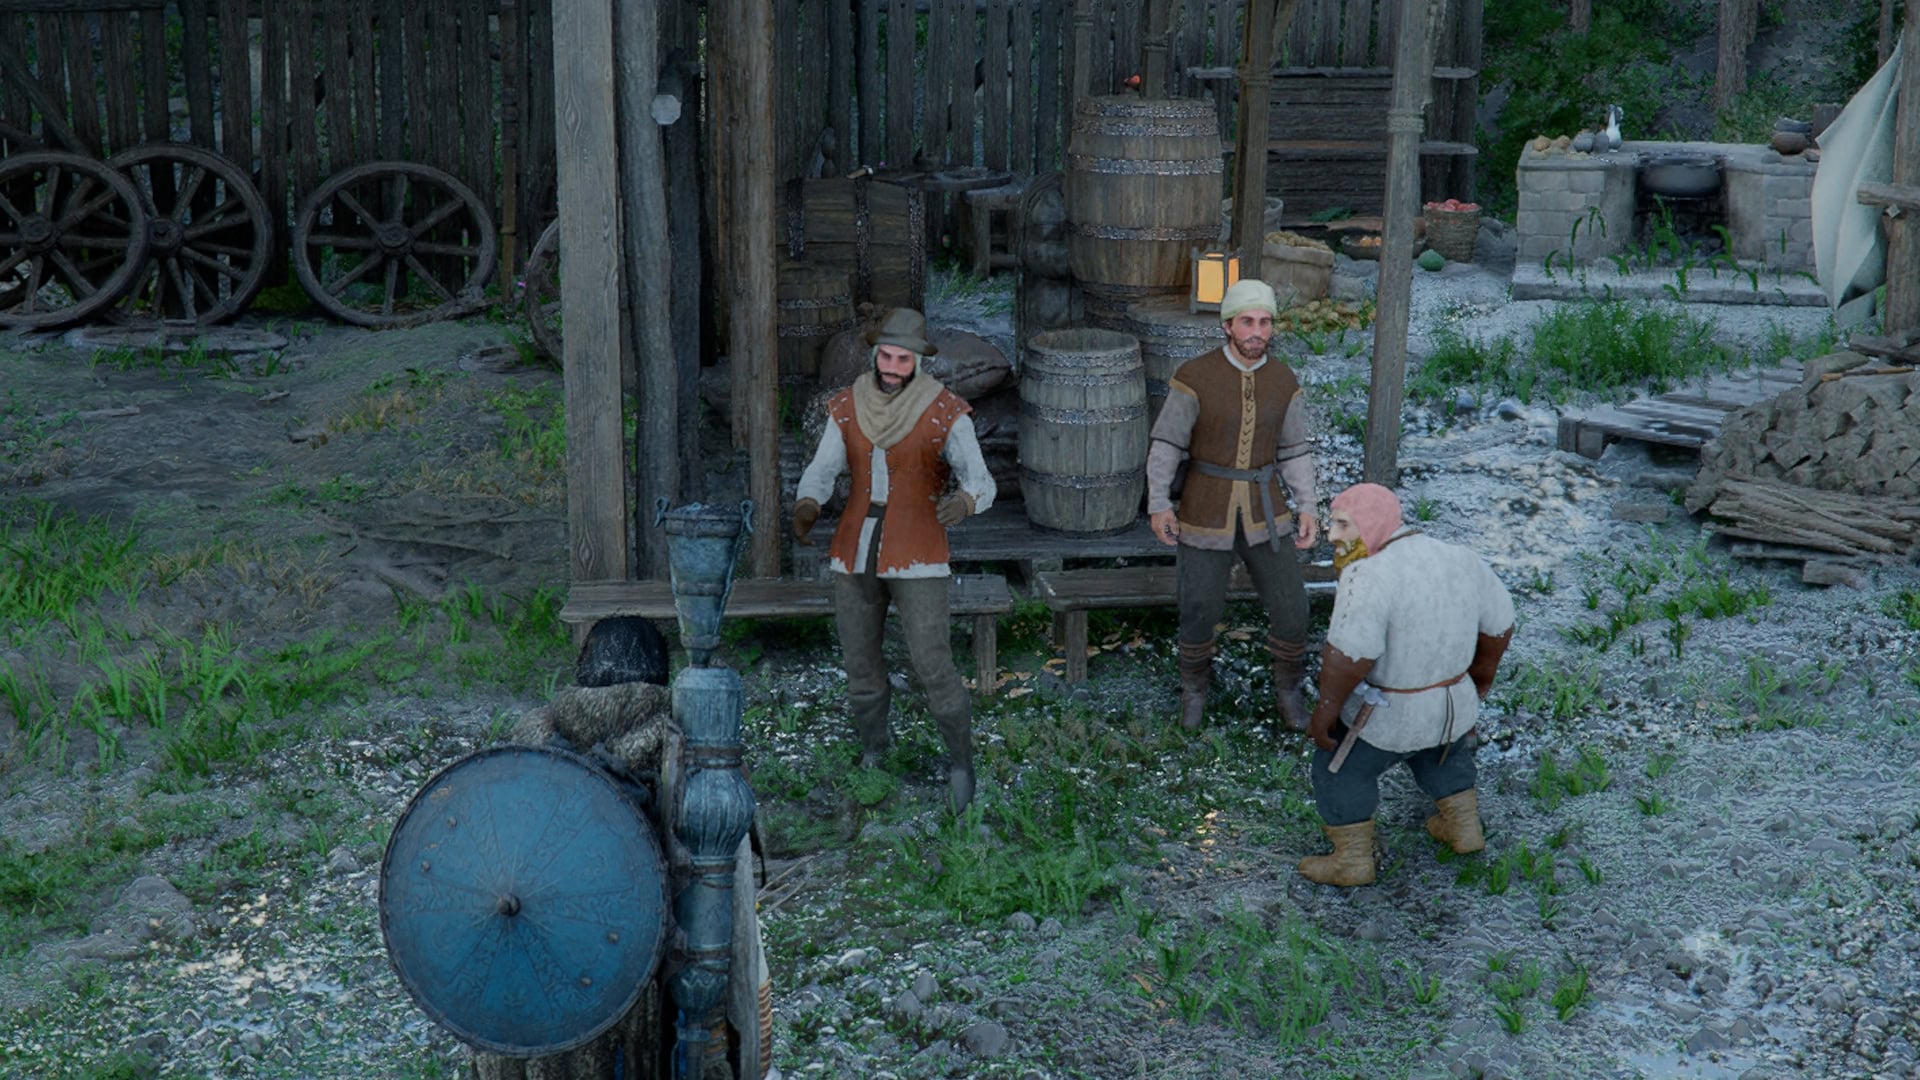
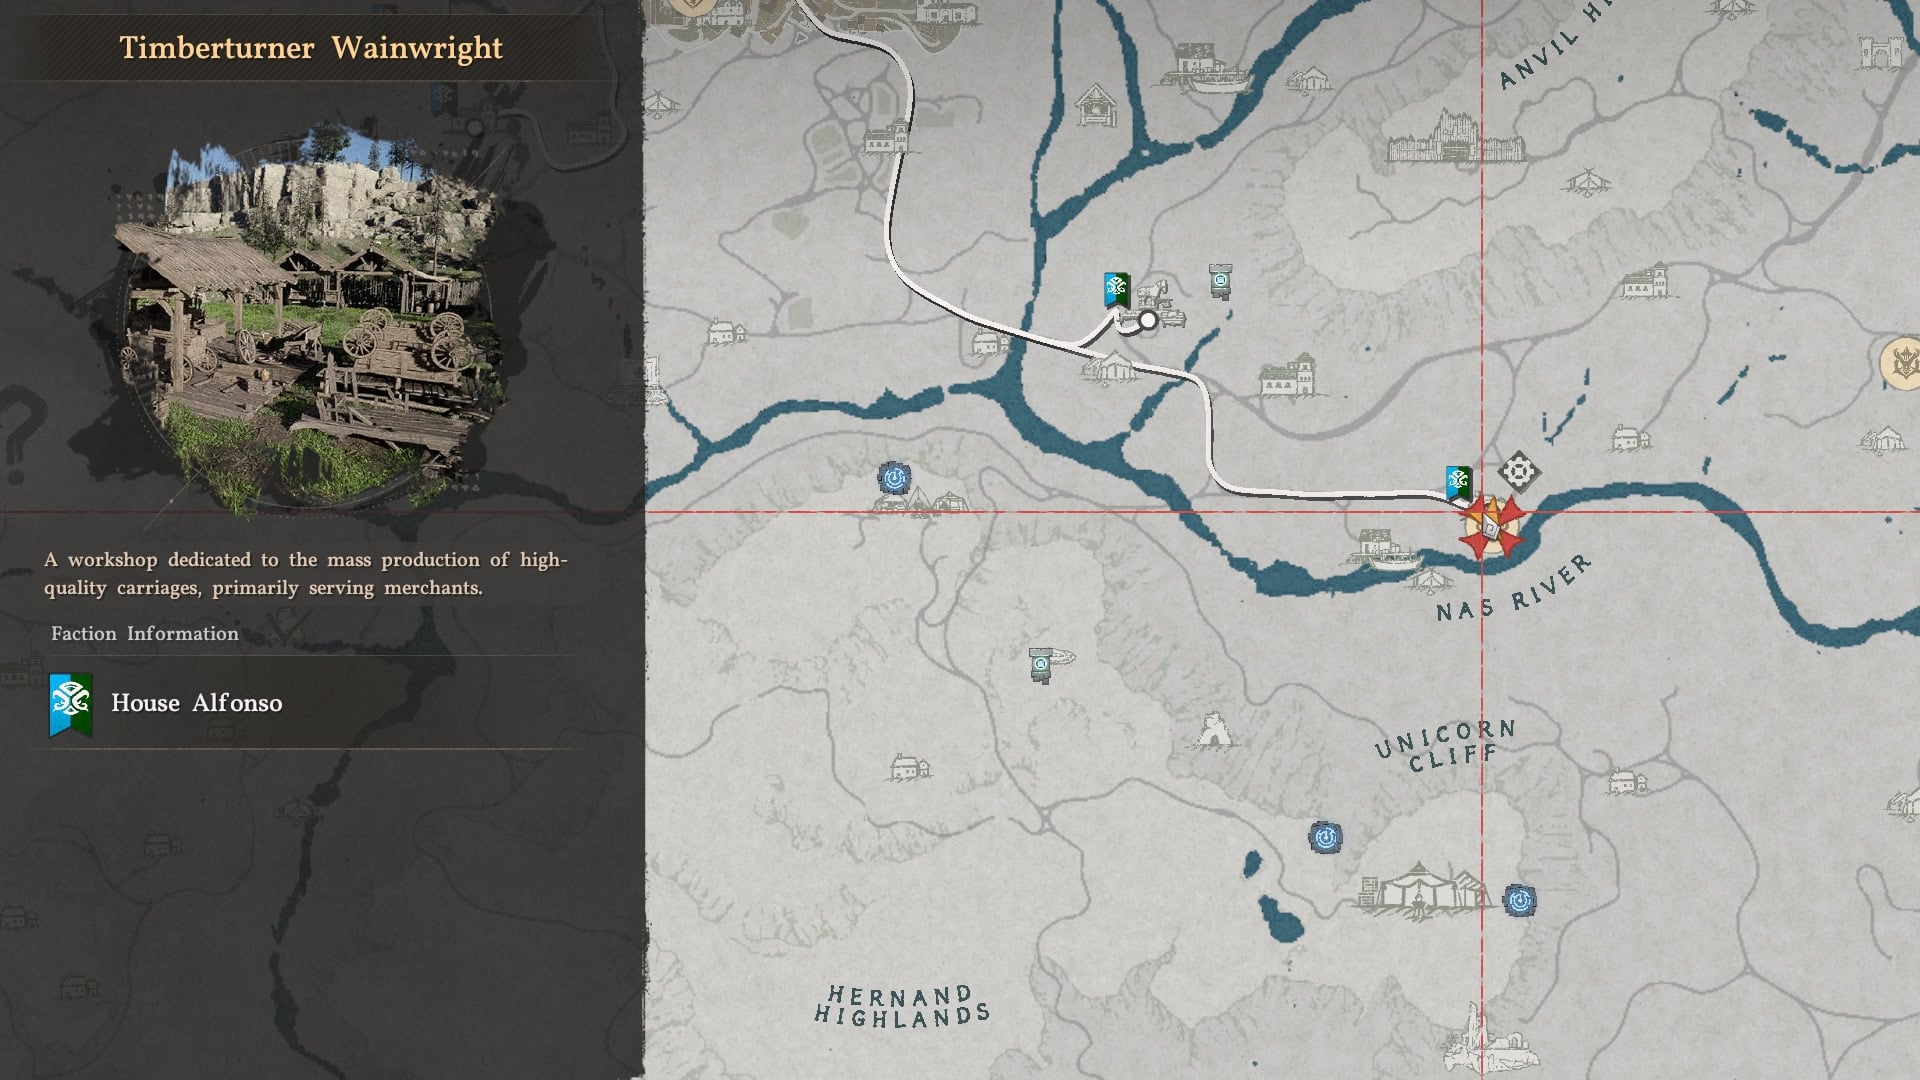
He’ll inform you that Count Roberts has prepared a gift for you. You’ll need to head over to Timberham Sawmill and speak with the Noble there, who will award this Chest.
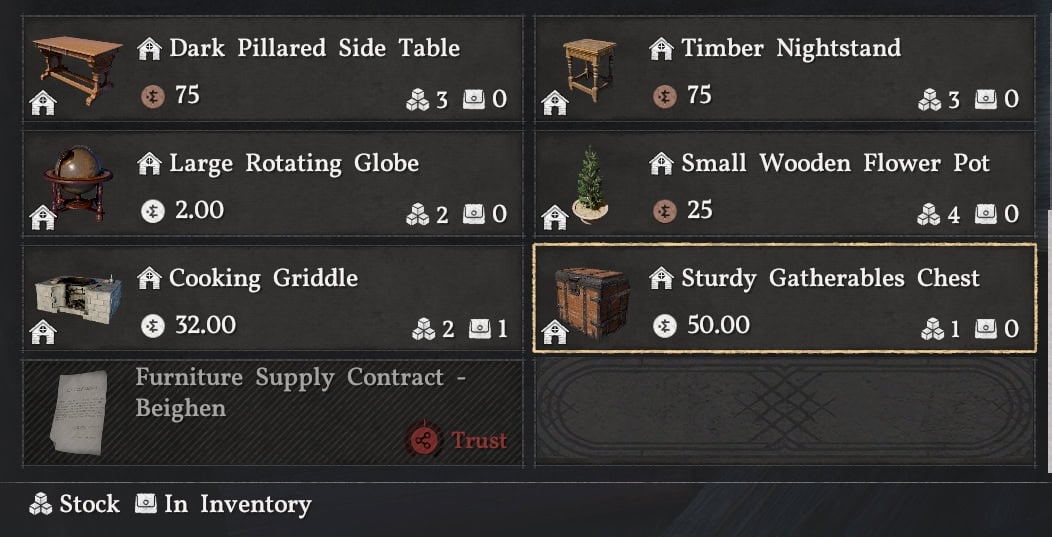
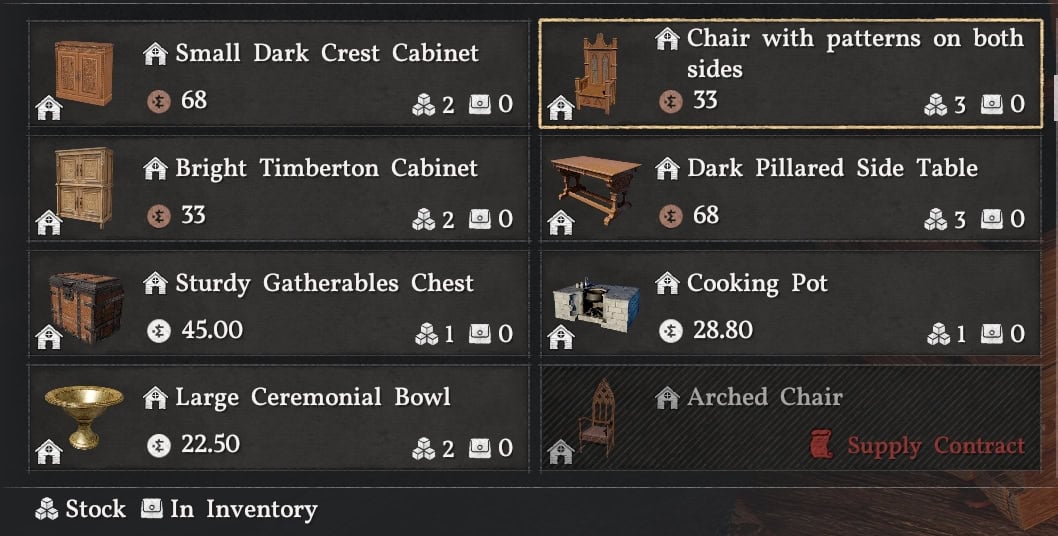
Gatherables Chest
The Sturdy Gatherable Chest is a Private Storage dedicated to all of your Ores, Minerals, Cloths, Bones, and Leathers. Its capacity matches your Private Storage, holding up to 1000 items worth of materials when all of your camp expansions are complete.
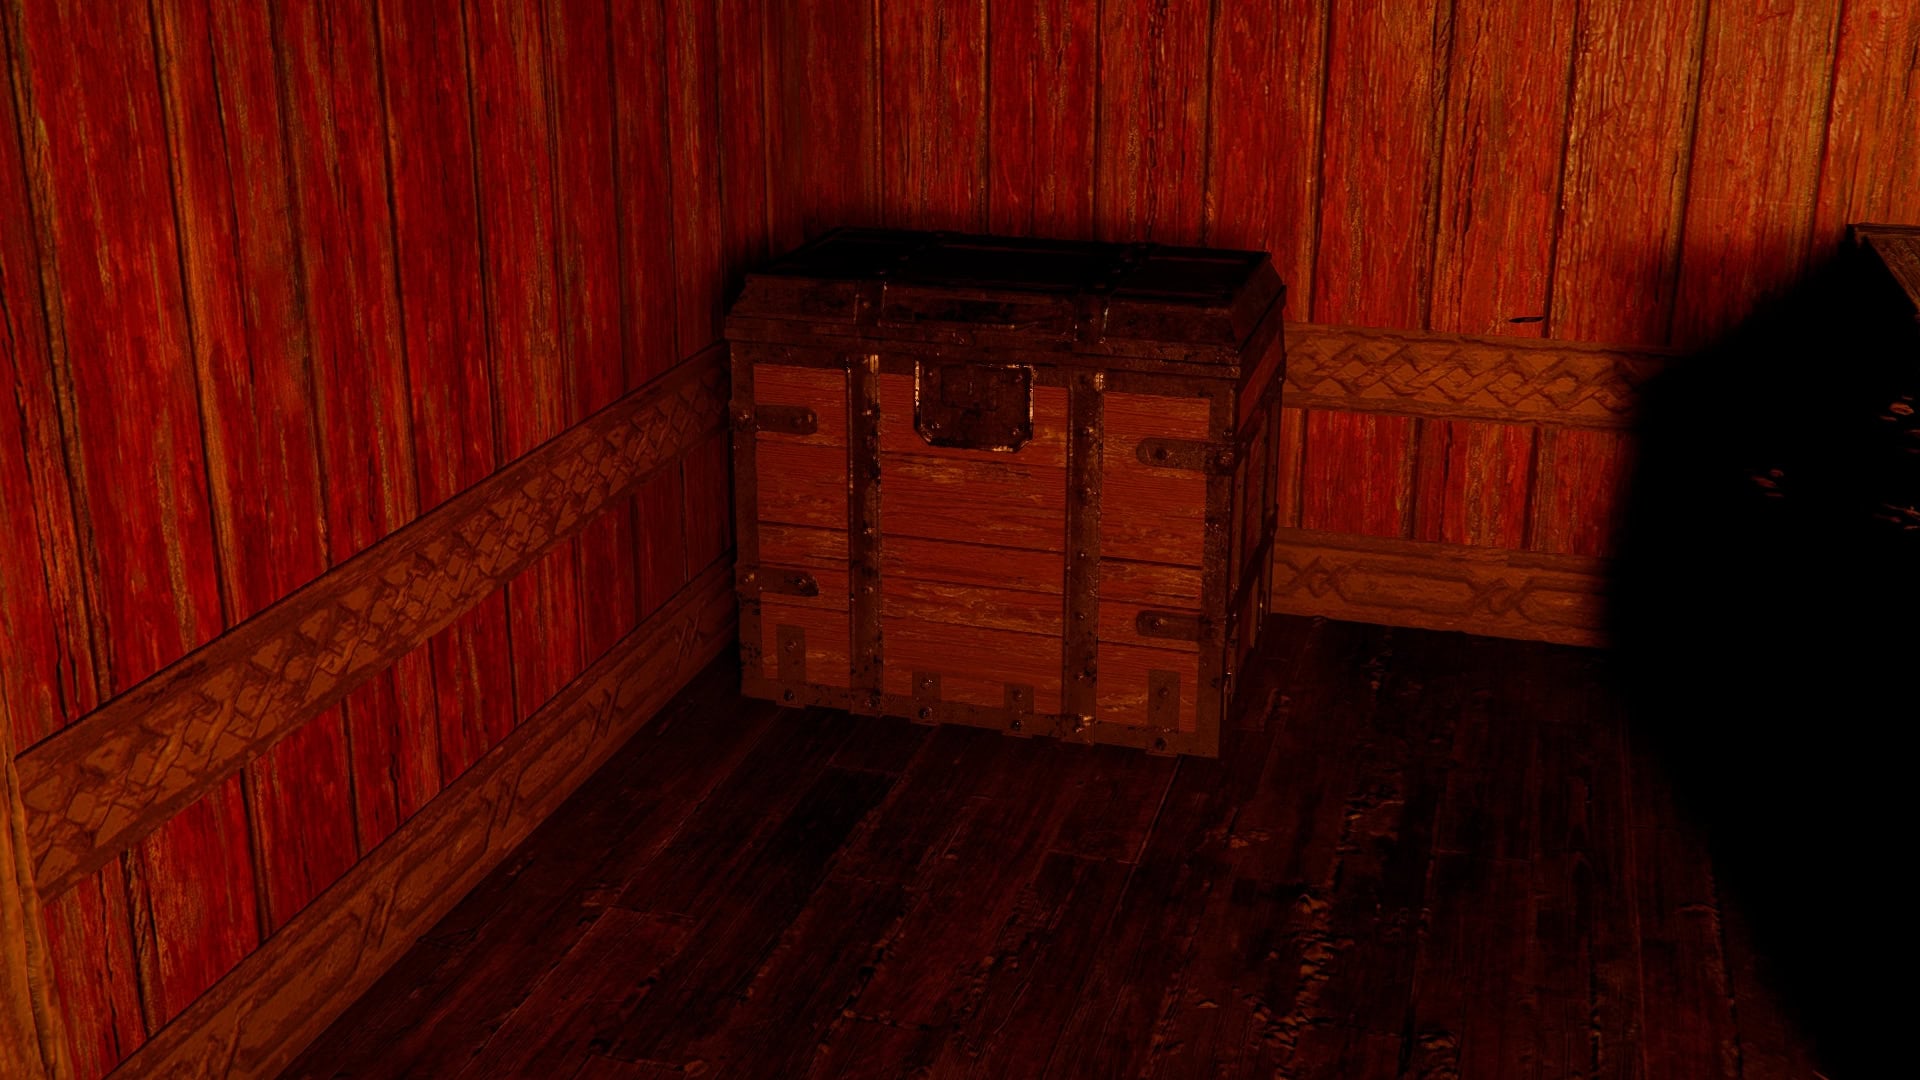
The Sturdy Gatherables Chest can be bought from any Furniture Vendor across Pywel for just 50 Silver. However, if you have recruited Conrad, the Greymane Furniture Vendor, to your camp, he will sell it for 45 Silver instead.
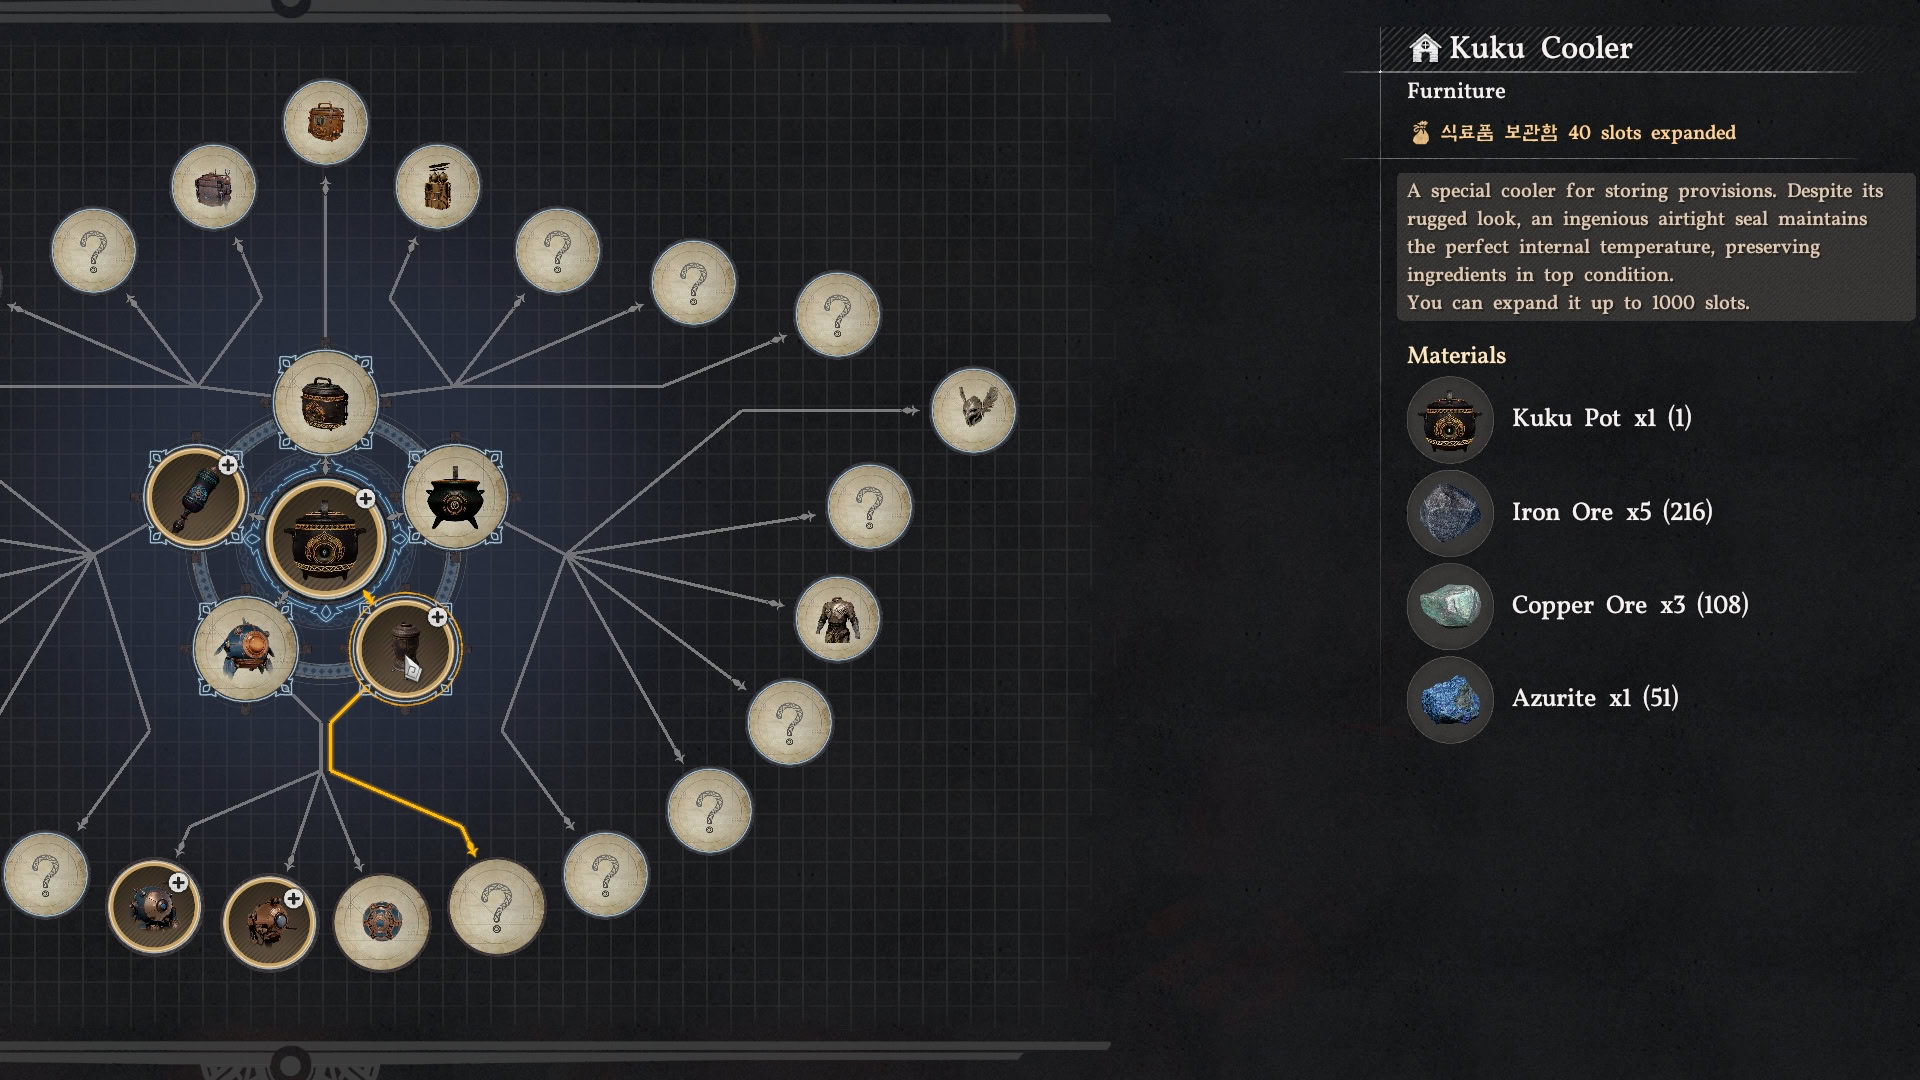
Kuku Cooler
The Kuku Cooler is a Specialized Storage for Food items. The basic version can only hold a max of 50 item slots worth of ingredients, while the Enhanced Kuku Cooler will hold 330 item slots worth. You can craft multiple of both, if you really want to stockpile ingredients, as they will combine their storage and stock, up to 1000 items.
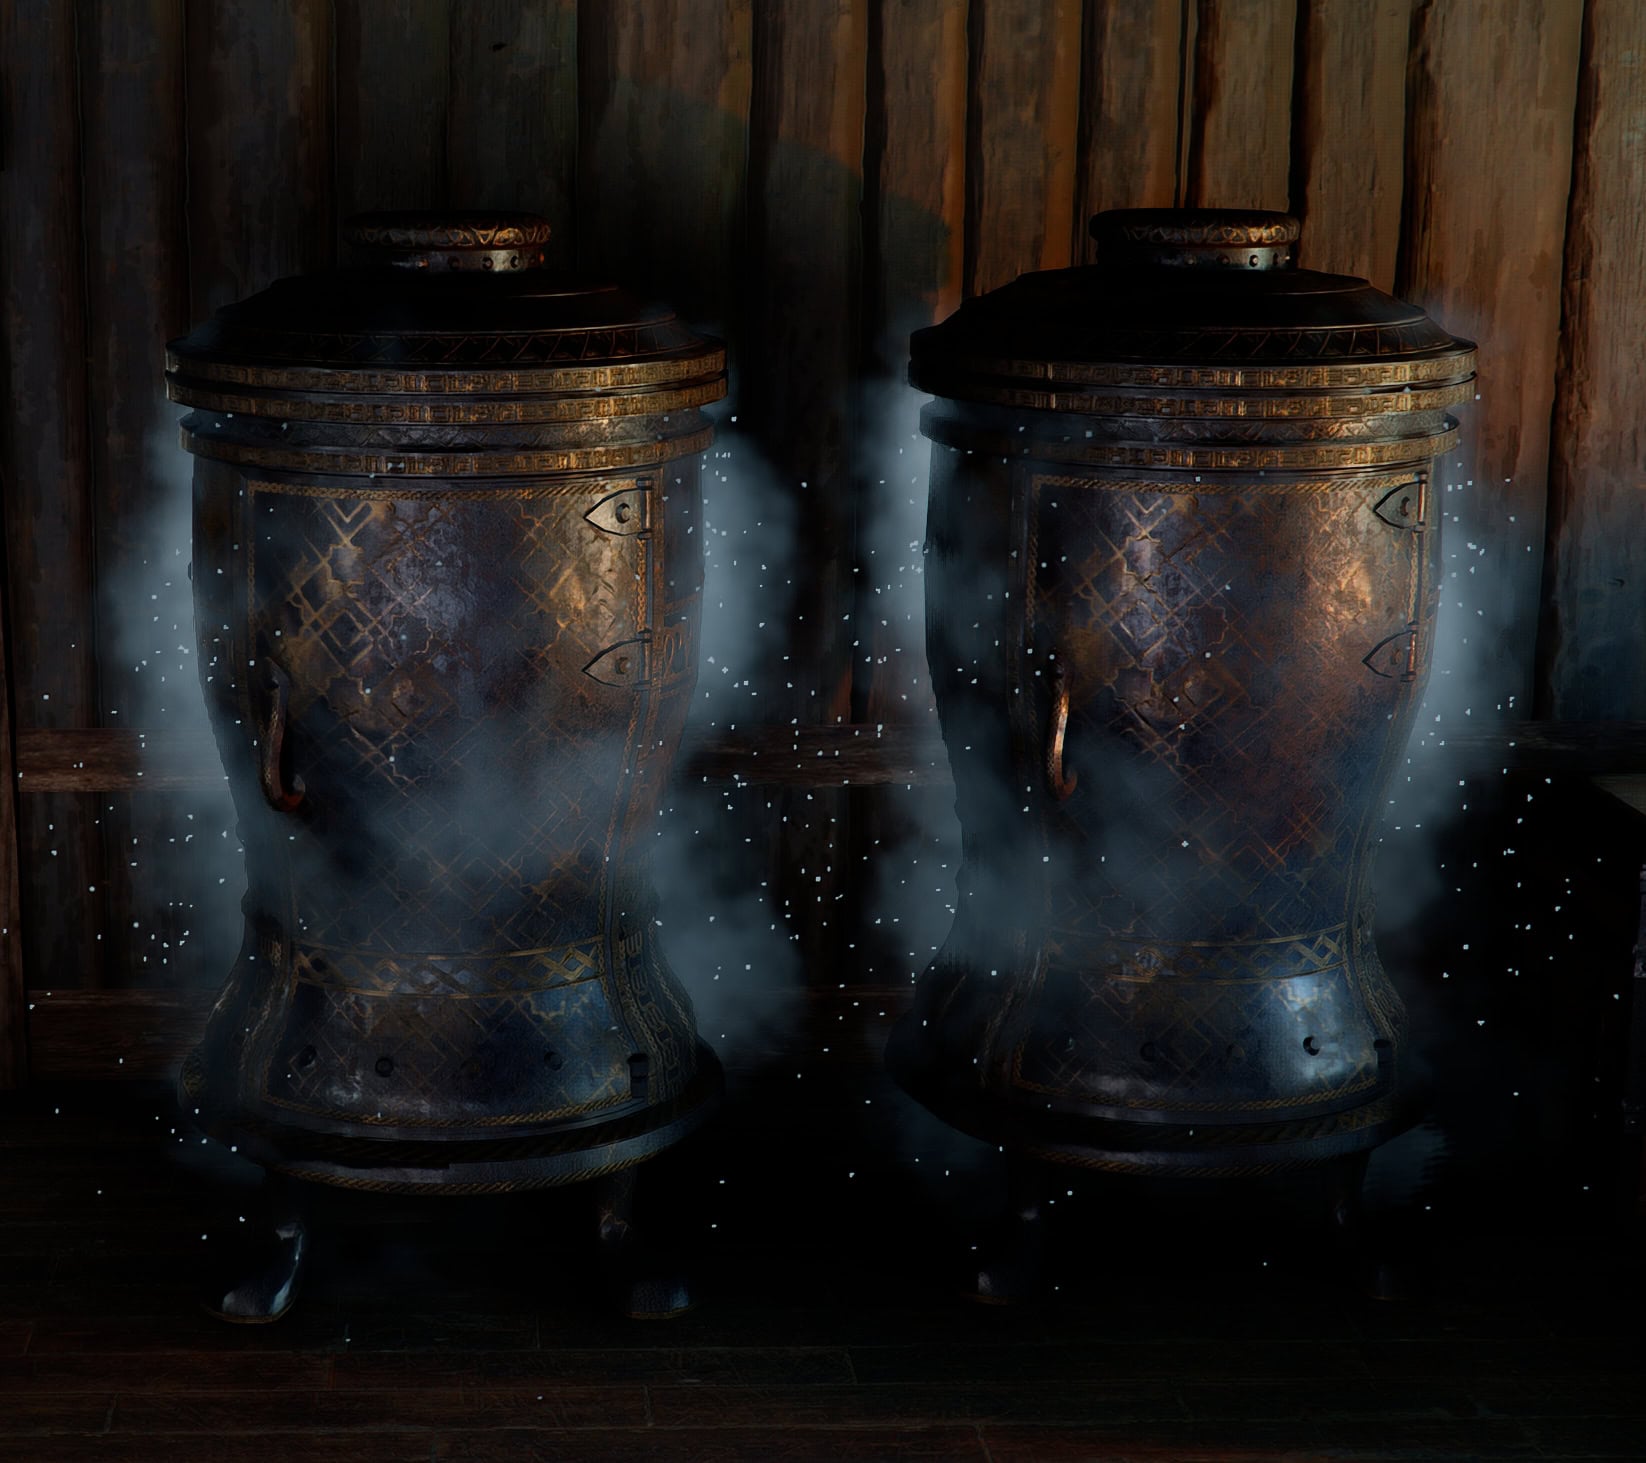
The Kuku Cooler is accessible after completing the Invention of the Workshop Questline, unlocked after Chapter IV’s Mysterious Pot questline. This will unlock the Basic Kuku Cooler, as well as provide the Blueprint for the Enhanced Kuku Cooler on completion. You can craft either version with Grimnir at the Kilnden Workshop if you have the supplies.
Best Items to Keep in Private Storage
The best items to keep in storage are Special Abyss Gear, Alchemy and Crafting Materials, as well as Unique Gear.
Special Abyss Gears are straightforward. You don’t find them or need to adjust them all too often, and they’ll take up space sitting in your Inventory. As of Update 1.04, all Abyss Gears can stack up to 10 copies, so you really only want to keep the Special Abyss Gear with Skills or other unique effects stored away to conserve space early on.
With the Addition of the Sturdy Gatherable Chest and Kuku Coolers, there’s no reason not to store the bulk of your Alchemy and Crafting Materials in Private Storage. Once you’re able to pick up the Sturdy Gatherables Chest from a Furniture Vendor, that will be the permanent home for all your Materials and ingredients, as they can be used anywhere in Pywel from their respective storage.
The more Unique Gear pieces are few and far between, often limited to Chapter Bosses, or Bosses that are part of side content.
Since these are one-of-a-kind items, occasionally coming with unique abilities, it makes sense to keep them around should you find need of what they offer. Once you can pick up a Wardrobe, you’ll have even less reason to keep them in your Inventory or even your Private Storage.
Best Items to Keep On Hand
As to what you should be keeping on hand, it gets a little confusing. Provisions, Small Material Stacks, the Kuku Pot, Abyss Artifacts, and Tools are the mainstays. Optionally, you can include materials to craft additional meals, at least until unlocking Kuku Coolers.
Provisions, or rather Cooked Food, primarily those made with a Special Cooking Tool or Special Cooking Pot. This is due to the introduction of the Kuku Cooler, once you have a couple of them, you’re only limited by what Cooking Tools you have easy access to. Otherwise, you can use any random bonfire and cook just about anything
We suggest keeping at least 1 of each Common Material: Copper Ore, Iron Ore, Small Bones, Cloth Piece, and Thin Hide. These are common drops from enemies, as well as their typical resources, so having just 1 on hand reserves inventory space for an additional 49 of them. If you get a full stack of 50, toss ’em in Private Storage.
The Kuku Pot is more of an obtuse inclusion, but it is used a fair bit in puzzles to store and move power cores and similar objects. Very handy to have those on hand.
Abyss Artifacts are always good to have on hand. But with a smaller stack size of 10, you’ll want to make sure you’re never really exceeding that amount on hand to limit the space they take up. As your inventory expands, this becomes less of a concern though.
Tools are always good to have on hand, particularly the Pickaxe (or Miner’s Knuckledrill) and Logging Axe. These let you collect any materials you might want on a whim. The Fishing Rod isn’t a bad choice either, as it will let you get Fish Fillets as needed for cooking, but catching and cleaning fish can be tedious, as they don’t currently stack or offer a Clean All option.
If you’re worried about not having food to cook, we recommend keeping a Stack of each of the following item types on hand: Meat, Vegetable, Fruit, Grain, Cooking Oil, Water, Salt, Eggs. These 8 types of ingredients make up the majority of recipes and allowyous to flexibly cook nearly any meal you’d want. You can even add Fish Fillets to this list if desired to provide even more options.
Though once you obtain one or several Kuku Coolers, there’s no longer any reason to do anything besides store ingredients, as the Kuku Coolers will allow you to access them from anywhere for cooking.
Tips for Inventory Management
This should be a given already, but sell off or donate excess Items. Armor, Weapons, Damaged Gear, Furniture, and low-tier food from drops can pile up quickly. Two Handed Weapons, especially, are worth a fair bit and are best sold. Some weapons on the lower end of the price spectrum can also be worth donating to the Greymane Camp early on, as we won’t have access to a Mission for that particular resource early on.
Sell Crafting Recipes after learning them! There’s no need to keep them on hand or in storage as they’re not required to make the meal. These also sell for around half of what you buy them for, making it a cost-saving measure as well. You can optionally store them in the Collectibles Chest if you wish to keep a collection of them as well.
Store Quest Items in the Collectible Chest when they’re no longer flagged as Key Items (Purple background). Similar to Crafting Recipes, these will only serve to take up space.