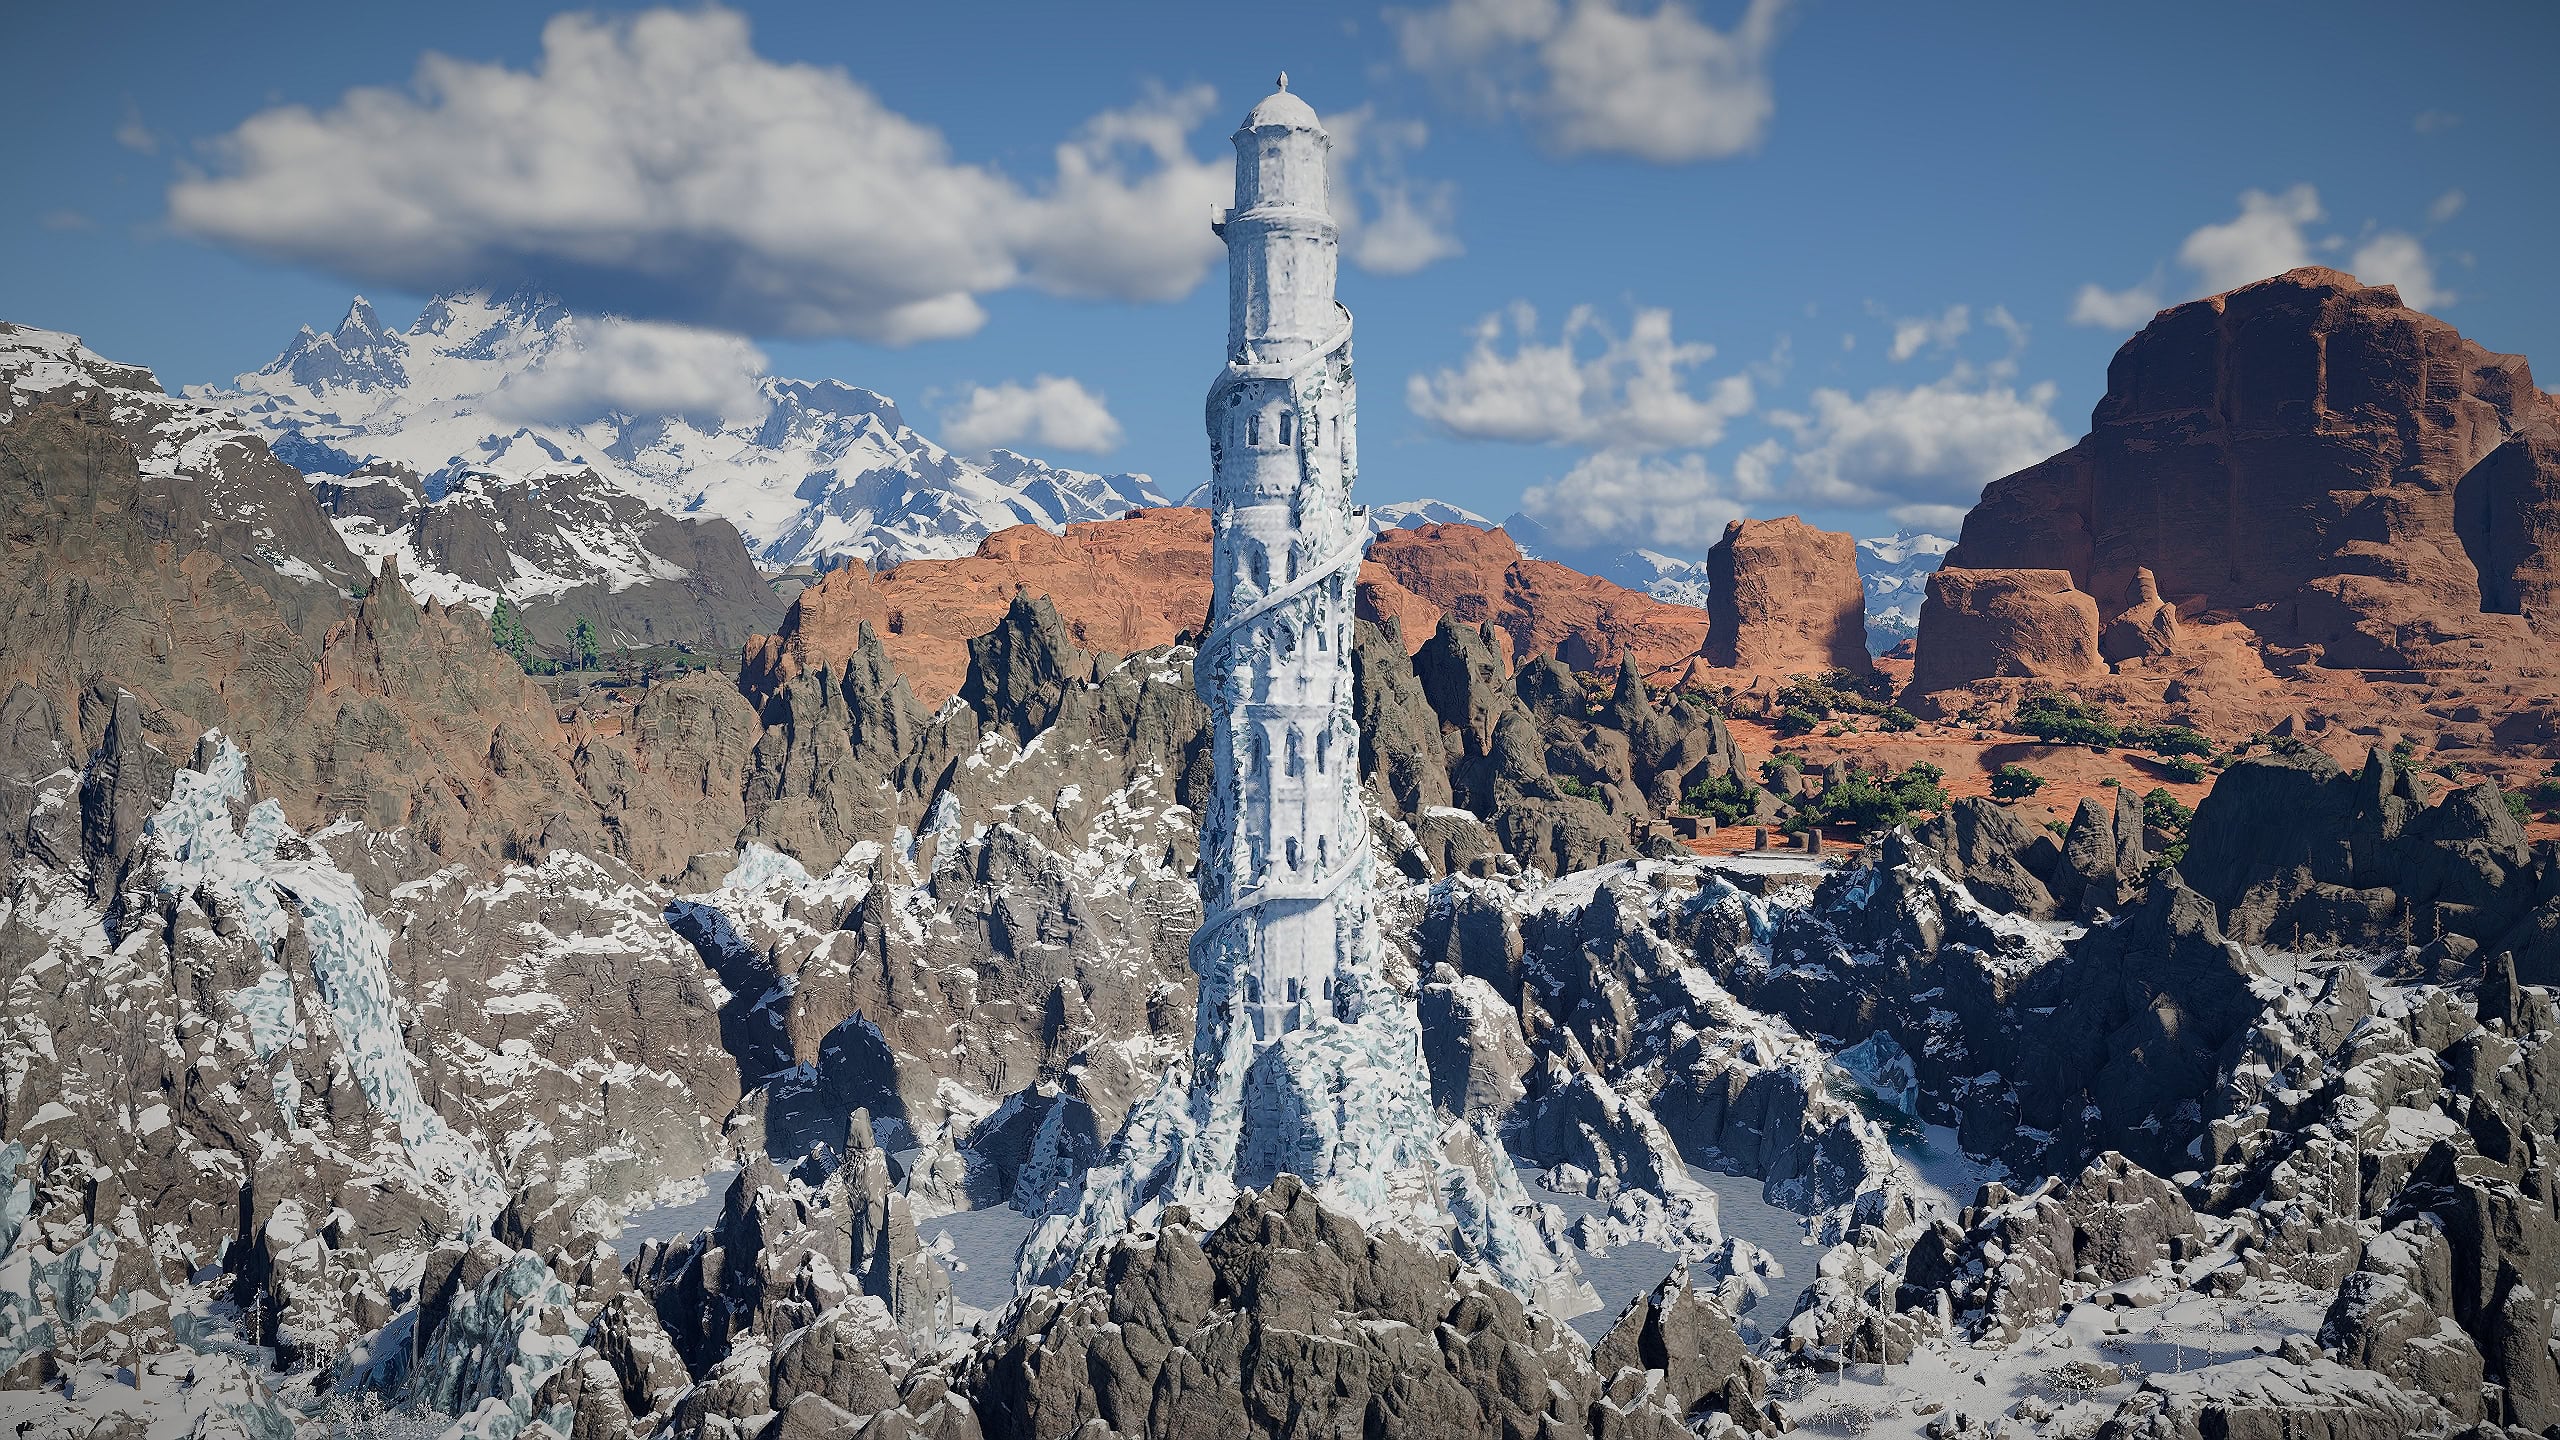
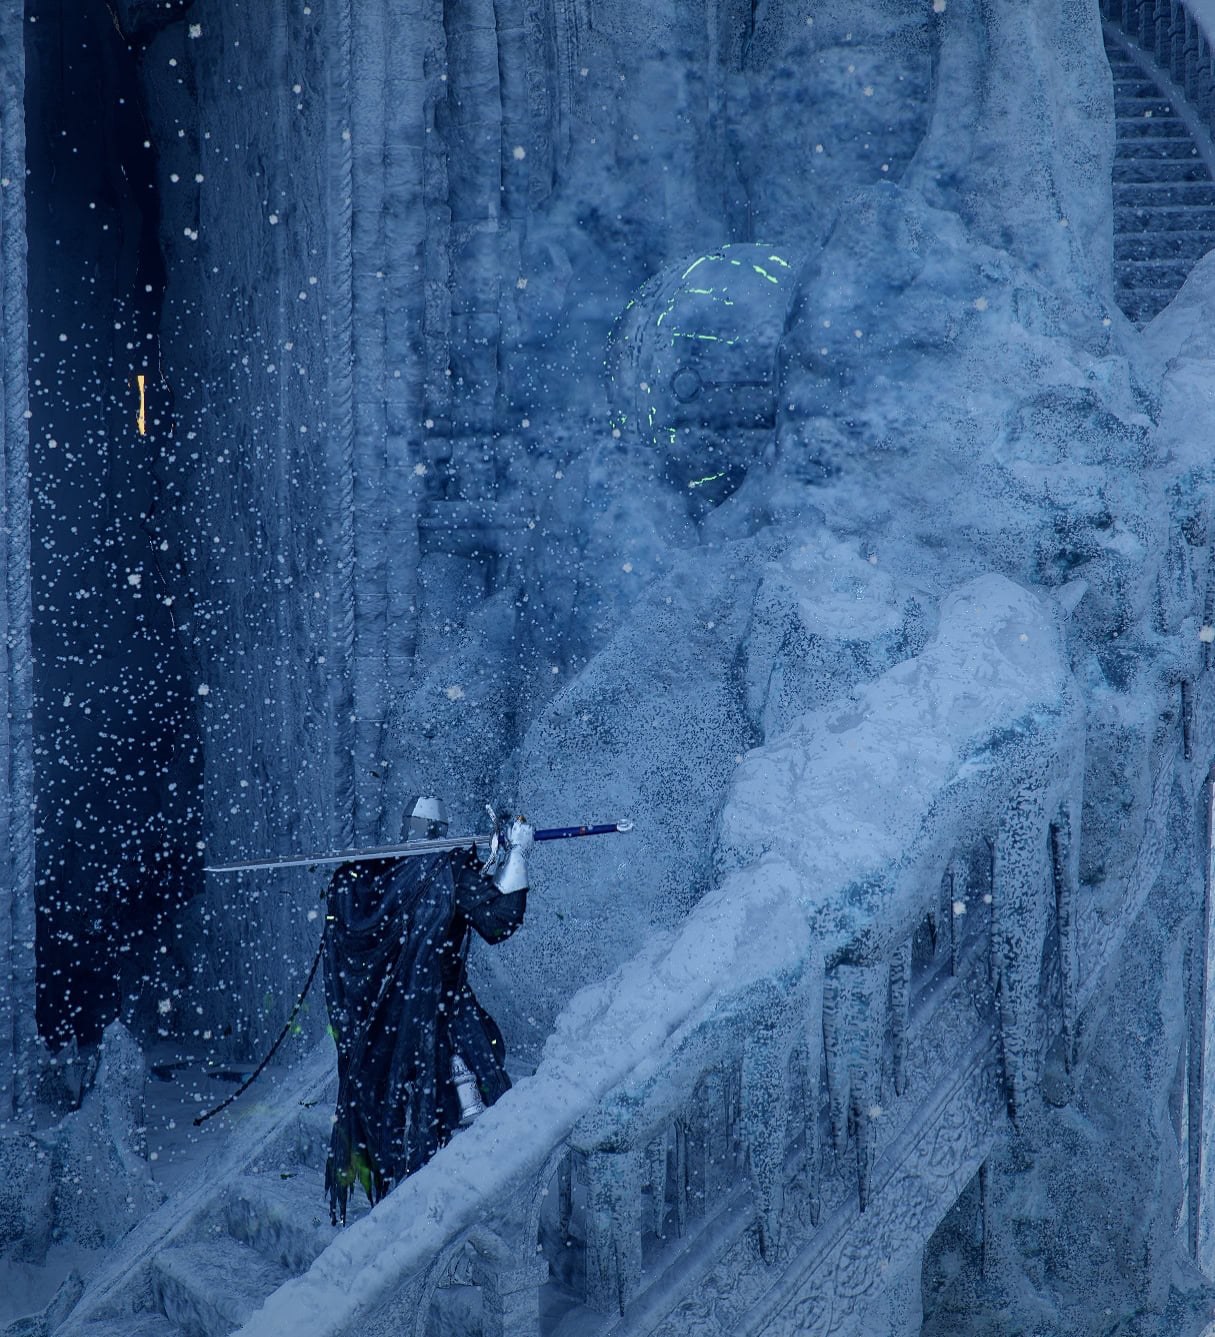
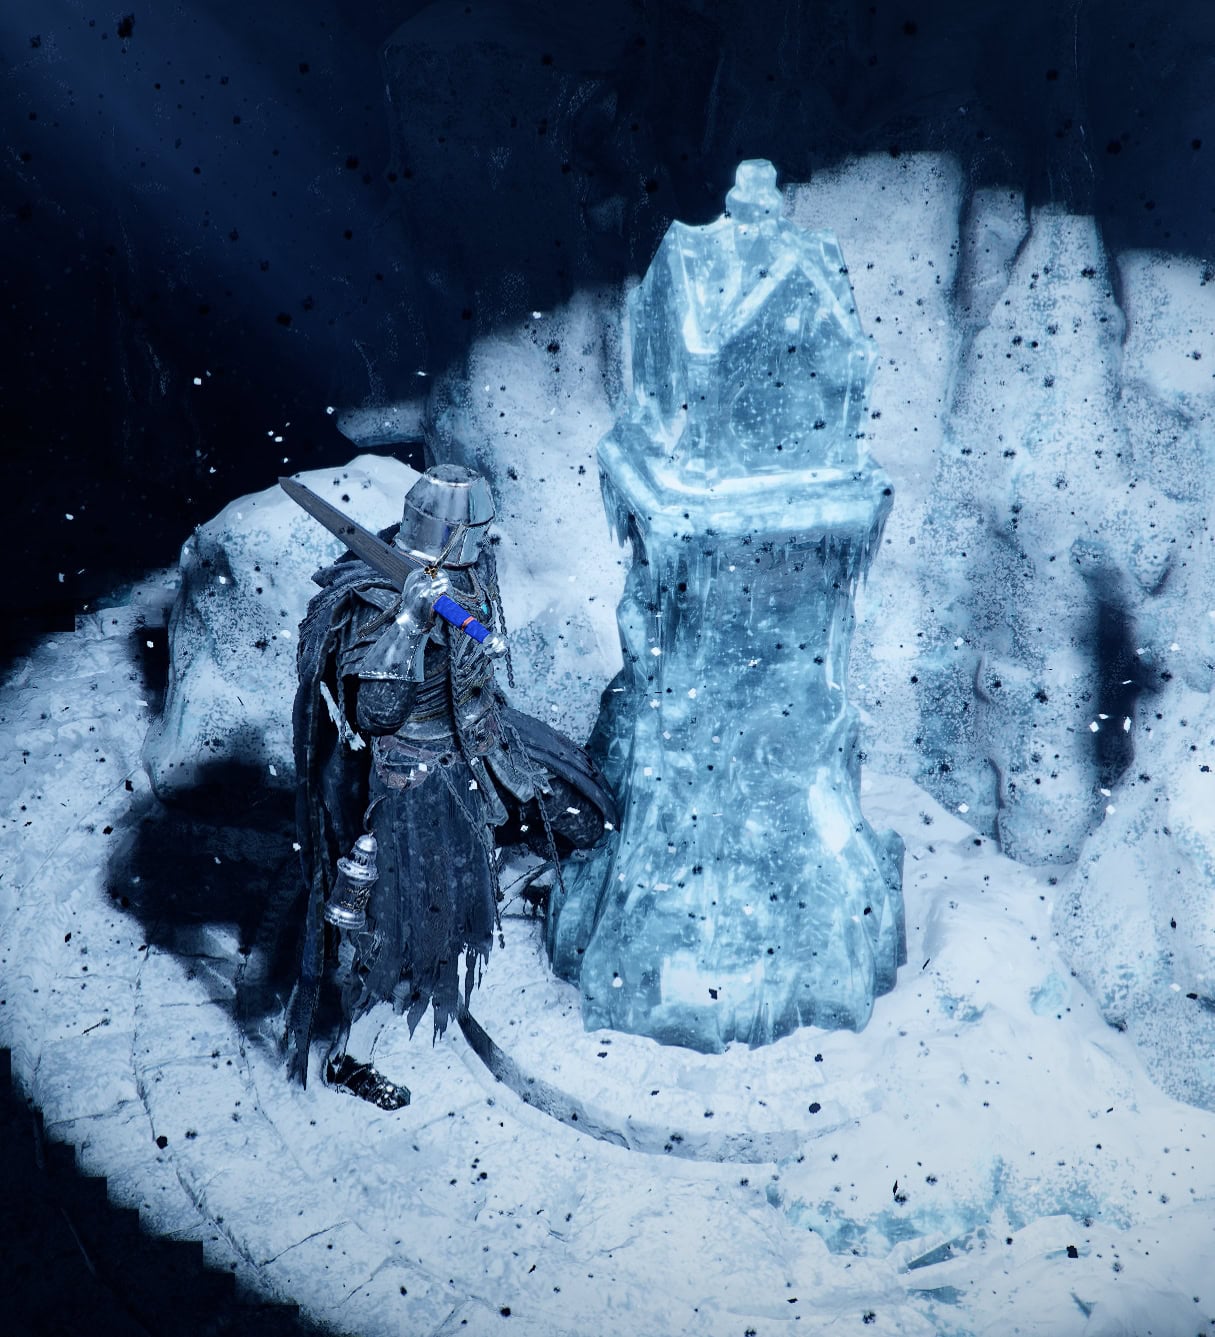
Learn how to enter the Spire of Frost in Crimson Desert. Located in a frigid crater, you’ll need to survive an onslaught of ice sorcerers, the Skull Knight, and falling blocks of ice as you light seven lanterns.
The Spire of Frost is the first in a series of puzzles that go through the Abyss. The order of this puzzle chain is as follows:
- Spire of Frost (this one)
- Passage of Malice
- Tomb of Perdition
- Desert Fragment
- Cradle of Truth
Quest Structure and Rewards
The Spire of Frost is tied to a Beighen Tribe Faction Quest. You can locate the village of Beighen in the Morning Mist arc of Chapter VII: Homecoming.
- Faction Quest: The Frostwarden
- Recommended Abilities: Aerial Maneuver, Blinding Flash, Turning Slash, Kuku Pot, and Focused Shot.
- Recommended Gear: Frostcursed Plate Armor set and/or Frostward Abyss Gears, Heat Resistant Gear, Bow and Arrows, Honey Tea.
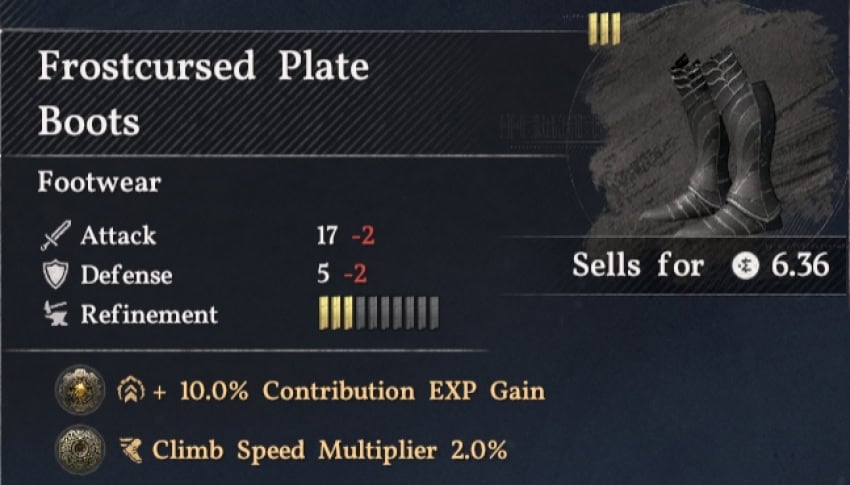
- Rewards: Frostcursed Plate Boots
Video Walkthrough
How to access the Spire of Frost
Talk to the Drunk Man in Beighen, Pailune. He’ll start the quest, The Frostwarden, that’ll have you light seven stone lanterns at the Spire of Frost.
This area is extremely cold, the second to last cold zone on your thermometer. The Frostcursed Plate Armor and Cloak are good to have as both of these combined will give you 12 Ice Resistance.
Add a couple of Frostward I Abyss Gears on other gear and you won’t receive ambient damage. Instead, you’ll likely take direct damage from the enemies in the area.
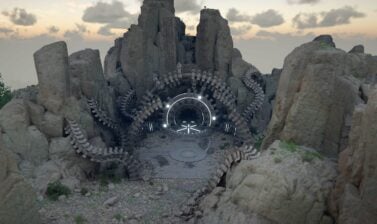
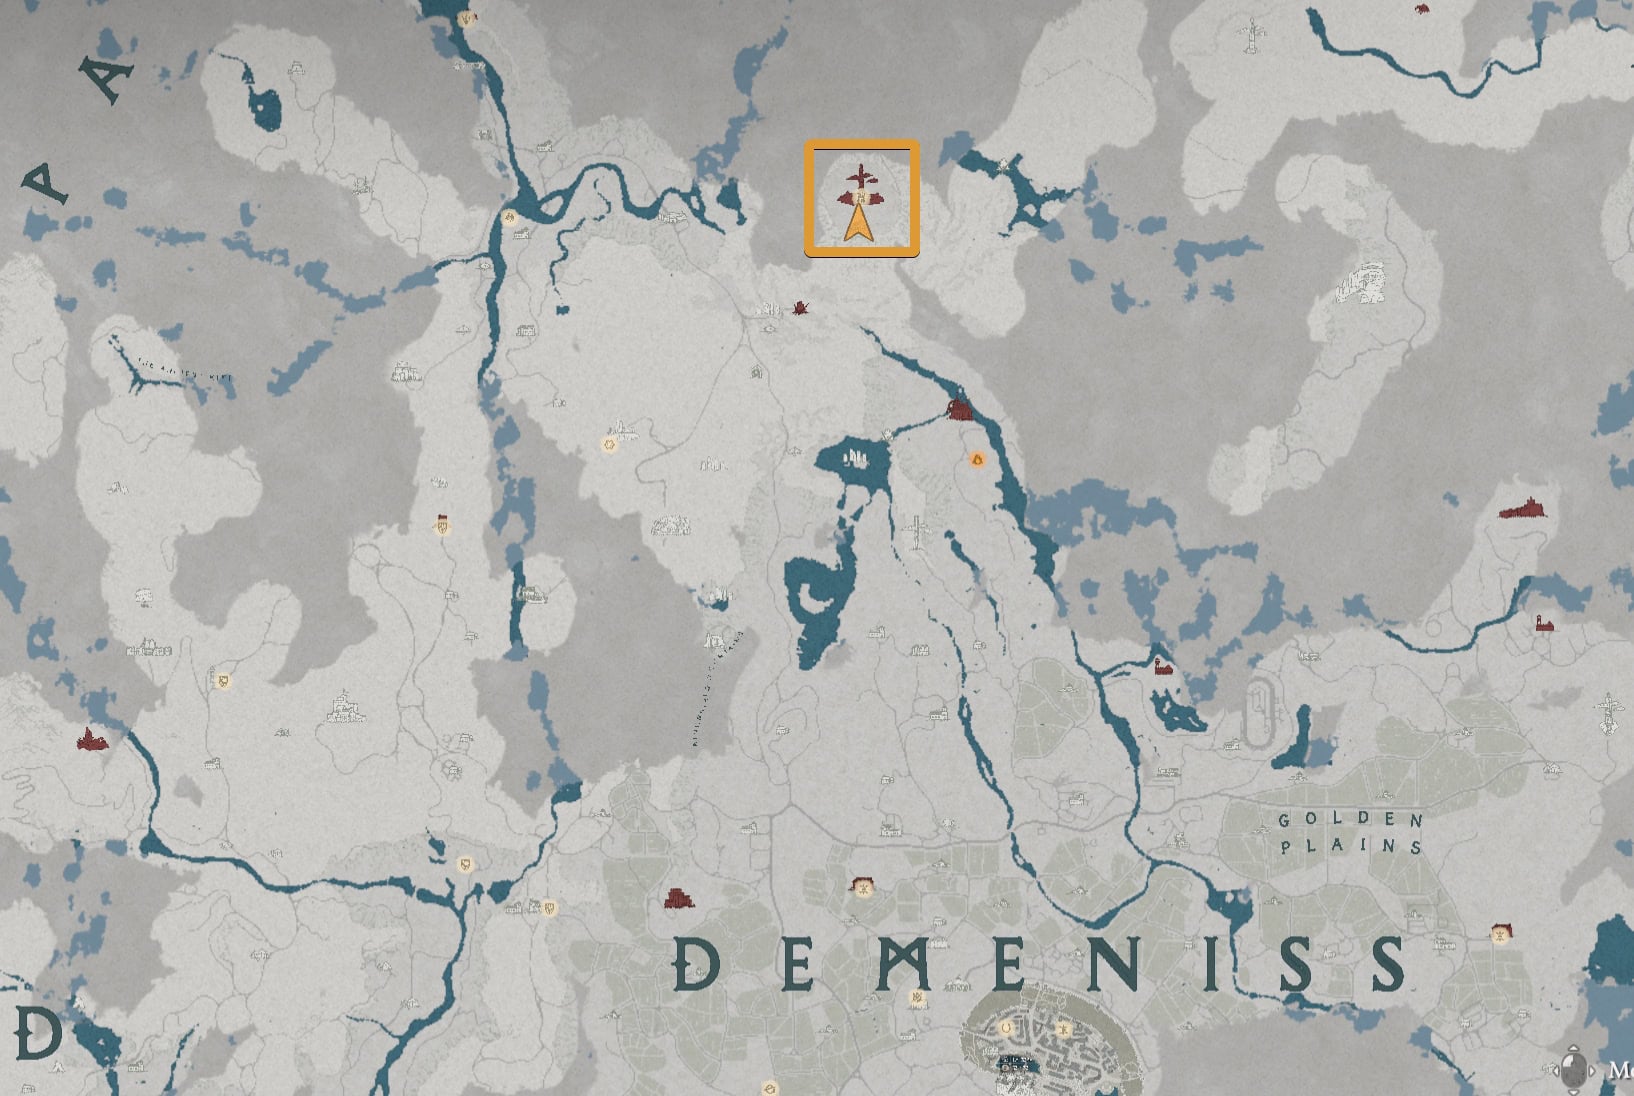
The Spire of Frost will be a short trip east of Beighen on the border of Pailune and Demeniss. You’re in for annoying fights ahead, so bring some food.
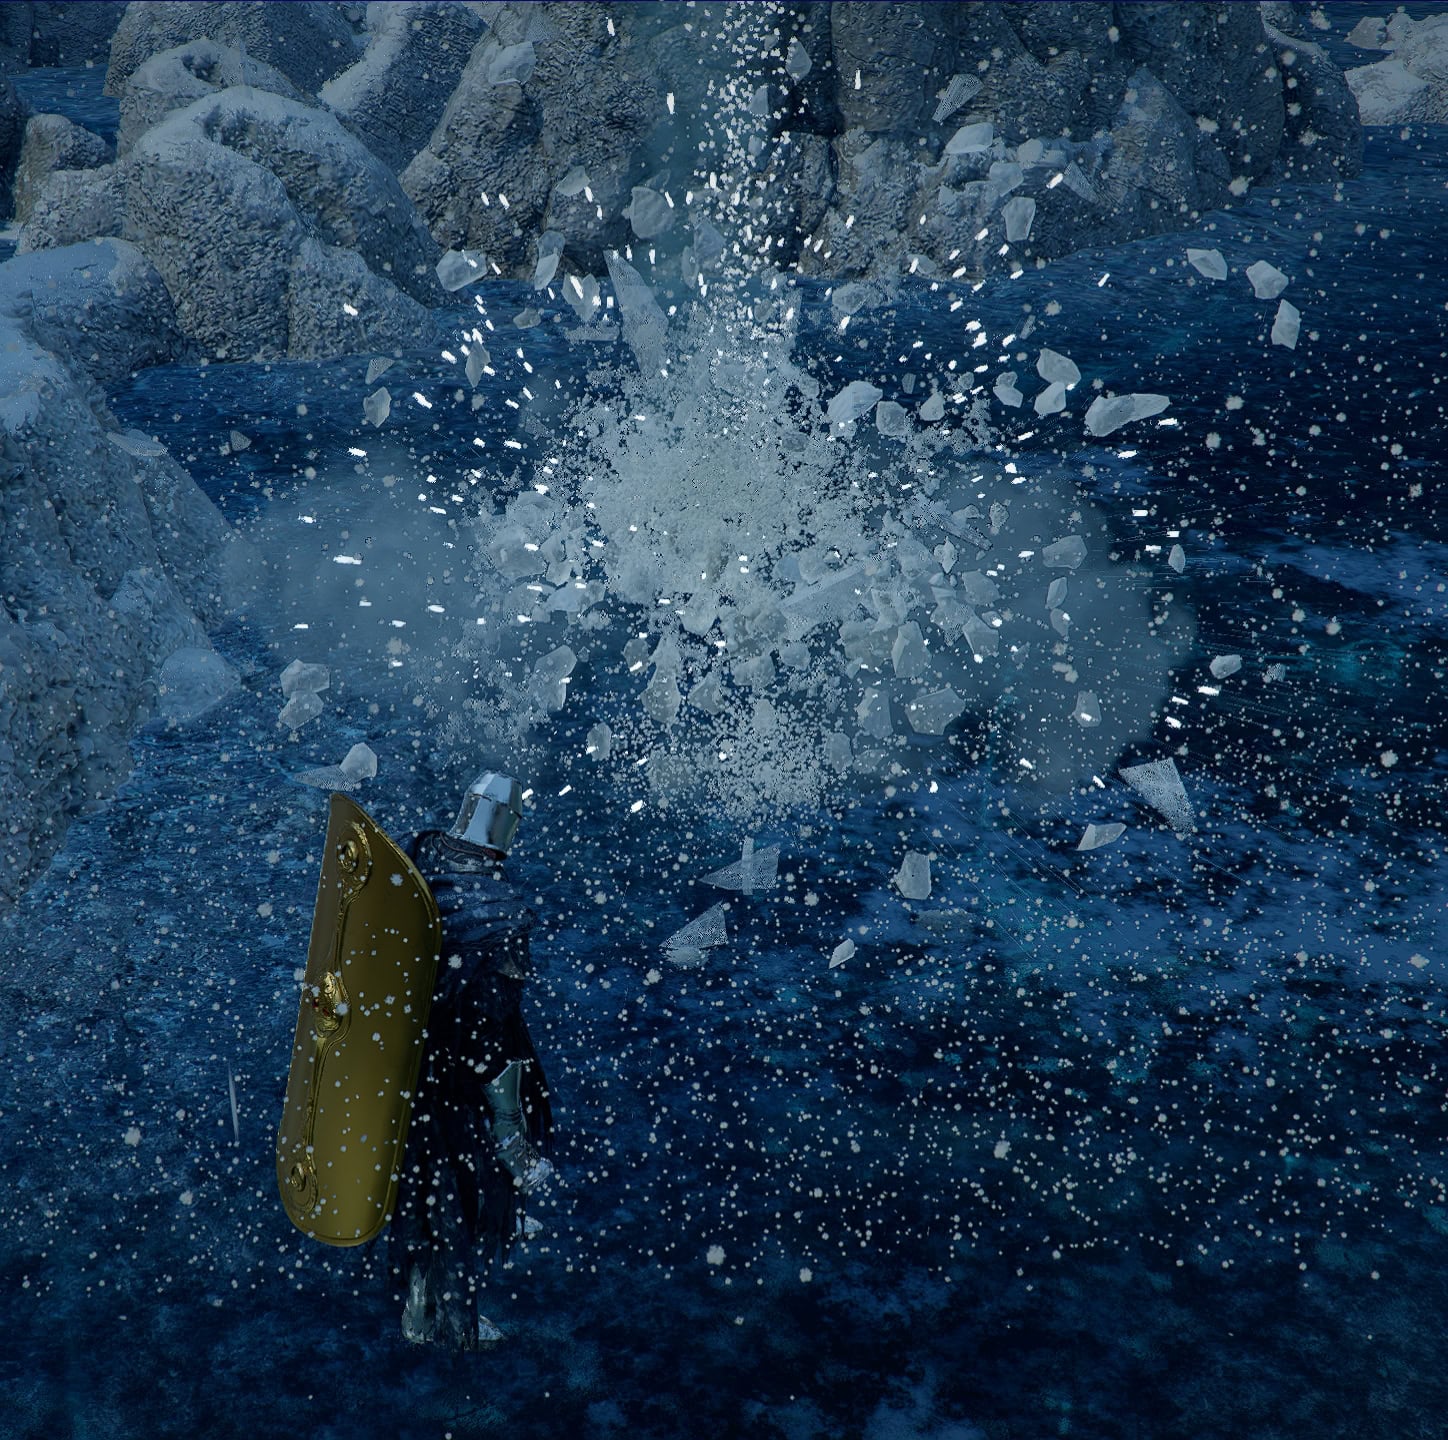
This area is incredibly dangerous as large chunks of ice will fall from the sky. Watch the ground around you for spinning white circles, this is where the ice chunks will land.
The Skull Knight and his followers
Along with the falling chunks of ice, you’ll have to deal with the Skull Knight’s Followers. These are the ice sorcerers flying around, kill them as soon as you can with Blinding Flash.
When one starts attacking, a lot more will follow. Taking them out sooner rather than later means you don’t have to dodge the attacks of 5+ followers. If you’re dealing with a small number of them, the Fire Elemental Charged Shot is also a good way to one-shot them.
The Skull Knight will appear on the frozen lake and attack you when you reach certain zones. He teleports to attack from behind, so use your shield to block his attacks. After losing some HP, he’ll disappear and respawn somewhere else at full health
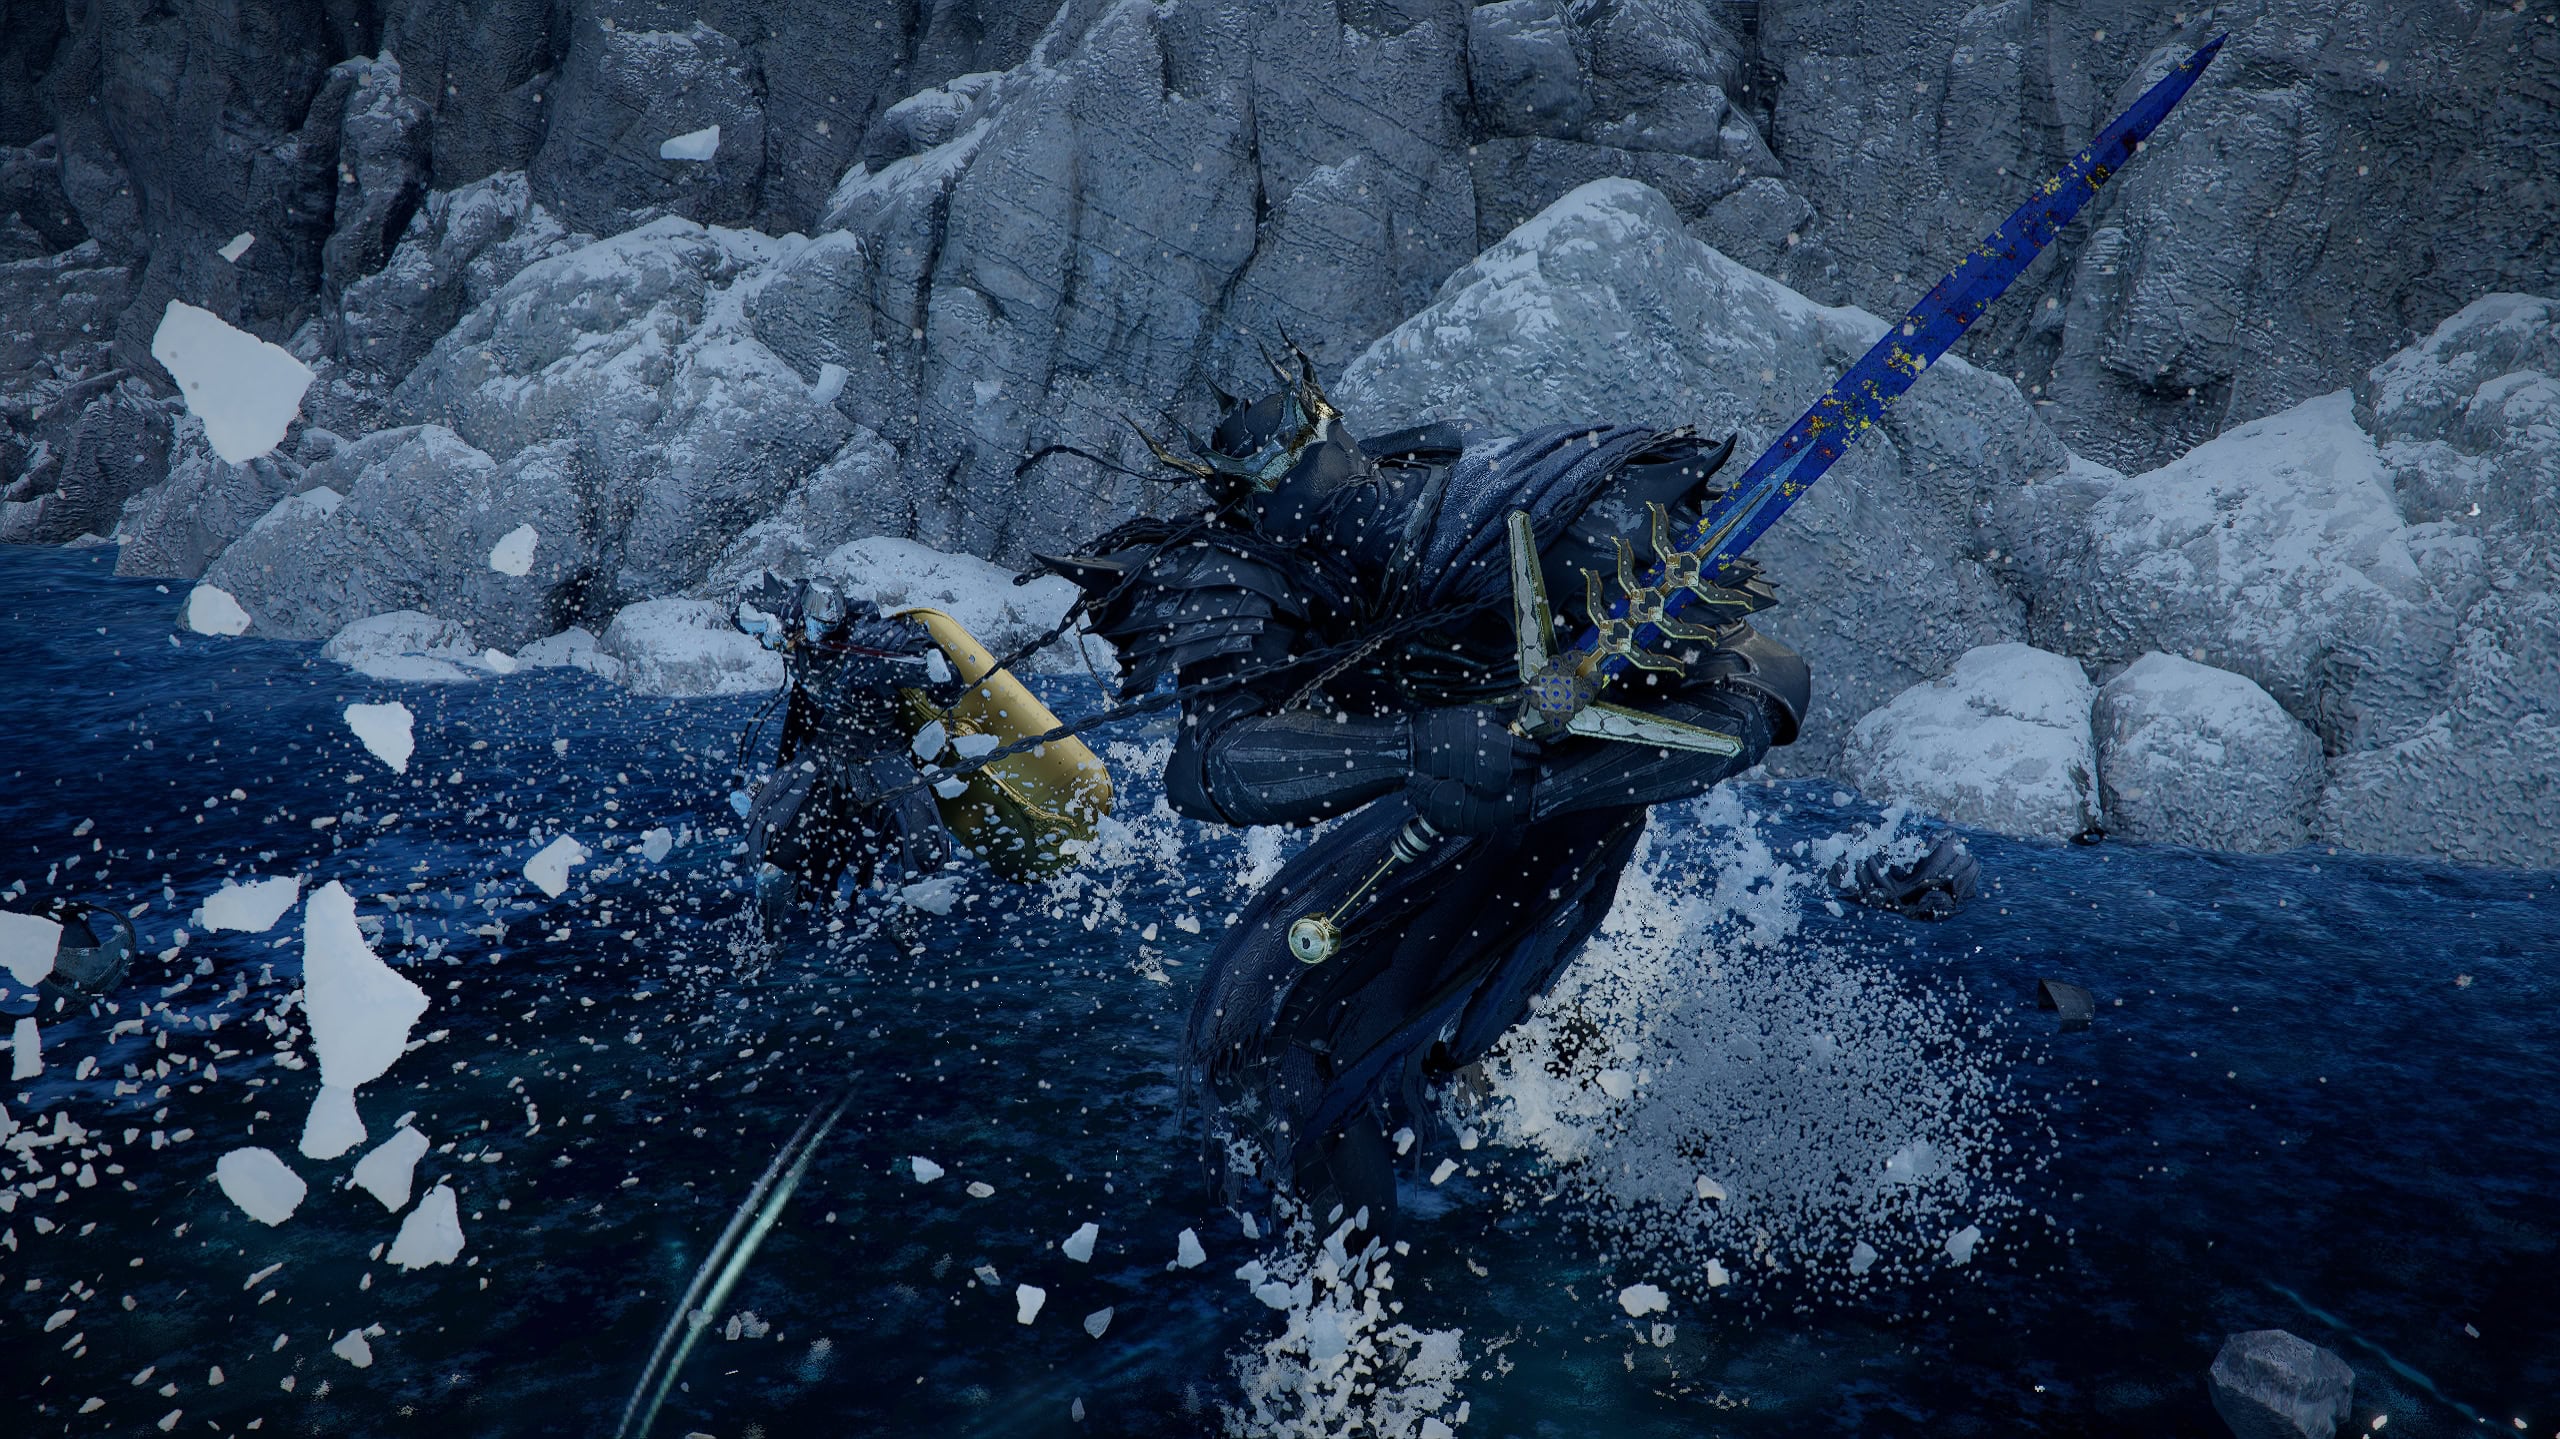
You cannot kill the Skull Knight, so you might as well leave his area if he spawns. There are more important things in the area to find such as Abyss Cells.
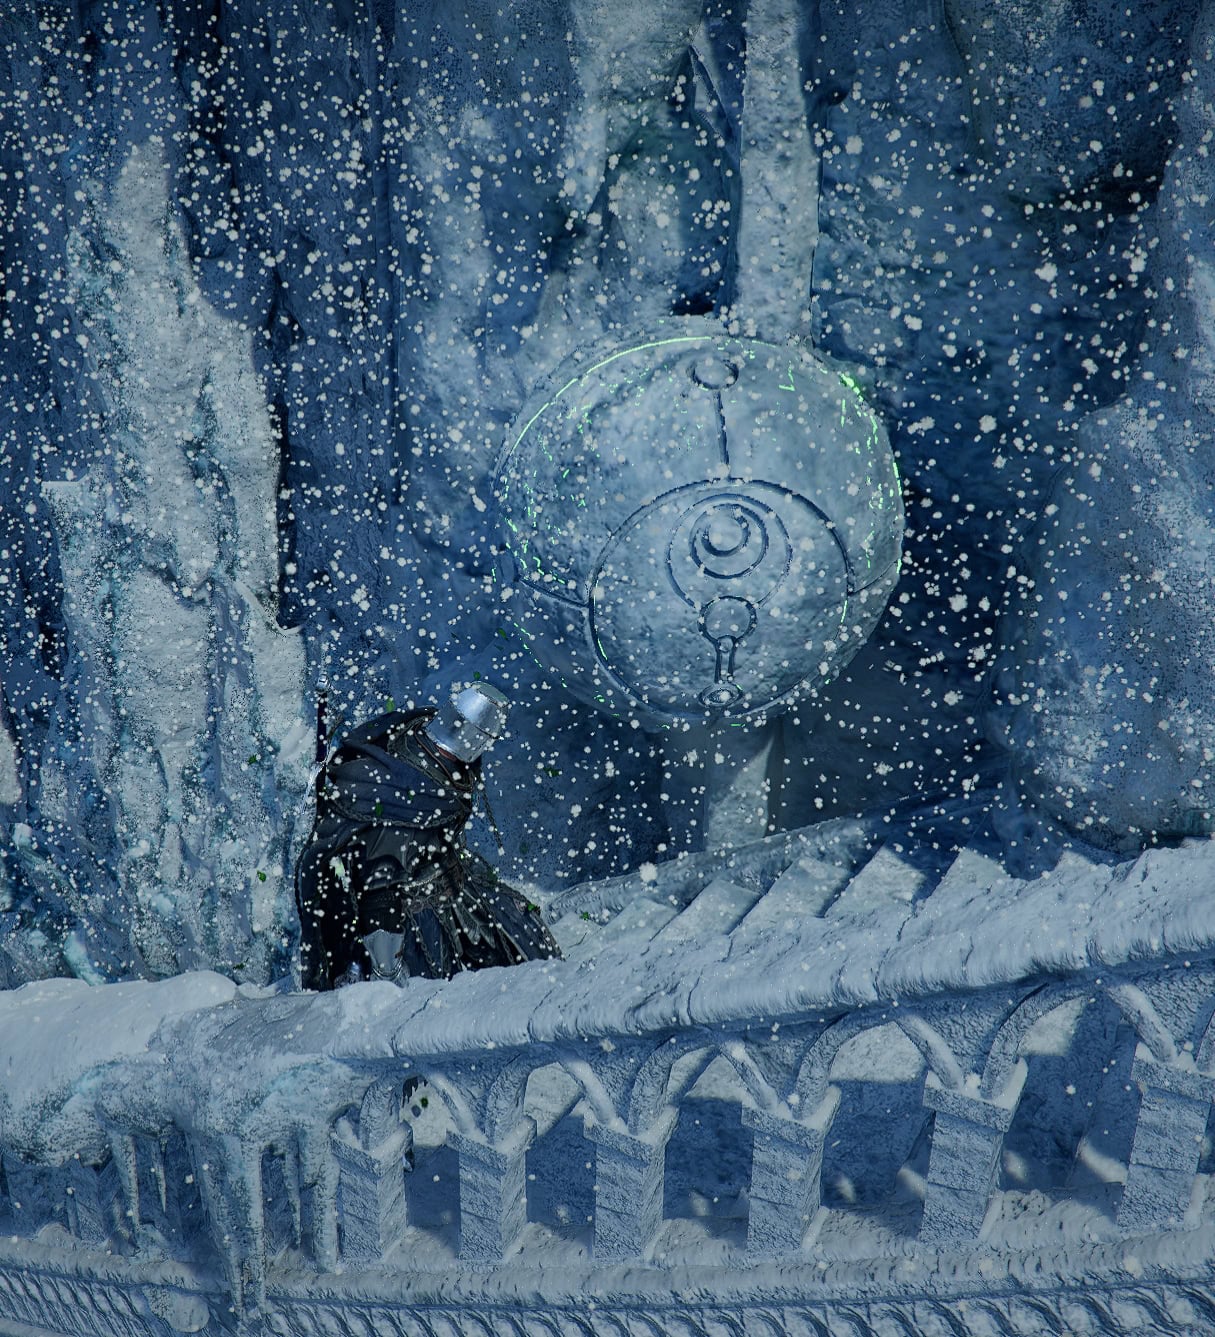
Abyss Cells
There are three Abyss Cell: No. 1’s you can find throughout the Spire of Frost. Two of these locations of these will be included in the Stone Lantern portion of the guide so you can find them as you go.
The first one will be frozen inside the east side of the spire on ground level. Use Axiom Force to pull it out and avoid falling ice chunks as you do so.
Light the Seven Stone Lanterns
All of the stone lanterns will be found in or around the Spire of Frost itself. The only things you’ll find outside are some trash loot, pain, and that one Abyss Cell mentioned previously.
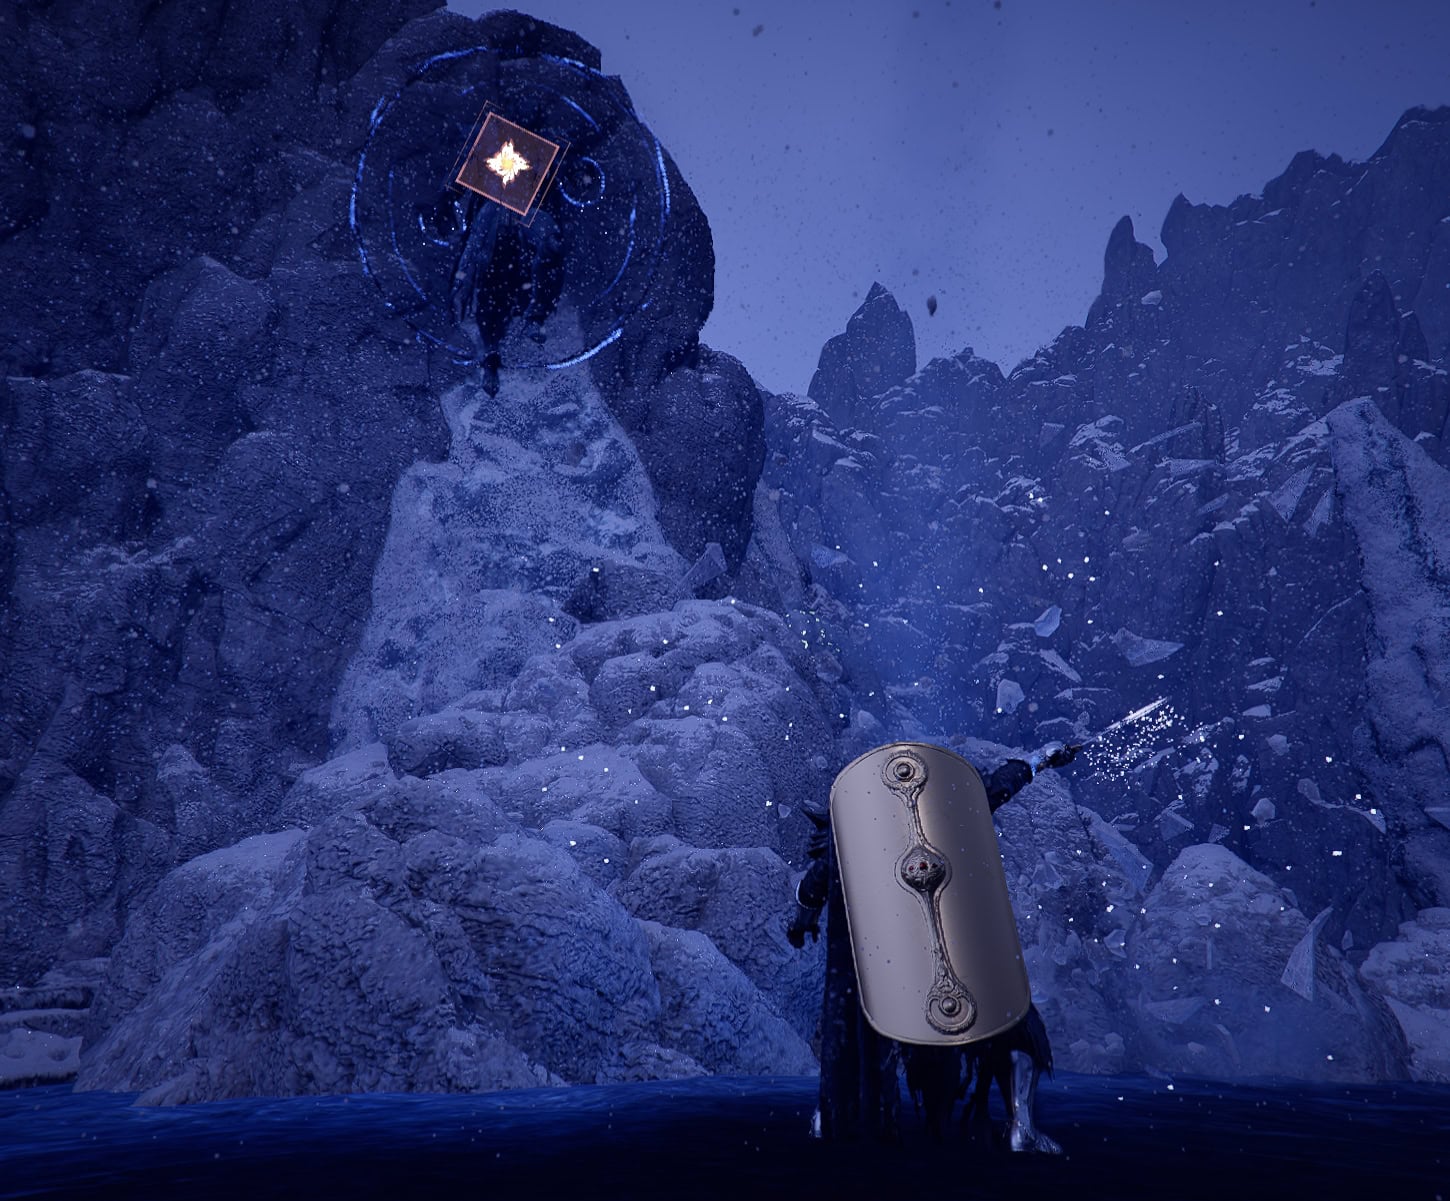
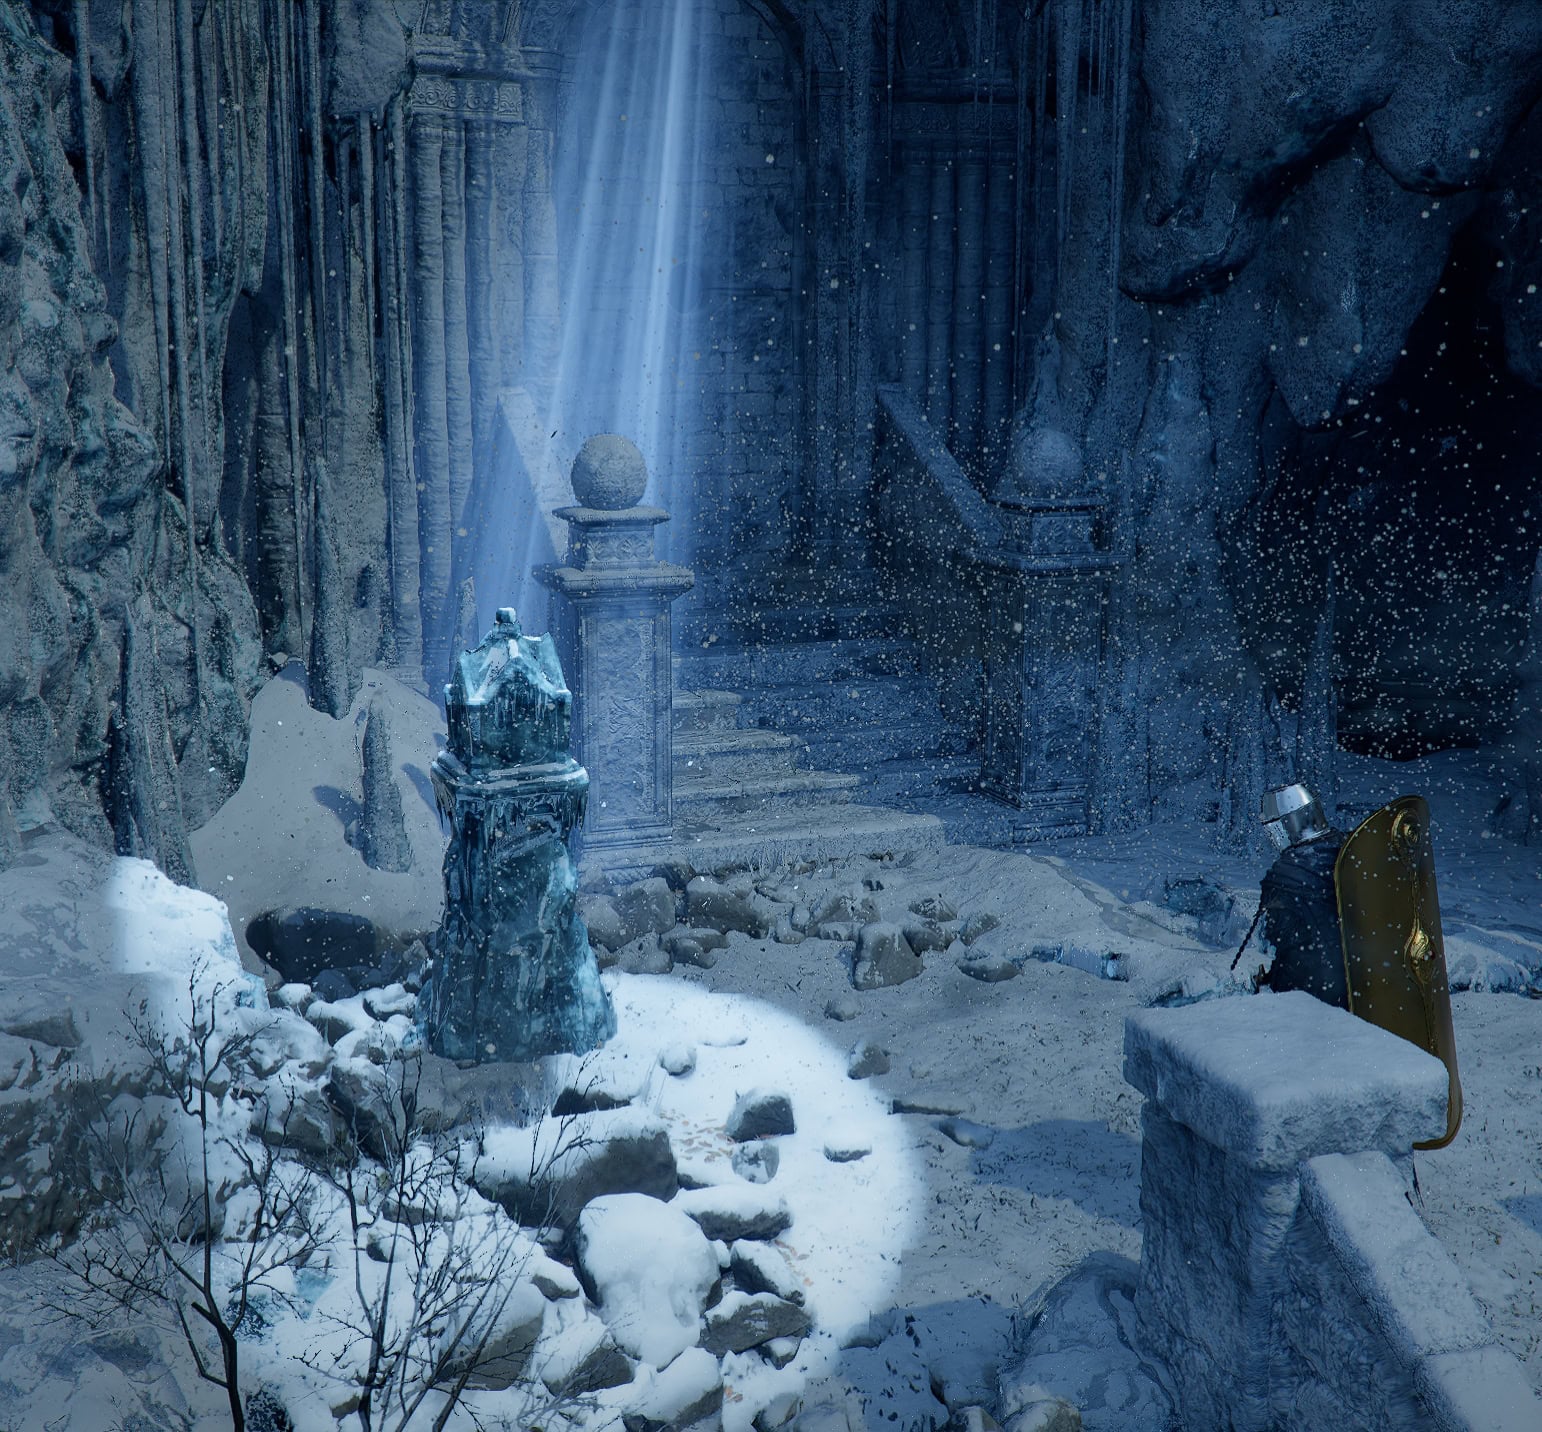
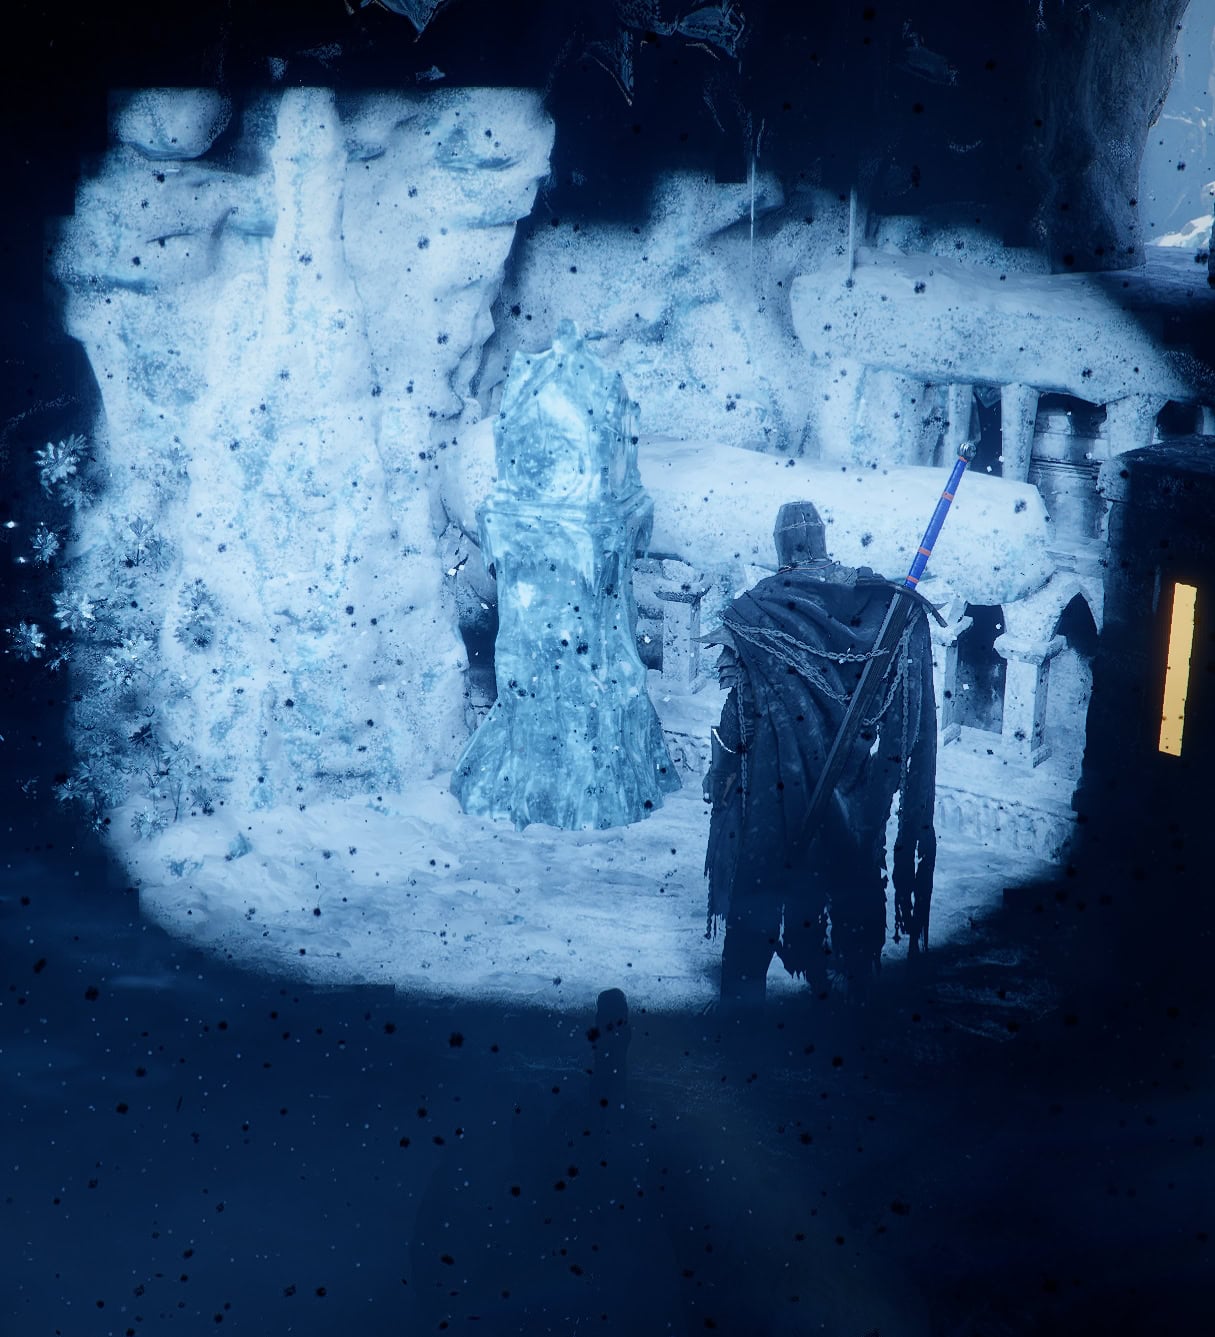
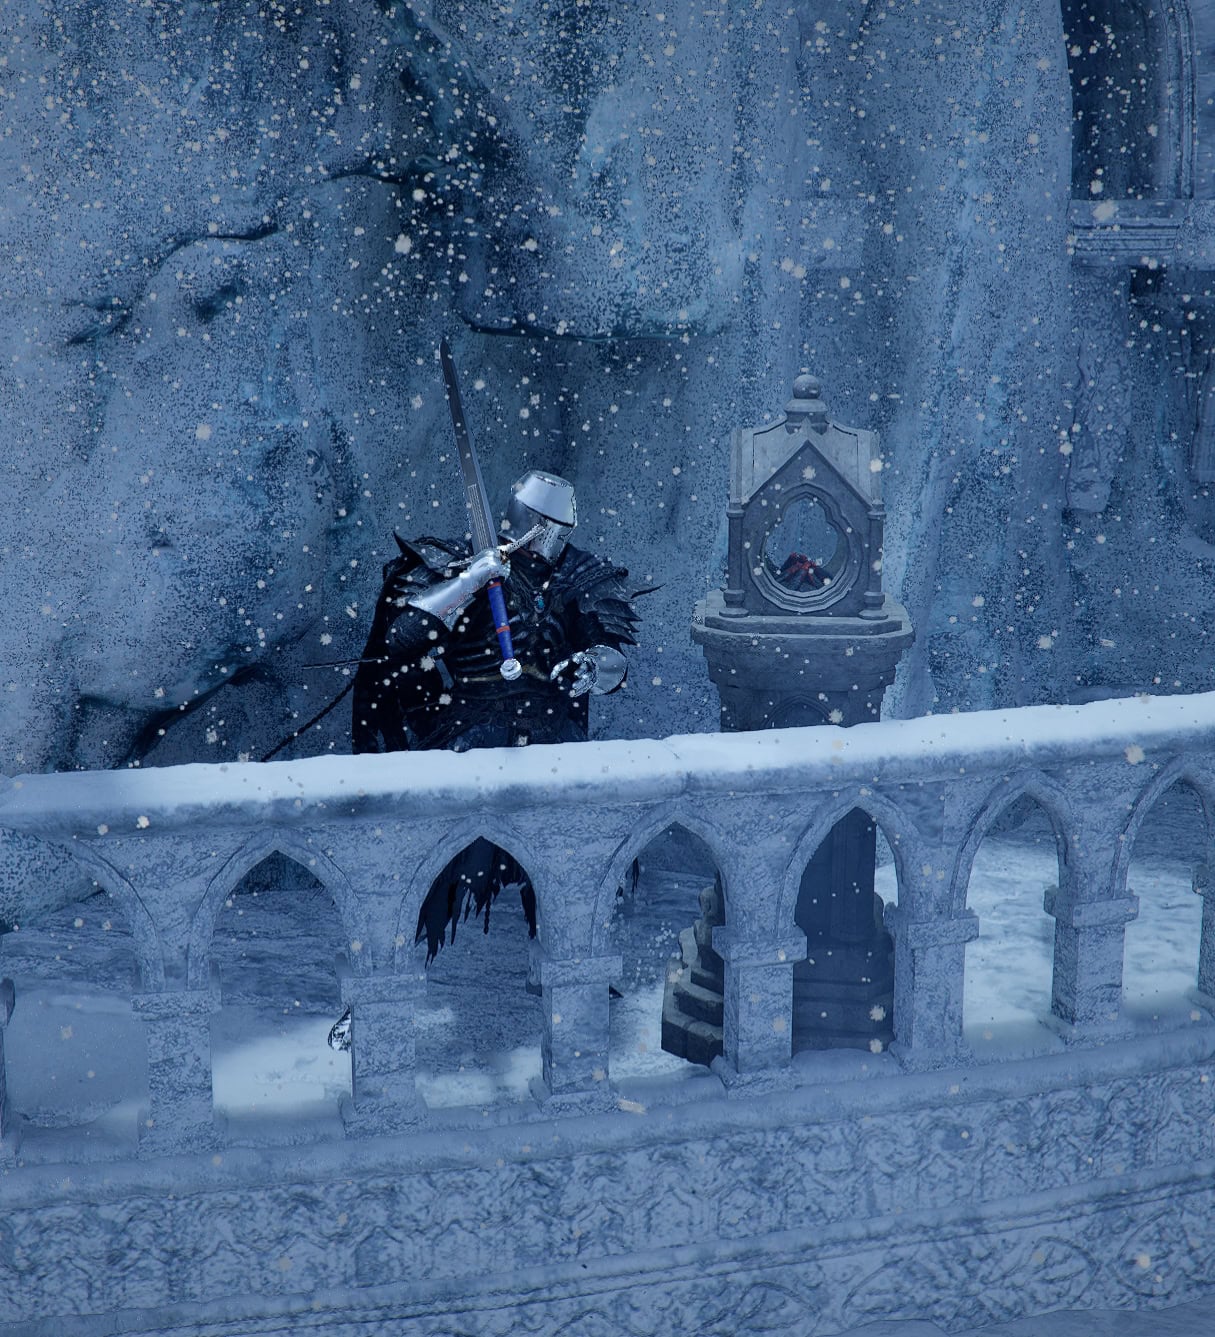
Stone Lantern #1
The first stone lantern will be found at the entrance. It’s frozen in place, break it free with Turning Slash. Alternatively, let a falling chunk of ice land on it to break it. Once free, walk up to it and turn it on. This will open the front door to the spire and let you inside.
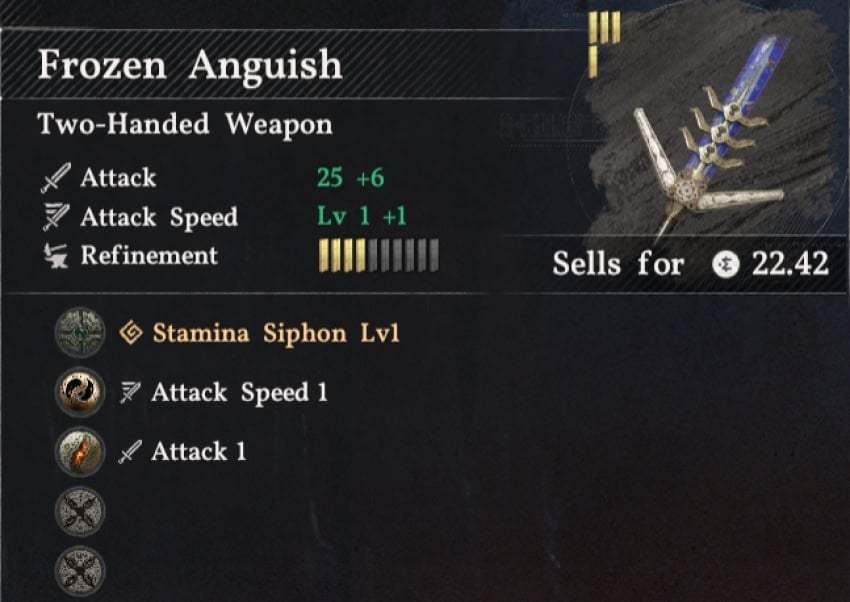
Loot the Treasure Chest
Underneath the set of spiraling stairs is a Treasure Chest containing the Frozen Anguish Longsword and a Refined Palmar Pill. This is the same sword that the Skull Knight uses.
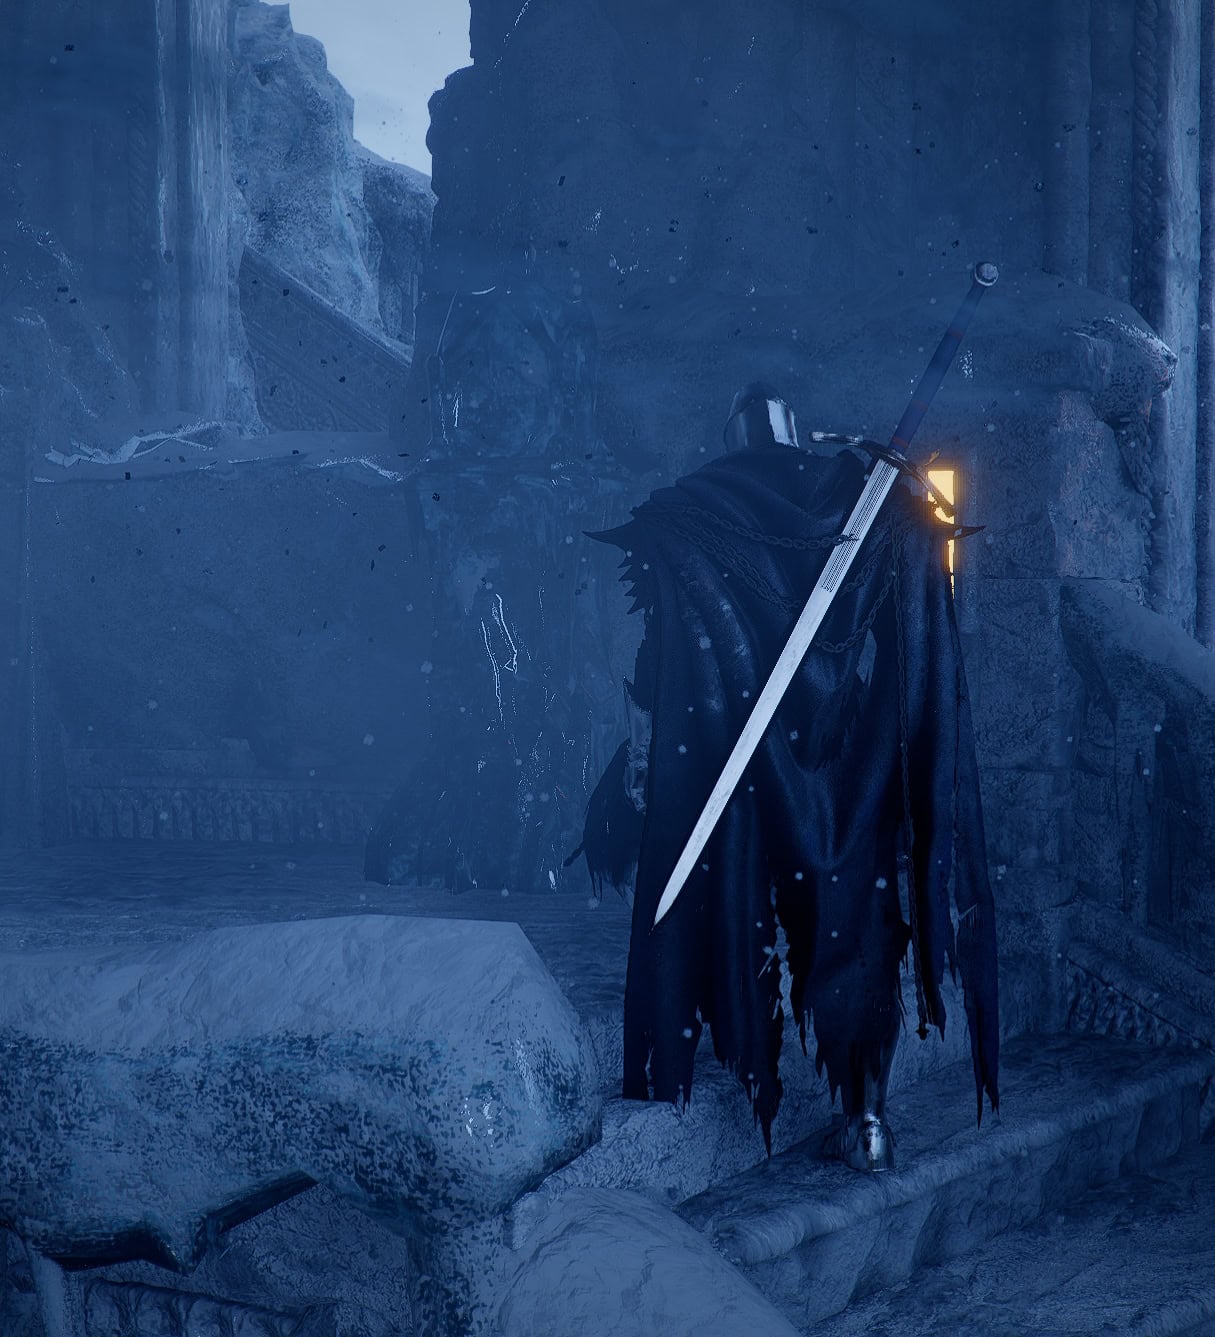
Stone Lantern #2
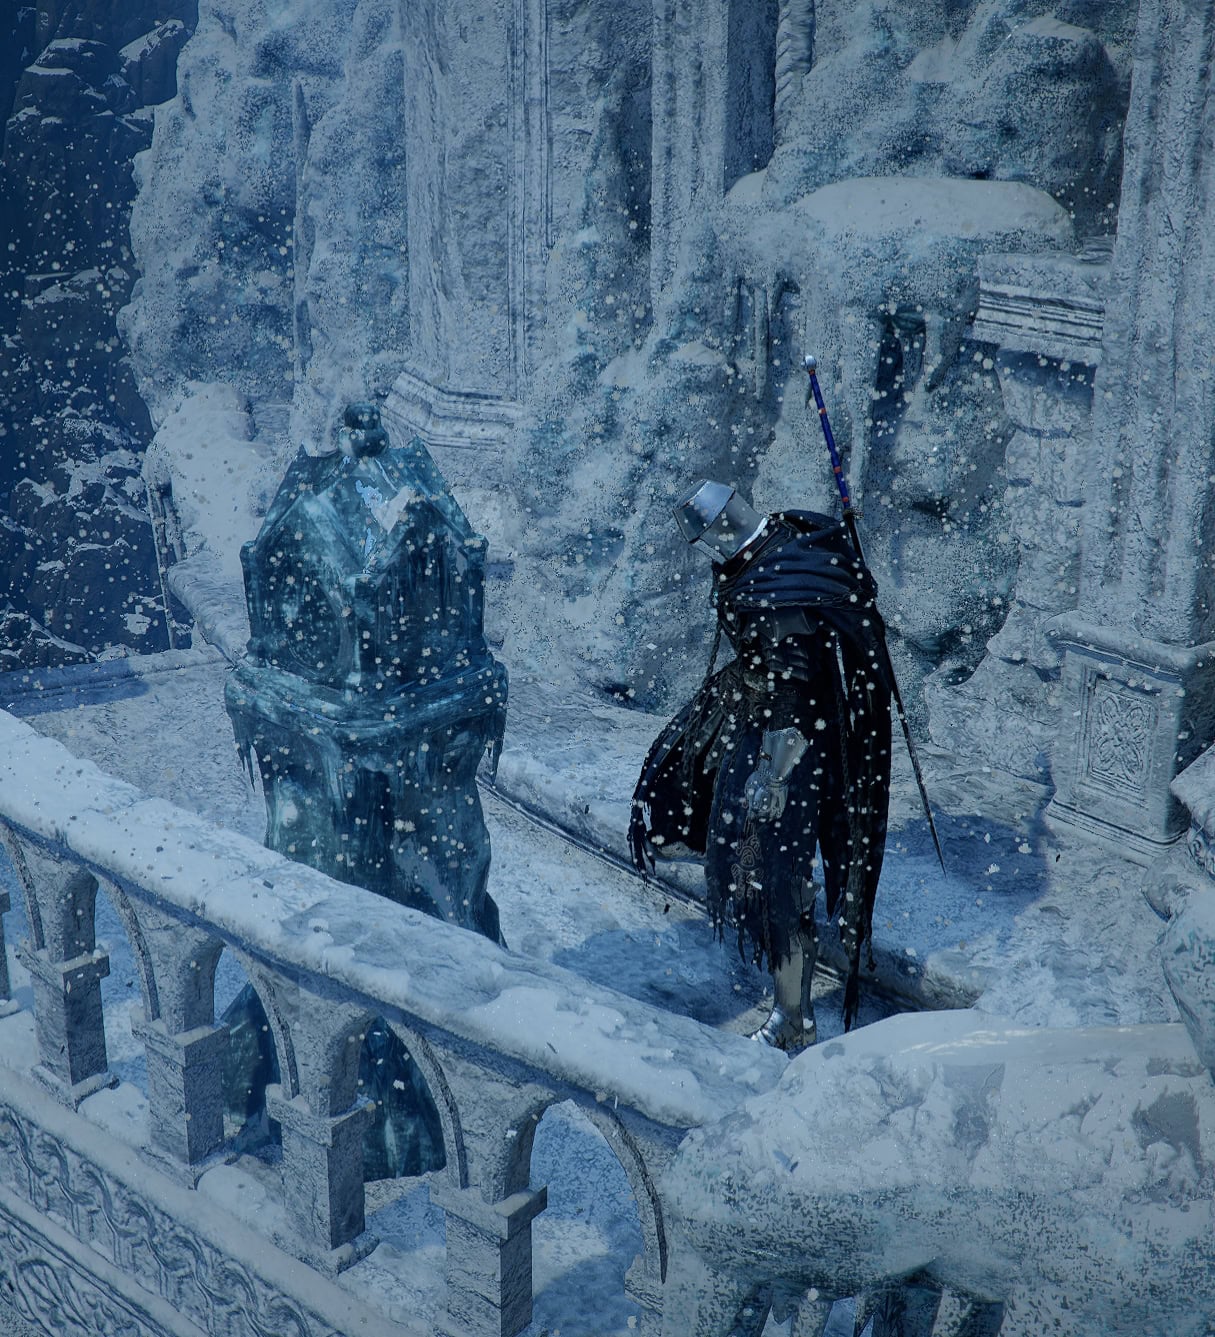
The second stone lantern can be found a short trip up from the spiral stairs at the base of the spire.
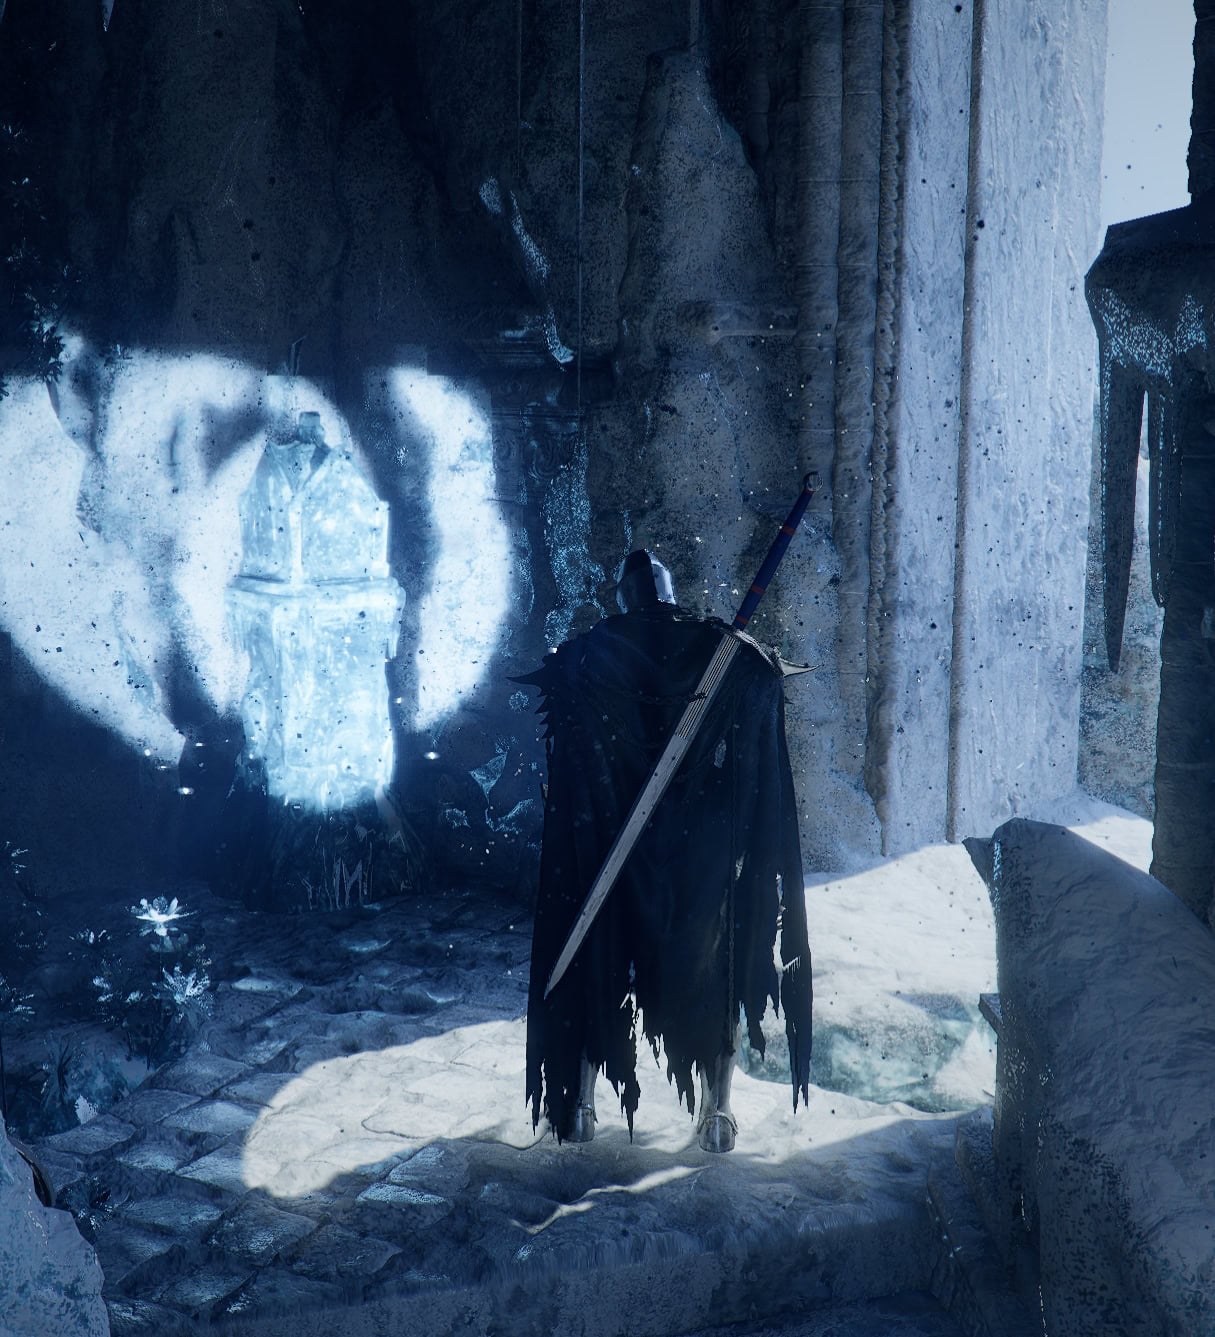
Stone Lantern #3
As you go upstairs, the path will be blocked by ice. You’ll need to use the Axiom Force’s Aerial Maneuver to continue ascending. Do this twice to pass both obstacles, and you’ll find the third stone lantern when you continue up the stairs.

Stone Lantern #4
The fourth stone lantern will be found once you climb the stairs past lantern #3. It’ll be next to a door that leads to some stairs outside.
Stone Lantern #5
When you exit the door near the fourth lantern, make a right and go downstairs. Glide past the blockage in the stairs to find the second Abyss Cell. Continue down the stairs for the fifth stone lantern. Going even further down will lead you to the third Abyss Cell.
Stone Lantern #6
Go upstairs from lantern #4 and watch out for the Skull Knight Specters above you. It’ll be outside on a landing, just clear the area with Blinding Flash so the Specters don’t harass you and knock you off.
Stone Lantern #7
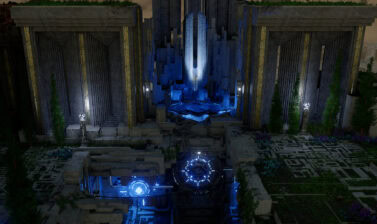
Once you reach the dead end on the exterior stairs, go inside through the window to find the final stone lantern. Lighting this will get you the Frostcursed Plate Boots and activate a lift leading to the Abyss Gate.
Take the Abyss Gate to start the next challenge, the Passage of Malice Puzzle. Fortunately you won’t need your cold gear but as you progress through this puzzle chain, you’ll need heat resistant gear.
NEXT: Passage of Malice Abyss Puzzle: Walkthrough and Solution