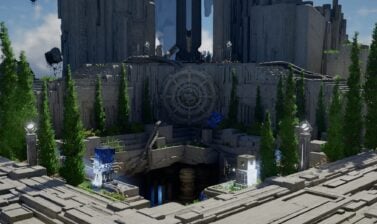
Learn how to cleanse the Sanctum of Revelation in Crimson Desert, how to solve the secret puzzle, and defeat the Antumbra’s Spear boss.
Where to find the Sanctum of Revelation
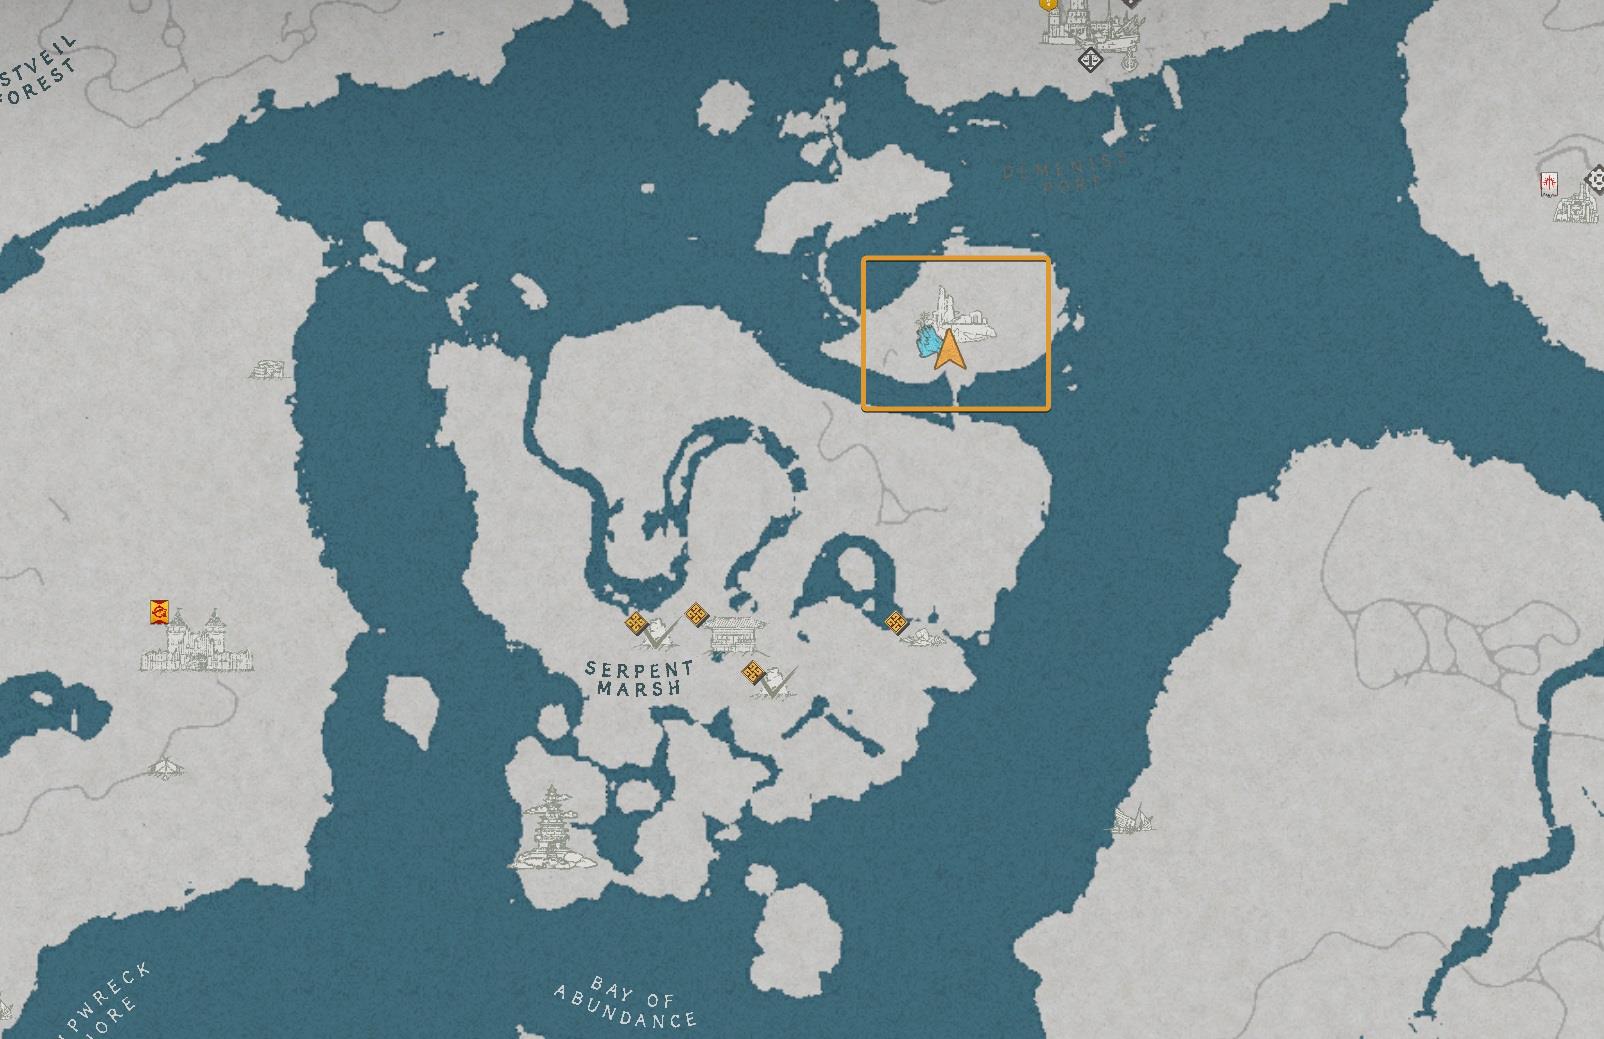
The Sanctum of Revelation is on an island located northeast of the Serpent Marsh, right between Demeniss and Delesyia.
Important: You will only be able to solve the Sanctum of Revelation puzzle after meeting Areciel, the Witch of Strength.
The Sanctum is part of The Witch of Strength questline, which includes two more Sanctums you need to find and cleanse:
- Sanctum of Expiation
- Sanctum of Renunciation
- Sanctum of Revelation (this one)
Dealing with the Antumbra Order
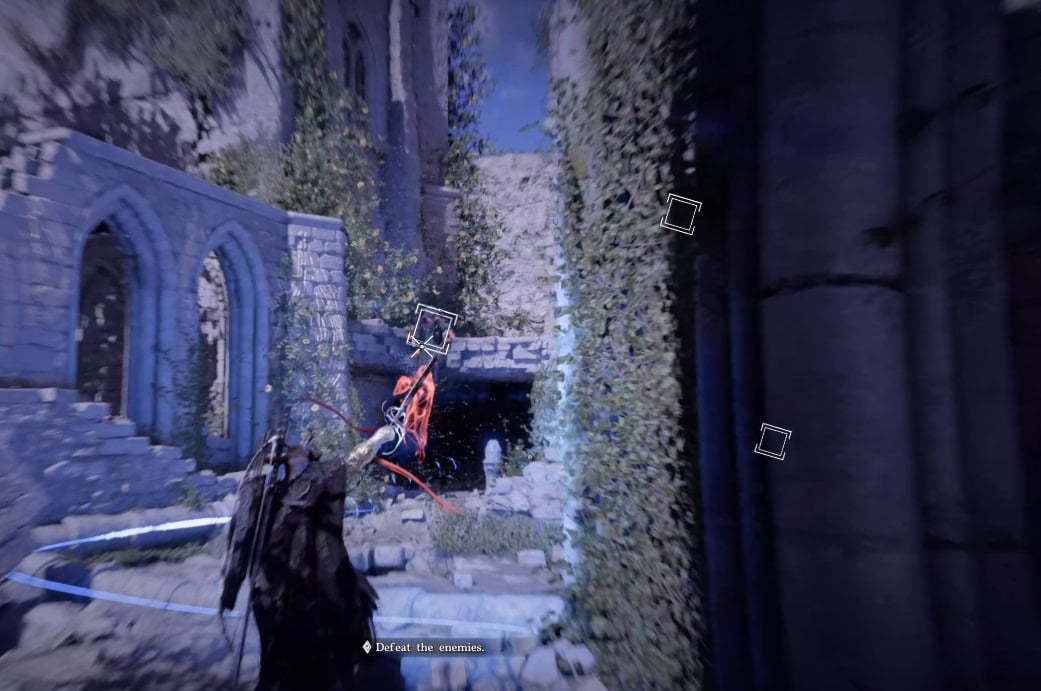
You have to liberate the Sanctum first. Each Sanctum is guarded by forces of the Antumbra Order. The Antumbra Order is a group of religious zealots who believe that darkness can bring true balance to Pywel. Their way of worshipping is by offering human sacrifices.
Most of the enemies in the Sanctums fight with traditional melee weapons. However, a few of them fly and cast shadows that deal considerable damage. Having to deal with them while being overrun by the sword and axe wielders is not fun, but luckily for you, there is an easy way to get rid of them.
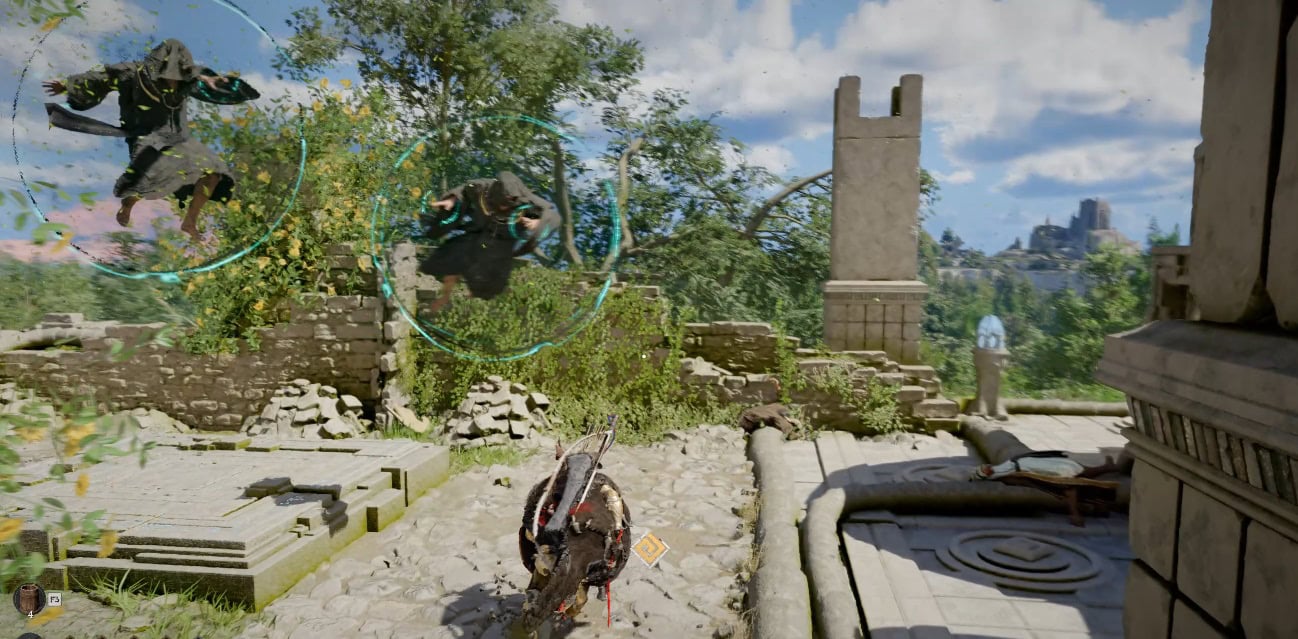
To kill these flying enemies, simply use Blinding Flash to reflect the light against them. There is no death animation; they just disappear.
Arrows or Aerial Force Palm can work as well, but I don’t recommend this slower and less efficient method because the NPCs are very fast.
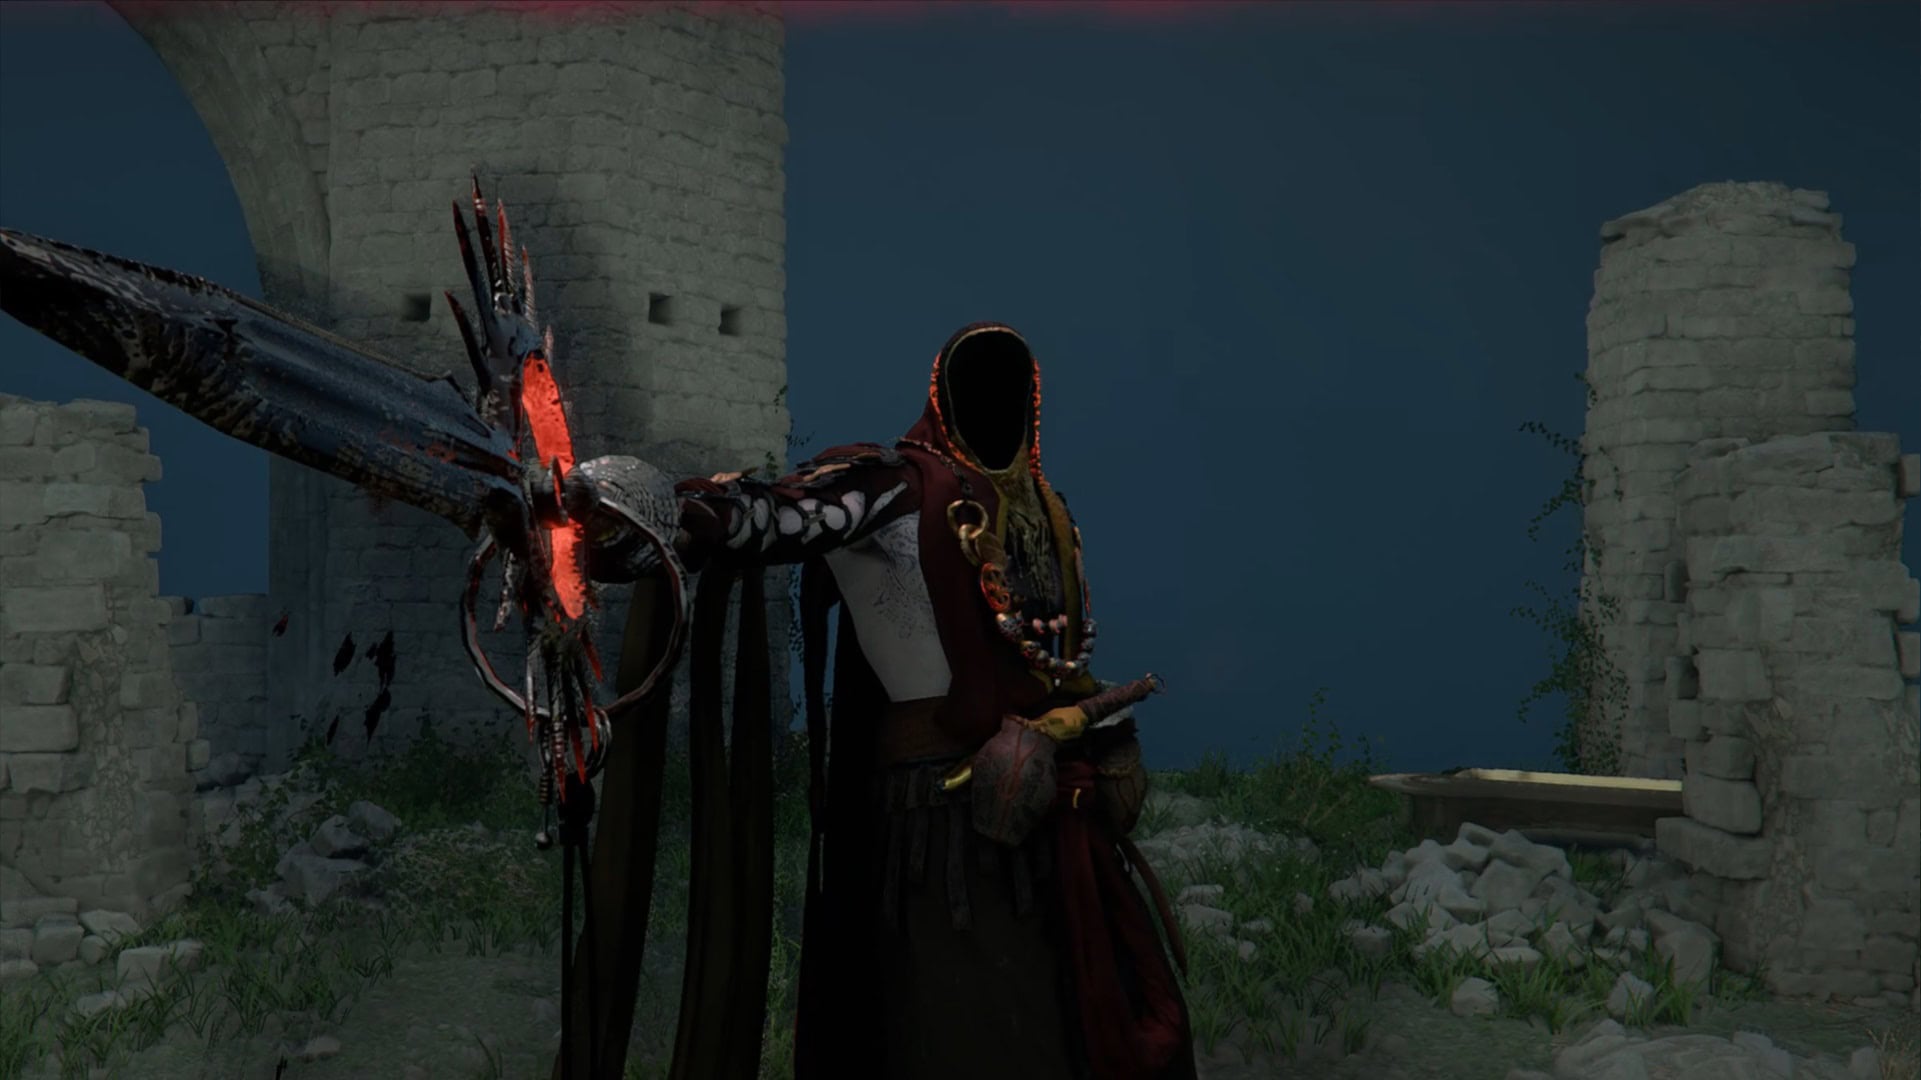
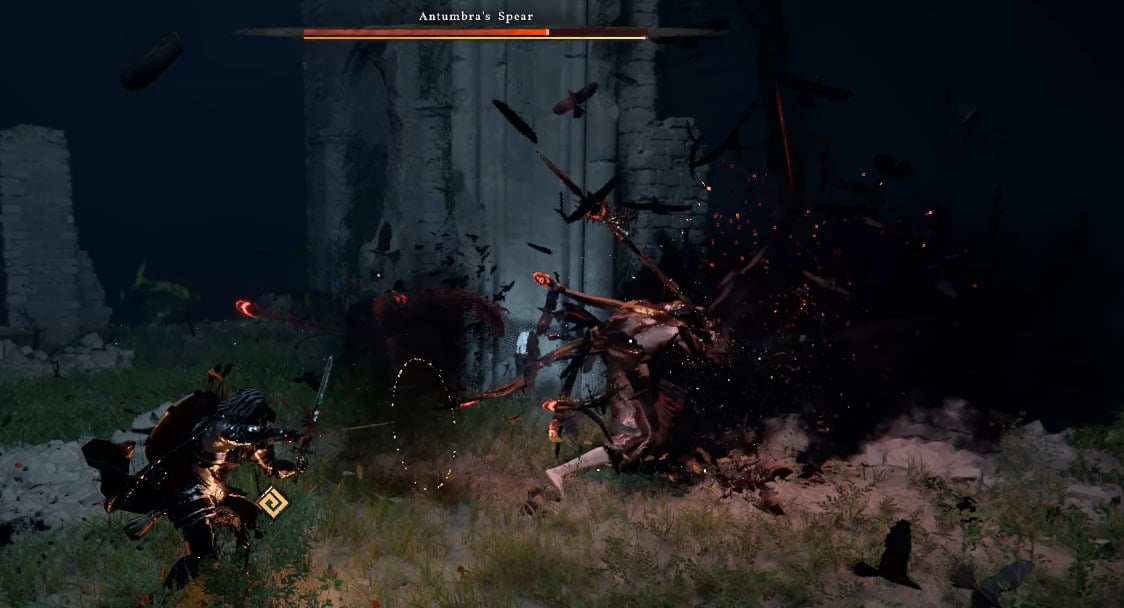
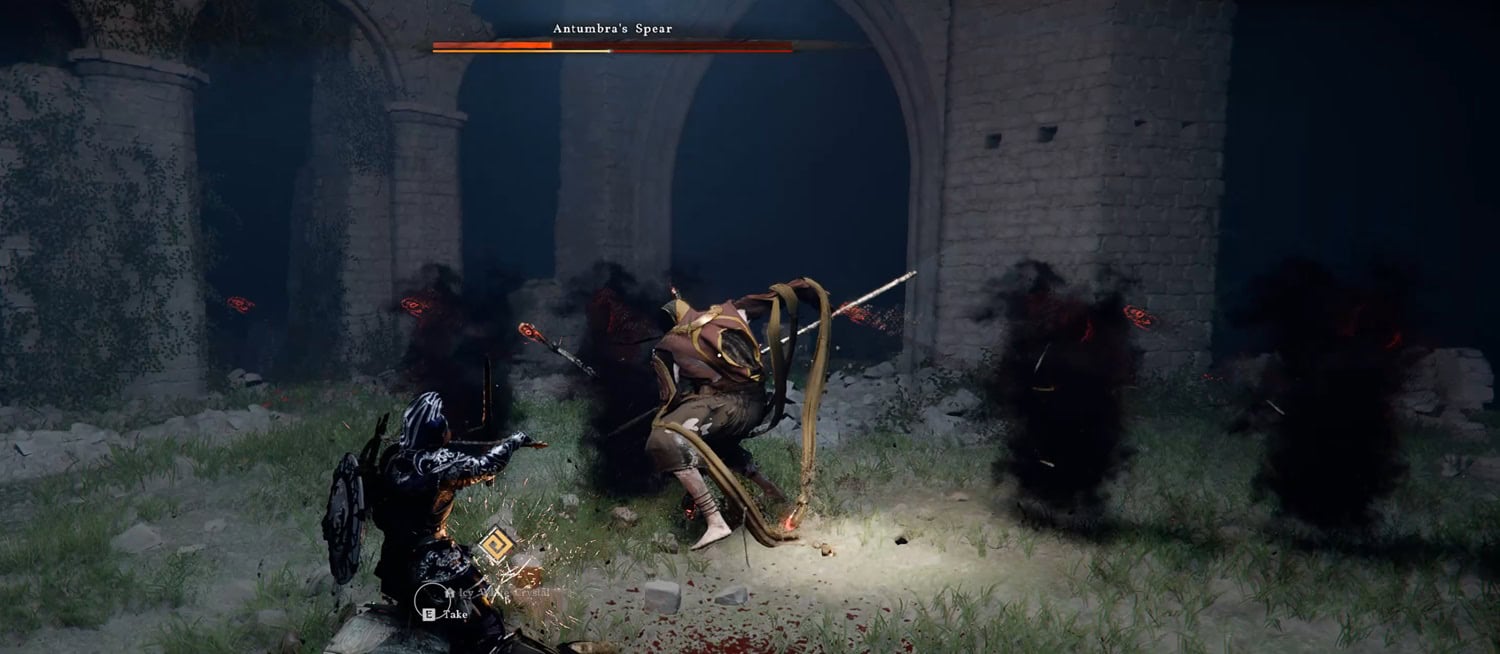
How to beat Antumbra’s Spear Boss
The Antumbra’s Staff is one of three “minor” bosses of the Antumbra Order. Since this is technically the third of said bosses, you should have an easier time dealing with him than the previous two.
Like Antumbra’s Staff and Sword, this guy is able to teleport multiple times within seconds and hit very quick strikes. It’s possible to hit him when he’s doing it, but I recommend that you wait until he begins an attack animation to ensure that it won’t disappear.
Antumbra’s Spear has an attack with a cone-shaped hitbox. Like most of its attacks, it deals a considerable amount of damage, but you can easily dodge it by rolling out of its way.
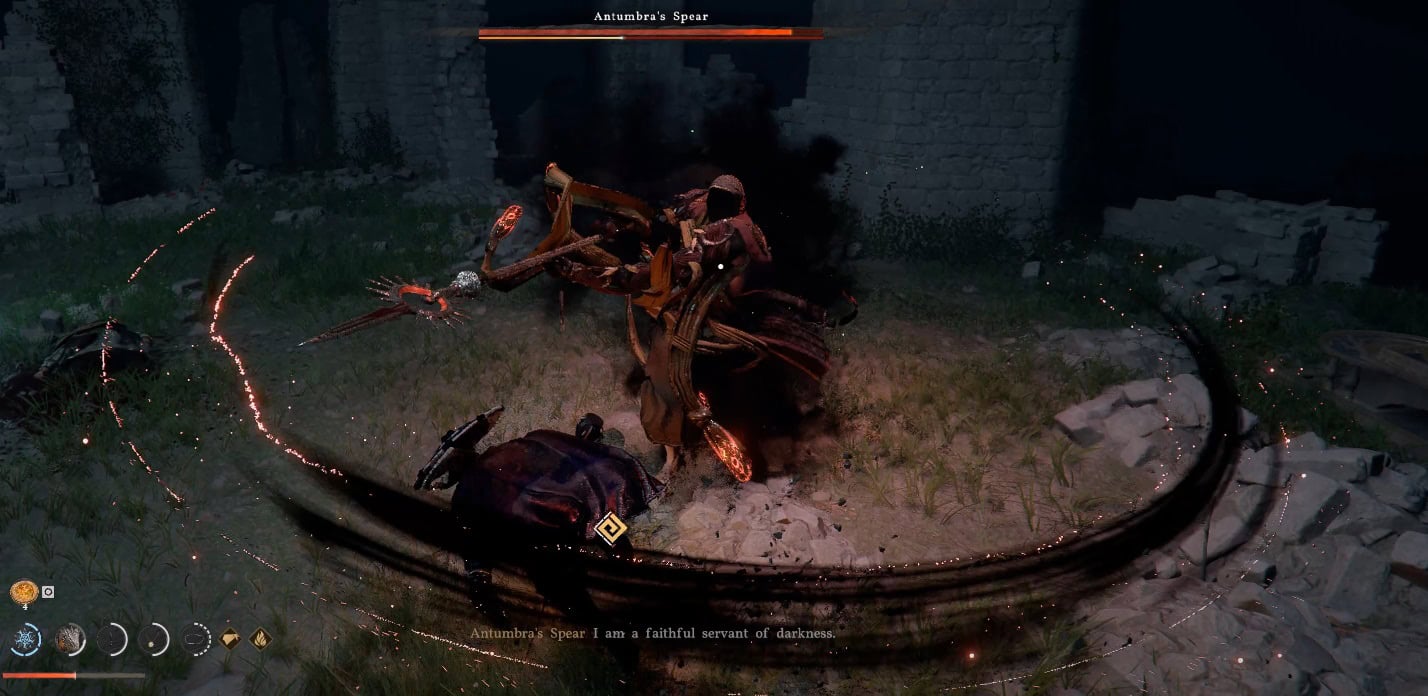
The most annoying thing about this boss battle is the multiple shadows that mirror the Antumbra’s Spear attacks. Thankfully, there are only three variations of this attack, with the first two being almost identical.
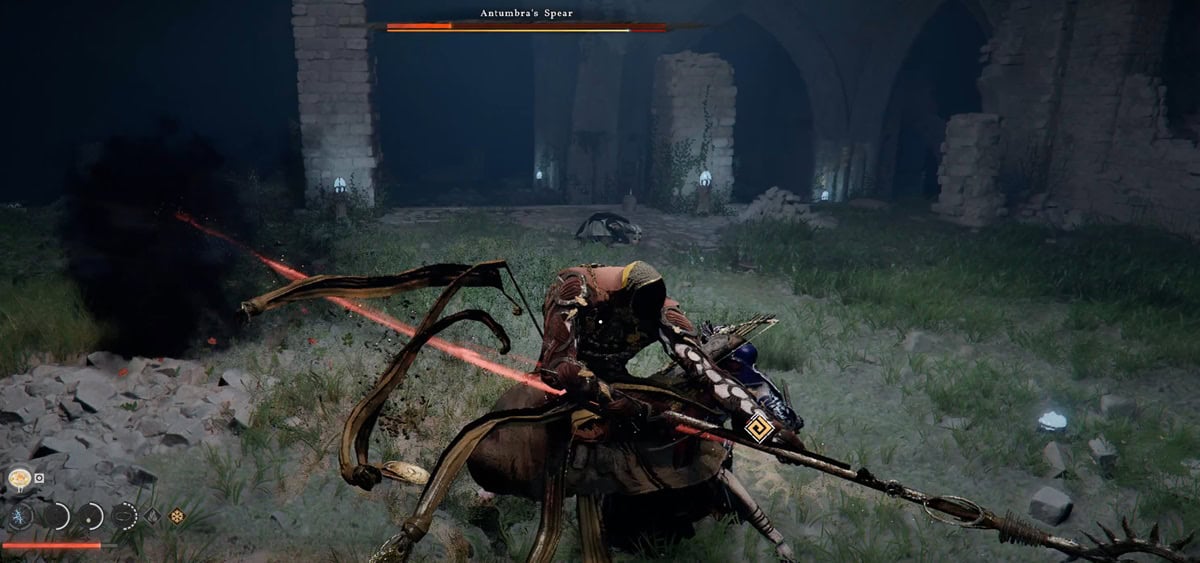
It summons multiple shadows that do the same thrust attack in a straight line. They will attack in the direction where the main body is facing at the time of their summoning.
If you move out of there quickly, you’ll have zero issues. The small variation here is that the shadows and Antumbra’s Spear can attack at the same time or have a small delay between the attacks of the main body and the shadows.
Antumbra’s Spear can also thrust on its own, with the difference that it’s faster and can do it repeatedly. This can’t be parried; my suggestion is to keep dodging until it stops. Sometimes, it will summon a single shadow to do this as well, but the shadow doesn’t do too much damage and can be blocked with a shield.
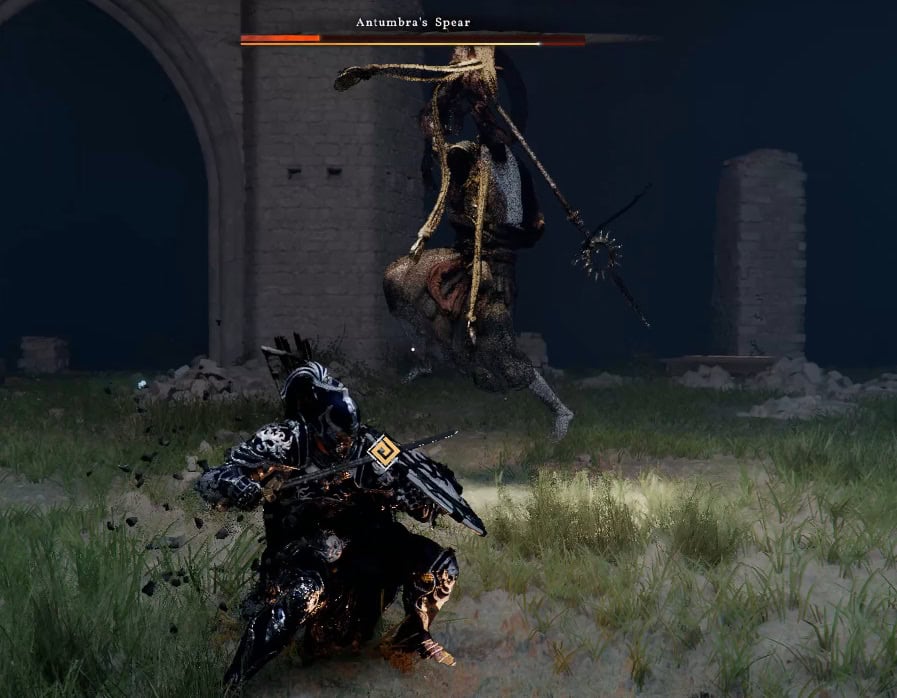
This boss only has one AOE attack, which consists of slamming the ground after jumping. This one is very easy to predict and avoid; all you have to do is walk away since the area of impact is small.
Use Face Palm to interrupt when it begins to cast the unblockable attacks. Also, try to maintain at least half your Stamina in case you have to dodge all over the area. Try to have as much Spirit as possible; for this battle, Force Palm and Keen Senses are your best allies.
My best advice is to get behind it since it doesn’t have a reliable way to counter this. It’s very easy to overpower it with a combination of standard attacks and Force Palm, especially if you are wielding two swords.
After every Antumbra member is defeated, a small cinematic will trigger, and you’ll be able to solve the puzzle.
How to Cleanse the Sanctum of Revelation
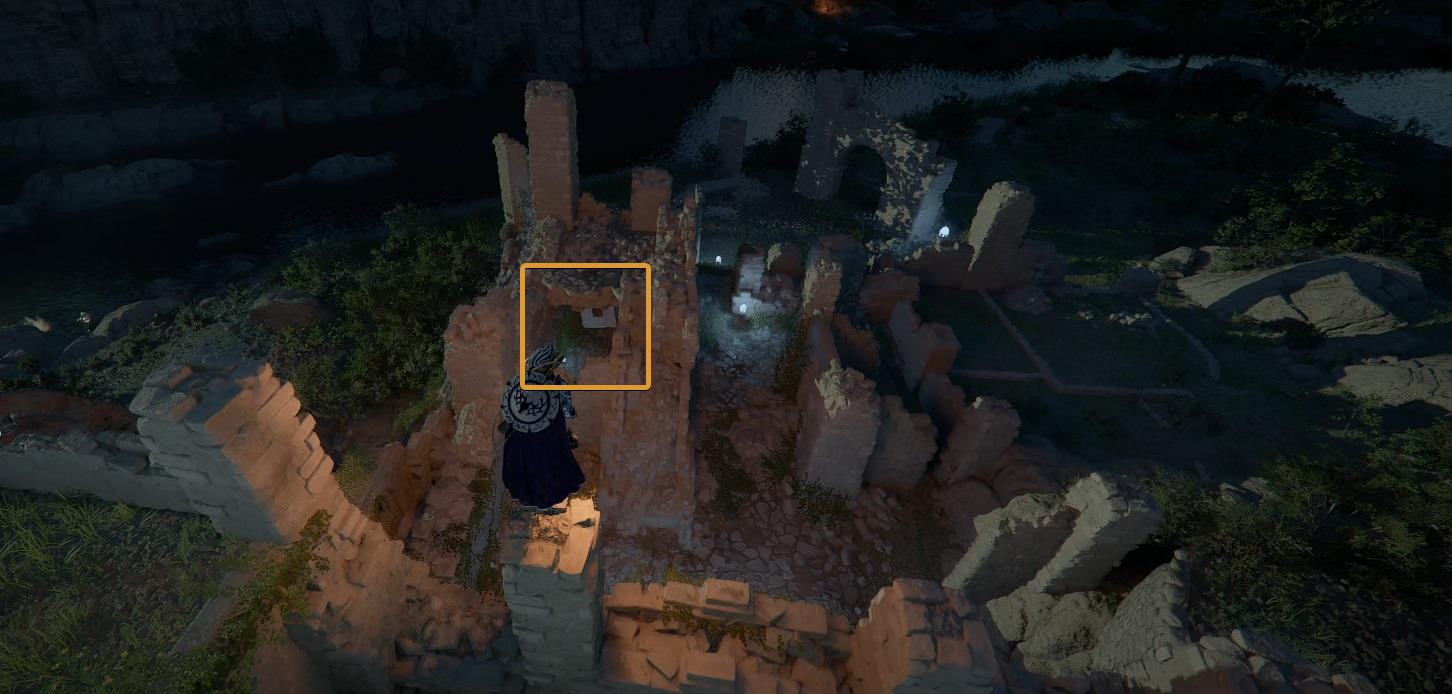
After the small cinematic ends, you’ll appear leaning on a wall. The Antumbra’s Spear weapon, the Thorn of Dark Pursuit, will be on your left. Just a few steps ahead.

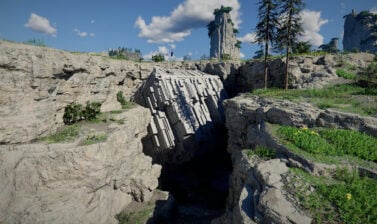
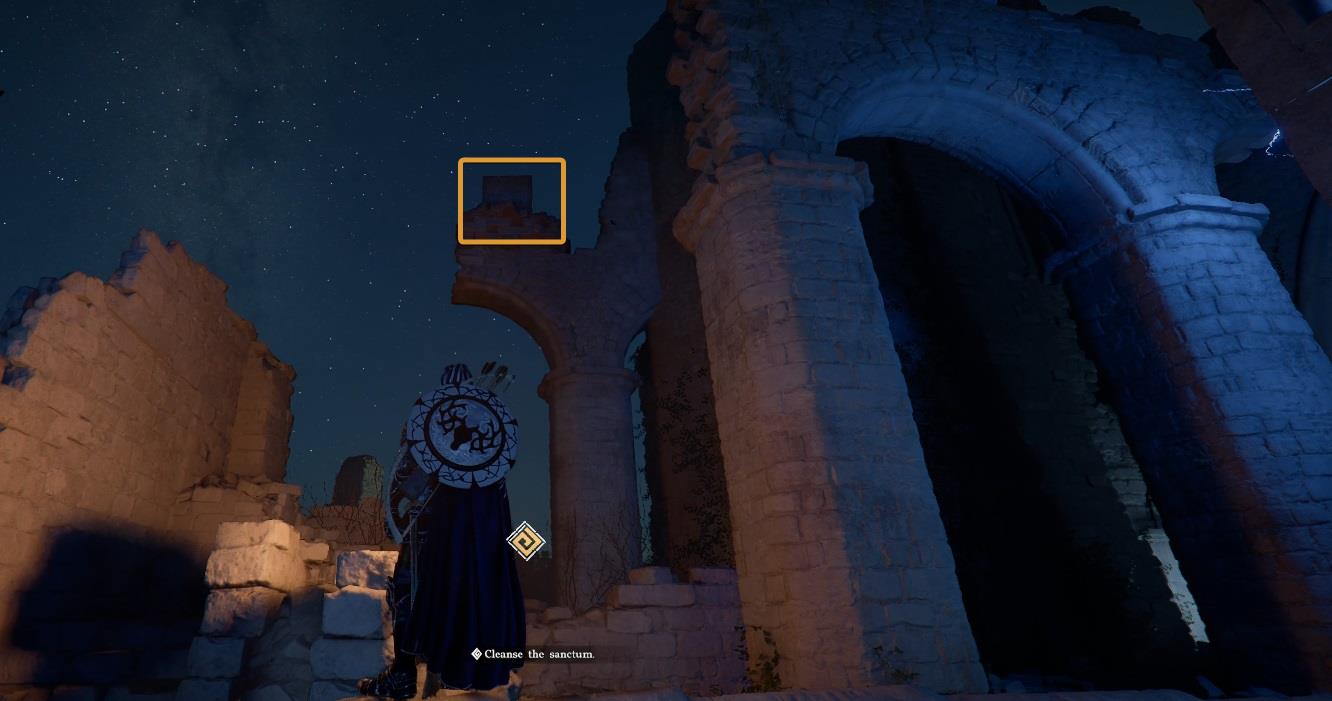
Walk to the “window” on the left side (the one without the power conduit). From this point, you can see three broken columns. Jump to the middle one and then to the small structure that’s in front of it. The floor will break after landing, revealing the first core.
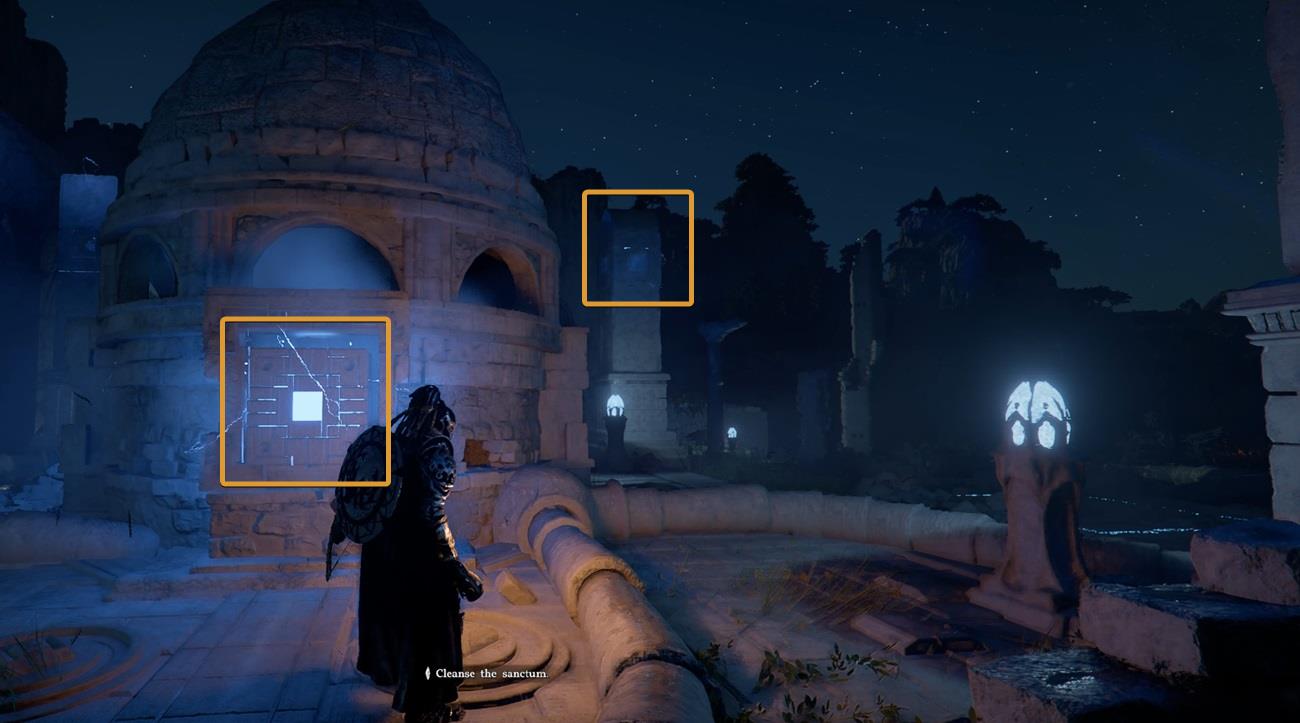
To get the second core, just return to the generator and look to the east side. It’s on top of a column. All you have to do is use Axiom Force and seal it in your Kuku Pot.
Place the cores in their respective places and wait for the cinematic to begin.
Second (Secret) Puzzle
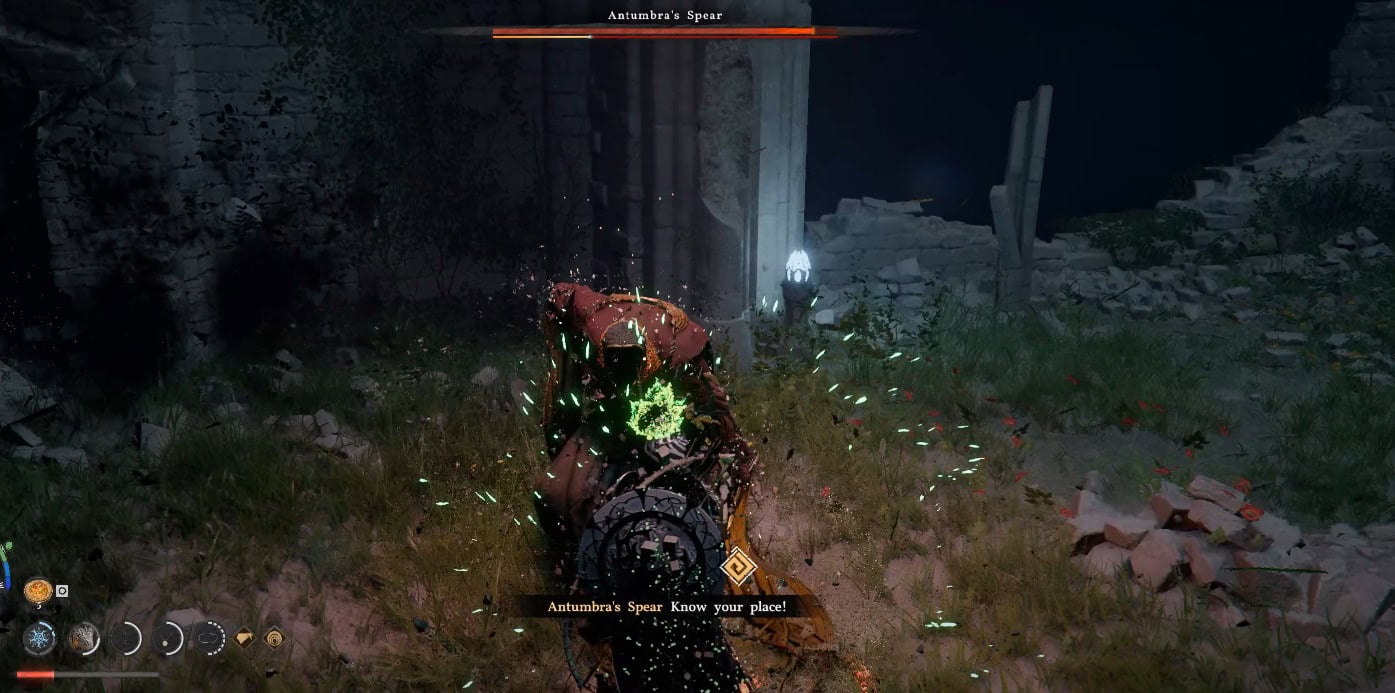
There is a hidden puzzle in this Sanctum. See the blue crystal at the front of the Sanctum? You have to use the Blinding Flash to redirect light directly into it. The circle with the little gems will start to rotate.
Make sure to focus the light only when a gem is passing through the circle at the top. A metallic sound will trigger when you do it correctly. I’d describe it as something metallic being hit with a sword.
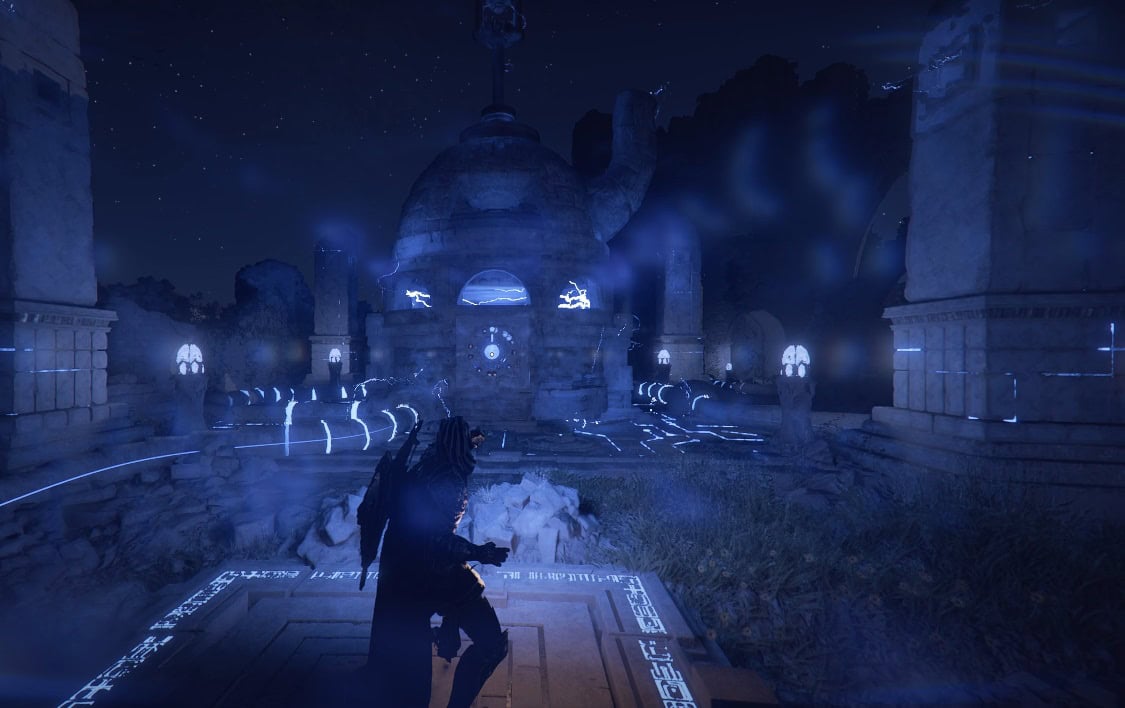
Try to get used to the timing. That will make it easier for you. The piece that comes out of the Sanctum is the actual reward, not another part of the puzzle. Seal it away on your Kuku Pot.
If you have a custom keybind for Blinding Flash on a single button, this may prevent you from completing this puzzle and timing here is key.
Rewards
As a reward for cleansing the Sanctum of Revelation, you will receive the Kuku Rishi’s Boots blueprint.
The Core of Revelation is the reward for completing the hidden puzzle. This item is used to craft some cool Kuku Pot items.