As a new player everyone some times feels overloaded with information and wishes they could take a step back to check up on something or wonder if they made the right choice or have made a irreversible mistake. This guide will help you get a bit of a head-start with Assassin’s Creed Valhalla’s gameplay features and the first few choices you will have to make (not story related, of course)
Table of contents
- Which Game Mode to choose
- How to tweak your in-game HUD and UI
- How to choose and switch Genders
- Why Charisma is important in AC Valhalla
- What the Stats mean and how they affect performance
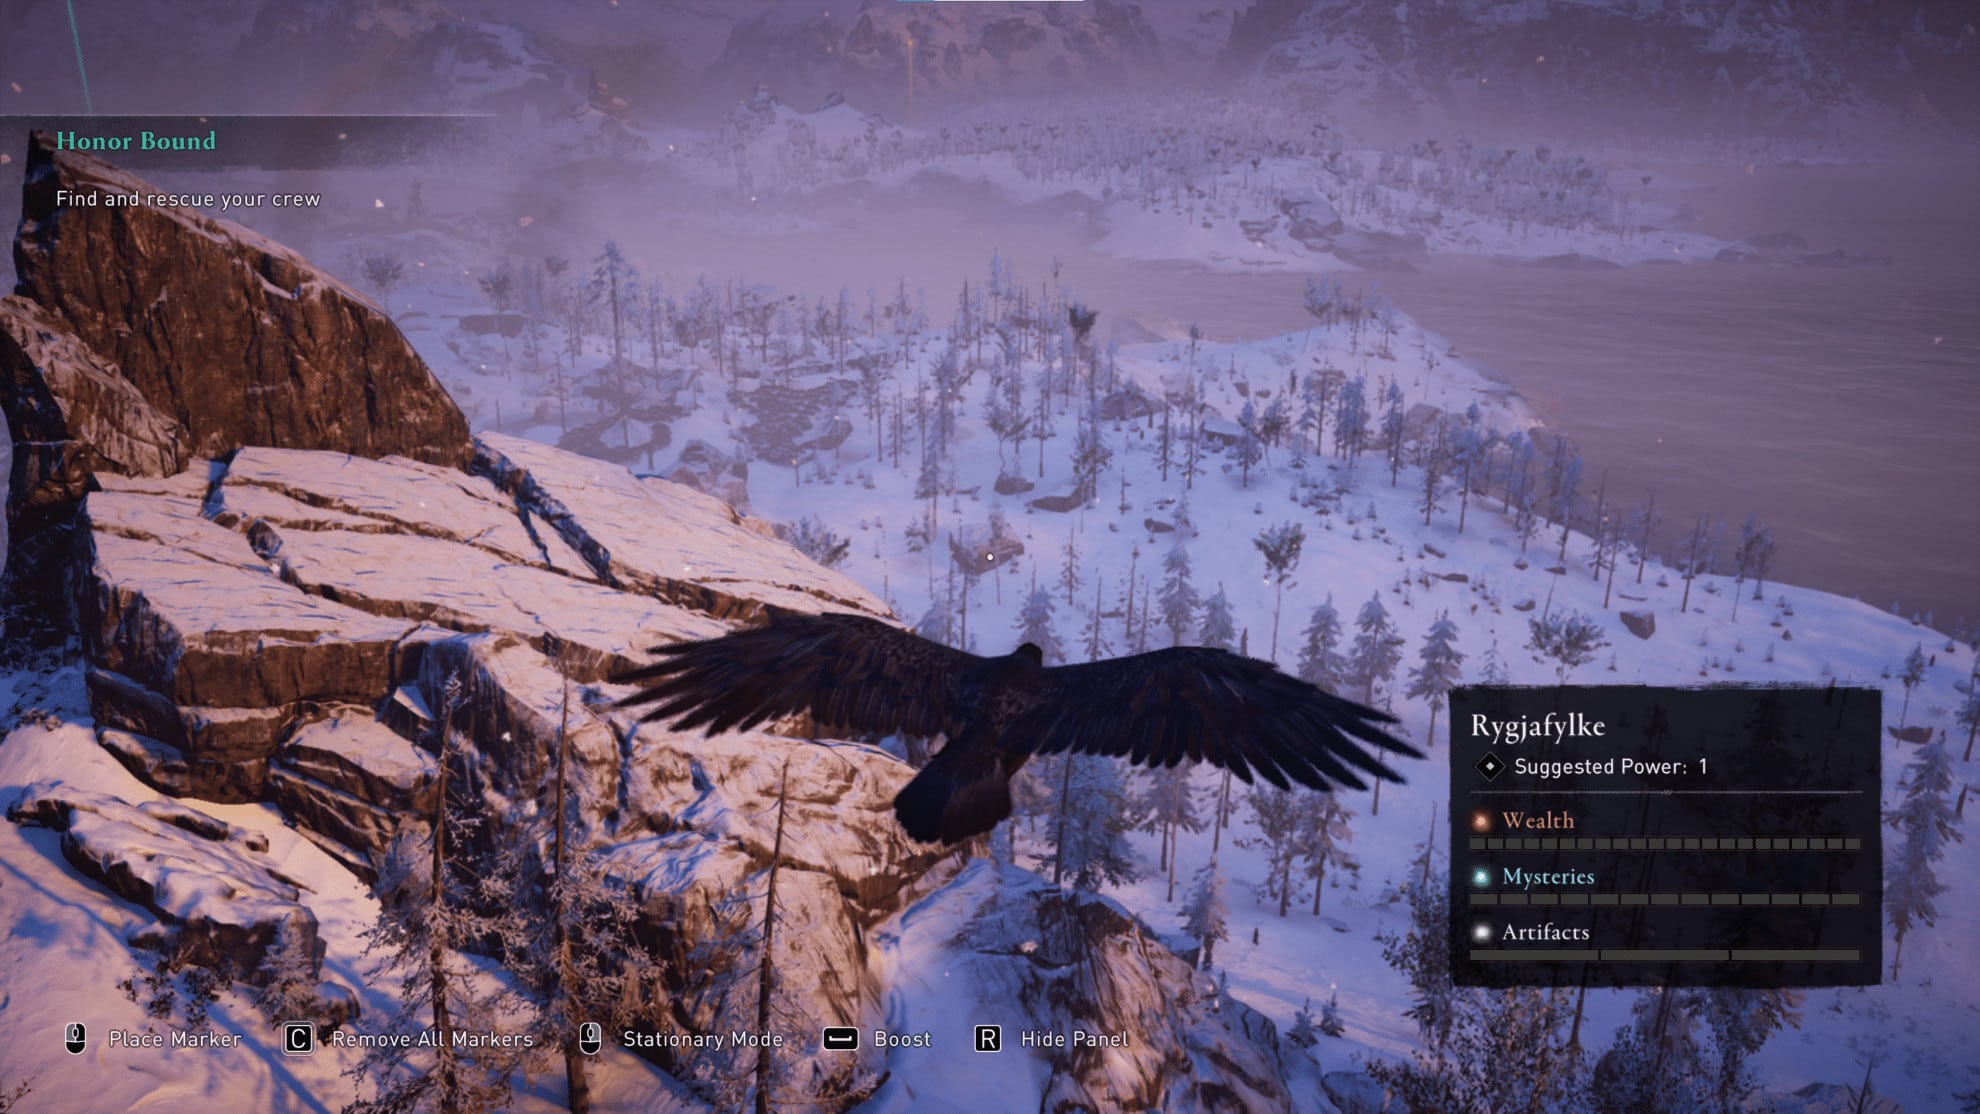
- How often should you go on Raids
- How to regenerate Health in AC Valhalla
- Where to find Ingots in the game world
- What Other Currencies you collect
- Mounts in AC Valhalla and the Wolf skin
- How to get your Bonus Items
- When and how to explore the game world
- Gameplay Tips you should learn in AC Valhalla
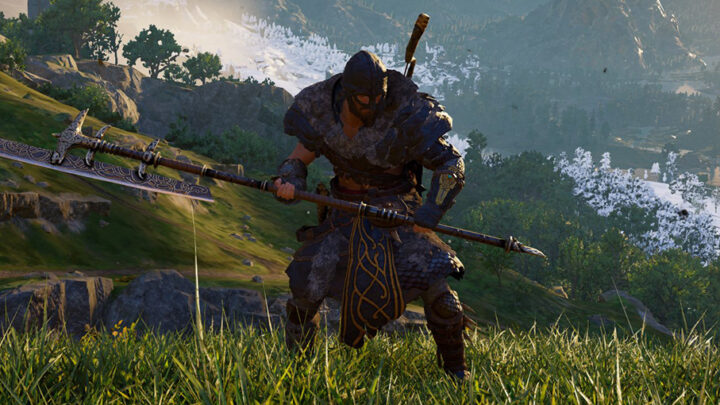
Assassin’s Creed Valhalla (or AC Valhalla for short) is the latest installment in the Assassins Creed series. In the previous two games we traveled ancient Egypt and ancient Greece where we got to meet historical figures like Testikles (yes, I couldn’t help myself) and Socrates and in ancient Egypt we have met Cleopatra. But what awaits you in Valhalla? I will not spoil that for you, but will help you start the game with an advantage, knowing a little bit more about its mechanics and systems.
The name is self explanatory, the game revolves around the ancient world when the Vikings reigned. This time we don’t stick to one part like we did in the previous installments but we move from Norway to all over Europe. Which makes the variety in the game much much greater than in the previous installments where you mostly saw barren lands and desert. This time we get snow, water and a lot of green.
The game intro plays in Norway and that’s where you get acquainted with the game.
Which Game Mode to choose
Before you start with the game you are given a few options. There are three game modes to choose from.
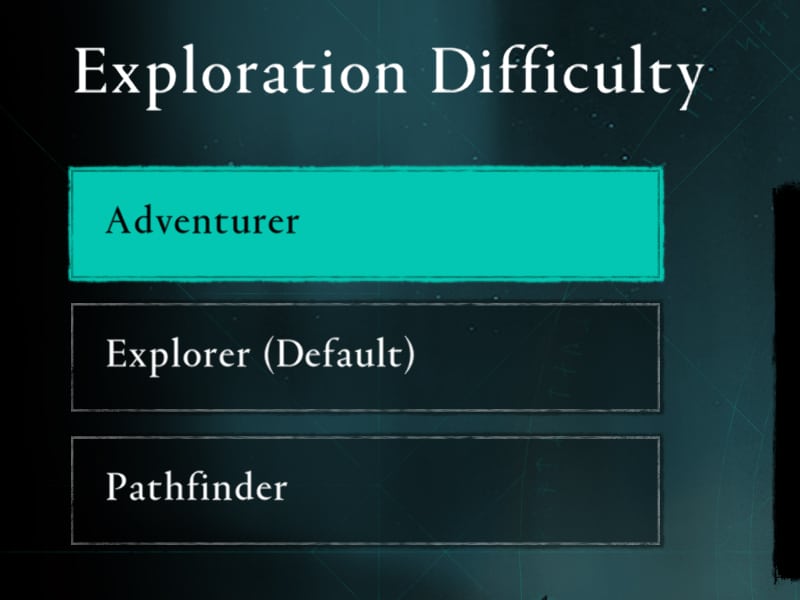
Adventurer
More icons will guide you towards your rewards. Opportunities are visible from further away. If you play for just the story or if you are new to the franchise then pick this option. The map is completely revealed and you won’t have to explore much.
Explorer (Default)
Feedback on World Map opportunities and regular information on the compass. This is the option to pick if you are familiar with franchise and the game. Explorer basically allows you to see some information on the map but also allows you to explore the map without knowing what to expect.
Pathfinder
Minimal HUD and World Map information for a more immersive experience. The pathfinder option is for those who are very familiar with the game and undertake the hardest way to play the game in exchange for a complete immersion.
You should probably pick the Explorer option. This allows you to play the game like the way the developers intended it to be played. And with the Explorer option you get to see the regular options and legends but at the same time also get surprised by the game by encountering camps for a raid or mysteries or resources that aren’t displayed on the map.
It keeps you curious to explore more of this wonderful game and its’ content. And trust me, there is A LOT of content in the base game. Maybe during a second run you should play the game in Pathfinder mode and see if you are up to the challenge.
There is also the custom setting where you can tailor to your own preferences. It is fun to play with.
Combat difficulty settings:
- Skald (Easy)
- Vikingr (Default)
- Berserkr (Hard)
- Drengr (Very Hard)
Stealth Difficulty settings
- Apprentice (easy)
- Assassin (default)
- Master Assassin (hard)
Turning on all three on the hardest difficulty setting is no joke! You will run around without a proper HUD or a compass. So figuring out where to go without any help is like driving around in your car in the pre-google maps era.
Combat will be even deadlier and chance are that you will be one shotted very frequently. And with the Master Assassin difficulty setting your adversaries will be a lot more perceptive and on high alert all the time.
If you are lucky enough to own the Ultimate Edition, the Berserker set and weapons will help A LOT in the first few levels if you do decide to go for the highest difficulty settings.

If you are unsure what difficulty setting to pick then pay attention to the following:
It is based entirely on you. So determine what kind of gamer you are and what you want out of the game. For instance: If you want to play through the story quickly or if you are new then tweak the aforementioned settings to easy and blaze through the game. If you are looking for a challenge then change the settings accordingly and so forth.
My advice would be: Start the game with the default difficulty settings. You can always change them during your play but the default setting is a good mix of adventure, exploring and combat.
How to tweak your in-game HUD and UI
The HUD in Assassins Creed Valhalla is fully customizable. No less than 17 options are given when you start the game and pick a game mode. But even after you pick a game mode, you can still tailor the HUD to your specific gameplay. To help you out and get you on your way all 17 options are listed below.
You can adjust your HUD by hitting the ESCAPE button on your keyboard , go to Options and then find Interface on the tabs which is the fifth one if you count from left to right.
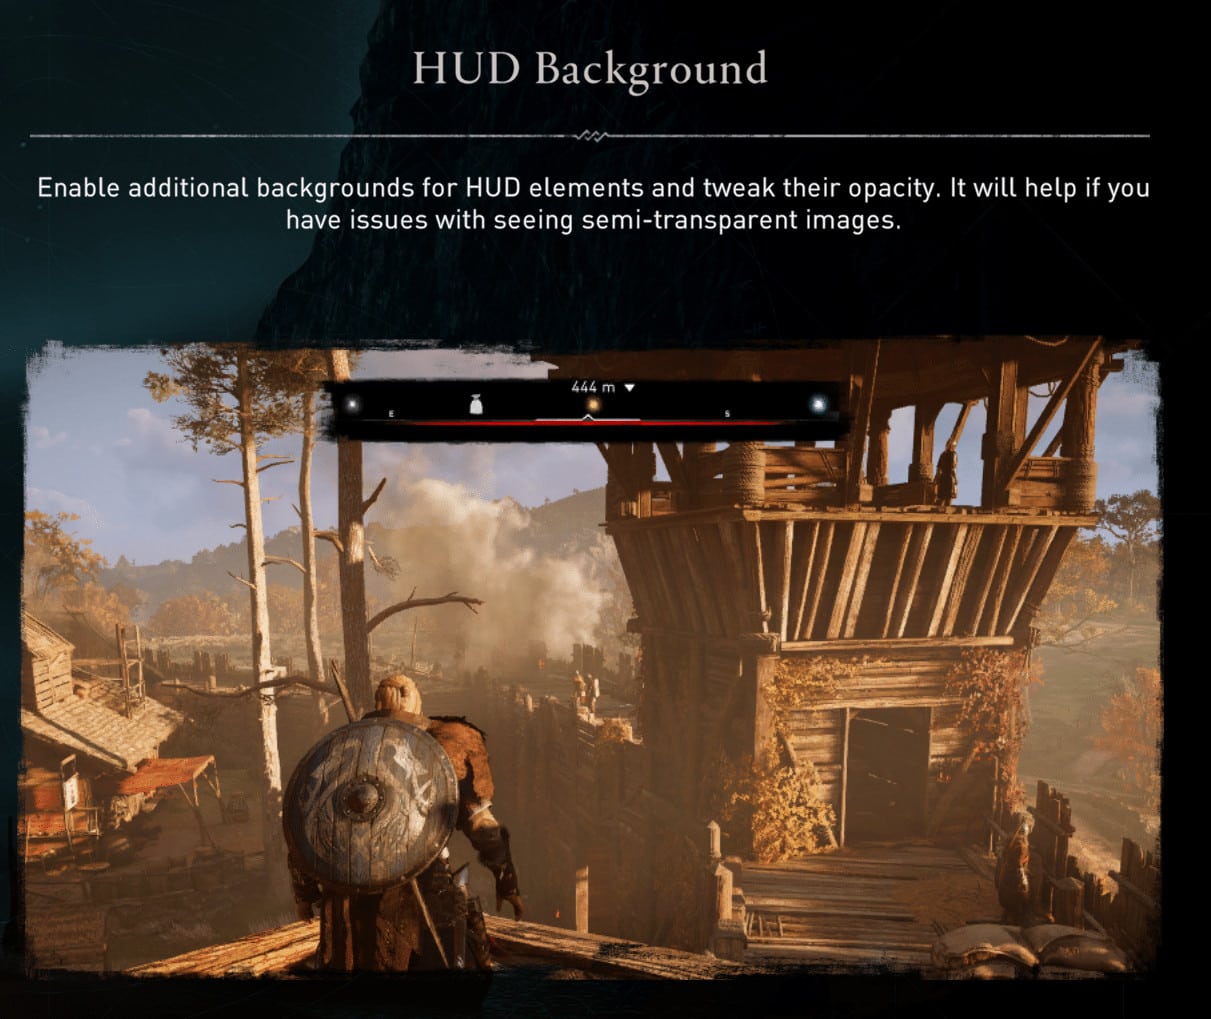
The HUD – Background
Enable additional backgrounds for HUD elements and tweak their opacity. It will help if you have issues with seeing semi-transparent images.
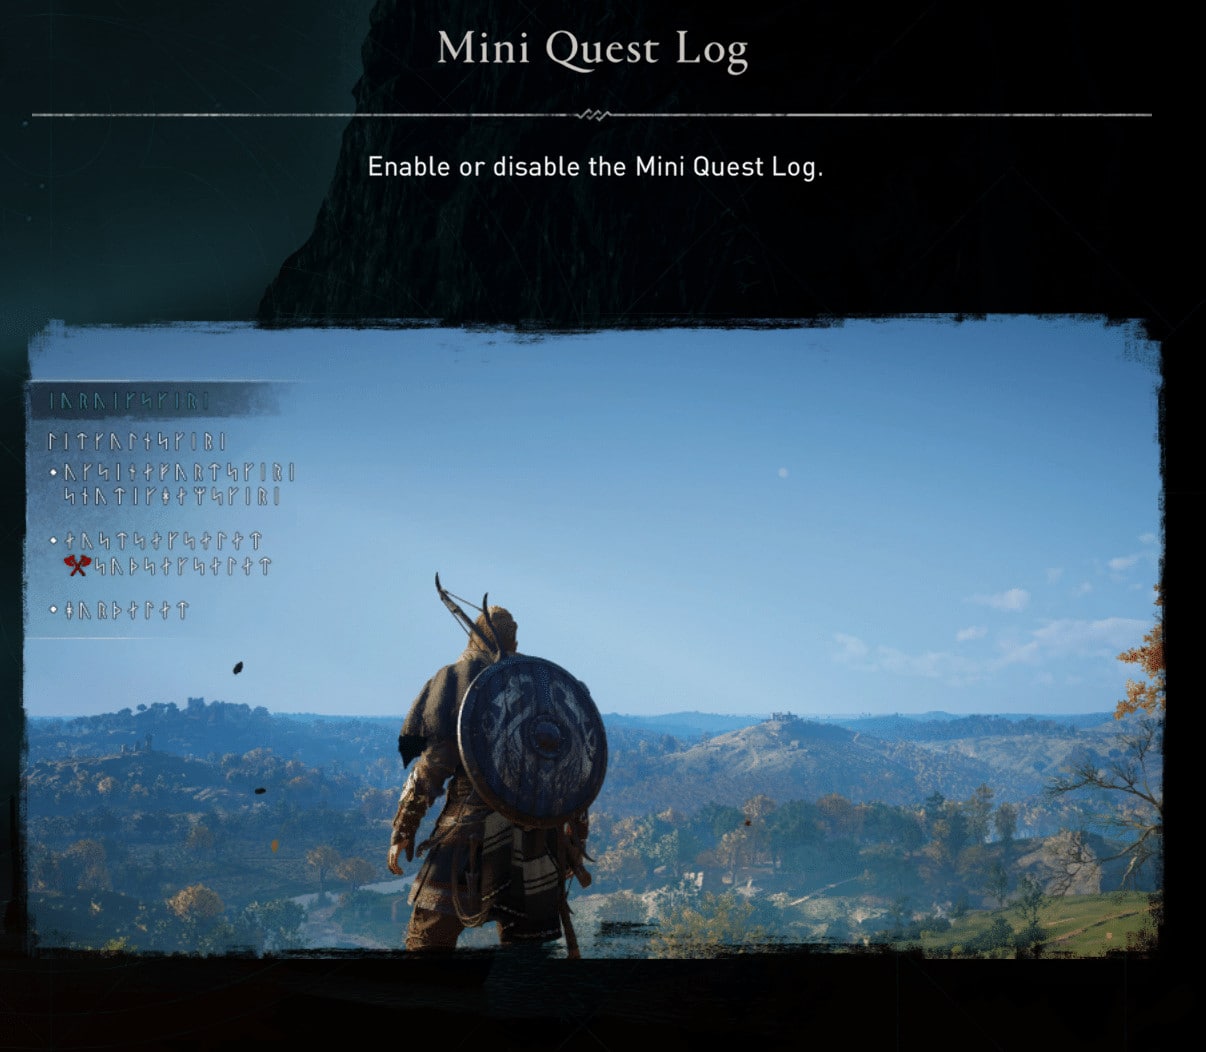
The Mini Quest log
|Enable or disable the mini quest log. The option comes in handy so you won’t lose track of what you are doing.
The Compass
Enable or disable the compass. The compass is 100% accurate and shows you exactly where you need to go.

Celebrations
The Celebration panel shows your character celebrating a victory. It keeps morale up during gameplay. Highly recommended!

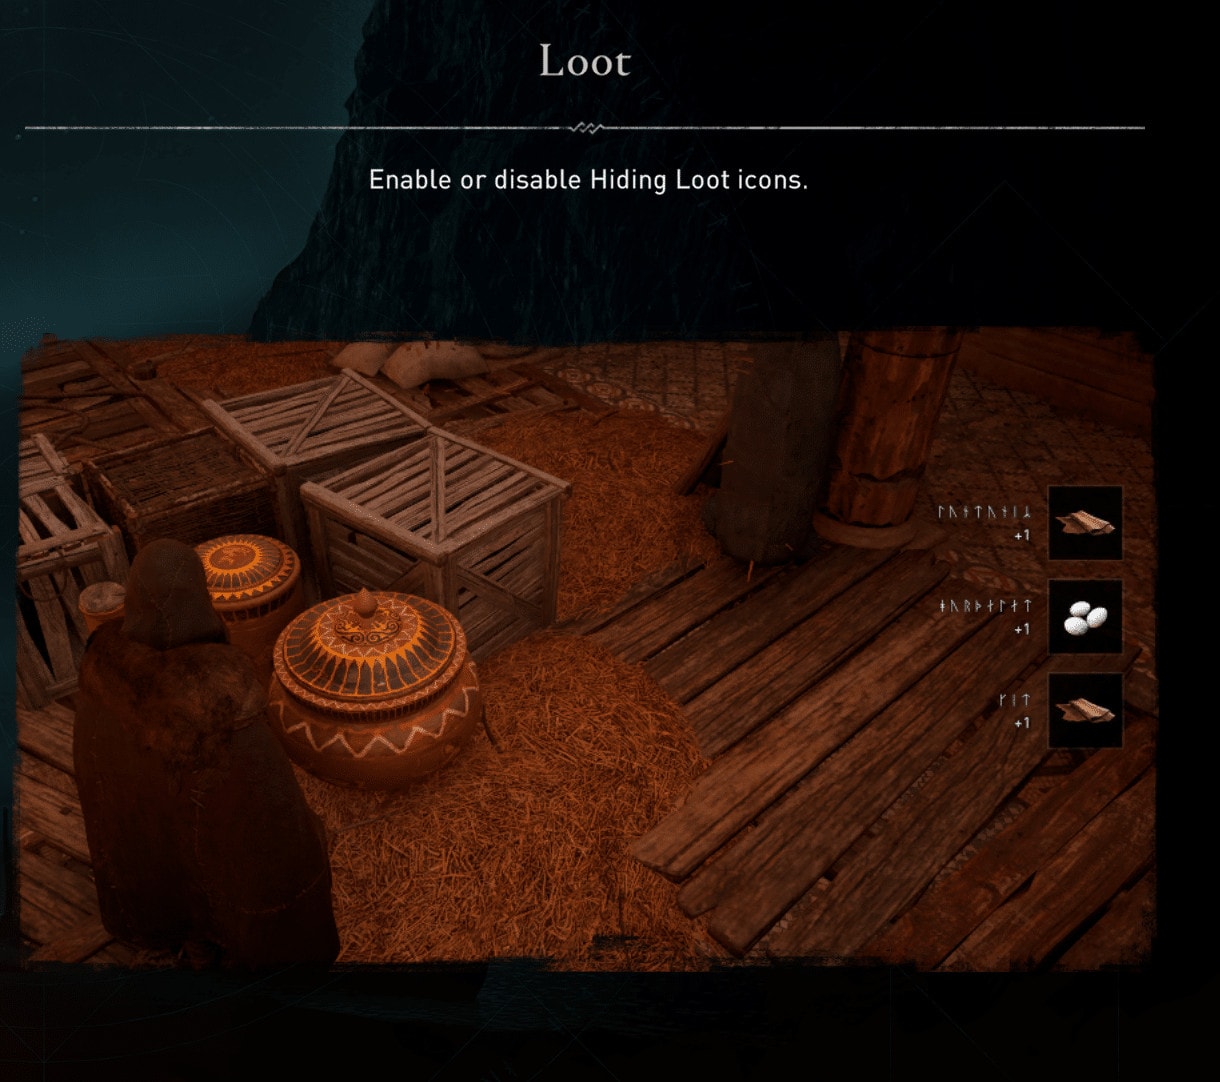
Loot
Enable or disable loot icons ingame. If you are a hardcore player then turning it off makes sense. If you are new to the game or a casual player turn it on. By turning it on, you will never forget a piece of Silver ever again. Using Odin’s Sight will show you loot icons like chests for example.
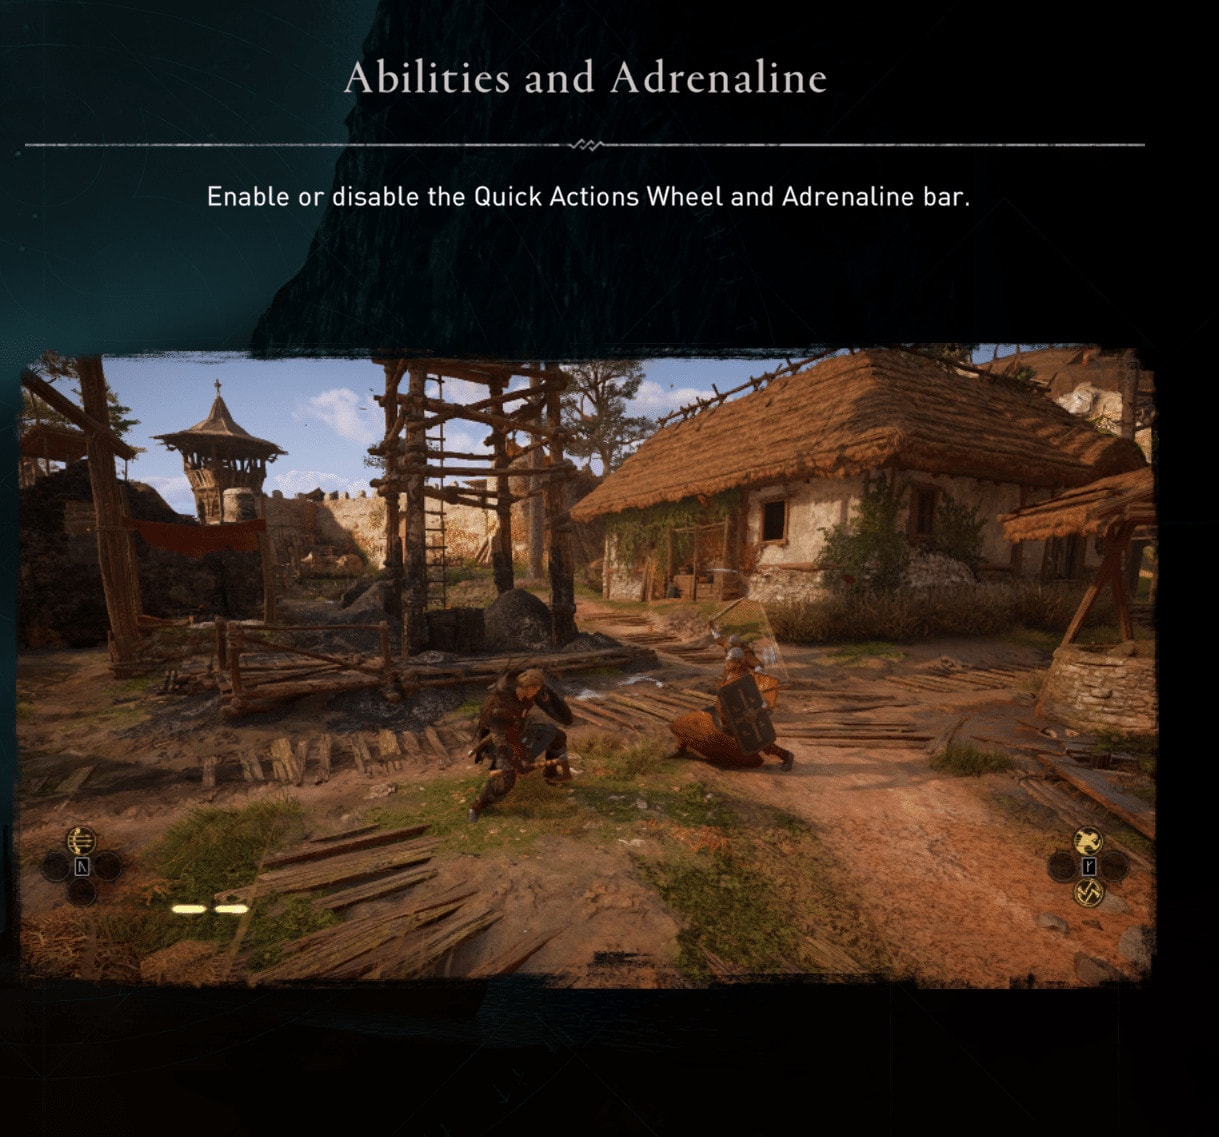
Abilities and Adrenaline
Enable the Quick Actions Wheel and Adrenaline Bar. This is mostly useful to keep track of the stacks of adrenaline you have. The Quick Actions Wheel shows you what abilities are available and ready for use.
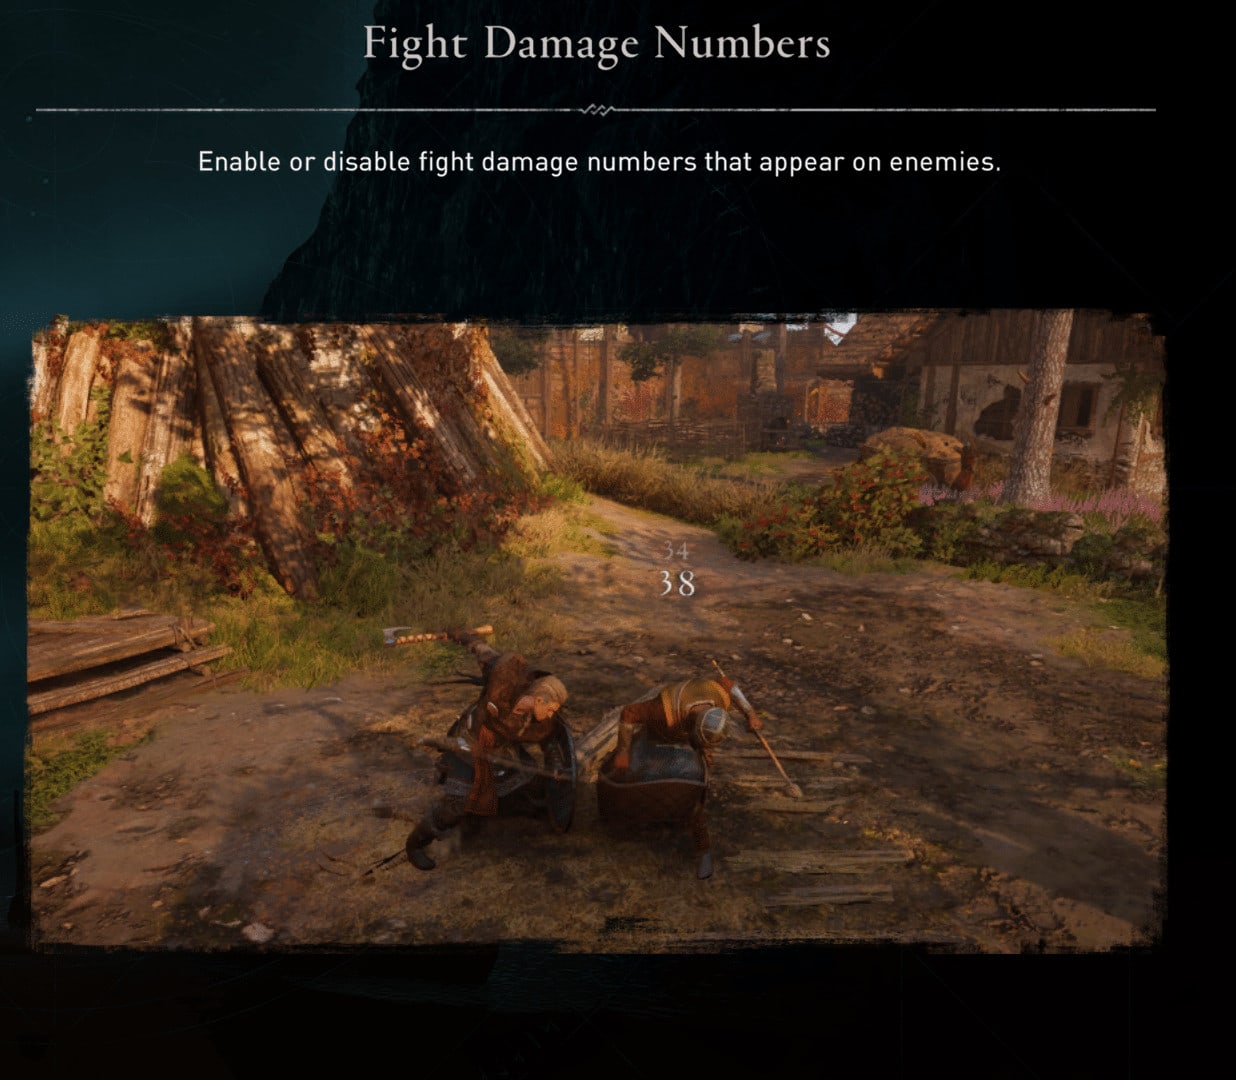
Fight Damage Numbers
Enable or disable fight damage numbers that appear on enemies. This option basically shows how much damage you are doing to your enemy. But also how much damage an enemy does to you.
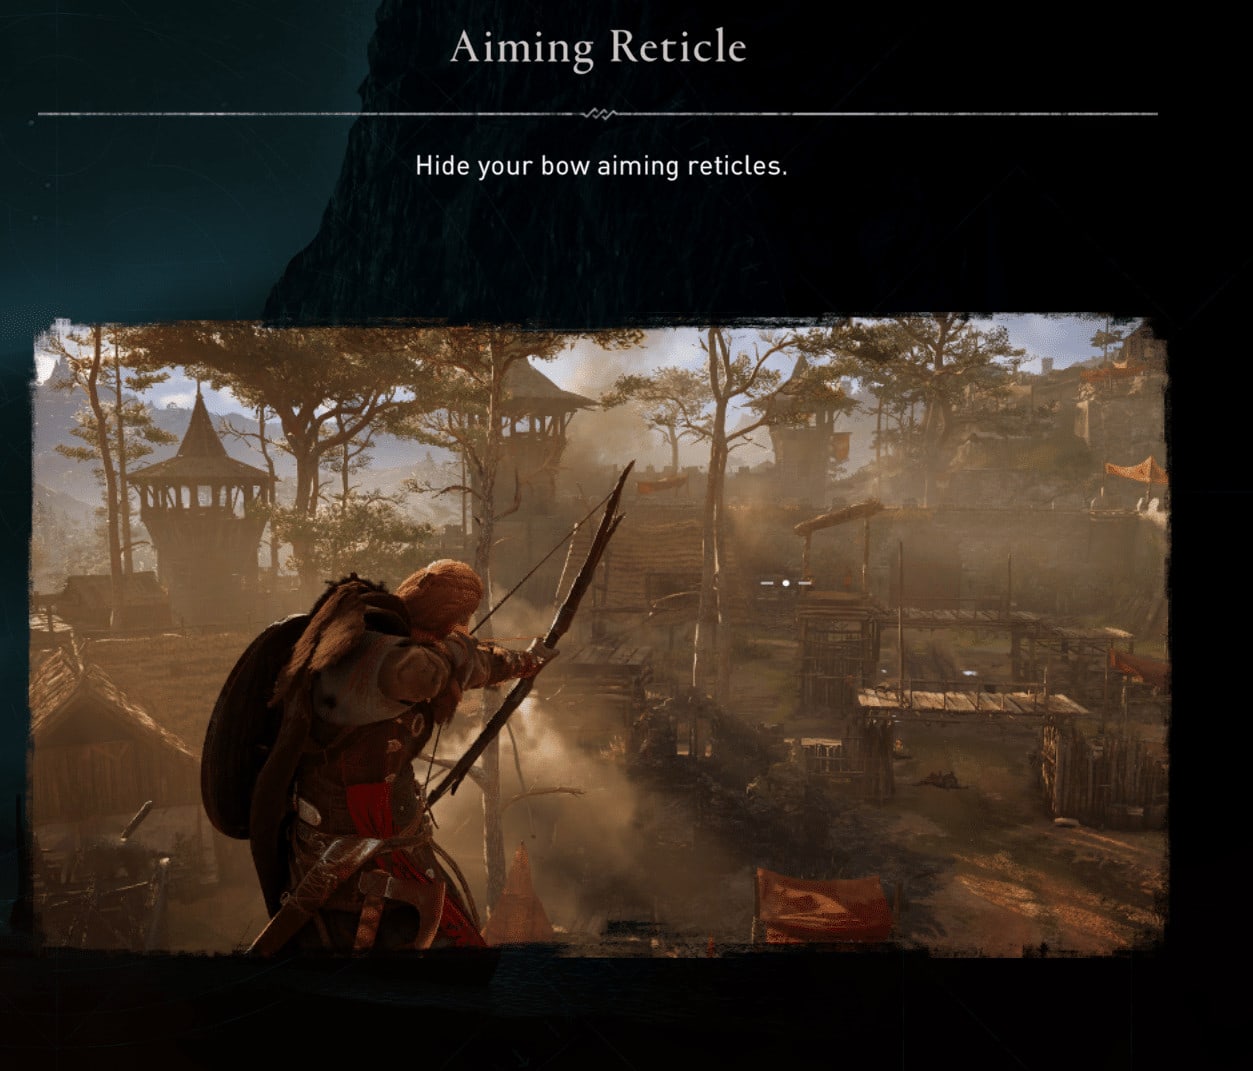
Aiming Reticle
Hide or unhide your bow aiming reticles. Hiding it makes the game increasingly harder and you will need to be an expert bowman in order to hit enemies or animals. So superior hand / eye coordination is recommended if you are hiding the reticle. The reticle is not changeable. So there is only one option, which is the default one.
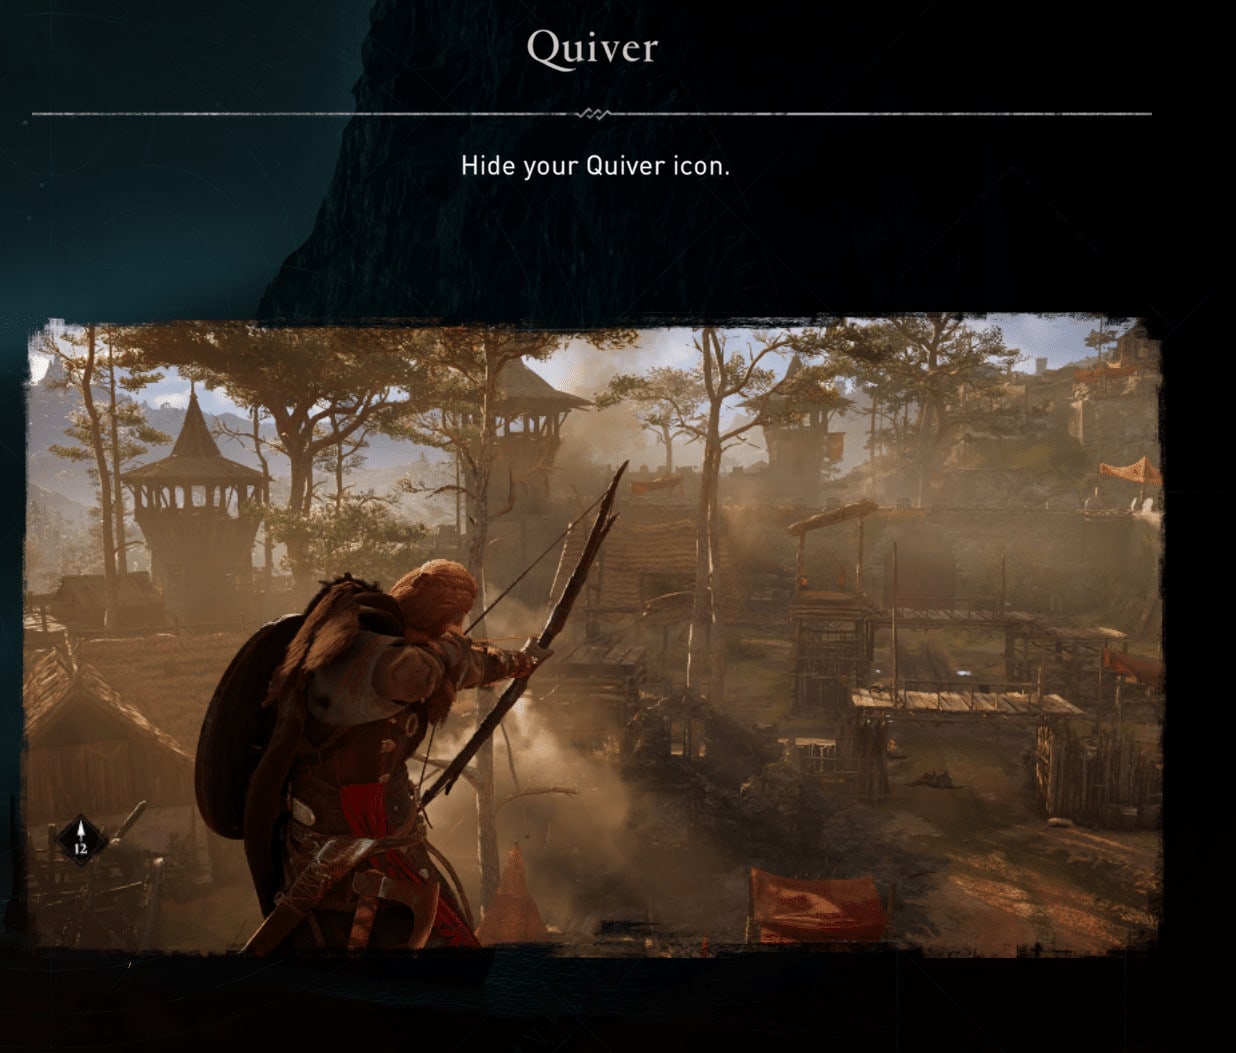
Quiver
The quiver shows you how many arrows you have left. It comes in handy if you are a stealthy player who relies a lot on the bow and arrow.
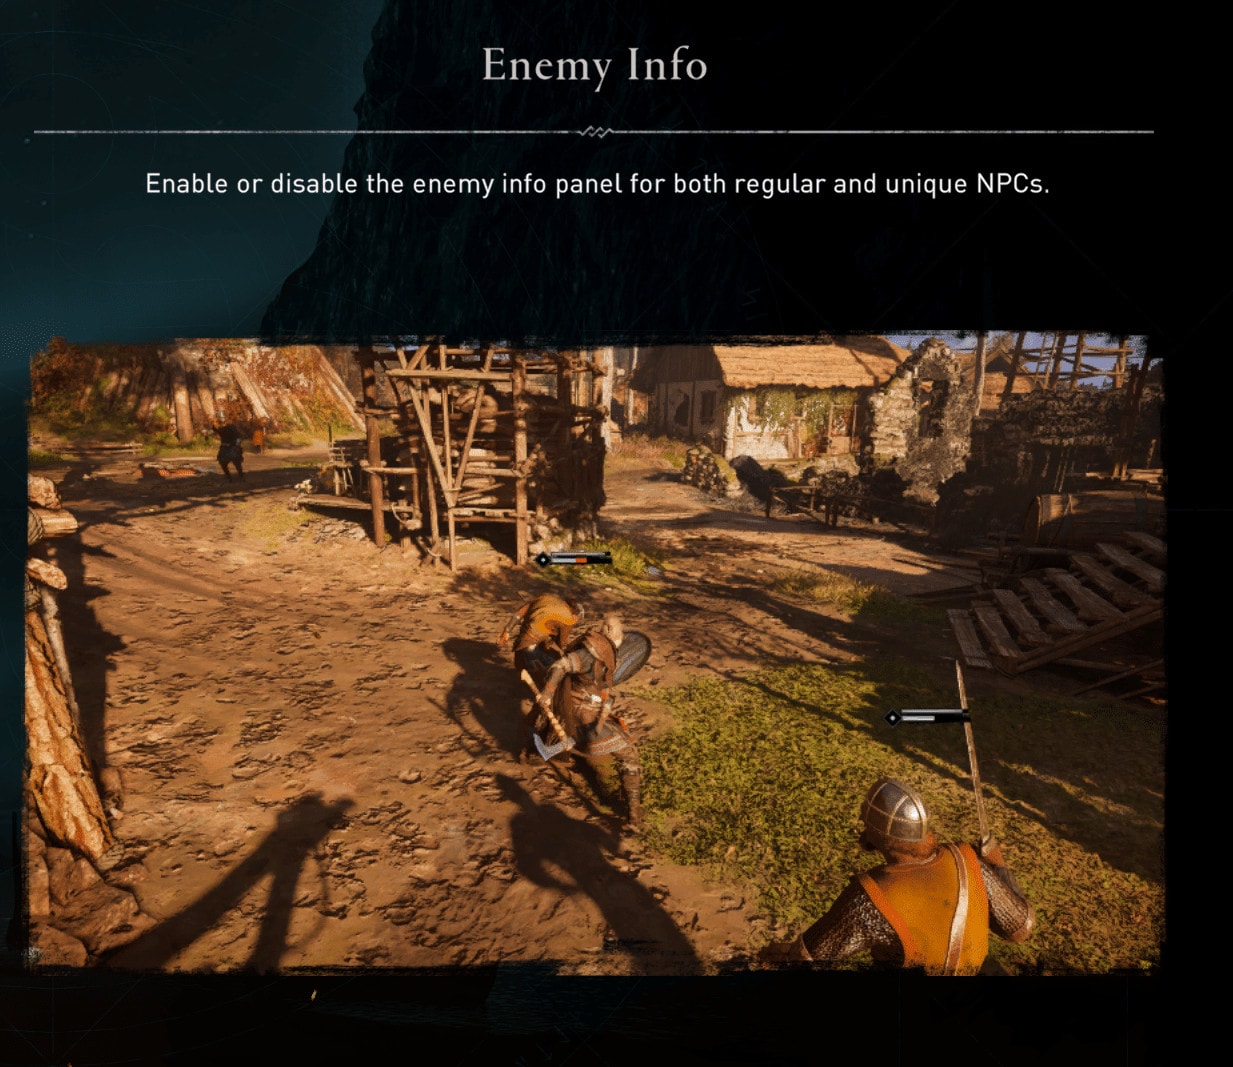
Enemy info
Enable or disable the enemy info panel for both regular and unique NPC’s. The option shows you how much health and adrenaline your enemy has. You can use it to time certain abilities.
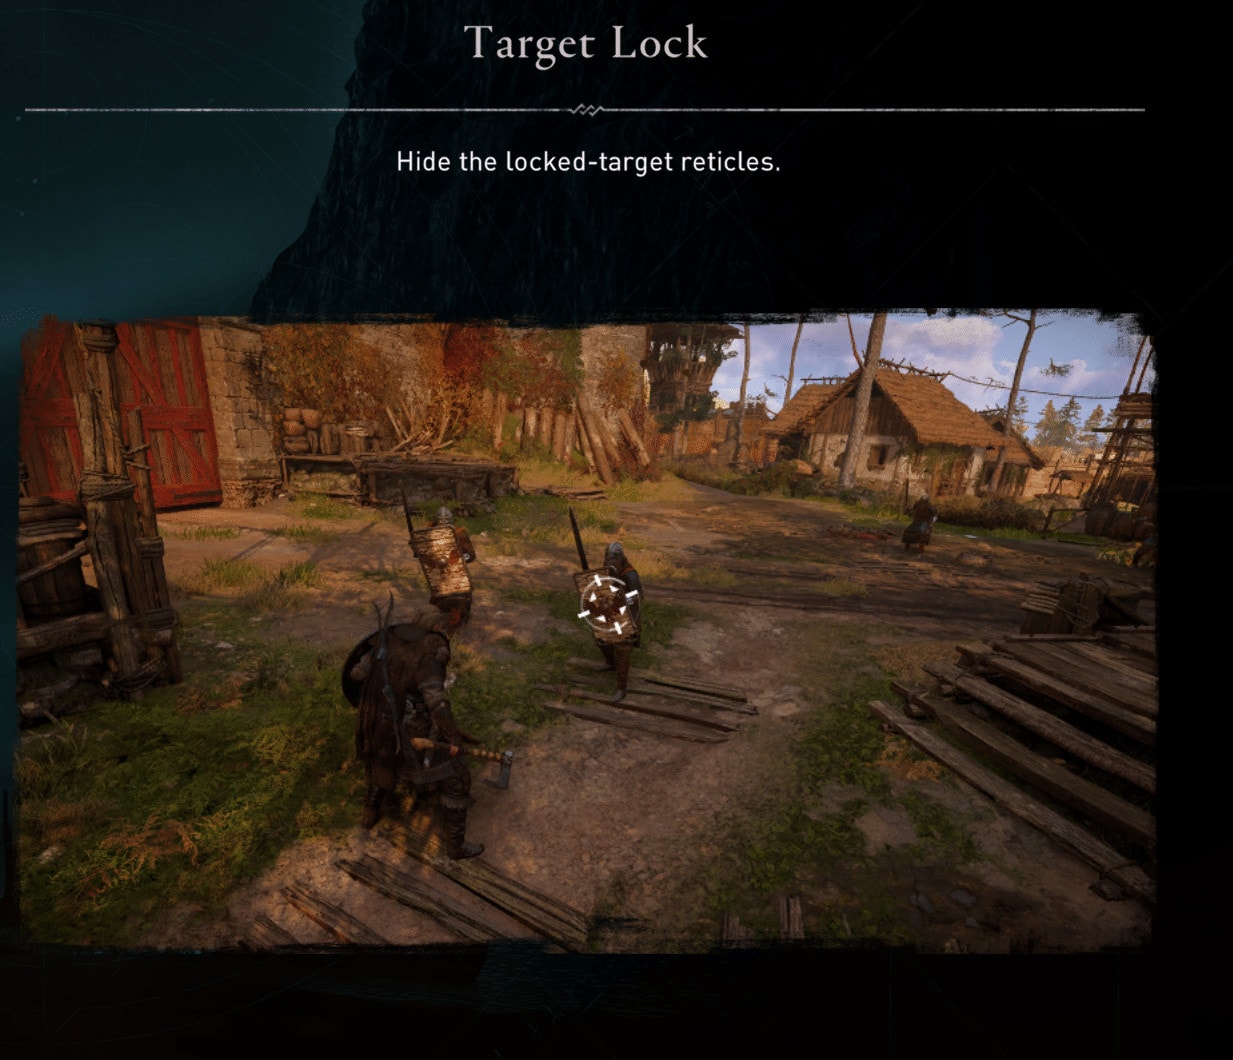
Target lock
Hide or unhide the target-locked reticles. You can use them, while using a mouse and keyboard, by clicking the middle mouse button and Eivor will only hit that particular enemy until he / she or you are dead. It is highly recommended if you are fighting multiple enemies.
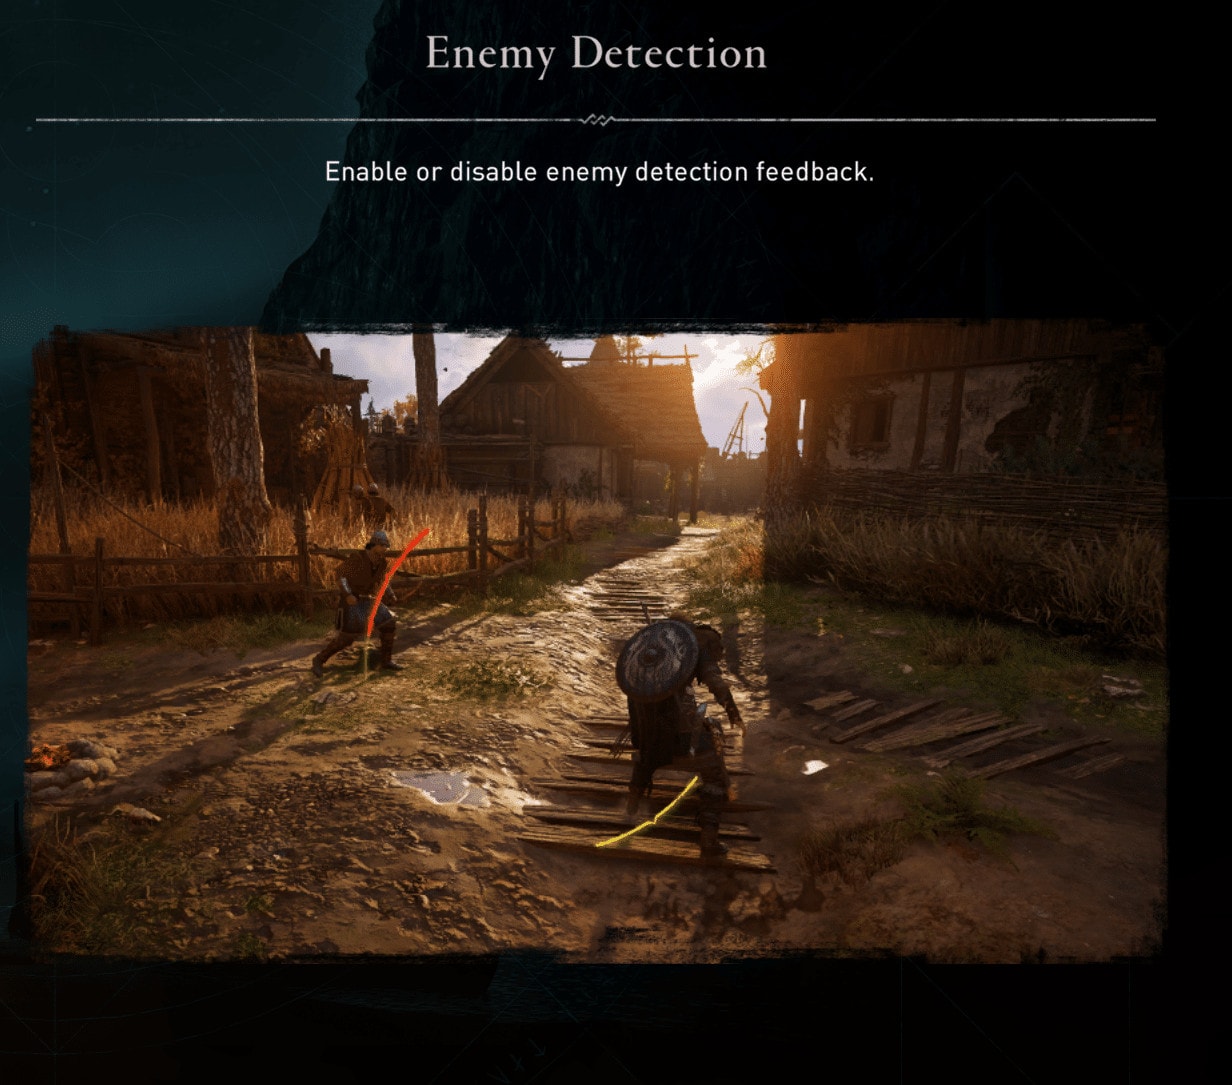
Enemy Detection
Enable or disable enemy detection feedback. Especially useful if you are stealthing around and are figuring out your strategy. The feedback shows how aware your enemies are of you.
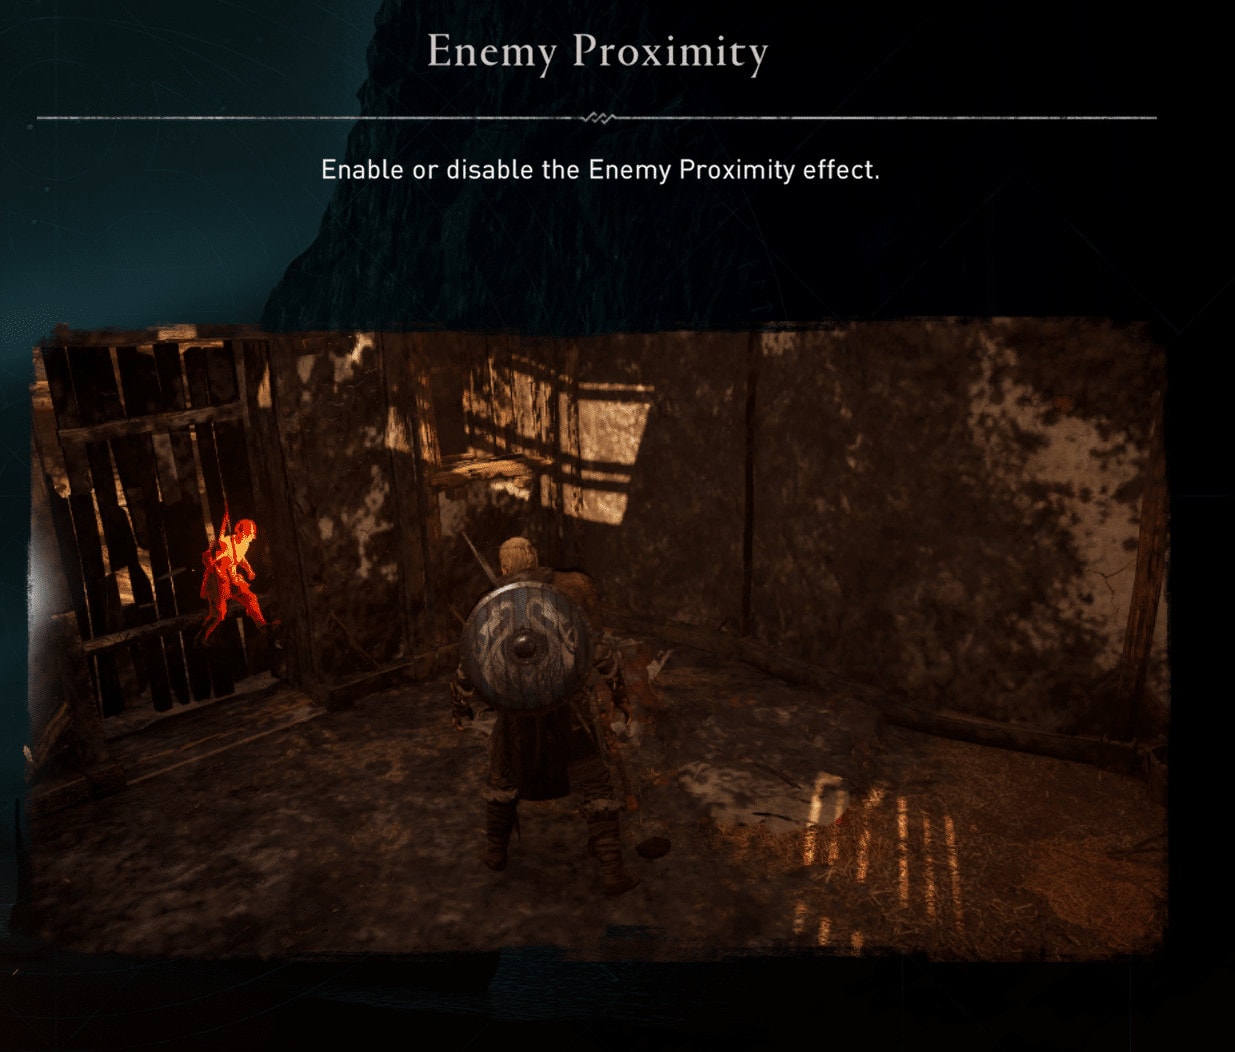
Enemy proximity
Enable or disable the Enemy Proximity effect. Using Odin’s Sight you can detect enemies in a radius and even use it through walls or other objects. Turning it off means you will not know of potential threats until you see them.
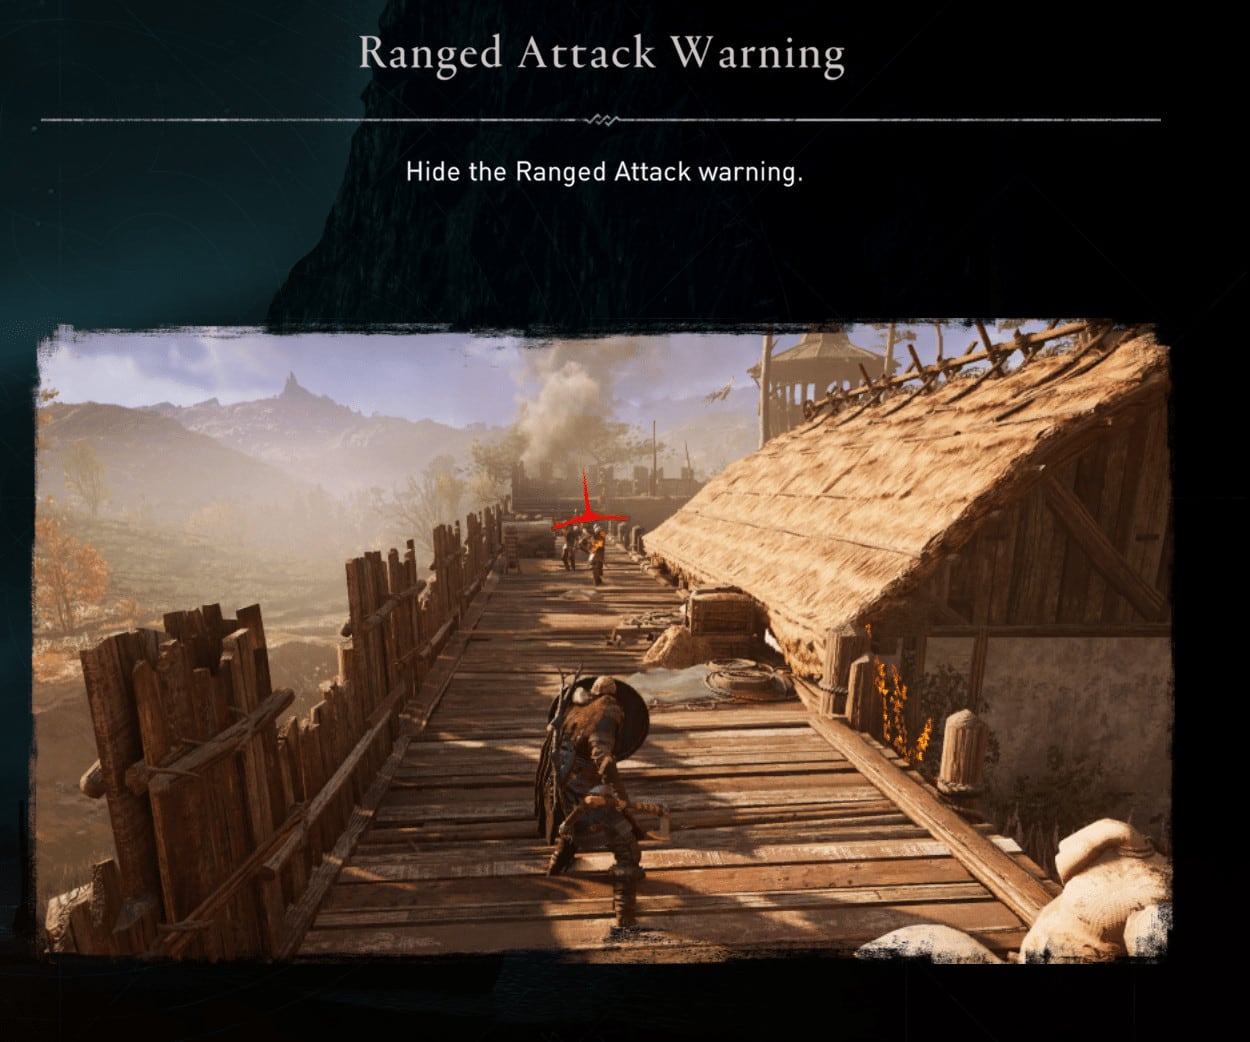
Ranged attack warning
Hide or unhide the Ranged Attack Warning. Turning it off will make it harder to see where the arrows are coming from.
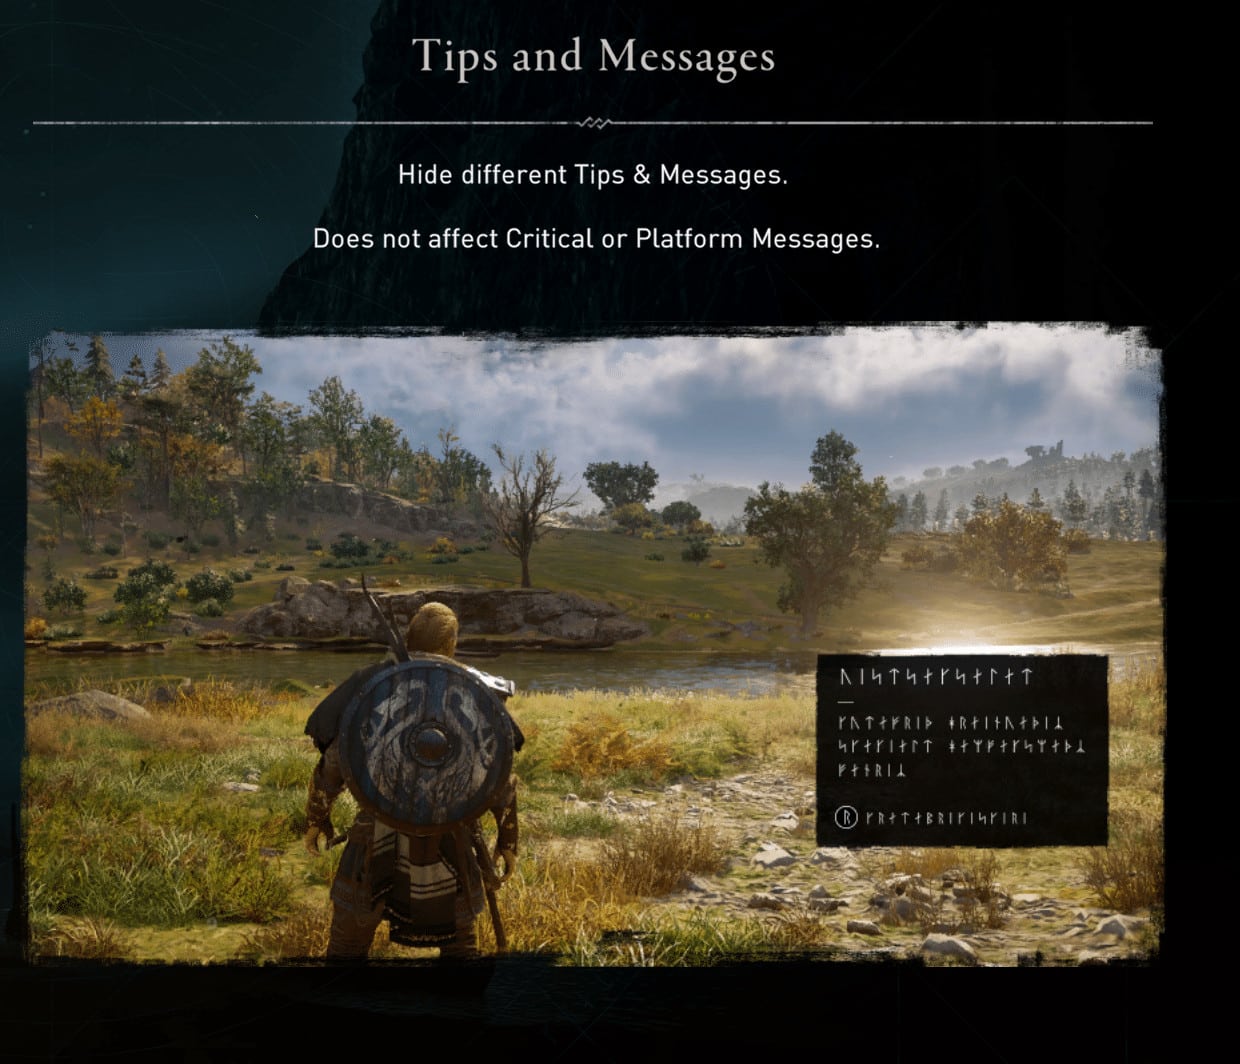
Tips and Messages
Hide different Tips & Messages. Does not affect Critical or Platform Messages. This is a very handy one to have enabled if you are a new player or someone who is new to the entire franchise.
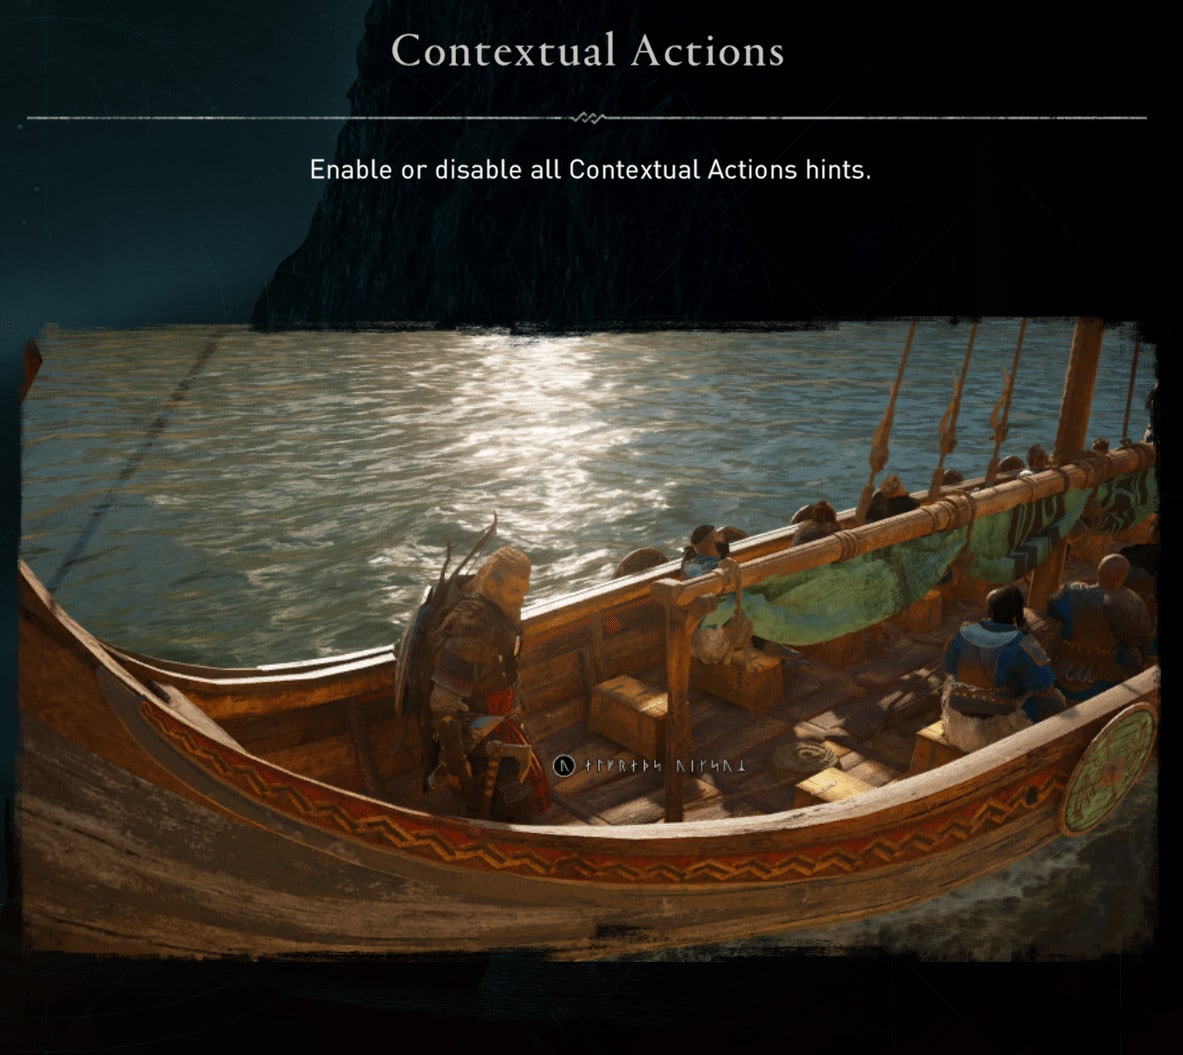
Contextual Actions
Enable or disable all Contextual Action hints. This is used for for example taking command of the longboat or breaching a door.
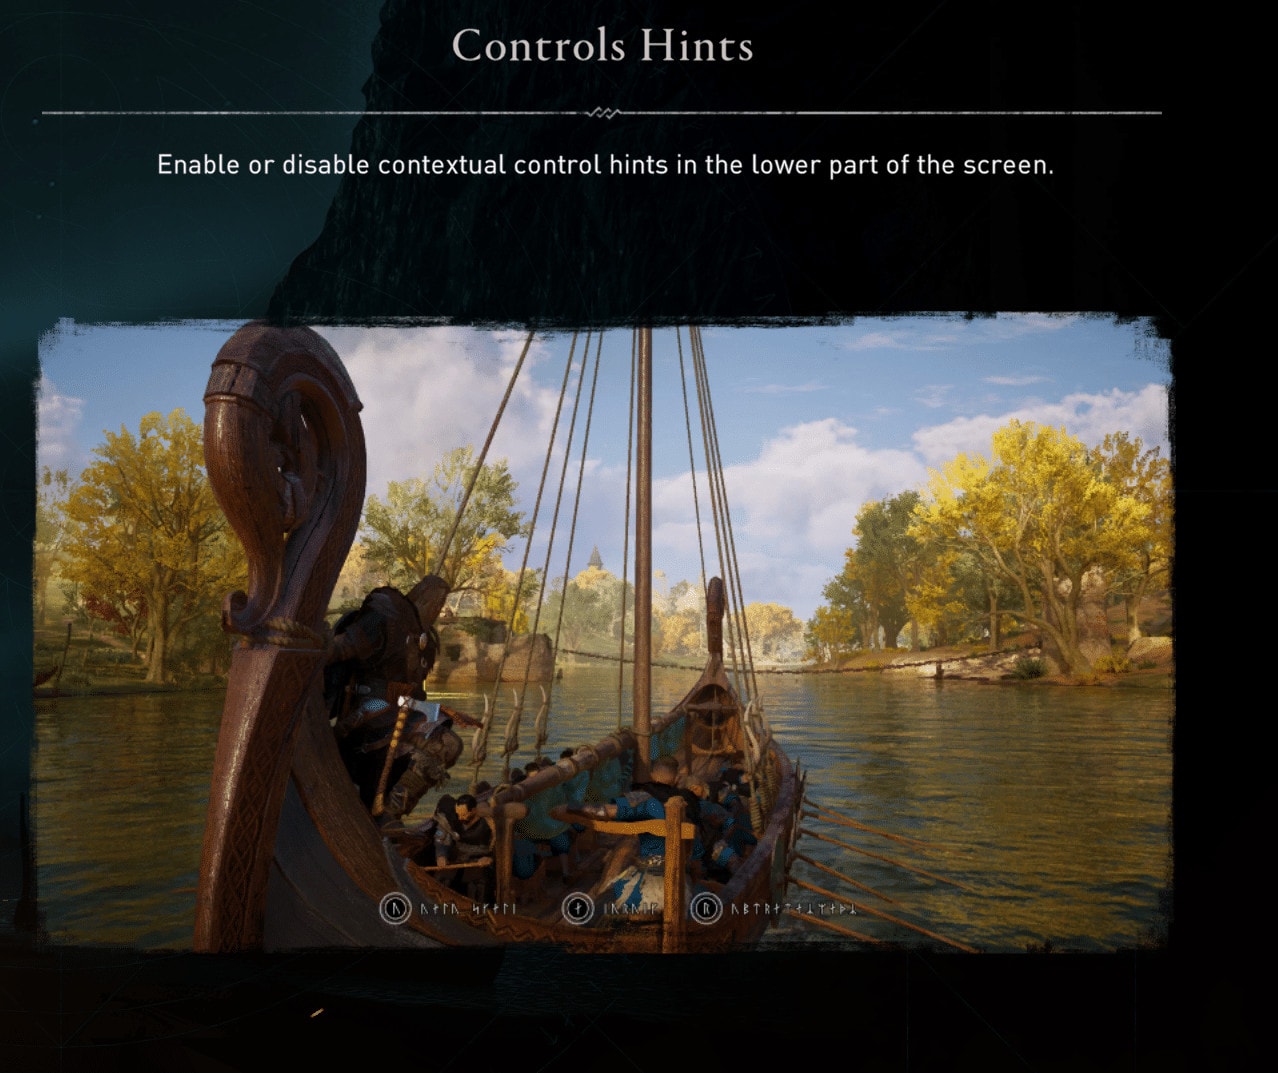
Controls Hints
Enable or disable contextual control hints in the lower part of the screen. This is particularly useful to navigate on the Longboat or on your mount.
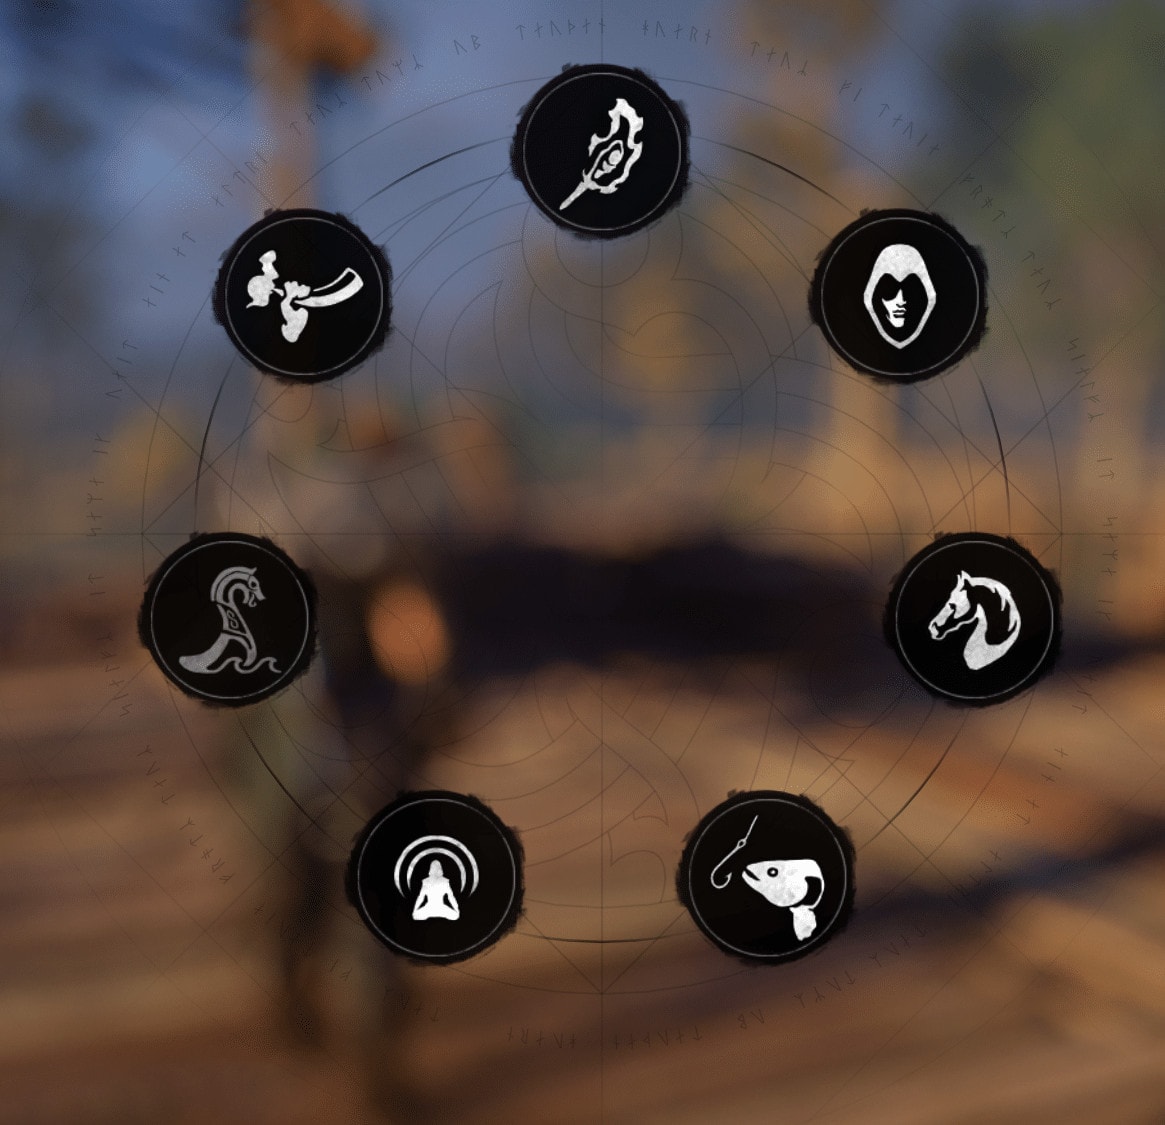
Quick Actions Wheel
The Quick Actions wheel allows you to open up skills that you may be using the most. The Quick Actions Wheel allows you to open up: A Torch, your disguise, your mount, your fishing line, mediate, your Longboat and your horn. It is another new addition to Assassin’s Creed and has never been done before. Use it to you advantage!
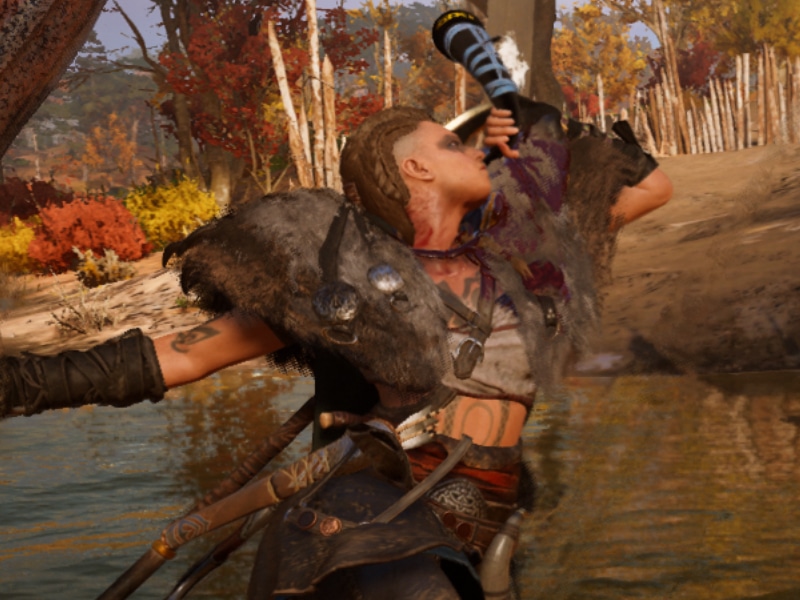
How to choose and switch Genders
Based on your preference you can play as a male Eivor or as a female Eivor. The great thing about this is that they changed this alltogether compared to the previous installments.
In AC Odyssey you were bound for the entire game if you picked Kassandra for example. There was no changing gender as the choice was definitive. What they did in Assassins Creed Valhalla is that at some point midway of the game you get to swap gender roles and that option will always be available after that.


The customization of the character is not possible. I mean you can’t change the way your character’s body looks as in slender or bigger, or smaller. But what is possible is for the character to have different tattoos. The body areas that you can ink are the following:
The parts of that body that you can ink in the game are the following:
- Head – You can tattoo Eivor’s face and hairstyle. You have several choices in doing so.
- Chest – You can tattoo Eivor’s chest.
- Back – You can tattoo Eivor’s back
- Arms – You can tattoo Eivor’s left arm and right arm meaning that both arms can either have the same tattoo or two completely different ones.
- Beard – For the male version of Eivor only, you can have a beard in several styles.
In order to get the tattoos you need to have completed the quest “Honor Bound”, which is one of the very first quests. So before you head out to the sea and go off to your viking adventure, please visit Svends and Tove’s Tattoo Shop in Fornburg. So you will at least look a viking at least a little bit.
While the tattoos are a nice addition don’t expect a major customization. And another thing: most of the time your tattoos will be hidden by your viking outfits. except the face, of course.
I am the proud owner of the ultimate edition of Assassins Creed Valhalla and I have to say that it is a little bit disappointing that there were no bonus hairstyles or bonus tattoos included.
In order to change your gender in Assassins Creed: Valhalla you will first have to make some progression in the game. Up to the point where you will set sail for England. After you set sail you will leave the Animus and you become Layla and that is where you can chose what gender you want. There is three ways of doing so: You pick male or female or let the Animus do it. There are no consequences for the rest of the game or what happened previously in the game nor does it change the gameplay in any way.
What does change is the tattoos and other customization options you may chose.
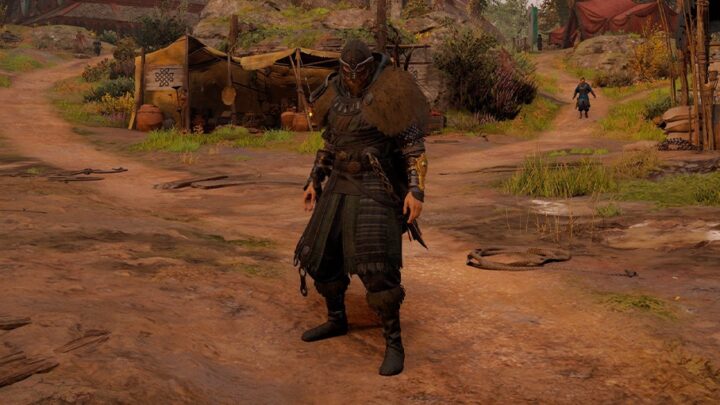
Why Charisma is important in AC Valhalla
Charisma is a new mechanic in Assassins Creed: Valhalla. And it is quite an important one too. With charisma you can unlock extra dialogue options and thus add new dimensions to the story, making it even more immersive. In some cases these choices will actually be important and rather story-altering.
The faster you unlock charisma, the better.
In order to unlock more dialogues you will have to participate in a new feature called Flyting. If you win your charisma will increase, if you answer incorrect then you will go home the loser.

So what is Flyting exactly. Flyting is pretty much the viking equivalent of a rap battle. Which is pretty awesome, especially if you are into rap, like myself. If you complete all of the Flyting battles you will get a small reward and the Flyting battles count towards your completionist obsessions!
To win you will have to listen to what is said and you get three options from which you will have to choose. There is a time limit so do not waste any time to answer. So release your inner Tupac viking rapper and win those viking rap battles and earn your honorary trophy which will be in the Valhalla Hall of Fame alongside your honorary ghetto viking name.
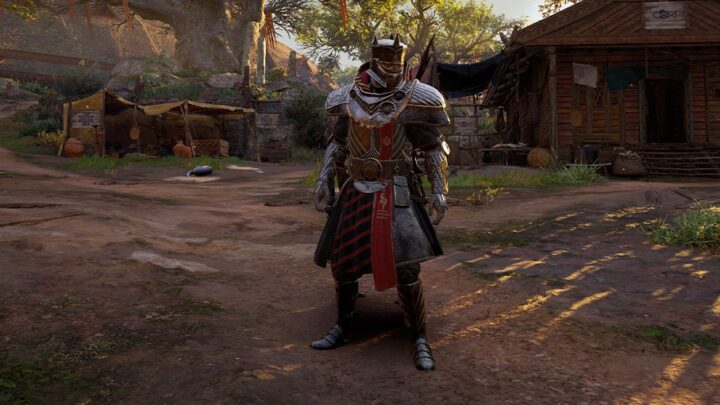
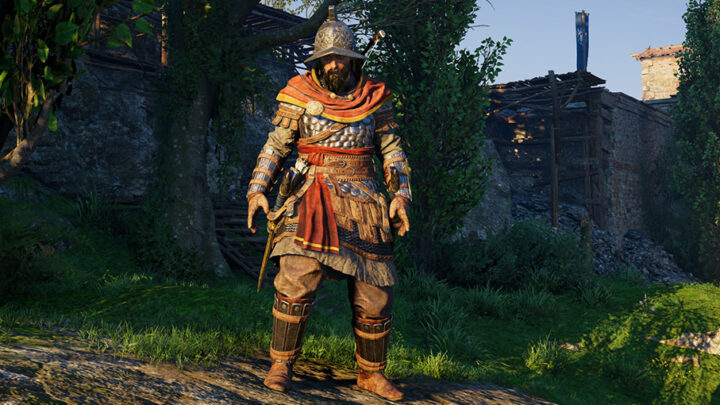
What the Stats mean and how they affect performance
Each stat you have on your armor and weapons has a specific meaning in supporting one of your aspects and features in combat. Which ones you focus on, should depend on the type of armor and weapons you equip as well as the Skills and Abilities you have chosen. Here is a brief overview of what each stat does and how it affects Eivivor’s combat performance:
Defense:
- Health – Increases the maximum Health you have, allowing you to take more hits.
- Armor – Reduces the amount of damage you take when getting hit.
- Weight – Determines how much Stamina you consume when you dodge.
- Evasion – This is a passive perk giving you a chance to greatly reduce the damage of an incoming attack that you for some reason did not dodge.
- Melee / Range Resistance – Reduces the amount of damage you take when getting hit by a melee or ranged attack respectively.
- Light / heavy Resistance – Reduces the amount of damage when you get hit by an opponent who is using a Light or Heavy attack against you.
- Poison and Fire Build-Up Resistance – The higher this stat is, the less damage over time you will take from Fire and Poison.
- Poison and Fire Build-Up Resistance – Protects you against the most annoying DoT attacks in the game – Fire and Poison.
Offense:
- Melee / Ranged Damage – The higher this stat, the harder your attacks will hit.
- Stealth / Light / Heavy Damage – Specific stats for the three specific types of damage you can do.
- Ability Damage – Determines how hard you will hit using your Abilities.
- Elite Damage – Increases your damage done to Elite oponents (ones with yellow names)
- Back Damage – Increases the amount of damage you deal when striking an opponent from behind. This is especially useful when playing with a Raven build.
- Poison / Fire Damage – Increases the damage you deal with the Poison and Fire types of damage over time attacks.
- Poison / Fire Build-Up – Increases the amount of Poison/Fire you apply using these special attacks. The higher this stat, the quicker you will build up to get the maximum DoT effect on an enemy.
Primary / Secondary / Ranged Weapons:
The next three categories determine respectively the thee weapon slots you have available – main hand, off-hand and bow slot.
- Attack – Increases the damage you deal with your weapon.
- Stun – This stat reduces the enemy’s defense and allows you to stun them quicker and deal more damage to them while stunned.
- Speed – Increases the average speed with which you attack with your weapons doing combos and normal attacks.
- Weight – Determines how much of your Stamina is used when dodging.
- Critical Chance – Increases your chance to hit with a Critical hit your opponents.
- Critical Damage – Increases the amount of damage you will deal to an opponent when you Critically hit them.
- Headshot Damage – only for the Bow Slow, increases the amount of damage you will hit an opponent if you do a Headshot.
You can check your current stats at any time by opening the Inventory and clicking on the “Stats” button in the bottom left corner or by pressing “X” key shortcut on PC.

How often should you go on Raids
So you made it to the ocean and you are on your way to England where big challenges await you. When you first arrive in England and you check your map, you will notices two red axes on it. Those are settlements that you can raid for resources.
You can’t just enter and start a raid. Before you do, you need to have your own camp. Once you do, you will be asked to gather materials and resources to get work started. You will need materials for instance for a Blacksmith’s forge or a stable for top notch animals. But also your bureau will need to have a place in order to start a part of the main story: The order of ancients.
A viking without a raid, that just wouldn’t happen. Raiding is also new in Assassins Creed: Valhalla. And raiding is essential in the game because it gives you various resources that you will need in order to upgrade your camp, weapons and gear. Resources that you can get through a raid are Carbon Ingot, Opal, Leather, Iron Ore, Fabric, Nickel Ingot and more.
The raid goes as follows; Open your map by pressing M on your keyboard or Back on your XboX controller and you should see two red axes on the map. You can click on it and then go to your Longboat. You can either get there by yourself or press Z and then E on your keyboard and you will automatically get there. I looked for the XboX controller option but there doesn’t seem to be any. You can also go by mount or on foot but you can’t trigger the raid that way. It really has to be done by Longboat.
Once triggered, Eivor will blow the longhorn and your crew will run to the shore and fight, kill, maim everyone on sight and do not forget to loot, since that is why you raid. And that is basically a raid done in Assassins Creed: Valhalla.
Once the fight is over, check your HUD and you will see a bunch of golden icons appear. Sometimes you need a key, scan the area and get the key. Open those doors for your personal enrichment, sorry for the good of the people back in your basecamp.
How to regenerate Health in AC Valhalla
A new mechanic in Assassins Creed: Valhalla is how the healing is done. In Assassins Creed: Odyssey you would instantly regenerate outside combat. You can’t do that anymore in Assassins Creed: Valhalla.
There are various new ways to heal up in the game.
Healing in the Assassins Creed series has always been a torn in my sight. Low health during a fight while you still had to fight off a mob basically gave you no chance of winning. If you did win, you would just regenerate outside of combat.
However with the new healing mechanics of not being able to heal outside of combat (until you unlock the skill “Grit” in your skilltree), it gives you consequences. It means that if you don’t heal up using any of the new methods, you would go in with a low healthbar. Which I think is a great addition.
There are various ways to heal up ingame:
- Sleeping – You can now go back to camp and sleep in your bed, no matter how bad your injuries are. Mind you, you can only regenerate in YOUR bed. Nowhere else. So cancel the AirBnB you reserved on the other side of the aisle.
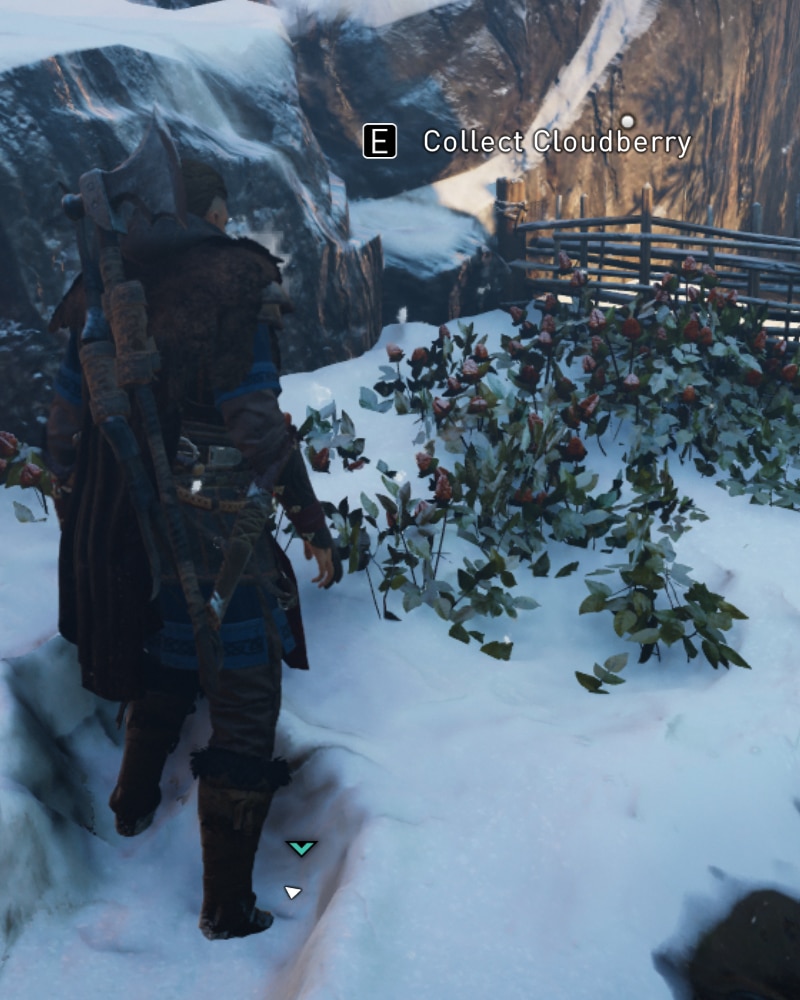
- Food – Throughout the game you will see various berries and mushrooms that you can forage to regenerate some of the health. It won’t bring you back to 100% however. You can also forage food for your rations bag so you can regen outside the fight.
- Fishing – Fishing is a new addition to the game. But you need the building at your camp in order to do so. You can eat the fish and regenerate health but you can also stash the fish in your rations bag for later consumption. You can use a fishing rod or do it the viking way by just diving in the water and slay them with your axe!
- The Grit Skill, which you can unlock after you have made some progression will allow you to get some of your health back outside of combat.
- Special weapons – weapons like the Death Speaker bow will give you some HP regeneration if you perform certain things in a certain way during combat.
Like I wrote before, this completely changes the Assassins Creed franchise and it is for the better too in my opinion. We finally have consequences as to what we are doing ingame. And it also forces you to keep the rations bag full as you never know what or who you may encounter.
Where to find Ingots in the game world
Ingots are the materials you will need in order to gear up from Fine to Superior. There are various ways to get them.
You can explore the land and encounter them all around the floor. But until you break them with your melee weapons you will not know what you receive. The other way to get them is to raid. Alternatively you can purchase them from merchants, but that is quite an expensive option in the early game.
Ingots are really important in the game you will need them to upgrade your weapons as soon as possible and as early in the game as possible. Do not run by and think that you will get the next when you just start out, stop for a second and get the ingots. The ingots are an essential part throughout the entire game and unlocking higher tier for your weapons is as well. You can’t expect to kill high level bandits with your weapon still being in the first tier.
The landmarks are the easiest ways to get them but they are also the most unpredictable. Sometimes it is a book of knowledge, sometimes a piece of gear or something completely else. You will not know what you get until you come closer to it and use Odin’s Sight.
There is one additional rule here, though. Progressing through the regions in England often directly reflects onto the types of resources you receive from chests. For example you will not get Tungsten Ingots in the Power Level 20 areas. Same is true for the more rare Crafting materials like Fabric and Titanium.
Check out the guide on how Leveling and Experience work in AC Valhalla to get a better understanding of this system. It’s a bit different than the traditional leveling experience you’d usually get from an action RPG.
Raiding is the other way of getting ingots but you need to find a location with the wealth aspect. But you will be awarded the resources guaranteed in a raid.
So start in Norway, just hop on your mount and explore landmarks and when you leave for England you will have some to help you through. And while you are exploring, fill up your rations bag as well, you never know who or what you will encounter. Be it a pack of wolves or a bandit camp, with your rations bag filled it could be the difference between life or death.
What Other Currencies you collect
Much like the previous installments of the Assassins Creed franchise, money is an important part of the game. It is a good thing that the Ponzi or pyramid scheme wasn’t invented yet until the 1900s.
While important, money is not essential as in: it will not change the gameplay. It only allows for you to progress throughout the game quicker.
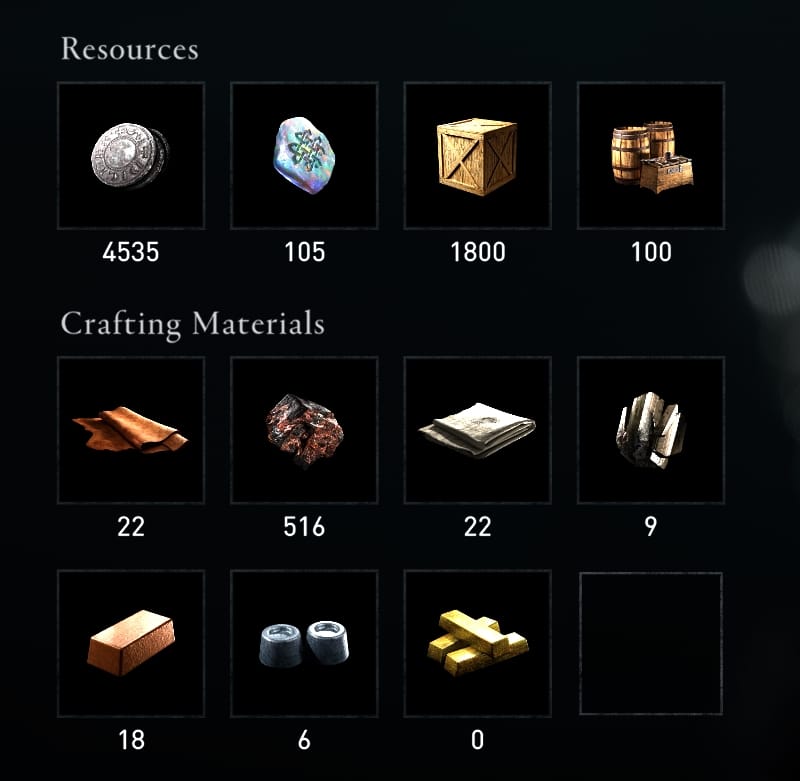
To start getting resources (including silver) in Assassins Creed Valhalla you can loot chests for example. Never leave a dime on a table you pass by.
While you are exploring the landmarks for ingot there will be a whole bunch of areas that are restricted. Stealth your way through them and loot any box that you encounter. The chests will give you silver, ingots and trash items that you can sell to any vendor.
Like I mentioned before; silver is not that important in-game but it you can buy useful resources from a vendor with your currency. Like that one ingot that you need to upgrade one of your items. Or customize your appearance with a new hairstyle or a tattoo.
Another way to gain silver is by raiding. Raiding always gives you silver amongst other items that you can gain by completing a raid.
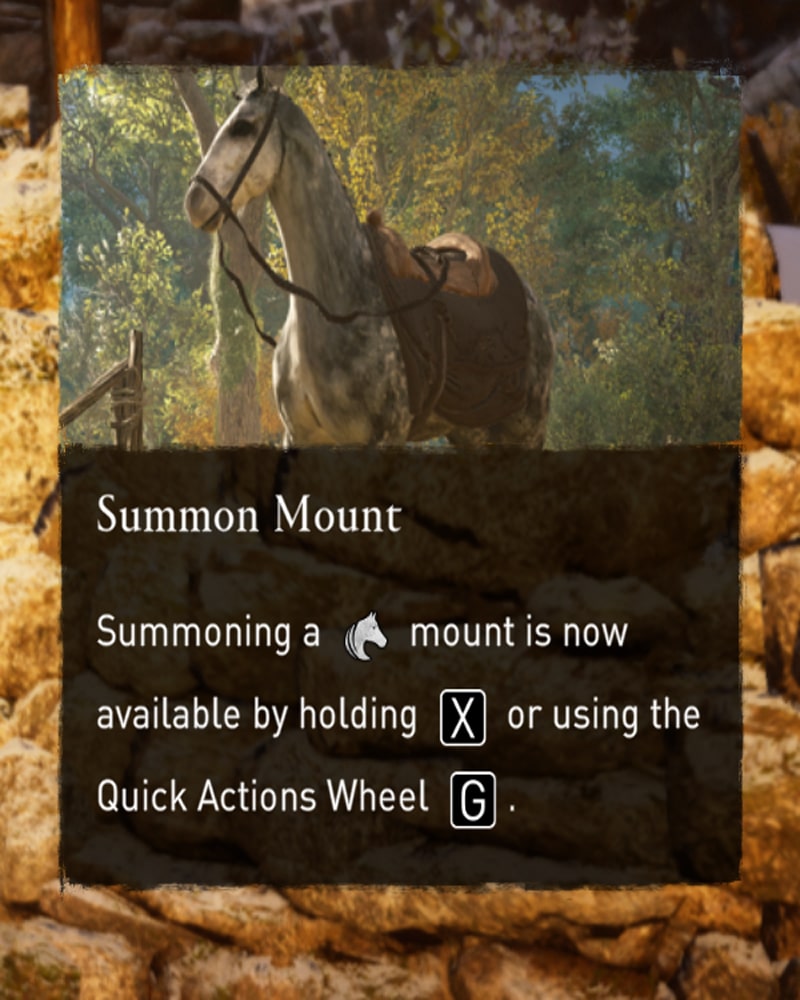
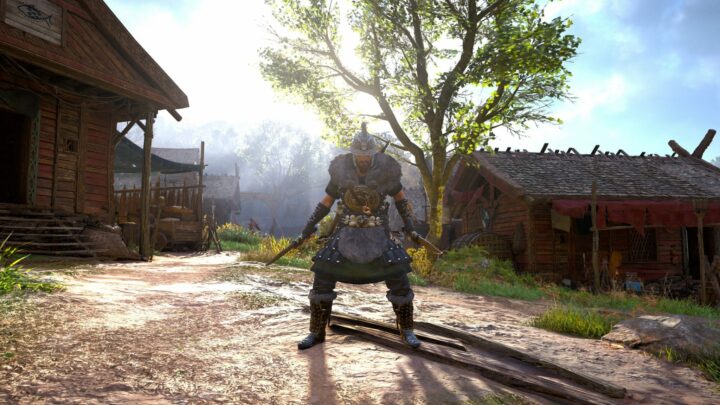
Mounts in AC Valhalla and the Wolf skin
Mounts in Assassins Creed Valhalla are good way to get from point A to point B. You can also use your quick travel by unlocking the quick travel points or through the harbors but getting to a spot where there is no quick travel point available, you hop on your mount and make your way throughout the beautiful landmarks.
In any version of the game, you will start out with a black horse. A black beauty. In order to get a different mount you will need to have progressed to the point where you are settled in England. There are various stables throughout the game but the one in your own settlement is the best. In fact, you can learn everything you need to know about Ravensthorpe, your settlement in AC Valhalla from this guide!
In order to get your stable built you will need a lot of resources so it is a matter of patience and carefully looting the world around you or raiding to get the resources you need in order to build that stable. The stablemaster will keep his promise and get you all the mounts that you could possibly desire.
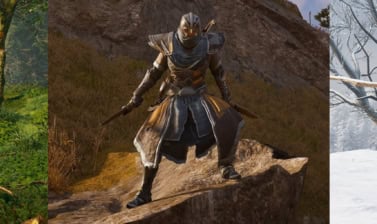
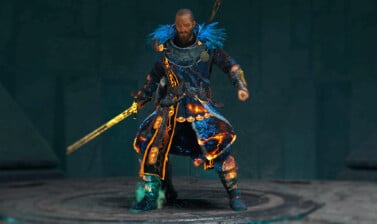
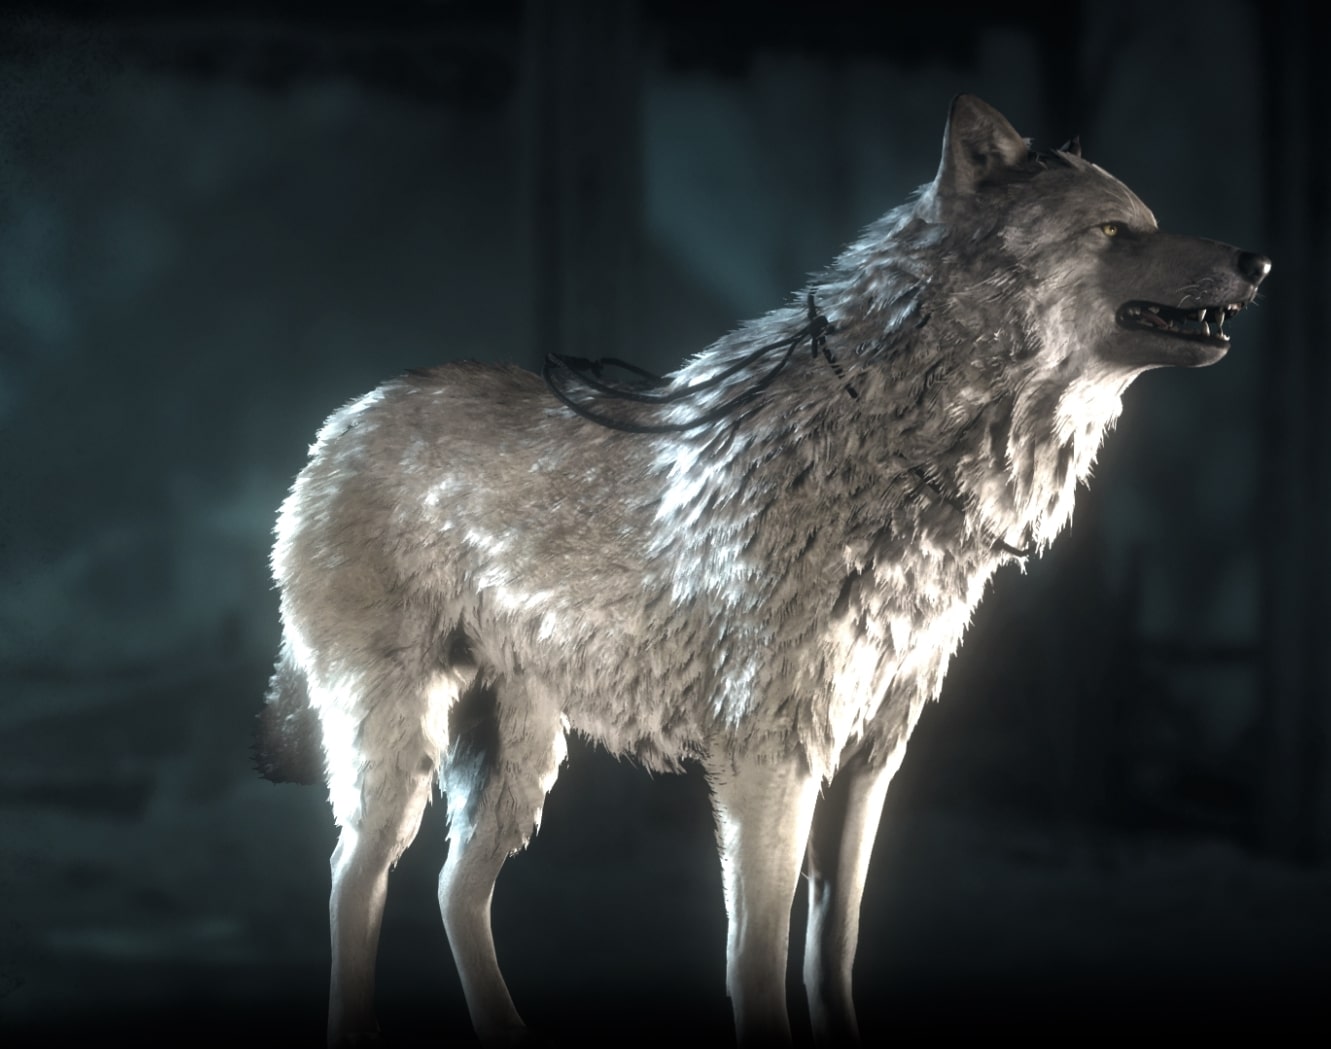
If you are the proud owner of the Assasins Creed Valhalla Ultimate Edition then you will get the Berserker Pack. The Beserker Pack will not only give you the armor and the weapons but also the wolf mount or the Vulkk mount. Vulkk translate to wolf in English ;)
The Berserker Pack items you will get once you reach your second quest but for the wolf mount, things are a bit different.
Once you reach England you will have to build the stables and keep upgrading them. As soon as the stables are ready, you can change your mount’s skin to whichever you prefer.
When unlocked, you will own it forever! It will be your true companion. But keep in mind: You want to look cool when riding the Wolf mount so get your matching tattoos and hairstyles along with any armors that will aesthetically pleasing and still have the bonus set you need!
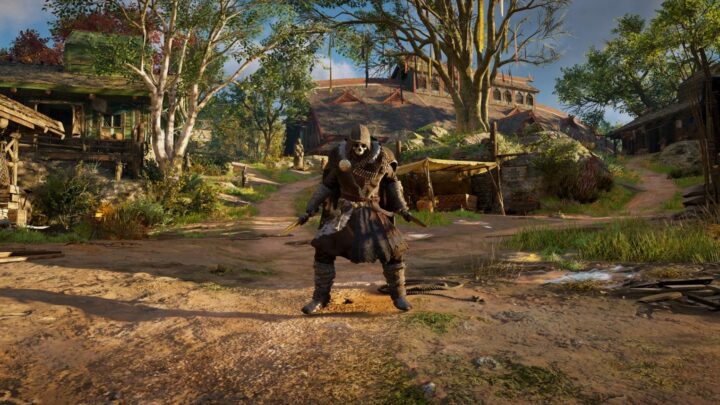
How to get your Bonus Items
If you own the Ultimate Edition of Assassins Creed: Valhalla then you will also receive the Berserker Pack items. In order to get them you will need to complete the Family Matters quest in the starters area. Upon completion you will receive a pop up telling you to check your inventory and when you do you will find the following items.
- Bear-Claw Axe (Superior).
- Ursine Guard Shield (Superior).
- Berserker Torso (Superior).
- Berserker Cloak (Superior).
- Berserker Helmet (Superior).
- Berserker Bracers (Superior).
- Berserker Breeches (Superior).
The Berserker set has a set bonus and it will increase speed, armor and attack after damage taken. And it lasts until you heal. Once you are fully healed up then you won’t have any benefit of the bonus until you take damage again.
The second part of the Berserker Pack is the Berserker Settlement pack which consists of a bunch of schematics that you can put to use at a later stage of the game once you start building your settlement. The third the Berserker longboat skin. You will not be able to use the skin at the start of the game since customization of the longboat is not possible. But again be patient, play the game and the option will unlock.
The third part of the Berserker Pack is the Rune set. Runes are an important part of the game and you will unlock more Rune slots on your gear and weapons as you upgrade. You can apply the Runes to any piece of gear or weapon that have Rune slots available. Once the Rune is set into place you will receive the bonus that is written in the description of that particular Rune. The Runes are interchangeable so you may pull one out and put it in a different piece of gear or weapon. Commonly Runes will increase your damage on weapons or health on armor or give your armor more armor.

When and how to explore the game world
Do not worry about missing on an item or region. No matter where you go and how you progress through the story of the game, you will always be able to return to places you have previously visited.
There are some places that are simply too high for you to explore early on, but they are open and awaiting you if you dare.
Certain locations, like a few castles for example, will remain empty and/or locked up along with all the treasures inside, until you reach a certain quest in the main story that will involve activities in that area.
If you want to optimize your build early on, I suggest you check out the Weapons and Shields Locations Guide as well as all the Armor Sets Locations Guides here on VULKK.com. Most of them you can pick up without being too high Power Level.
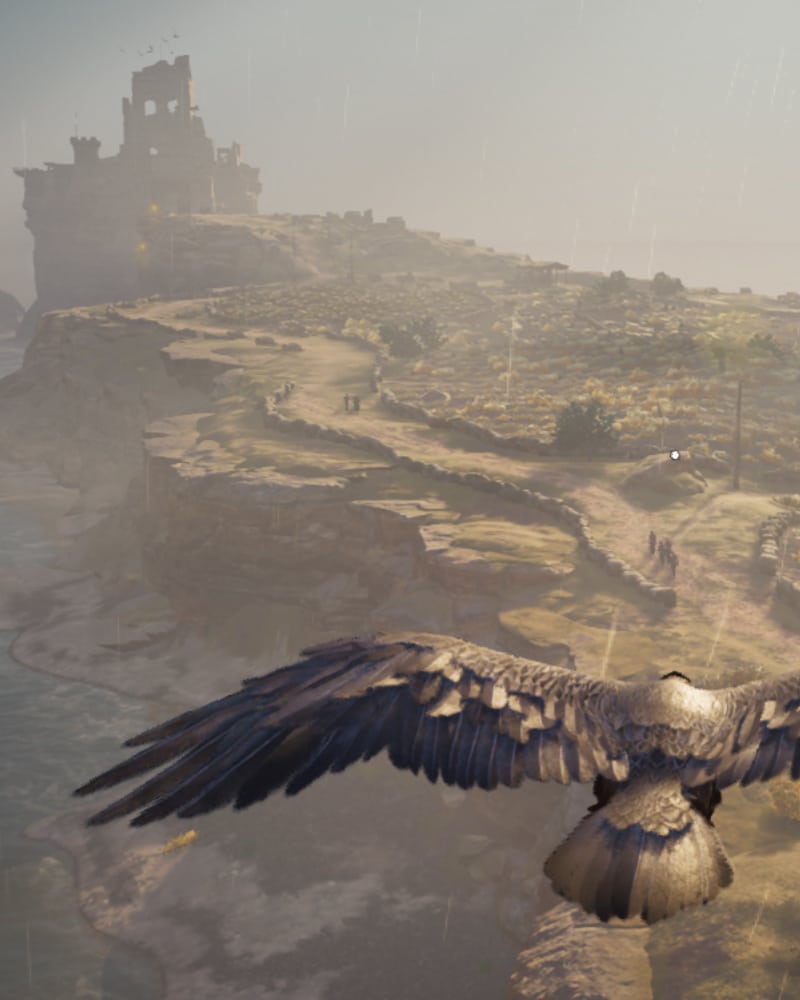
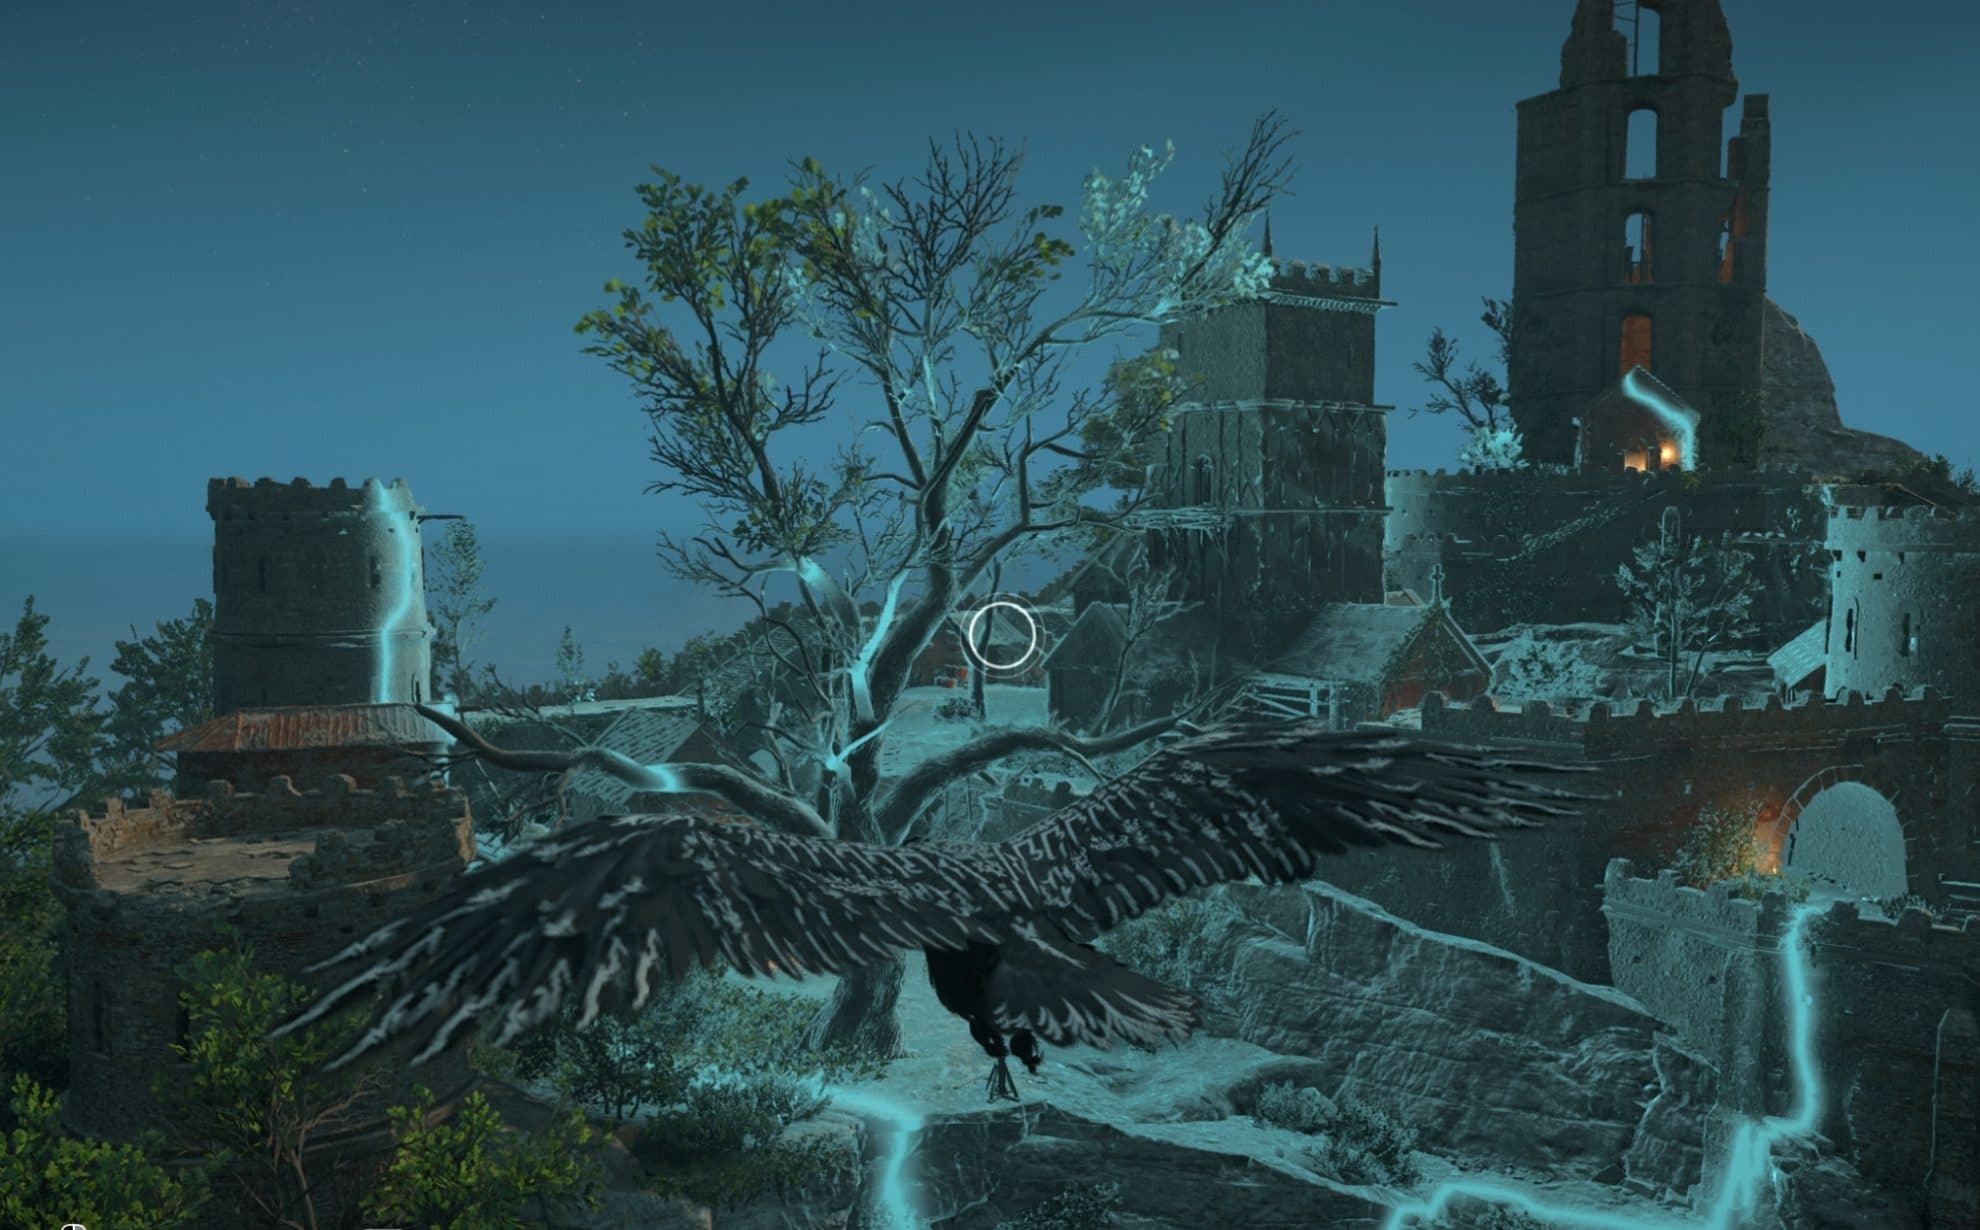
Use Synin to locate specific quest areas or objects. The Raven is extremely useful for marking paths or discovering secret entrances to dungeons, cripts and to give you a wider view of the area you are about to invade, for example.
Gameplay Tips you should learn in AC Valhalla
This is a quick collection of random tips to help you do better in Assassin’s Creed Valhalla. Some are quite basic, others are more advanced, but they will all help you become a better player. All without spoiling any of the story, of course!
You cannot swim in the freezing cold waters of Norway, not for long anyway. This is not the case in England or anywhere else you go. In fact some special hidden secrets and treasures are underwater or involve swimming and diving! Don’t miss that part of the game, just because Eivor was about to swim the first time you tried it in Norway.
High power level areas do not mean “wait till endgame before exploring”. explore freely if you have free time and want to get some of the coolest Weapons and Armor Sets early on.
Make arrows burn by dipping them into fire. If there is no fire around, you can use a torch. Just drop it in the ground and point your arrow to it. Arrows you are preparing to fire next, will also get on fire.
Explore as much of the map ahead of your journey to gather useful resources and to unlock sync points.
Focus on the main Skills from the Skill Tree first, next priority should be perks to your type of armor and weapon special passives.
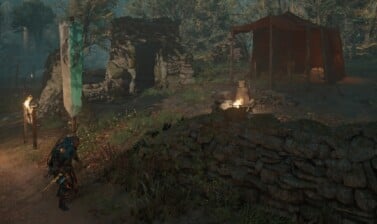
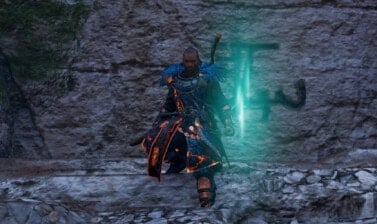
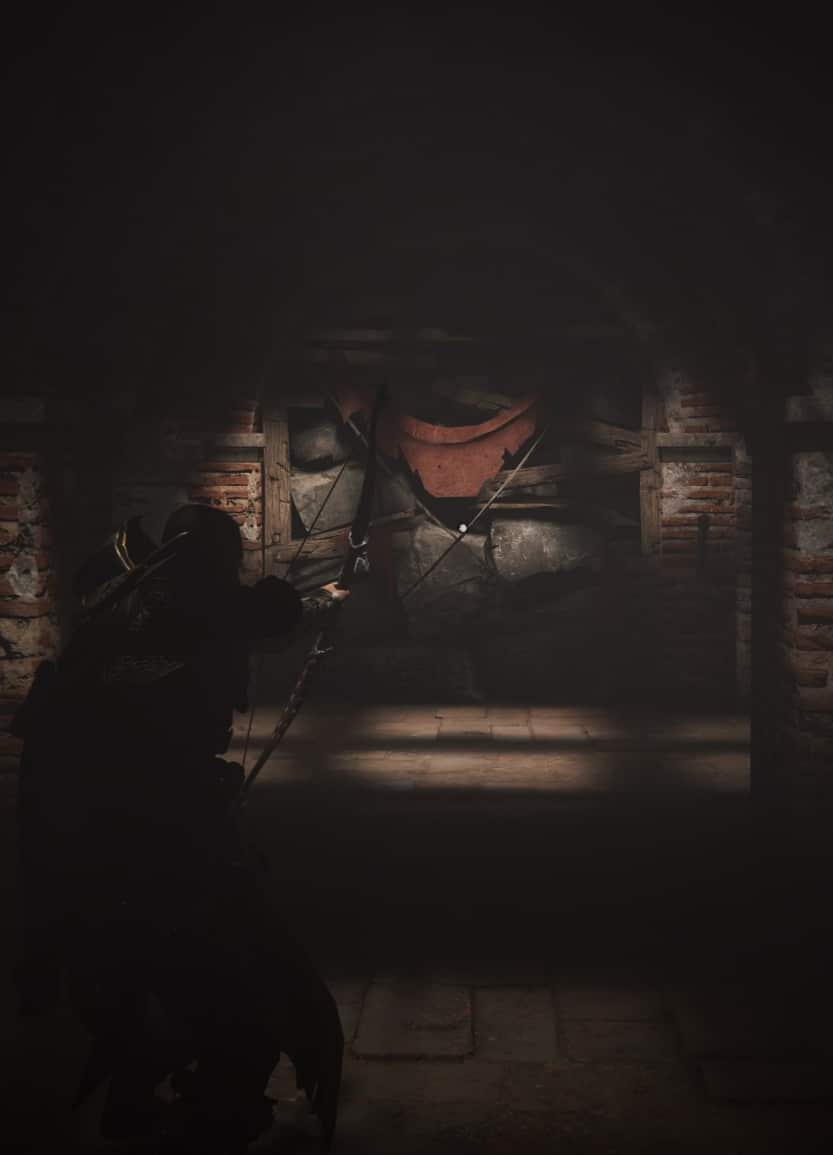
Incendiary Powder Trap is a very useful ability to have while exploring for hidden treasures, artifacts and other secrets. It will allow you to blow up these (image below) weak stone walls without having to find a flammable pot to throw at them.
Get the +1 Adrenaline Slots from the Skill Tree as soon as you can. This opens up a whole new world of opportunities ahead of you.
Build the major buildings in your Settlement first, start with The Hidden Ones Bureau then Forge, Stables, Barracks, Cartohraphy.
Upgrade your mount at the stables as soon as possible. It’s very helpful to have it ride longer distances and be able to swim.
Upgrade your Rations pouch a few times first from your Inventory screen. If you use Bows often and enjoy them, next upgrade the Quiver of arrows.
Each Bow has a different number and type of arrows. You cannot craft arrows in AC Valhalla. You collect them all at once, but spend them separately. If you need an arrow to shoot a ladder or drop a platform or something else and there isn’t one nearby and your quiver is empty, simply switch to another bow.
Know that you can always return to an area you have once unlocked. If you don’t want to stray from your current quest, leave all the secrets and hidden treasures and focus on the story ahead. All the items will be there later on as well.
There are a few places you will not have access to until you reach a certain point in the story. Some times there are hidden treasures inside these places that you see on the map, but cannot get to. That’s normal and will happen a few times during your adventures.
Don’t rush to get to the Legendary gear. All of it is gated behind finishing the story first and you will have not much else left to do with your awesome new Legendary items. Unless you have or plan to get the Expansions pass!
The Breakfall Skill may seem like a waste of a Skill Point at first. You might think “I’ll just be more careful”. However, later on you accumulate more Skill Points than you actually need for the build you are going for and the Breakfall is actually quite useful to save you some time, especially in Norway and in the northern parts of England (where rocky landscape is way more common).
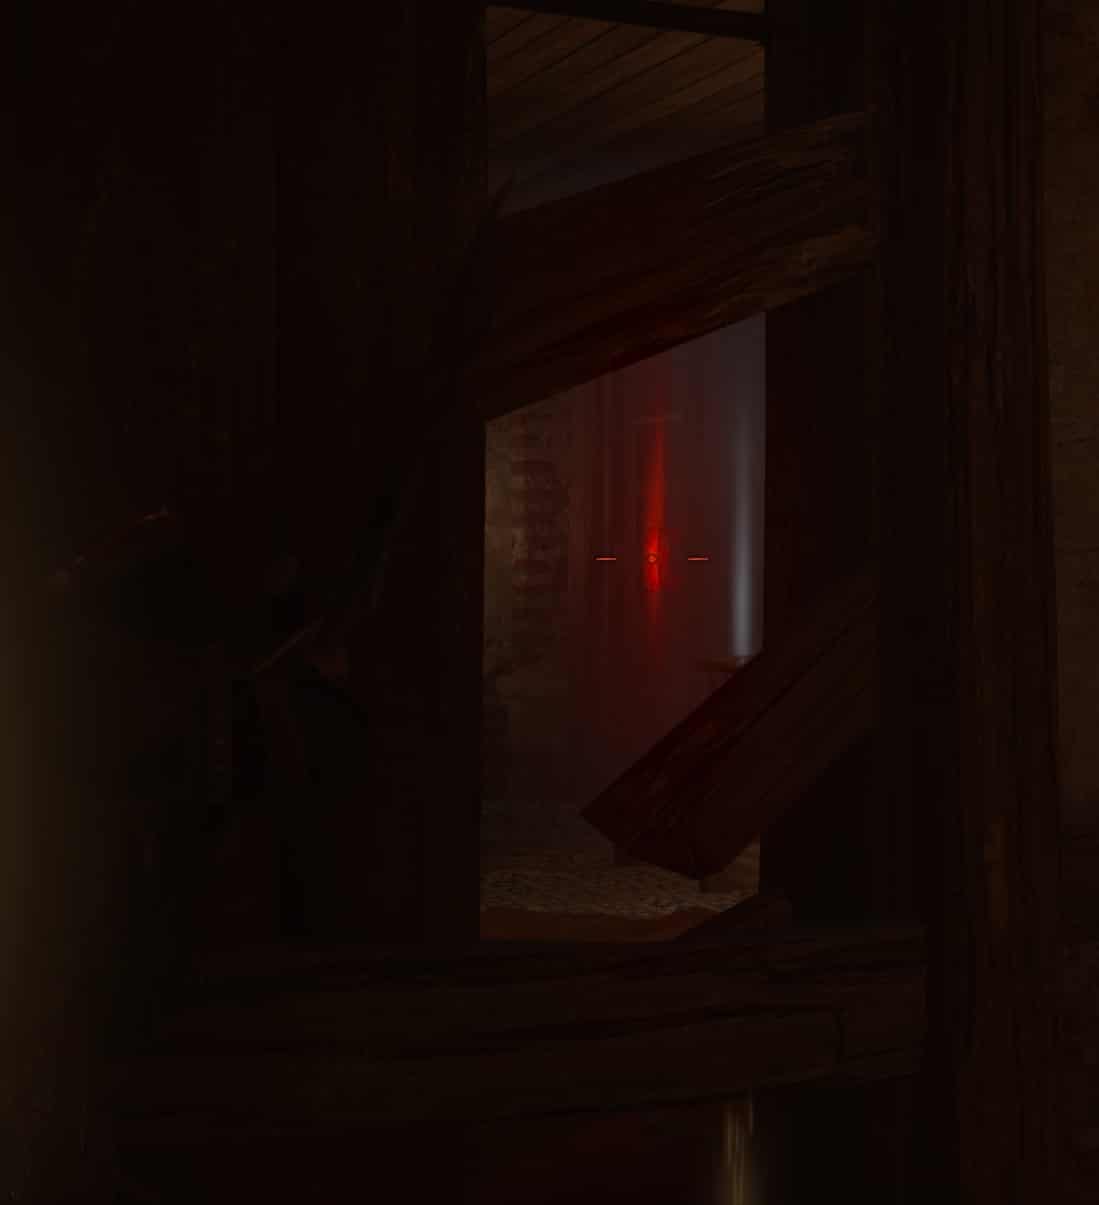
Always try to hit your enemies in their weak spots. They are marked in orange-red color. This is especially true for when you shoot arrows with your bow. Hitting headshots and weak spots is key to mastering the bow gameplay.
There are five types of doors in the game:
- Unlocked allow you to pass through them freely. Locked doors require you to find a key to get through them.
- When a door is Barred, it means that you have to break the locking mechanism on the other side of the door. Usually you have to find a hole in the wall of that room and shoot the locking mechanism with an arrow. Not all barred doors are intended to be shot from outside to unlock. Some times the entrance to that room is not through the barred door. Look for another access to the room. This door then may be used as an easy escape route.
- The fourth type of doors are ones you can break.
- The final fifth type are doors you can force open (they are usually red doors) with the help of a fellow viking warrior who is nearby.
There is no real “best build” in Assassin’s Creed Valhalla. However I have found this Assassin Semi-Hybrid Build to be extremely agile, flexible and useful in pretty much any situation. Later in the game you will have enough Skill Points to spend on many Skills and Passives outside of your tree of choice, but to start with, I suggest you go with this build.
I have tried to make this Assasin’s Creed Valhalla Starter Guide as extensive as possible, without giving away too much to overwhelm you, so I hope you appreciate the effort I have put in. For more coverage please follow the link to VULKK.com’s AC Valhalla coverage.
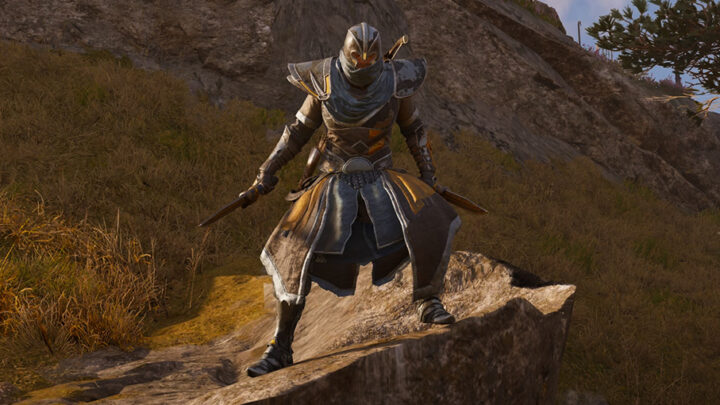
Assassin's Creed Valhalla Gear Locations Guides List
This is a full list of all in-depth walkthroughs and guides to the many special armor pieces and weapons available in Assassin's Creed Valhalla. The list contains both special unique items and full sets with set bonuses to further diversify your Eivor build!
AC Valhalla Weapons Locations Guide
Guide to all weapons and shields in Assassin's Creed Valhalla - where and how to find them, what they look like, what stats boosts they have!

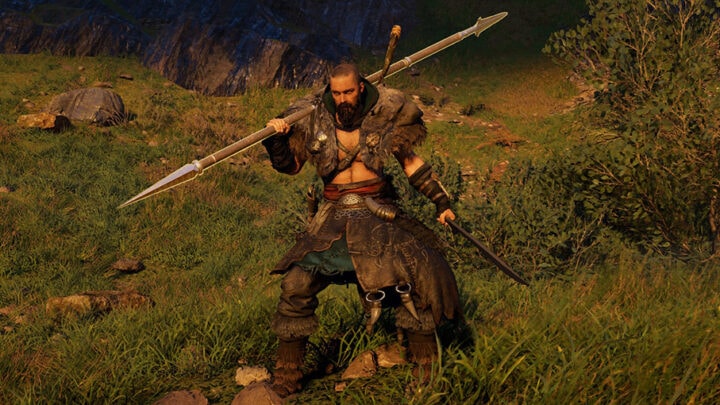
Assassin's Creed Valhalla Berserker Set Guide
Overview of the contents of the Ultimate pack in Assassin's Creed Valhalla - Berserker Pack, Settlement Pack, Ship Pack and a Set of Runes!

AC Valhalla Raven Clan Set Locations Guide
Guide to the Assassin's Creed Valhalla Raven Clan Set - how it looks, set bonus perks and where and when you get the armor pieces in the game

AC Valhalla Hidden Ones Set Guide
Guide to all sx pieces of the Hidden Ones Set in Assassin's Creed Valhalla and the Codex Pages from the Hidden Ones Bureaus in England

AC Valhalla Huntsman Armor Set Locations Guide
A guide to the Assassin's Creed Valhalla Huntsman Set - step-by-step instructions on how to find all five armor pieces, visuals and more!

AC Valhalla Magister's Armor Set Locations Guide
A guide to the Assassin's Creed Valhalla Magister's Set - step-by-step instructions on how to find all five armor pieces, visuals and more!

AC Valhalla Mentor's Armor Set Locations Guide
A guide to the Assassin's Creed Valhalla Mentor's Set - step-by-step instructions on how to find all five armor pieces, visuals and more!
AC Valhalla Brigandine Set Locations Guide
A guide to the Assassin's Creed Valhalla Brigandine Set - step-by-step instructions on how to find all five armor pieces, visuals and more!
AC Valhalla Galloglach Armor Set Locations Guide
A guide to the Assassin's Creed Valhalla Galloglach Set - step-by-step instructions on how to find all five armor pieces, visuals and more!
AC Valhalla Thegn Armor Set Locations Guide
A guide to the Assassin's Creed Valhalla Thegn Set - step-by-step instructions on how to find all five armor pieces, visuals and more!

How to get Thor's Armor Set and Hammer Mjolnir in AC Valhalla
Overview and complete guide with step by step instructions how to get Thor's Armor Set and Hammer Mjolnir in Assassin's Creed Valhalla!
AC Valhalla Druidic Armor Set Locations Guide
A guide to the Assassin's Creed Valhalla Druidic Set - step-by-step instructions on how to find all five armor pieces, visuals and more!
AC Valhalla Celtic Armor Set Locations Guide
A guide to the Assassin's Creed Valhalla Celtic Set - step-by-step instructions on how to find all five armor pieces, visuals and more!
AC Valhalla Paladin Armor Set Locations Guide (Siege of Paris)
Guide showing you where and how to obtain all five parts of the Paladin Armor Set in Assassin’s Creed Valhalla's DLC The Siege of Paris DLC!
How to get Reaper Armor Set in AC Valhalla Siege of Paris
Guide on how to get the Reaper Armor Set available in Francia from Rebel Missions in Siege of Paris expansion to Assassin's Creed Valhalla!
AC Valhalla All One-Handed Swords Locations Guide (Siege of Paris)
How to find all One-Handed Swords available in Francia, part of the Siege if Paris DLC in Assassin's Creed Valhalla with locations and stats!
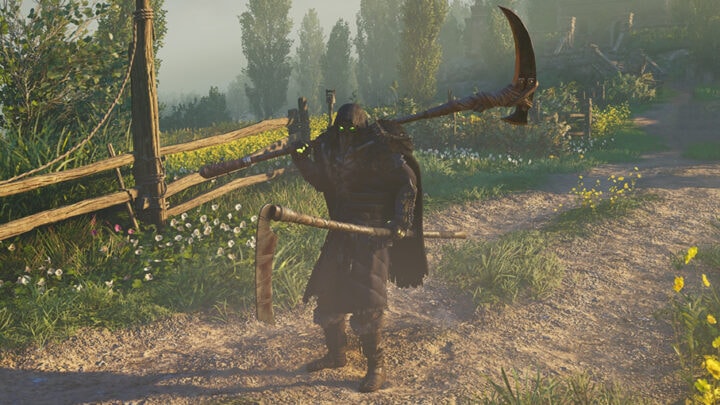
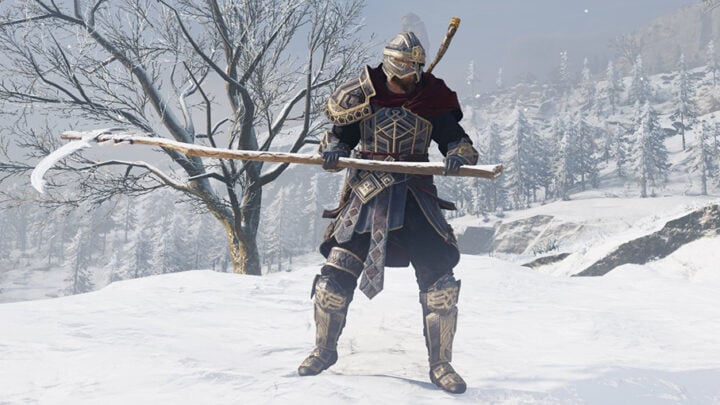
AC Valhalla All Scythe Weapons Locations in Francia (Siege of Paris)
How to find all Scythe weapons available in Francia, part of the Siege if Paris DLC in Assassin's Creed Valhalla with locations and stats!
AC Valhalla Isle of Skye Weapons Locations Guide
Guide to all Isle of Skye Weapons Locations on Isle of Skye in Assassin's Creed Valhalla: Hero's Sword and Spear of Leonidas!

AC Valhalla Twilight Pack Overview (Dawn of Ragnarok Pre-order Bonus)
The Twilight Pack is reward for pre-ordering Assassin's Creed Valhalla Dawn of Ragnarok. You get it immediately after you purchase the DLC!
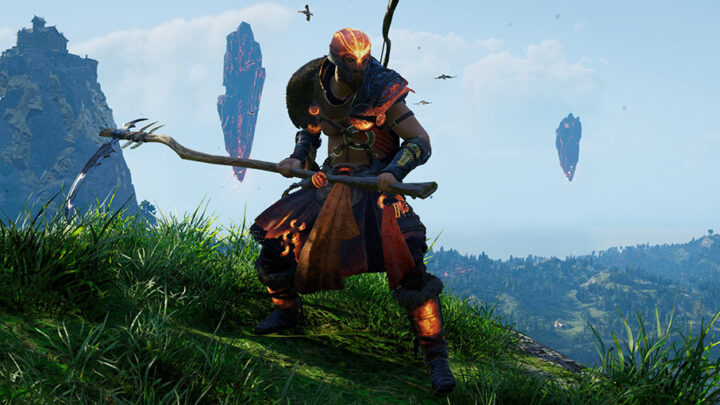
How to get Fire Giant Armor set in AC Valhalla Dawn of Ragnarok
The Fire Giant armor set is available in Assassin’s Creed Valhalla’s Dawn of Ragnarok expansion. Here’s everything you need to know!
How to get Dwarven Blacksmith Armor set in AC Valhalla Dawn of Ragnarok
The Dwarven Blacksmith armor set is available in Assassin’s Creed Valhalla’s Dawn of Ragnarok expansion. Here’s everything you need to know!
How to get Jotun Mantle Armor set in AC Valhalla Dawn of Ragnarok
The Jotun Mantle armor set is available in Assassin’s Creed Valhalla’s Dawn of Ragnarok expansion. Here’s everything you need to know!