This guide will help show you how to get Excalibur in Assassin’s Credd Valhalla. The Legendary sword is an incredibly powerful weapon, but is gated behind quite a large puzzle including visiting several secret areas and finding special items there or taking them from powerful enemies.
This is quite a long and detailed guide on how to get Excalibur in AC Valhalla. I suggest you use the Table of Contents below to navigate through it and find what you are looking for. It is designed to take you step-by-step through all locations until you finally get Excalibur in your hands!
Table of contents
What is Excalibur according to the Legends
Excalibur is the name of the legendary sword of King Arthur. According to the legends this weapon had some magical power when wielded by the rightful ruler of Britain. There are two tales – one tells of Excalibur and another of the “Sword in the Stone”. Not all believe the two swords are the same one actually.
In Welsh this weapon is called Caledfwich, which is also the name you will encounter as you approach the location where this weapon is found in Assassin’s Creed Valhalla.

The Great Sword Excalibur is found deep in a massive caves system near Stonehenge, which is not according to the legends, but this at least creates for an amazing journey you are about to take since you are reading this guide! Have fun. And patience.
What is so special about Excalibur in AC Valhalla
This Greatsword yields insane power and will hit hard. Although I call it Legendary, the weapon is in its final Mythical tier and cannot be upgraded further. You can level up its stats, though:
- Attack: 108
- Speed: 40
- Stun: 99
- Critical Chance: 76
- Weigth: 16
The description below the Sword’s name reads: “A legendary sword that can only be wielded by someone who has the makings of a king. Legends say it can break anything.“
The unique perk of this weapon is the following: “Heavy Finishers and Criticals blind all enemies around.“

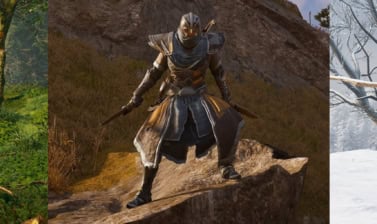
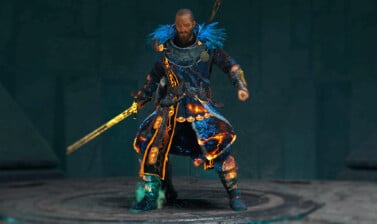
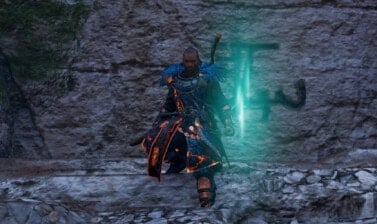
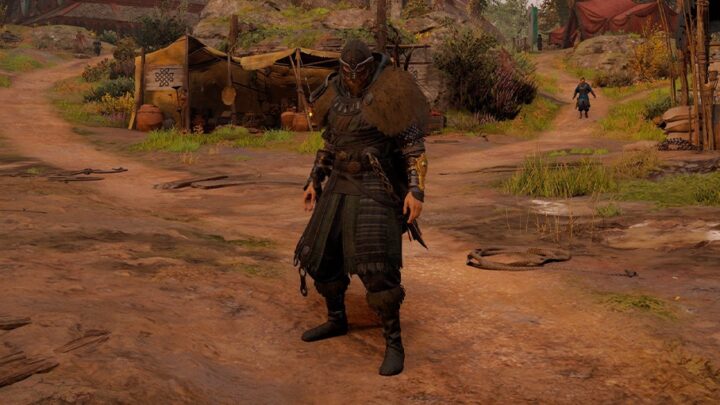
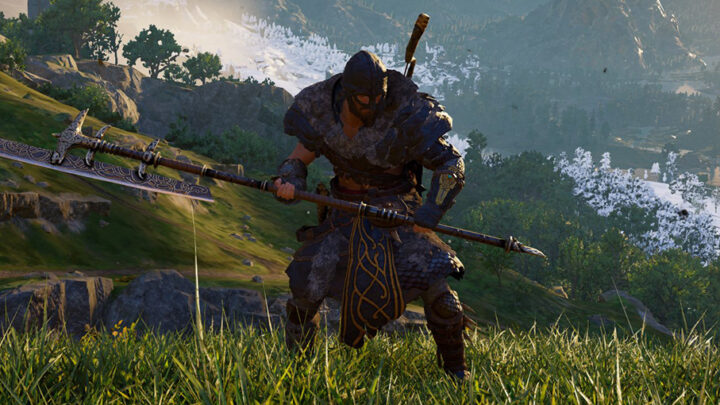
The weapon itself looks a little like Excalibur, but the additional details around the hilt make it look more like an “ancient machine” type of an item from an Assassin’s Creed game, which it is. Below I have a video showing off the sword in all of its glory as well as a few high quality images of the weapon.


Please note, there are no overpowered weapons or armor sets in this game. Each one is designed to fit in a specific build that will make it seem overpowered. The AC Valhalla Excalibur great sword is fantastic for AoE builds and situations where you are surrounded by multiple enemies such as Monastery raids or other group fights.
When can you get Excalibur in AC Valhalla
Excalibur in Assassin’s Creed Valhalla is meant to be an EndGame weapon. It is extremely powerful and when you find and get it, it comes at its highest Tier already with only a few levels left to gain to improve its stats. It is meant to be a long and fun journey for players of a very high Power Level (200+).
You can technically attempt to get it sooner, but the Zealots you are required to defeat will be of very high Power Level and this might be a stopping point. You can visit the locations labeled as “Treasures of Britain” earlier.
I am not aware of any gate or mechanic that prevents you to go there sooner and explore. However, I should point out that I got this sword after I did the story quest in Hordafylke and at that point I was already at Power Level 250+.
If you want to test yourself at a lower level and face any gates, like the one preventing you from getting Odin’s Spear Gungnir earlier than intended, please set me know, so can include it in this guide as a note.
How to get Excalibur in AC Valhalla
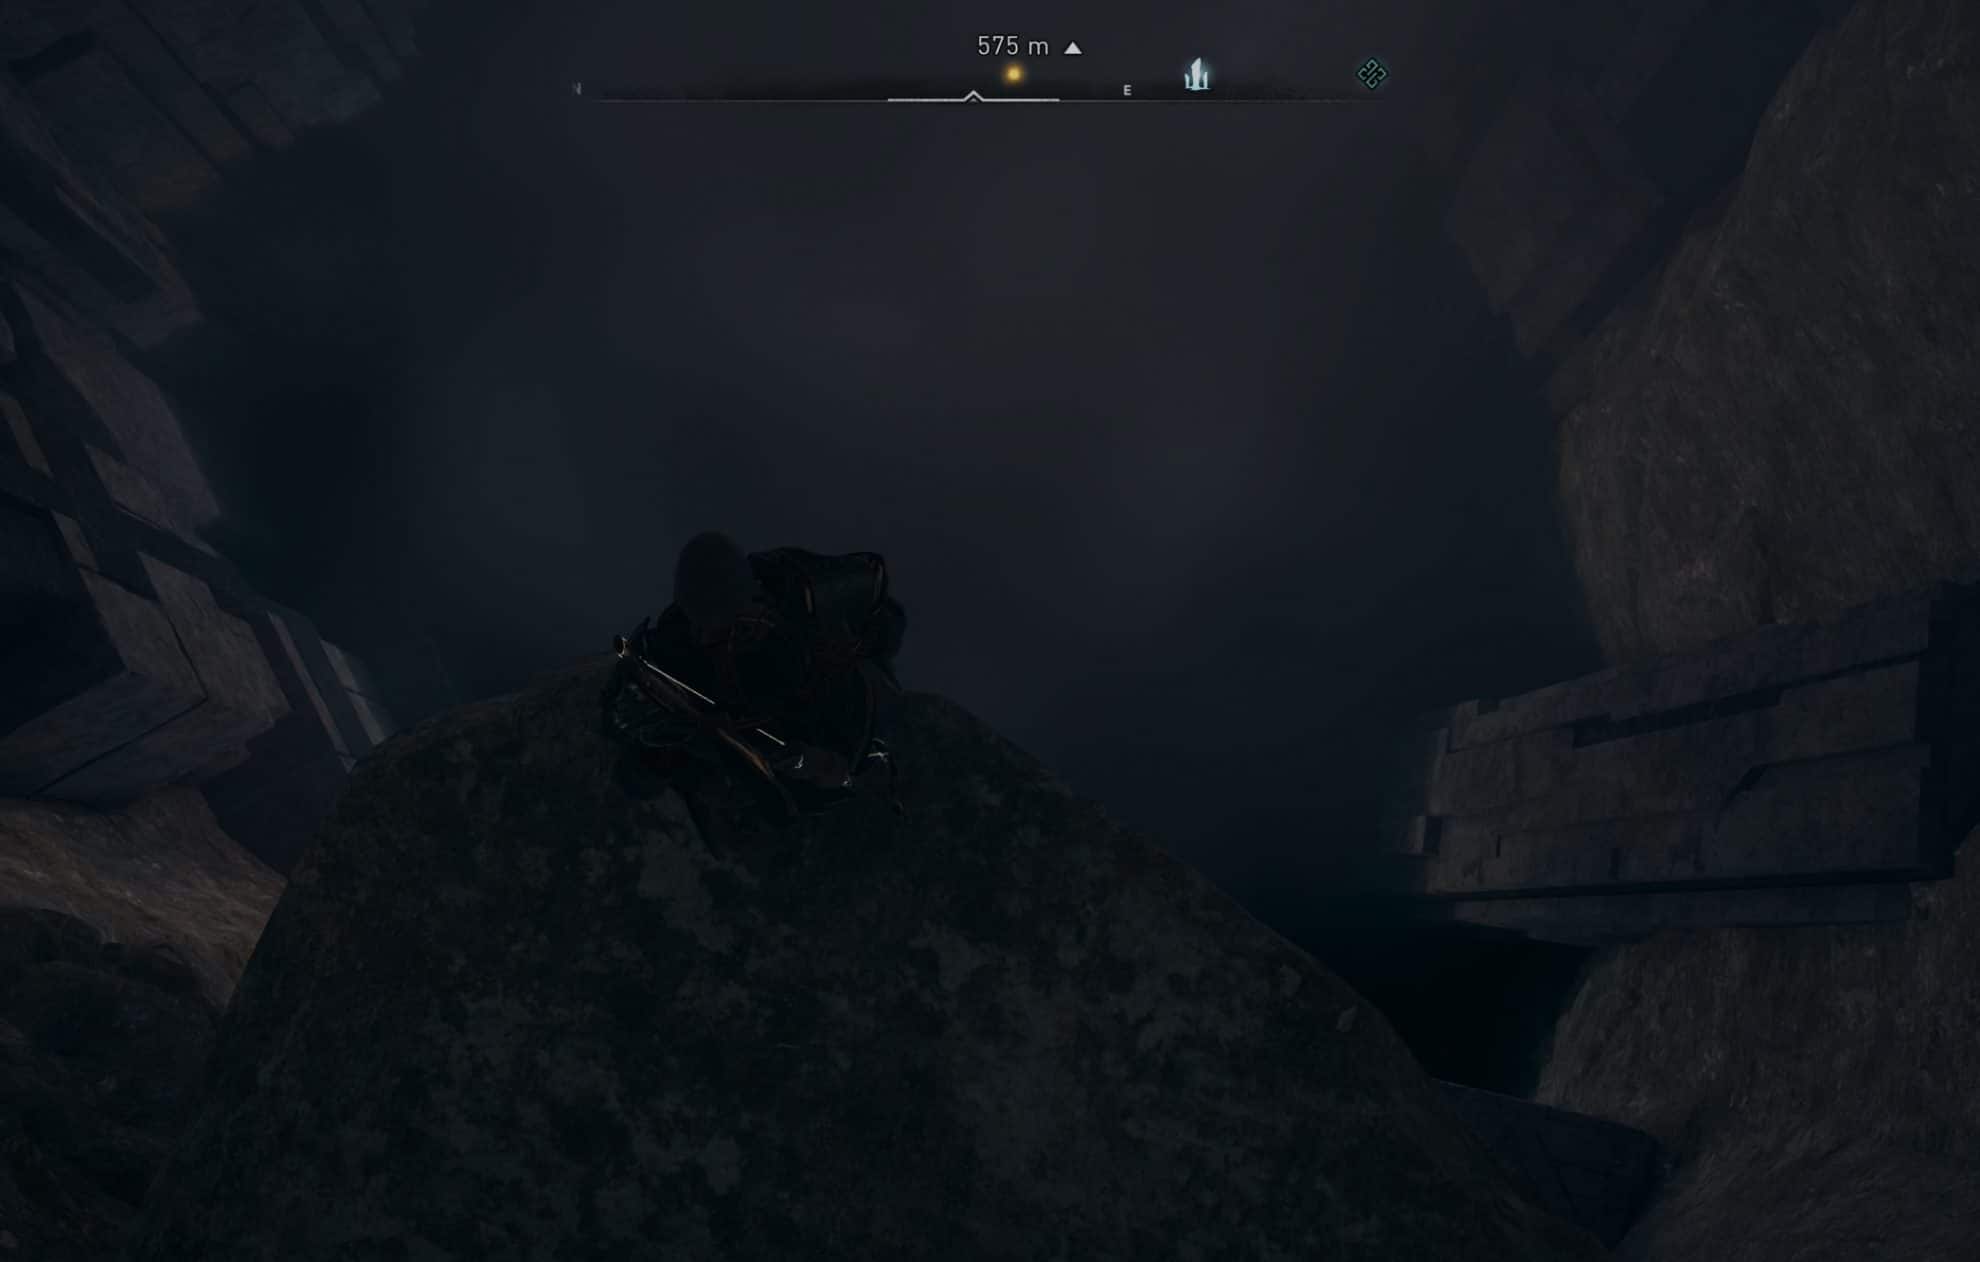
To be able to pull Excalibur out of the stone in Assassin’s Creed Valhalla you first need to collect eleven tablets – eight from hidden locations called Treasures of Britain and another three to from defeating Zealots (members of the Order of the Ancients) roaming the roads of England. Then you visit the massive cave where the sword is and pull it out to keep for yourself.
Below I have a step-by-step instructions on how to find and pick up all of them before you can get Arthur’s legendary Excalibur sword in Assassin’s Creed Valhalla.
Where to find the Treasures of Britain Tablets
Out of eleven tabs, eight are hidden deep in caves, dungeons and otherwise secret places all over England. This segment of the guide will show you how and where to find these tablets before you can move forward in your quest to get Excalibur.
The locations of the eight tablets are marked on your map with this icon: ![]()
You would know that you are near a Tablet when you see this on a wall and a “Read” sign pops up. This text is always a hint to what you have to do to get the Tablet.

Note that I am only mentioning the Power Level of the locations of these tablets for fun. There is no real fighting happening anywhere in these eight places.
Grimes’ Graves Tablet
This Tablet is in Grime’s Graves, located in East Anglia, a Power Level 55 region in England.

Entrance to the underground cave is right where Eivor is on the map above. Take a Leap of Fate all the way to to the bottom. There are three passages around you. Two of them lead to small loot and are fairly short. Take the third one.
At the end of the Parkour section you will see a small treasure on the left and a wooden table in the back with a couple of pots on it. Eivor will mumble “another”, referring to the Tablet, but you will not see it. break the pots on the right side of that table to reveal the Tablet and pick it up.

Cavern of Trials Tablet
This is located in Cent, a Power Level 130 area in south-east England. The location is called Cave of Trials and is located here on the map:
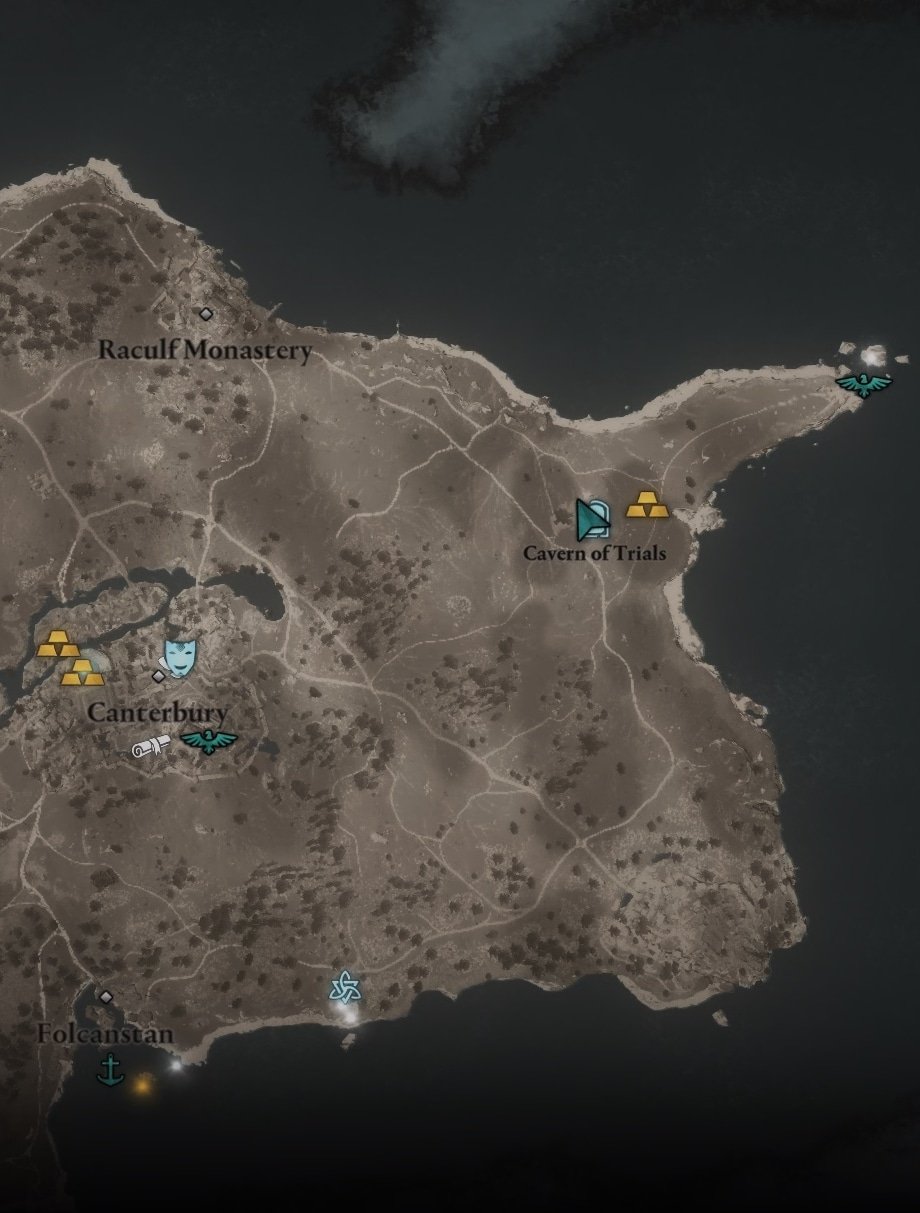
The entrance is a shaft leading deep underground to a cave system. It starts from a small house right where Eivor is located on the map above.

This is one of the longest and toughest tables to get. It involves a bit of Parkour and navigation inside the caves. Parkour in AC Creed is not real parkour, so it all goes down to finding the right pathways.
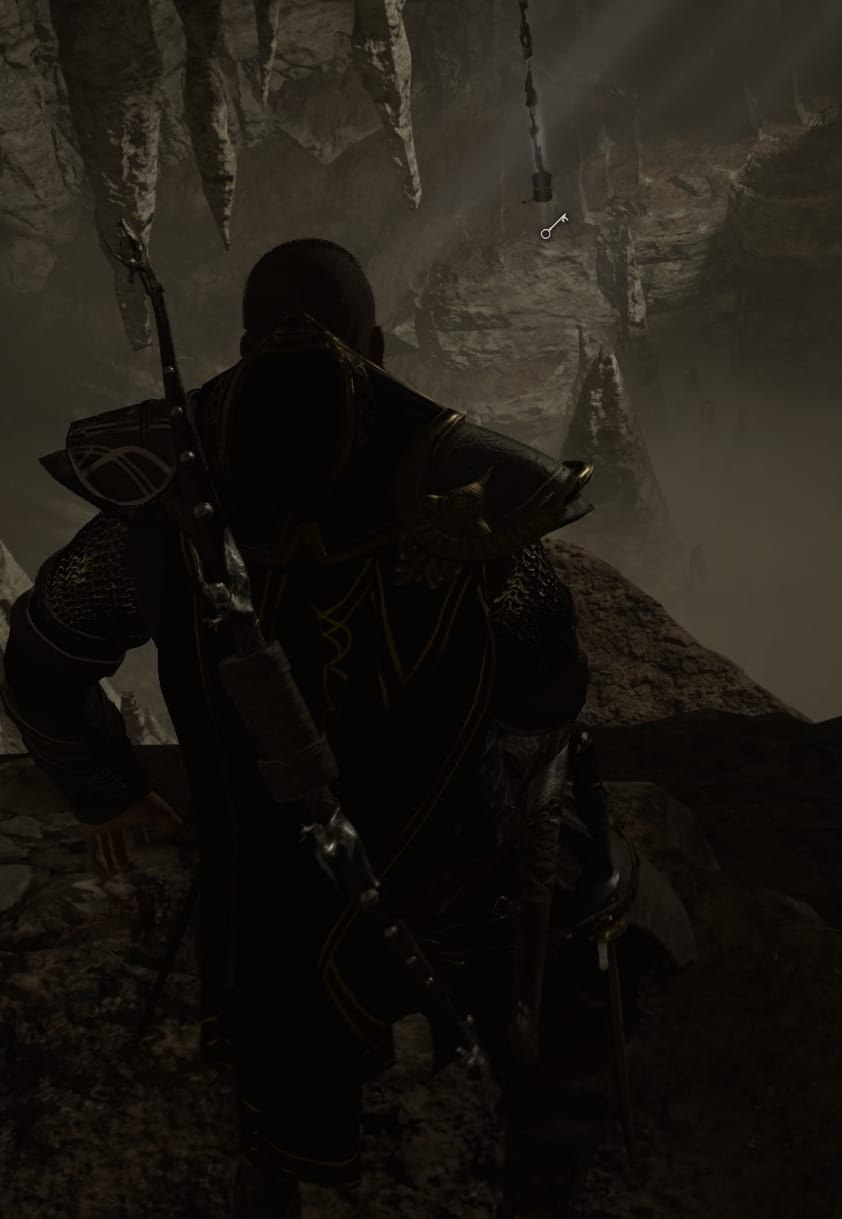
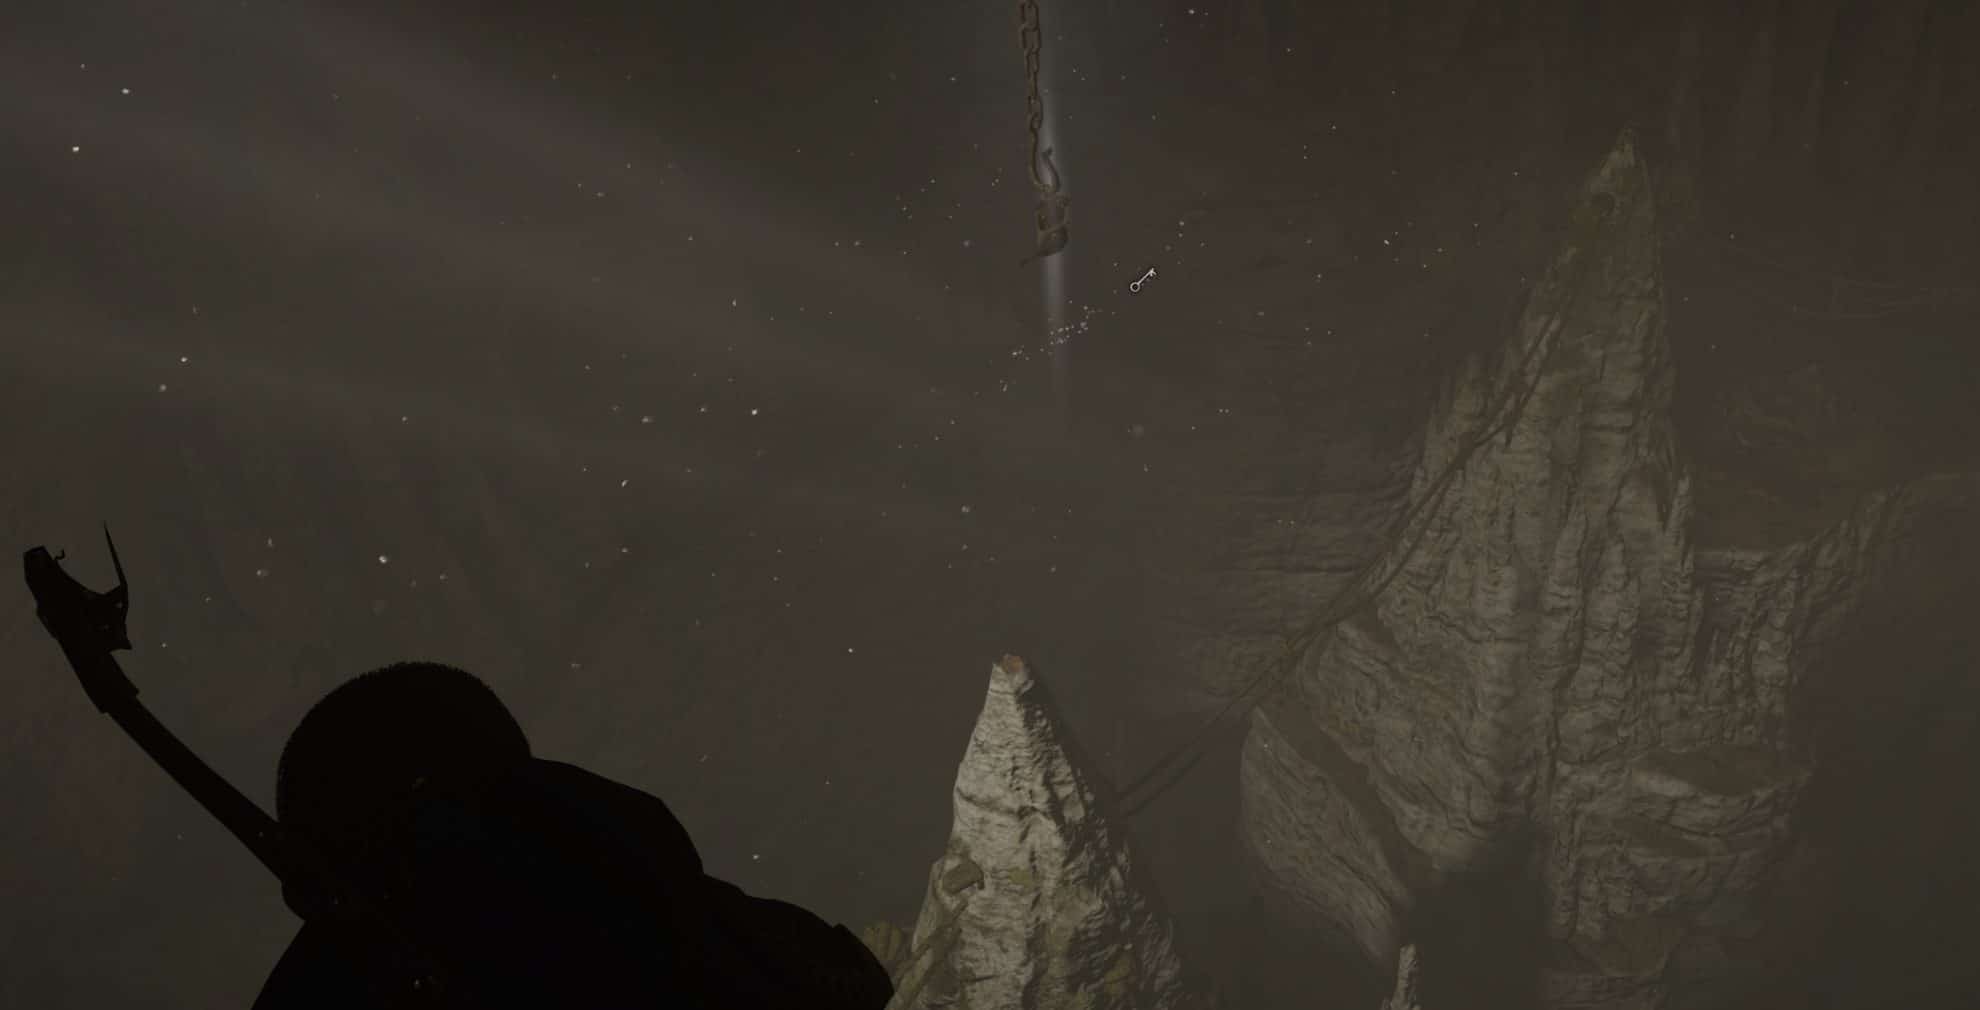
To get to the tablet, you need to obtain a few keys. They are all located down in the cave and you have to jump and press the “Pick Up” button to get each one of them as they will be hanging from a rope accessible only through jump and obtainable while jumping.
The first key is right on your way. All you have to do is reach the first locked door, turn around, jump and pick up the key that unlocks it, then go through it.

Hint: You will find all keys hanging from ropes in the various areas in this cave system.
Behind that door lie the other keys. You have to find the entrances to each small adjacent area where the keys are. Using Odin’s Sight will show the keys on your screen. This will help you find out which direction to take and how high the entrance is. All paths start from this area. The door leading to the tablet is at the very bottom. You can always take that rocky formation that looks like a “peak” in the middle of the area as a starting point. Turn around and you will find entrances to the other areas nearby.
One of the keys is in the area to the right in the image below. Go through that wooden arch. There is a giant stone head statue looking at it. Jump from its top to the decking. This path leads you to the Key of Agility.

Back to the “starting point”. Another one is to the left, through the stone arch. This is the key of Balance.
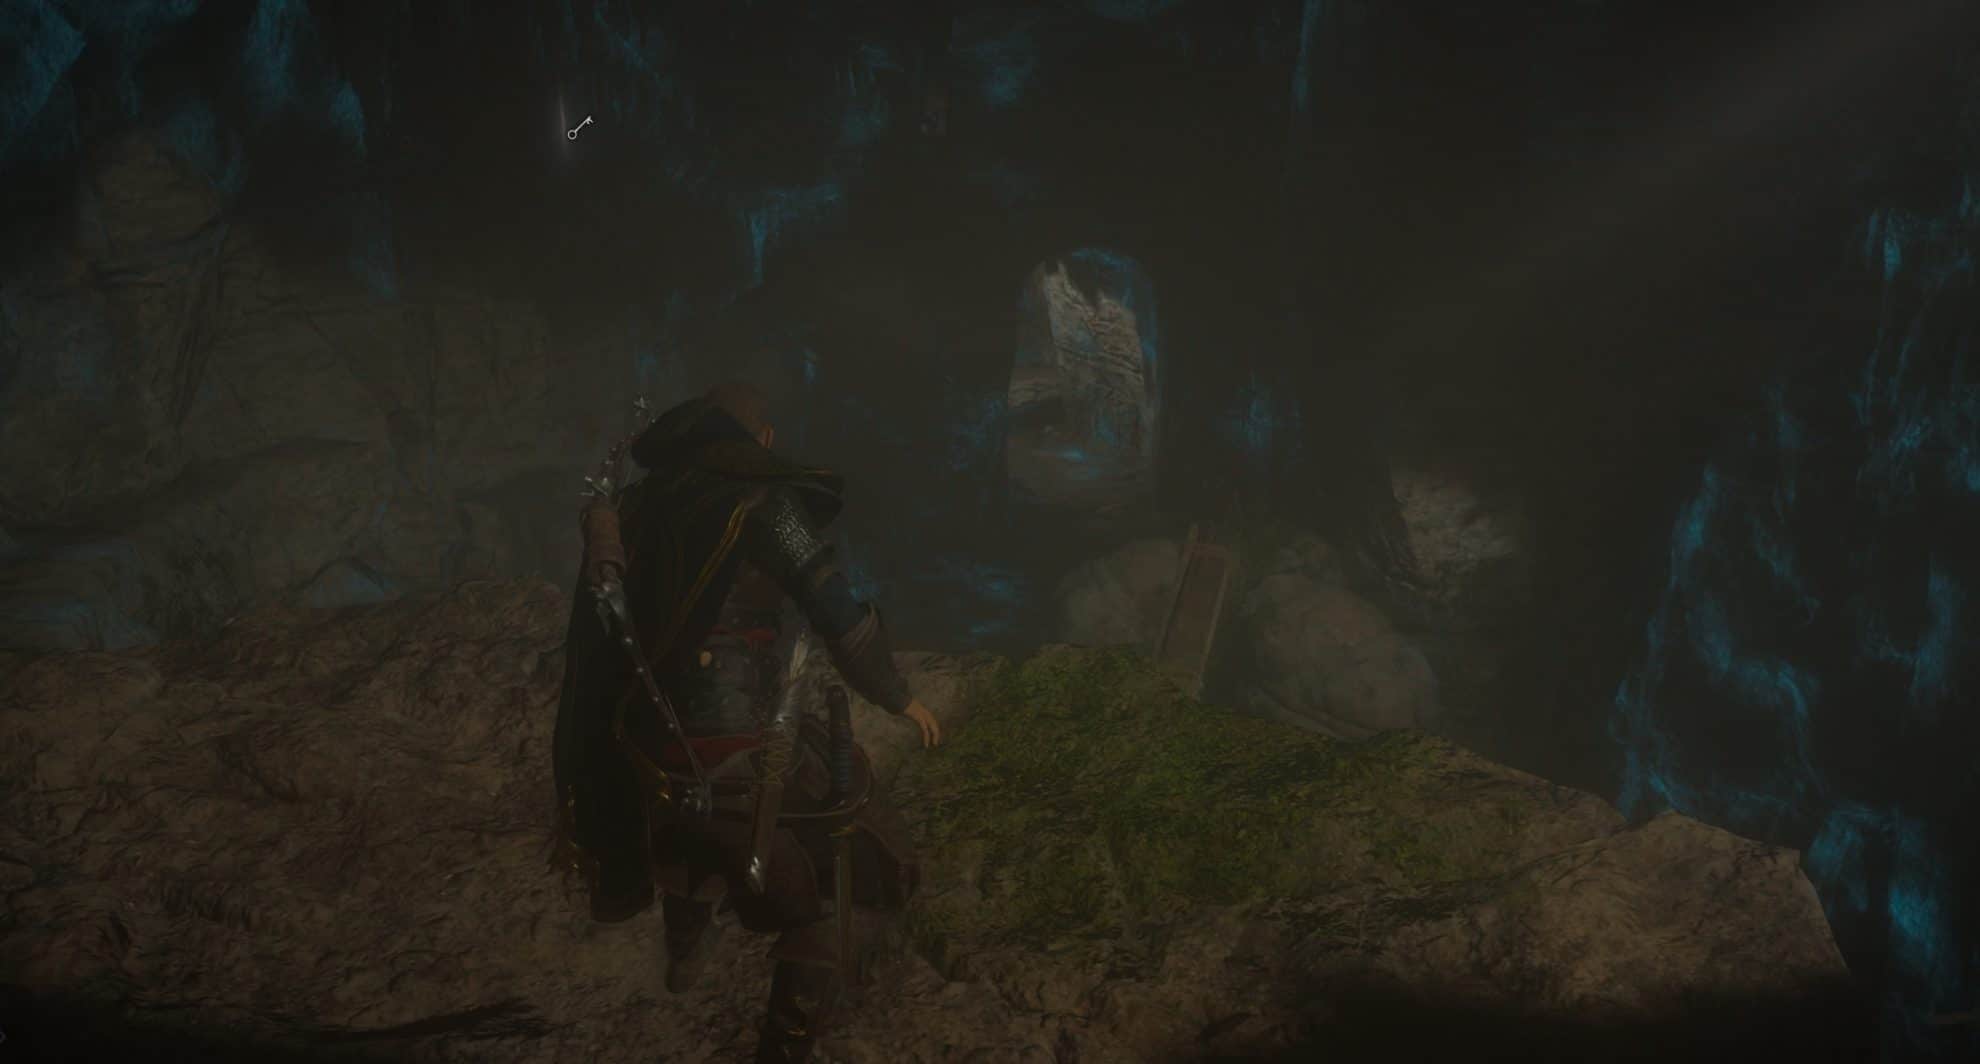
Back at the “starting point”. And another leads you through this giant roman head statue looking at a side entrance with wooden deck. This is for the Key of Dexterity.

Now that you have all of the required keys, drop to the bottom of the “starting area” and go through the two iron doors. Pick up the treasure to your right and go through this door:

Follow the tunnel. At the end of it jump on top of the boulder over to the other side. Now move the boulder on the other side all the way to the other end of this corridor, where another obstacle will prevent you from passing through, so you have to jump over. This repeats a couple more times.

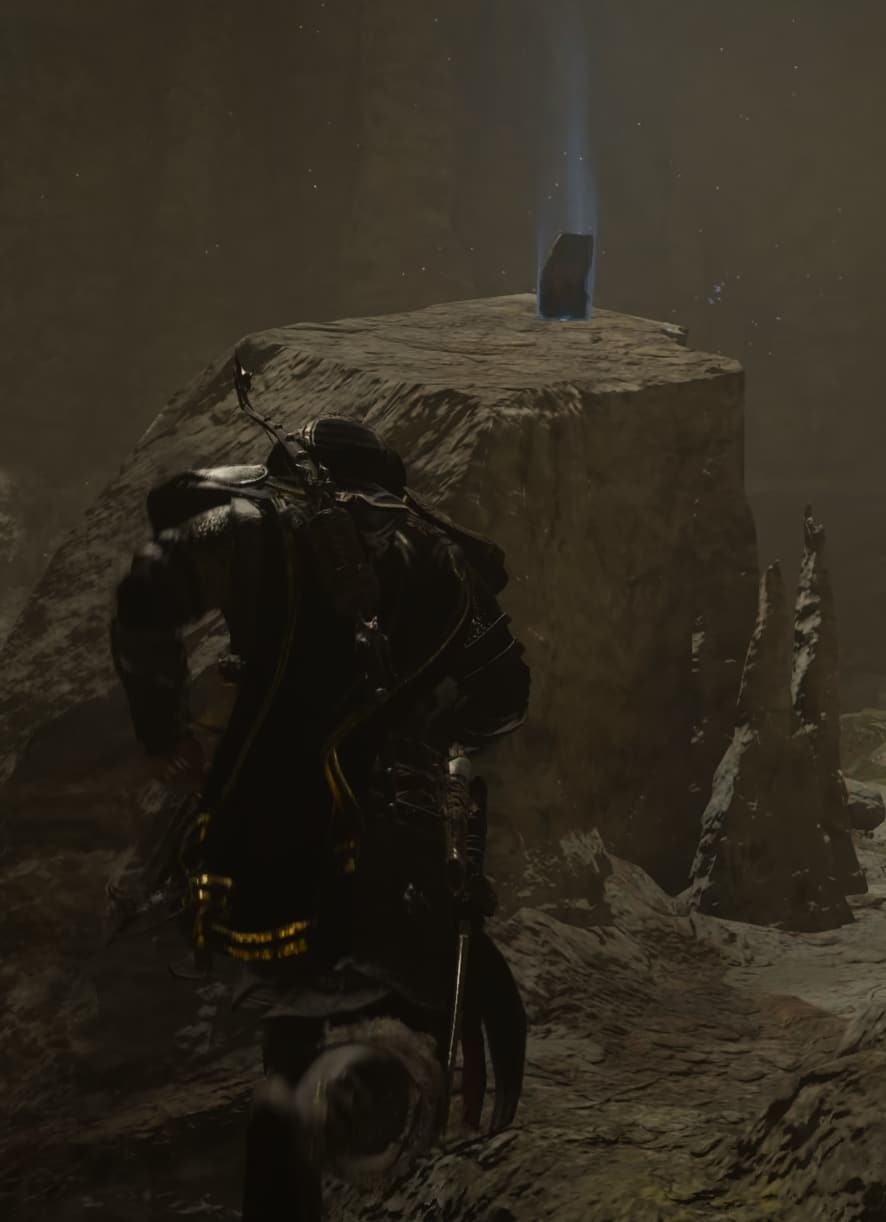
This here is the Cavern of Trials Tablet!
Santlache Mine Tablet
The next tablet is in Santlache Mine in Suthsexe in south England – Power Level 160 area. It’s near the border with Cent.

The entrance to the Mine is from this passage:
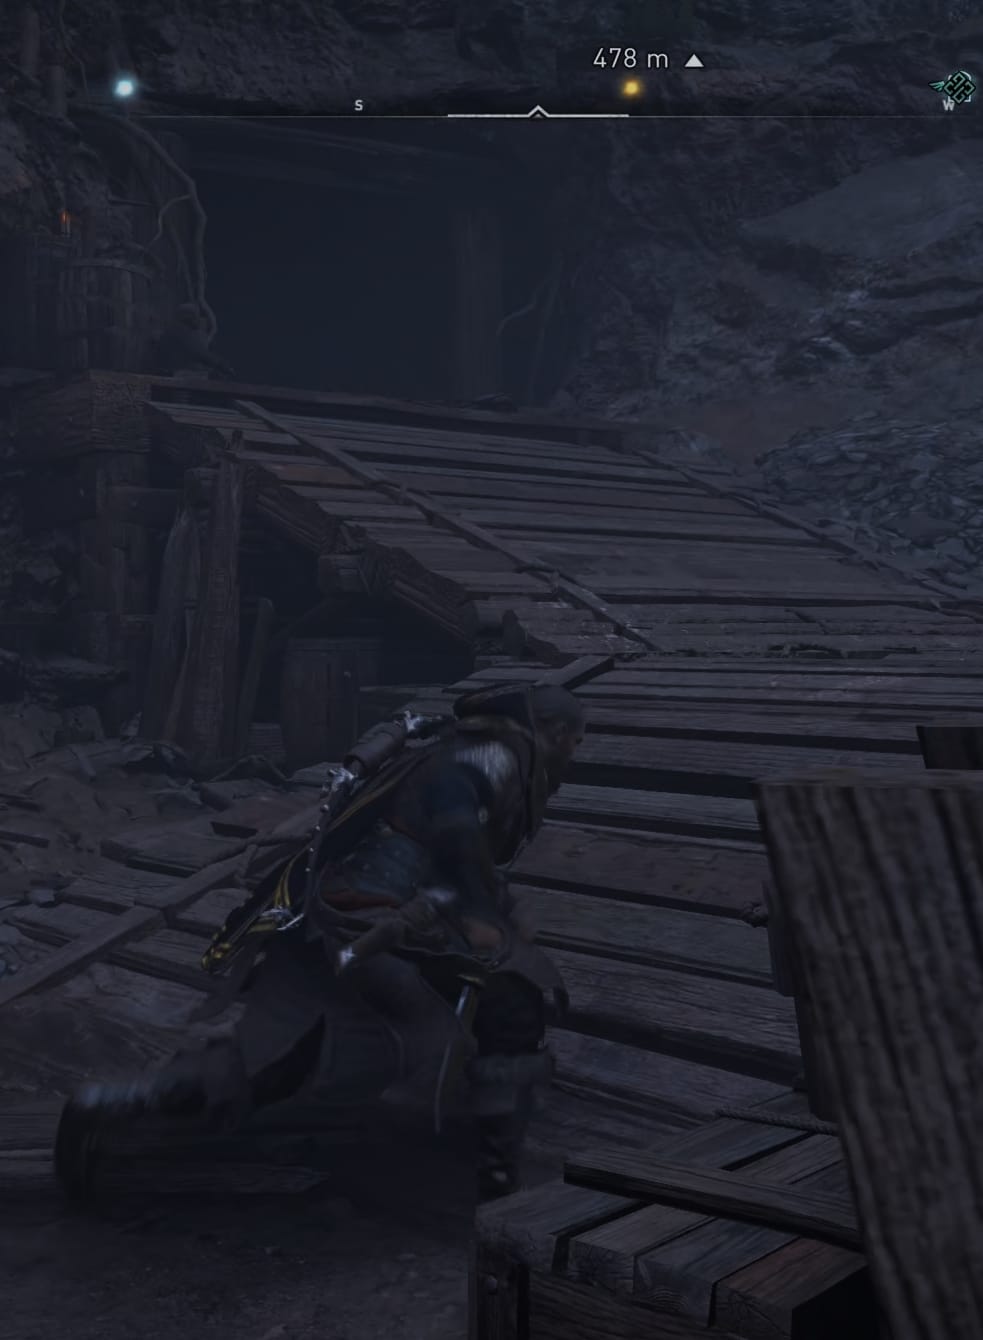
As you enter, there is a weak stone wall to your right. Blow it up.
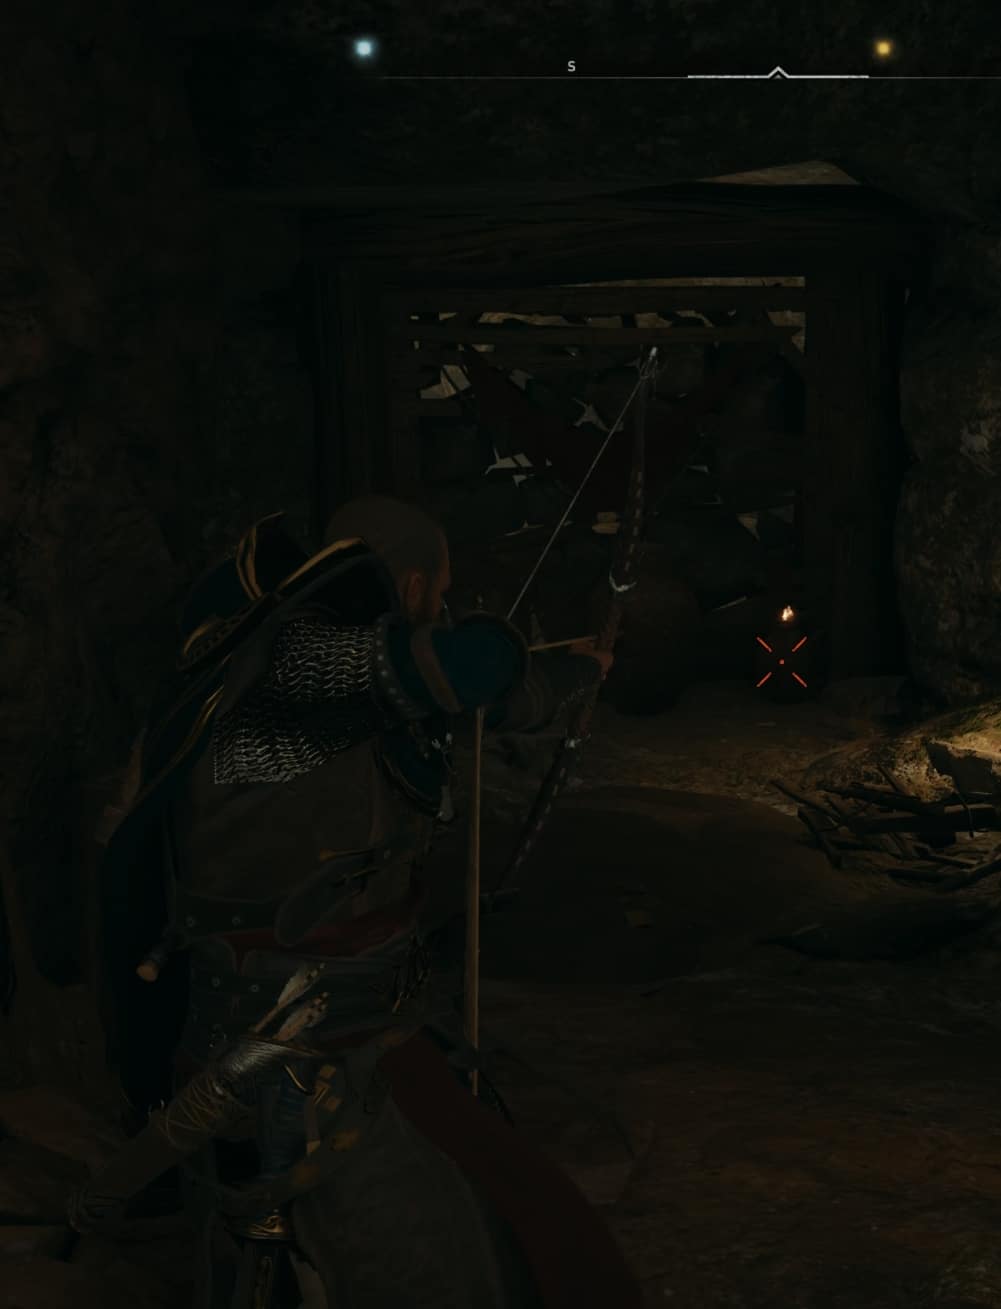
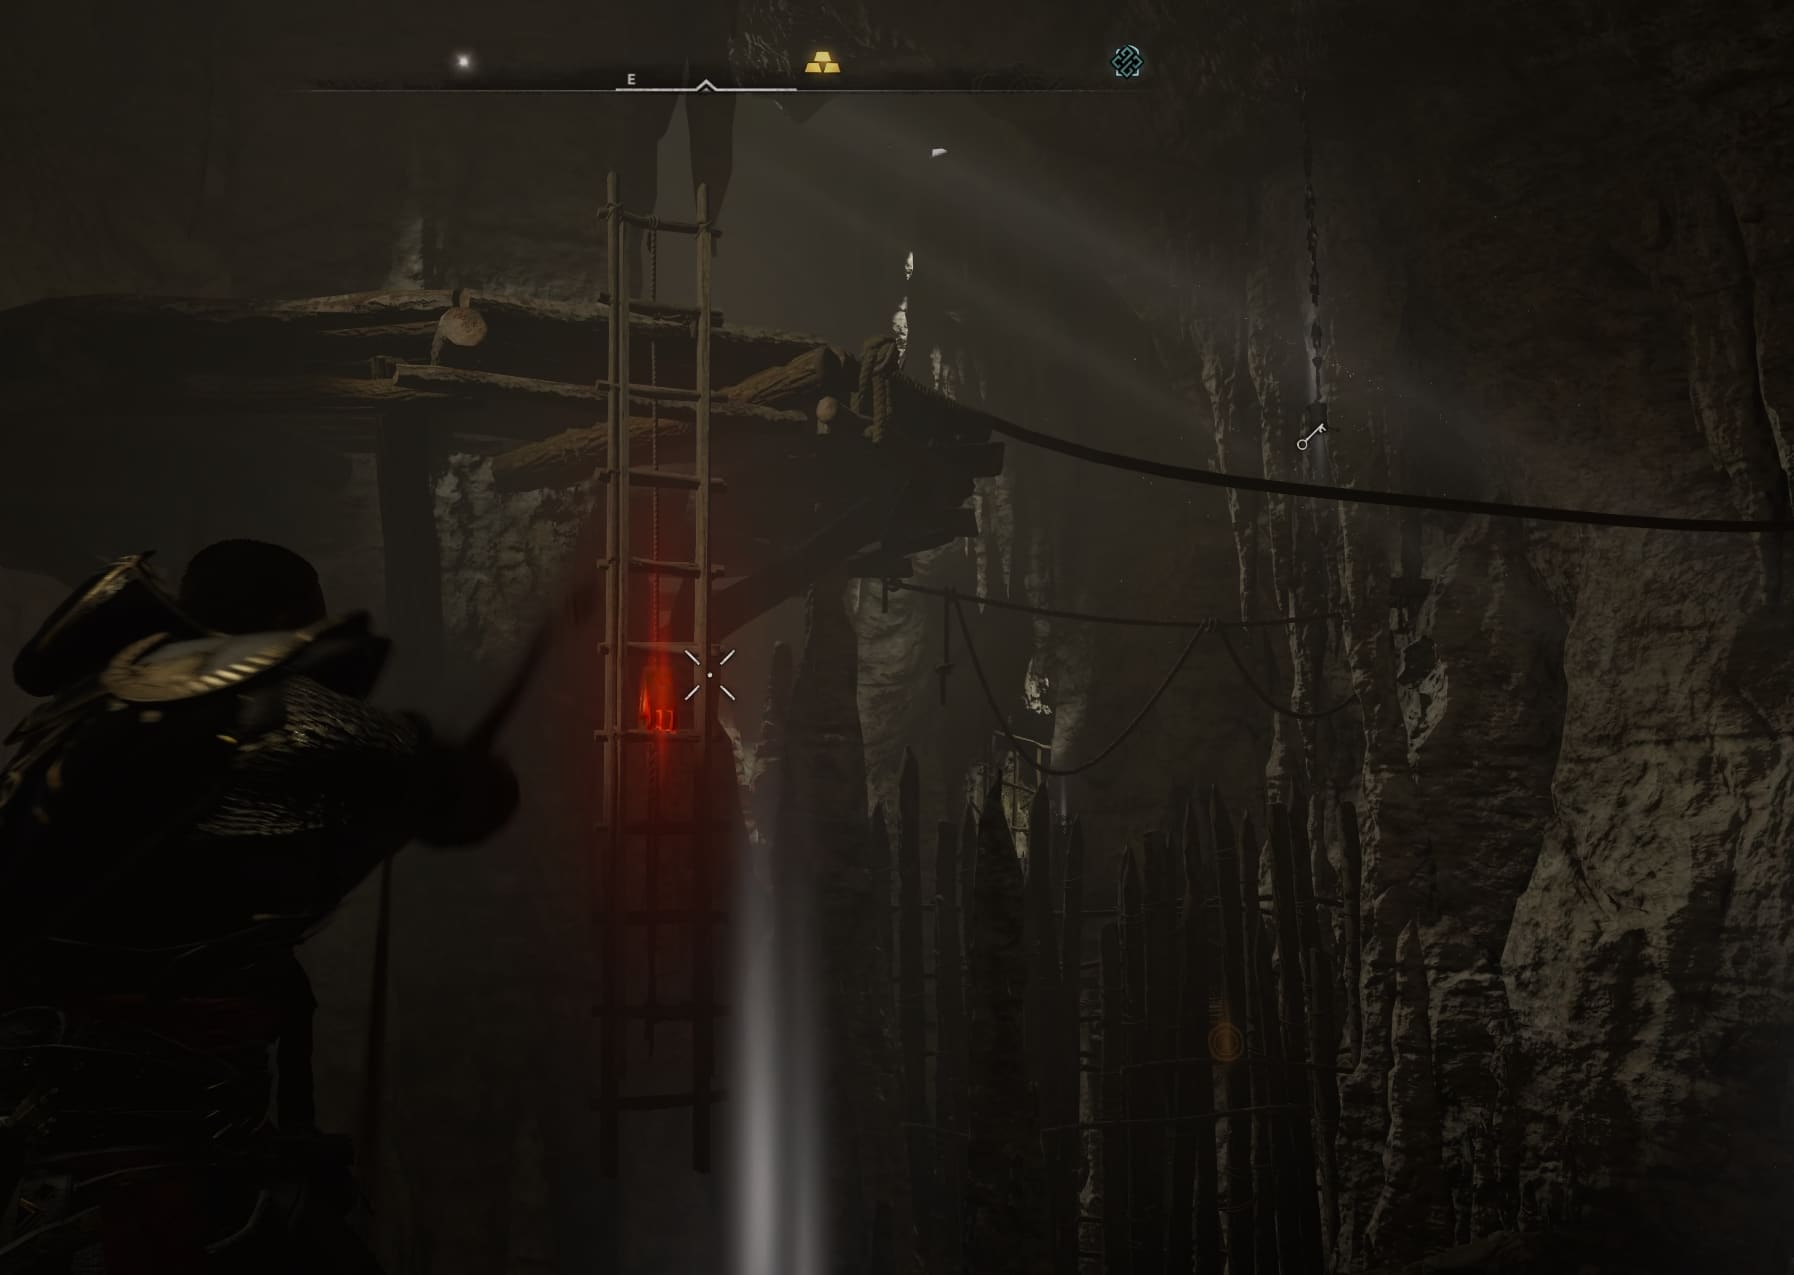
Follow the tunnel until you reach a room with a movable object and a wooden ladder. Move the object a little to the right so you can climb on top of it and get to the ladder.
When you are up, turn to your right and take that passage through a few hoops over wooden beams. At the end of it, shoot the weak spot of the wooden ladder to extend it to the bottom and climb it. Follow the path and move slowly up until you find yourself in this location:

There is a tope in front that’s right above the screen view of this image. Get to it by taking the path to your left.
At the end of the rope you will find yourself in a room with a weak stone wall in front of you and a small dark room with flammable pots to you left. Blow up the wall.
Follow the tunnel to reach a room with water. Swim until the end of that room, then dive and follow a long tunnel underwater.
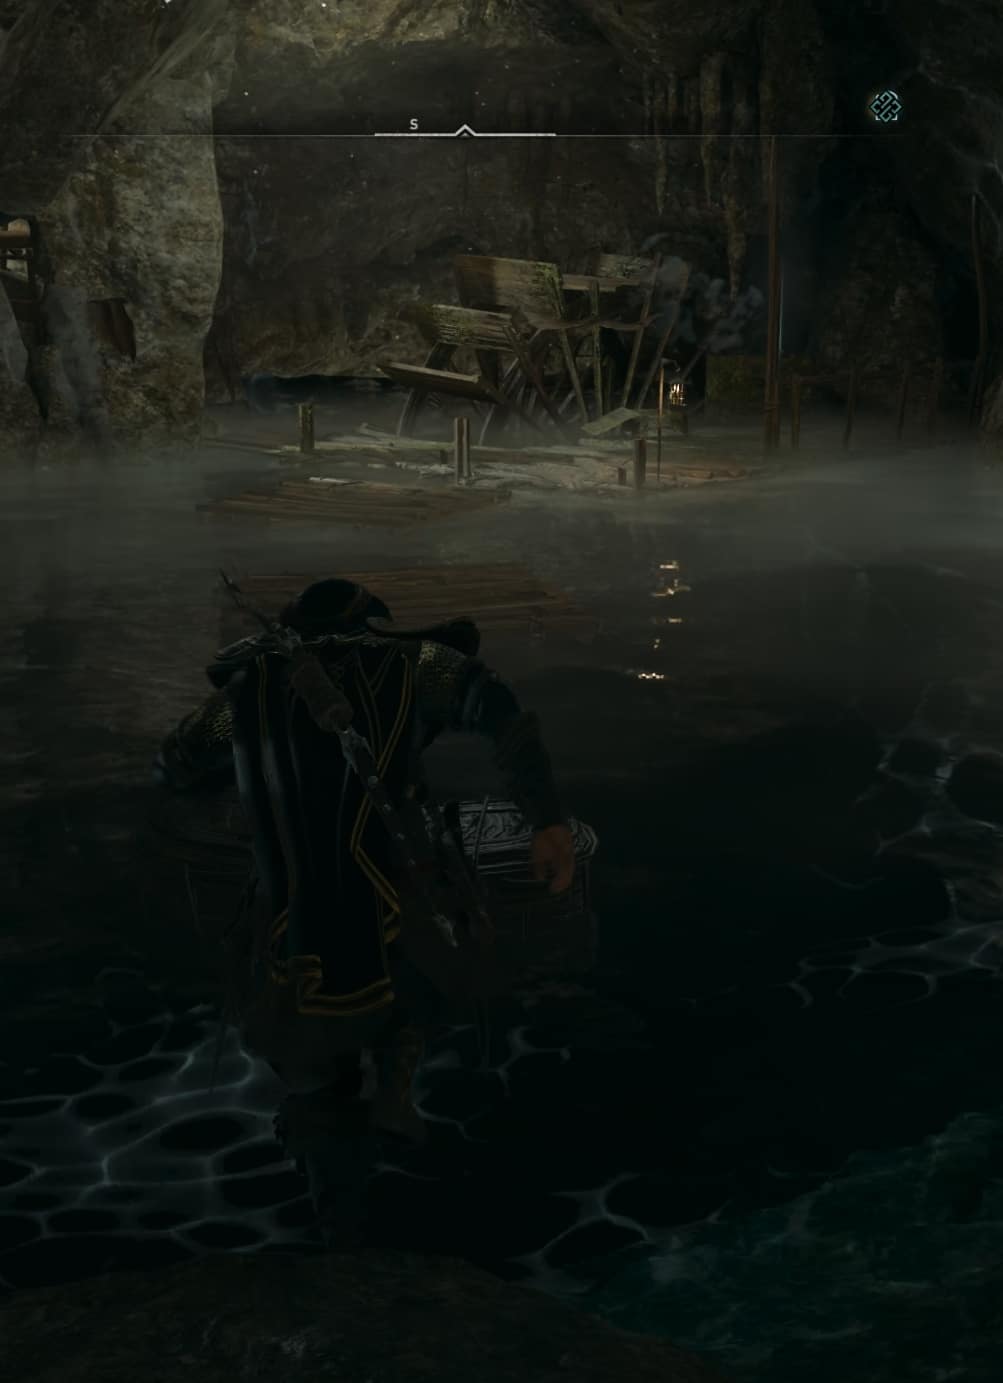
Be sure you have your full breath before you dive. It’s a long swim, but you only follow a narrow path with no distractions, so wont be a problem.
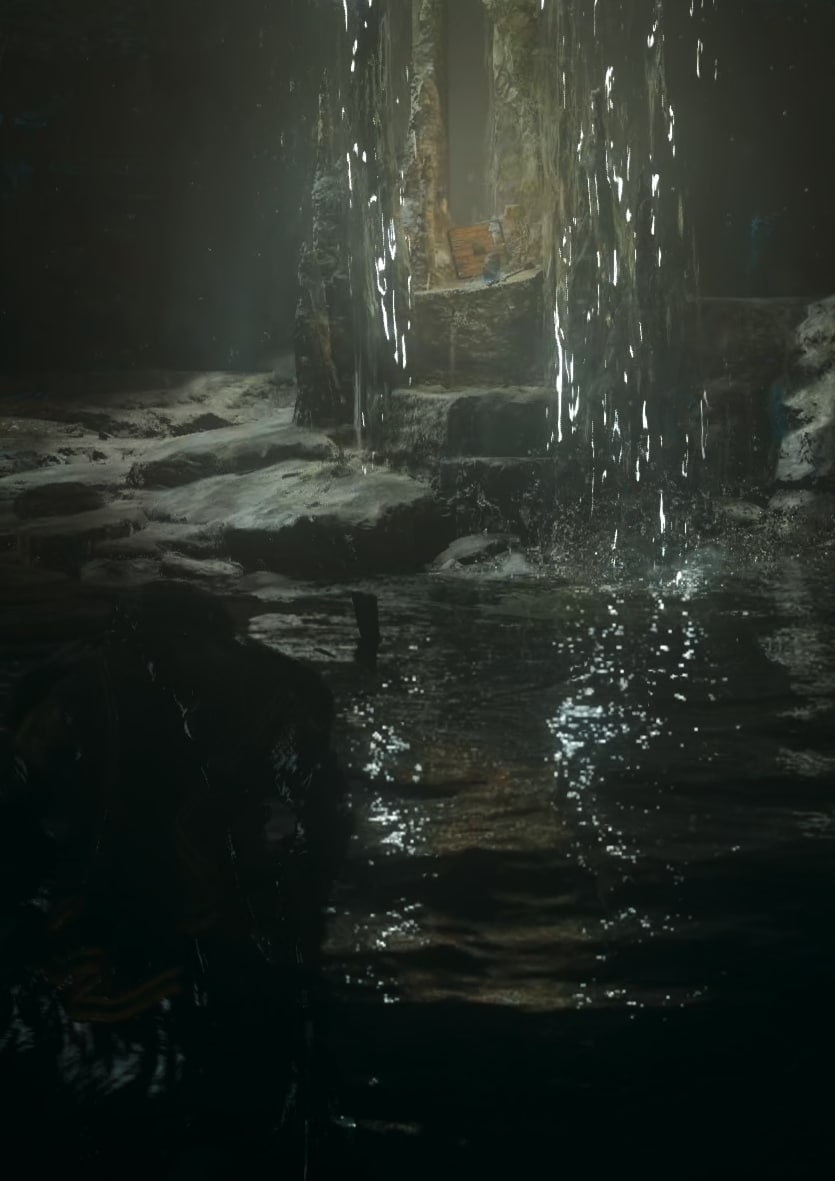
When you surface, the area in front of you with the waterfall is where you will find the Santlache Mine Tablet.
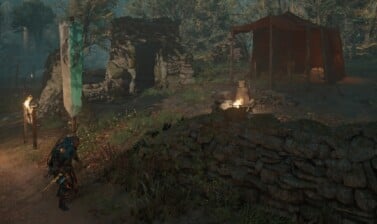
Old Cellar Tablet
The Old Cellar Tablet is a quick and easy one. It’s in Essexe, a Power Level 160 region.

The location of the entrance is a little south from Colcestre, through this cave.

There is a bit of running here, but nothing complex. Just follow a narrow pathway through a few hoops and jumps to find yourself in the Old Cellar.
In there, shoot the barrels in the red spots to pour enough wine for the Tablet to surface from the shaft in the middle of the room.
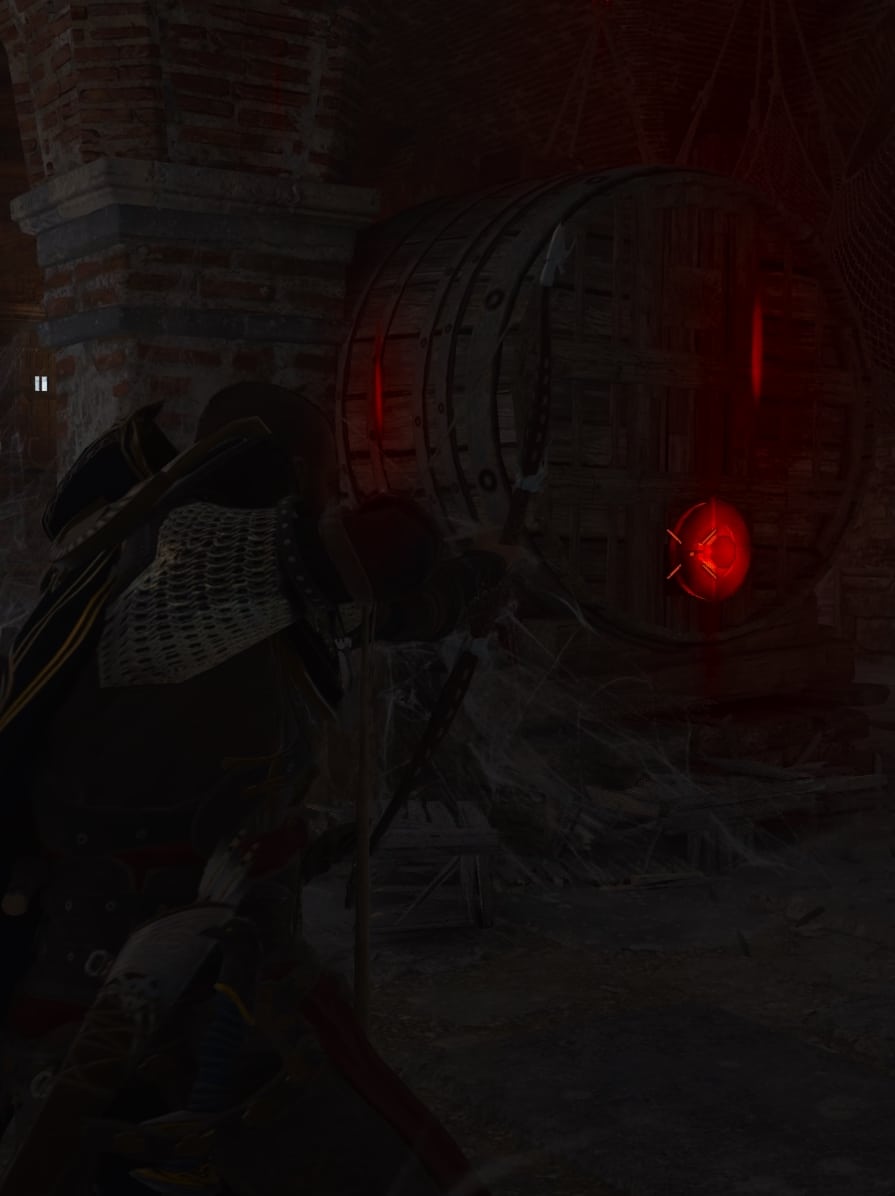
When Eivor tells you it’s enough, just go pick it up.

Wiccan’s Cave Tablet
This tablet’s location is in Wiccan’s Cave, west from Jorvik in Eurvicscire, a Power Level 190 area in England.

As you enter the cave, just follow the path. Remember, you cannot climb frozen rocks. Always look for proper ledges and other ways to climb through and forward.
Soon you will arrive at a small area with a note and an ice wall to the right of it. Shoot an arrow to break up the ice and go through the opening.

When you cross it. The door in front of you leads to the room with the tablet. It’s barred.

Go around to the right. Destroy the weak wooden wall to reveal a view inside of the barred room. Shoot the flammable pot to break the stone wall right behind it.

Get to the other side of the locked room, where you just blew the stone wall. There are two boars there you have to take care of. Through the opening shoot the locking mechanism of the door and you will be able to finally enter that room.

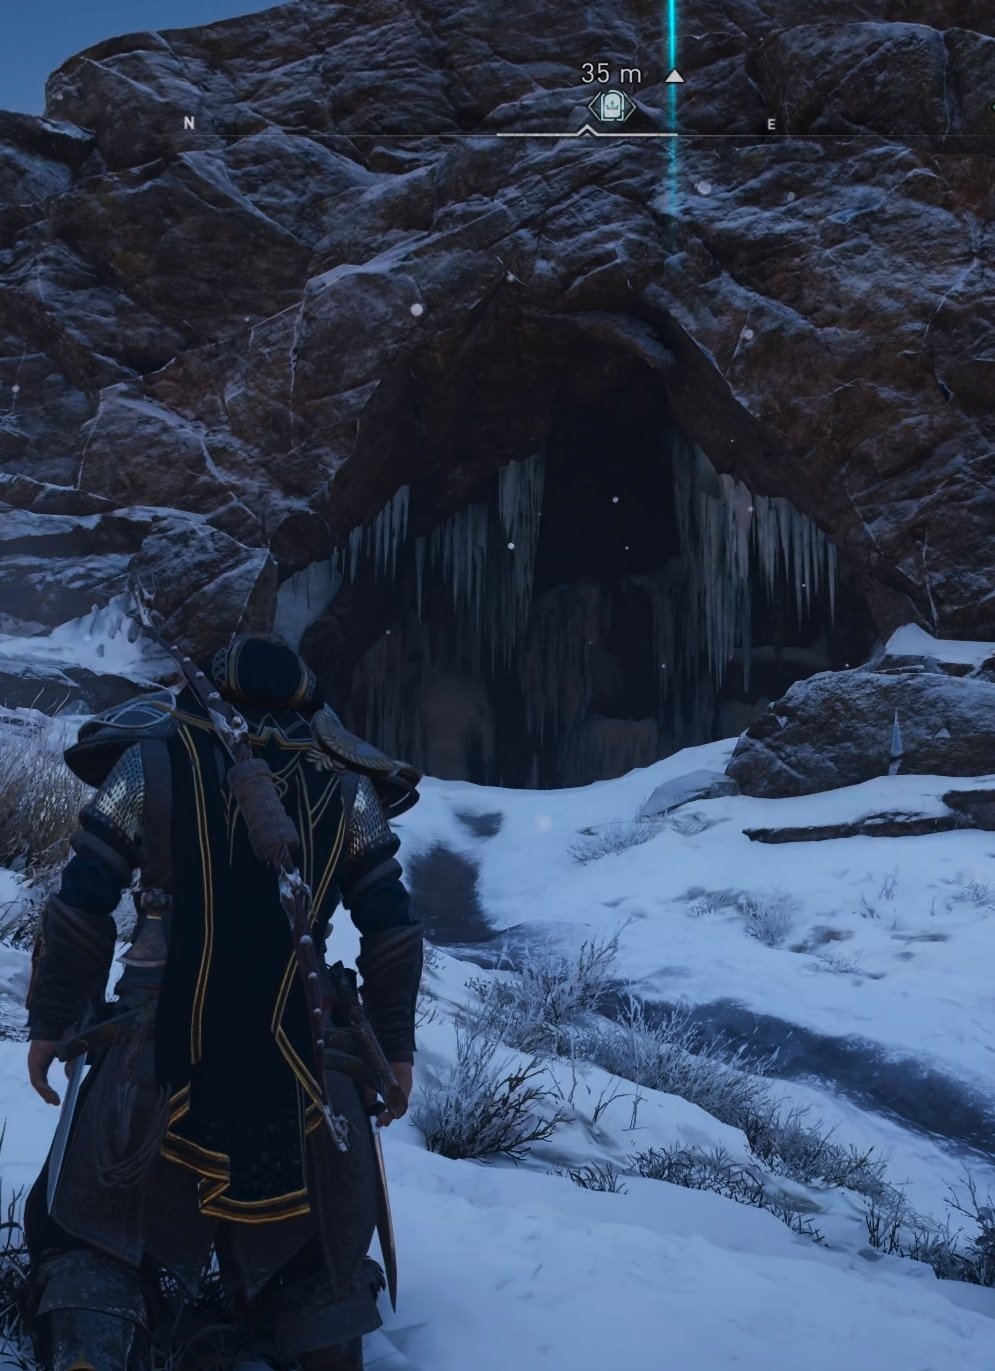
Deoraby Spar Cavern Tablet
The next tablet is in a cave north from Memthorpe in Snotinghamscire. It’s a Power Level 250 area. The exact location is called Deoraby Spar Cavern and you can find it here on the map:
The entrance is from the south.
After you enter, climb up and look back and u above you to find a ledge you need to jump to.
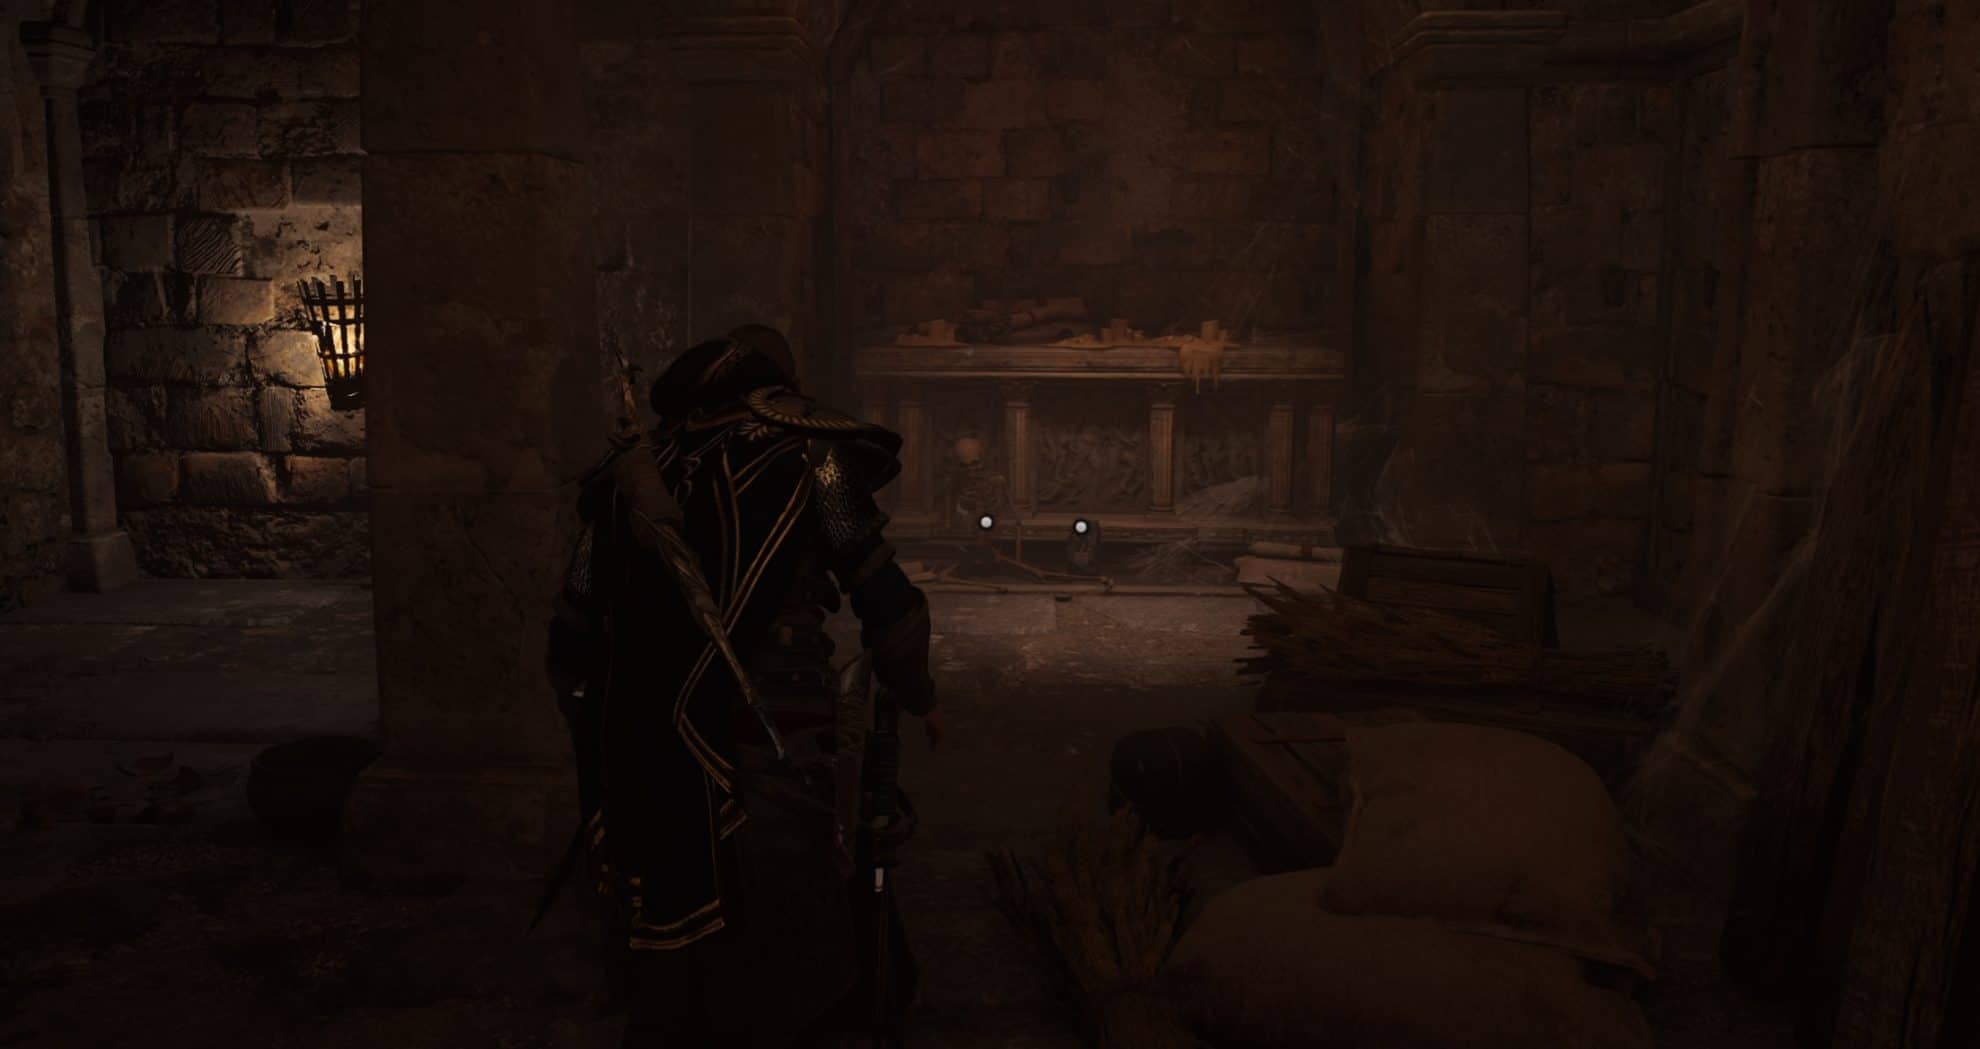
When you reach this room, pick up the key lying at the bottom of the statue in the middle of the image below. The door is to the right from the statue.
In this next large area you have to climb and jump through the statues over to the other side. No tricks, just find a way. Hint: the path goes through the right statue.
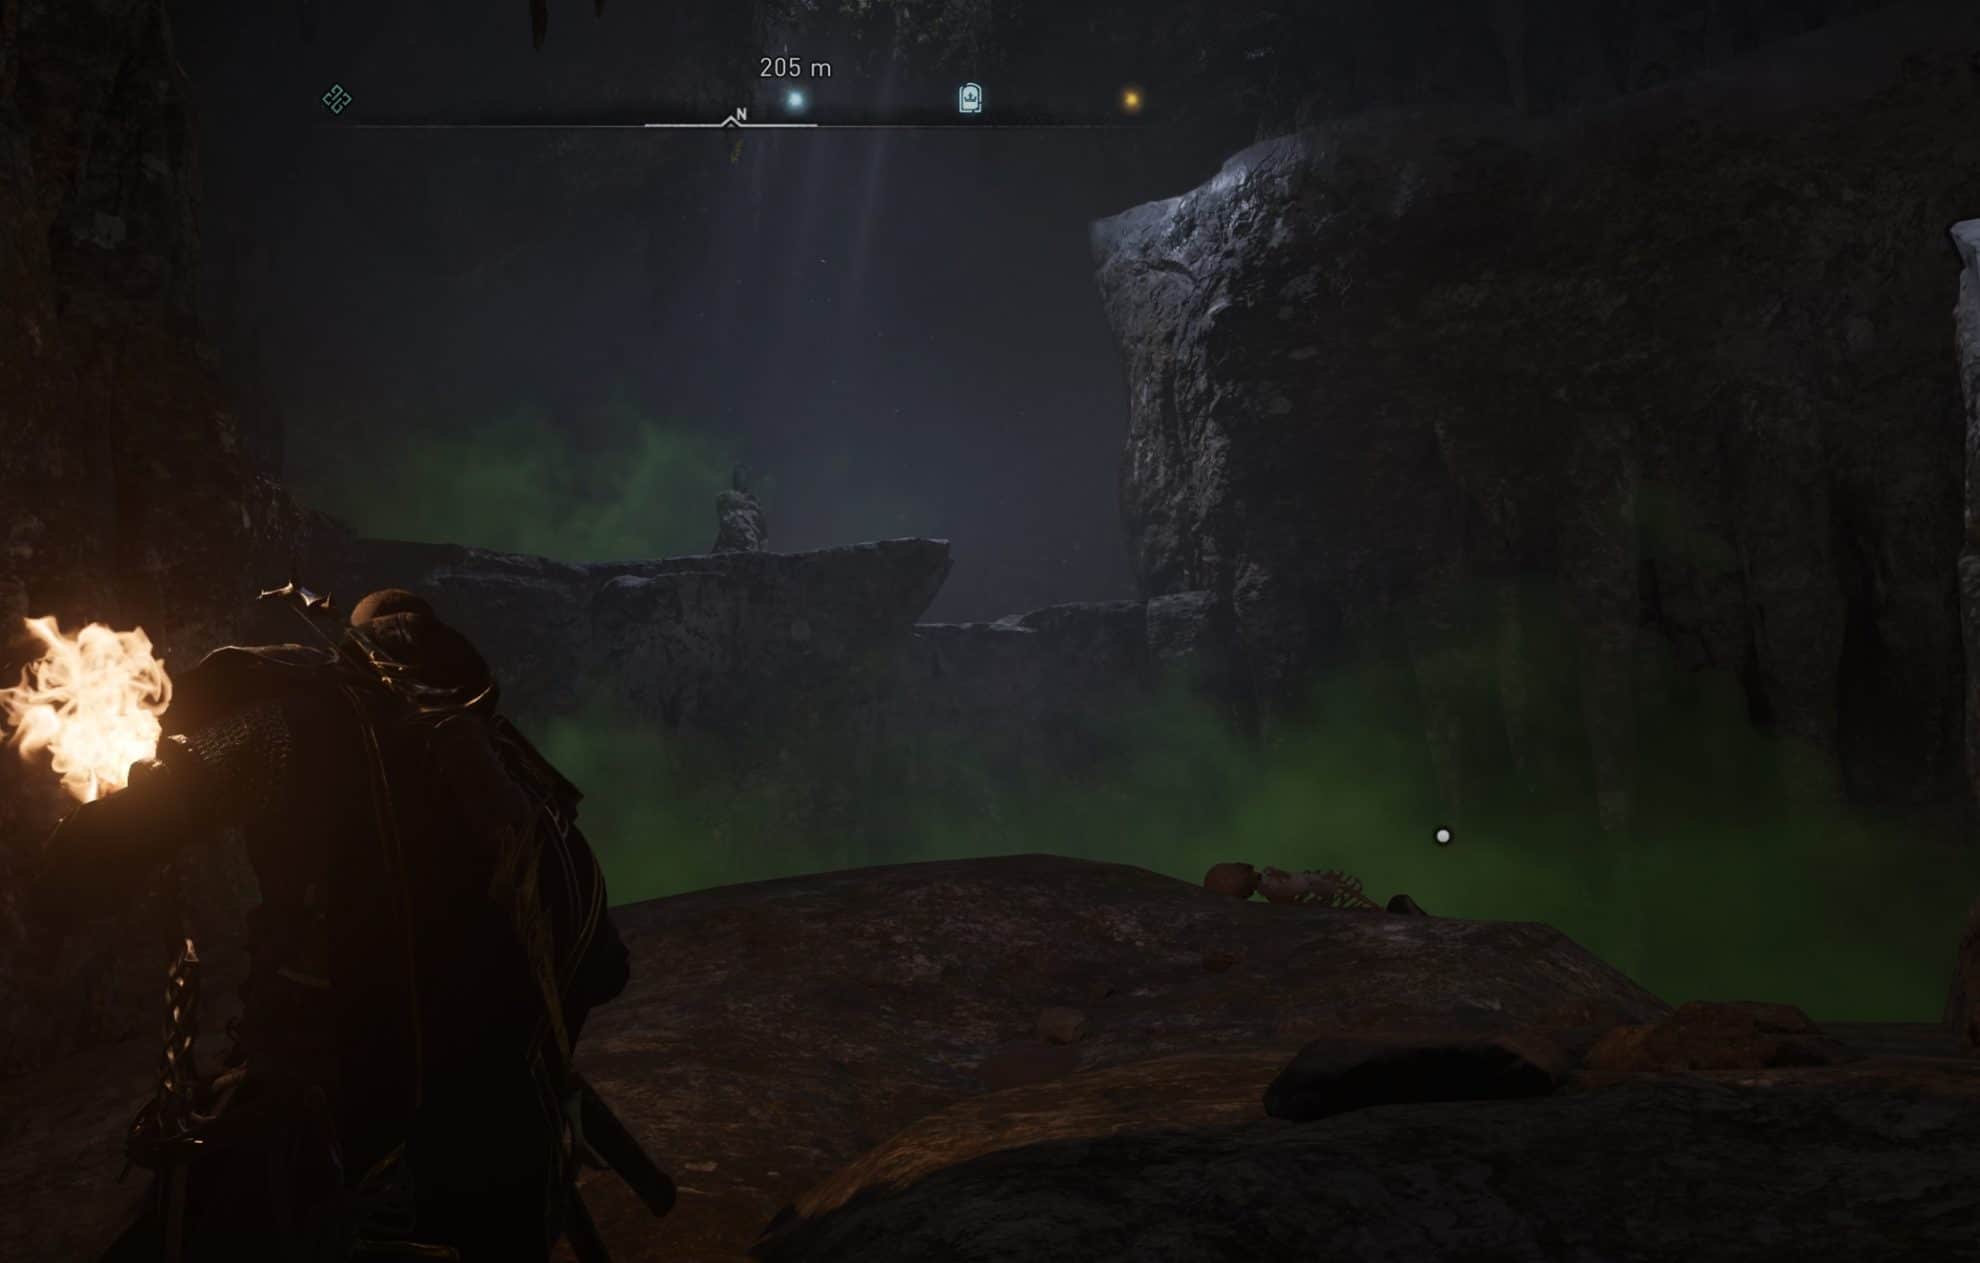
Red Lichen Cavern Tablet
The Red Lichen Cavern is located a few hundred meters to the west from Wincestre, in Hamtunscire – Power Level 340 area.

This tablet is very easy to pick up. All you will need is your trusty.. torch. Entrance is on the north-east side of the small hill.

While traversing the terrain inside the cave, be mindful of the green clouds. They are poisonous. Throw a torch at them to disperse the poison for a brief moment to allow you to pass through. The tablet is sitting in a cloud of poison itself in the very end of the cave tunnels.
Wocig Tablet
The final eight tablet is in the same Power Level 340 area – Hamtunscire. It’s in Wocig, which is right near one of the Sync Locations (a little to the west from it).

The entrance to the cave is on the north side of the canyon.
Once inside, follow the path until it leads you to the underground lake with a boat waiting for you. Take it if you want to speed things up, but note that exploring on your own might bring you some “fortunes”.
When you reach the barrier, leave the boat. Swim across the next part of the lake to the opposite side and jump up to climb it. Again there are some treasures around in this room you may want to pick up before you continue.

When you reach the sign with the “instructions” on what to do, slide through the opening in the wall to the other side.

On your left there is another passage to a dark room with lots of flammable pots. Blow the ones on the far right corner to reveal the entrance to the room with the tablet.

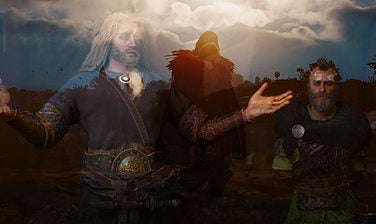
Where to find and how to defeat the Zealots
After you have collected all eight tablets from the Treasures of Britain segment of this long journey to get Excalibor in AC Valhalla, next you need to find and defeat three Zealots from the Order of the Ancients. Once you defeat them, you will gain the usual Medallion as well as a Tablet from them.
How to use the Orders system menu to find Zealots
If you have learned their identities through the “Order” system in the menu, you can simply click to mark them and follow the red helmet marker on your Compass. Otherwise, follow the instructions below. Every time you “teleport” from one location to another, the Zealots spawn in a different location. If you Mark them through the Orders screen, they will still show up their location, but it will be different each time you go through a loading screen, to put it simply. When you approach a Zealot, you will hear a strong horn-like sound alerting you of their presence.
How to Scout and Scan the lands for Zealots
To find a Zealot, head to the region they are known to patrol (described below) and take a stroll through the main roads until you fin him. To identify a Zealot as a member of the Order, scan the areas you pass by frequently with Odin’s Sight. When they are in close proximity, they will be marked on your map. Zealots usually patrol on the main roads in their regions, they don’t go to the wilds.
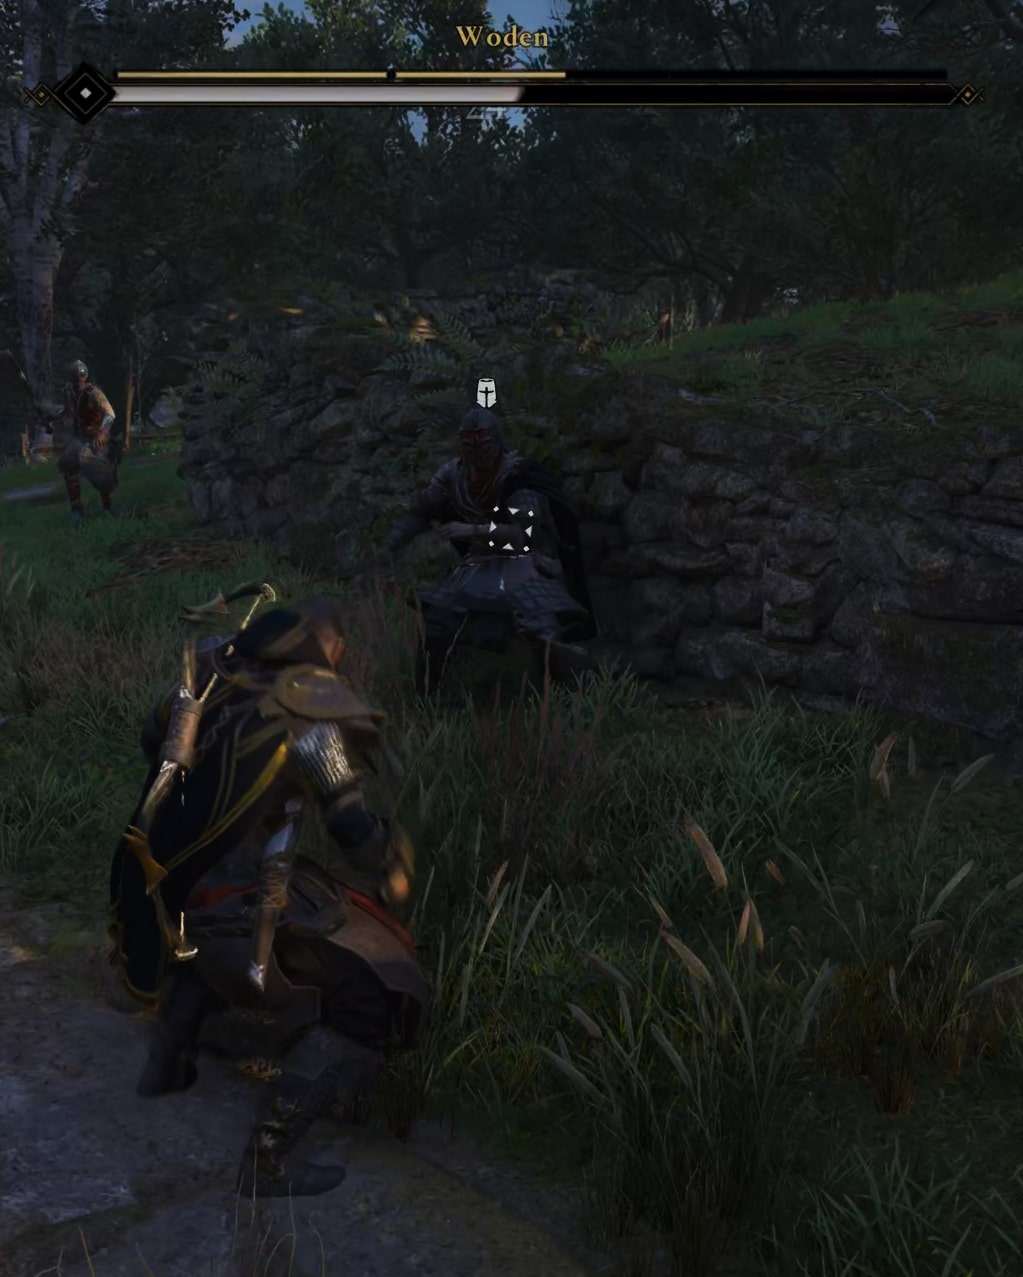
How to find and defeat Woden
Woden patrols the Cent region. He is recommended for Power Level 220 builds or higher. Woden is the top left Zealot on the Orders screen.

Here are a few tips for finding and defeating Woden Zealot:
- He roams the main roads of Cent in south-west England.
- His head (only while riding) and right foot (always) are his weak spots for ranged hits.
- Rage of Helheim and Throwing Axe Fury work great on him.
- Brush with Death is a good skill to have for melee combat.
- He lobs smoke bombs and shoots arrows at you if you keep at a distance.
- I had great success against him with my Assassin Build made for speed and many quick hits.
- Woden uses only a Greatsword and no shield. His attacks are quite slow and easy to dodge or parry.
- If you stun him, he is a bit slow to recover and get up. You can deal a lot of damage during that phase.
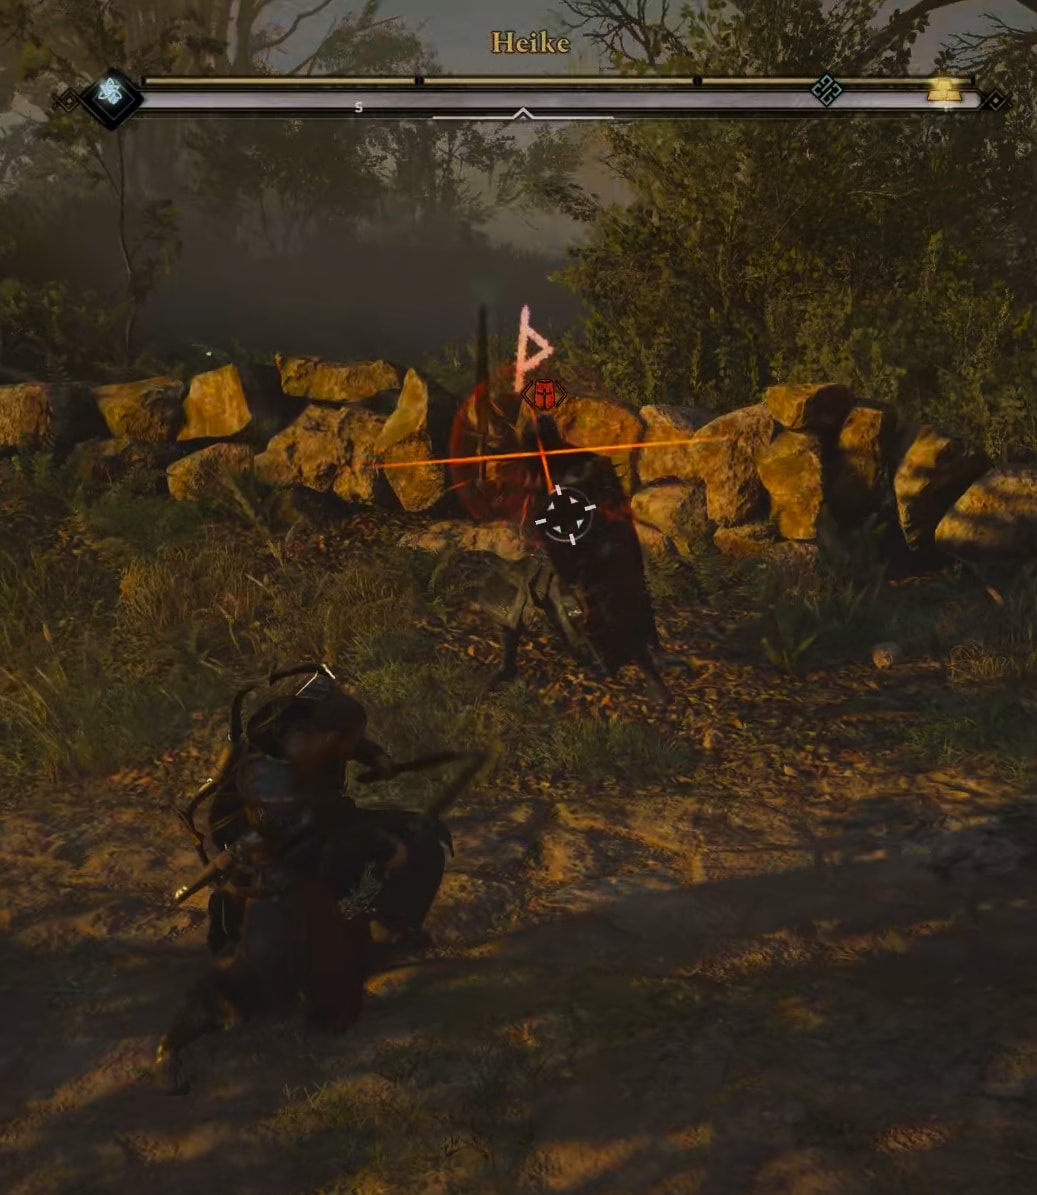
How to find and defeat Heike
Heike is in Essexe. He is recommended Power Level 250 Zealot.

Here are my tips about fighting him:
- Heike may not be on the location shown above, but he is always in Essexe as far as I can tell.
- He has a poisonous sword. each hit you take, you also build up poison debuff.
- Harpoon and Rage of Helheim are great Abilities to use against him.
- His ranged weak spots are his back and his left knee.
- He may lob poisonous bombs at you if you keep your distance from him for too long.
- He uses a big and heavy sword and an even bigger shield, so he is not very fast.
- Brush with Death Skill is incredibly useful against him.
- You may want to use Odin’s Spear to give yourself some distance from the Zealot and hit him “safely”.
- He may call for support if there are other soldiers nearby.
How to find and defeat Hrothgar
Hrothgar is a Power Level 280 Zealot from the left-hand-side of the Order menu. He roams around the south-eastern parts of Suthsexe. Here are the tips for defeating him:

- He may not be in the location shown above. All Zealots patrol the roads in their respective regions.
- He likes to drink to heal up often. As soon as you see him do that, hit him quickly to interrupt the healing process.
- Hrothgar’s ranged weak spots are in his shoulders.
- He will often throw poisonous bombs at you.
- Rage of Helheim is a great Ability to bring against him.
- Precize and quick movement to avoid his hits and slow time thanks to Brush with Death Skill are very useful. He is big and rather slow and clumsy.
- I had best success against him using the Assassin Build listed at the end of my Skills and Abilities guide.

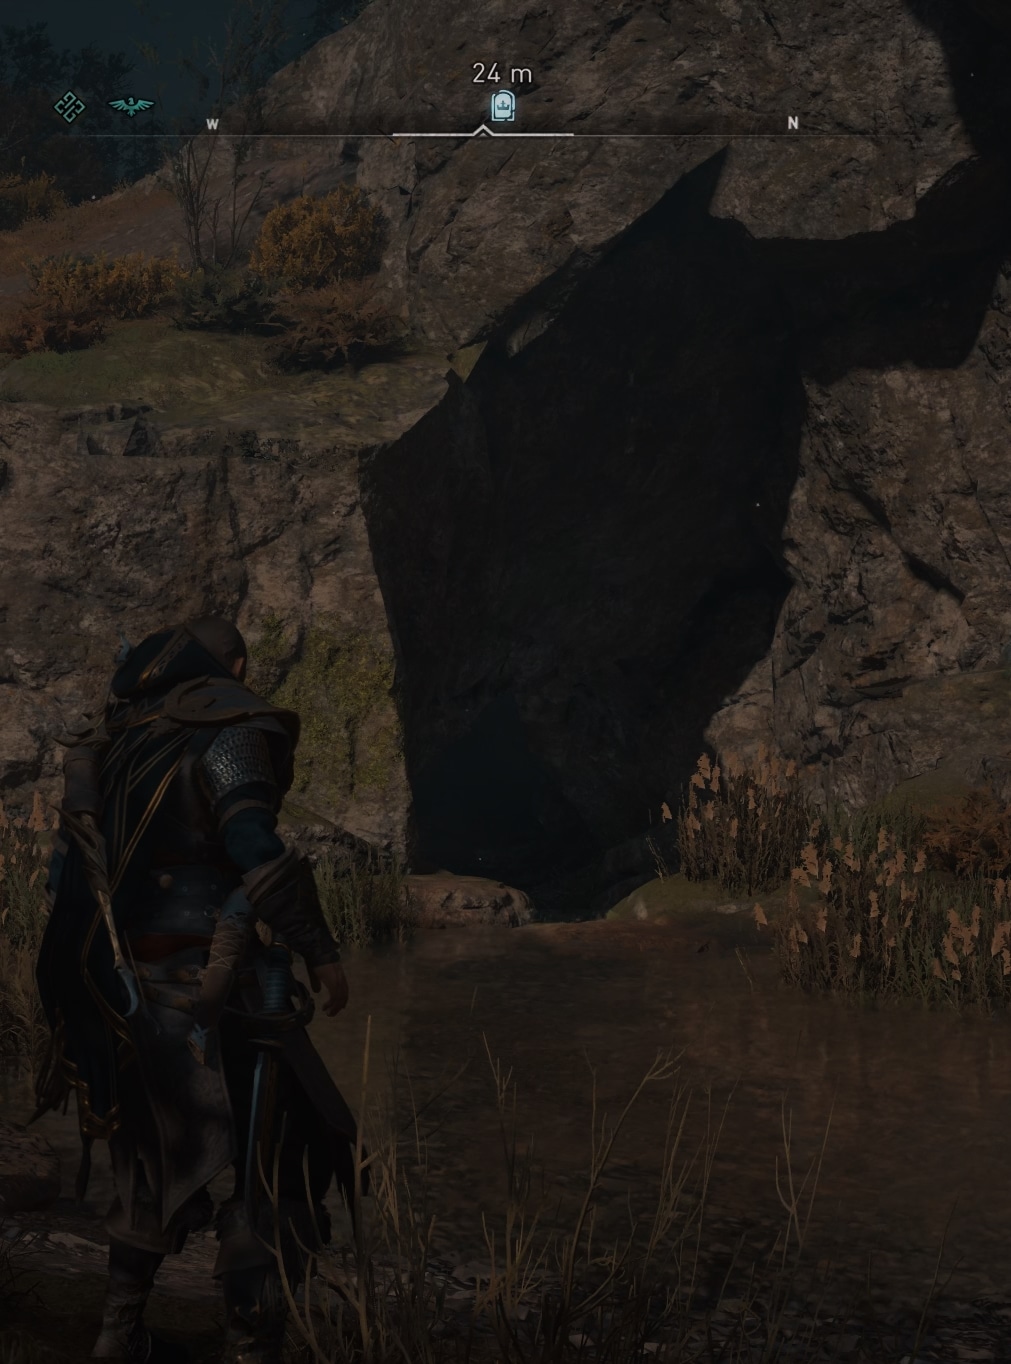
How to find Excalibur’s location
After you have collected all eleven tablets (eight from Treasures of Britain locations and three from Zealots), you can finally head to the final location, where this massive sword is hidden.
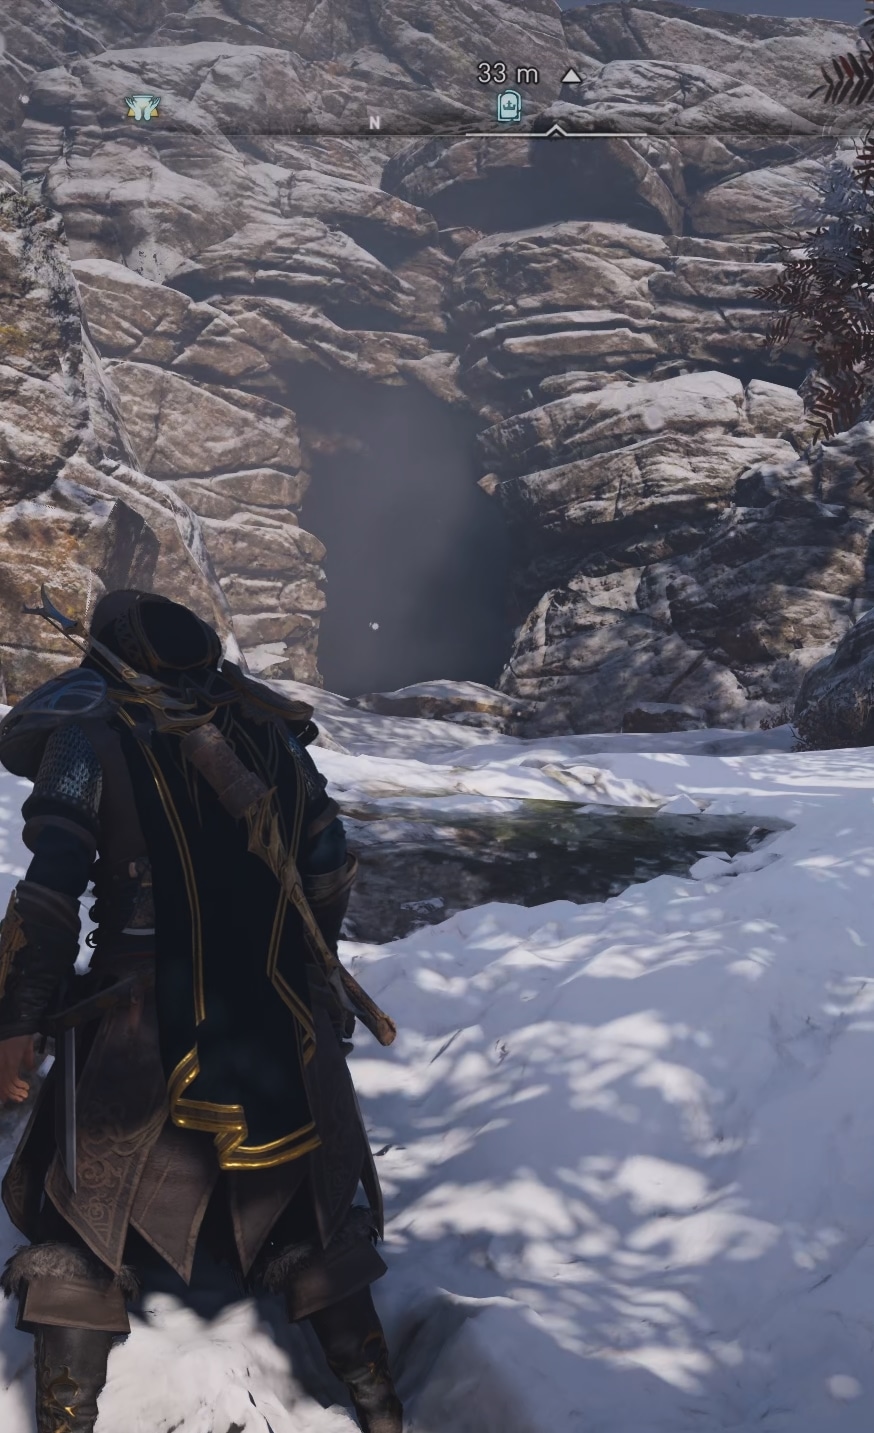
Travel to Stonehenge in Hamtunscire, then head west to find the entrance to the massive underground caves system. It is not marked on the map, but is right here:

The entrance is a small narrow crack in the wall just near a very small water pool.

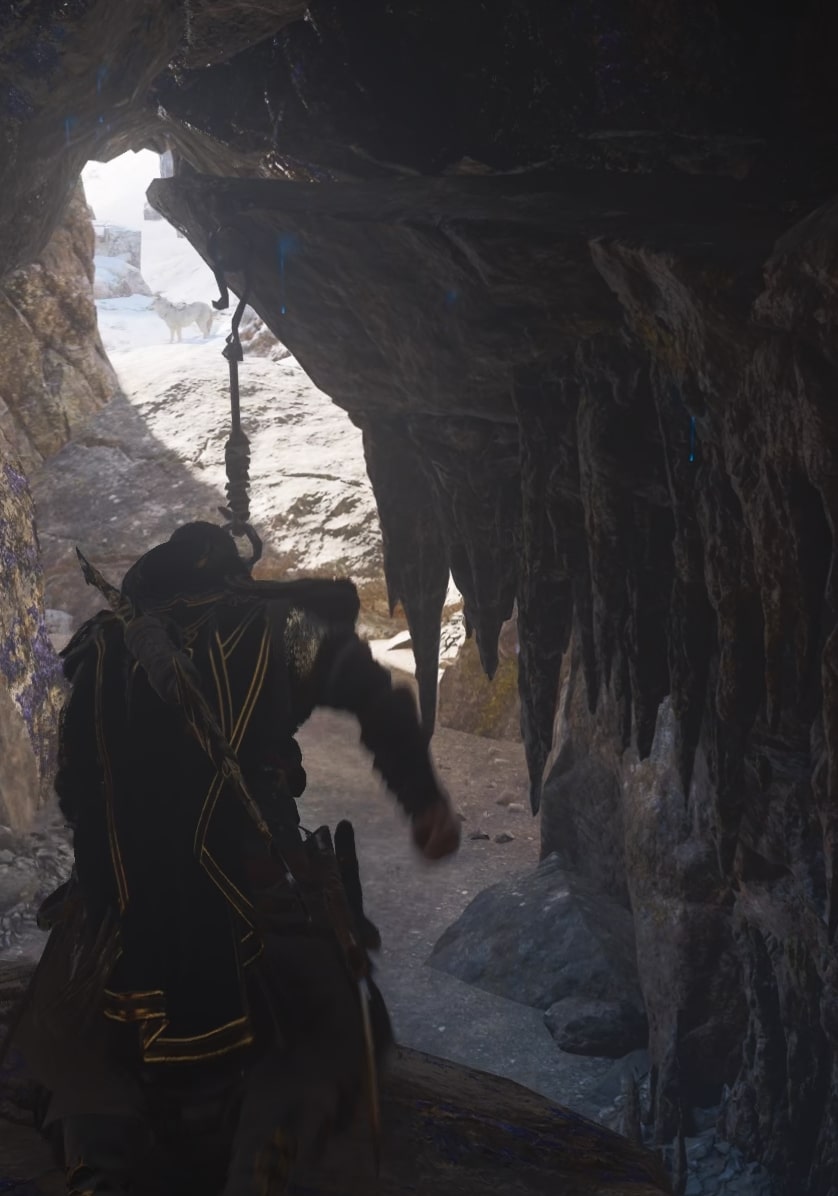
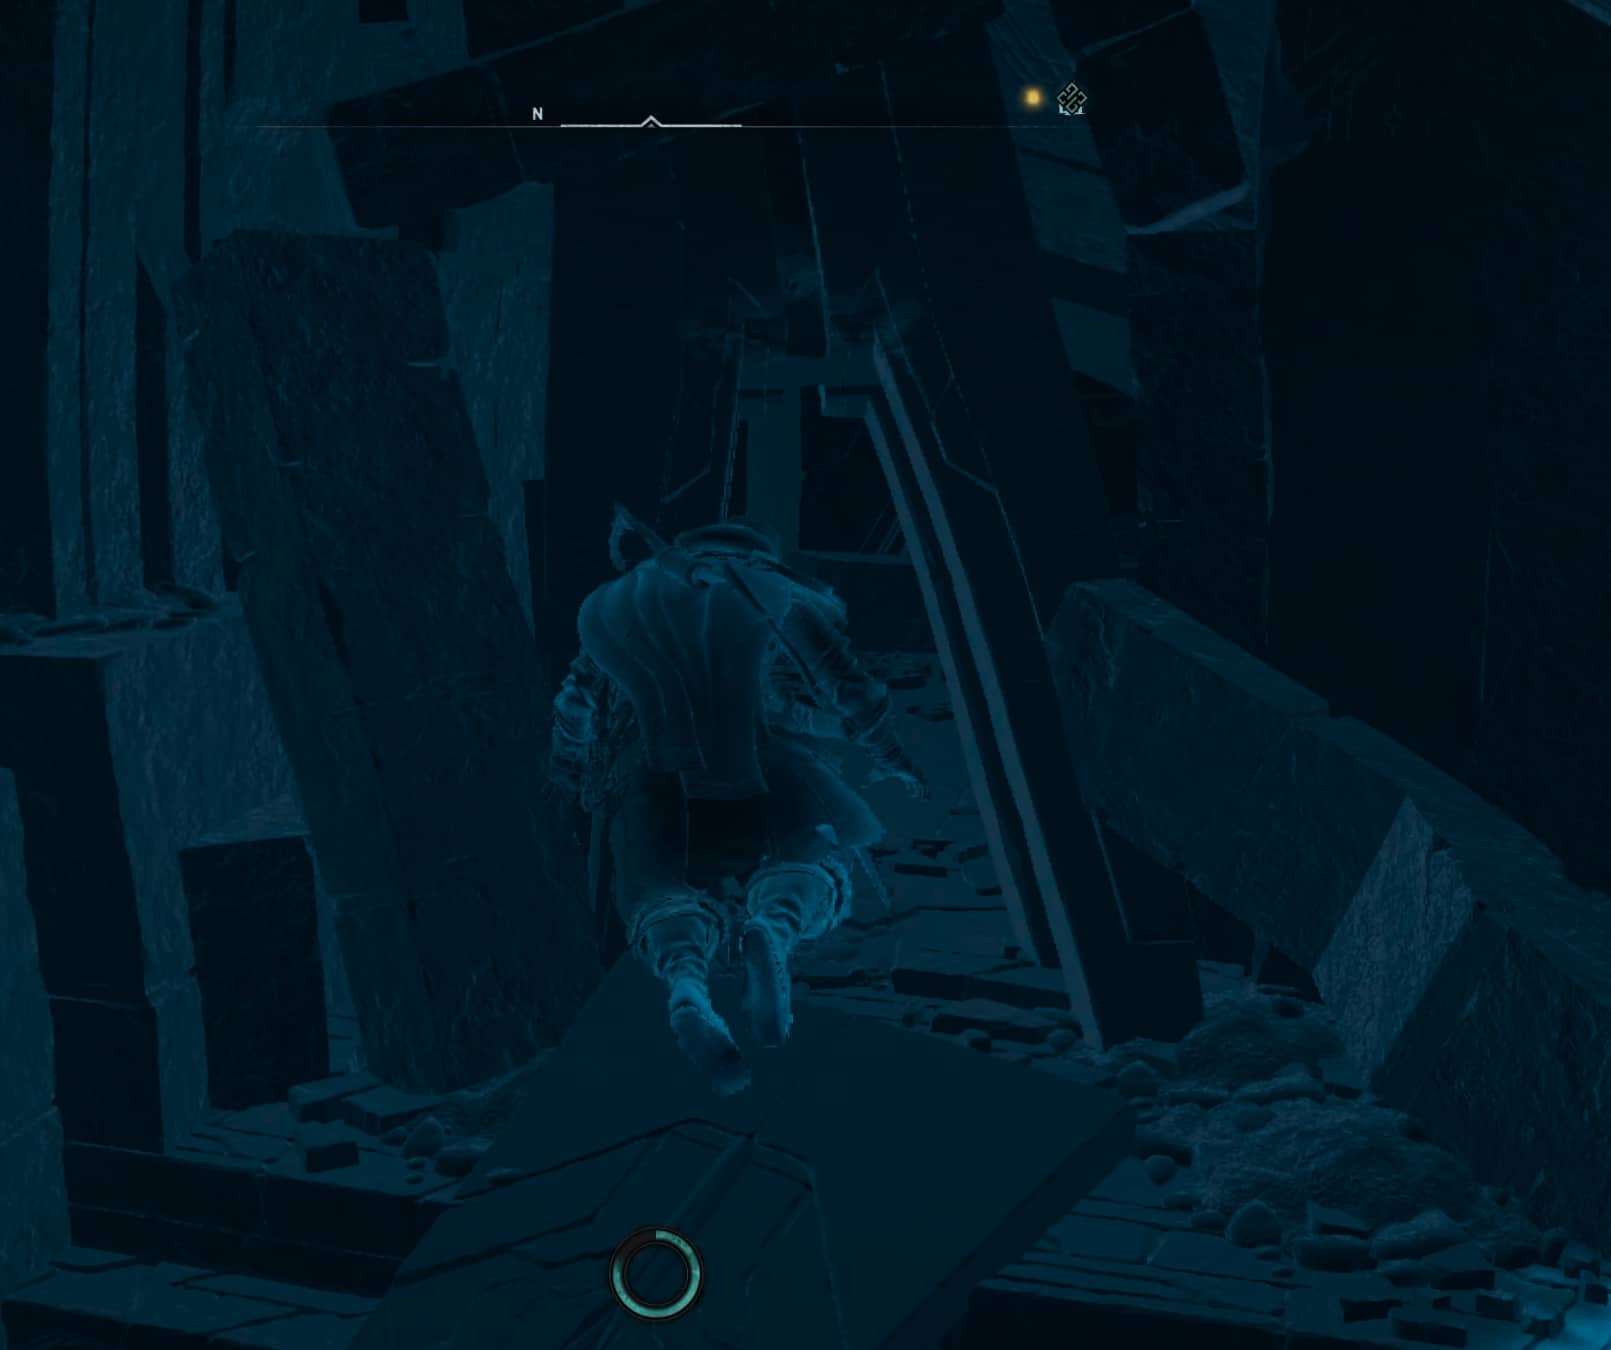
After you enter, move across various obstacles and follow the linear path until you find yourself in this area:
Do a Leap of Fate. The darkness below is actually water, it’s just too high to see. Once under water, dive deeper and use Odin’s Sight to light up the area and spot the stone arch on the side. Go through it.
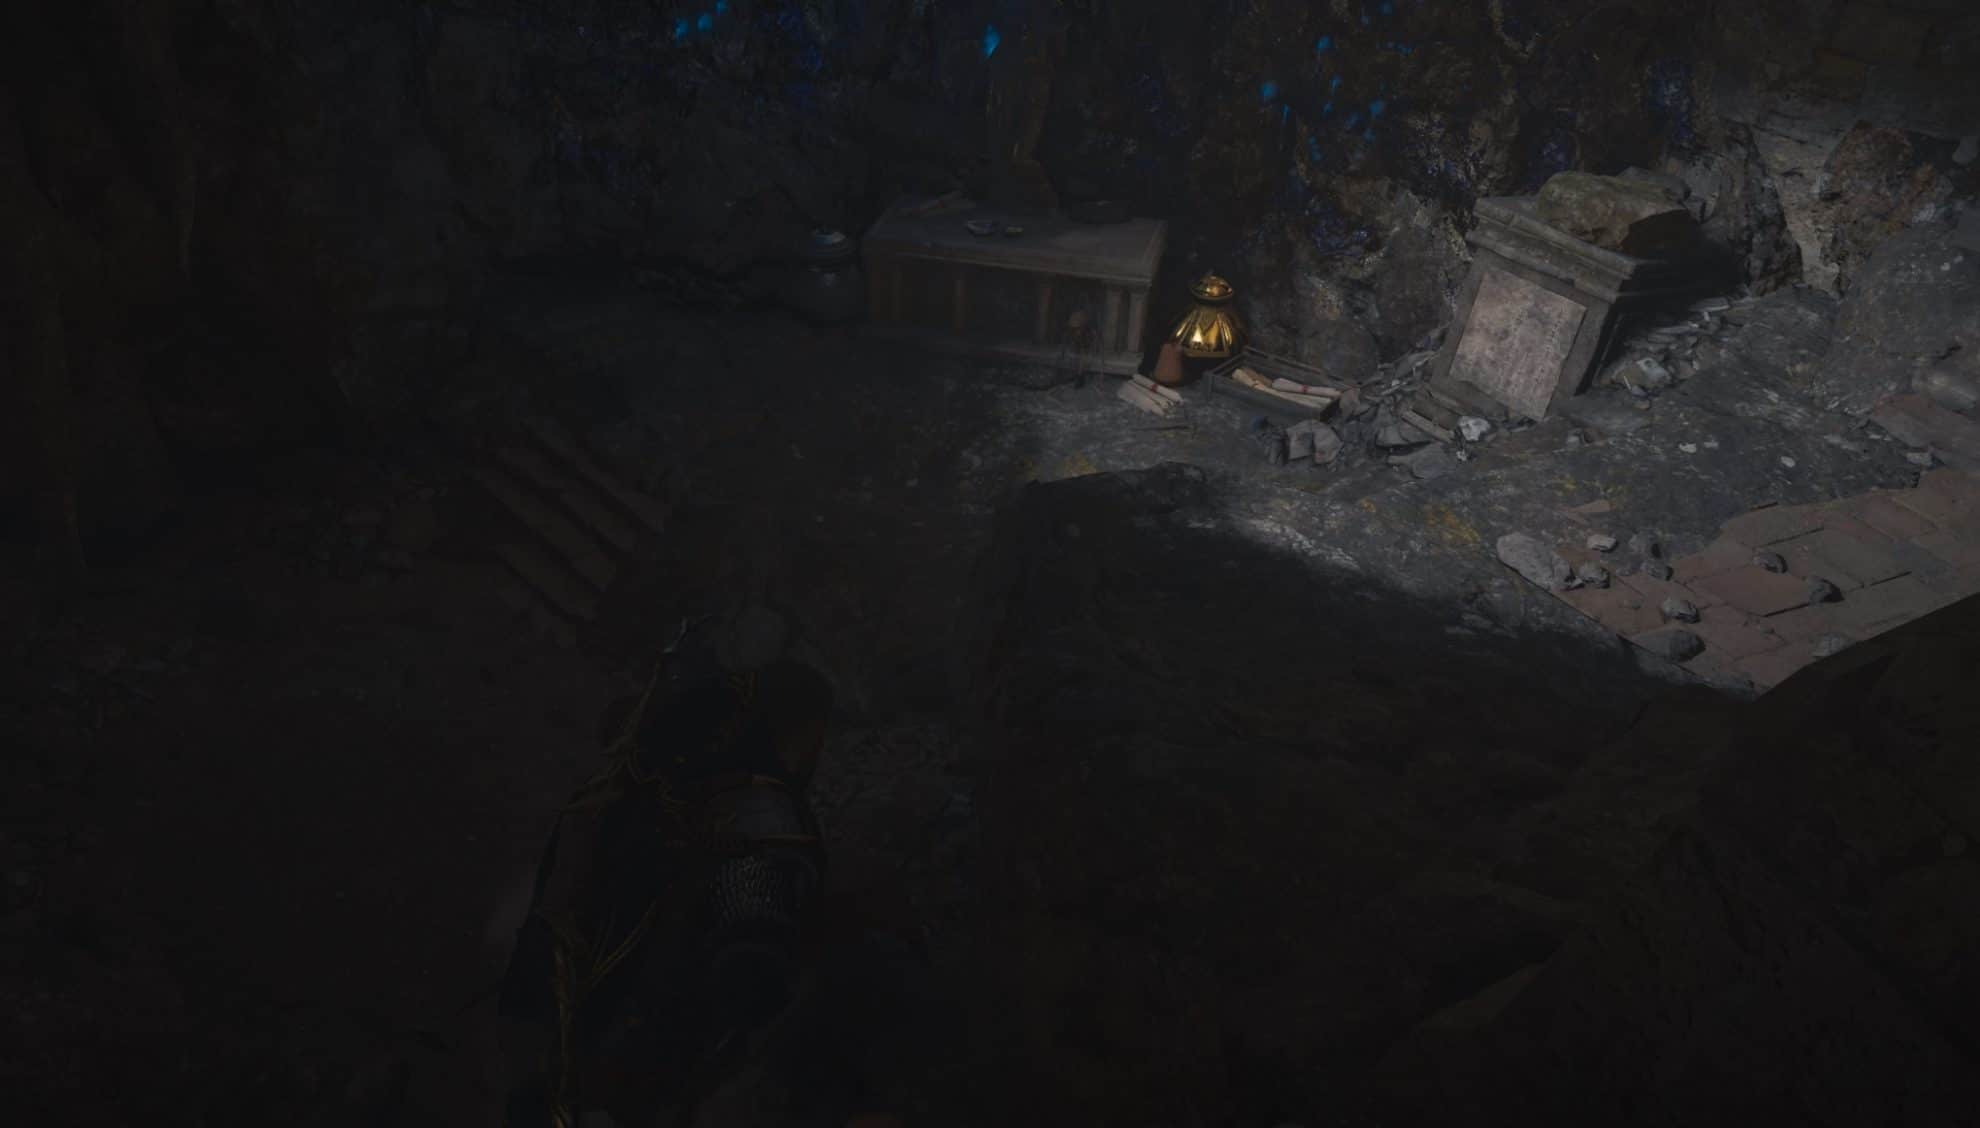
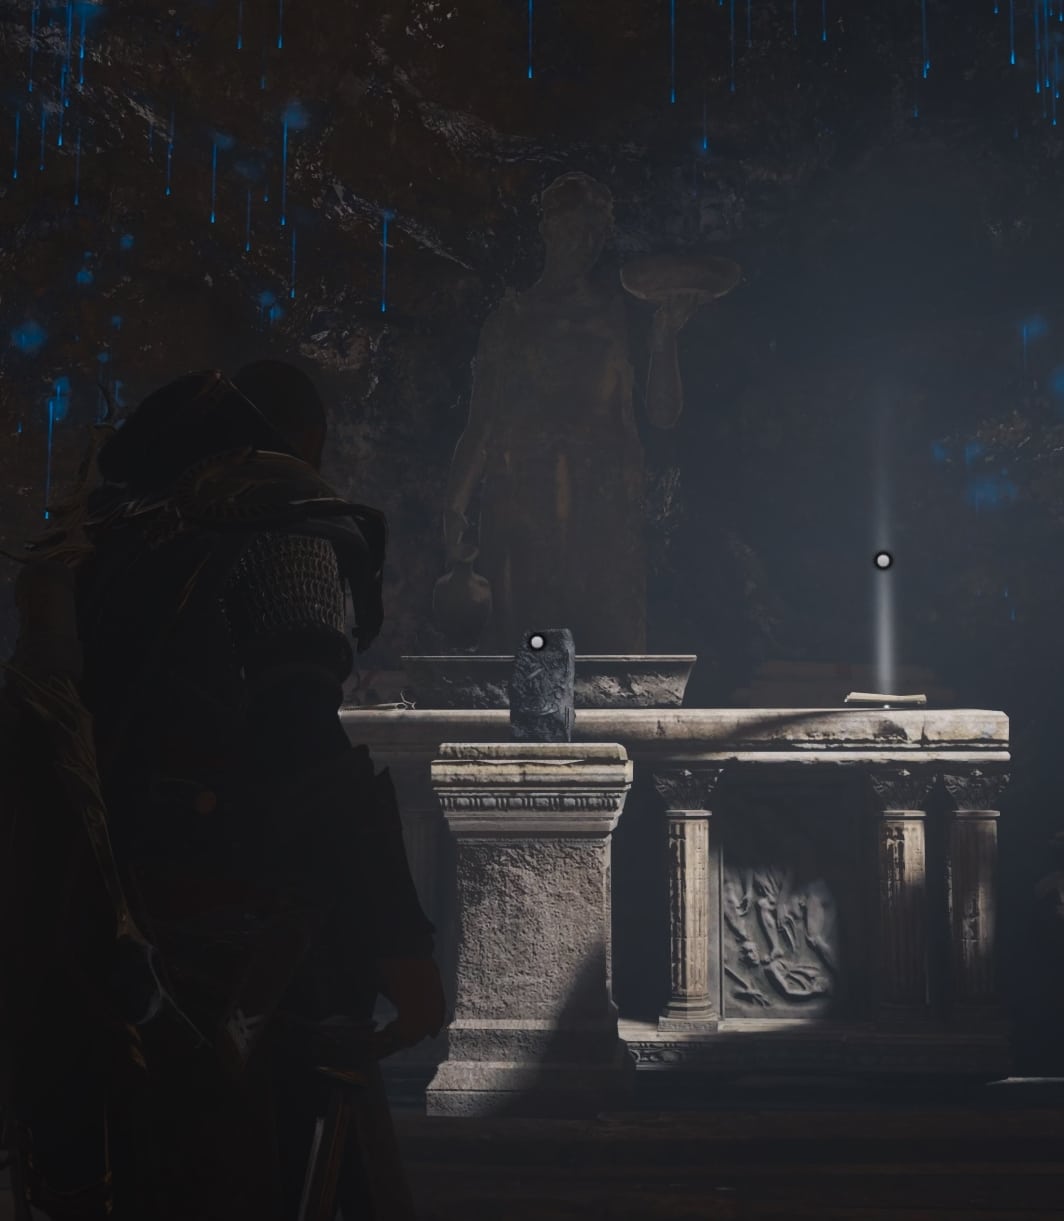
Surface on the other side and find you way through until reach a giant cavern with twelve stone pillars in a circle and a Sword in the middle. You have found it!

There are twelve pillars, but you have only eleven tablets. One is already placed as you arrive. Who placed it and when, it remains unknown. Place the rest of the Tablets. There is no difference in which order you do them.

Finally, turn around, go to the middle and pull out the Legendary Excalibur Great Sword – one of the mightiest most powerful weapons in Assassin’s Creed Valhalla. Yeah, the way to Excalibur is vastly different from the Legends, but… oh well. You have an amazing new weapon to play around with at least. Even just empty swings with this sword create a scary sound of a very heavy object moving through the air!
Congratulations! You have completed one of the most complex, longest and most rewarding journeys Assassin’s Creed Valhalla has to offer. I hope you found my guide on how to find Excalibur useful, easy and fun to follow!
By the way Excalibur pairs nicely with Thor’s Armor Set and Hammer Mjolnir! Check them out too!
Check the large collection of AC Valhalla guides and tutorials here on VULKK.com! There are more legendary weapons to find, such as Odin’s Spear Gungnir, Thor’s Armor and Hammer and many more Armor Sets and Weapons!
Assassin's Creed Valhalla Gear Locations Guides List
This is a full list of all in-depth walkthroughs and guides to the many special armor pieces and weapons available in Assassin's Creed Valhalla. The list contains both special unique items and full sets with set bonuses to further diversify your Eivor build!
AC Valhalla Weapons Locations Guide
Guide to all weapons and shields in Assassin's Creed Valhalla - where and how to find them, what they look like, what stats boosts they have!

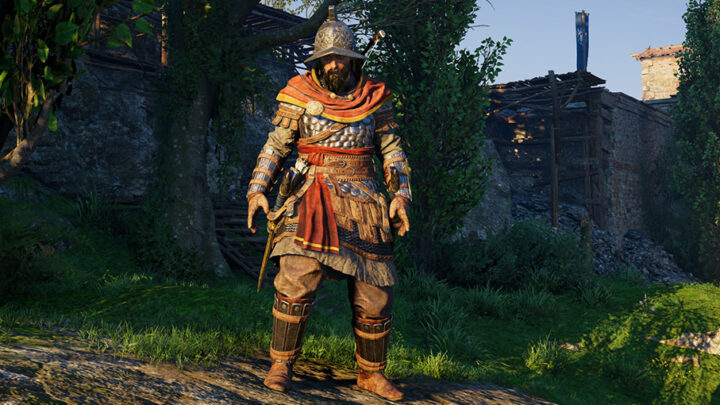
Assassin's Creed Valhalla Berserker Set Guide
Overview of the contents of the Ultimate pack in Assassin's Creed Valhalla - Berserker Pack, Settlement Pack, Ship Pack and a Set of Runes!

AC Valhalla Raven Clan Set Locations Guide
Guide to the Assassin's Creed Valhalla Raven Clan Set - how it looks, set bonus perks and where and when you get the armor pieces in the game

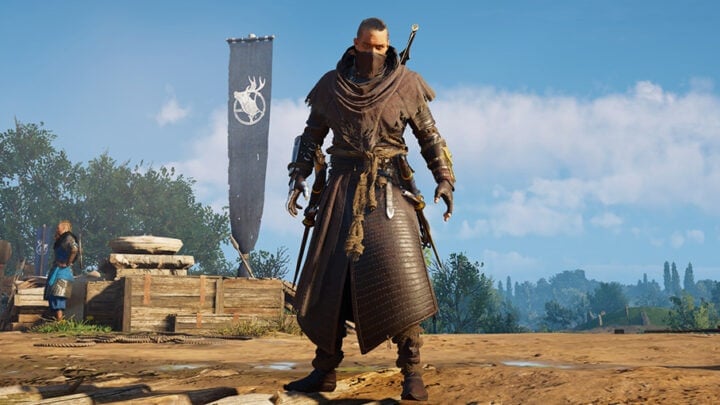
AC Valhalla Hidden Ones Set Guide
Guide to all sx pieces of the Hidden Ones Set in Assassin's Creed Valhalla and the Codex Pages from the Hidden Ones Bureaus in England

AC Valhalla Huntsman Armor Set Locations Guide
A guide to the Assassin's Creed Valhalla Huntsman Set - step-by-step instructions on how to find all five armor pieces, visuals and more!

AC Valhalla Magister's Armor Set Locations Guide
A guide to the Assassin's Creed Valhalla Magister's Set - step-by-step instructions on how to find all five armor pieces, visuals and more!

AC Valhalla Mentor's Armor Set Locations Guide
A guide to the Assassin's Creed Valhalla Mentor's Set - step-by-step instructions on how to find all five armor pieces, visuals and more!
AC Valhalla Brigandine Set Locations Guide
A guide to the Assassin's Creed Valhalla Brigandine Set - step-by-step instructions on how to find all five armor pieces, visuals and more!
AC Valhalla Galloglach Armor Set Locations Guide
A guide to the Assassin's Creed Valhalla Galloglach Set - step-by-step instructions on how to find all five armor pieces, visuals and more!
AC Valhalla Thegn Armor Set Locations Guide
A guide to the Assassin's Creed Valhalla Thegn Set - step-by-step instructions on how to find all five armor pieces, visuals and more!

How to get Thor's Armor Set and Hammer Mjolnir in AC Valhalla
Overview and complete guide with step by step instructions how to get Thor's Armor Set and Hammer Mjolnir in Assassin's Creed Valhalla!
AC Valhalla Druidic Armor Set Locations Guide
A guide to the Assassin's Creed Valhalla Druidic Set - step-by-step instructions on how to find all five armor pieces, visuals and more!
AC Valhalla Celtic Armor Set Locations Guide
A guide to the Assassin's Creed Valhalla Celtic Set - step-by-step instructions on how to find all five armor pieces, visuals and more!
AC Valhalla Paladin Armor Set Locations Guide (Siege of Paris)
Guide showing you where and how to obtain all five parts of the Paladin Armor Set in Assassin’s Creed Valhalla's DLC The Siege of Paris DLC!
How to get Reaper Armor Set in AC Valhalla Siege of Paris
Guide on how to get the Reaper Armor Set available in Francia from Rebel Missions in Siege of Paris expansion to Assassin's Creed Valhalla!
AC Valhalla All One-Handed Swords Locations Guide (Siege of Paris)
How to find all One-Handed Swords available in Francia, part of the Siege if Paris DLC in Assassin's Creed Valhalla with locations and stats!
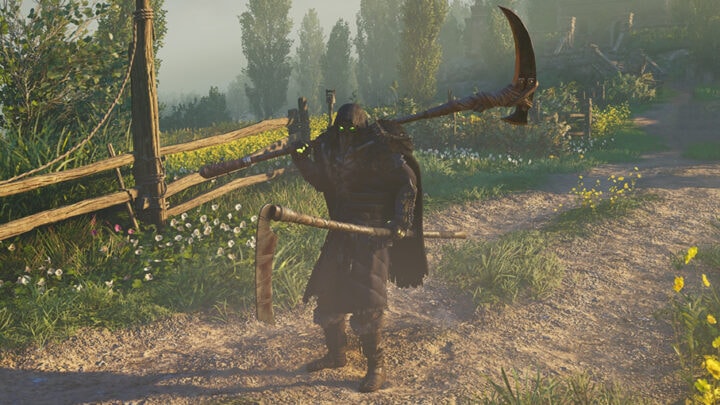
AC Valhalla All Scythe Weapons Locations in Francia (Siege of Paris)
How to find all Scythe weapons available in Francia, part of the Siege if Paris DLC in Assassin's Creed Valhalla with locations and stats!
AC Valhalla Isle of Skye Weapons Locations Guide
Guide to all Isle of Skye Weapons Locations on Isle of Skye in Assassin's Creed Valhalla: Hero's Sword and Spear of Leonidas!

AC Valhalla Twilight Pack Overview (Dawn of Ragnarok Pre-order Bonus)
The Twilight Pack is reward for pre-ordering Assassin's Creed Valhalla Dawn of Ragnarok. You get it immediately after you purchase the DLC!
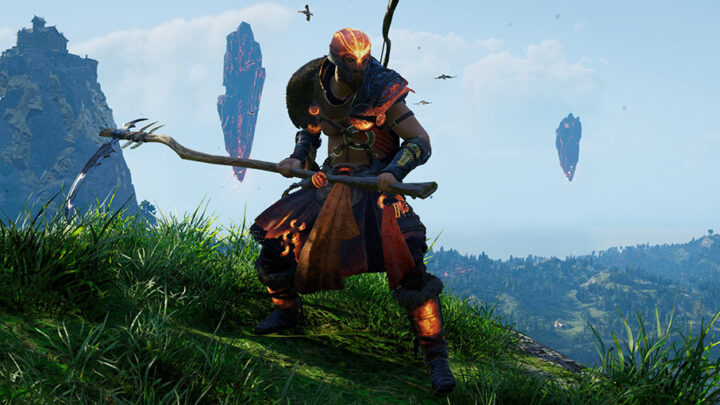
How to get Fire Giant Armor set in AC Valhalla Dawn of Ragnarok
The Fire Giant armor set is available in Assassin’s Creed Valhalla’s Dawn of Ragnarok expansion. Here’s everything you need to know!
How to get Dwarven Blacksmith Armor set in AC Valhalla Dawn of Ragnarok
The Dwarven Blacksmith armor set is available in Assassin’s Creed Valhalla’s Dawn of Ragnarok expansion. Here’s everything you need to know!
How to get Jotun Mantle Armor set in AC Valhalla Dawn of Ragnarok
The Jotun Mantle armor set is available in Assassin’s Creed Valhalla’s Dawn of Ragnarok expansion. Here’s everything you need to know!