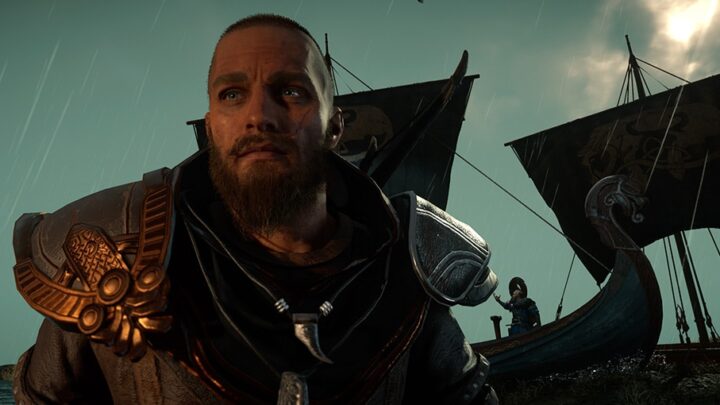
Assassin’s Creed Valhalla offers an immense amount of content of all sorts of types, from challenging battles, to intriguing exploration and fun mini-games to puzzles. This guide will help you solve the Light Beams Puzzle that is part of the Well-Traveled quest in Asgard, where you need to unseal the well by bringing two beams of light into two receivers, but you only have one light source!
The goal of this puzzle is to bring two lights into the two receivers (pedestals with crystals at the top of their structures). There is only one source of light, though.
It is puzzles like this that make Assassin’s Creed games intriguing. Might and Power Level play no role here. However, this game strives to appeal to everyone and fails. There are certain aspects of AC Valhalla that are not to everyone’s taste and solving puzzles instead of fighting soldiers or Order of the Ancients members is not the most fun part for you, obviously, since you are here to find a solution to this guide! I will do my best to help you unseal the well in Asgard as quickly as possible.
Let’s start! First, a quick introduction to the three types of pedestals in the room with the well.


There are four pedestals with spheres on top of them in total in the room. You cannot move them, but you can rotate them and point the light freely in any direction you want. There are two “receivers” around the well in the middle of the room. There is also one pedestal that can be moved around.
If you prefer to watch instead of read, the following video walkthrough should give you a great example of how to quickly solve the puzzle. If the video is not working properly or not showing up for you, it may be blocked by your AdBlocker. Please, consider white-listing VULKK.com to support the site. Thank you!
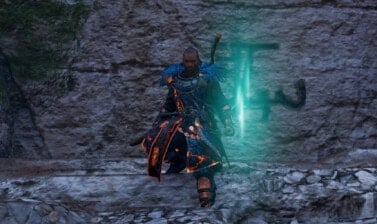
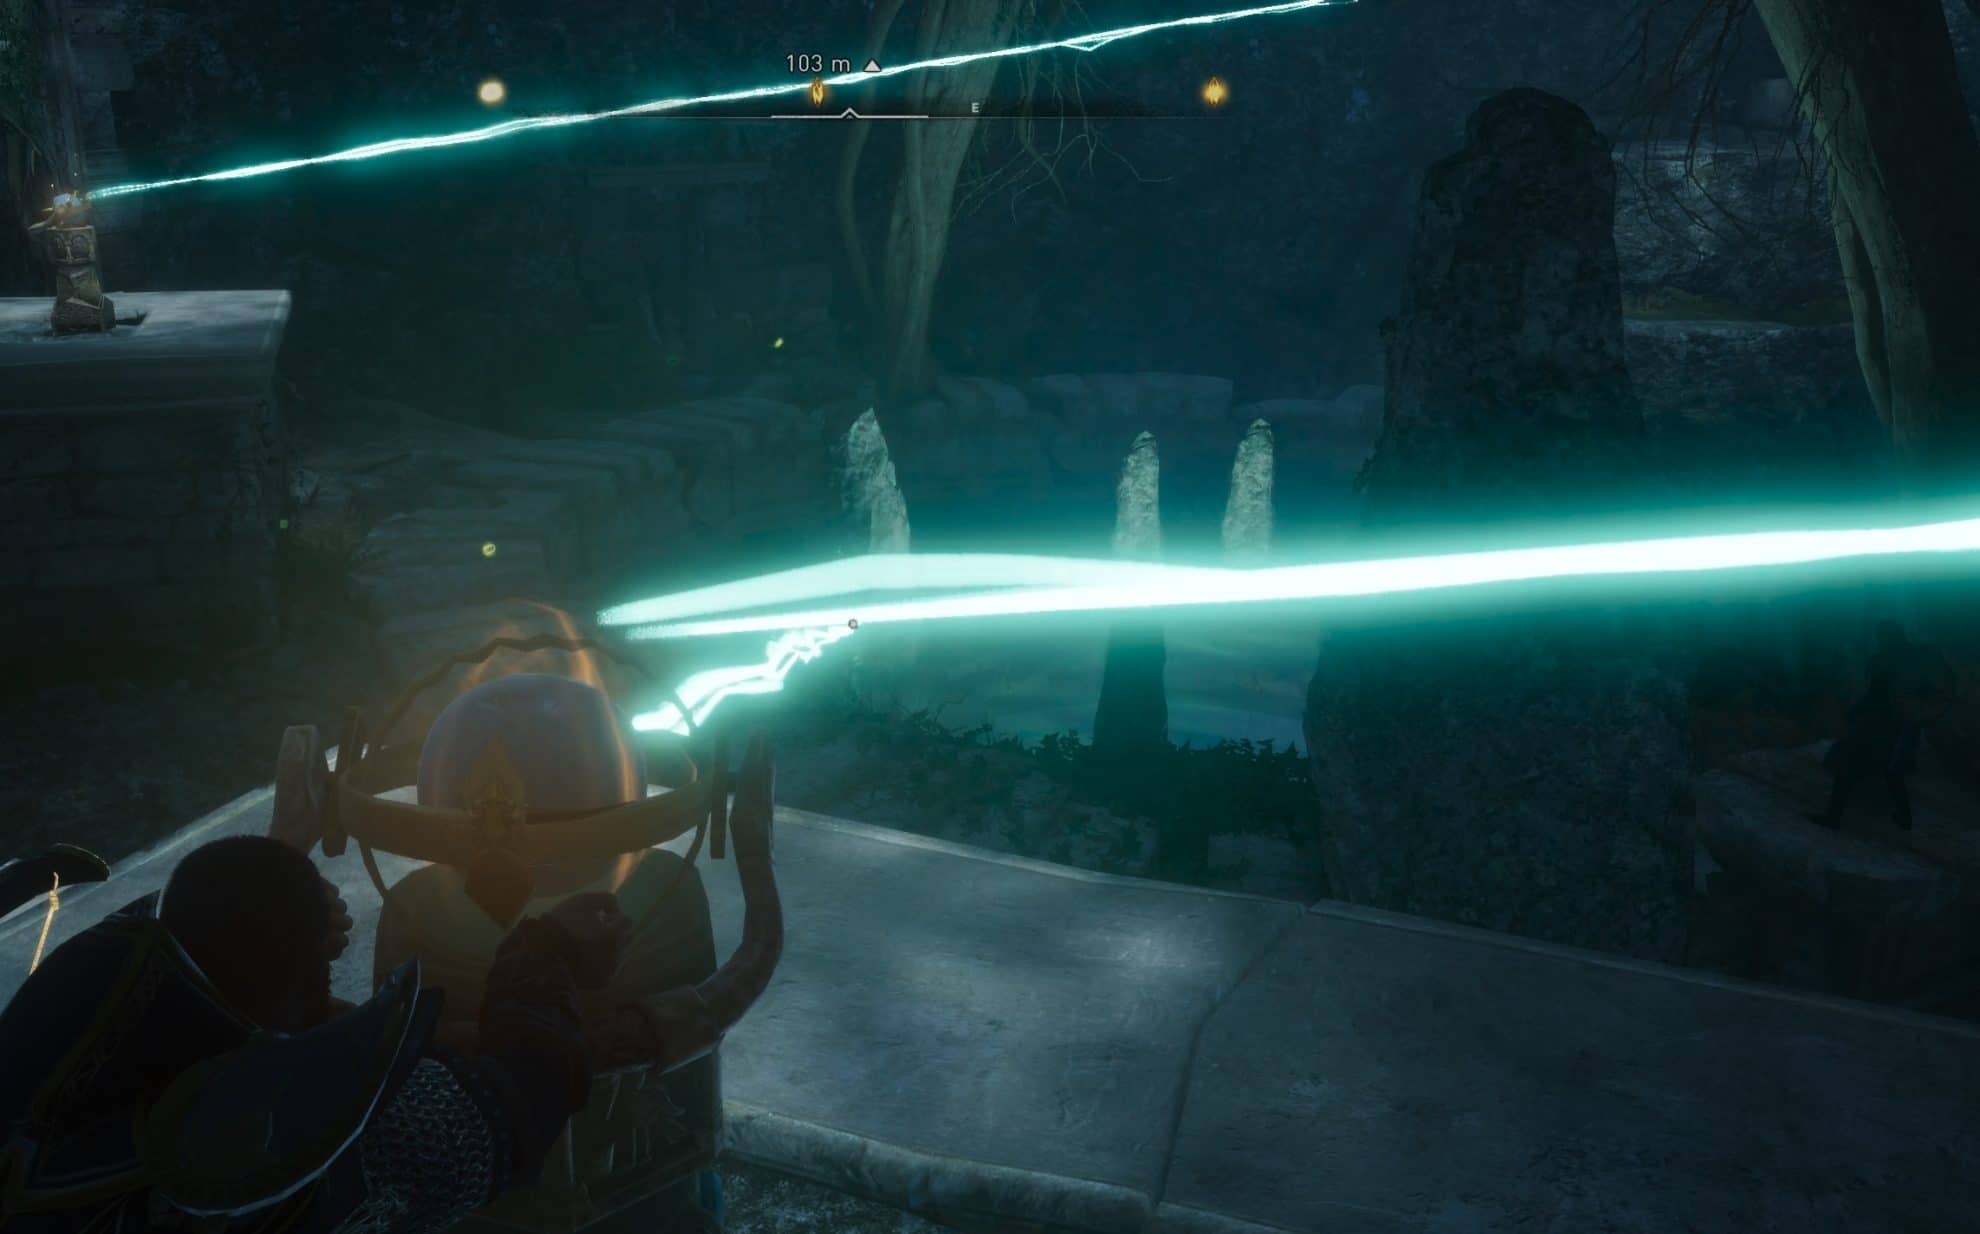
I’ll start this guide from the position at the entrance of the room, as you first see it. The light beam start from a pedestal on the opposite side of the room as you enter.
Quick orientation: In the image above Eivor stands below the stone arc and to his right and back is the entrance from where you came in.
I’ll use an imaginary clock graph to describe positions aroudn the well, which is in the middle. The pedestal opposite to the entrance, the one from which the light beam starts, that will be our 12 O’ Clock marker. Let’s call the entrance 6 O’ Clock on that same imaginary clock scale.
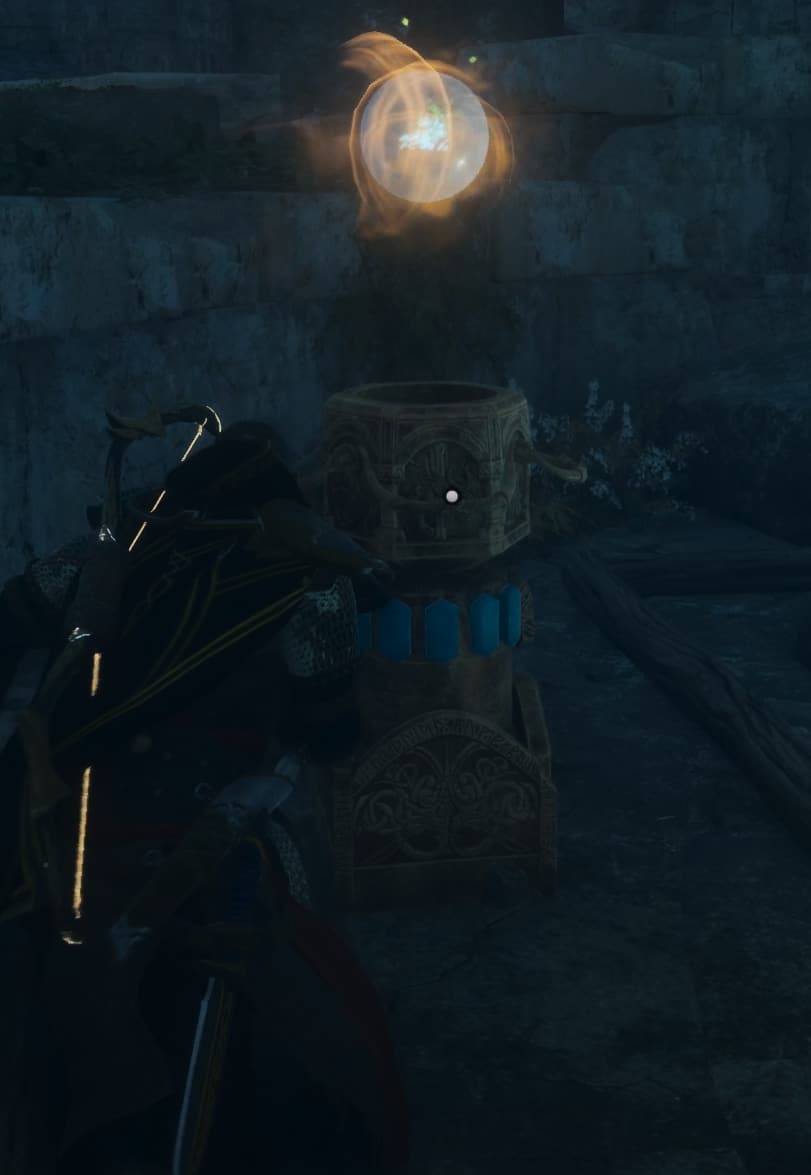
Position yourself behind the pedestal at 12 O’ Clock and facing the well in the middle. The light beam is currently pointing down into nothing specific.
If you look across the room from your current position, you will notice a strange metallic romb-shaped module hanging above the arc from which you came in.
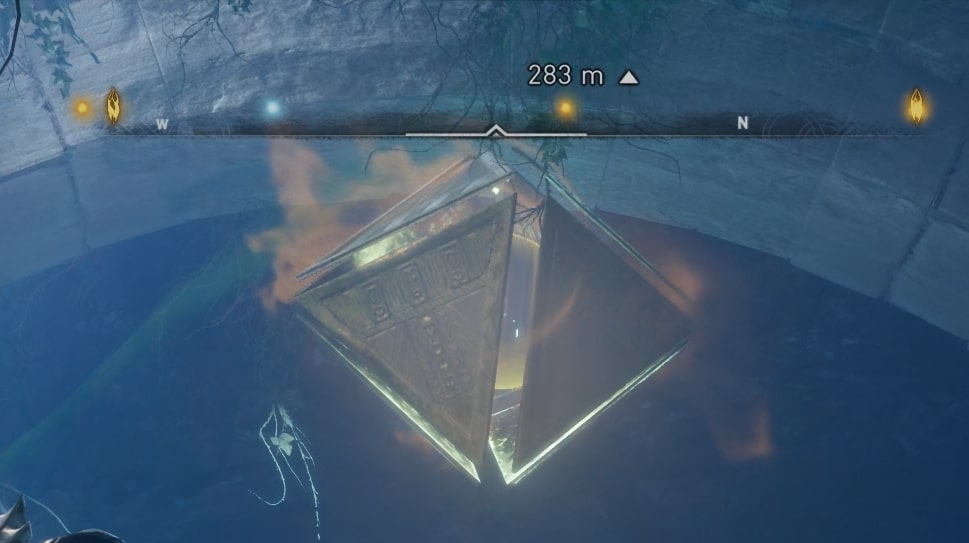
Now Interact with the pedestal and turn it to point the light beam directly at the strange figure at the top of the stone arc.
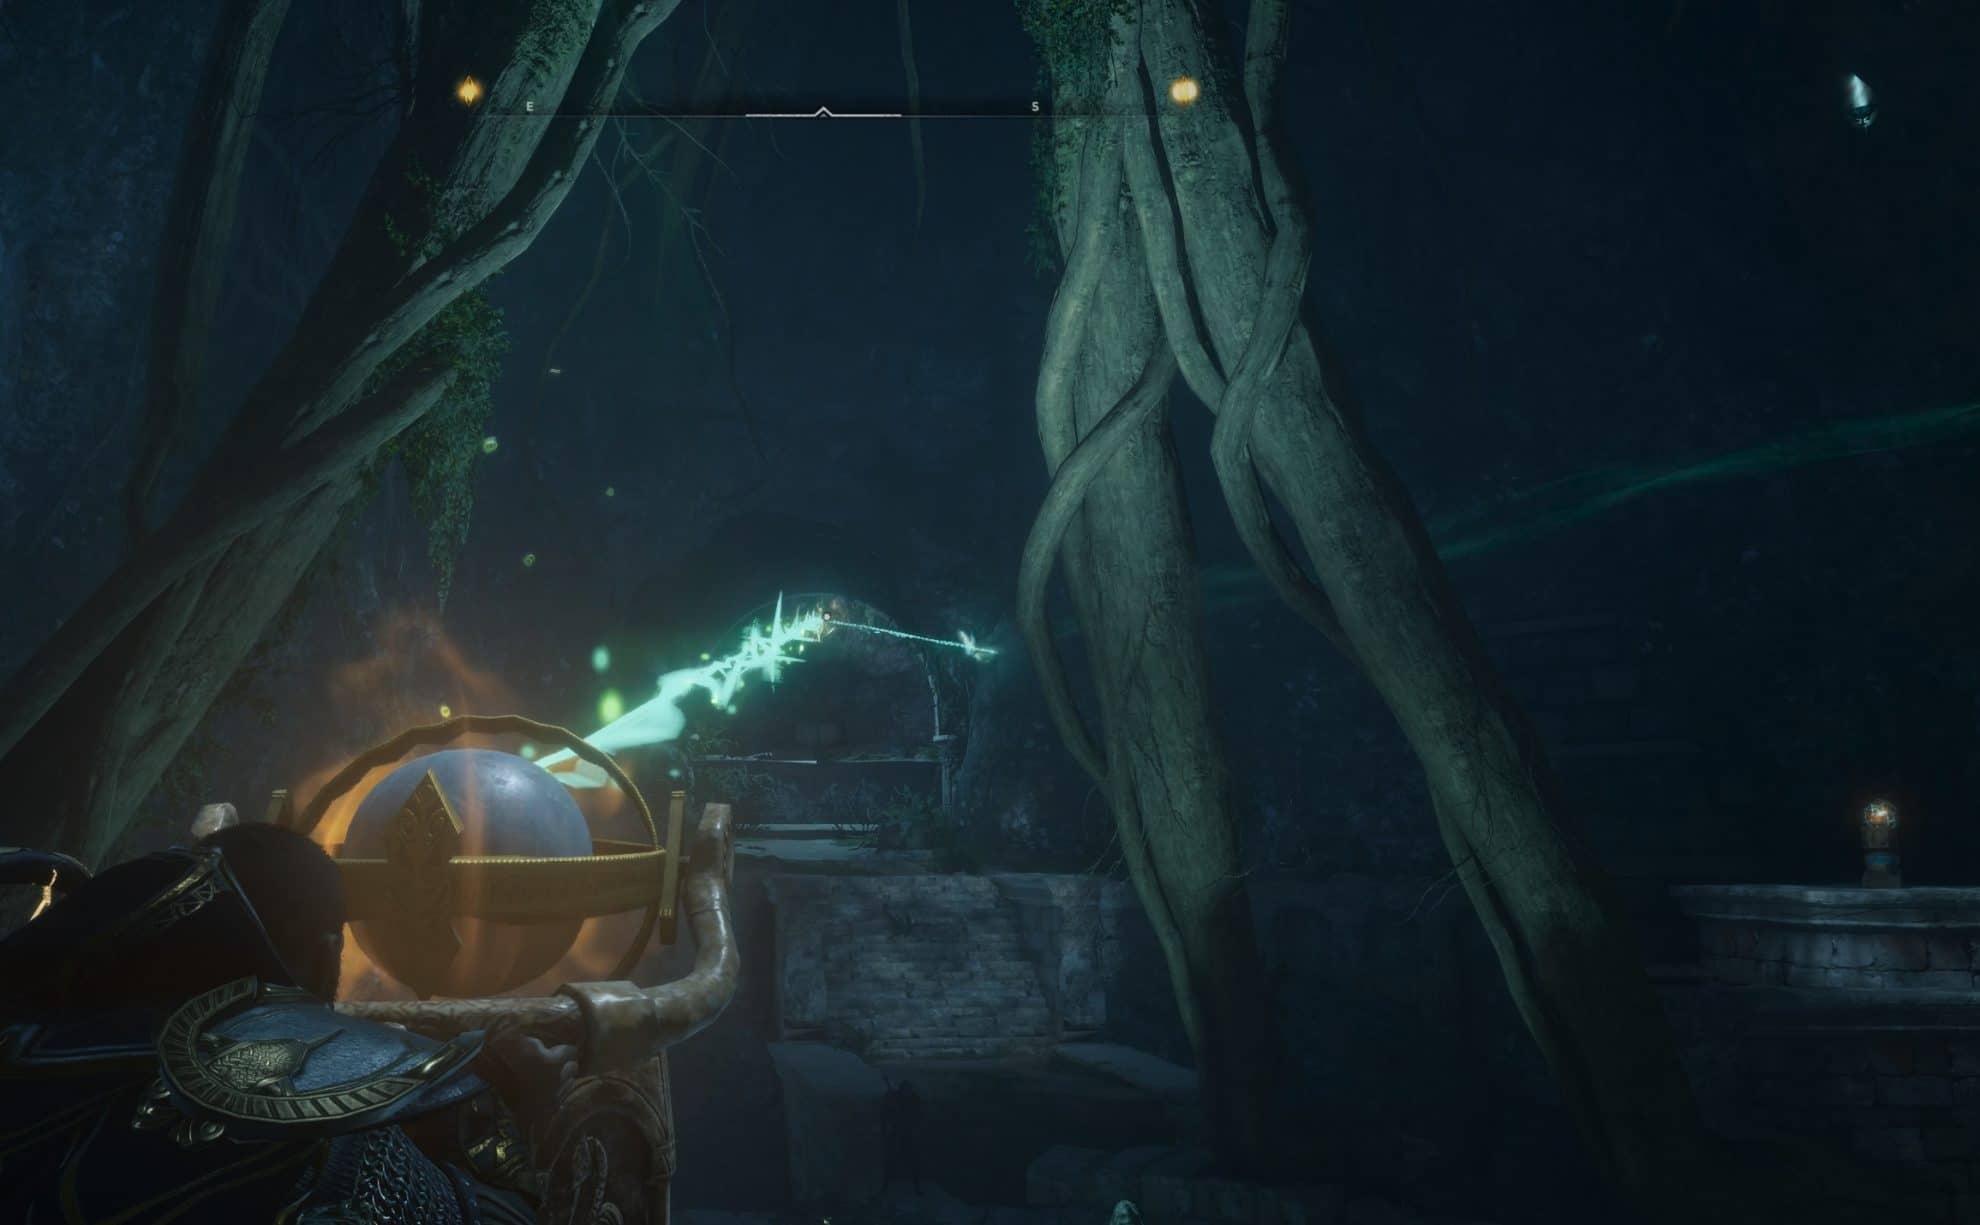
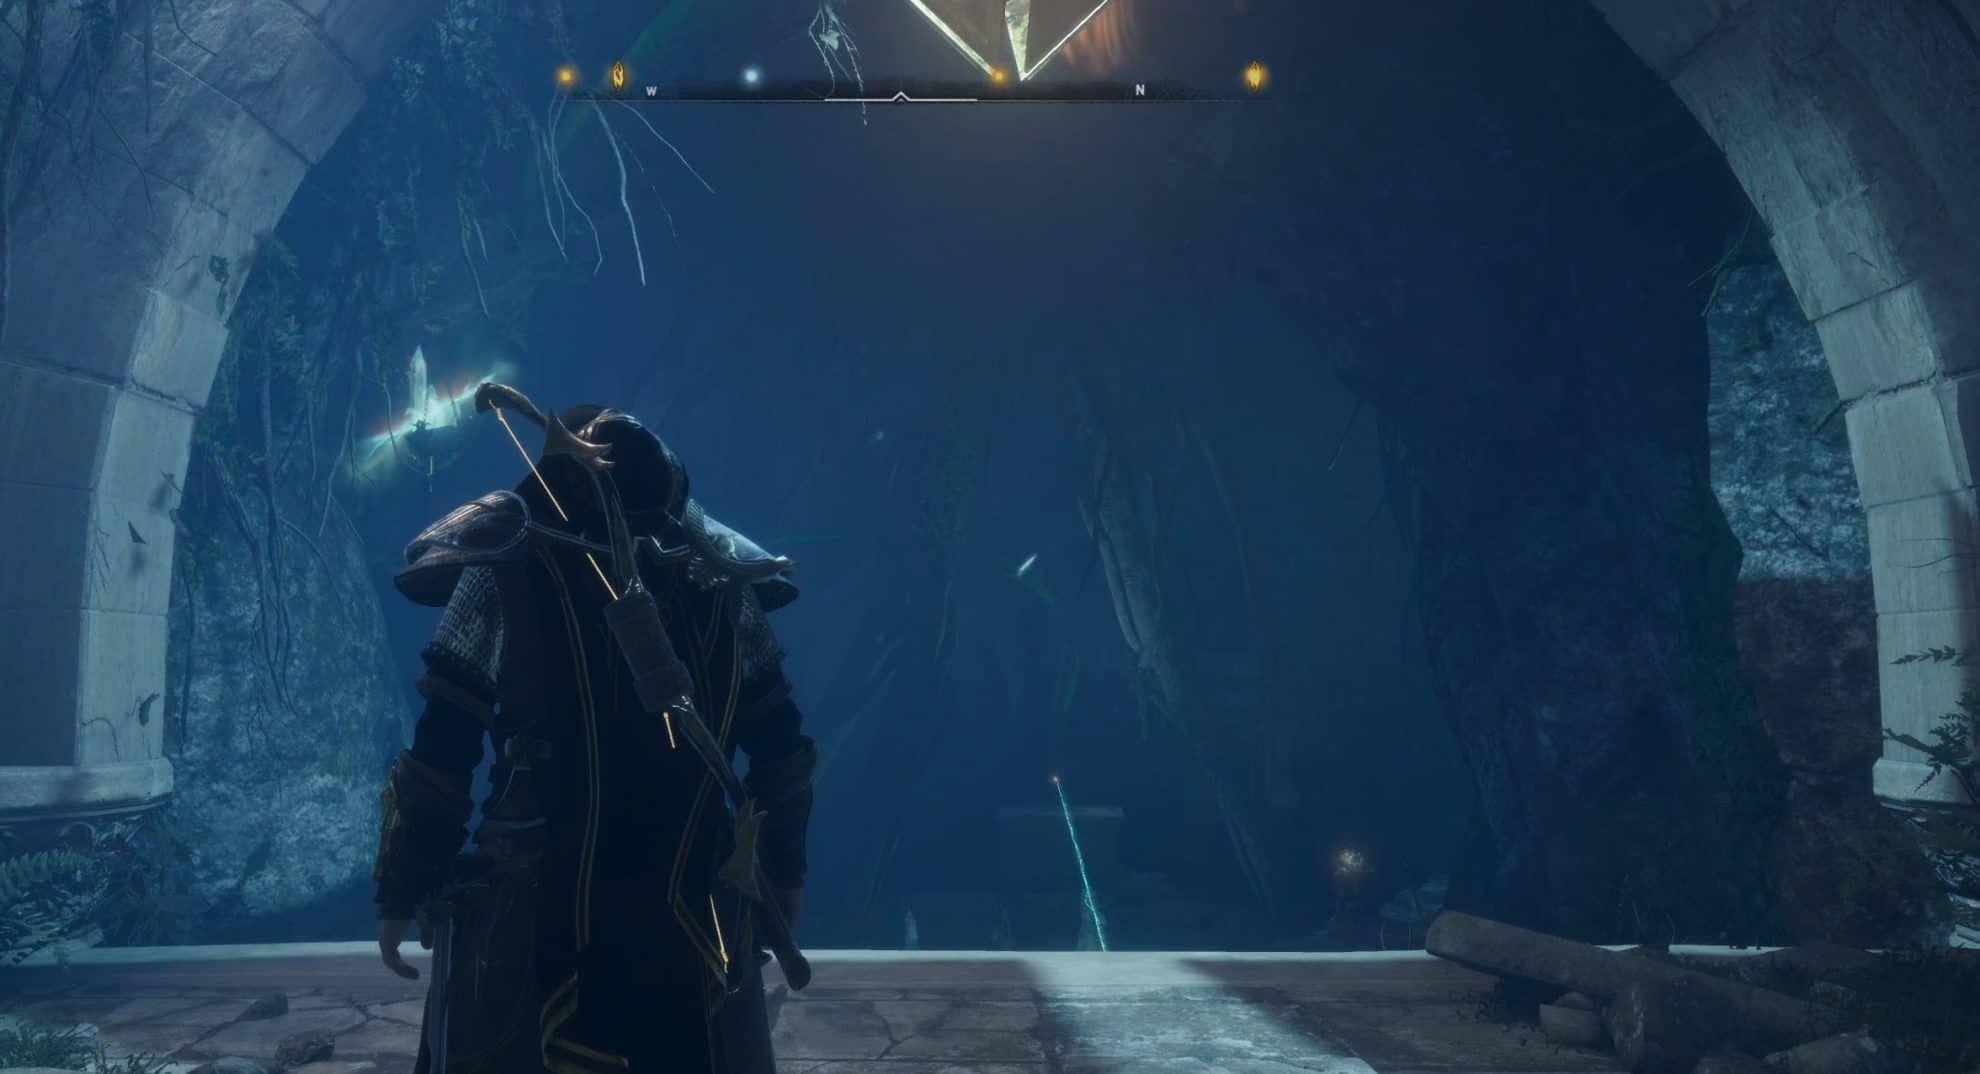
This figure will split up the light into two light beams each heading in a different direction – one to the left and one to the right from where you are standing.

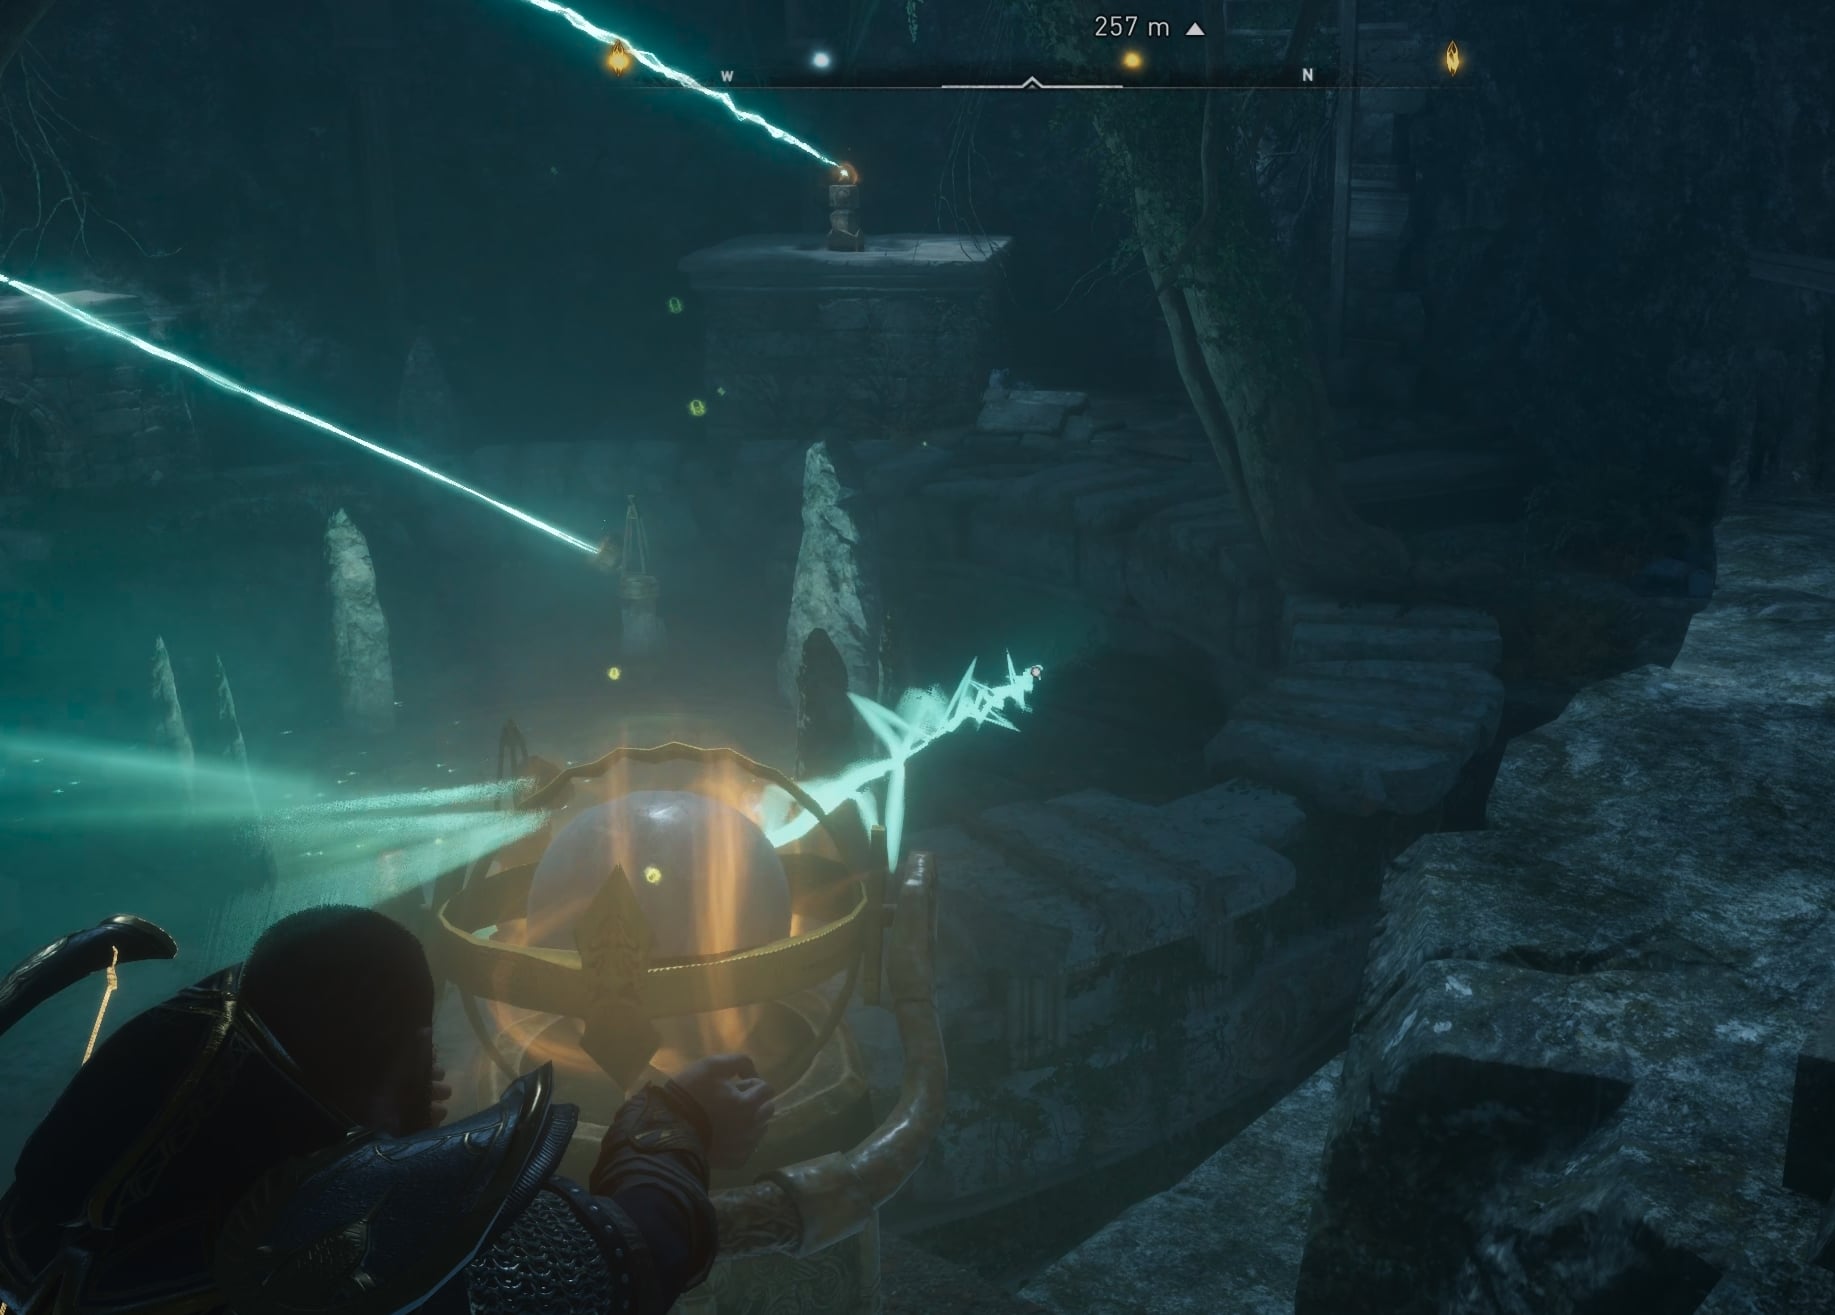
Release the pedestal (shortcut C on PC) and head to your right. Get to the pedestal that sits at roughly 8 O’ Clock. A light beam is now powering the sphere on top if it. But the light that is coming out is pointing to nowhere.
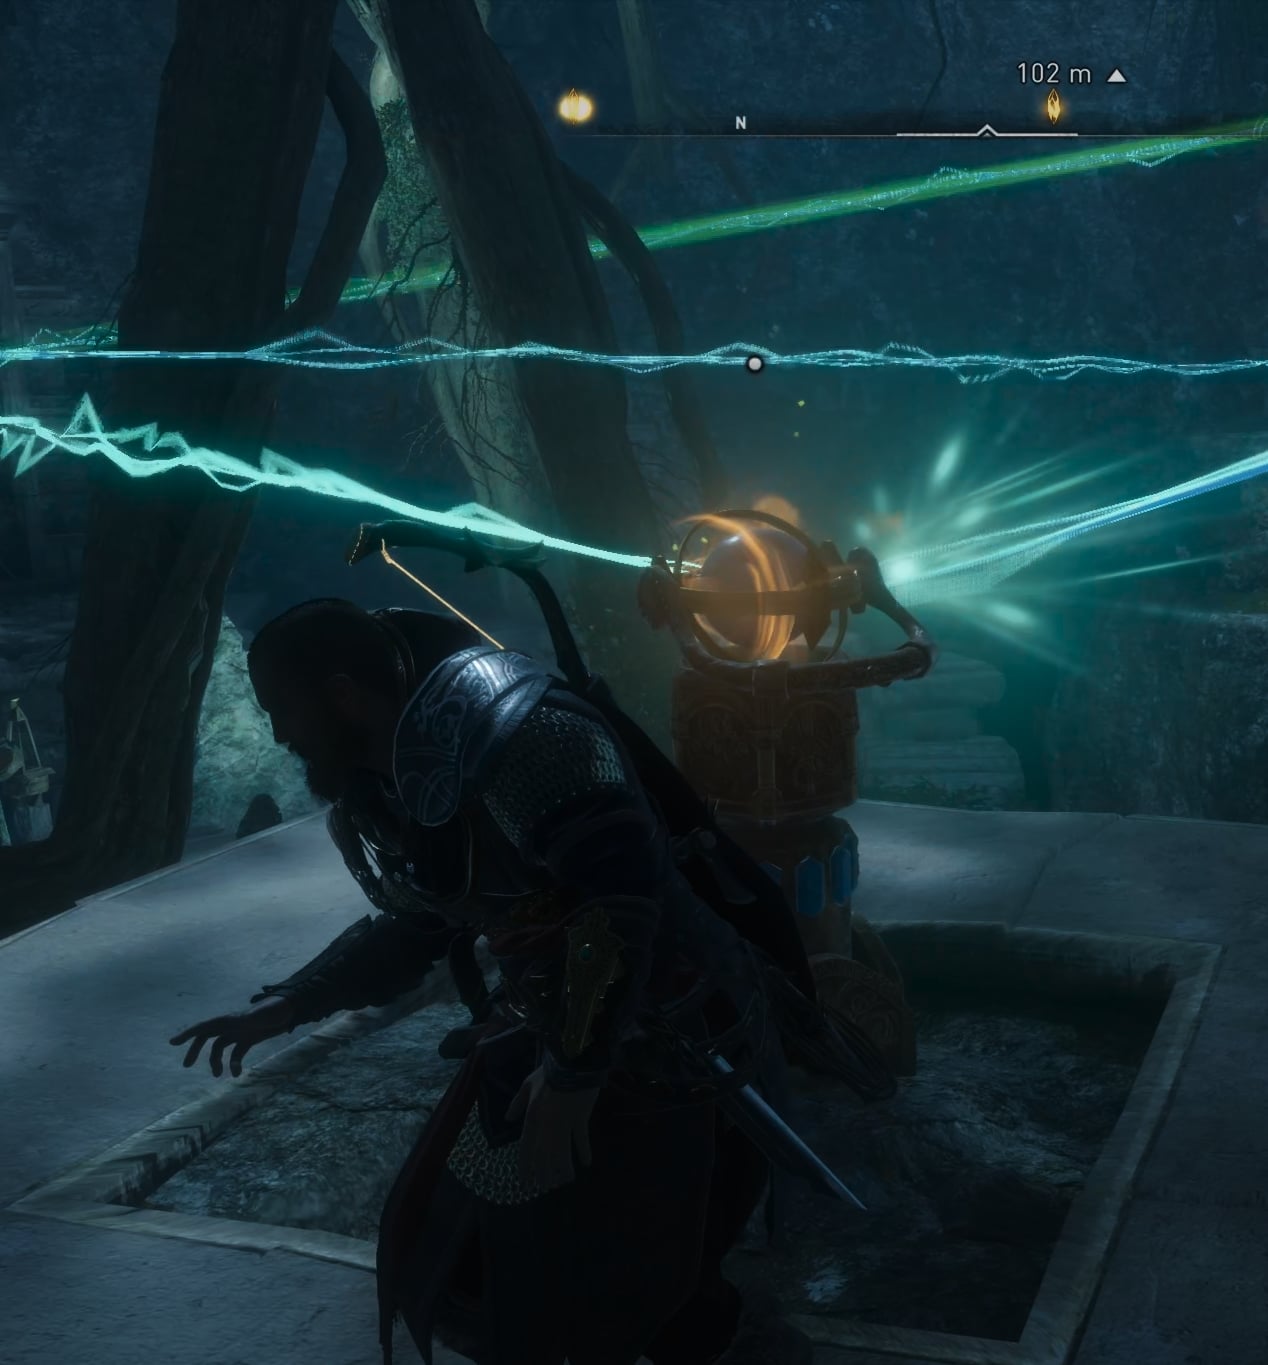
Interact with that pedestal to turn the light beam to your left and point it to the 19 O’ Clock pedestal on your left side (to the one closest to the 12 O’ Clock position).
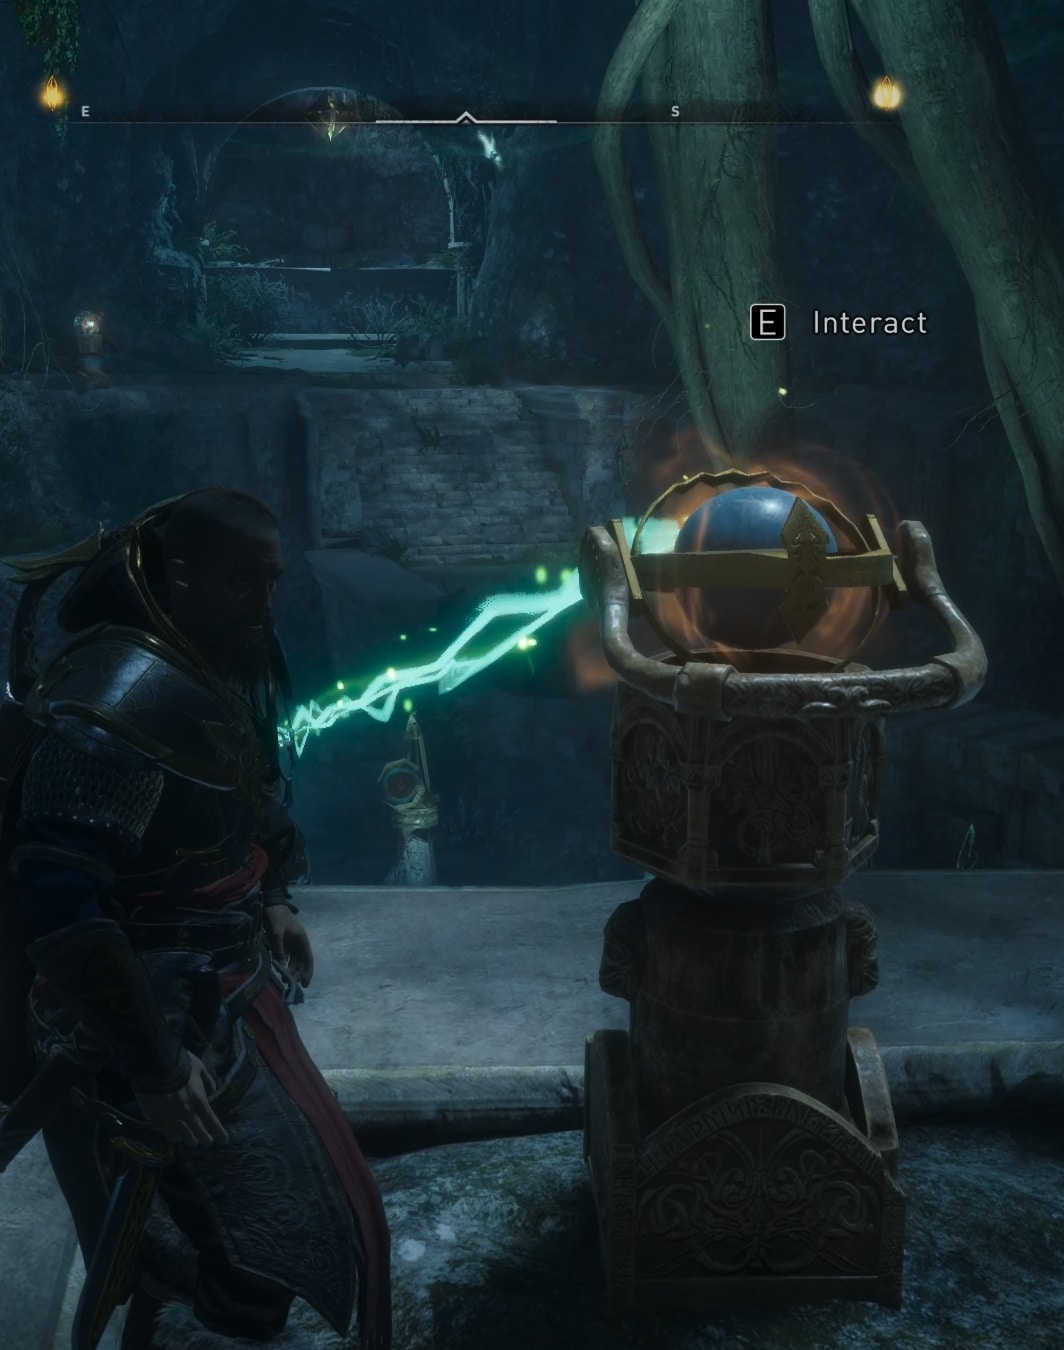
Move to your left and stand behind the 10 O’ Clock pedestal that you just sent the light beam to. Interact with it and point the light down towards one of the two “receivers” near the well.
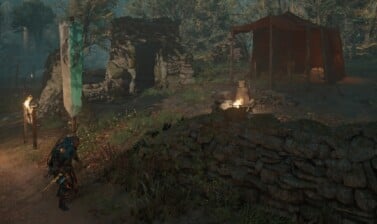
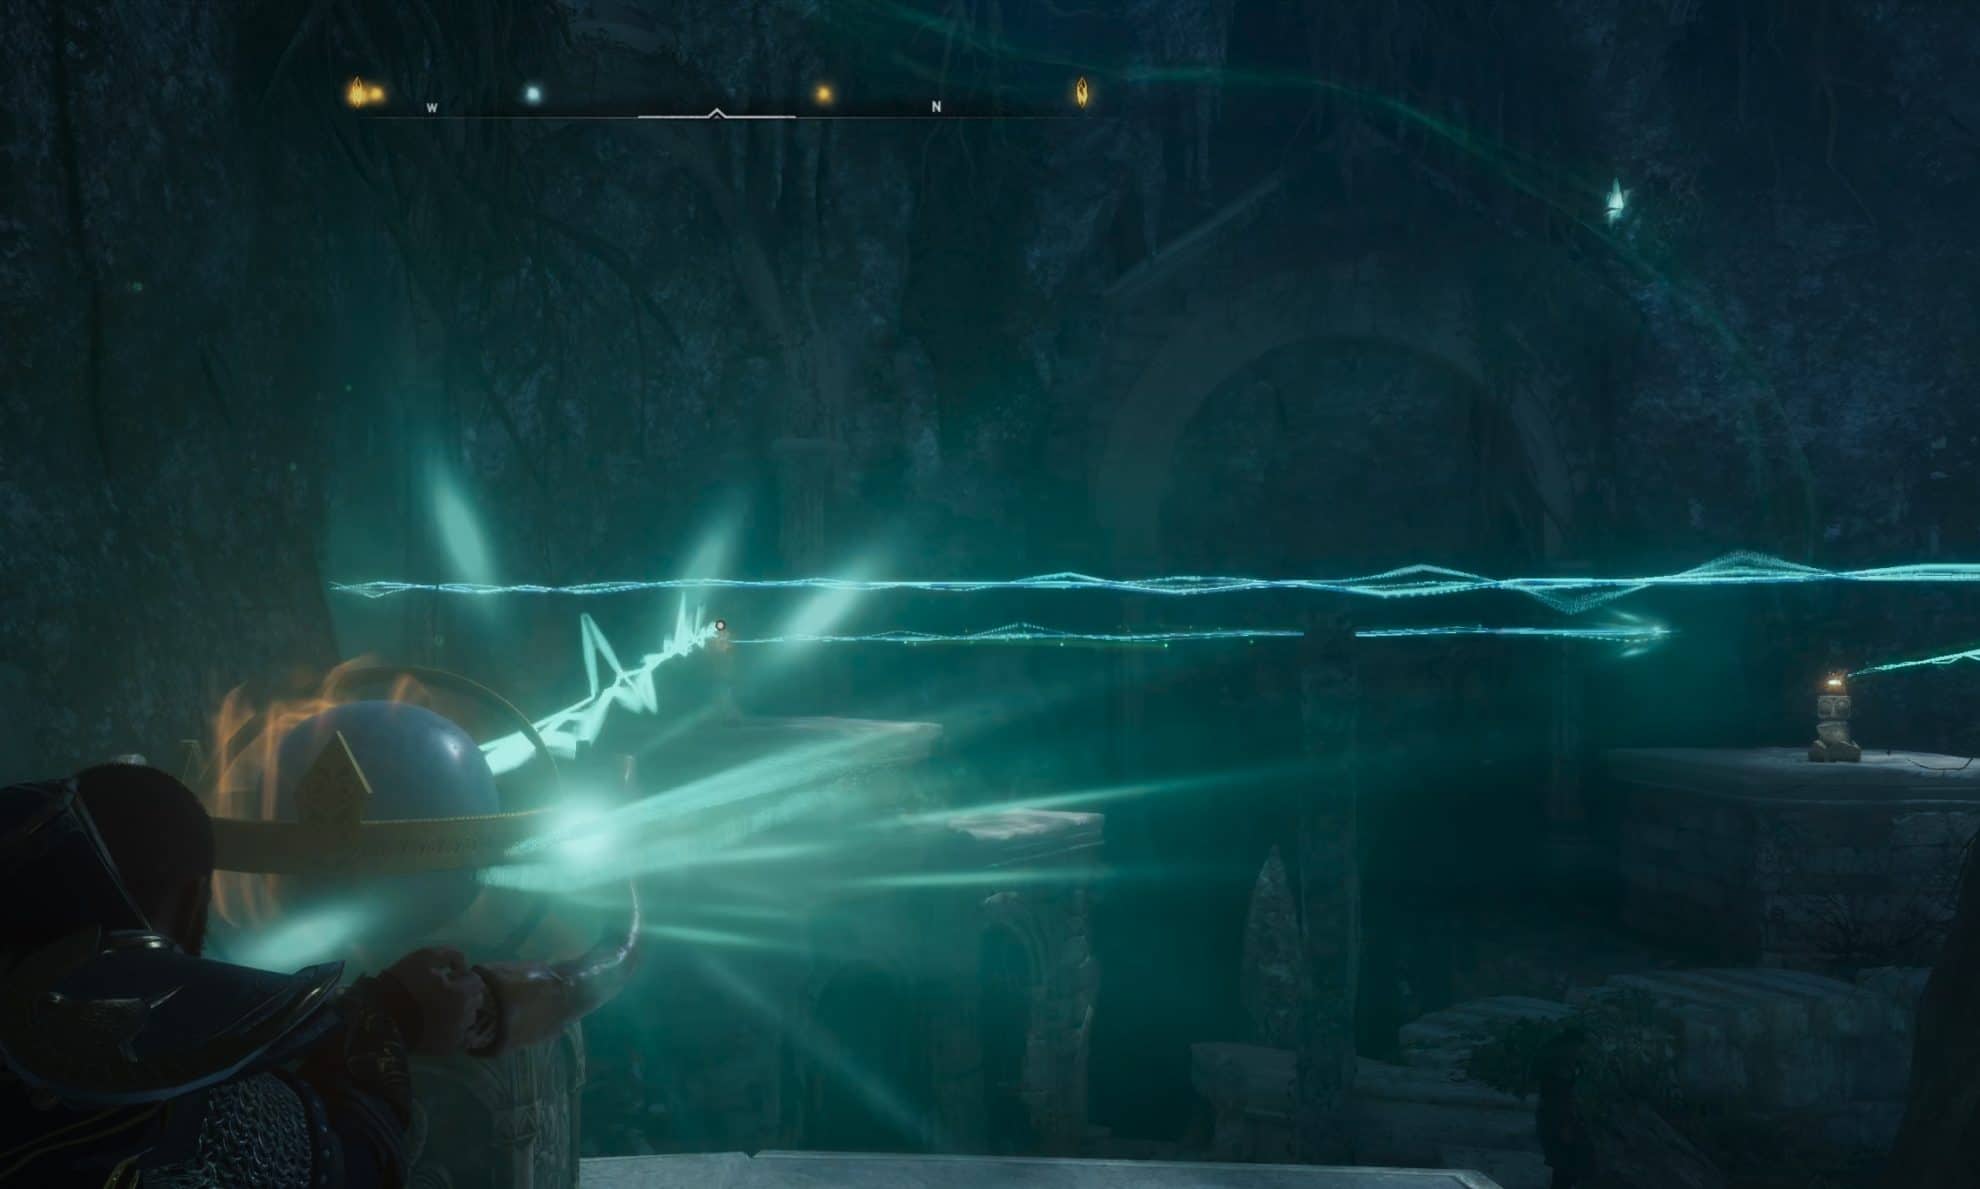
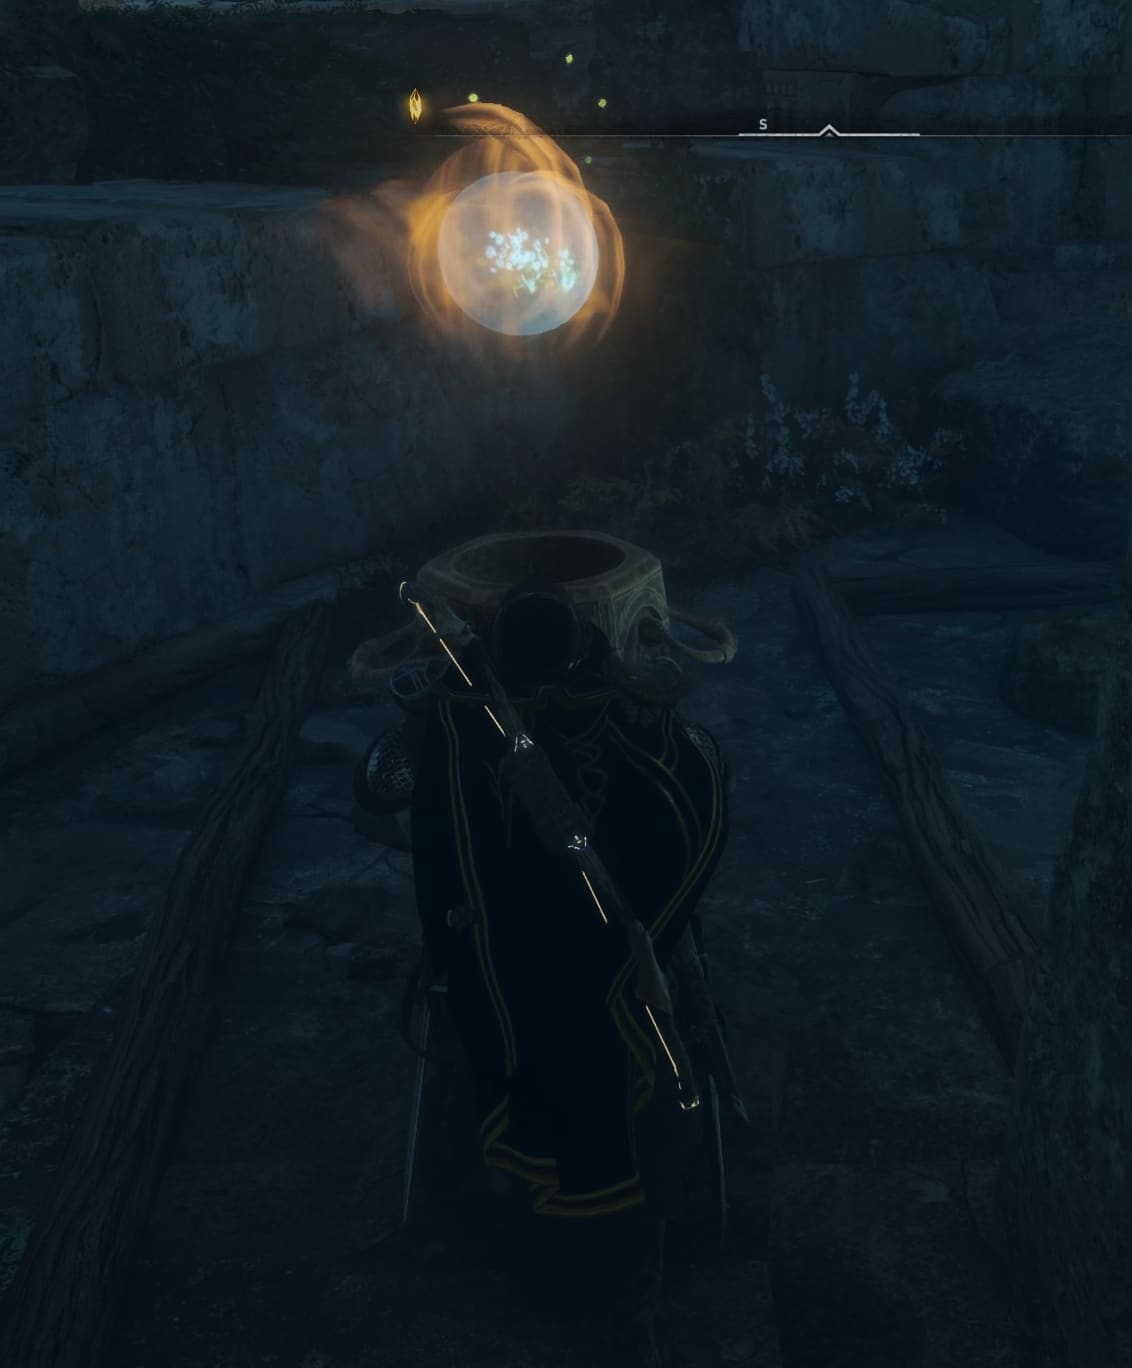
Next, go across the room to the pedestal that is at roughly 5 O’ Clock on the imaginary clock graphic we are drawing for this puzzle. Currently the light is reflected to the left into an empty space. Turn the sphere and point the beam down, as shown in the image below.
Now jump down and go to the movable object with the crystal sphere at the top.
You have a limited space in which you can move that object, so you may have to either rely on my video walkthough, the images in this guide or imagine the trajectory of the light beam and figure out where exactly you need to move the pedestal to correctly reflect the beam to where you need it to go.
You need to move it to a precise position so that when the light from the 5 O’ Clock pedestal is reflected from the movable one, it will head right into the second receiver, which will unseal the well and allow you to pass through.
If you need to, jump back up to the 5 O’ Clock pedestal and turn it a little more to the left or right until the light beam hits the movable one downstairs.
This will finish this puzzle and allow you to continue the Well-Traveled quest in Asgard.
From here on now you can take a Leap of Fate and get the water you came for in the first place. Good luck with the rest of your adventures in Asgard and Assassin’s Creed Valhalla in general!
I hope you found this guide to solving the light beams puzzle and unsealing the well. If you have troubles solving the next puzzle down the line, let me help by showing you how to solve Ivaldi’s riddles.
Below is a list of all armor sets and weapons in the game, but there are a lot more available in the AC Guides section!
Assassin's Creed Valhalla Gear Locations Guides List
This is a full list of all in-depth walkthroughs and guides to the many special armor pieces and weapons available in Assassin's Creed Valhalla. The list contains both special unique items and full sets with set bonuses to further diversify your Eivor build!
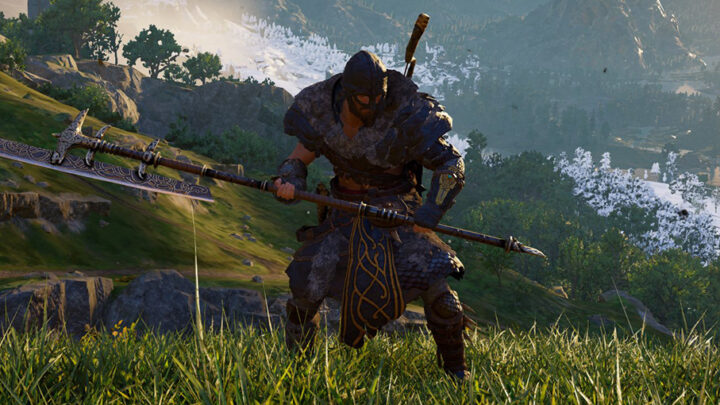
AC Valhalla Weapons Locations Guide
Guide to all weapons and shields in Assassin's Creed Valhalla - where and how to find them, what they look like, what stats boosts they have!

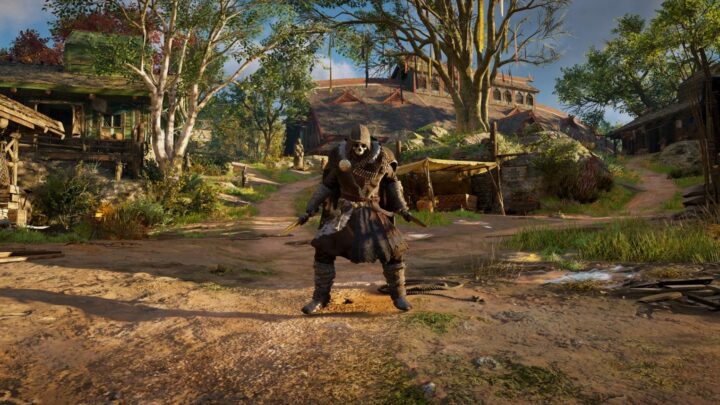
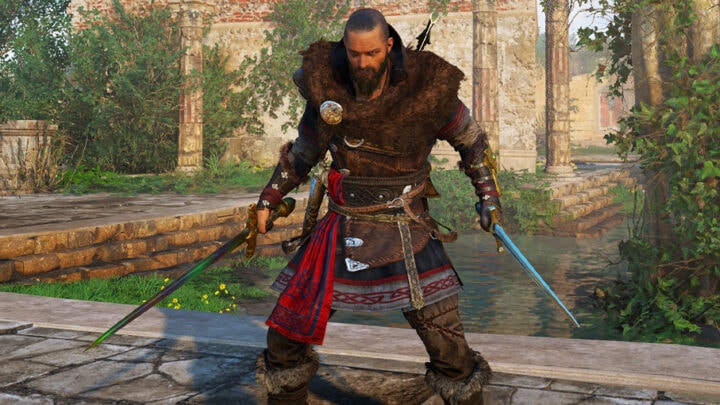
Assassin's Creed Valhalla Berserker Set Guide
Overview of the contents of the Ultimate pack in Assassin's Creed Valhalla - Berserker Pack, Settlement Pack, Ship Pack and a Set of Runes!

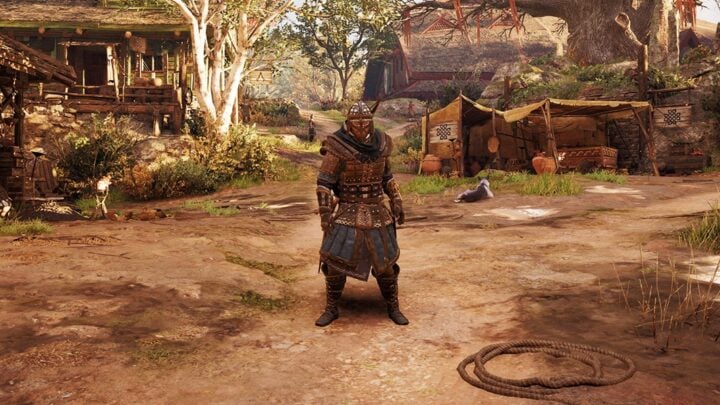
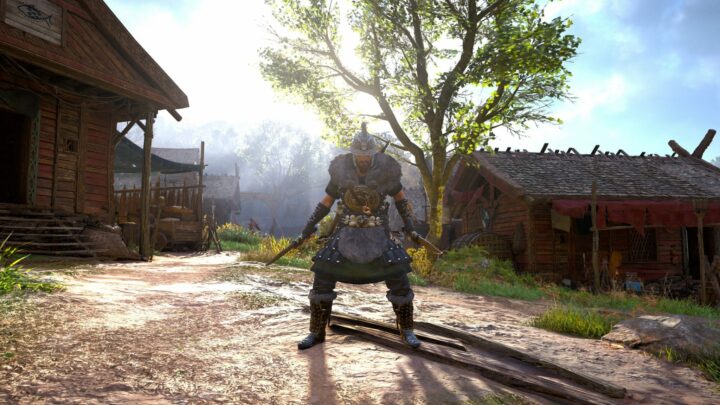
AC Valhalla Raven Clan Set Locations Guide
Guide to the Assassin's Creed Valhalla Raven Clan Set - how it looks, set bonus perks and where and when you get the armor pieces in the game

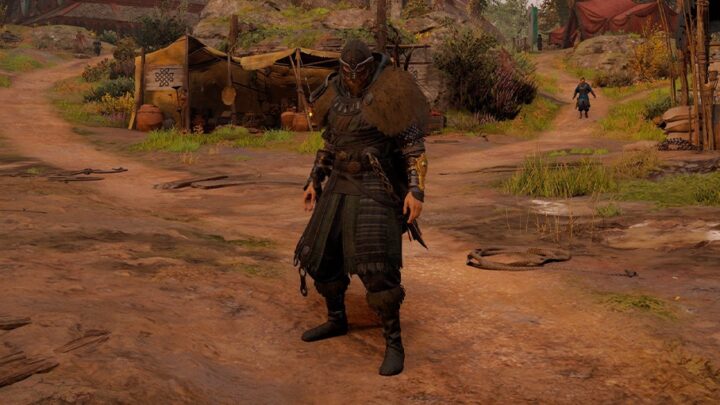
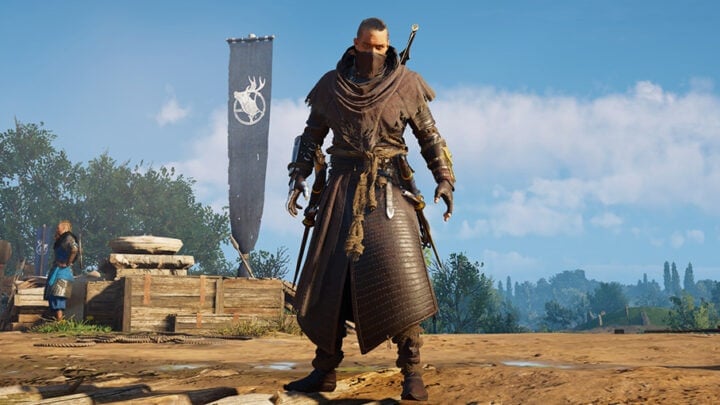
AC Valhalla Hidden Ones Set Guide
Guide to all sx pieces of the Hidden Ones Set in Assassin's Creed Valhalla and the Codex Pages from the Hidden Ones Bureaus in England

AC Valhalla Huntsman Armor Set Locations Guide
A guide to the Assassin's Creed Valhalla Huntsman Set - step-by-step instructions on how to find all five armor pieces, visuals and more!

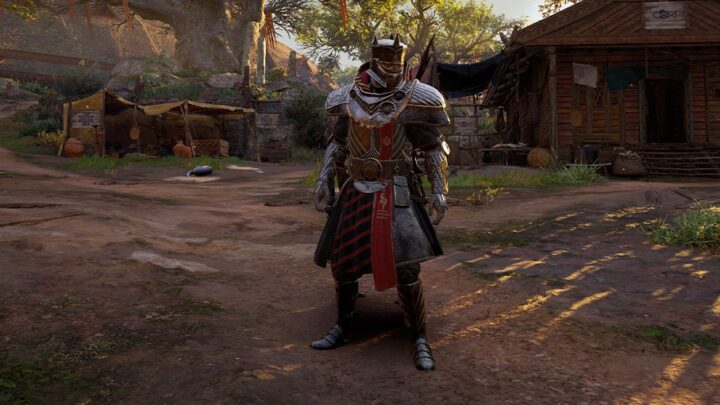
AC Valhalla Magister's Armor Set Locations Guide
A guide to the Assassin's Creed Valhalla Magister's Set - step-by-step instructions on how to find all five armor pieces, visuals and more!

AC Valhalla Mentor's Armor Set Locations Guide
A guide to the Assassin's Creed Valhalla Mentor's Set - step-by-step instructions on how to find all five armor pieces, visuals and more!
AC Valhalla Brigandine Set Locations Guide
A guide to the Assassin's Creed Valhalla Brigandine Set - step-by-step instructions on how to find all five armor pieces, visuals and more!
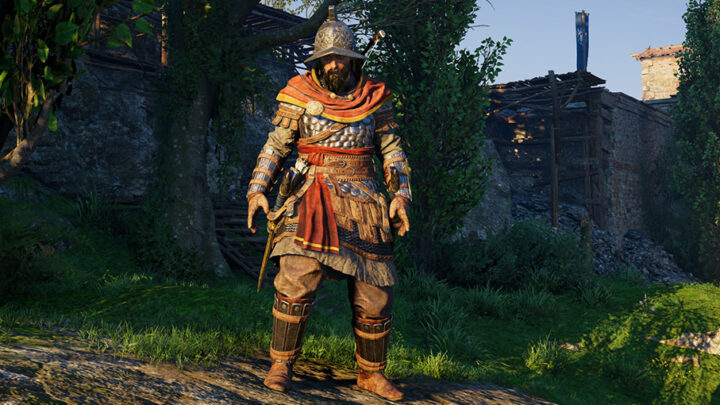
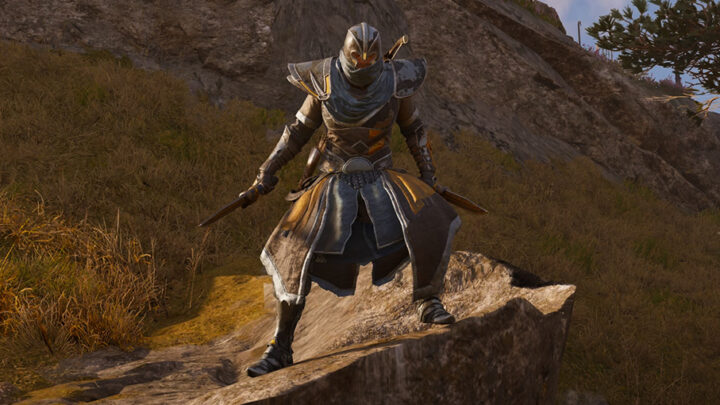
AC Valhalla Galloglach Armor Set Locations Guide
A guide to the Assassin's Creed Valhalla Galloglach Set - step-by-step instructions on how to find all five armor pieces, visuals and more!
AC Valhalla Thegn Armor Set Locations Guide
A guide to the Assassin's Creed Valhalla Thegn Set - step-by-step instructions on how to find all five armor pieces, visuals and more!

How to get Thor's Armor Set and Hammer Mjolnir in AC Valhalla
Overview and complete guide with step by step instructions how to get Thor's Armor Set and Hammer Mjolnir in Assassin's Creed Valhalla!
AC Valhalla Druidic Armor Set Locations Guide
A guide to the Assassin's Creed Valhalla Druidic Set - step-by-step instructions on how to find all five armor pieces, visuals and more!
AC Valhalla Celtic Armor Set Locations Guide
A guide to the Assassin's Creed Valhalla Celtic Set - step-by-step instructions on how to find all five armor pieces, visuals and more!
AC Valhalla Paladin Armor Set Locations Guide (Siege of Paris)
Guide showing you where and how to obtain all five parts of the Paladin Armor Set in Assassin’s Creed Valhalla's DLC The Siege of Paris DLC!
How to get Reaper Armor Set in AC Valhalla Siege of Paris
Guide on how to get the Reaper Armor Set available in Francia from Rebel Missions in Siege of Paris expansion to Assassin's Creed Valhalla!
AC Valhalla All One-Handed Swords Locations Guide (Siege of Paris)
How to find all One-Handed Swords available in Francia, part of the Siege if Paris DLC in Assassin's Creed Valhalla with locations and stats!
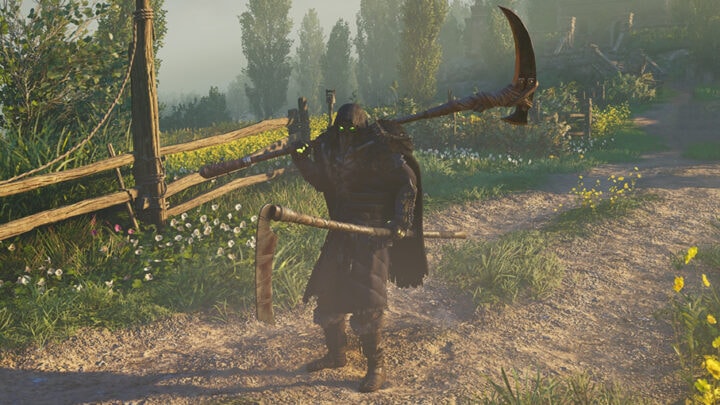
AC Valhalla All Scythe Weapons Locations in Francia (Siege of Paris)
How to find all Scythe weapons available in Francia, part of the Siege if Paris DLC in Assassin's Creed Valhalla with locations and stats!
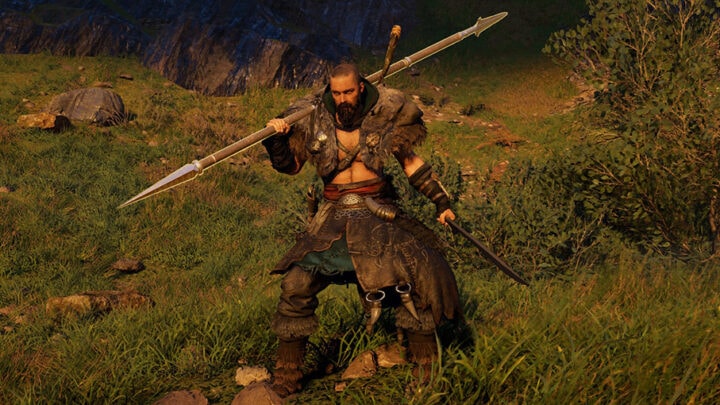
AC Valhalla Isle of Skye Weapons Locations Guide
Guide to all Isle of Skye Weapons Locations on Isle of Skye in Assassin's Creed Valhalla: Hero's Sword and Spear of Leonidas!

AC Valhalla Twilight Pack Overview (Dawn of Ragnarok Pre-order Bonus)
The Twilight Pack is reward for pre-ordering Assassin's Creed Valhalla Dawn of Ragnarok. You get it immediately after you purchase the DLC!
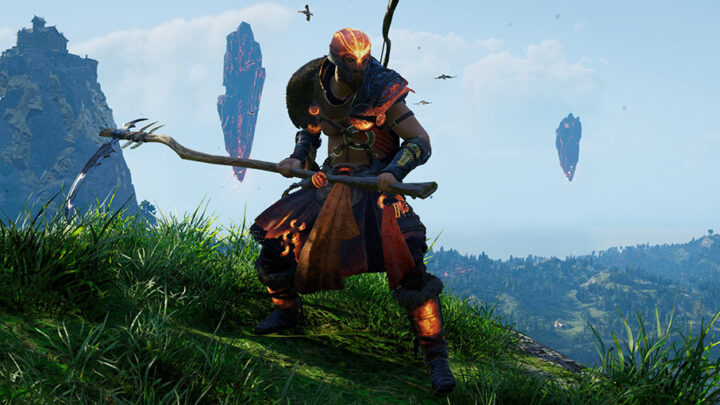
How to get Fire Giant Armor set in AC Valhalla Dawn of Ragnarok
The Fire Giant armor set is available in Assassin’s Creed Valhalla’s Dawn of Ragnarok expansion. Here’s everything you need to know!
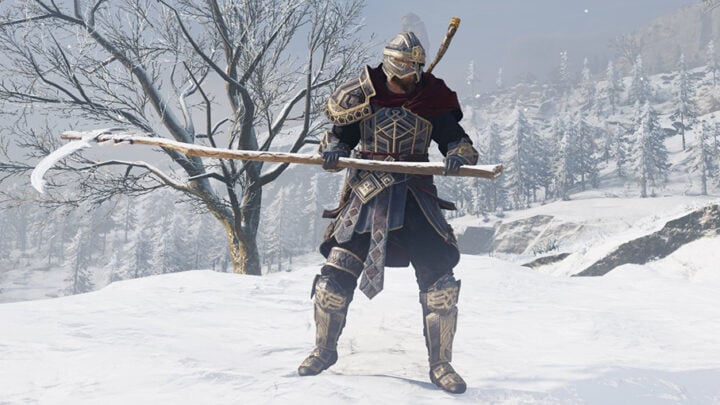
How to get Dwarven Blacksmith Armor set in AC Valhalla Dawn of Ragnarok
The Dwarven Blacksmith armor set is available in Assassin’s Creed Valhalla’s Dawn of Ragnarok expansion. Here’s everything you need to know!
How to get Jotun Mantle Armor set in AC Valhalla Dawn of Ragnarok
The Jotun Mantle armor set is available in Assassin’s Creed Valhalla’s Dawn of Ragnarok expansion. Here’s everything you need to know!