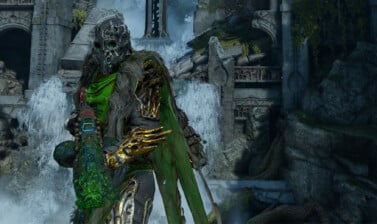
This is a build for the Pyromancer, and a very solid starting build that does well without Legendary items, but can scale with them as well. It’s been covered previously in the Pyromancer Guide and Builds, but this time we’re diving into optimizing it and making it truly Endgame.
Table of contents
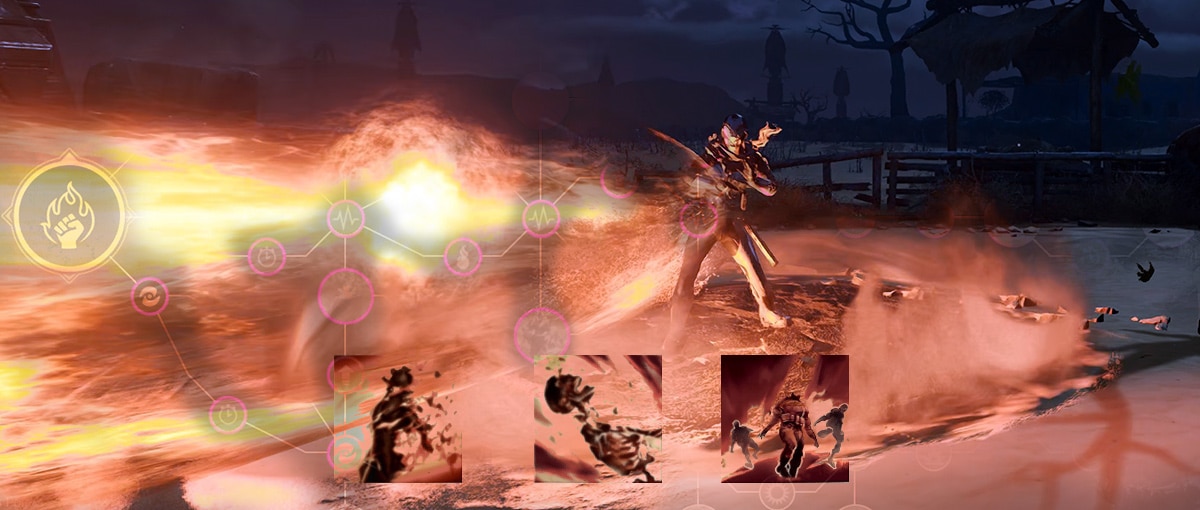
The Skill Tree
The Skill tree hasn’t changed from its original iteration, and still starts in the Tempest section of some easy Anomaly Power. The point spent on Incinerate is optimization choice that give you a little extra offensive and defensive power with the mods we’ll be detailing later. If you prefer not to run those mods, you can always swap it for Trial by Fire, the last node remaining at the end of the Fire Storm Tree for an easy Damage boost.
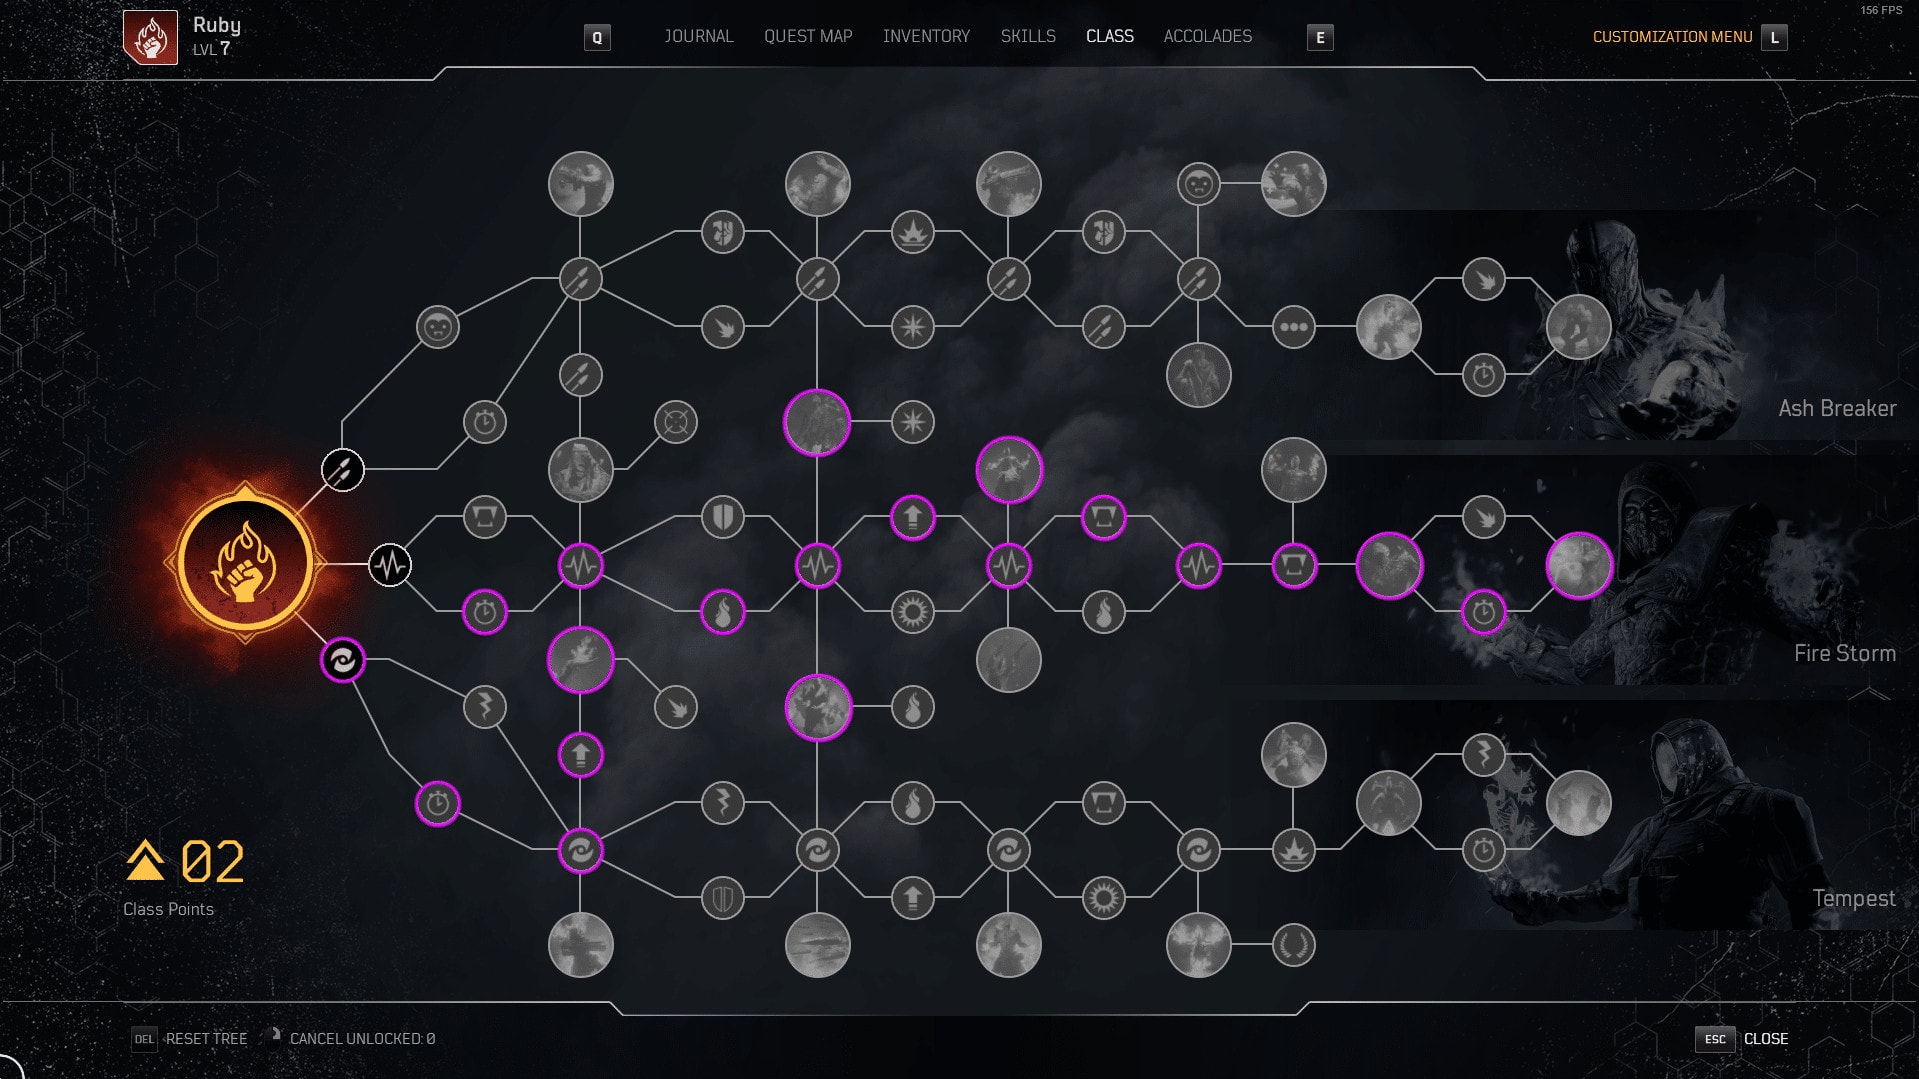
The only other skill point that cam be changed is the second on in the Tempest area. You could also take the marked damage later on with optimized gear, but the Explosive Cooldown Reduction helps a ton regardless, unless you’ve lucked into getting the Detonator mod for Overheat, in which case you won’t need this.
The main things we want and need from this tree are Anomaly Power, Skill Leech and Cooldown Reduction. The Skill leech is particularly important as we won’t be taking it on every armor slot. The same is true for Cooldown Reduction, but the tree also gives us the majority of what we need anyways. Since this build doesn’t focus on weapons at all, we want to stack as much Anomaly Power as possible.
Skills and Mods
This build still utilizes the same three skills that were outlined in the original build in the Pyromancer Guide and Builds page; F.A.S.E.R Beam, Heatwave and Overheat.
 F.A.S.E.R Beam
 F.A.S.E.R Beam
F.A.S.E.R Beam is our primary source of damage. Thanks to the Skill Tree and mods it uses, it will be on a really short cooldown and a very burst oriented skill. We do want its cooldown to be as short as possible, so it can be recast and permanently maintain a buff it uses.

FASER has three key mods starting out: Frequent F.A.S.E.R, Size Matters and Volcanic Armor. The bonus damage mod for this is optional, but can be used a bit later on if desired, but may come at the cost of one of the T2 mods from Armor.
Once you get to full Best in Slot gear, F.A.S.E.R Beam will have a fourth mod that we’d want to make use of. This mod is Ashen Champion. This alters the play style of the build a bit, as initially your only source of Ash will be a burn expiring either naturally or being consumed by Overheat. This will apply it to every enemy it hits
Heatwave
 Heatwave
Heatwave is here as an easy way to set up a burn, and Ash afterwards while also being a debuff. Later on with Best in Slot Gear it will change to also provide a huge buff.

Mainly we only want Burnt-Out to start. Our cooldowns will be low enough that we really won’t need the extra charges much. The Debuff this provides is quite powerful and out cooldown will be low enough to maintain the uptime against the enemies we really need it for.
When we get to Best in Slot Gear though, we’d ideally want to get Tidal Wave with Fire Tsunami. This is because Acari Armor becomes the Best in Slot Gear, but we also need room for our last few damage increasing mods, which can be applied where needed. Thankfully these both are on set piece we’ll be using. We’ll be going over the full Armor setup later.
Overheat
 Overheat
Overheat is here as means of having a quick interrupt and a panic heal in some situations. It can be used as a damage tool, but early on it will have a long cooldown so you’ll need things to line to to get the best use out of it. Usually it’s safe to use if Heatwave is about to be off cooldown.

For the most part early into Expeditions, It’ll be Mod-less or using Phoenix Force for an occasional buff. It’s there as a quick interrupt and not really to do damage or even really apply this buff, since it can’t be maintained as easily.
Later into Expeditions, we’d use the Detonator mod at most, as it does come on one of the piece of Acari Armor we’ll be using, but this is also optional. It does certainly help with letting you use the skill more often though.
Armor Mods
So we have two sets of armor mods we need to cover. The Early set, where we’re likely to have five T2 Mods, and a later set, where a couple or those get dropped or shifted around a bit, depending on preference.
Pre-Legendary Armor Mods
The Early set, where we’re more likely to be using five of the T2 mods should consist of:
- Bullet Kindling
- Ashen Boost
- Rejuvenation
- Twice as Hot
- Blazing Aegis
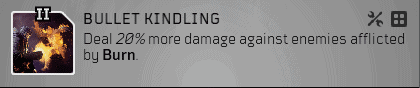
Bullet Kindling and Ashen Boost increase our damage by 20% when an enemy has Ash or Burn status on the enemy. Since we can easily apply both of these, these become our main damage boosters.

Twice as Hot is a bit more of an optional choice. Since the main goal is to have large groups of enemies on Fire at all times, this Mod alone can make up a large chunk of damage and let you safely hold Overheat for easy interrupts or emergency heals.

Rejuvenation and Blazing Aegis make up our best defensive choices. Since we use a lot of Skill Leech, this will make Rejuvenation trigger off cooldown, providing a good amount of Armor and Anomaly Power. Since things will also be on fire constantly, Blazing Aegis will provide a large amount of Armor very reliably making it harder for you to go down.
Post-Legendary Armor Mods
Once we get to using the Acari set which will take over our Helmet, Chest and Lower Armor Slots; we need to switch up mods for more important ones. We’ll also need to grab a Helmet of the Lava Lich at some point for Ashen Champion, which will be crafted into our open slots.
Instead of just detailing the list of mods, we’ll go over exactly where these mods can or should go, as things are a little more specific here.

First, we have the Helmet of the Acari. This has a T1 and T3 Skill mod on it, in this case Fire Tsunami and Ember Shield. Ember Shield is not part of this build, and can be replaced. So we’ll fill this slot with Ashen Champion.
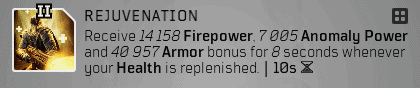
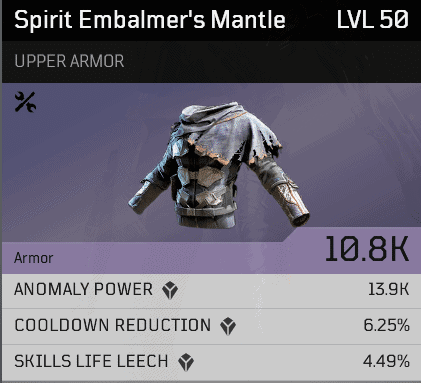
Next is the Armor of the Acari. Similar to the Helmet, there’s a T1 and T3 Mod here, in this case Detonator and Tidal Wave. Neither of these mods has to be replaced as both can be useful to the build. However, as a personal choice, we could replace Detonator here for bonus damage of some kind. Likely replacing it with Rejuvenation. While this mod doesn’t directly provide damage, it does provide a boost of Anomaly Power and Armor that is very help for our build.

Then we have the Waistcloth of the Acari. This comes with a T3 Armor mod and a T1 Skill mod. Anomaly Echo is very helpful to our build and worth keeping as it will provide a consistent Anomaly power buff. If you were using Phoenix Force before, this will replace it. The other mod is Irradiation Wave, which is essentially useless to us, as we can already take heavy hits easily enough. So we’ll replace it with the Volcanic Armor mod for F.A.S.E.R Beam.

Our Gloves and Boots are both Epics, so they’re a bit more flexible in terms of mods. Between these four slots, we’d need to get Size Matters and Frequent F.A.S.E.R for F.A.S.E.R Beam.
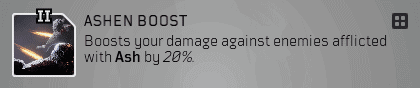
We also need our last two damage mods, being Bullet Kindling and Ashen Boost. Ashen Boost can also be substituted with Captain Hunter, if you manage to pick it up. Ash is the less reliable of the two statuses, as Burns don’t fall off sooner on Elites like Ash will. It’s also a slight stronger damage boost against the enemies we need the damage boosts for.
With the Epics and the optional replacement mods for the Acari Armor pieces, those can be swapped as needed. So if you roll an Epic pair of Gloves or Boots, it only needs to have one of the T1 or T2 Mods on it and the other ones that are need can be slotted as desired.
Overall, we end up dropping Blazing Aegis and Twice as Hot from the Epic only setup, but gain Ashen Champion and Fire Tsunami is their place which are much more valuable thanks to the Acari Set bonus.
Weapon Mods
There’s not mods that will really provide anything useful that we can’t though abilities, outside of Vulnerability. So that may be a goal to hunt for as a solo player. However, having weapons with high single target damage in general are the only thing that supplements this build well.
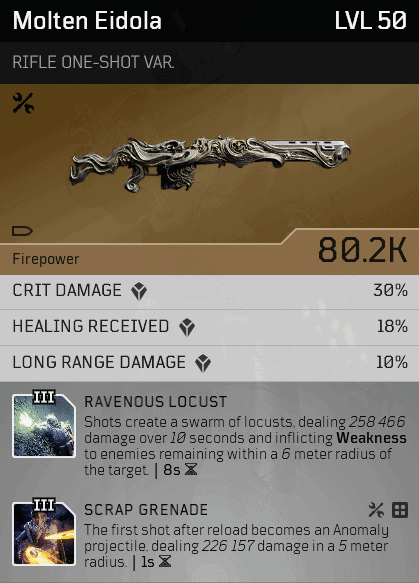
Personally for this build, I’ve been running The Molten Eidola One-Shot Rifle with Scrap Grenade and Ravenous Locust. It’s a very potent single target and AoE damage combination. Since Ravenous Locust also provides Weakness, it can take a lot of threat away from enemies like Behemoths and Brood Mothers, which helps with your durability.
Up until I got the Molten Eidola, I ran an Epic One-Shot Rifle with Scrap Grenade and Improved Vulnerability Bullets. This was a good single target setup as well, as it helped add a little more punch to both the Grenade and F.A.S.E.R Beam.
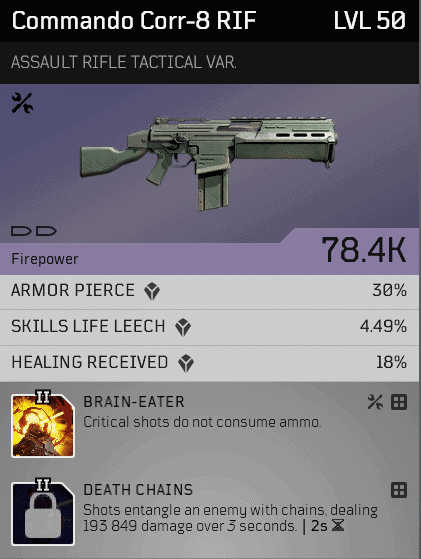
If you’re not a fan of One-Shot Rifles, Tactical Assault Rifles are great and are my go-to back up weapon. I generally try to get a Combo of Brain Eater and Death Chains. Brain Eater helps conserve ammo since we’ll mostly use it for larger enemies like Behemoths and Brood Mothers which have large crit areas to target.
Armor and Weapon Attributes
Like with Armor, we have two sets of Attributes to cover here, even though they’re largely the same, the Acari set does force the remaining epics to be more specific. It’s best to aim for the Boots and Gloves from the set with Legendaries, so they do not need to be replaced.
Pre-Legendary Attributes
For this set, we only want to hit specific amounts of stats or rather a number of our 18 active Attribute slots, between weapon and Armor.
We’ll focus on the Top lines first, since these are specific to Weapons and Armor Specifically. For top line Attributes, we want Crit Damage for Weapons and Anomaly Power for Armor. Crit Damage helps our weapons do just a bit more damage when we need it to. Since this is an Anomaly Power Build, we want all the raw power we can get, since a lot mods and such scale with AP.
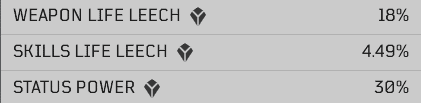
Let’s talk about our two weapon slots next. Here we want Skill Life Leech and Status Power. These provide the most for our build, granting an extra bit of Status and Leech we wouldn’t get otherwise. With our weapons not doing too much of the heavy lifting, Weapon Leech is a waste and well and Close and Long Range damage, as those only apply to weapons.
Moving on to our Armor, we specifically want five of our remaining ten slot to be Status Power. Status Power makes our Burns Strong but also provides a ton of damage for F.A.S.E.R Beam, with it’s base damage being increased by 180% between all 6 slots that can have this stat. That’s nearly Triple the base Damage all from an attribute.
Our last five Armor Slots will be split between Skill Life Leech and Cooldown Reduction. You can split these how you want, tweak the balance to your liking. I’ve found with Epics that three Cooldown Reduction and two Life Leech work the best with our Skill Tree and Weapons.
So in total between our Weapons and Armor we have:
- 1x Crit Damage, Our Weapon top-line Attribute. (30% Crit Damage)
- 5x Anomaly Power, Our Armor top-line Attribute. (69,500 Anomaly Power total)
- 6x Status Power, Should be on all of our weapons and Armor (180% Status Power total)
- 3x Skill Leech, One on Weapon two on Armor. (~13.5% Skill Life Leech total)
- 3x Cooldown Reduction, our last Armor stat. (~22.5% Cooldown Reduction total)
Post- Legendary Attributes
Since we’ll be using the Helmet, Upper and Lower Acari Armor pieces, we have to work around those to get where we want to be for Attributes. Since Legendaries have fixed stats currently, we’ll detail them first.
The Armor and Waistcloth of the Acari have Anomaly Power, Skill Life Leech and Cooldown Reduction. The Helmet has Anomaly Power, Skill Life Leech and Status Power. This gives us a total of two Cooldown Reduction, three Skill Leech, Three Anomaly power and one Status power.
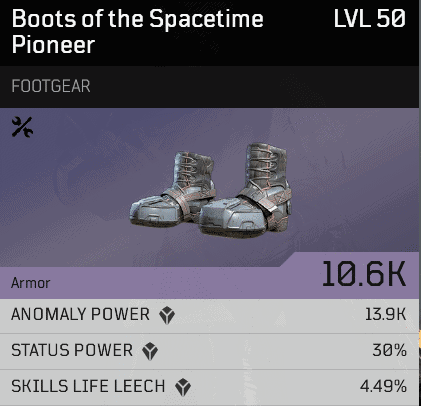
This means for the most power possible out of our remaining two armor slots, we want them to have Anomaly Power, Status Power and Cooldown Reduction. This applies to both our Gloves and Boots and gives us a total of another two of each stat.
This leaves our Weapon, which will still be Crit Damage, Skill Leech and Status Power. Skill Leech is optional here, and you could just as easily swap it with Healing Received, to boost your class heal slightly or Close/Long Range Damage to boost your weapon damage. Any of the options work well enough.
This leaves this improved Legendary set with the following Attributes:
- 1x Crit Damage – Our Weapon top-line Attribute. (30% Crit Damage)
- 5x Anomaly Power – Our Armor top-line Attribute. (69,500 Anomaly Power total)
- 4x Status Power – Should be on all of our weapons and Armor (120% Status Power total)
- 4x Skill Leech – One on Weapon, three on Armor. (~18% Skill Life Leech total)
- 4x Cooldown Reduction – our last Armor stat. (~30% Cooldown Reduction total)