The mission to Horizon is of the utmost essence in Mass Effect 2 as it allows you to progress further to the second chapter of the game
Horizon is one of THE missions that you will need to do in order to progress in Mass Effect 2’s story. It is not just the main story but also a lot of the progression sidequests such as your companion’s loyalty missions.
You can’t not do Horizon since it’s obligatory so skipping it only means that you will hold up the story. You will also have your first run in with the Collectors who are there for all the wrong reasons and you need to find out why they are there.
How to get to Horizon
There are quite a lot of steps to undertake before you can start Horizon. And they are no easy tasks at all. First of all you will need to get your crew together. At least some of them and they are hard requirements in order to trigger the mission.
You will need the following people in order to get there: Jack, Mordin Solus and Garrus also known as Archangel. You will also need to recover the tank from Korlus but you don’t need to necessarily open it. The location of Horizon can’t be chosen from your Galaxy map and instead you will get a notification from Yeoman Kelly and Joker that the Illusive Man wants to talk to you.
Once you have had the conversation where you will be told that you will need to save the colony you will be on your way to investigate and see what happened. Also you will need to visit Mordin Solus who will have a gadget for you to deal with the swarms. Which is why he is essential in order to trigger the Horizon mission.
Arriving on Horizon
Upon landing on Horizon you will witness the Collectors who are in the process of moving colonists on to their ships. Try and prevent that by stopping them in their tracks. Mordin Solus will contact you via radio or if you have him in your party then he will tell you that his gadget may or may not work or both. Kind of like Schrodinger’s cat. Simply because it hasn’t been tested yet. After that you just move until you find the first enemies which you will have to kill.
The attackers will be all over the first section of the colony and so keep shooting your way through all that. But be weary of surprise attacks either on the ground or by air. Once you killed all of the Collectors then move quickly to the next stage of the mission. And as always don’t forget to pick up any ammo or medi-gels in the vicinity. Also check for any lost datapads that may contain some credits.
Once you reach the next area you will see a couple of buildings and The Collectors are harvesting them. Shoot and kill them on sight but be weary of a couple of Husks. The Husks are melee only so use your biotics create a distance so you can keep shooting them from afar. If you are in the unfortunate situation that they got too close then don’t hesitate to mow them down with your melee. But again, the further you keep them, the better.
Once you killed all of them then go into the building to find a datapad and earn yourself 4200 credits. But more importantly, outside you will find a dead Collector that you need to scan a very important upgrade: The Heavy Skin Weave. Pick it up and use it to your advantage.
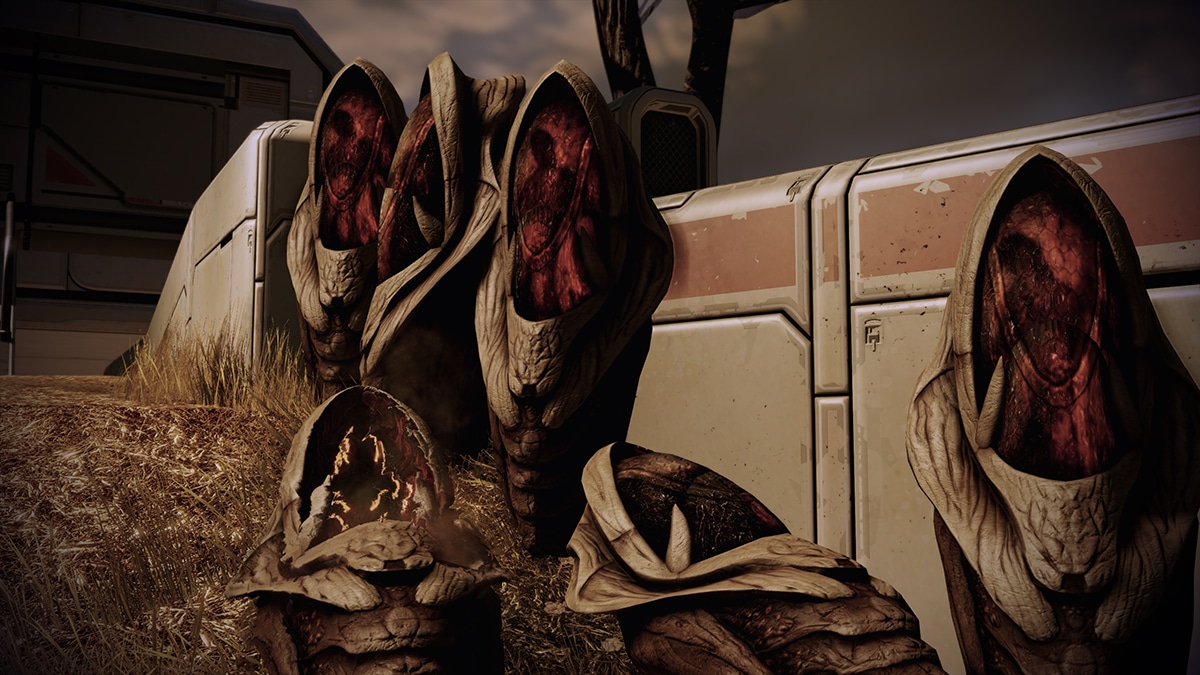
The first Husks and Collectors
Go around the corner and you will see a dead Husk. A cutscene will trigger and you will see Shepard go full CSI: Horizon as he examines the Husks. He comes to the conclusion that these Husks are different from the ones from Eden Prime. Shepard and whoever is in your party at the time come to realize that these Husks are different because they were brought along by the Collectors. With that Shepard inspires his squad to prevent the Collectors from abducting more people.
Once you have killed them all, scout the area to restock on ammunition before you move on. You will find a couple of medi-gels and 3000 credits. You will also find the Particle Beam, which is a heavy weapon. Since it is a heavy weapon you will need heavy ammo in order to use it. Now let’s move on to the next area.
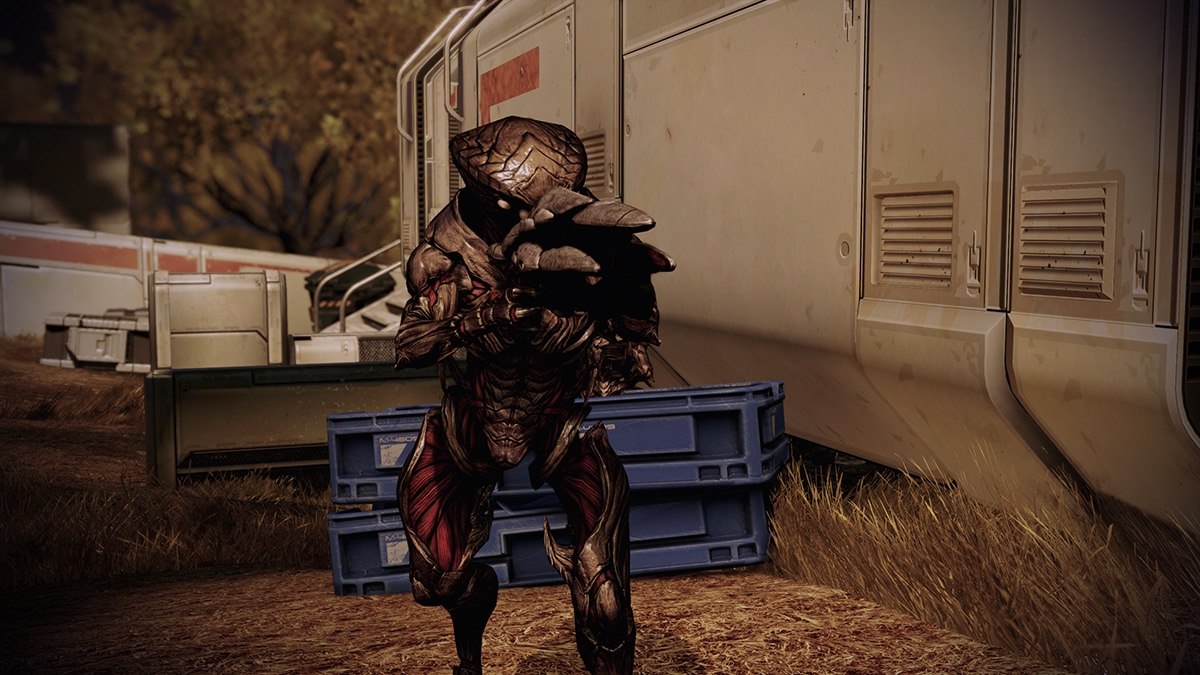
More Collectors await and this time they are up in the air. This is a tough opponent so make sure you got some special ammo and someone with warp capabilities since you are shooting through three layers before it goes down.
There will also be another first encounter that will drop your jaw to the floor with the iconic sentence “Assuming control of this form”. It will be the Harbinger.
Now, The Harbinger is a class act enemy. It takes form of one of the Collectors, pretty much like The Agent did in The Matrix, just taking over bodies in the blink of an eye.
And it is a tough enemy to beat. It has two layers of shields before you actually get it down. The AI of the foe is incredible and simply shooting at him won’t work. You need to be tactical about this and take him down with a combo of biotics, warp and a lot of special bullets to penetrate that skin. That Particle Beam you picked up earlier will help a lot if you got enough ammunition for that.
After you are done with your first Harbinger, you never forget your first, march forward and get to the big door and enter the next area.
How to enable the GARDIAN Towers on Horizon
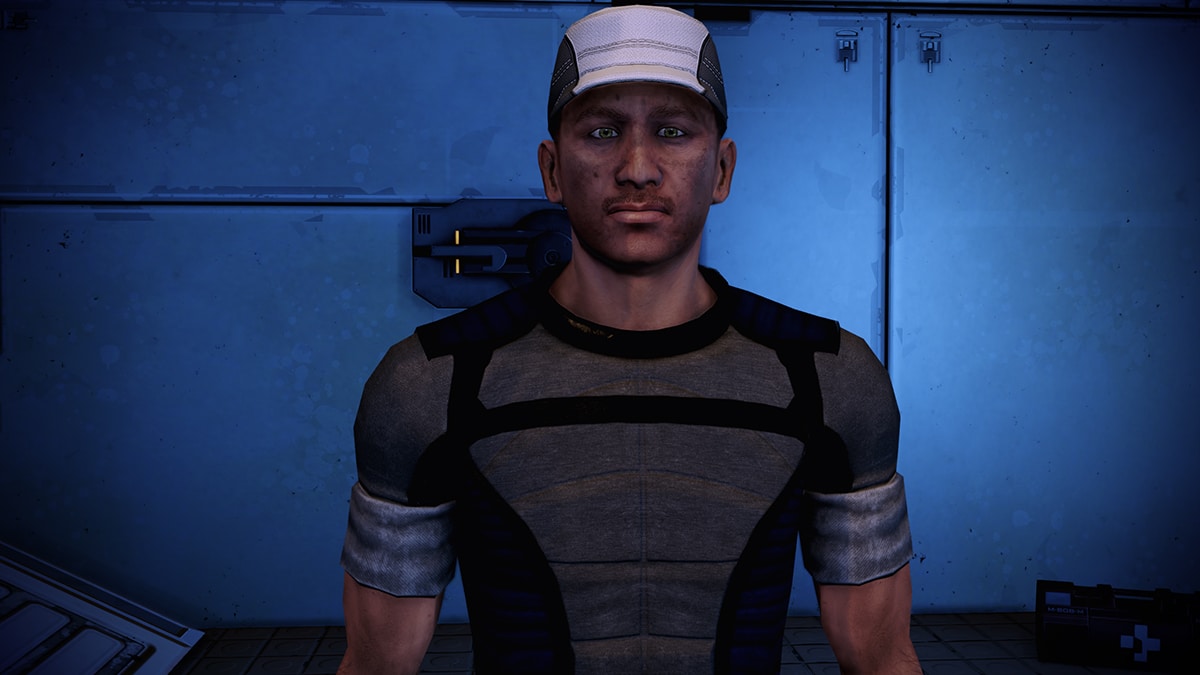
You will encounter Delan, a local who managed to stay safe during the Collector’s invasion. Talk to him and you will find out what the Collector’s have been up to and the towers as well.
You will need the towers as they are in fact defense towers against any threat from outer space and that the are called GARDIAN laser towers. After your conversation ends with Delan you will move to the next area to try and get the towers going.
Before you go, make sure you stack up on ammunition and any last gun changing can be done before you end the final phase of Horizon. So if you picked up the Particle Beam earlier on, now is the time to decide whether or not you want to take it to the last phase. Look around a bit and you will find 6000 credits, platinum and medi-gel. Save up before you make your final move!
How to counter the difficulties at the Starport
There are quite a lot of difficulties that you will encounter at the Starport. First of all, spend your ammunition wisely as it is very scarce no matter the difficulty mode you play. Make every shot count. Any shot that you miss, it will get punished later on.
Another item that makes this encounter so difficult is that there is barely any cover. So you will have to fight in the open most of the time. You will be running a lot to try and find the very few places where you can find cover.
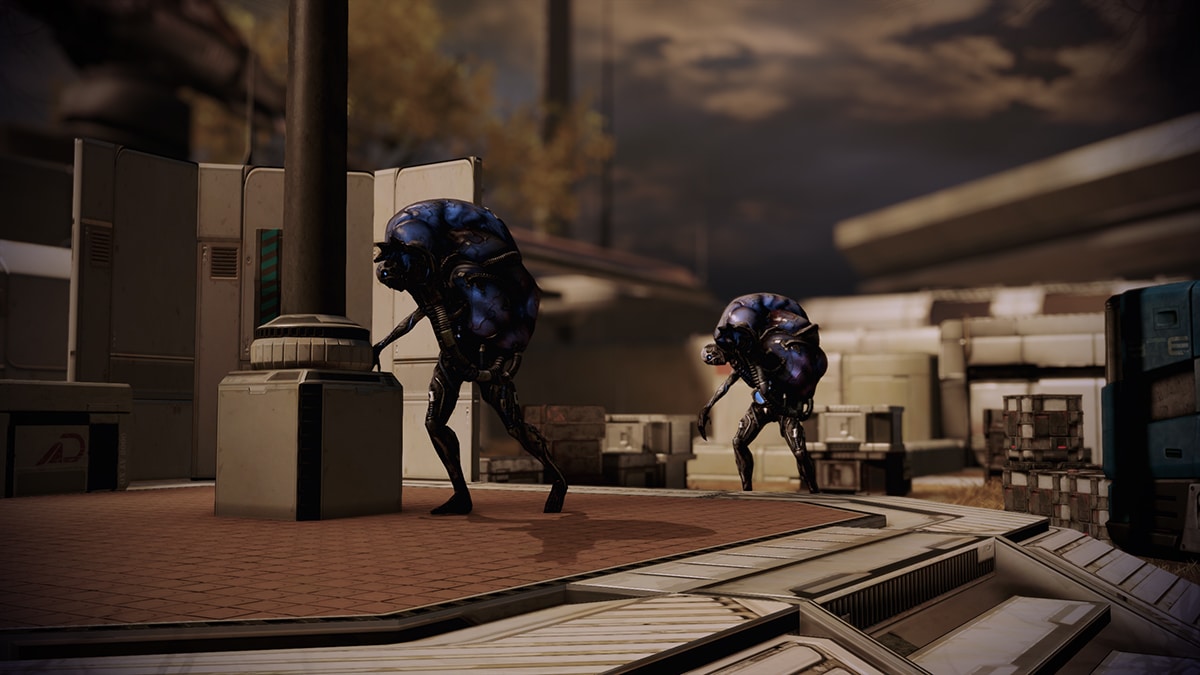
Make sure you have control over your NPC friends and place them in tactical ways to make sure that you will always have two or three people shooting on the same target. You will encounter Scions, Collectors and Husks.
And let’s not forget Harbingers. So you will have your hands full but as they say: Always outnumbered, never outgunned!
Scions have a very powerful biotic akin to shockwave and it hurts. It will take about half your life if you get hit. So make sure you are out of its’ pathway.
So while you run from cover to cover and shooting your enemies wherever you can you will run into a swarm of Husks and two Scions. Again, move around and do what it takes to stay alive. At this point it is more about survival while you try and get your enemies down. Your best bet is to use your heavy gun, Warp and incendiary ammo will help a lot.
After you have survived the three waves which will consist of the following enemies:
First wave: Two husks, a Collector Assassin, a Guardian, a couple of Drones, and Harbinger.,
Second wave: Guardian, Drone, Harbinger and this Harbinger has brains since he will make sure he is hard to hit while on the movie as well as flanking you while he controls the Drone and the Guardian by having them take cover.
Third wave: four husks, Assassin, another Drone and Harbinger.
Keep a close eye on spawning points since you can hit a lot of them from their original spawn point. Most of them walk in a straight line until get close and start taking cover and such.
The Praetorian
After you have finished the three waves and your GARDIANs on Horizon are ready to charge, the Harbinger leaves you with a nasty surprise; A Praetorian joins the battle. Up until then all the enemies you have encountered, including the Harbingers, are child’s play. The Praetorian is far deadlier than anything you have seen before. Lucky for you, the Praetorian is the only enemy in this final phase.
Keep in mind the following: The Praetorian has a barrier and armor. He has two abilities: Death Choir which is an instant kill. And the shockwave that he uses is that even hits you hard despite your cover.

So the best thing to do here is to shoot it as much as possible as soon as the barriers are down. Once the Praetorian starts glowing and slams to the ground , it will kill you instantly if you are too near. That ability is the Death Choir.
If you see the Praetorian on the ground then do not shoot it. As mentioned before; ammunition is very scarce so make every bullet count. When it is glowing it is also invulnerable so do not waste your ammunition. Once he is on the floor, it is best to revive a fallen ally. Find extra medi-gels or extra ammo. Who knows what lays aruond.
This fight is basically rinse repeat after that and the Praetorian will disappear into thin air.
Epilogue
As you activate the GARDIAN towers, they will make sure that the Collectors will think twice to invade Horizon ever again. However they still managed to get about 33% of the Horizon population.
Then one of the toughest conversations in the game is triggered. It is a confrontation with your past. And if you were involved with Ashley or Kaidan in Mass Effect 1 then this conversation is going to be even tougher when either finds out that you have joined “the enemy” Cerberus.
Either Ashley or Kaidan will let you know that he/she has been dropped here by the Alliance after someone told them that the Horizon colony was about to get hit. And in fact they were sent there to investigate Cerberus. Which makes it even more controversial. Your former teammate will be upset and you will figure out what happened in the past few years while Shepard was dead.
You will go back to the Normandy after the conversation ends.
Back on the Normandy
The Illusive Man wants to talk to you as soon as the mission is over. He praises Shepard on the way he handled the mission on Horizon by stopping the Collectors as well as saving the colony.
Shepard however is not happy that the Illusive Man has secretly leaked that Shepard is working for Cerberus. This is the first dent in the already rocky relationship between the two.
The conversation ends with the Illusive Man telling Shepard to continue to build his team to take on the Collectors and giving him three more files on potential recruits.
Meanwhile The Illusive Man will use all of his resources to get through the Omega 4 Relay.
We hope you liked the Mass Effect 2 Horizon mission guide. Check out the rest of the Mass Effect series coverage we have here on VULKK.com