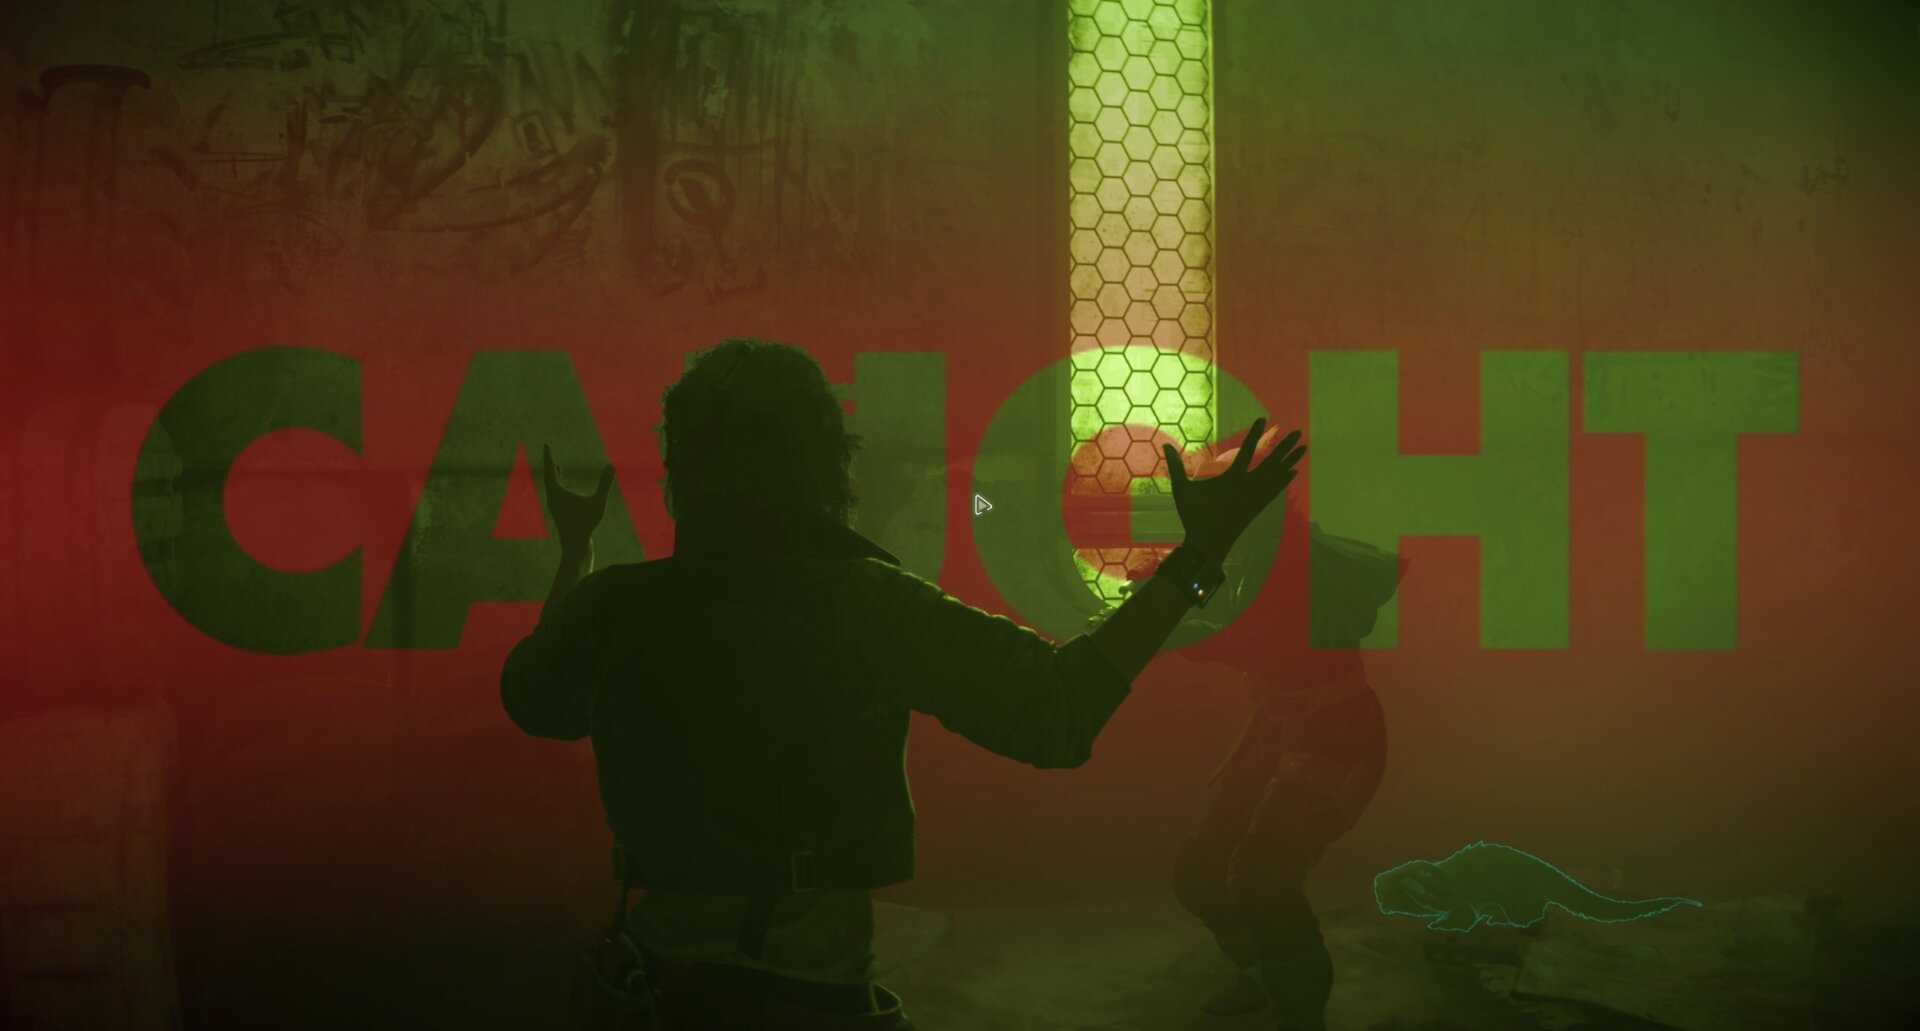
Sneaking through the Pyke District and Gorak’s Base on Toshara, during the main quest Underworld, will definitely test your mettle far more than infiltrating the Zerek Besh stronghold on Canto Bight in the intro quest Outlaws. To survive this you’ll need to lay low, act with caution, and without hesitation.
How to get the Underworld Mission
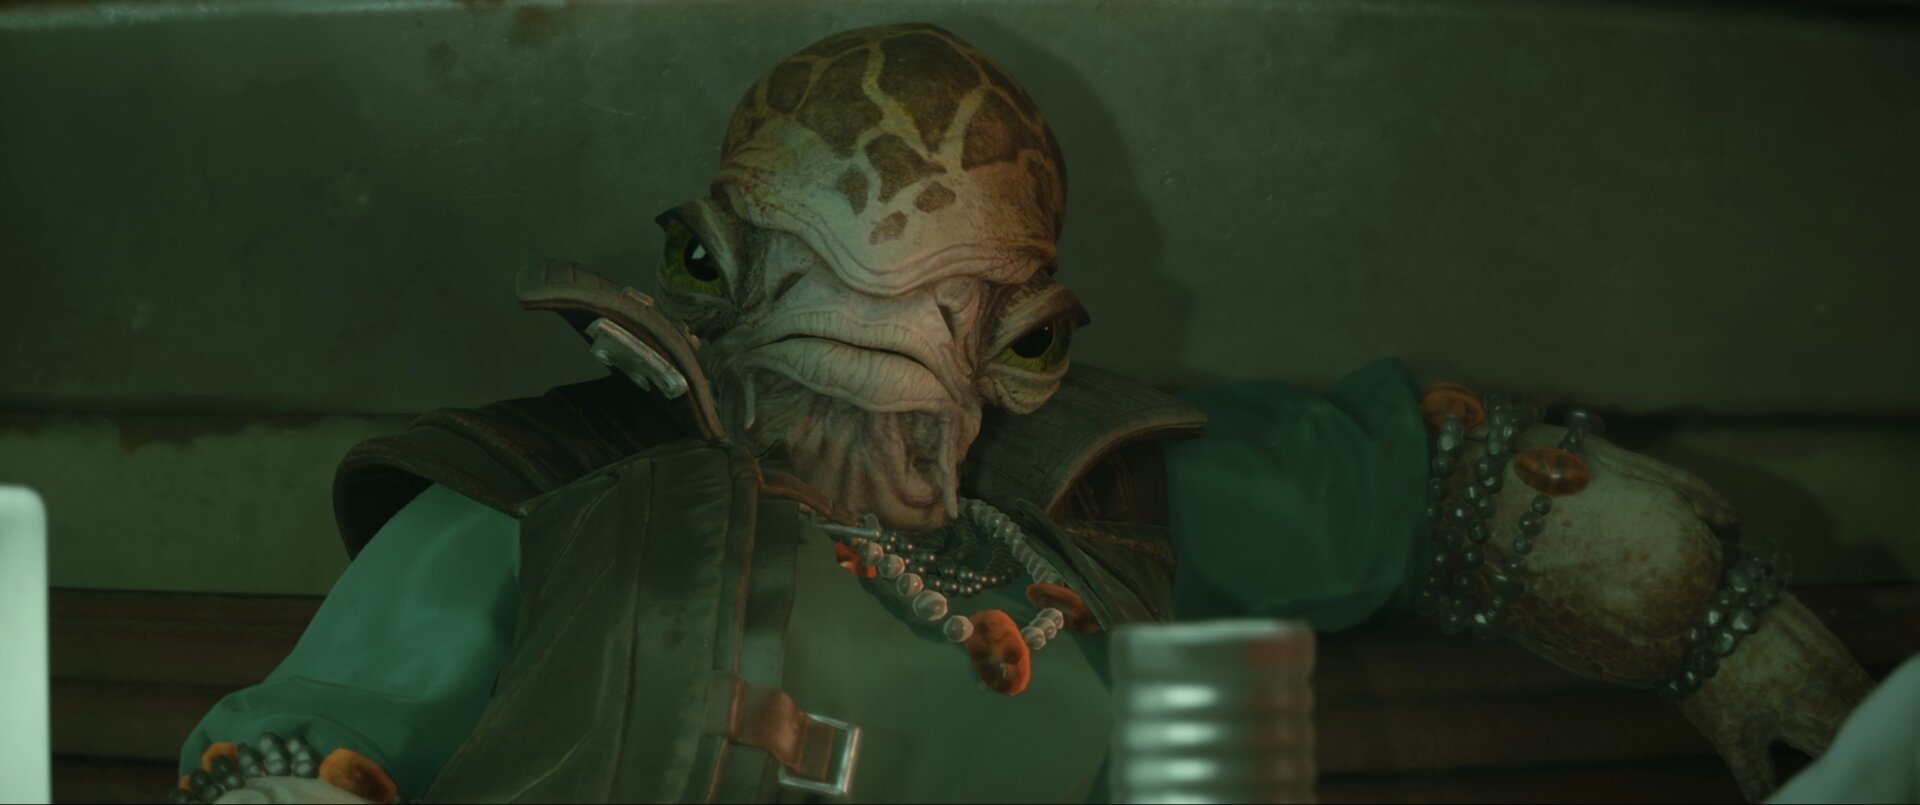
Underworld is a main story mission that’ll occur after you meet Gorak at Mirogana City. After mentioning Waka, you’ll be kicked out by Gorak, only to be offered a job by a Mon Calamari woman named Danka.
As Danka is merely the job broker, she’ll tell you of a client that requires your services. All you know is that you have to find some information at Gorak’s private base, information he doesn’t want to be leaked.
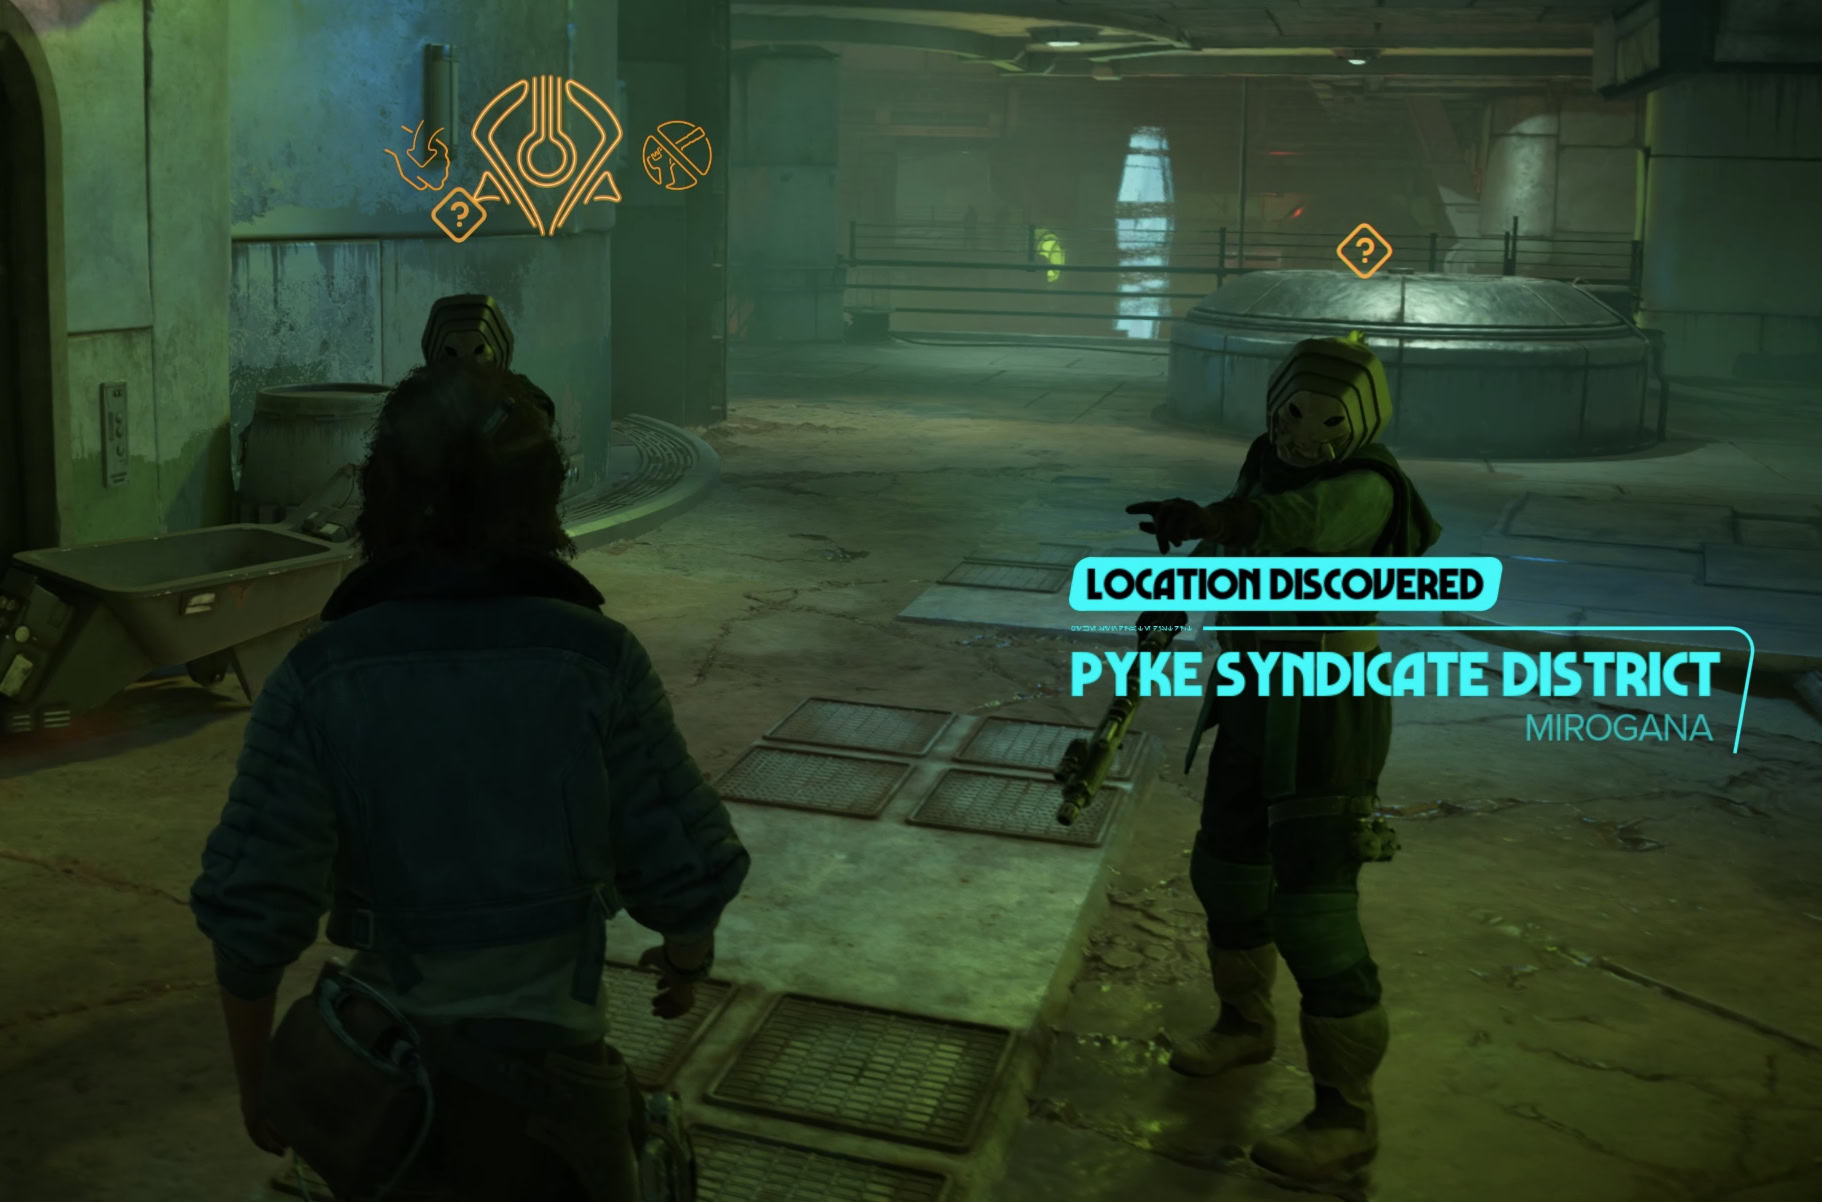
Entering the Pyke’s Territory in Mirogana
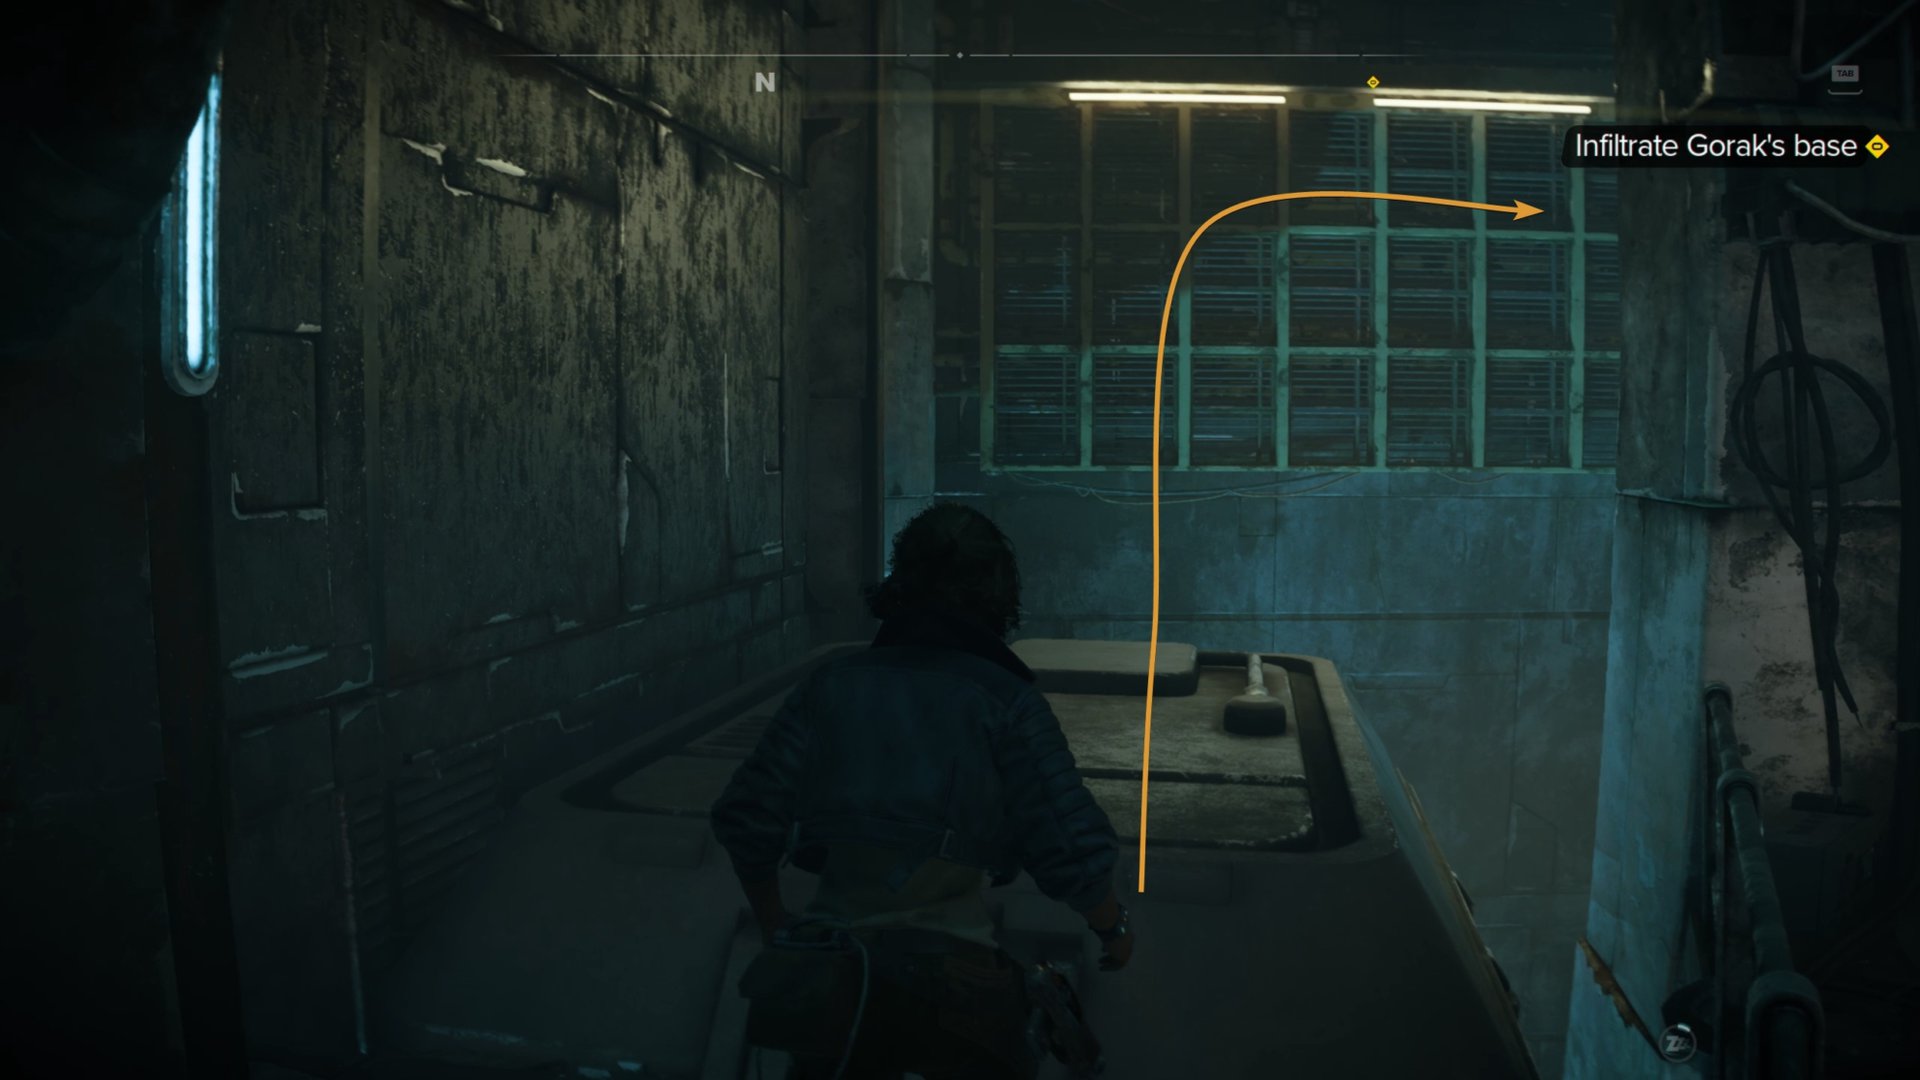
Follow your map marker to the entrance of Mirogana where the Imperial Outpost is, and you’ll find a path in the northeast that leads to the Pyke Syndicate District.
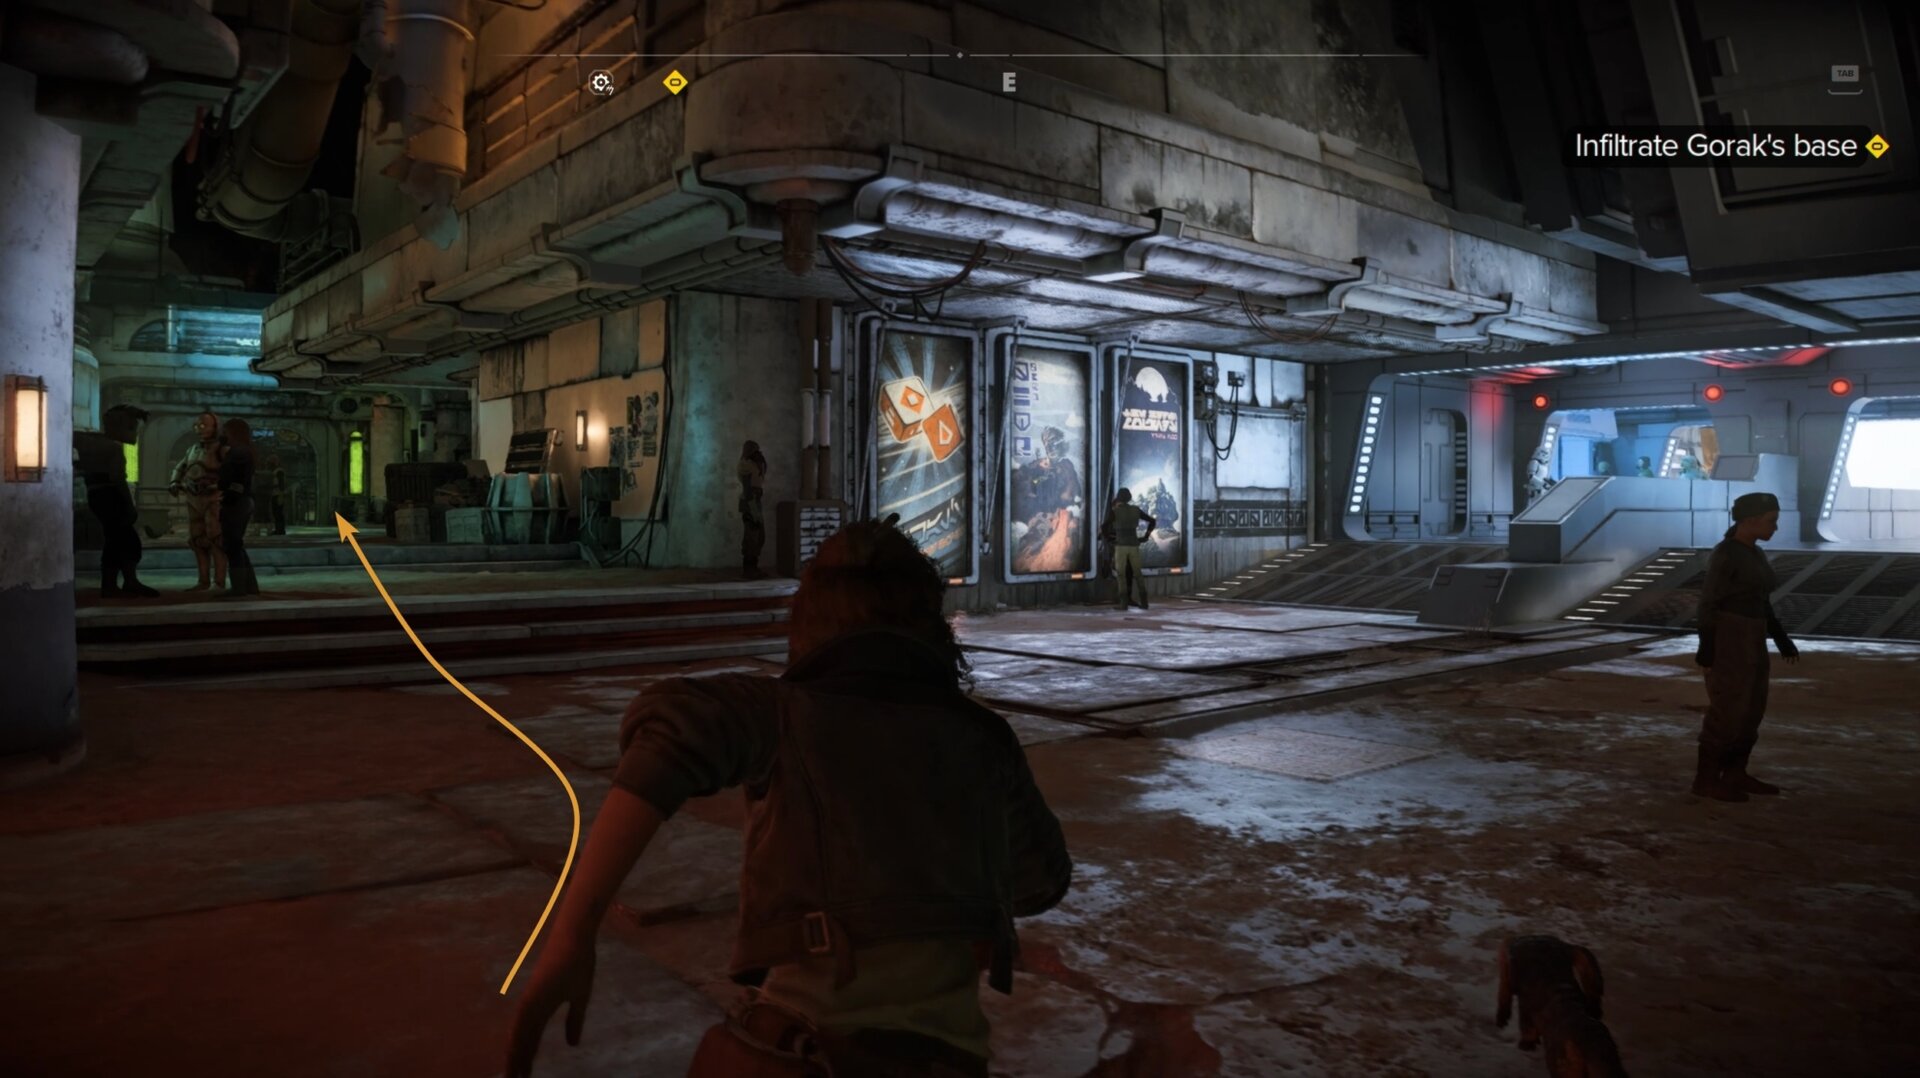
Trying to go in through the main entrance with your current reputation rank of Poor will have you shoved away. It’s best to not try your luck as the Pyke Enforcers can become hostile if you keep trying to slip by them.
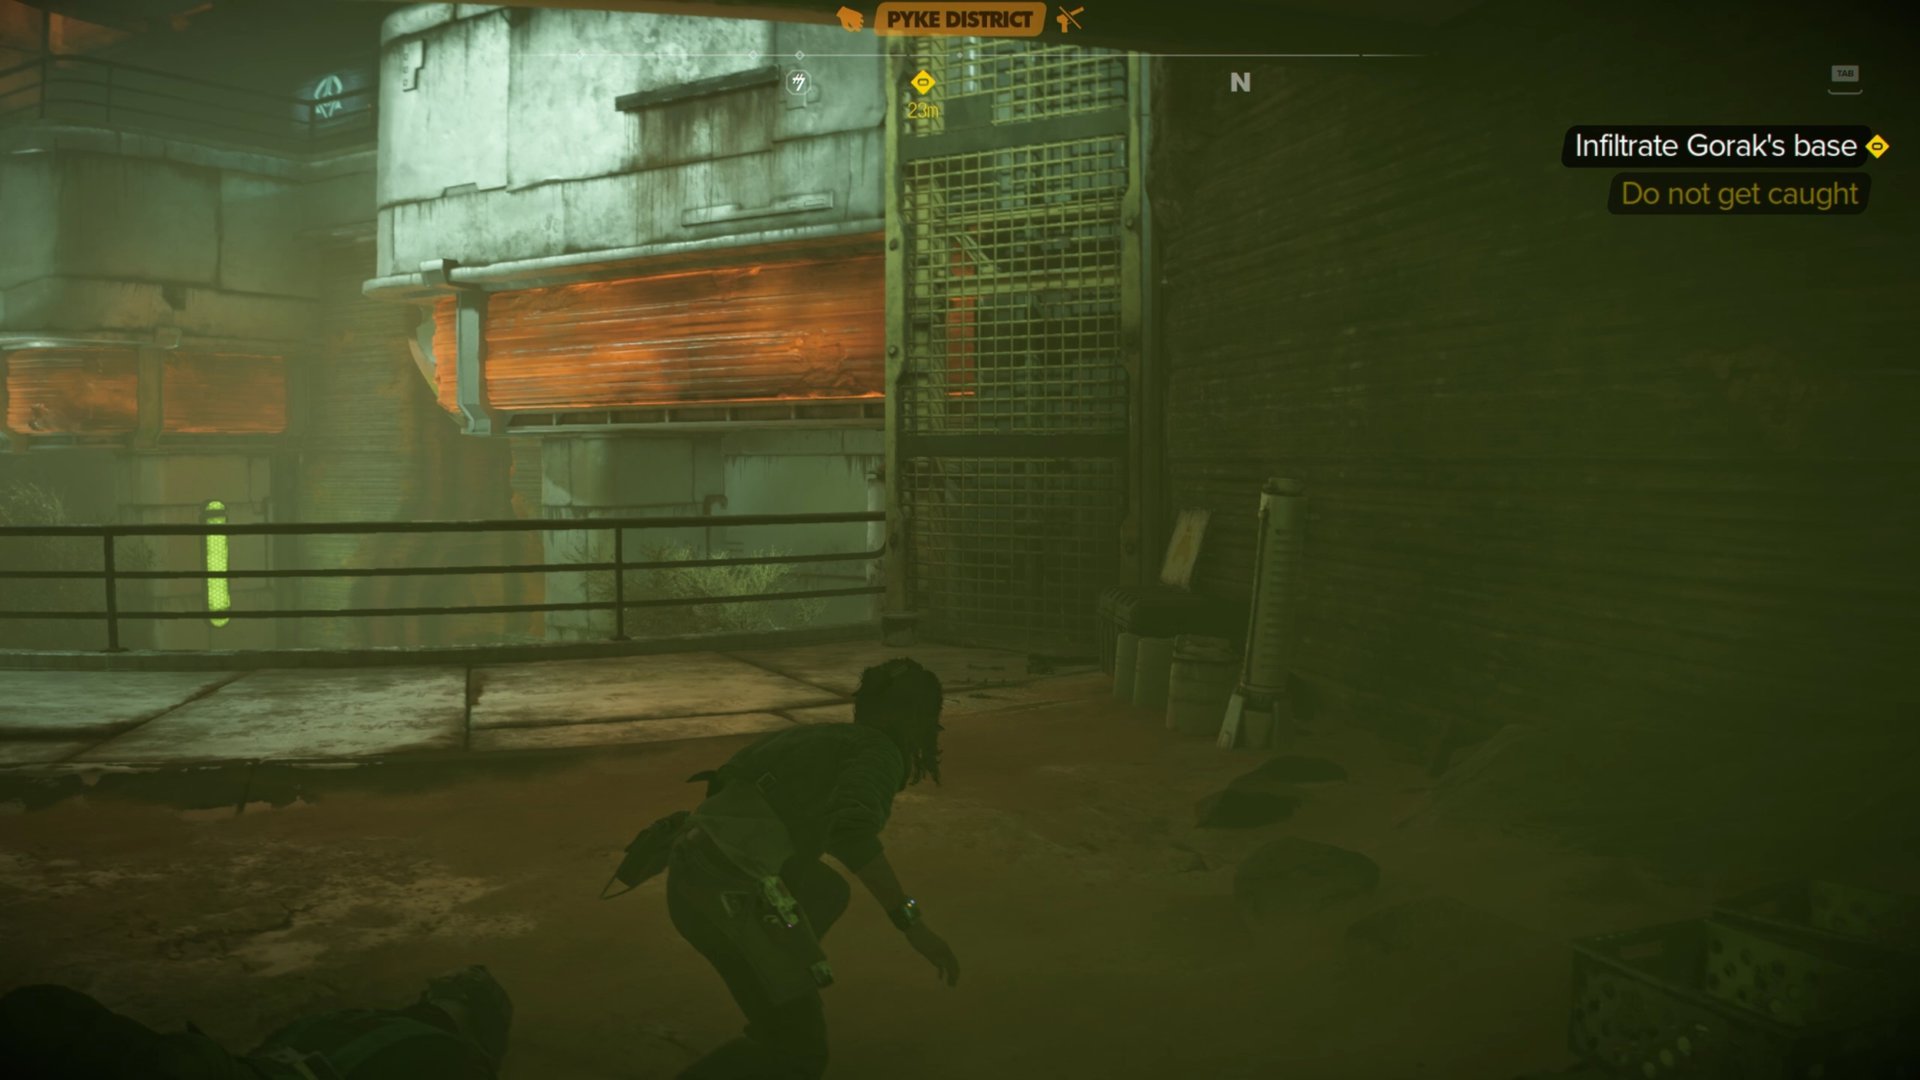
Getting through the Pyke District
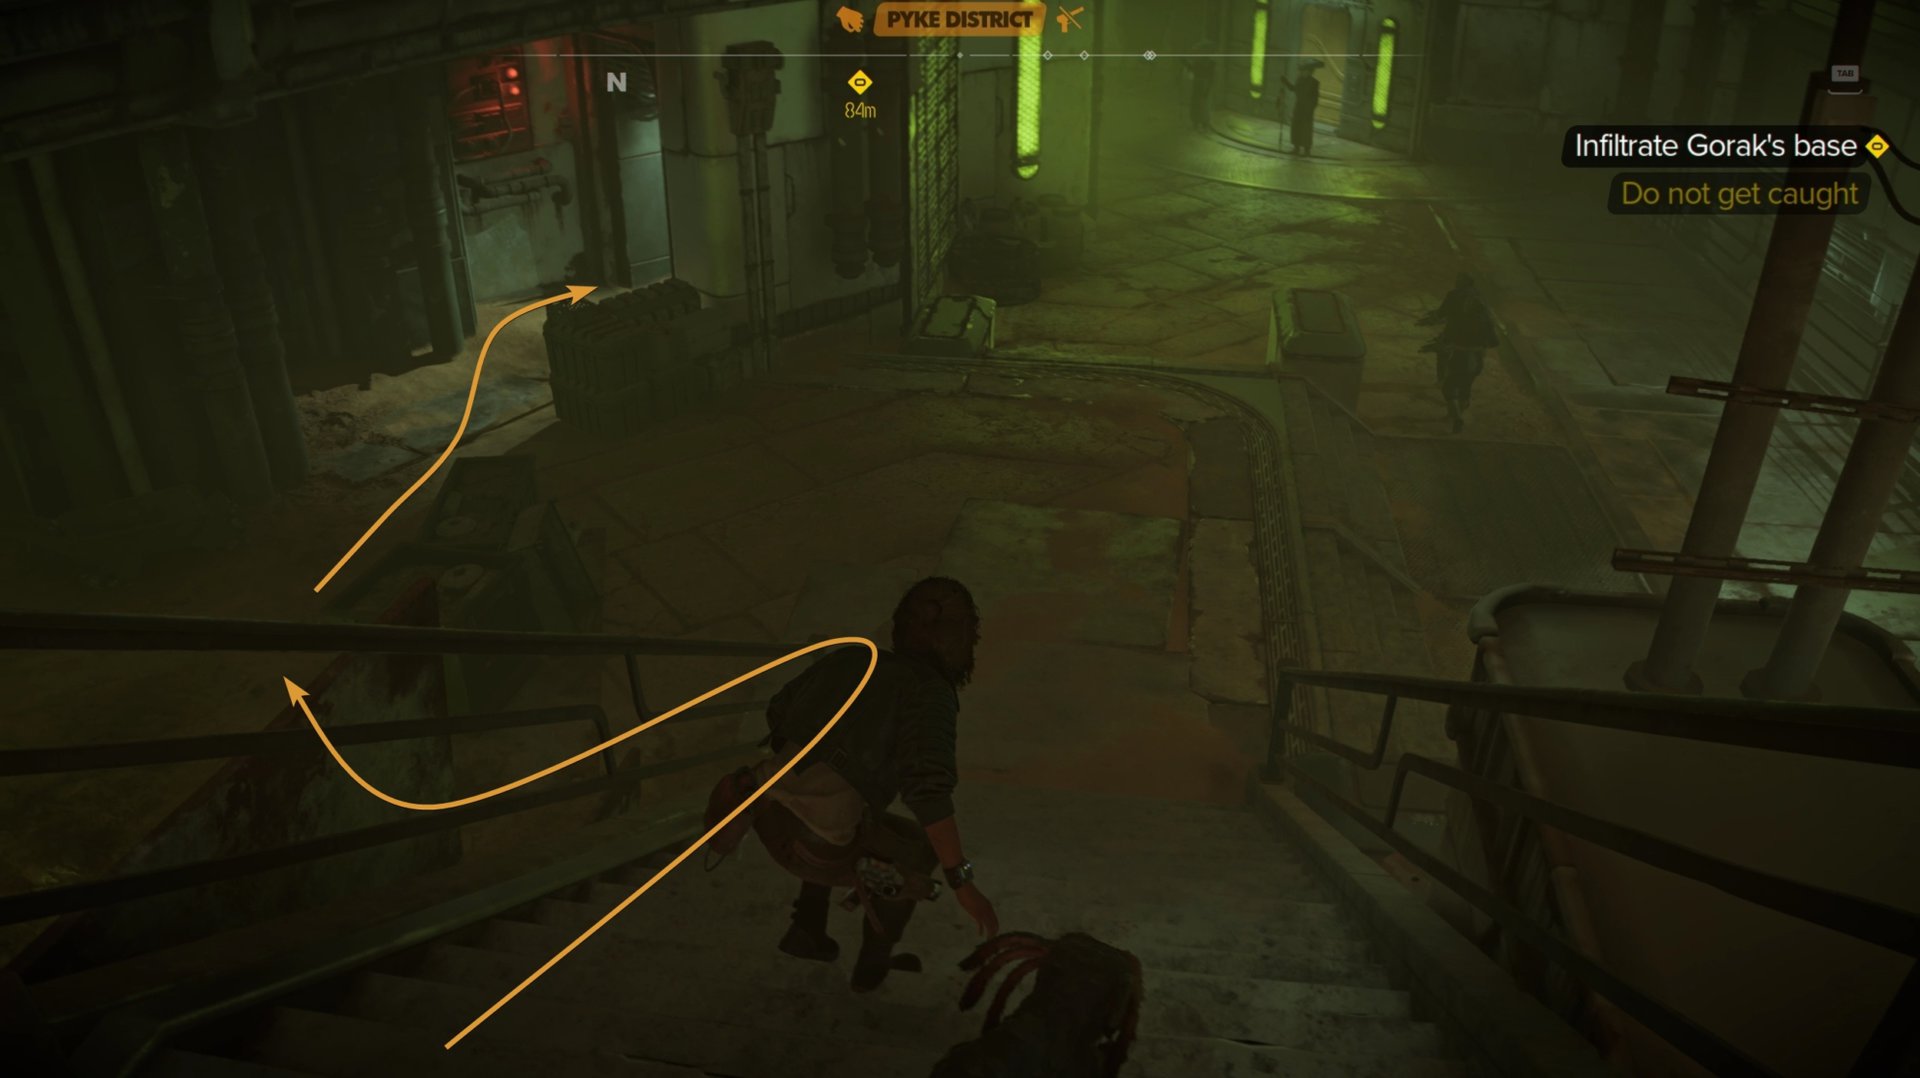
If you back track a little bit, you’ll find an open vent near the entrance of the Pyke District. Jump into this vent and you’ll scuttle your way to the Pyke District.
The moment you jump out of the vent, crouch and use the Nix Sense ability to find any silhouettes of Pyke Enforcers. A pair of them will walk by and begin going down the stairs. Follow their direction from a safe distance.
If you get caught in any Syndicate’s territory without Good or Excellent rep, you’ll reload from the last checkpoint and lose trinkets or materials you may have found. No fighting your way out in this area.
Once those two Pykes make it to the bottom of the stairs, they’ll turn around, walk a short distance, stop, then turn around again. This is a trap by the developers to test your patience.
You have one of two options here, the first option being to jump the fence when the guards get enough distance from you. This is a bit more risky as the sound you make can alert the guards.
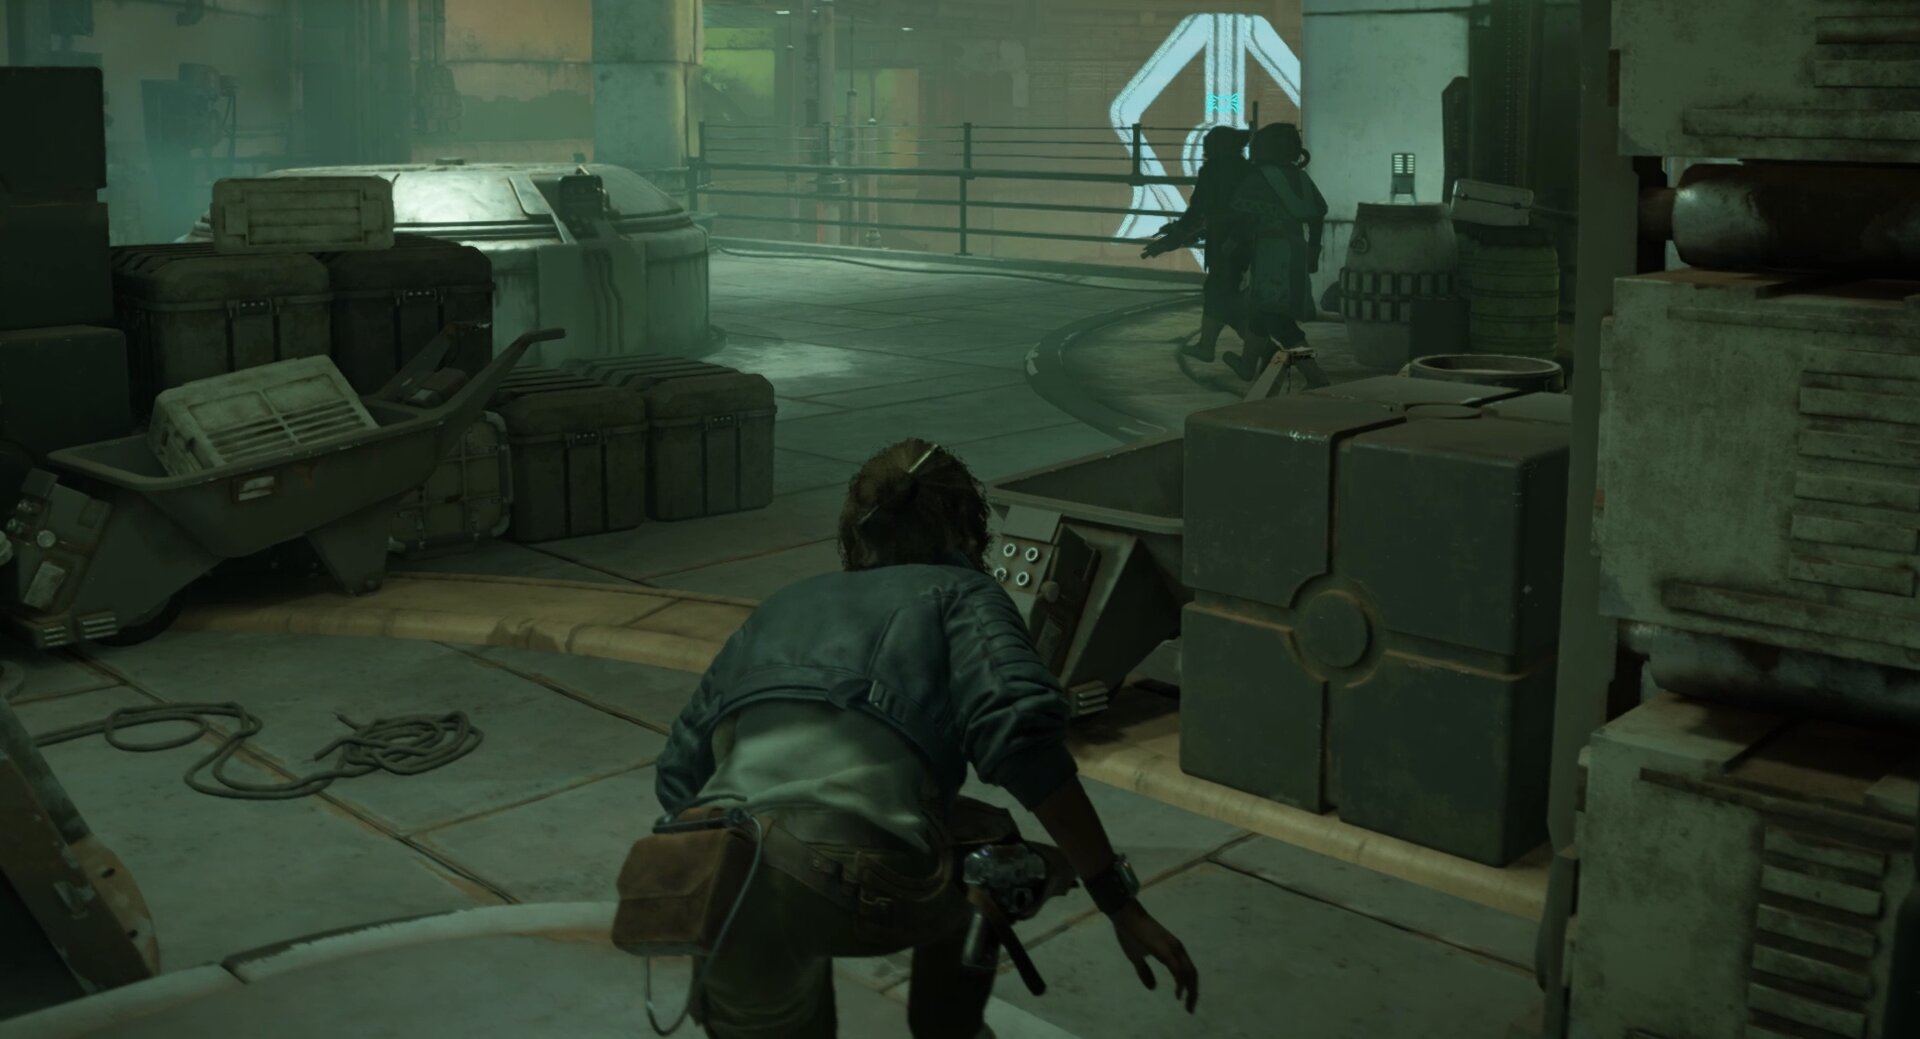
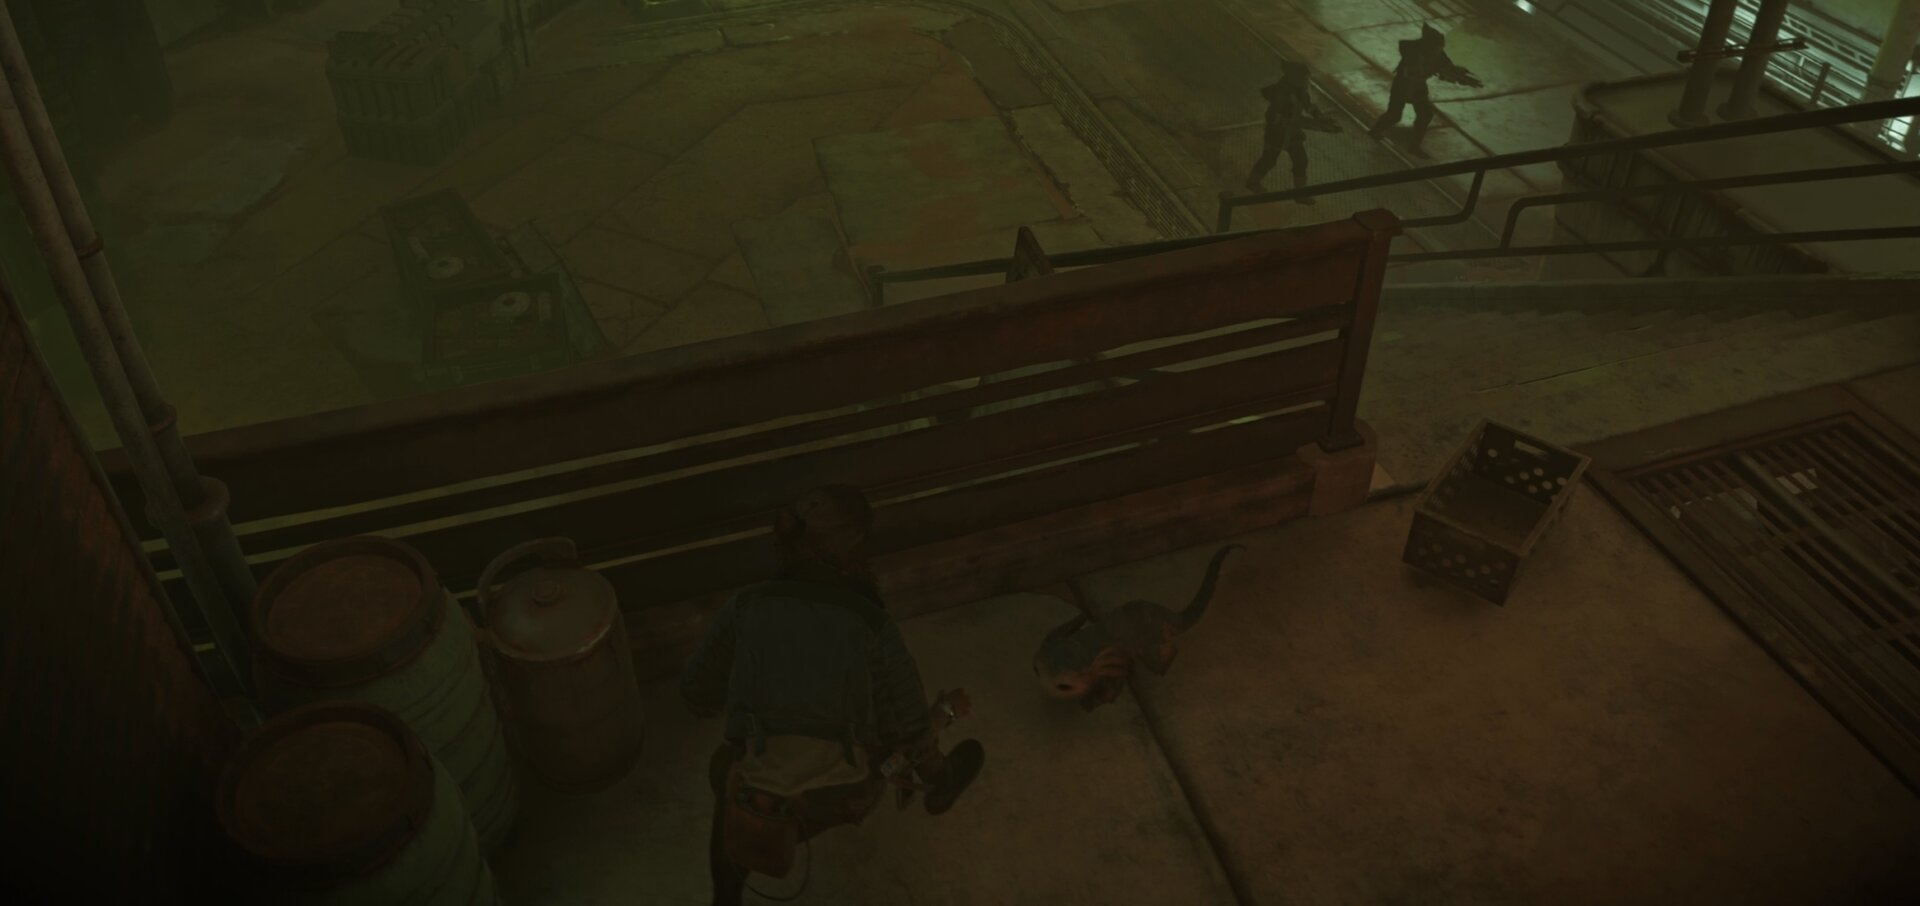
The second option is to go down the stairs, walk behind some crates for cover, and then hug the left wall to enter the small hallway up ahead.
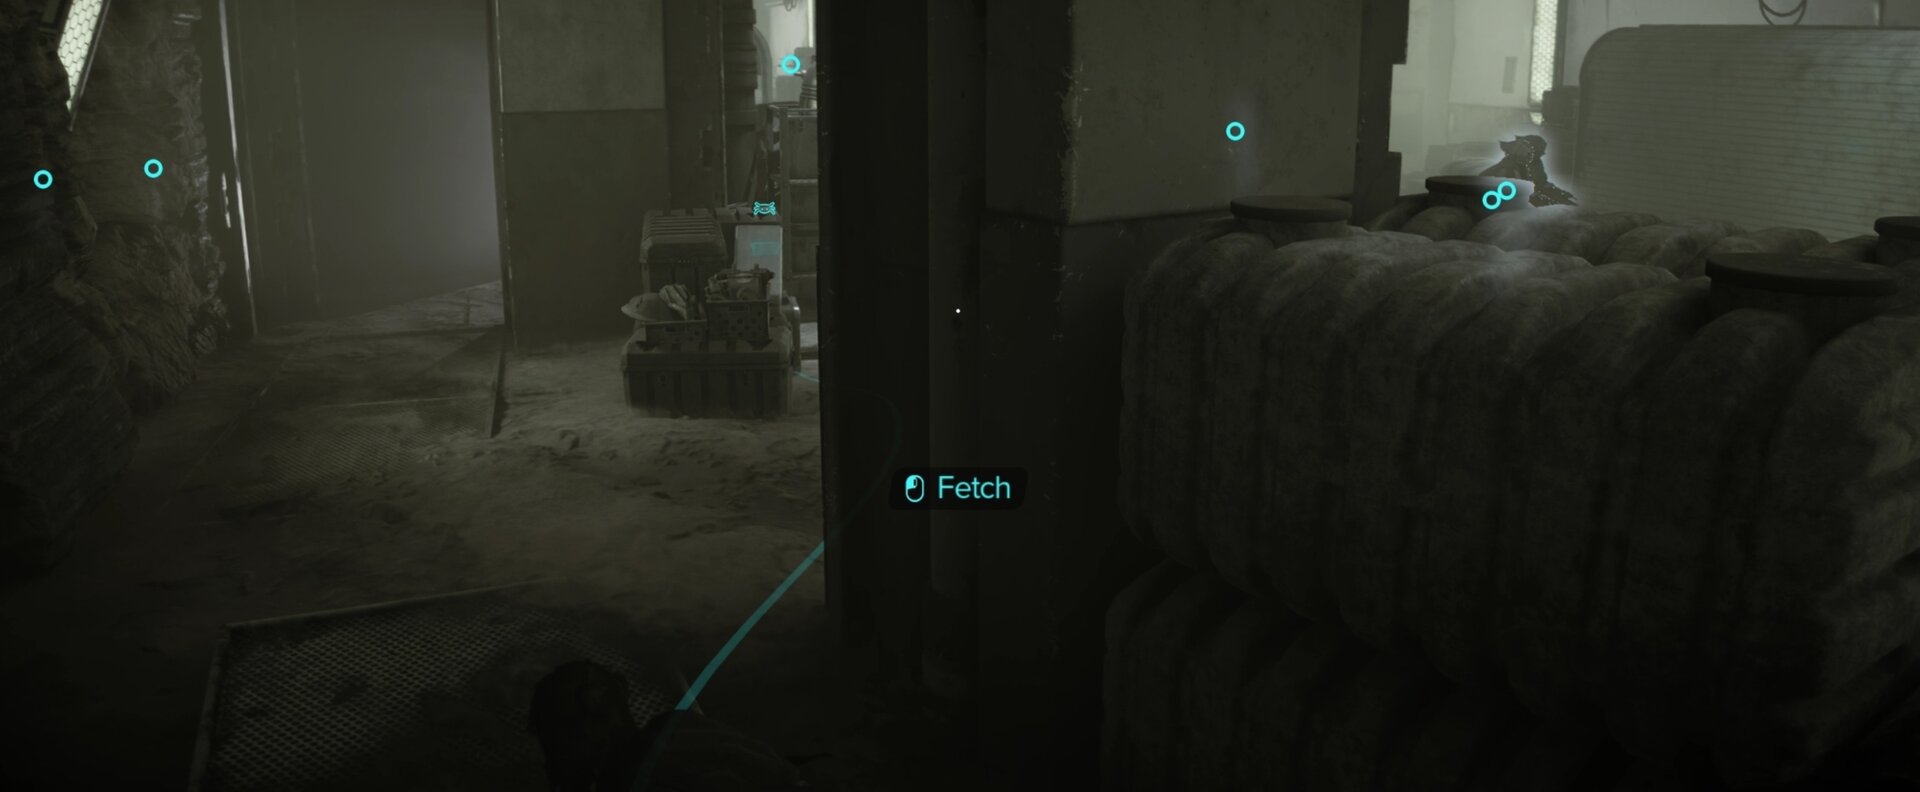
When you make it to the hallway, you’ll find a couple of pieces of loot. Don’t get greedy and try to grab them yourself, the guards can see you across the grate if you get too close.
Instead, have Nix pick up the loot for you so you don’t alert the guards. Hug the left wall and keep going down the hall.
You’ll have to pass some gaps as you take cover behind crates. Keep an eye on the patrolling guards and only move across the gaps when you’re out of their sight.
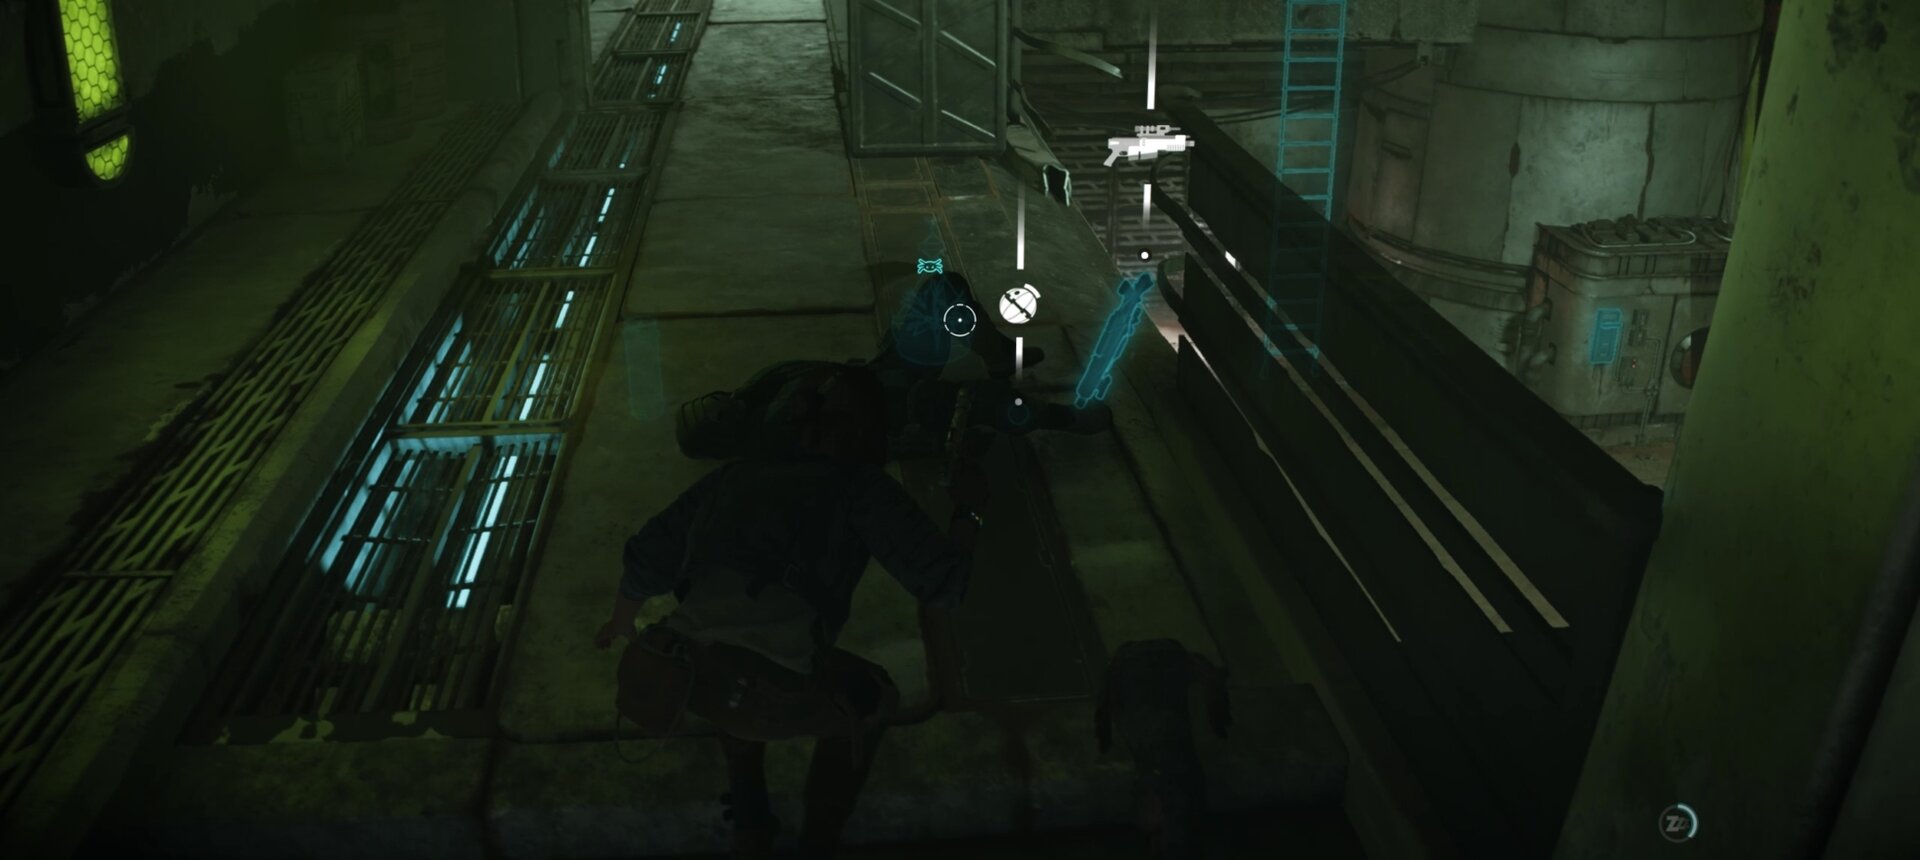
Once you make it to a short staircase, follow the path on the right where you’ll find a Pyke kneeling. Knock them out to safely proceed with the next step.
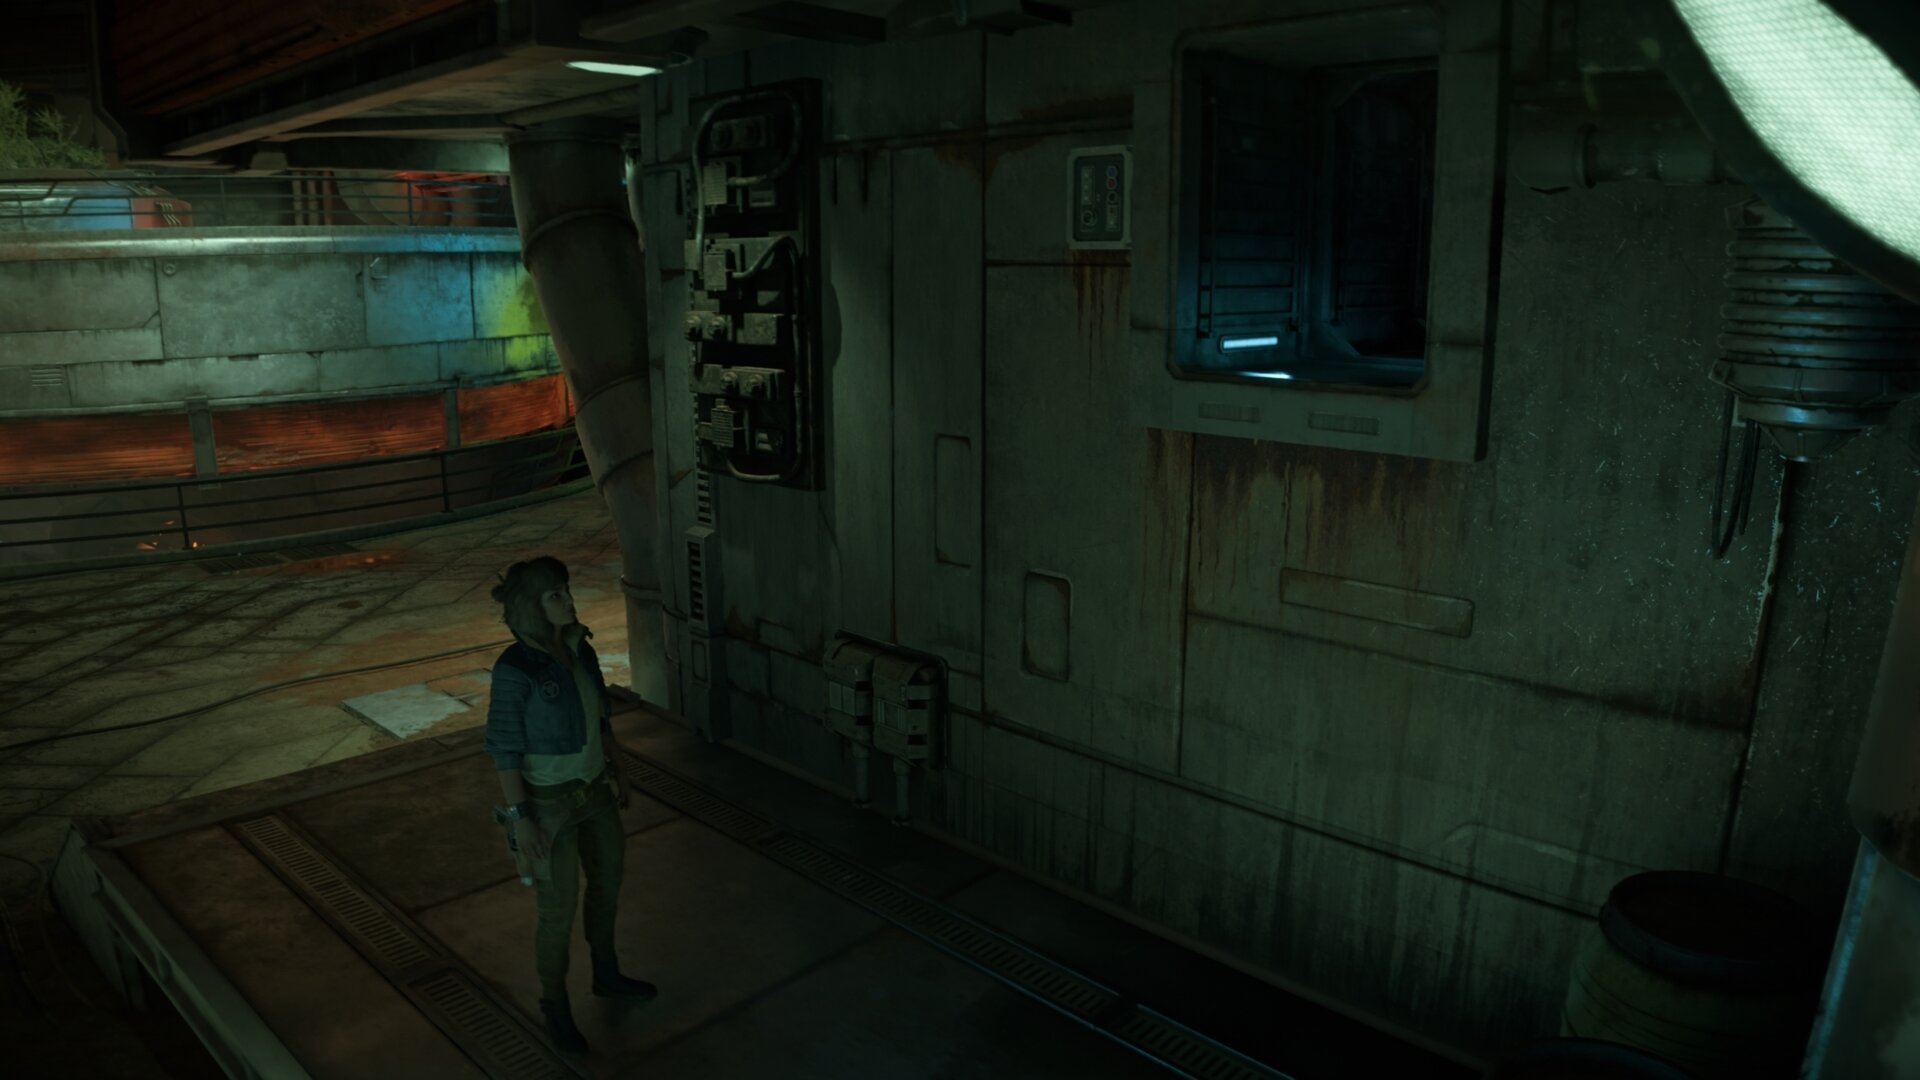
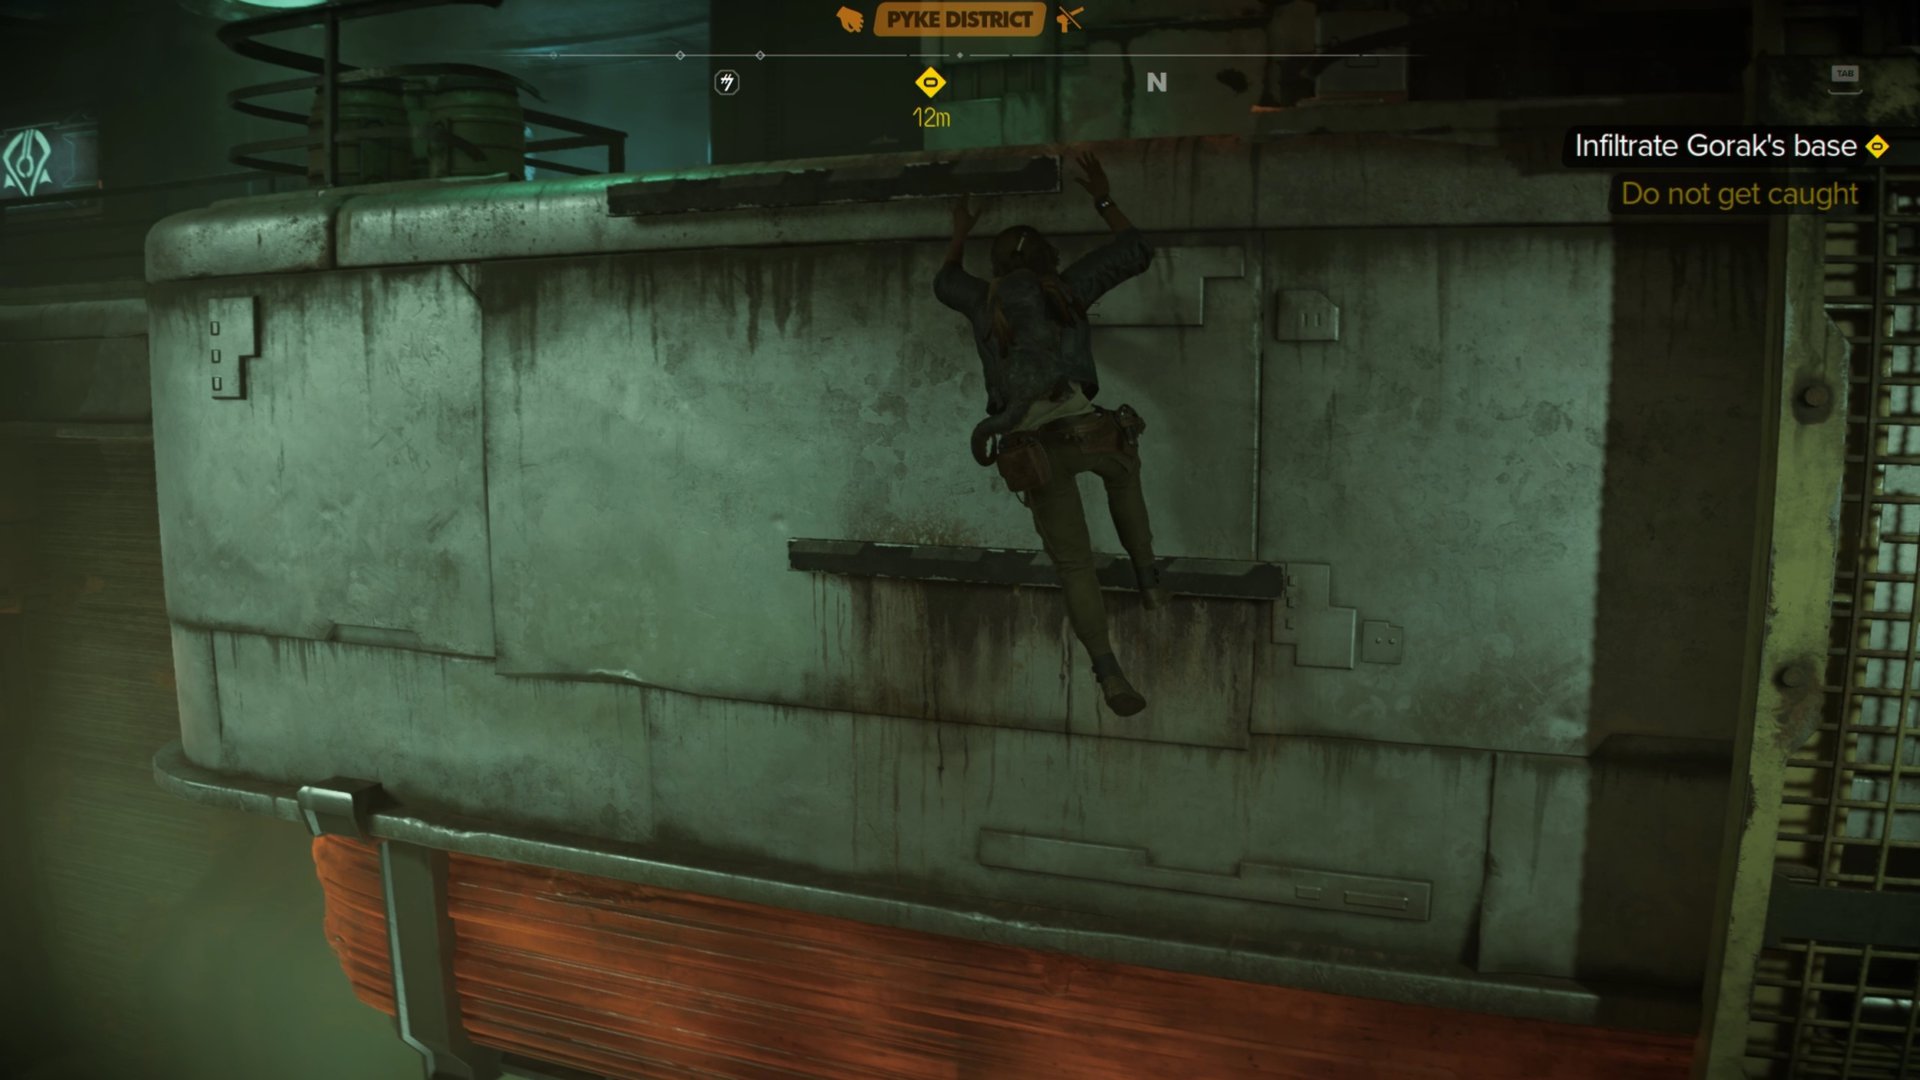
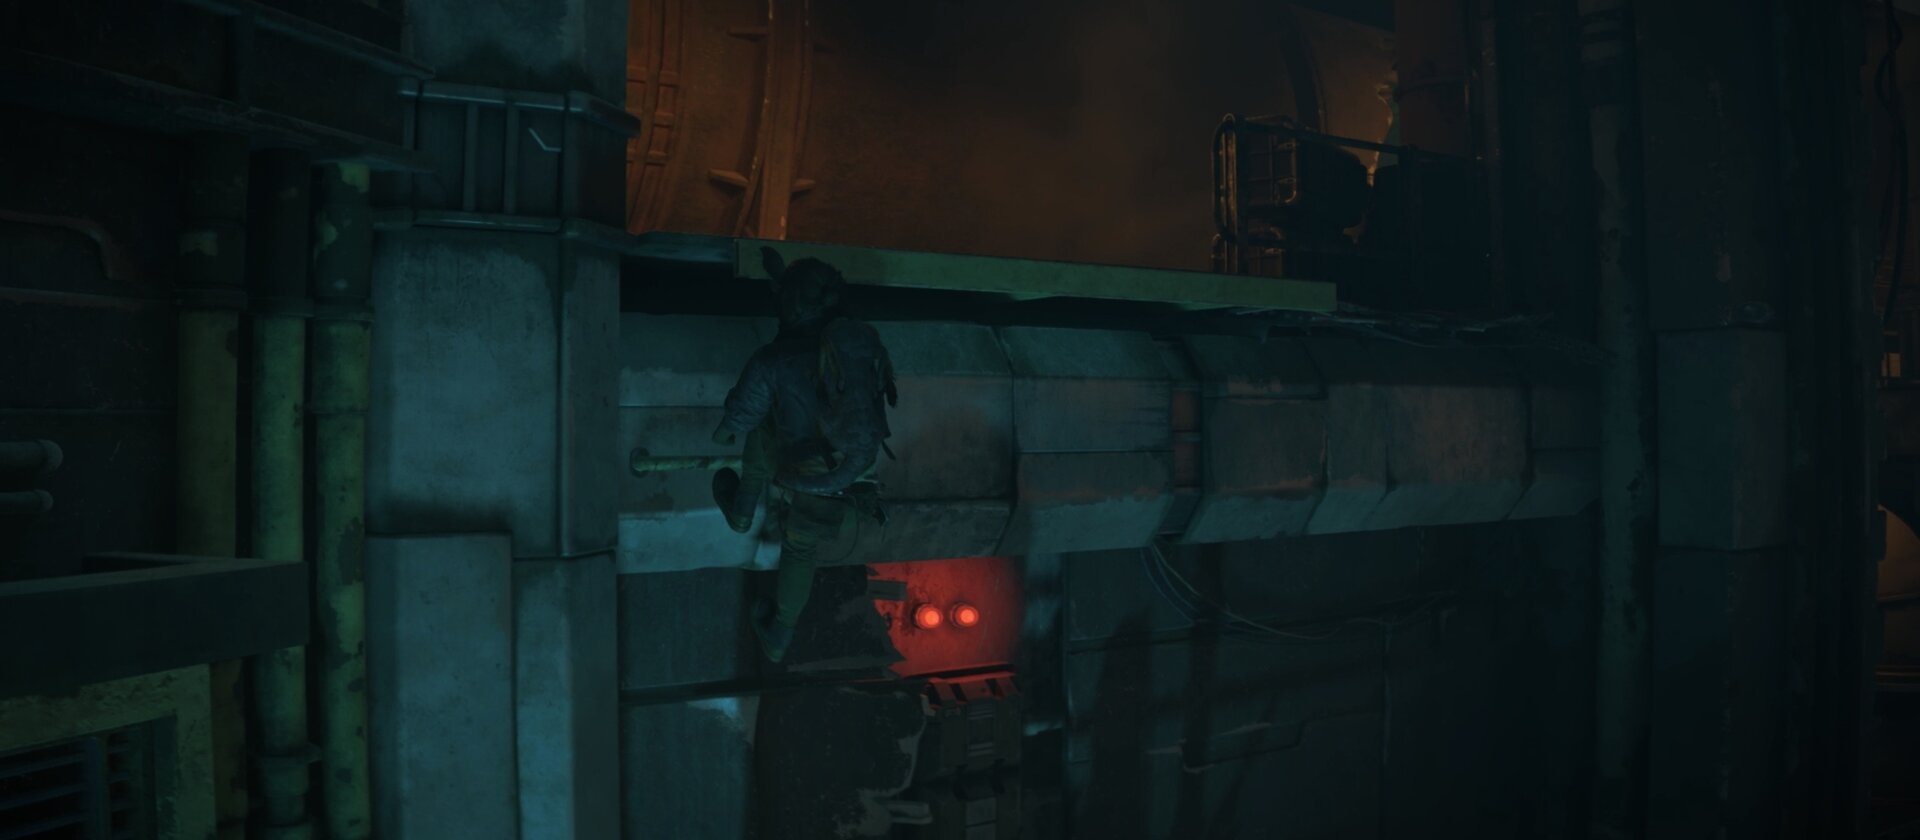
After knocking out the Pyke, turn around and look for the grate on the wall. Start climbing up the grate and jump to the ledge on the left. Proceed to the top of the ledge where you’ll find a door you’ll need to lockpick.
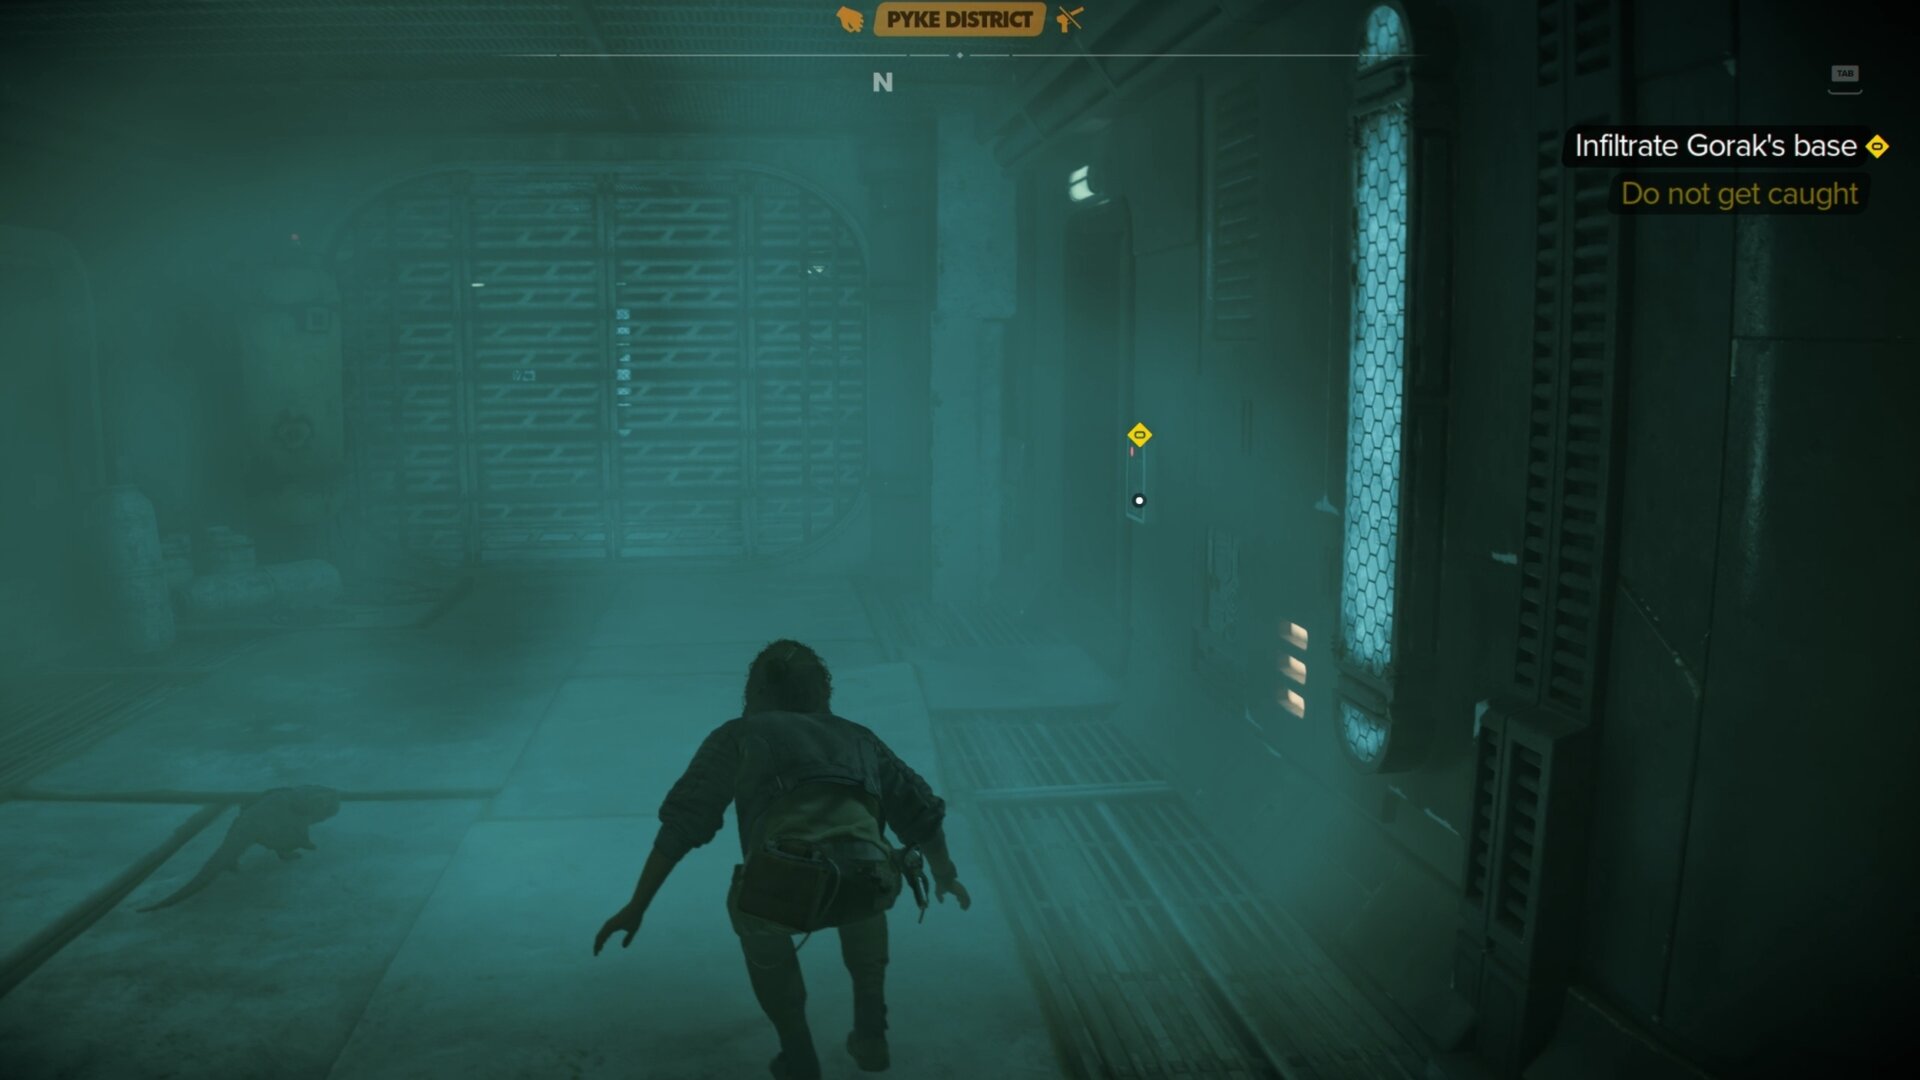
The Maintenance Rooms
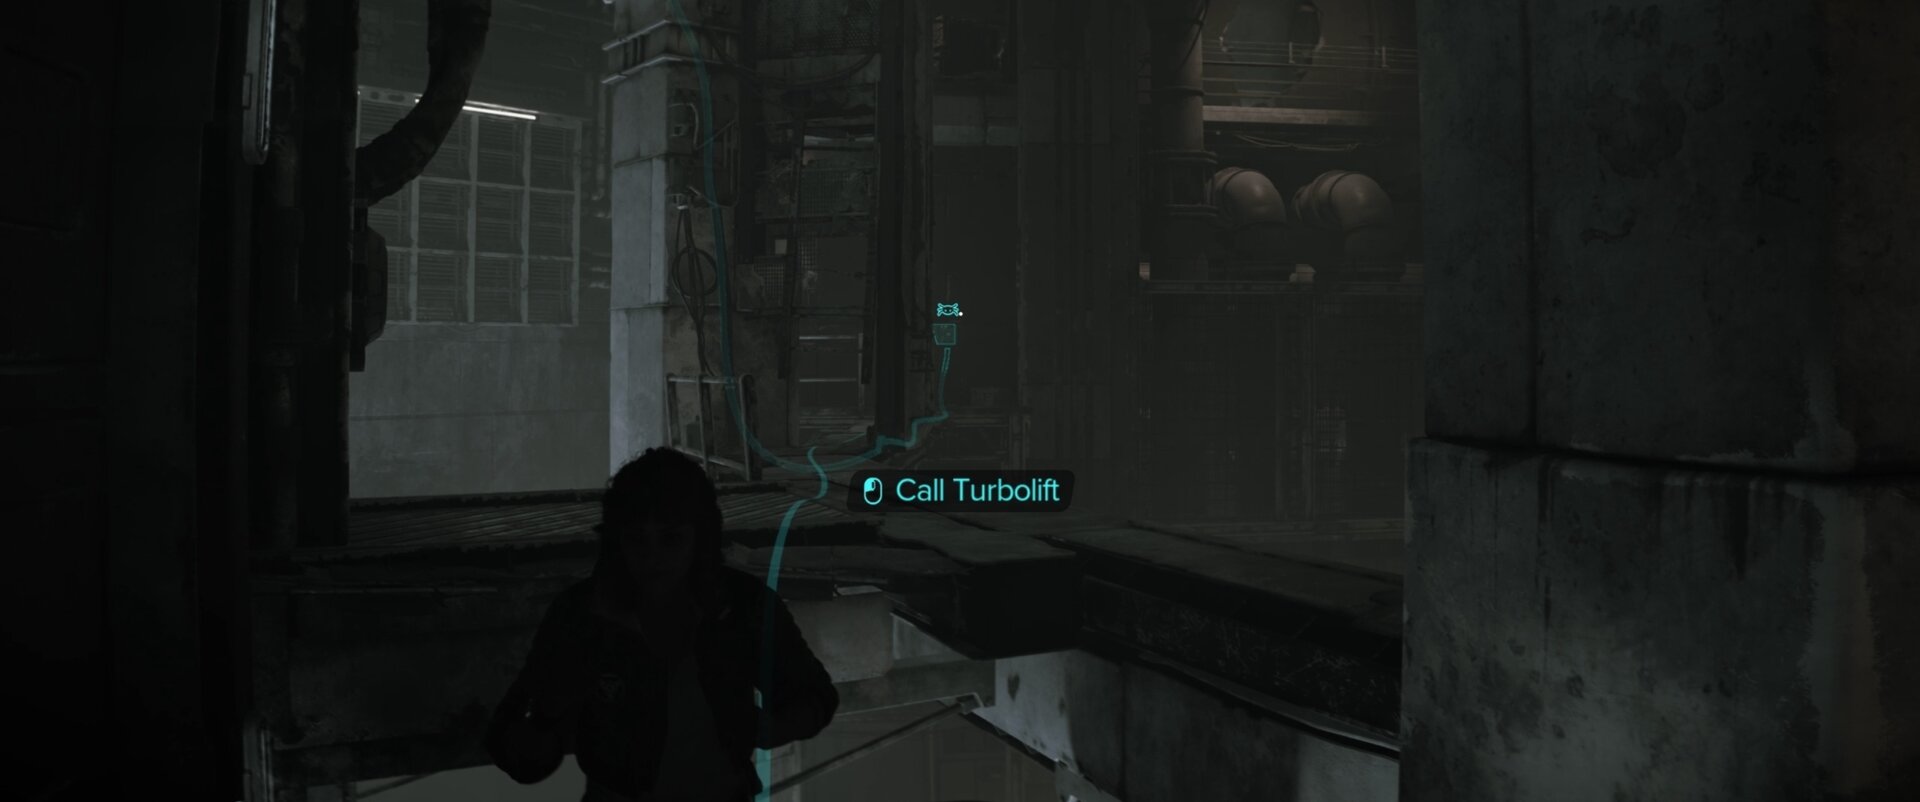
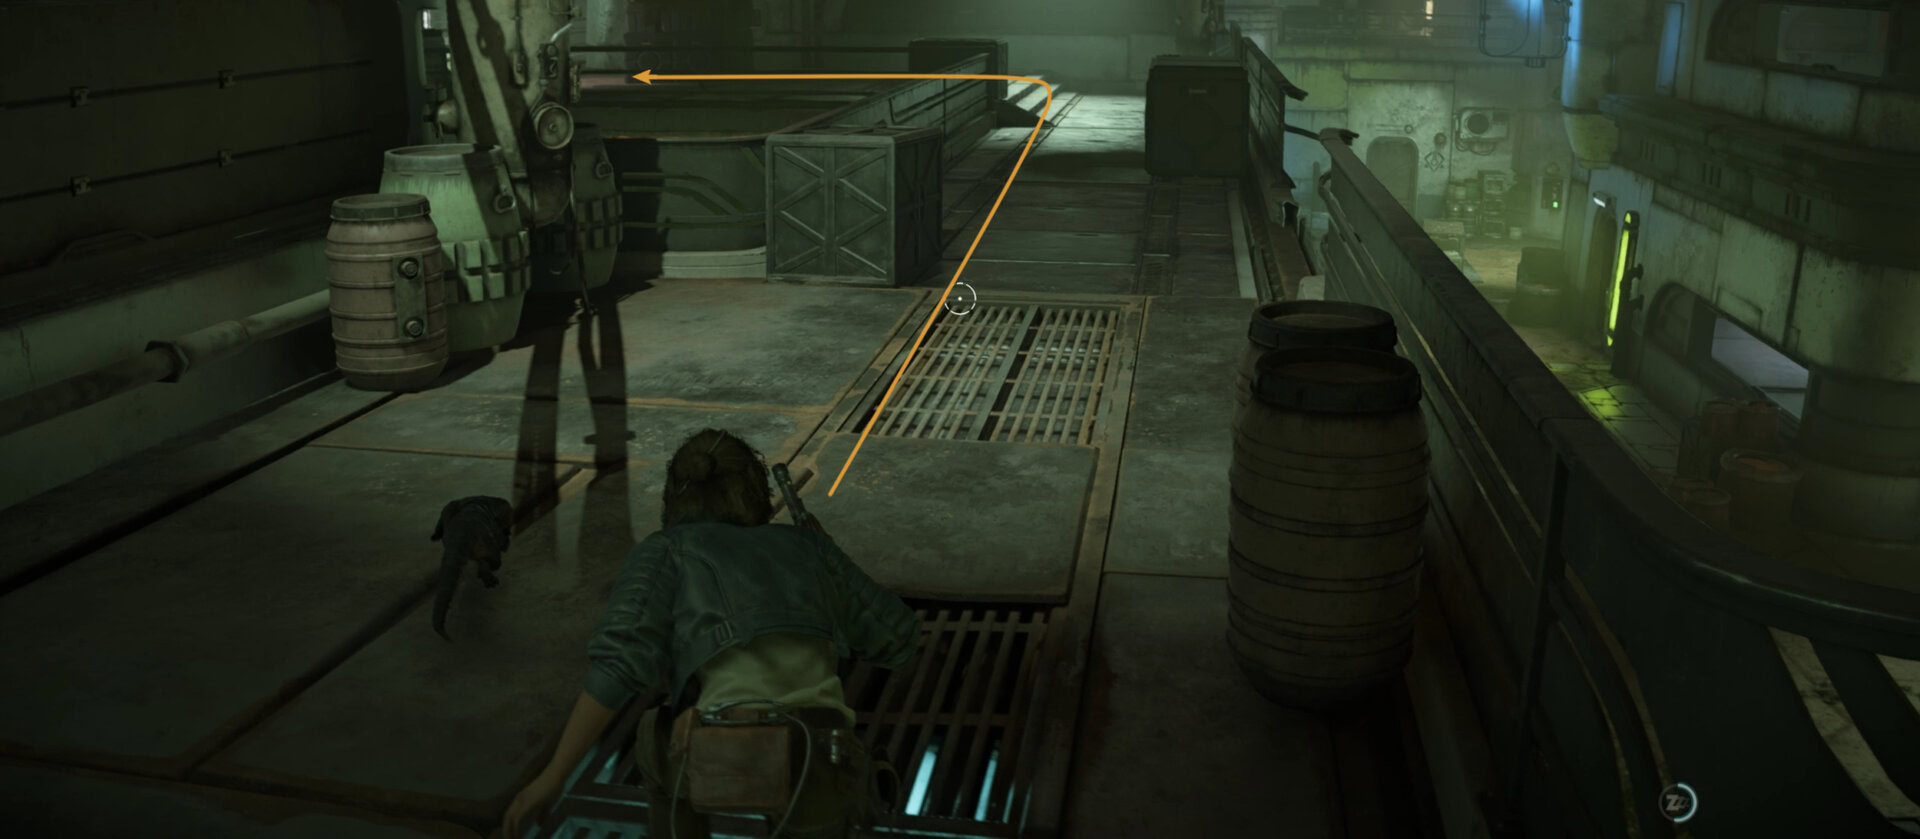
After picking the door, go inside the room, open the vent, and crawl inside to access a maintenance room. Get to the bottom level and call the turbolift with the panel on the column.

Go up the ladder, make a right, and climb up the shelf to further climb up to the top of the turbolift. Have Nix press a button at the far wall to call the second turbo lift.
Once the second turbolift is down, jump from the turbolift to the grates on the wall and climb up the ledge.
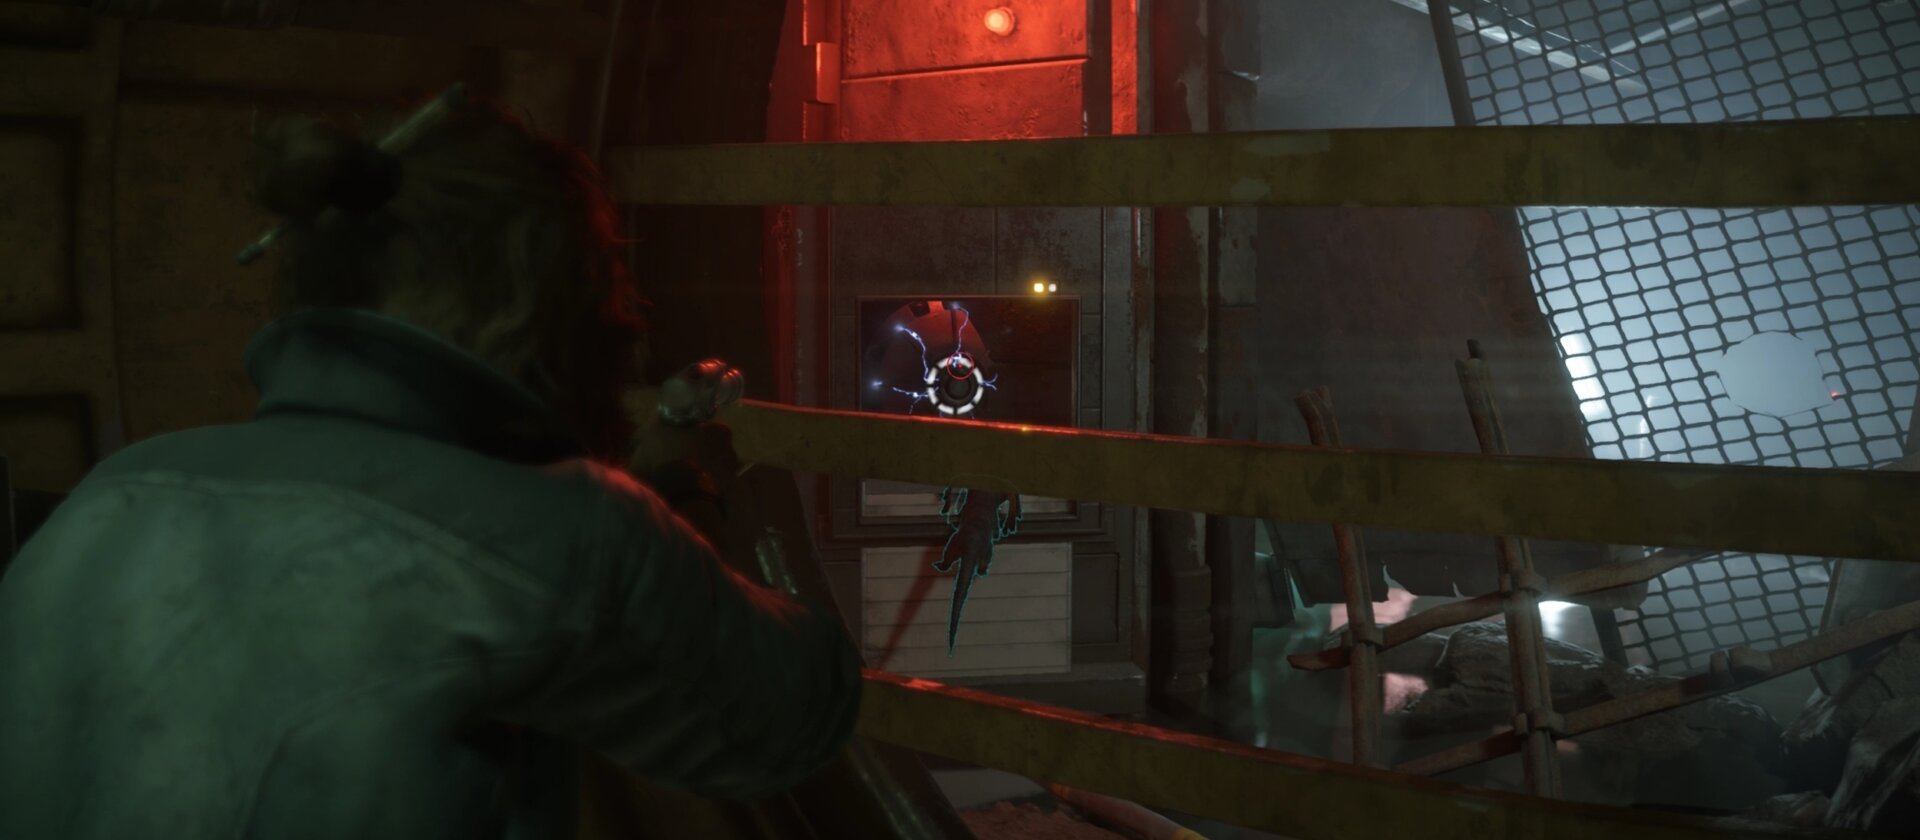
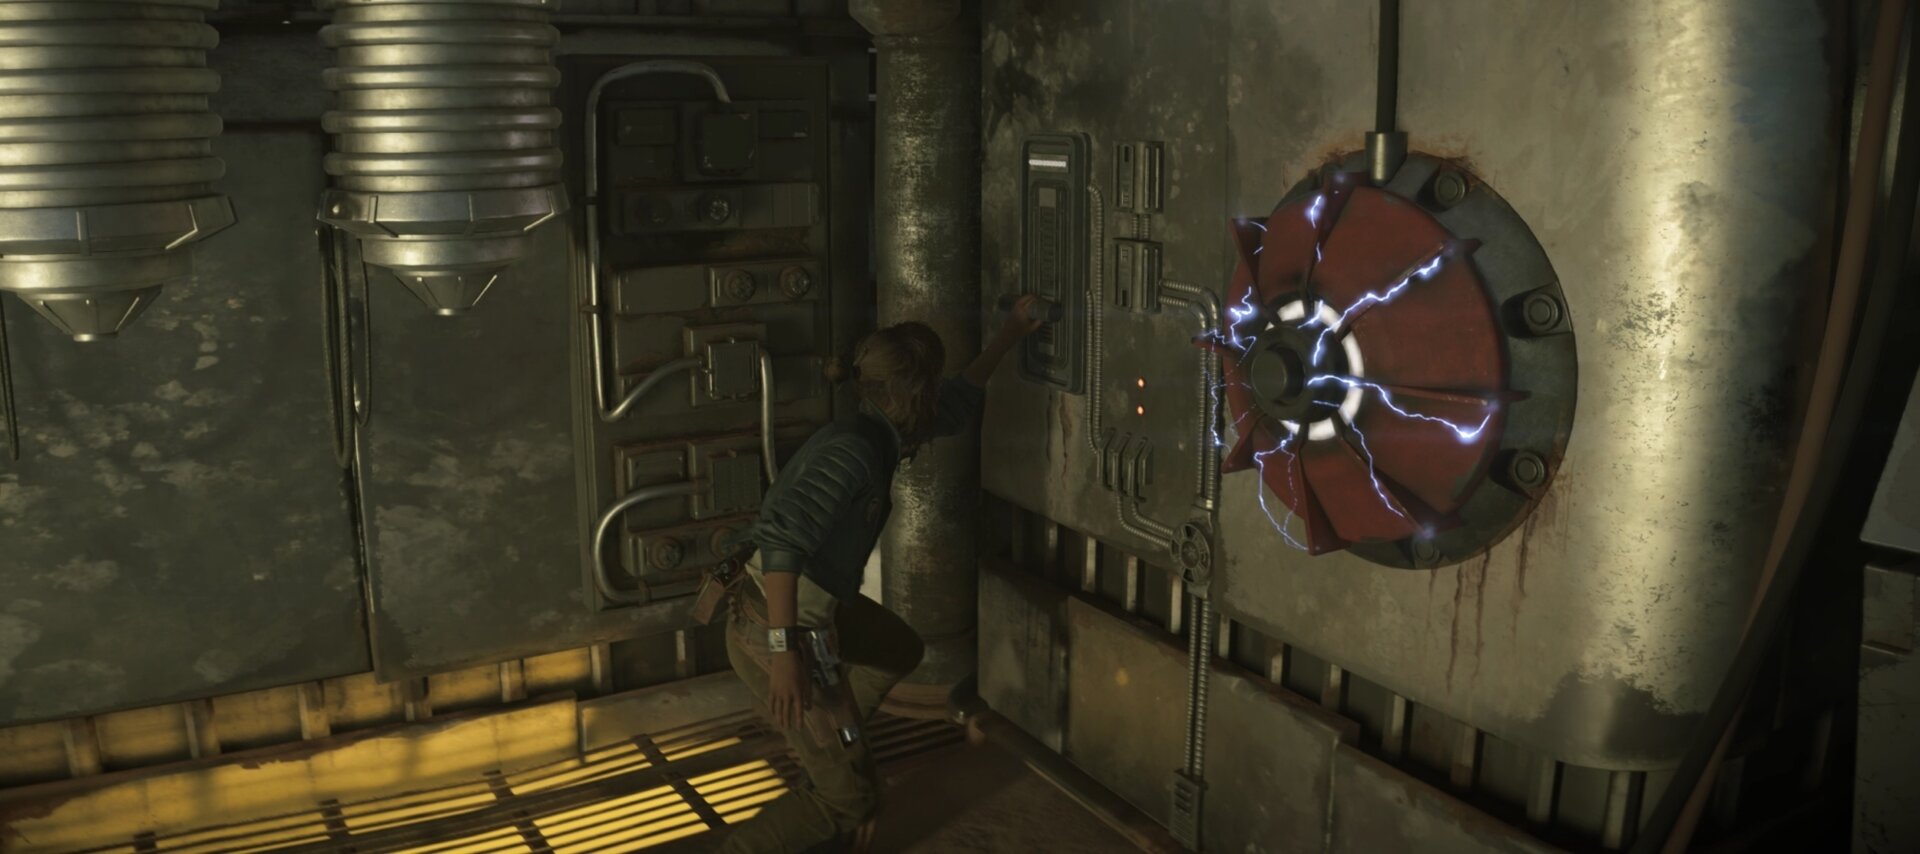
You’ll find a large broken pipe you can enter, go inside it until you hit a fork in the pipe. One path leads to a spinning fan, another leads to a shutter you can have Nix open.
Have Nix open the grate and fire your blaster at the power conduit inside the shutter. With the power conduit destroyed, the fan will be turned off and you can now safely get by.
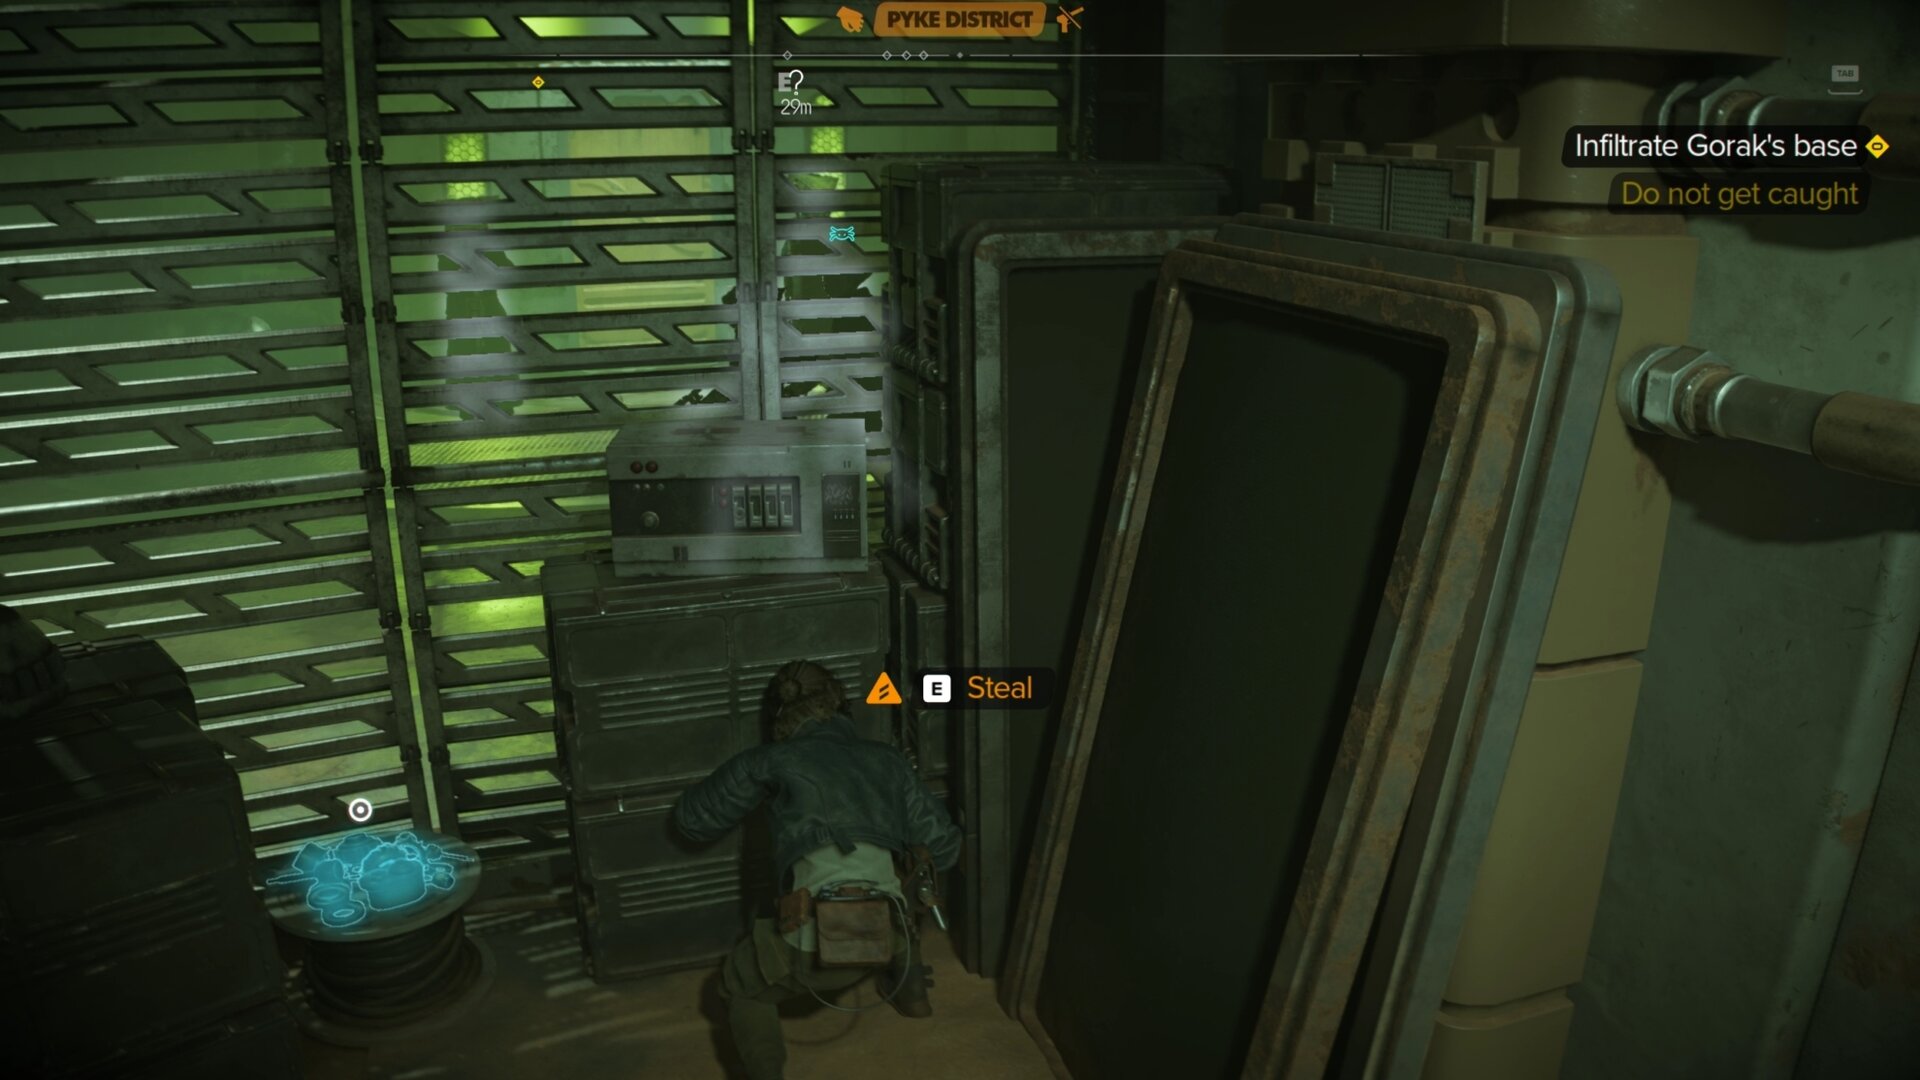
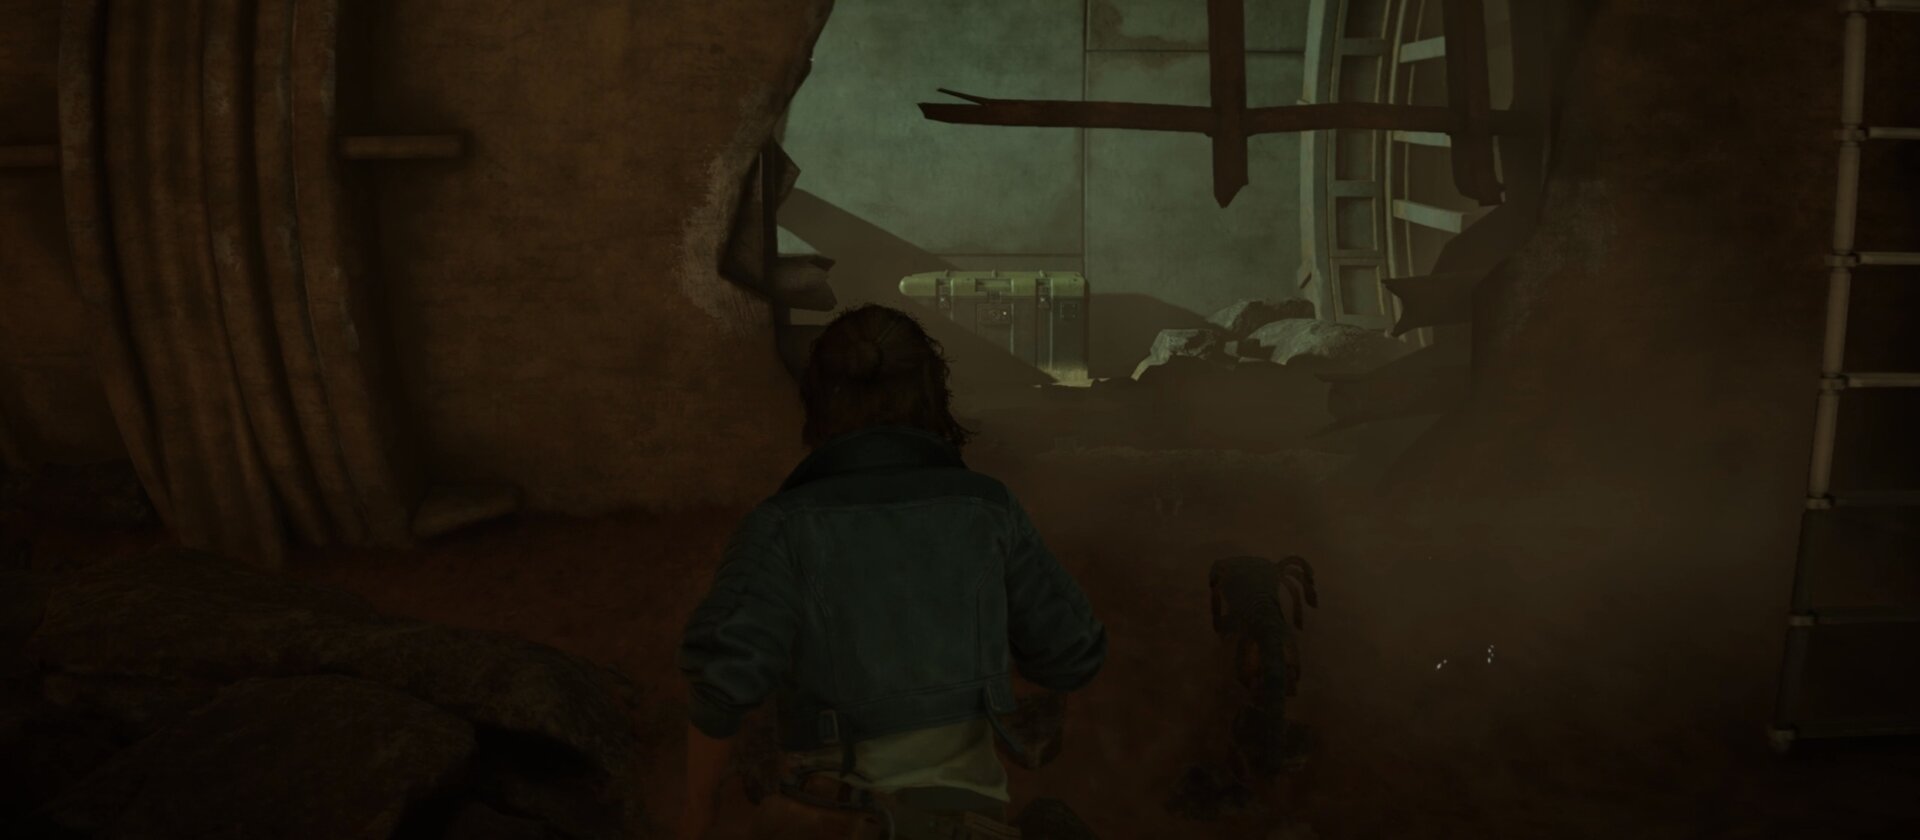
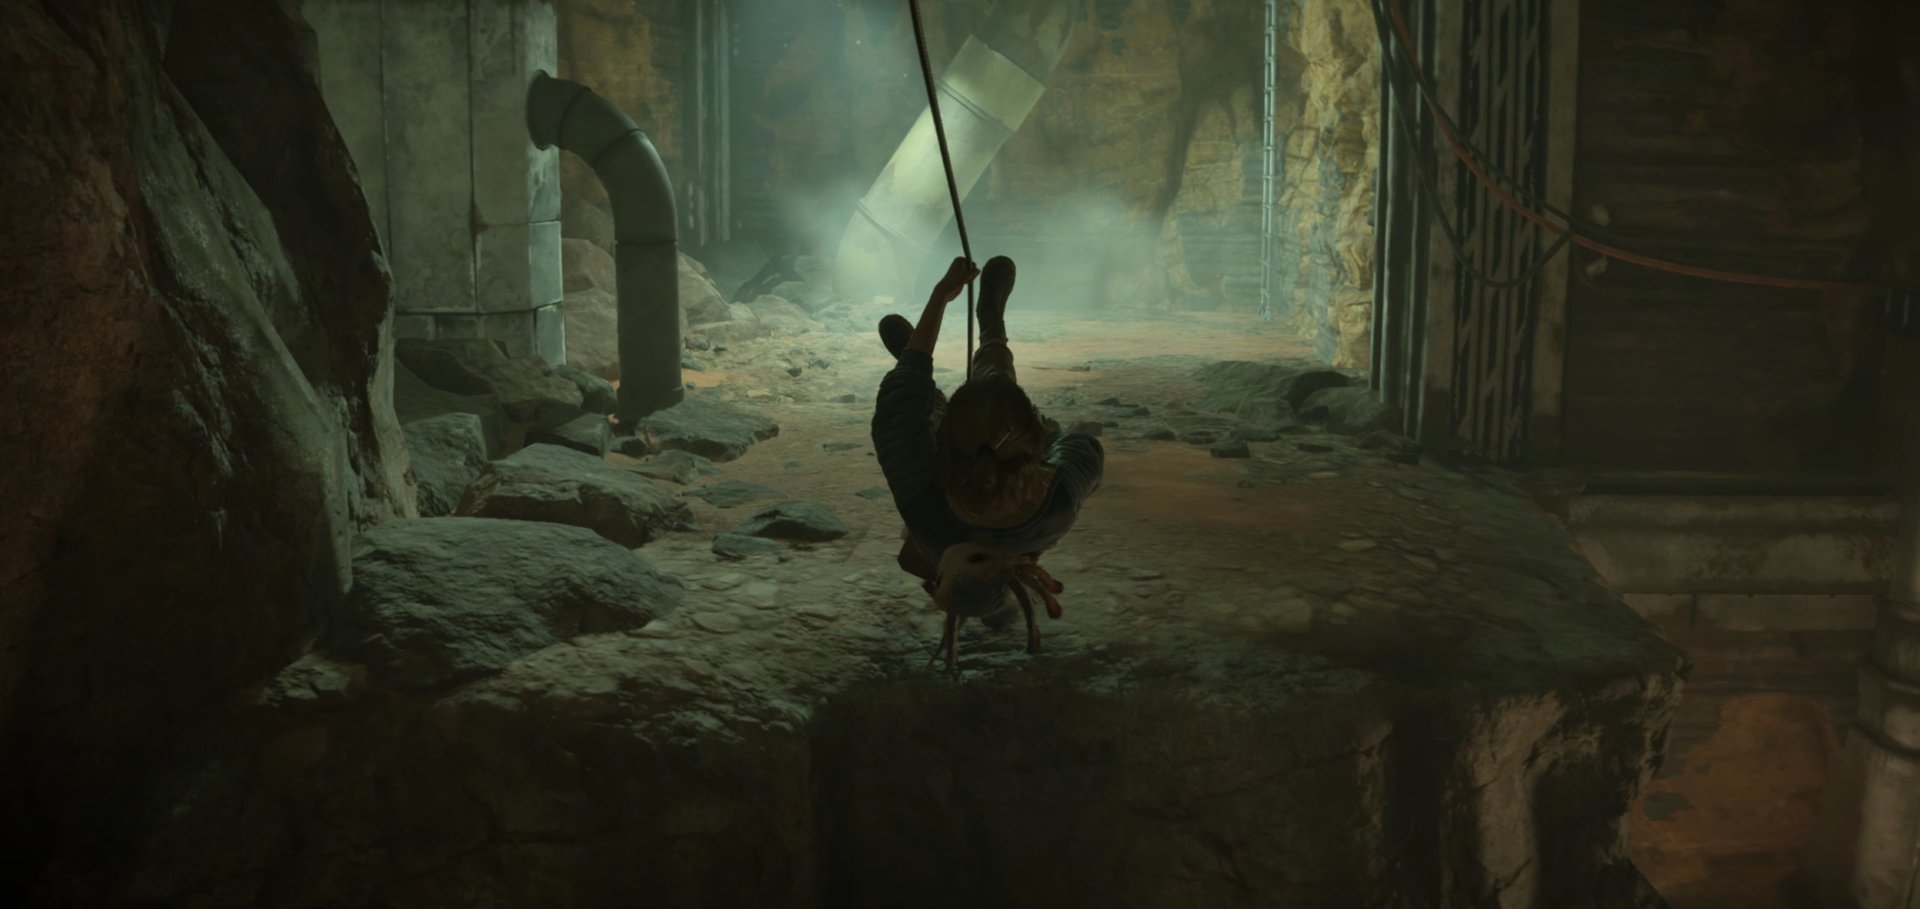
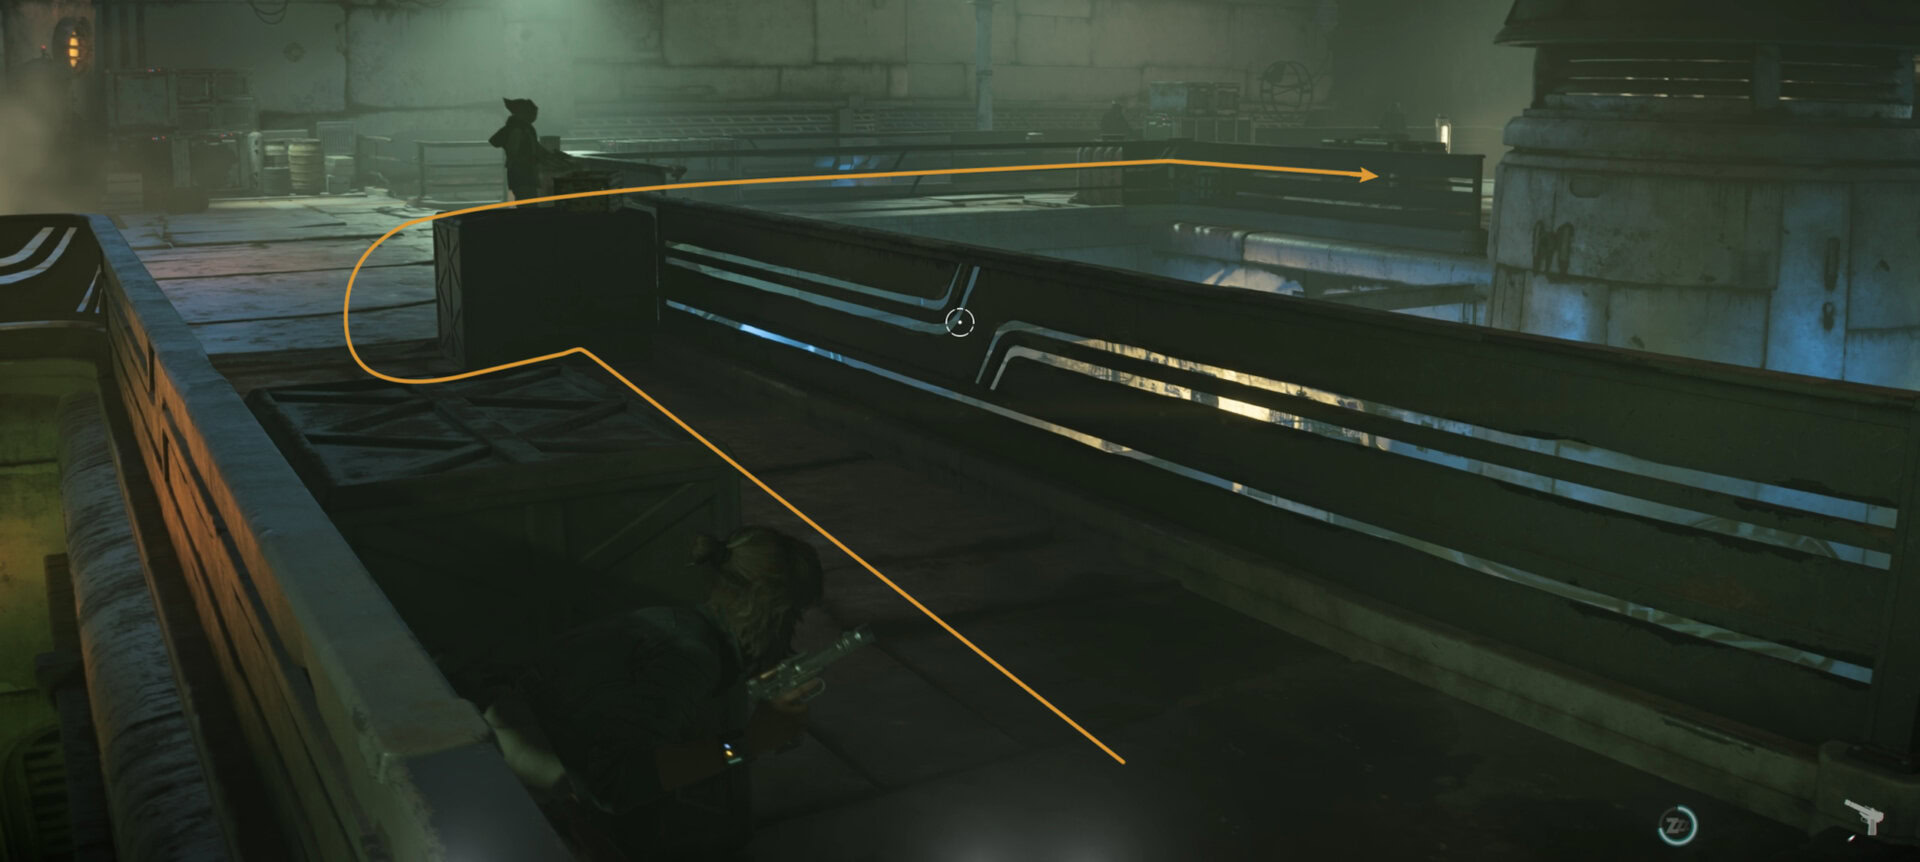
You’ll find yourself in a large room with a grappling point and a ladder. Go down the ladder, turn around to find another broken pipe. Go inside and pick the locked chest to get the Repulsor Drive Adapter Speeder Material.
Go back up the ladder, grapple across the gap, and jump to the other side. You’ll find a ladder in the following room, climb up it to reach the Pyke Stronghold.
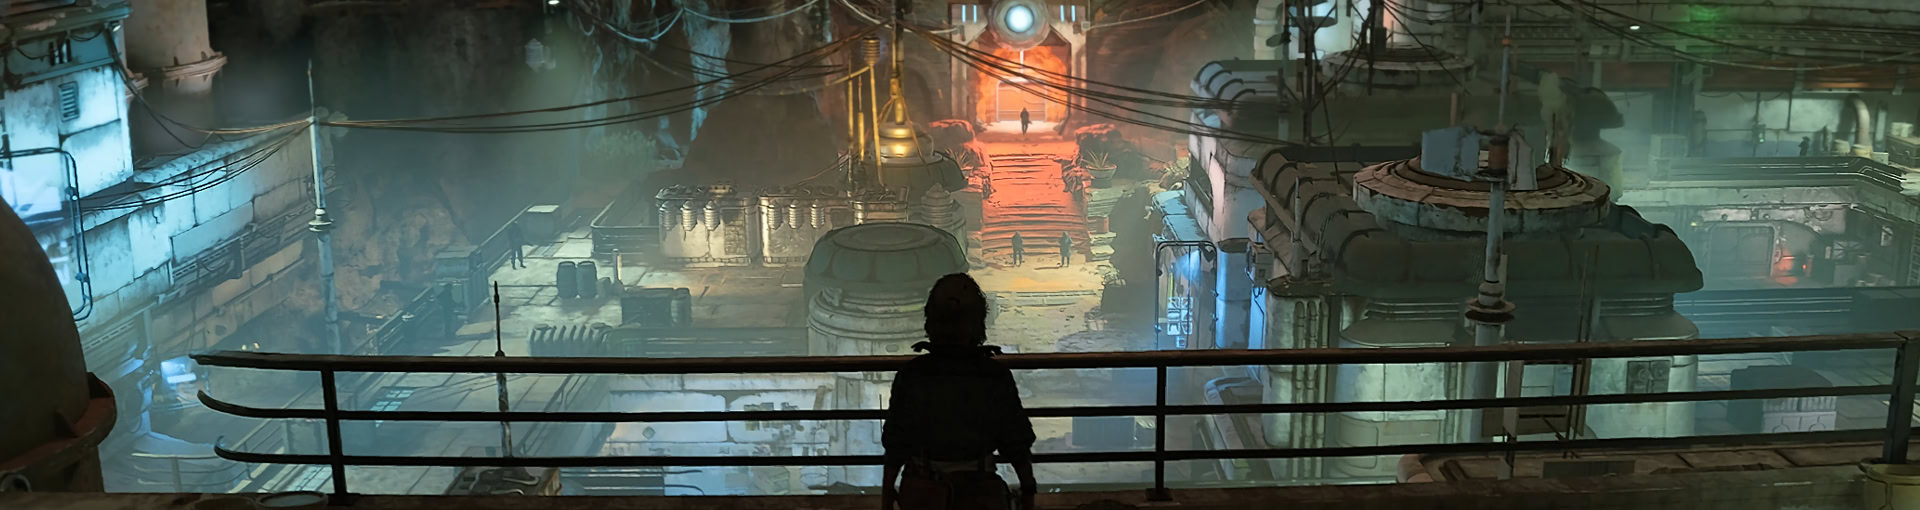
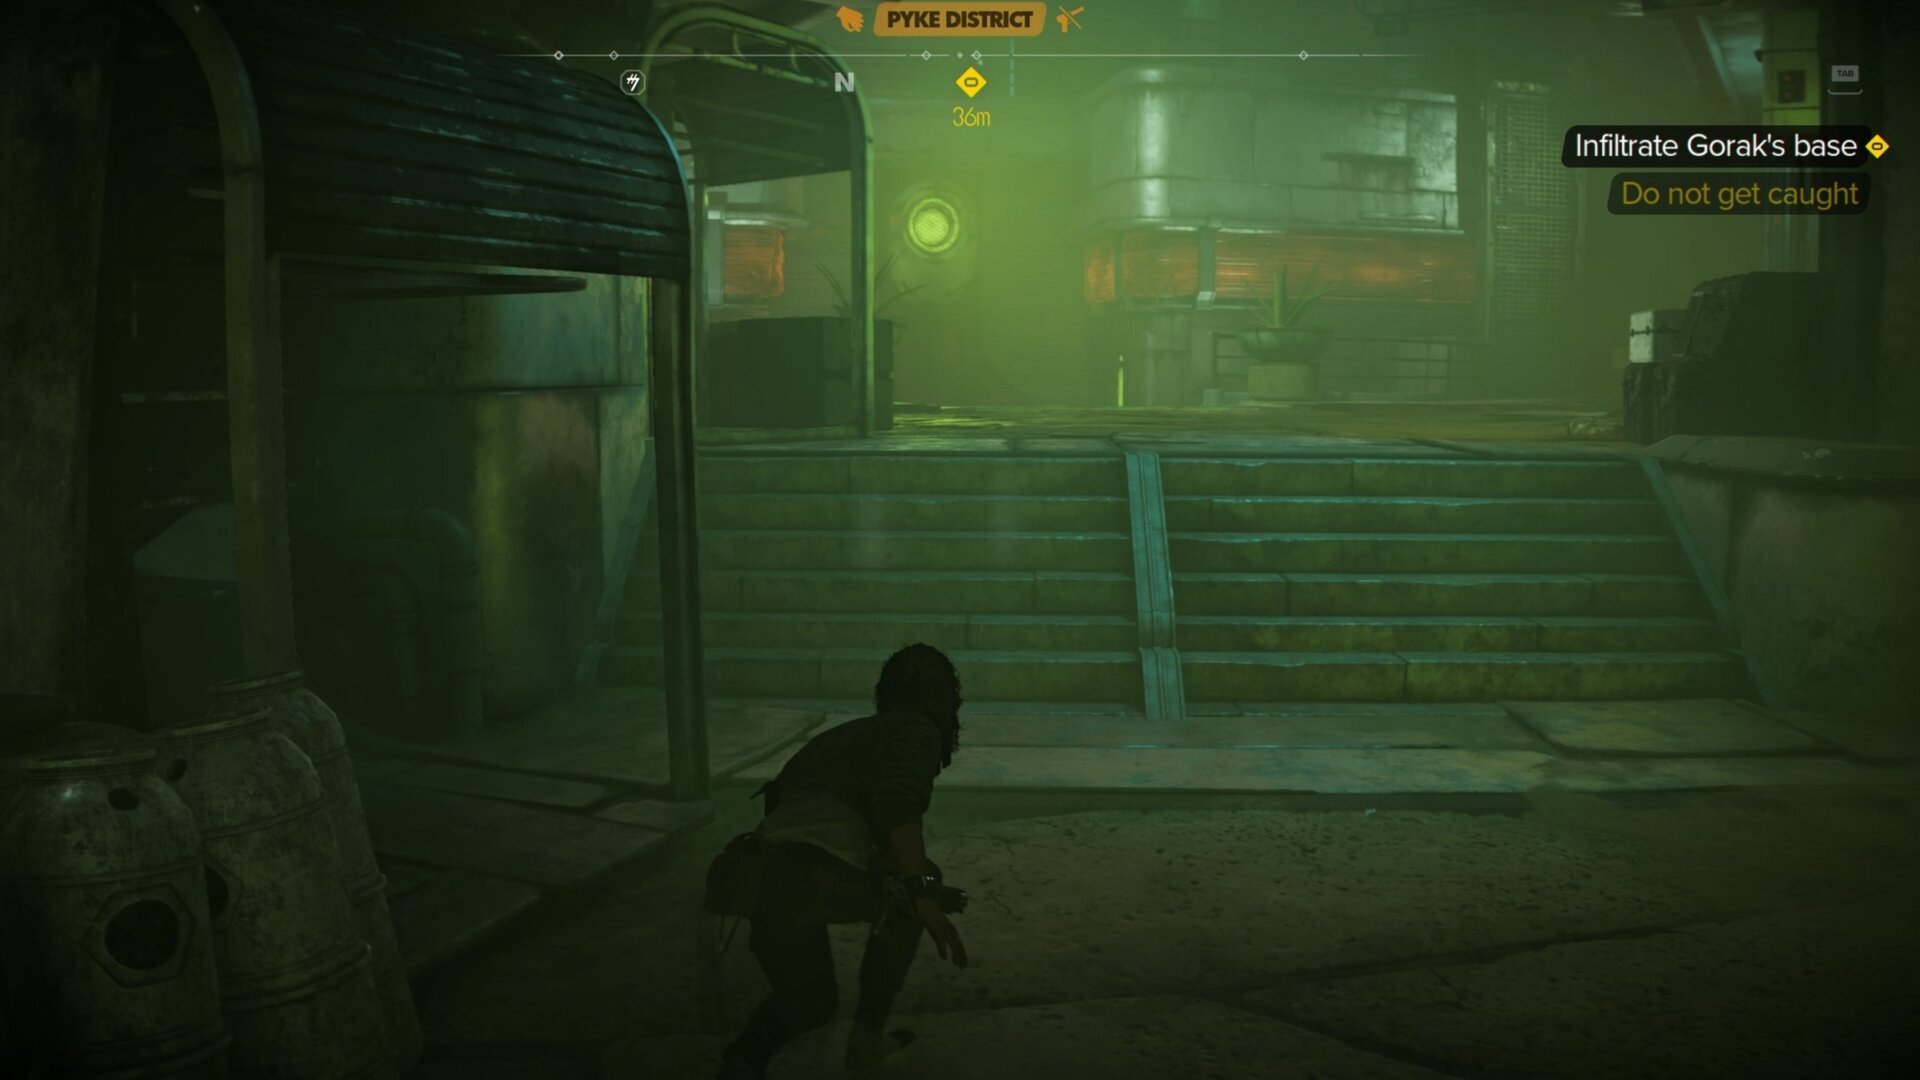
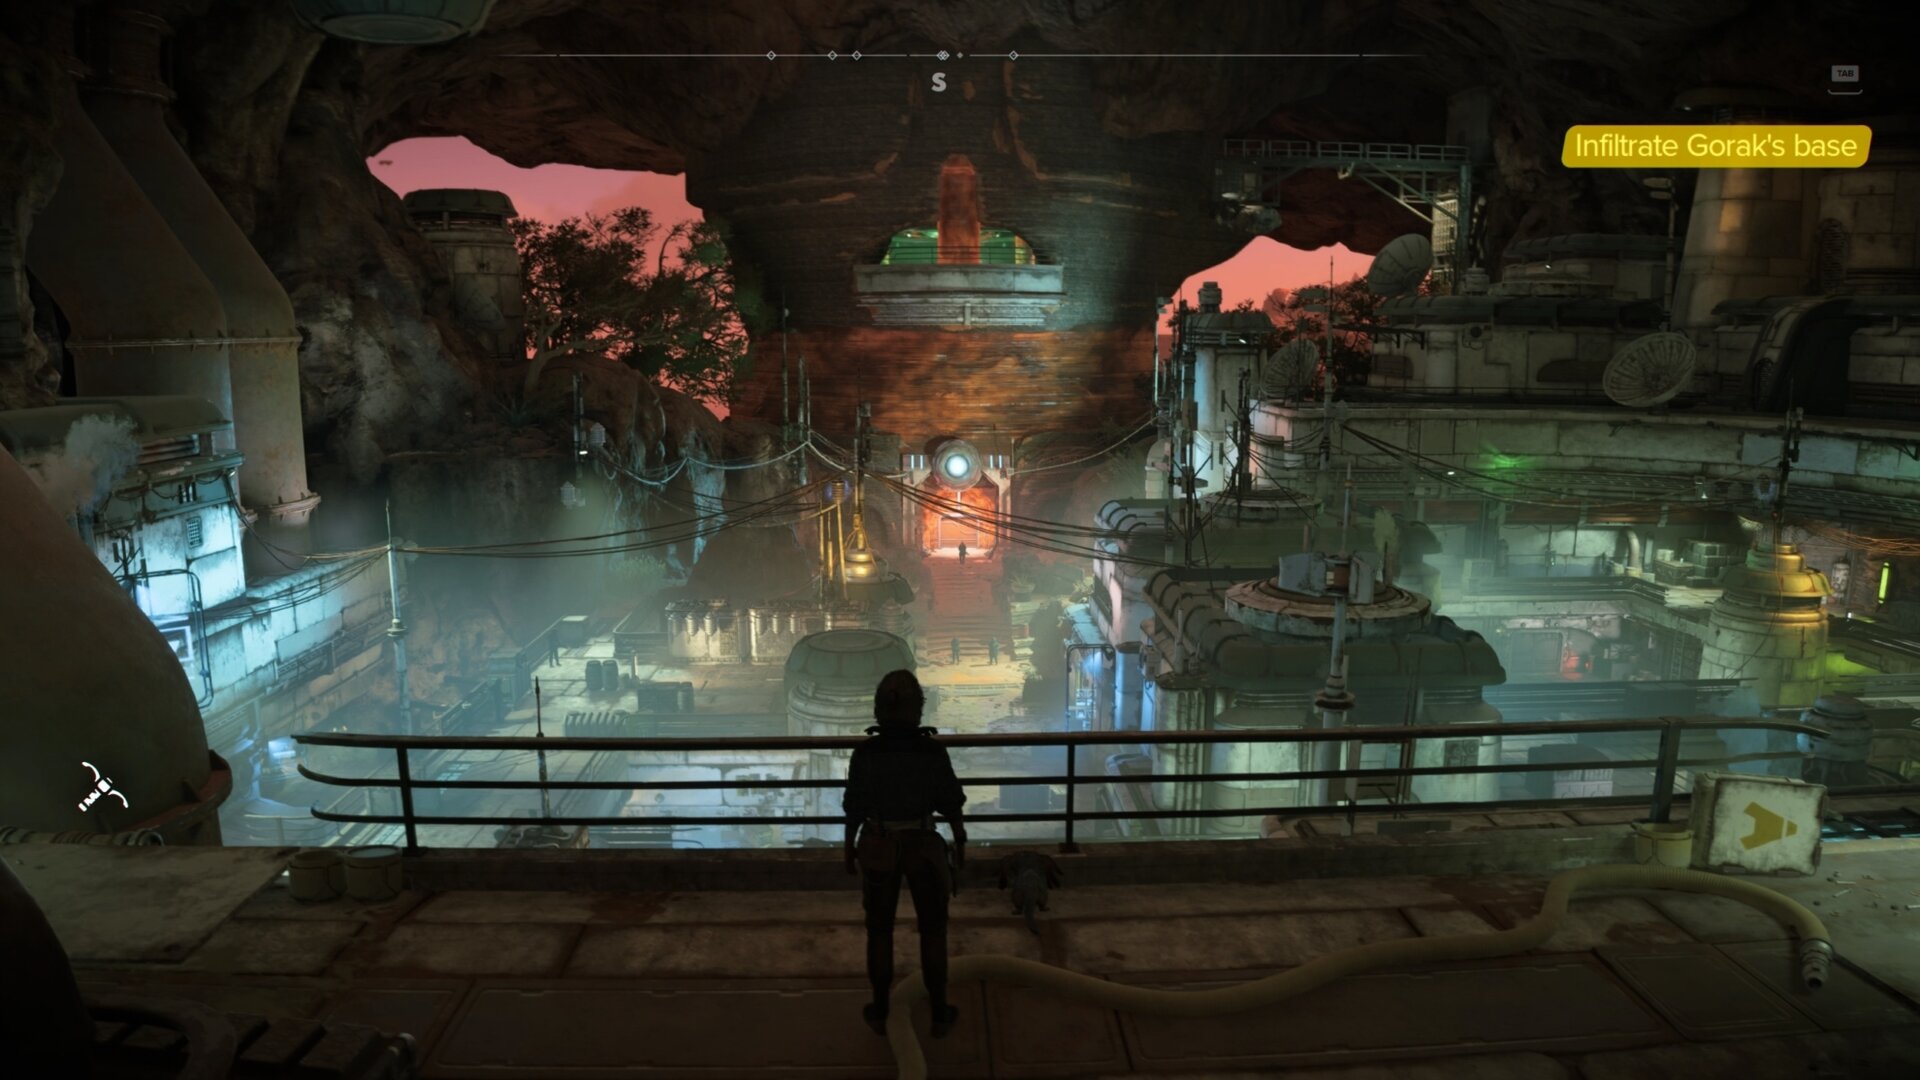
The Pyke Stronghold
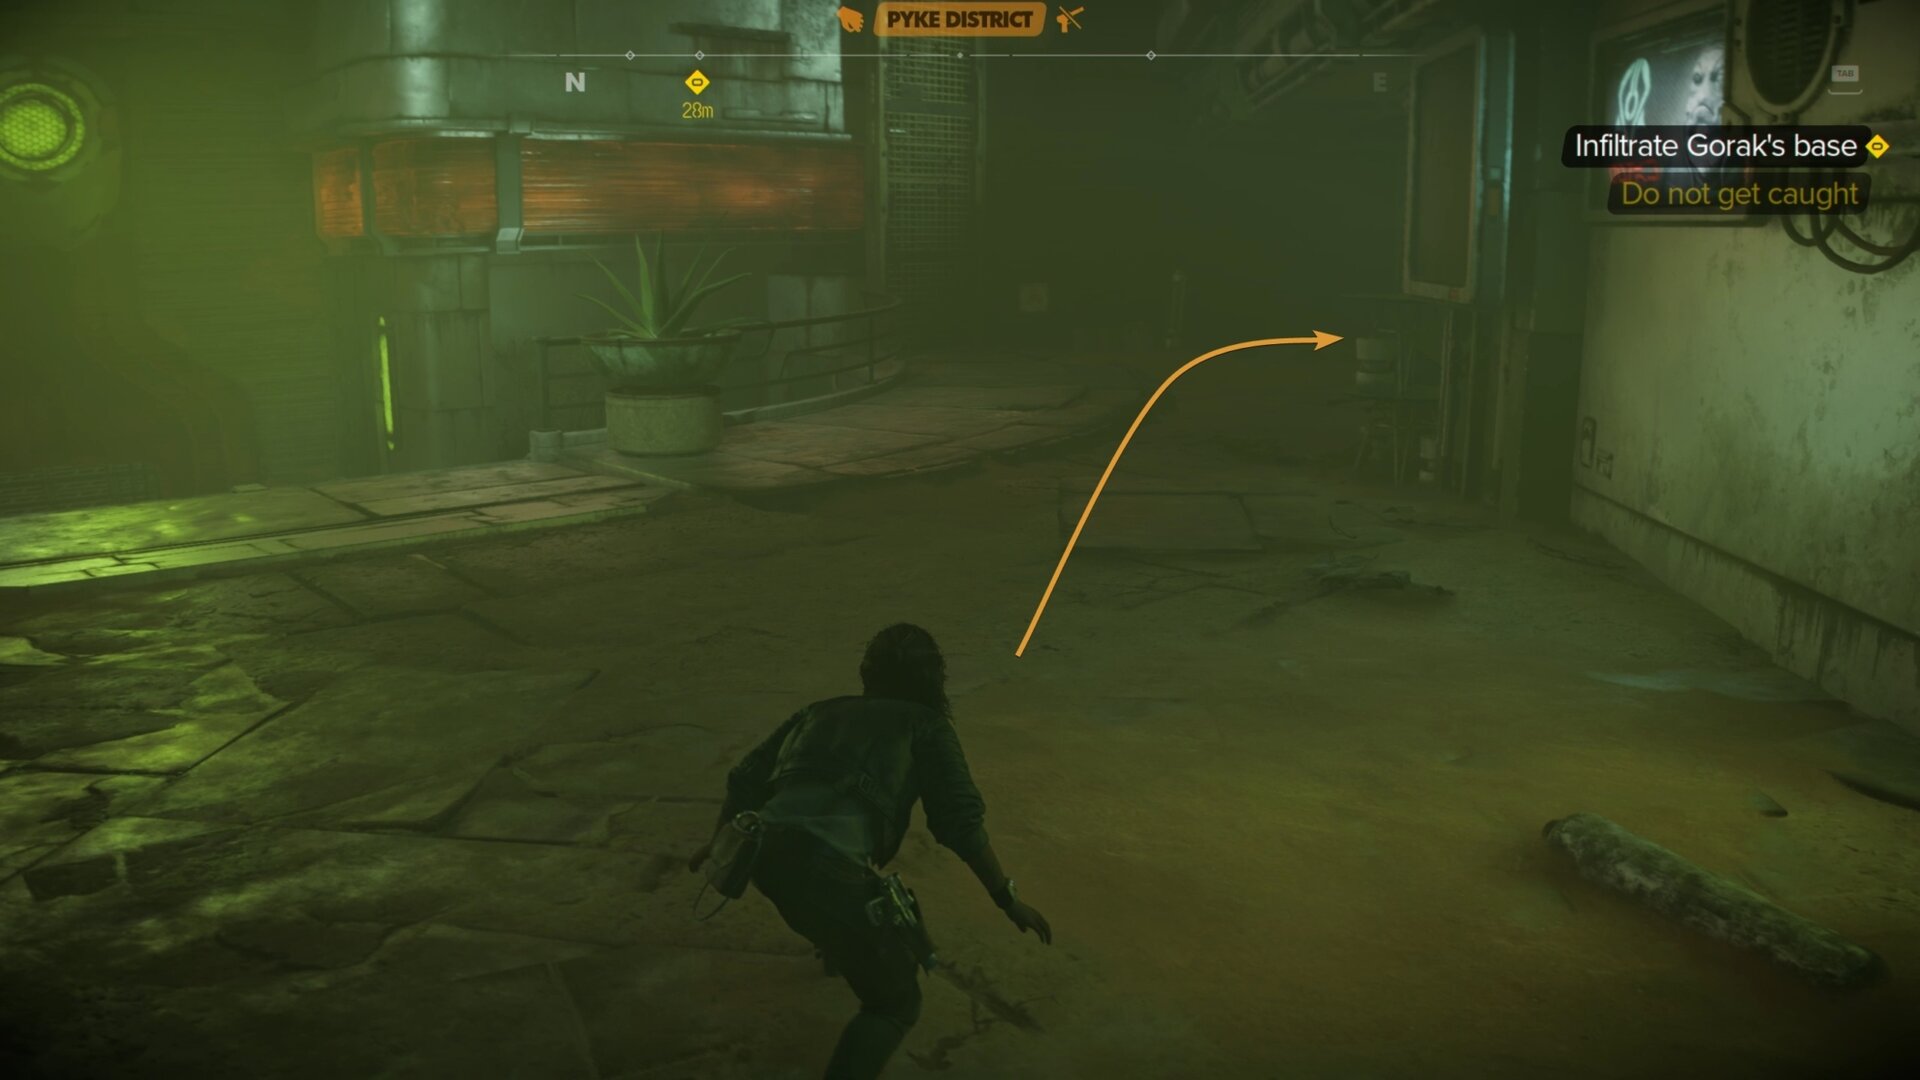
Now it’s time for the hard part, traversing across the Pyke Stronghold. The following section will require you to be incredibly stealthy and cunning.
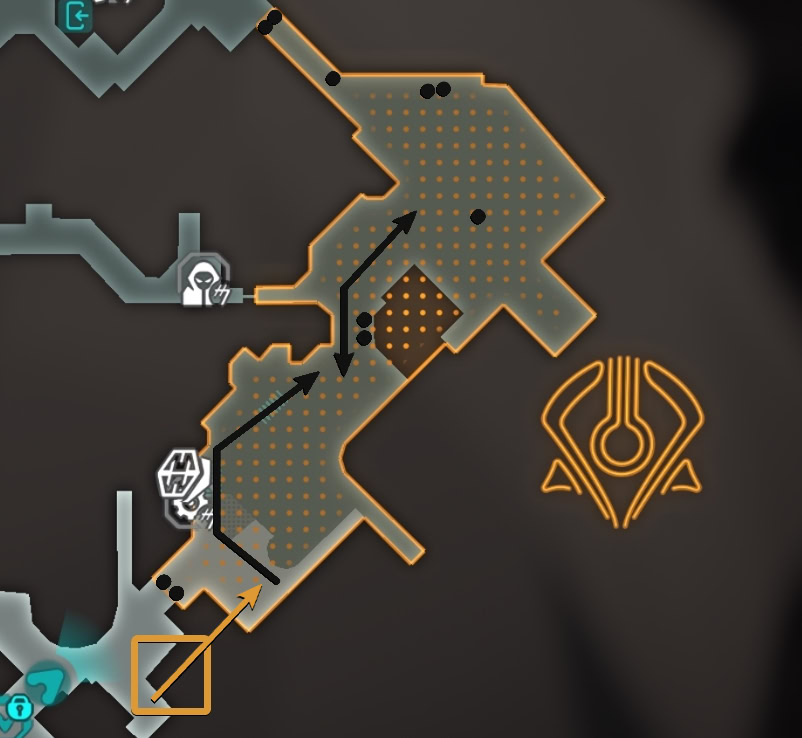
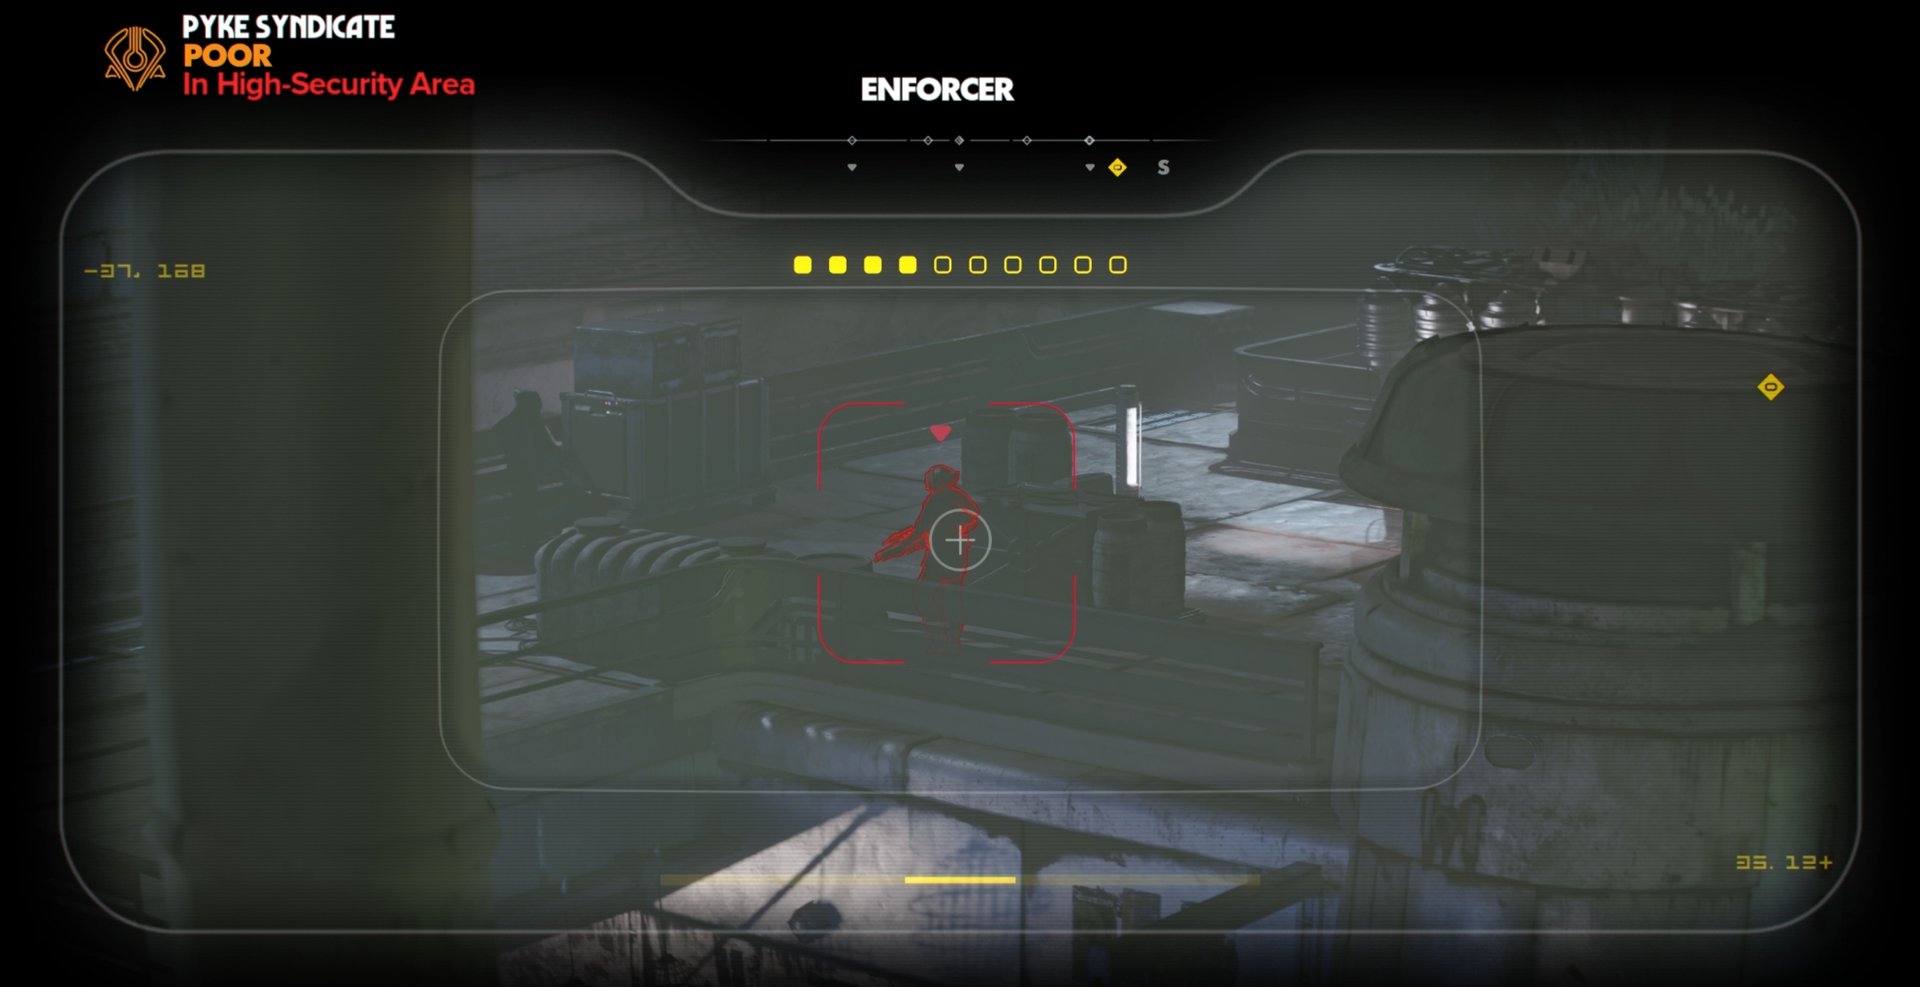
Follow the prompt on the upper left of the screen to pull out your Electrobinoculars. With these binoculars, you can mark up to 10 targets. Prioritize marking patrolling guards and any stationary guards with a good field of view.
When marked, you’ll be able to see their red arrows through walls as you traverse the area. If you get caught and restart at the checkpoint, you’ll have to re-mark all the targets.
Disable the Energy Barrier
There will be two grapple points at the top level you’re at, a left path and a right path. In this guide, I chose the right path but the area overall is rather open-ended as to how you get by.
If at any point you’re on a roof or have a good view, take some time to scout the area with your binoculars. If you notice any unmarked patrolling guards, mark them.
If you run into any Security Cameras, try to move against the wall they’re attached to. They have a blind spot near the base of their field of view. If you find the security camera seen below, you’re on the right path.
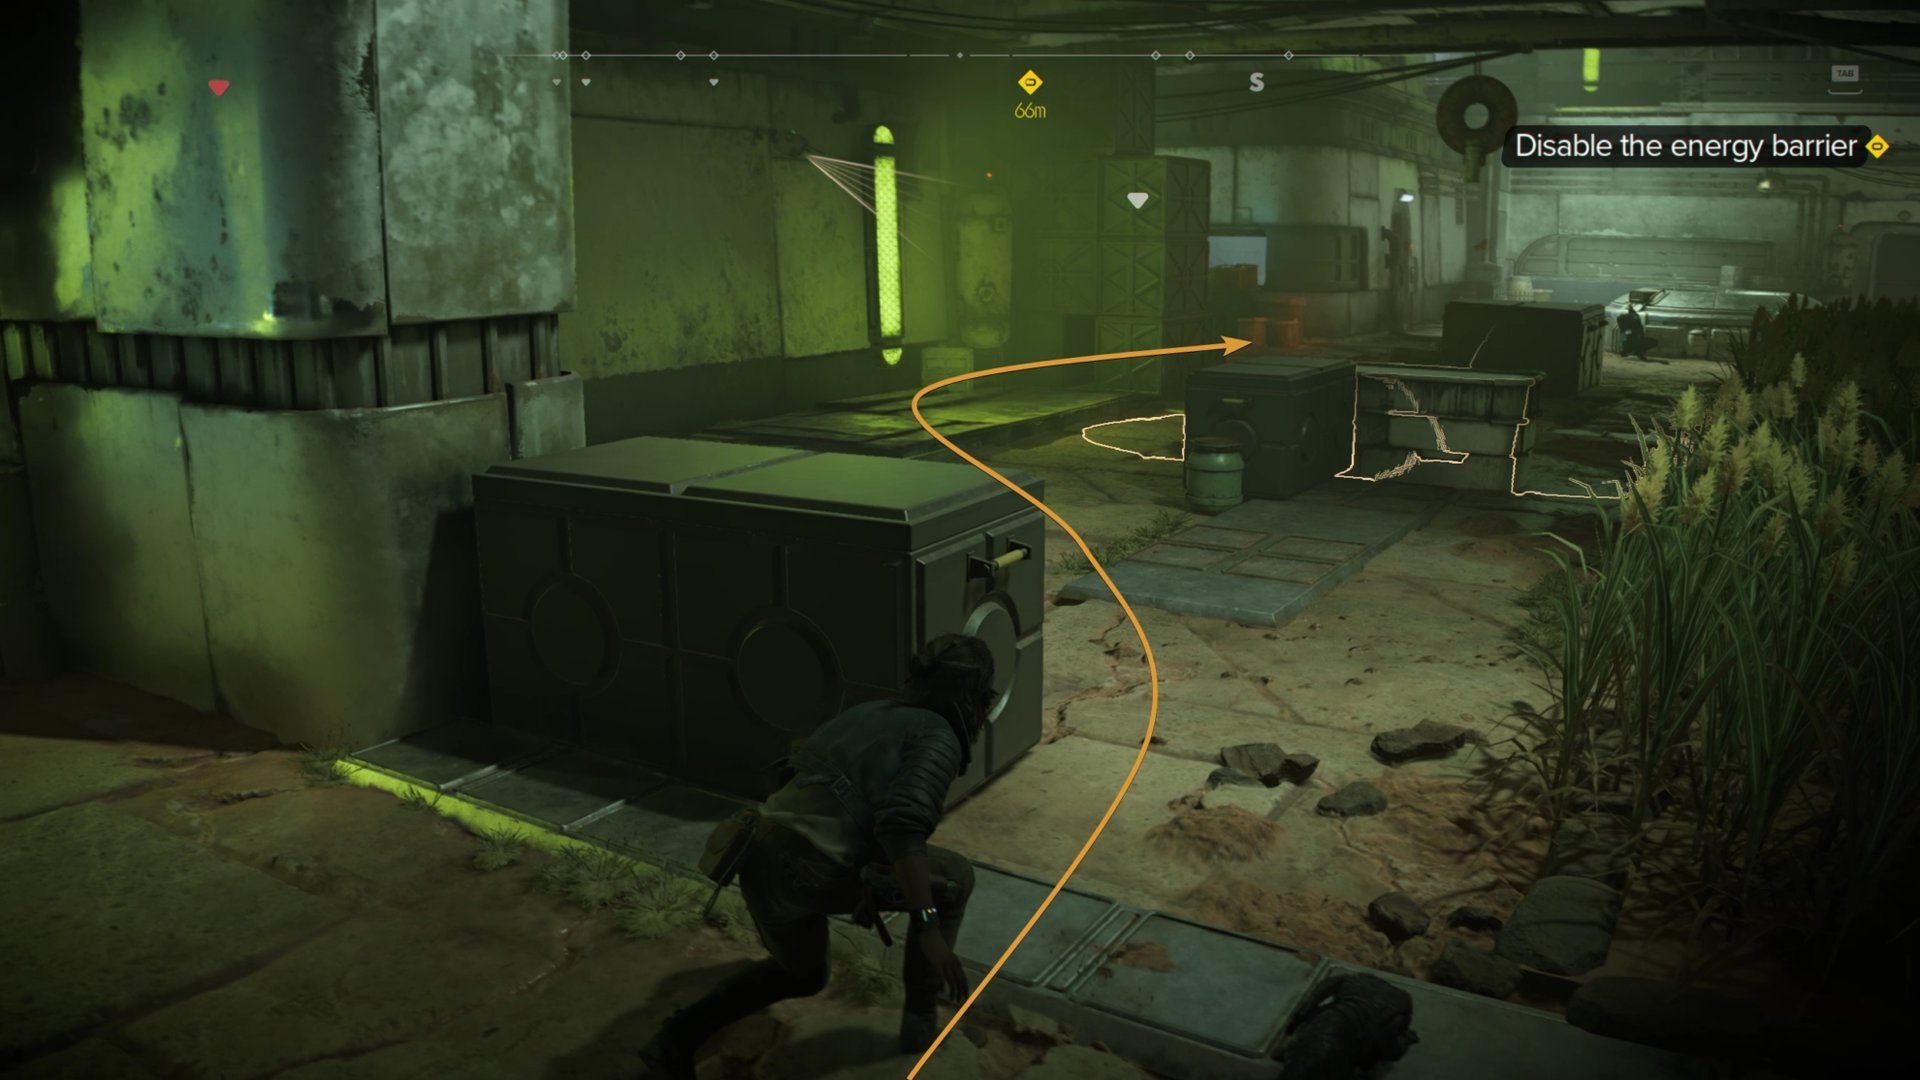
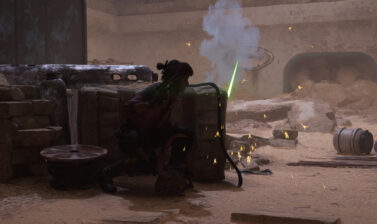
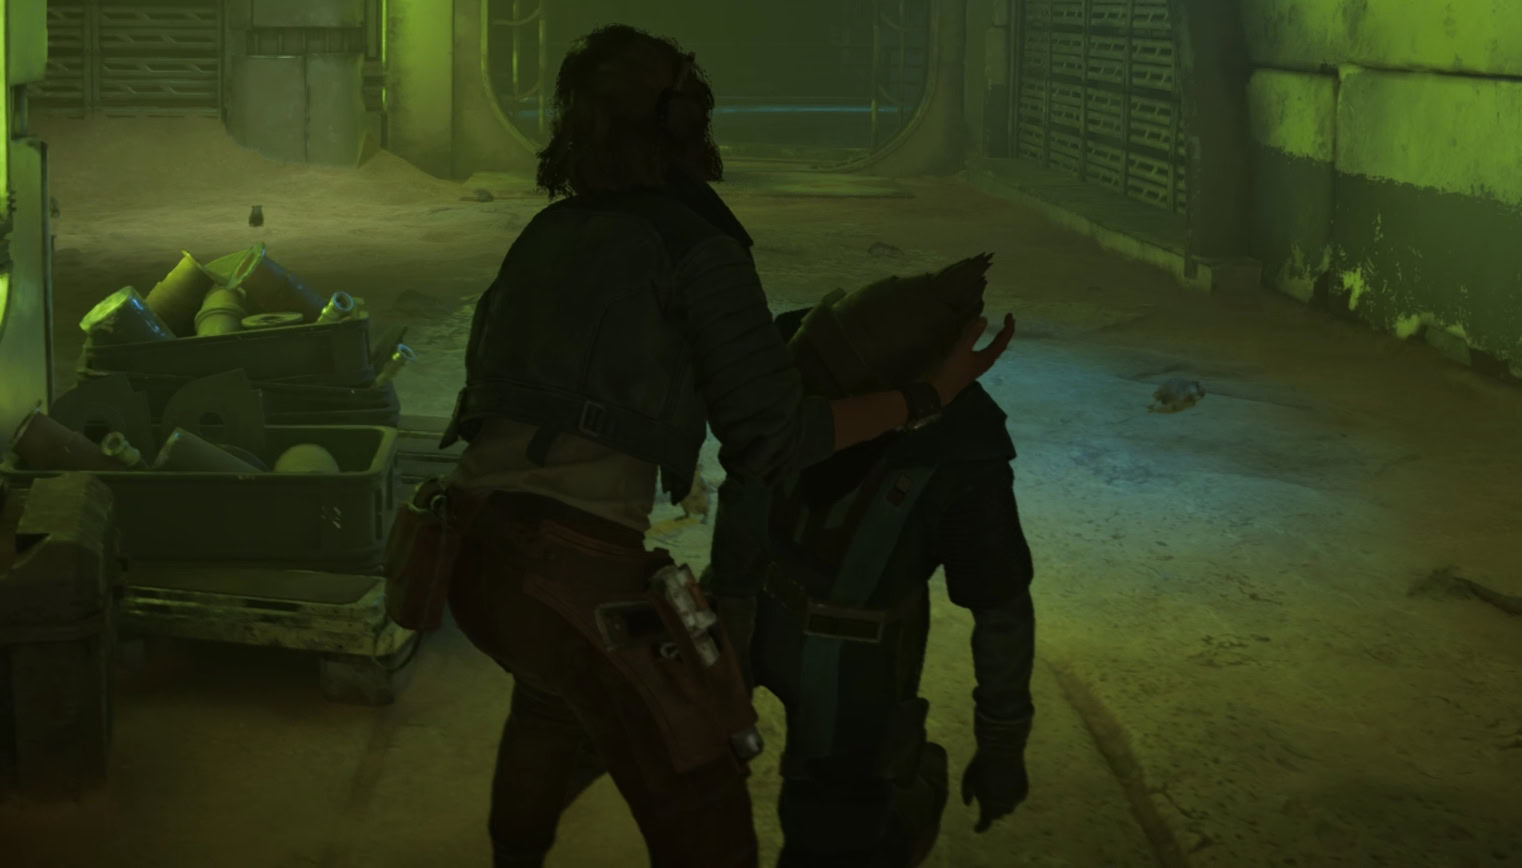
You’ll want to find two Pykes next to a power core. Take them out quietly by using Nix to distract the one on the left. The other Pyke will be distracted by the power core, making for an easy takedown. Hide in the tall grass to stay hidden.
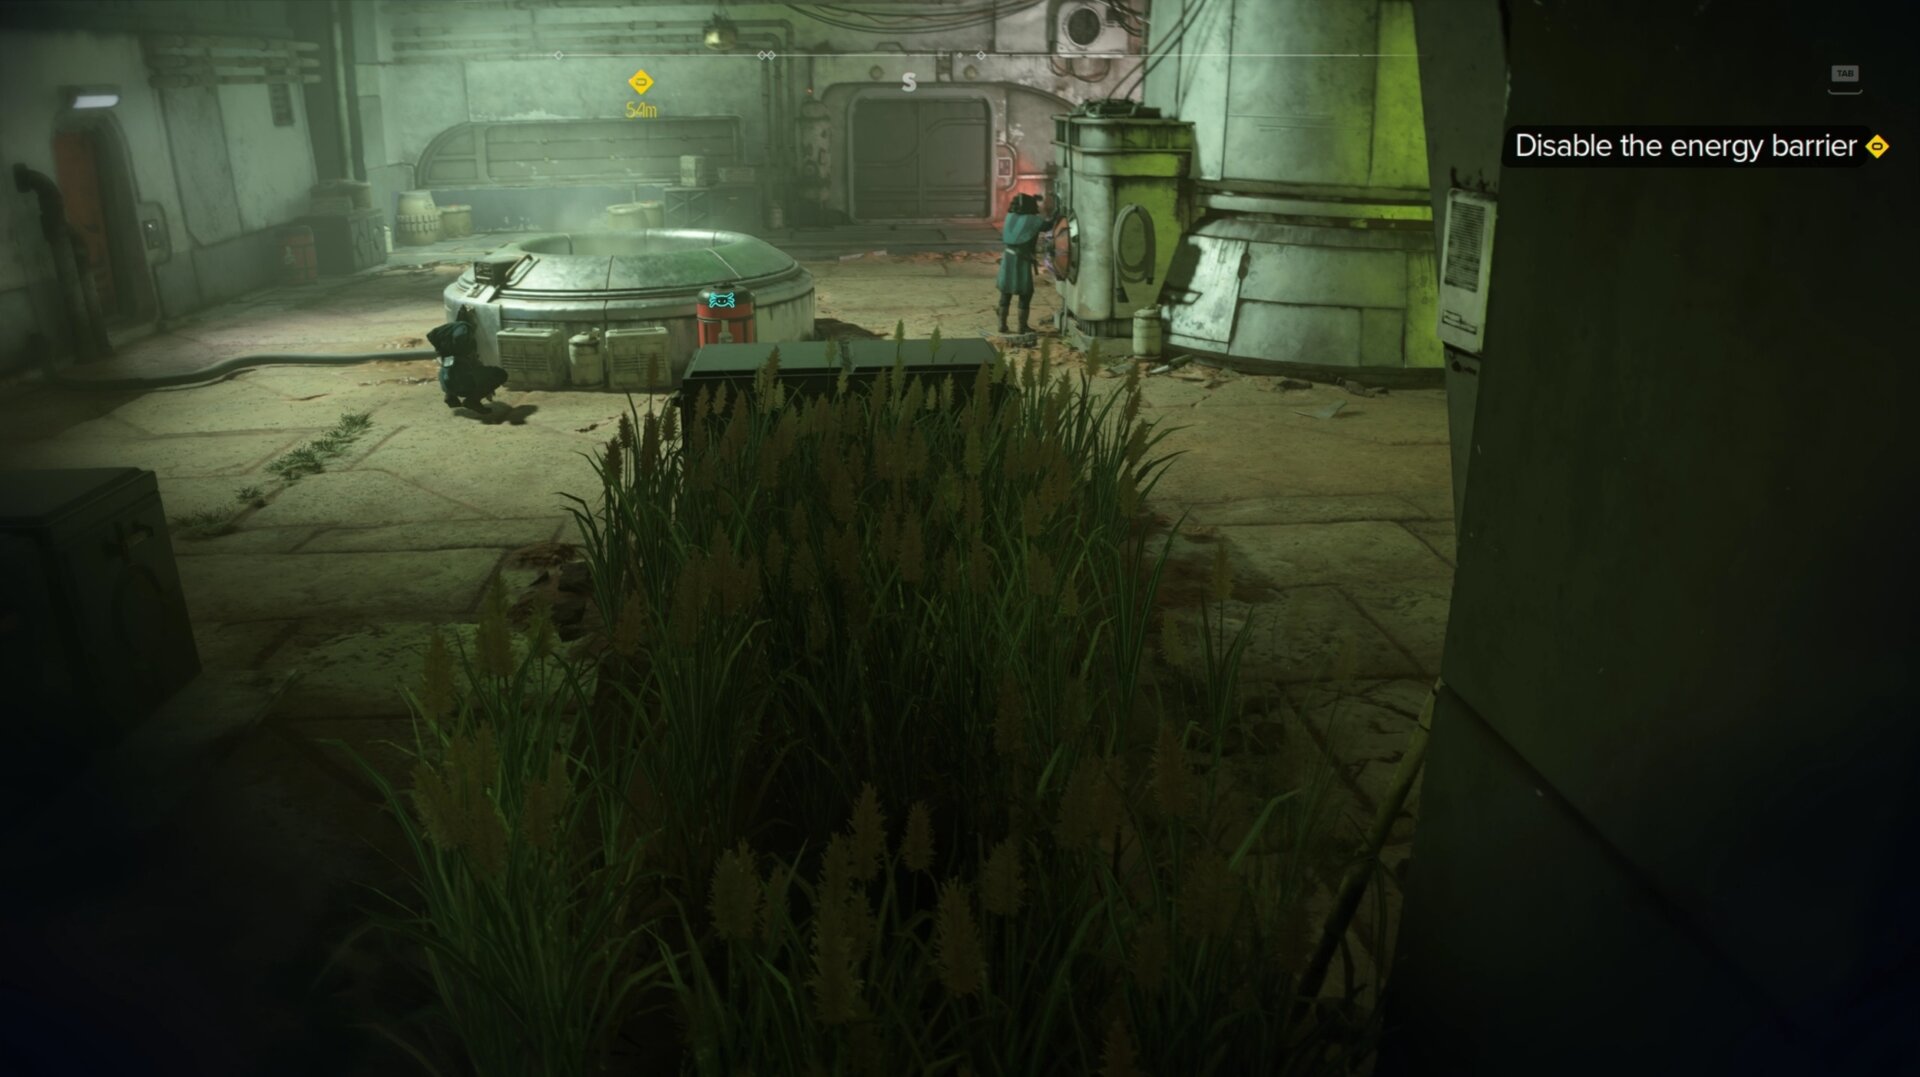
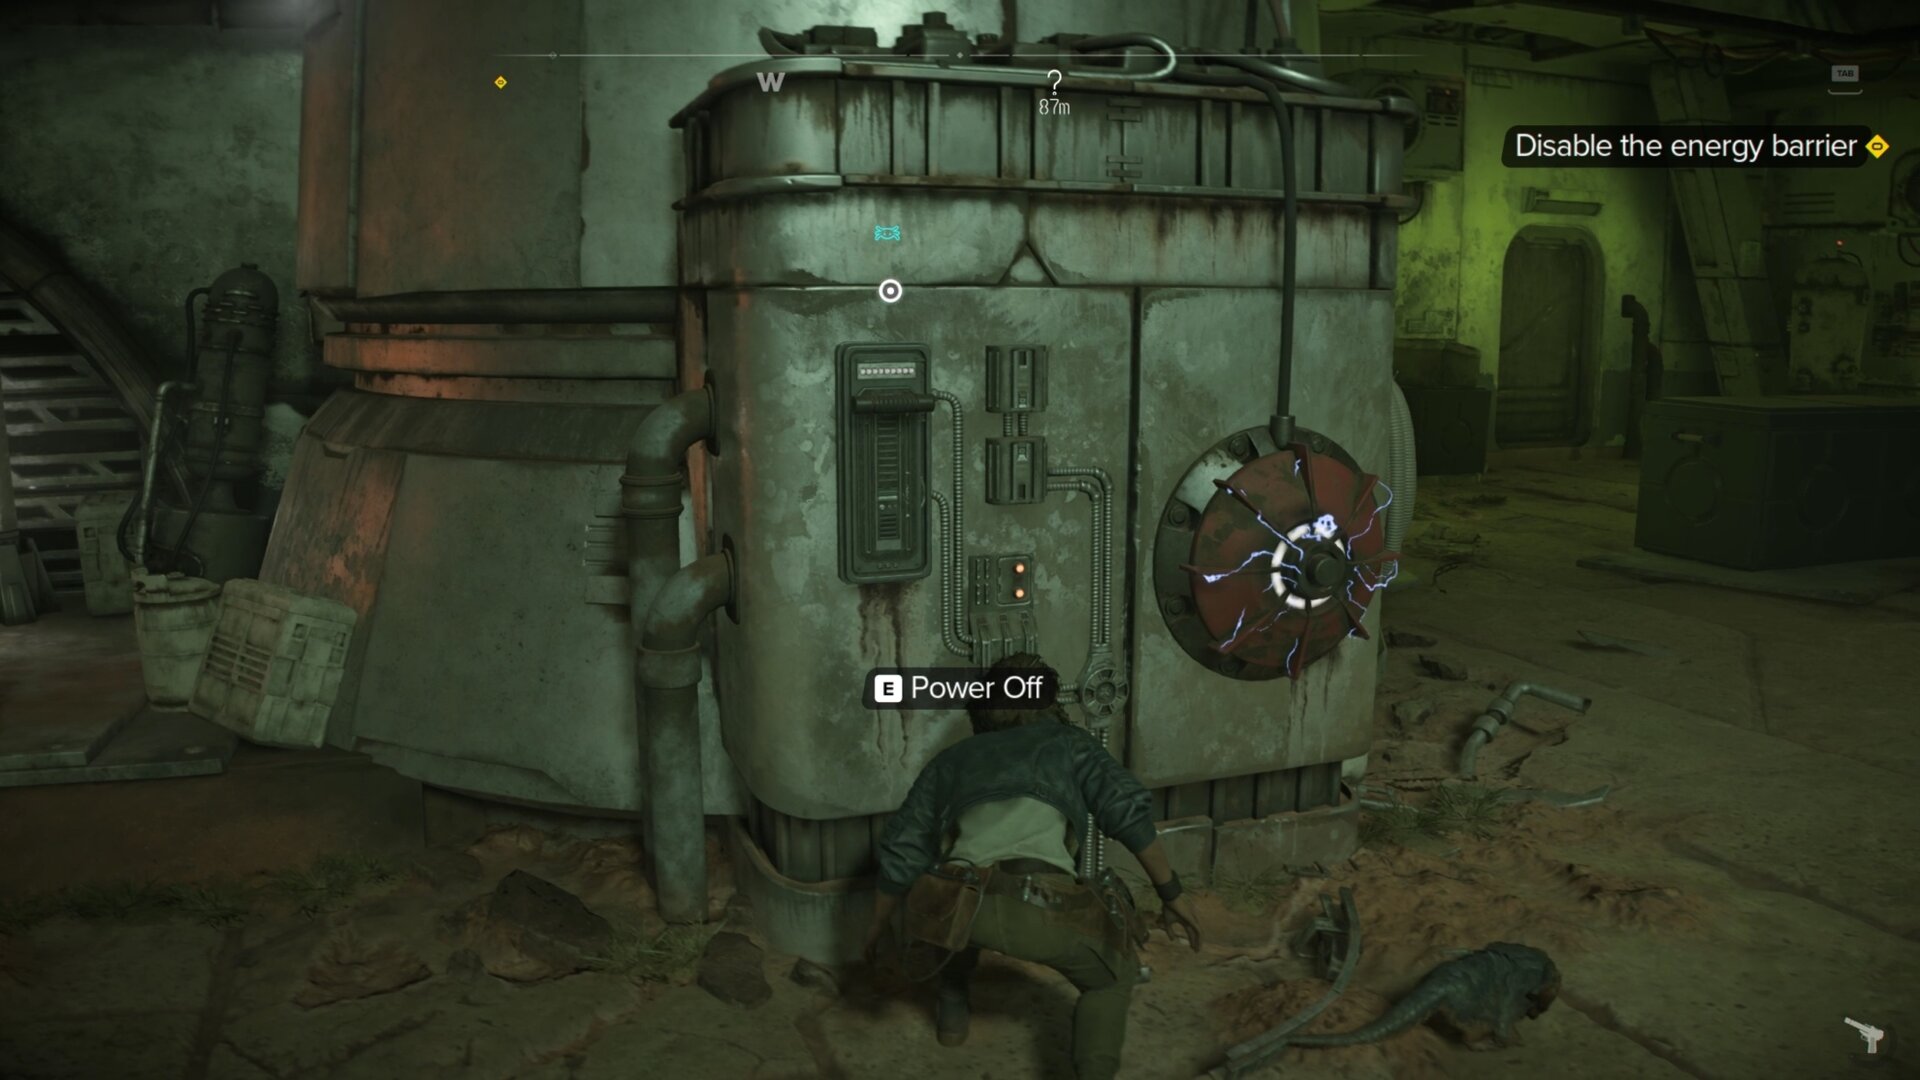
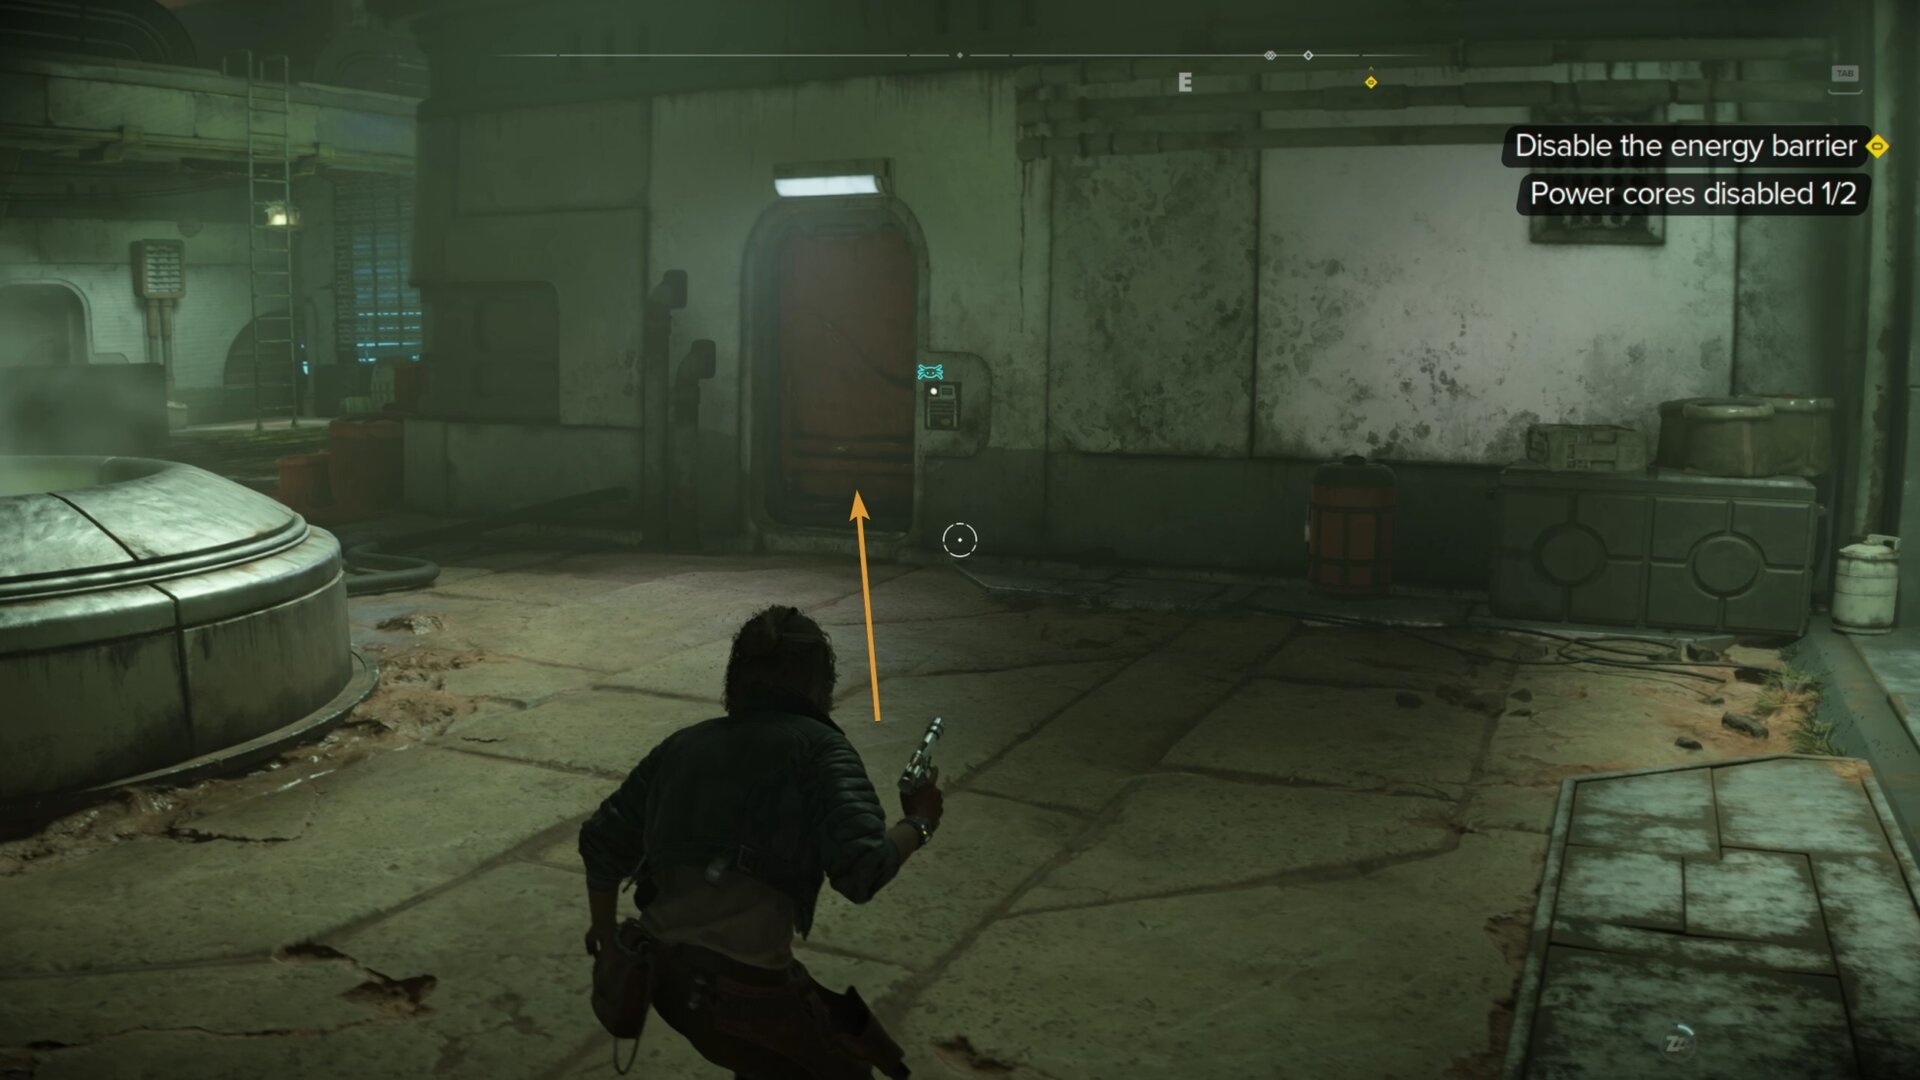
After knocking out the Pykes, turn off the first power core. You only need to find one more core before the energy barrier is down.
There will be a ladder nearby, don’t rush to climb up it. On the level above you is a patrolling Pyke, they can easily spot you if you go up that ladder.
Instead, go inside the building with the red door to climb up the stairs. You’ll find that patrolling Pyke and it’ll be easier to take them down from here.
Make your way to the rooftops by following the metal path and you’ll run into in area with several Pykes. Ideally, you’ll want to quietly take out each Pyke to quietly access the Power Core in the area.
Unfortunately, I got caught and entered combat. Fortunately, entering combat won’t have you restart the area. Unfortunately, the Pykes will constantly try to sound the alarm if combat starts.
A good measure to take is to have Nix sabotage any alarm panels. I however panicked and took them out the old-fashioned way.
Whether you left the Pykes warm or cold, make your way to the final power core and turn it off to take down the energy barrier. Sneak your way into the tower and pick the door open, the hard part is done now.
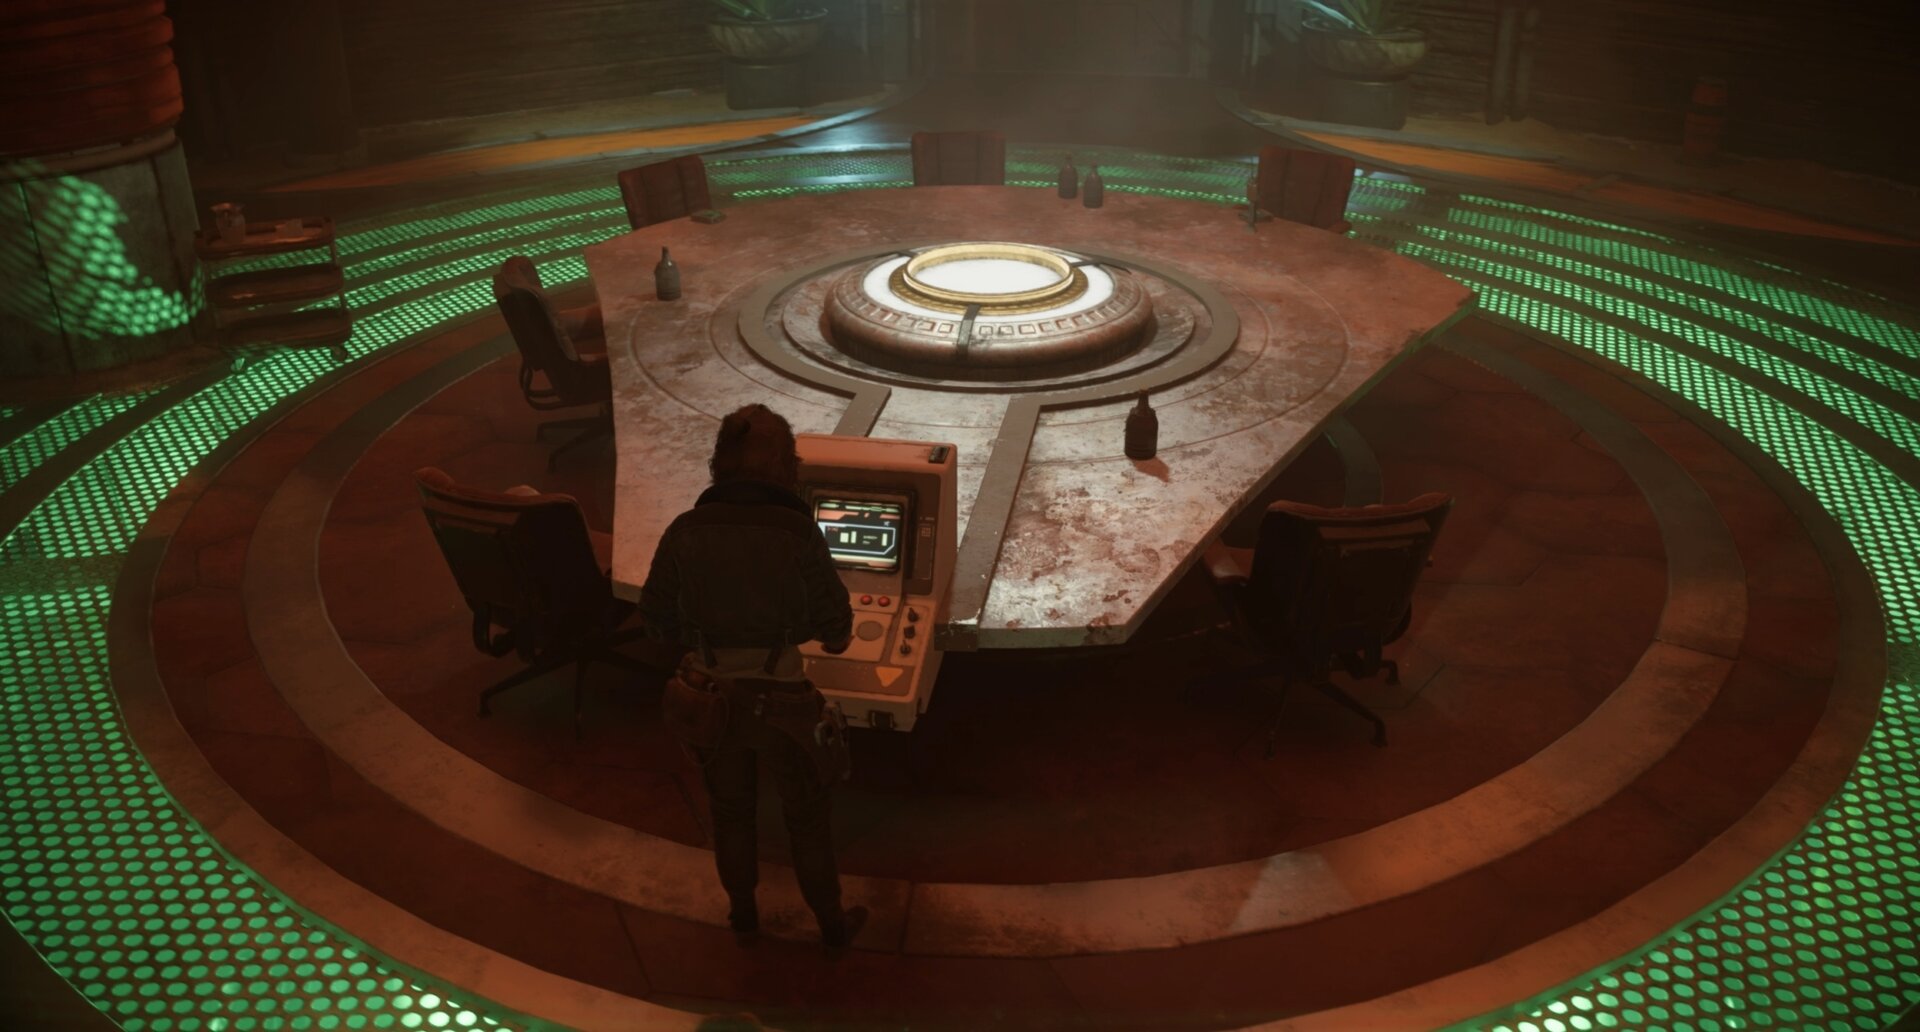
Access Gorak’s Terminal
Once you’re inside the tower, take the turbolift up to find a locked terminal on the upper level. Slice it to figure out the information Gorak doesn’t want to get out. You’ll also learn a recipe for Spotchka, a blue alcoholic drink introduced in The Mandalorian.
Escape the Base
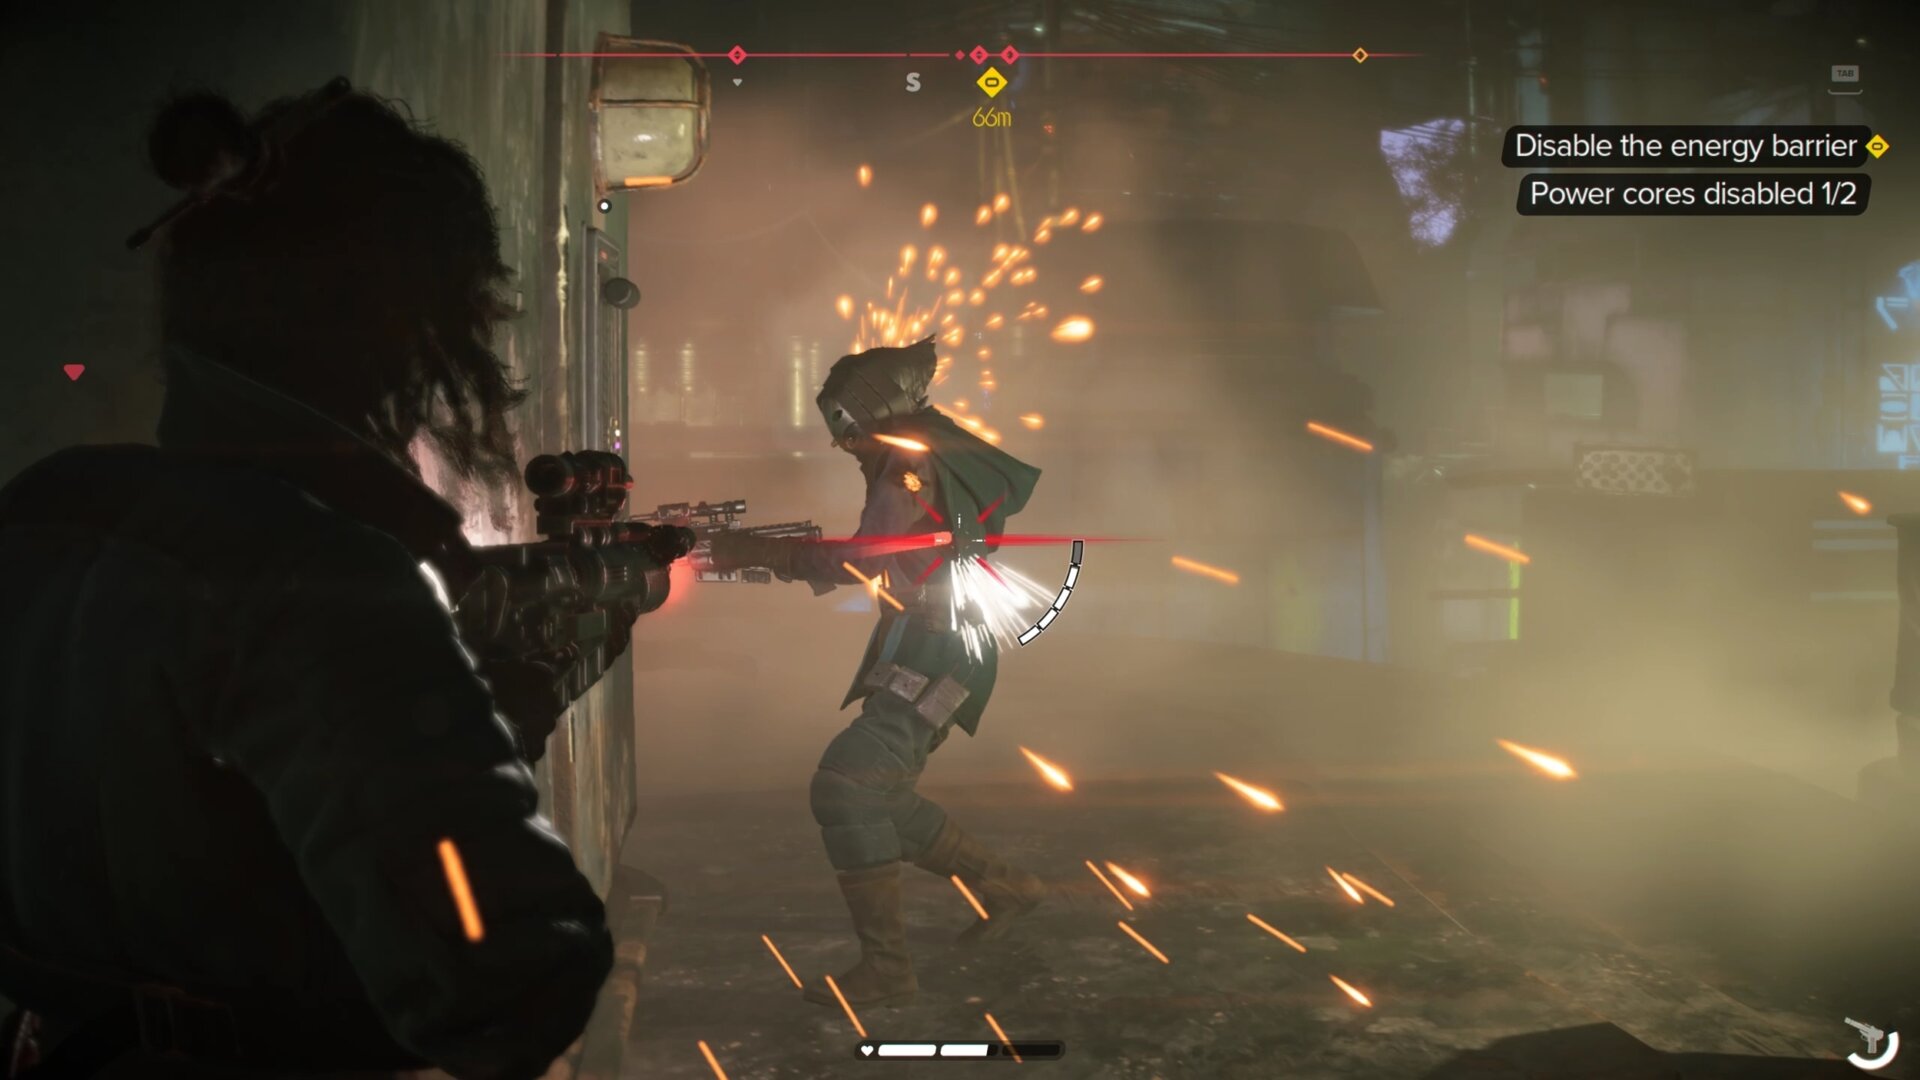
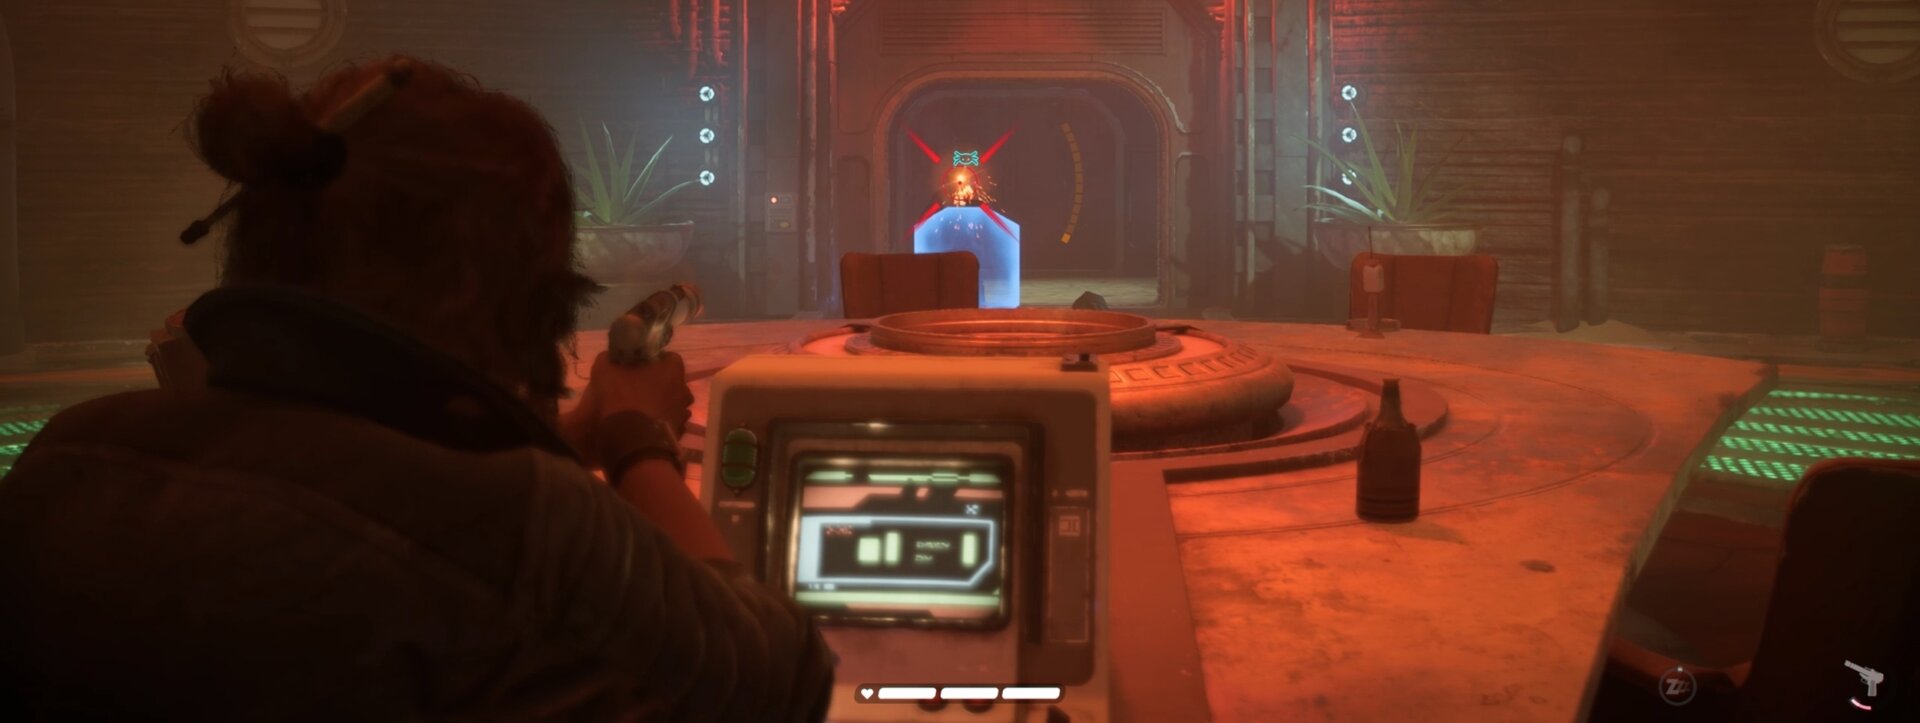
After learning Gorak’s secrets, the alarm will sound and you’ll be attacked by a pair of Pykes. Now it’s time to make your escape from the Pyke Stronghold.
One of the Pykes has a portable shield wall. Aim for headshots when they pop out from cover, then make your way to the elevator.
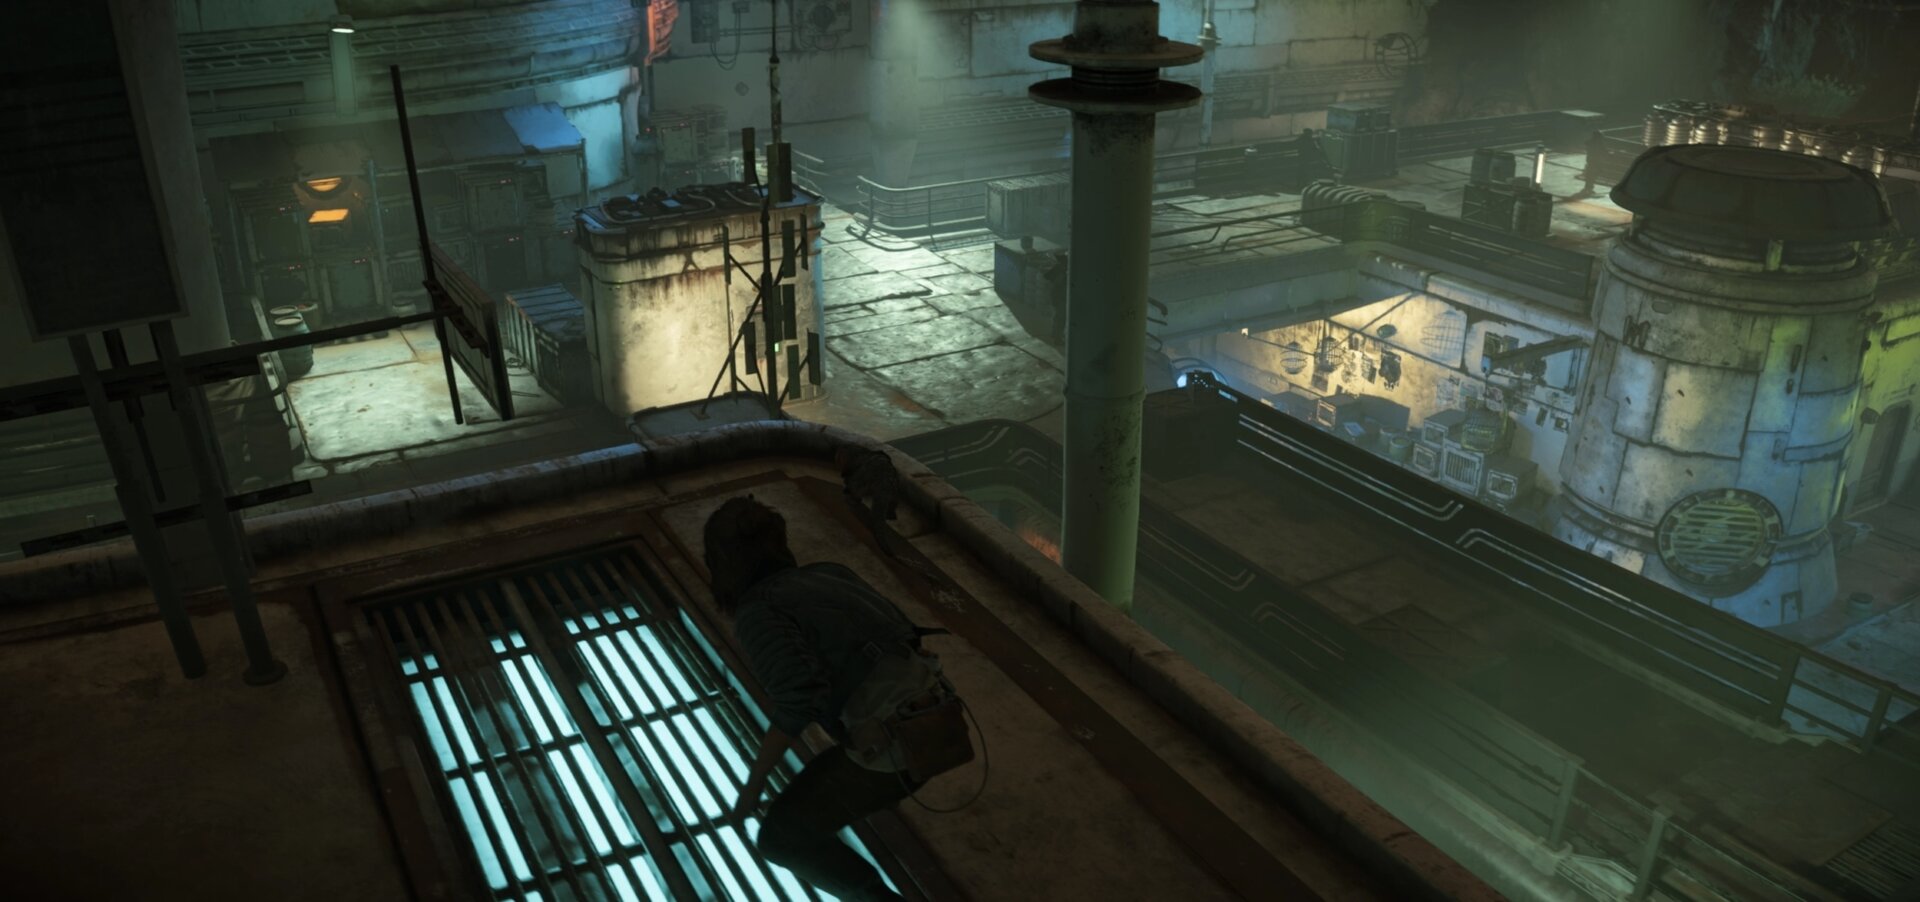
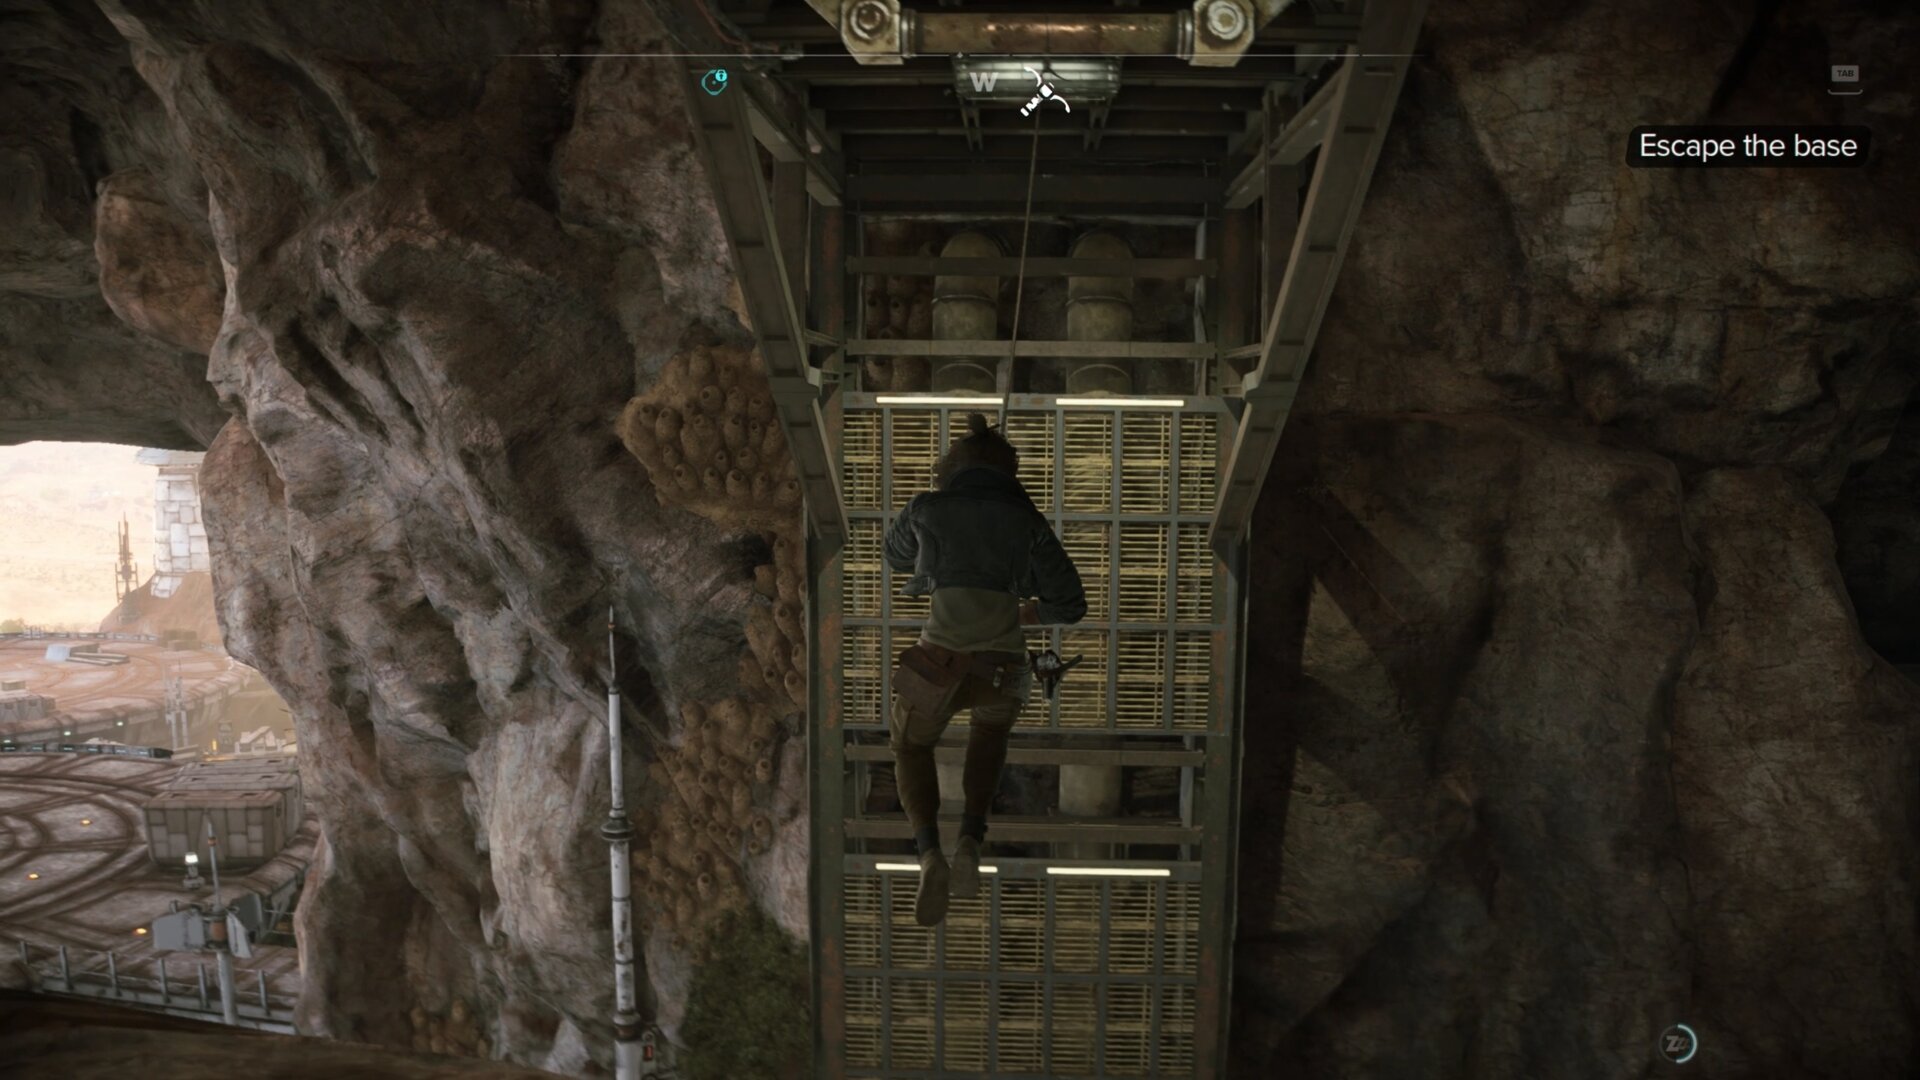
Lockpick the elevator door and jump across to the grates on the other side. Climb up, to the left, then up again to climb the ledge. Crawl into the vent and you’ll find yourself in a room with three Pykes.


Take out the Pykes quietly or through combat, though you have no time limit so stealth is preferable as you’ll take less damage. Once you’ve cleared the room, look for the corner with the vent.
Crawl into the vent and climb down the ladder, then crawl through another vent to access the exterior.
Grapple on the pipe above you and jump to the grate, then climb down. You’ll find another grapple point that you’ll need to rappel down from.
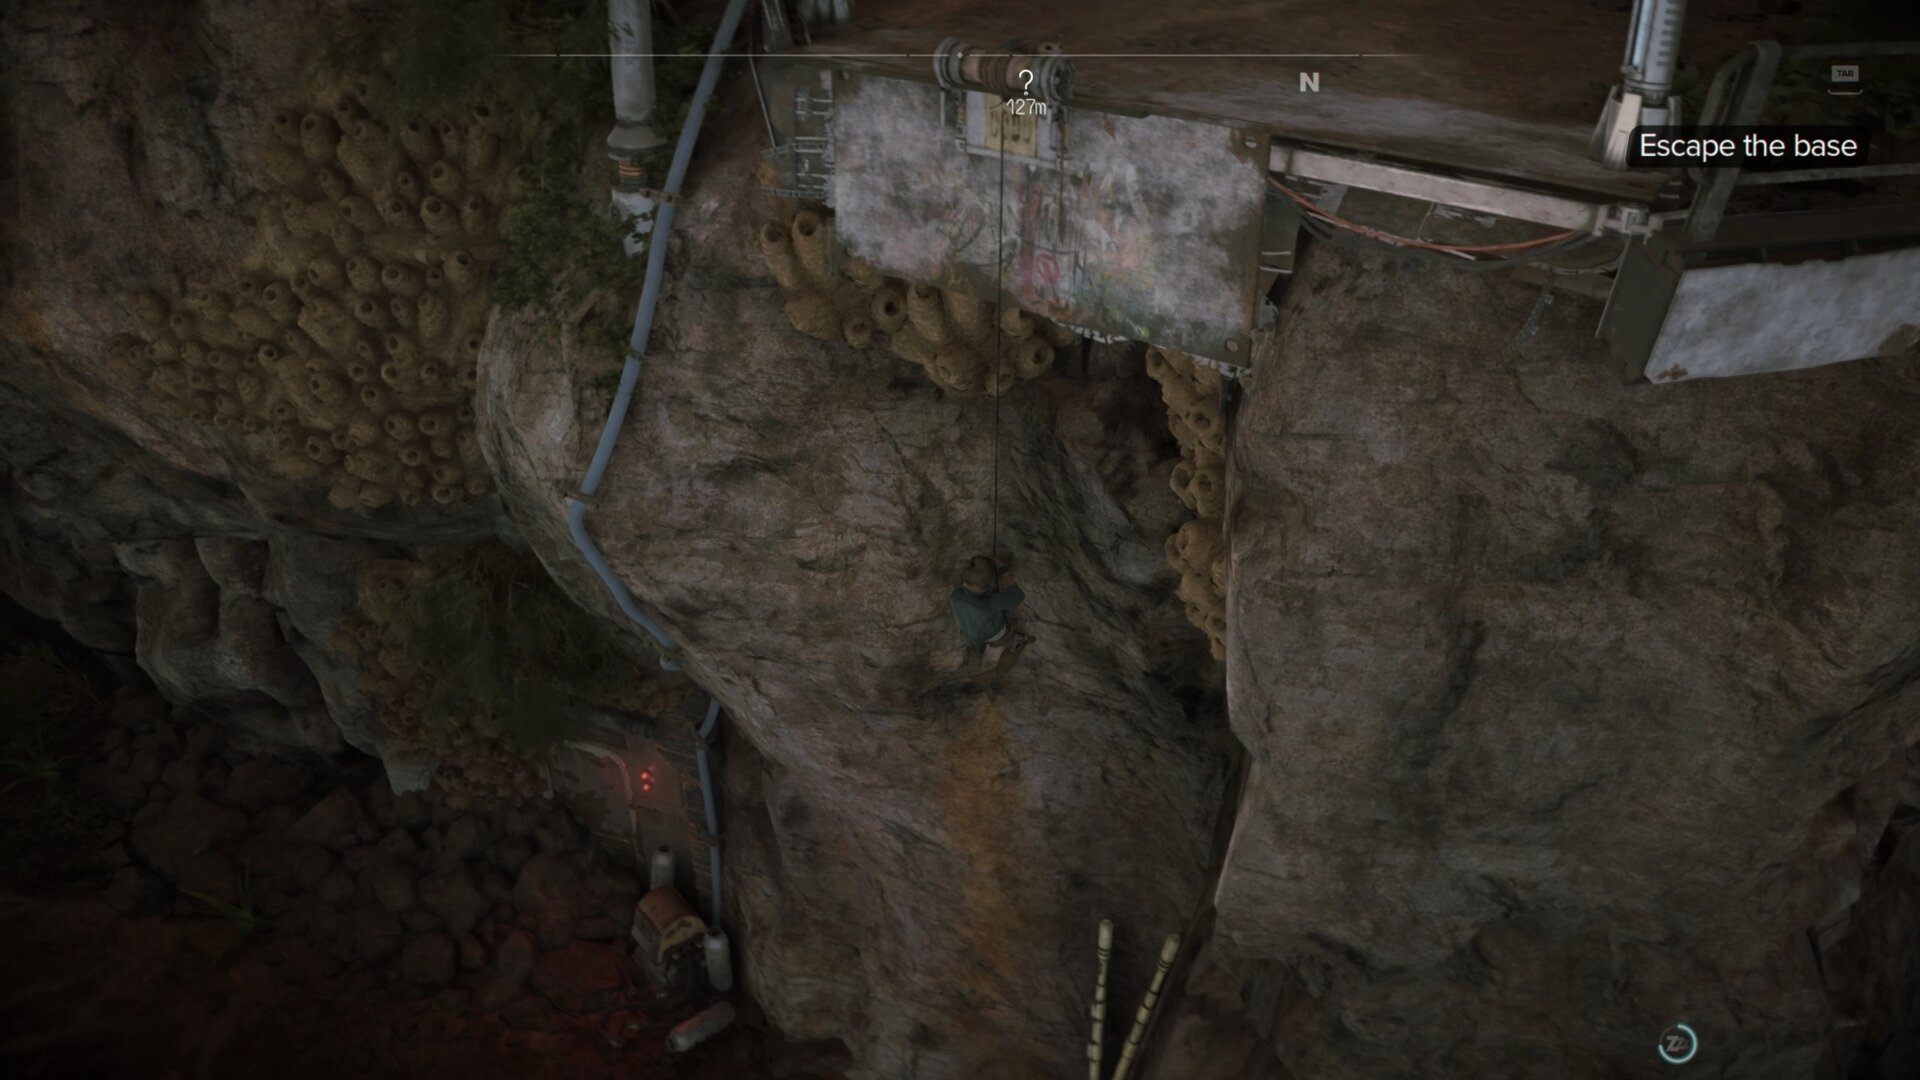
You’ll run across a large gap, jump across it to find another grapple point on a branch. Grapple on then jump across and climb up the ledge.
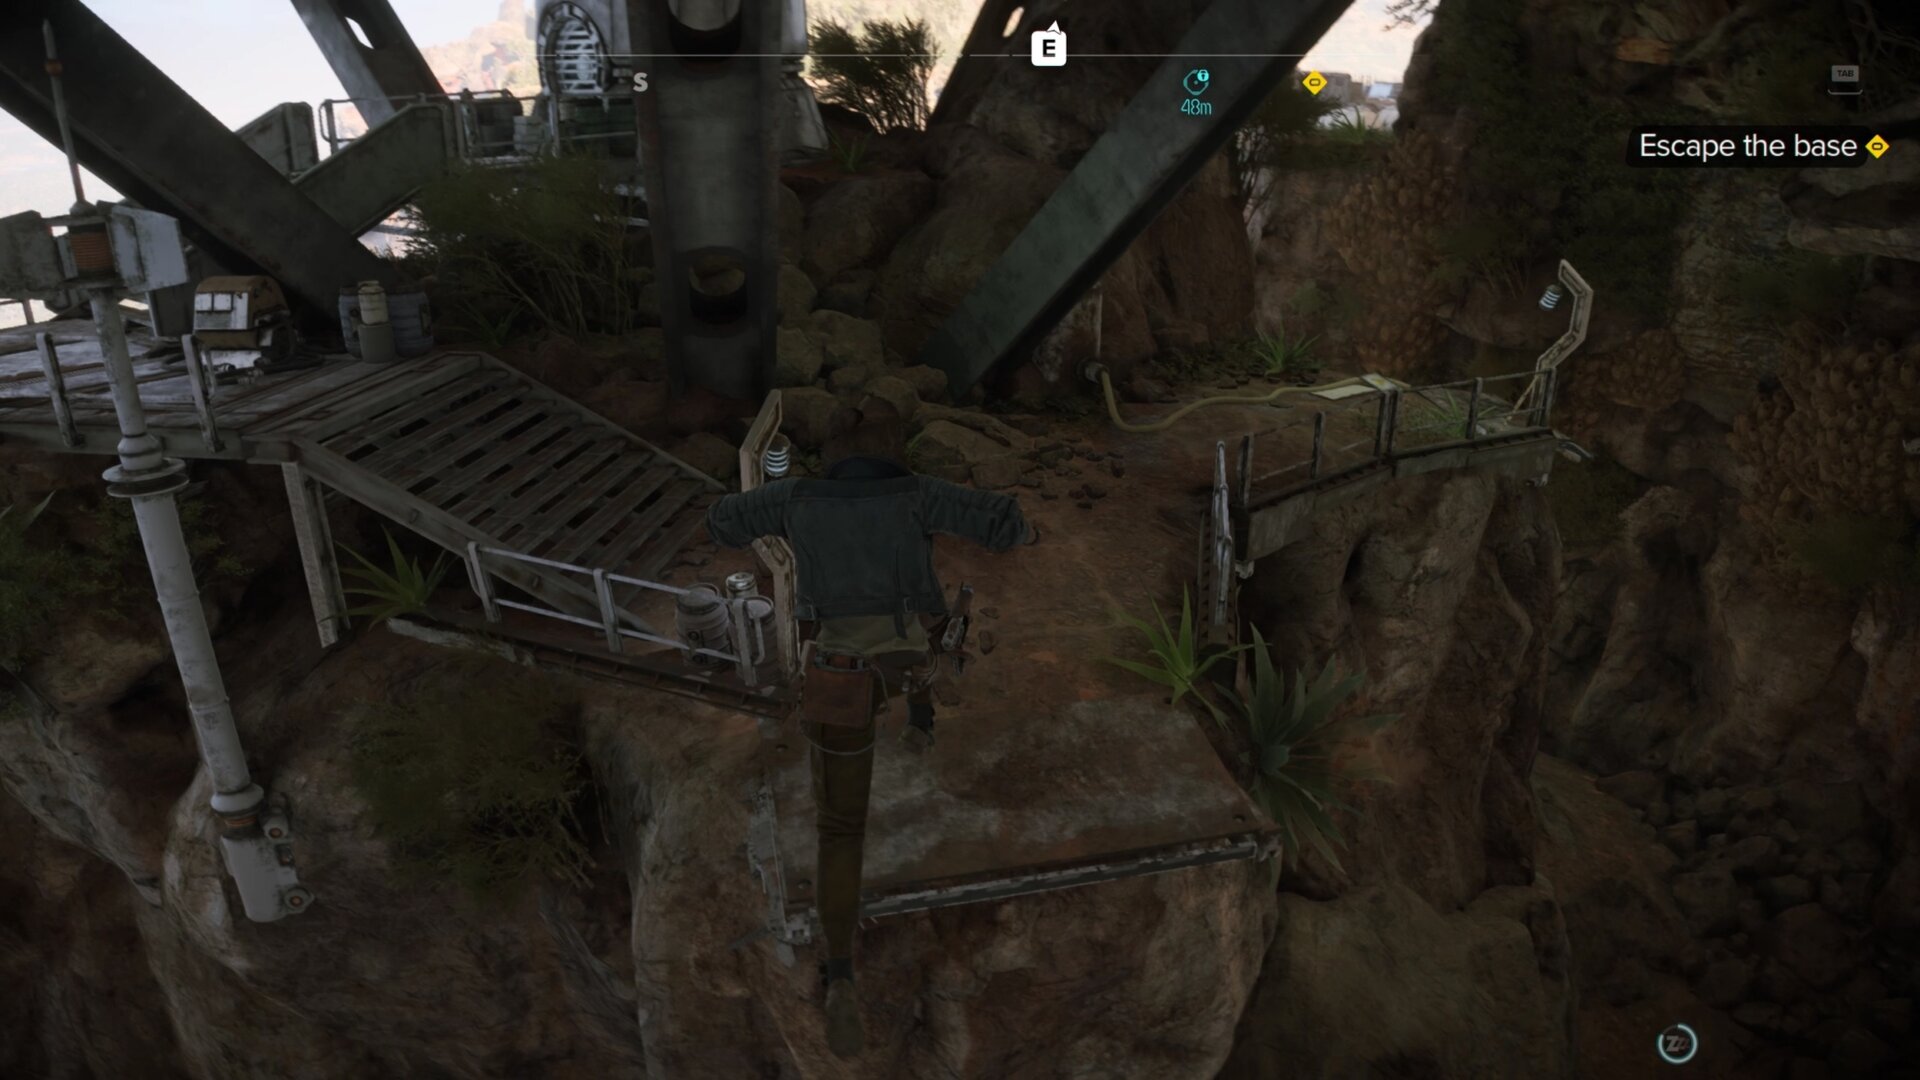

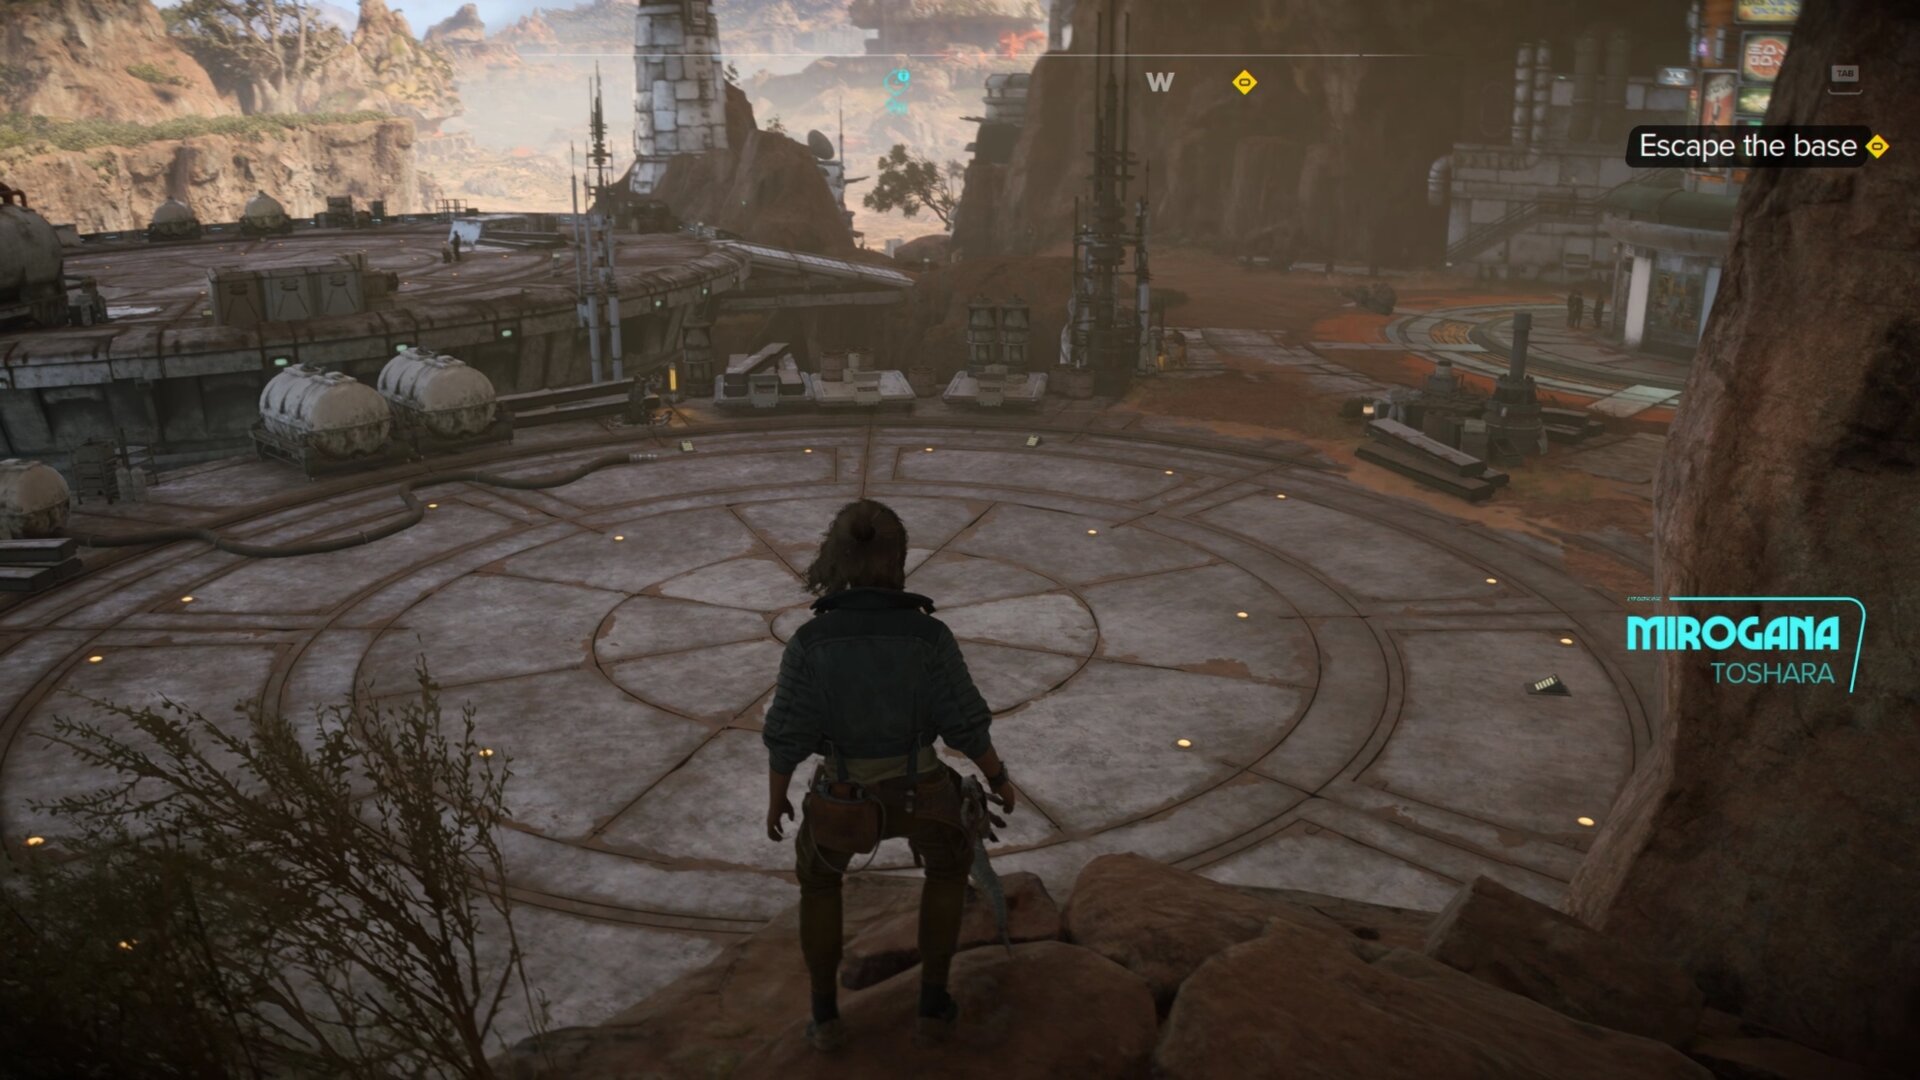
Once you see the landing pad, all you need to do now is jump down and make your way to Danka! With that said, Kay has now pulled off a successful heist!
Your next main mission tasks you with obtaining an Ion Blaster Part to upgrade your weapon. We have a full walkthrough showing you how to steal the Blaster Part from either the Pyke or Crimson Dawn district with step-by-step instructions how to avoid being caught.
If you want to take a break from the main story, the side quest Sabotage unlocks after you are done with Underworld. You can use our walkthrough to see which is the right choice to make for your current situation in-game and what you can earn or lose from your decision.