This guide will show you how to complete the quest, The Safecracker, in Star Wars Outlaws. Kay needs to find a safecracker named Ank on Kijimi, however, the Ashiga Clan has a strong presence on the planet and it might make the search for Ank difficult.
How to get The Safecracker Quest
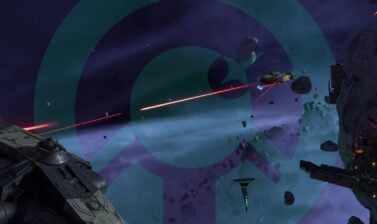
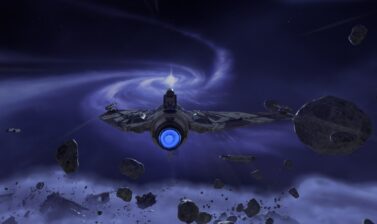
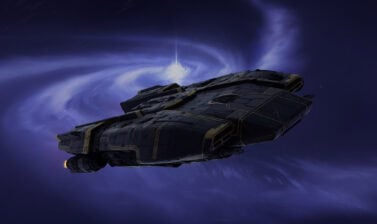
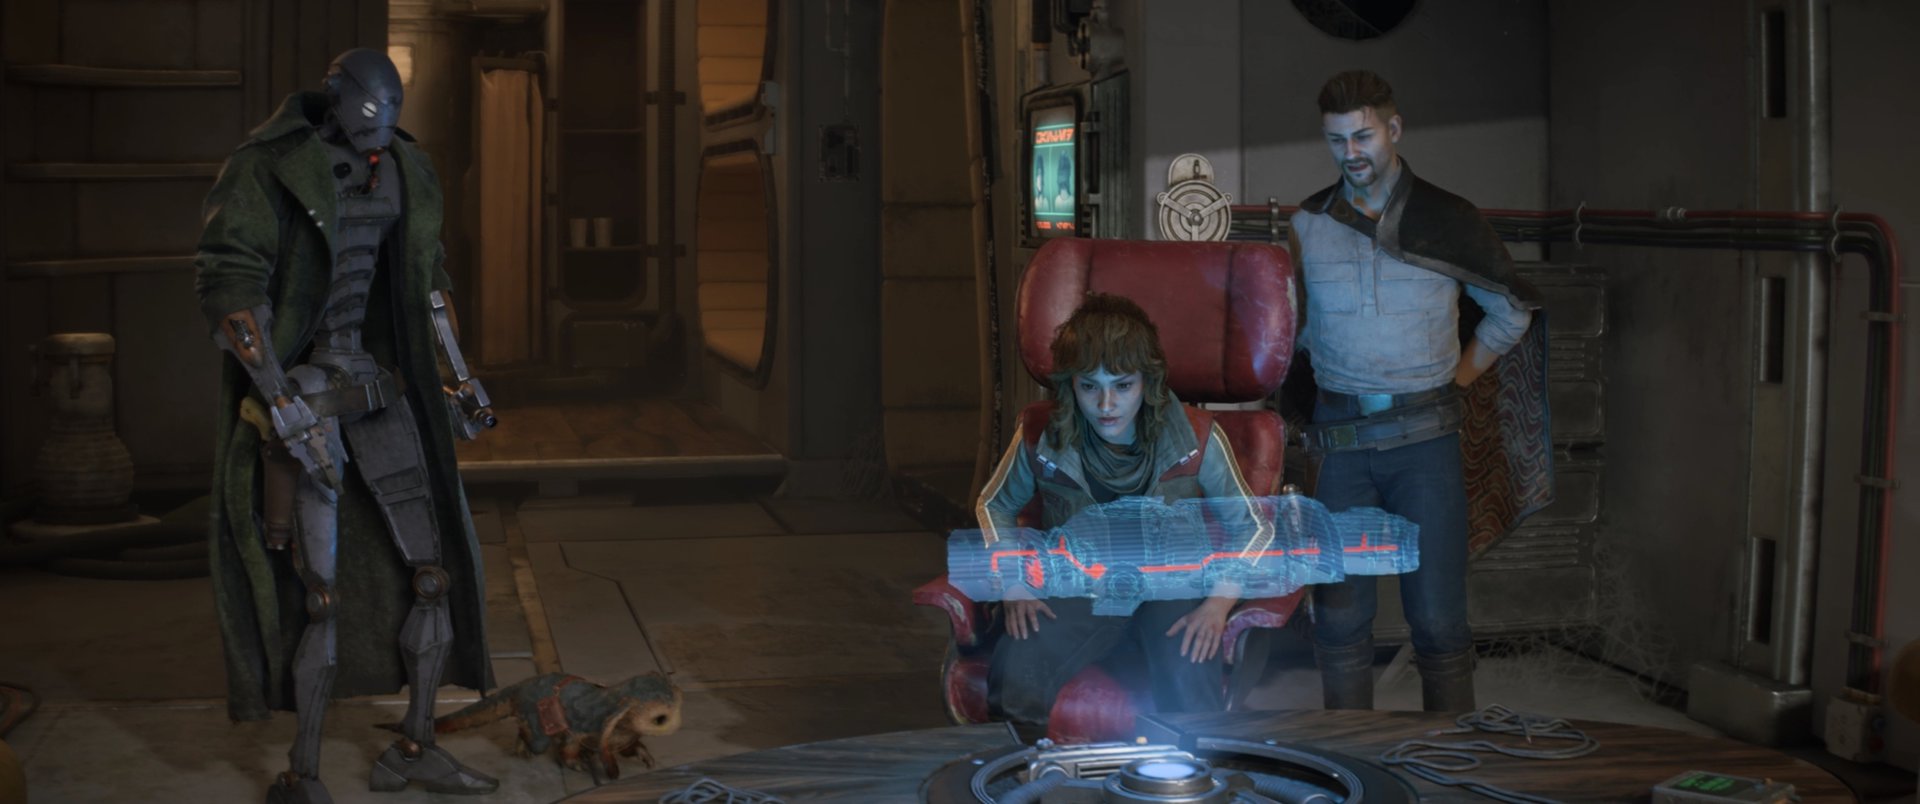
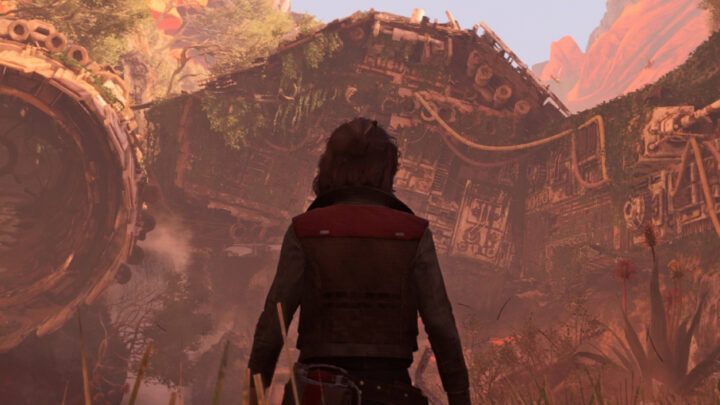
After finding the Nav Computer from the Castellan wreckage on Toshara, Kay and her new associates can take the Trailblazer into hyperspace to visit other planets in the quest, Hyperspace.
As part of Jaylen’s plan for performing a big heist at the Zerek Besh stronghold on Cantonica, you’ll need to recruit three others to pull it off. One of these quests is The Safecracker, the others being The Heavy and The Droidsmith.
You have the option to go to Kijimi for the Safecracker, Akiva for the Droidsmith, or Tatooine for the Heavy. In this guide, we’ll take ND-5’s recommendation of visiting Kijimi first.
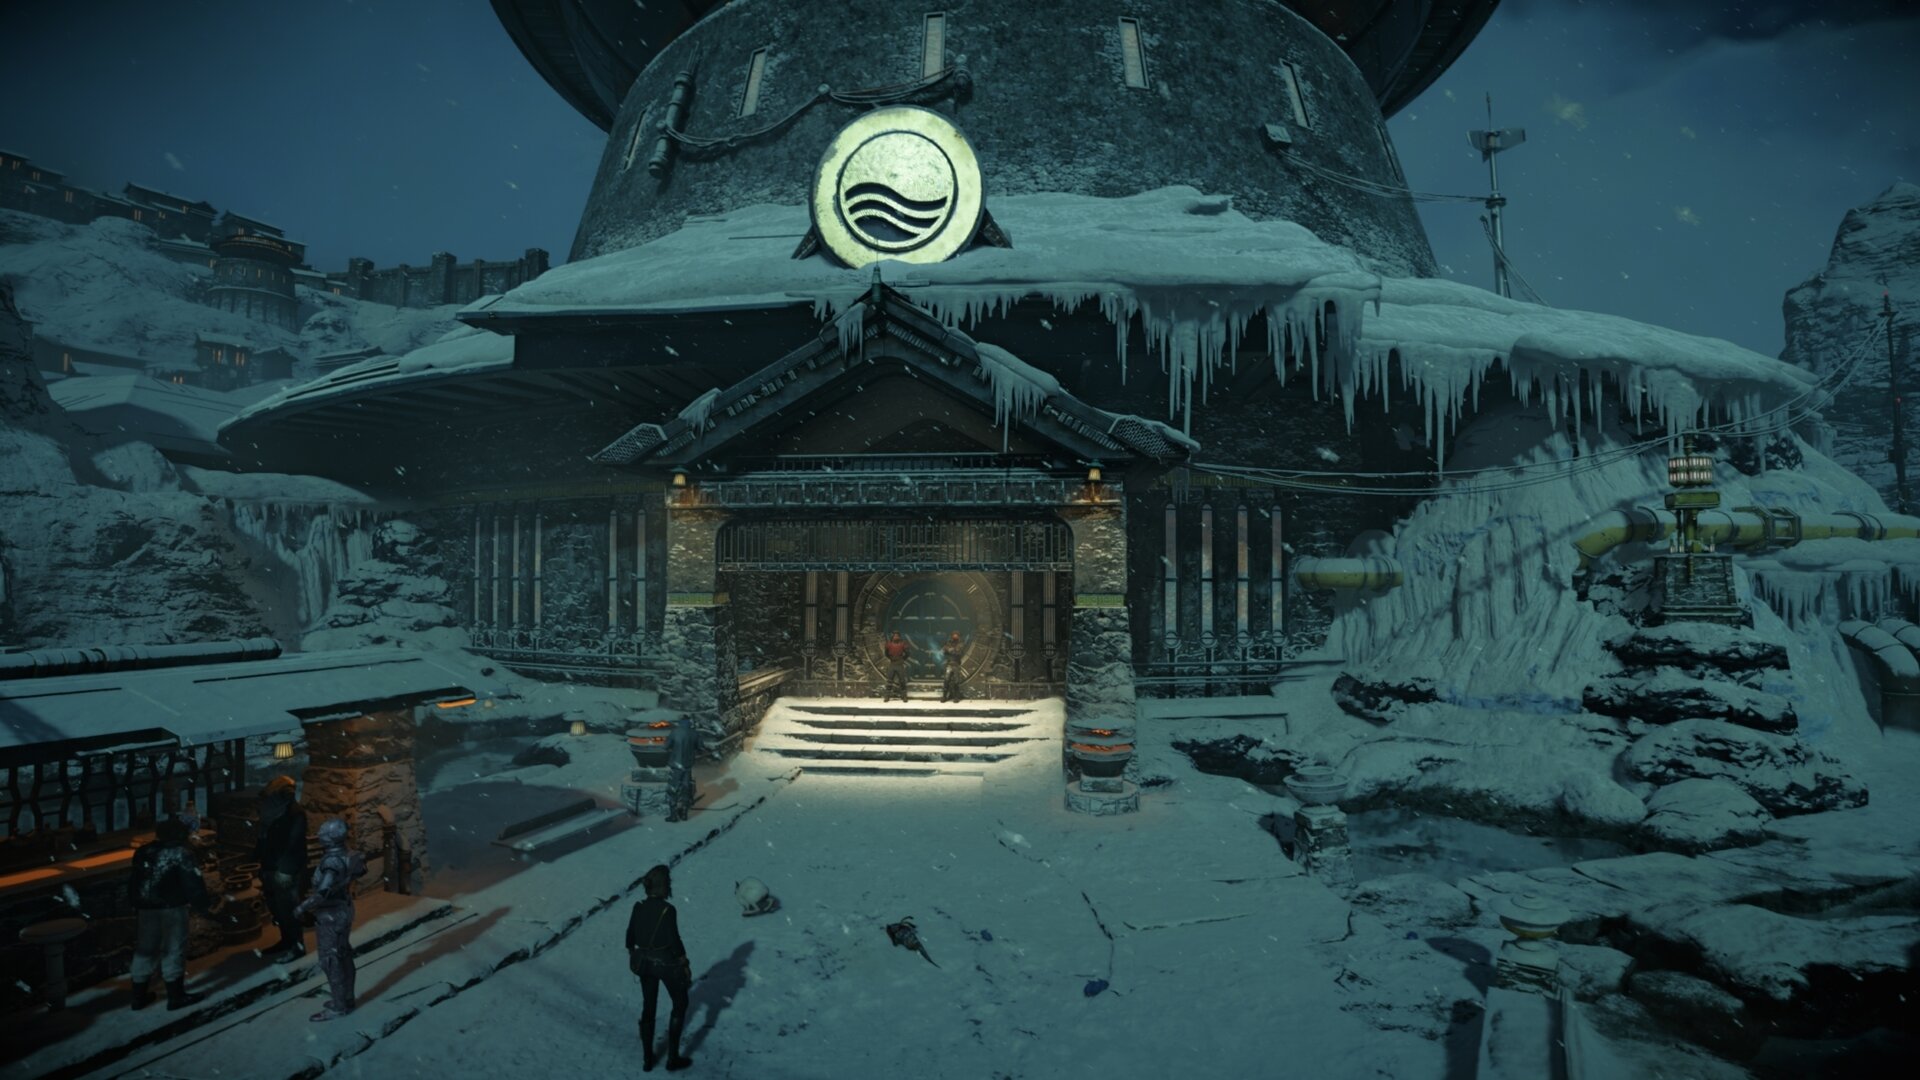
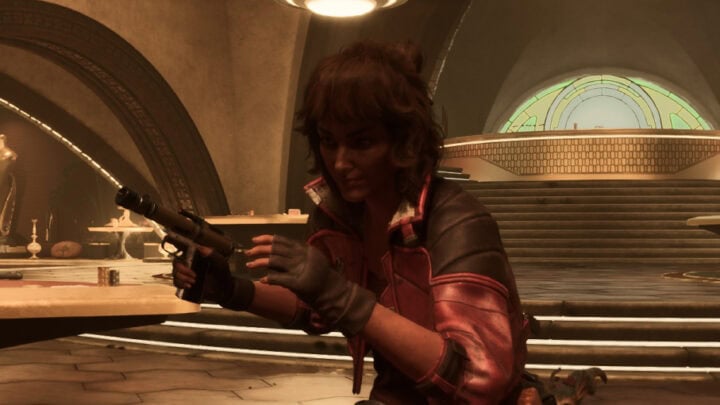
Looking for Ank in Kijimi City
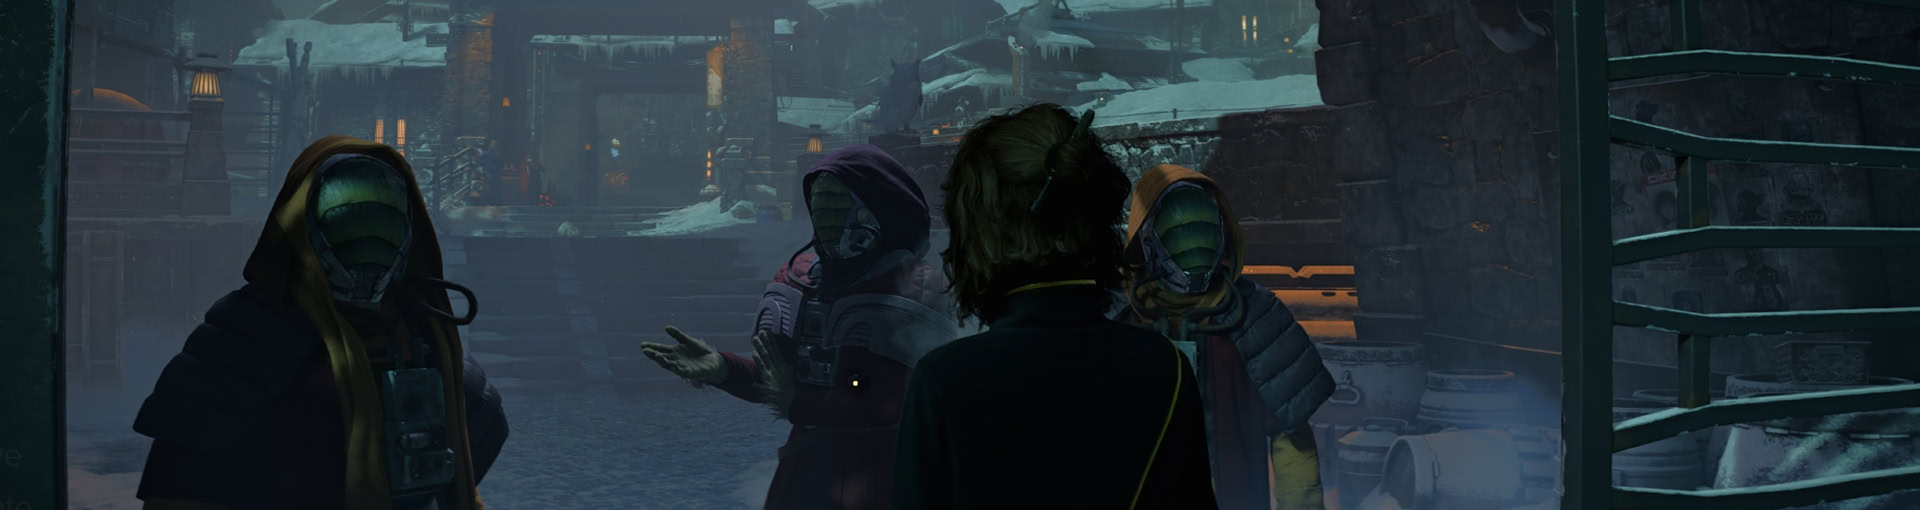
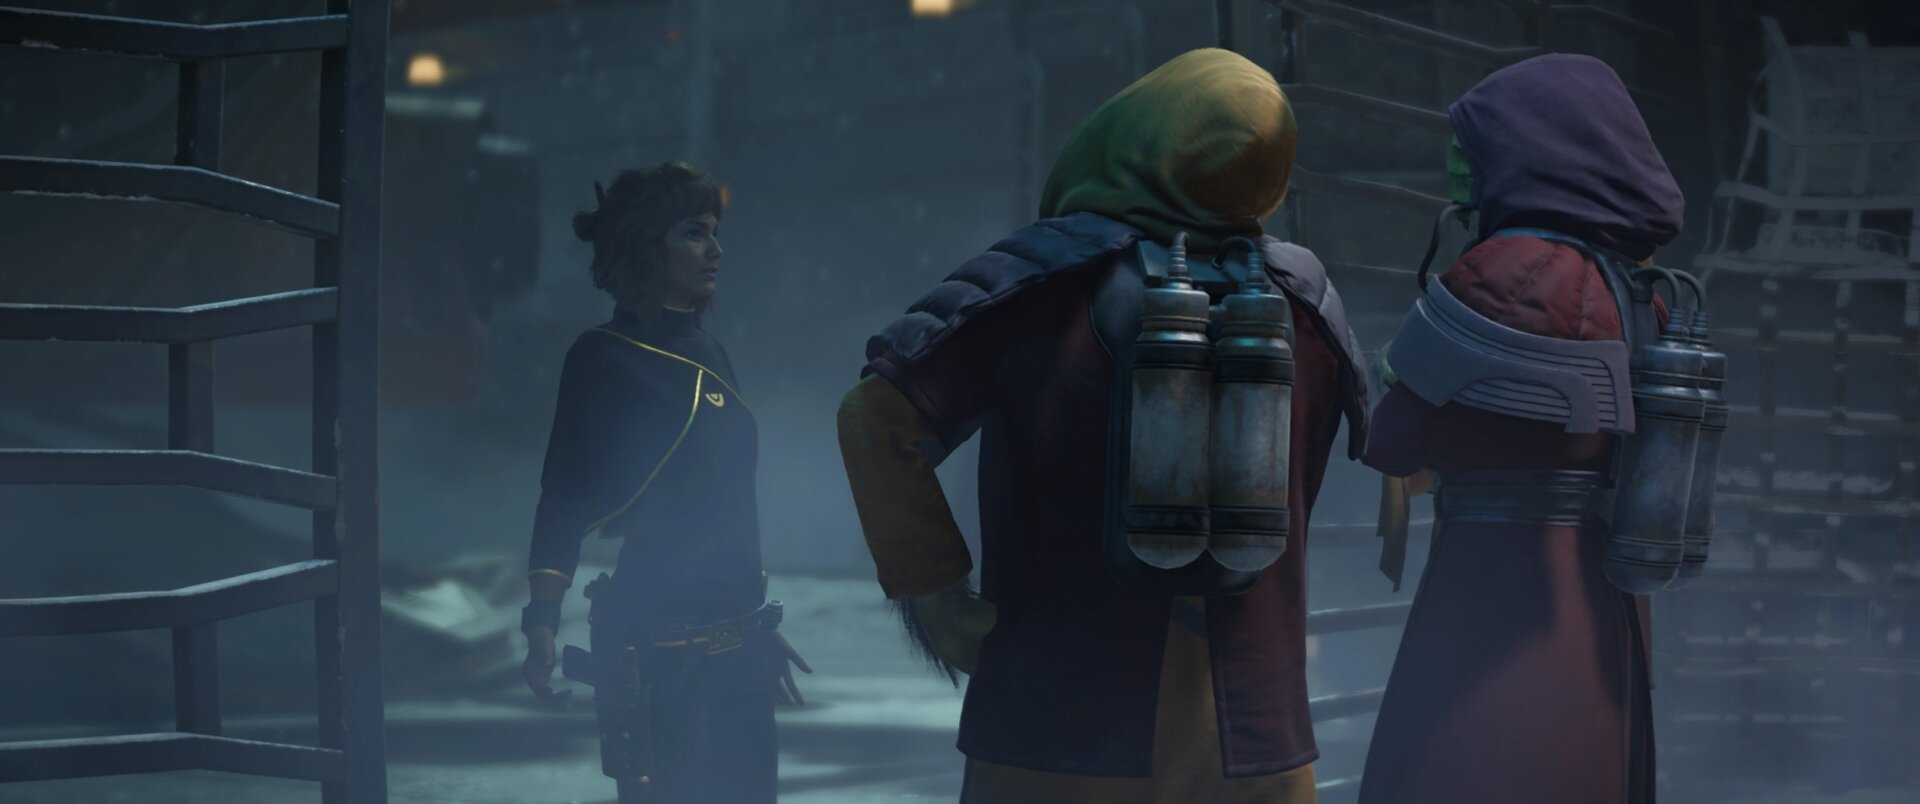
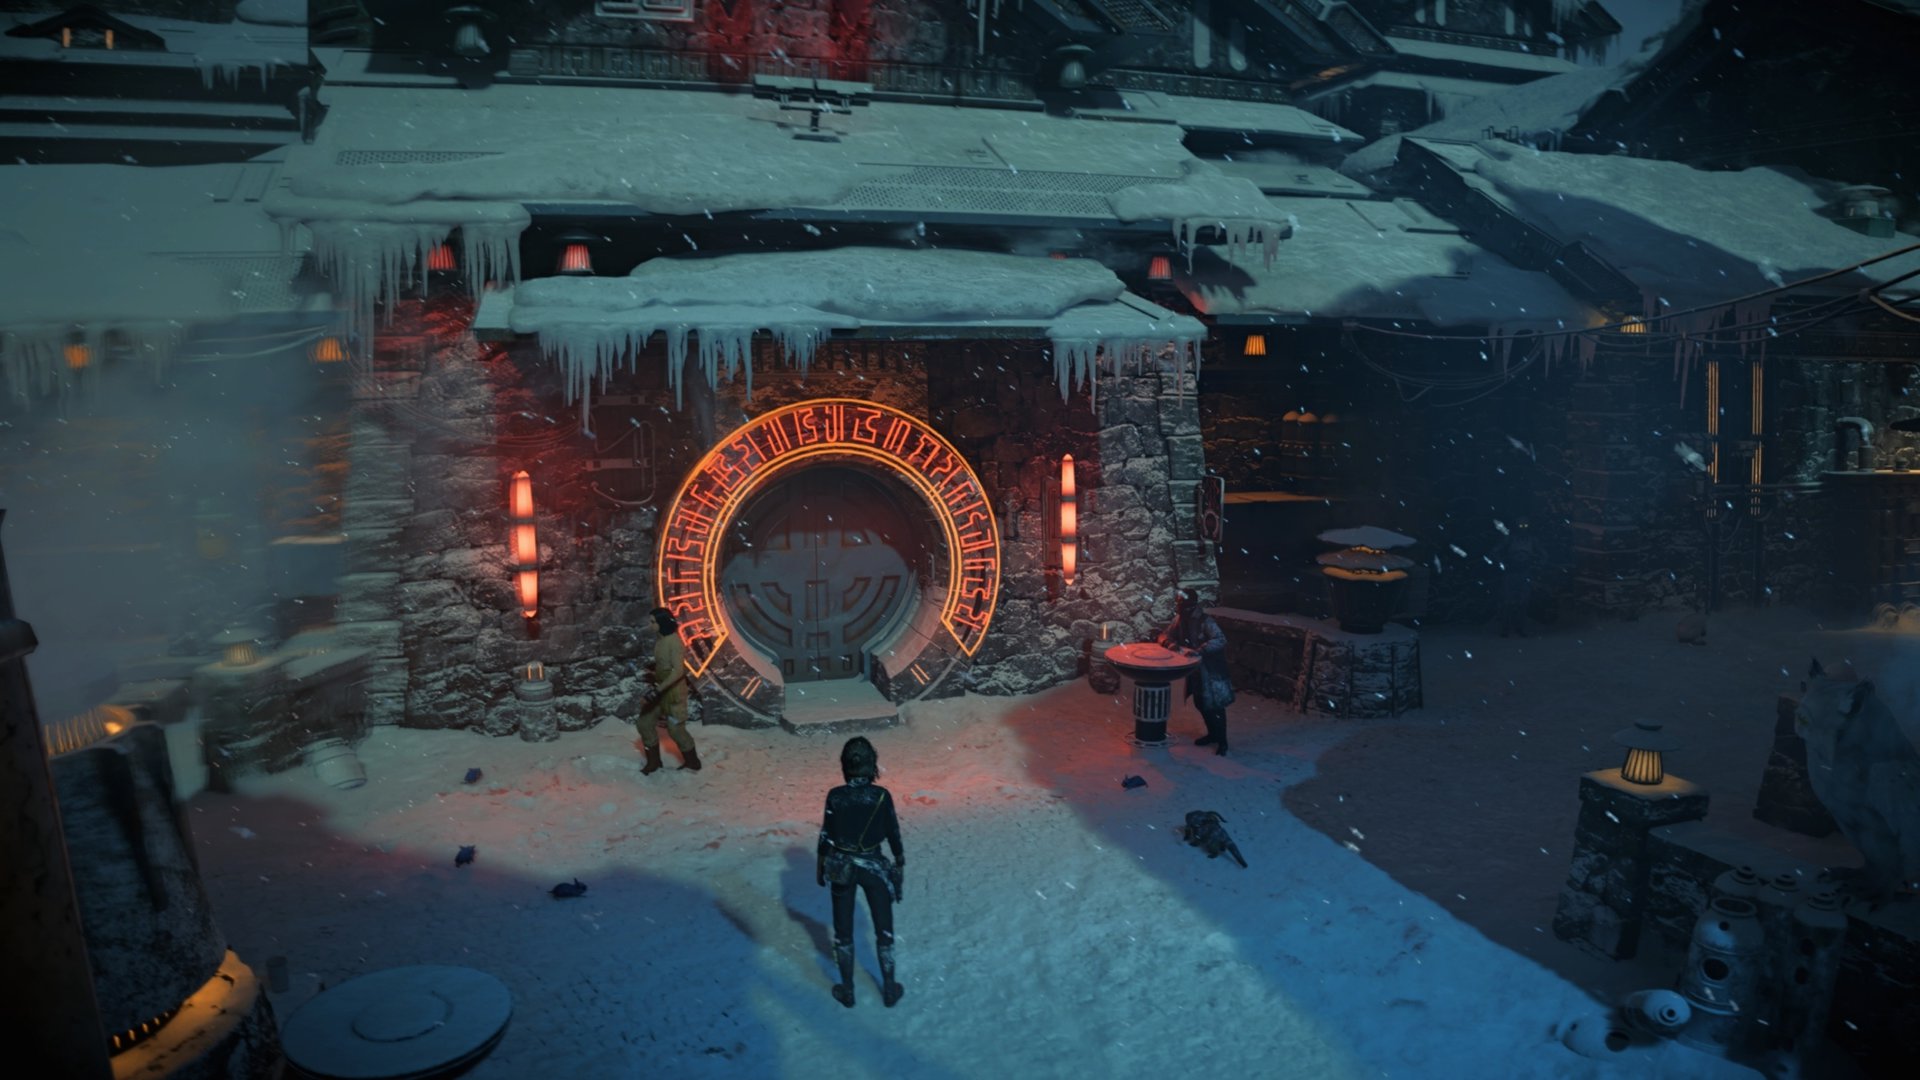
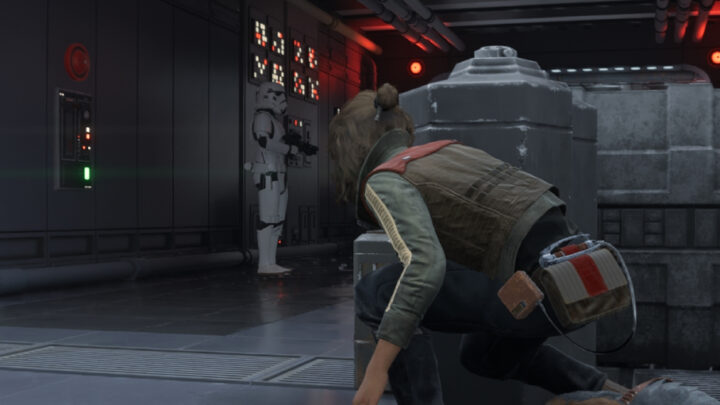
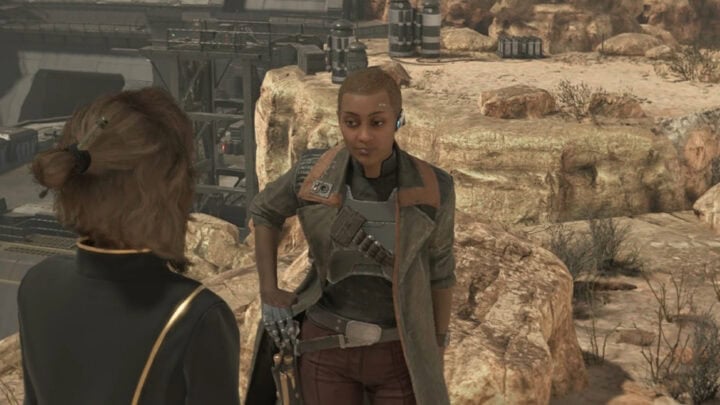
After landing on Kijimi, you’ll be greeted by three agents of the Ashiga Clan. After clearing up that you’re not with Crimson Dawn, they allow you to enter the city.
You’ll need to go find information on Ank’s whereabouts, so your first place to visit is a cantina called The Domak Refectory.
By the time you finished talking to ND-5 over the comms and make it to to the cantina, you’ll unlock the ability to find The Mercenary expert so you can learn how to use heavy weapons.
As you enter the cantina, you’ll find a table with two datapads on it. You’ll find intel that’ll give you a passcode for a gate in Kijimi City (check Intel Quests tab). The other item is a Bounty Hunters Collectible.

On the upper floor of the cantina, you can find the EE’Zok’s Vault Keycard. It is part of the intel quest for the Crimson Dawn Syndicate Vault on Kijimi. If you have not been to the vault yet, picking up this keycard will reveal the location of the terminal you have to slice to get the rest of the intel.
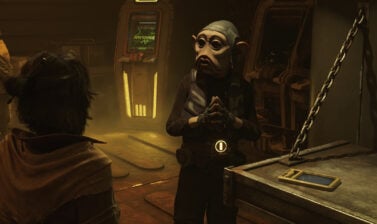
Talk to the bartender and you’ll learn that Ank was caught by the Ashiga Clan, and is being forced to work in a factory to pay off her debts. ND-5 suggests to find the factory’s schematics.
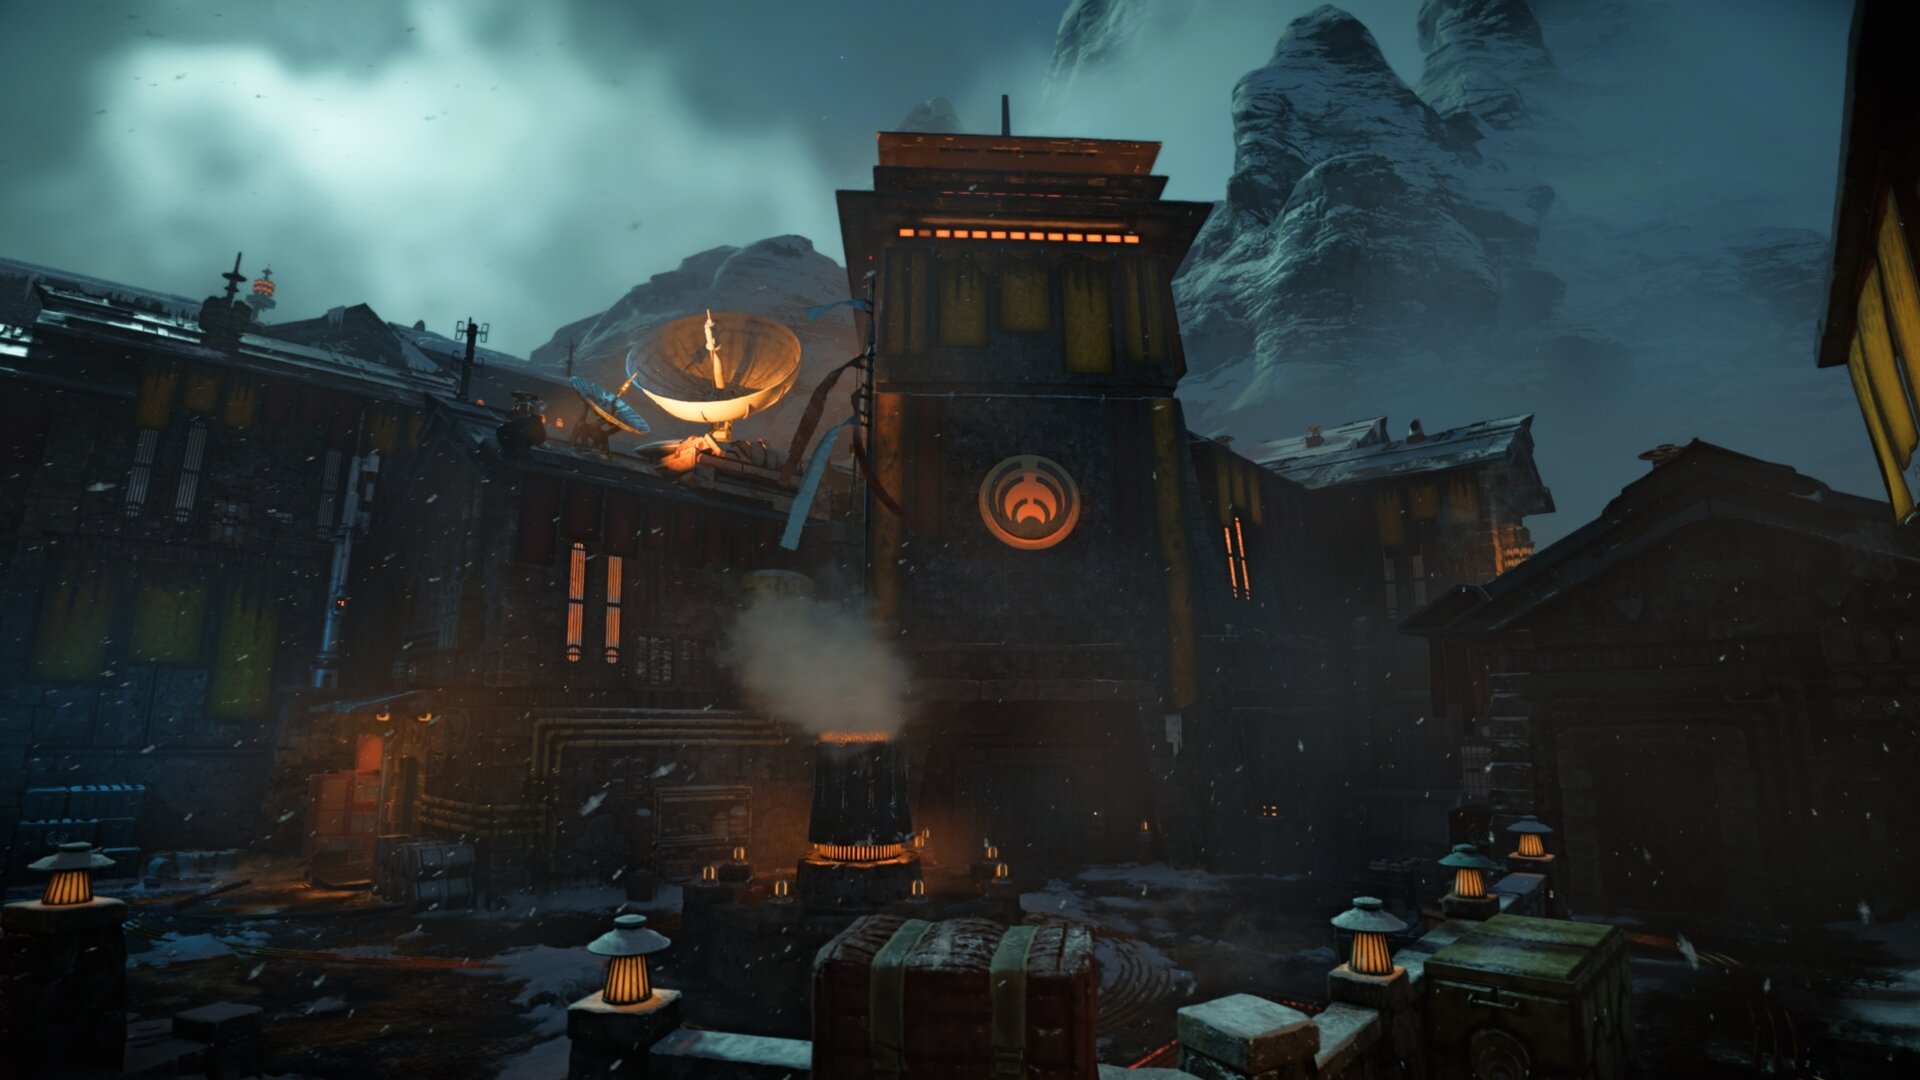
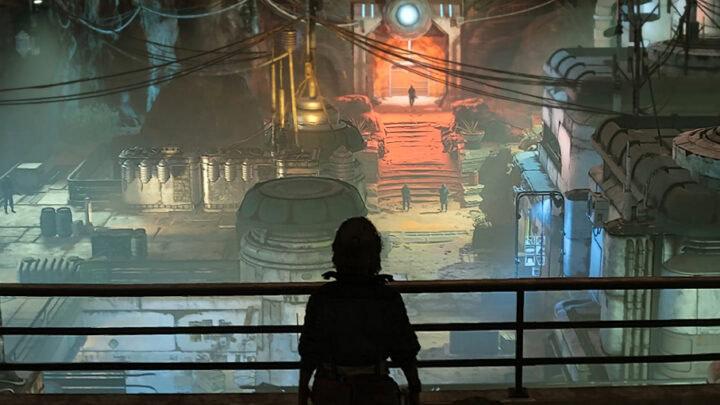
Make your way to the Ashiga Clan District to the south. The area is small and appears well-guarded, but it’s really easy to get into.
Below is a map of the Ashiga Clan District, there are two entrances on the west and one on the east. I recommend the upper west entrance or east entrance as the lower west one will lead you straight into some guards.
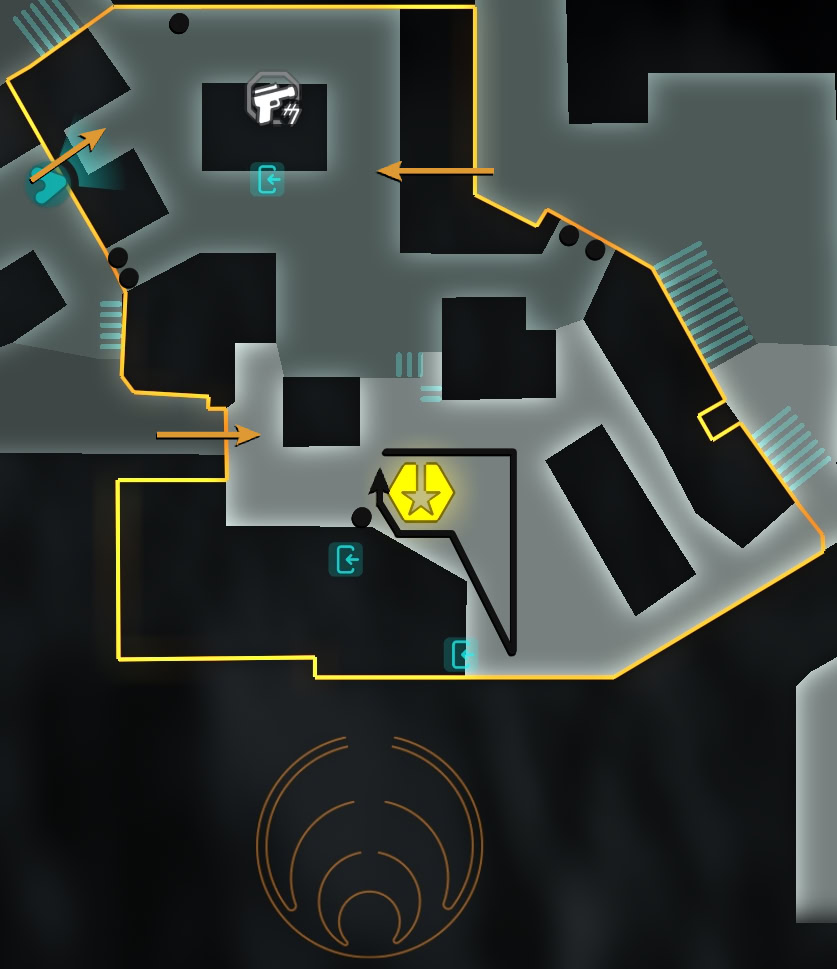
Ashiga Clan District West Entrance #1
This is the northern entrance of the two paths on the west side of the Ashiga Clan district. You’ll find a short wall with a crate you can climb up. Hop over the wall, knock out the guard, then go south to the restricted area.

Ashiga Clan District West Entrance #2
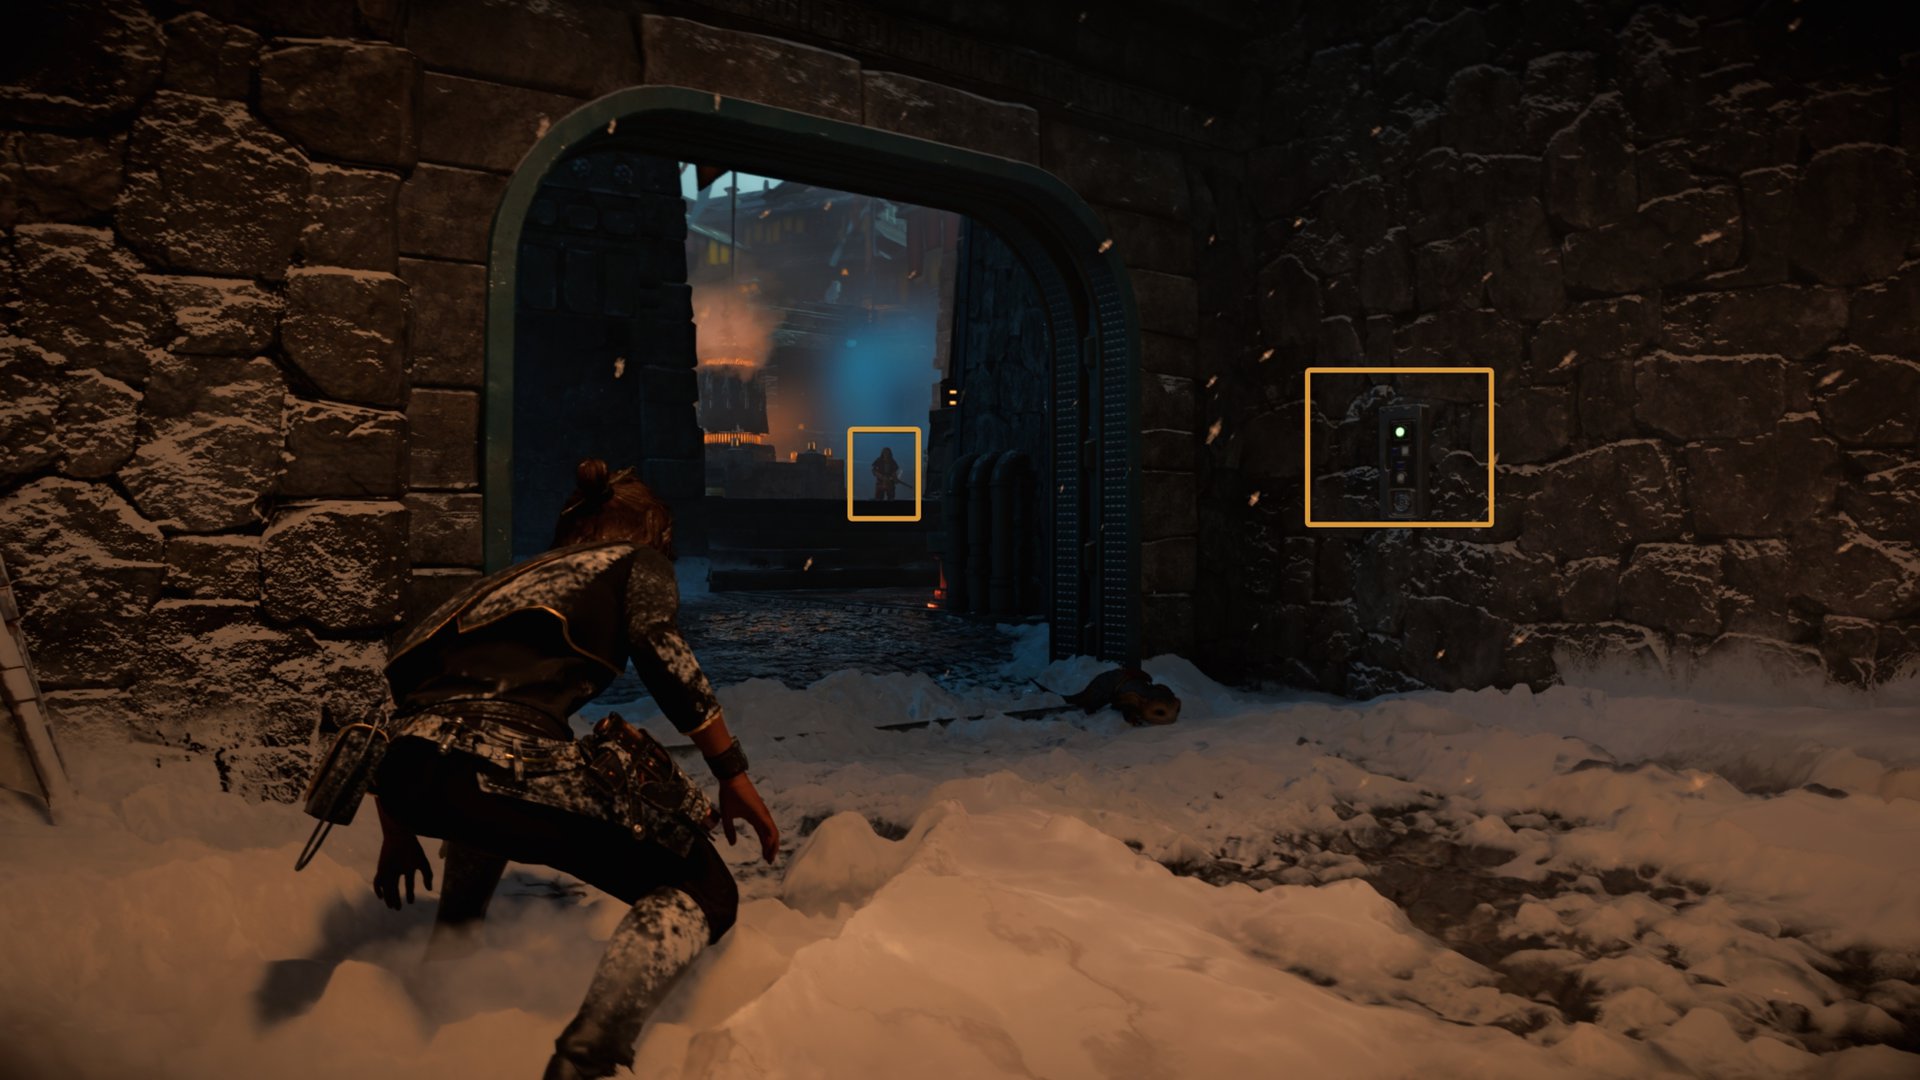
This is a path you can use to get into the Ashiga Clain District’s restricted area immediately. If you’re extra sneaky, you can take out the guards and quickly get what you need from the district.
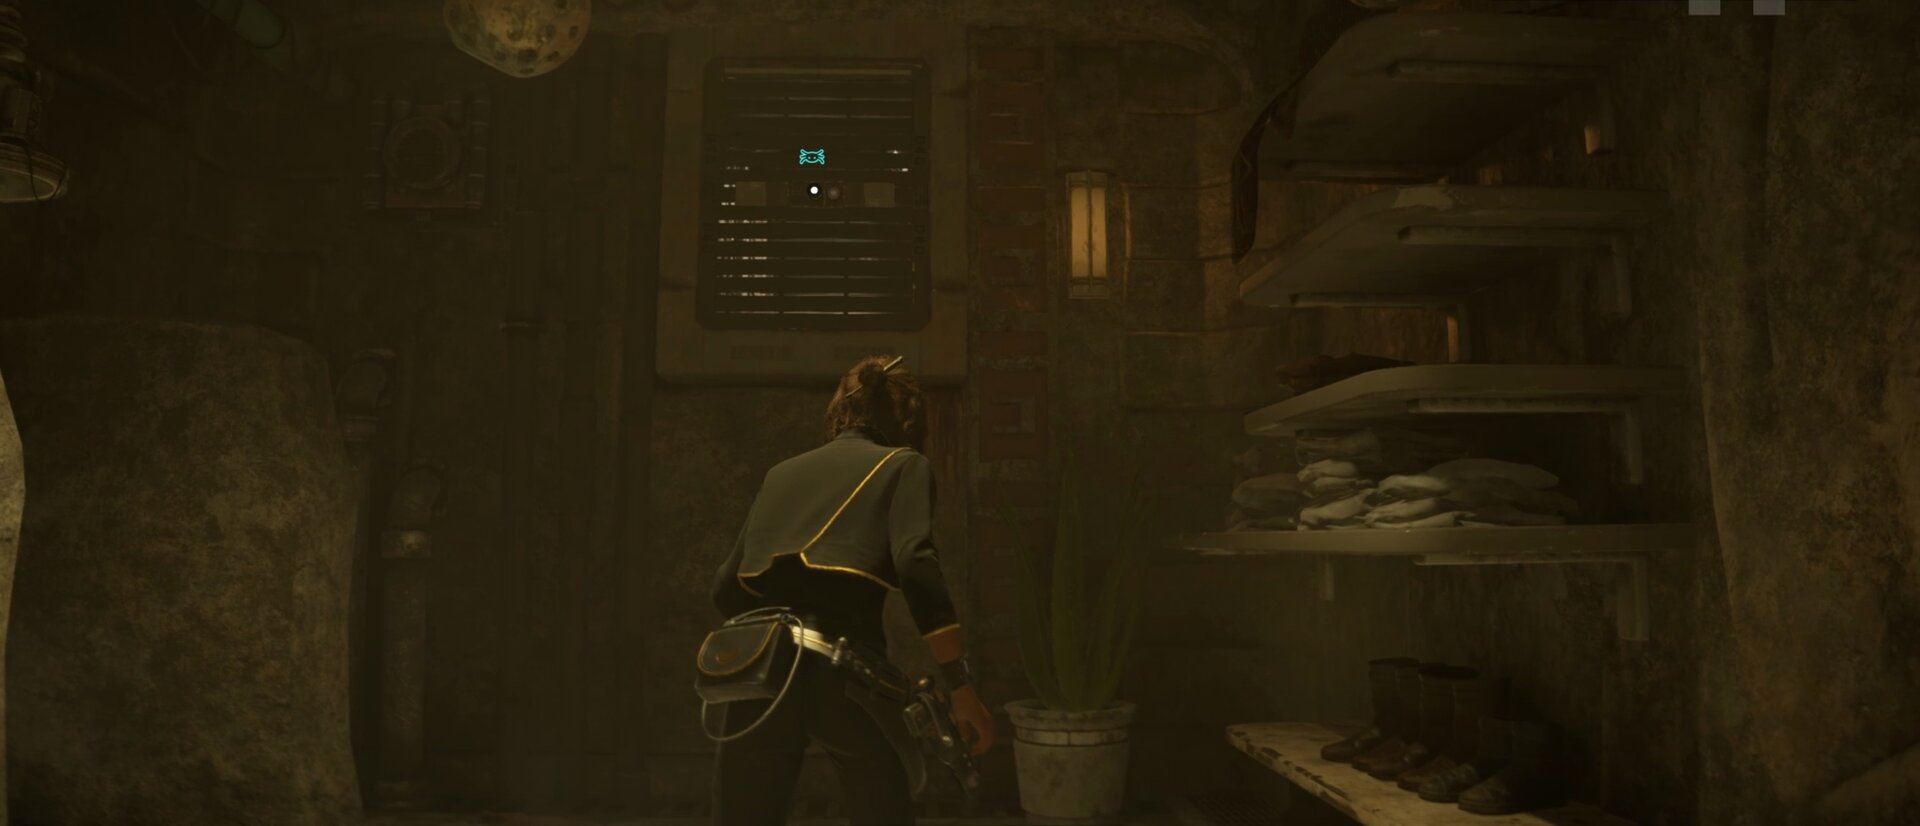
You’ll need to slice a panel near the door to proceed. You can only slice this panel if you’ve unlocked the Slicing Kit on Toshara.
Ashiga Clan District East Entrance
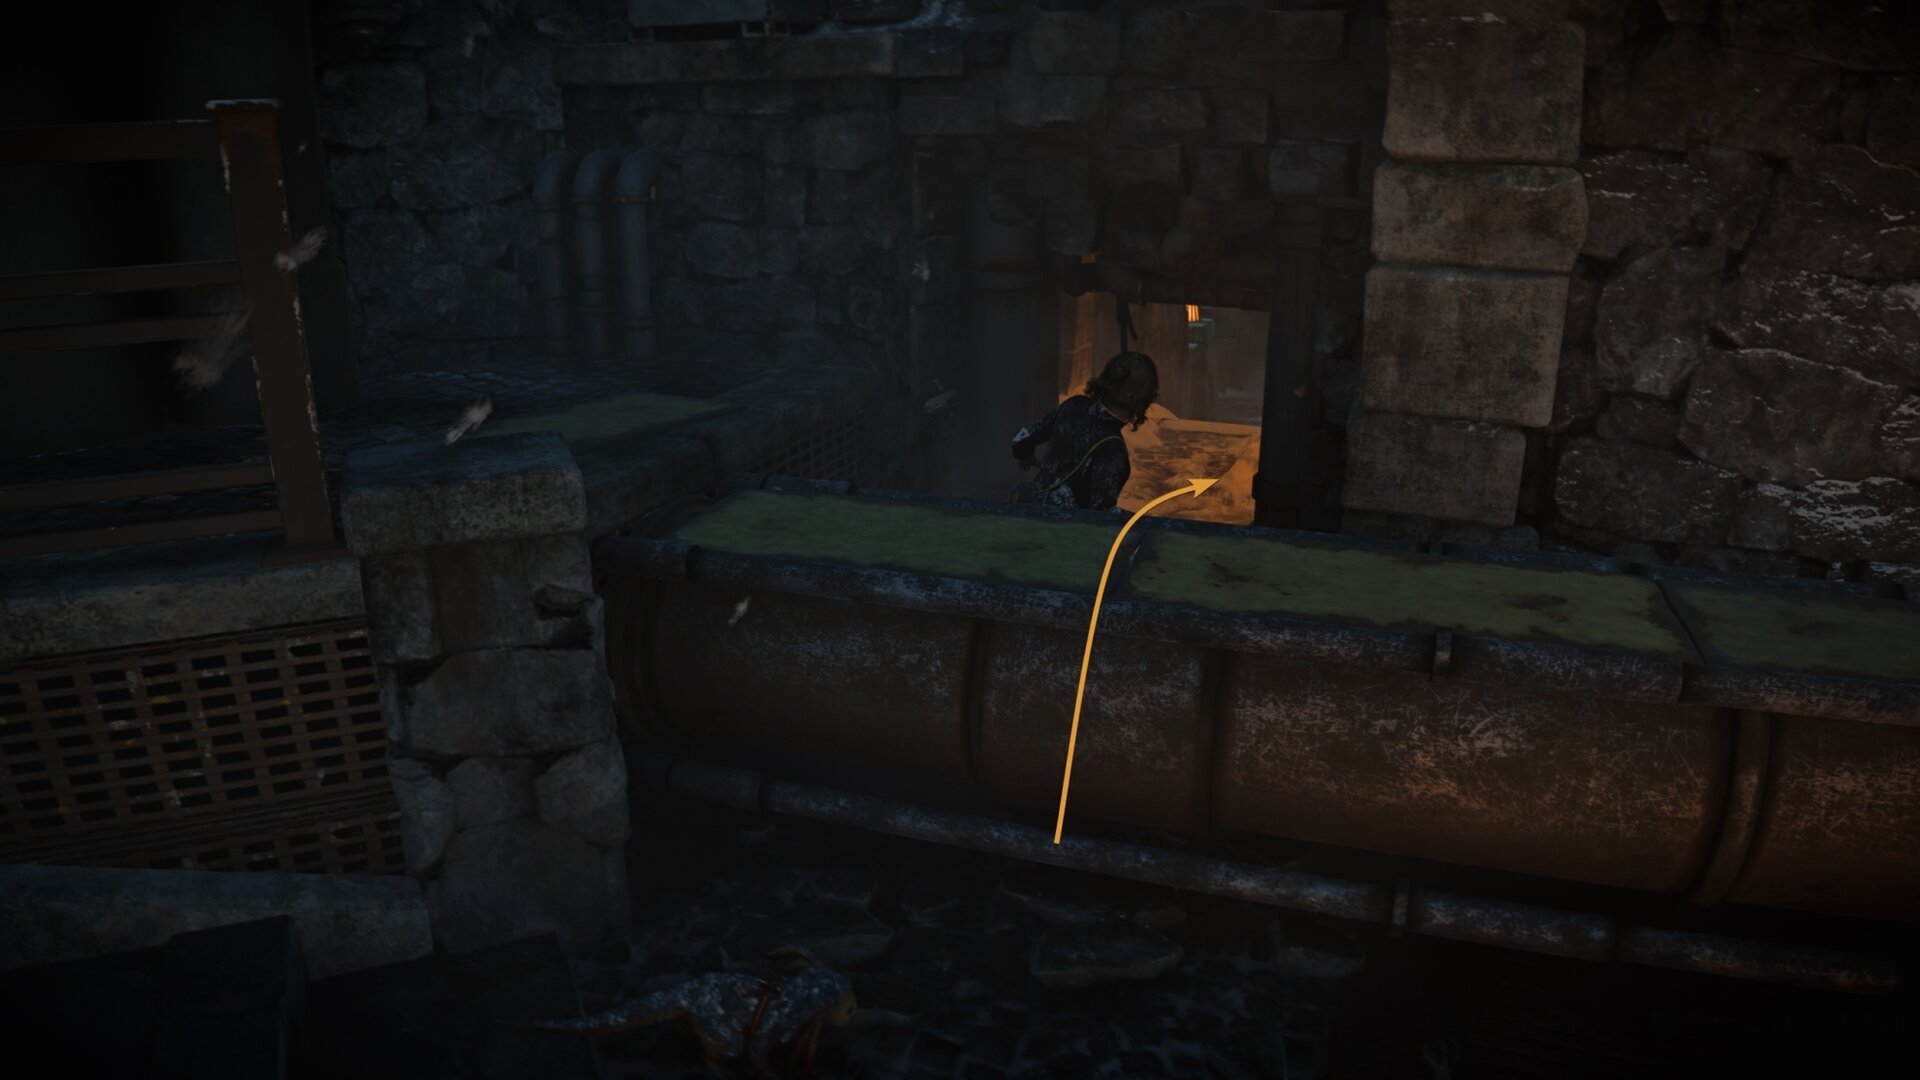
This path to the Ashiga Clan district is very close to the entrance with two guards on the east side. Simply hop over the pipe, go through the hole, and go south to the restricted area.
Ashiga Clan District Restricted Area
The Ashiga Clan District isn’t that scary once you get into it, you just need to get to the restricted area to the south and look for a building with a satellite dish on top of it.
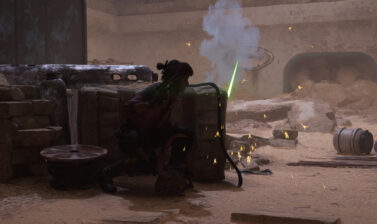
This building will have two guards protecting it, one is stationary while the other patrols. Knock out the patrolling one first when he’s in the back, then knock out the other guard if you want to use the main entrance.
The patrolling guard will drop a Security Room Access Card. The security room is in the southeast corner of the restricted area. Use the card on the panel to open the security room.
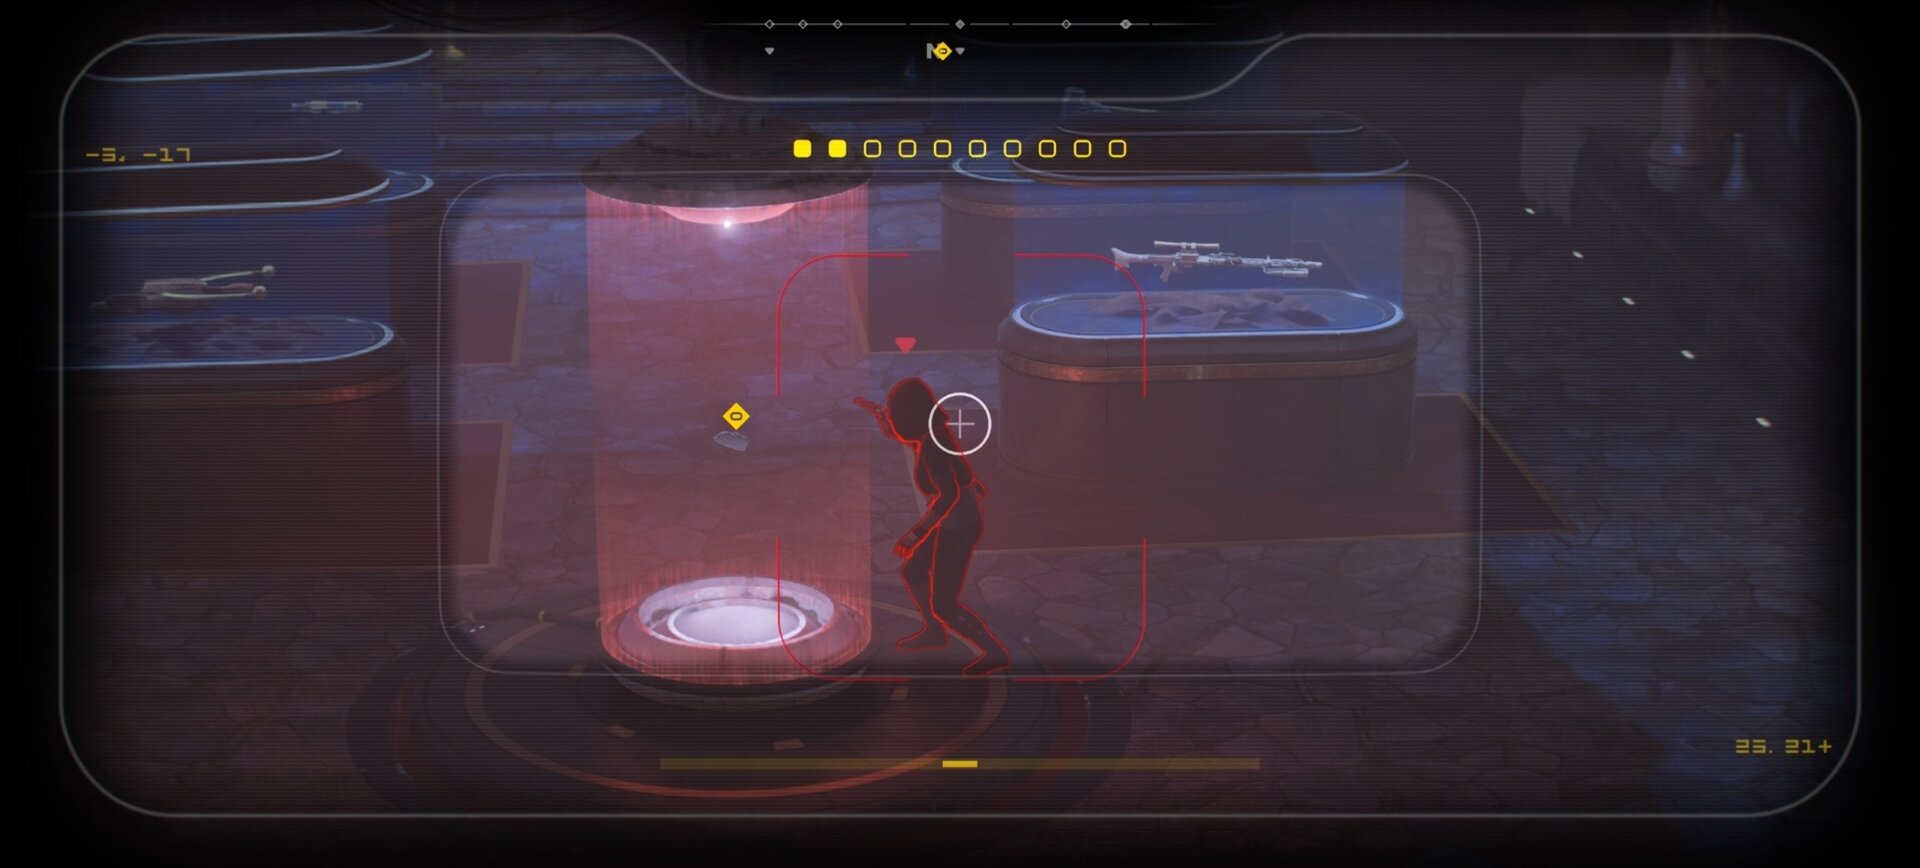
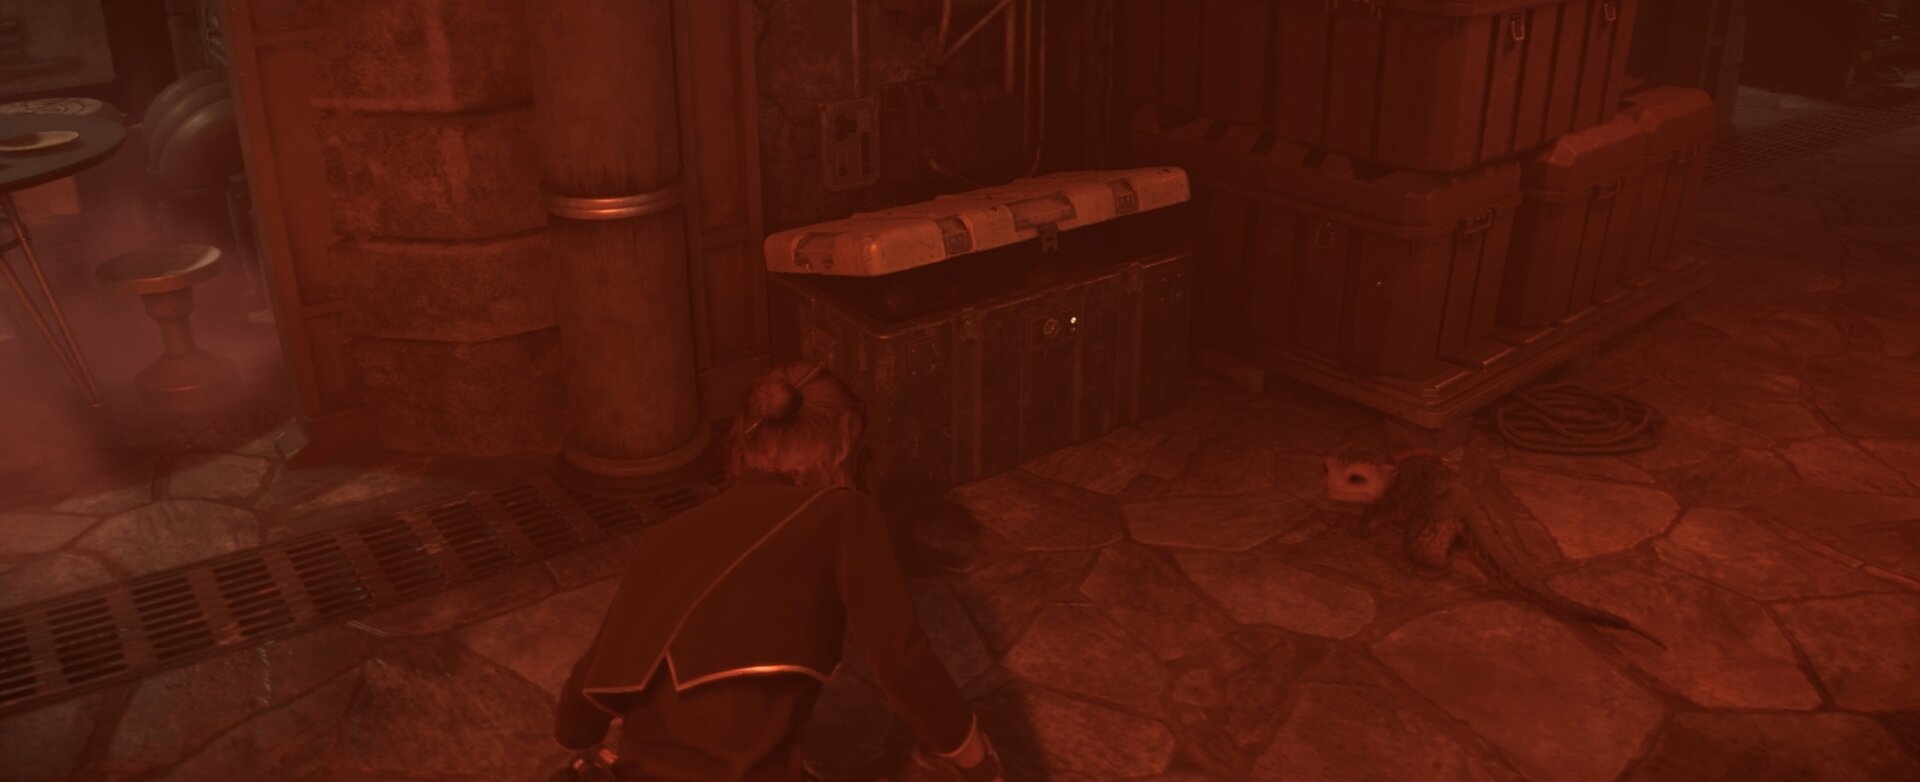
Inside you’ll find a large chest with credits, valuables, and intel about the Kijimi City Ashiga Clan Vault.
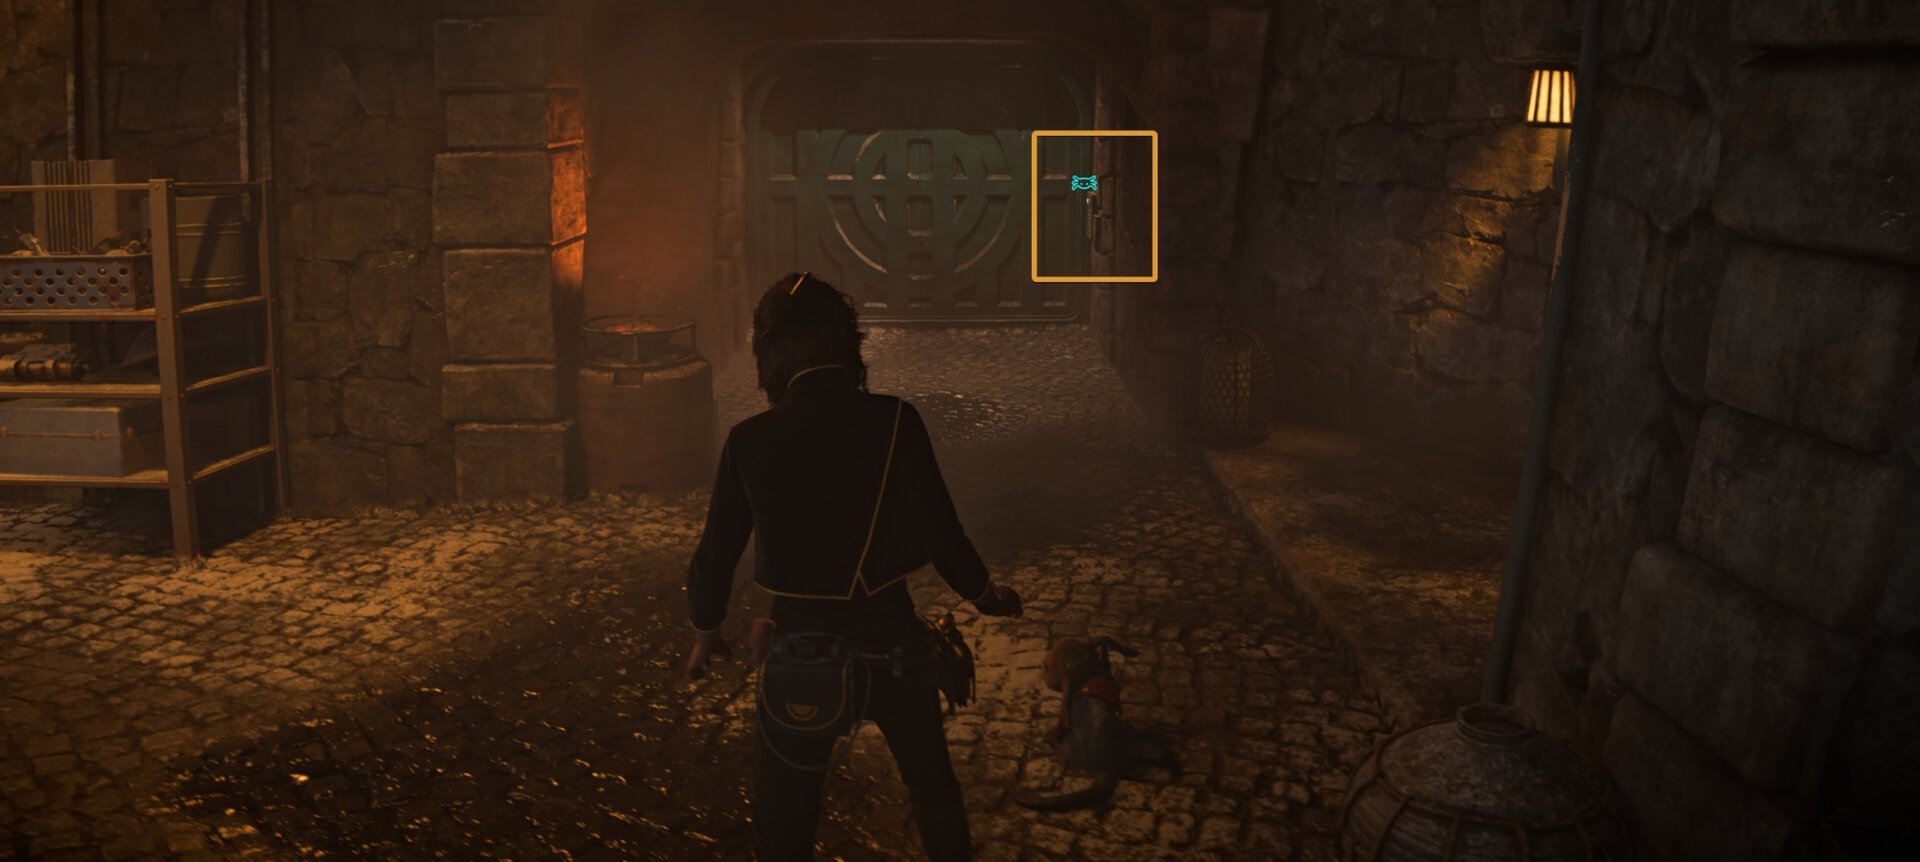
Going back to the building the guards were at, there are two entrances. One is locked and the other goes inside that leads you to another locked door. Both of these locked doors lead to the same room.
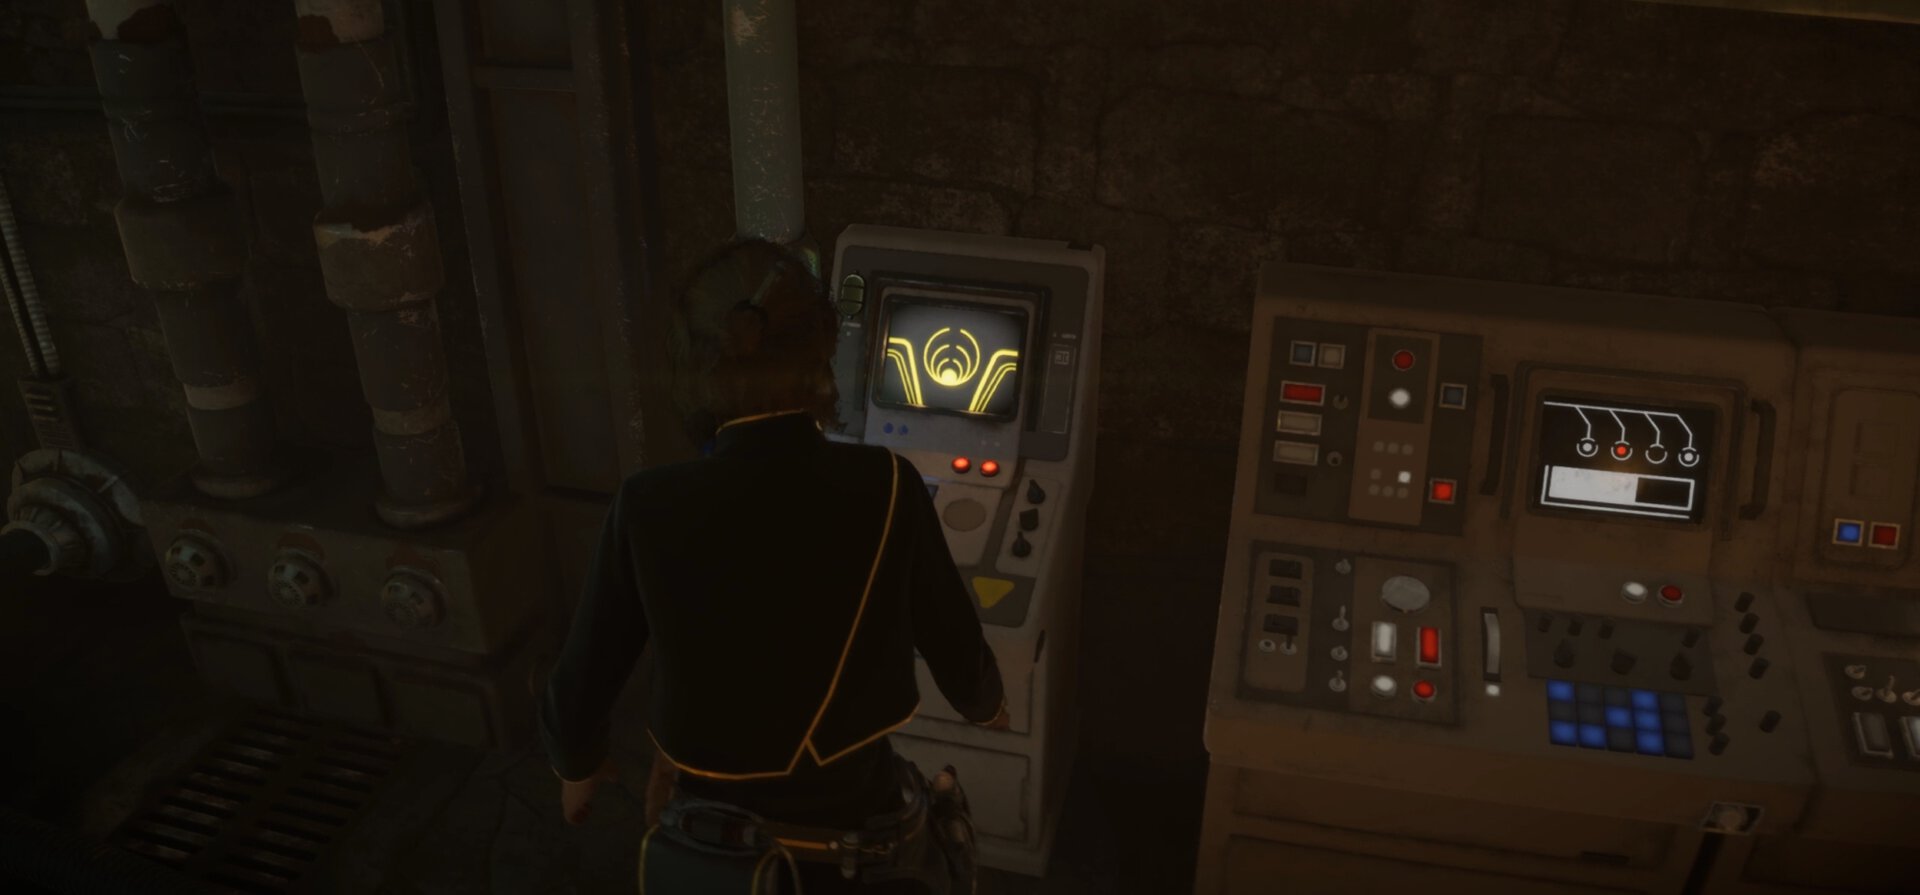
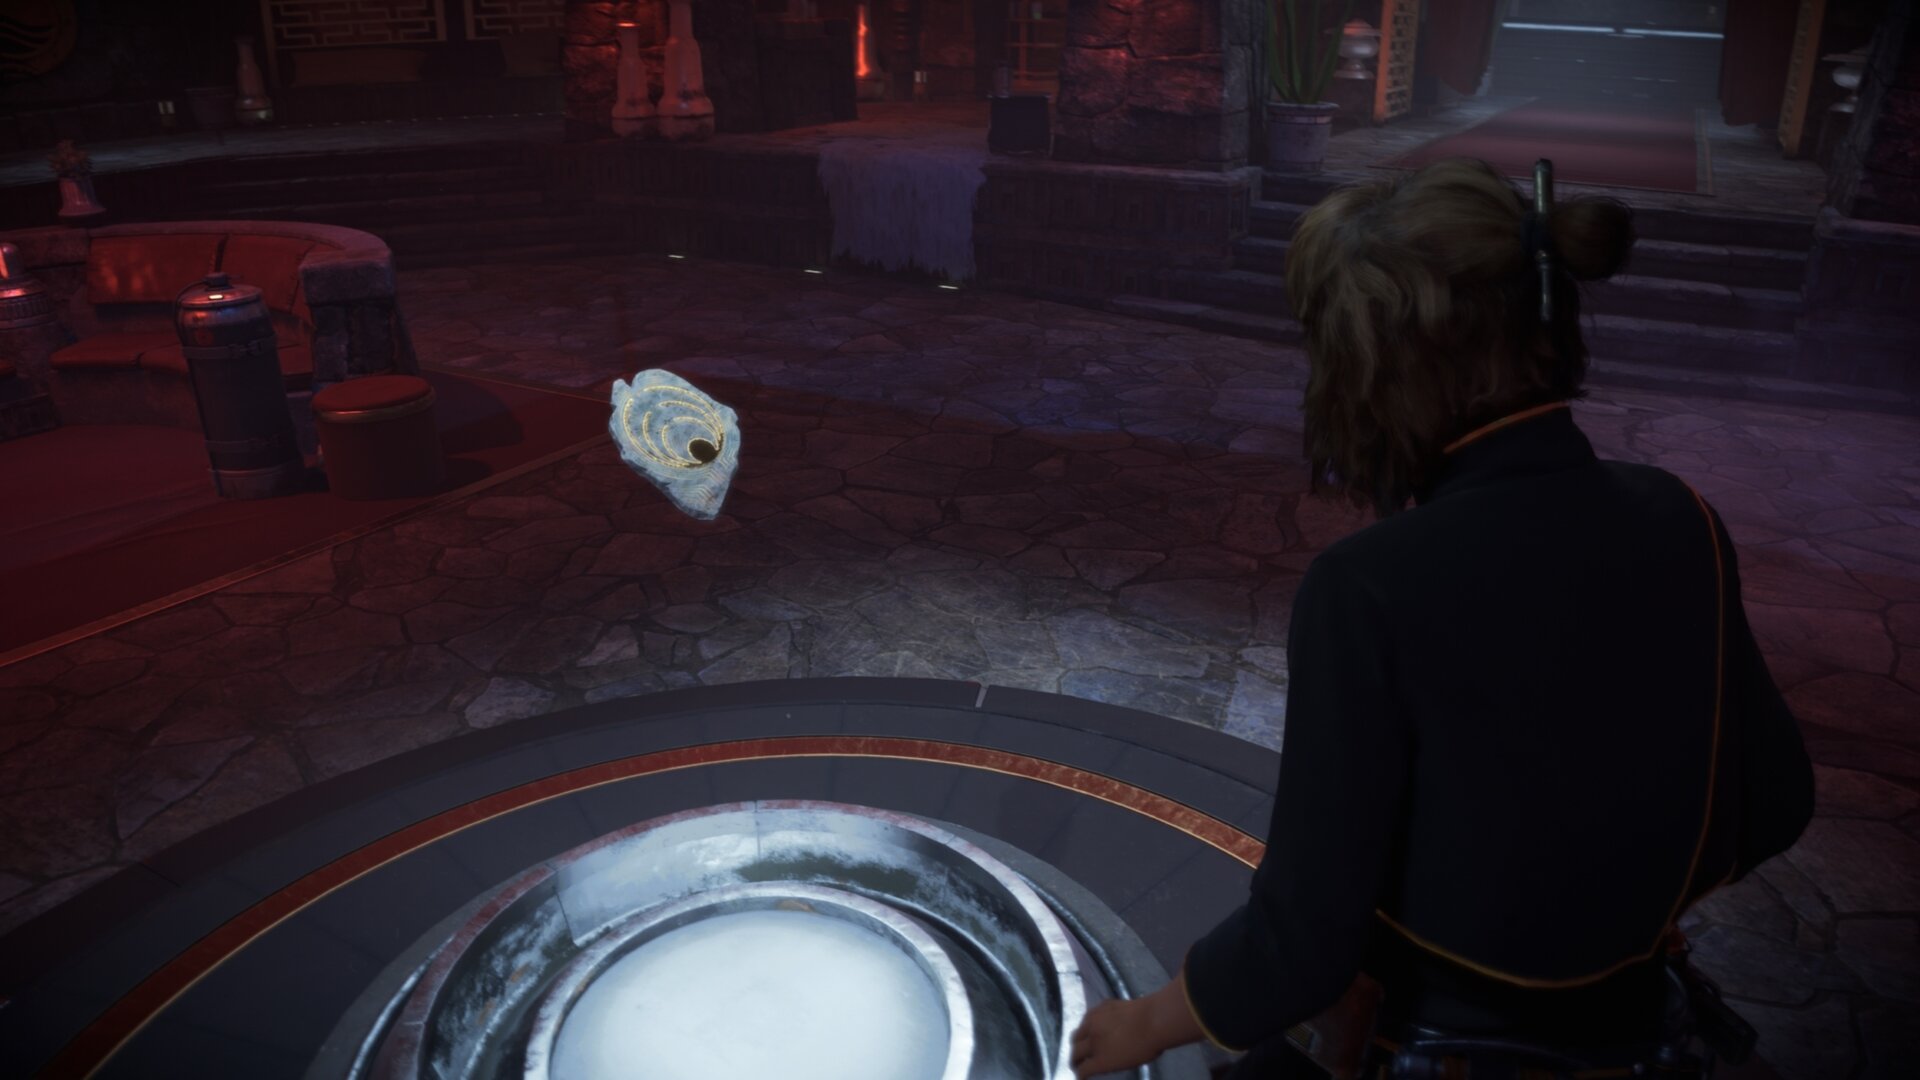
Pick the doors open and slice the terminal inside to learn that Crimson Dawn has stolen a relic from the Ashiga Clan. You can gain favor with the Ashiga Clan by returning this relic.
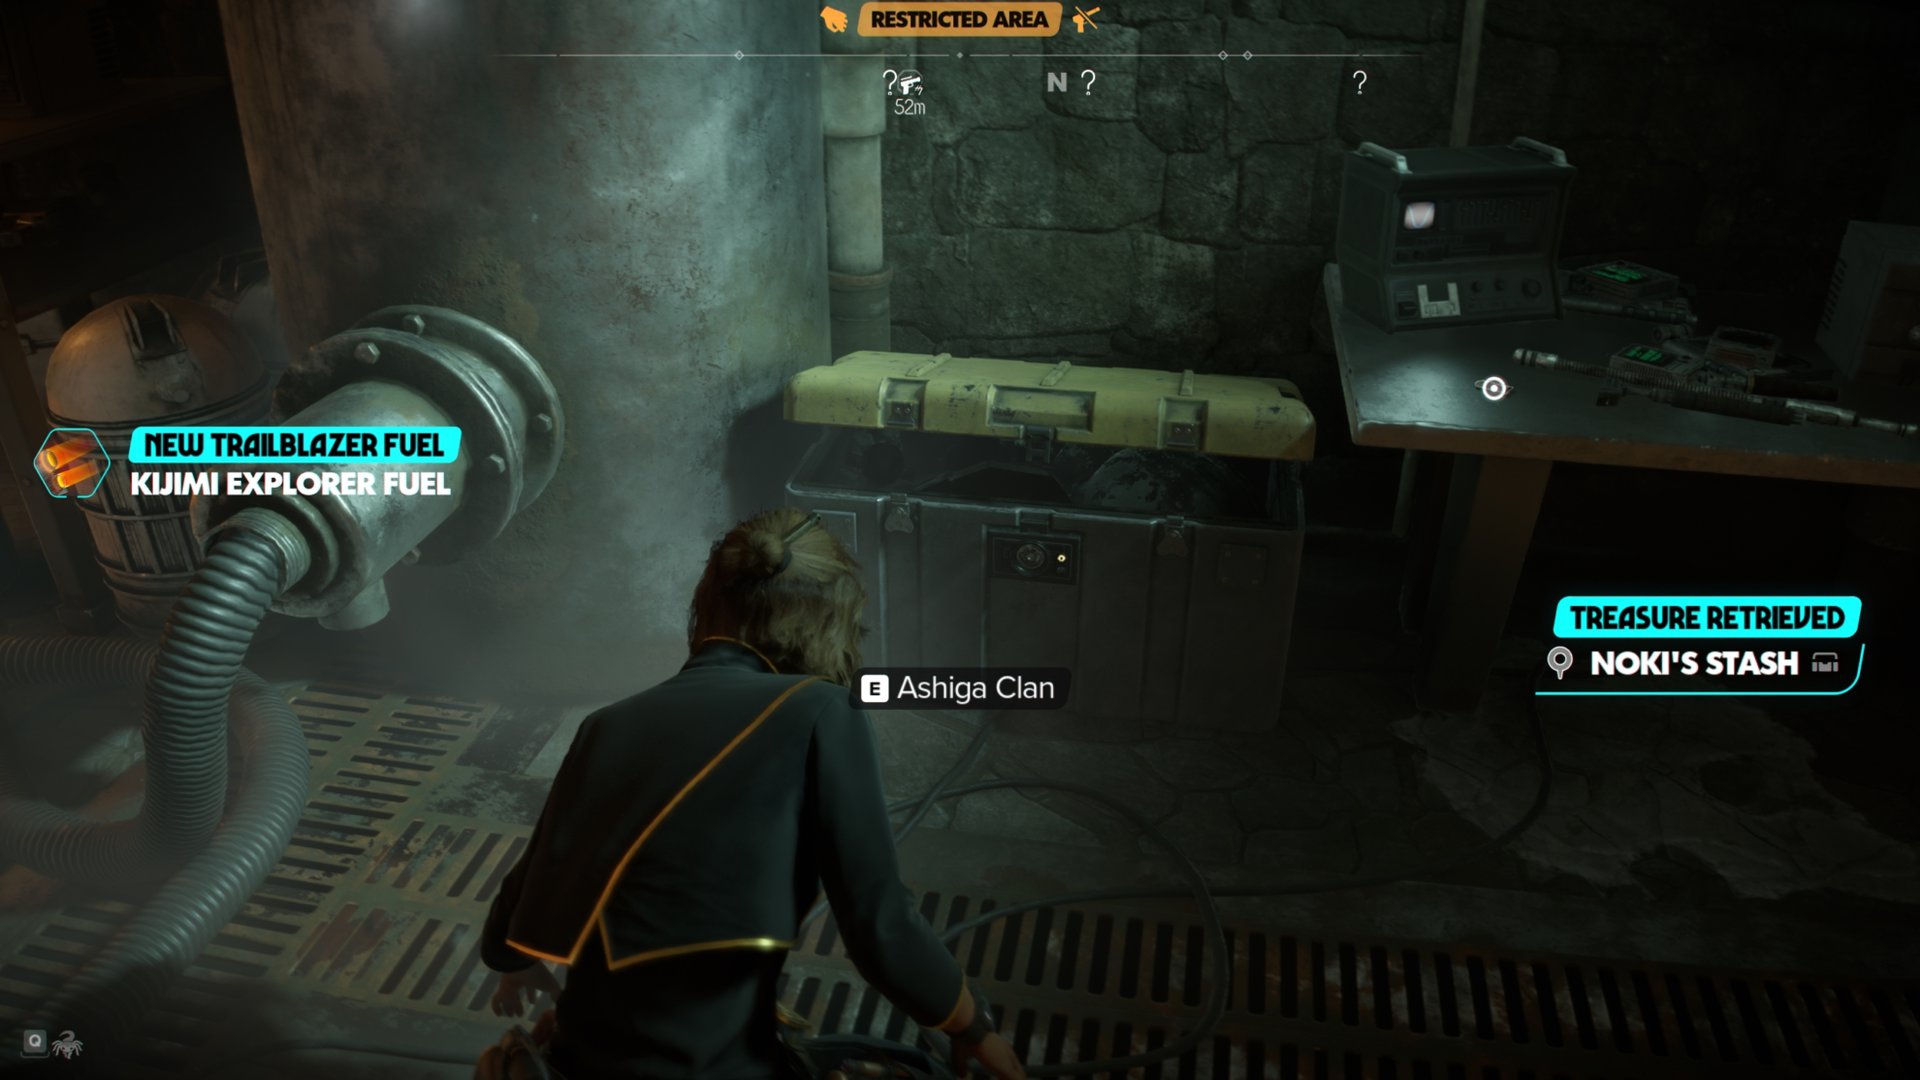
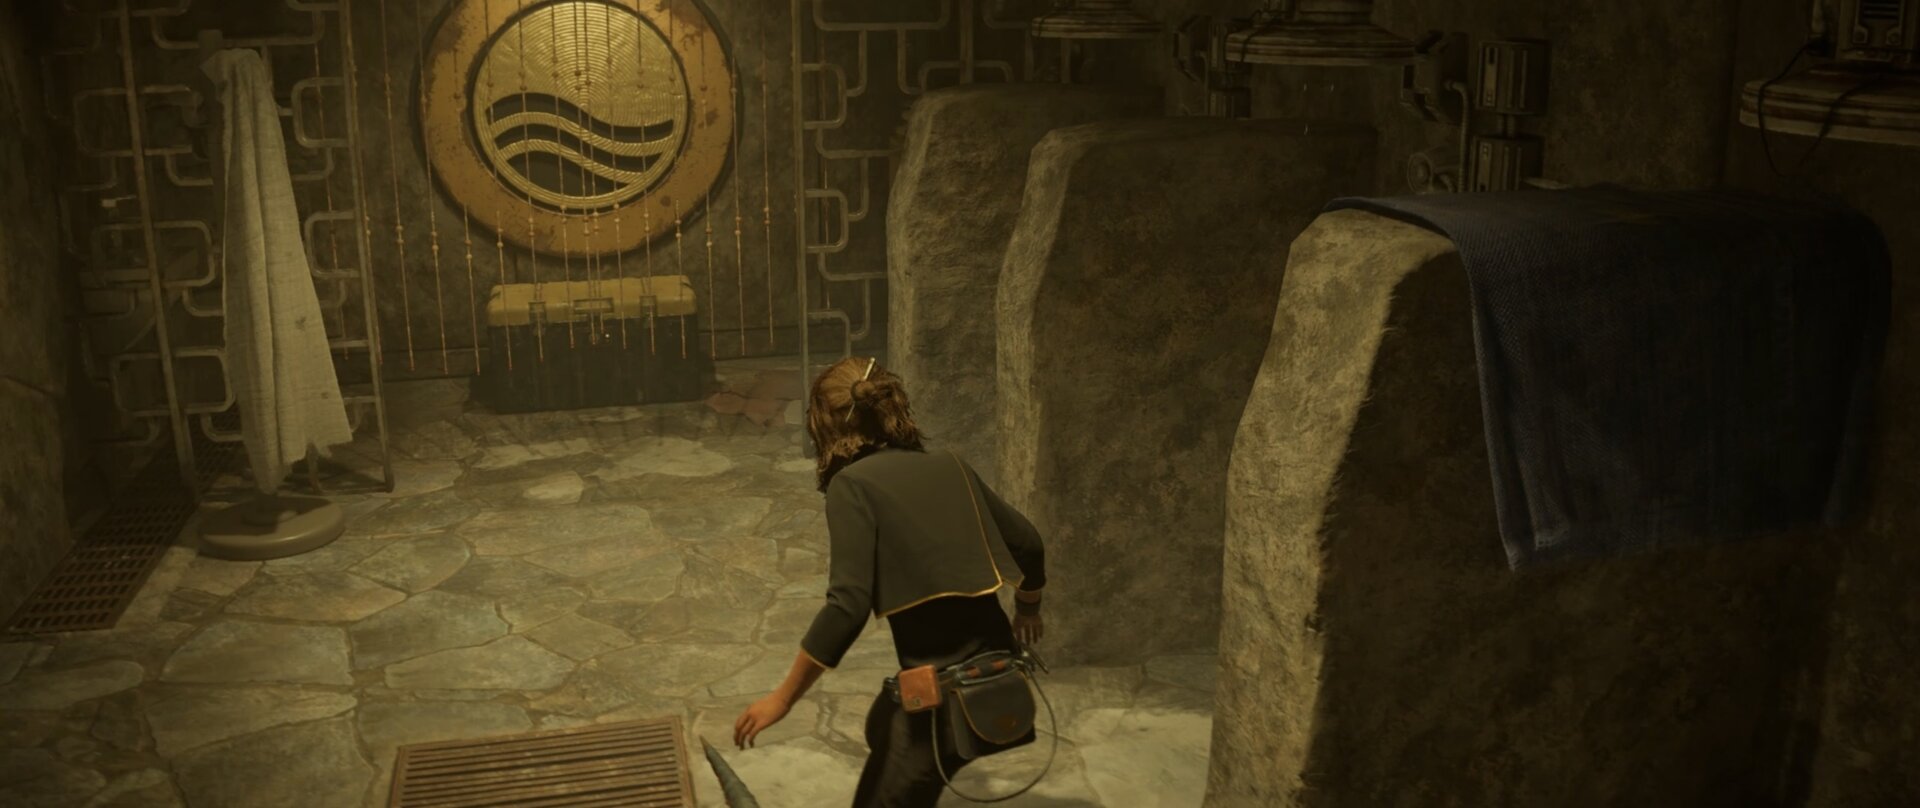
Before you leave, be sure to open the chest across the terminal you sliced. You’ll find Kijimi Explorer Fuel that’ll give the Trailblazer’s engine an orange color. Start making your way to The Wellspring.
The Wellspring
Follow your marker to The Wellspring in the northeast part of Kijimi City. The two bouncers will deny you entry, so you’ll need to go to a pathway east of the building through a broken wall.
After going through the wall, crawl into a vent and follow it into the kitchen. Go through the door and you’ll see a single Crimson Dawn member. Knock him out, go right, and lockpick the door.
You’ll be in a 2 level room with you being on the higher level. Take some time to pull out your electrobinoculars and start marking all of the Crimson Dawn members you see.
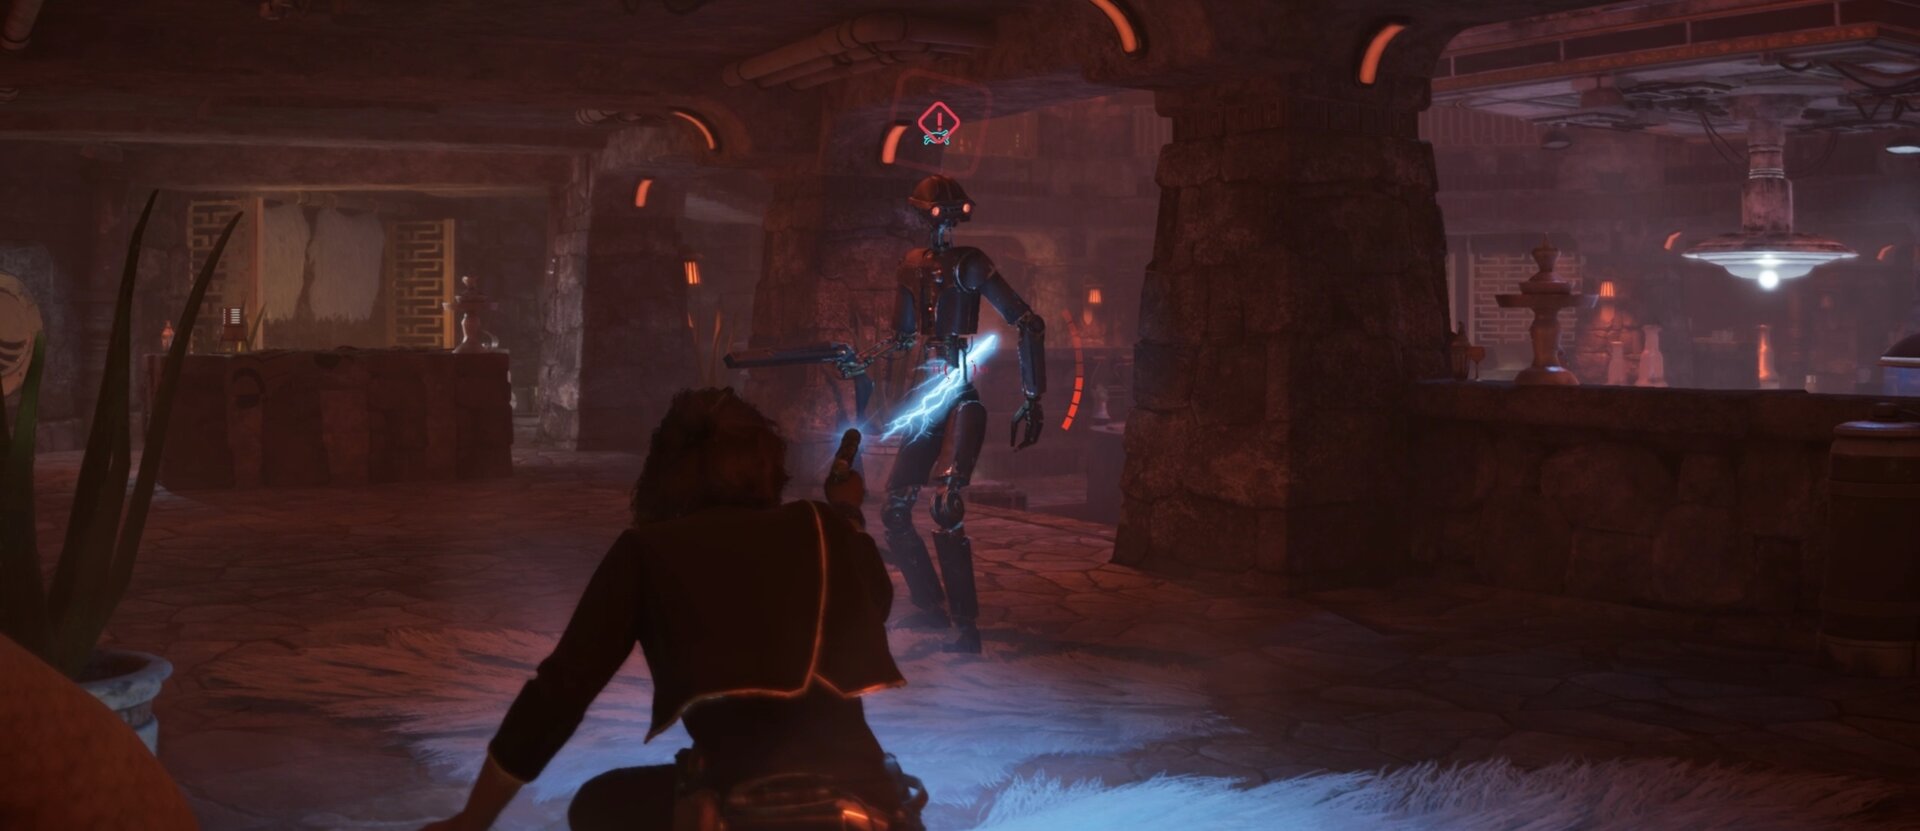
Upstairs, there’s one Crimson Dawn agent on the left, and two on the right. Downstairs are several Crimson Dawn agents and a droid.
If you want to play it safe, go left and knock out the first agent, circle around clockwise then take out the other two upstairs. If you want to save yourself a little bit of trouble, knock down the agents and destroy the droid downstairs.
One of the Crimson Dawn Commando will drop a Control Room Access Card when you take her down. This can be used to unlock the door upstairs. Alternatively, lockpick the door on the other side of the room to get in.
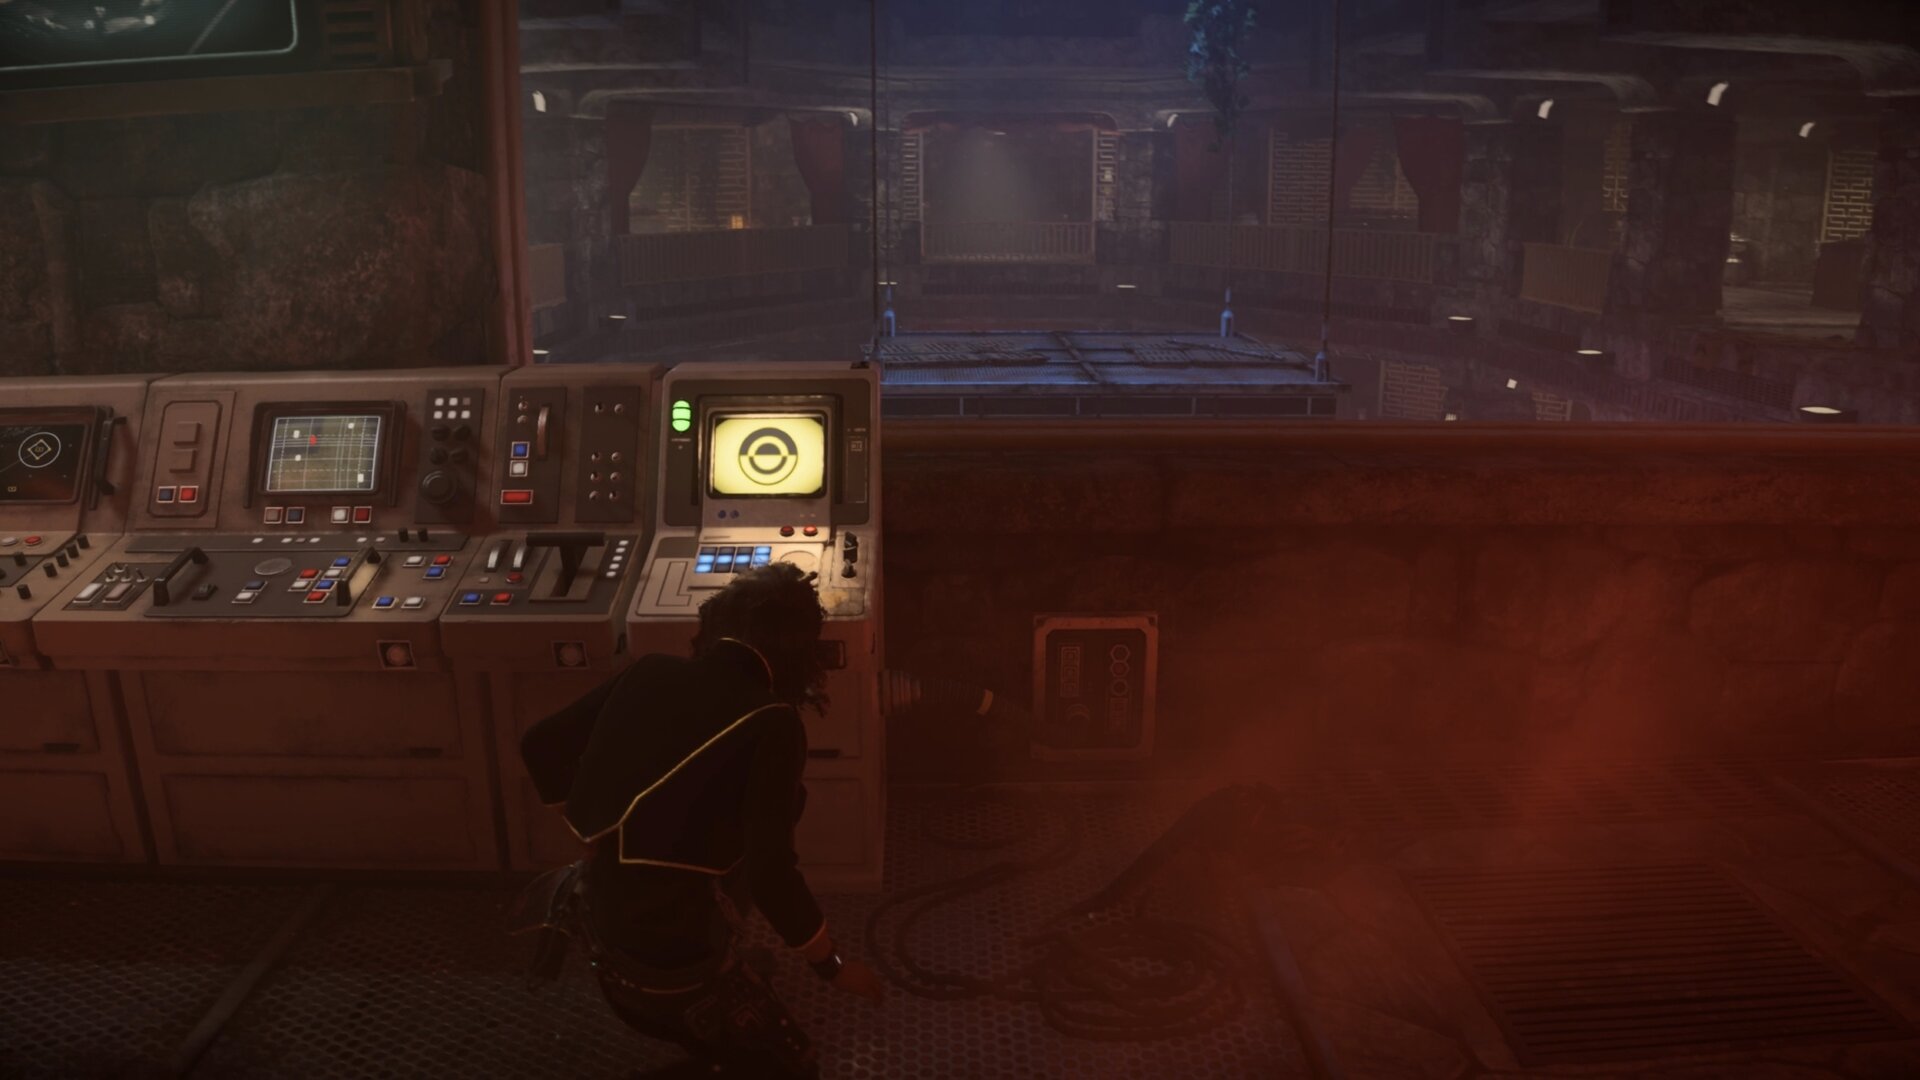
Inside the control room you’ll find a computer you can use to bring down the ray shields protecting the relic. There’s also a large chest here that contains some upgrade materials.
With the ray shields and Crimson Dawn agents taken down, you can safely pick up the relic and make your exit. Go down the west hall downstairs to make your exit outside.
Shortly after you step outside, an alarm will go off and all the Crimson Dawn agents will attack you. There’s no way to stay stealthed in this area, you have to fight.
Clear the area of Crimson Dawn agents and run to the other side of the terrace. Lockpick the door and go inside the bath house.
In the bath house you’ll find a large chest containing 1,000 credits and a vent across the chest. Use the vent to escape The Wellspring and return to the queen with the relic.
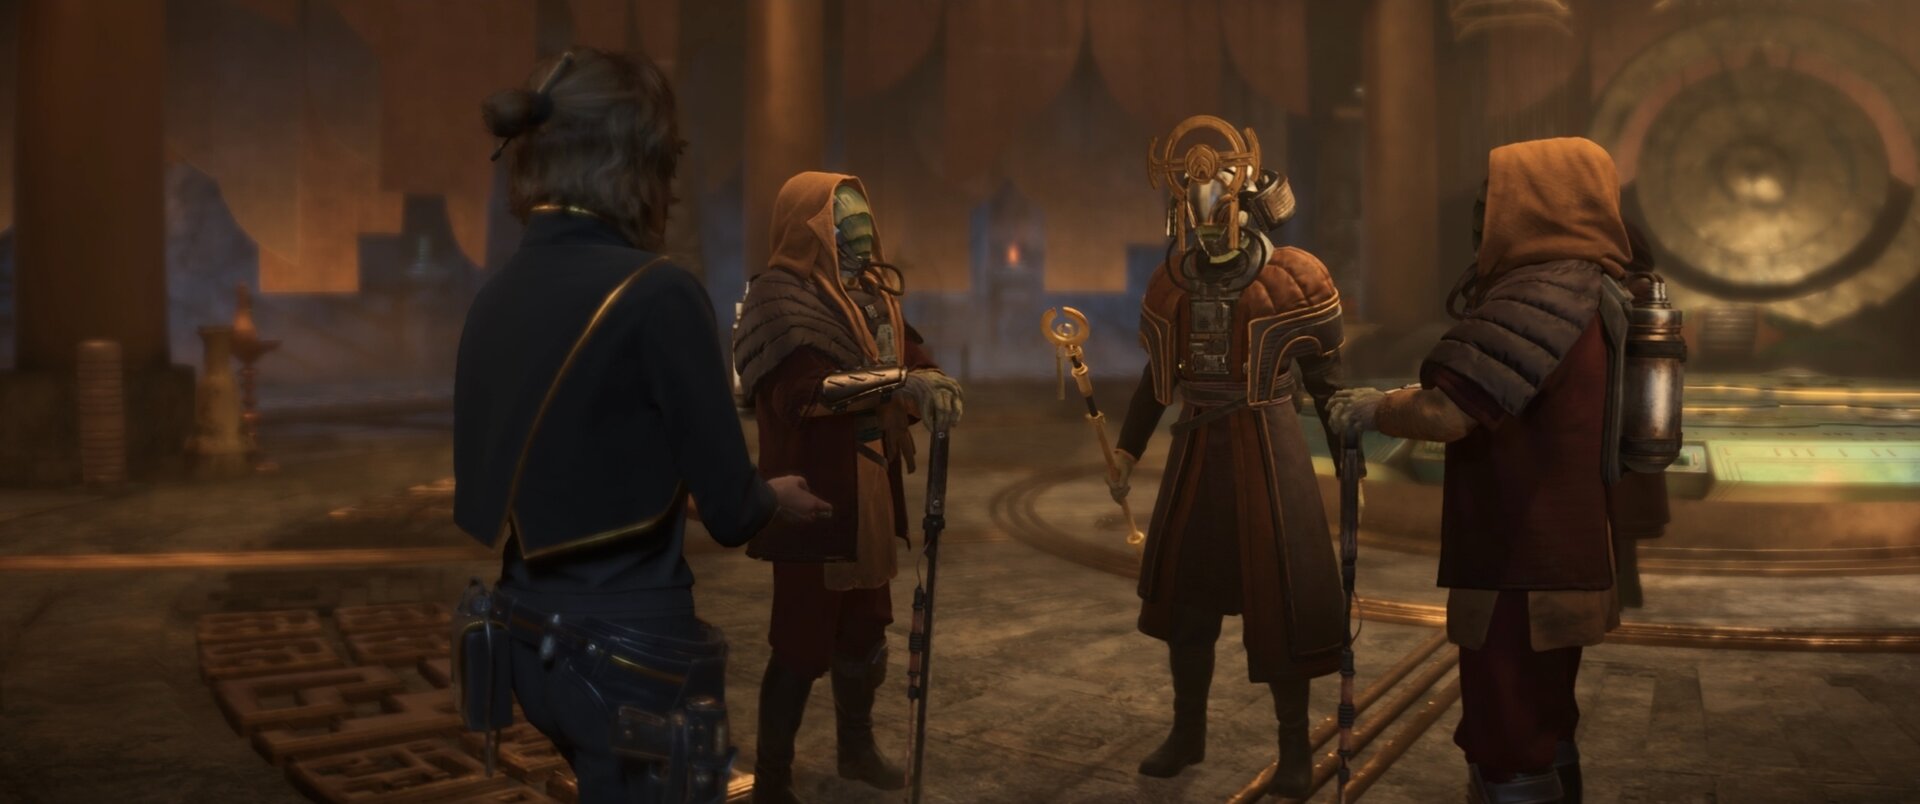
Return the Relic to the Queen
Follow your marker to reach the south of Kijimi City where you can meet the Ashiga Clan Queen. You make a deal with her and if you perform some jobs for the Ashiga Clan, they’ll release Ank.
On your way to meet the queen, inside the building on the left hand-side, you can override and loot another treasure chest for some credits.
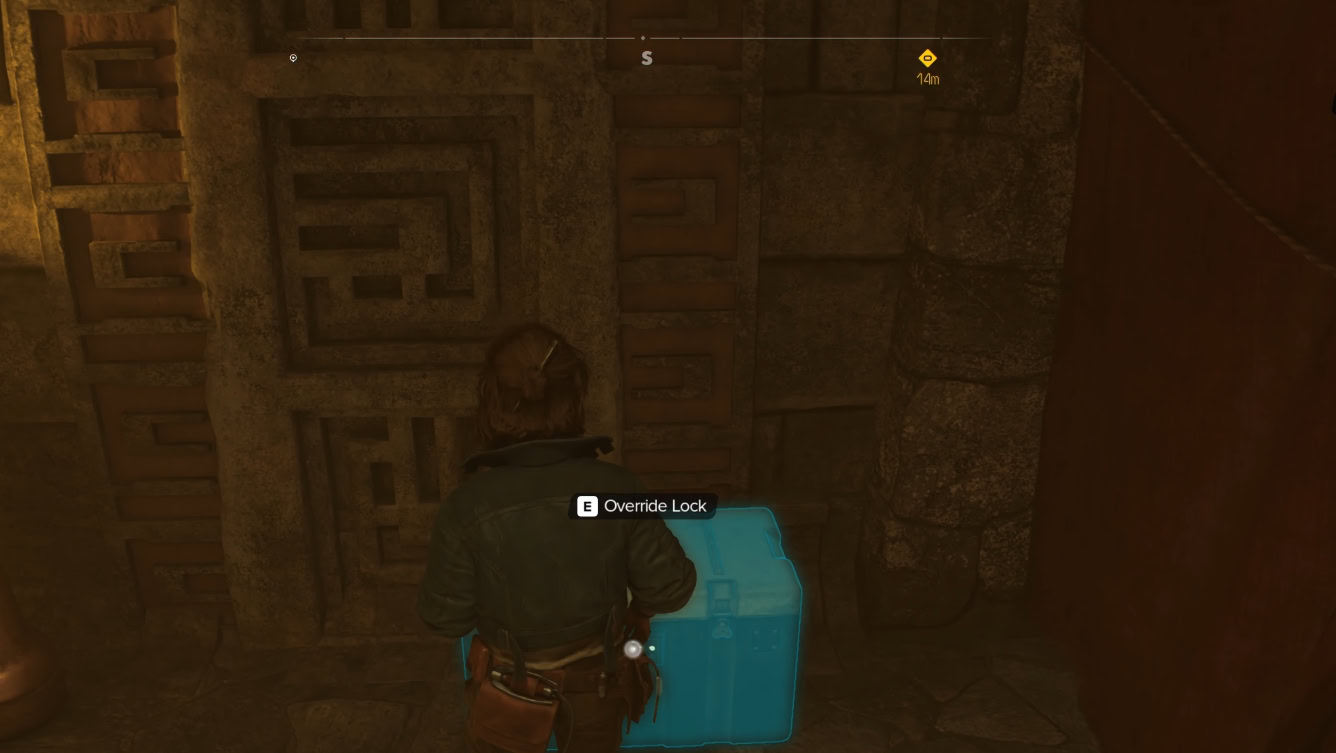
You may not have necessarily found Ank in person, but now you have the means to find her later after working for the Ashiga Clan.
Completing the quest gives you a lot of reputation with the Ashiga Clan, but you’ll also lose a lot of reputation with Crimson Dawn. That’s the price of business, but you can always regain your reputation later.
The story continues with the quest Breakout and our walkthrough is ready and available should you need it. The side quests Gunrunner and Passenger will also become available after you finish The Safecracker main quest. Our walkthroughs will show you the results from the choices you have to make during those quests and help you decide which option to pick to get the best results.
UNDERWORLD Quest Walkthrough
Sneaking through the Pyke District and Gorak’s Base on Toshara will definitely test your mettle far more than infiltrating the Zerek Besh stronghold on Canto Bight. To survive this you’ll need to lay low, act with caution, and act without hesitation.
NEW TRICKS Quest Walkthrough
This guide will show you how to steal the Ion Blaster Part in Star Wars Outlaws. Whether you’re stealing from the Pykes or Crimson Dawn, you’ll know where to go and what to watch out for.
FALSE FLAG Quest Walkthrough
This guide will show you how to infiltrate the Imperial Fueling Station in Star Wars Outlaws. You need to find a Data Vault inside the Imperial Station and delete some data to frame the Pyke Syndicate, but that is easier said than done.
THE WRECK Quest Walkthrough
This guide will show you how to get the Nav Computer in the Star Wars Outlaws main mission, The Wreck. Waka needs this final component to fully repair the Trailblazer and let it travel throughout the galaxy once more. The guide also gives you the locations of all treasure chests in the area.
BREAKOUT Quest Walkthrough
This guide will show you how to break out the Safecracker, Ank, in Star Wars Outlaws. After returning the relic to the Ashiga Clan, Krisk offers a proposal to help you get Ank back for your needs.
THE HIVE Quest Walkthrough
This guide will show you how to complete the Star Wars Outlaws quest, The Hive. To recruit Ank for the heist scheme, you’ll need to help her with her current job of blasting a hole through the Ashiga Clan Queen’s stronghold on Kijimi.

THE HEAVY Quest Walkthrough
This guide will show you how to complete the Star Wars Outlaws quest, The Heavy. Kay is in search of a potential crew member for Jaylen’s heist mission, though tracking down The Heavy will have you traveling to Tatooine.

PARTNERS Quest Walkthrough
This guide will show you how to complete the Star Wars Outlaws quest, Partners. After rescuing Hoss from the Tuskens, you must meet up with him at Mos Eisley on Tatooine, but trouble seems to follow Hoss around.
JABBA'S FAVOR Quest Walkthrough
This guide will show you how to complete the quest Jabba’s Favor in Star Wars Outlaws. Jabba needs you to find the identity of a spy in his palace, and the only way to determine this is to access the databanks of Fort Sunfire on Tatooine.
THE DROIDSMITH Quest Walkthrough
This guide will show you how to complete the quest, The Droidsmith, in Star Wars Outlaws. Kay is in search of a Droidsmith to join her crew that can help with Jaylen’s heist on the Zerek Besh stronghold on Canto Bight.

THE SCAVENGER Outlaws Walkthrough
This guide will show you how to unlock and complete the quest The Scavenger in Star Wars Outlaws. Temmin Wexley, the Scavenger Expert, will be able to give Kay upgrades that help her in a wide variety of fields.
VIPER Quest Walkthrough
This guide will show you how to complete the Viper quest in Star Wars Outlaws. Before Gedeek can join Kay’s crew as a Droidsmith for the heist, he and Kay must put an end to the Imperial’s enhanced Viper Probe Droid project.
LEGACY Quest Walkthrough
This guide will show you how to complete the quest, Legacy, in Star Wars Outlaws. ND-5 is experiencing malfunctions, so Kay and Gedeek need to find a replacement power core before ND-5 stops functioning entirely.

THE TRUTH Quest Walkthrough
This guide will show you how to complete the Star Wars Outlaws quest, The Truth. Kay and another slicer need to steal codes from Sliro while he’s having a meeting with the Empire. Only then can the crew pull off the heist on Canto Bight.
THE HEIST Quest Walkthrough
This guide will show you how to complete the Star Wars Outlaws quest, The Heist. After gathering her crew and stealing Sliro’s codes, Kay can once again attempt to break into the Zerek Besh Vault and get away with the galaxy’s biggest heist.

REVELATOR Quest Walkthrough
This guide will show you how to complete the final story quest for Star Wars Outlaws, Revelator. After the heist on Canto Bight, Kay needs to escape the Imperial Star Destroyer, the Revelator. Before she can leave, she must take care of some unfinished business.
Related Star Wars Outlaws Collections of Guides

Our Guides Master List for Star Wars Outlaws is a great starting point. In it you will find all of our guides and walkthroughs ordered in categories.