This guide will show you how to complete the Star Wars Outlaws quest, The Hive. To recruit Ank for the heist scheme, you’ll need to help her with her current job of blasting a hole through the Ashiga Clan Queen’s stronghold on Kijimi.
How to get The Hive Quest
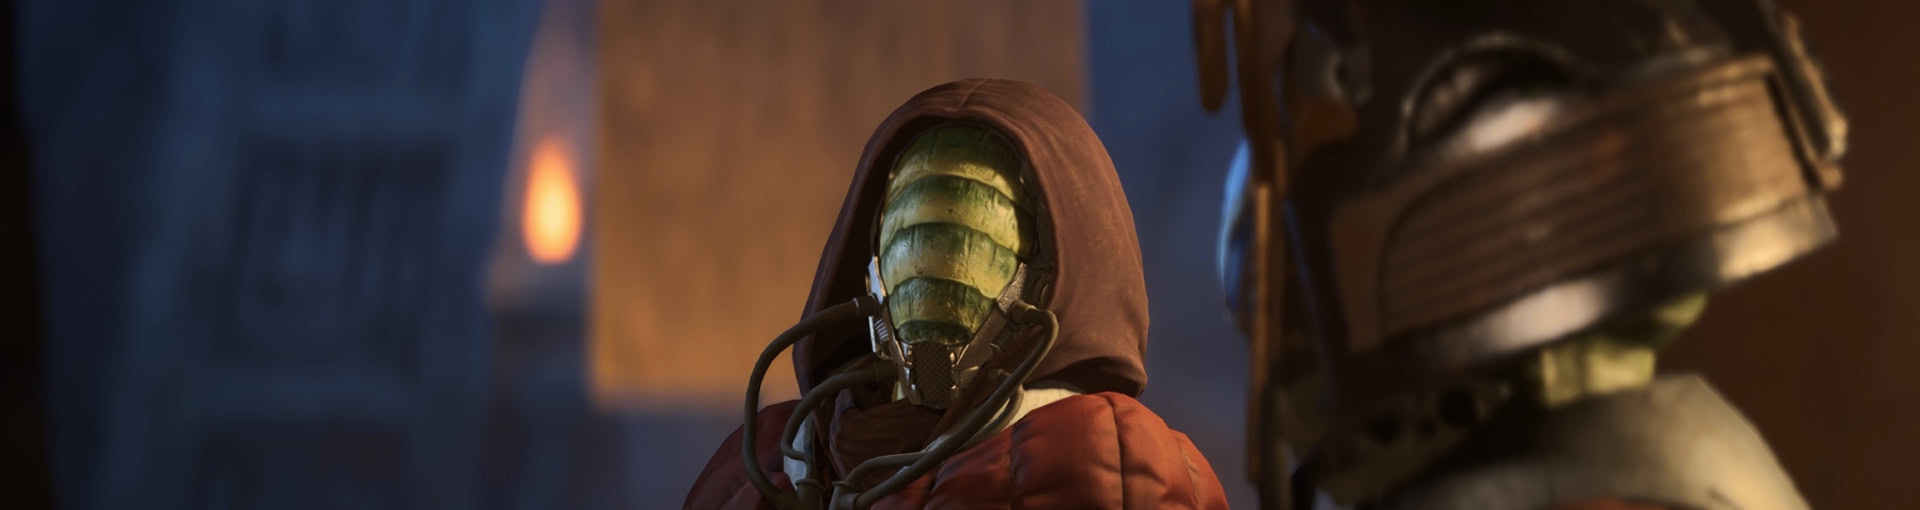
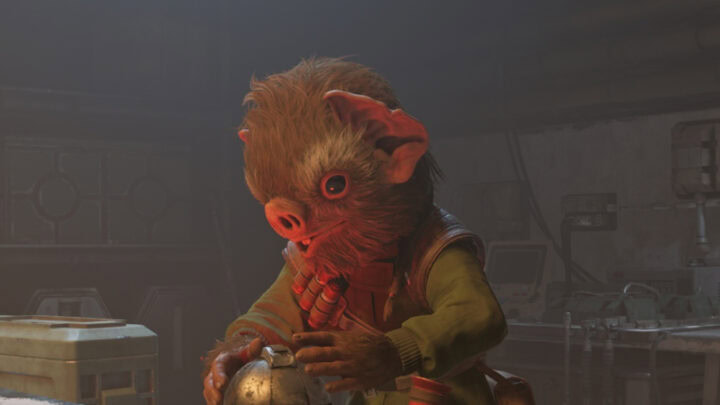
You’ll get The Hive quest after you break out Ank from the weapons factory on Kijimi. She’s not quite willing to join your crew for Jaylen’s heist plan as she’s preoccupied with another job.

You will need to help her complete her job in hopes of recruiting her after the job is done. Whether or not this is a good idea remains to be seen as Qi’ra, leader of the Crimson Dawn, is the one hiring Ank for this job.
Breaking into the Stronghold
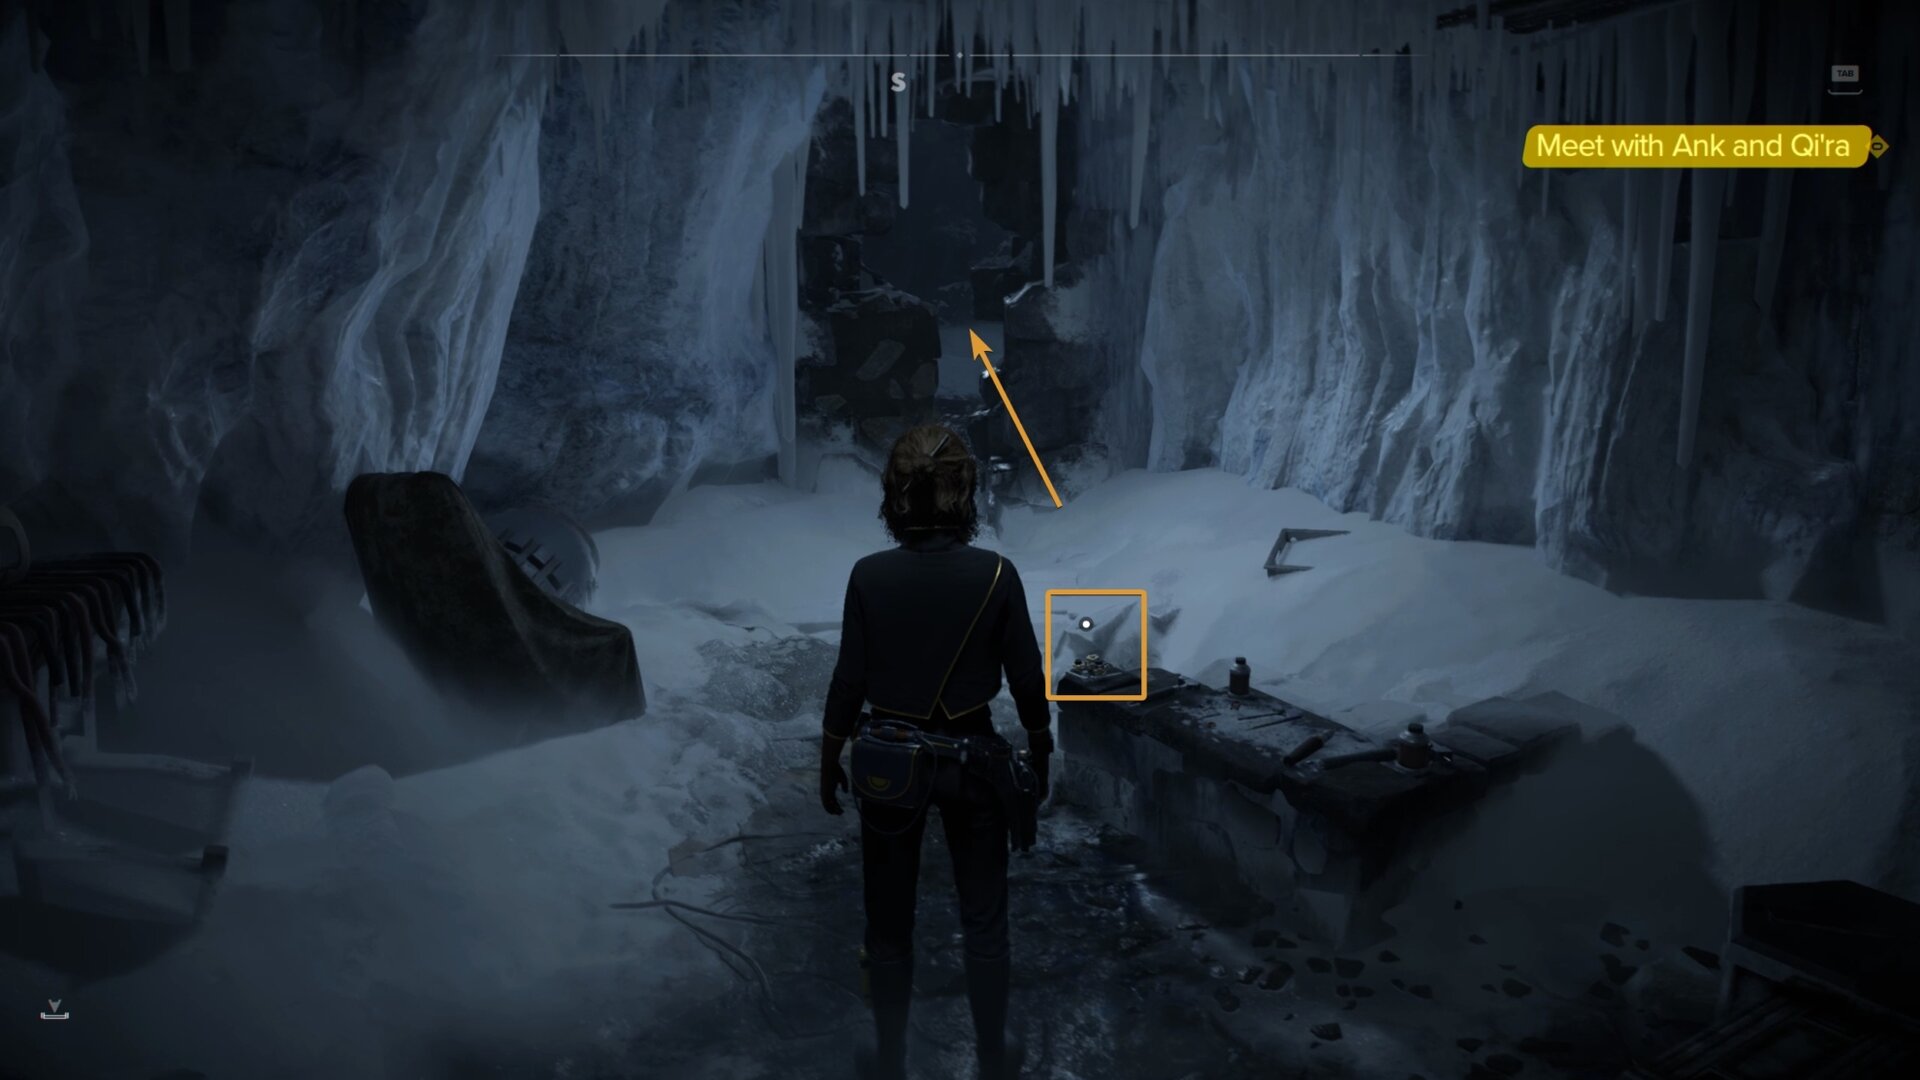
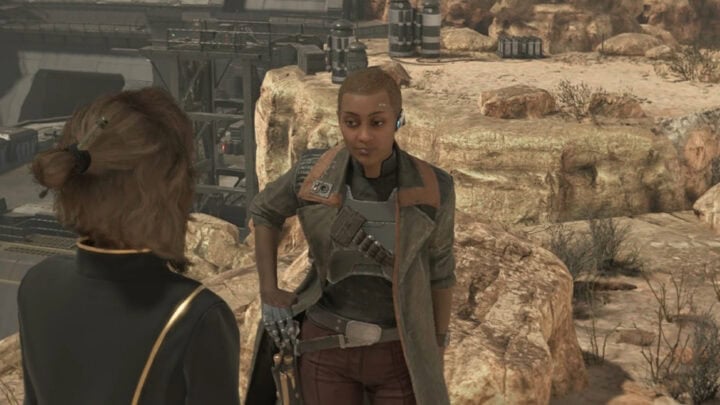
You must first meet up with Ank and Qi’ra in the Ashiga Clan District. It’s in the southwest part of Kijimi and you’ll want to look for the building seen in the following image:
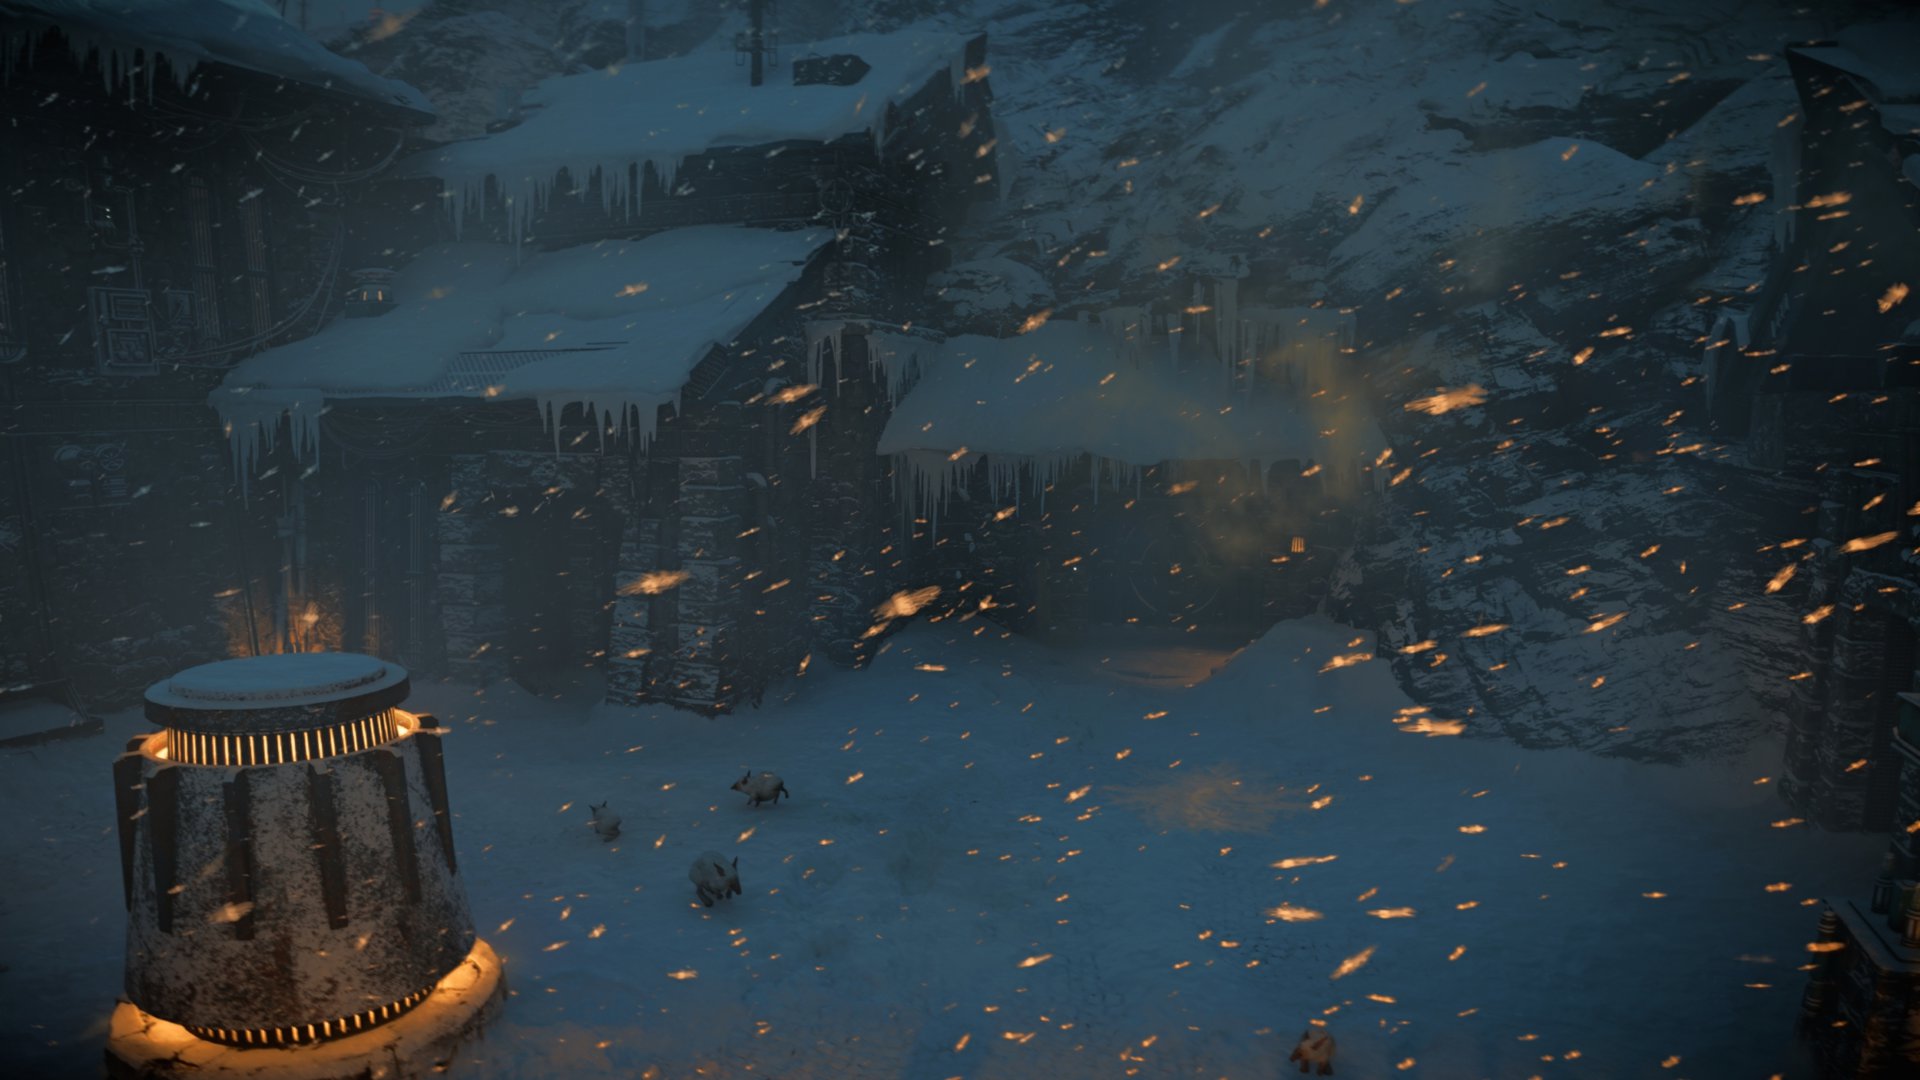
Once you enter the building, you’ll have a cutscene with Ank and Qi’ra. Pick up Ank’s Explosive to your right before moving forward.
Go through the crack in the brick wall, the upcoming sections ahead are very linear but it can be easy to miss a few goodies here and there.
Following the path will put you into the Kijimiko Caverns. Use Nix Sense in this area as you can find paths that lead to loot or small chests.
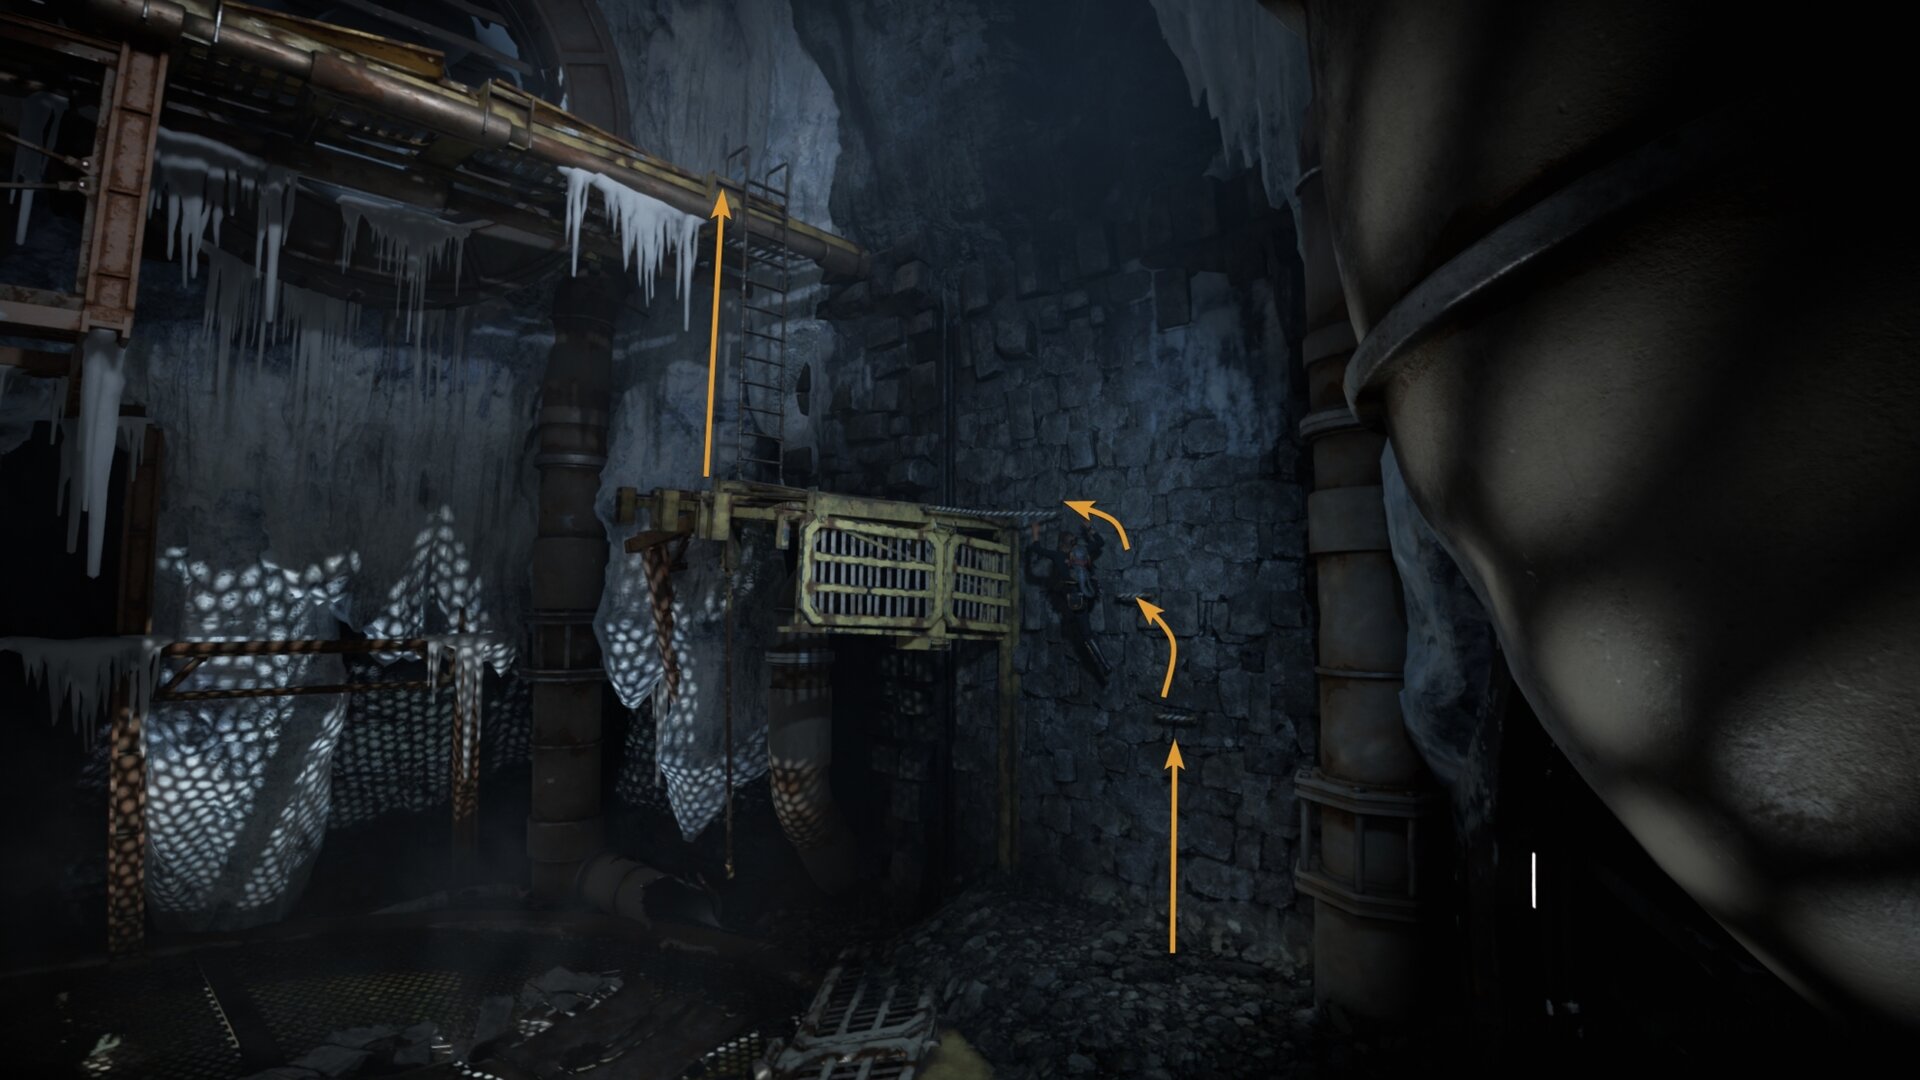
You’ll reach a fork in the road with the left path going to a climbable wall and the right path leading to a dead end with loot. Climb up the rock wall on the left to reach a suspended walkway.
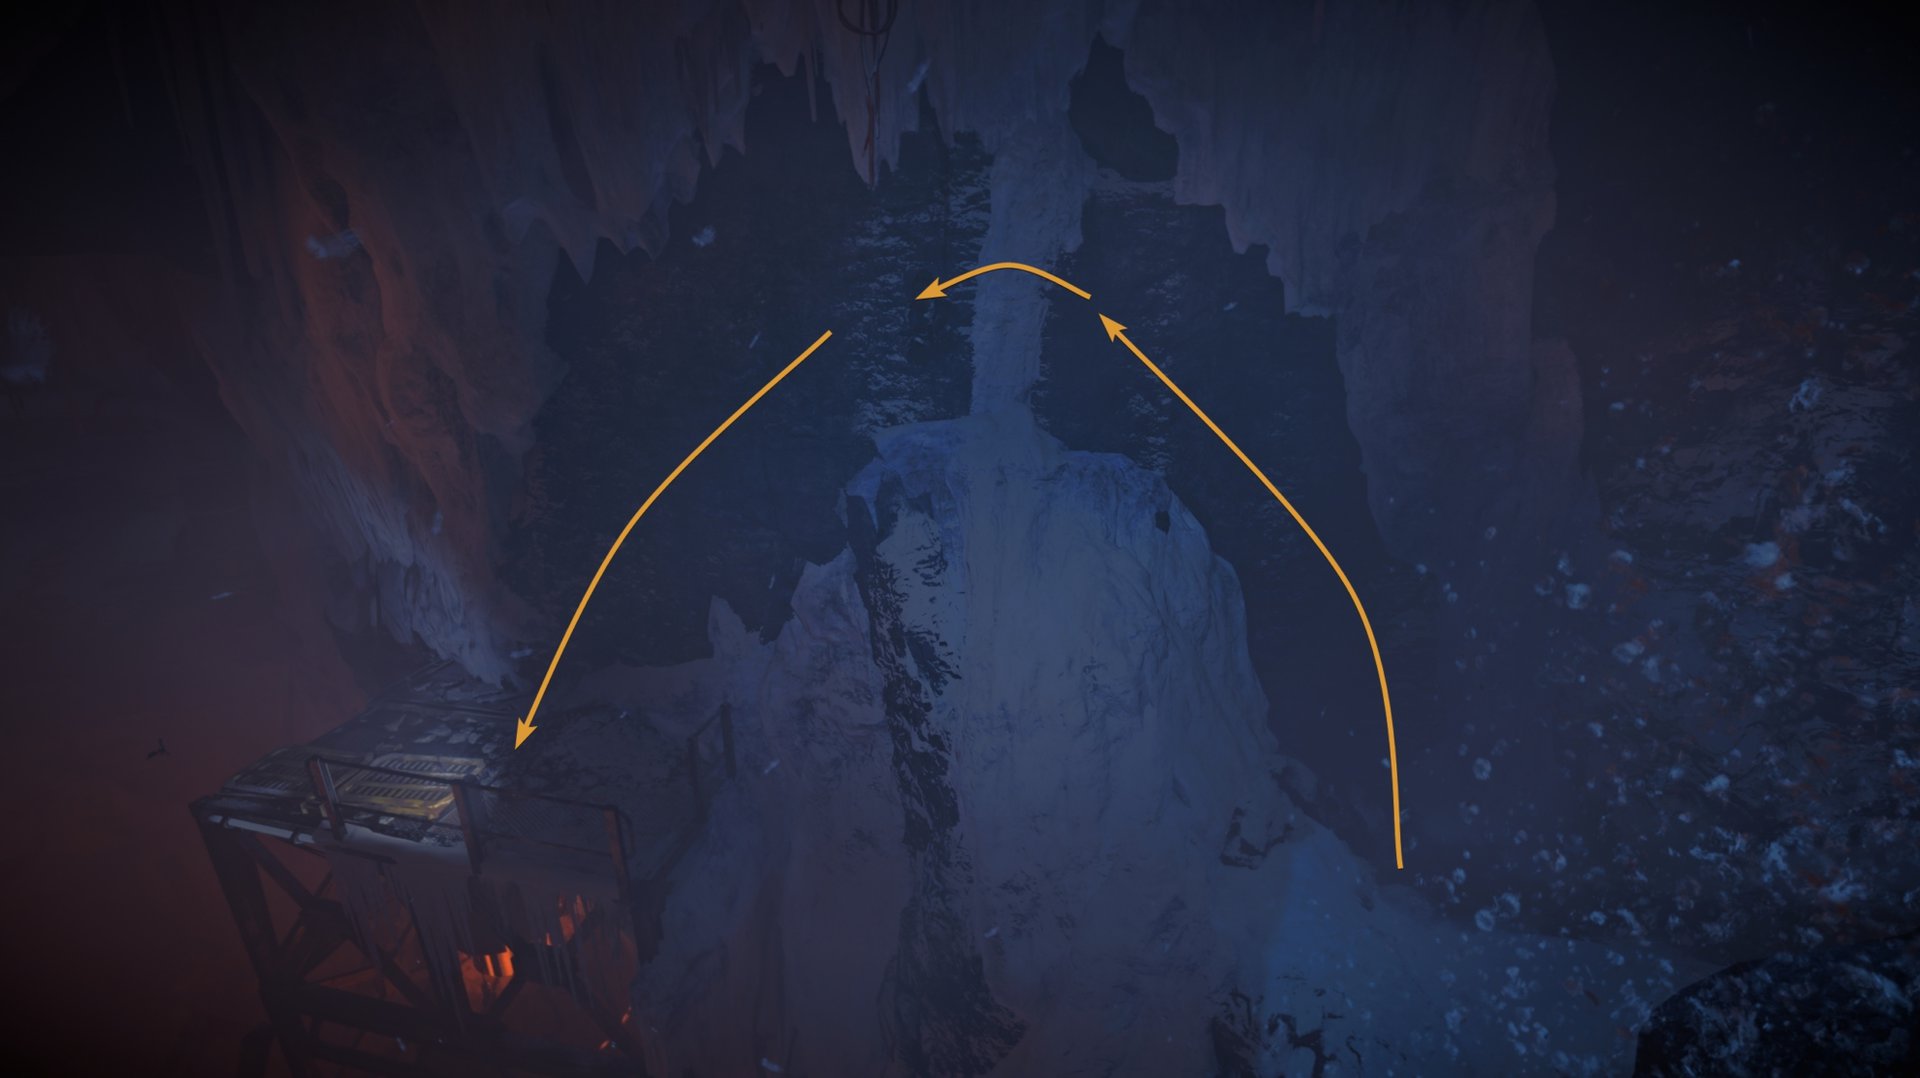
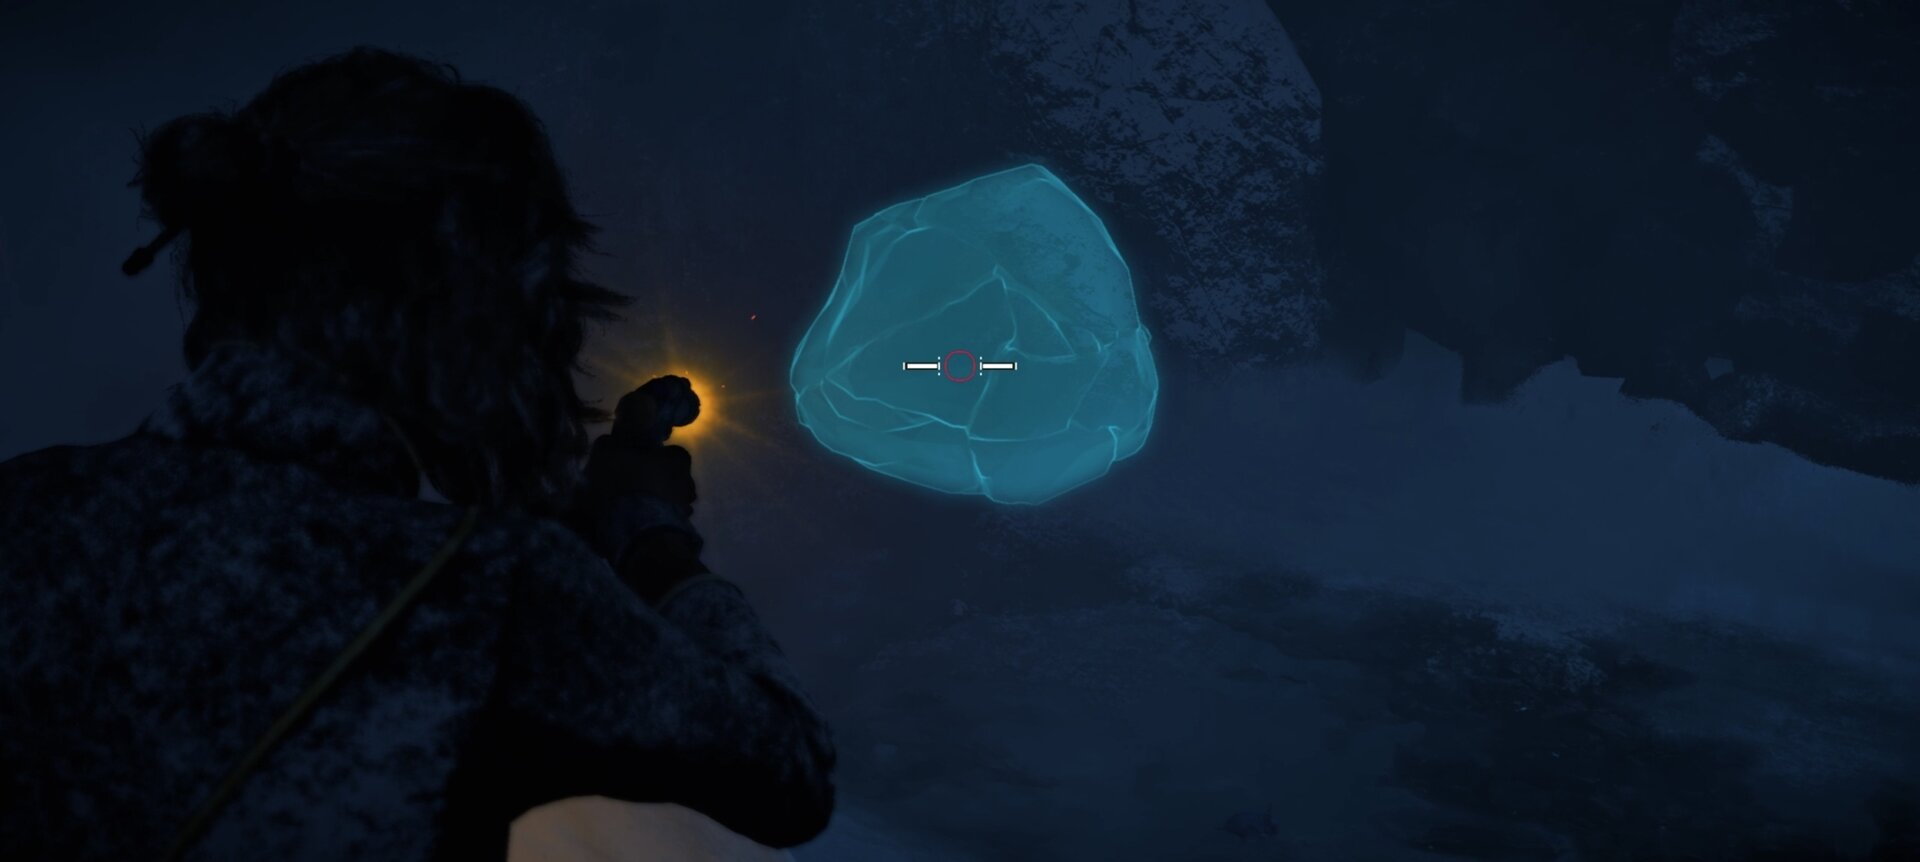
Use a grappling point above you and swing across to reach the other side of the room. Using Nix Sense in the next room will help you find a boulder you can blow up with your Power blaster and pick up a Ray Accelerator component.
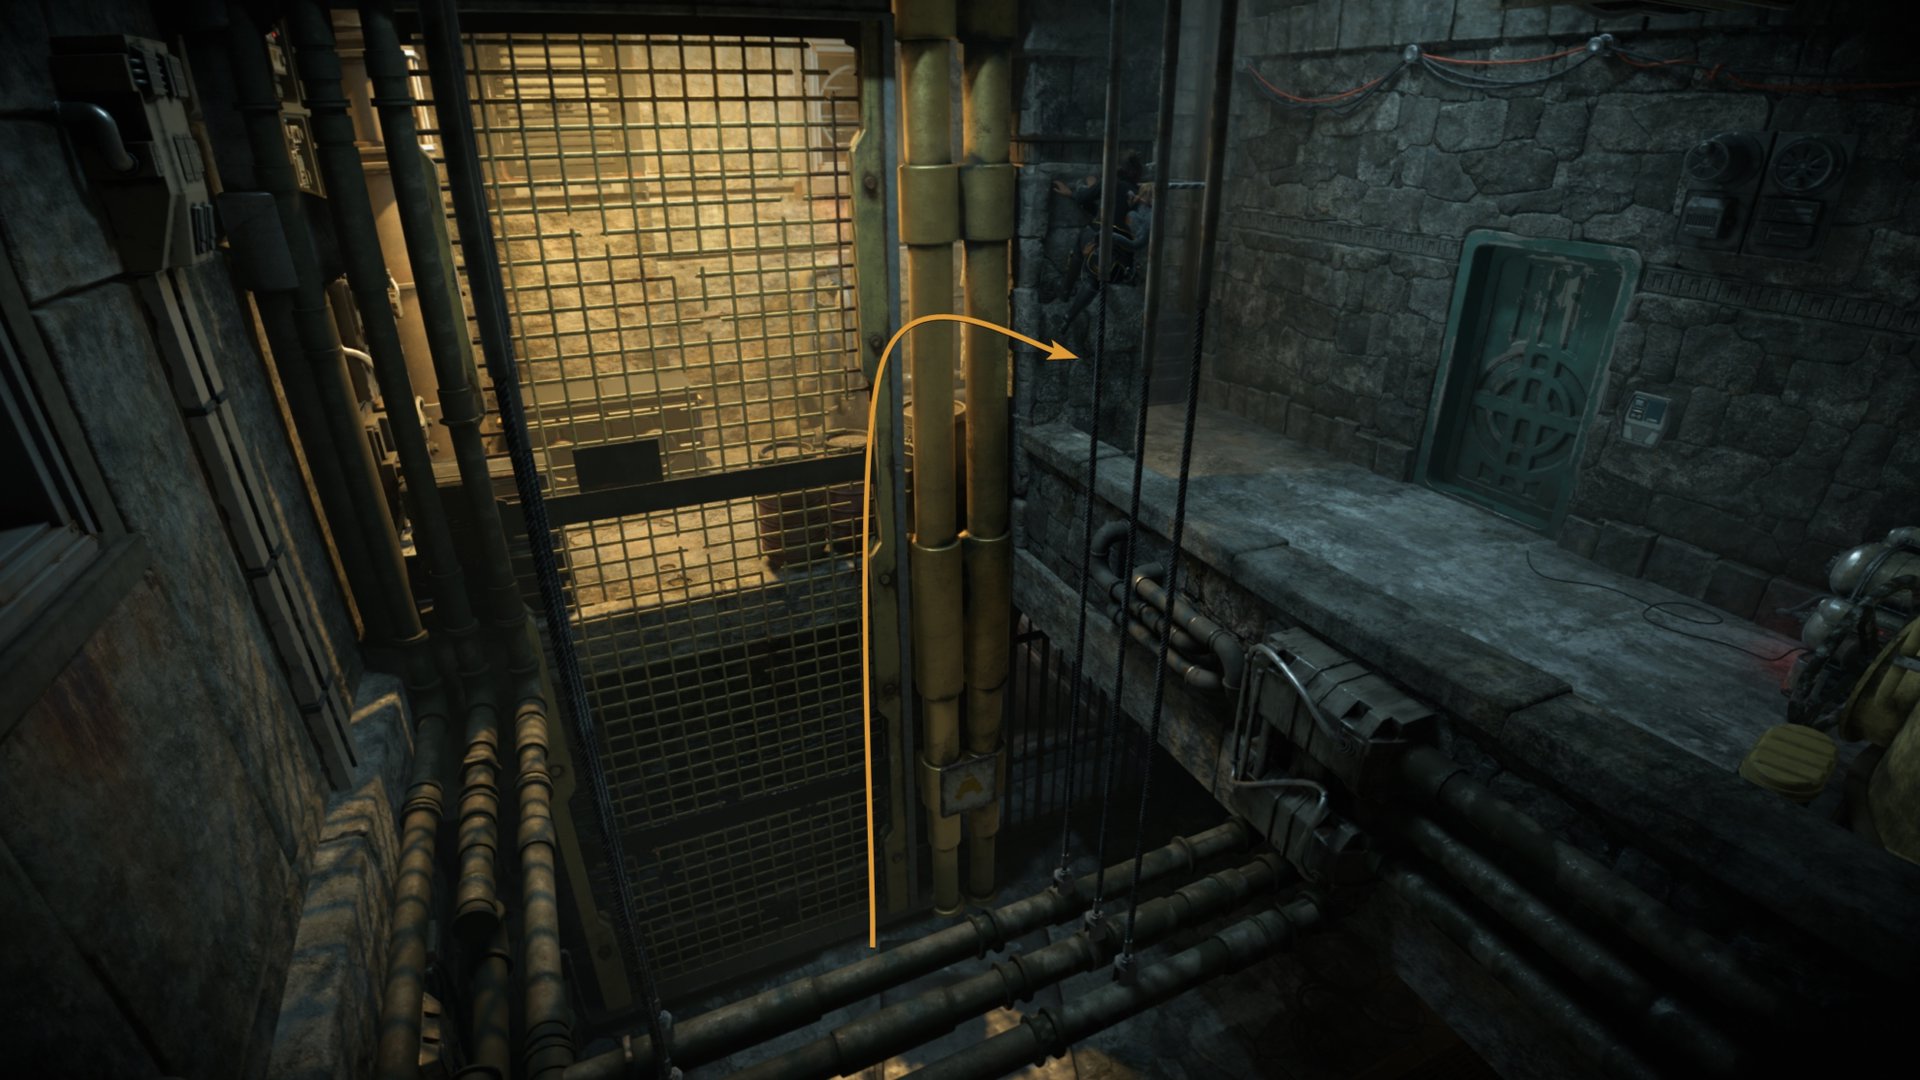
Follow the path right of the boulder and swing across to a metal platform. Climb the rock wall and scuttle to the left to find a large vertical room full of grates, pipes, and fans.
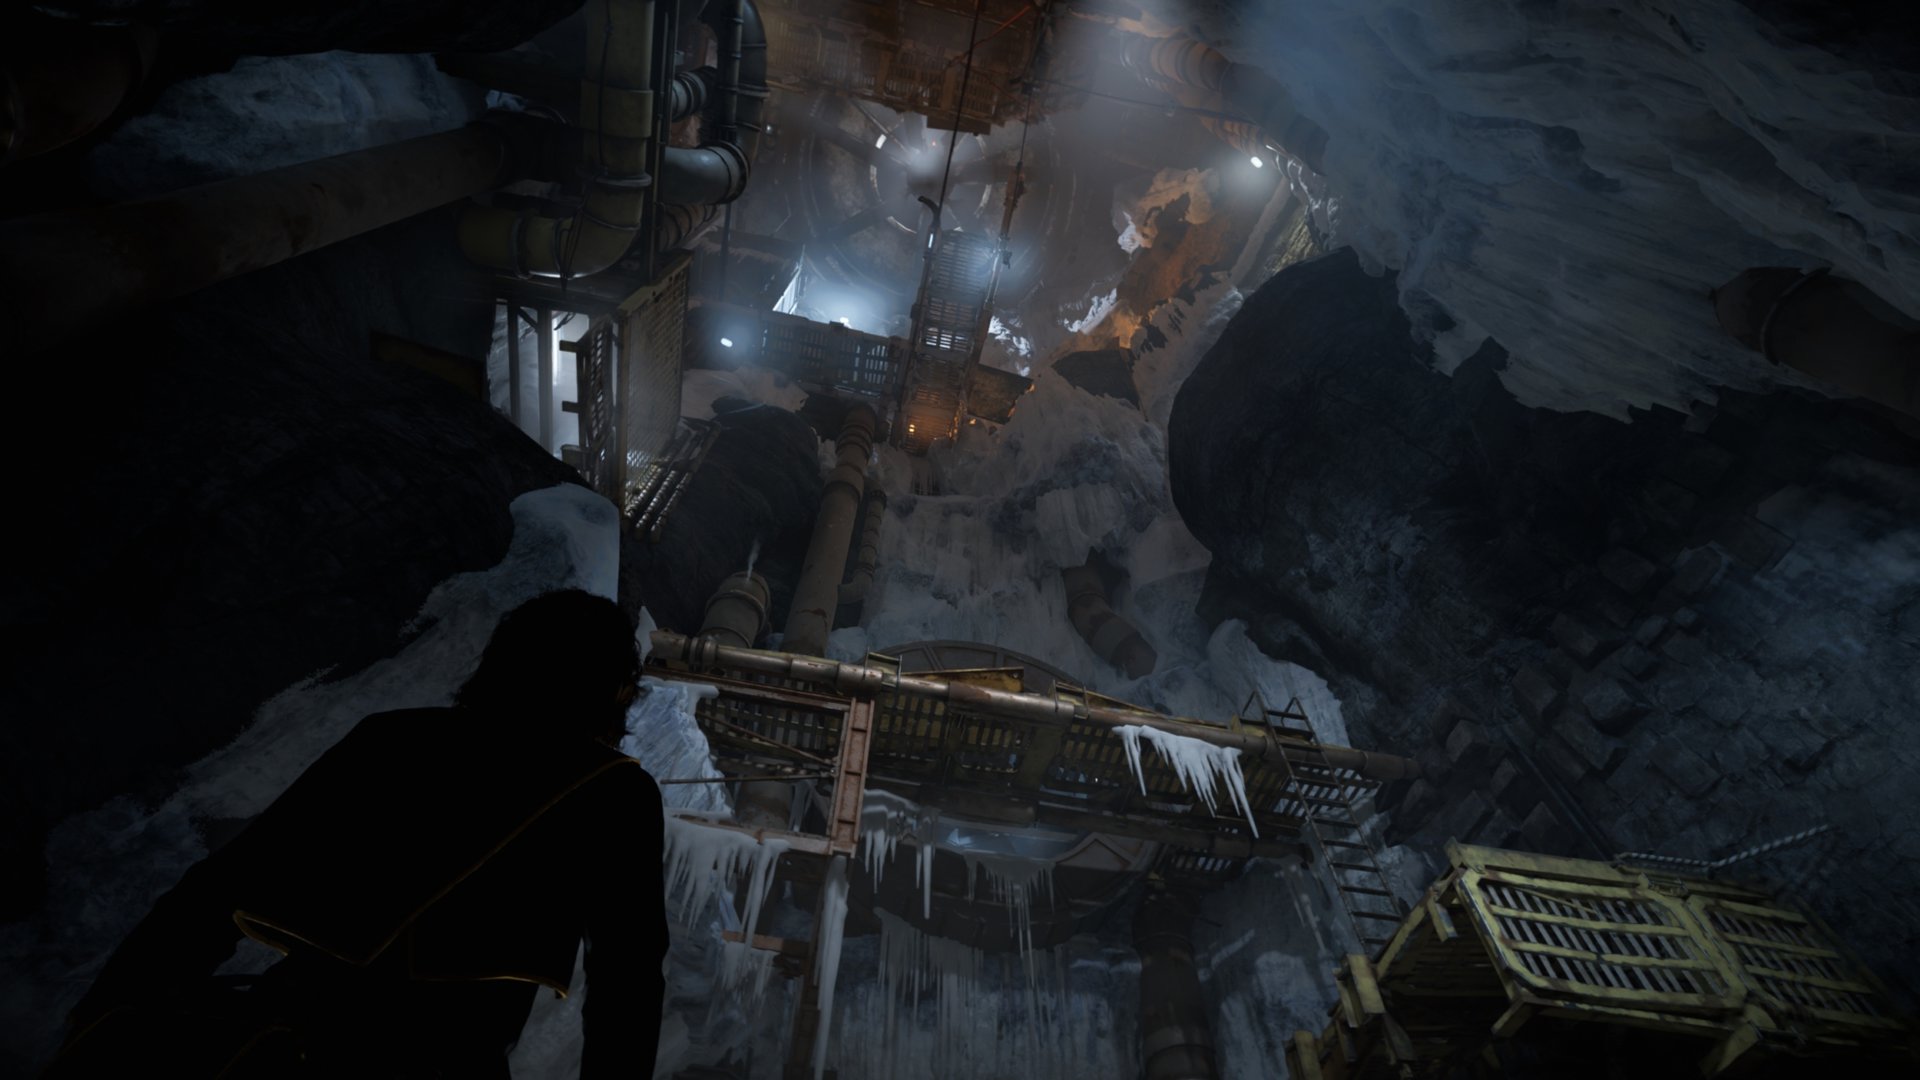
With only one way to go, you’ll need to start climbing by starting out with some metal bars to your left. Watch out for the fan and get used to them, there are a lot of fans in this room.
Should you ever misstep and fall, there’s a chance you can reduce or negate your fall damage assuming you end up being pushed by a fan on the way down.
Go up the metal bars and climb up the ladder. Follow the path until it ends, jump across to the grates, and keep climbing up.
After you’ve finished climbing the grates, use the grapple point above you to swing over to the rock wall. Use this wall to keep climbing up.
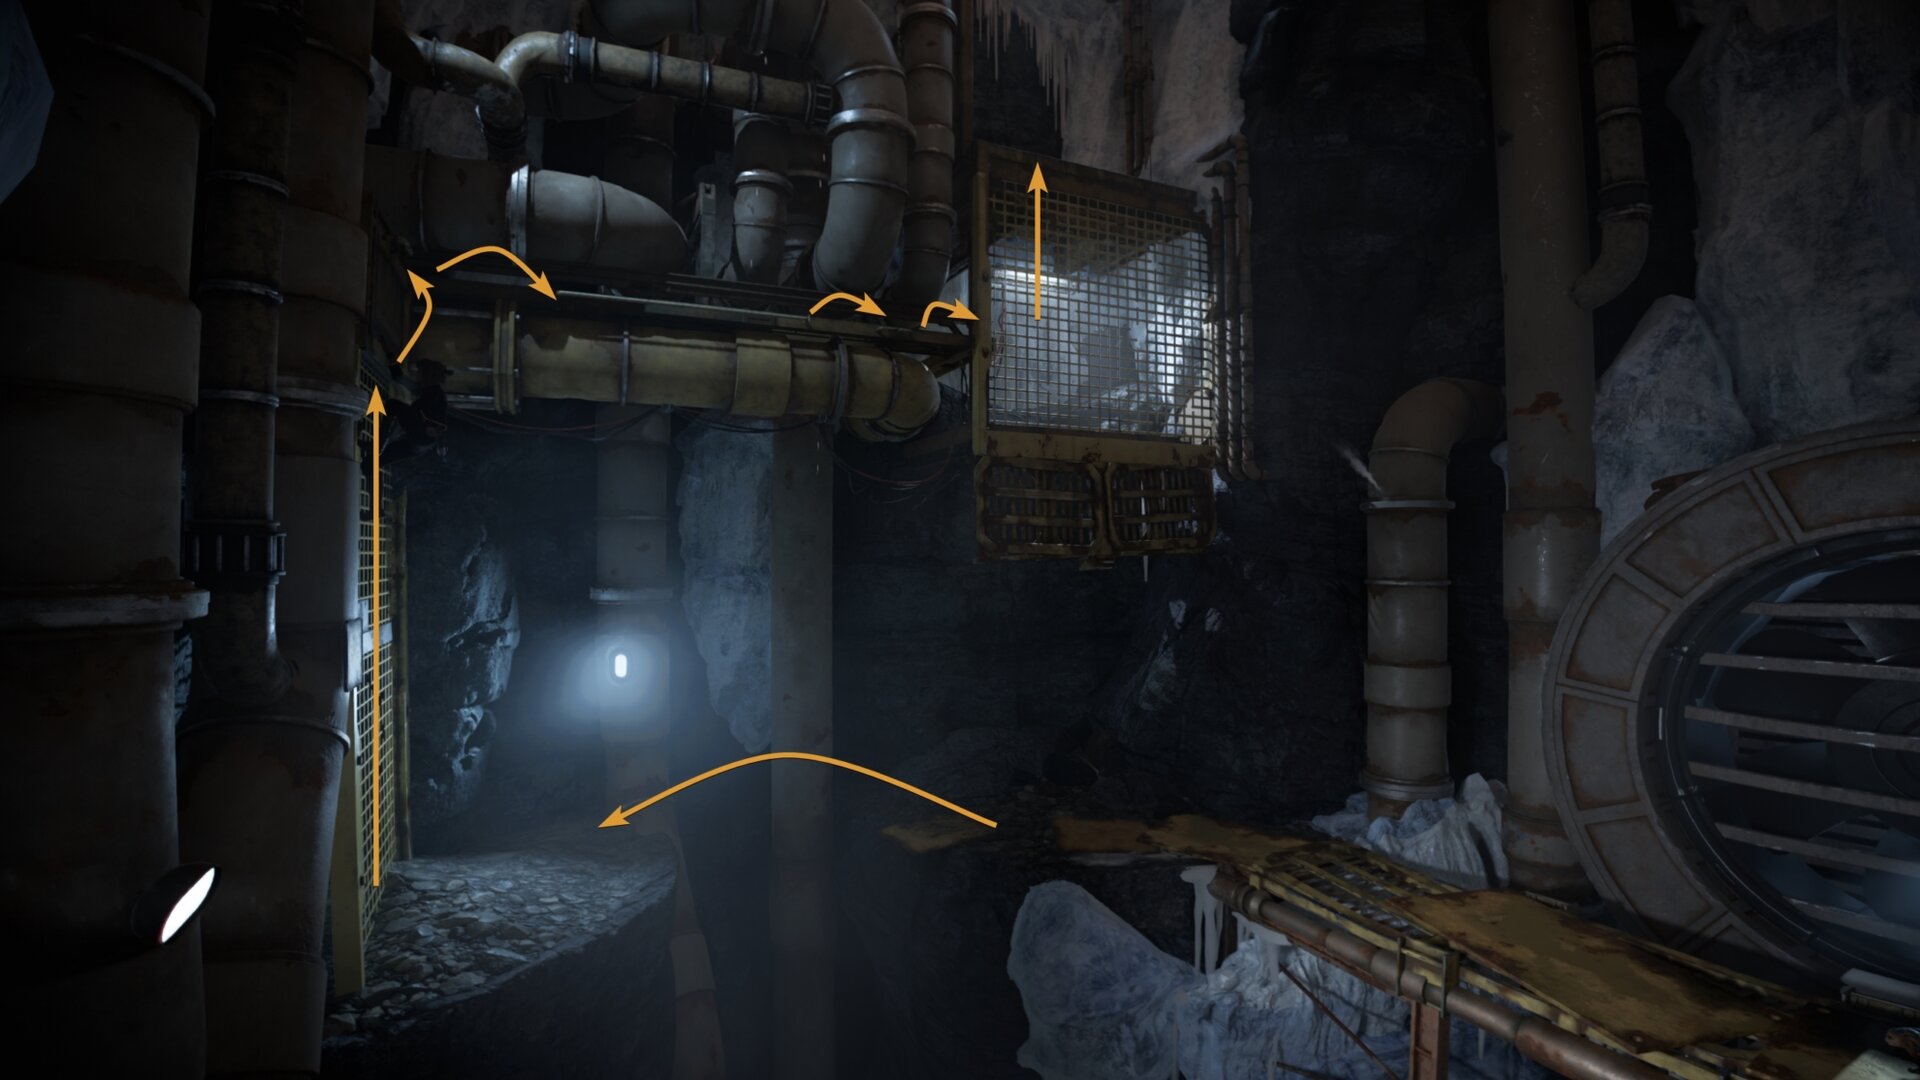
You’ll be in an area with two fans that remain on at all times. Going forward, use the grapple point above you to scale the vertical panel.
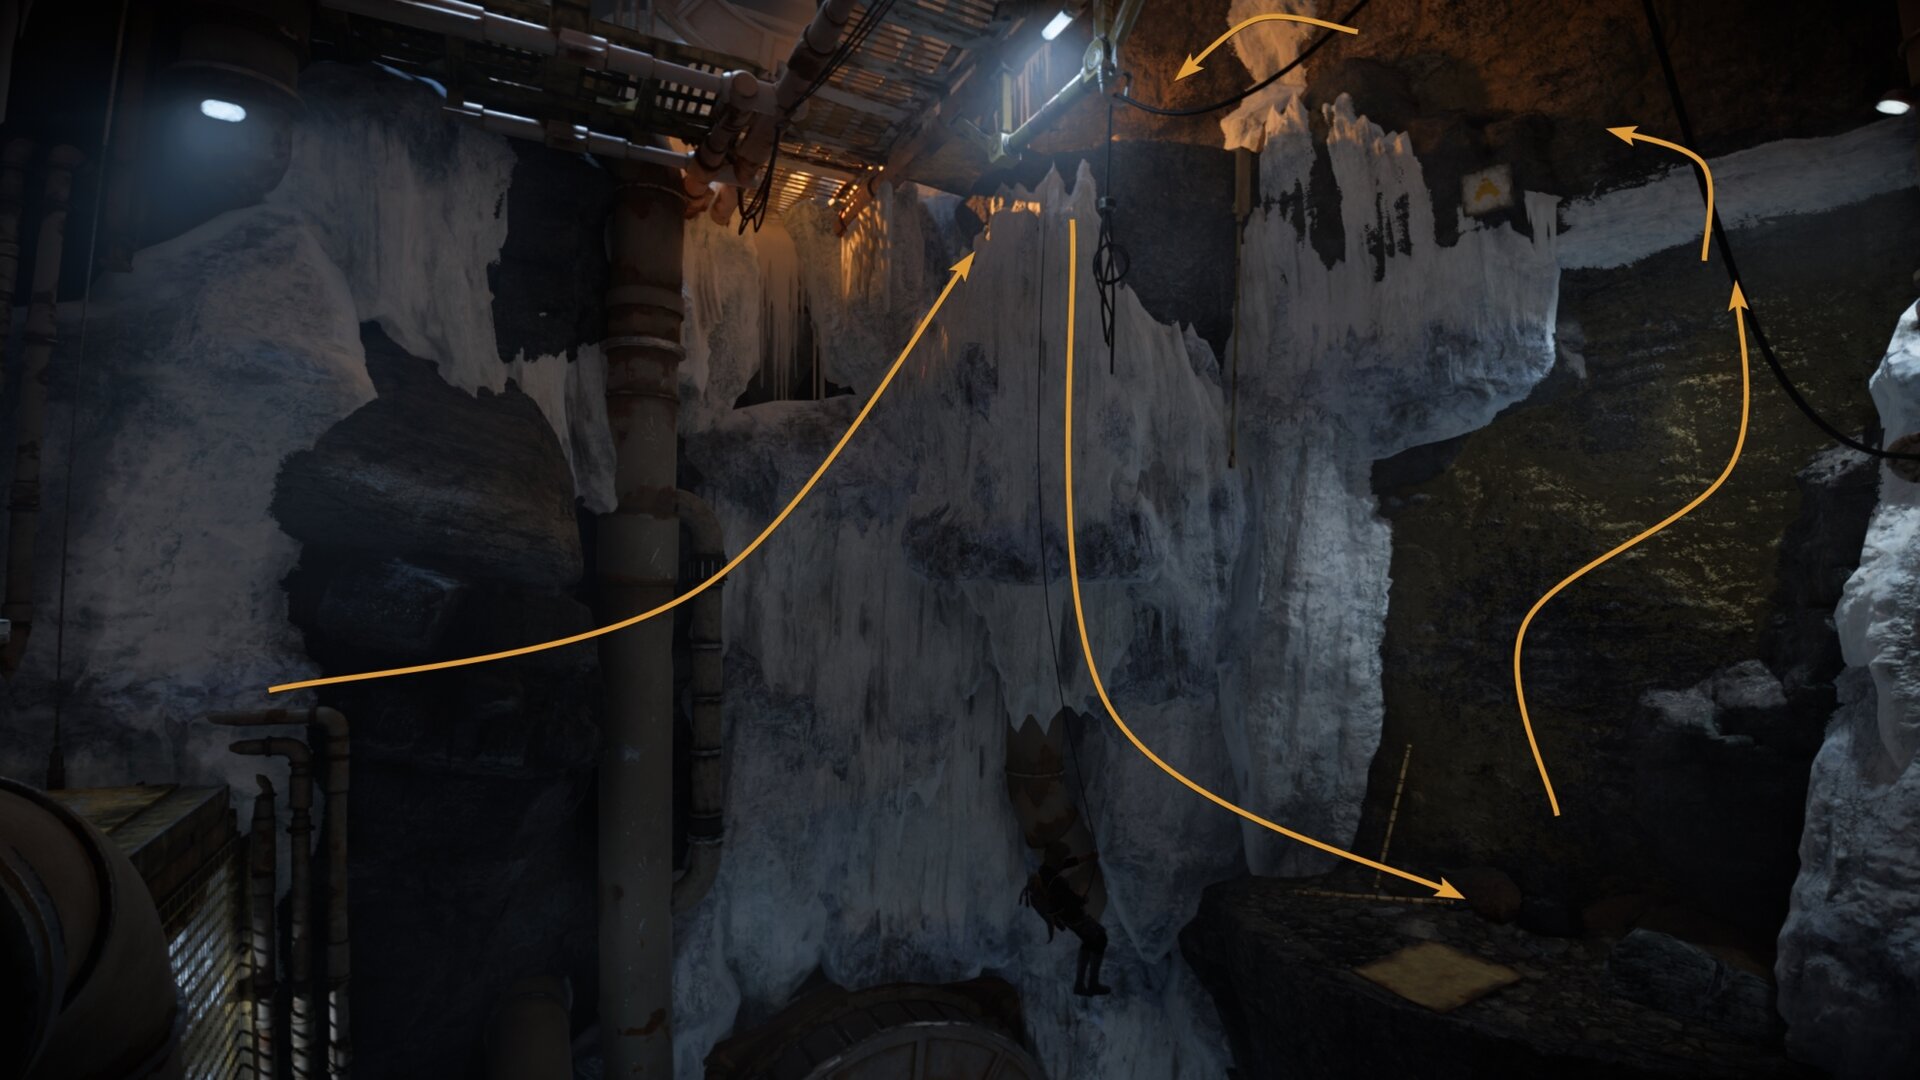
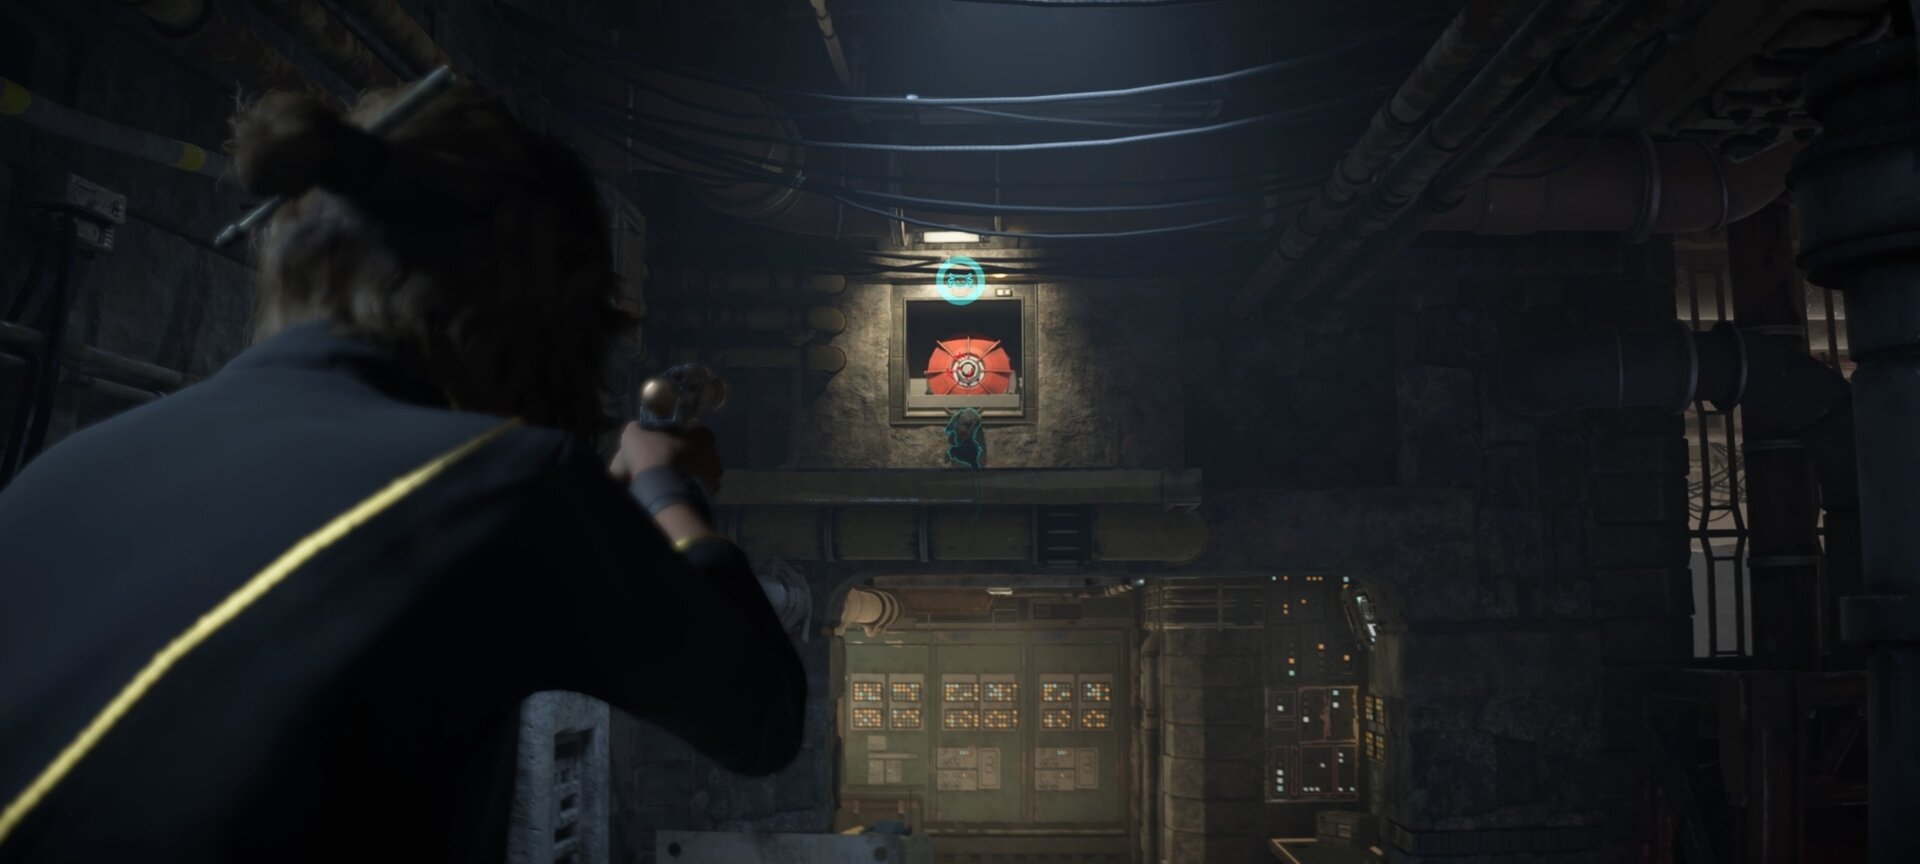
When you’re at the top, there’s a boulder on the other side of the room. Blow it up with your power blaster and have Nix hold open the now-revealed shutter. Shoot the power conduit to shut down the top fan.
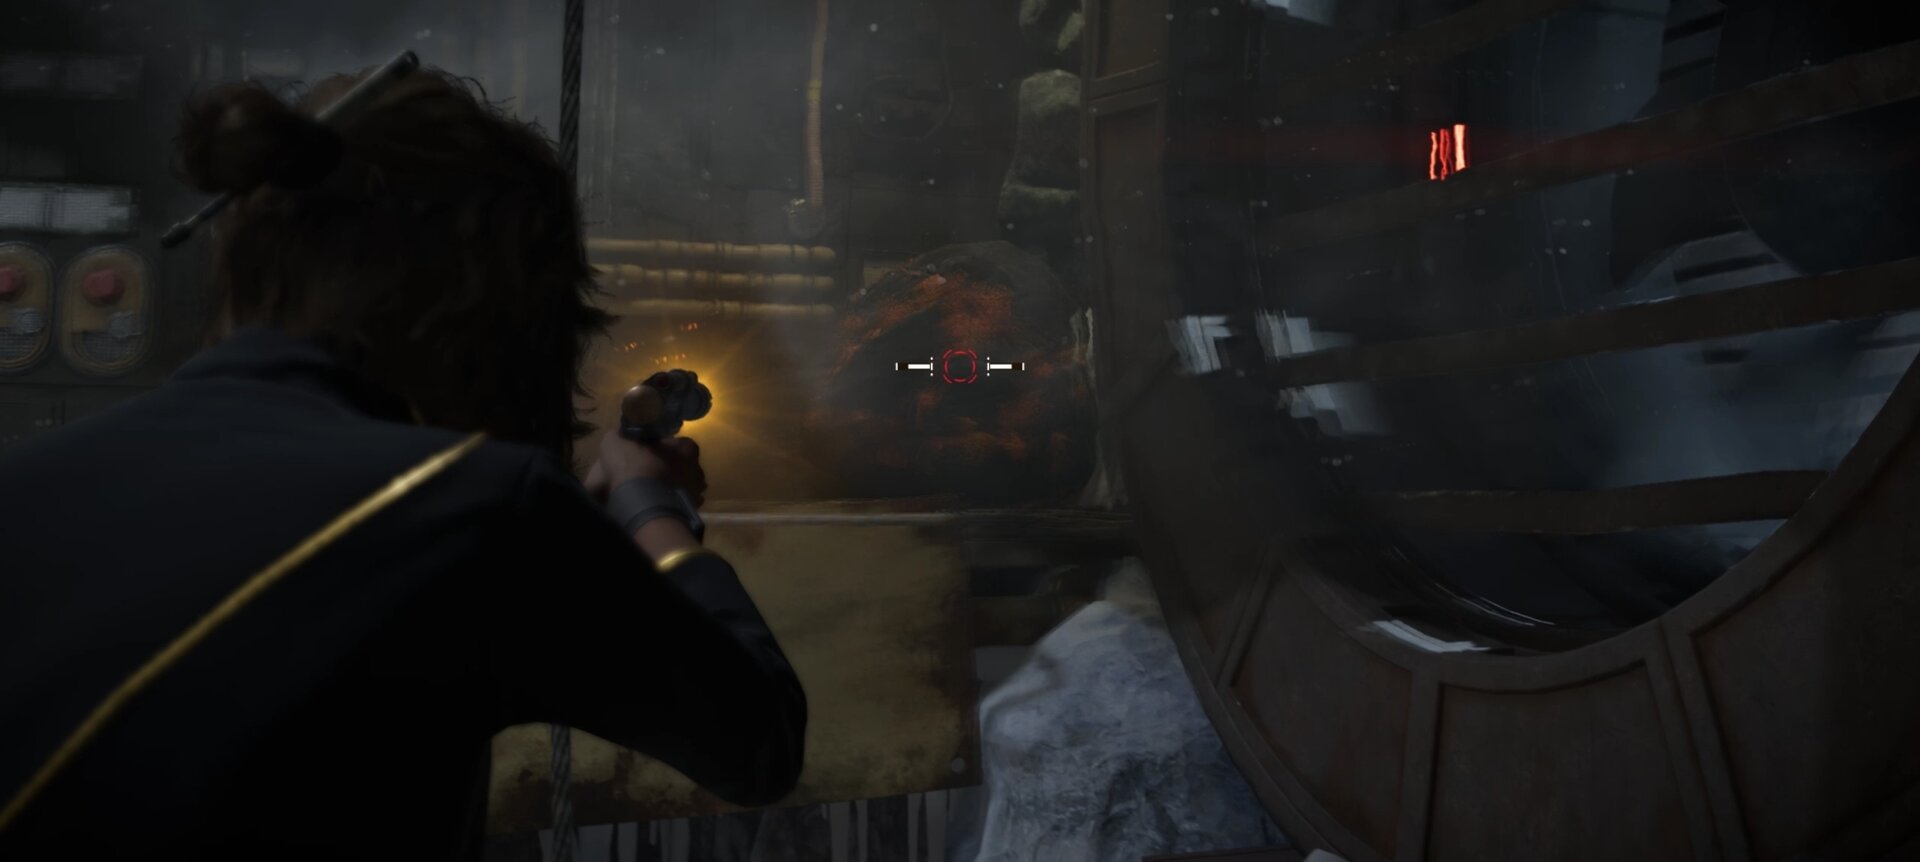
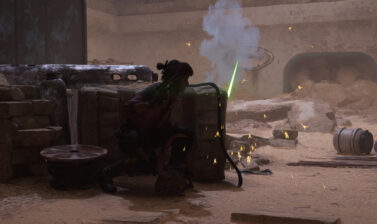
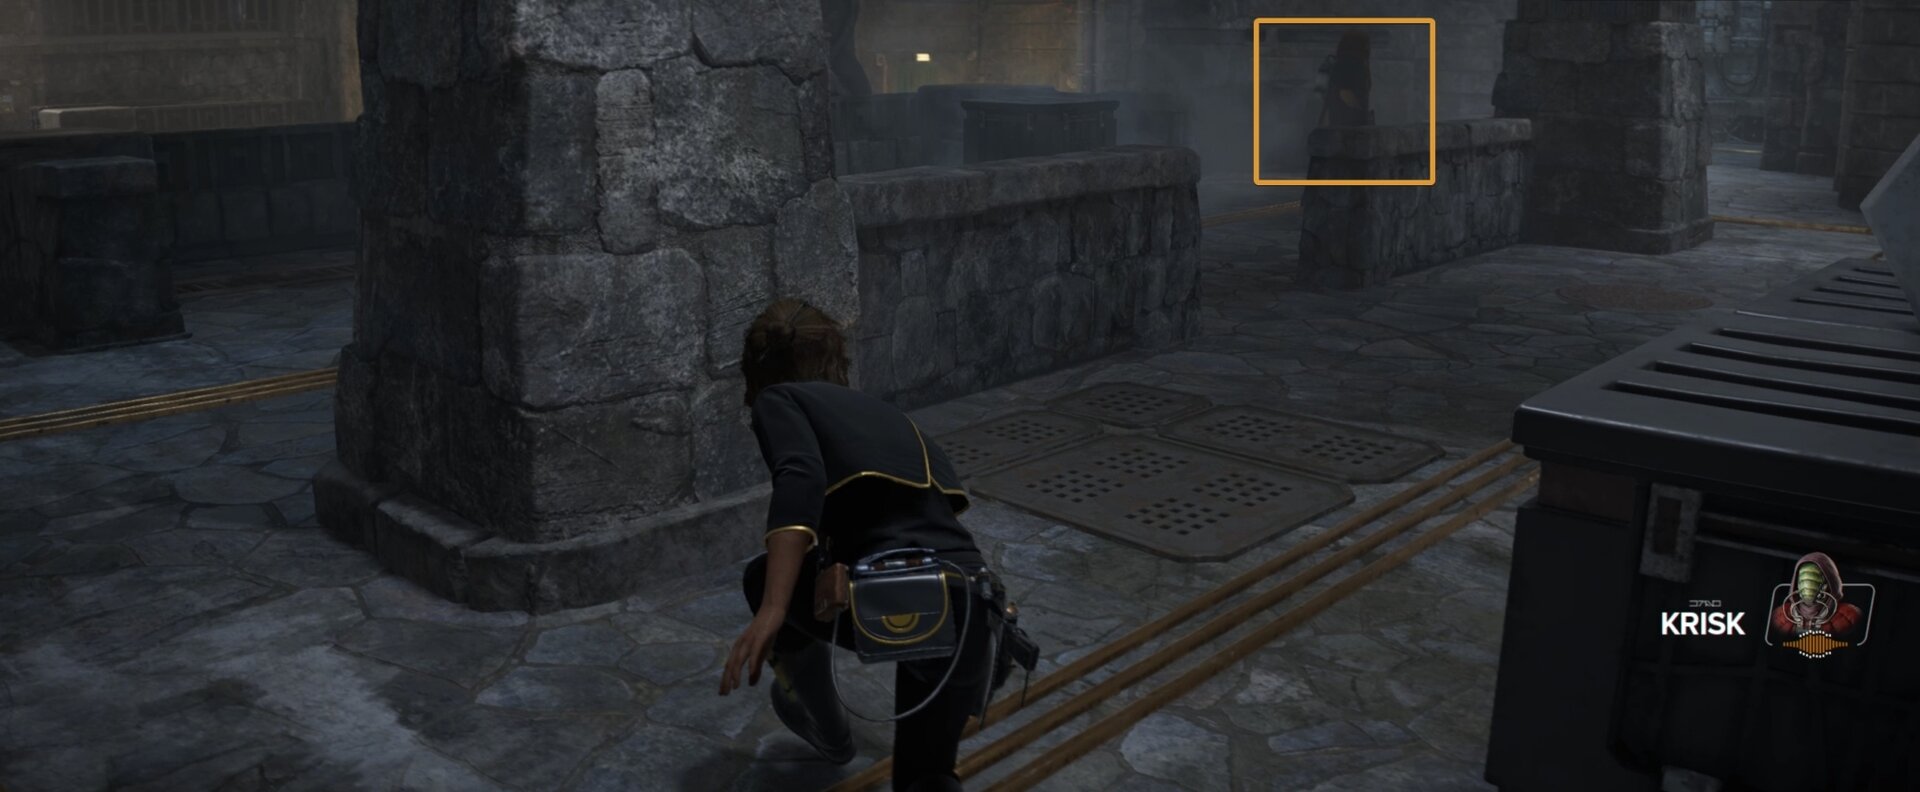
Jump across to the other side and plant Ank’s Explosive on the wall. With the wall down, take down the guard on the other side and go to the left.
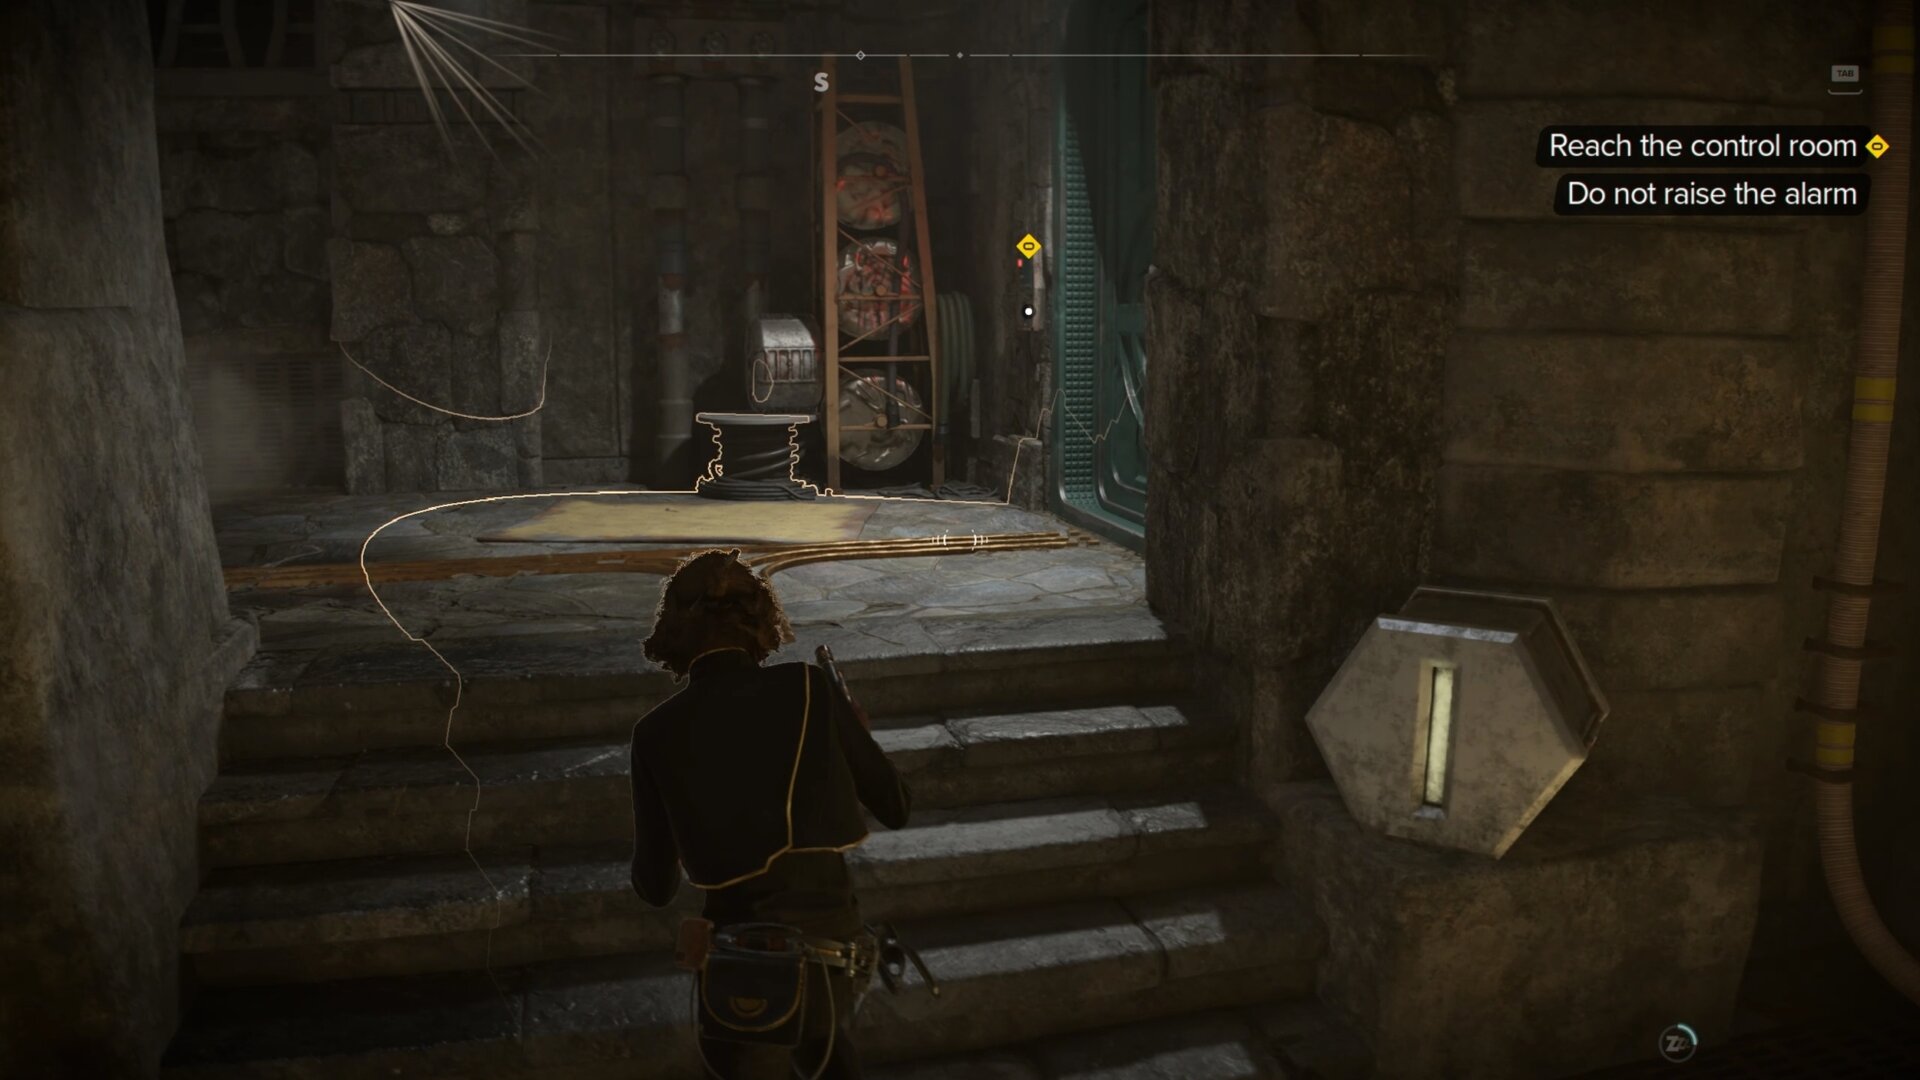
You’ll find a large chest containing credits on your left. Loot it and keep going forward and down a chute to begin infiltrating the stronghold.
Infiltrating the Stronghold
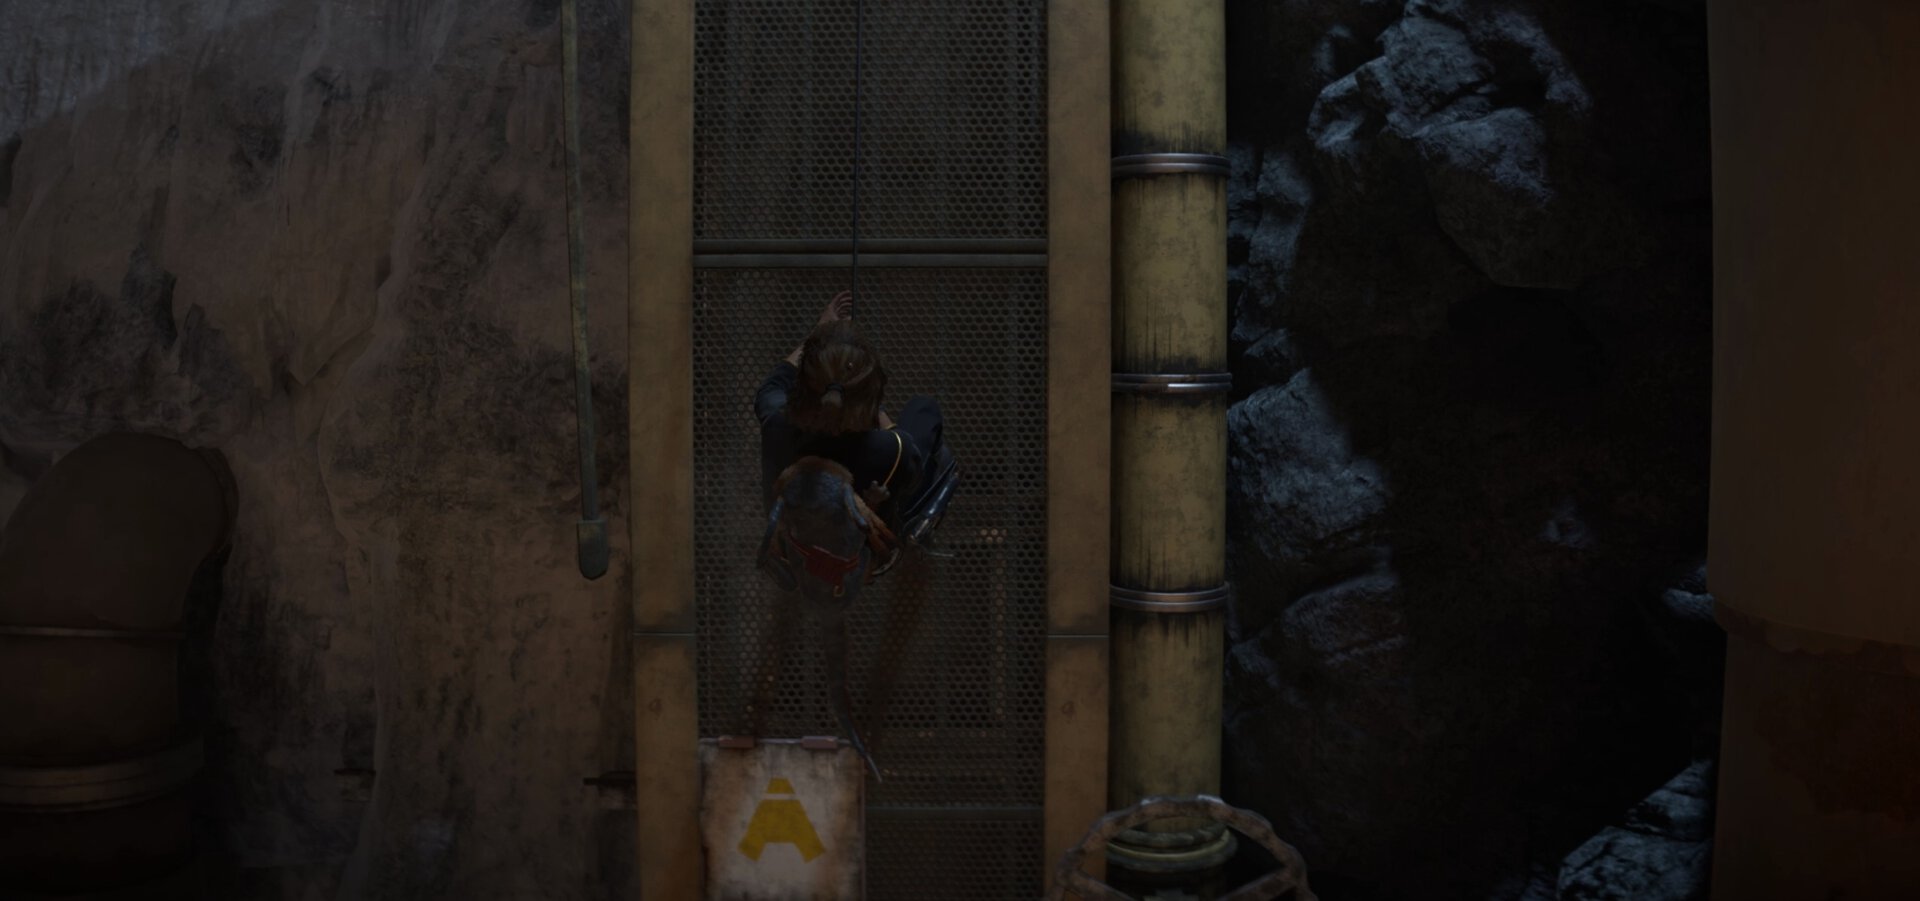
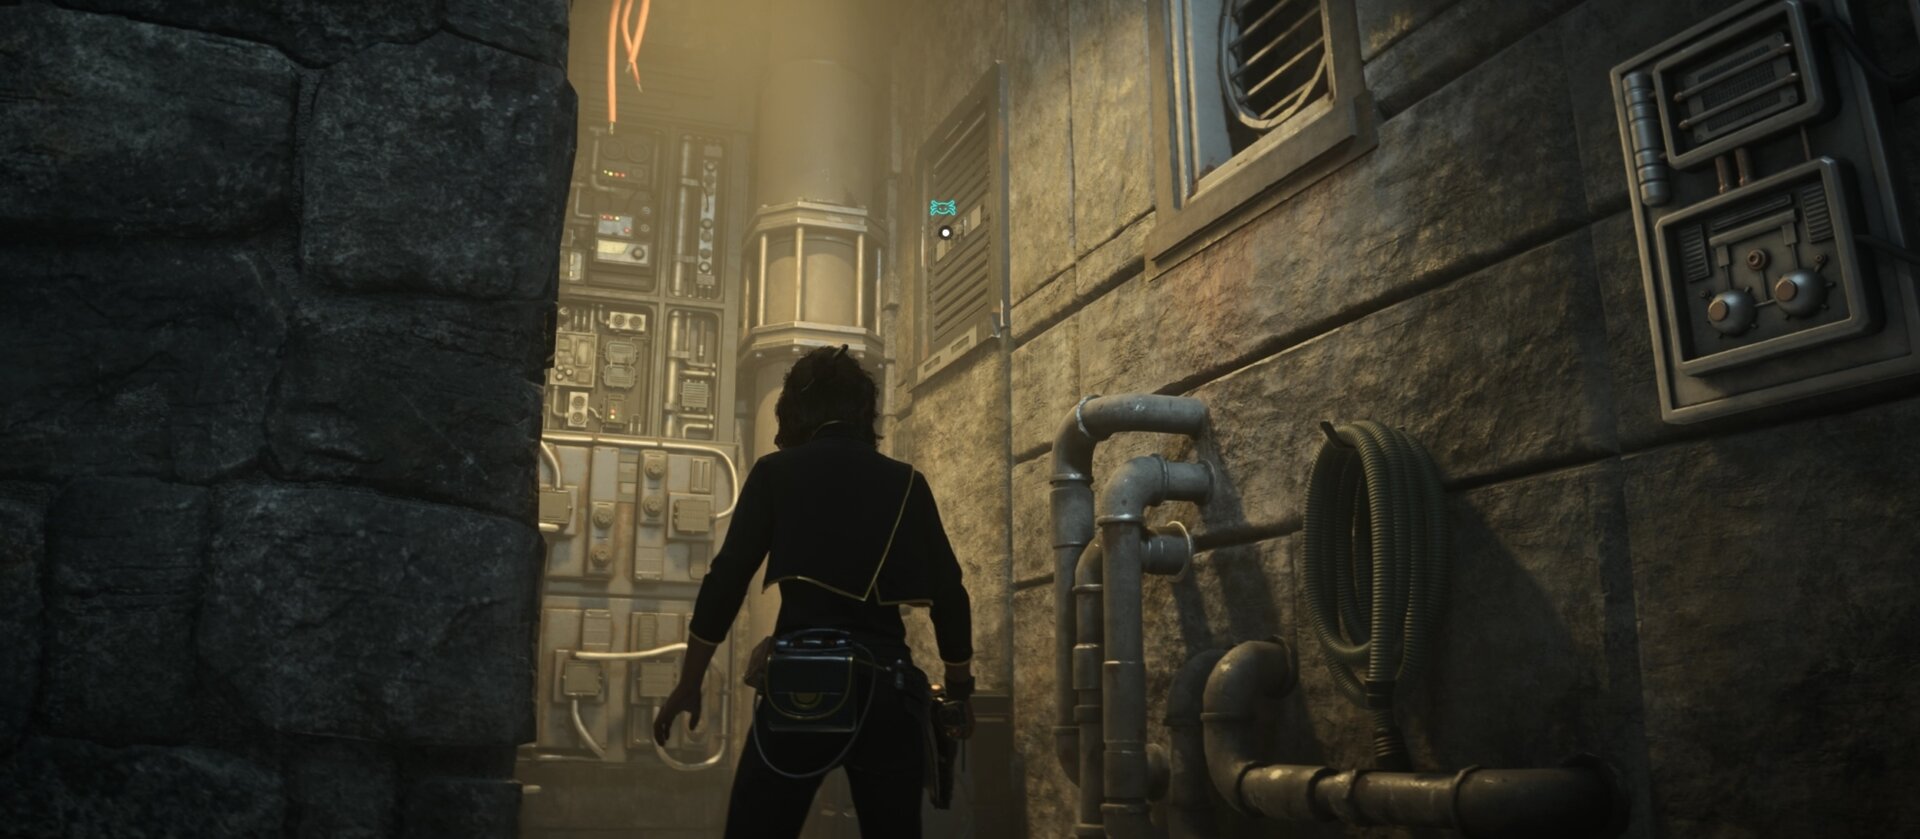
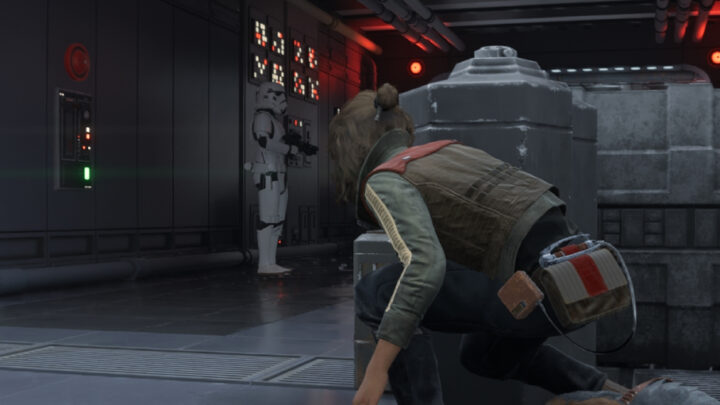
When you make it down the chute, turn left and climb the yellow grates to reach a vent. Climb through the vent and once you’re through, crouch and start sneaking as there are enemies ahead.
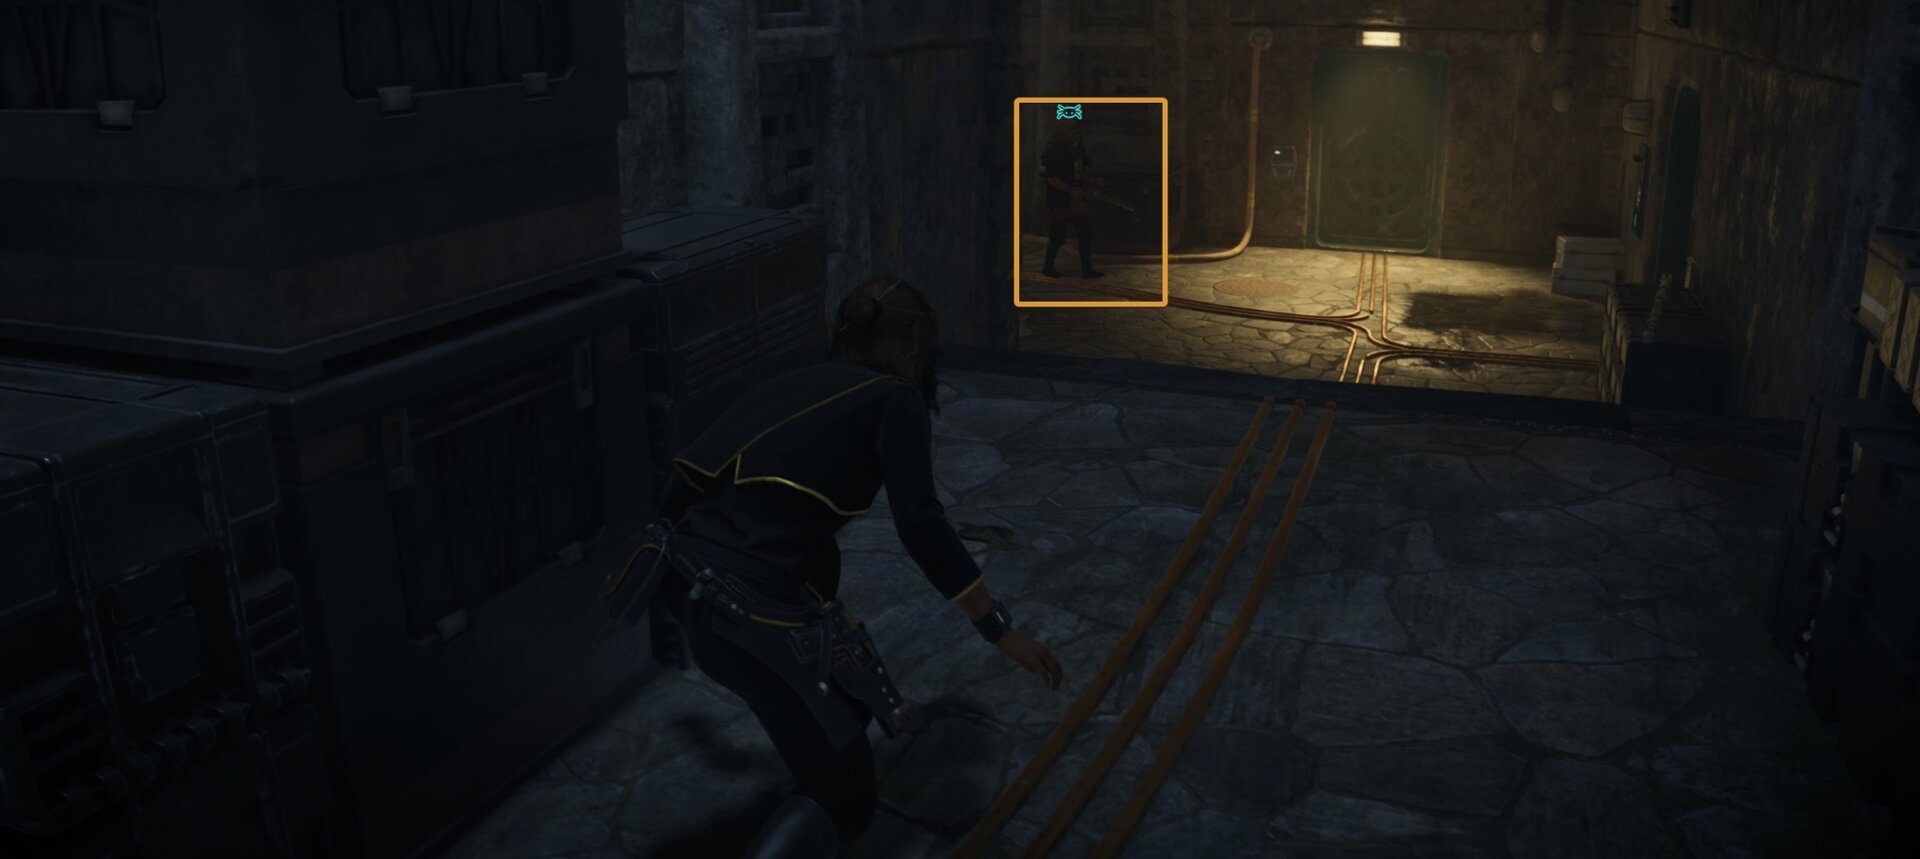
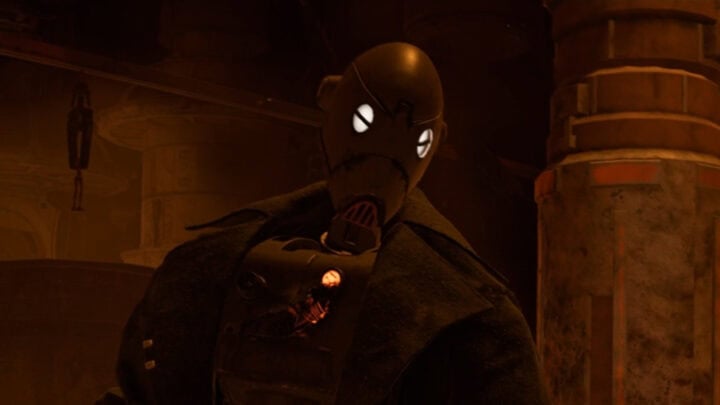
Start by taking out the first guard ahead of you. He’ll be patrolling the area and there are 4 guards and a droid nearby, it’s best to not alert them.

Make a right and you’ll find a corner where the patrolling guard will be out of view of the others. Knock them out then sneak behind the generators and have Nix distract each guard one at a time, knocking out each one as you do.
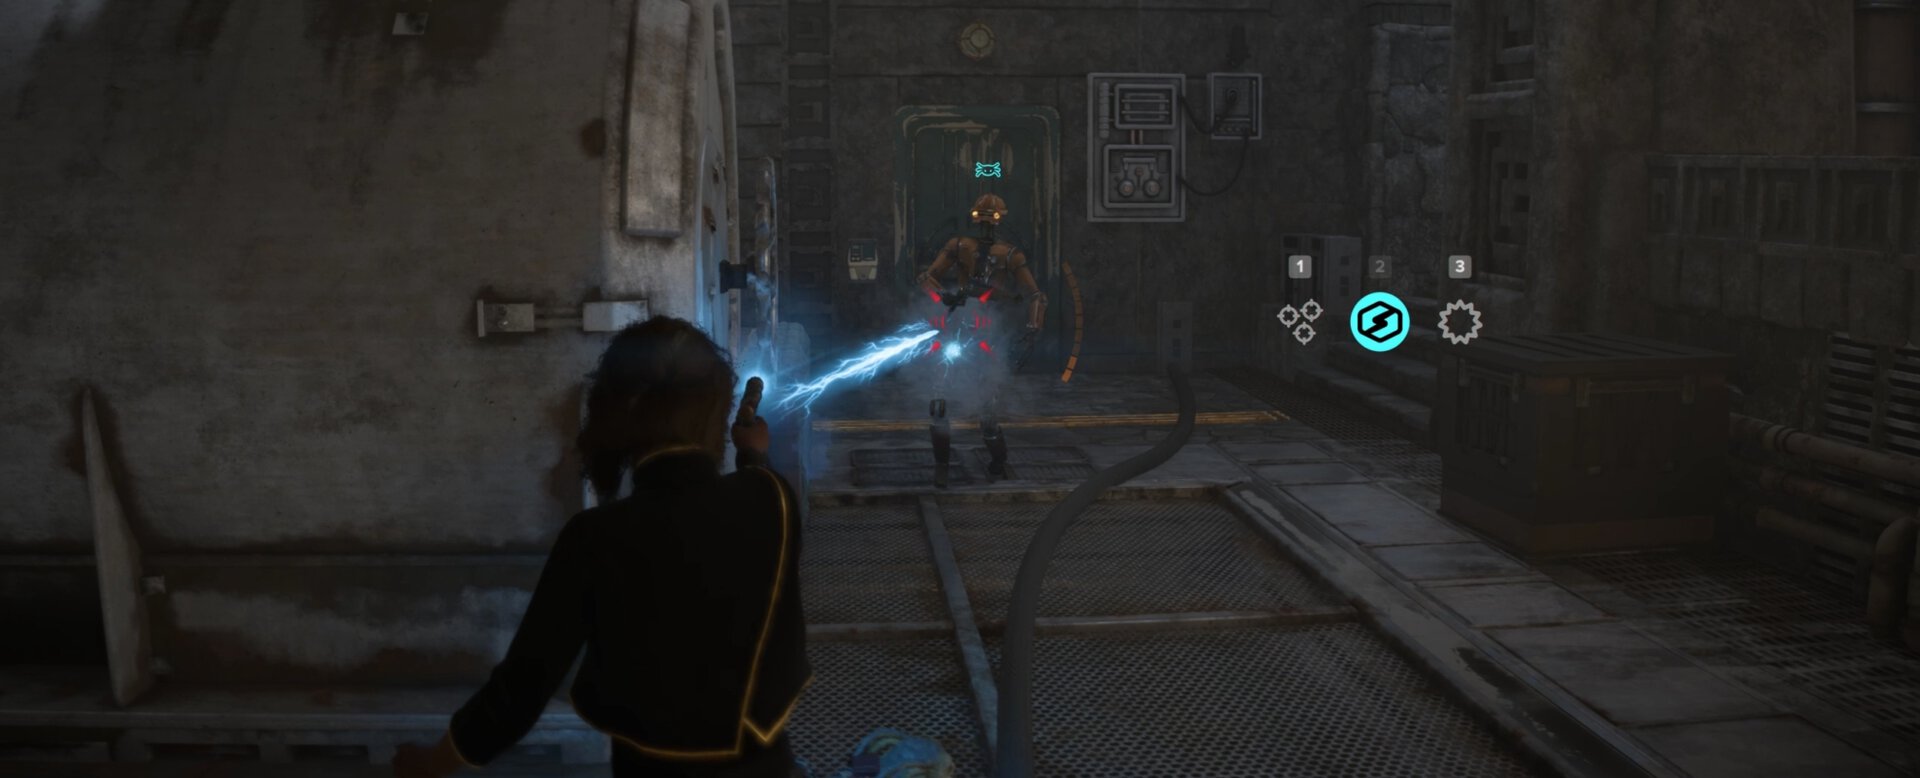
Once the guards are down, take down the droid with an Electro-Shock Prod (if you have it at this point) or shoot it with your Ion blaster.
On the east side of this room, you’ll find a locked door with a large chest behind it if you’re using Nix Sense. Don’t worry about this for now, you can get this later on in the level.
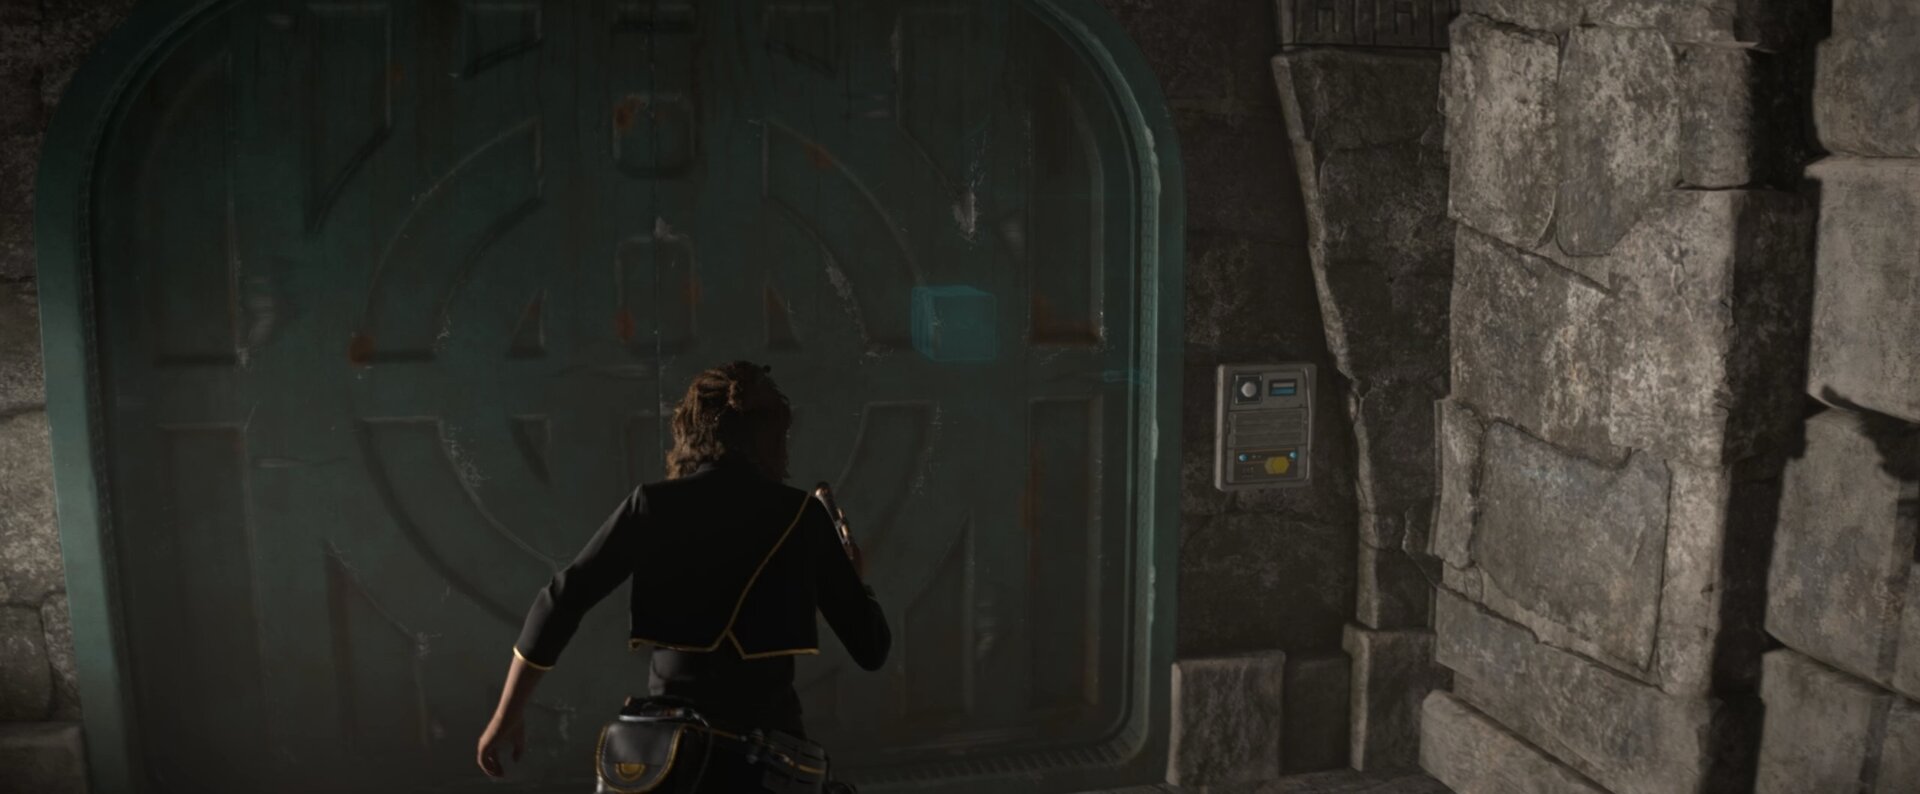
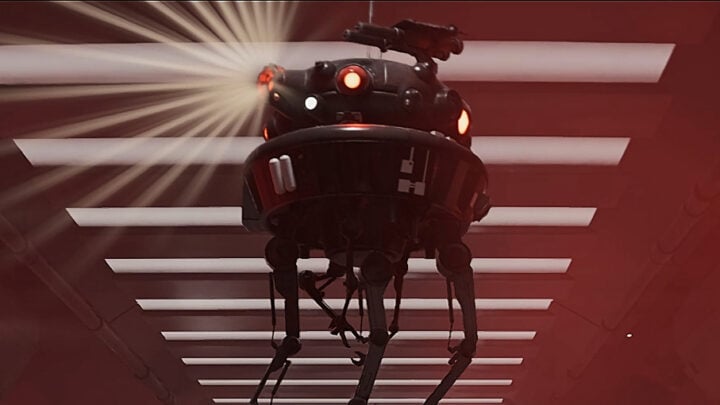
Blast the security camera guarding the door you need to get through, then lockpick the door open. Take down the single guard in the next room.
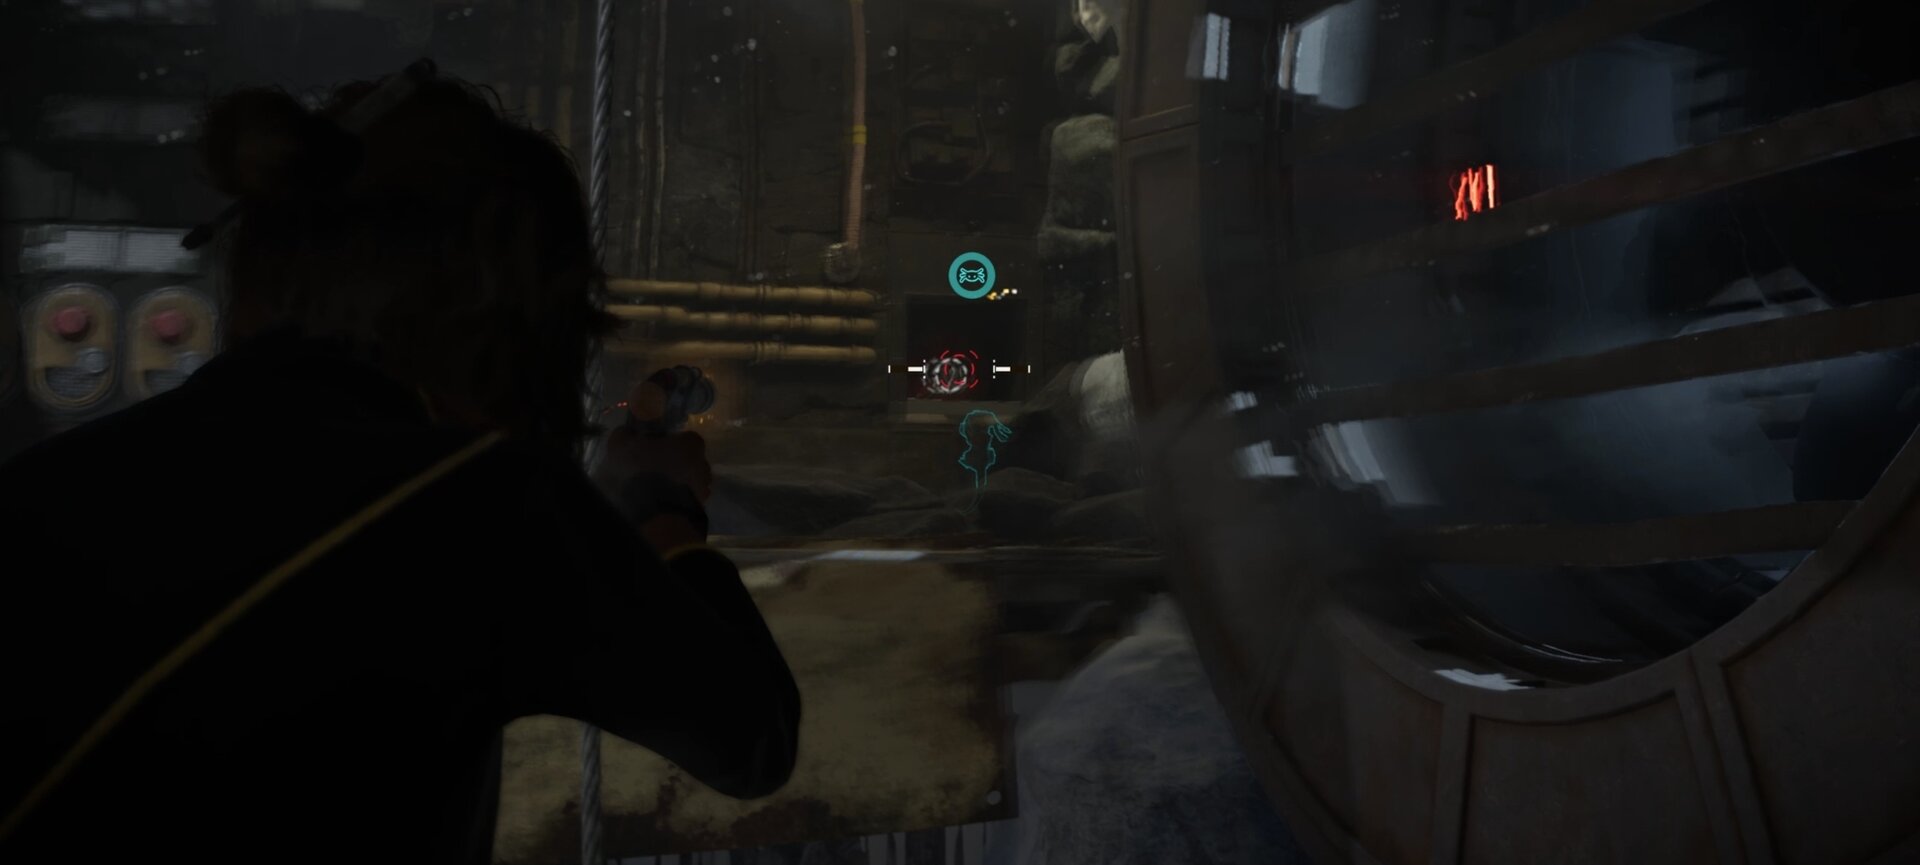
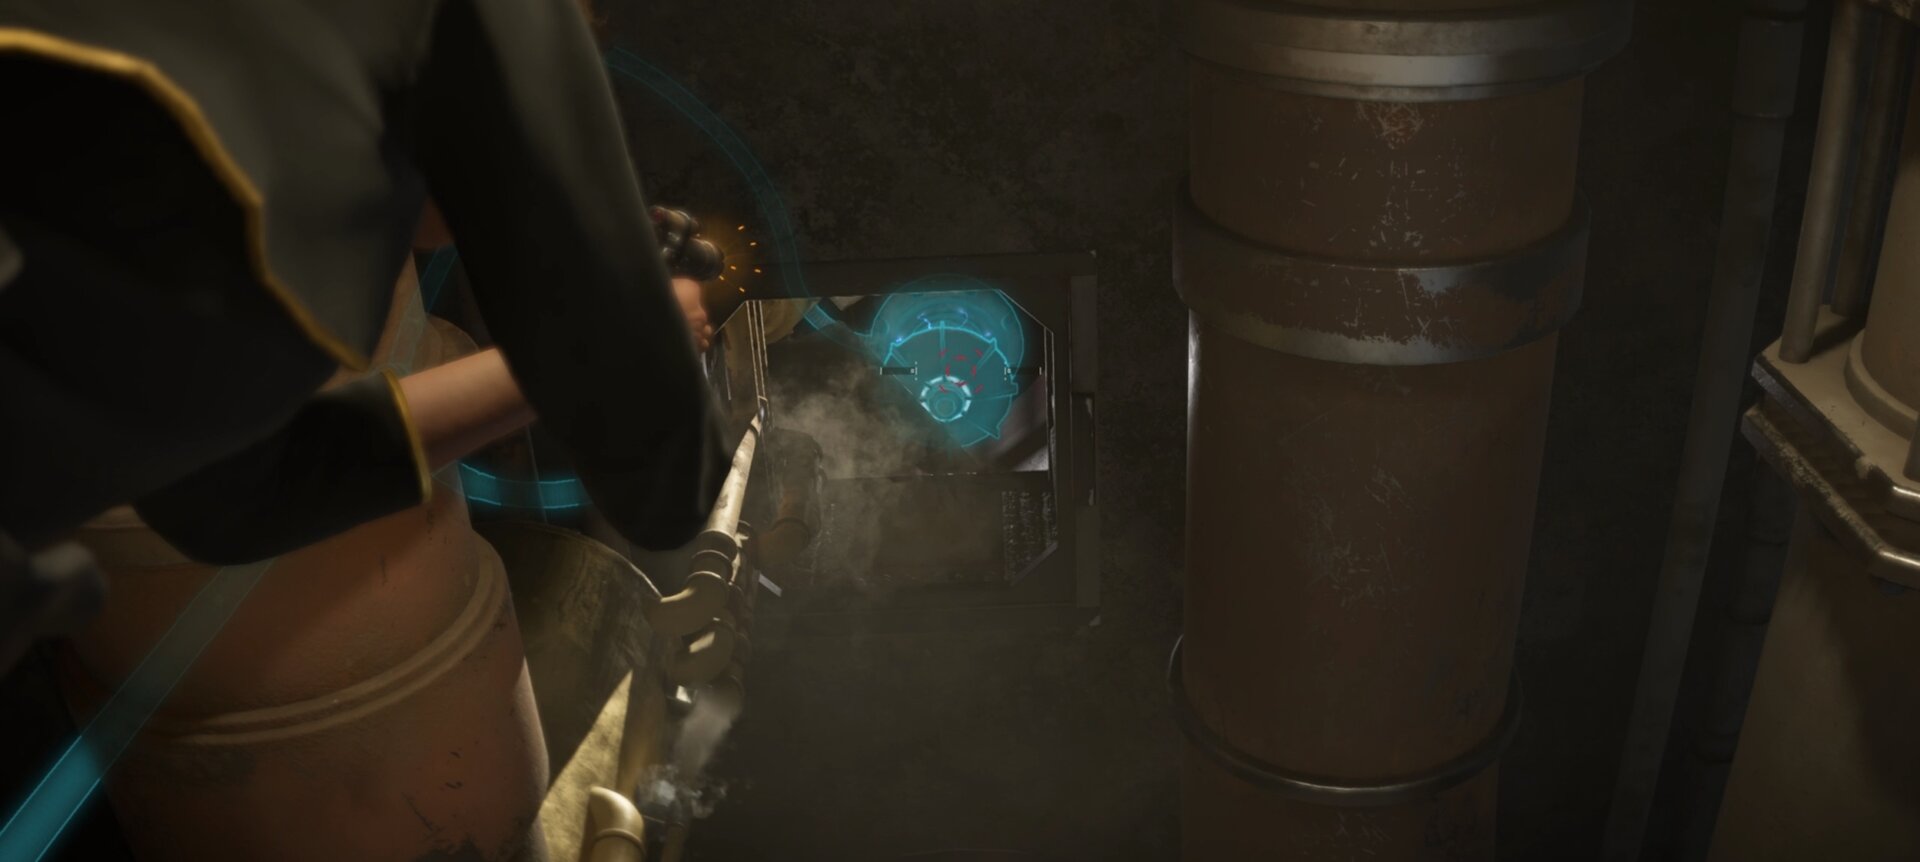
Your next objective is to take down the turrets, but you can’t do that with a ray shield blocking your way. Using your eyes or Nix Sense, follow the power lines leading to the ray shield to find their source.
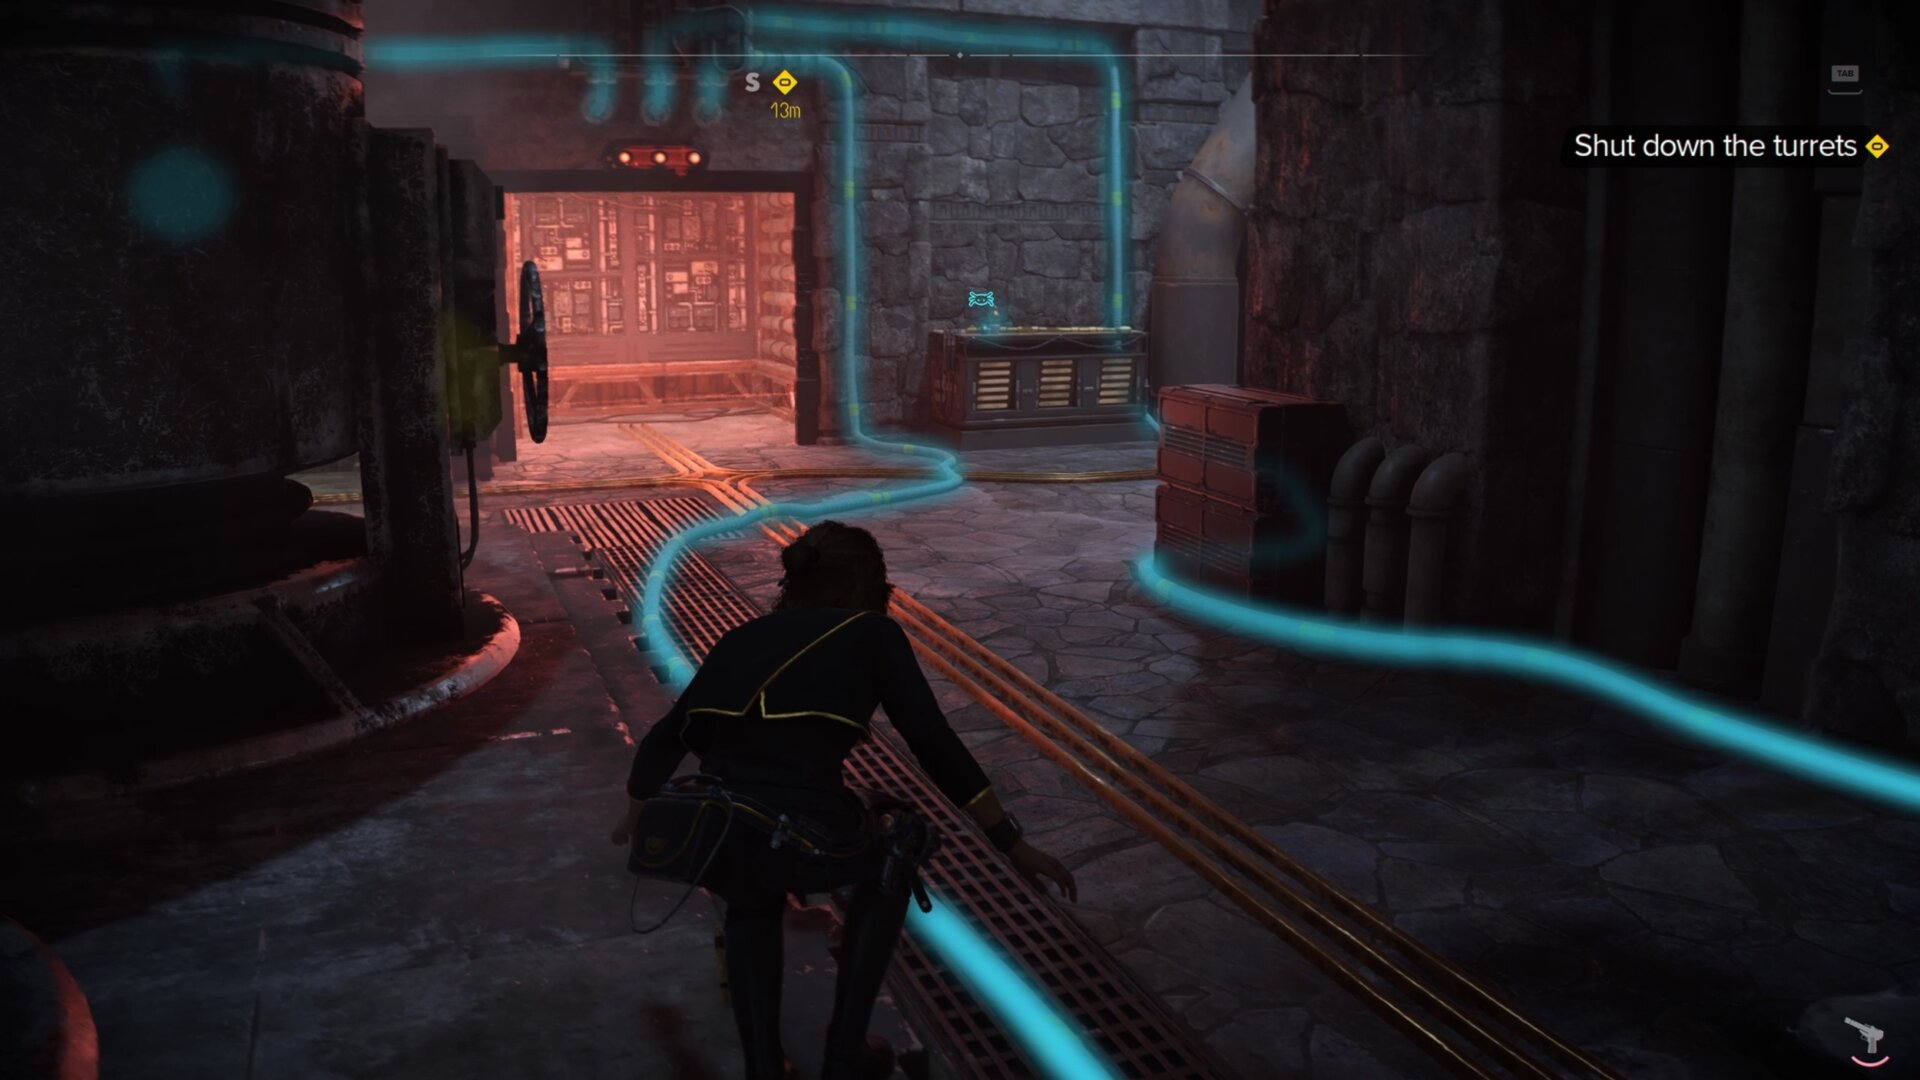
The first power conduit is to the left of the ray shield, simply shoot it then climb up some grates to the right of the ray shield. You’ll reach a platform where you can shoot another conduit behind a shutter across the room.
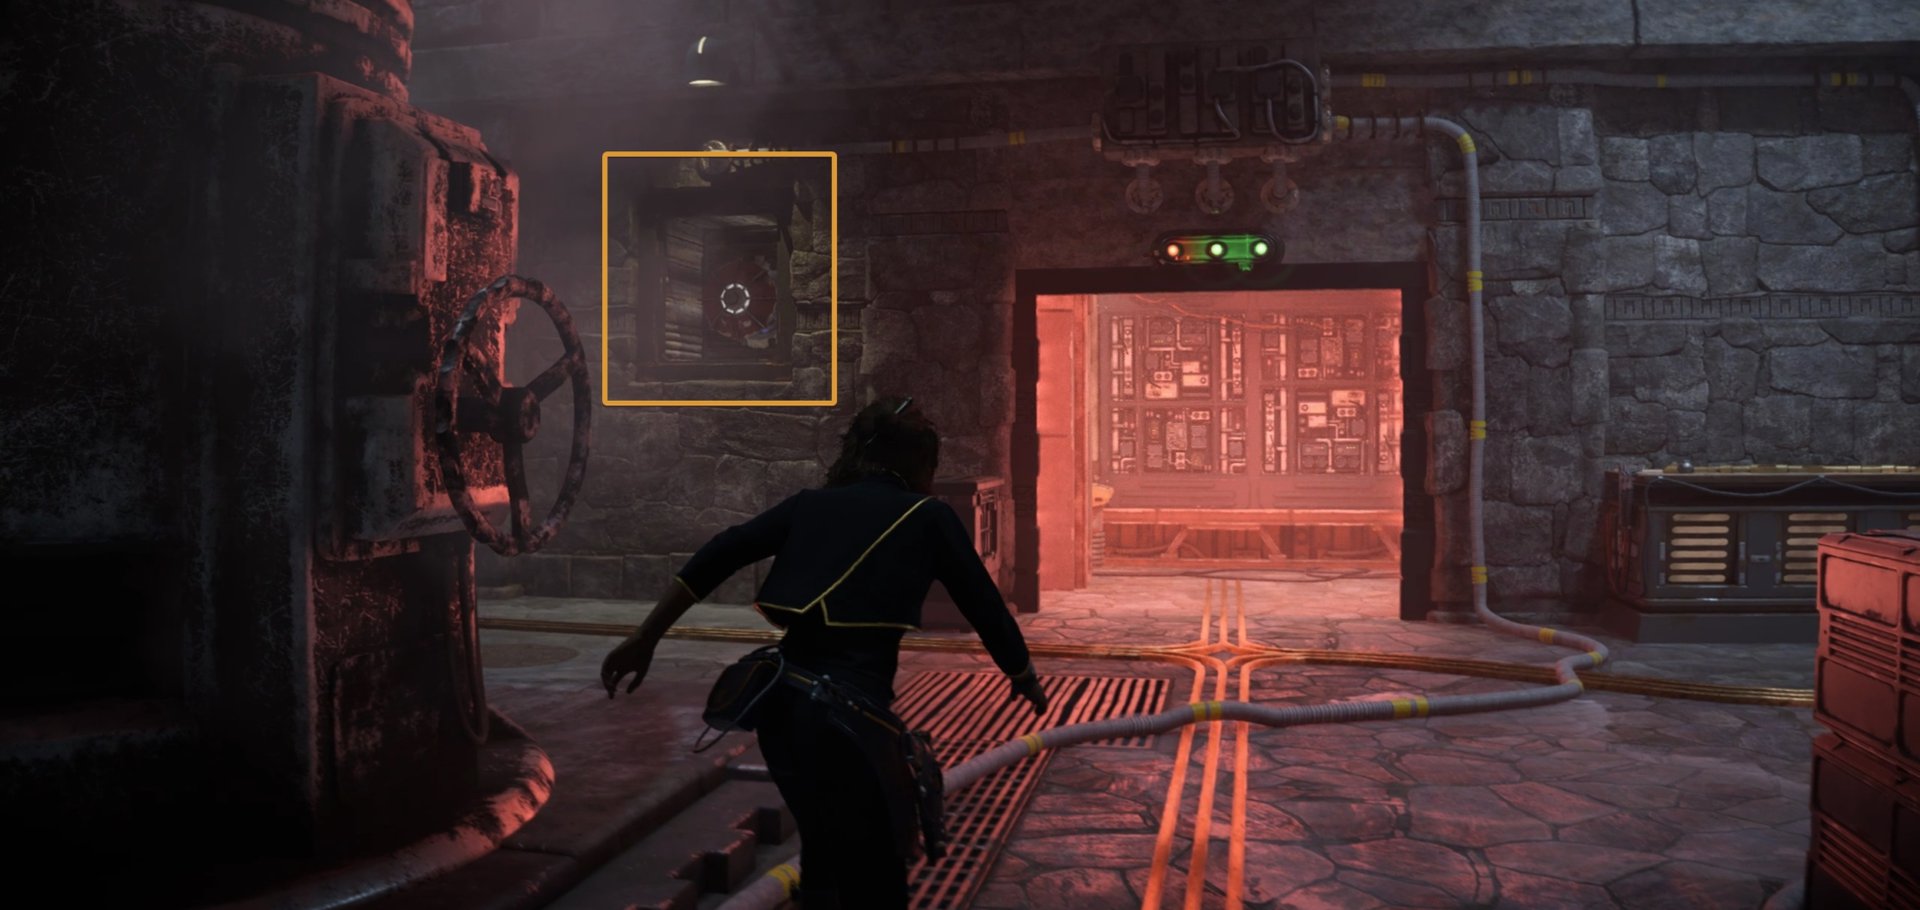
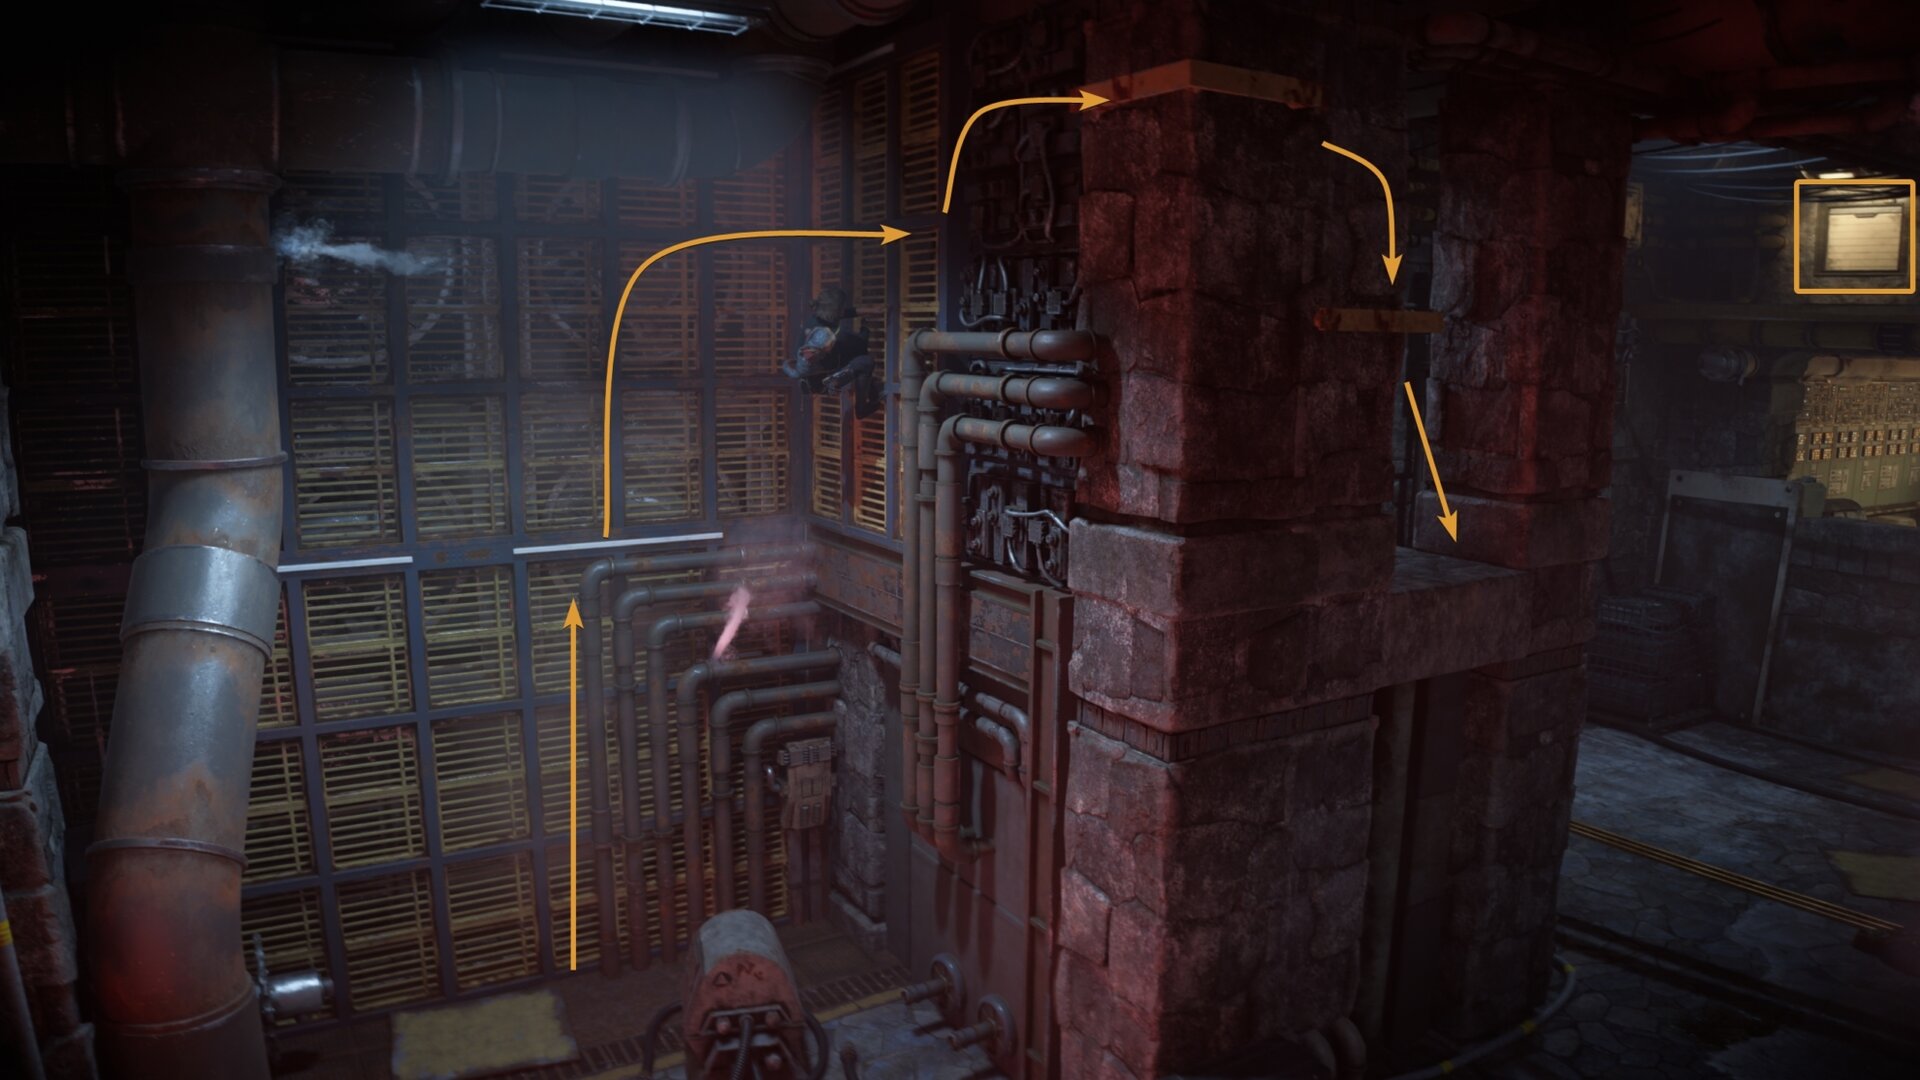
For the last power conduit, have Nix deploy a ladder and climb up. The last power conduit will be in a square hole above you. Shoot it and slice the computer in the control room to shut down the turrets.

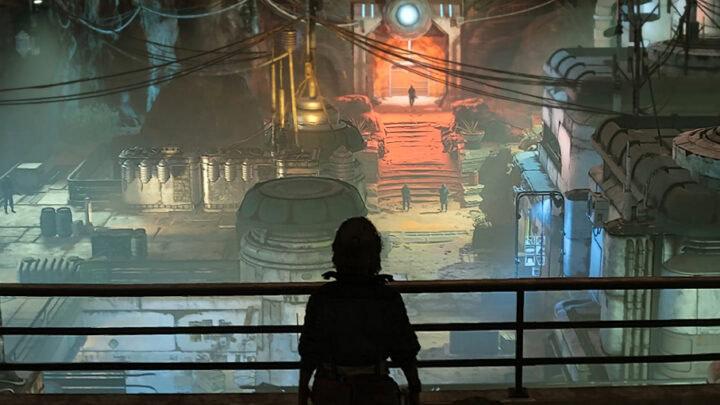
Securing the Origin Strand
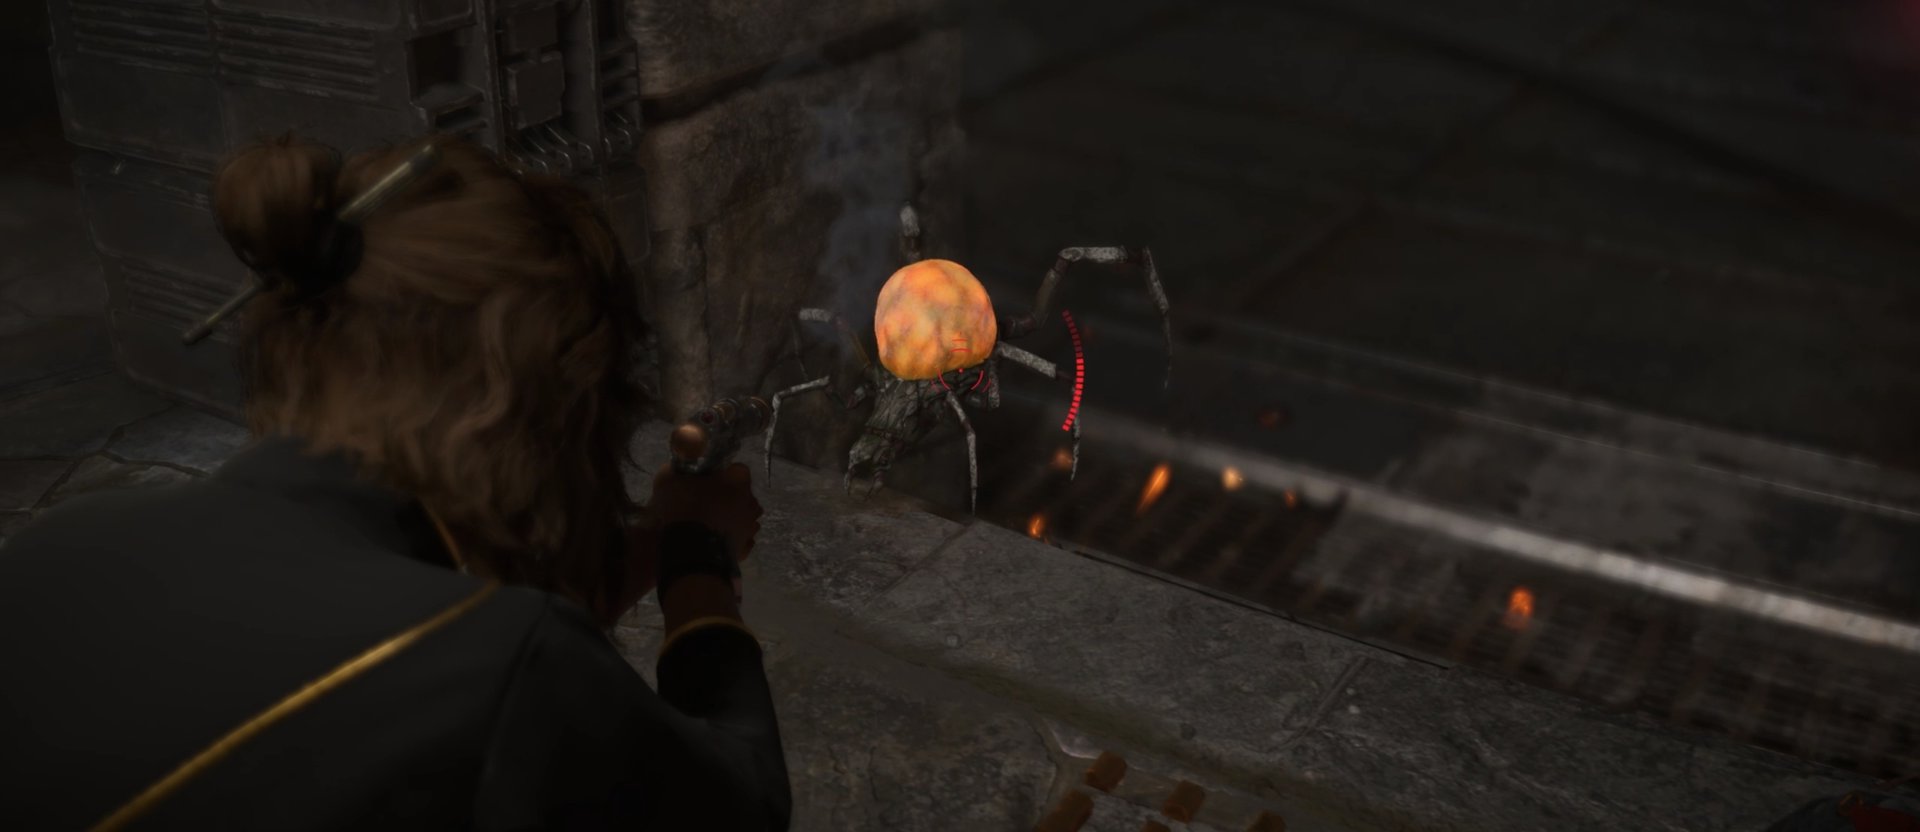
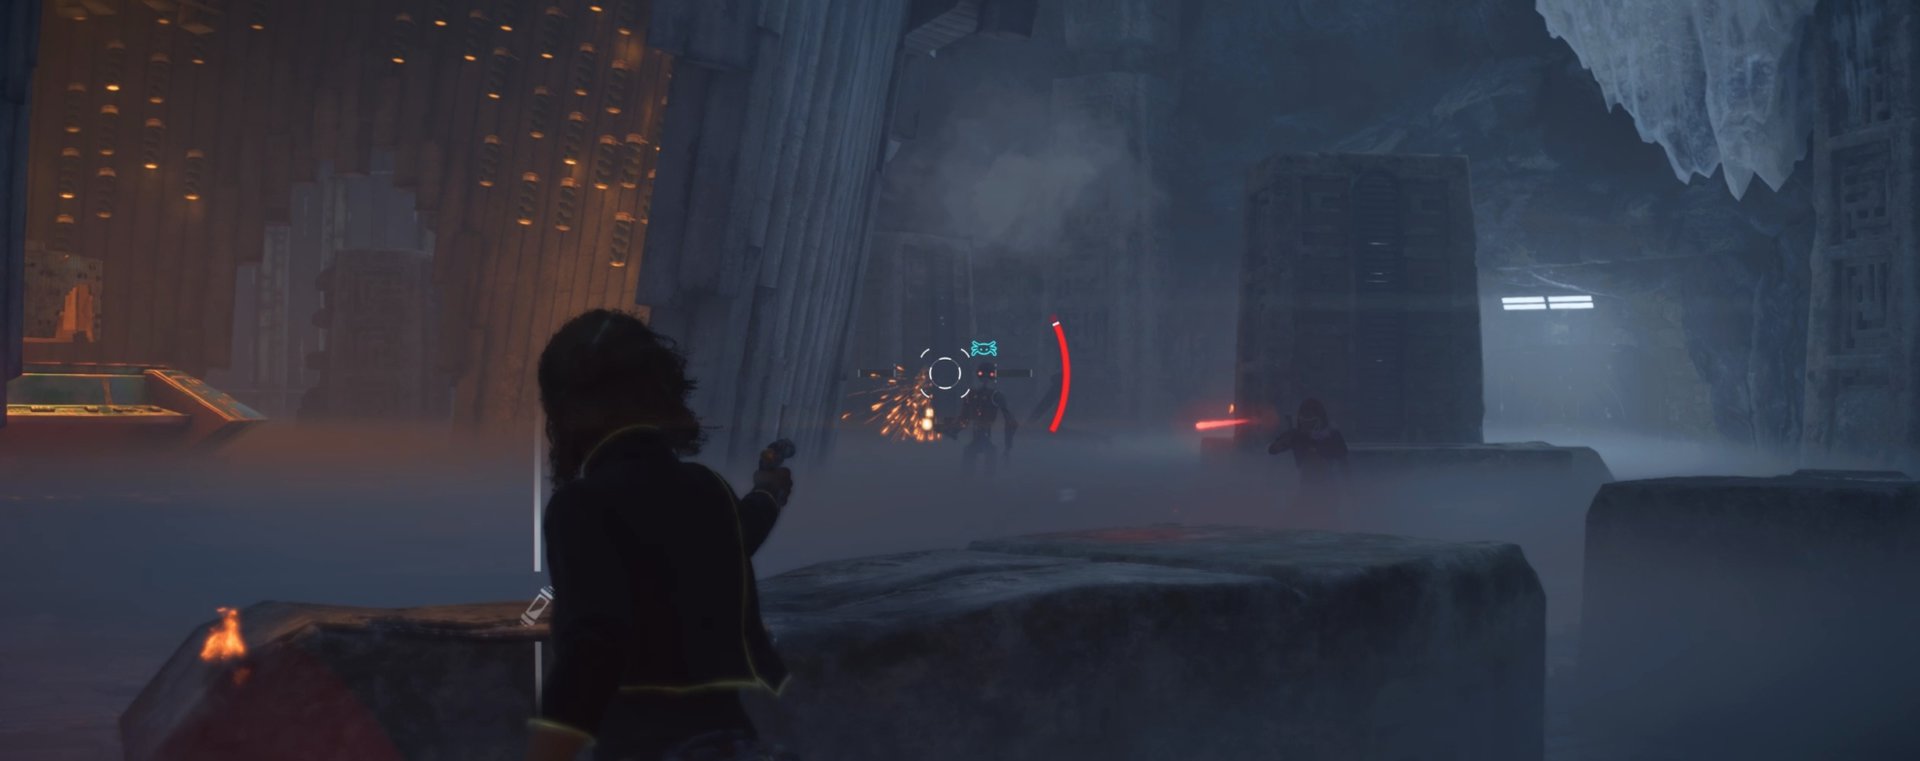
The alarm will sound and chaos will break out in the stronghold. Exit the room and you’ll enter combat with the Ashiga and their insect pets.
Shoot these insects before the get to you as they’ll explode on you if they get too close. If you find one near you, simply run to avoid the explosion.
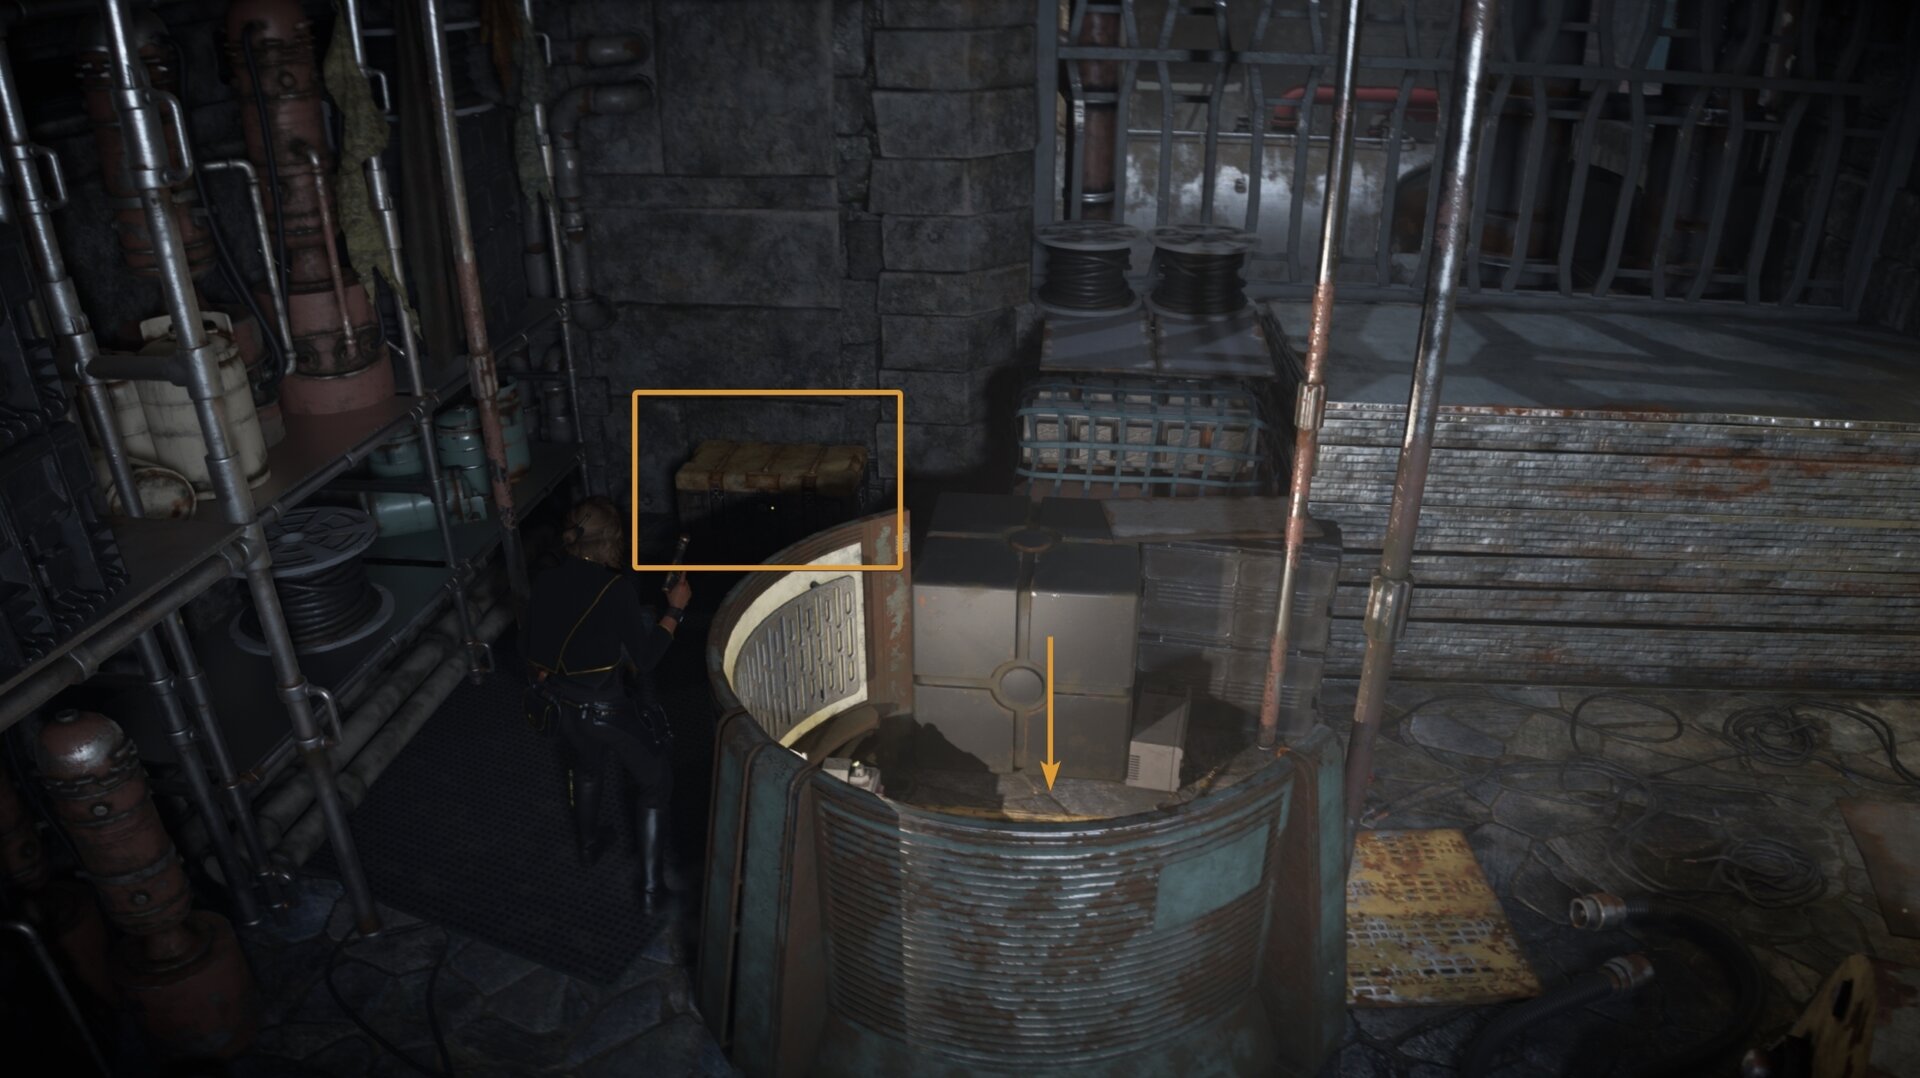
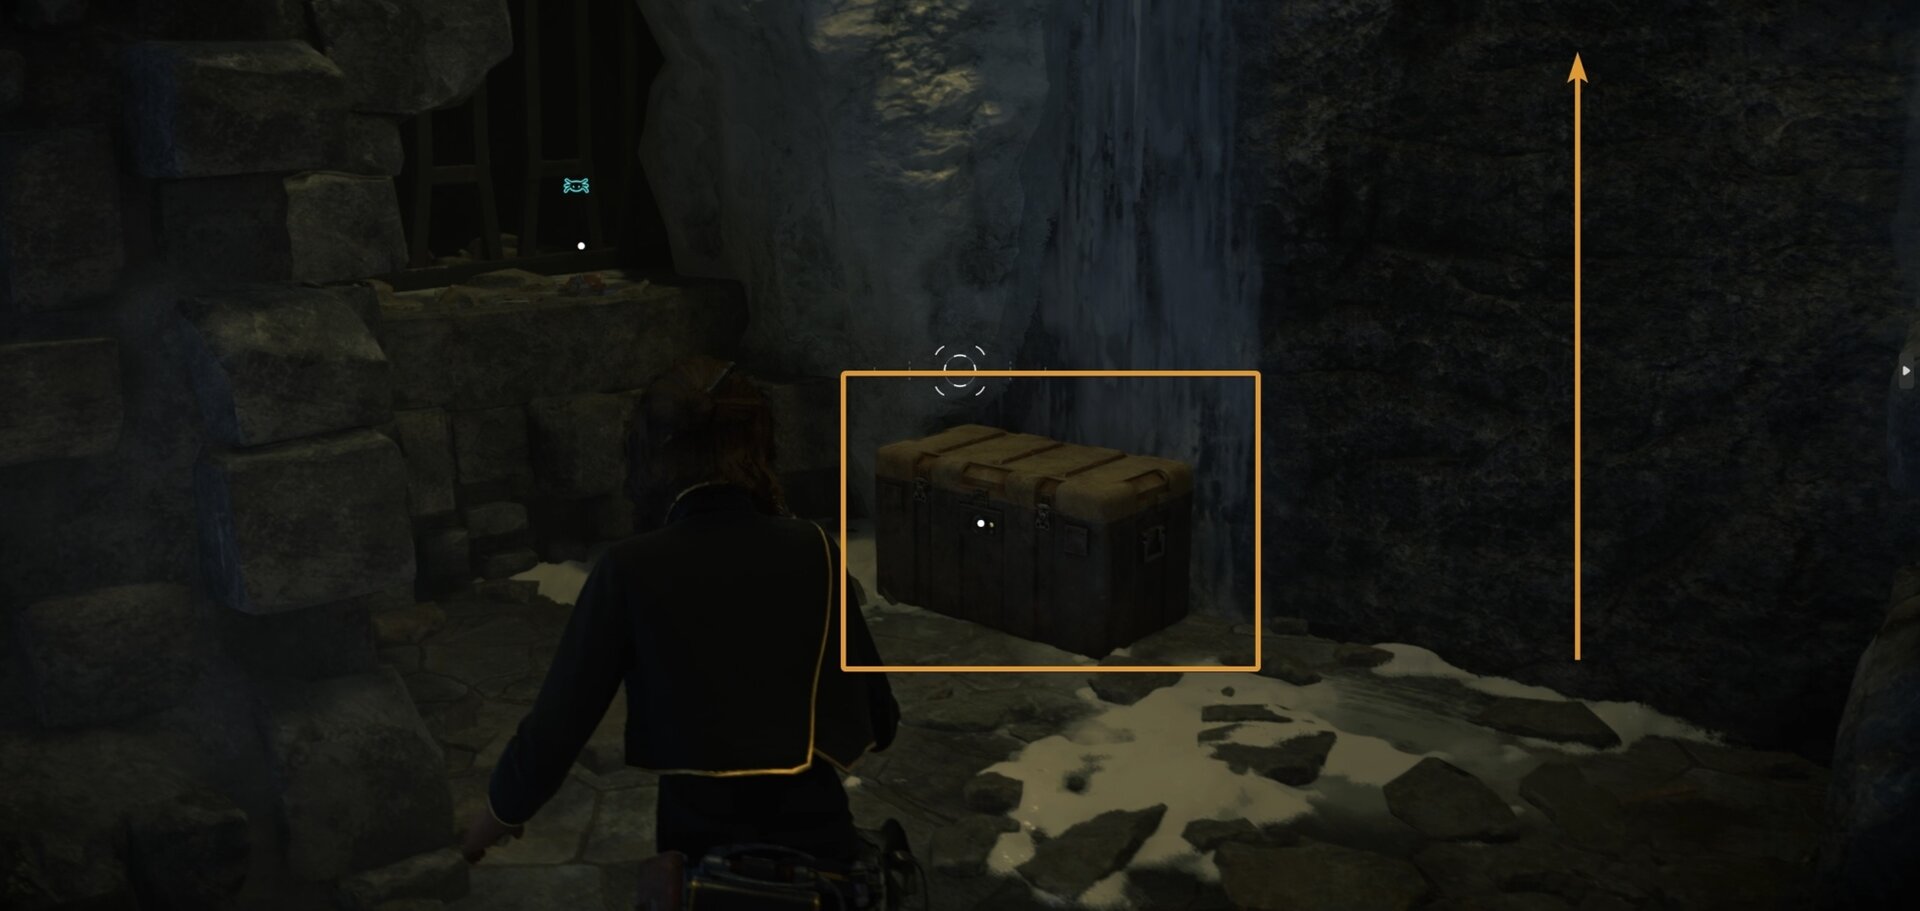
Take out all the insects and Ashiga Clan agents in the room. If you recall that locked door on the east side, return there and open the door. Before jumping down the hole, be sure to open the large chest in the room.
While this is going on, you’ll learn that Crimson Dawn is after the Ashiga Clan’s origin strand which can determine the outcome of their entire hive. Ank is not fine with this and she wants you to retrieve it before Crimson Dawn does.
Once you’re down the hole and in the air ducts, follow the path and you’ll reach the Cryochamber. This room is packed to the brim with Crimson Dawn members you’ll need to defeat to secure the origin strand.
After retrieving the origin stand, go through the red door to the north and make a right. Loot the large chest for some credits and climb the wall right next to it.
Go through a crack in the wall and climb into the vent above you to the right. You’ll reach a chute with a ladder that will lead you back outside and close to the throne room.
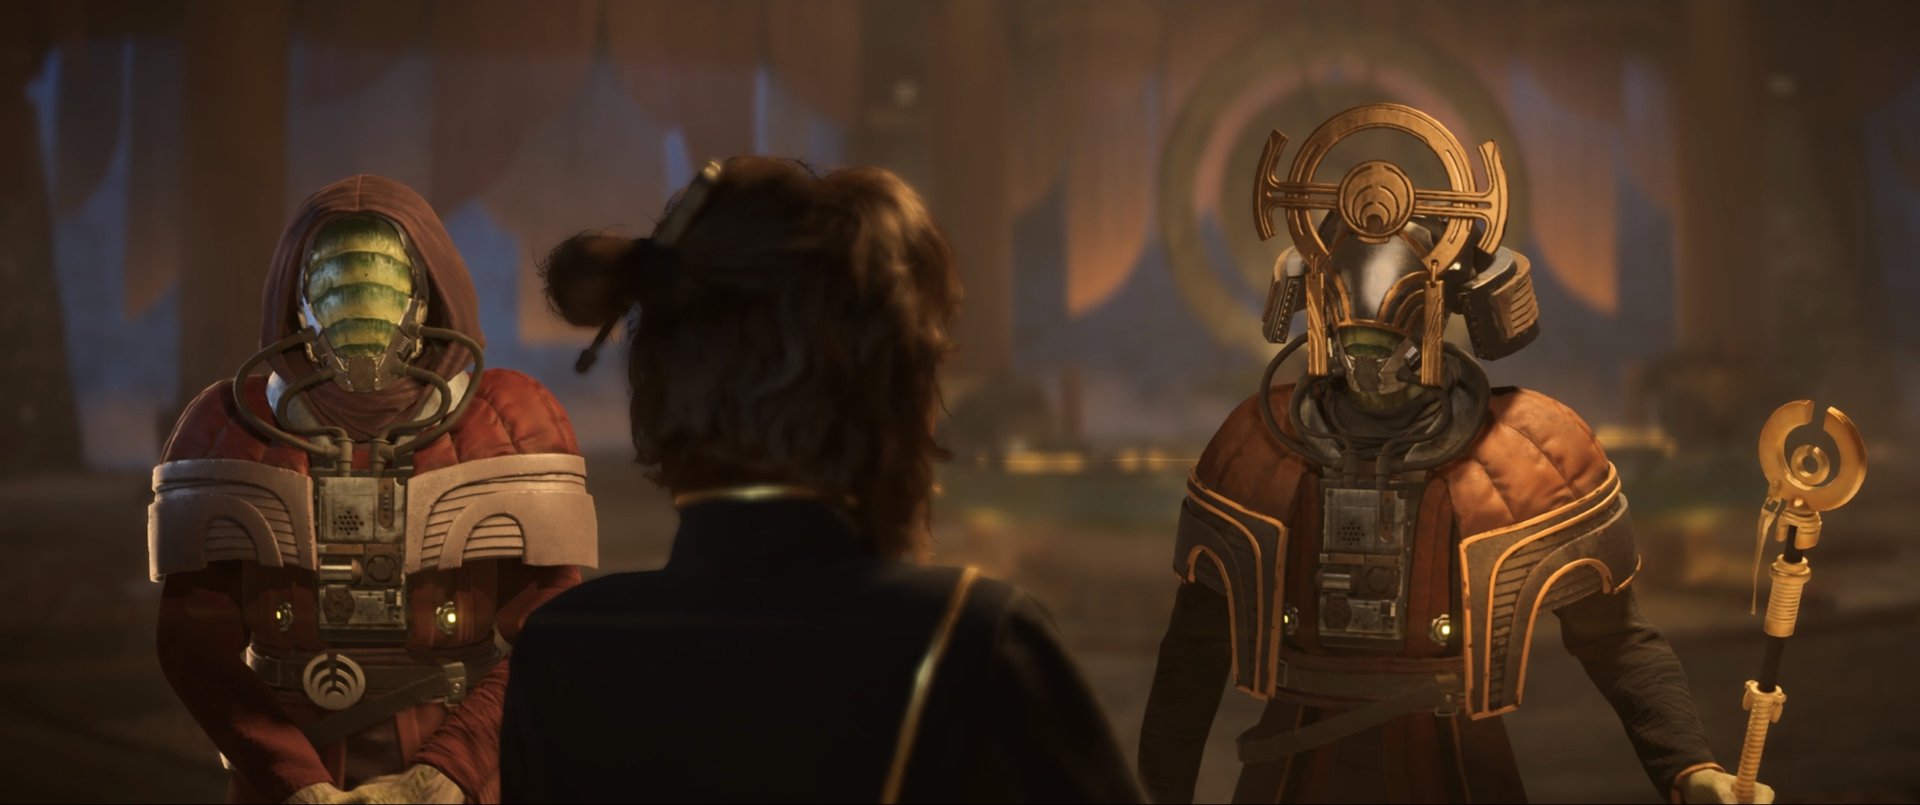
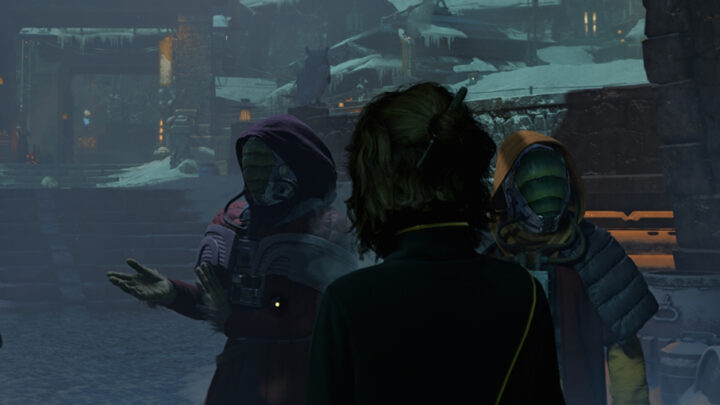
Once you’re in the throne room, a cutscene will start and you’ll have to make a tough choice. You must choose who is to be queen of the Ashiga Clan and determine the future of their people.
Siding with Krisk grants you reputation with Crimson Dawn while siding with Queen Ashiga grants reputation with the Ashiga Clan. Make your choice and Ank will be in the Trailblazer as part of the heist crew.
After you are done with The Hive, you can continue with the main story quest The Heavy, or take a break to complete the side quest The Broker. Our walkthrough will give you all of the possible outcomes from the important decision you have to make during this one.
UNDERWORLD Quest Walkthrough
Sneaking through the Pyke District and Gorak’s Base on Toshara will definitely test your mettle far more than infiltrating the Zerek Besh stronghold on Canto Bight. To survive this you’ll need to lay low, act with caution, and act without hesitation.
NEW TRICKS Quest Walkthrough
This guide will show you how to steal the Ion Blaster Part in Star Wars Outlaws. Whether you’re stealing from the Pykes or Crimson Dawn, you’ll know where to go and what to watch out for.
FALSE FLAG Quest Walkthrough
This guide will show you how to infiltrate the Imperial Fueling Station in Star Wars Outlaws. You need to find a Data Vault inside the Imperial Station and delete some data to frame the Pyke Syndicate, but that is easier said than done.
THE WRECK Quest Walkthrough
This guide will show you how to get the Nav Computer in the Star Wars Outlaws main mission, The Wreck. Waka needs this final component to fully repair the Trailblazer and let it travel throughout the galaxy once more. The guide also gives you the locations of all treasure chests in the area.
THE SAFECRACKER Quest Walkthrough
This guide will show you how to complete the quest, The Safecracker, in Star Wars Outlaws. Kay needs to find a safecracker named Ank on Kijimi, however, the Ashiga Clan has a strong presence on the planet and it might make the search for Ank difficult.
BREAKOUT Quest Walkthrough
This guide will show you how to break out the Safecracker, Ank, in Star Wars Outlaws. After returning the relic to the Ashiga Clan, Krisk offers a proposal to help you get Ank back for your needs.

THE HEAVY Quest Walkthrough
This guide will show you how to complete the Star Wars Outlaws quest, The Heavy. Kay is in search of a potential crew member for Jaylen’s heist mission, though tracking down The Heavy will have you traveling to Tatooine.

PARTNERS Quest Walkthrough
This guide will show you how to complete the Star Wars Outlaws quest, Partners. After rescuing Hoss from the Tuskens, you must meet up with him at Mos Eisley on Tatooine, but trouble seems to follow Hoss around.
JABBA'S FAVOR Quest Walkthrough
This guide will show you how to complete the quest Jabba’s Favor in Star Wars Outlaws. Jabba needs you to find the identity of a spy in his palace, and the only way to determine this is to access the databanks of Fort Sunfire on Tatooine.
THE DROIDSMITH Quest Walkthrough
This guide will show you how to complete the quest, The Droidsmith, in Star Wars Outlaws. Kay is in search of a Droidsmith to join her crew that can help with Jaylen’s heist on the Zerek Besh stronghold on Canto Bight.

THE SCAVENGER Outlaws Walkthrough
This guide will show you how to unlock and complete the quest The Scavenger in Star Wars Outlaws. Temmin Wexley, the Scavenger Expert, will be able to give Kay upgrades that help her in a wide variety of fields.
VIPER Quest Walkthrough
This guide will show you how to complete the Viper quest in Star Wars Outlaws. Before Gedeek can join Kay’s crew as a Droidsmith for the heist, he and Kay must put an end to the Imperial’s enhanced Viper Probe Droid project.
LEGACY Quest Walkthrough
This guide will show you how to complete the quest, Legacy, in Star Wars Outlaws. ND-5 is experiencing malfunctions, so Kay and Gedeek need to find a replacement power core before ND-5 stops functioning entirely.

THE TRUTH Quest Walkthrough
This guide will show you how to complete the Star Wars Outlaws quest, The Truth. Kay and another slicer need to steal codes from Sliro while he’s having a meeting with the Empire. Only then can the crew pull off the heist on Canto Bight.
THE HEIST Quest Walkthrough
This guide will show you how to complete the Star Wars Outlaws quest, The Heist. After gathering her crew and stealing Sliro’s codes, Kay can once again attempt to break into the Zerek Besh Vault and get away with the galaxy’s biggest heist.

REVELATOR Quest Walkthrough
This guide will show you how to complete the final story quest for Star Wars Outlaws, Revelator. After the heist on Canto Bight, Kay needs to escape the Imperial Star Destroyer, the Revelator. Before she can leave, she must take care of some unfinished business.
Related Star Wars Outlaws Collections of Guides

Our Guides Master List for Star Wars Outlaws is a great starting point. In it you will find all of our guides and walkthroughs ordered in categories.