This guide will show you how to complete the Star Wars Outlaws quest, Partners. After rescuing Hoss from the Tuskens, you must meet up with him at Mos Eisley on Tatooine, but trouble seems to follow Hoss around.
How to get the Partners Quest
To get the Breakout quest, you must complete the quests The Heavy and Gunsmith. Gunsmith is very short as all you need to do is return to the Trailblazer after completing The Heavy.
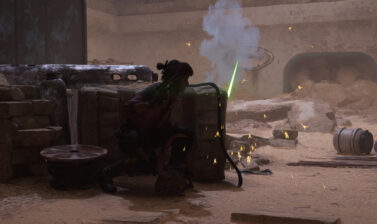
ND-5 will give you a blaster upgrade that allows you to switch to Power mode. Use the workbench to install it into your blaster.
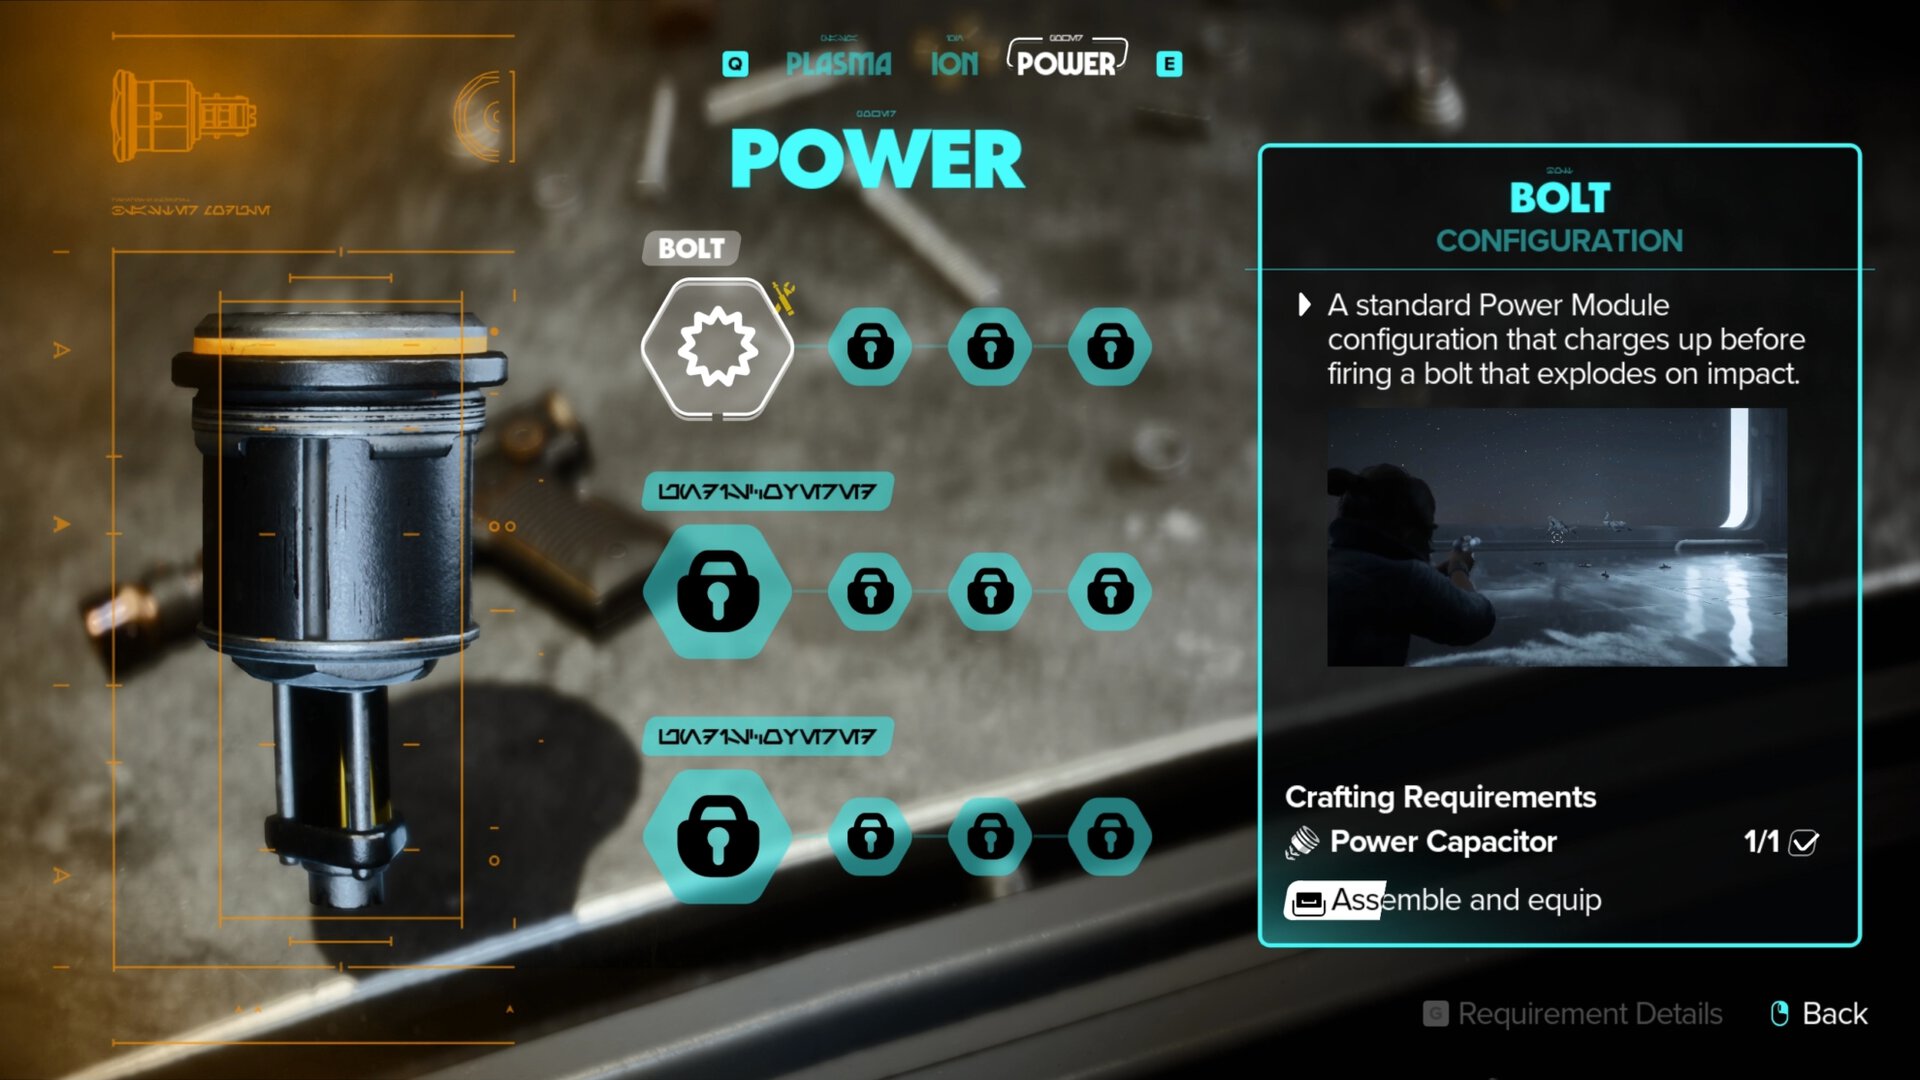
The power mode on your blaster will allow you to charge your blaster to fire an explosive shot. The mechanic is also used a lot in treasure hunting to blow up walls and rocks.
If you have already unlocked the power module by completing The Safecracker or The Droidsmith, then you can ignore this step.
For more information about the power module, see our Blaster Modules and Key Parts guide. You’ll find the power module’s upgrades and how to unlock them.
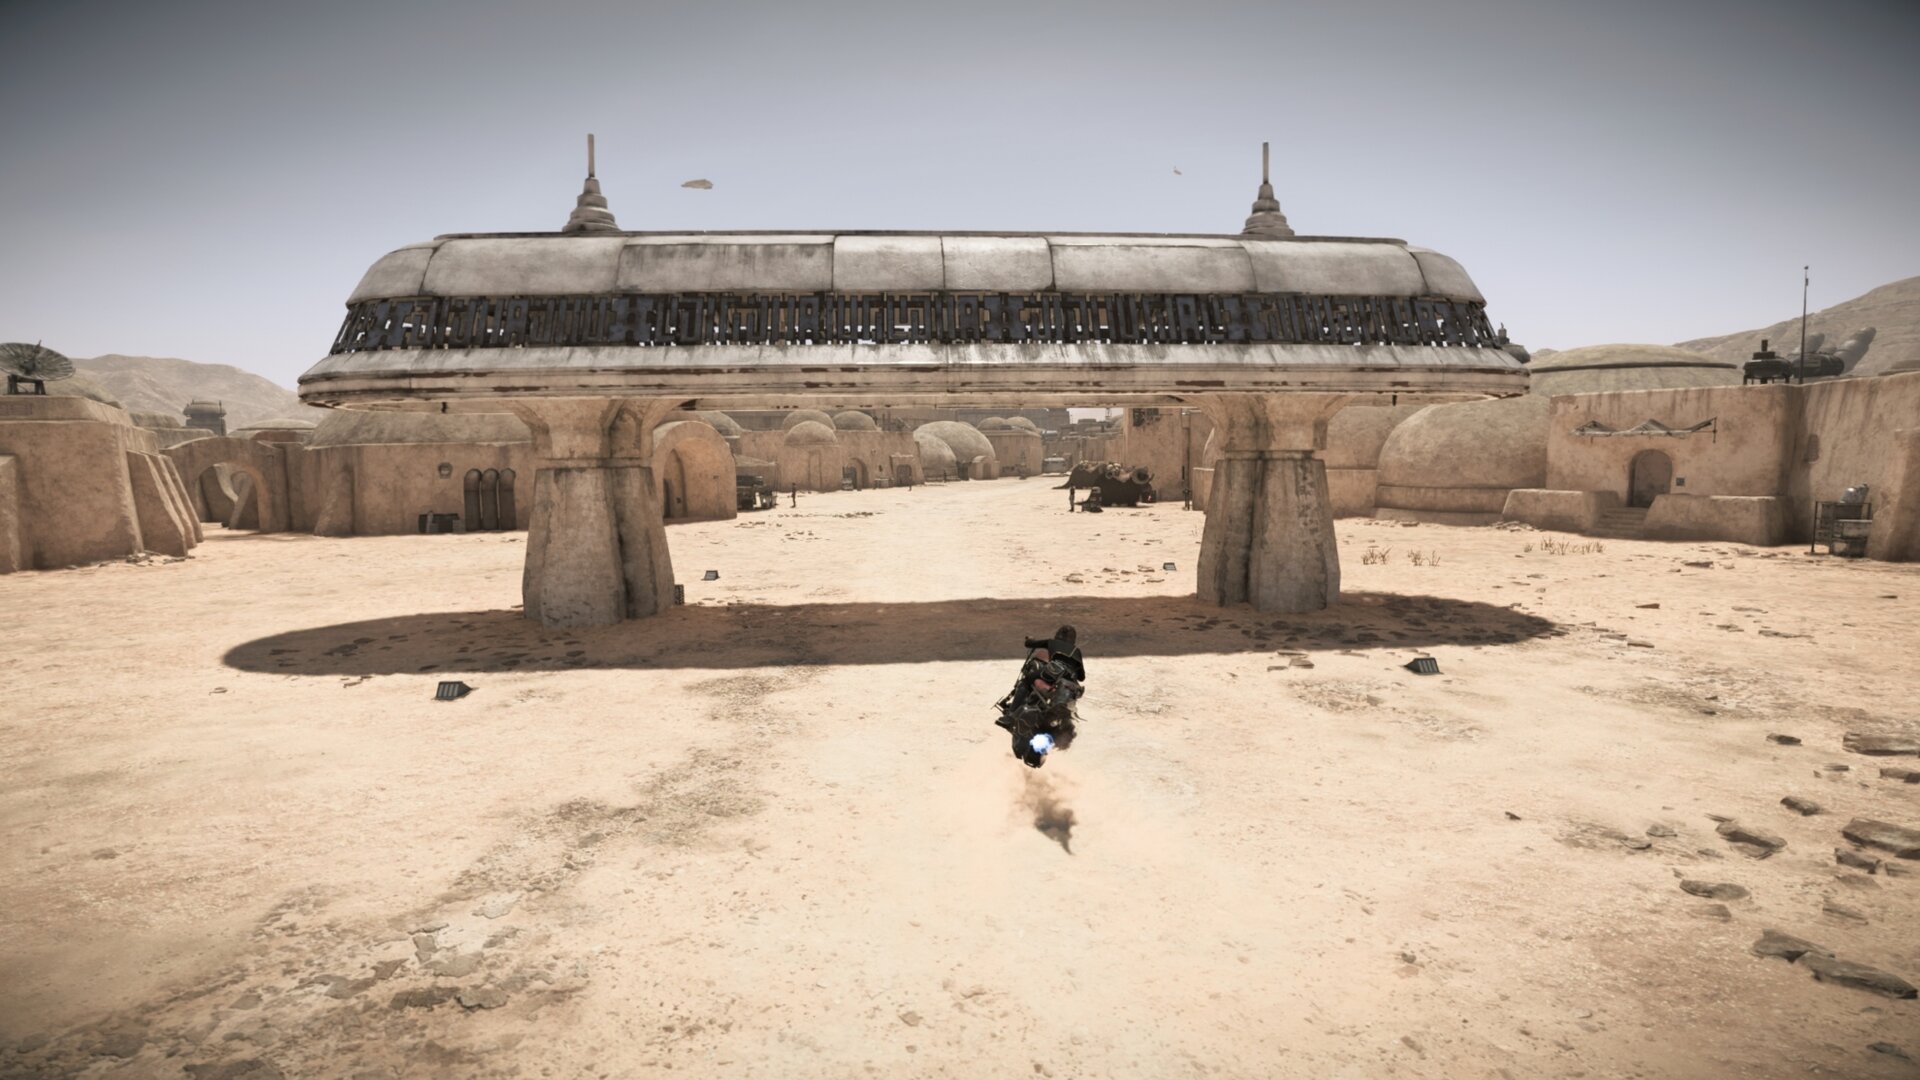
Mos Eisley is a big city that’s mostly speeder-restricted, so enter Mos Eisley on the west side instead of the south to more quickly reach Docking Bay 94.

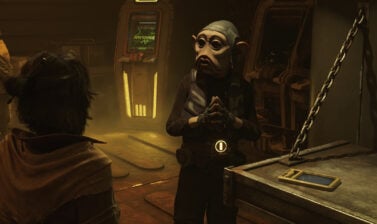
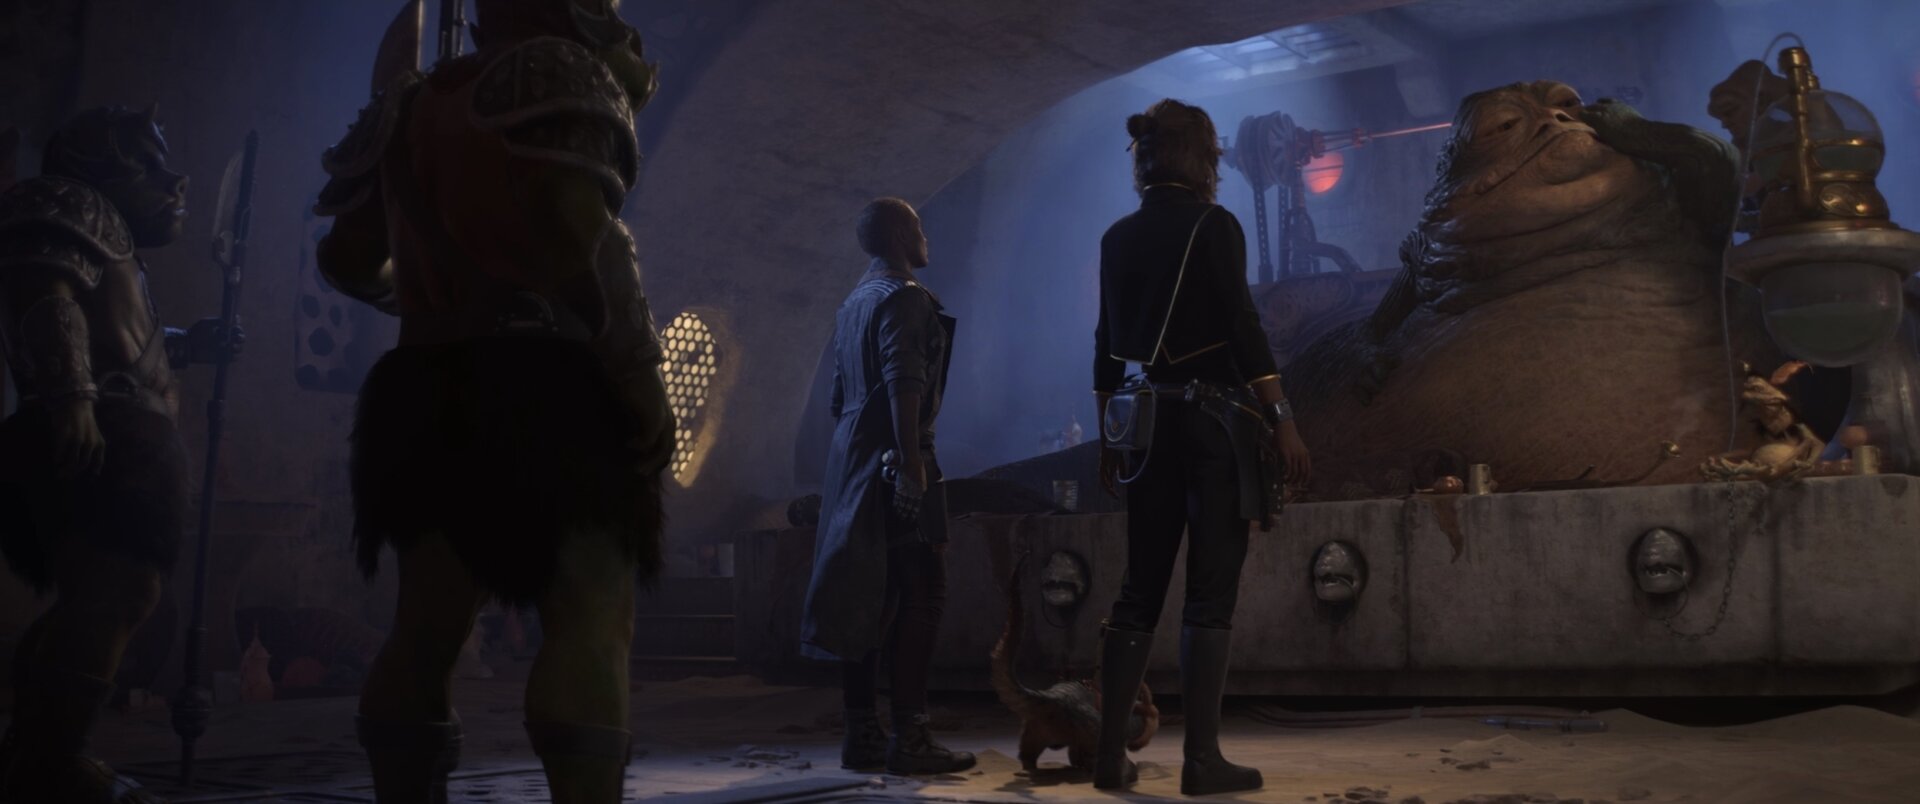
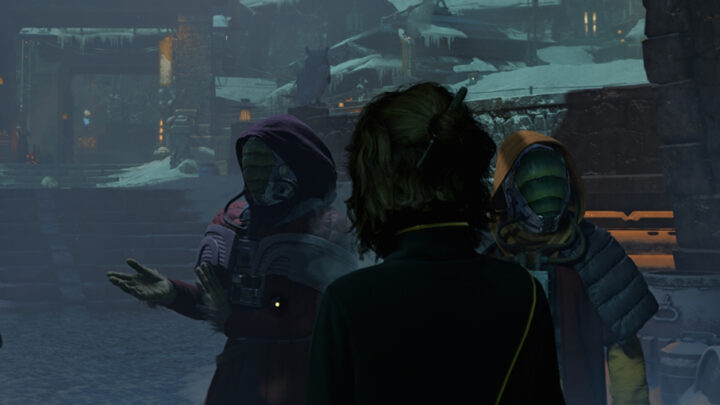
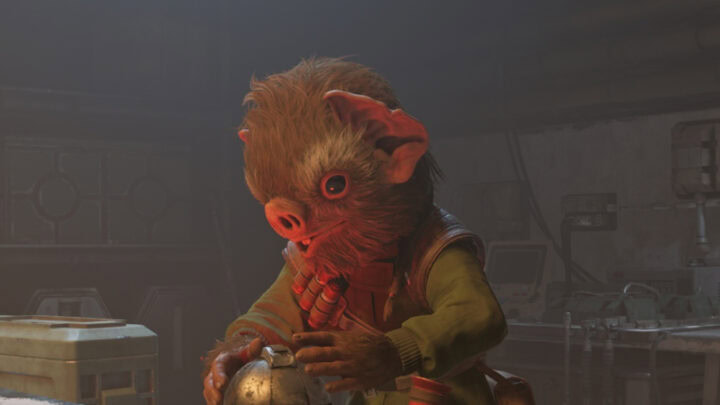
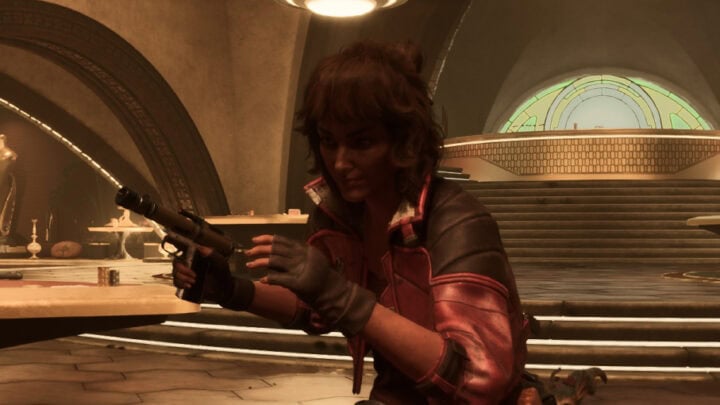
After waiting at the Docking Bay, you’ll have to search a nearby cantina for Hoss. As it turns out, he’s in a Sabacc game but can’t pay out after losing. Instead, he offers Nix as payout.
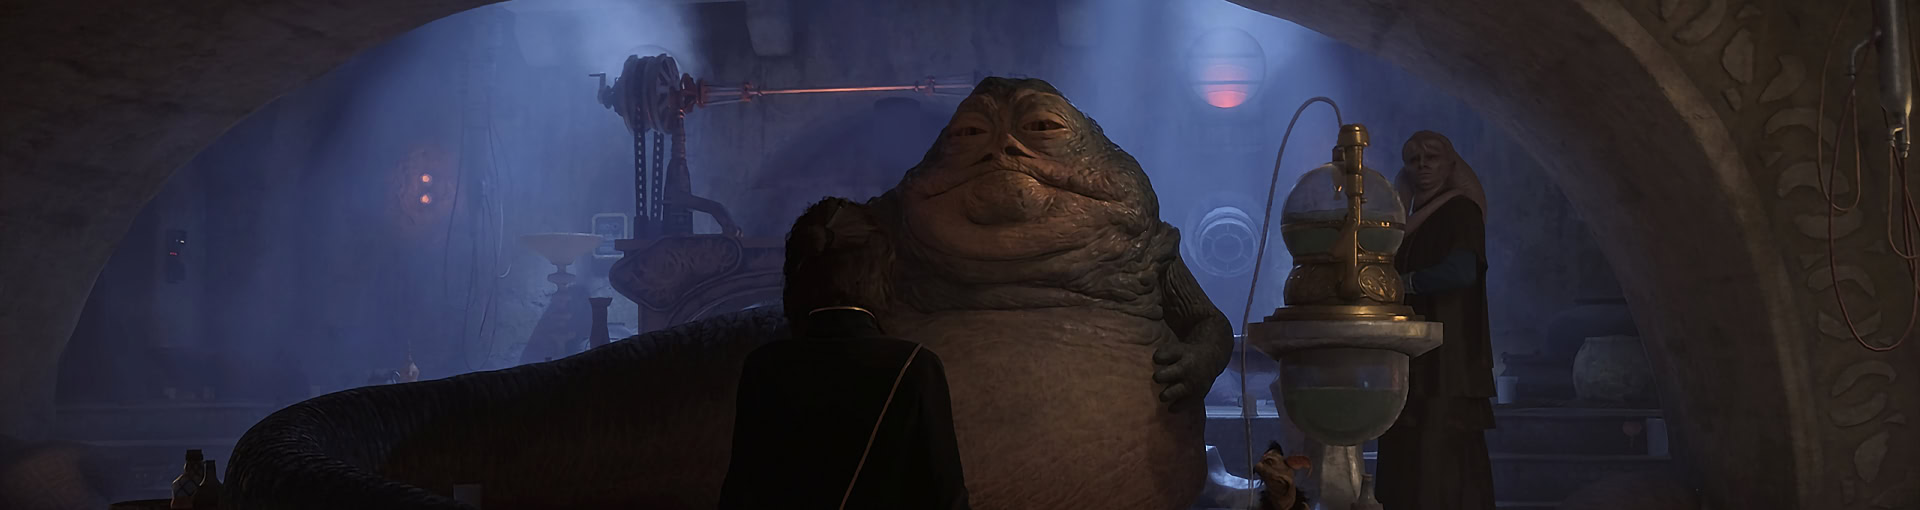
Kay is understandably enraged and learns that Nix is likely being sold to Jabba. Your next destination is Jabba’s Palace to sneak in and steal Nix back from the crime lord.
During the walkthrough, I will point out any treasures and valuables you may want to pick up while doing this quest.
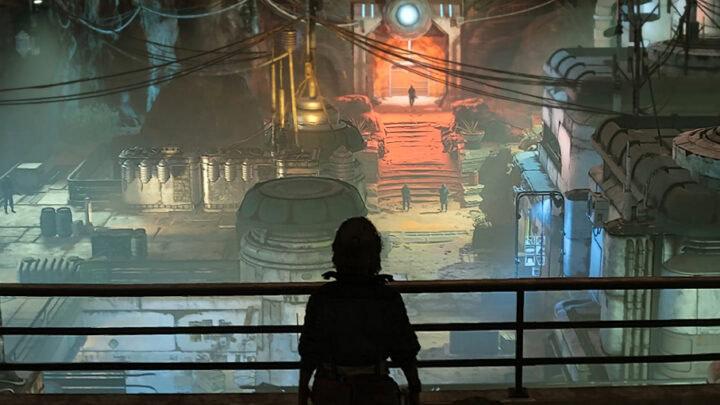
Breaking into Jabba’s Palace: Exterior
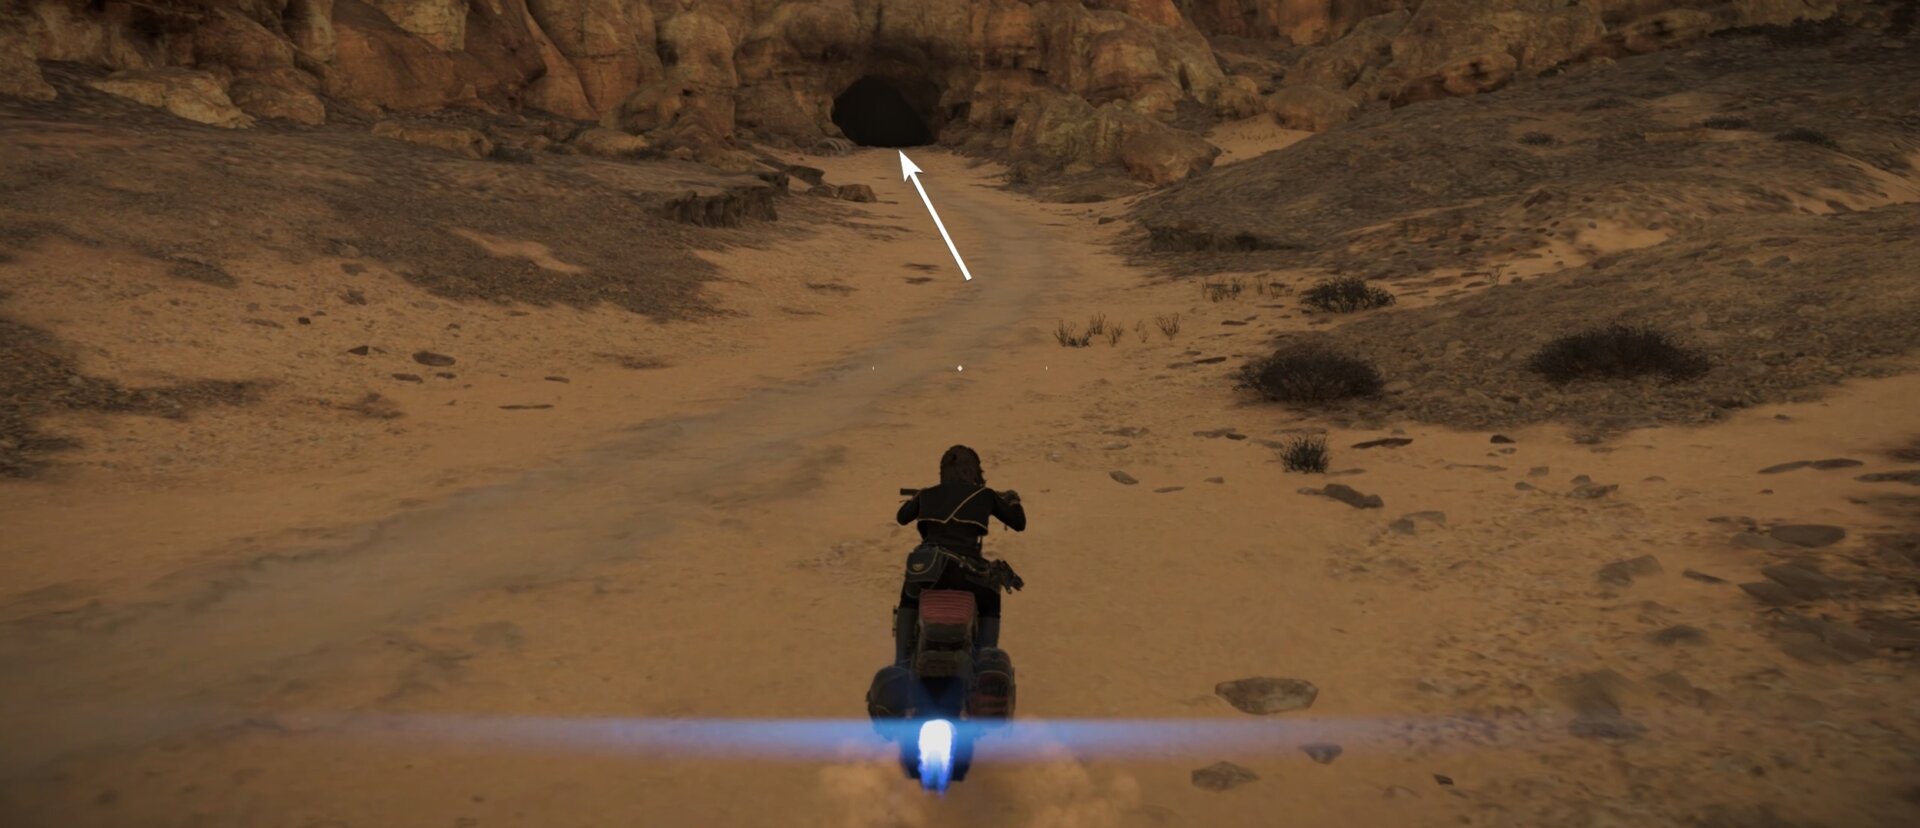
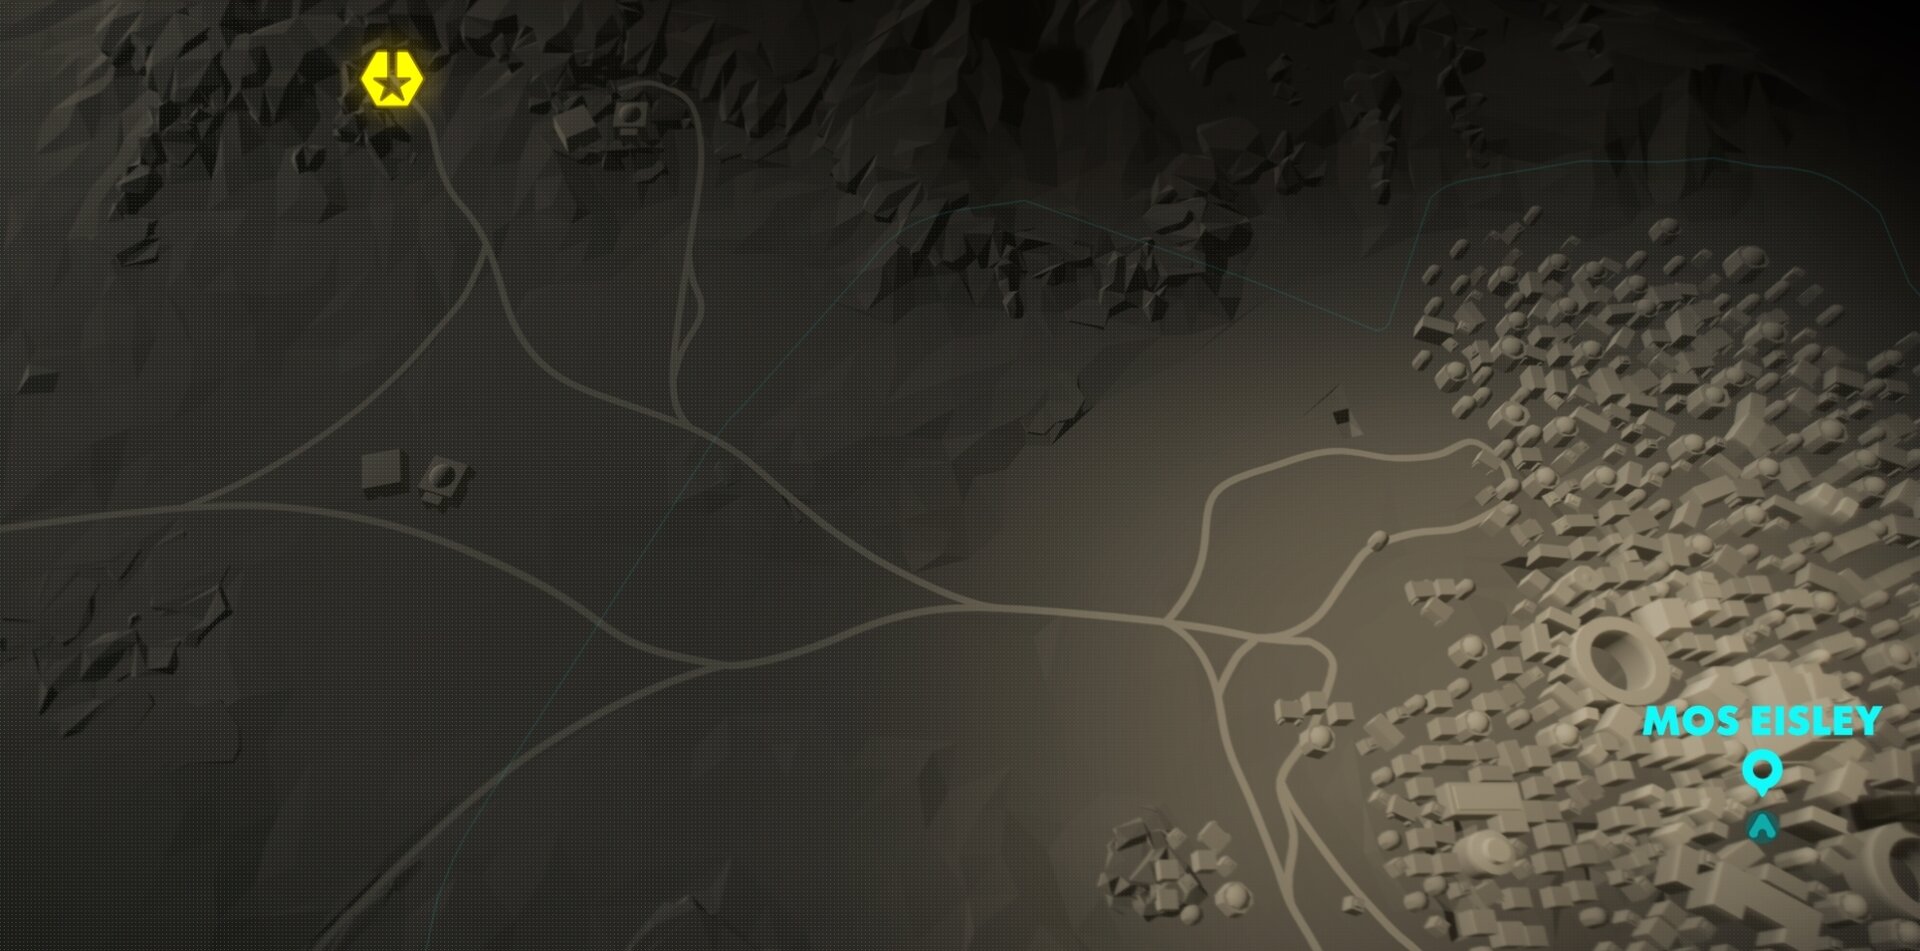
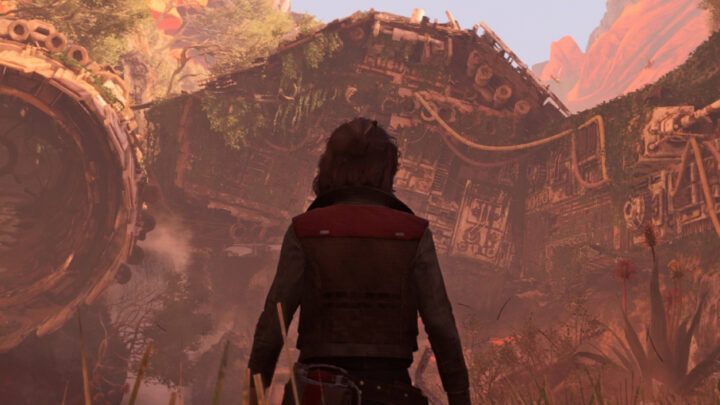
ND-5 will tell you about a back entrace to Jabba’s Palace, this is a bit northwest of Mos Eisley. You’ll find a small cave entrance that will lead you there, follow it inside to get started with the rescue mission.
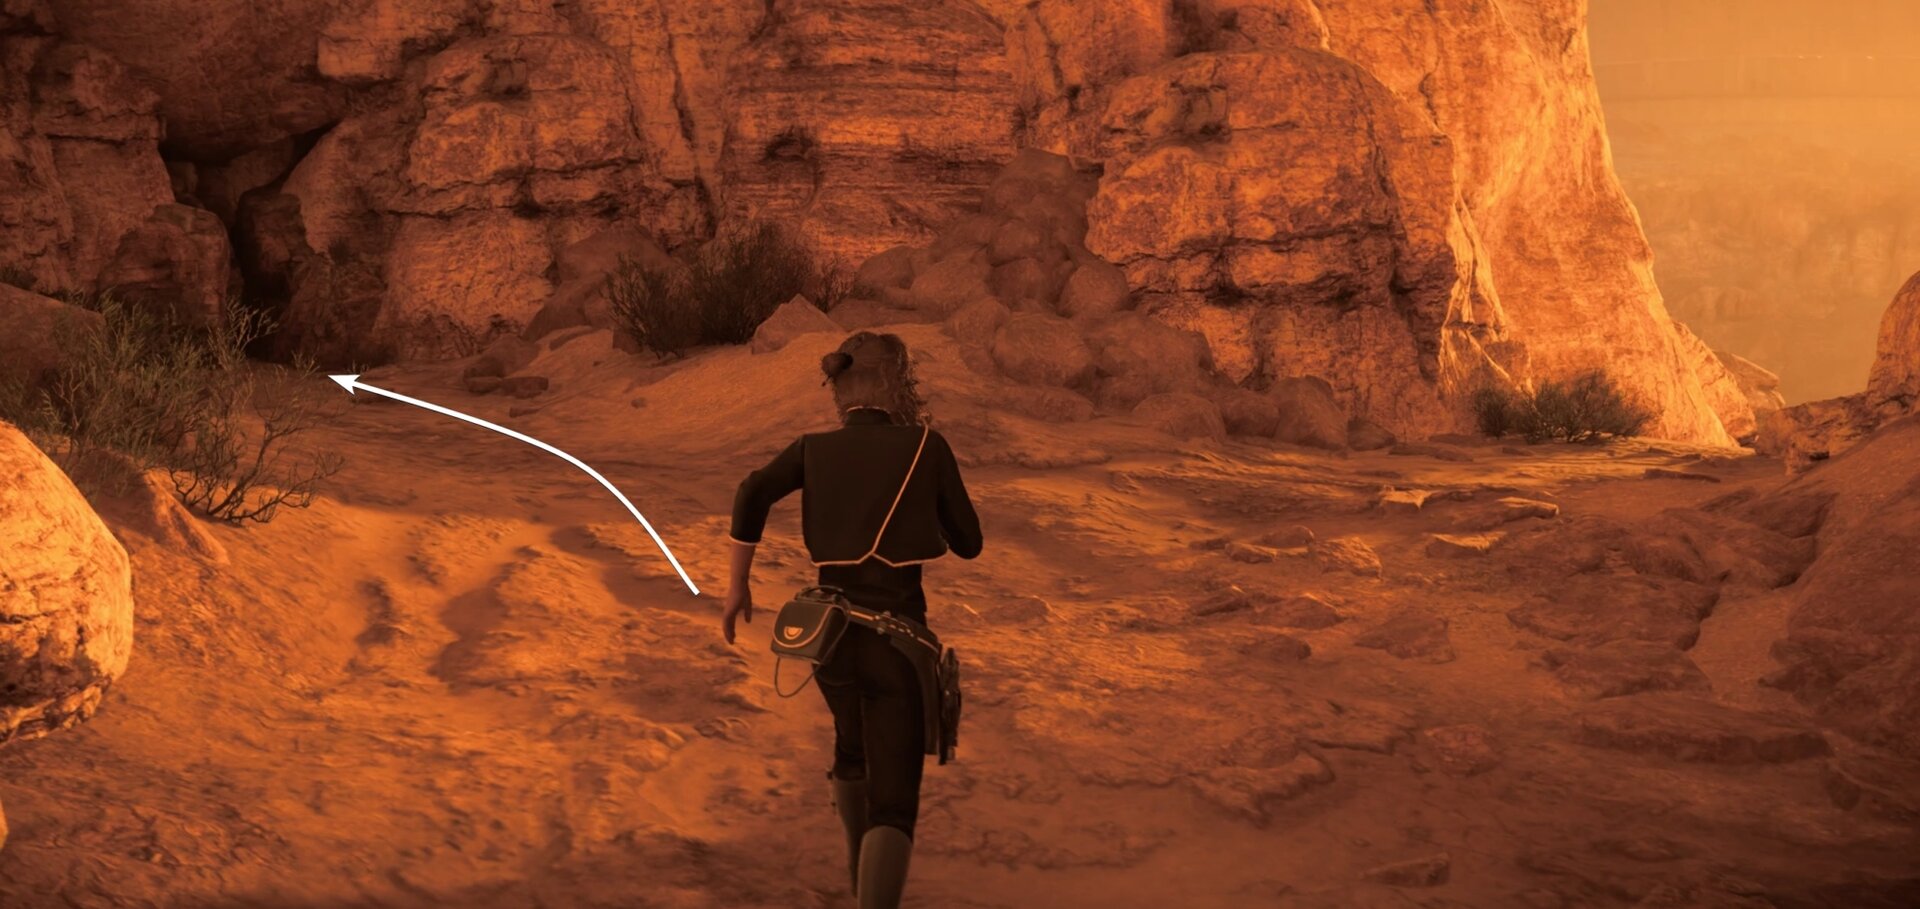
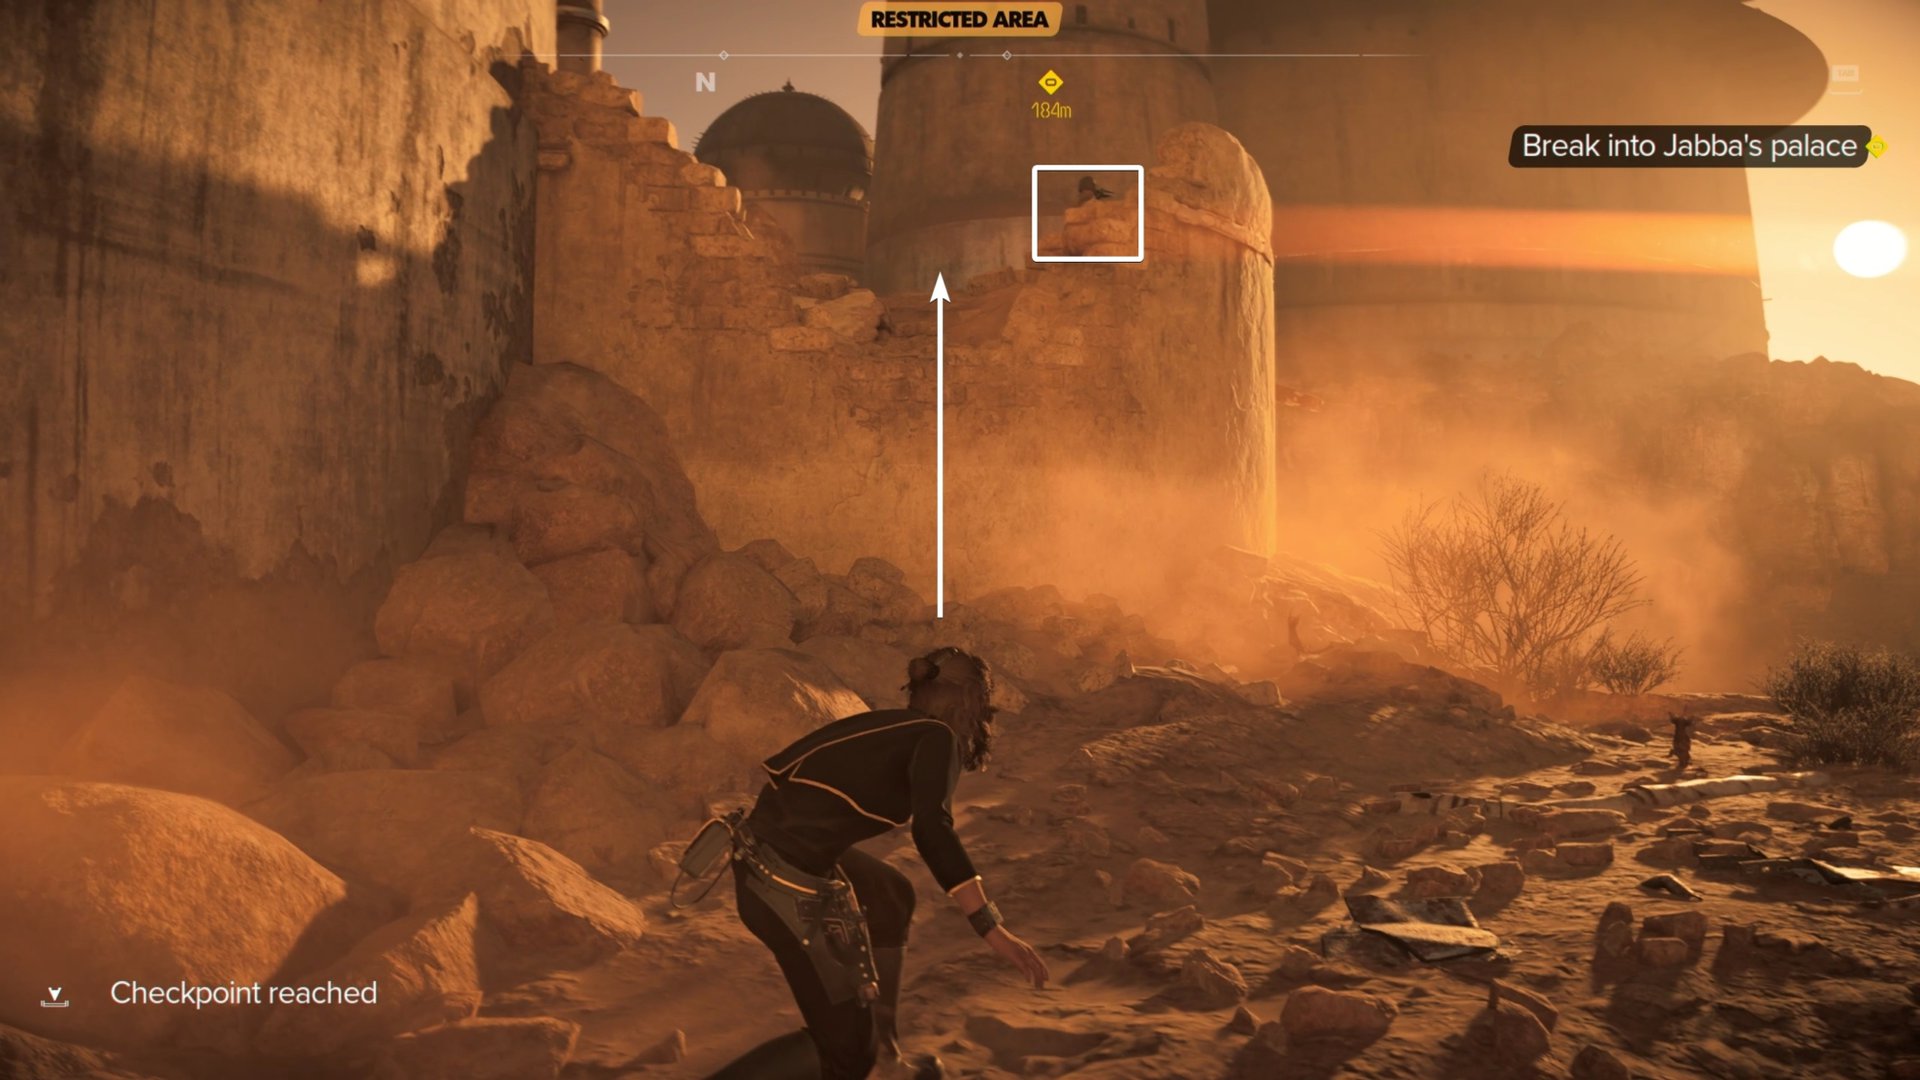
Keep following the path until you reach a speeder-restricted area. You’ll reach a fork in the road as seen in the image below. Go left as the right is just a dead-end cliff.
Keep following the path and you’ll find a guard surveying the area. Climb up the wall, knock them out, then knock out the nearby patrolling guard.
You’ll run into a guard and a droid blocking your path. Without Nix, there’s no way to sneak through them so you’ll have to sneak around them.
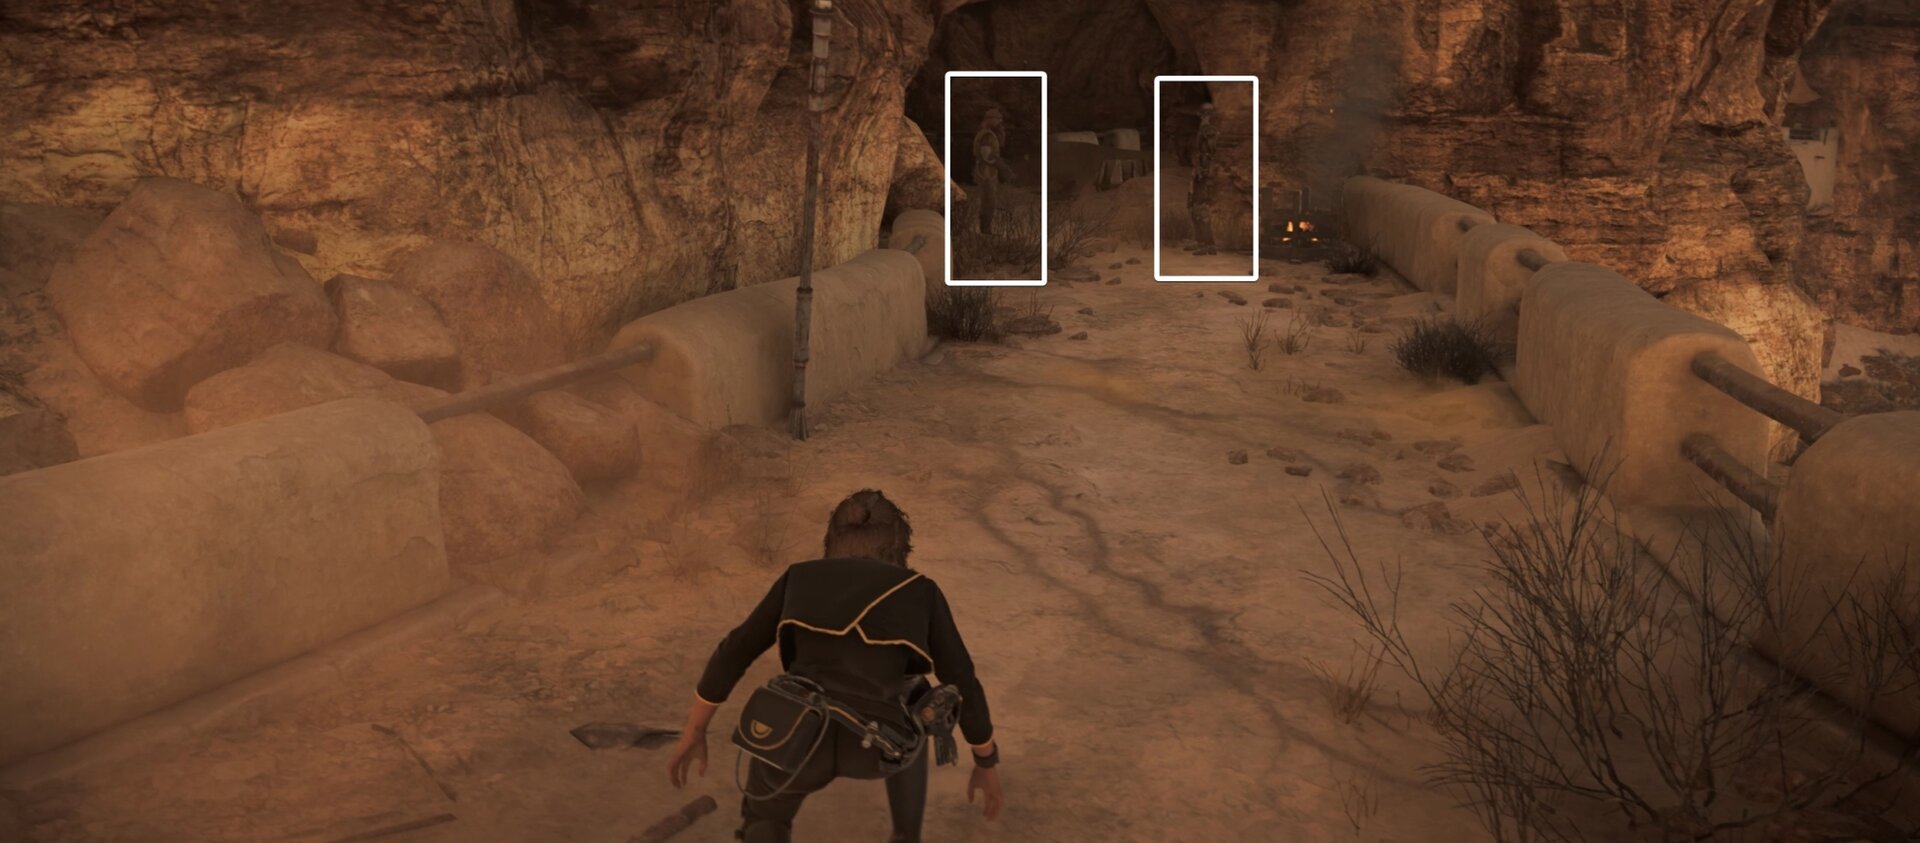
Look for the broken portion of the wall to find some ledges on the exterior of the wall. Climb across these to sneak by the guards blocking your path.
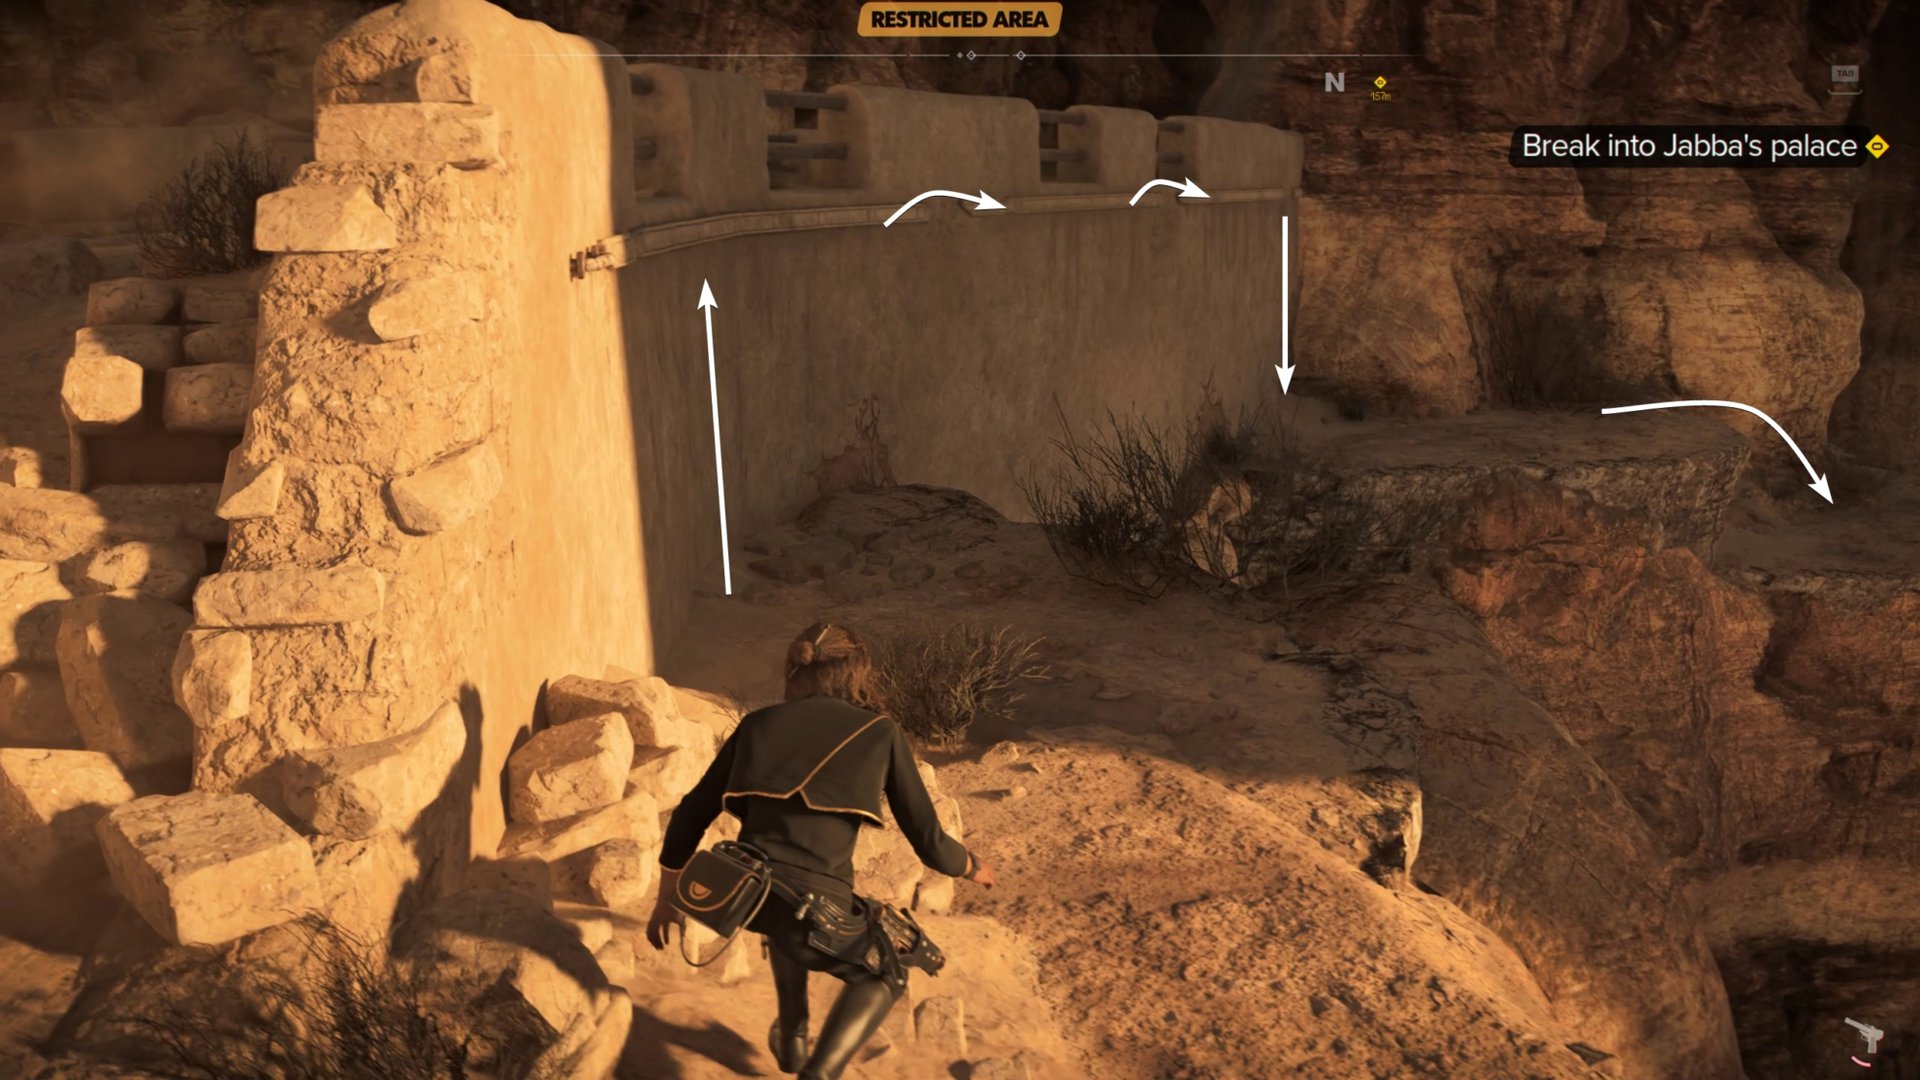
When you run into two guards close to one another, prepare your stun setting on your blaster. Knock out one guard then stun the other one to remain unnoticed by the other guards ahead.
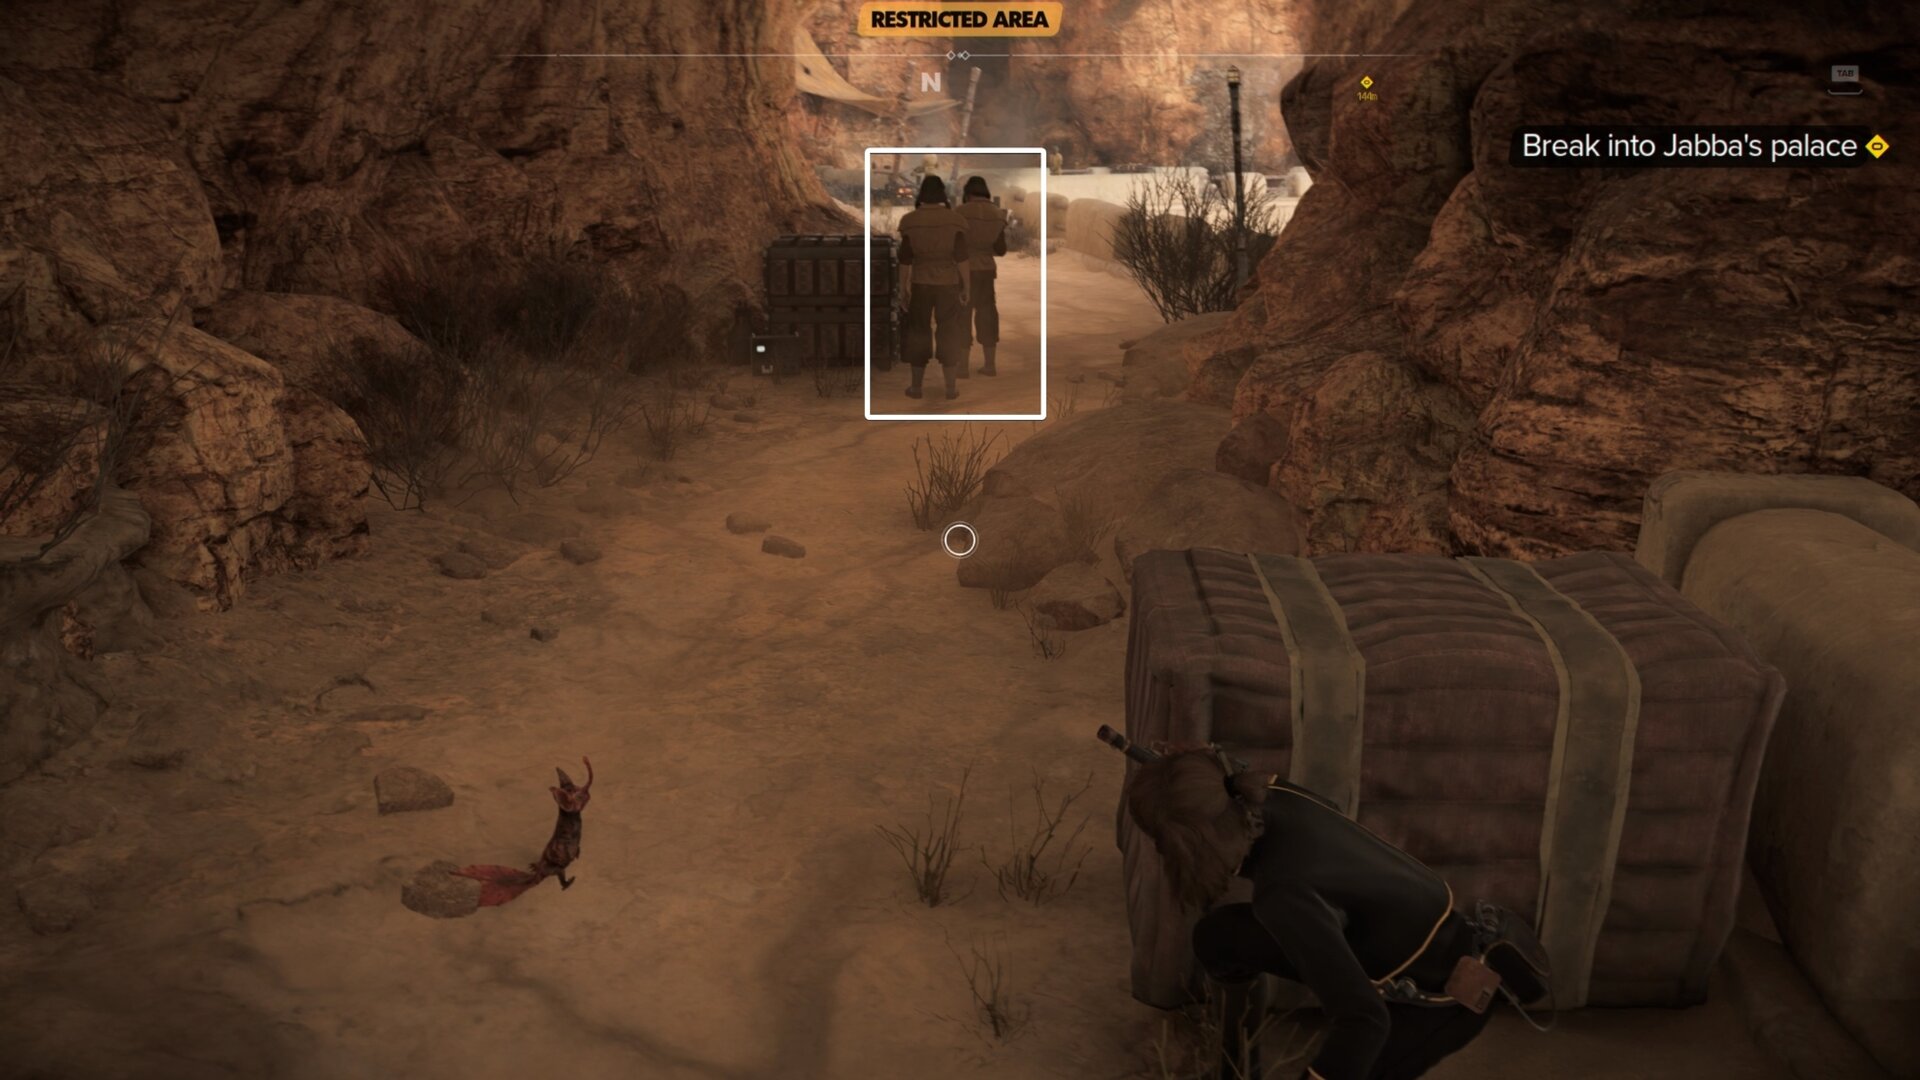
Once again you’ll need to go through a hole in the wall and climb across a ledge on the wall’s exterior to go unnoticed.
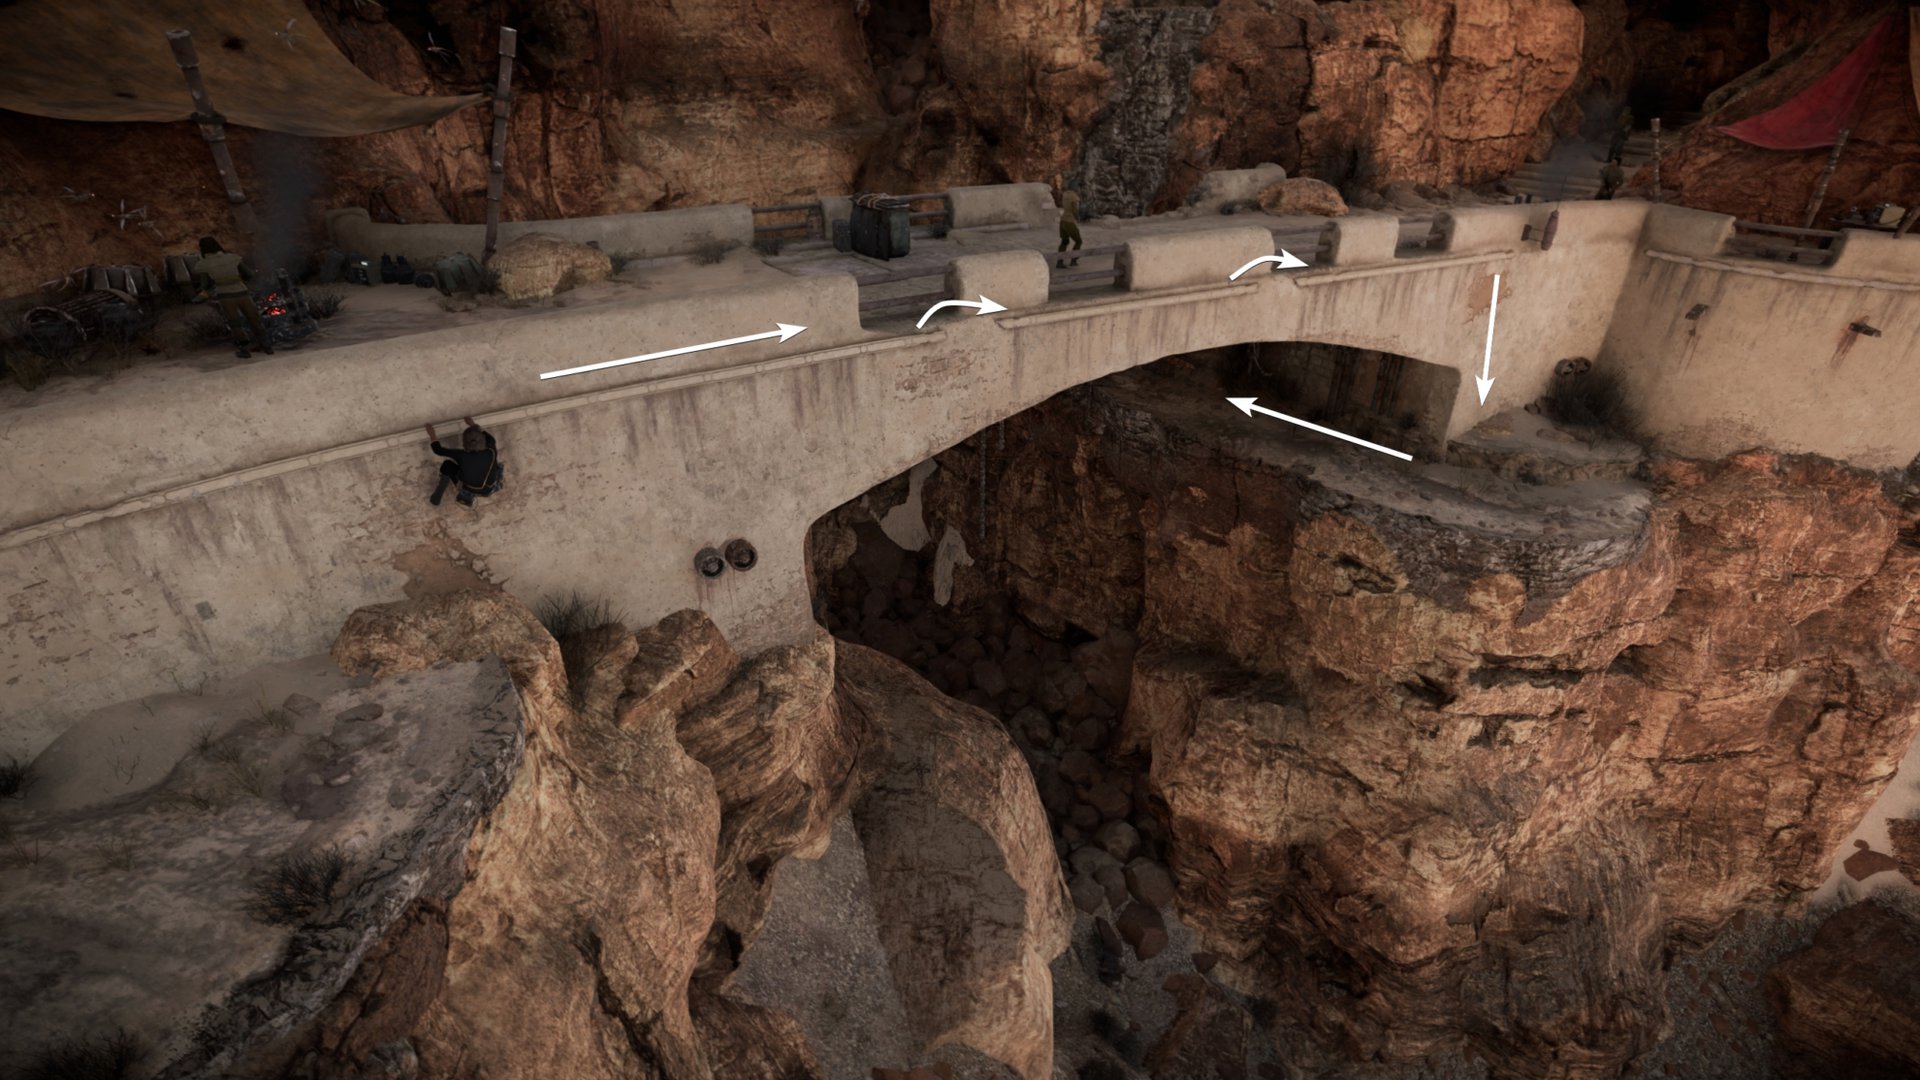
After reaching the other side, it’s a very linear path to Jabba’s Palace that involves climbing ledges and sneaking past one more group of guards.
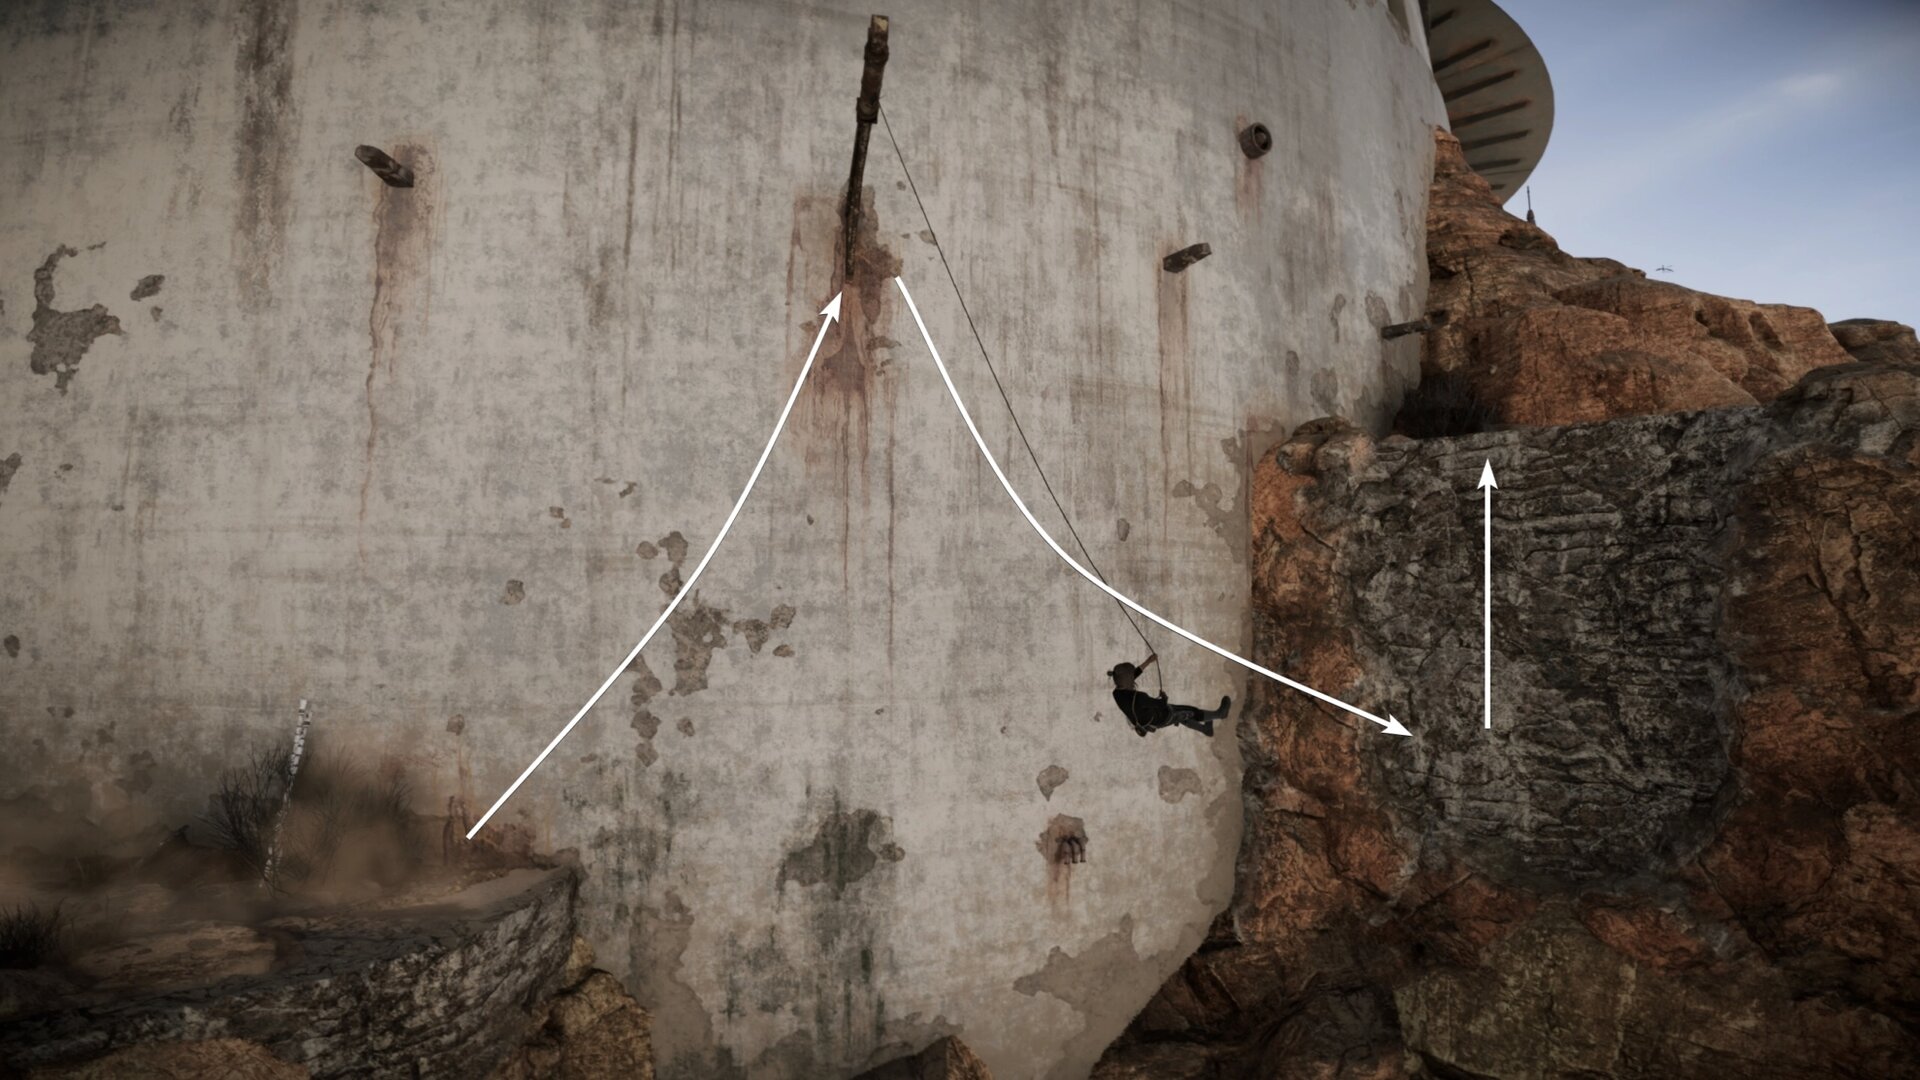
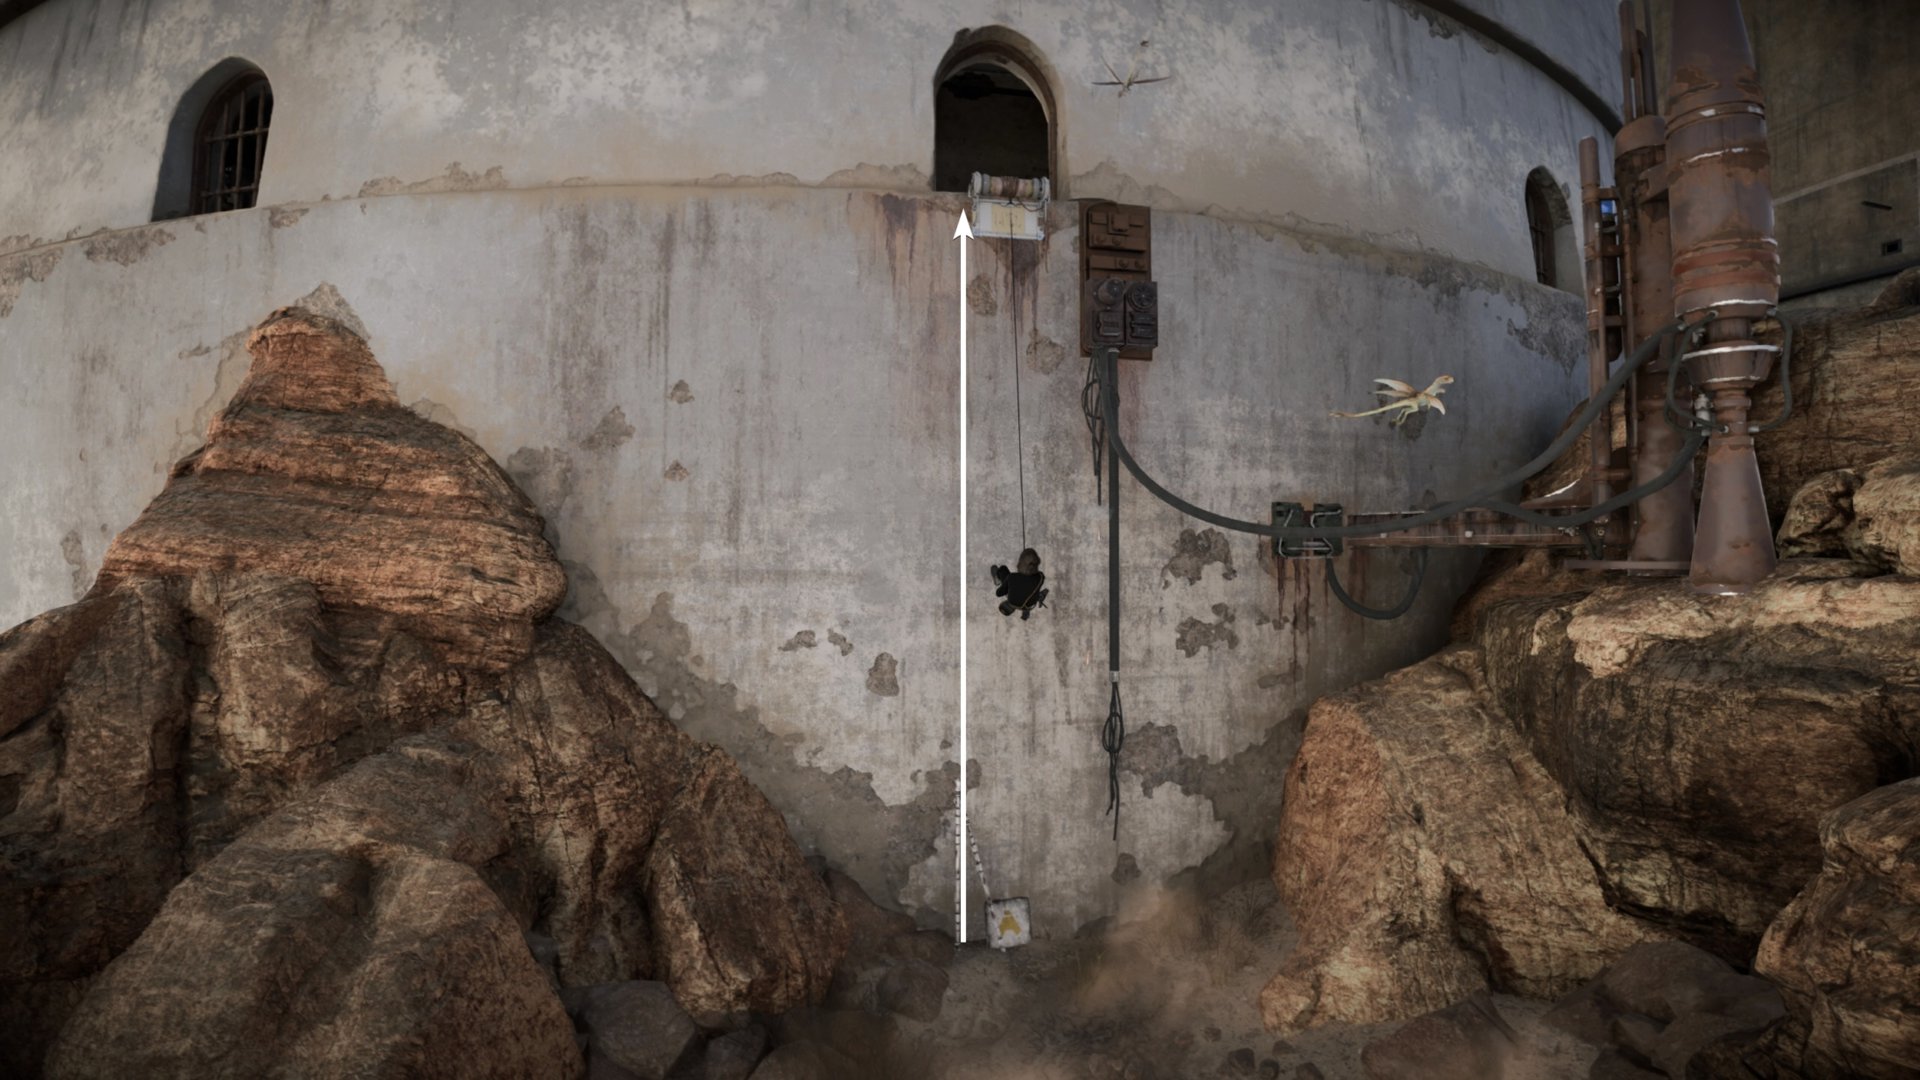
When you reach a gap, use a grapple point above you to swing across. You’ll find one more grapple point on the side of the palace you can use to climb into Jabba’s Palace.
Breaking into Jabba’s Palace: Interior
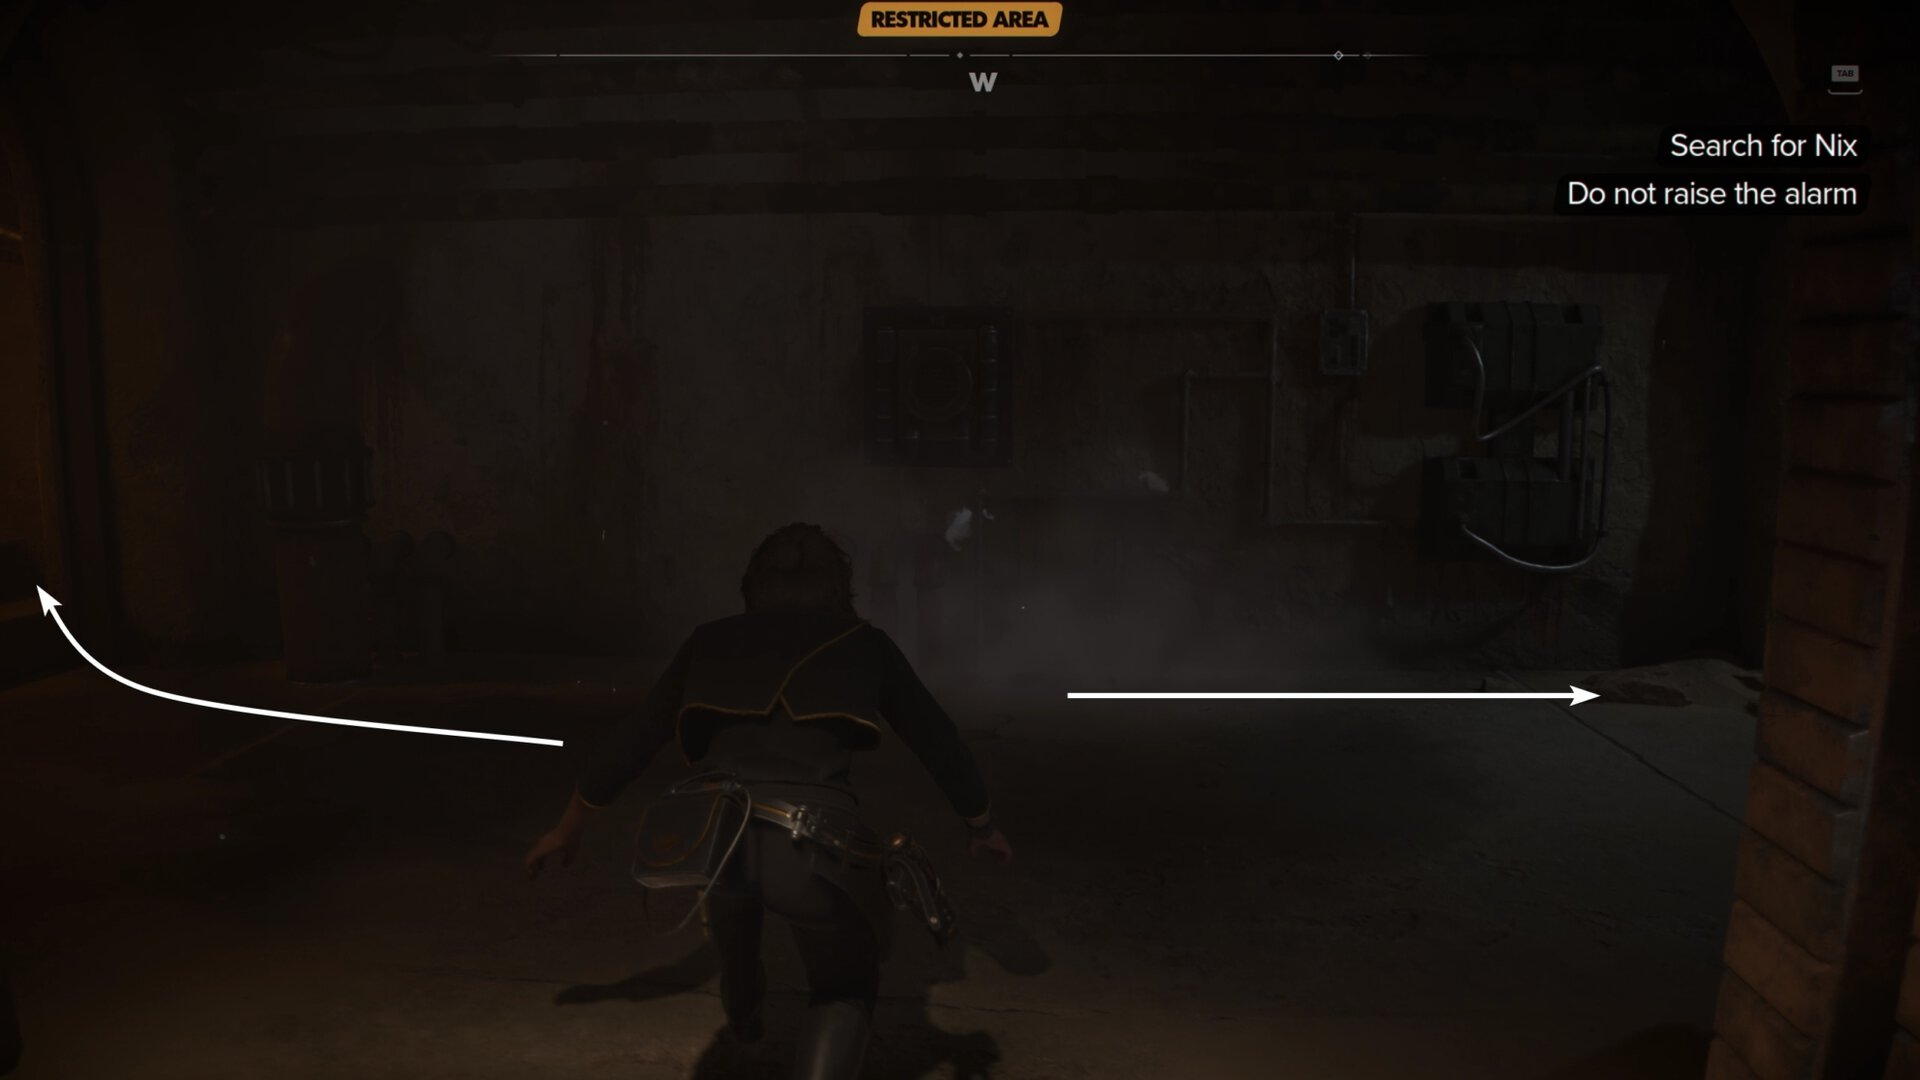
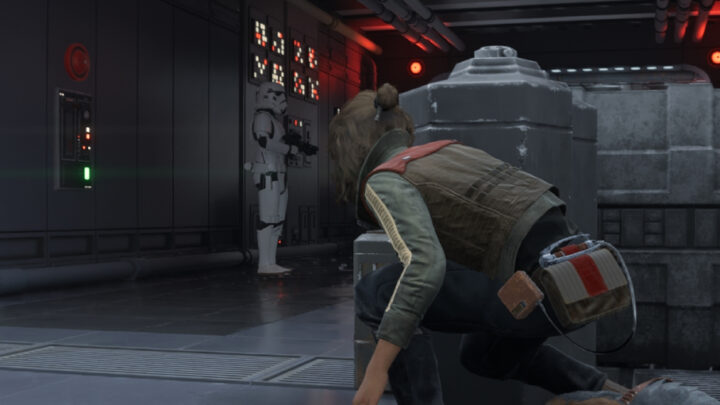
You can expect things to get far more serious once you’re inside Jabba’s Palace as security gets a lot more tight.
The first door you pass through will lead you to the staircase. Going upstairs to the left will lead to a small chest and trinkets, while going right will take you deeper into the palace.
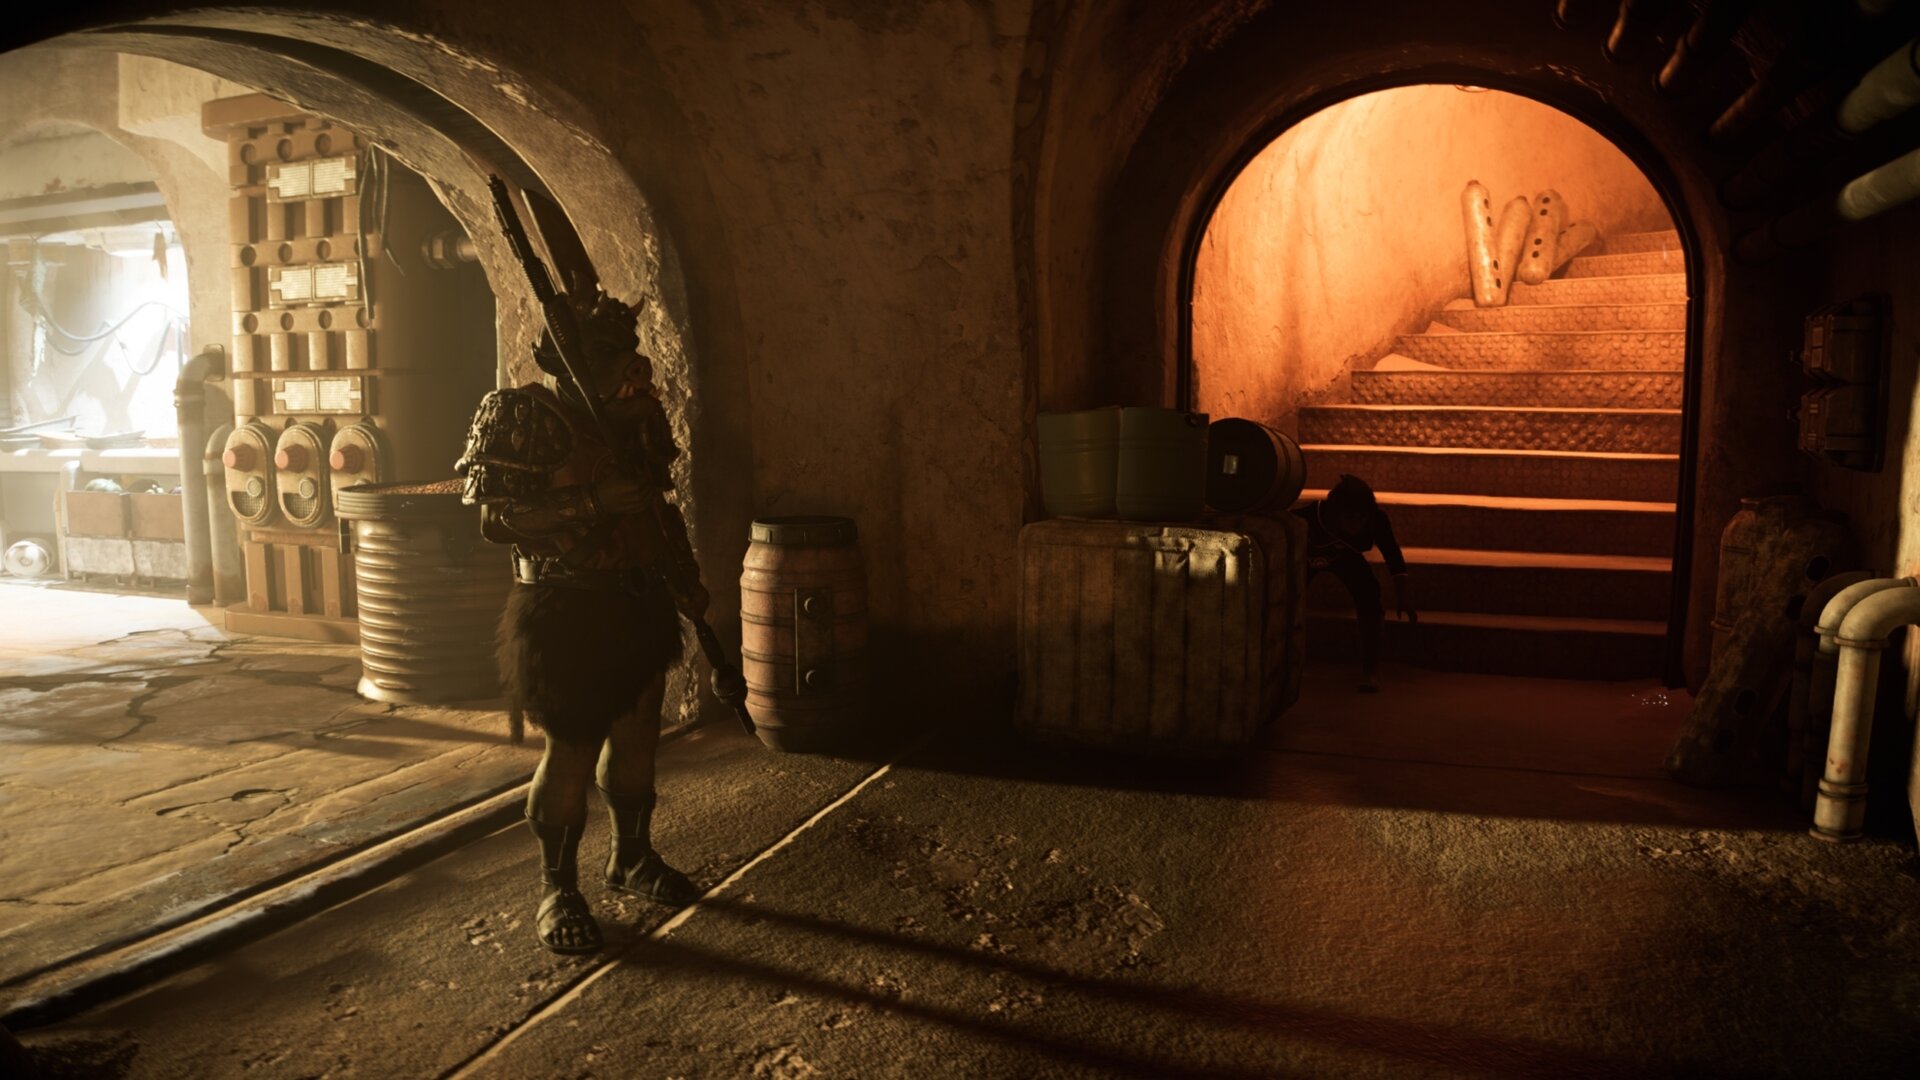
When you go downstairs, you’ll run into your first Gamorrean guard. These guards have very good stealth detection so you’ll need to be extra sneaky around them.
You can only knock them out if you have the Electro-Shock Prod due to their bulk. Avoid open combat with them as standard blaster bolts will bounce off their armor. If you need to, use your Power blaster to fight them.
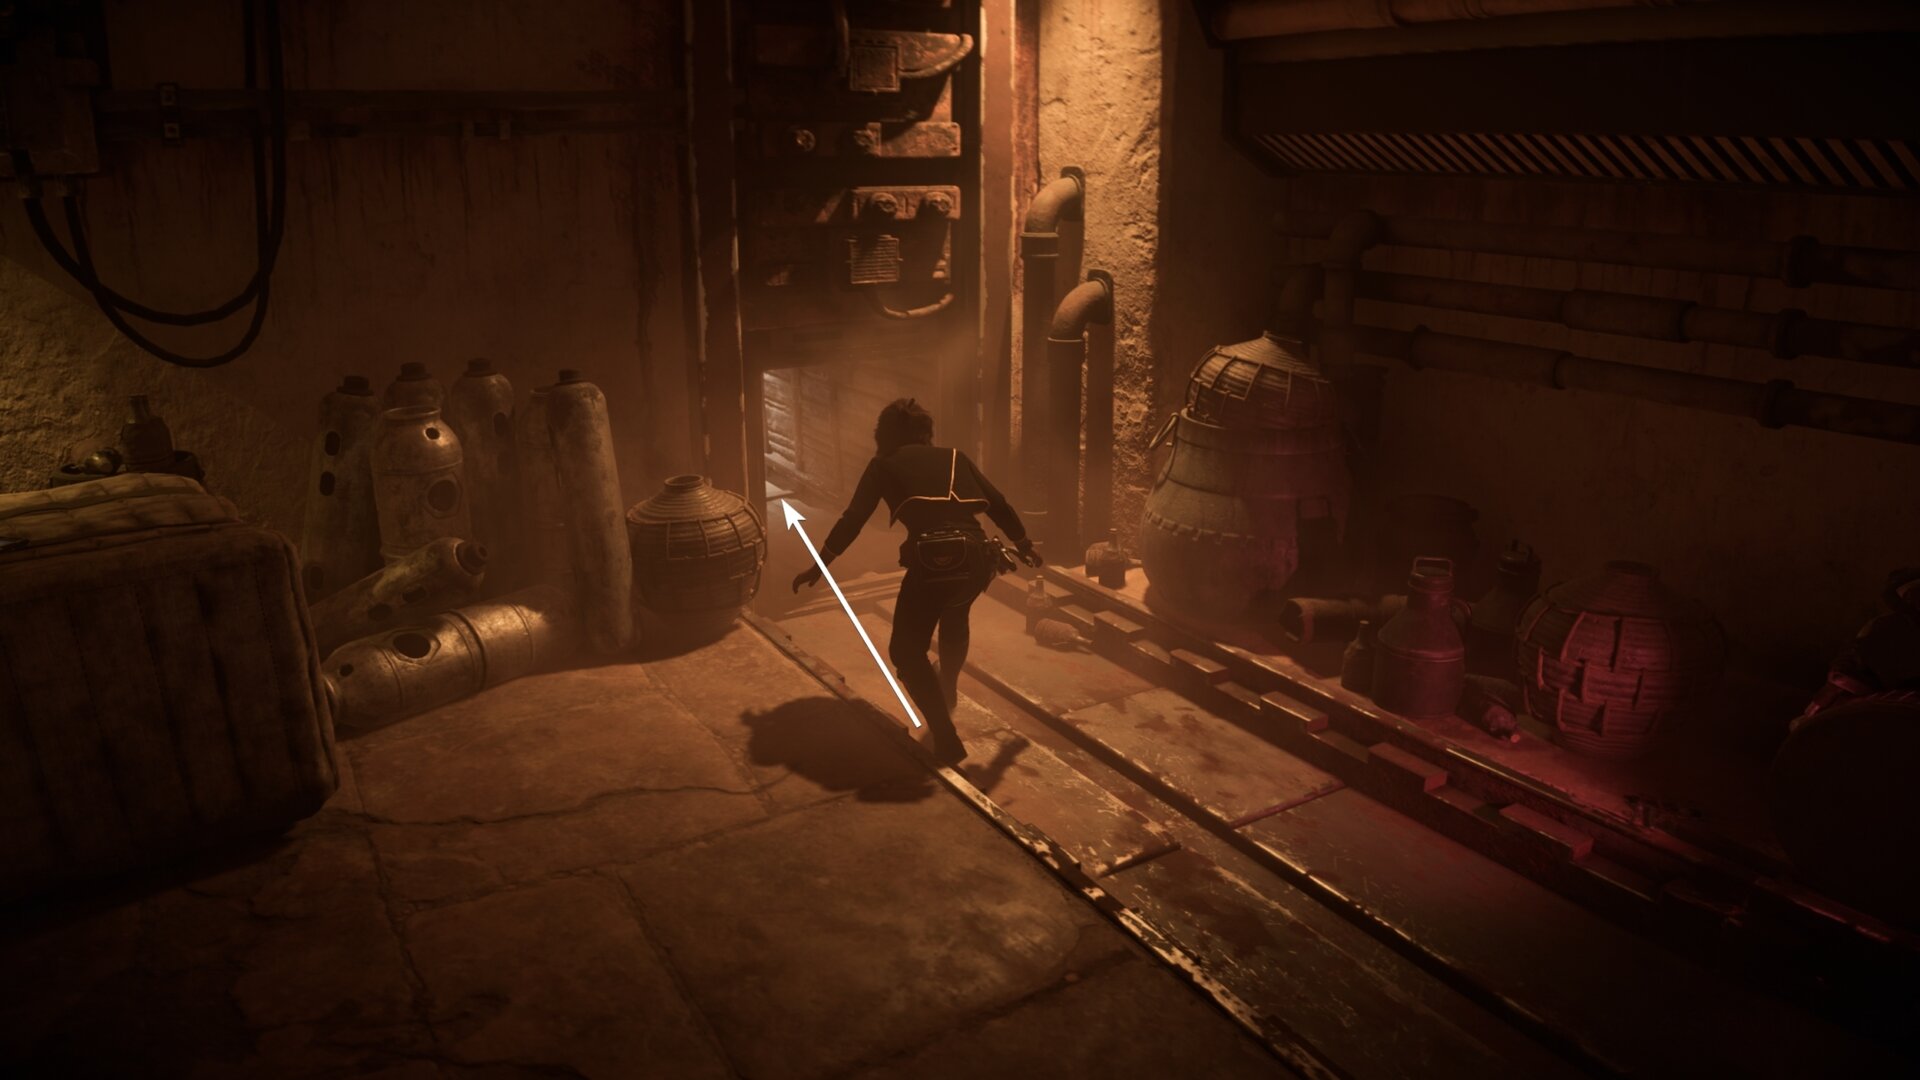
Keep going downstairs until you reach a storage room. Crawl through the vent in here and you’ll reach an area with a worker and a Gamorrean guard. Knock out the worker and keep sneaking through.

If you don’t have the Electro-Shock Prod, sneaking through the next hall may seem challenging. Fortunately, there’s a simple fix around this.
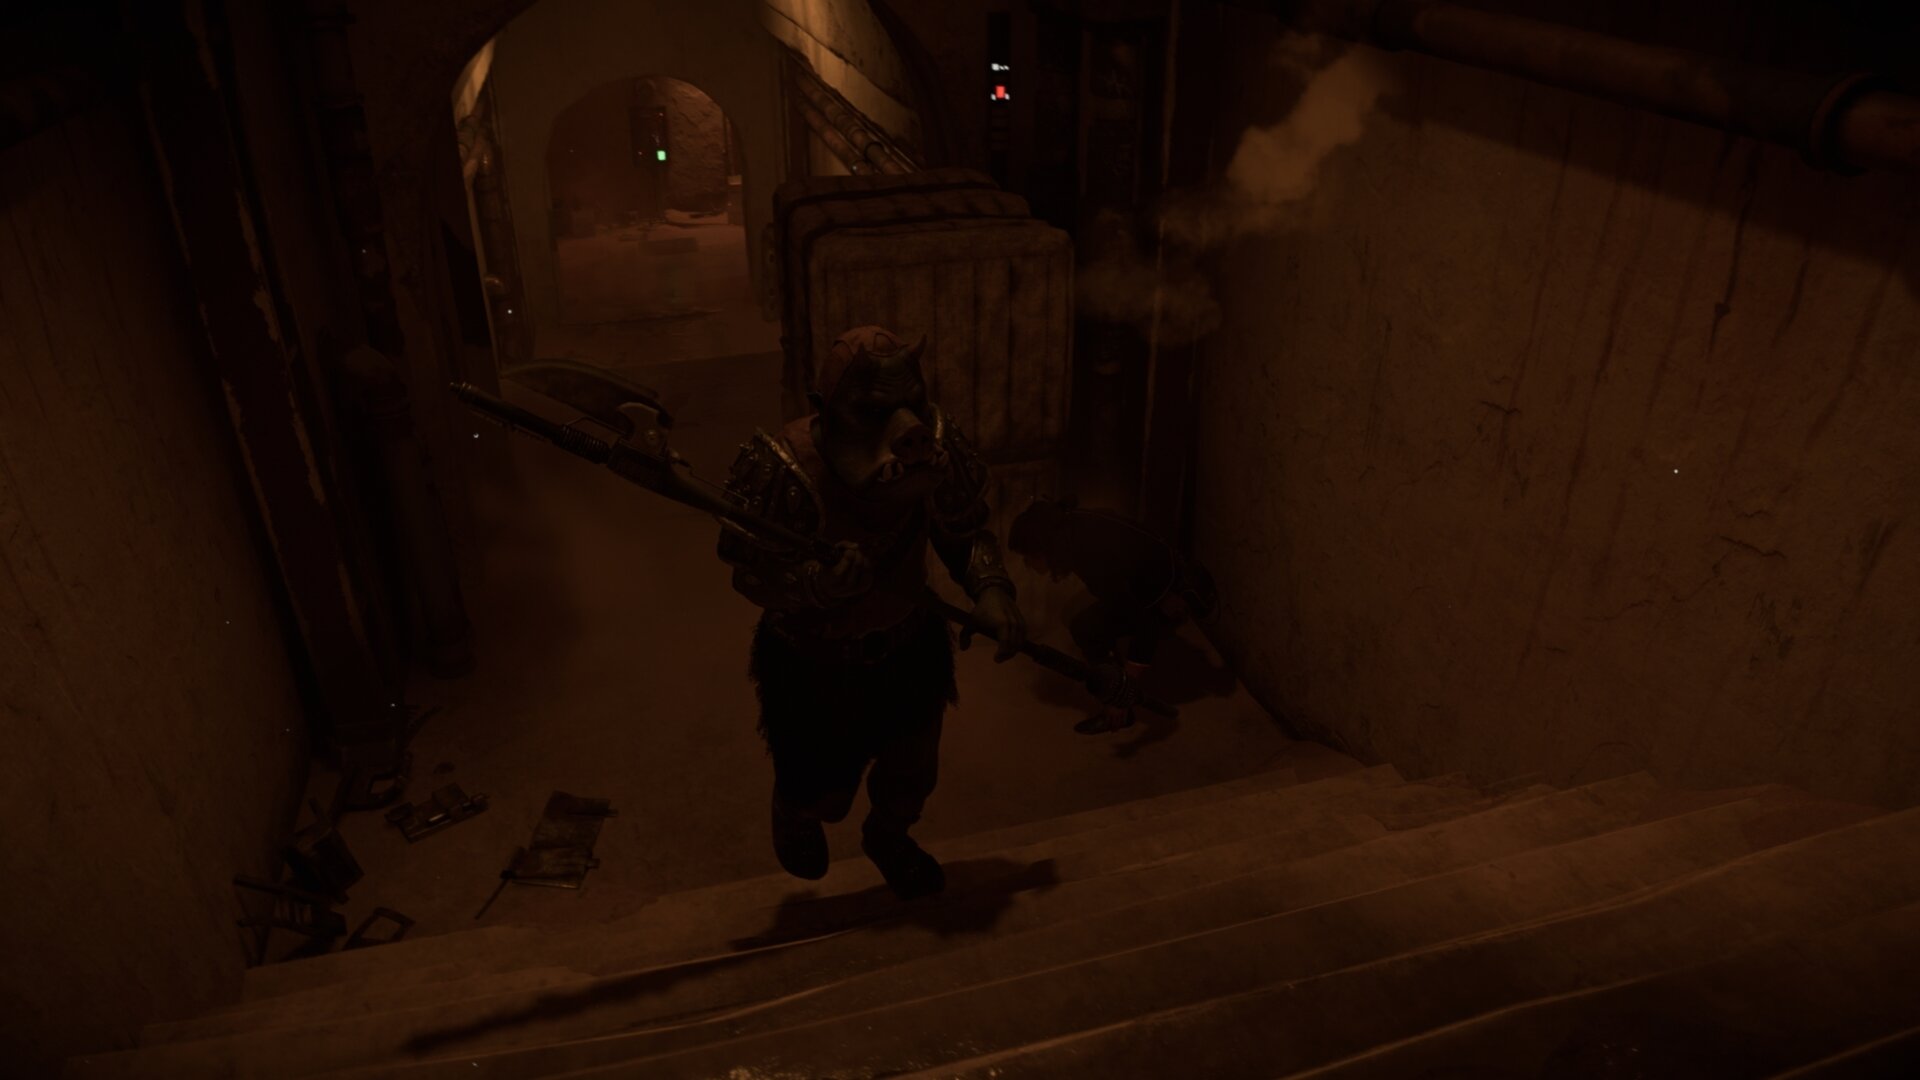
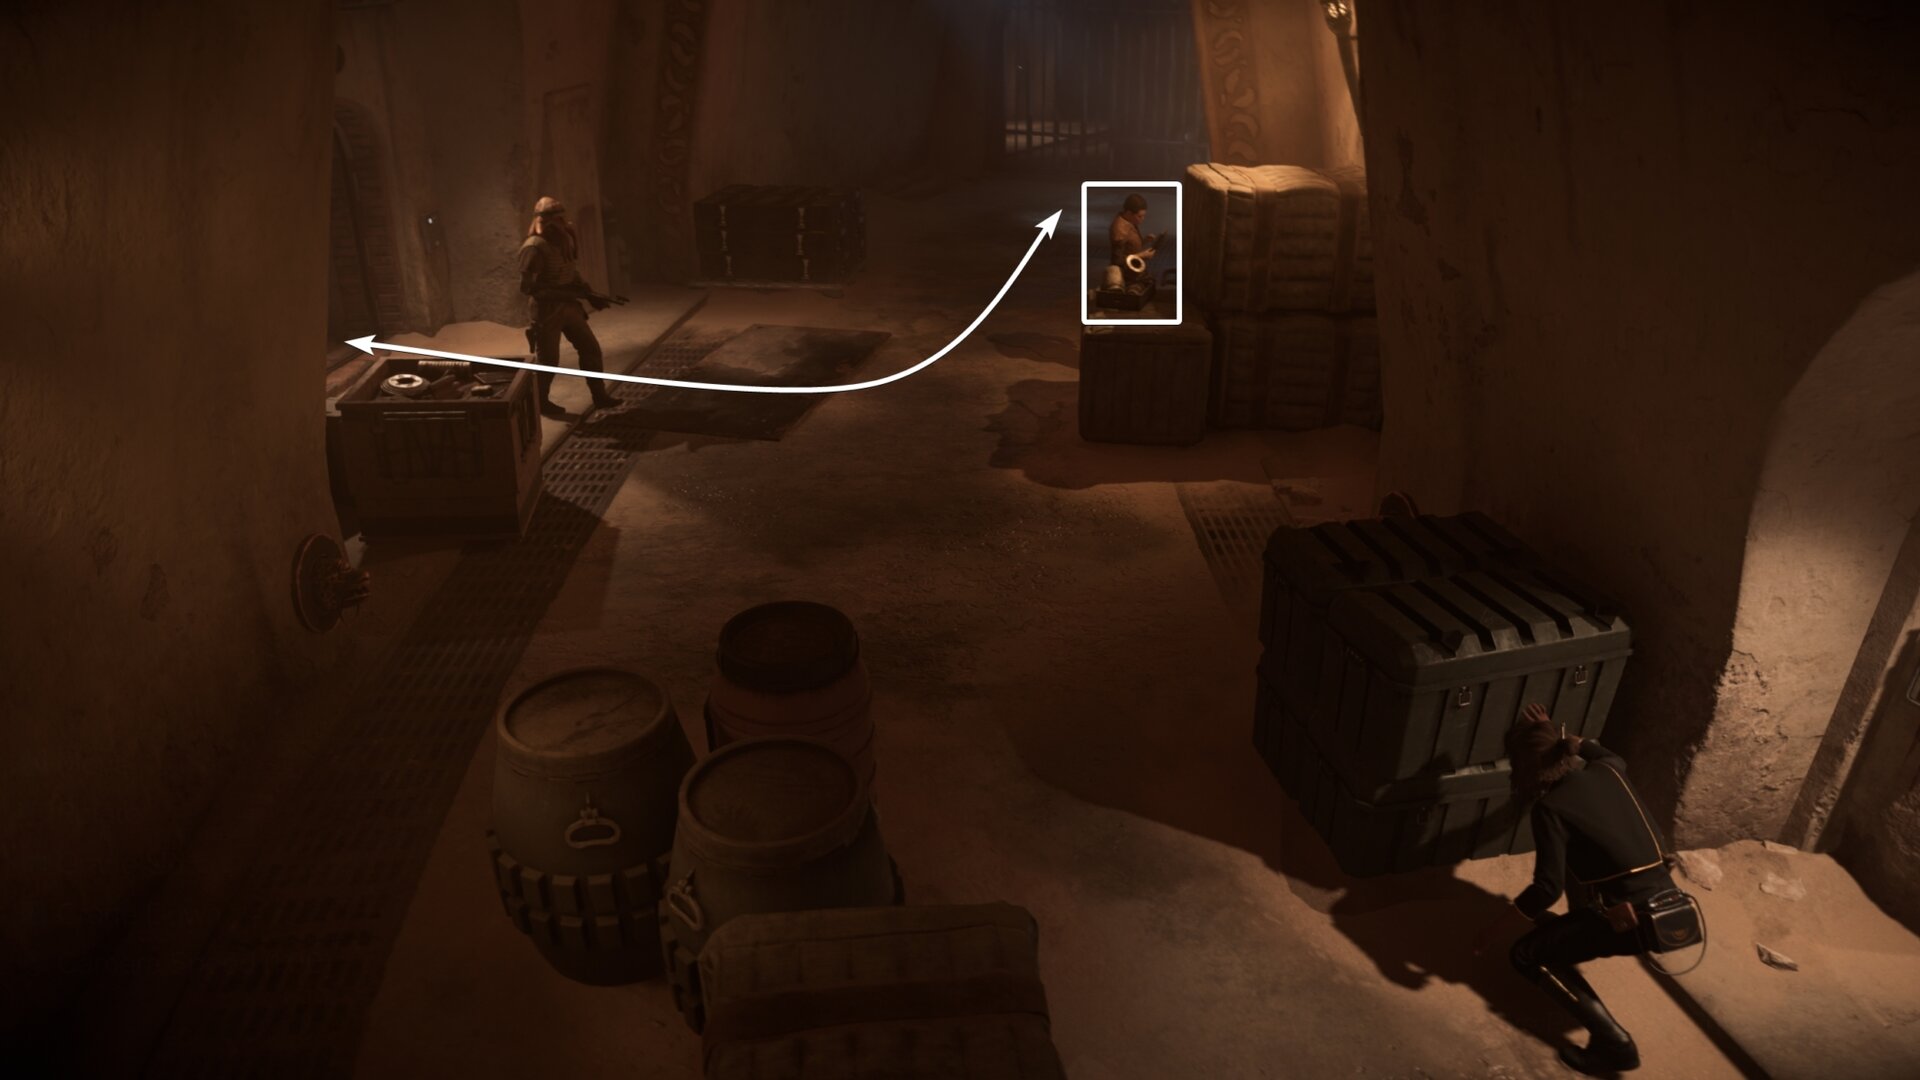
Wait behind these covered crates and wait for the guard to walk back upstairs. So long as you’re hugging that corner and not moving, he won’t detect you. Keep going downstairs when he gets some distance from you.
Be mindful of the other Gamorrean guard in the hall ahead. He’ll be patrolling down the hall and up the stairs. You can sneak upstairs to find a small chest with some upgrade materials.
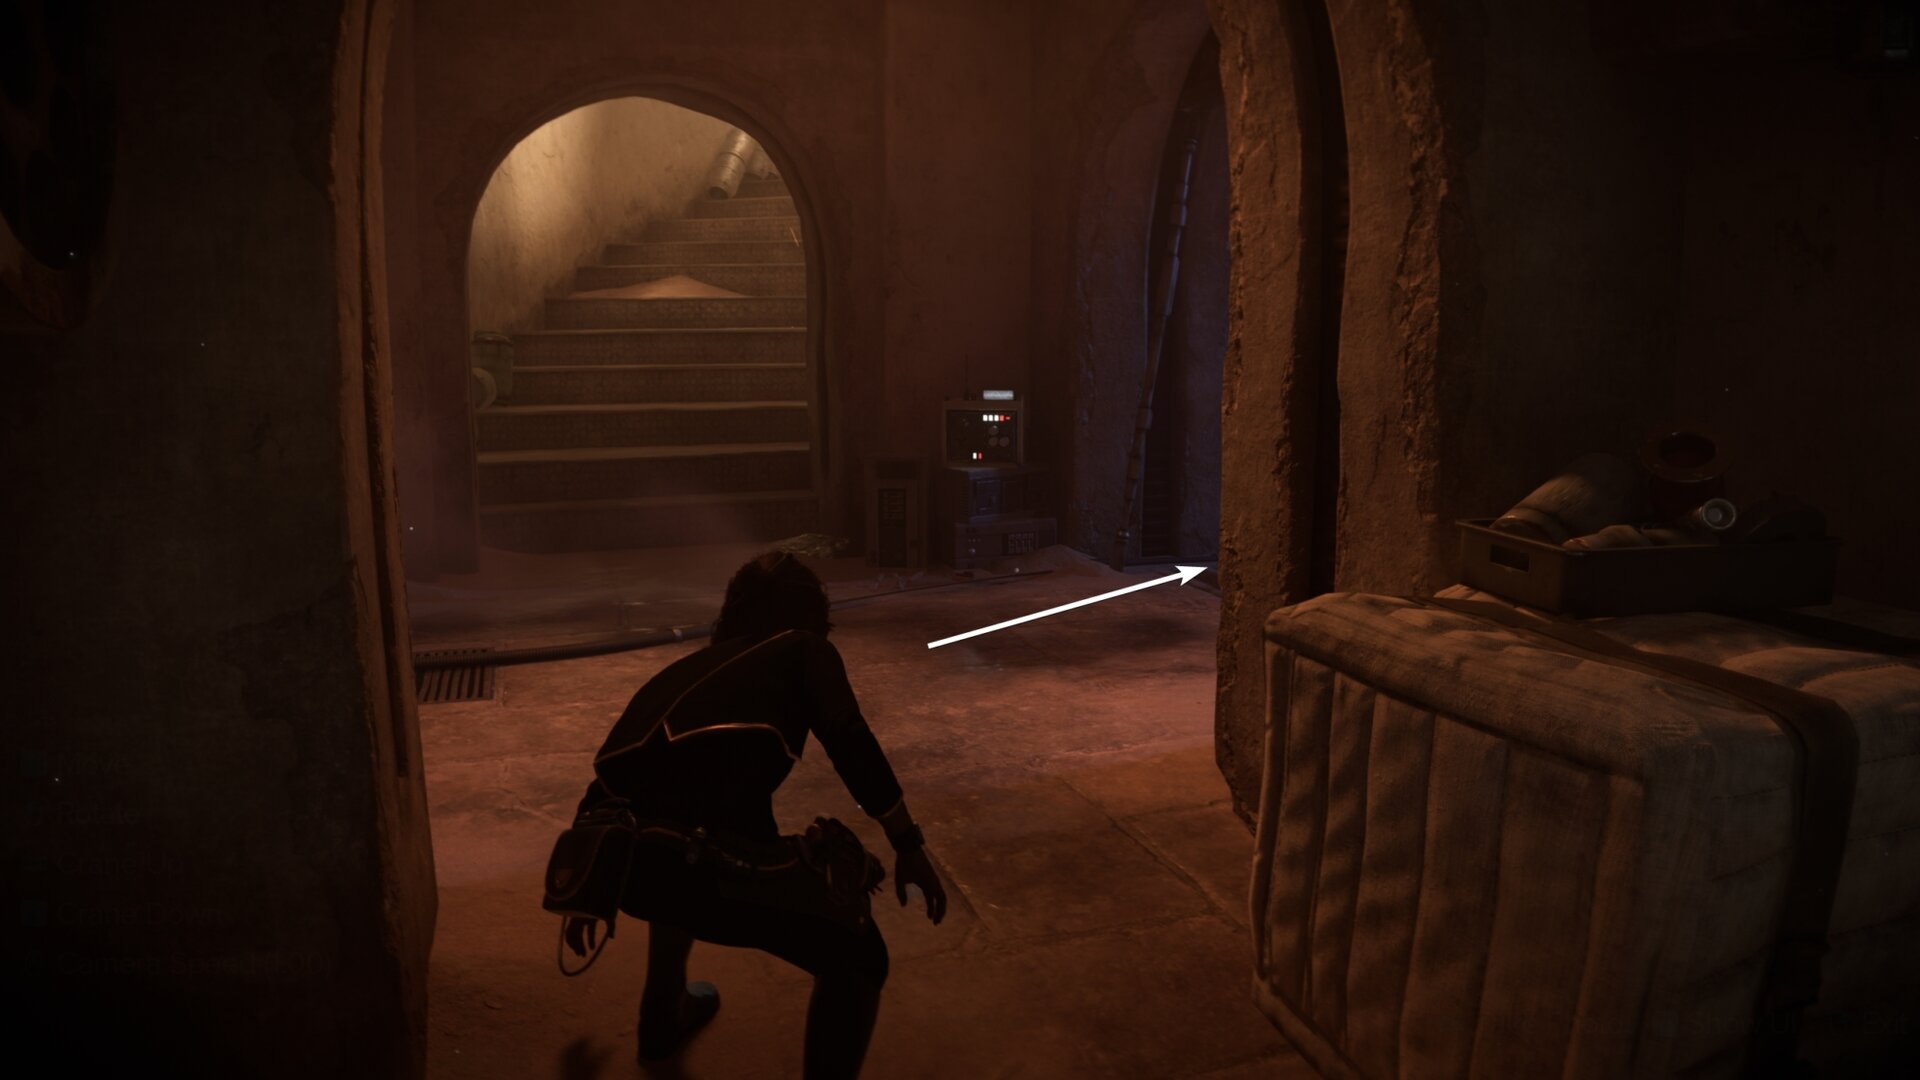
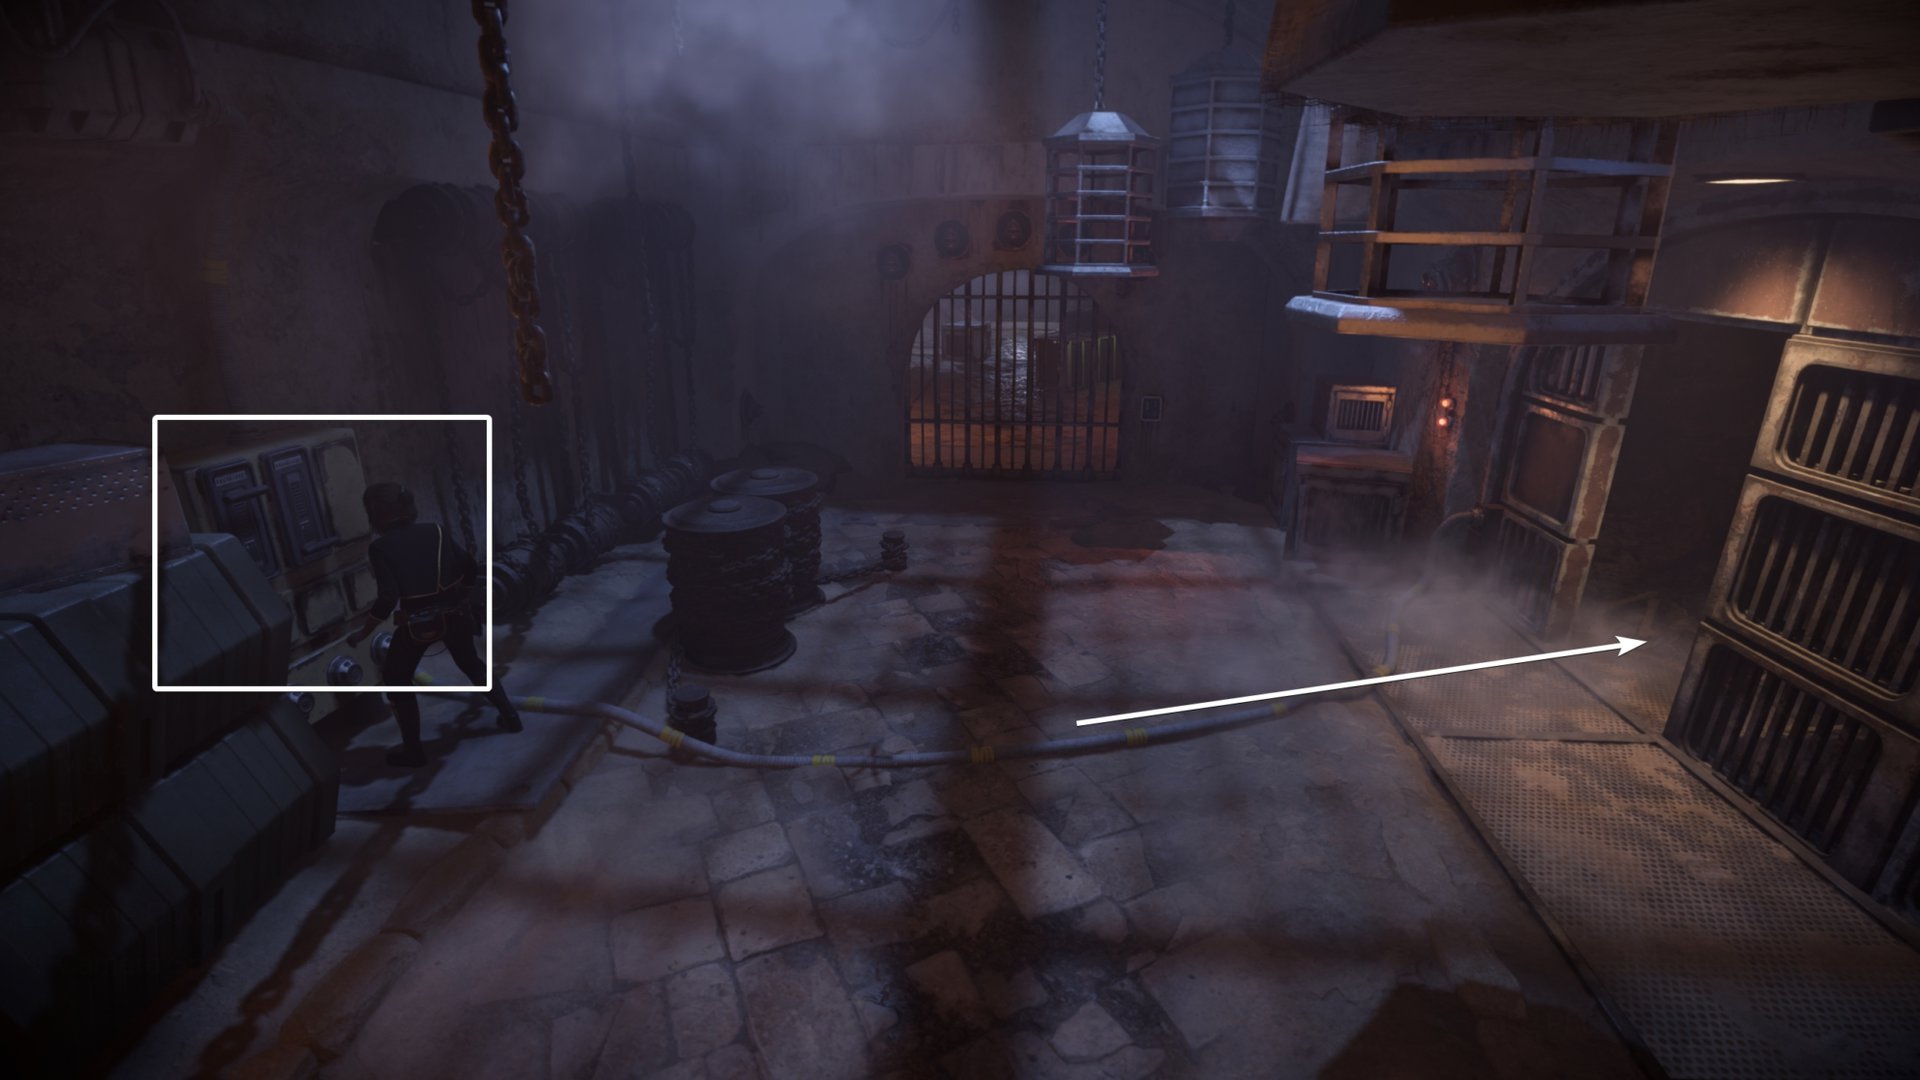
The path you’ll need to go to is down the grapple point to the right in the blue room. If you’re trying to sneak past the guard to go upstairs, use this grapple point as a hiding spot.
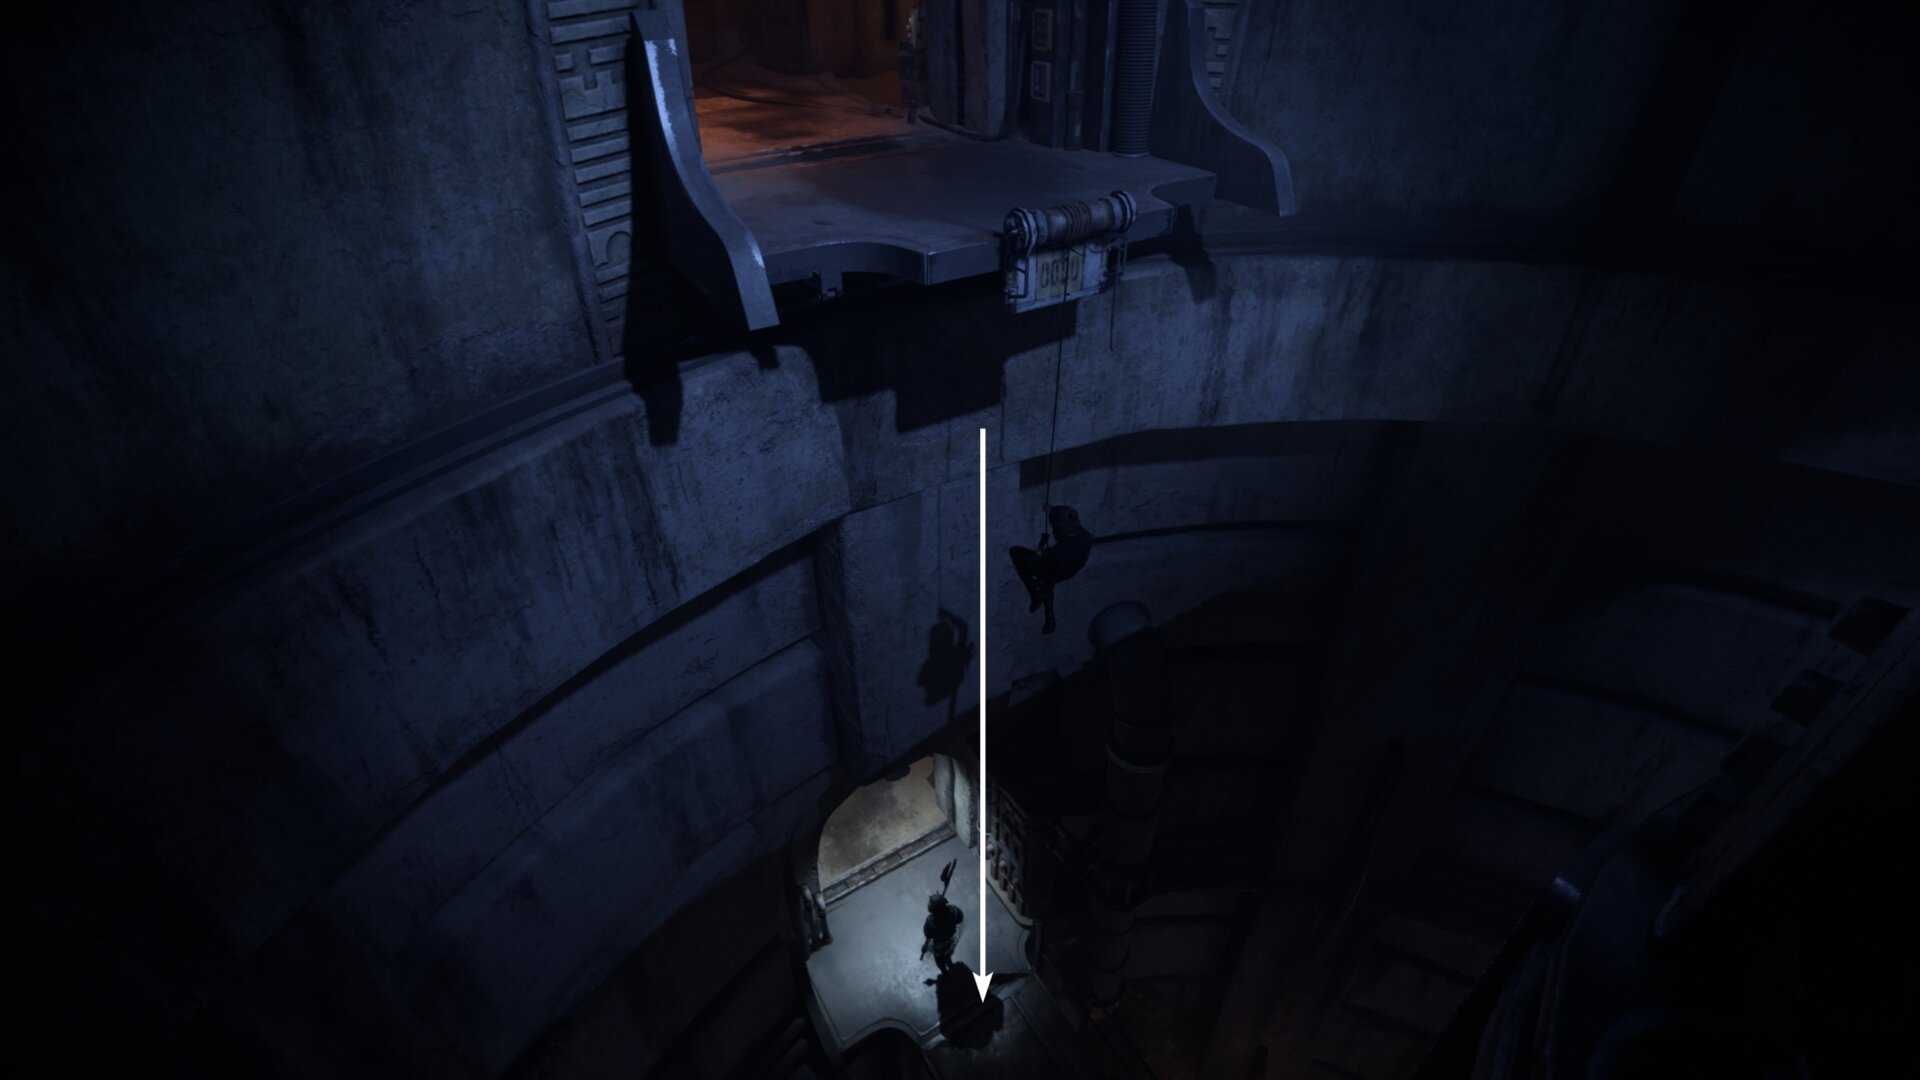
Don’t get too close to the guard you find when you rappel down. Follow him a good distance away to find another hall. Use the vent on the right to sneak by.
On the other side, wait for the guard to walk away from you and lockpick the door at the end of the hall.
Jabba’s Menagerie
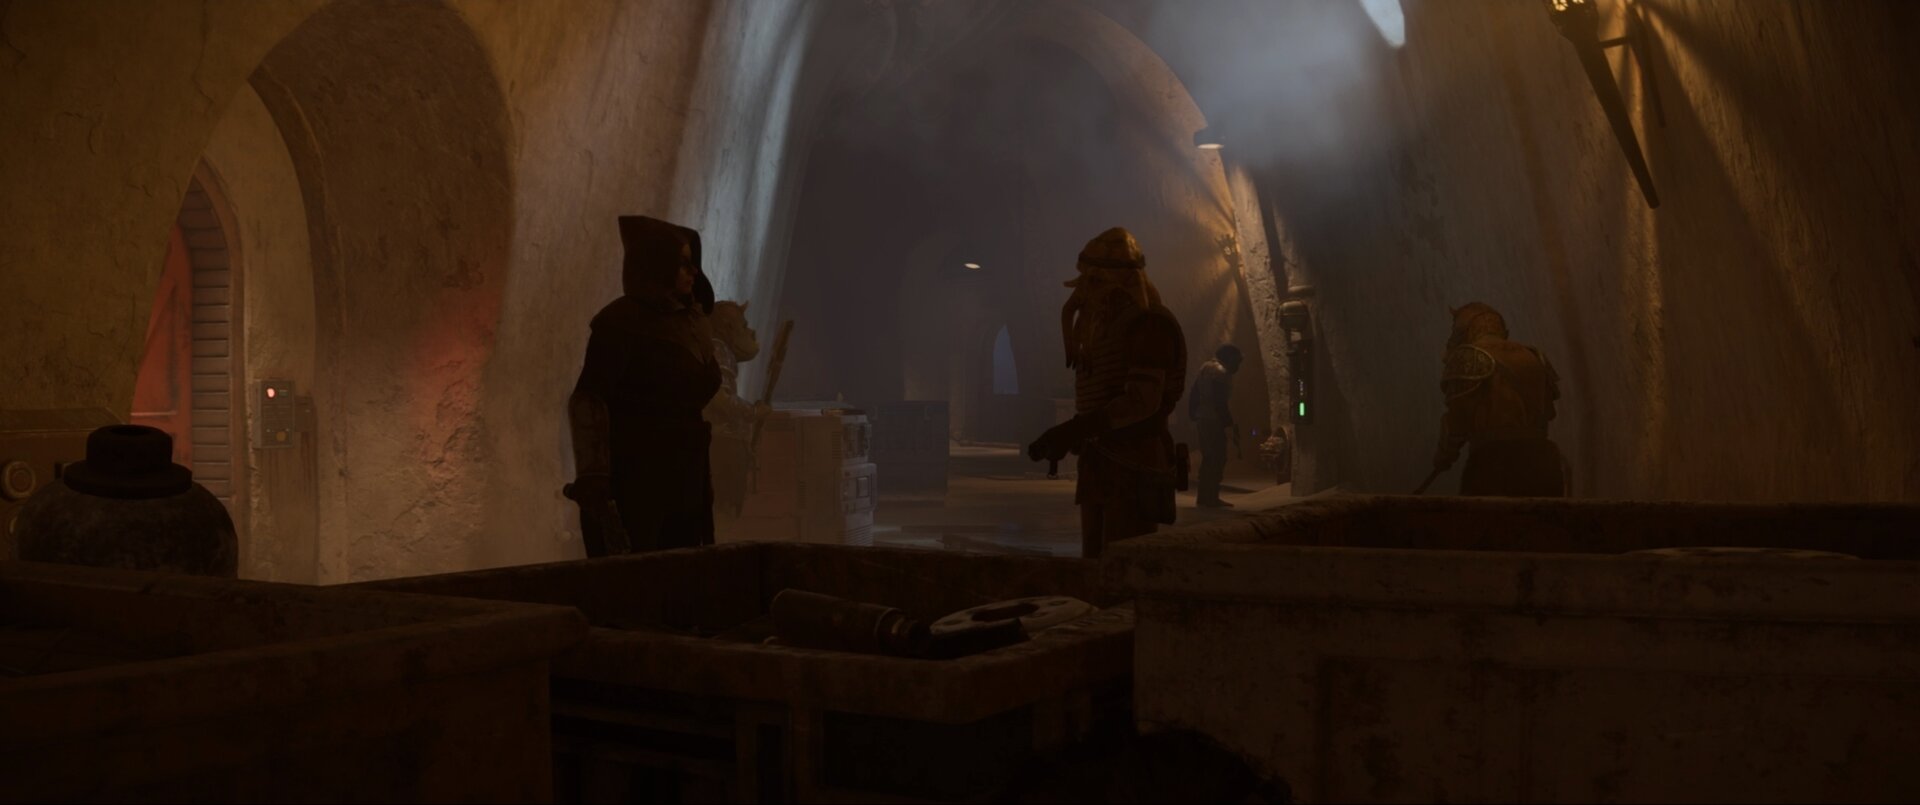
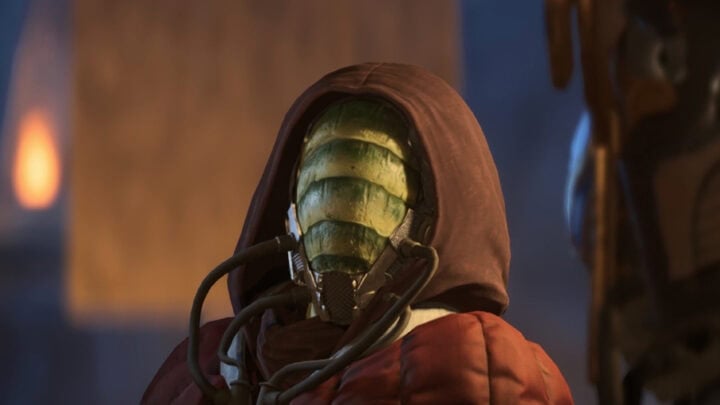
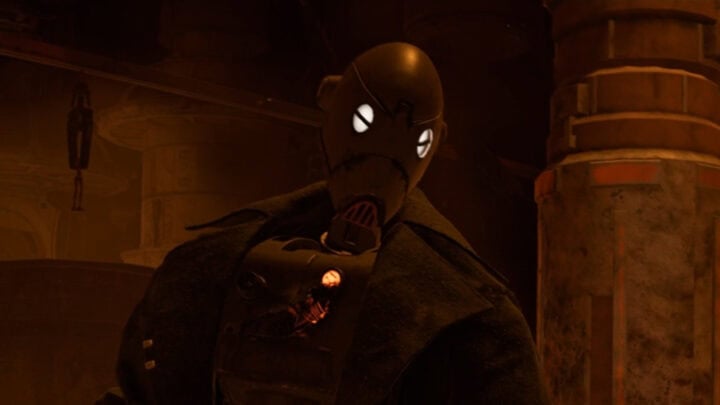
You’ll overhear the Beastmaster and a Quarren guard talking about Nix. After the Beastmaster leaves to discipline Nix, you’ll need to get the Storage Room Keycard from the Quarren guard.
While you could blast your way through this, it’s safer to sneak your way through to not risk sounding the alarm and restarting from the last checkpoint.
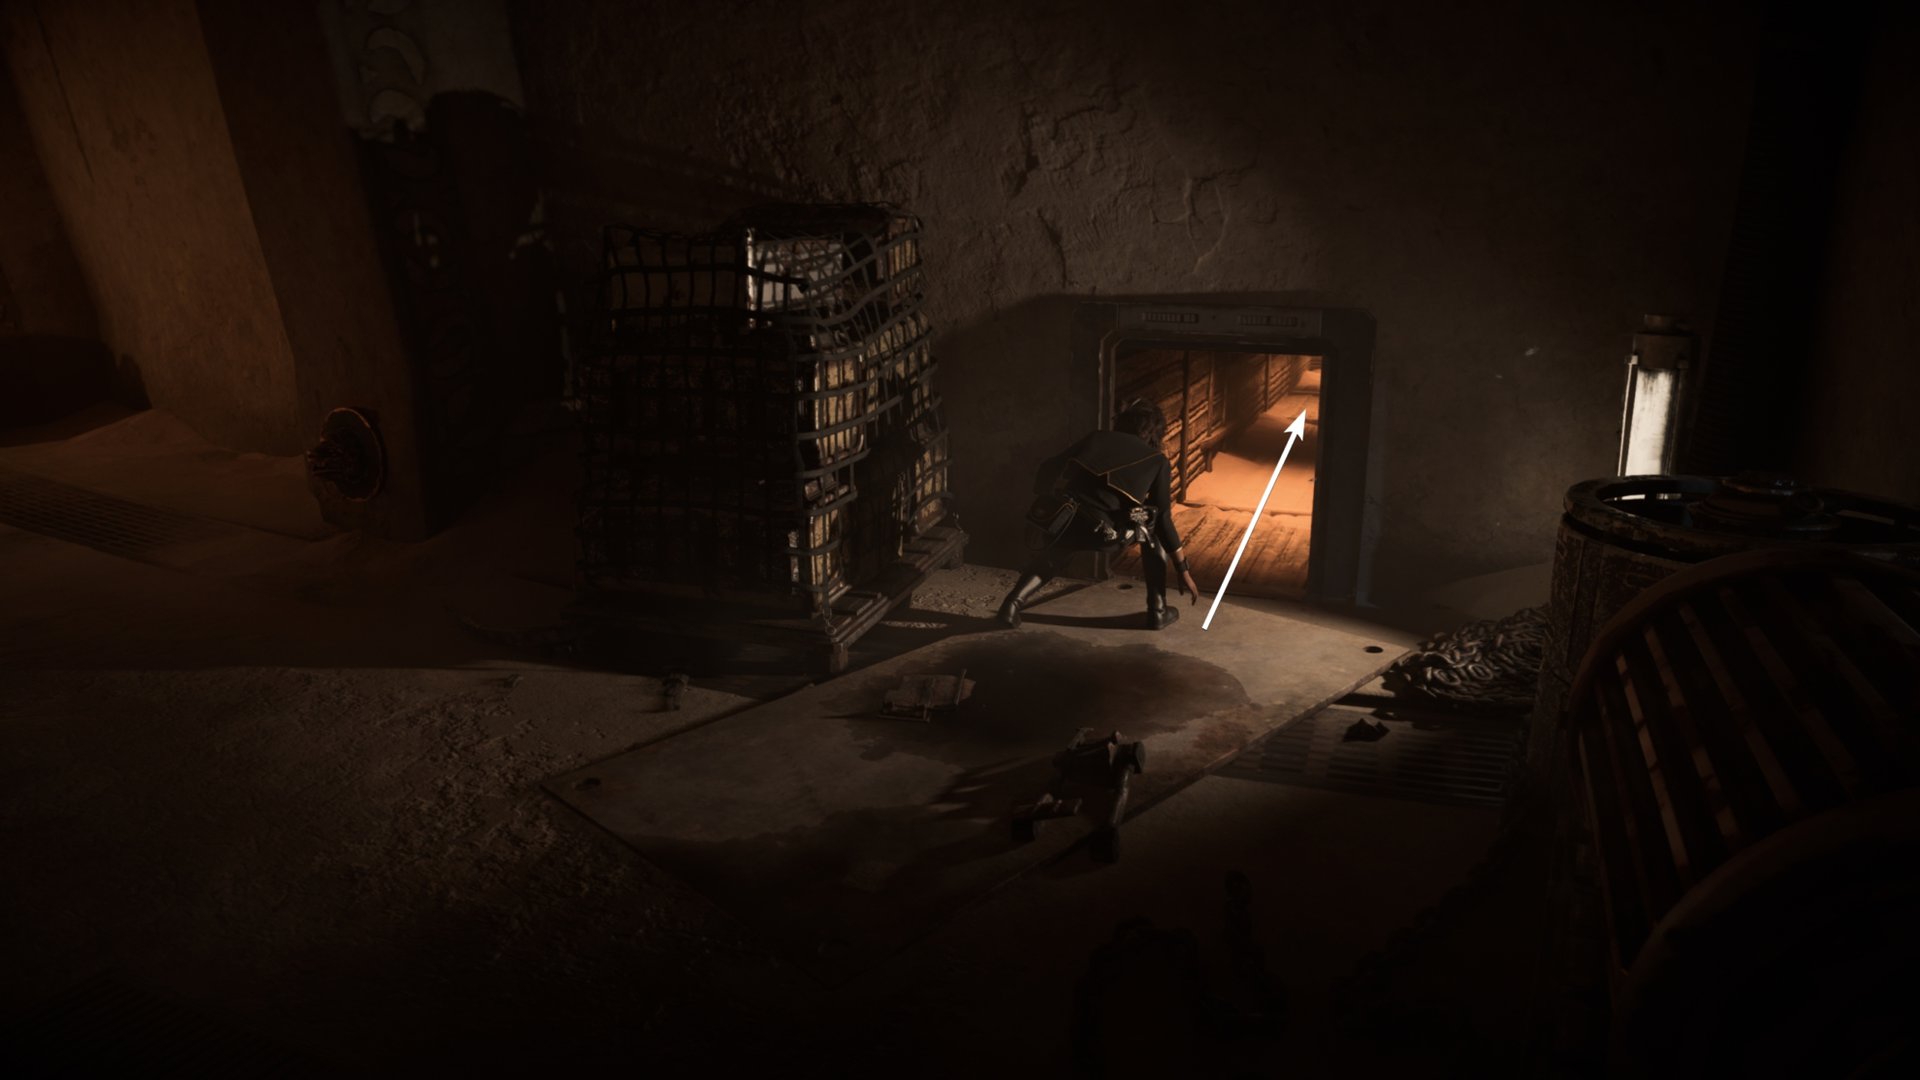
Follow the guards when they walk away and knock out the worker when they get enough distance from you. They’ll begin to patrol a blue hall ahead.
To the left of the door that leads to the blue hall is a vent you can crawl into. Go inside to find a storage room with a locked door. Pick it open then hide behind some cover.
You’ll see a worker and the Quarren guard here. Wait for the Quarren to step out and then back in before knocking out the worker and then the guard.
Pick up the Storage Room Keycard and head back through the way you came and go into the storage room.
Go down the hall and stick to the left, you’ll find a vent you’ll need to crawl through to progress.
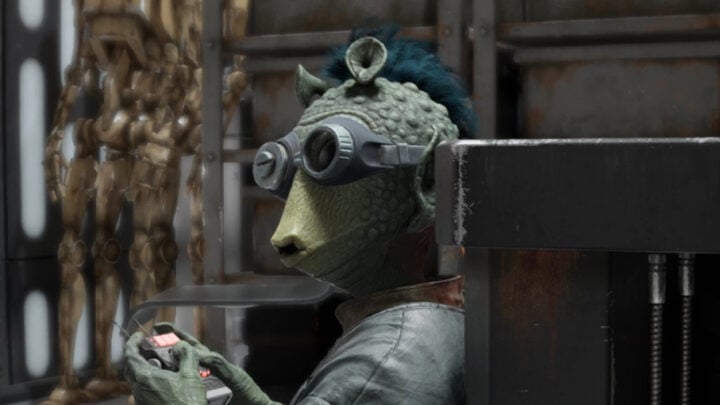
If you look to your left while crawling through the vent, you’ll see Boba Fett and a hologram of his next target. The hologram appears to be of Asara, the Rebel Twi’lek that was in the Zerek Besh vault on Canto Bight earlier in the game.


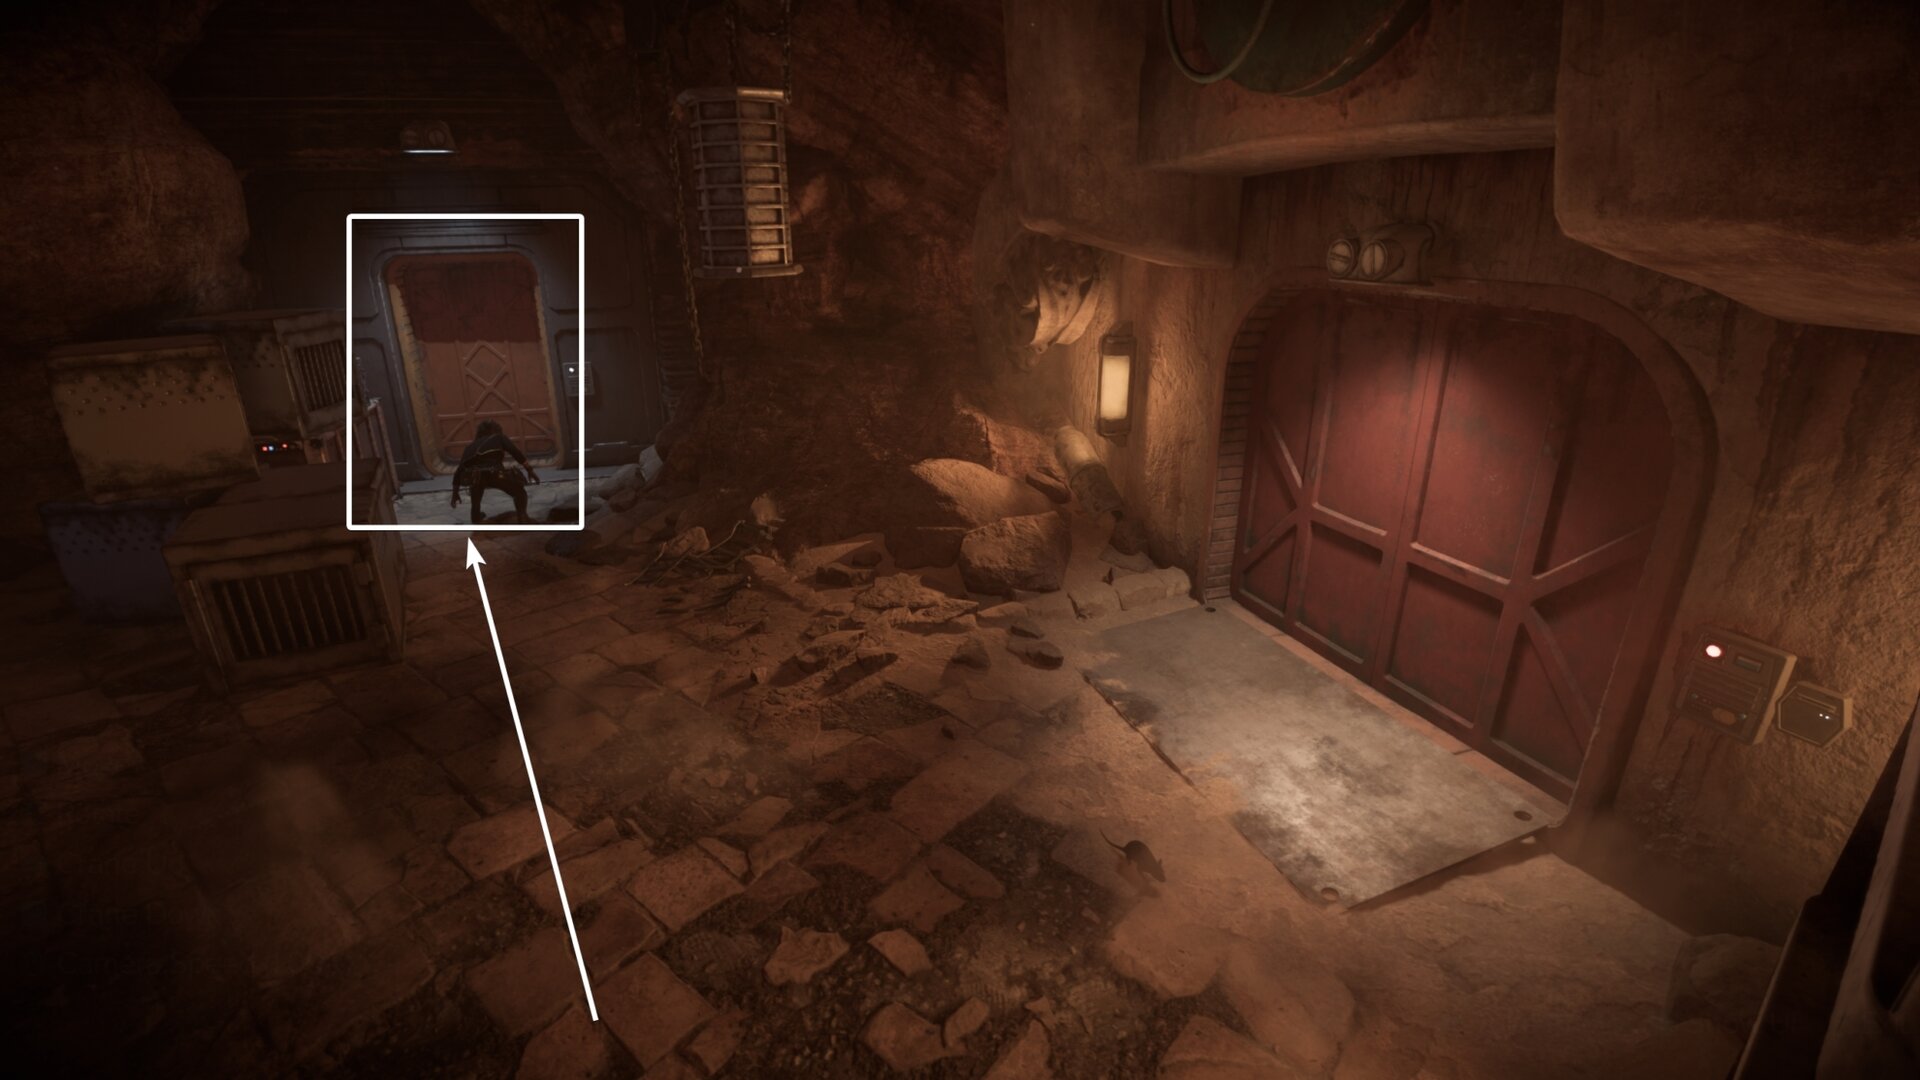
After going through the vents, you’ll end up in a meat locker. Exit the meat locker to find yourself in a hall with cages built into the wall.
At the end of the hall, you’ll find a power lever you’ll need to pull to open the way forward.
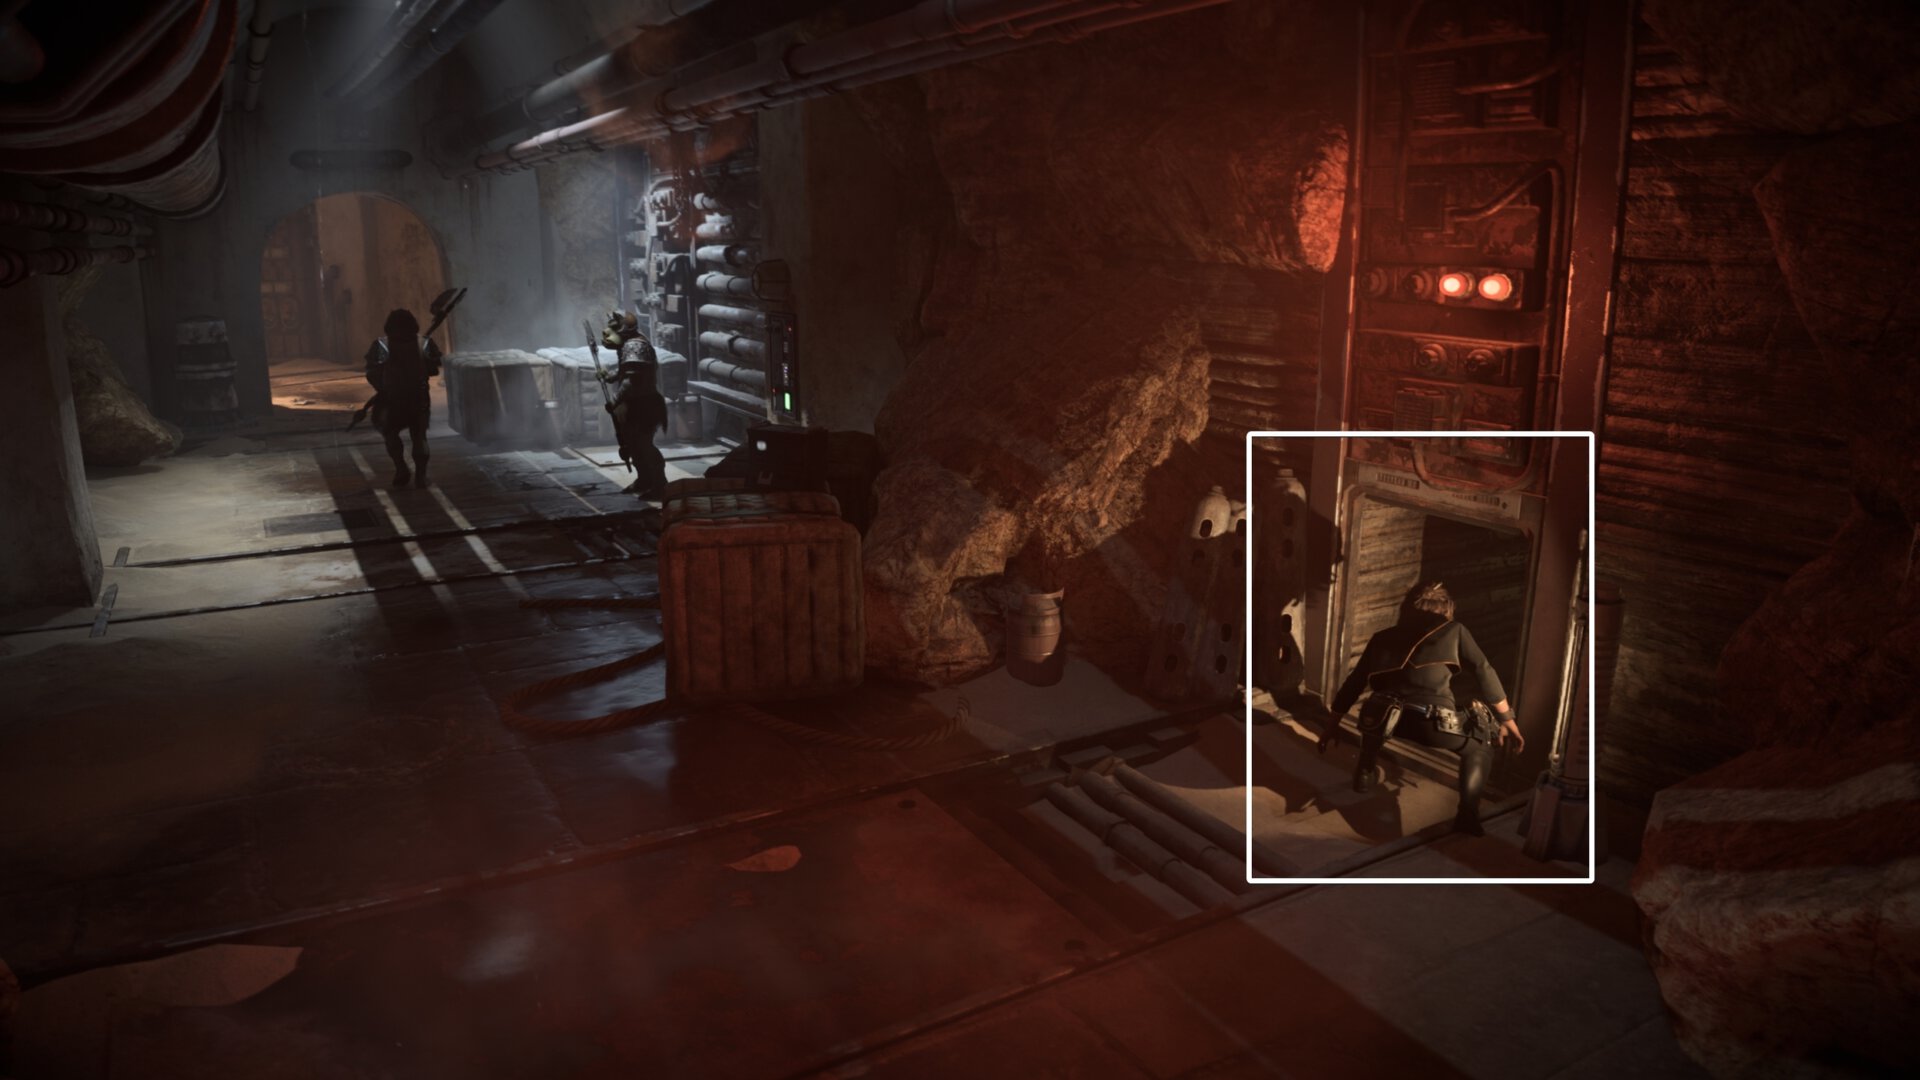
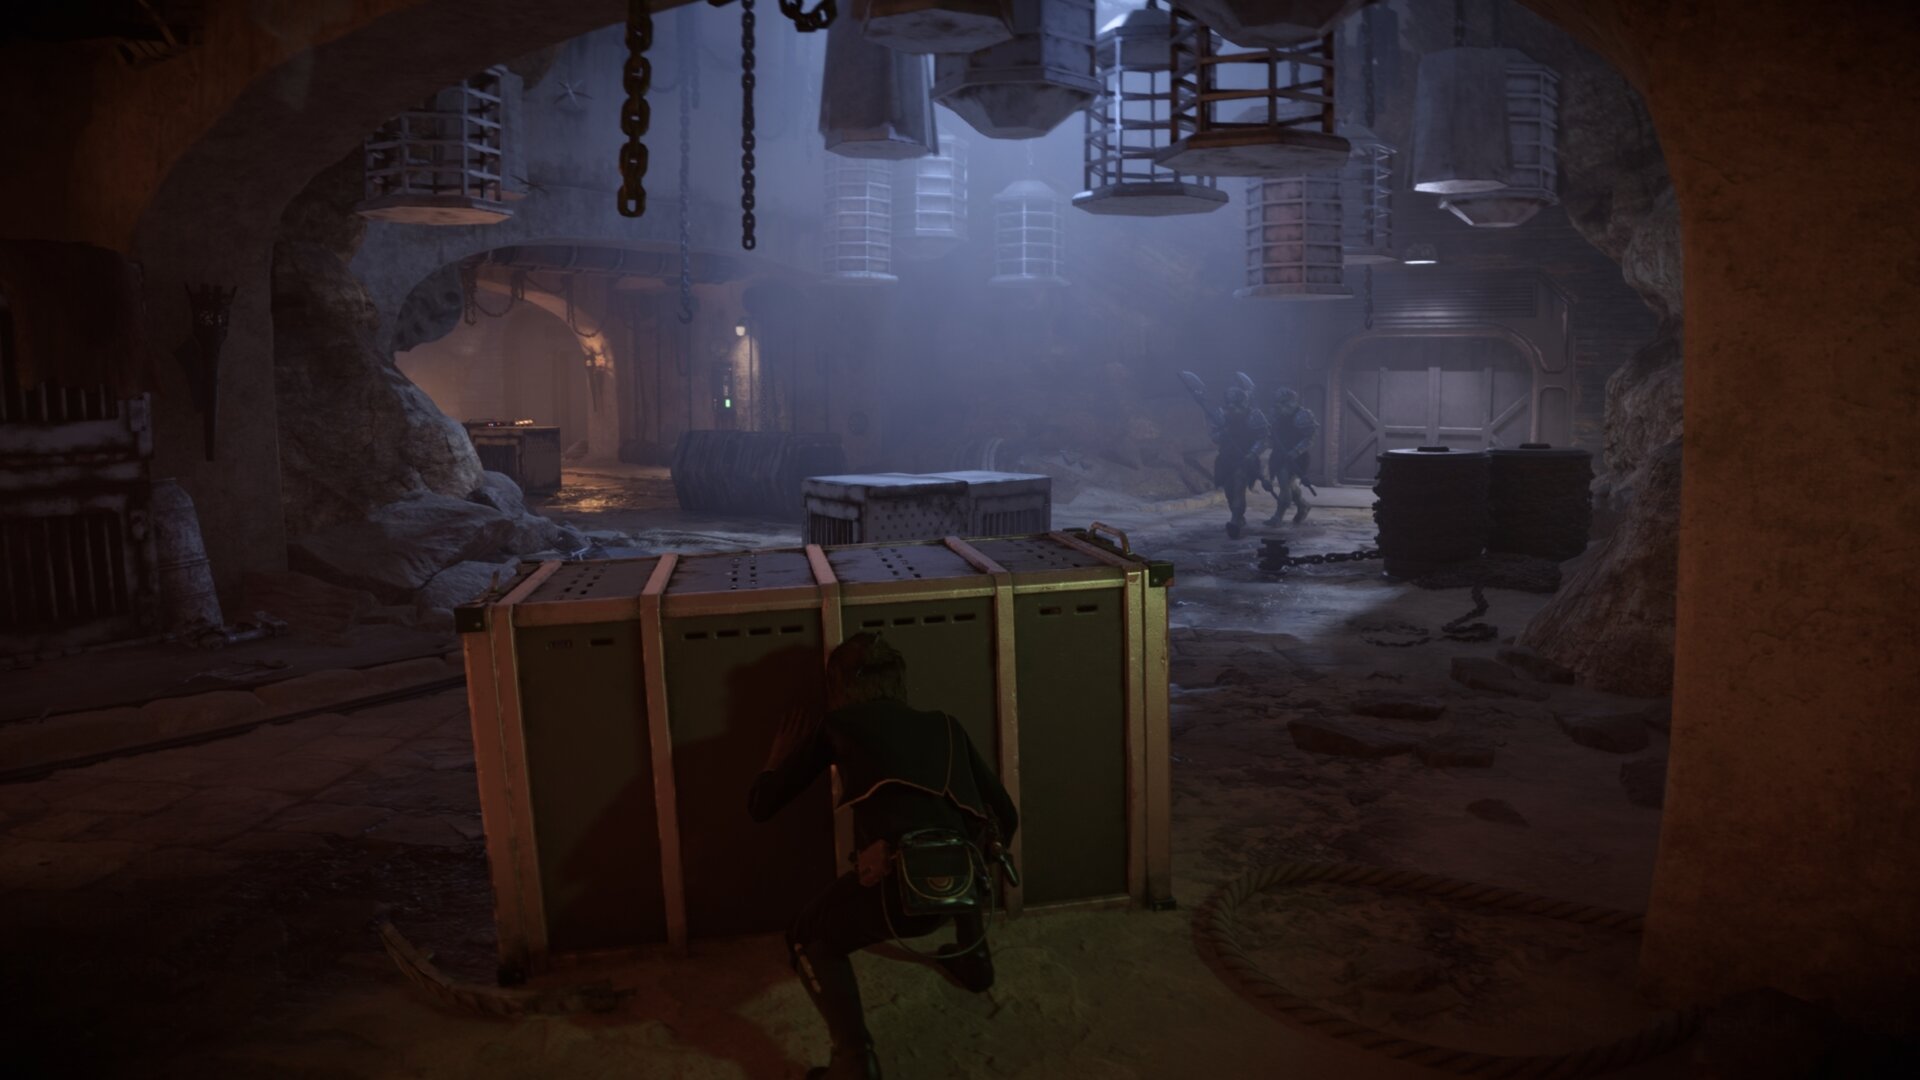
Crouch behind the green box as two Gamorrean guards walk out of a door and start patrolling the hall. This is where things will get tricky in terms of sneaking around.
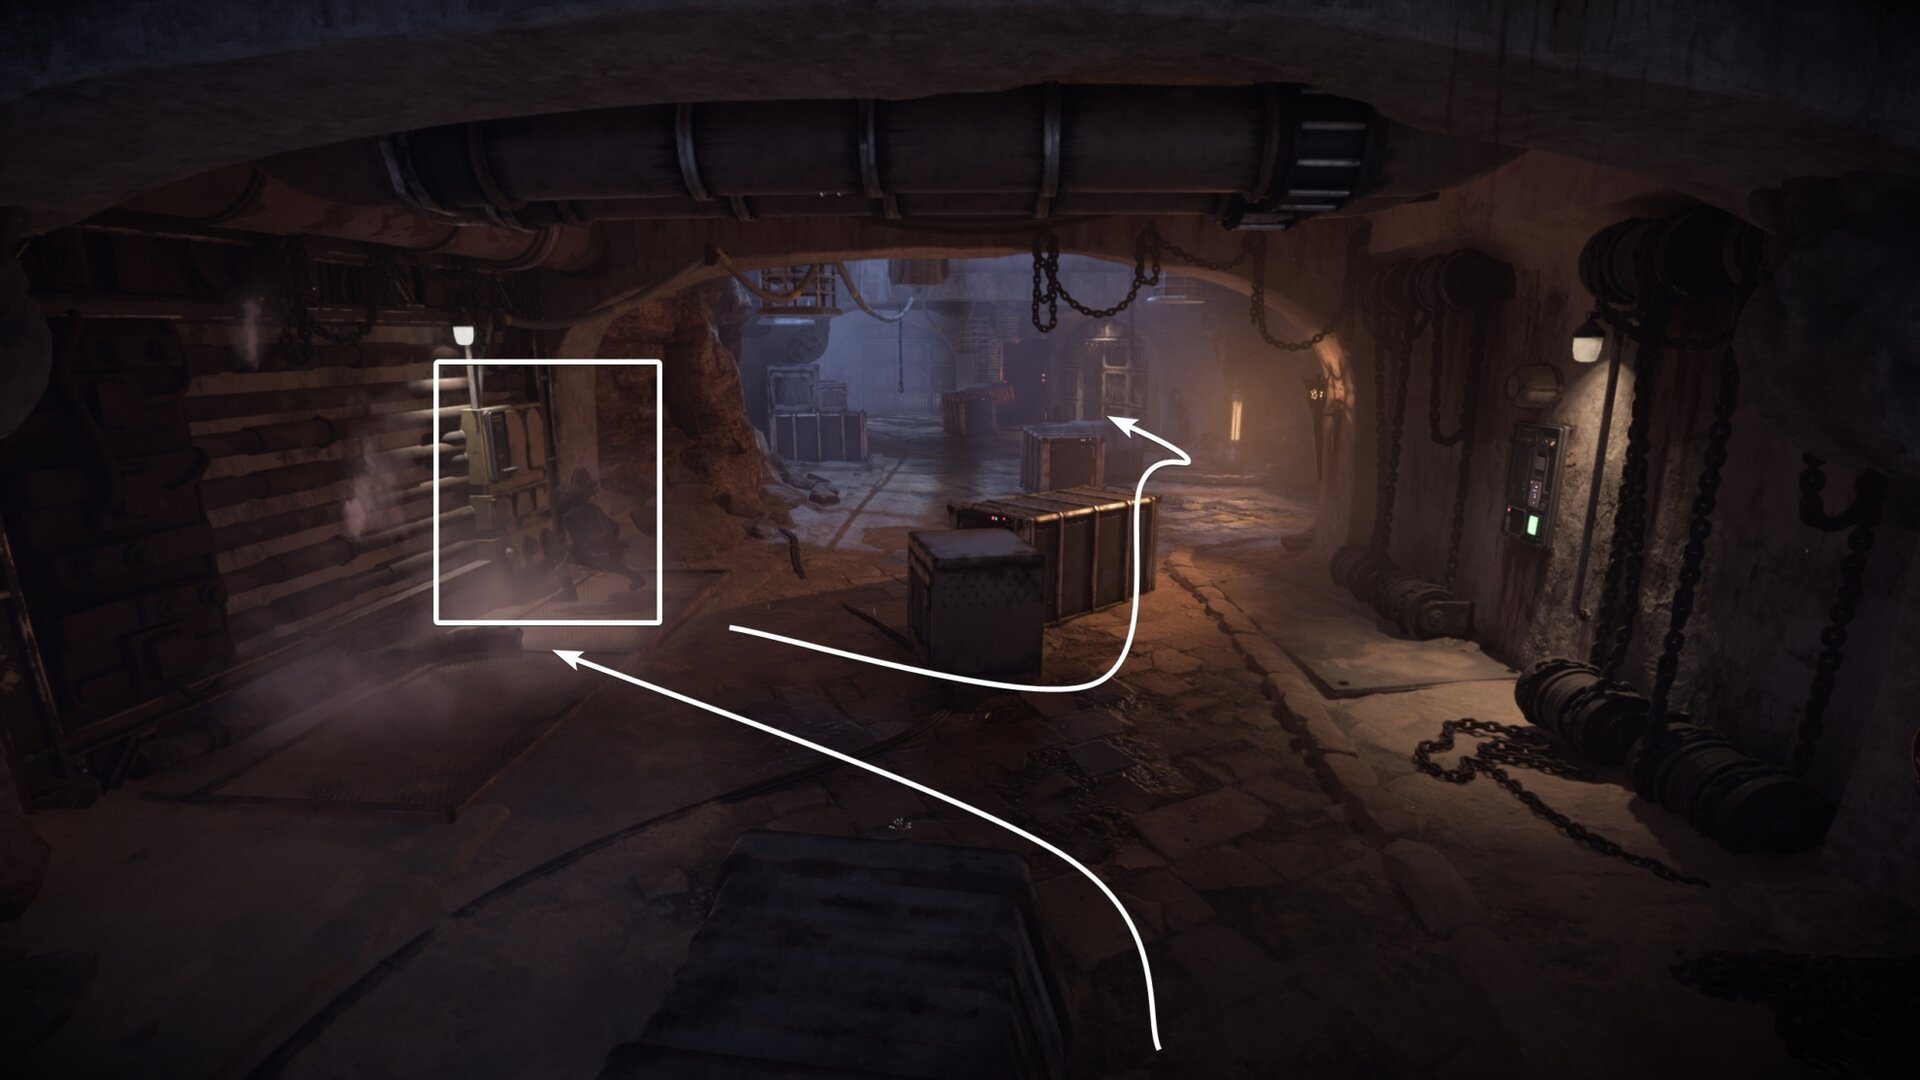
Wait for the guards to get deeper down the hall and activate a power lever when the guard in the area walks away from it. Enter the door to the right that the lever opened.
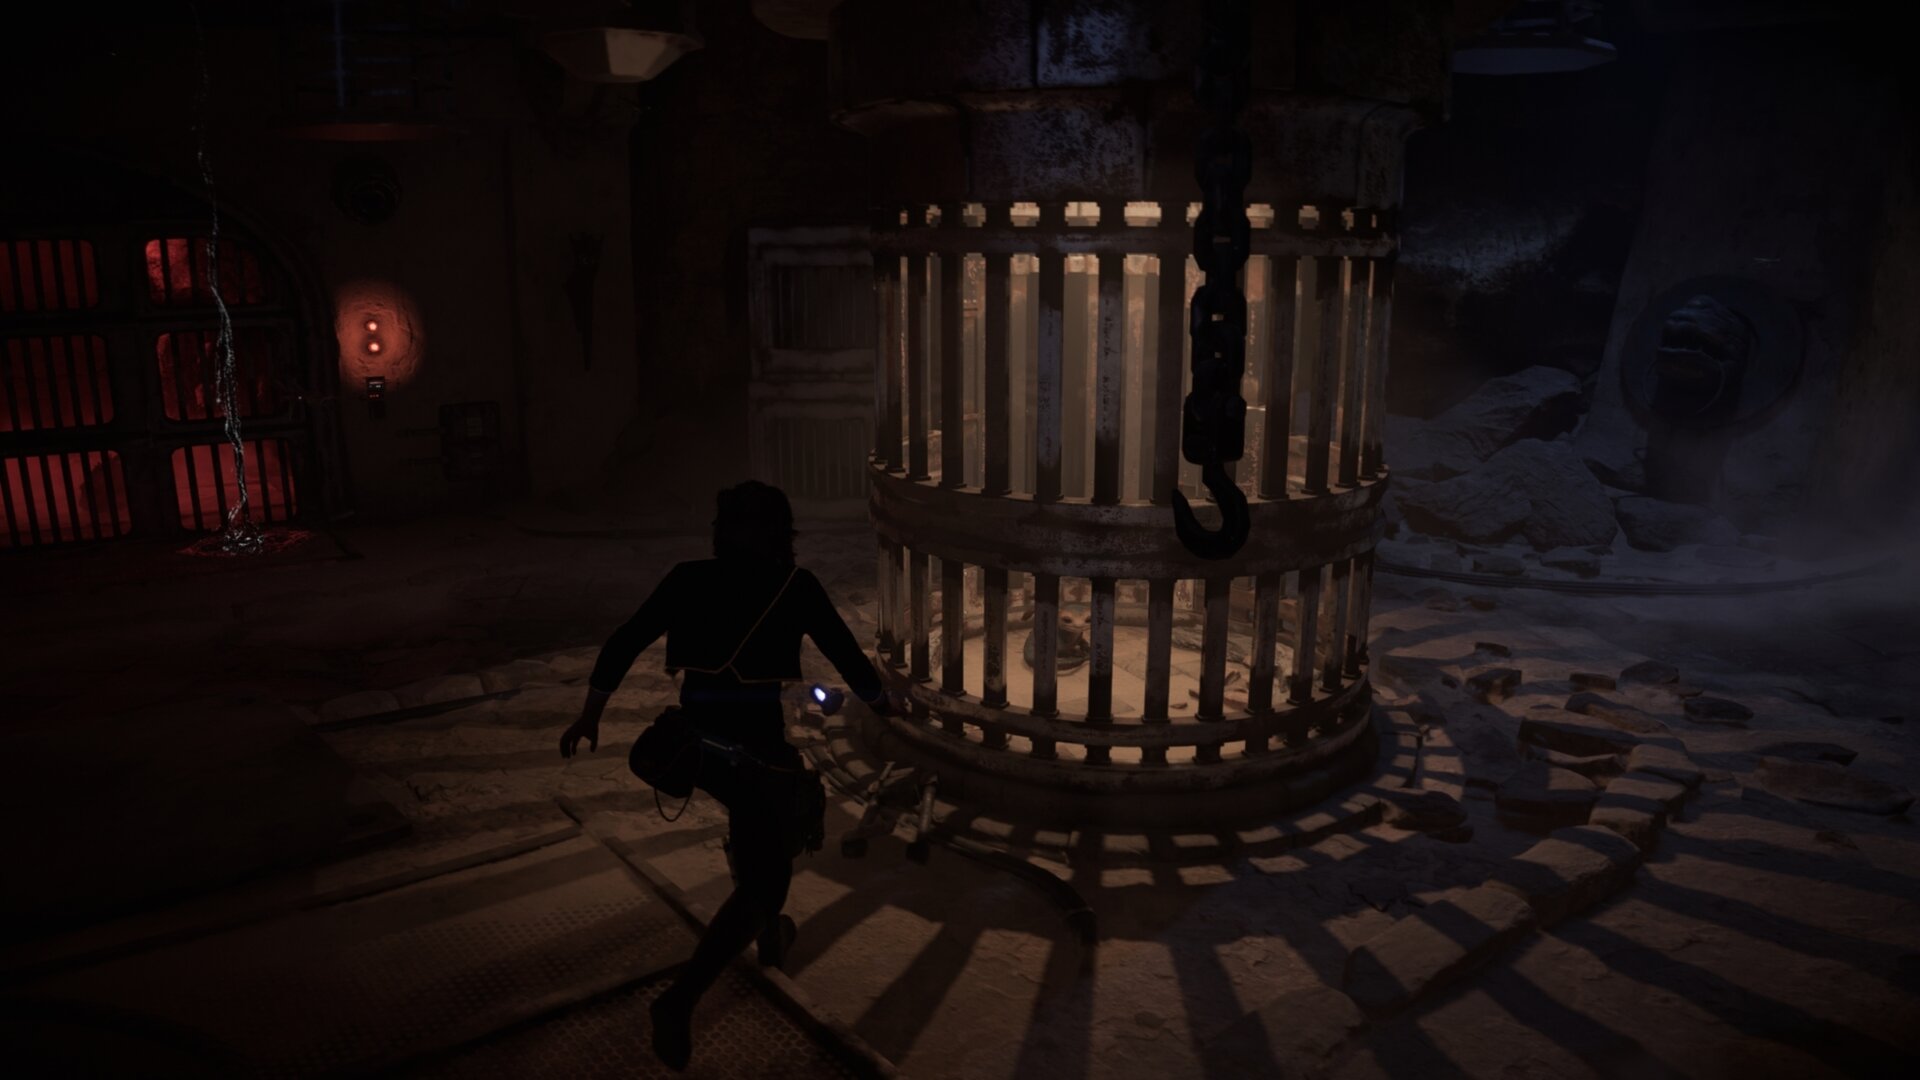
When you reach the end of the hall, you’ll see a large door that leads to the Menagerie and a small door that goes to a storage room.
Get the Menagerie Keycard from the storage room first then go through the big door into the menagerie. Be sure to close the door immediately after going through it to remain hidden.
The menagerie will be dimly lit, but you’ll find Nix at the far end of the room towards the left.
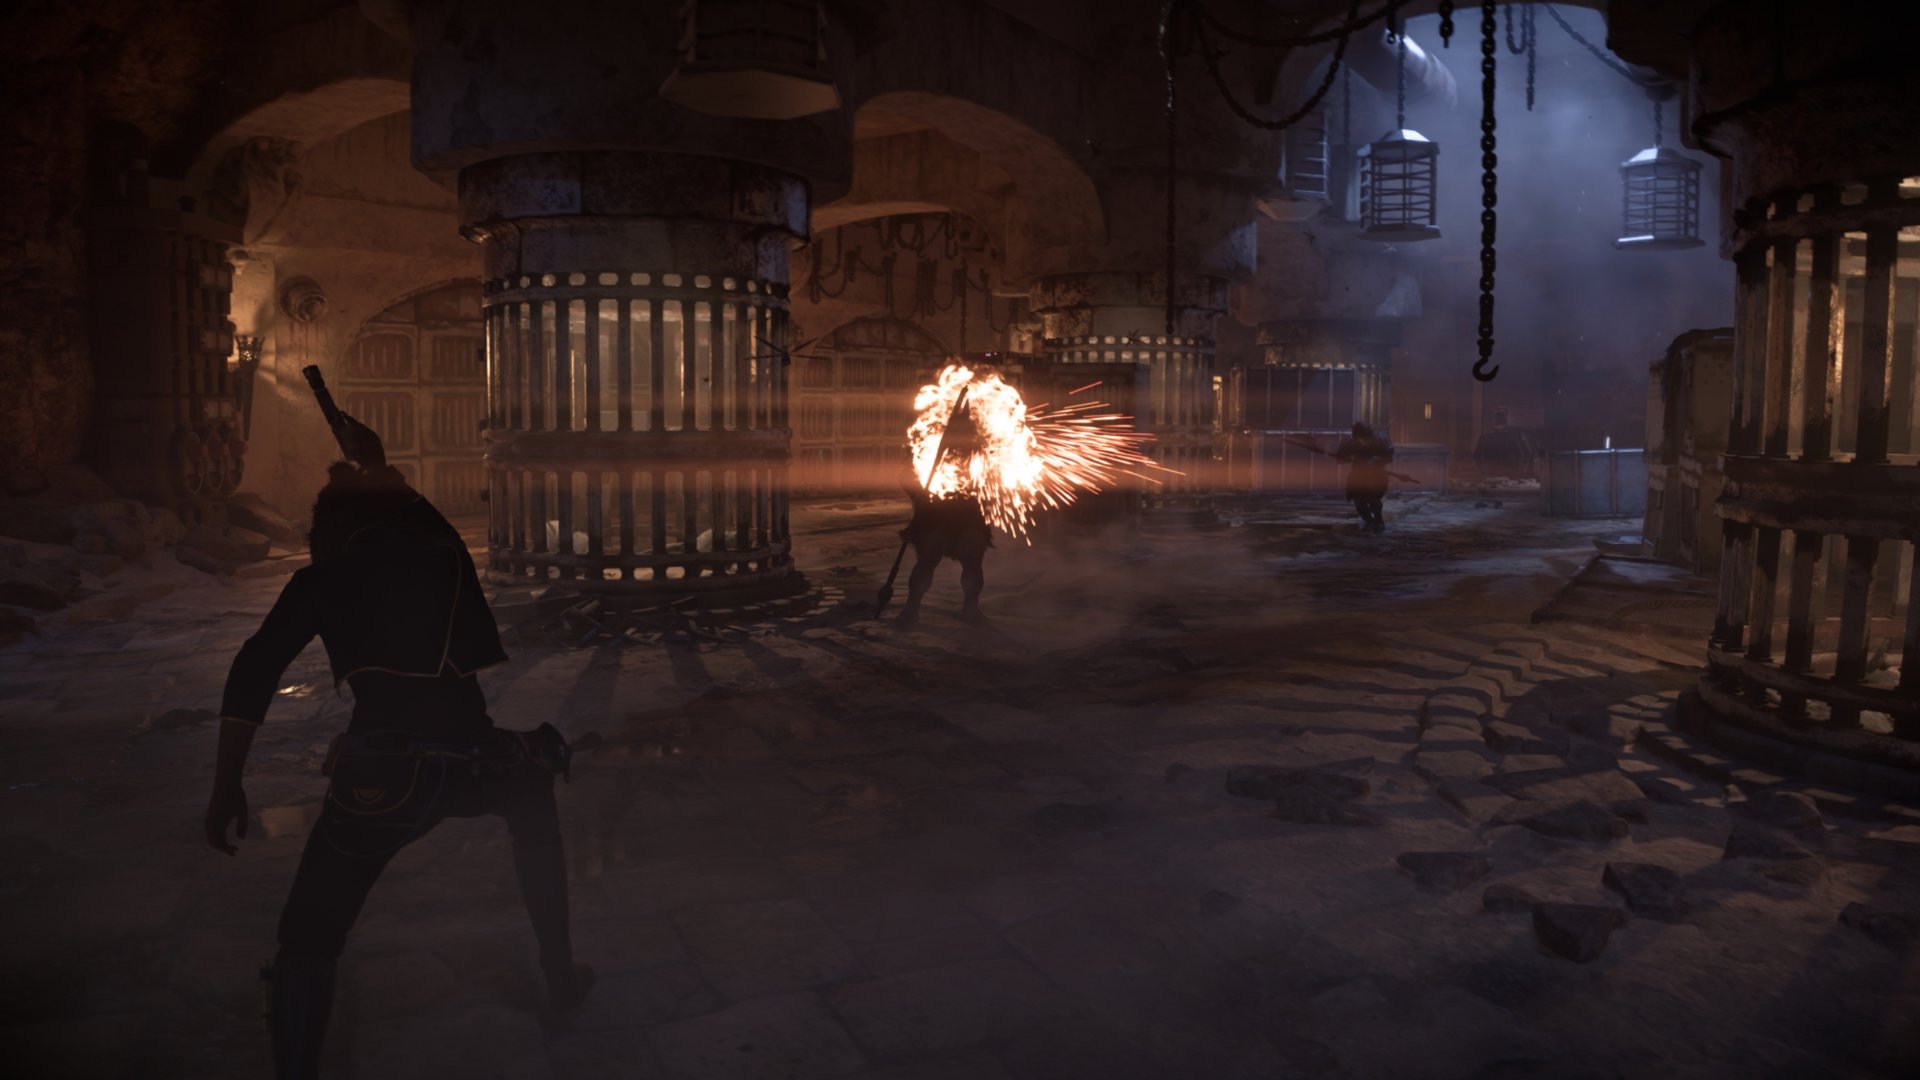
When you reach Nix, two Gamorrean guards will attack you. Set your blaster to Power mode and defeat the guards.
After the guards are defeated, you’ll be attacked by the Beastmaster and m assiffs. Defeat them then free Nix and make your escape by going through the door the guards came out of. Though if you want some extra credits, go back to the previous room.
If you return to the previous hall you used to sneak into the menagerie, the area will now be empty with no guards.
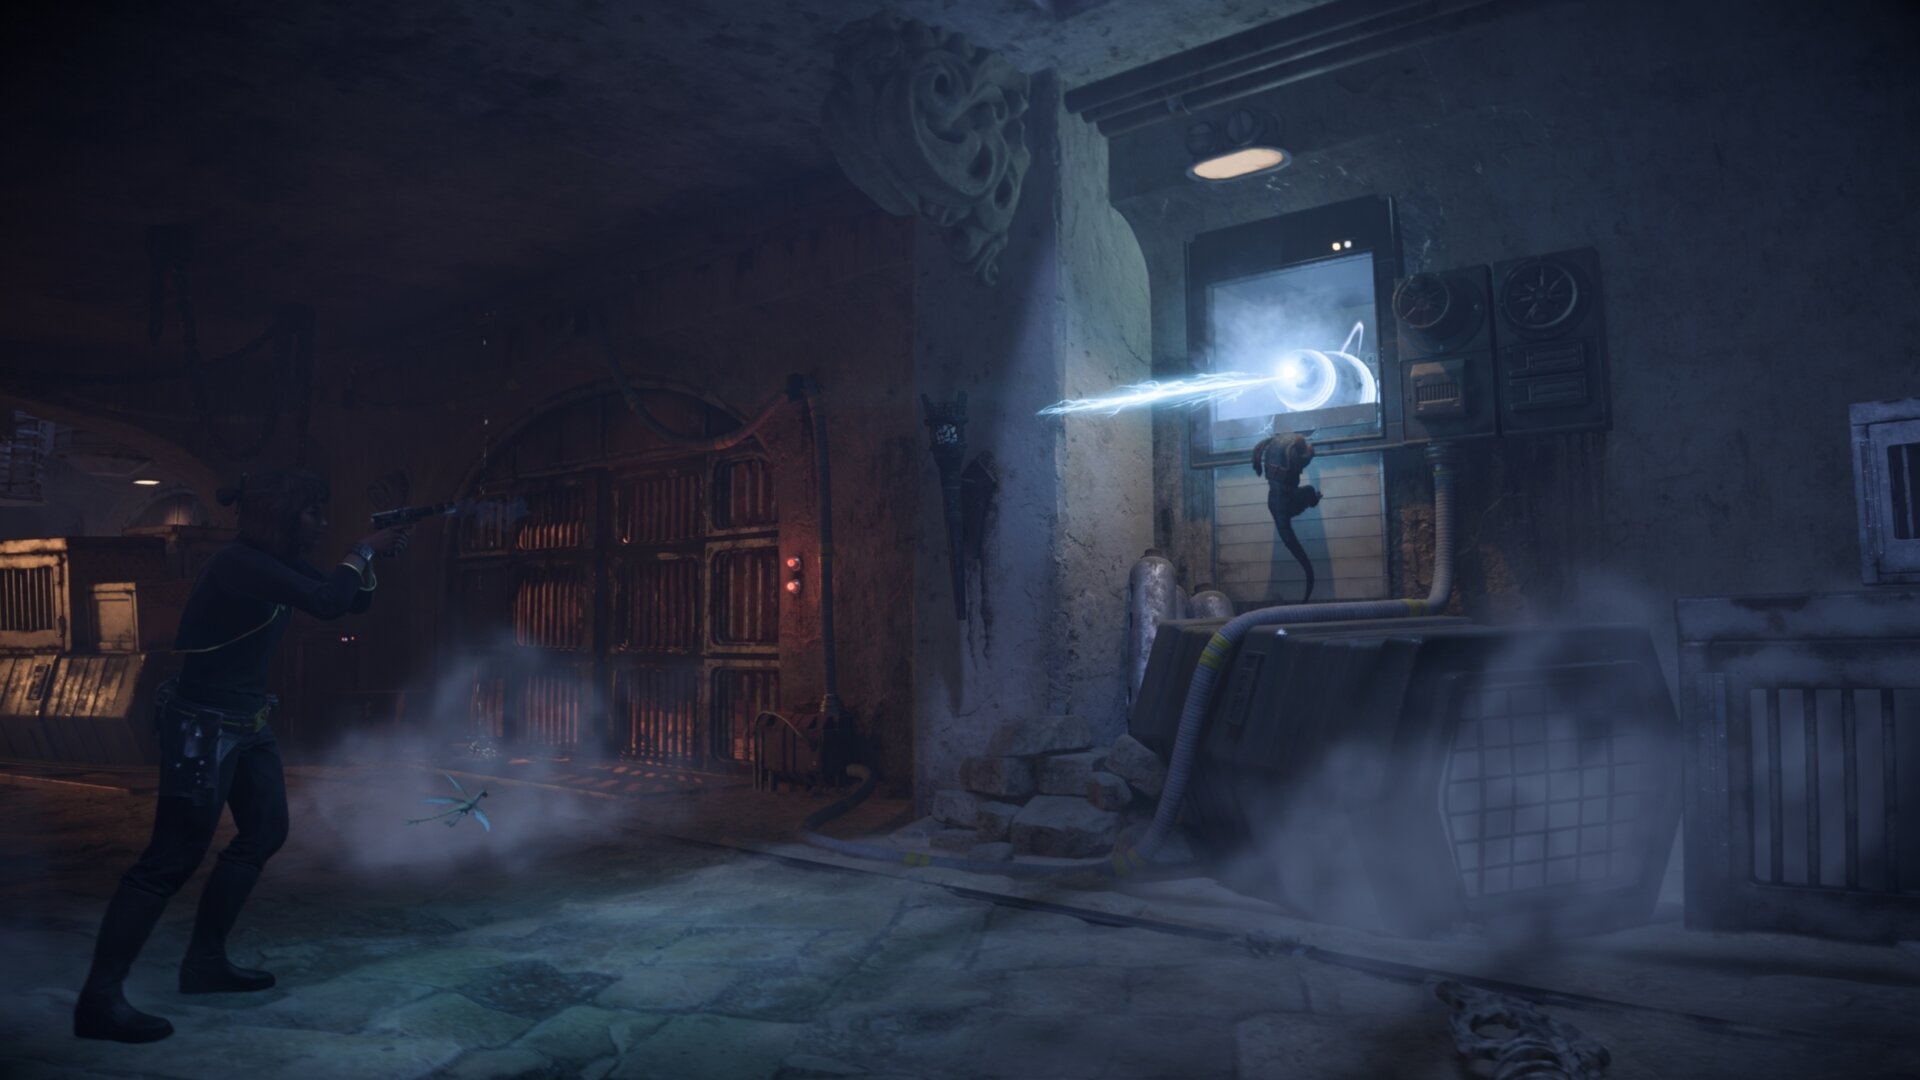
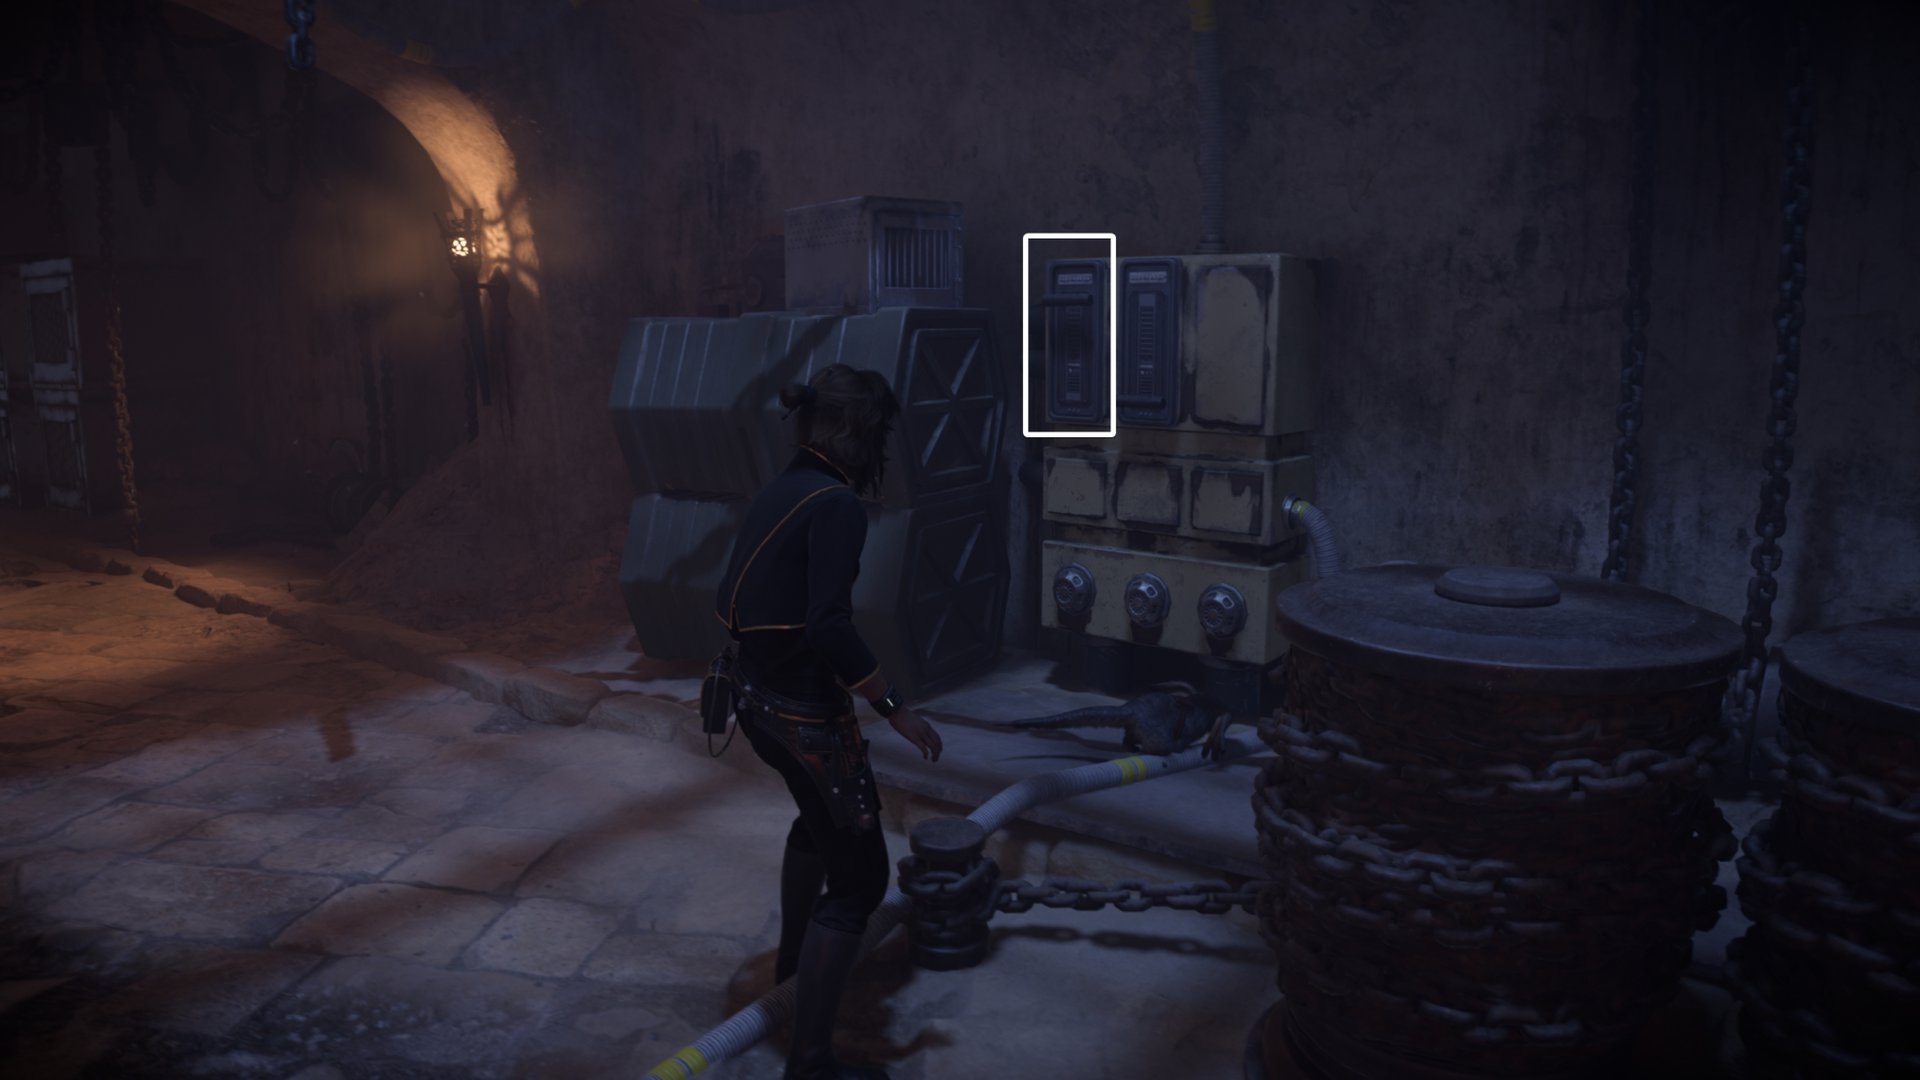
You can return to the first hall outside the meatlocker to pull the other power lever and have Nix expose a shutter. First, open the shutter and power the conduit with your ion blaster.
While the conduit is charged, pull the nearby lever and the door leading to the large chest will open. Inside it, you’ll find some credits. Return to the menagerie and go down the door at the end to start a cutscene.
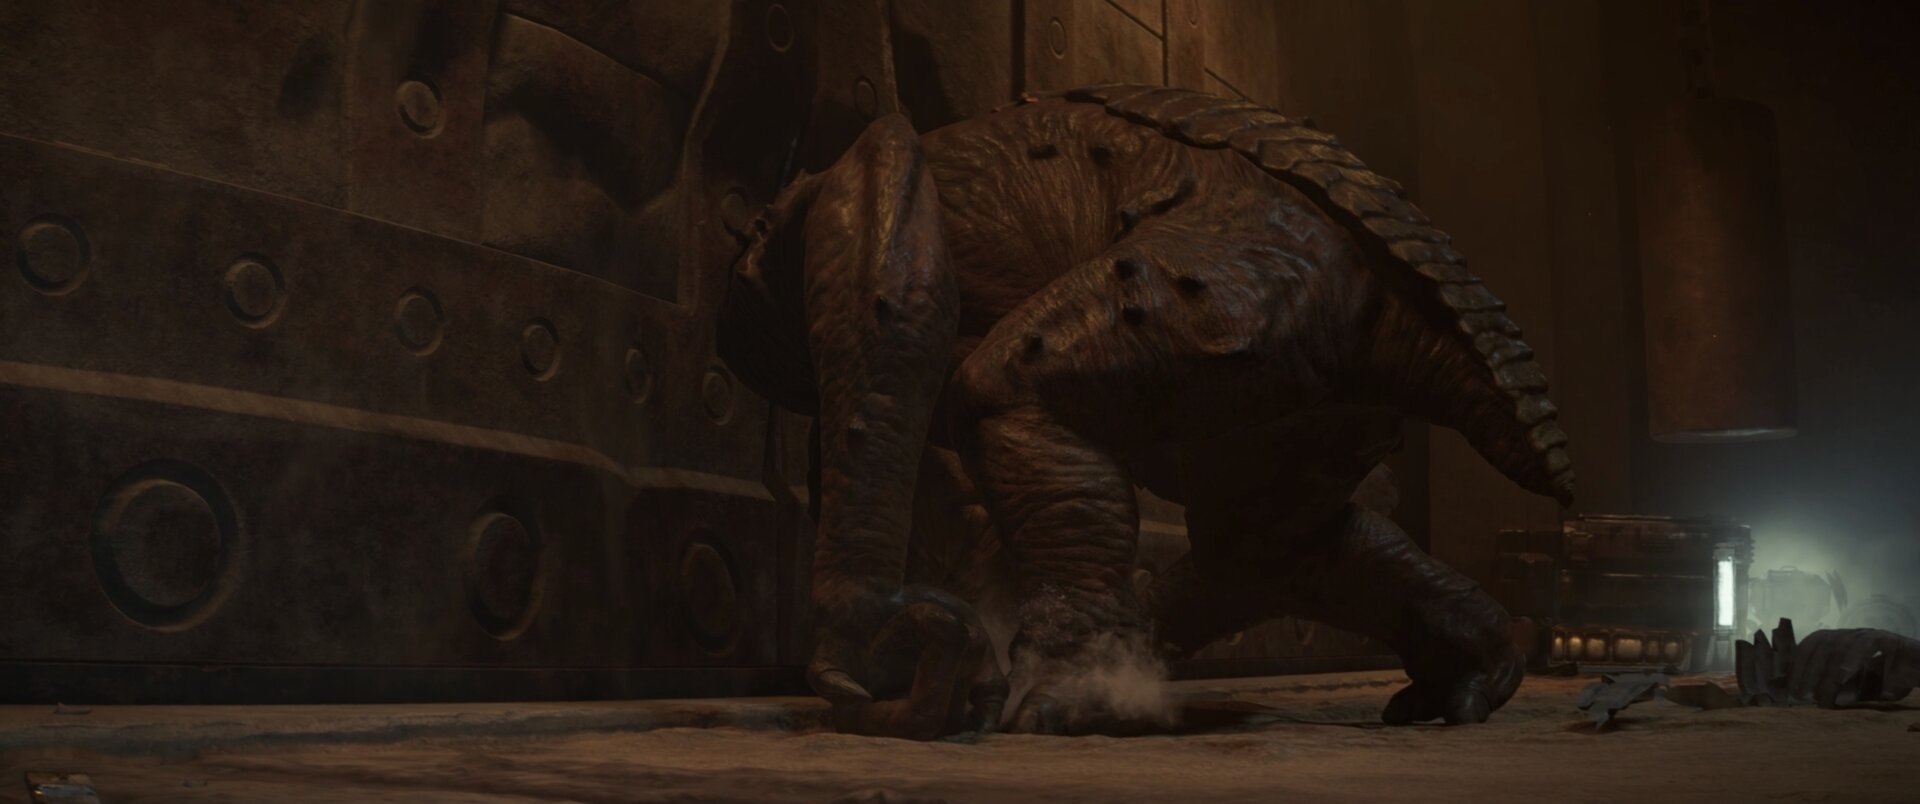
Escaping Jabba’s Palace: How to beat the Rancor
After the cutscene, you’ll need to escape Jabba’s Palace by exiting the rancor pit. Defeat the massiffs and lockpick the door across the rancor gate.
The path ahead is very linear and you just need to fight your way through. Be sure to pick up one of the dropped weapons as there are a lot of enemies you’ll need to blast through.
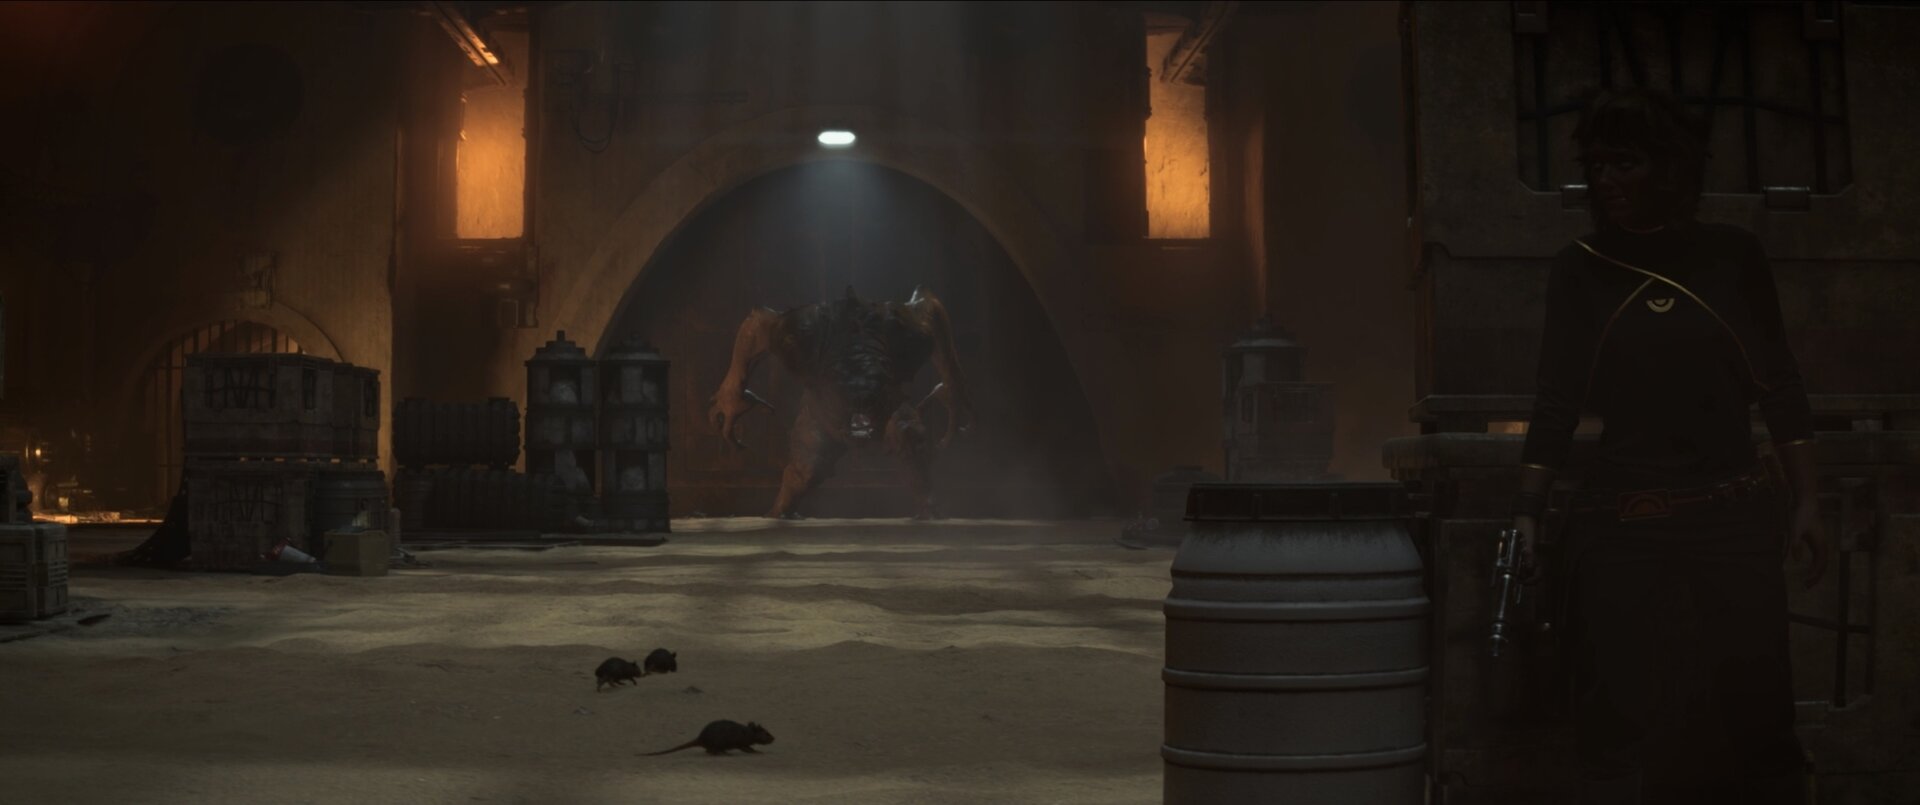
When you make it to the hangar bay, the bay’s doors will close and Jabba’s rancor will be right behind you. Yes, you do have to fight the rancor so prepare yourself for a tough fight.
The rancor will be immune to your blaster shots. If it swipes at you, roll away to dodge the attack as one good hit from it will bring you down.
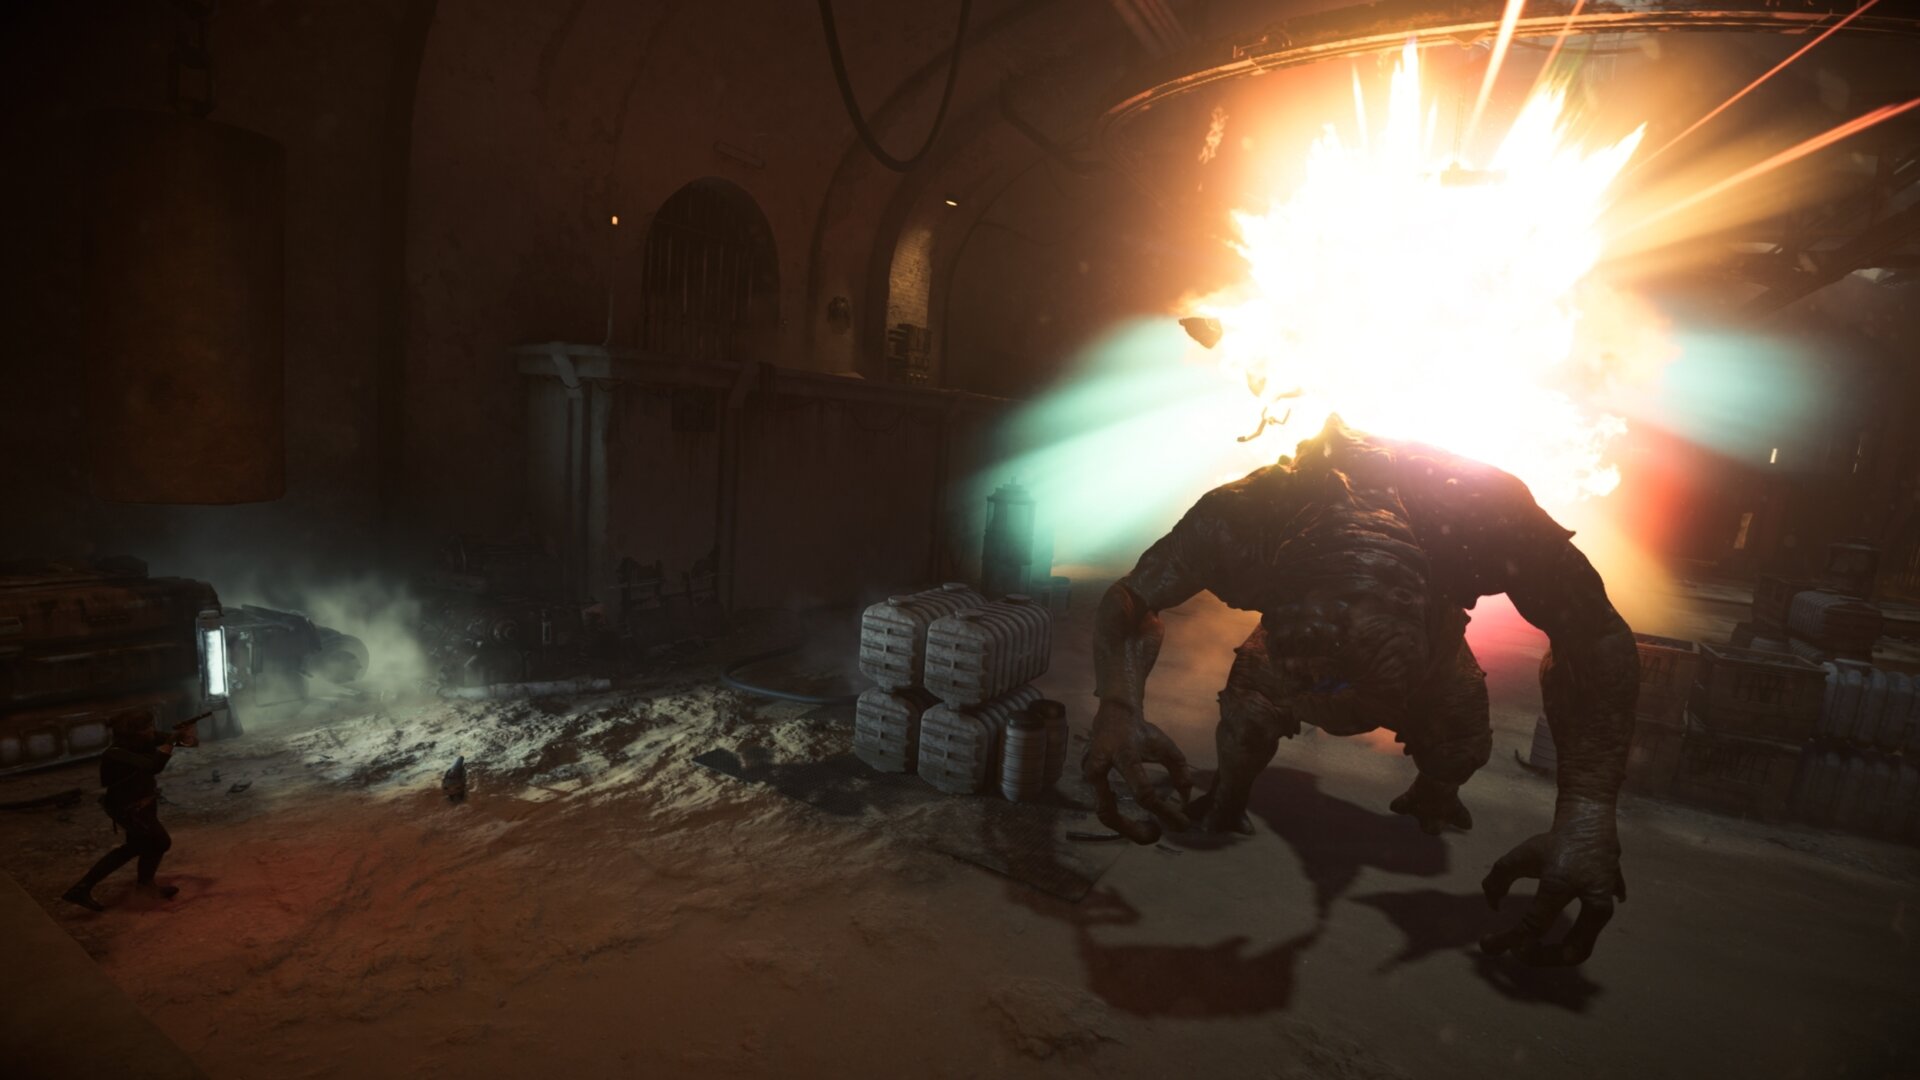
When the note “Explosive barrels might be effective against the rancor” shows up in your objective pane, you can shoot the explosive barrels on the rail above the rancor to hurt it.
If the explosion is close enough, the rancor’s back will be charred and it’ll get ready to charge.

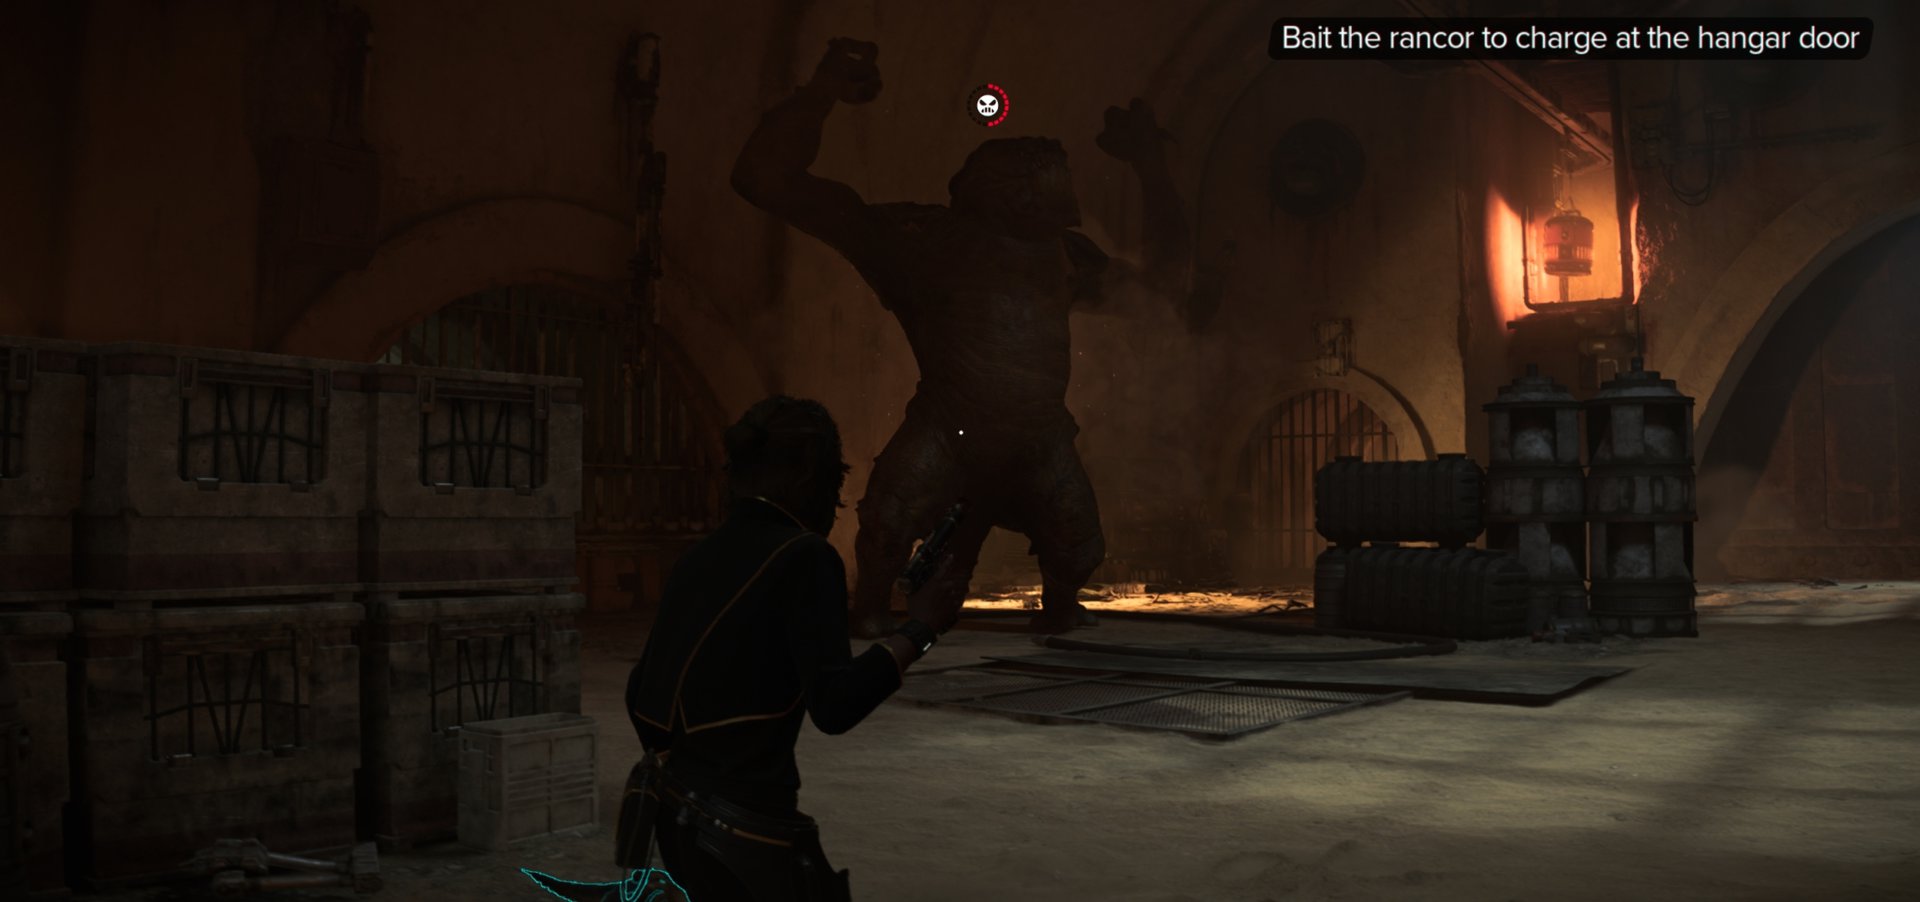
After successfully blowing up a barrel on the rancor, it’ll get a charging red circle over its head. This means it’s getting ready to charge.
While it’s charging, go towards the hangar bay gate and run when the rancor starts charging. You want it to headbutt the door and put a dent in it.
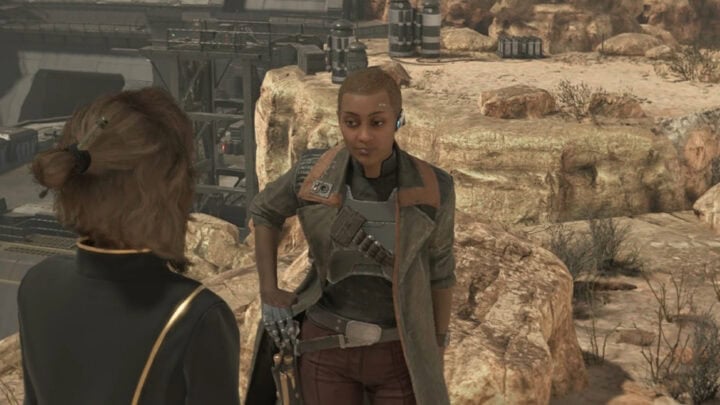
The explosive barrel rails will jam and Vail will try restarting them. Unfortunately, she opens the door that lets out more of Jabba’s guards.
You can either blast the guards or lure the rancor to them. This rancor will attack anything that moves, including Jabba’s guards.

Once the rails are operational again, blow up another explosive on the rancor and have it headbutt the door a second time.
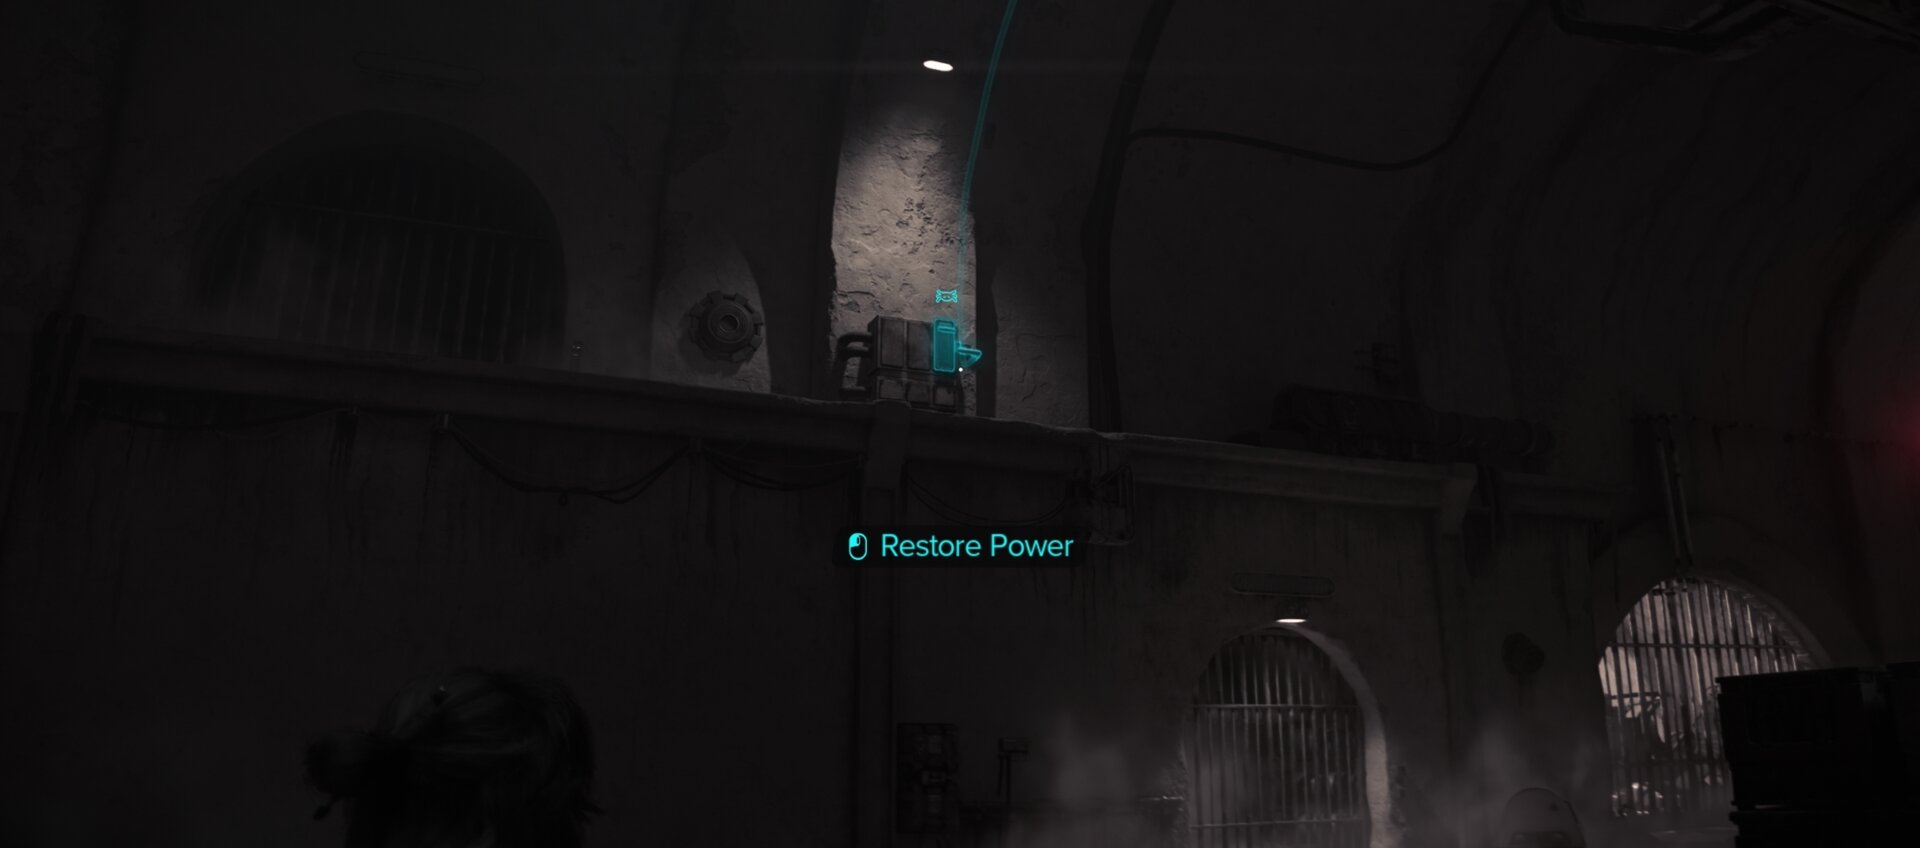
The rail shuts down and needs to be restarted. Use Nix Sense to find a power line that leads to a power lever. Send Nix to activate it to repower the explosives rails.
Explode another barrel on the rancor one more time and have it charge the door. It’ll knock itself out and a cutscene will start.
After the cutscene, there’s only one way to get back into Jabba’s good graces. You’ll need to find a Zerek Besh spy in his palace in order to keep Nix and leave Tatooine alive.
Our walkthrough for the Jabba’s Favor quest is waiting for you when you are ready to continue your journey on Tatooine!
Keep up to date with VULKK’s coverage of Star Wars Outlaws! Check in often to see any new articles or guides our team publishes.
UNDERWORLD Quest Walkthrough
Sneaking through the Pyke District and Gorak’s Base on Toshara will definitely test your mettle far more than infiltrating the Zerek Besh stronghold on Canto Bight. To survive this you’ll need to lay low, act with caution, and act without hesitation.
NEW TRICKS Quest Walkthrough
This guide will show you how to steal the Ion Blaster Part in Star Wars Outlaws. Whether you’re stealing from the Pykes or Crimson Dawn, you’ll know where to go and what to watch out for.
FALSE FLAG Quest Walkthrough
This guide will show you how to infiltrate the Imperial Fueling Station in Star Wars Outlaws. You need to find a Data Vault inside the Imperial Station and delete some data to frame the Pyke Syndicate, but that is easier said than done.
THE WRECK Quest Walkthrough
This guide will show you how to get the Nav Computer in the Star Wars Outlaws main mission, The Wreck. Waka needs this final component to fully repair the Trailblazer and let it travel throughout the galaxy once more. The guide also gives you the locations of all treasure chests in the area.
THE SAFECRACKER Quest Walkthrough
This guide will show you how to complete the quest, The Safecracker, in Star Wars Outlaws. Kay needs to find a safecracker named Ank on Kijimi, however, the Ashiga Clan has a strong presence on the planet and it might make the search for Ank difficult.
BREAKOUT Quest Walkthrough
This guide will show you how to break out the Safecracker, Ank, in Star Wars Outlaws. After returning the relic to the Ashiga Clan, Krisk offers a proposal to help you get Ank back for your needs.
THE HIVE Quest Walkthrough
This guide will show you how to complete the Star Wars Outlaws quest, The Hive. To recruit Ank for the heist scheme, you’ll need to help her with her current job of blasting a hole through the Ashiga Clan Queen’s stronghold on Kijimi.

THE HEAVY Quest Walkthrough
This guide will show you how to complete the Star Wars Outlaws quest, The Heavy. Kay is in search of a potential crew member for Jaylen’s heist mission, though tracking down The Heavy will have you traveling to Tatooine.
JABBA'S FAVOR Quest Walkthrough
This guide will show you how to complete the quest Jabba’s Favor in Star Wars Outlaws. Jabba needs you to find the identity of a spy in his palace, and the only way to determine this is to access the databanks of Fort Sunfire on Tatooine.
THE DROIDSMITH Quest Walkthrough
This guide will show you how to complete the quest, The Droidsmith, in Star Wars Outlaws. Kay is in search of a Droidsmith to join her crew that can help with Jaylen’s heist on the Zerek Besh stronghold on Canto Bight.

THE SCAVENGER Outlaws Walkthrough
This guide will show you how to unlock and complete the quest The Scavenger in Star Wars Outlaws. Temmin Wexley, the Scavenger Expert, will be able to give Kay upgrades that help her in a wide variety of fields.
VIPER Quest Walkthrough
This guide will show you how to complete the Viper quest in Star Wars Outlaws. Before Gedeek can join Kay’s crew as a Droidsmith for the heist, he and Kay must put an end to the Imperial’s enhanced Viper Probe Droid project.
LEGACY Quest Walkthrough
This guide will show you how to complete the quest, Legacy, in Star Wars Outlaws. ND-5 is experiencing malfunctions, so Kay and Gedeek need to find a replacement power core before ND-5 stops functioning entirely.

THE TRUTH Quest Walkthrough
This guide will show you how to complete the Star Wars Outlaws quest, The Truth. Kay and another slicer need to steal codes from Sliro while he’s having a meeting with the Empire. Only then can the crew pull off the heist on Canto Bight.
THE HEIST Quest Walkthrough
This guide will show you how to complete the Star Wars Outlaws quest, The Heist. After gathering her crew and stealing Sliro’s codes, Kay can once again attempt to break into the Zerek Besh Vault and get away with the galaxy’s biggest heist.

REVELATOR Quest Walkthrough
This guide will show you how to complete the final story quest for Star Wars Outlaws, Revelator. After the heist on Canto Bight, Kay needs to escape the Imperial Star Destroyer, the Revelator. Before she can leave, she must take care of some unfinished business.
Related Star Wars Outlaws Collections of Guides

Our Guides Master List for Star Wars Outlaws is a great starting point. In it you will find all of our guides and walkthroughs ordered in categories.