This guide will show you how to complete the Star Wars Outlaws quest, The Truth. Kay and another slicer need to steal codes from Sliro while he’s having a meeting with the Empire. Only then can the crew pull off the heist on Canto Bight.
How to get The Truth Quest
To get The Truth quest, you need to complete all the Kijimi, Tatooine, and Akiva main story quests. More specifically, you’ll need to complete The Hive, Jabba’s Favor, and Legacy.
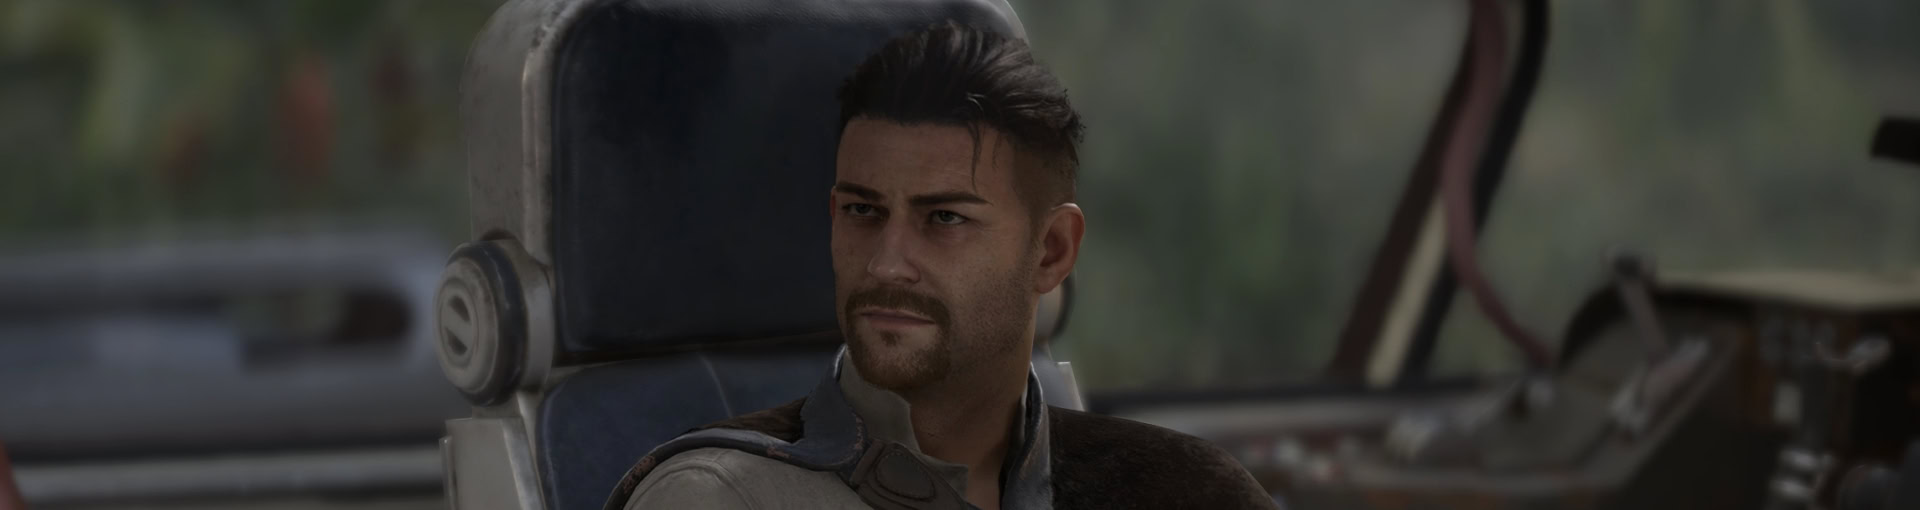
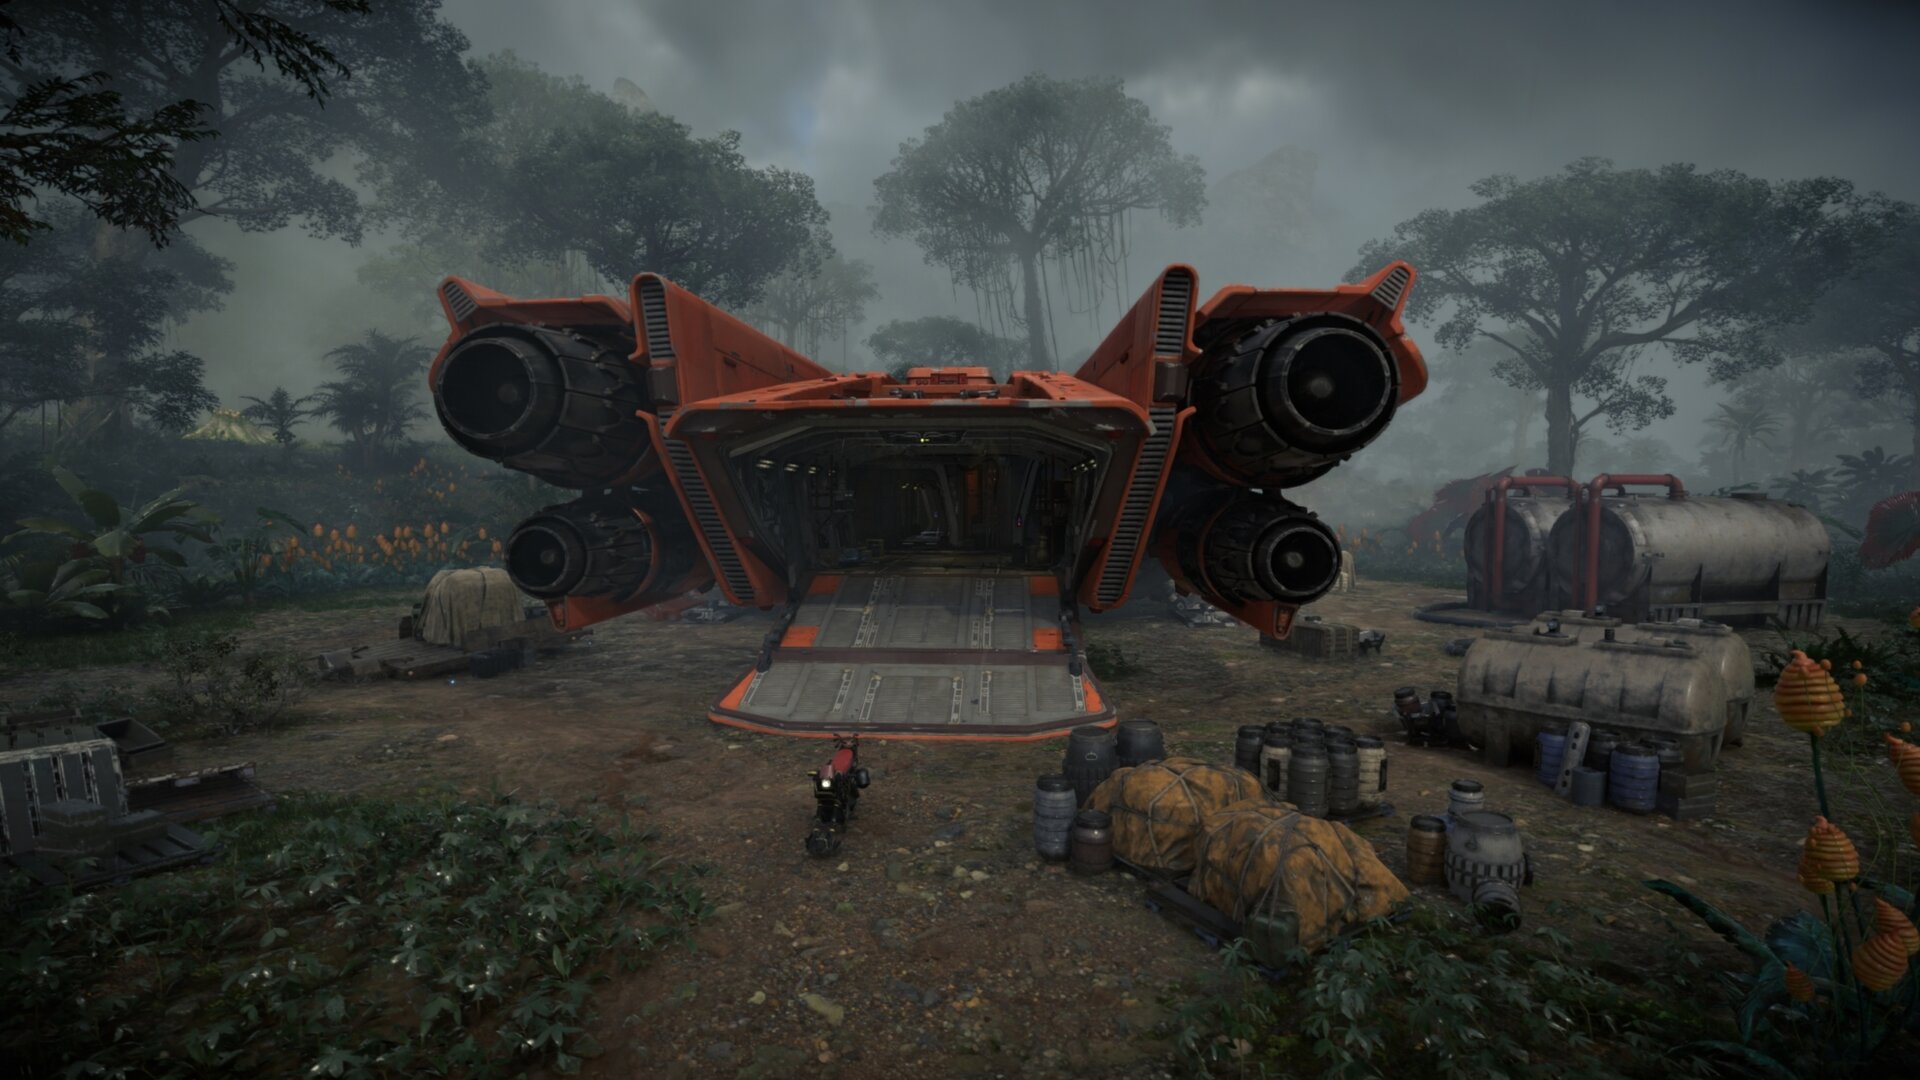
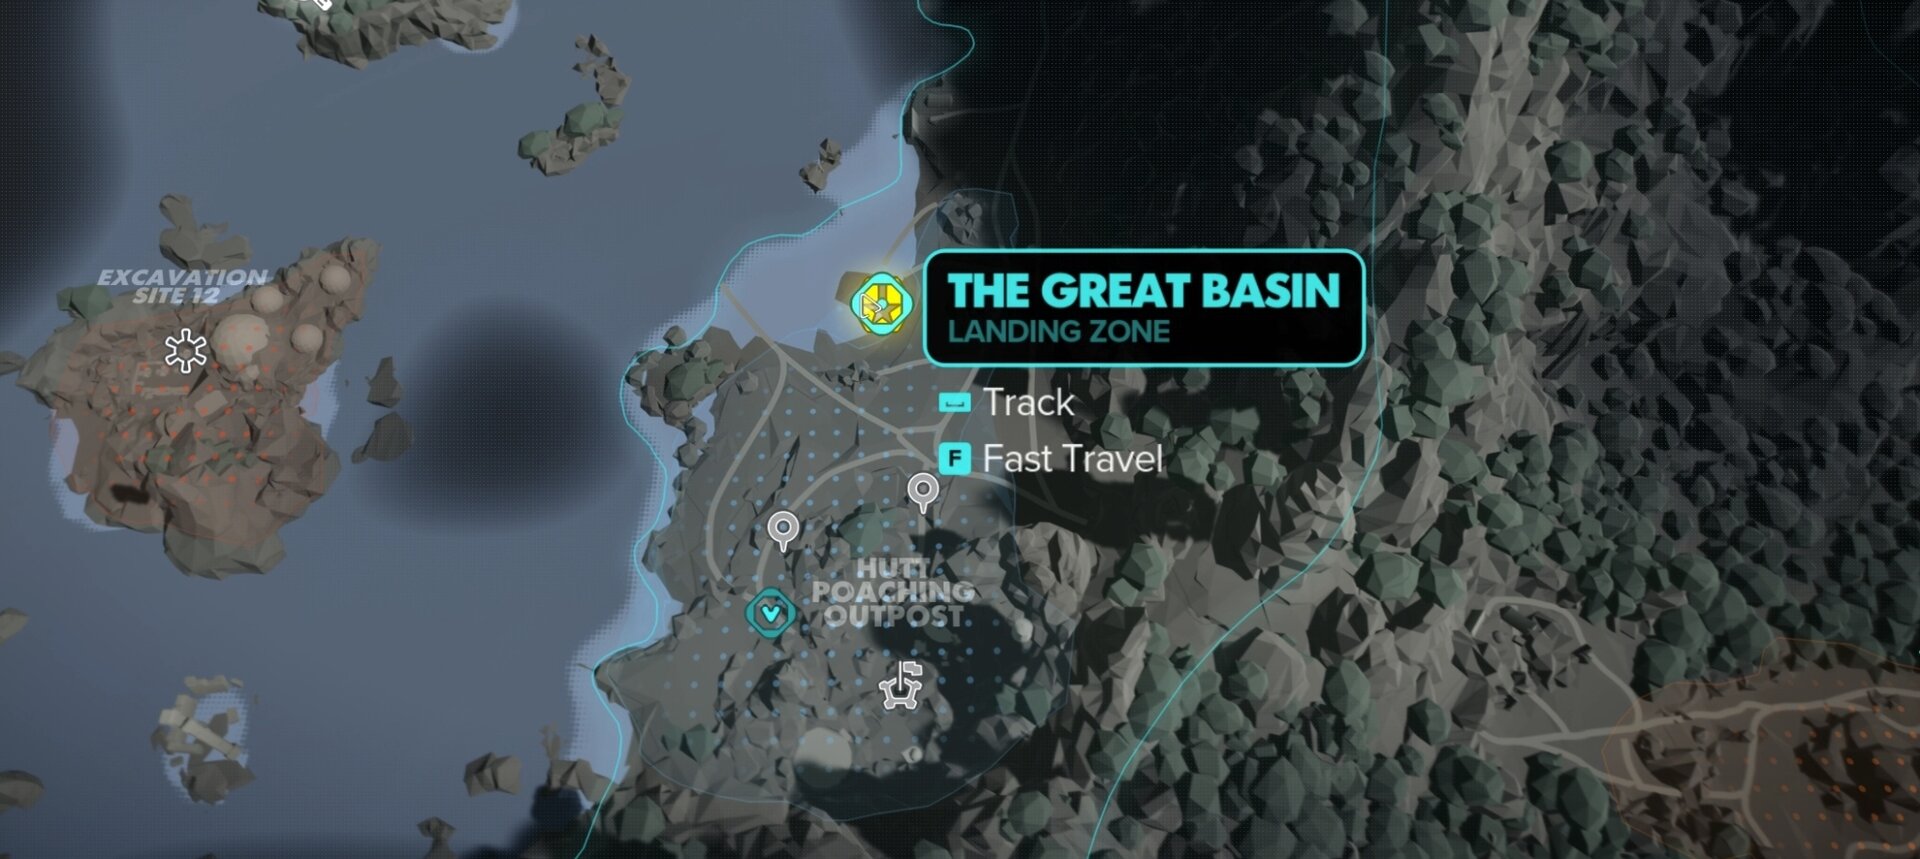
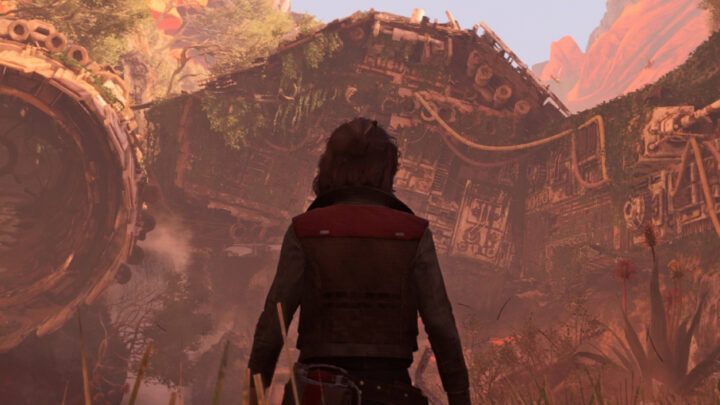
When you complete these quests, you’ll need to park the Trailblazer at the Great Basin landing zone on Akiva. Go inside the cockpit and talk to Jaylen to start a cutscene.
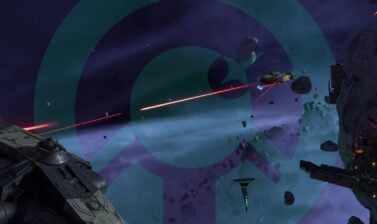
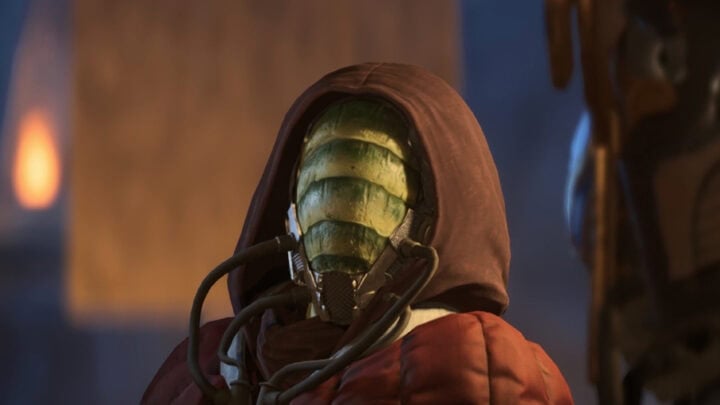
Sliro of the Zerek Besh syndicate is meeting up with the Empire. You’ll need to reach him at the Derosha Six ISB Station, steal his codes to enter his stronghold and escape the space station unnoticed.
Meeting up with Riko
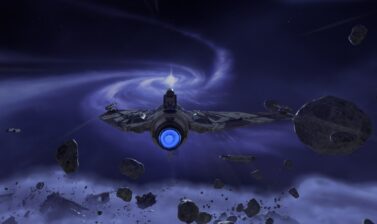
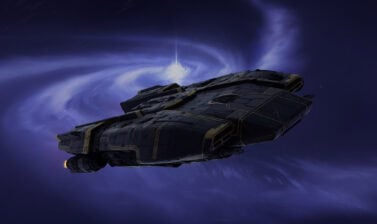
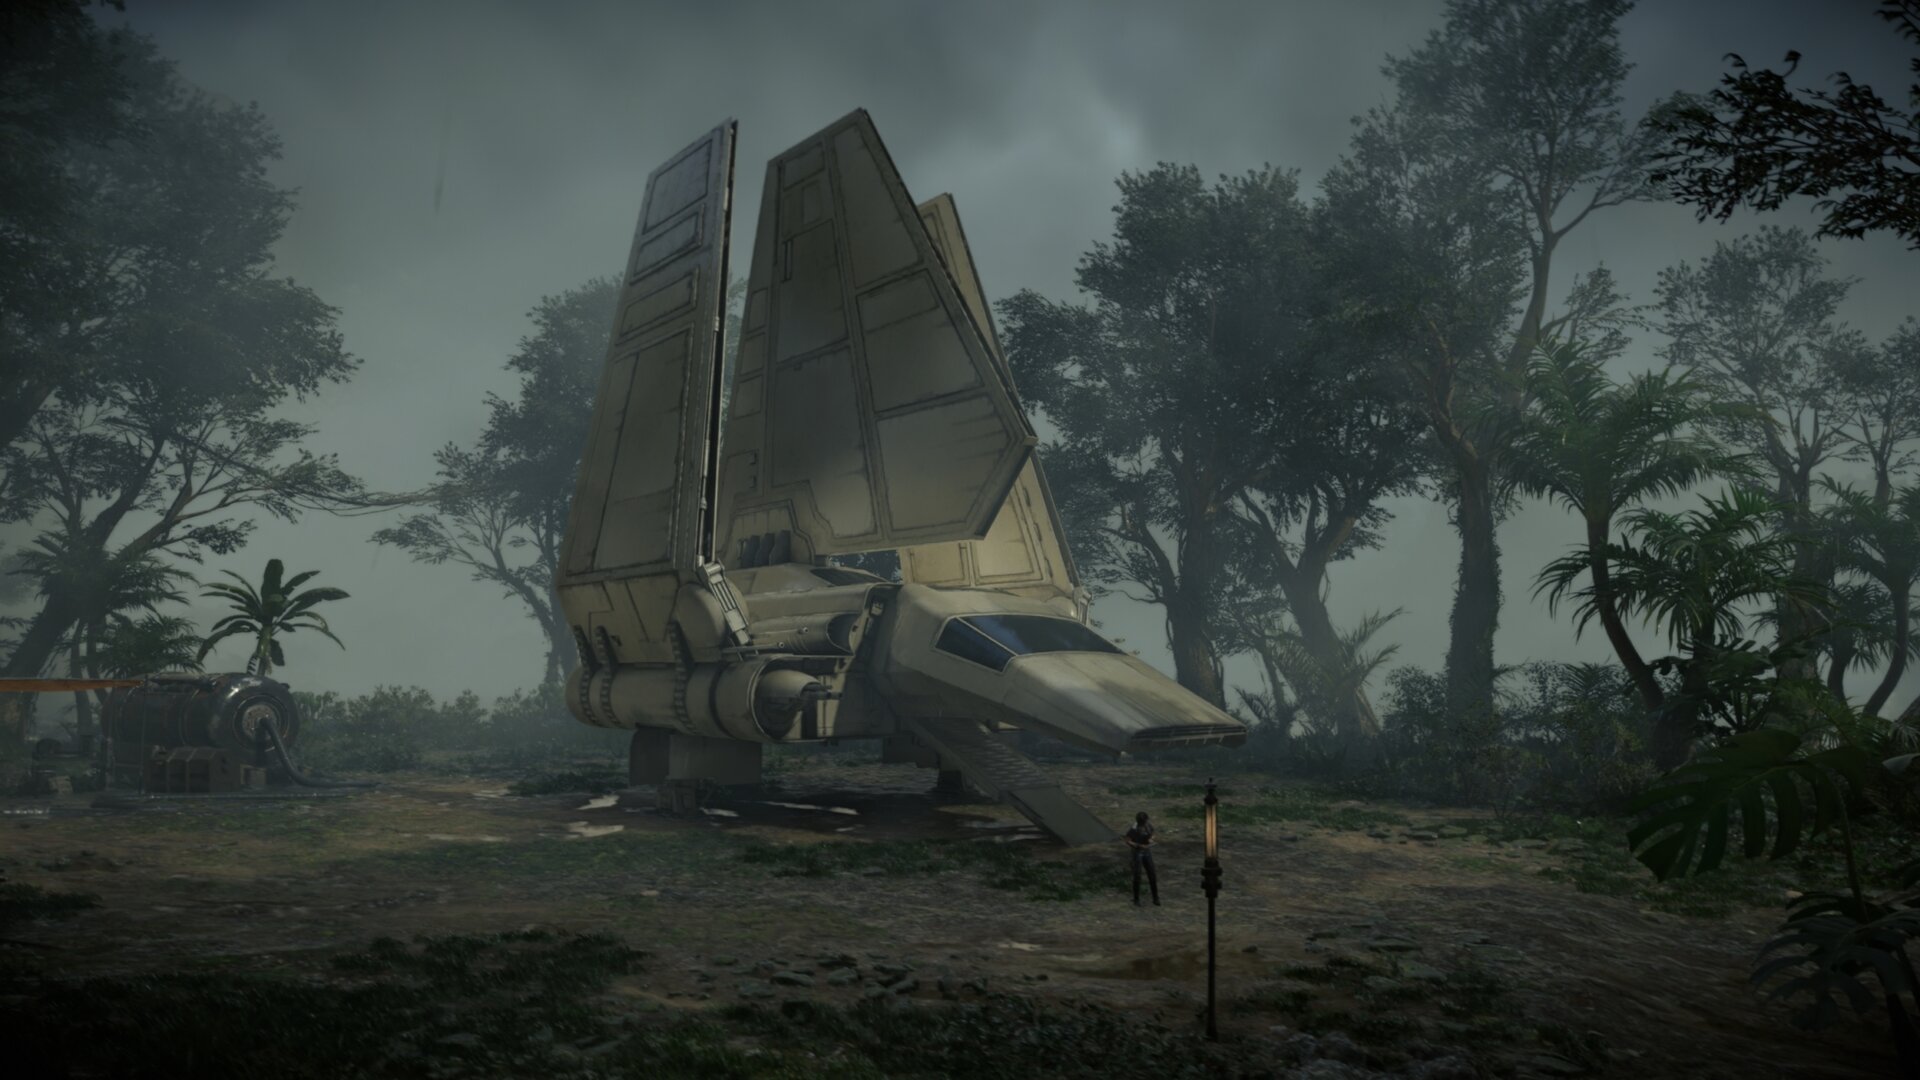
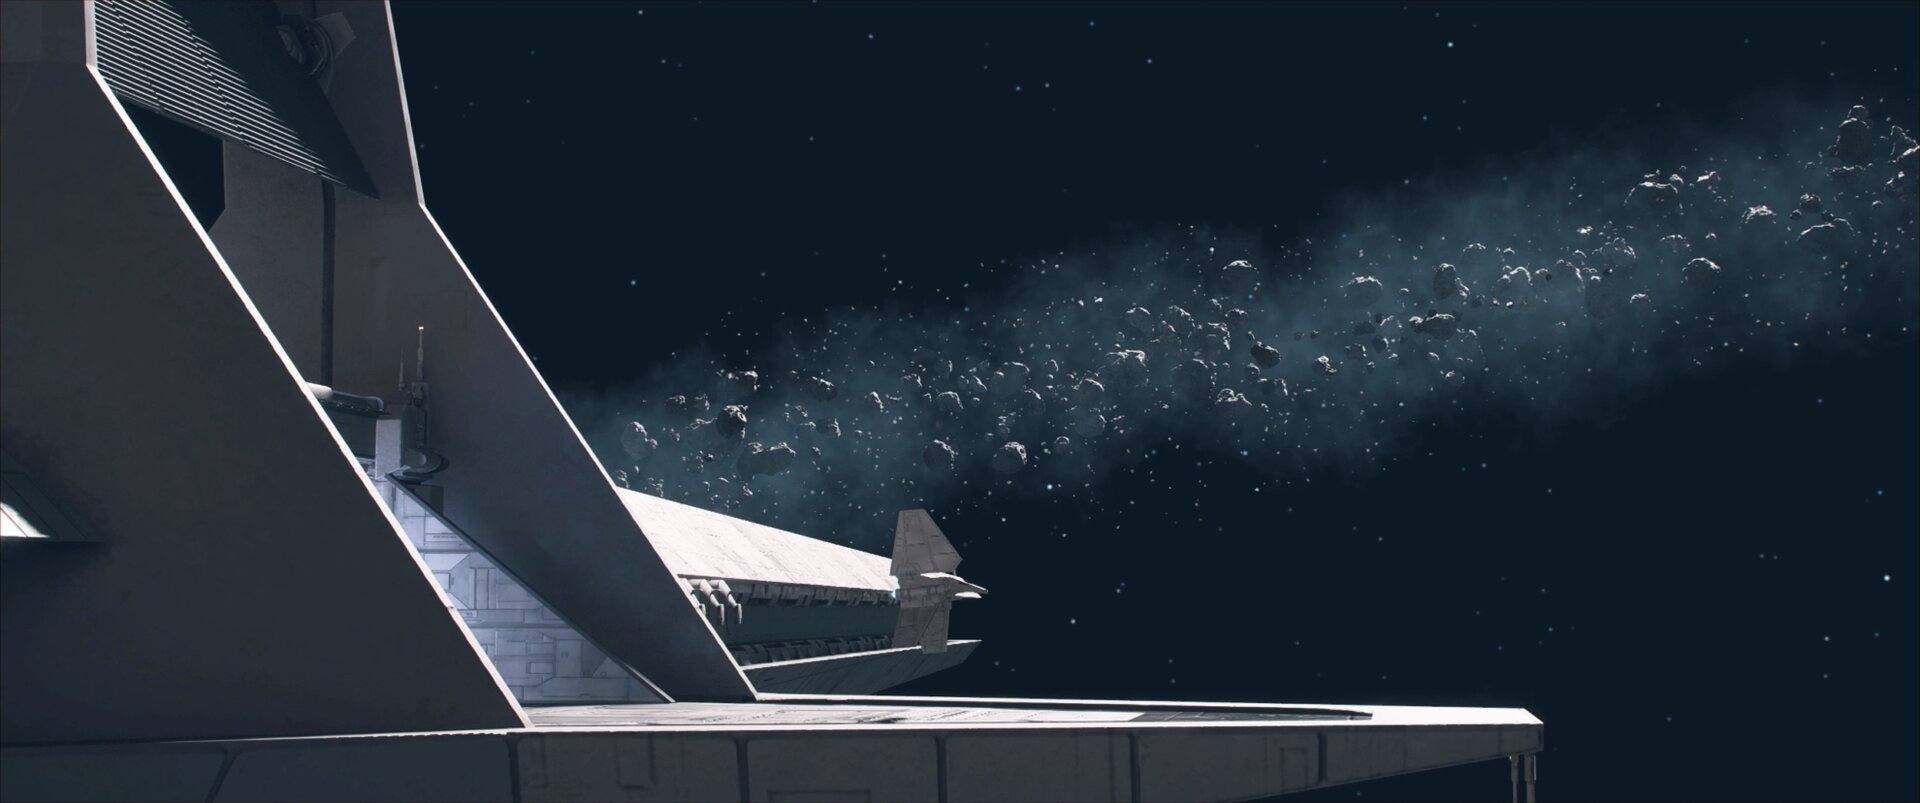
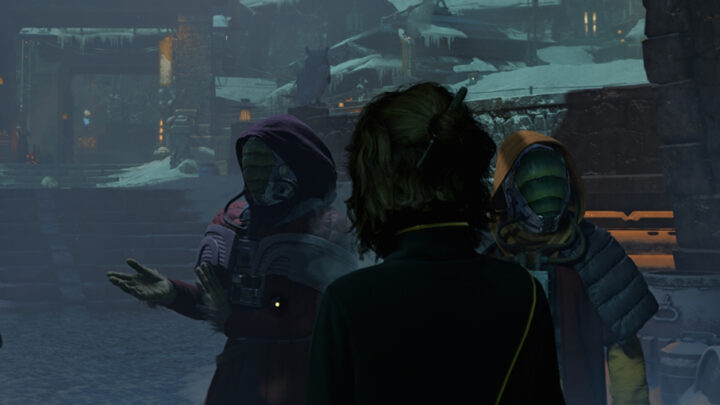
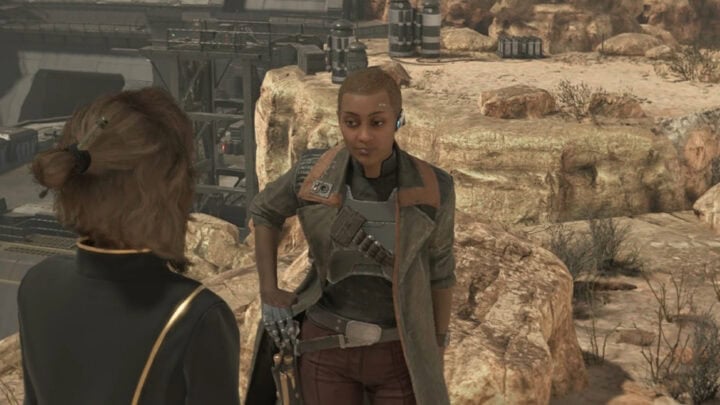
After talking to Jaylen, meet up with Riko where she’ll have a Lambda-class shuttle waiting to go. After the cutscene, you must choose to go ahead with the quest or not depart.
Once you select “Ready to go”, you cannot travel to other planets or do other quests until you complete the last three main story quests.
If you have anything else to do such as getting upgrades, do so before boarding the shuttle. I highly recommend getting the Electro-Shock Prod from the Scavenger Expert’s ability list.
Infiltrating the Derosha Six ISB Station
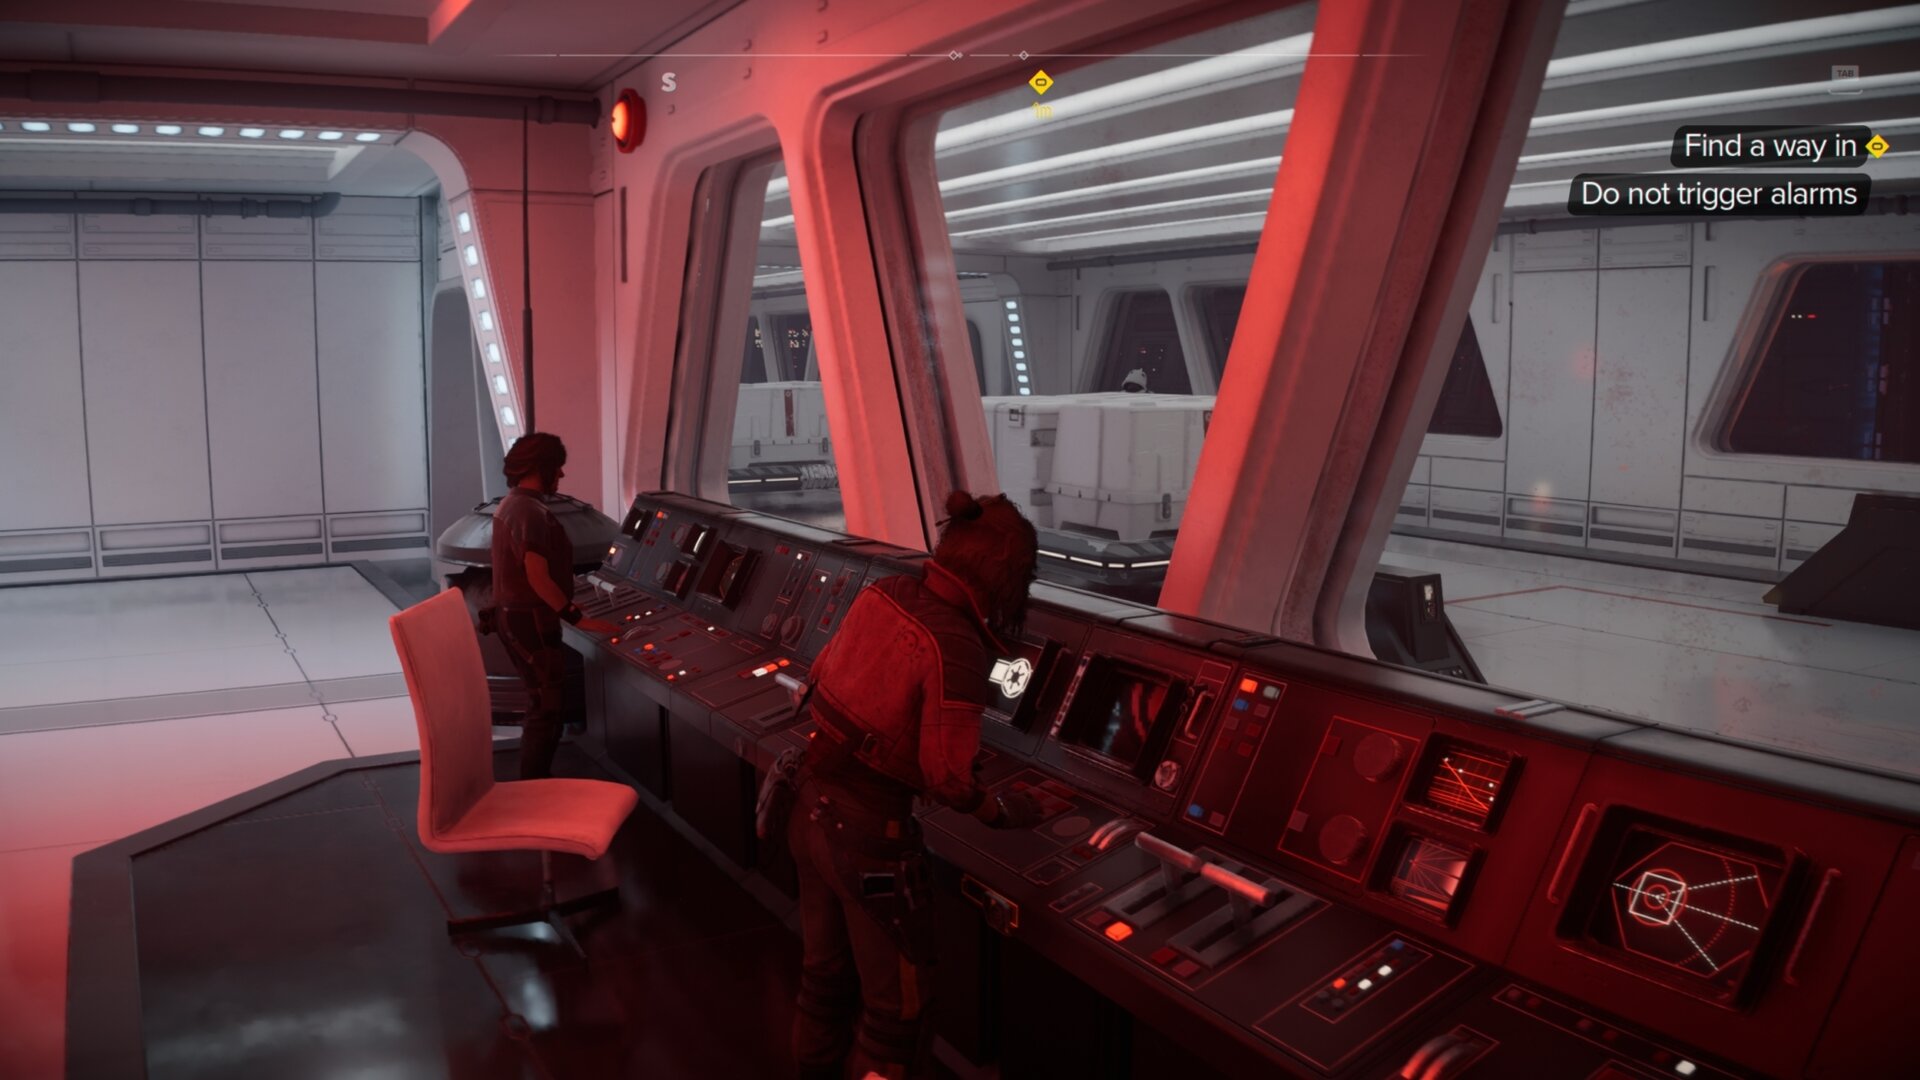
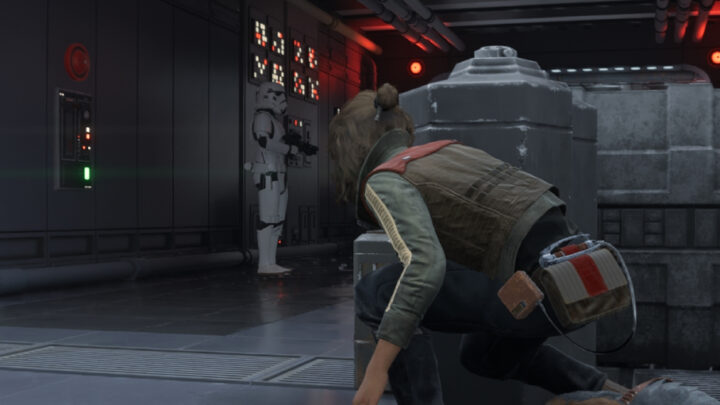
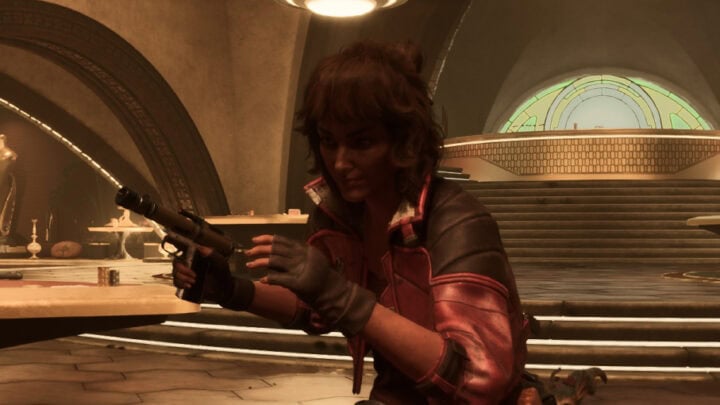
When you’re inside the Derosha Six ISB Station, follow Riko into a short hallway. To your right is a red-lit room with an ISB officer.

Send Nix to push the button inside to turn off the camera. Once you’ve done that, unlock the door ahead with your data spike.
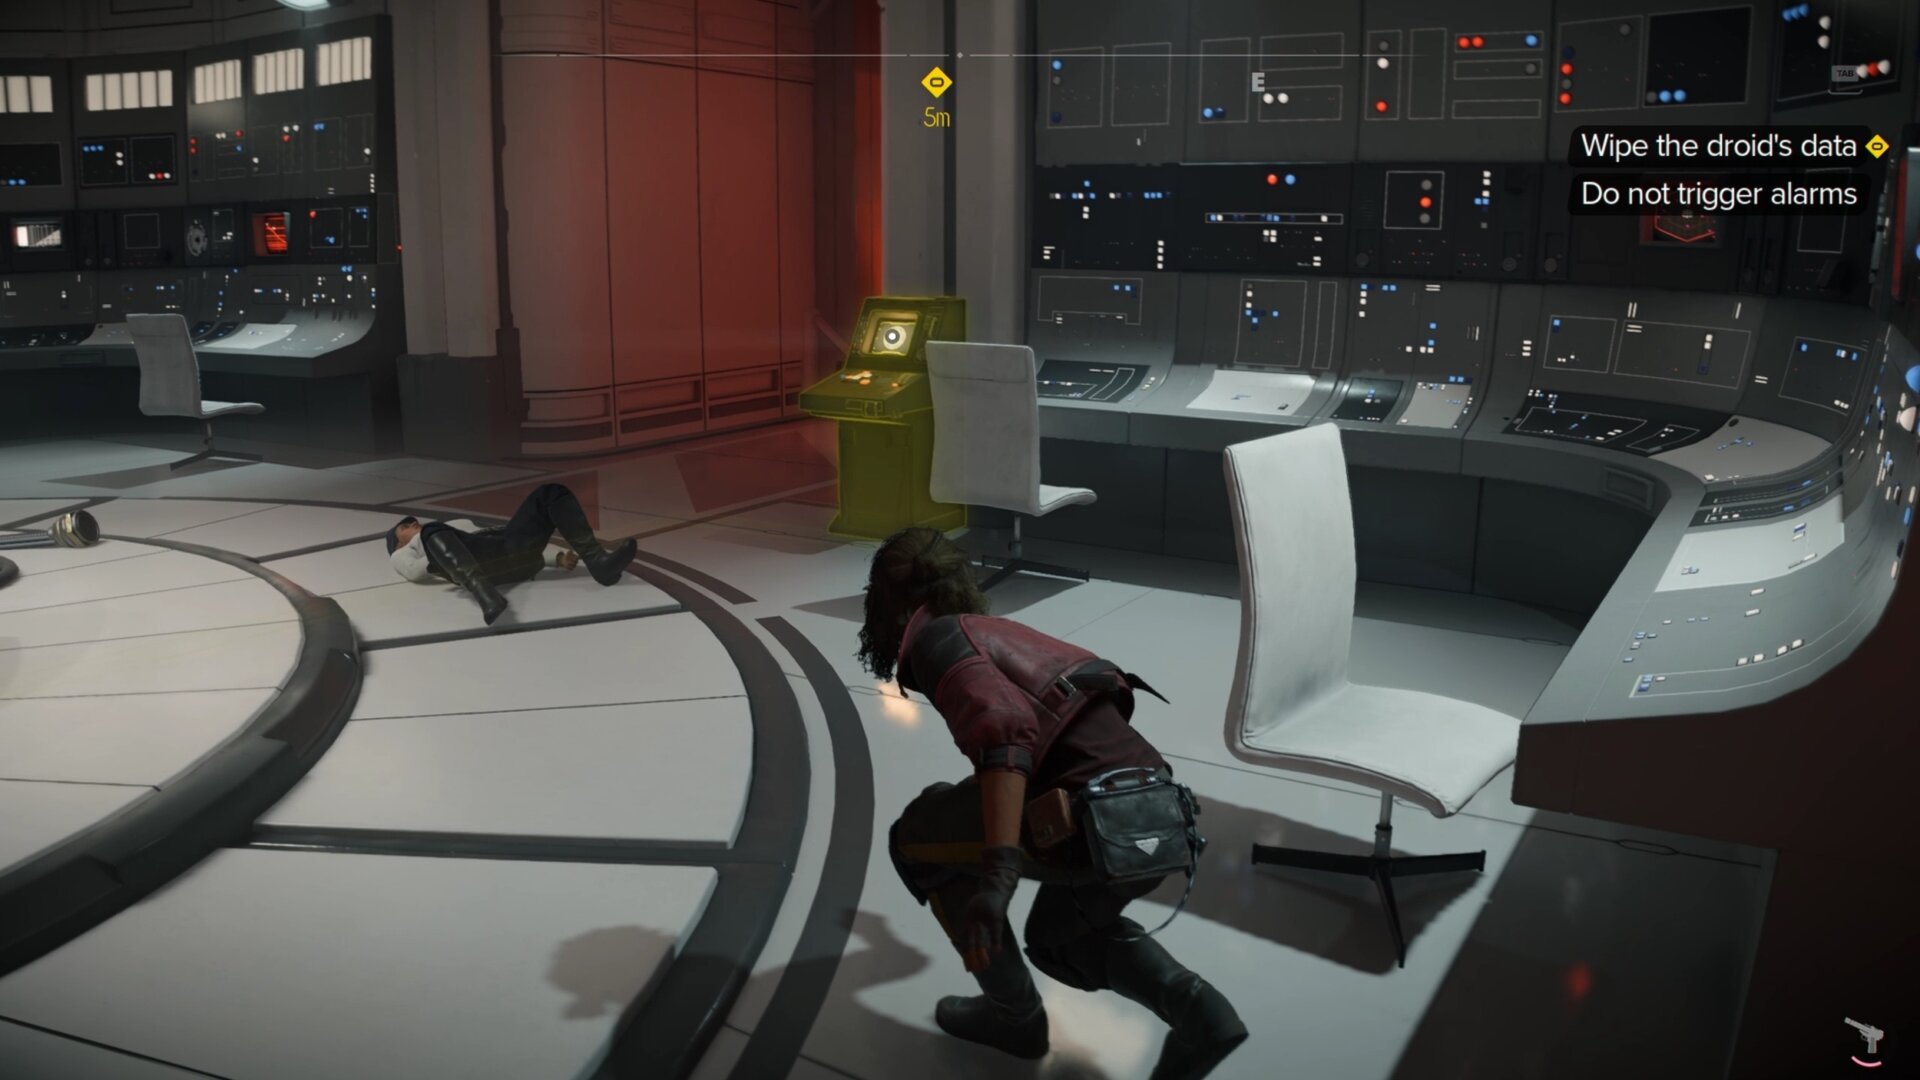
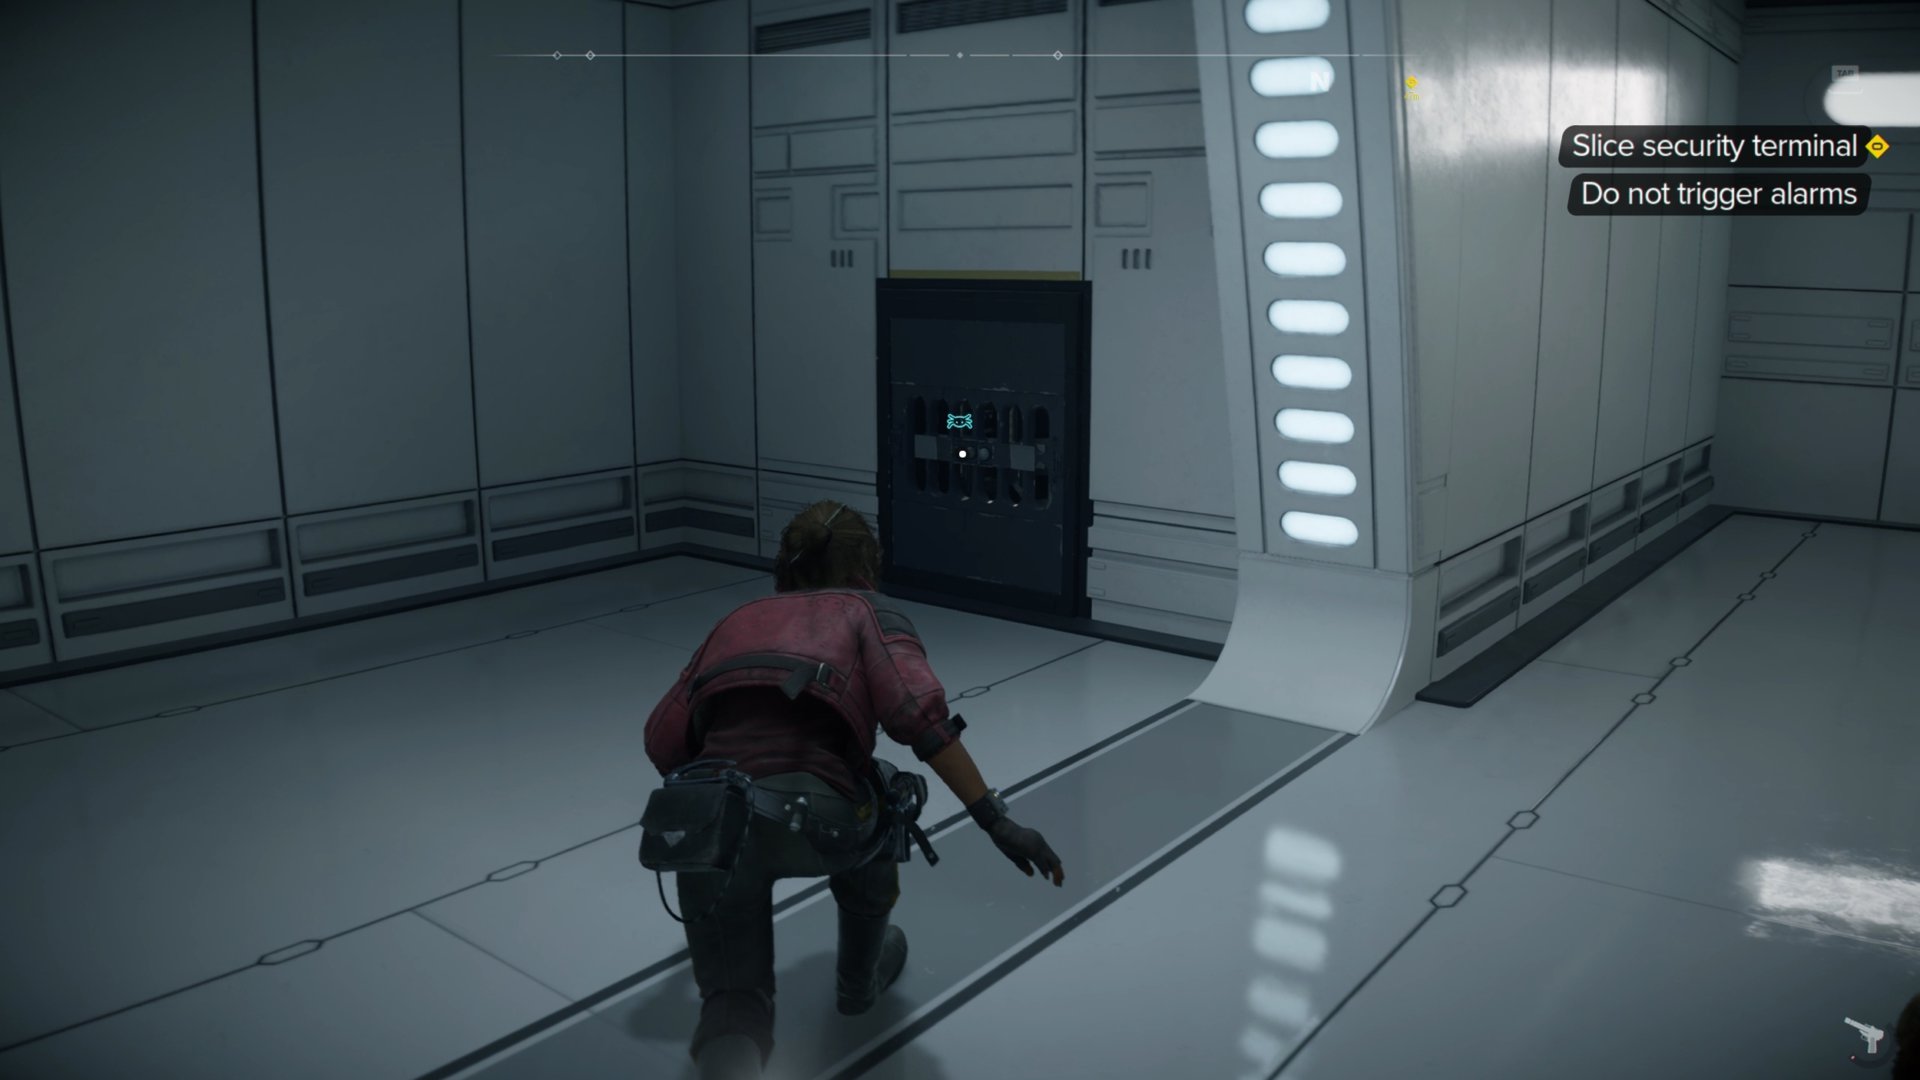
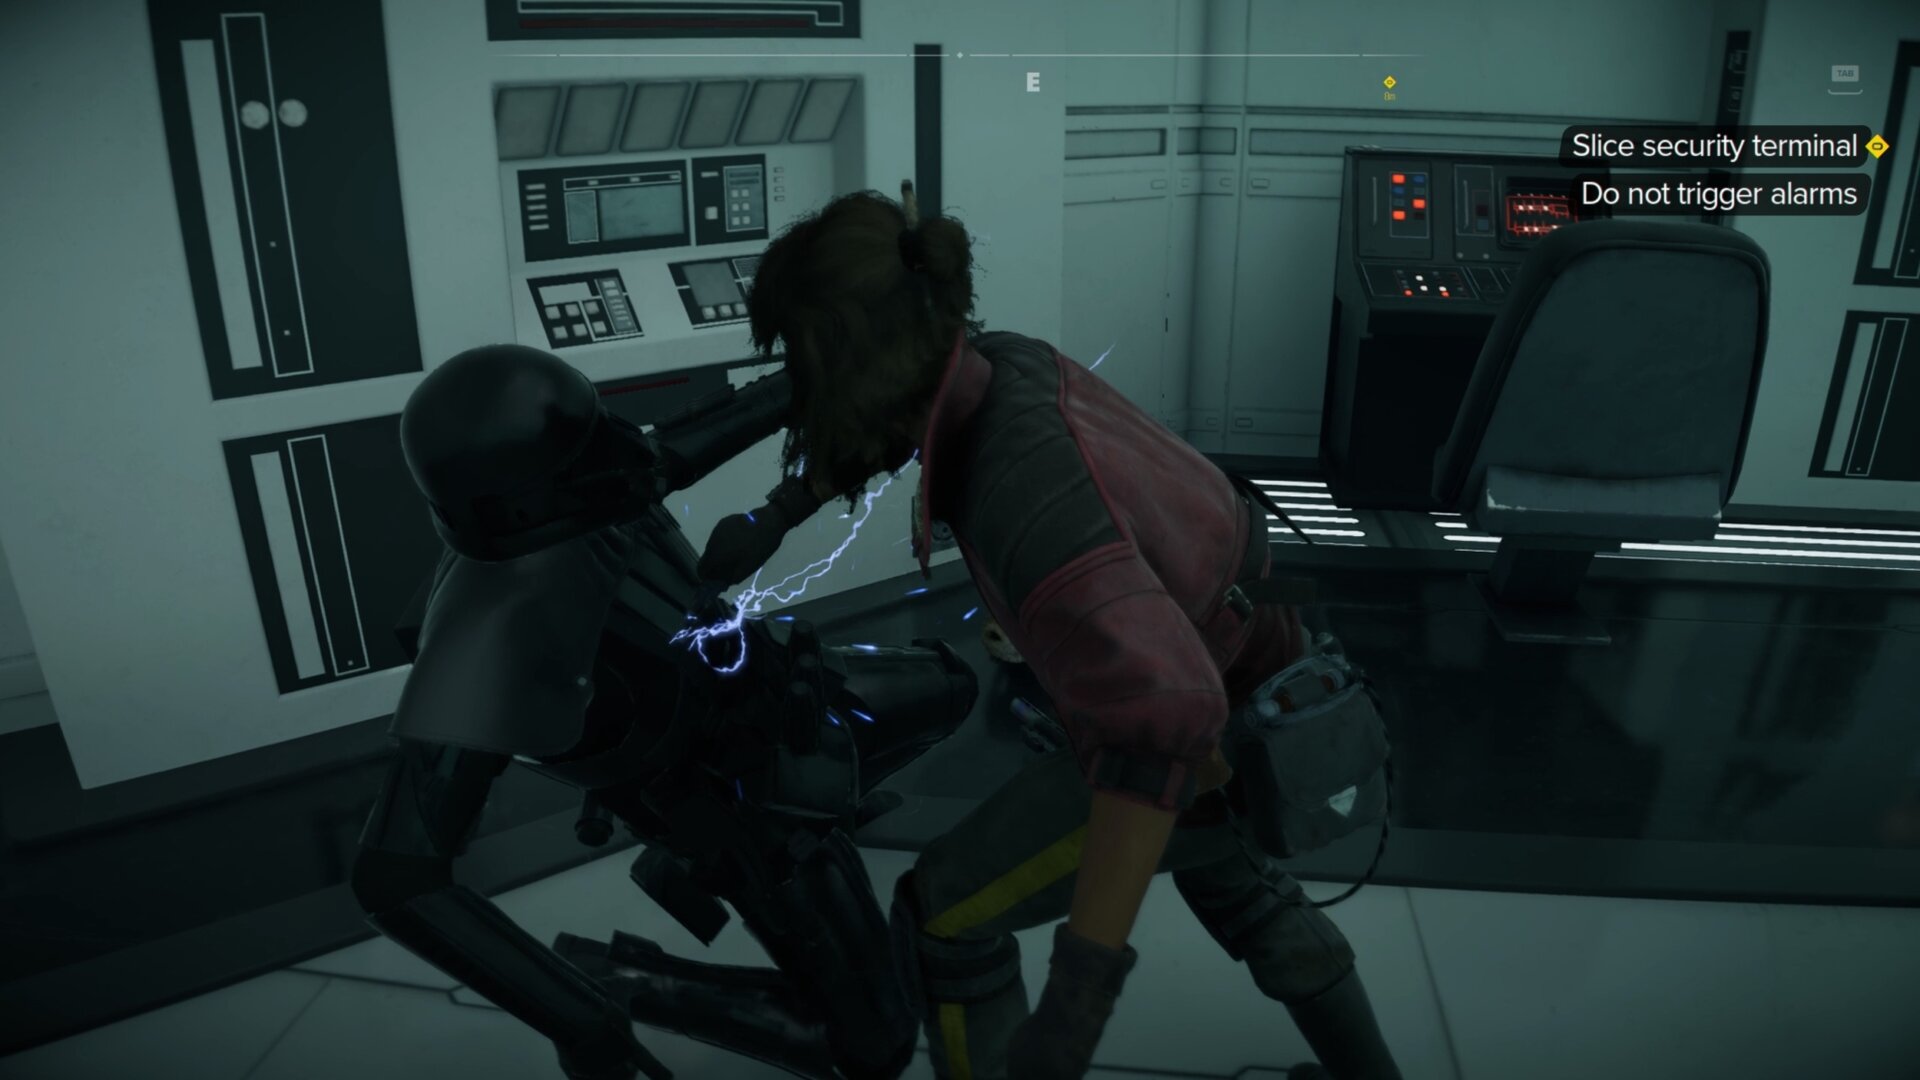
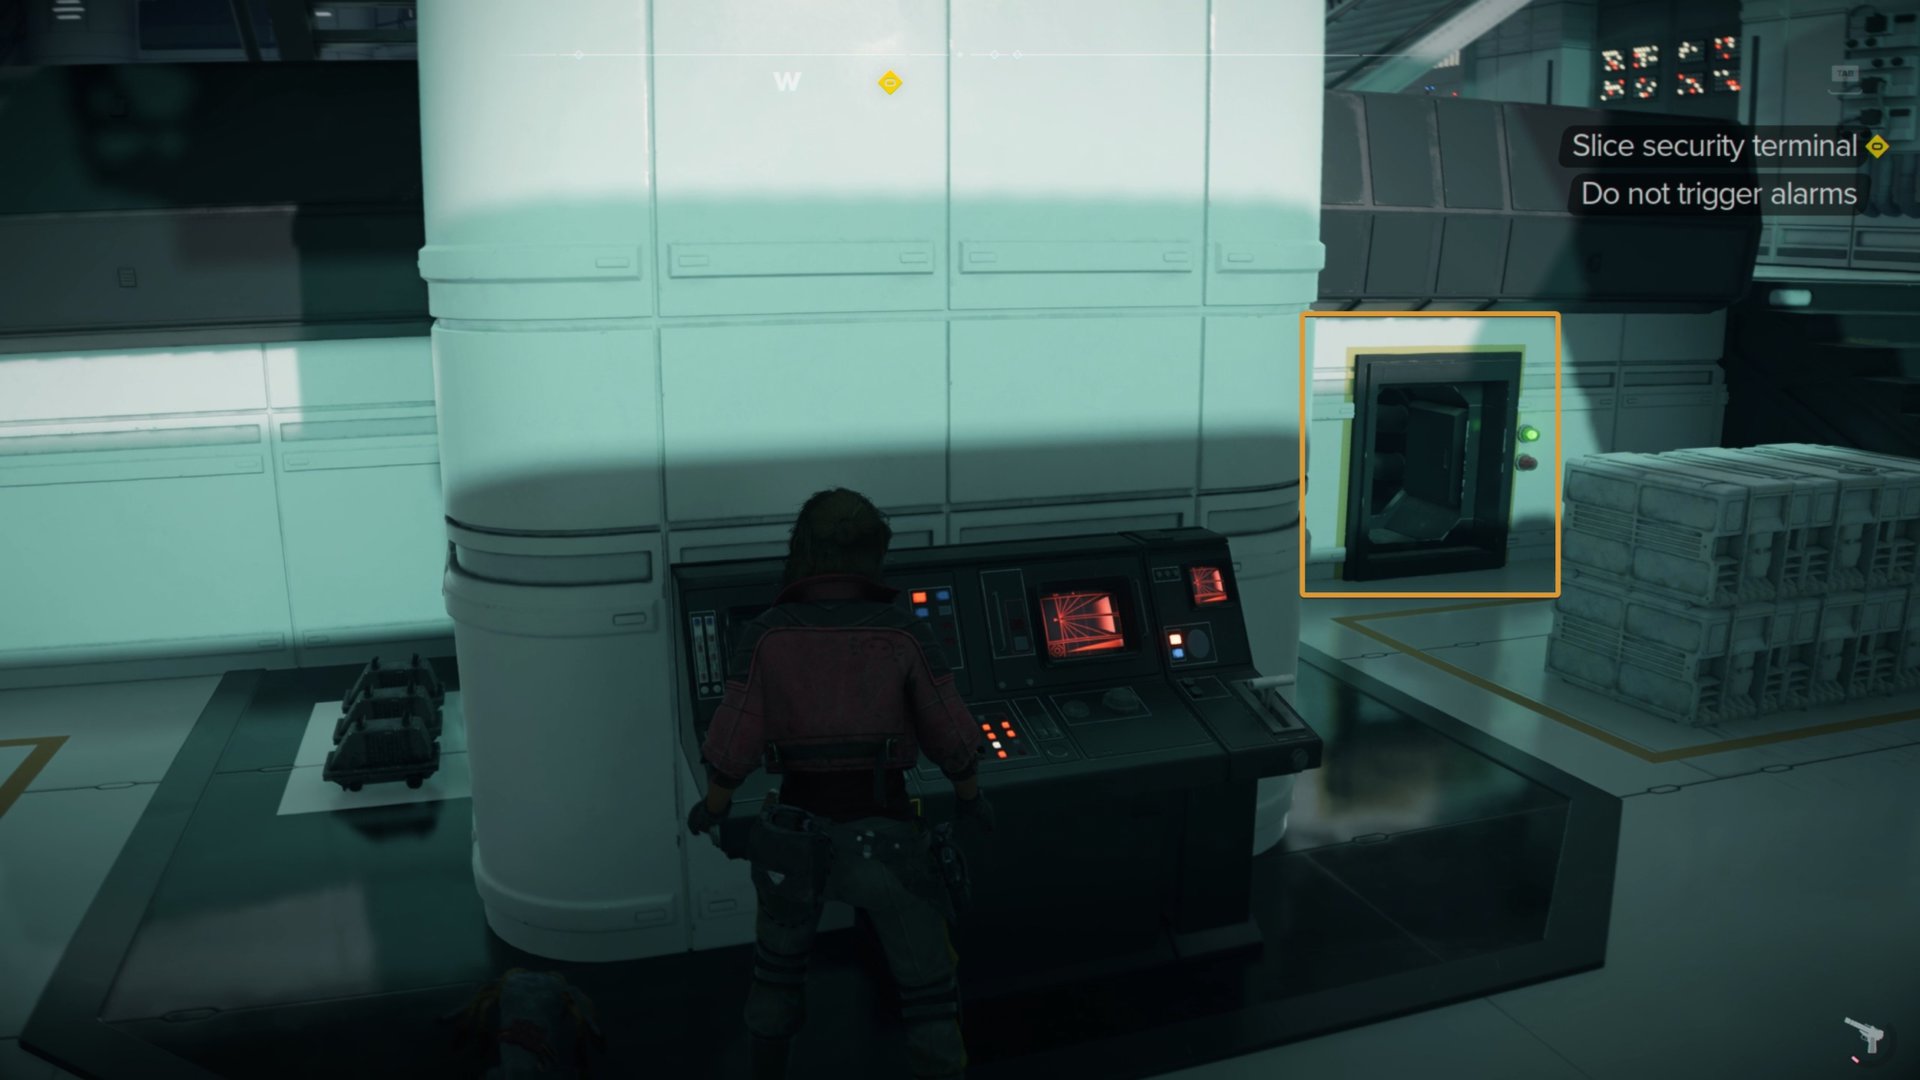
Enter the next room, knock out the ISB officer, and then slice into the computer ahead of you. Riko will stay behind while you go deeper into the space station.
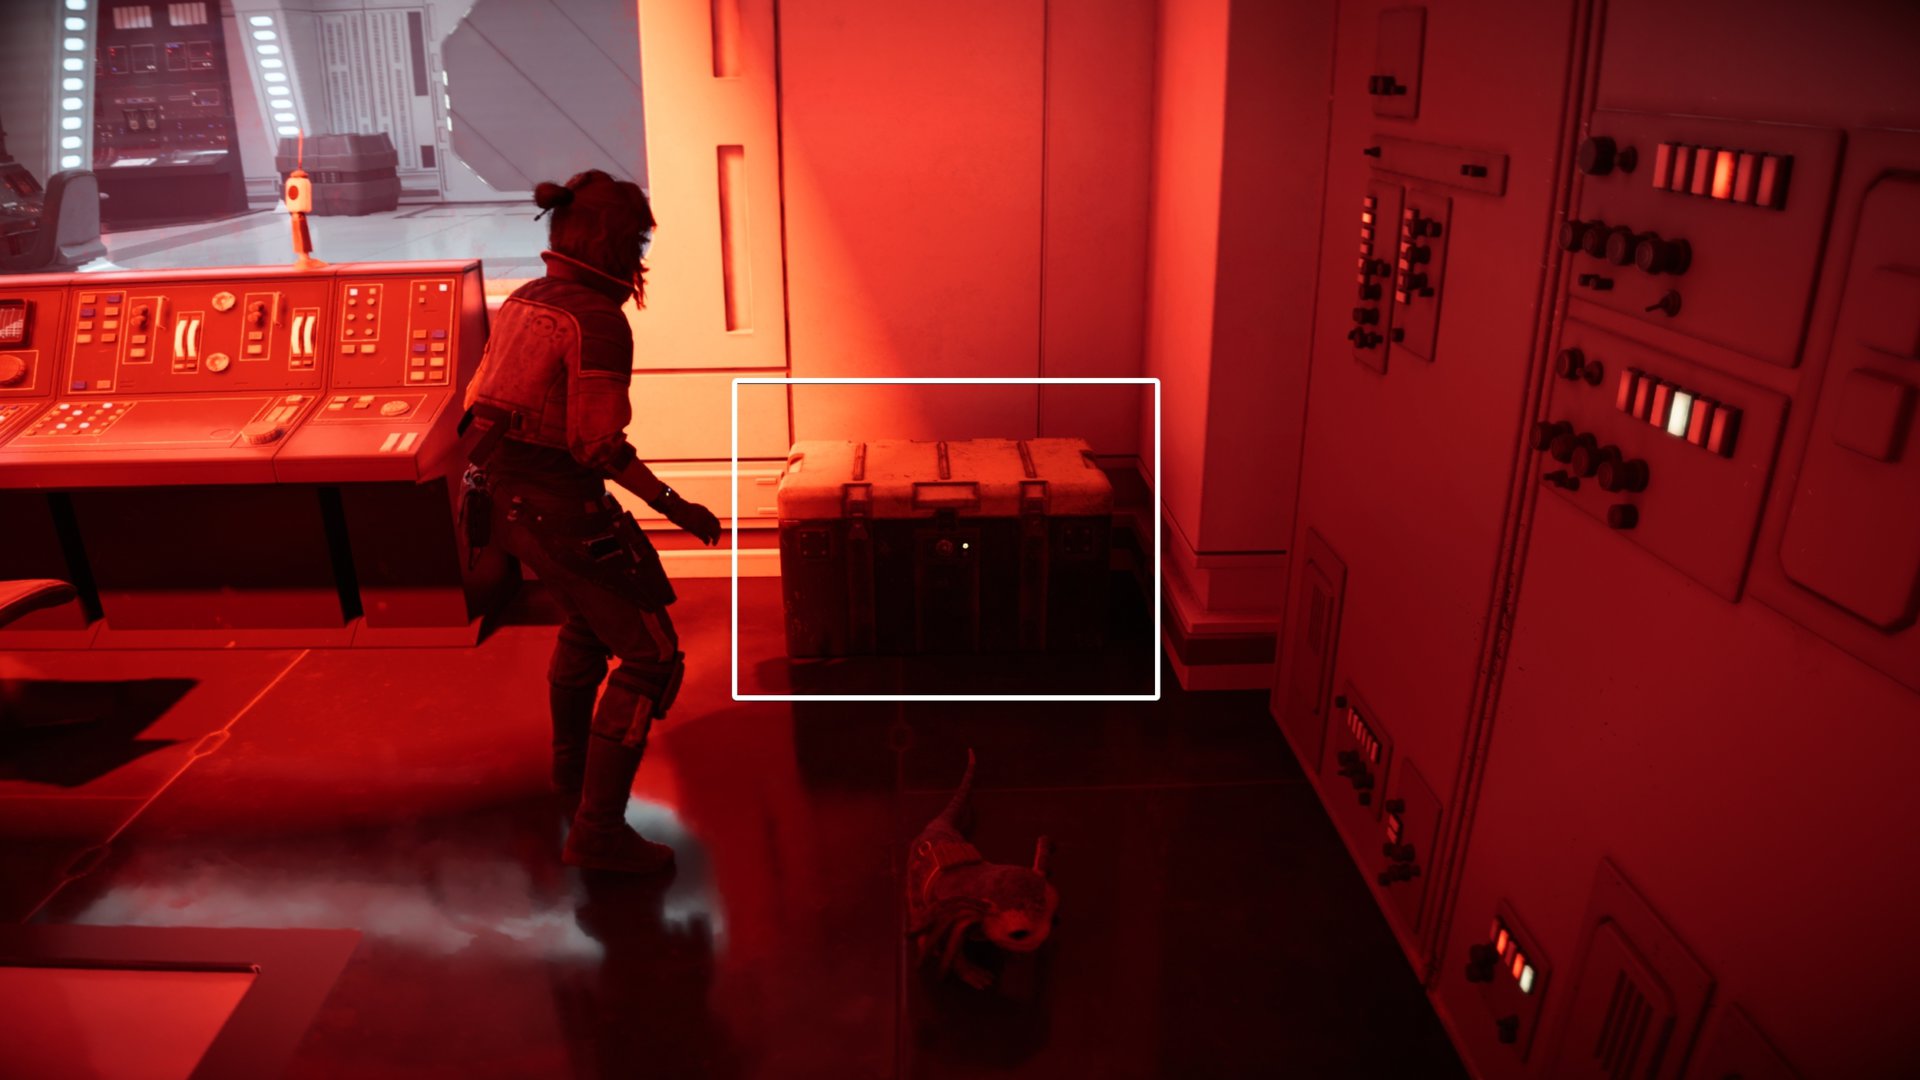
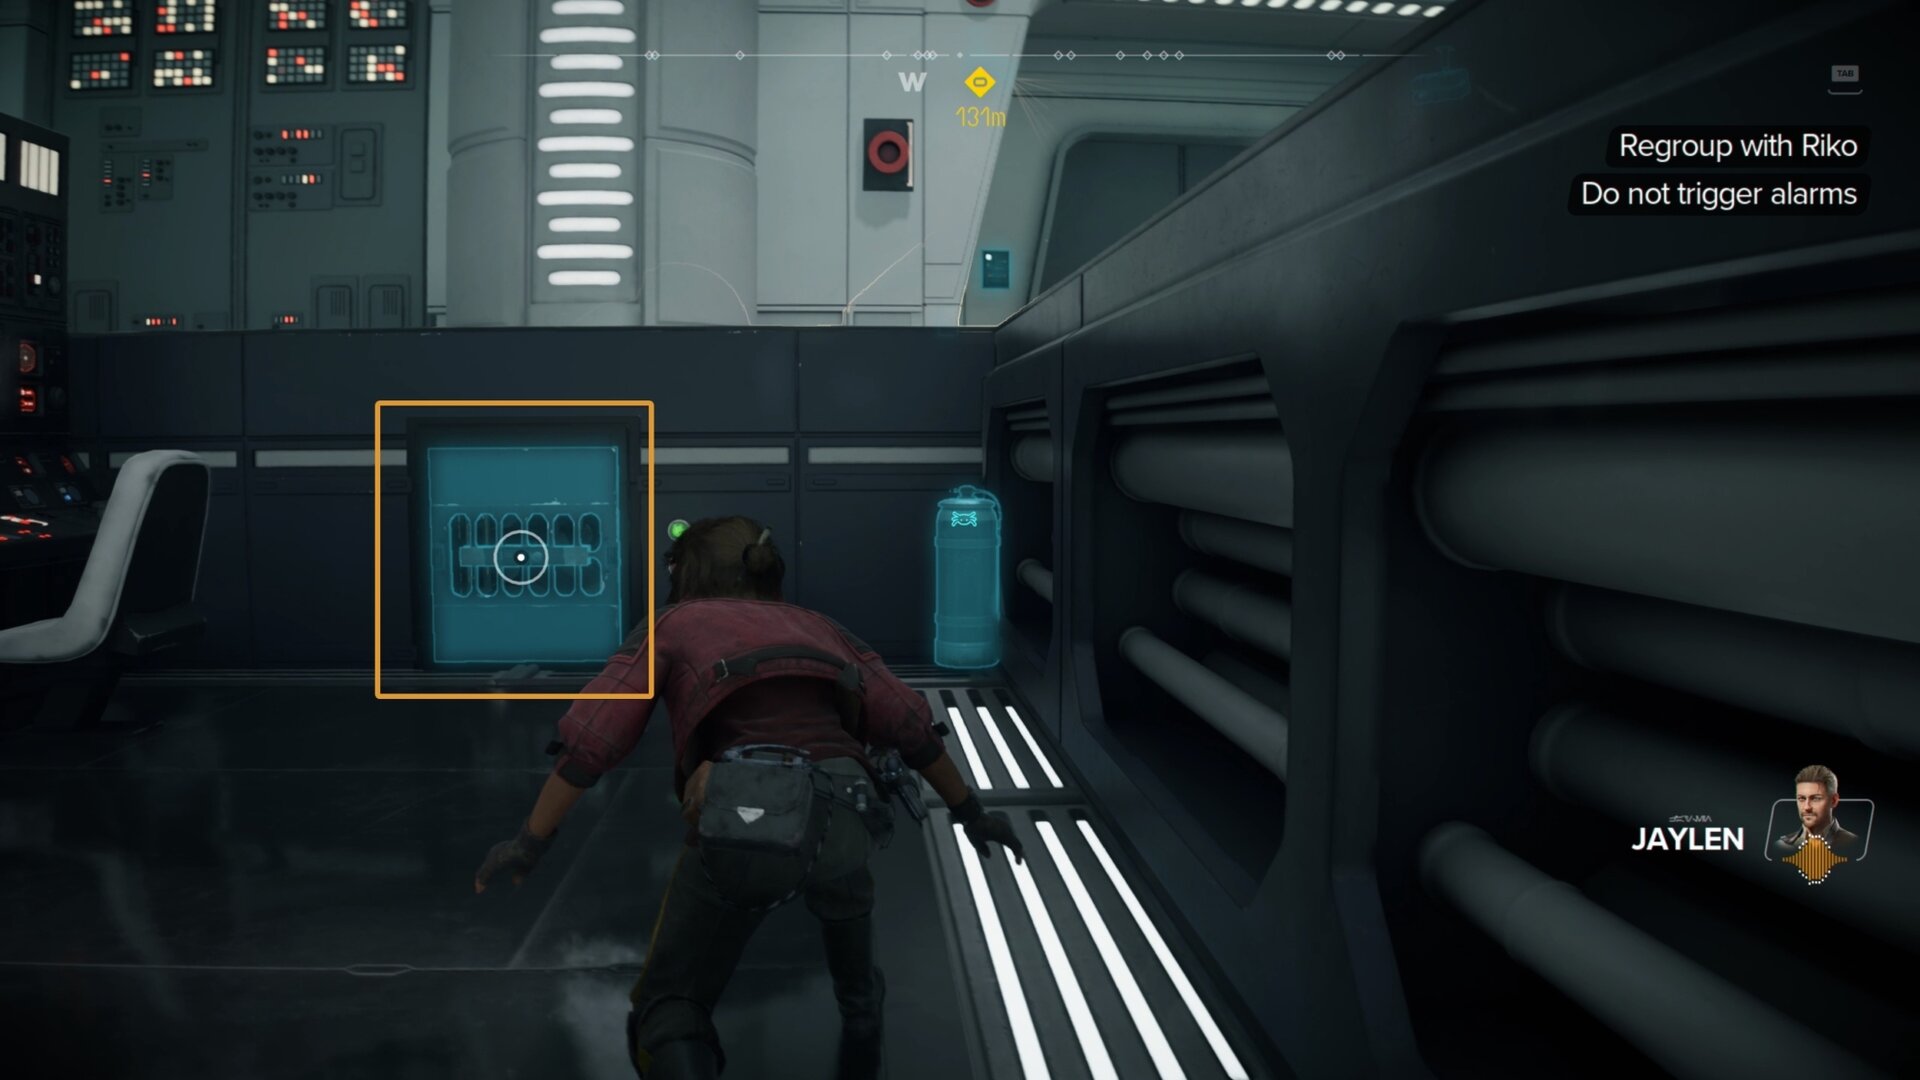
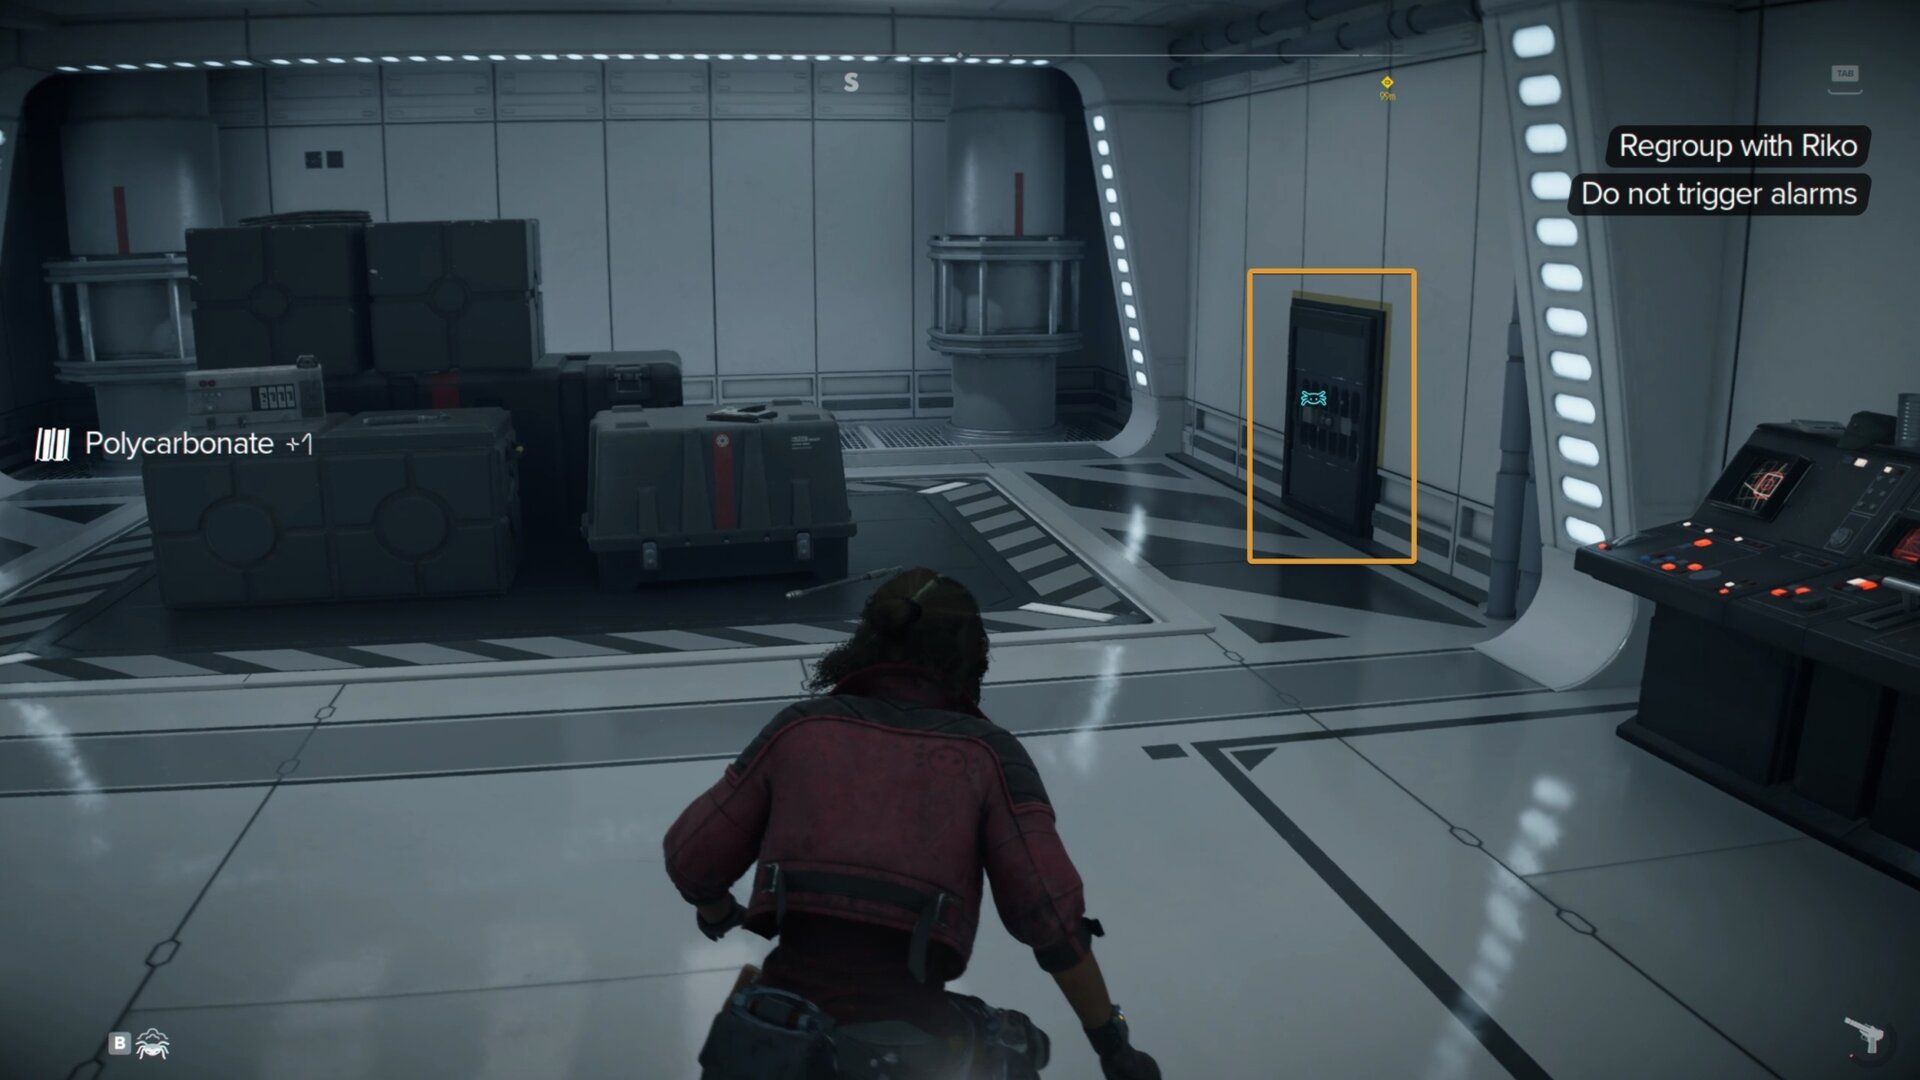
Exit the room and take cover behind the cargo sleds. When you face south, there will be a button to your left. Send Nix to press it to turn off the security camera.
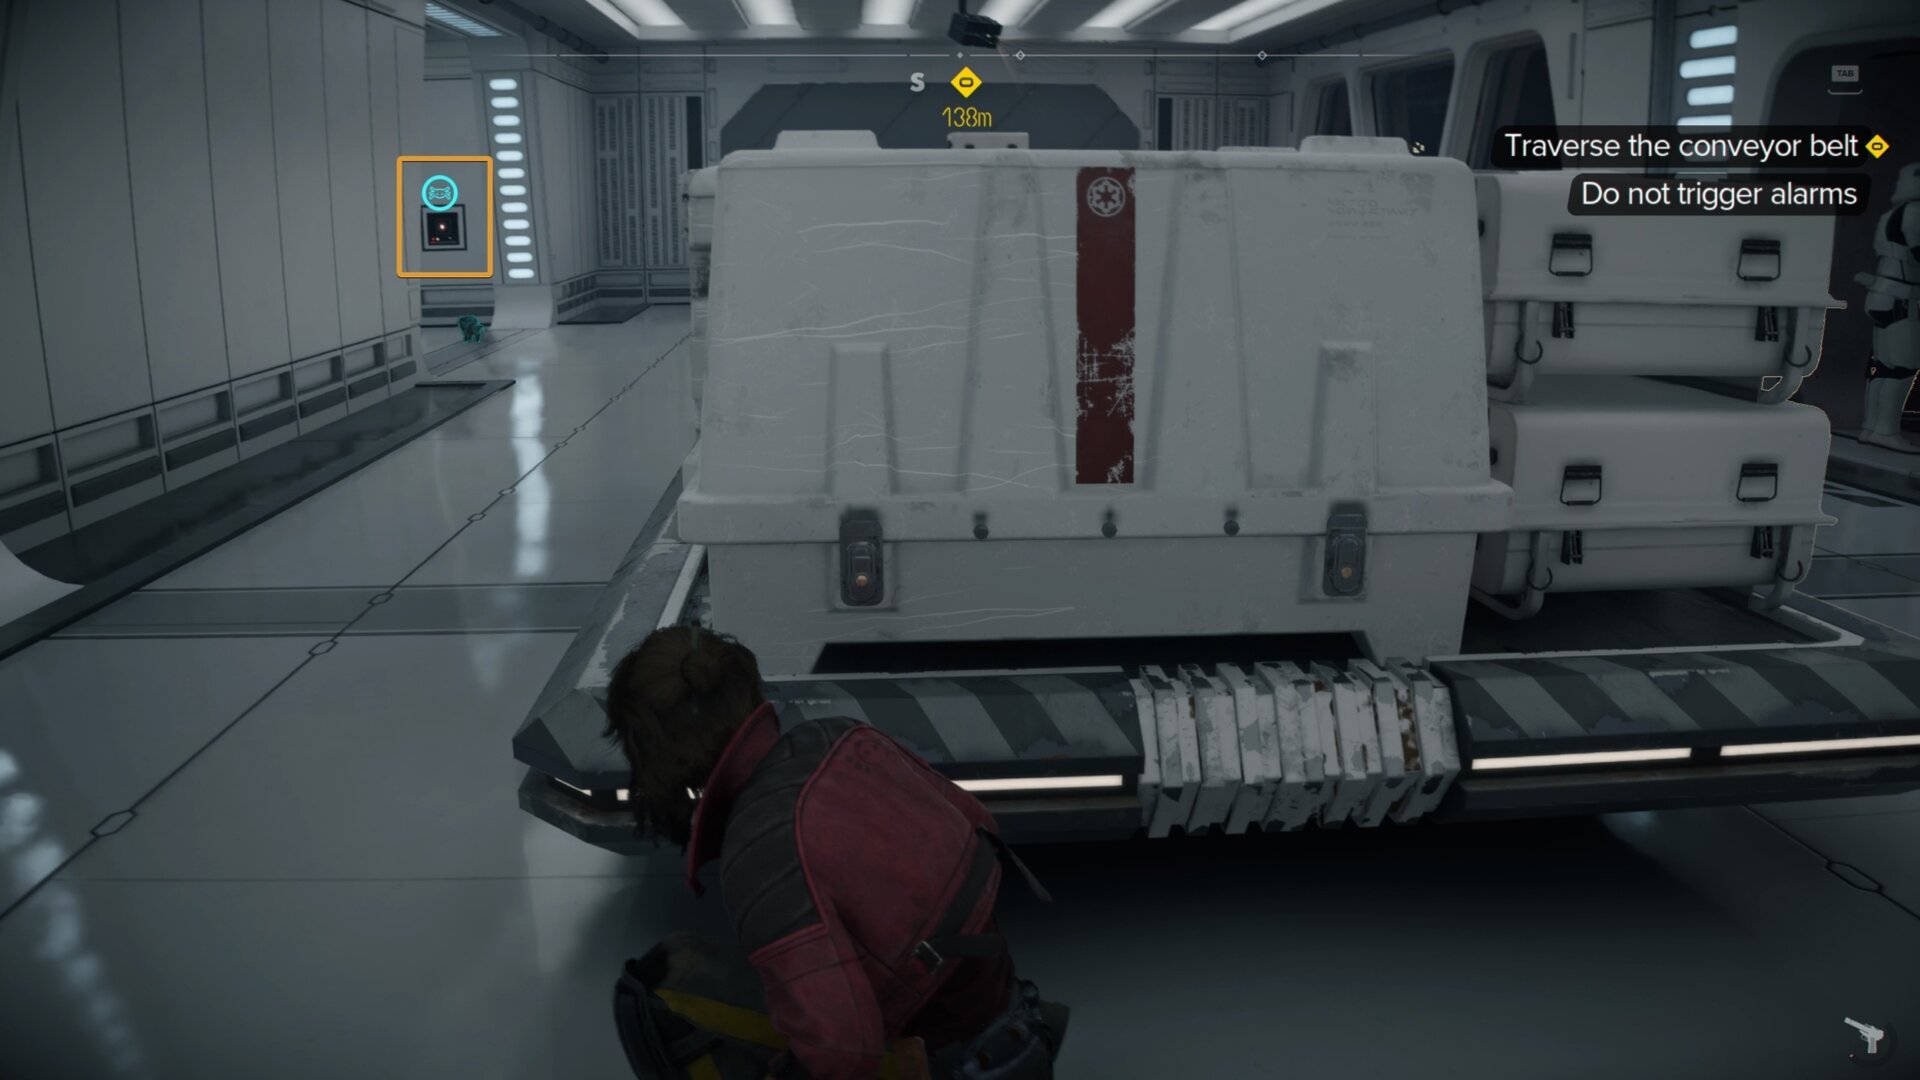
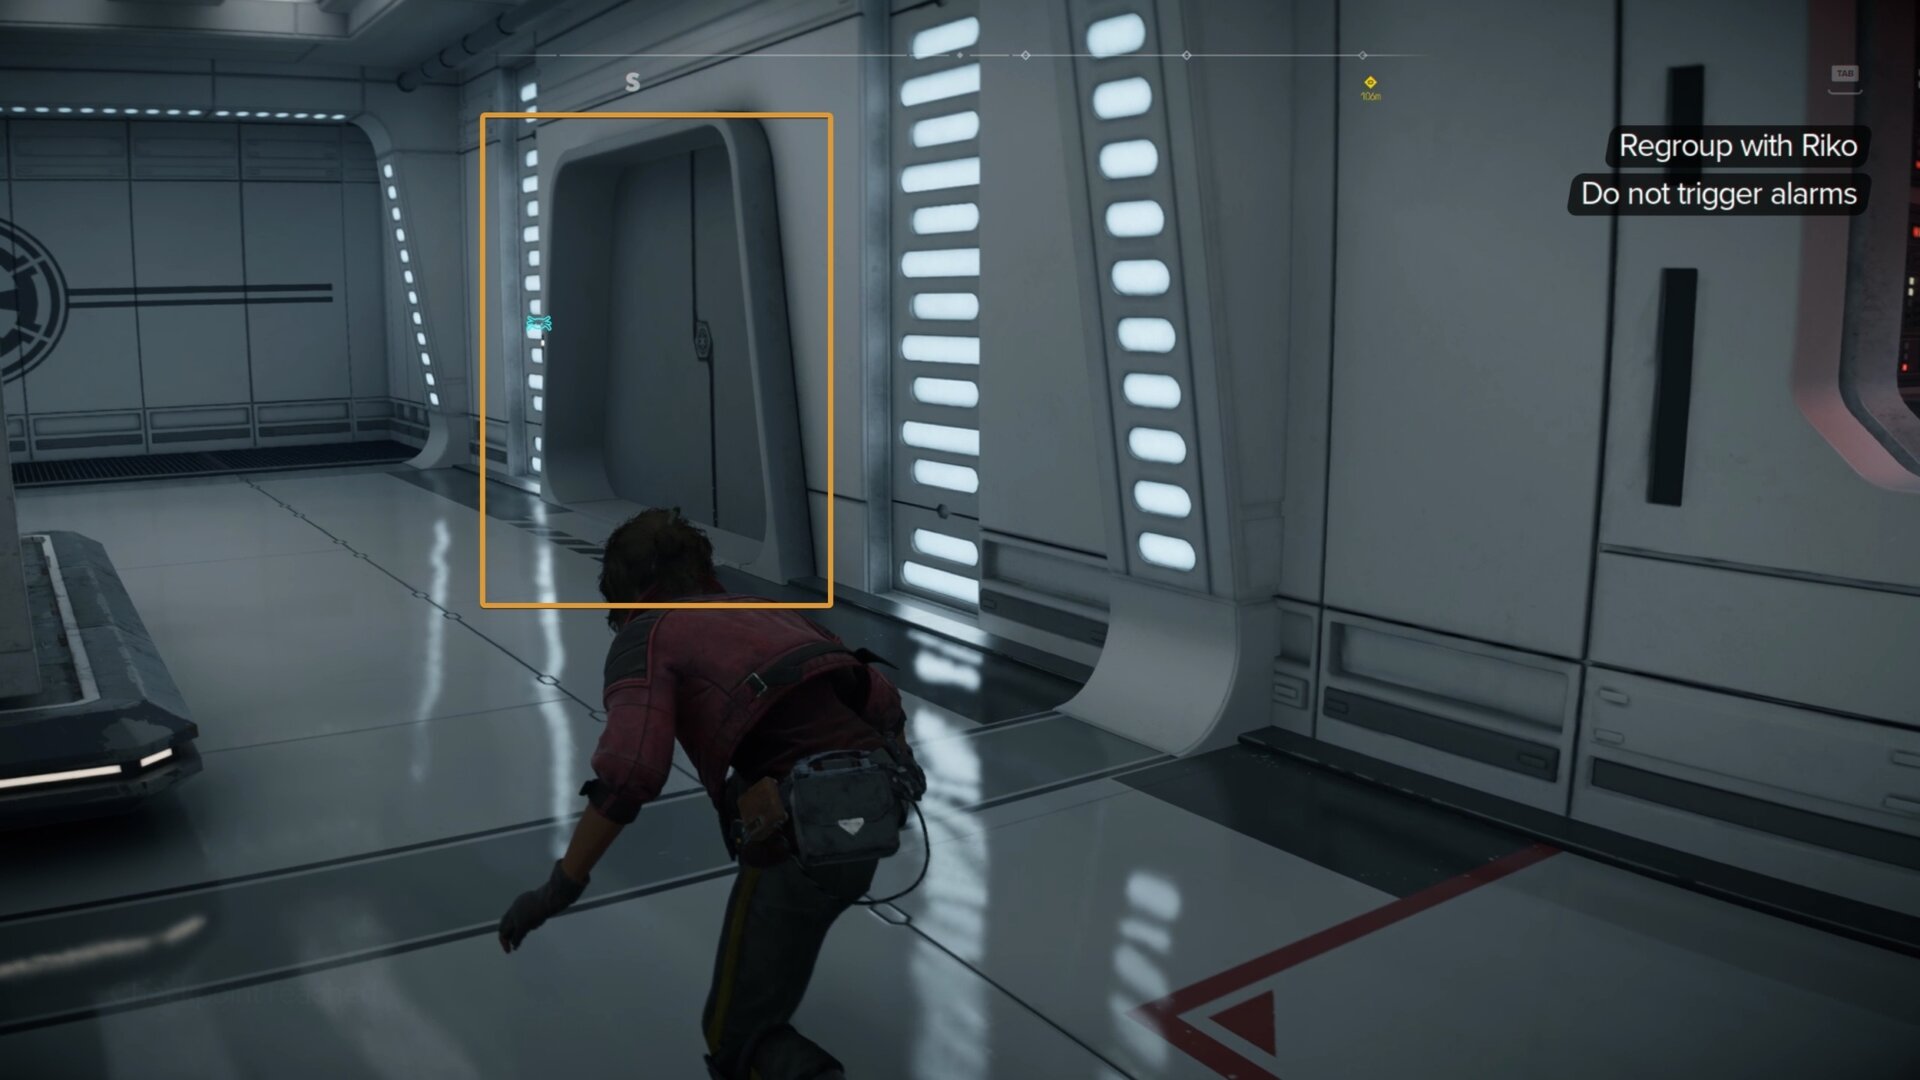
To the left of that button is a door that leads into another red-lit room. Knock out the officer inside and loot the large chest for treasure.
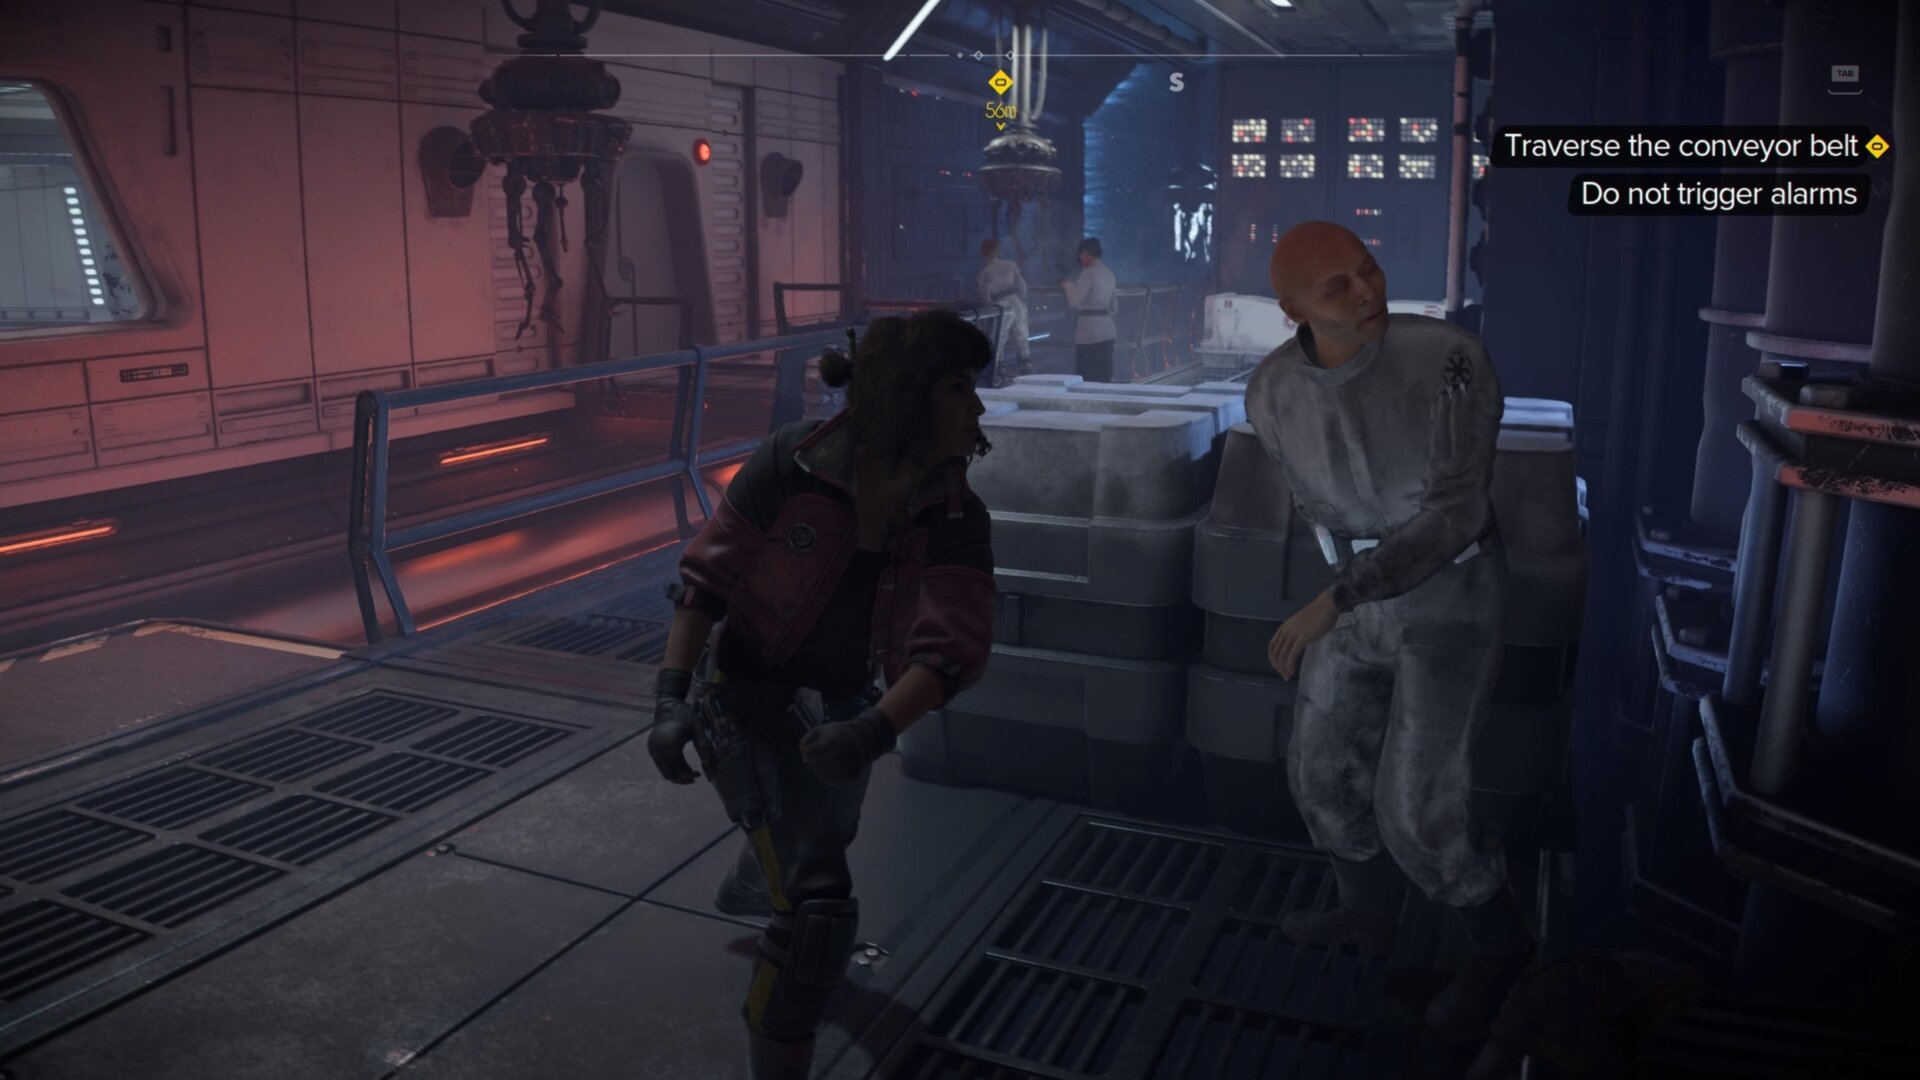
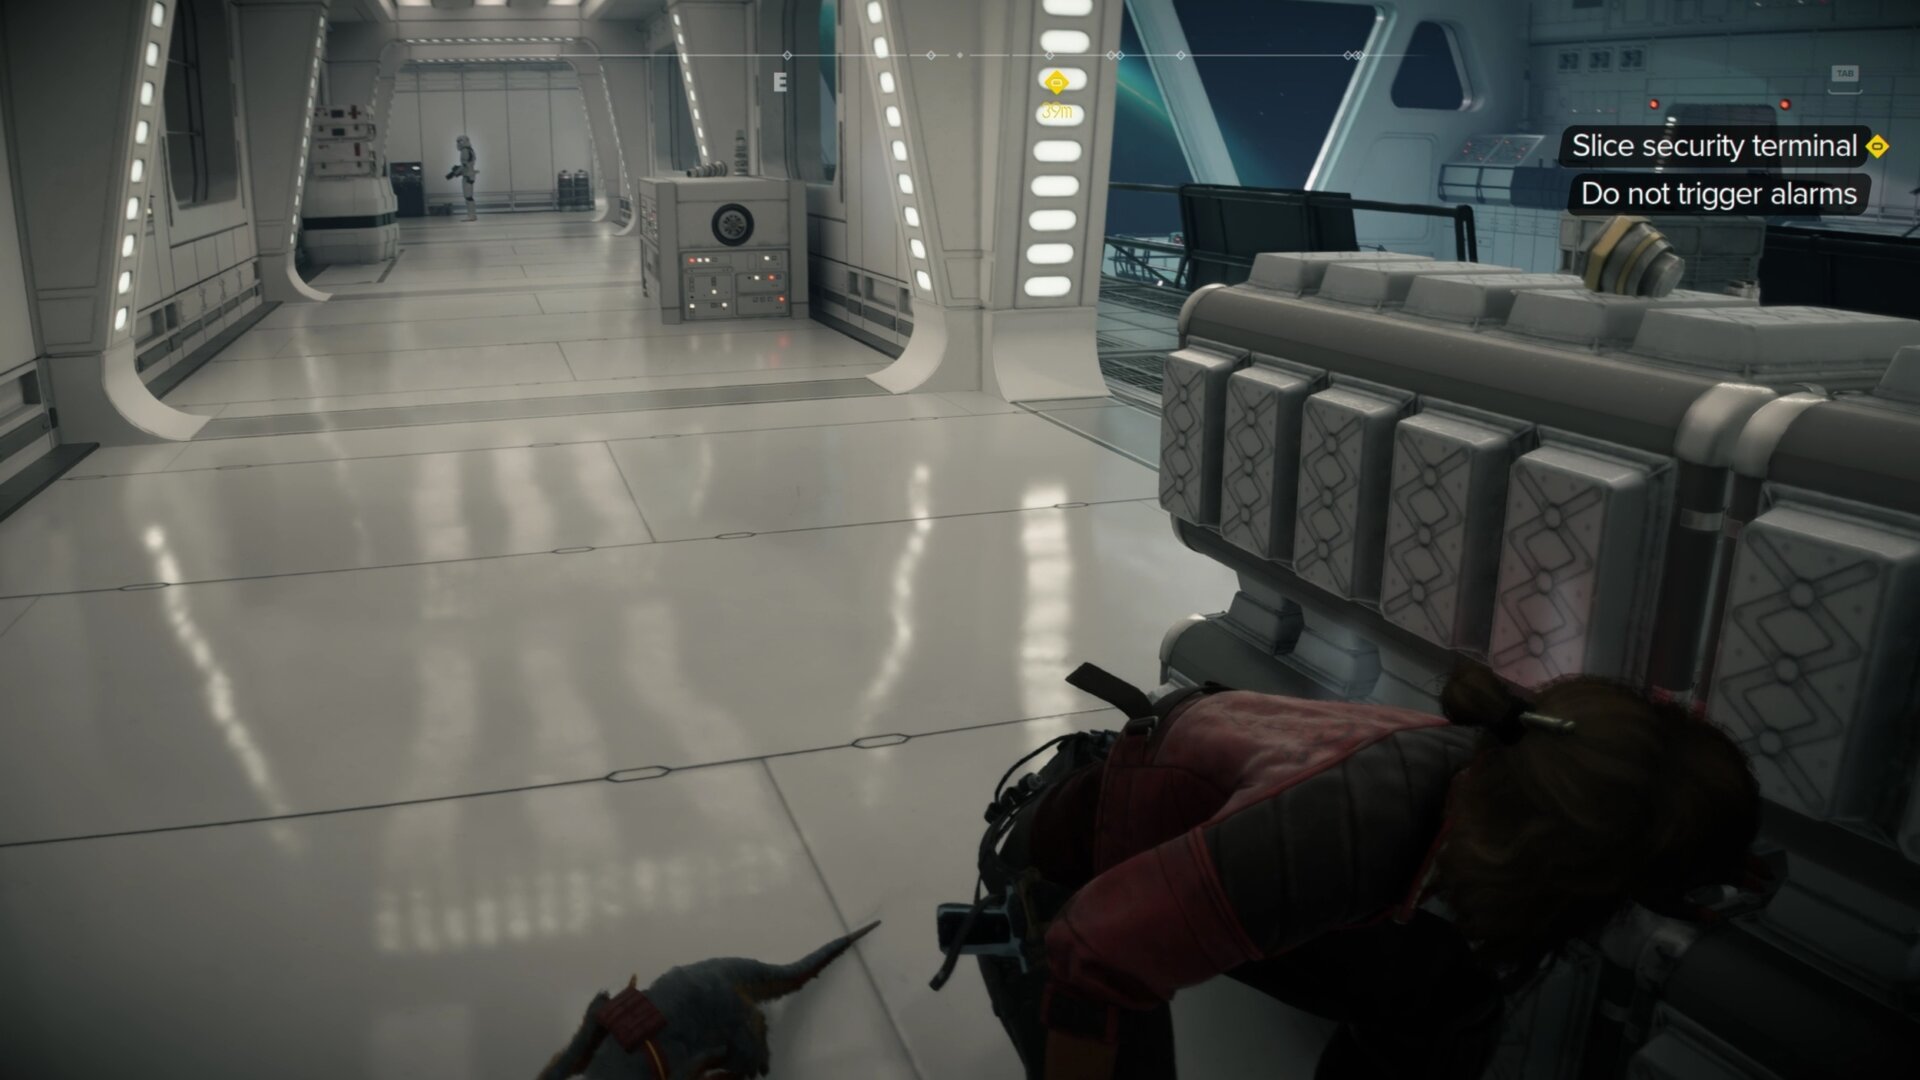
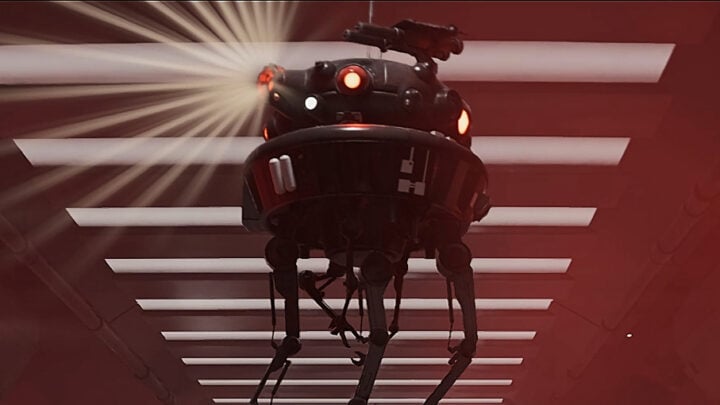
Go to the east room filled with probe droid conveyor belt and head south. Stay crouched and next to the guard rails.
There will be ISB officers on the other side of the windows that may spot you if you stay too far from cover. Only move when they’re not facing you.

Continue going south and follow the probe droids. Jump to the space beneath the probe droids, climb up the ledge in front of the energy barrier and knock out the two technicians and the ISB officer ahead of you.
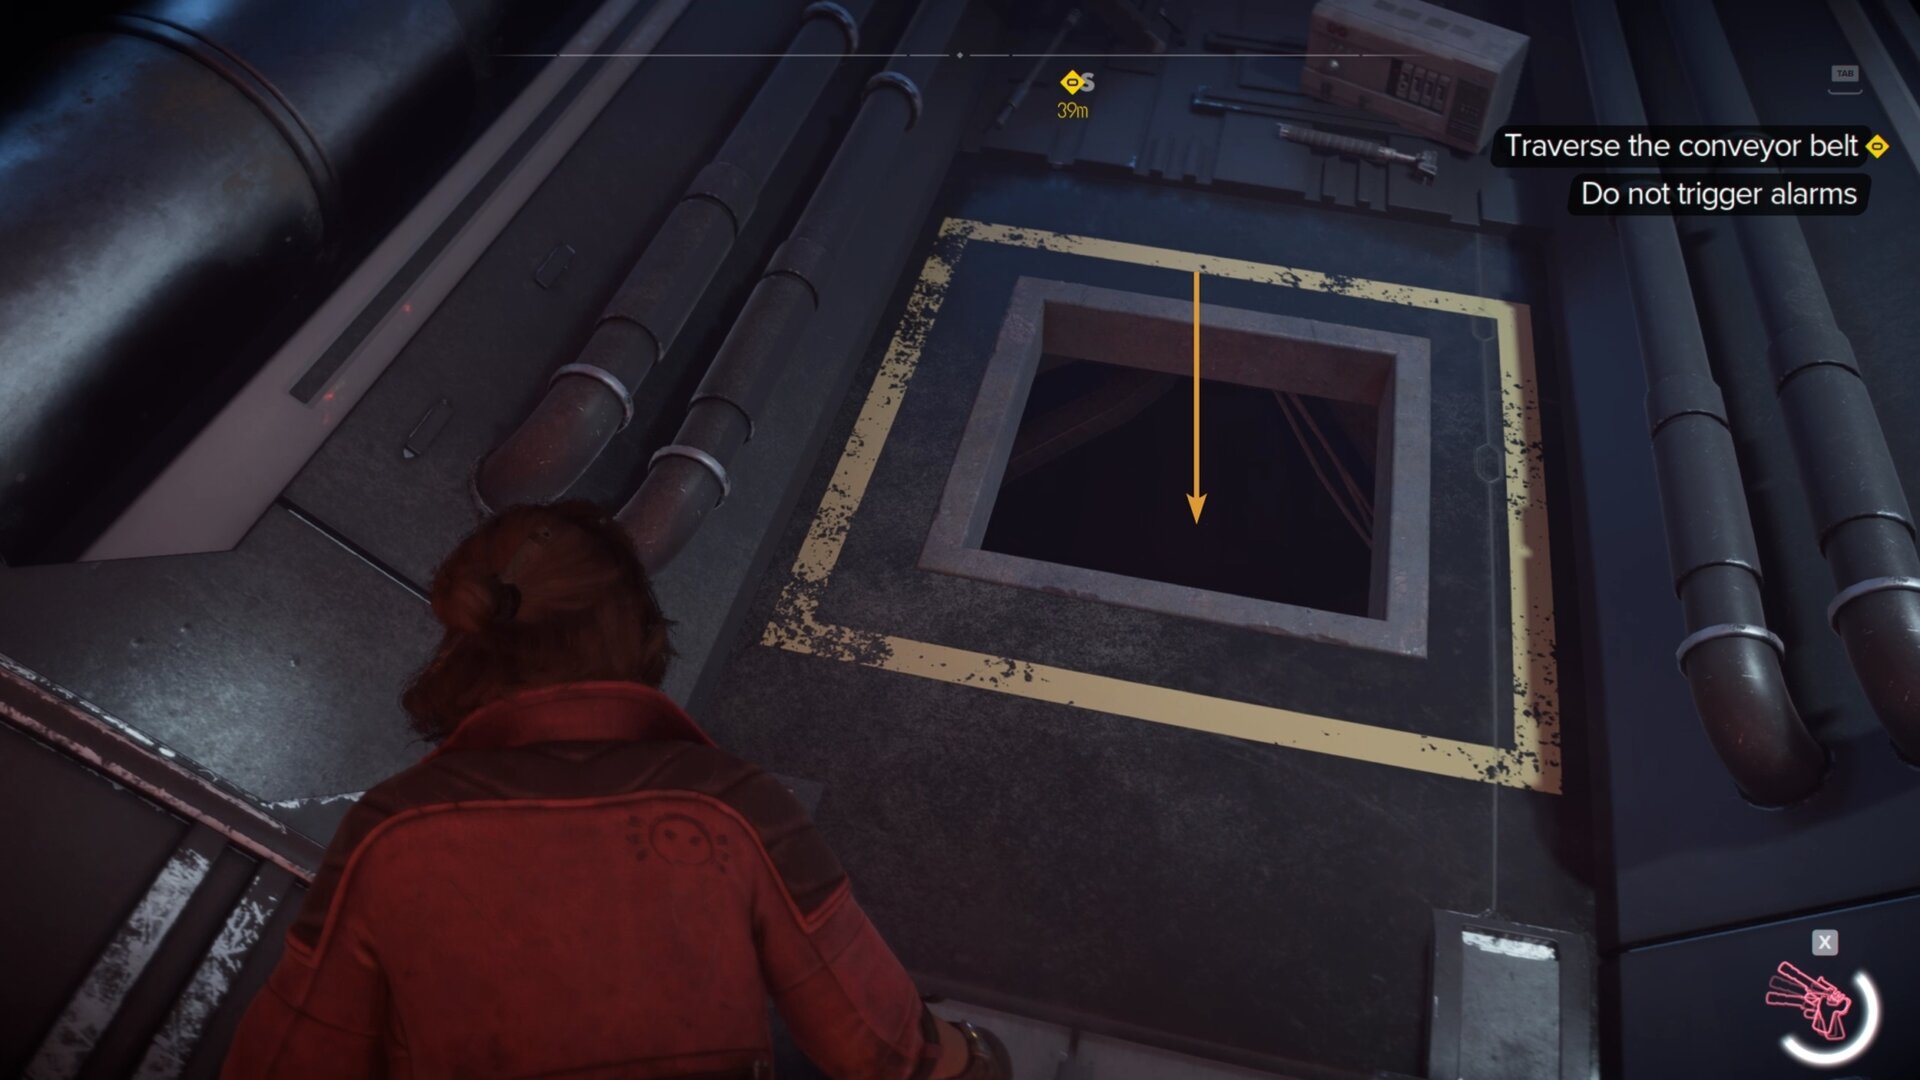
Continue going south and go through a square hole in the floor. Follow the tunnel to enter a large maintenance shaft.
You’ll learn that in the probe droid conveyor room, one of the droids was active and spotted you. You’ll need to reach the Data Extraction Hub and delete its data to not blow your cover.
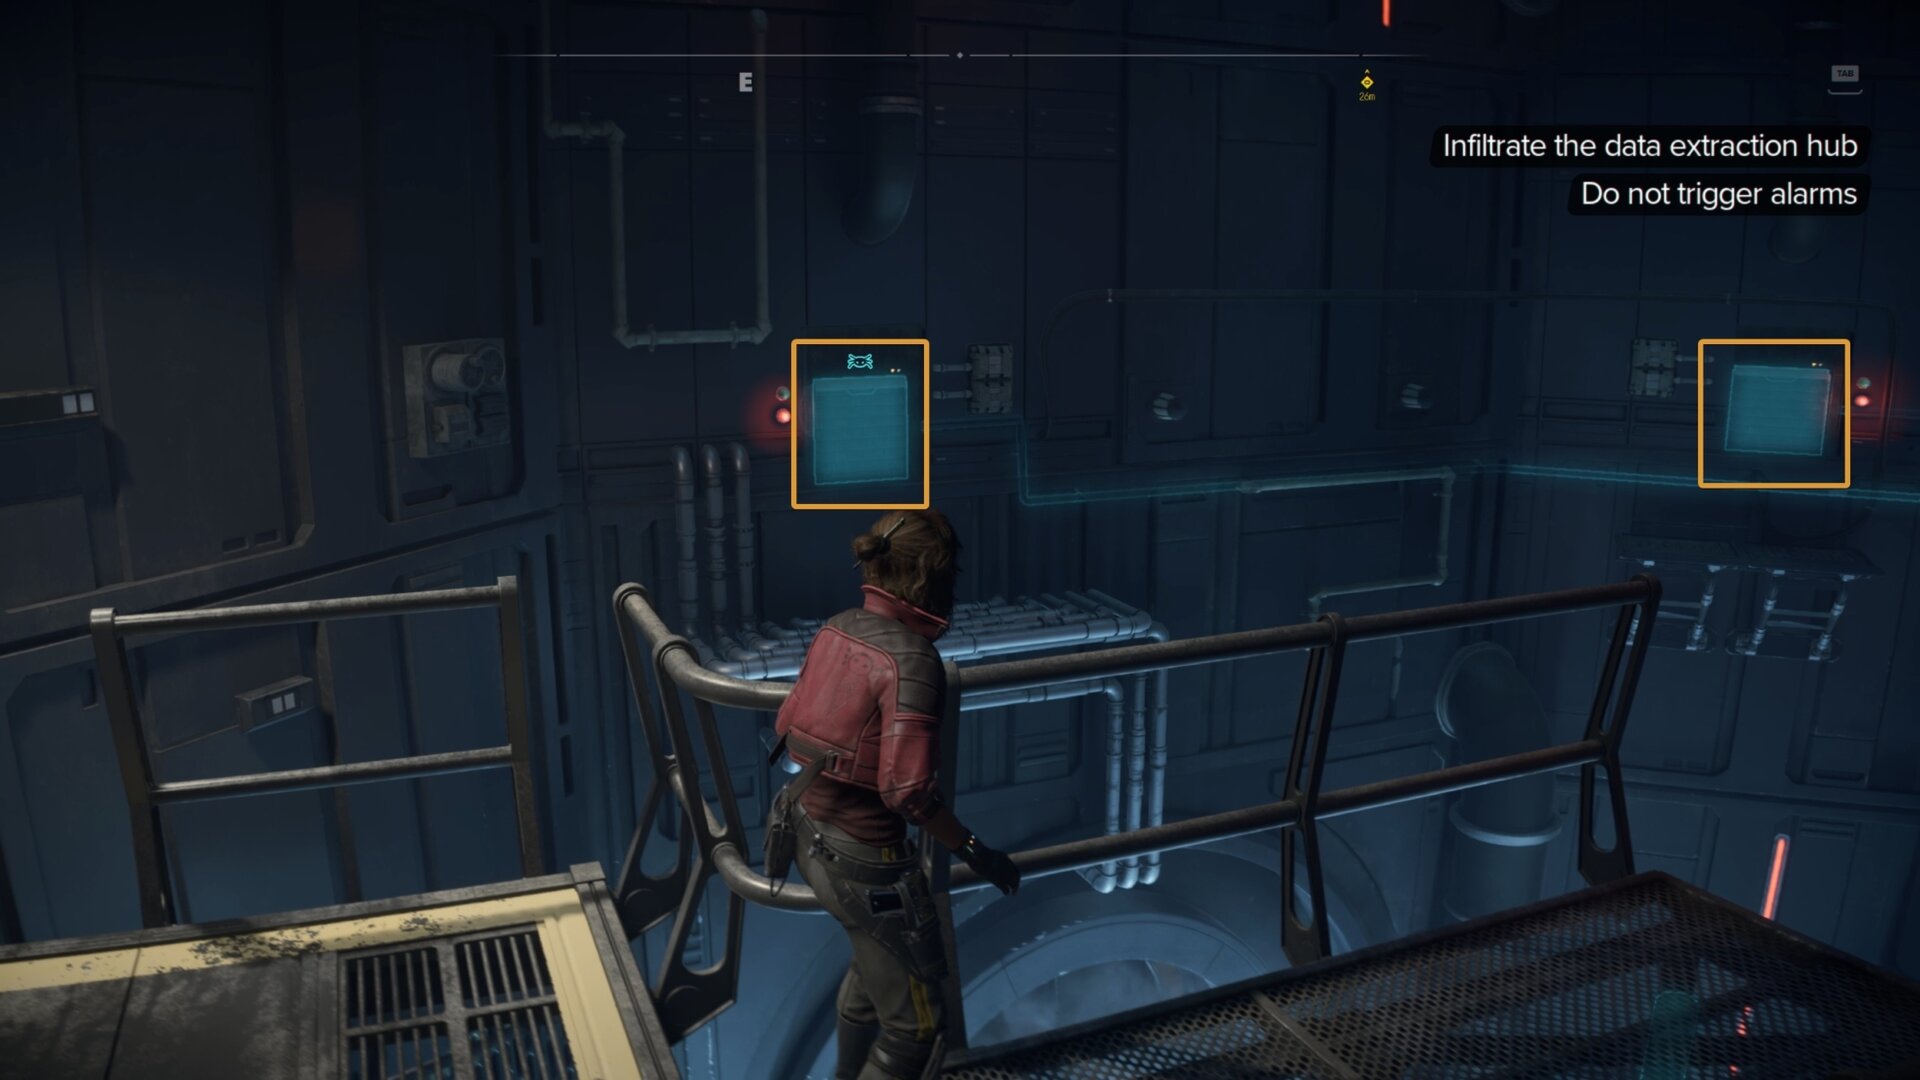
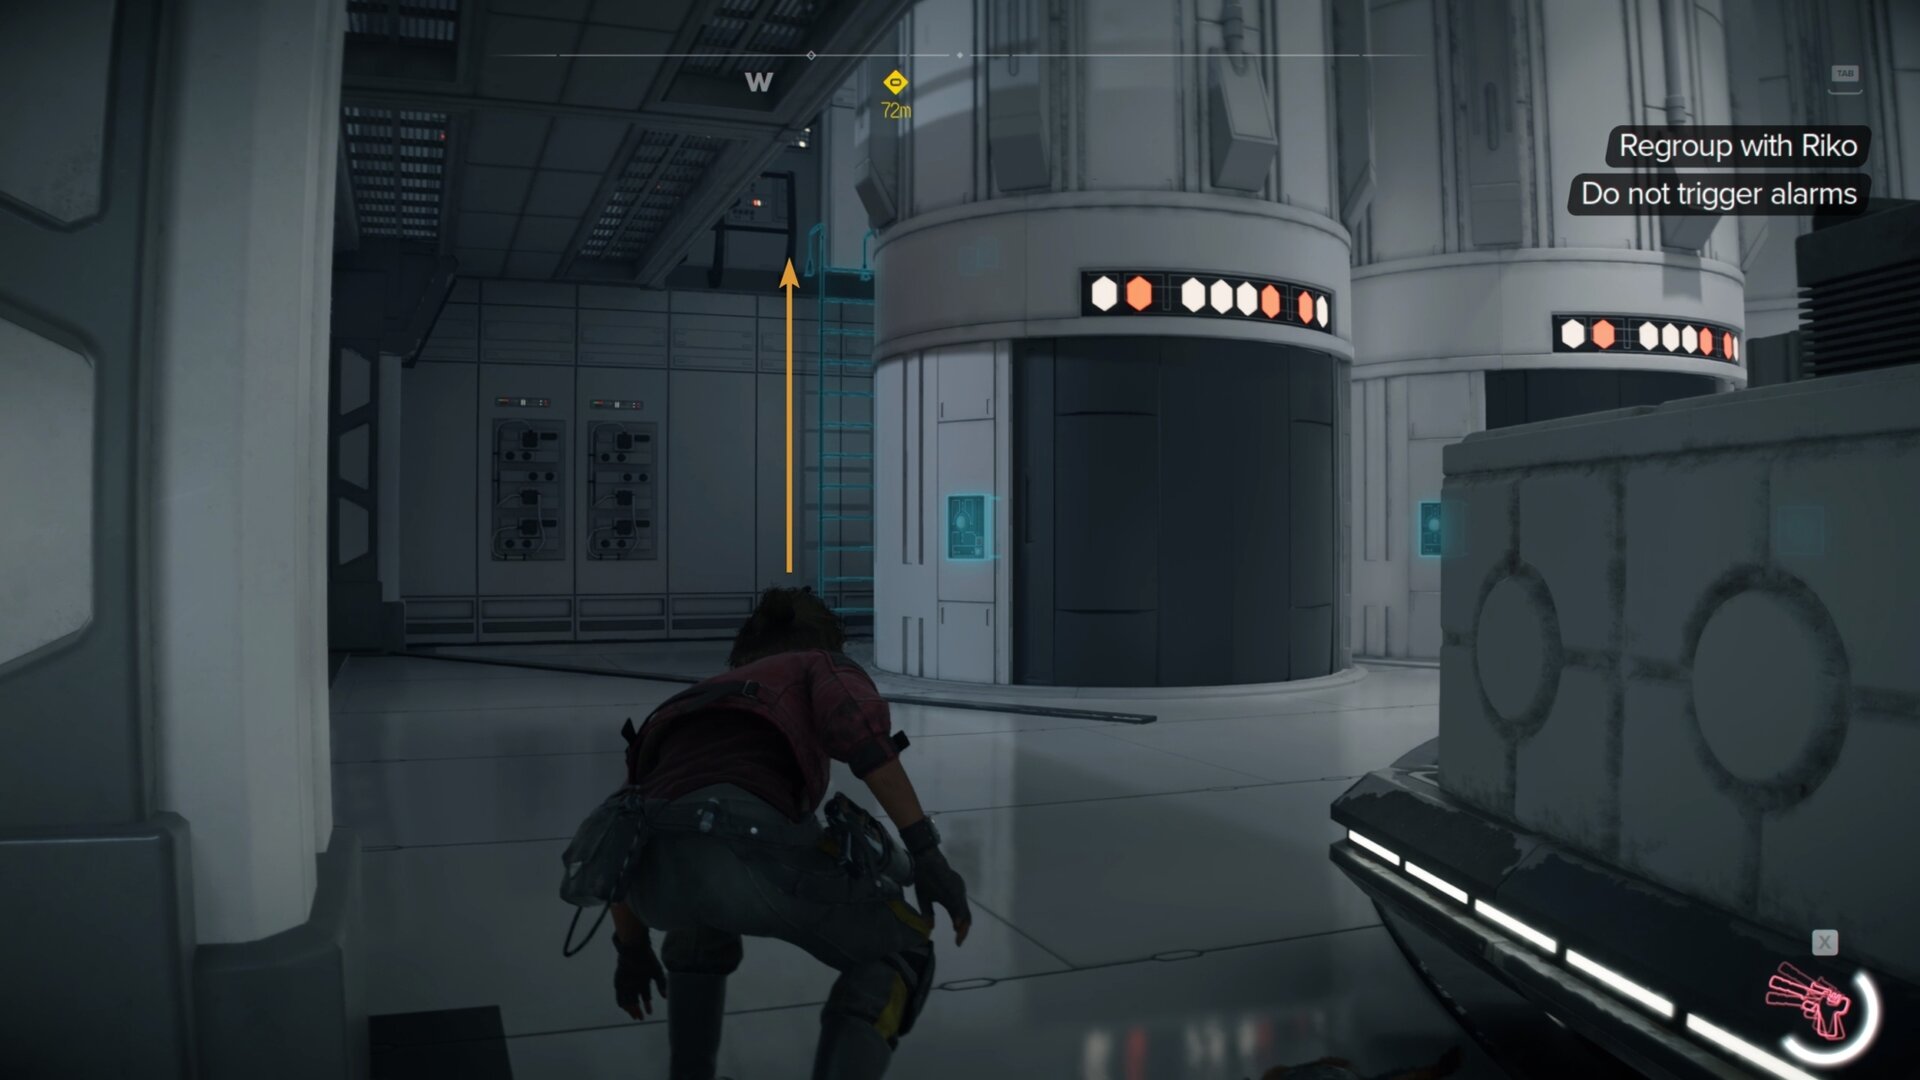
Use a grapple point above you to swing to the grates, then scale the wall upwards to reach a walkway. There will be an extendable bridge that’s currently retracted.
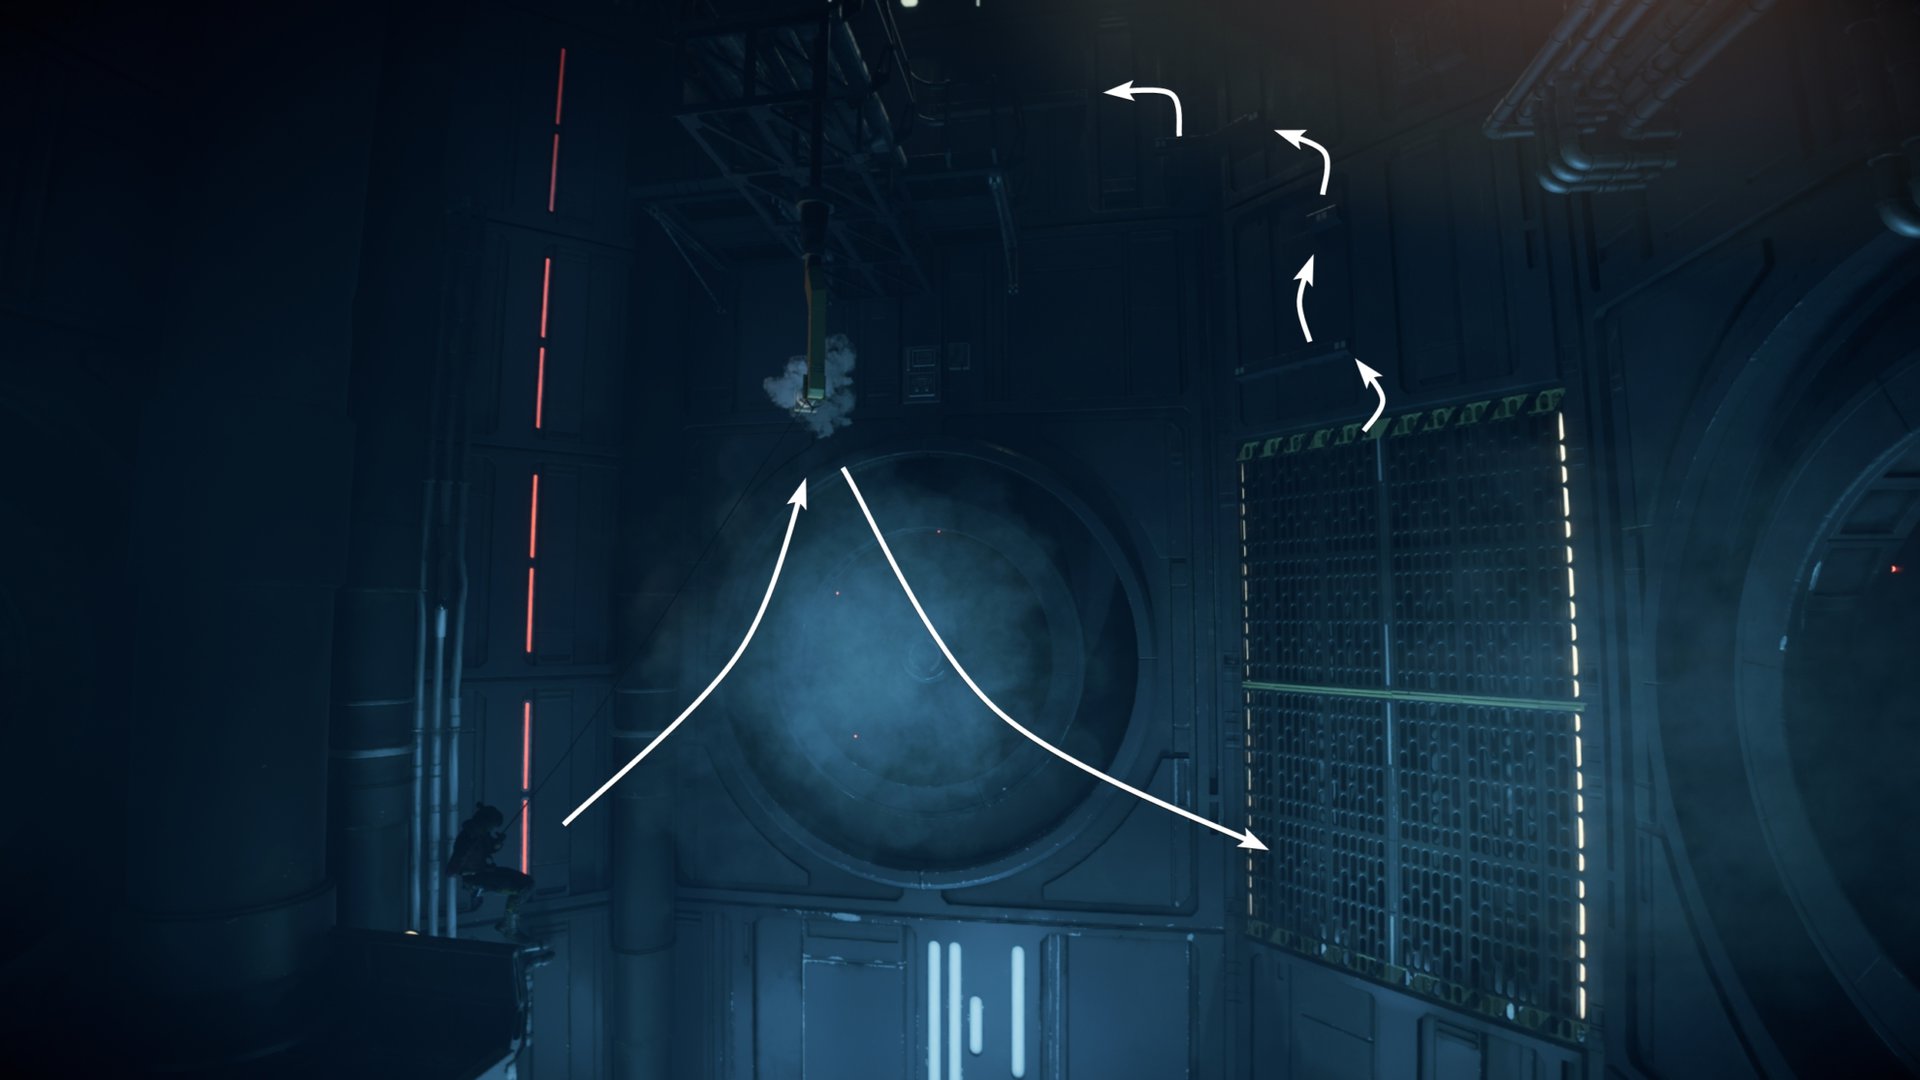
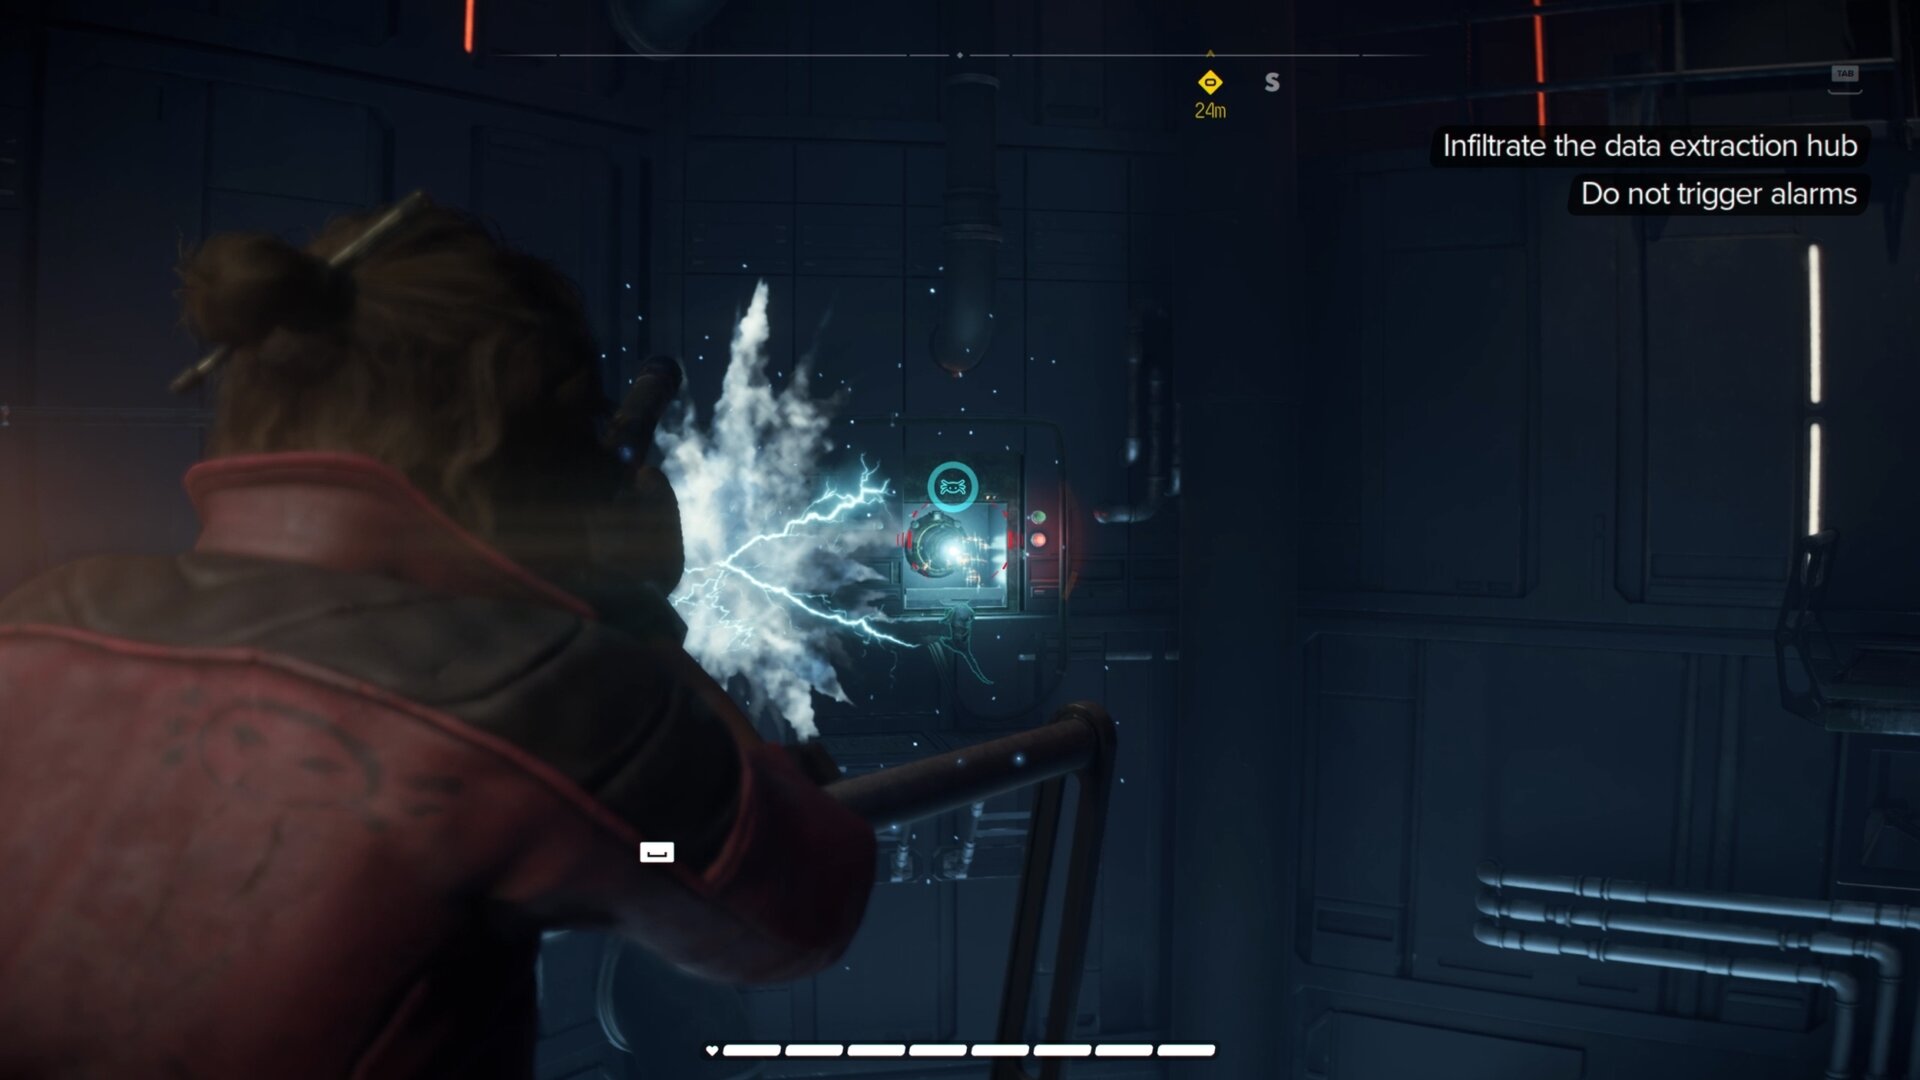
Look to the east and have Nix open the two shutters along the wall. Shoot the power conduits inside with your ion blaster to extend the bridge.
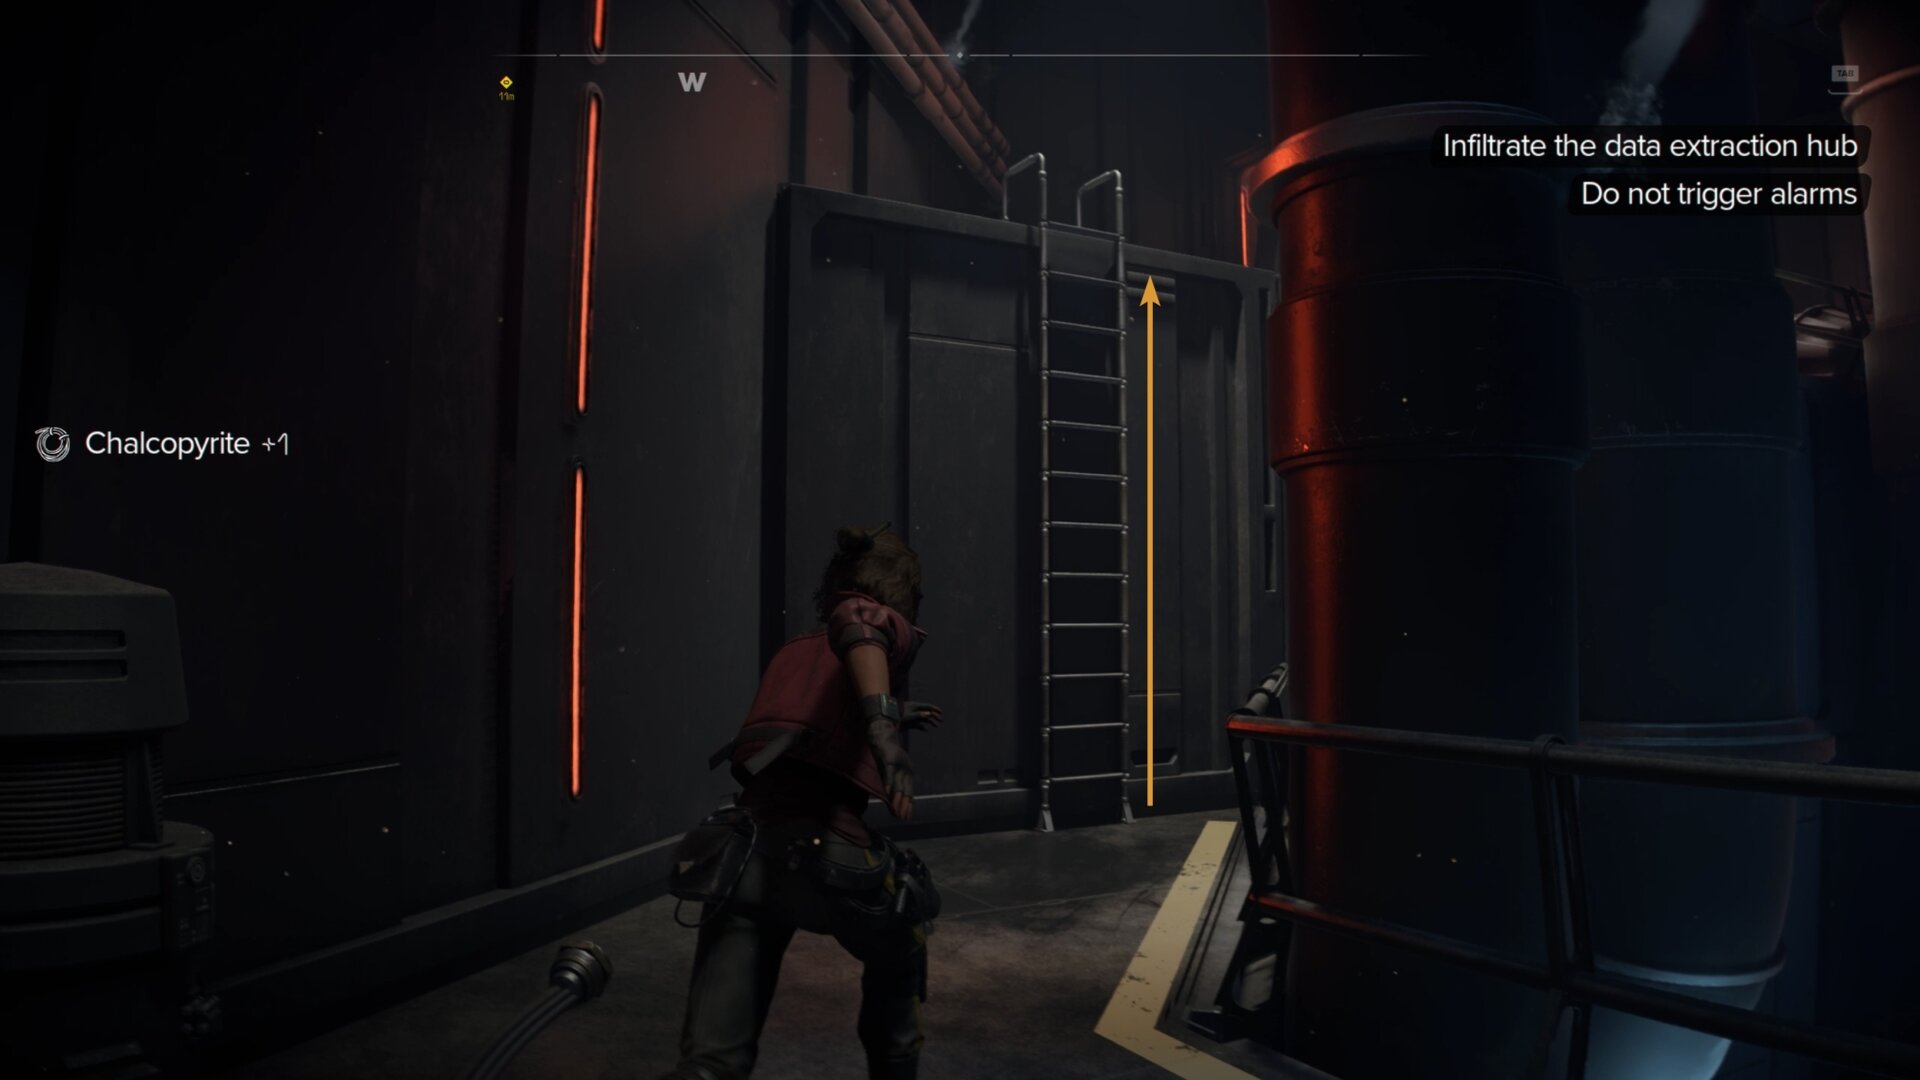
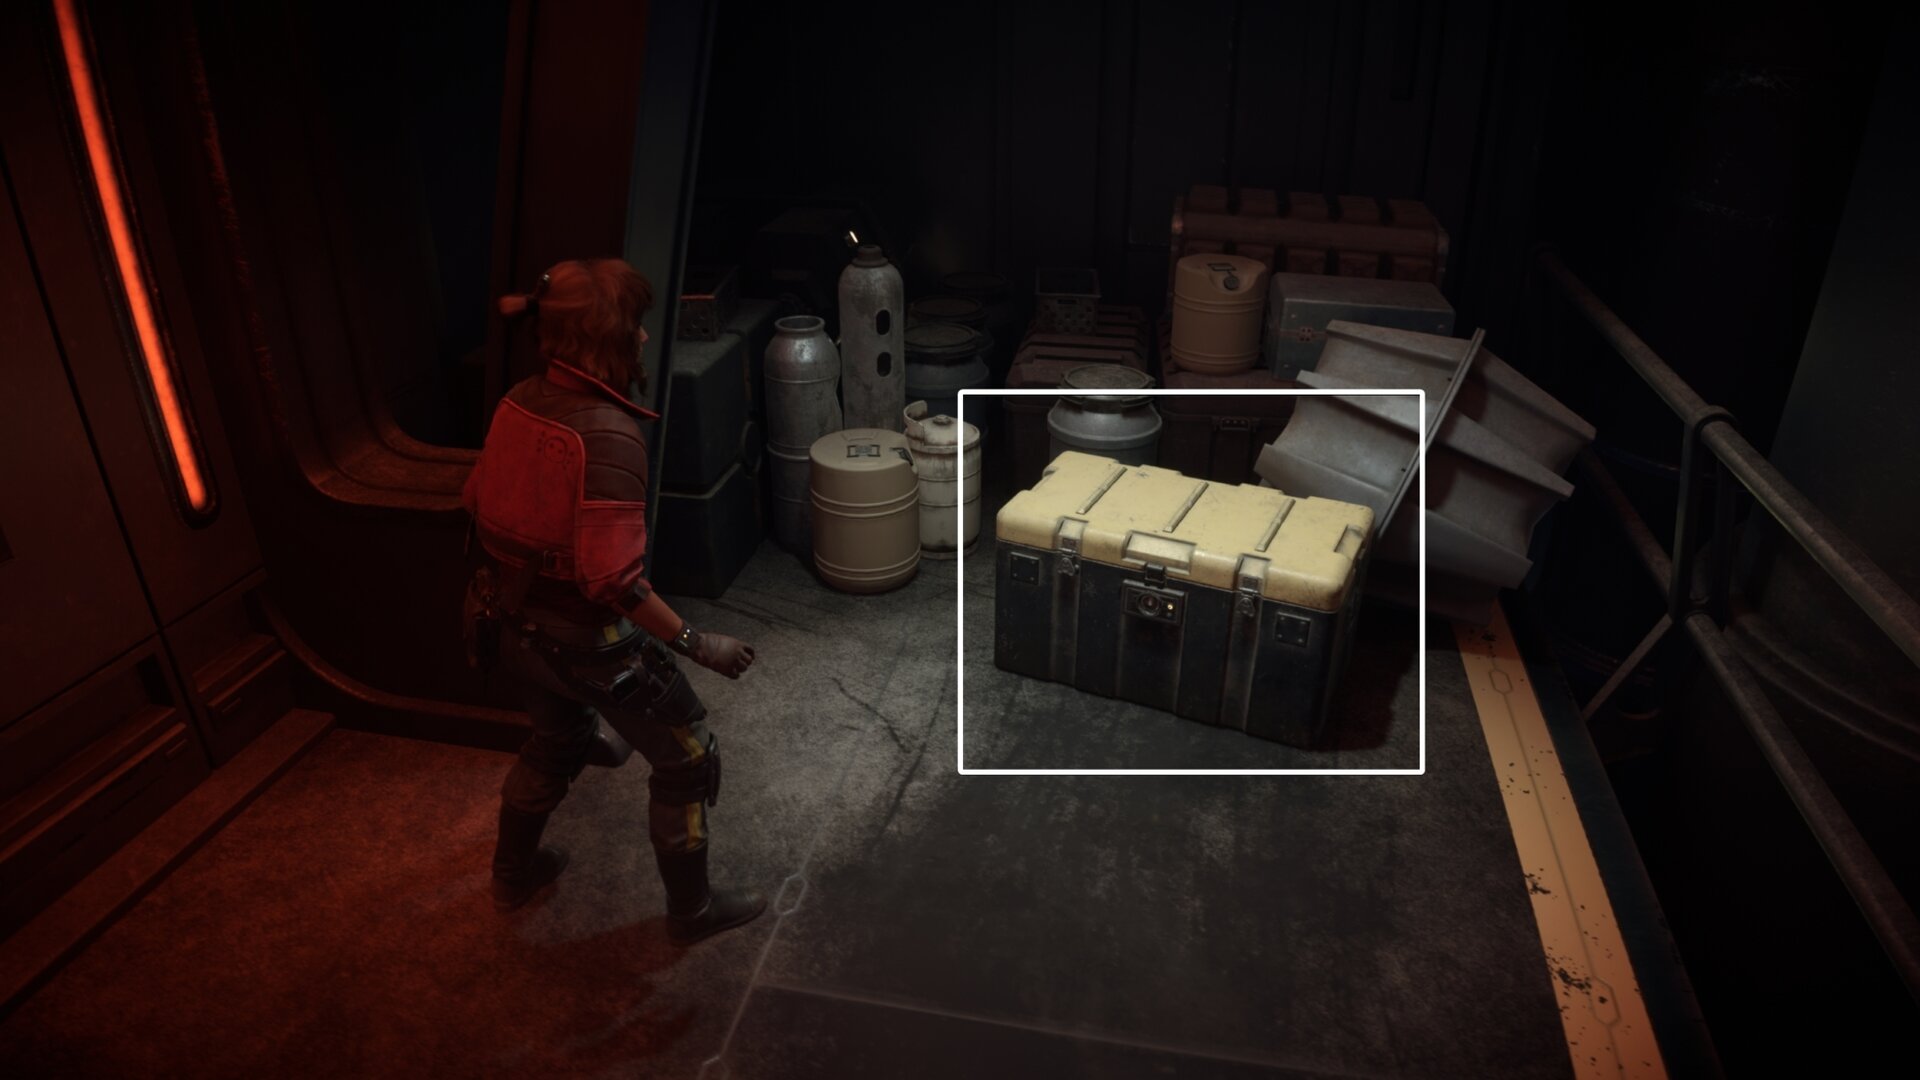
Go across the bridge and up the ladder. If you go northwest, you’ll find another ladder that will take you to the second chest on the ISB station. It’ll contain more treasure you can sell later.
Follow your quest marker to find a vent. Climb into it and you’ll reach the Data Extraction Hub when you pass through the vent.
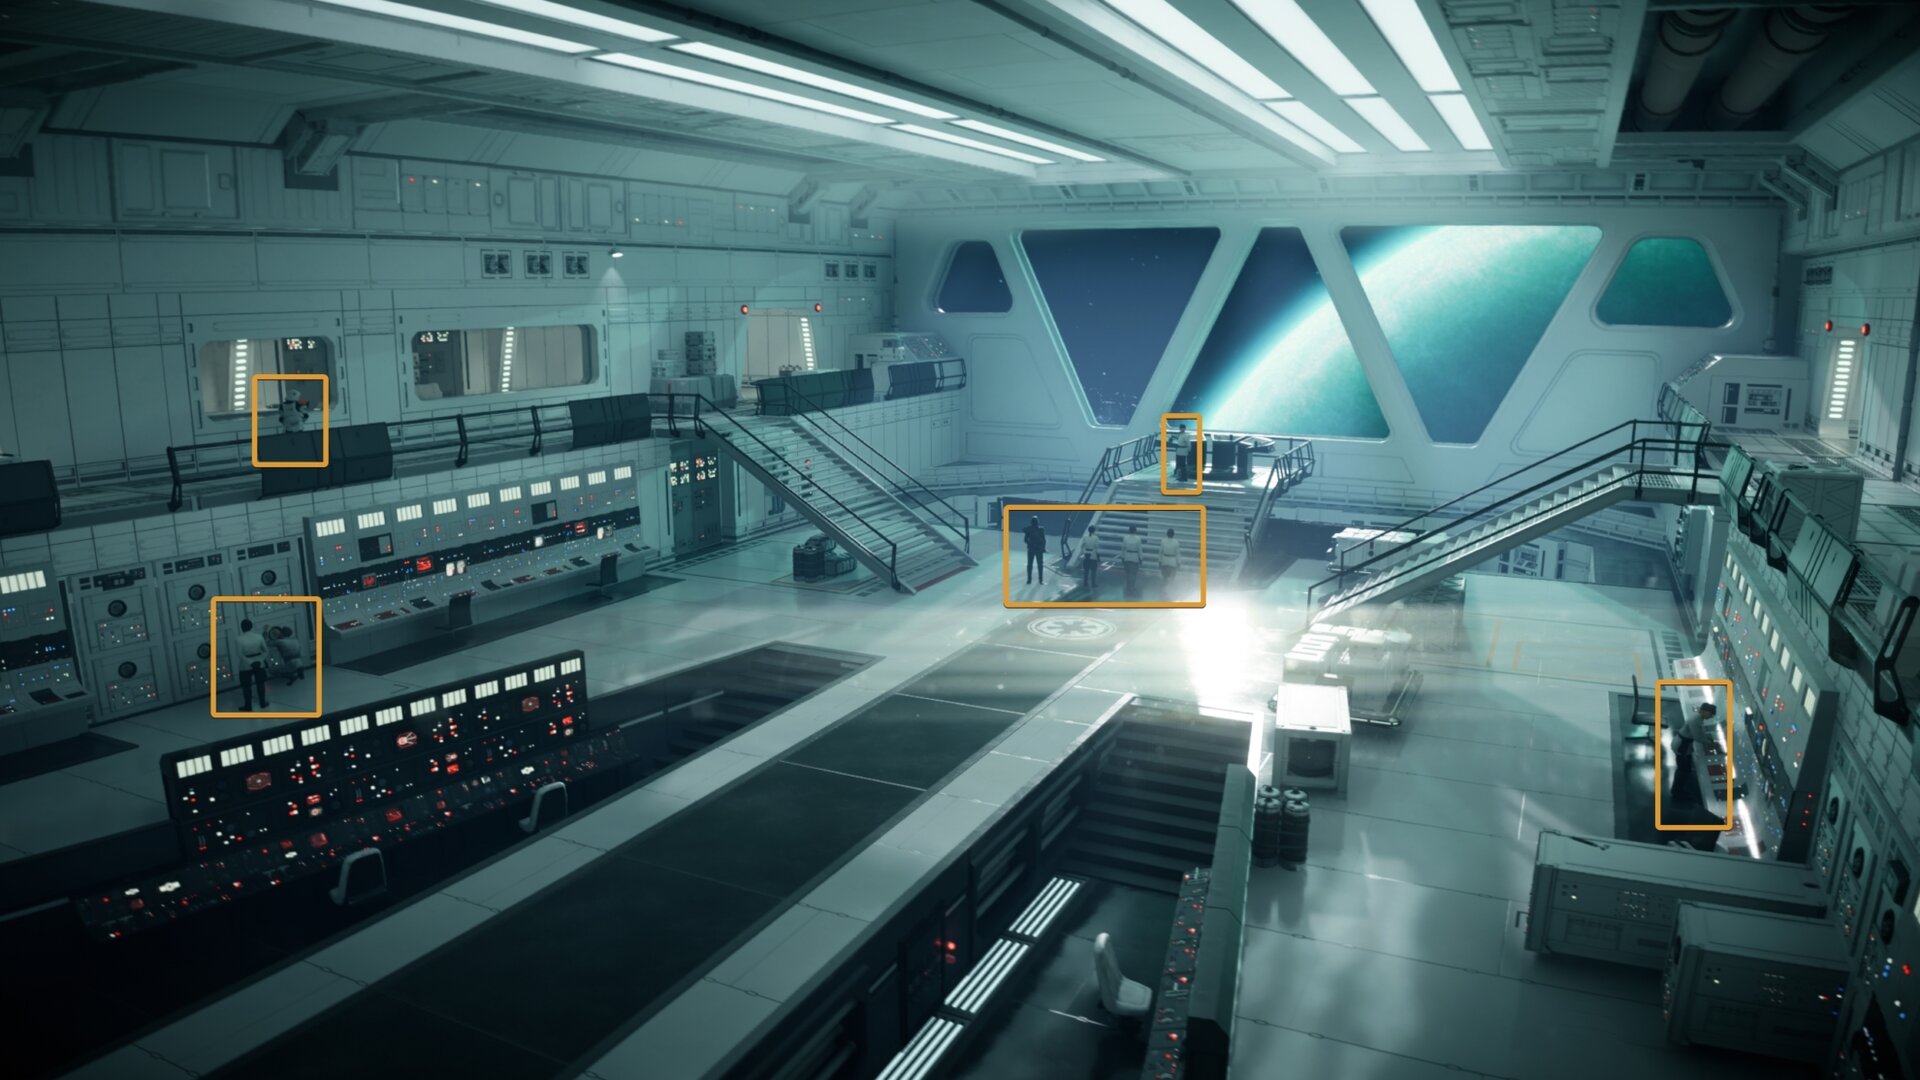
The Data Extraction Hub
The Data Extraction Hub is incredibly tricky to sneak through unscathed. Aside from the numerous Imperials patrolling the area, many active (yet stationary) probe droids are scanning the area in a short radius.
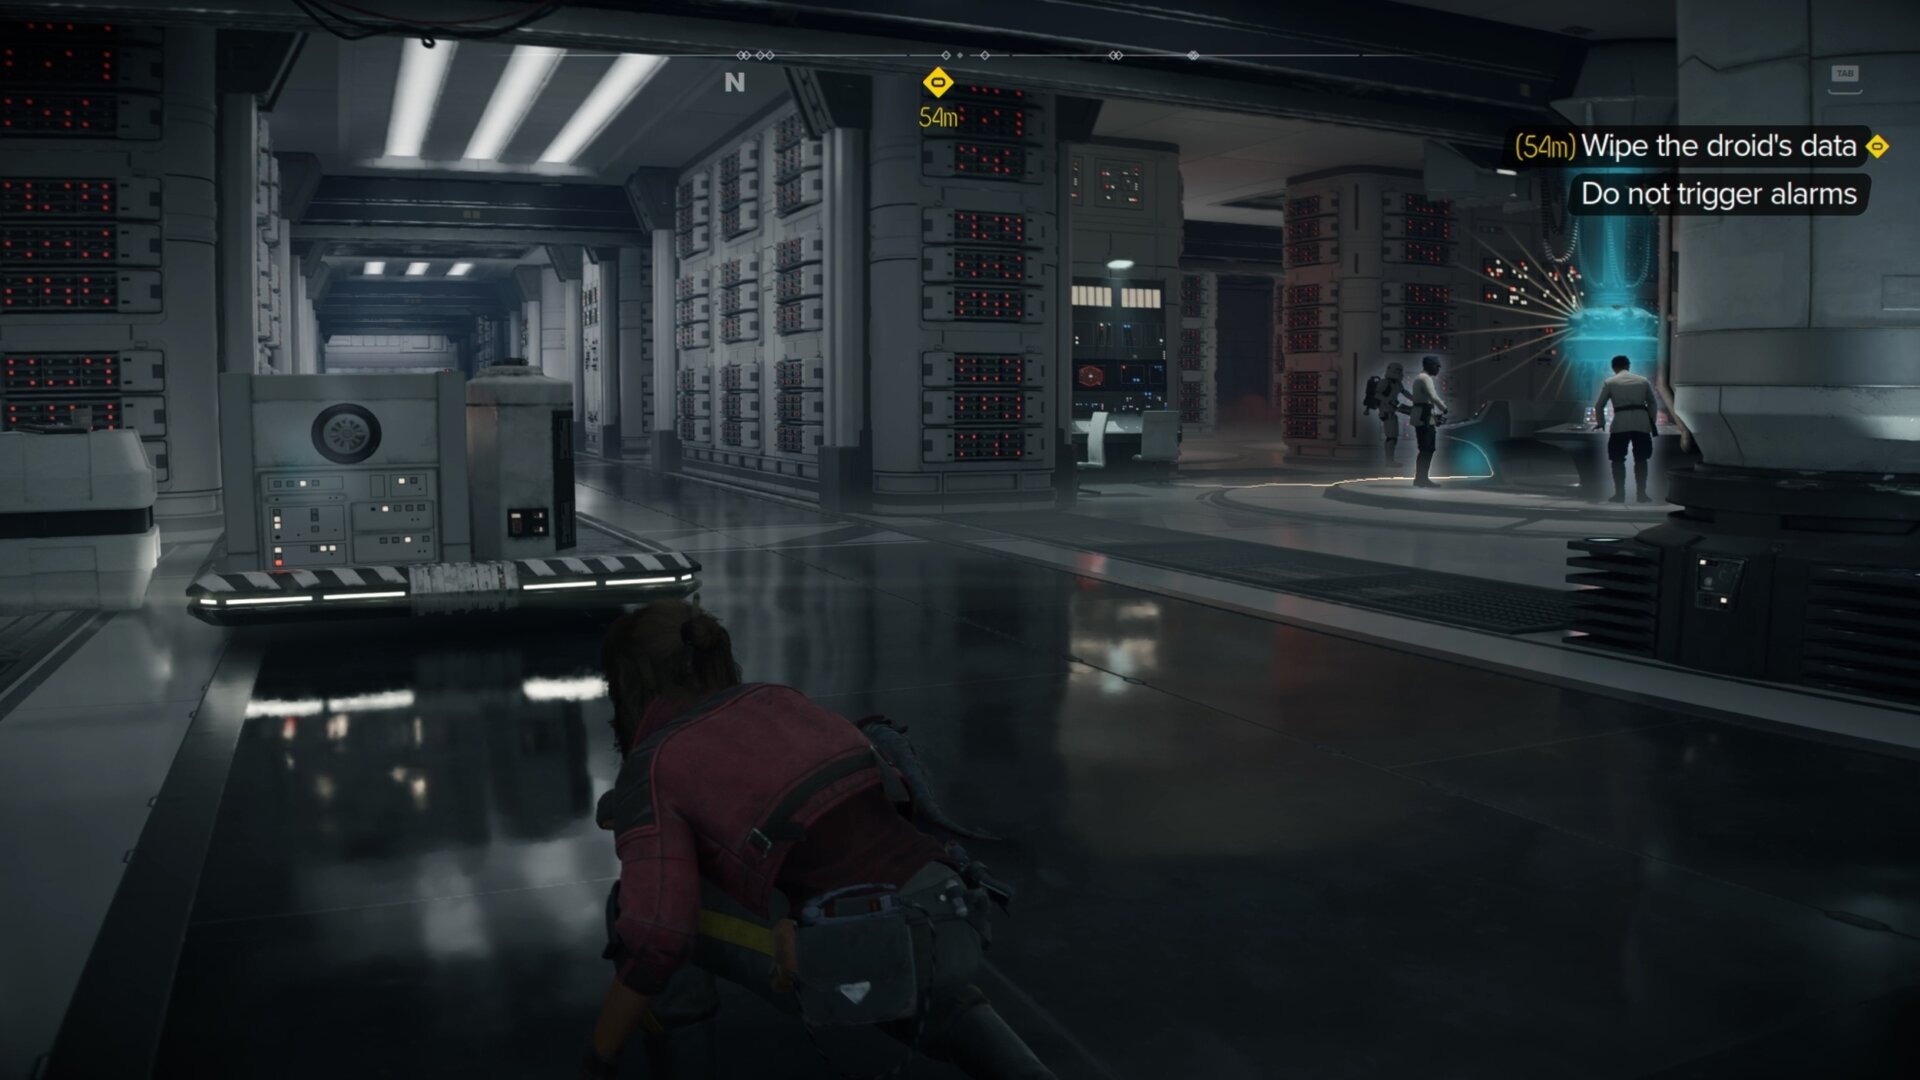
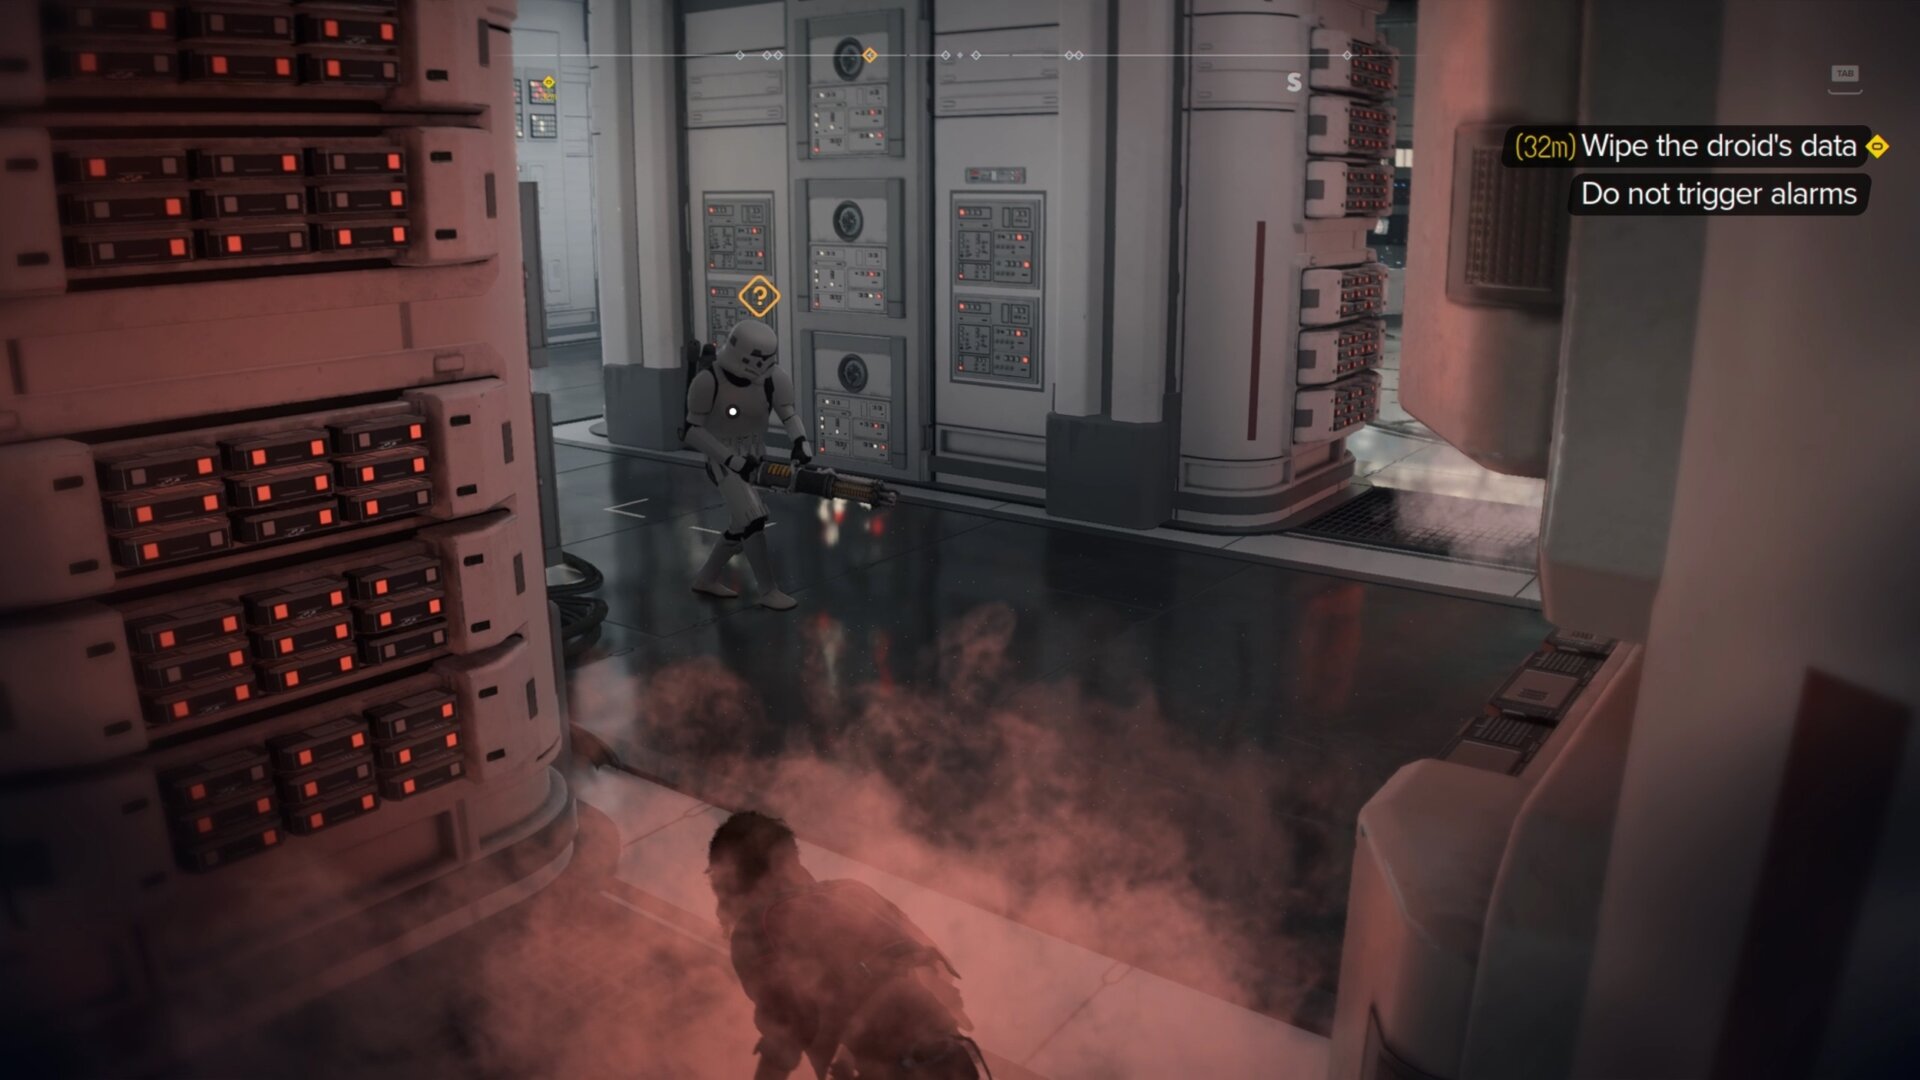
The steam vents are a lifesaver in this room. If you need some instant cover, hide within the steam vents. These are good areas to lure away Imperials with Nix so you can knock them out.
The best way to sneak through this area is to go west and work around the room in a clockwise motion. Avoid the active droids and central parts of the Data Extraction Hub.
The first computer you can slice into will allow you to deactivate some probe droids and play an audio log recorded by the probe droids.
Continue going clockwise until you reach a terminal in the northwest corner of the Data Extraction Hub. Slice it and deactivate the cooling systems to create more active steam vents to use as cover.
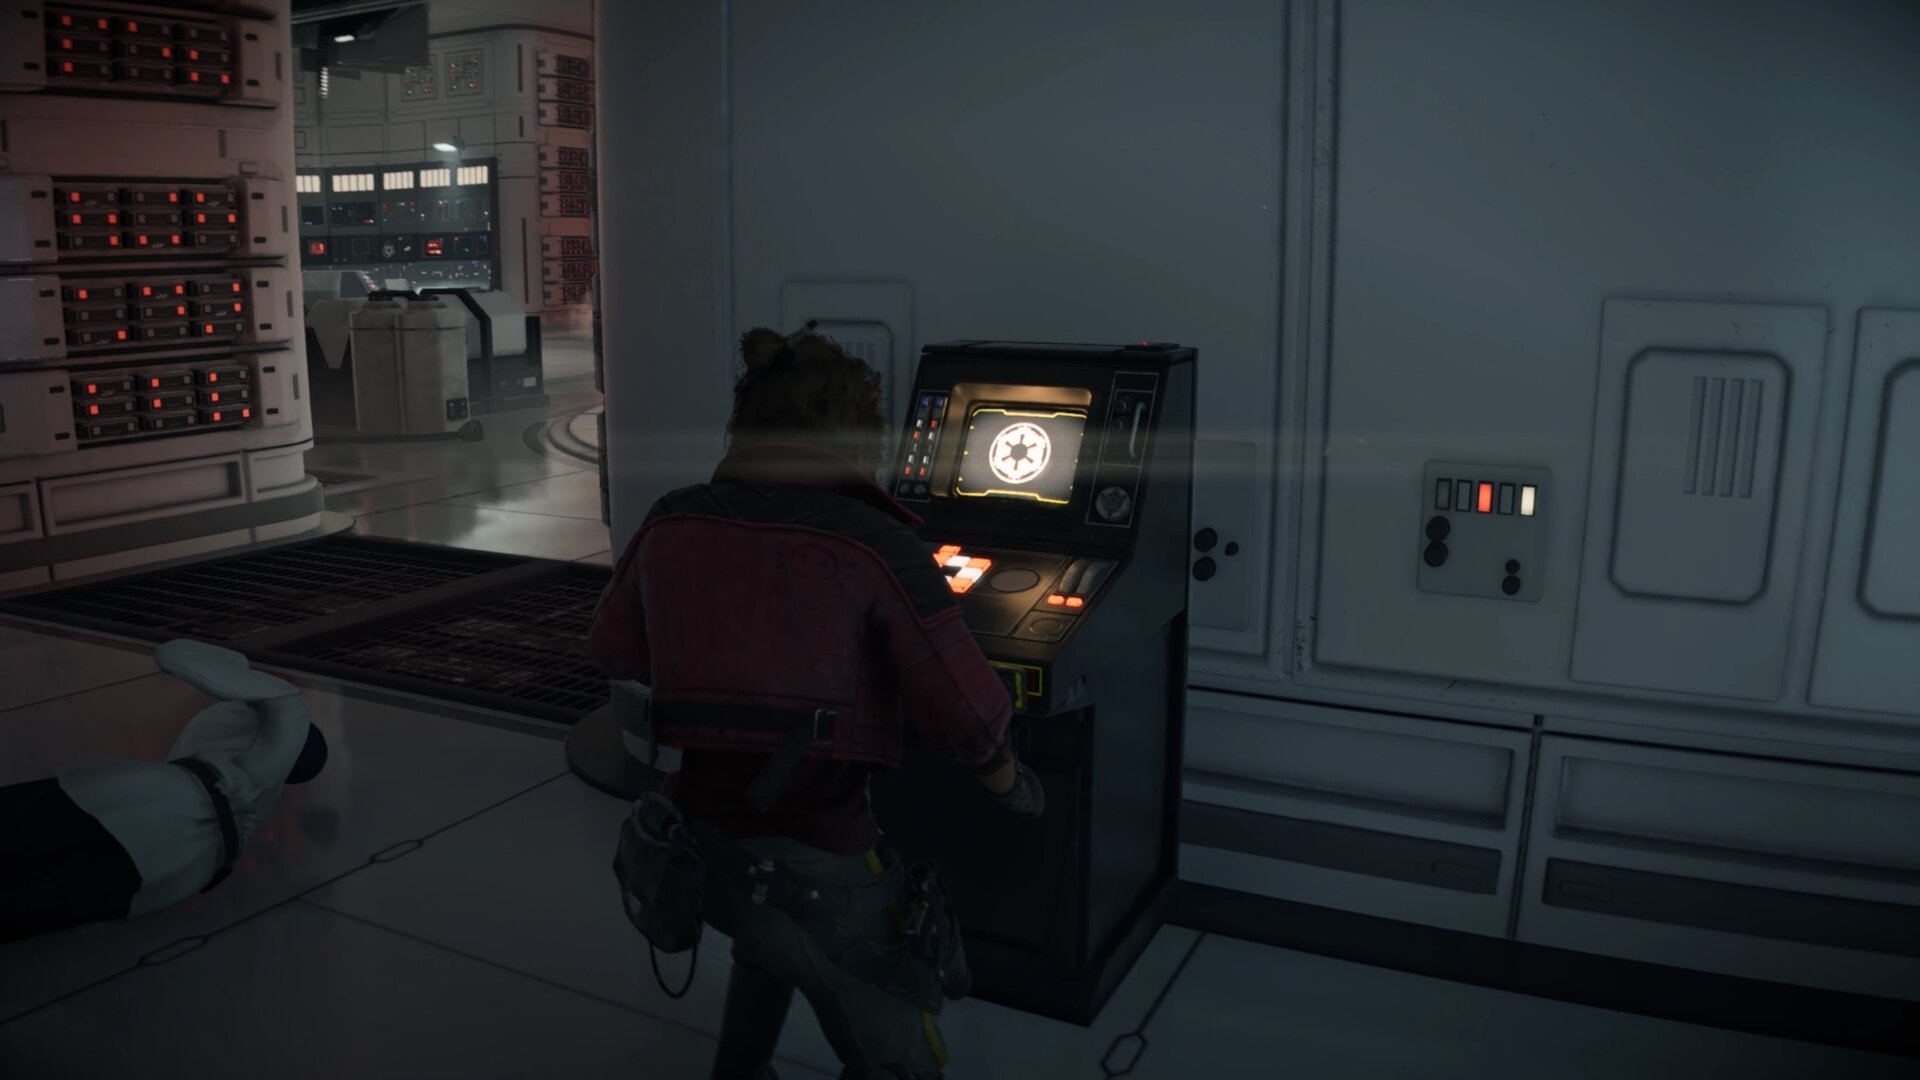
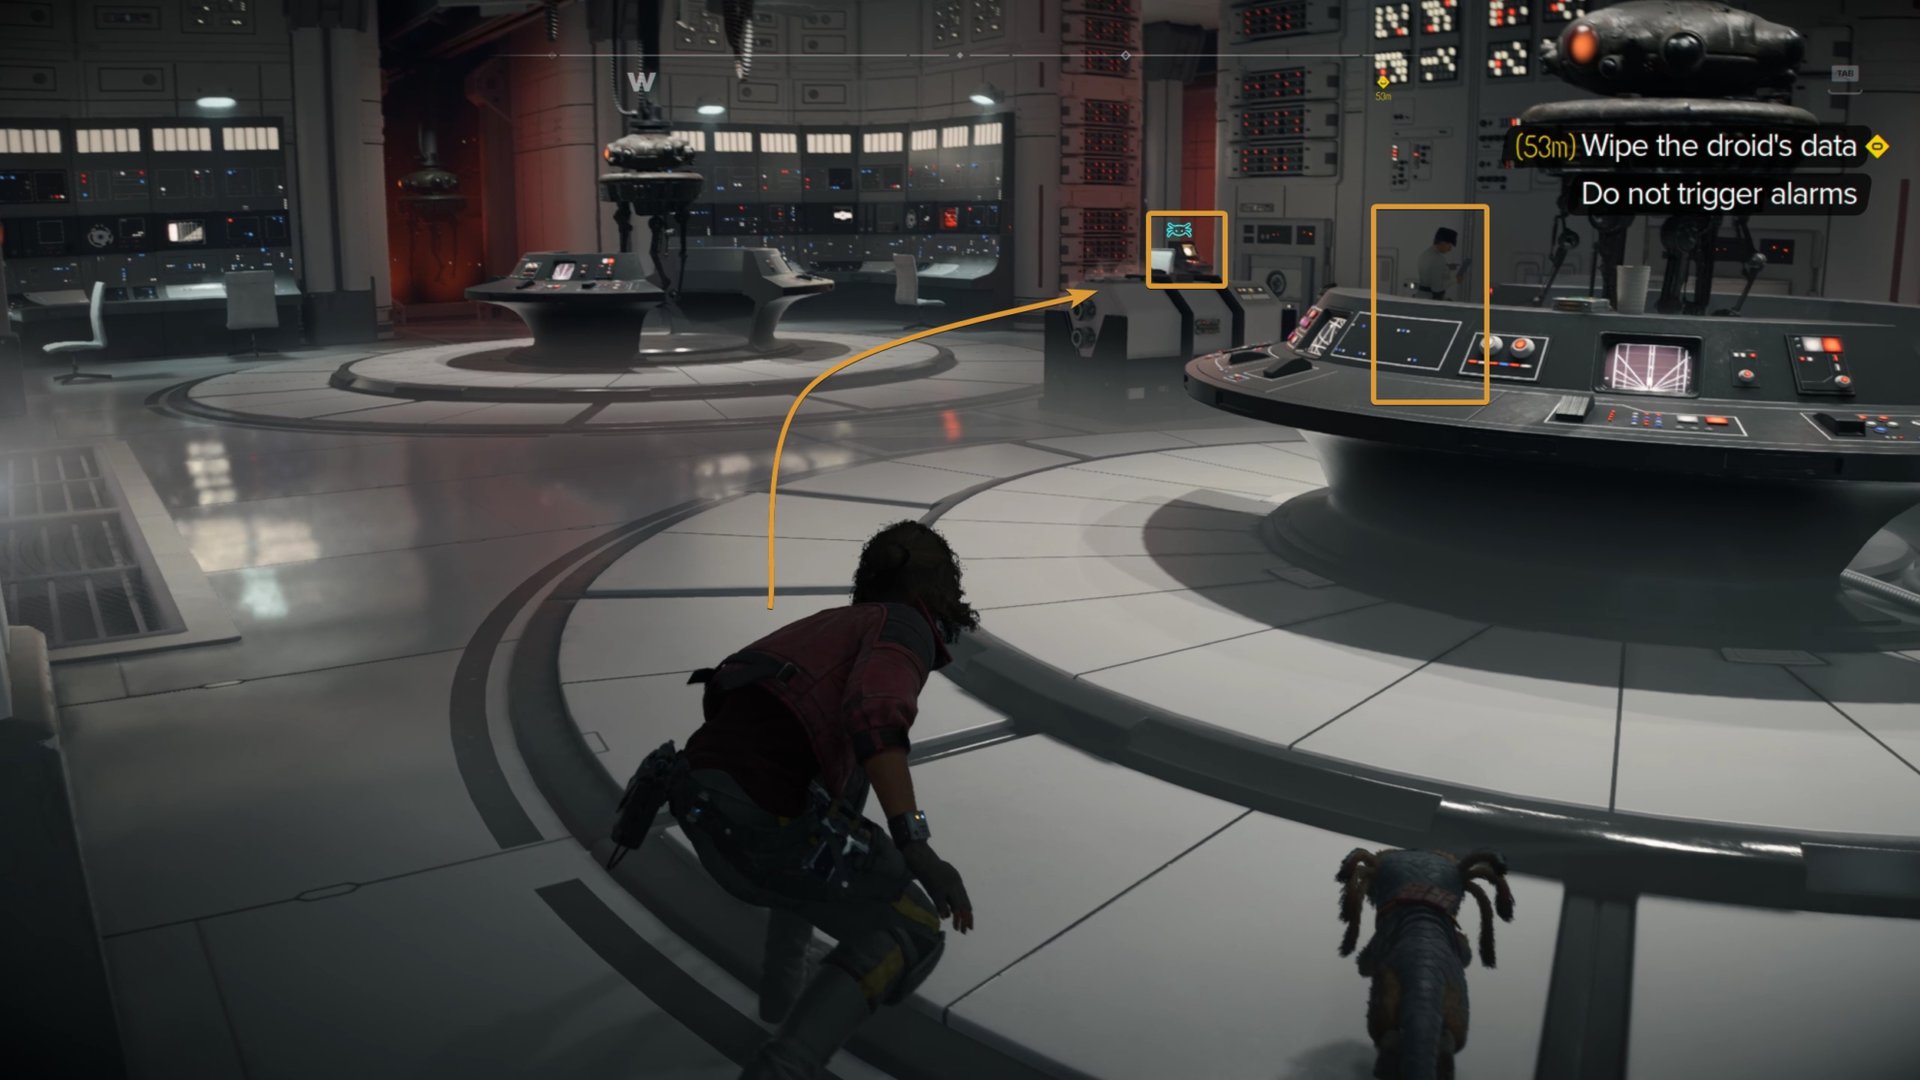
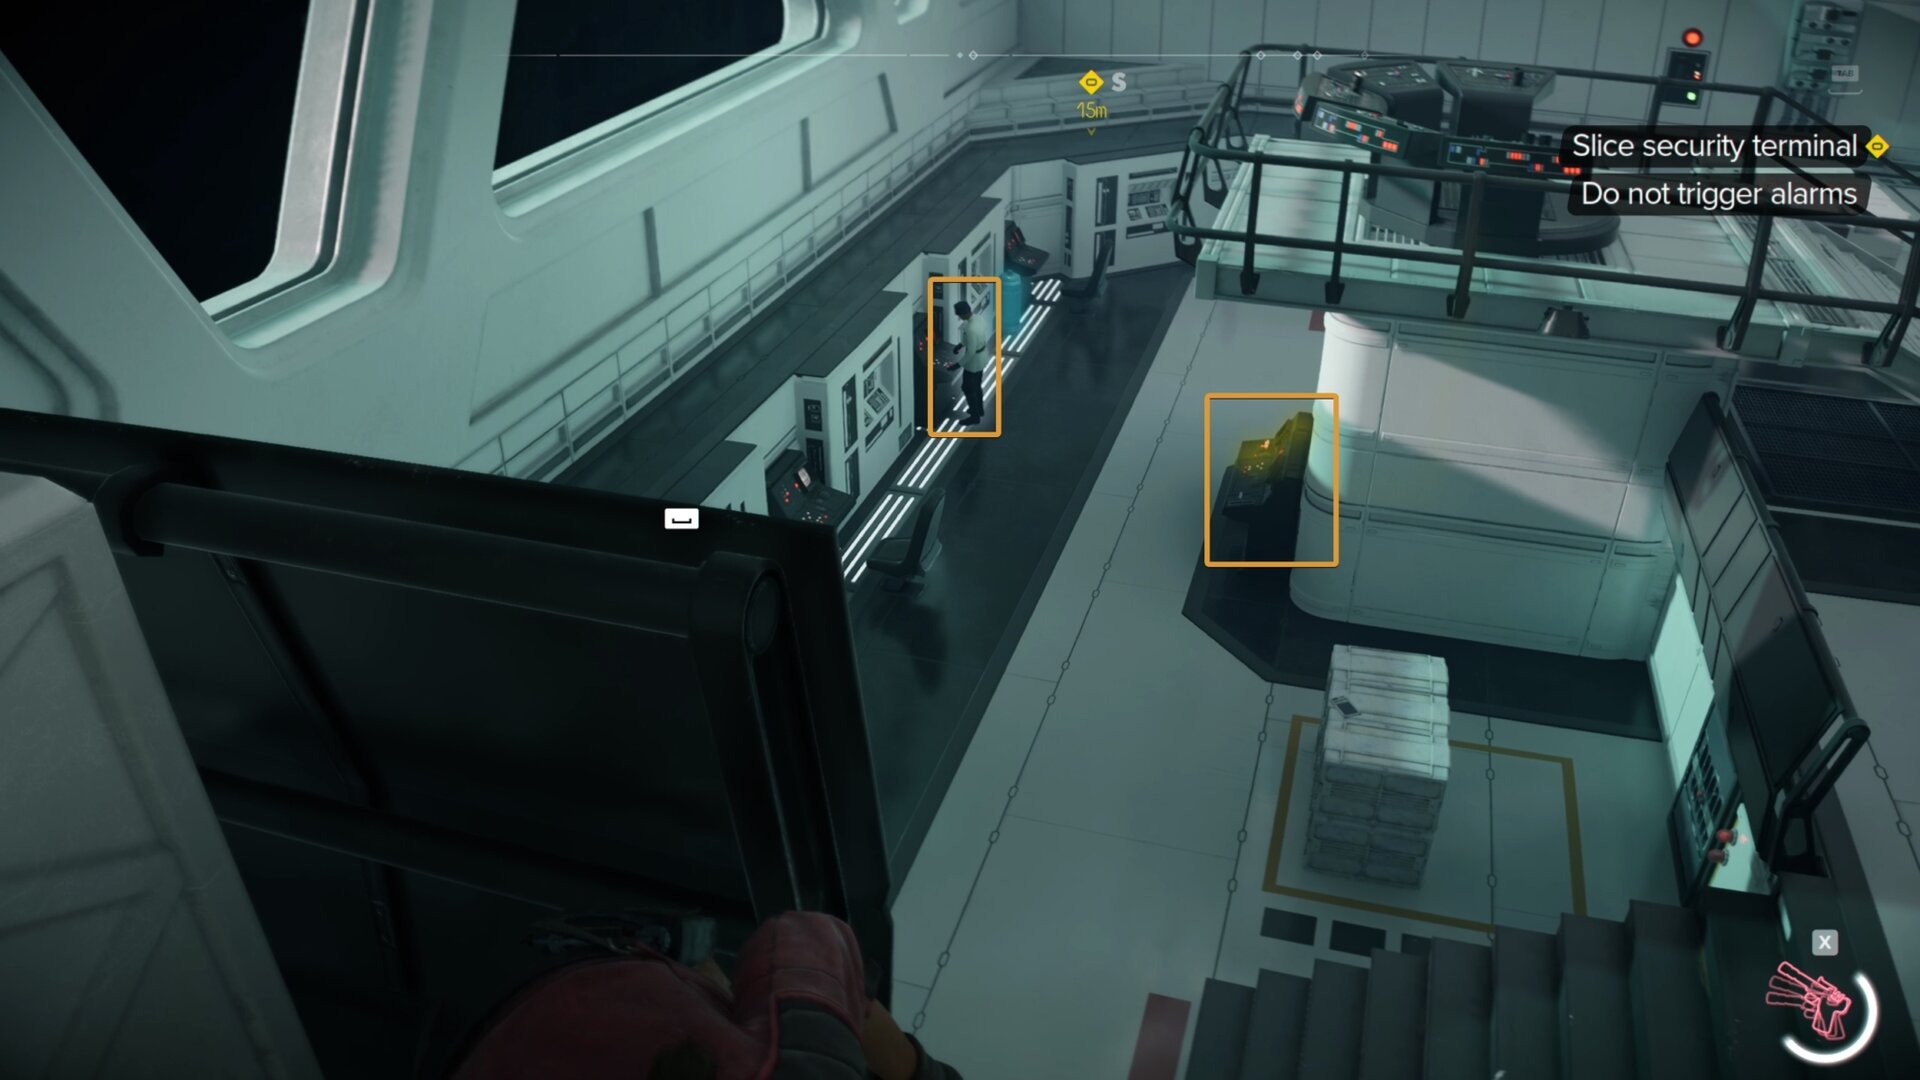
The computer you’ll want to find is more towards the middle east wall of the Data Extraction Hub. Using Nix Sense will highlight it yellow instead of blue. Use it to deactivate the droids and extract the data.
Go to the north end of the Data Extraction Hub to take a turbolift out of there. With the droid’s data gone, you can safely continue looking for Sliro.
Reaching the Meeting Room
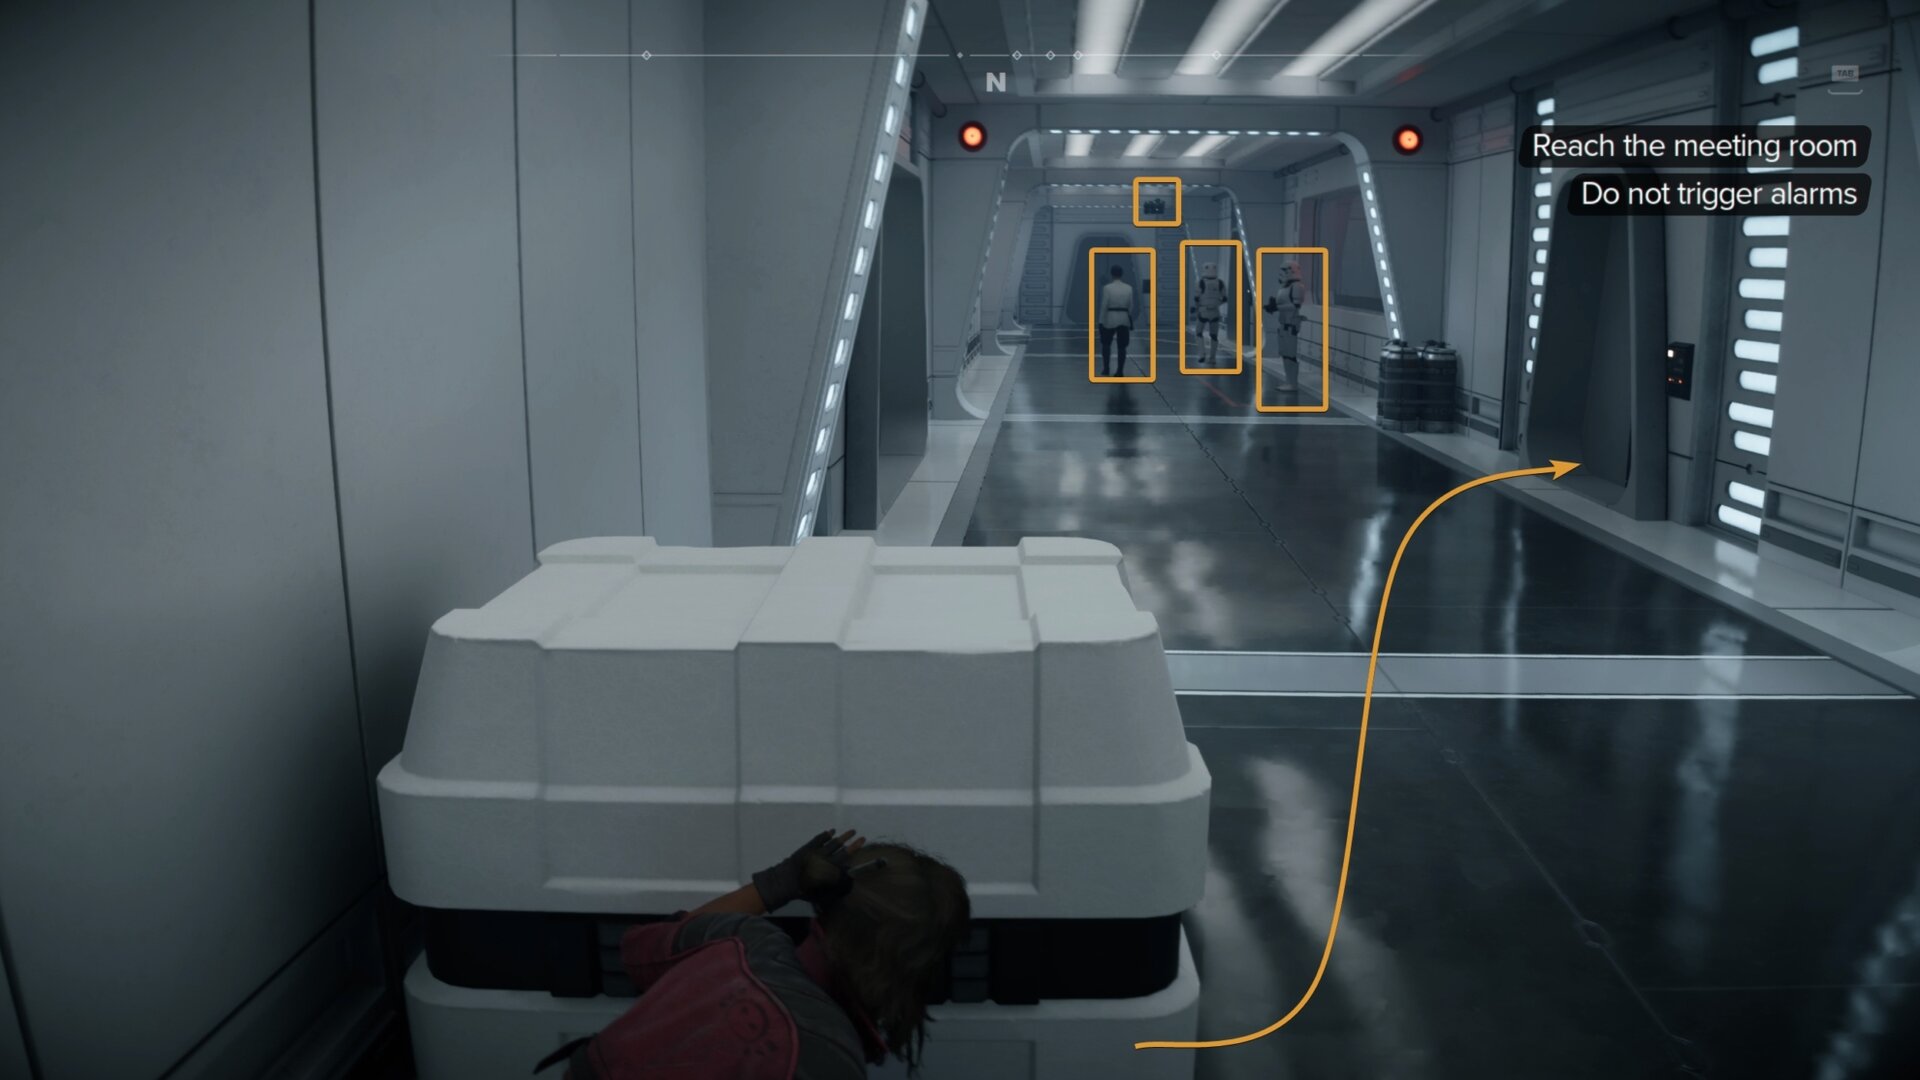
You’ll reach a tight hallway with two stormtroopers and an ISB officer. The officer and stormtrooper will patrol the area while one remains stationary.
The way forward is into the room to the east. Inside the room iss a vent you need to crawl inside. If you want to take the risk, you can explore this area further for another large chest.
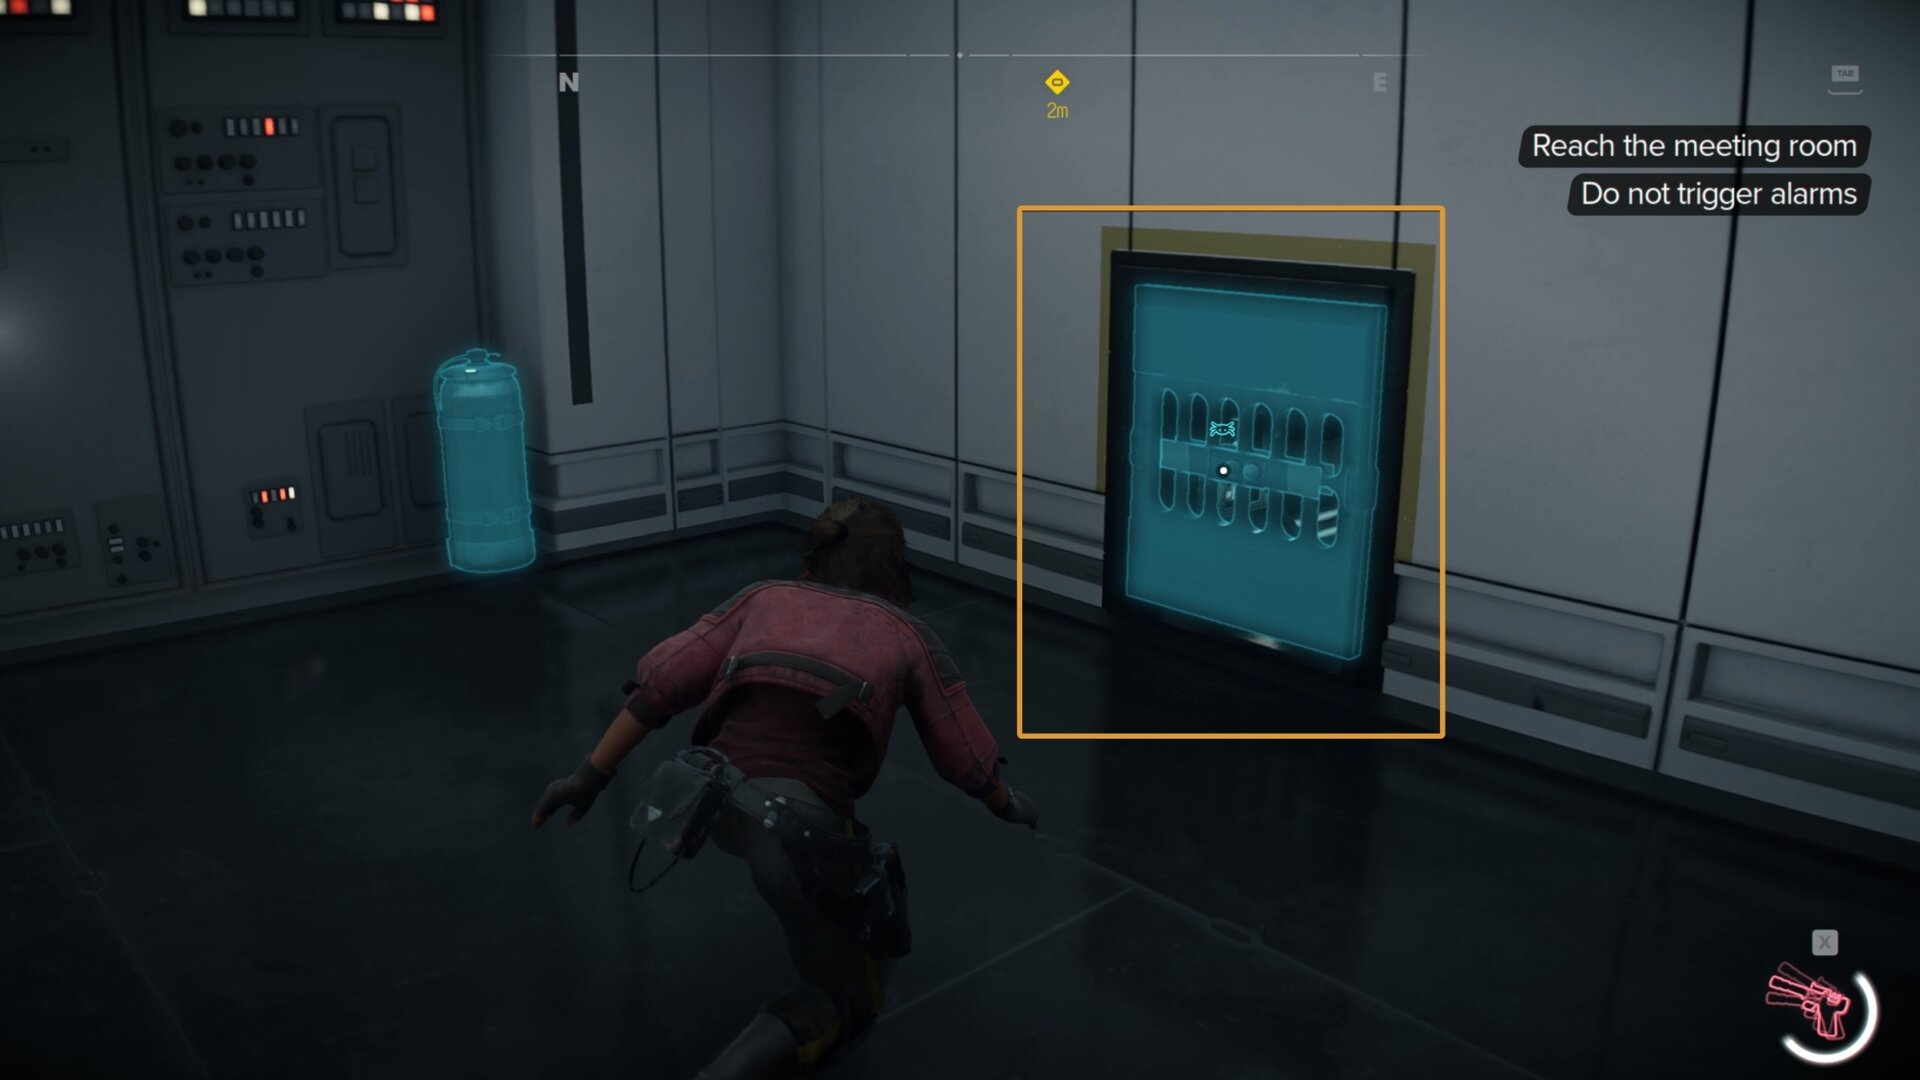
To the left of the security camera in the hall is a locked vent. Unlock the vent, go through it, and you’ll end up in a room with a large probe droid hologram and a large chest.

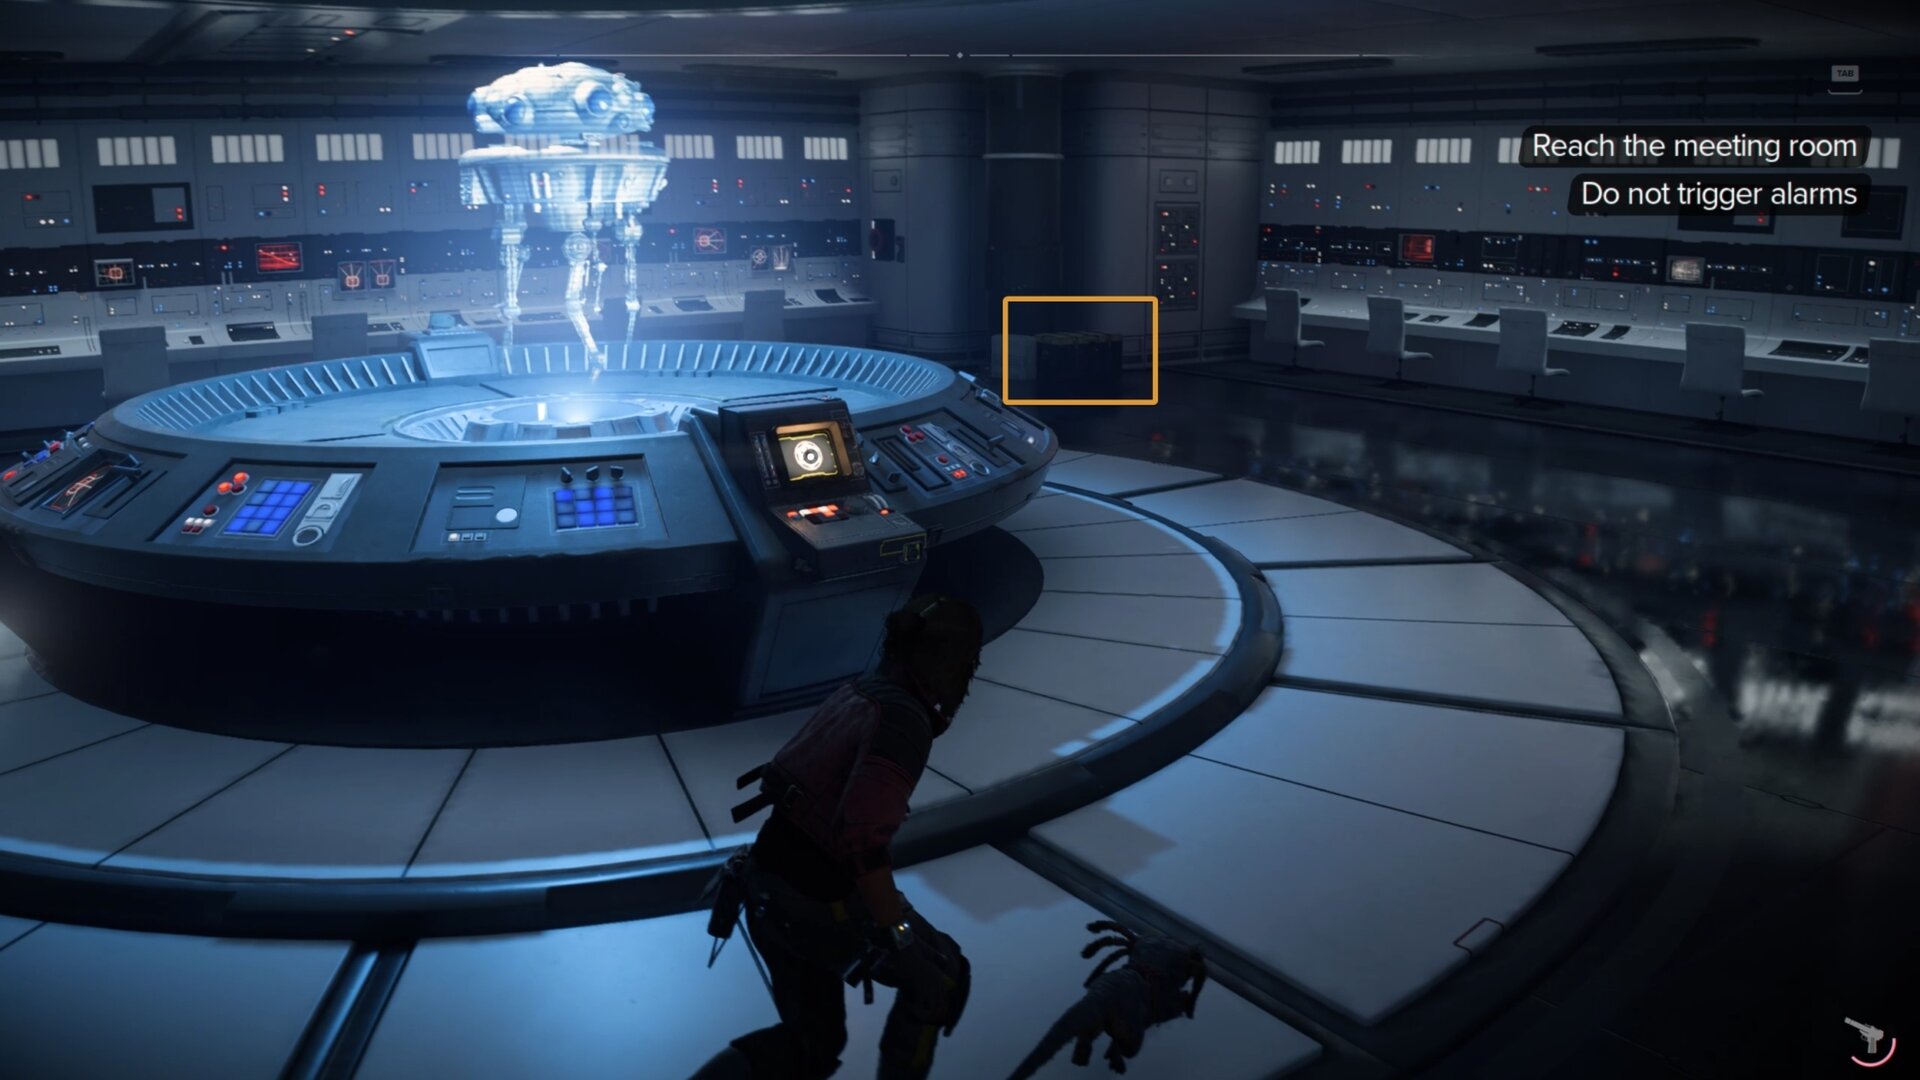
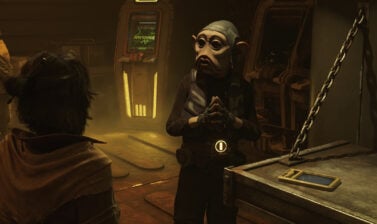
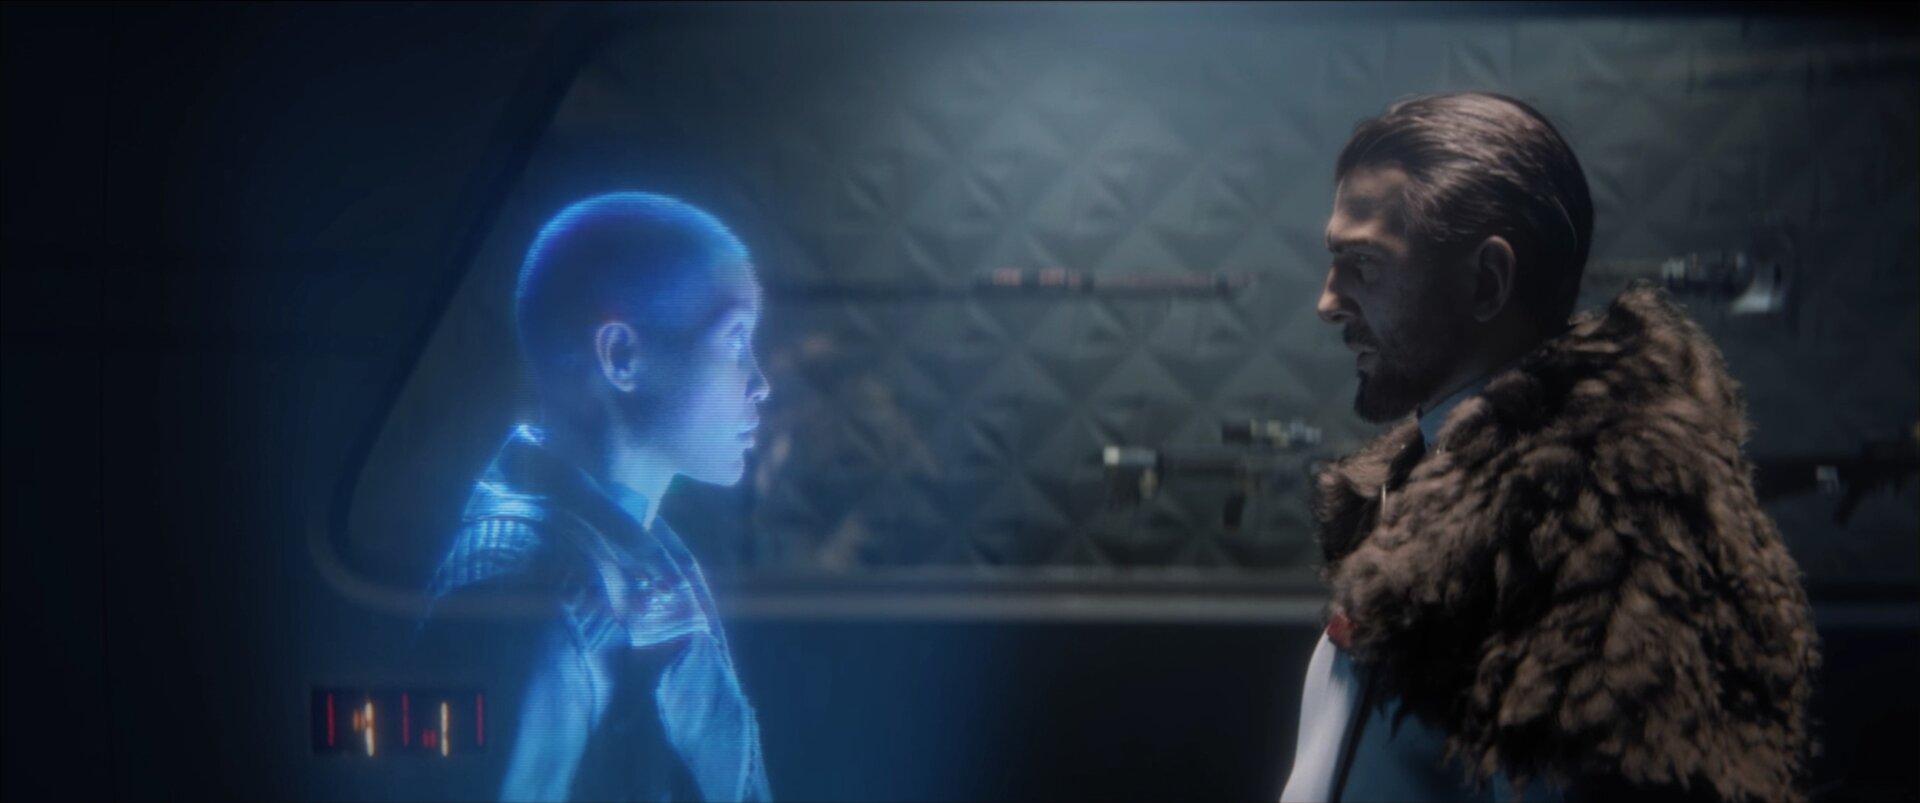
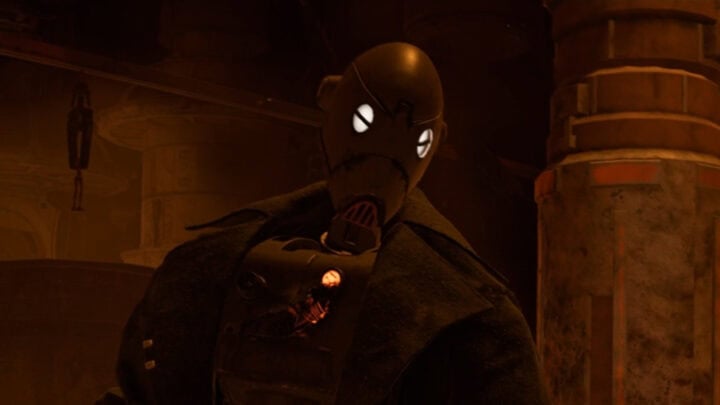
When you go through the east room’s vent and crawl through the shafts, you’ll start a cutscene featuring Sliro. It would appear that he has been working for the Imperial Security Bureau this entire time and Zerek Besh is a front for the ISB.
Continue going through the vents until you enter a hallway. Your current objective is to find Sliro’s codes to continue with the heist despite the new dangers.
Obtaining Sliro’s Codes
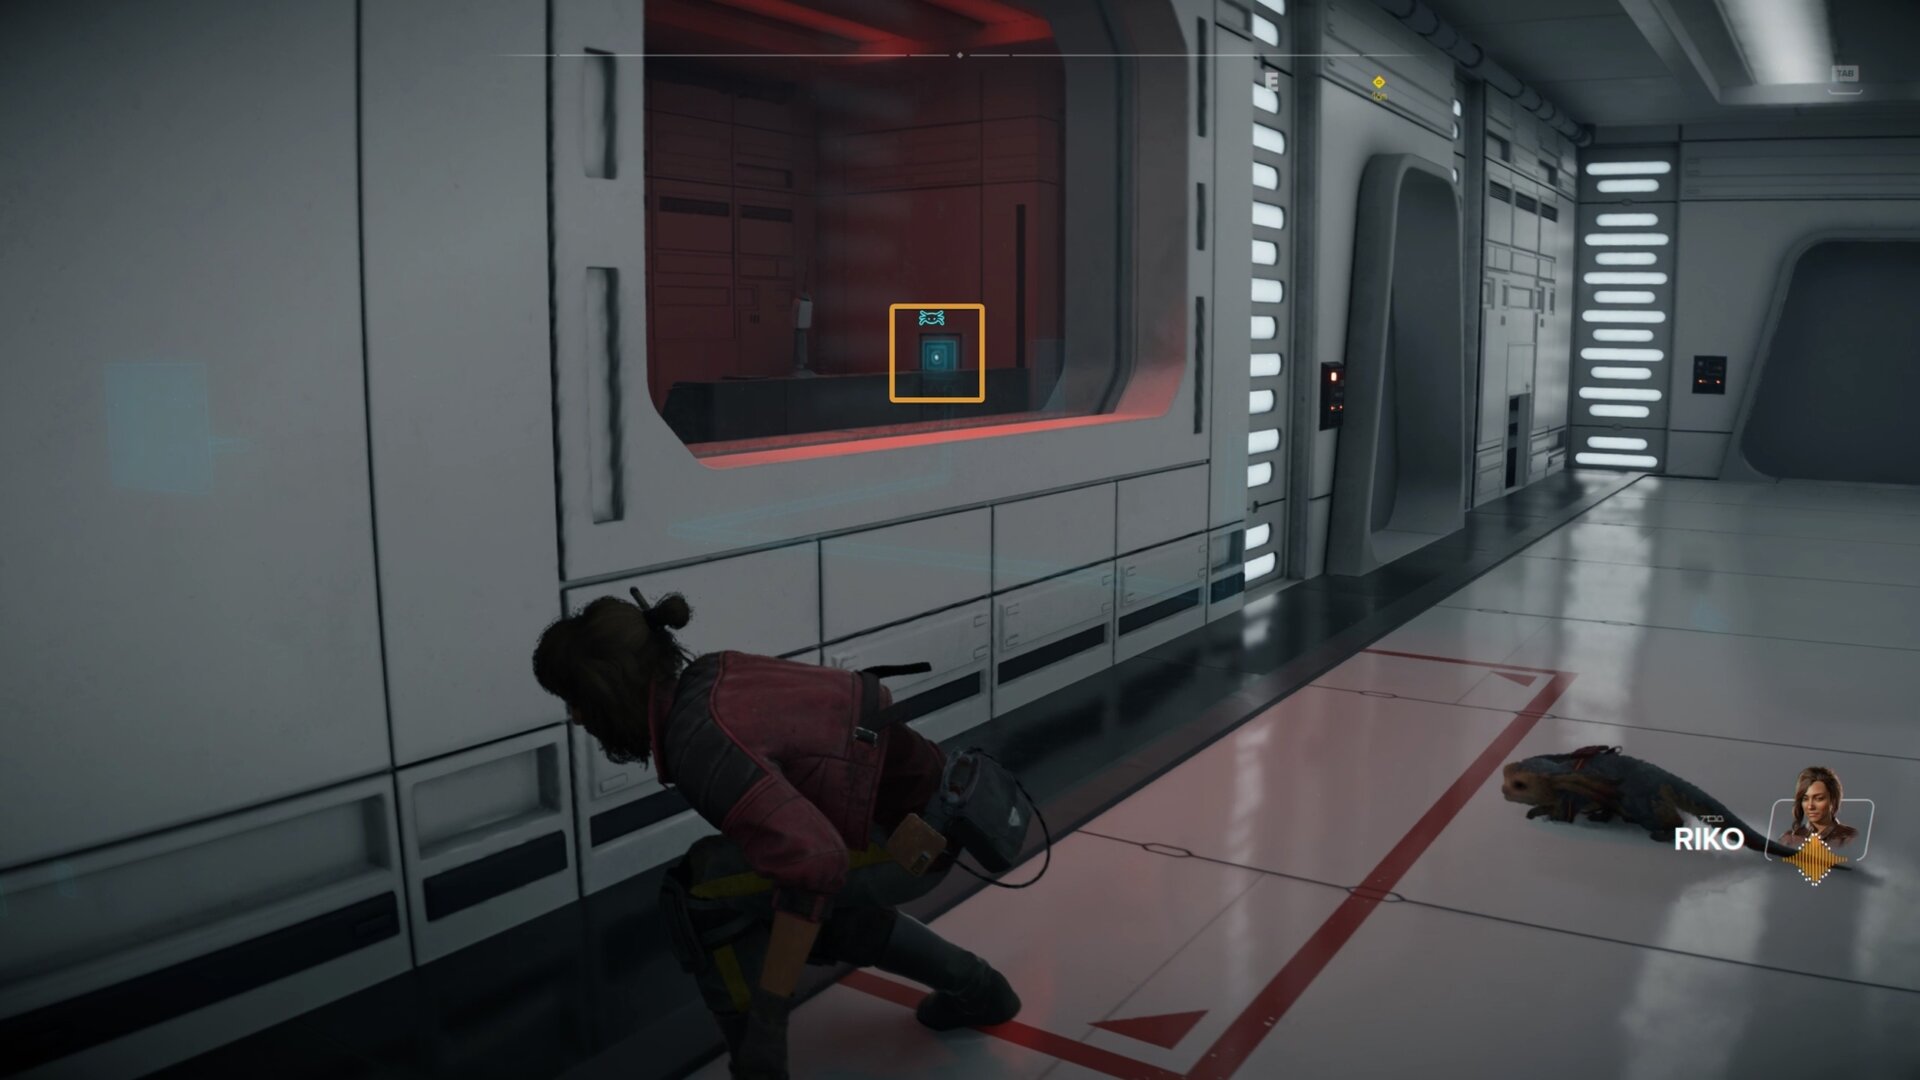
You’ll end up in a hallway with a security room to the north and Sliro’s quarters to the south. Send Nix to press a button inside the security room to open the door.
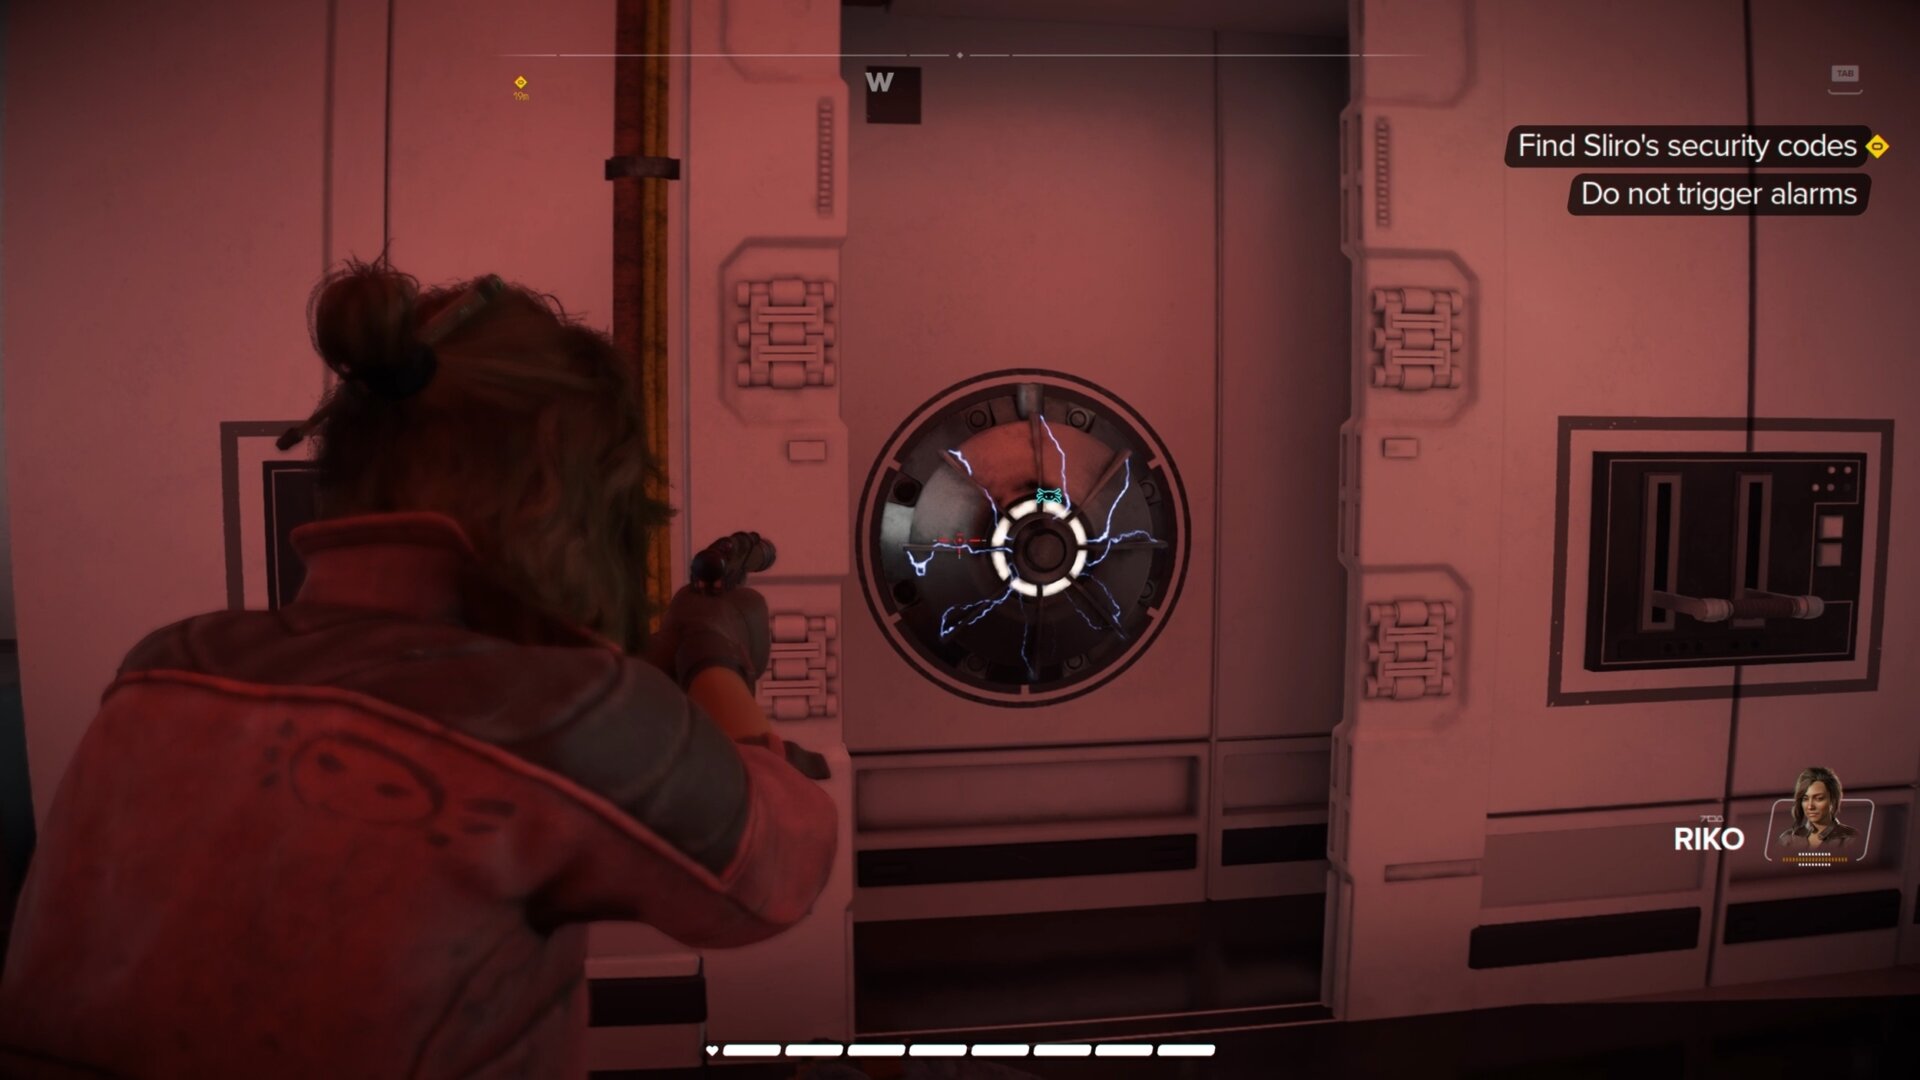
Have Nix pull down one lever while you pull the other, then shoot the power conduit to unlock Sliro’s quarters.
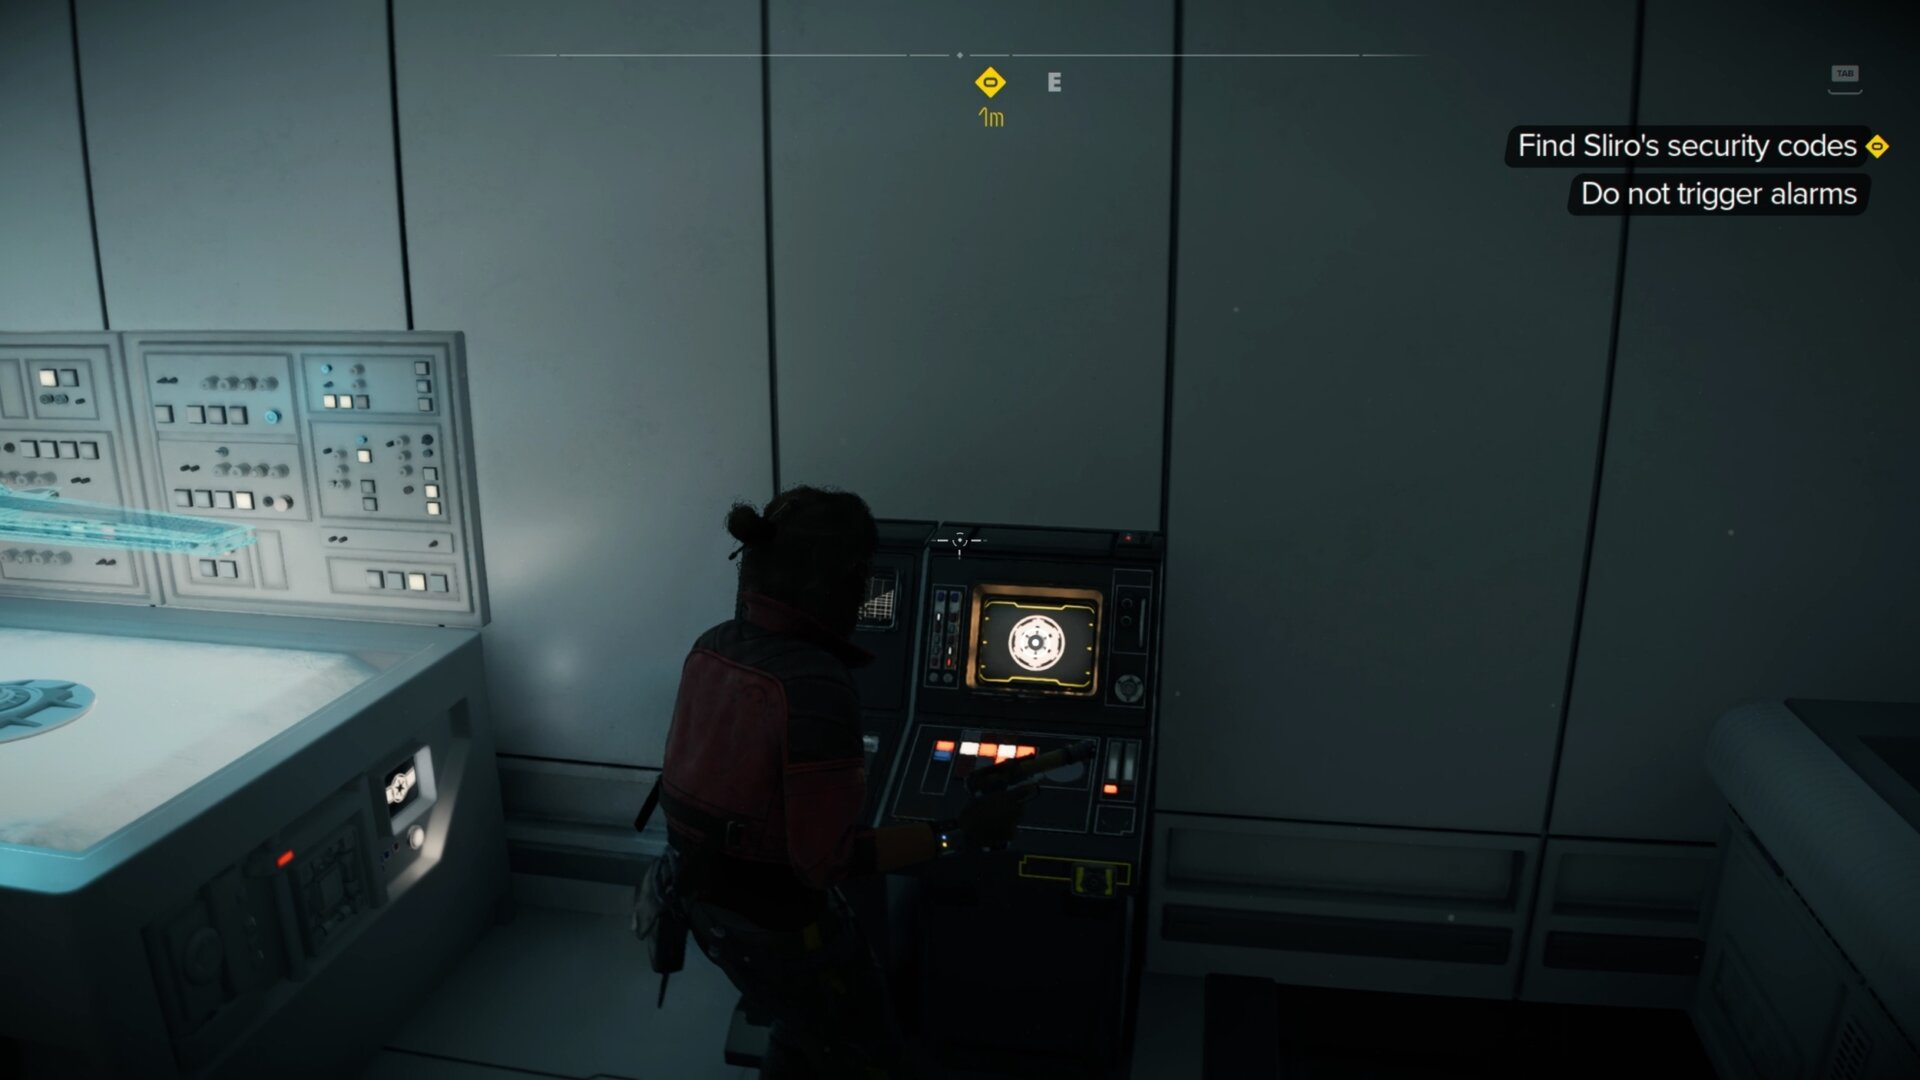
With Sliro’s quarters unlocked, go inside and slice into his computer near the ISB Station hologram. When you extract the codes, a couple of stormtroopers will enter the hall.
Ignore the stormtroopers and go east into the main bridge of the space station. Be sure to close the door behind you to prevent any accidents.
The ISB Station Bridge
You’ll need to delete any traces of your presence from the main bridge’s computer. The bridge is loaded with officers, technicians, stormtroopers, and a couple death troopers.
If the death troopers spot something and have the question mark, they will run towards you giving you little reaction time. Tread very carefully and take your time.
To get through this, you’ll need to work around the bridge clockwise along the farthest walls. Doing this will eventually take you to the front of the bridge.
Go north and crawl through a vent to find a hall with a patrolling stormtrooper commander and an ISB officer on a walkway outside.
Knock out the commander and the officer. Walk east down the hall and look for a gap in the guard rails outside. Below you you’ll see the bridge computer you need to reach and an ISB officer.
Be careful, to the right of the stairs below you is a Death Trooper patrolling the area. Wait until their back is turned away before you jump down to knock out the officer and slice the computer.
The reason I recommended getting the Electro-Shock Prod before starting this quest is if you want to play it safe and knock out the death trooper. Only with the electro-shock prod can you take them down quietly.
Slice into the computer and use it to grant access to the data and unlock the ventilation shaft. Crawl through the vent to reach another vent, then crawl through that one to get out of the bridge.
Regrouping with Riko
When you exit the other side of the vent, turn left to find a door leading to a storage room. Inside this room is another vent you need to go through.
Knock out the officer on the other side of the vent and exit the room. Behind the turbolift is a ladder you’ll need to climb up.
Use Nix to lure any Imperials towards you and knock them out,. Watch out for the Zerek Besh patrol and climb up the ladder behind the turbolifts.
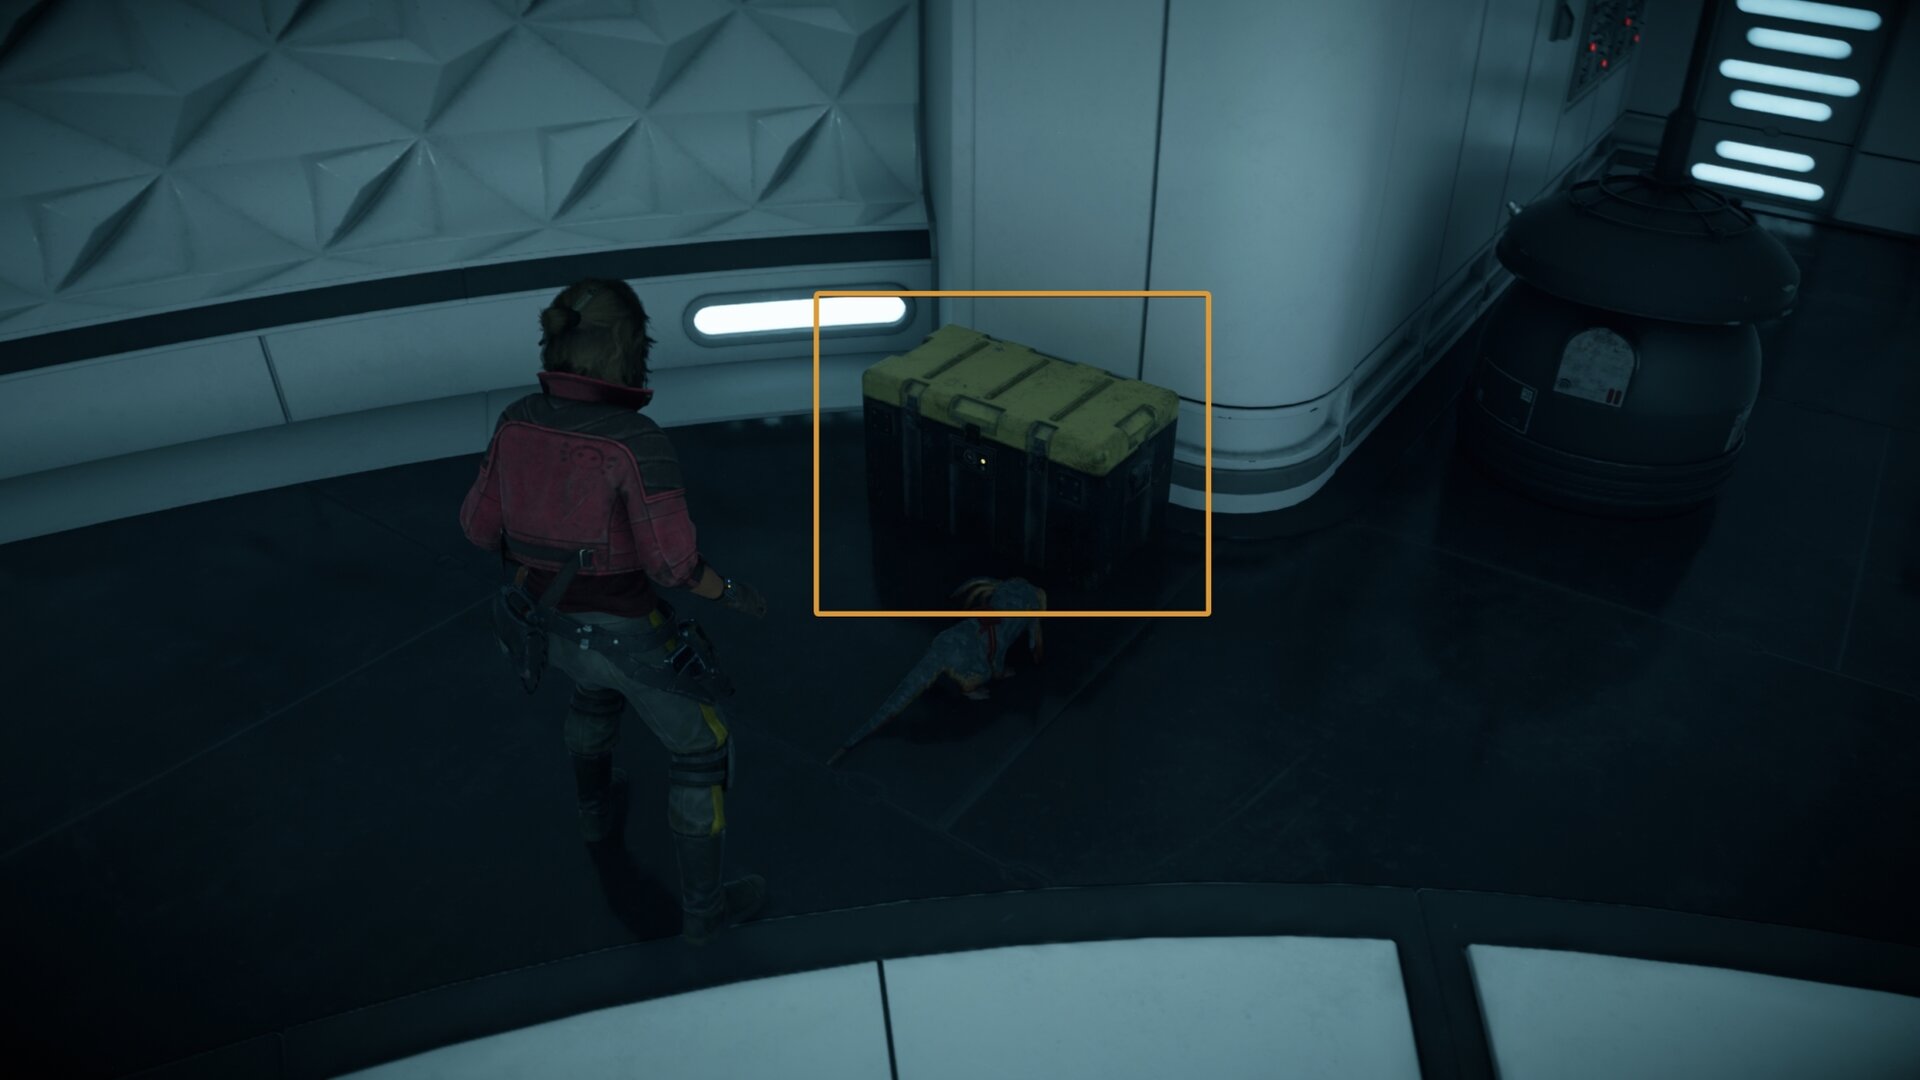
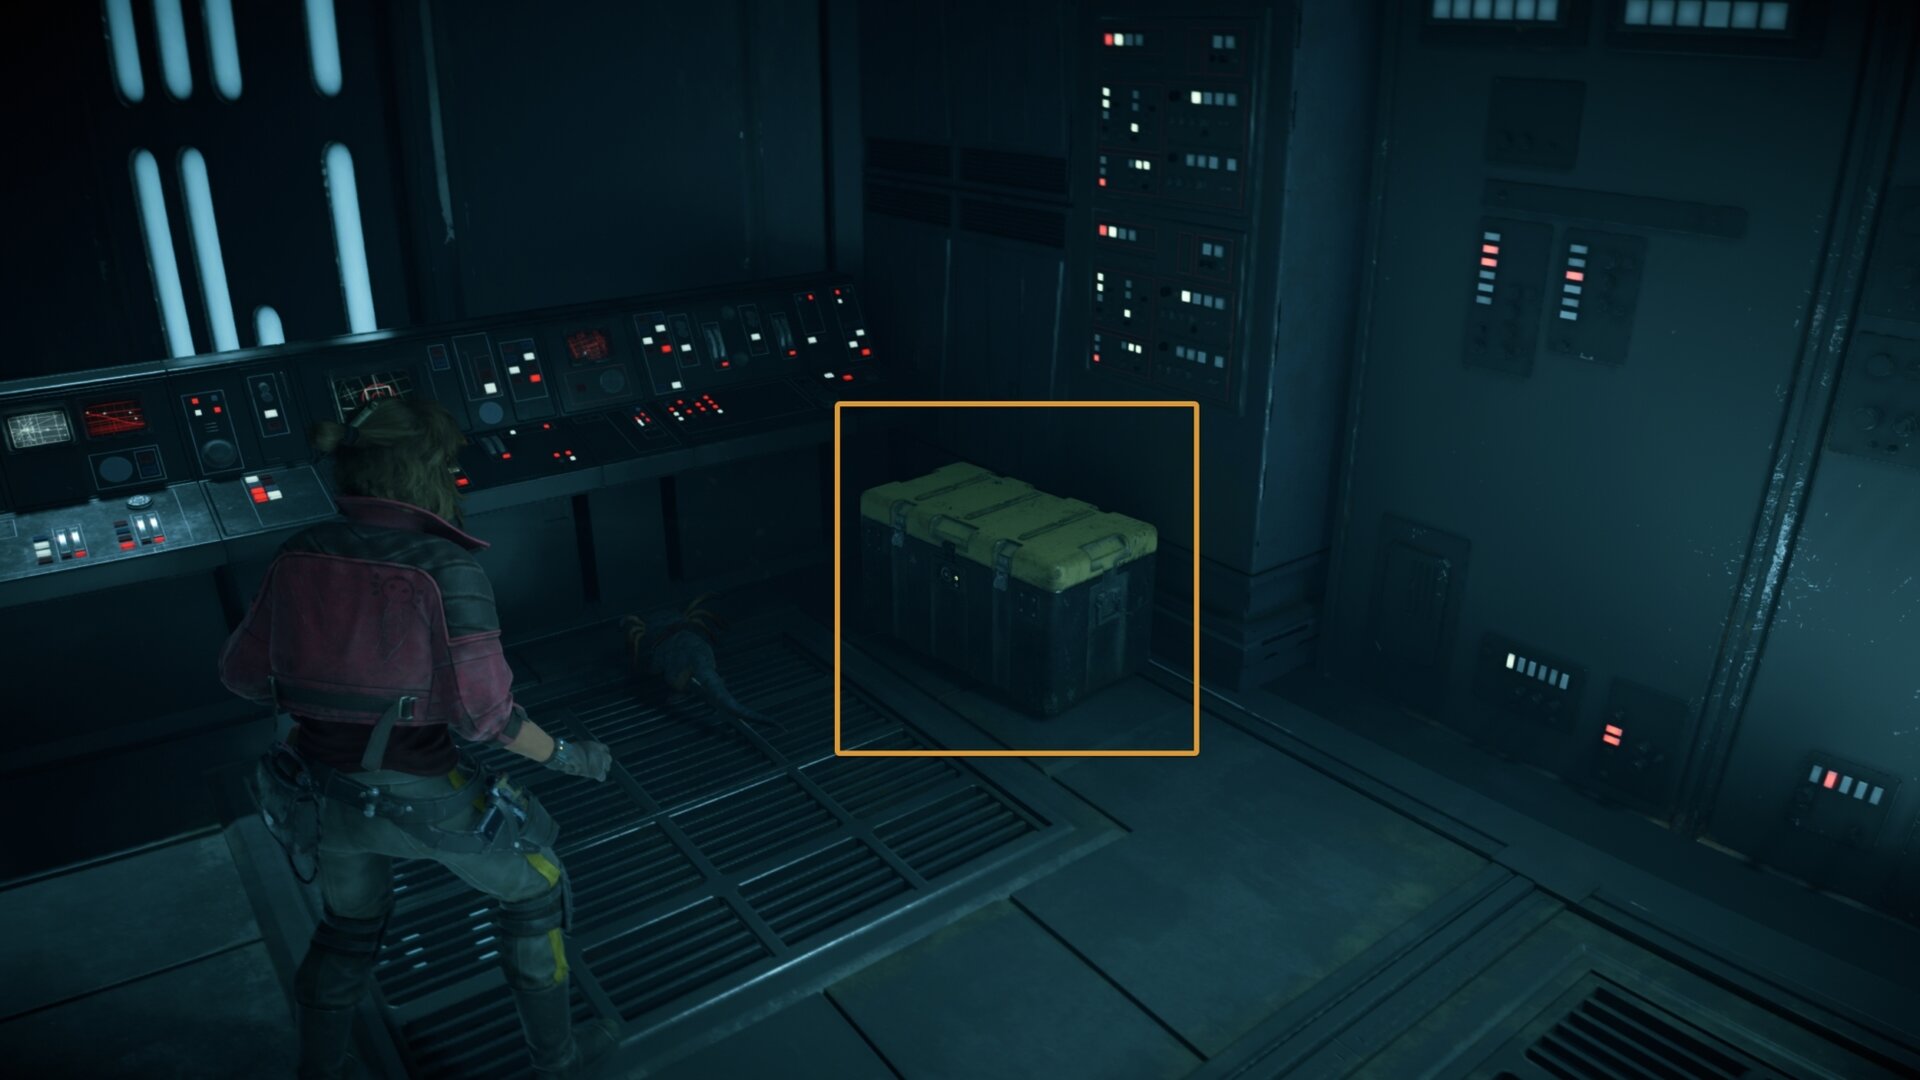
Open the door when you’re up the ladder to enter an ISB meeting room. Look for the fourth large chest to your right and open it for upgrade materials.
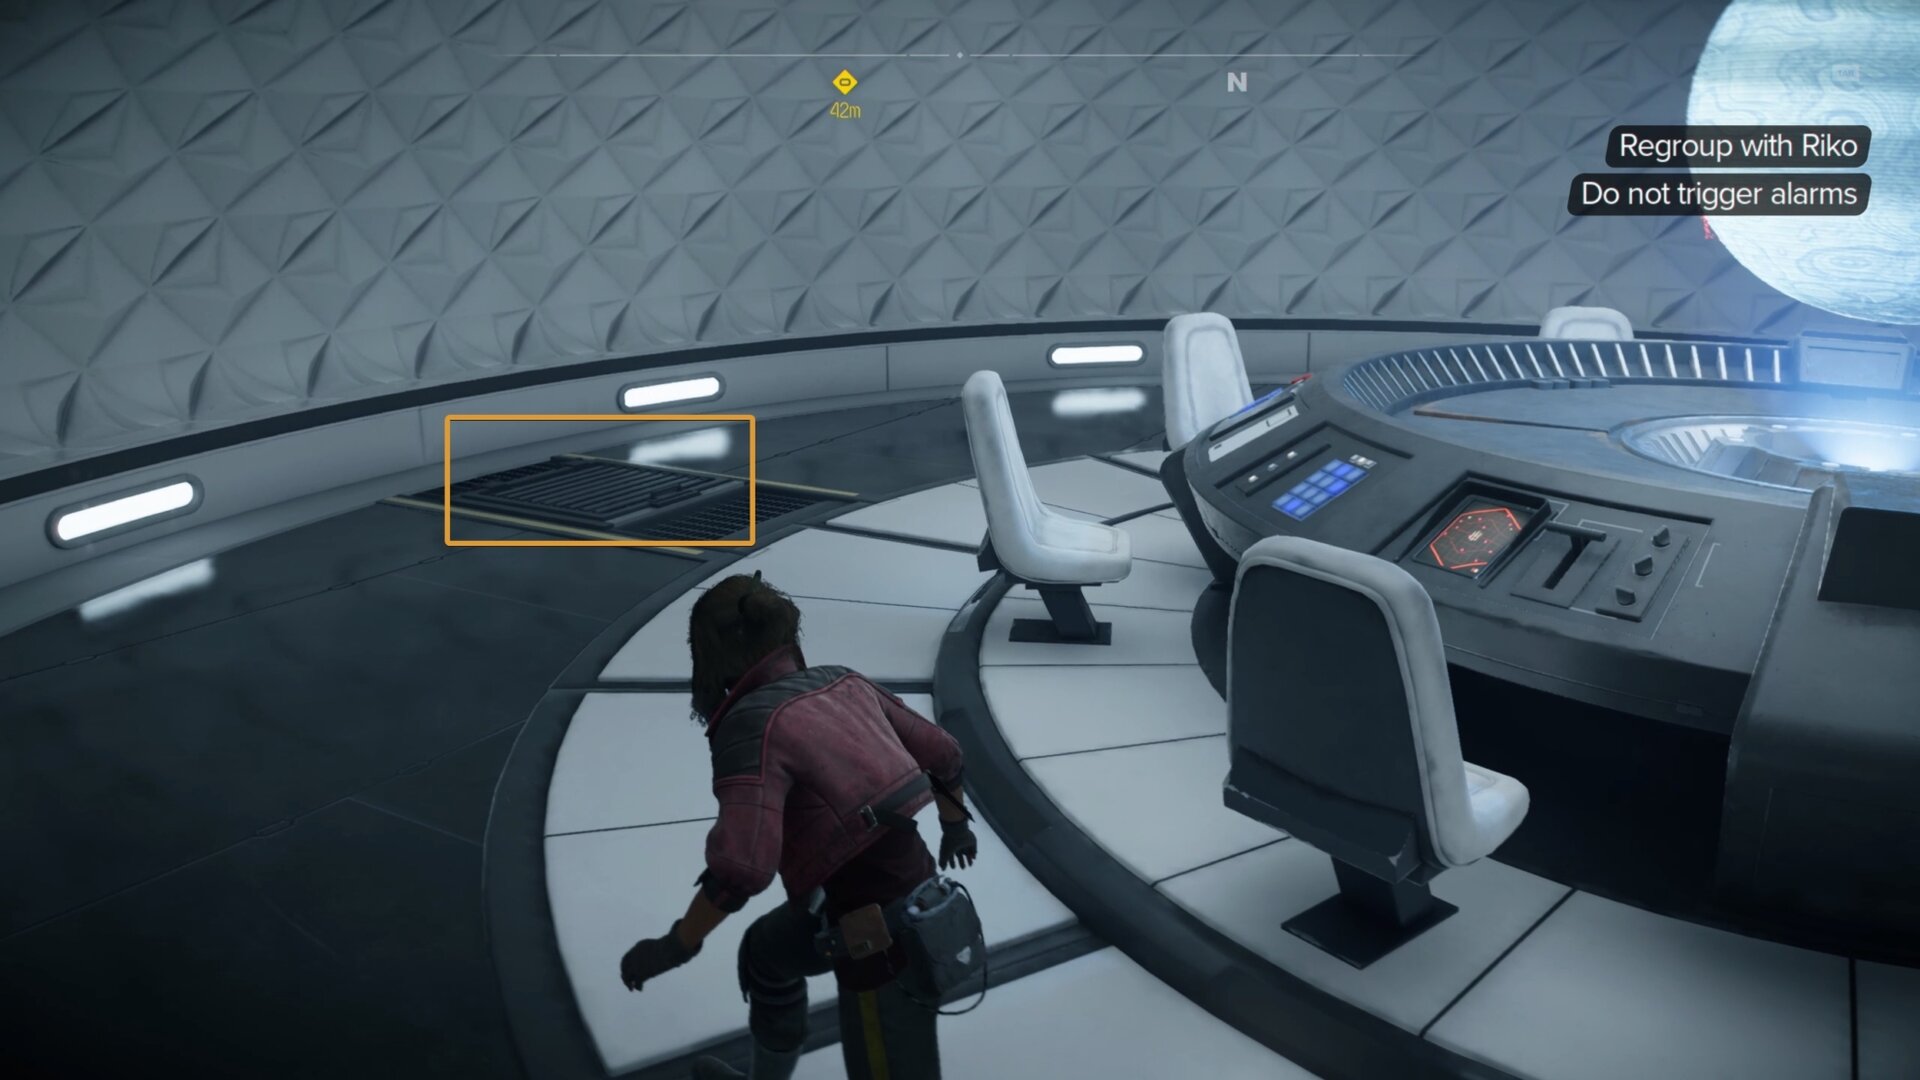
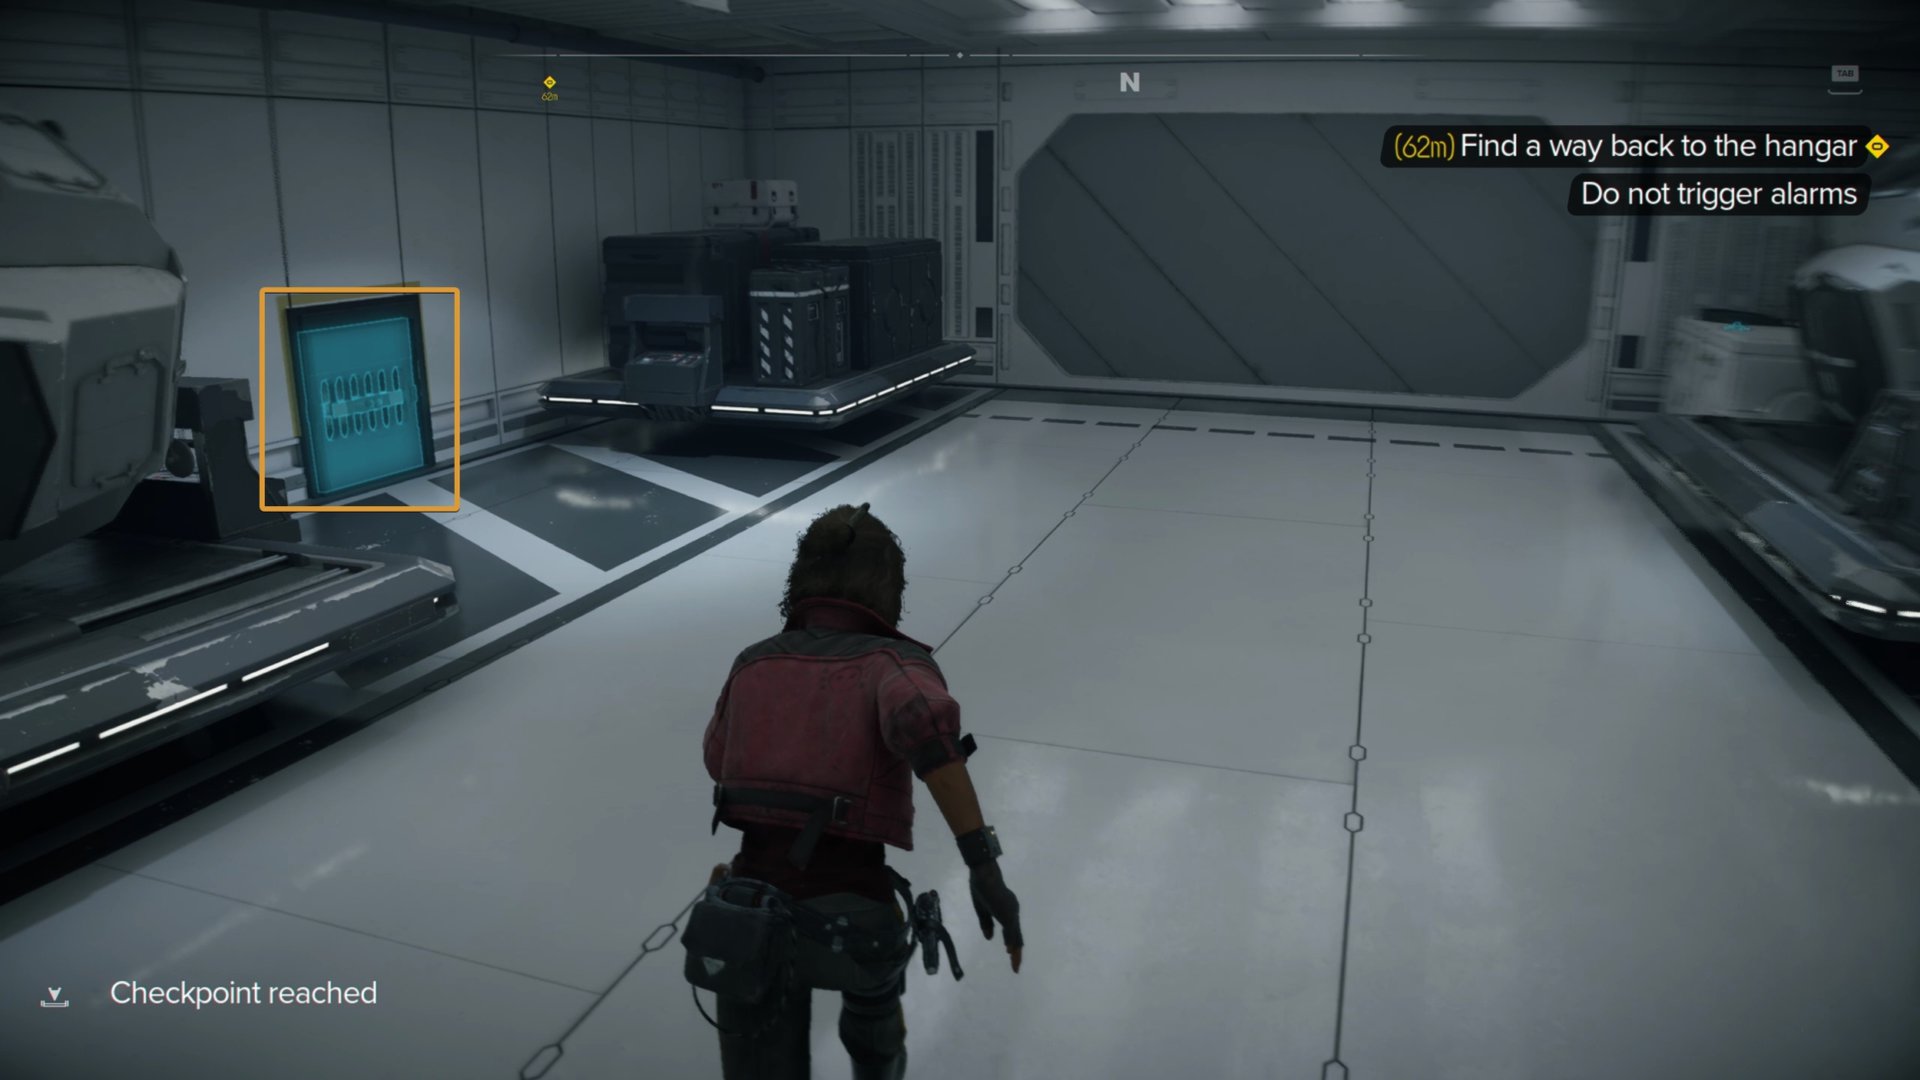
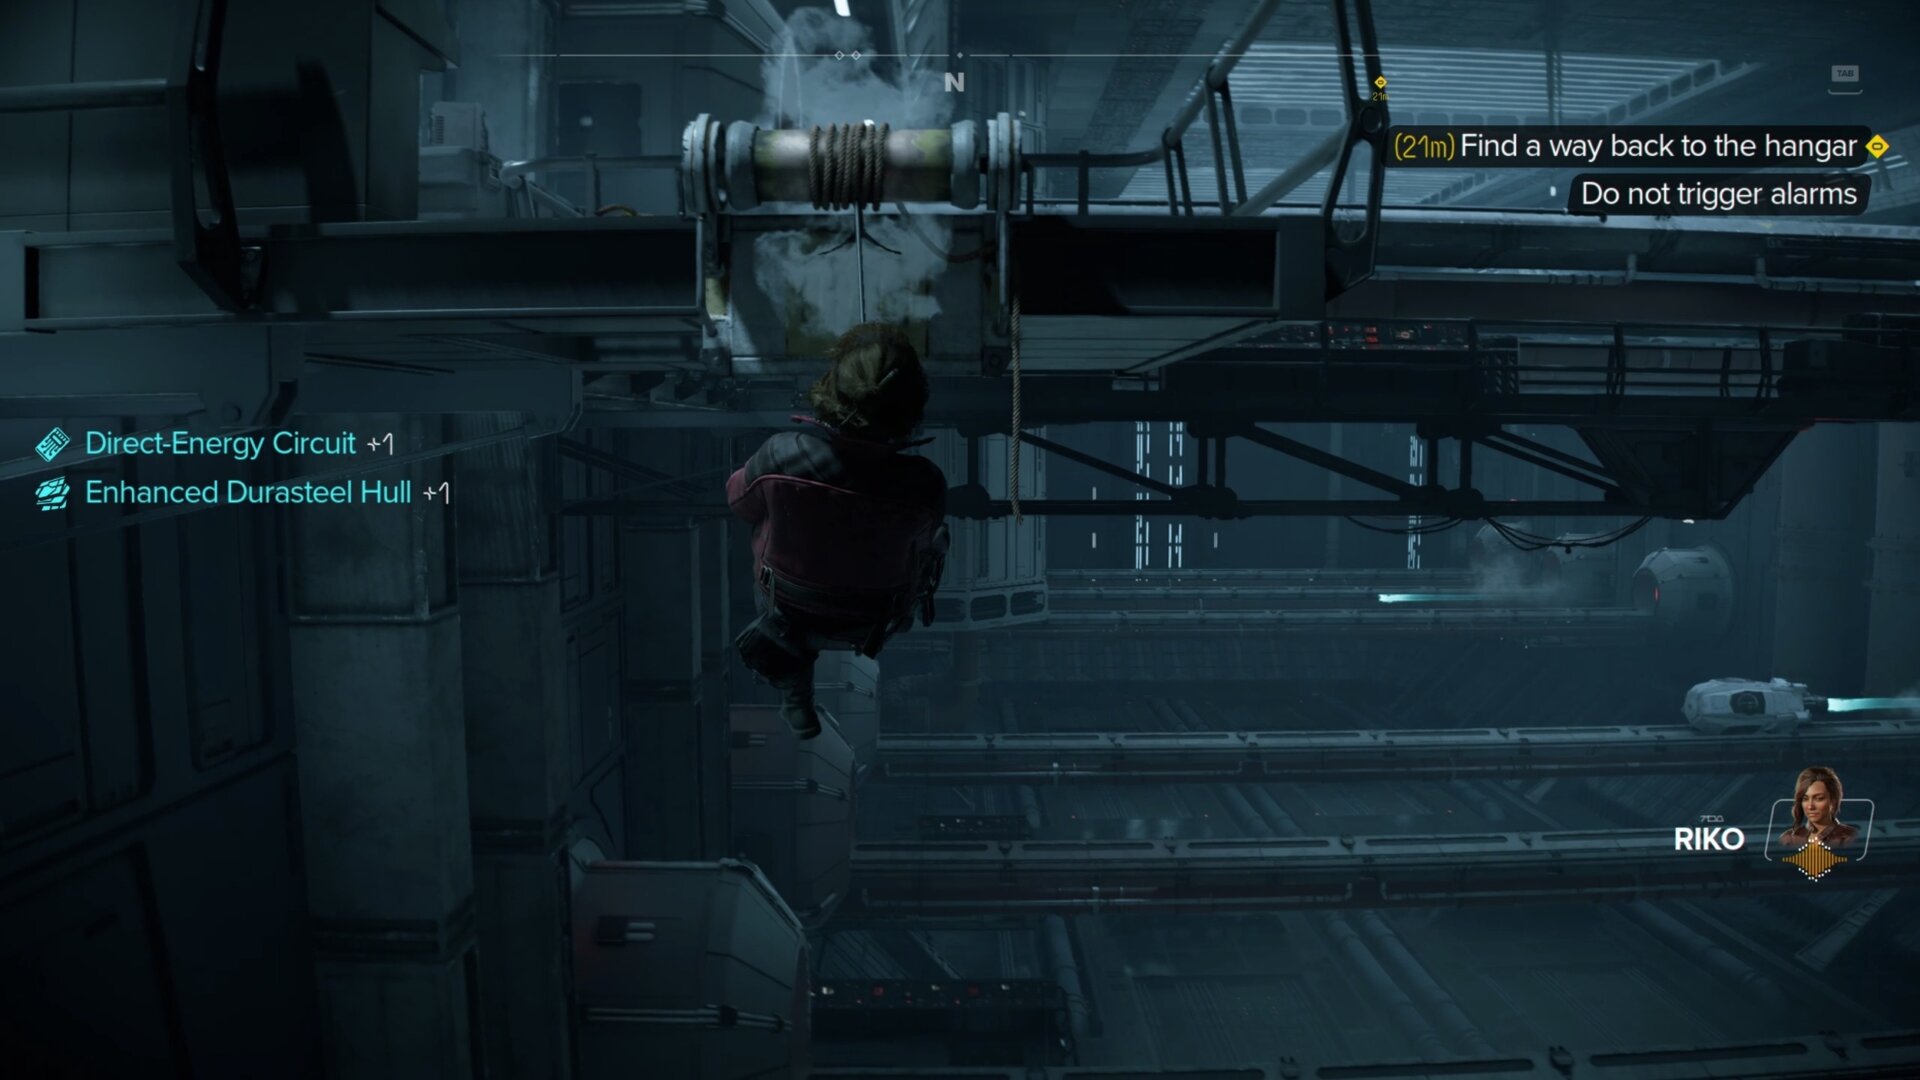
Behind the holotable is, you guessed it, another vent you need to crawl through. When you exit the vent, go through the west door to reach the hangar bay.
Use the grapple point above you to swing over to the grates ahead, then climb up then to the right to reach some scaffolding. Use the other grapple point to rappel down to the walkway below.

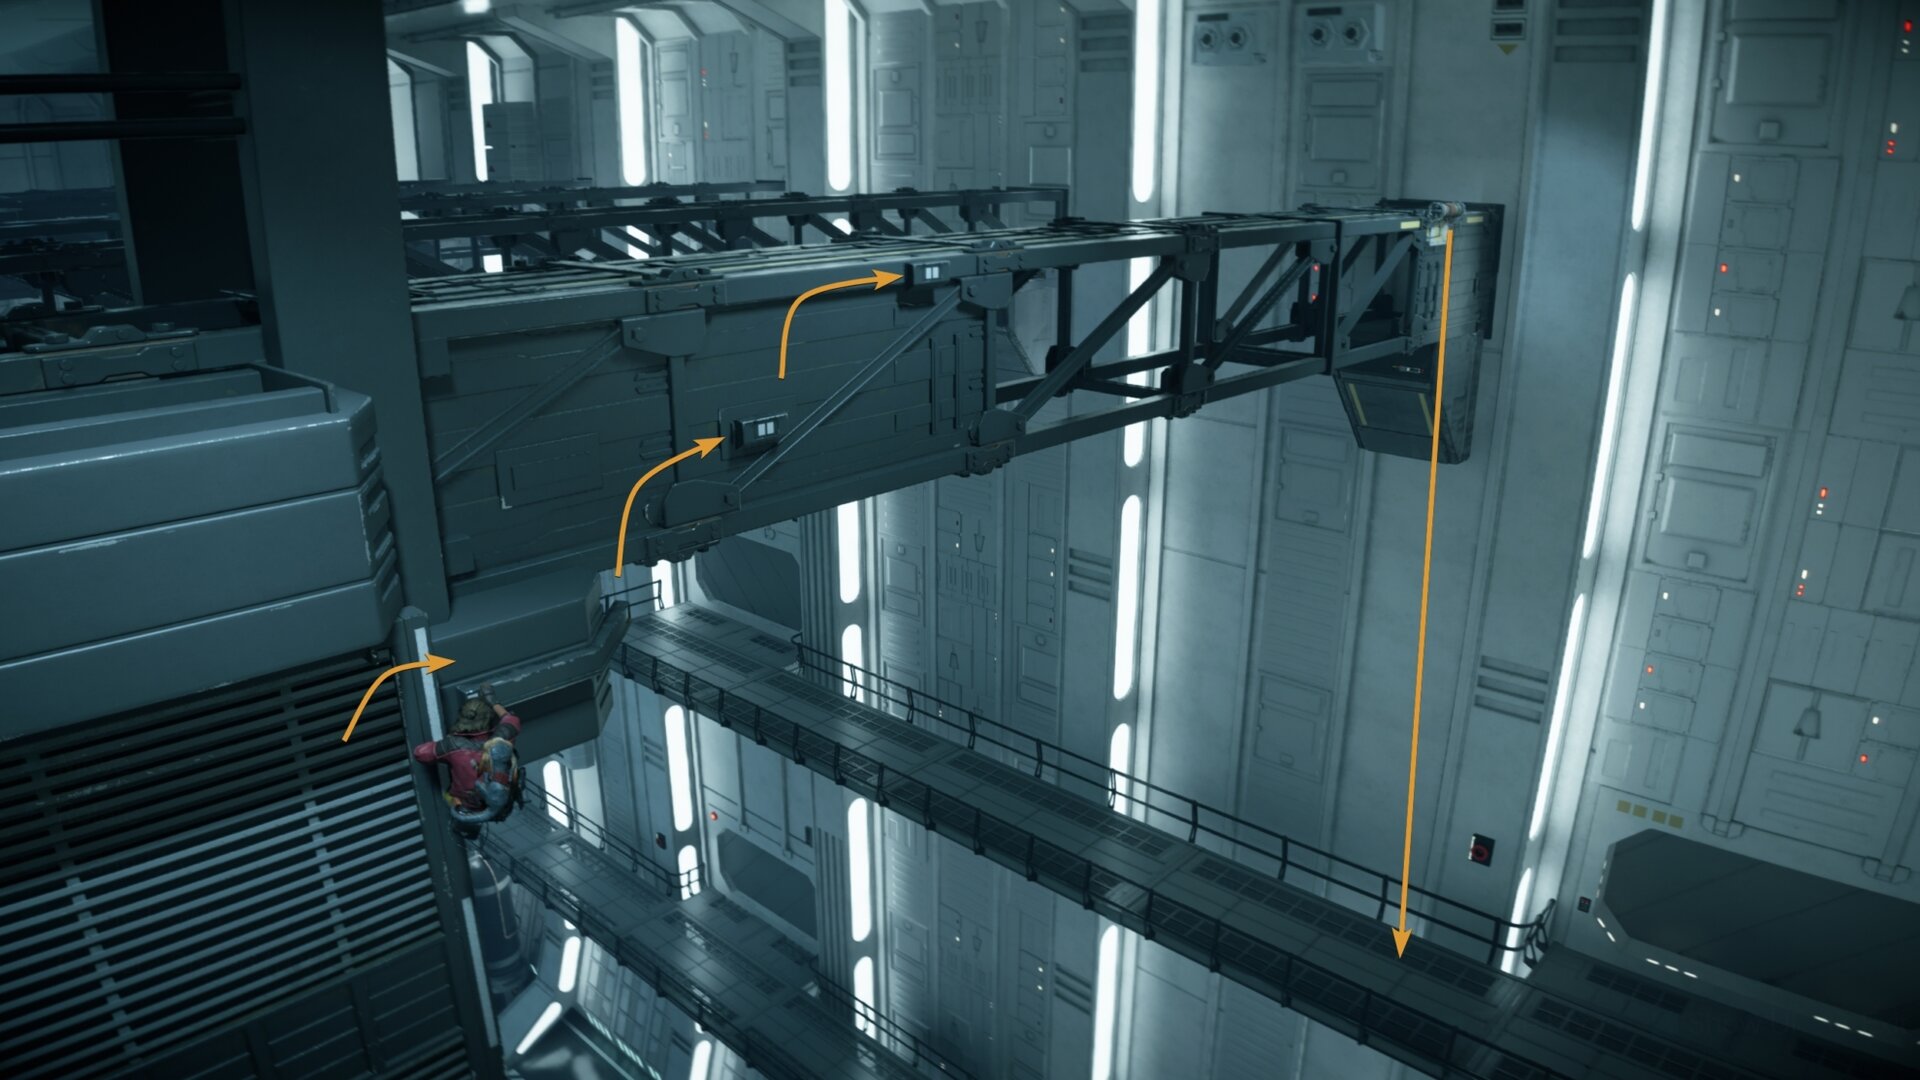
Go to the east, loot the small chest, enter the door on your left, and go inside another vent. This will lead you to a room that appears to be a turbine testing lab.
Go to the end of the walkway and jump onto the metal ledge connected to the belt where the turbines are being tested. Scuttle to the left and drop down to the other walkway.
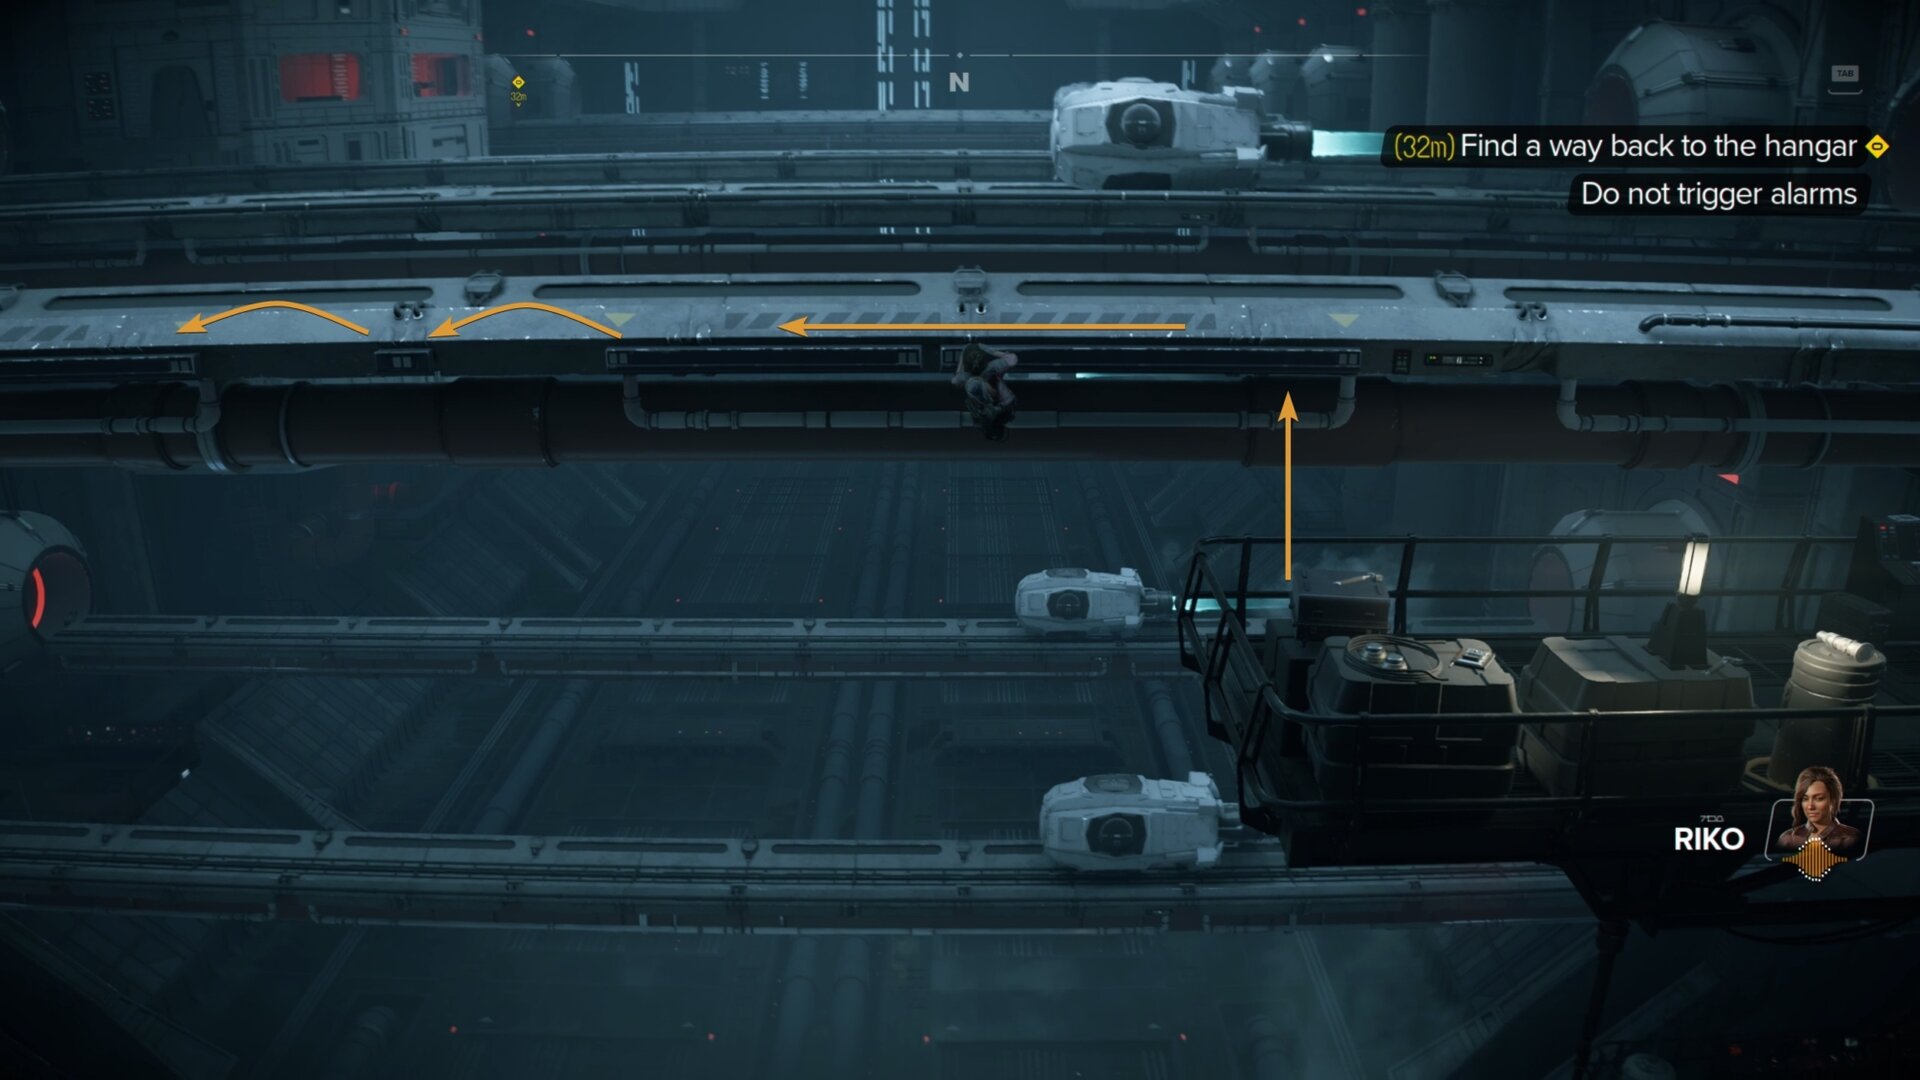
On this walkway, you’ll find the fifth and final chest of the space station. Use the nearby grapple point to rappel down.
Once you’re down, you’ll find Riko. Follow her back to the shuttle and escape the ISB station. Several cutscenes will play and then you’ll move on to the second to last story quest, The Heist.
Keep up to date with VULKK’s coverage of Star Wars Outlaws! Check in often to see any new articles or guides our team publishes.
UNDERWORLD Quest Walkthrough
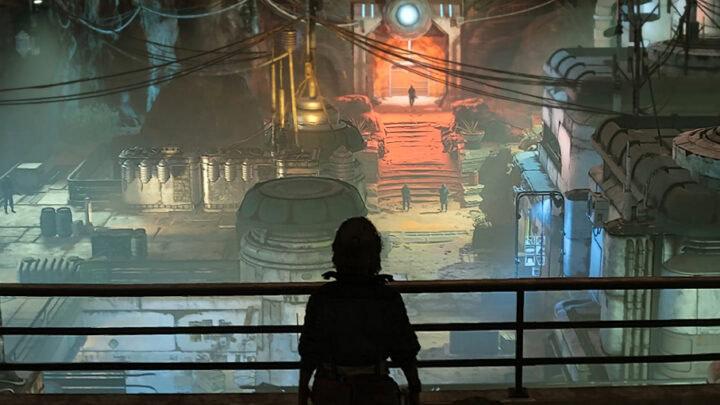
Sneaking through the Pyke District and Gorak’s Base on Toshara will definitely test your mettle far more than infiltrating the Zerek Besh stronghold on Canto Bight. To survive this you’ll need to lay low, act with caution, and act without hesitation.
NEW TRICKS Quest Walkthrough
This guide will show you how to steal the Ion Blaster Part in Star Wars Outlaws. Whether you’re stealing from the Pykes or Crimson Dawn, you’ll know where to go and what to watch out for.
FALSE FLAG Quest Walkthrough
This guide will show you how to infiltrate the Imperial Fueling Station in Star Wars Outlaws. You need to find a Data Vault inside the Imperial Station and delete some data to frame the Pyke Syndicate, but that is easier said than done.
THE WRECK Quest Walkthrough
This guide will show you how to get the Nav Computer in the Star Wars Outlaws main mission, The Wreck. Waka needs this final component to fully repair the Trailblazer and let it travel throughout the galaxy once more. The guide also gives you the locations of all treasure chests in the area.
THE SAFECRACKER Quest Walkthrough
This guide will show you how to complete the quest, The Safecracker, in Star Wars Outlaws. Kay needs to find a safecracker named Ank on Kijimi, however, the Ashiga Clan has a strong presence on the planet and it might make the search for Ank difficult.
BREAKOUT Quest Walkthrough
This guide will show you how to break out the Safecracker, Ank, in Star Wars Outlaws. After returning the relic to the Ashiga Clan, Krisk offers a proposal to help you get Ank back for your needs.
THE HIVE Quest Walkthrough
This guide will show you how to complete the Star Wars Outlaws quest, The Hive. To recruit Ank for the heist scheme, you’ll need to help her with her current job of blasting a hole through the Ashiga Clan Queen’s stronghold on Kijimi.

THE HEAVY Quest Walkthrough
This guide will show you how to complete the Star Wars Outlaws quest, The Heavy. Kay is in search of a potential crew member for Jaylen’s heist mission, though tracking down The Heavy will have you traveling to Tatooine.

PARTNERS Quest Walkthrough
This guide will show you how to complete the Star Wars Outlaws quest, Partners. After rescuing Hoss from the Tuskens, you must meet up with him at Mos Eisley on Tatooine, but trouble seems to follow Hoss around.
JABBA'S FAVOR Quest Walkthrough
This guide will show you how to complete the quest Jabba’s Favor in Star Wars Outlaws. Jabba needs you to find the identity of a spy in his palace, and the only way to determine this is to access the databanks of Fort Sunfire on Tatooine.
THE DROIDSMITH Quest Walkthrough
This guide will show you how to complete the quest, The Droidsmith, in Star Wars Outlaws. Kay is in search of a Droidsmith to join her crew that can help with Jaylen’s heist on the Zerek Besh stronghold on Canto Bight.

THE SCAVENGER Outlaws Walkthrough
This guide will show you how to unlock and complete the quest The Scavenger in Star Wars Outlaws. Temmin Wexley, the Scavenger Expert, will be able to give Kay upgrades that help her in a wide variety of fields.
VIPER Quest Walkthrough
This guide will show you how to complete the Viper quest in Star Wars Outlaws. Before Gedeek can join Kay’s crew as a Droidsmith for the heist, he and Kay must put an end to the Imperial’s enhanced Viper Probe Droid project.
LEGACY Quest Walkthrough
This guide will show you how to complete the quest, Legacy, in Star Wars Outlaws. ND-5 is experiencing malfunctions, so Kay and Gedeek need to find a replacement power core before ND-5 stops functioning entirely.
THE HEIST Quest Walkthrough
This guide will show you how to complete the Star Wars Outlaws quest, The Heist. After gathering her crew and stealing Sliro’s codes, Kay can once again attempt to break into the Zerek Besh Vault and get away with the galaxy’s biggest heist.

REVELATOR Quest Walkthrough
This guide will show you how to complete the final story quest for Star Wars Outlaws, Revelator. After the heist on Canto Bight, Kay needs to escape the Imperial Star Destroyer, the Revelator. Before she can leave, she must take care of some unfinished business.
Related Star Wars Outlaws Collections of Guides

Our Guides Master List for Star Wars Outlaws is a great starting point. In it you will find all of our guides and walkthroughs ordered in categories.