Complete lists of all Core Challenges and Achievements (Trophies) in Star Wars Outlaws with strategies and recommendations for unlocking the more challenging achievements so you can 100% Star Wars Outlaws!
Table of contents
What are Core Challenges and Achievements
You unlock Core Challenges and Achievements (Trophies) by playing various aspects of the game. Some are simple as you earn them for beating certain story quests, while others will require more effort to achieve.
You can find the Core Challenges and Achievements menu by accessing it through the Ubisoft Connect application, or the in-game menu.
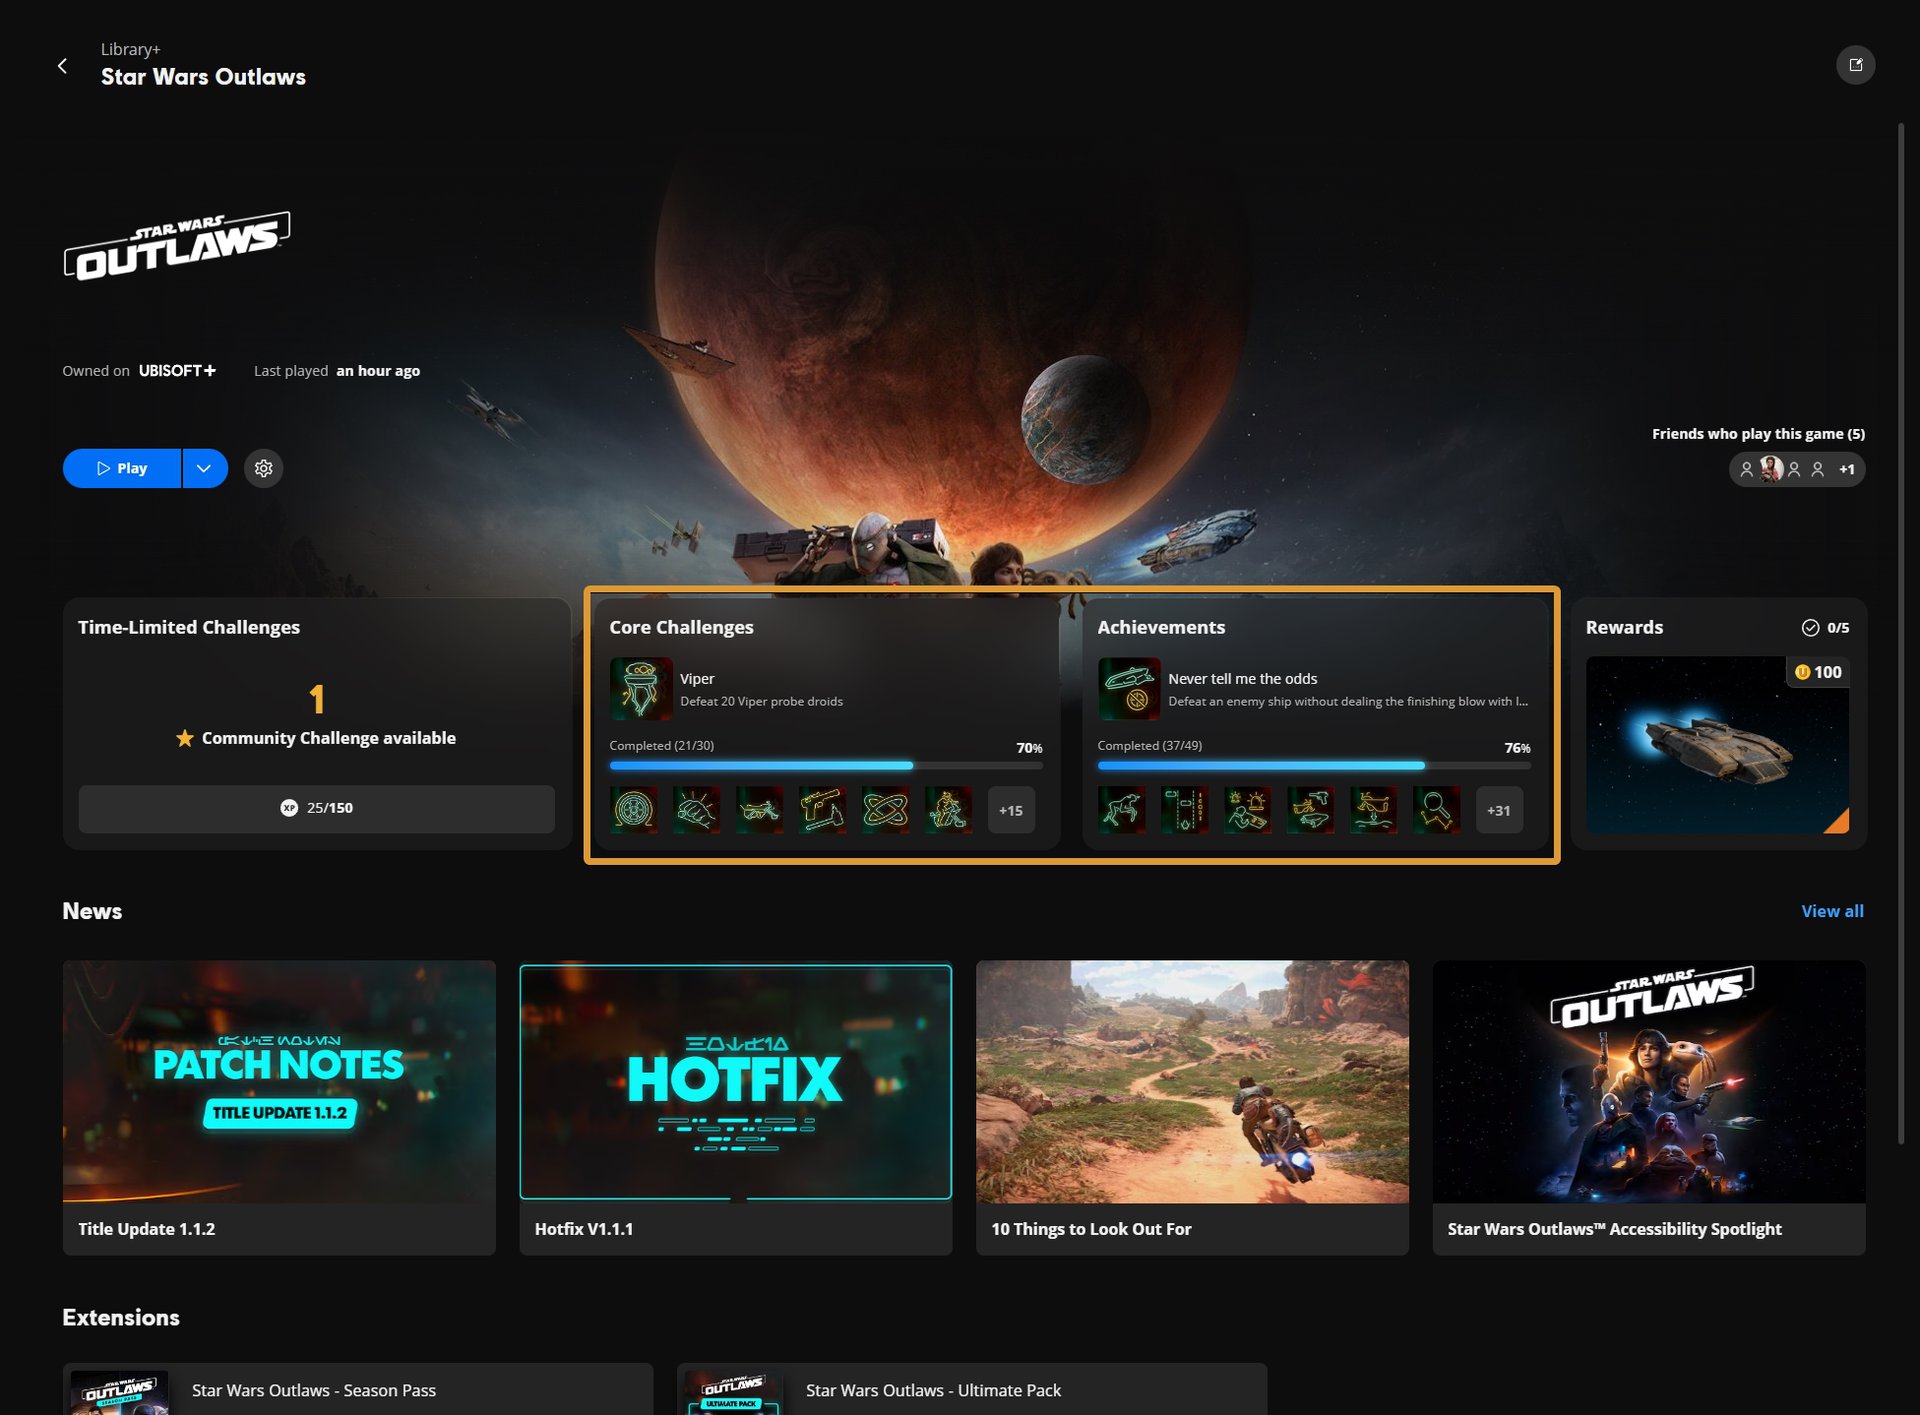
Ubisoft Connect Application – Star Wars Outlaws Game Page:
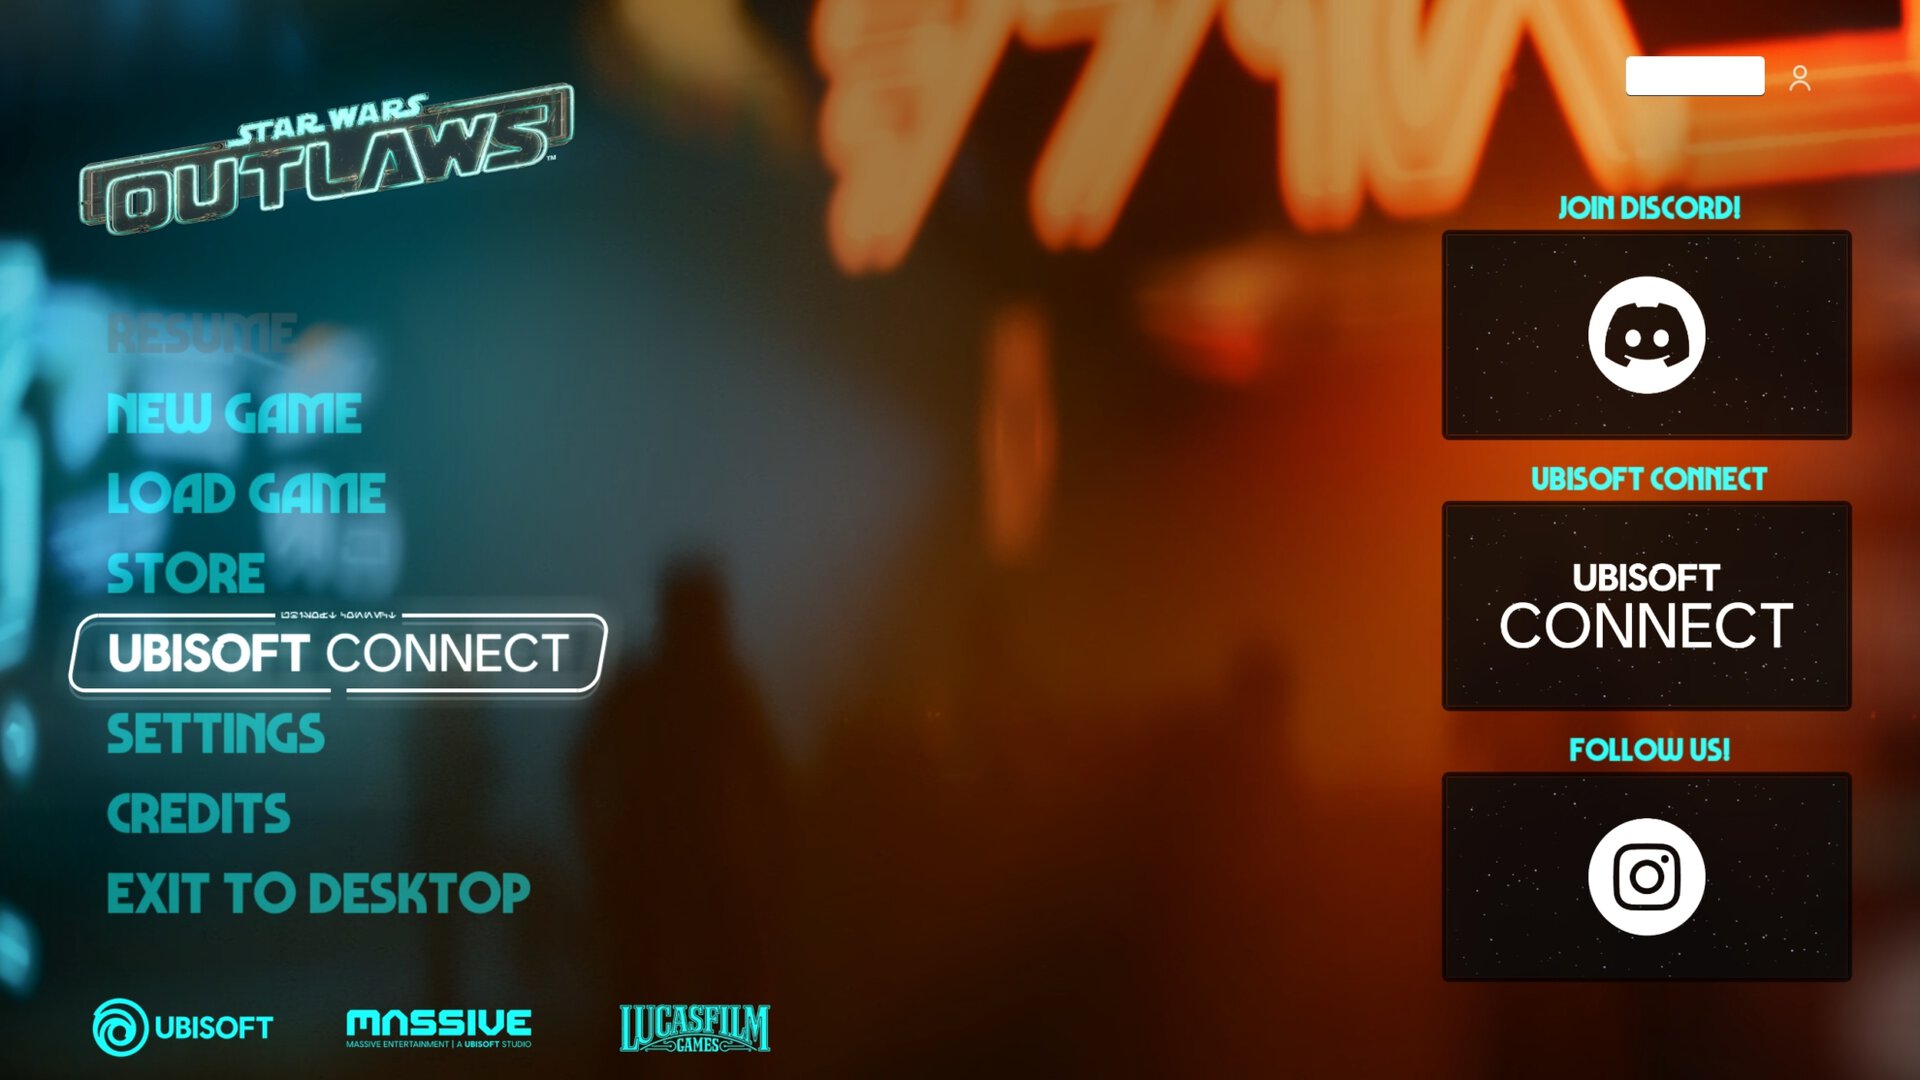
Select Ubisoft Connect in the Main Menu or Pause Menu to access Challenges and Achievements:
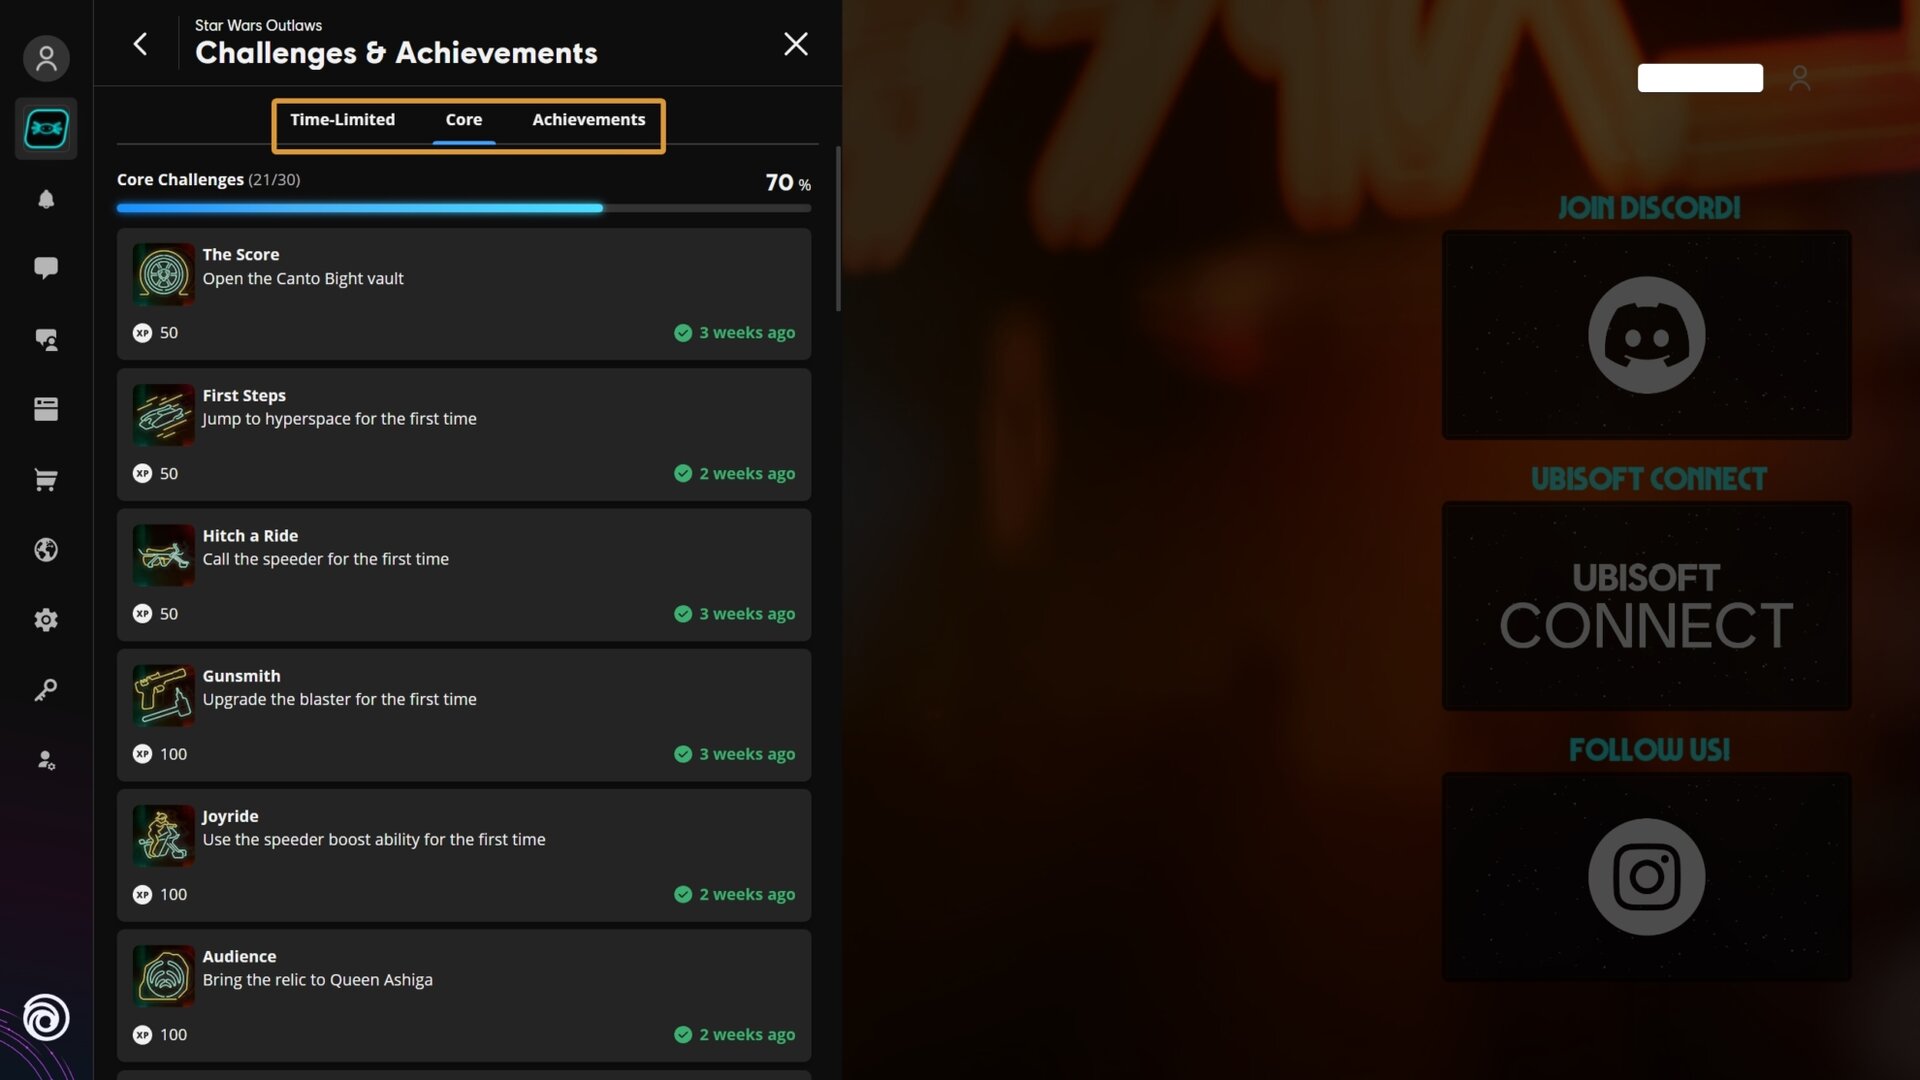
In-game Challenges and Achievements Menu
Core Challenges and Achievements function the same in that they require you to beat specific plot points or complete certain challenges to unlock. The primary difference between the two is that Core Challenges grant XP for your Ubisoft Connect account.
As you gain XP for your Ubisoft Connect account, you can level up and earn a currency called Units that you can spend on in-game rewards and cosmetics.
How Time-Limited Challenges Work
Time-Limited Challenges are rotated weekly with differing requirements. You may have to win a certain amount of Sabacc games one week, then defeat a certain amount of Death Troopers the next.
The Community Time-Limited Challenge is a collaborative challenge. In the following example, the community challenge needs all players playing Star Wars Outlaws to defeat a total of 500,000 Pirate B84 Vipers.
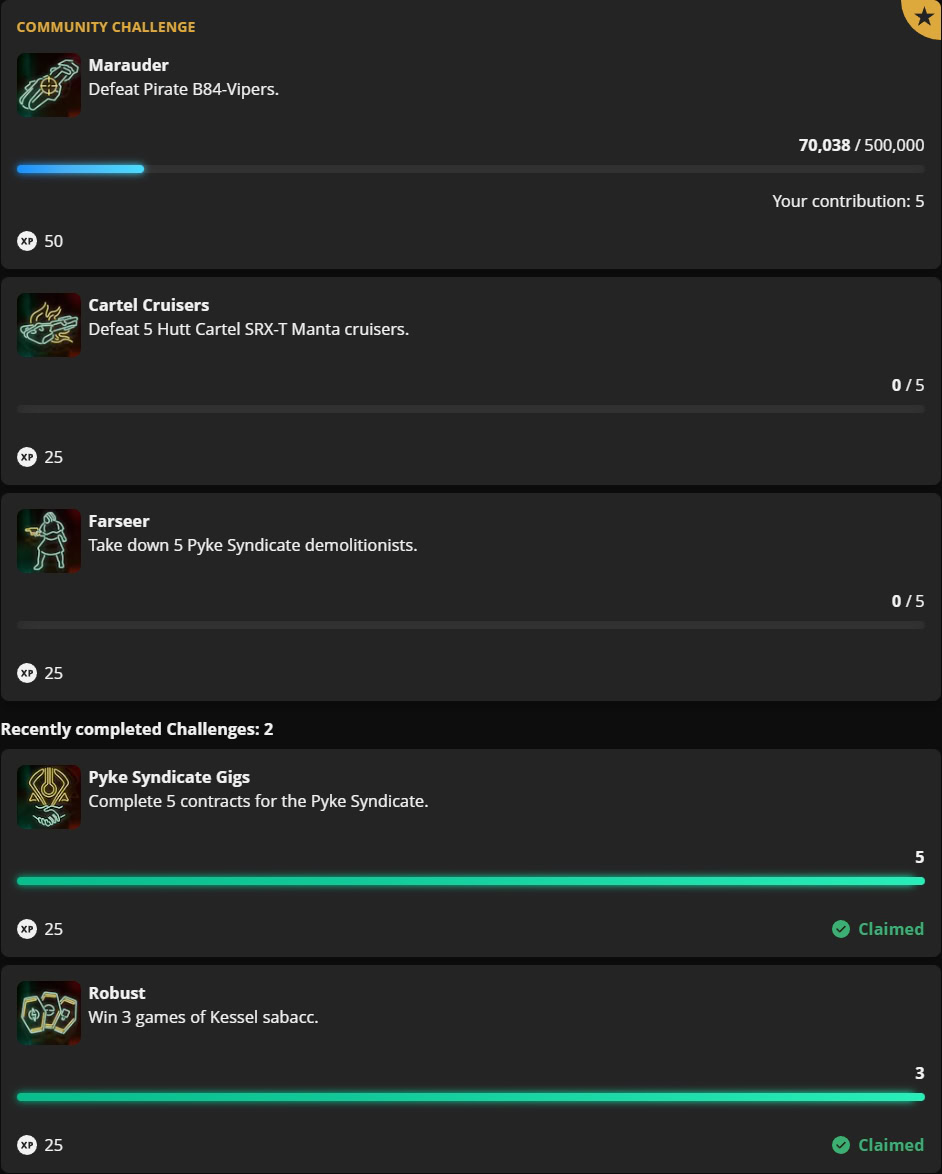
The Time Limited Challenges are rotated weekly on Thursdays at 9 p.m. UTC, 10:00 Pacific time, or 1:00 p.m. Eastern time. Time-Limited Challenges also provide XP to your Ubisoft Connect account, so you’ll always have a steady source of XP.
How to redeem Ubisoft Units for In-Game Rewards
When you gain XP from Core Challenges and Time-Limited Challenges, you can level up your Ubisoft Connect account and earn the Units currency. These Units can be redeemed for in-game cosmetics and rewards.
To redeem Units, open up the Star Wars Outlaws game page in the Ubisoft Connect application, and select Rewards. Here you’ll find a list of redeemable rewards, each costing varying amounts of Units.
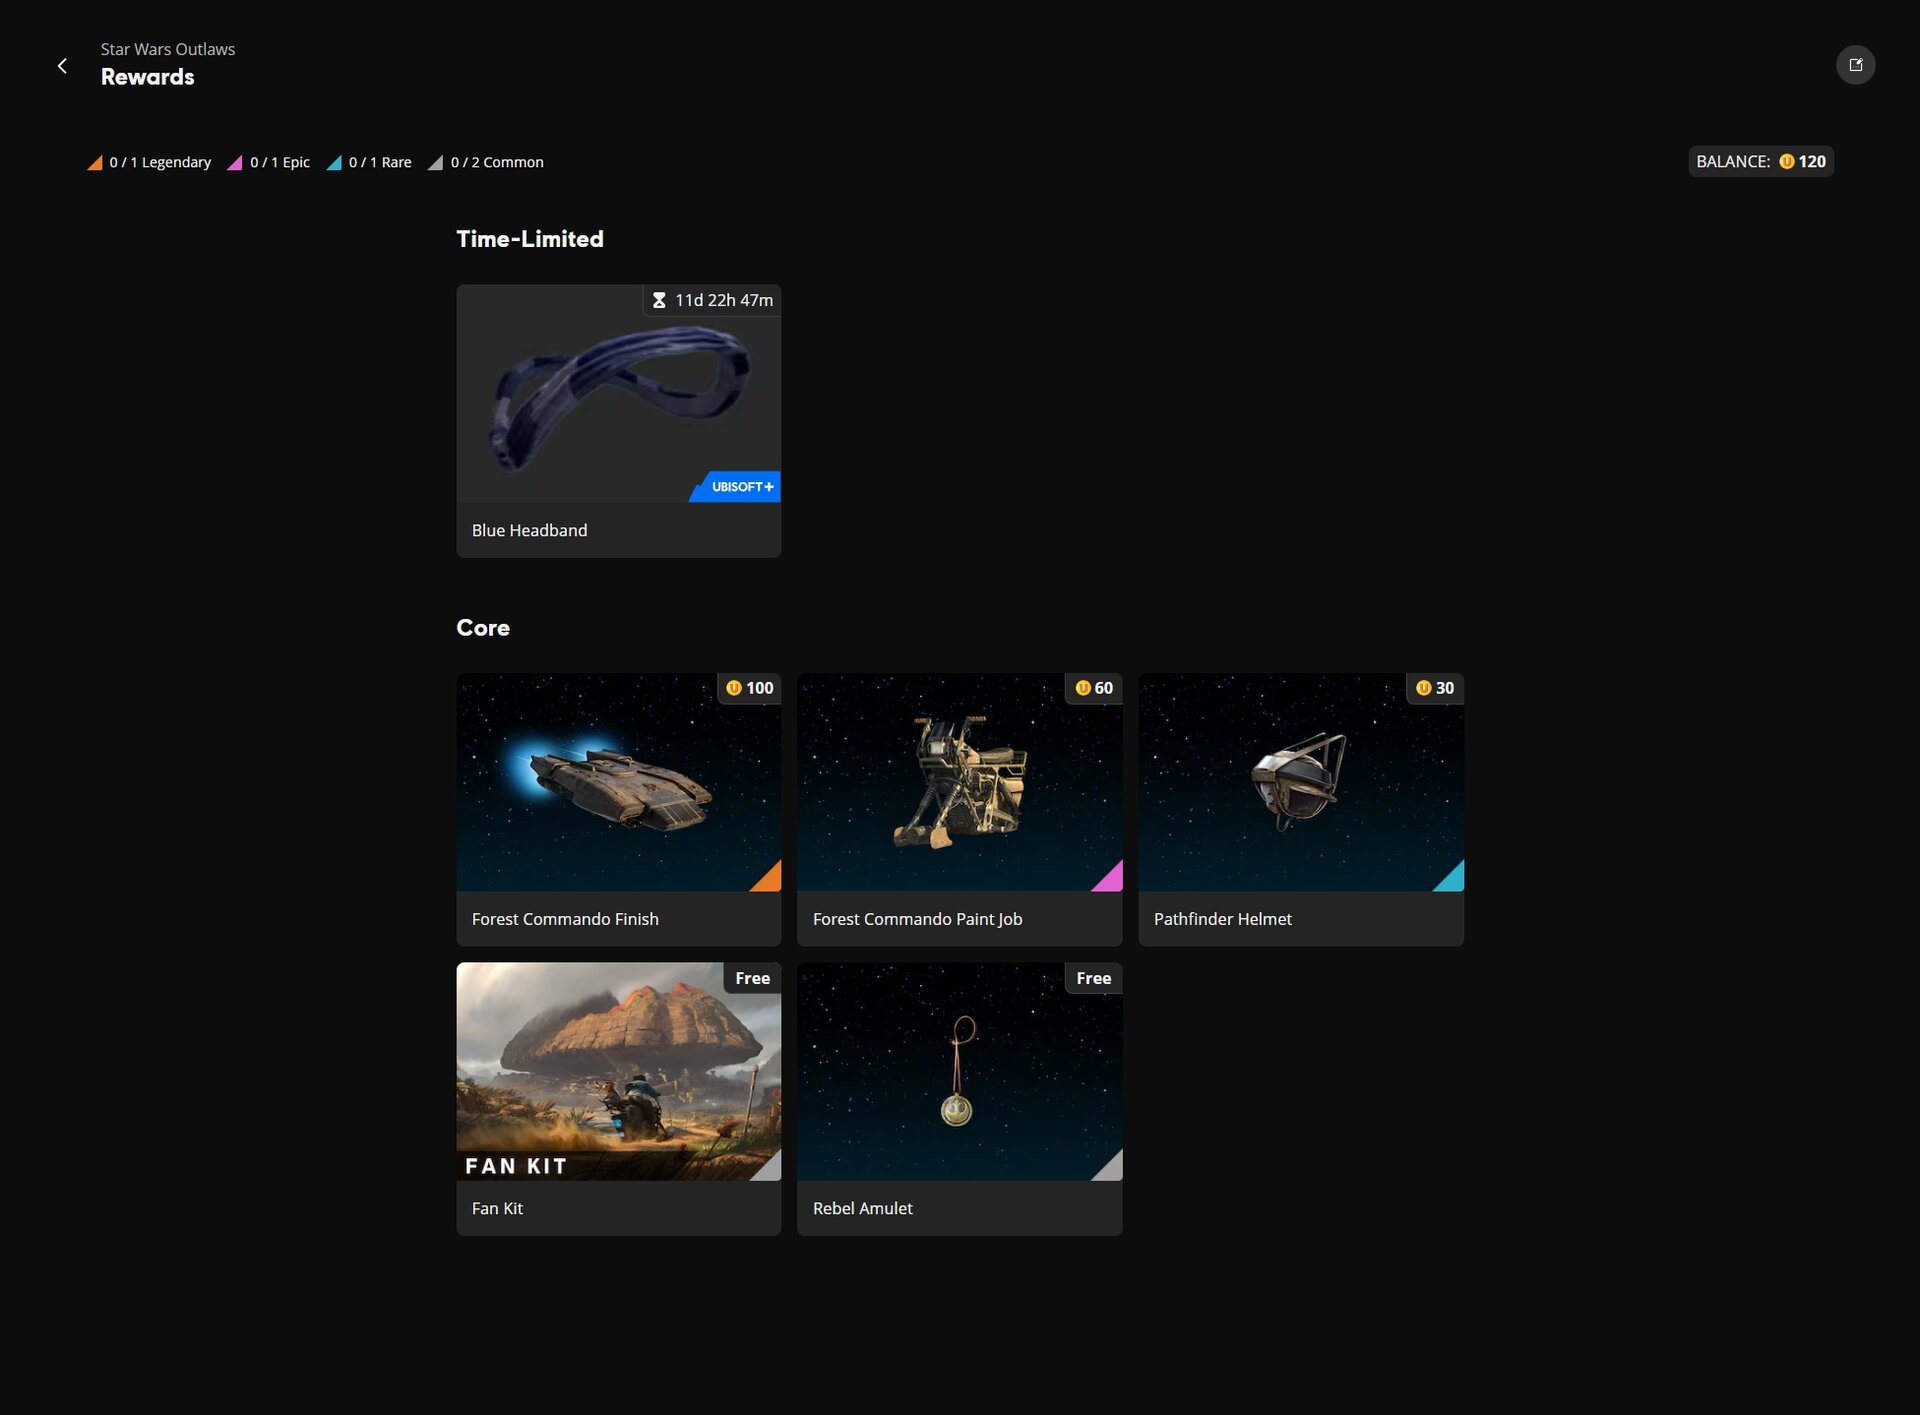
Ubisoft+ subscribers can gain items for free as part of their subscription plan. If you’ve purchased the Ultimate Edition, you can download the Fan Kit containing concept art, wallpapers, and screenshots through the Rewards page.
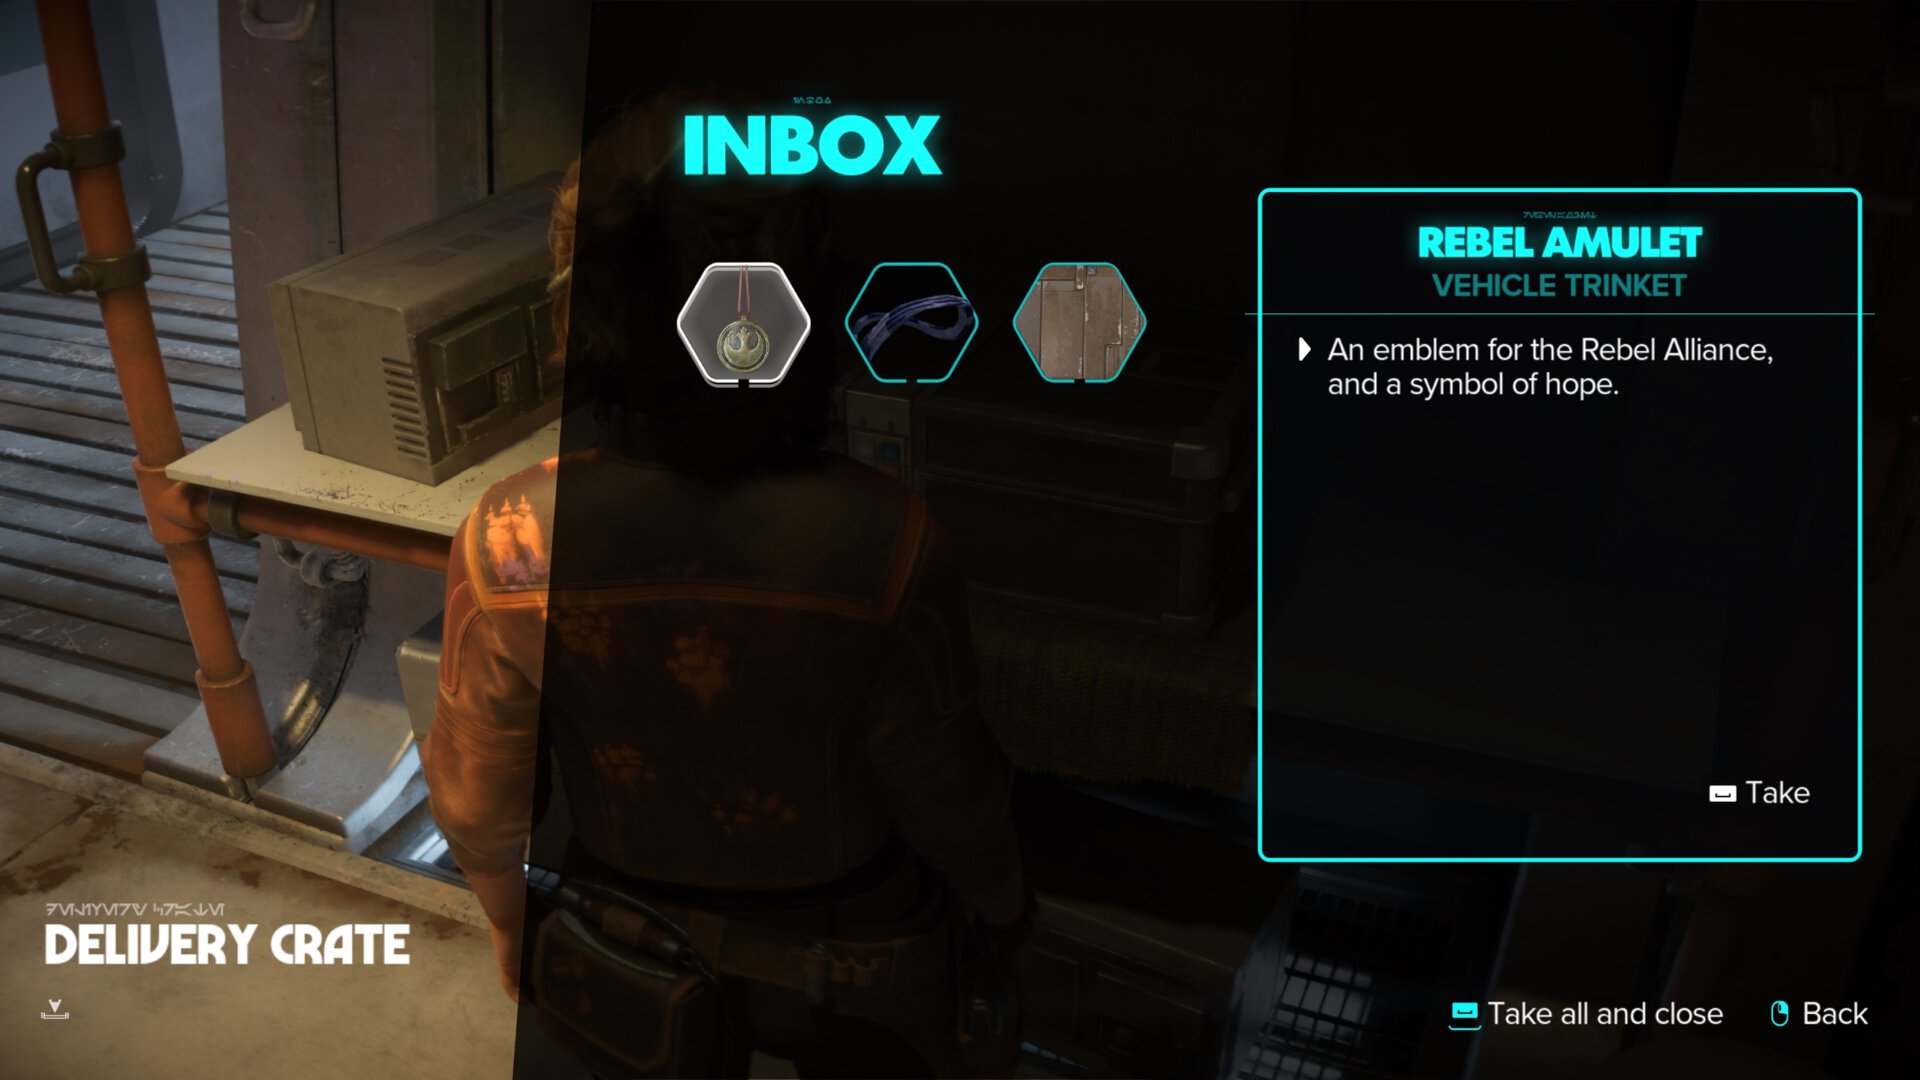
After redeeming a reward, you can find the item(s) in-game by going to the Trailblazer’s delivery crate.
Core Challenges List
Here is the full list of all Core Challenges available in Star Wars Outlaws. A good chunk of them are earned by completing story quests.
This segment of the guide contains minor spoilers.
| Icon | Name | Description | XP |
|---|---|---|---|
 | The Score | Open the Canto Bight Vault | 50 |
 | First Steps | Jump to hyperspace for the first time | 50 |
 | Hitch a Ride | Call the speeder for the first time | 50 |
 | Gunsmith | Upgrade the blaster for the first time | 50 |
 | Joyride | Use the speeder boost ability for the first time | 100 |
 | Audience | Bring the relic to Queen Ashiga | 100 |
 | Loose Pockets | Pickpocket 30 targets with Nix | 100 |
 | Tech Issues | Distract 20 cameras with Nix | 100 |
 | Tag Team | Defeat 40 enemies after Nix has attacked them | 100 |
 | Most Wanted | Reach maximum Wanted | 100 |
 | Big Ears | Eavesdrop on 20 private conversations | 100 |
 | Shopping Around | Meet 30 different merchants | 100 |
 | Dogfighter | Defeat 50 enemies in space | 100 |
 | Loyal Partners | Release Nix from his cage | 100 |
 | Released | Pay the debt to the Hutt Cartel | 100 |
 | Droidsmith | Find and recruit Gedeek | 250 |
 | Big Spender | Spend a total of 50,000 credits at merchants | 250 |
 | Brawler | Defeat 50 enemies in melee | 250 |
 | Caught Off Guard | Take down 10 Gamorrean Guards | 250 |
 | Card Sharp | Cheat 20 times during Sabacc Games without getting caught | 250 |
 | Shocker | Defeat 50 enemies using the blaster’s Stun mode | 250 |
 | Slicer | Slice 20 advanced terminals | 250 |
 | Hunters | Defeat the Zerek Besh hunters on Akiva | 250 |
 | Playing the Odds | Bet 10,000 credits in fathier races | 250 |
 | Sure Bets | Win 20 fixed father races | 250 |
 | Scrapper | Defeat 50 droids using the blaster’s Ion module | 250 |
 | Viper | Defeat 20 Viper Probe Droids | 250 |
 | Defying Death | Defeat 30 death troopers | 250 |
 | Top Secret | Find all ISB reports | 250 |
 | Legacy | Find all of Jet Kordo’s journals | 250 |
Tips for Completing Core Challenges
In this section, you’ll learn tips for completing core challenges. You can find links to walkthroughs the VULKK team has already made or short tips for challenges that are simple to complete.
This segment of the guide contains minor spoilers for Star Wars Outlaws. Due to the nature of completing these Core Challenges, I have to provide some spoilers to explain something more thoroughly.
 The Score
This is a guaranteed challenge you’ll get as you make progress in the story quest Outlaws on Canto Bight at the start of the game.
 First Steps
You’ll earn this after escaping the mansion in the story quest, Outlaws.
Hitch a Ride
After meeting Waka in the quest Crashed, you’ll earn this as you ride your speeder to Mirogana.
Gunsmith
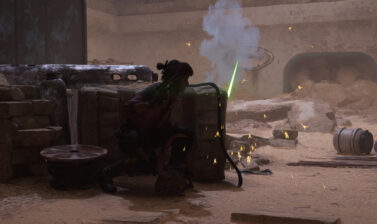
You can earn this early on in the game just by simply purchasing an upgrade for your blaster.
Joyride
Use the speeder boost ability after unlocking the Mechanic Expert to complete this challenge.
Audience
You’ll complete this challenge once you return the relic to the Ashiga Queen in the Kijimi story quest, The Safecracker.
 Loose Pockets
This one is incredibly easy to complete as you just need to have Nix pickpocket 30 targets.
Tech Issues
Have Nix distract 20 cameras to earn this achievement. Imperial bases are a good place to find cameras and you can distract the same camera 20 times to complete this challenge.
Tag Team
Have Nix attack enemies automatically during combat and prioritize taking down enemies getting tactically hugged by Nix. Do this 40 times and this challenge will be complete.
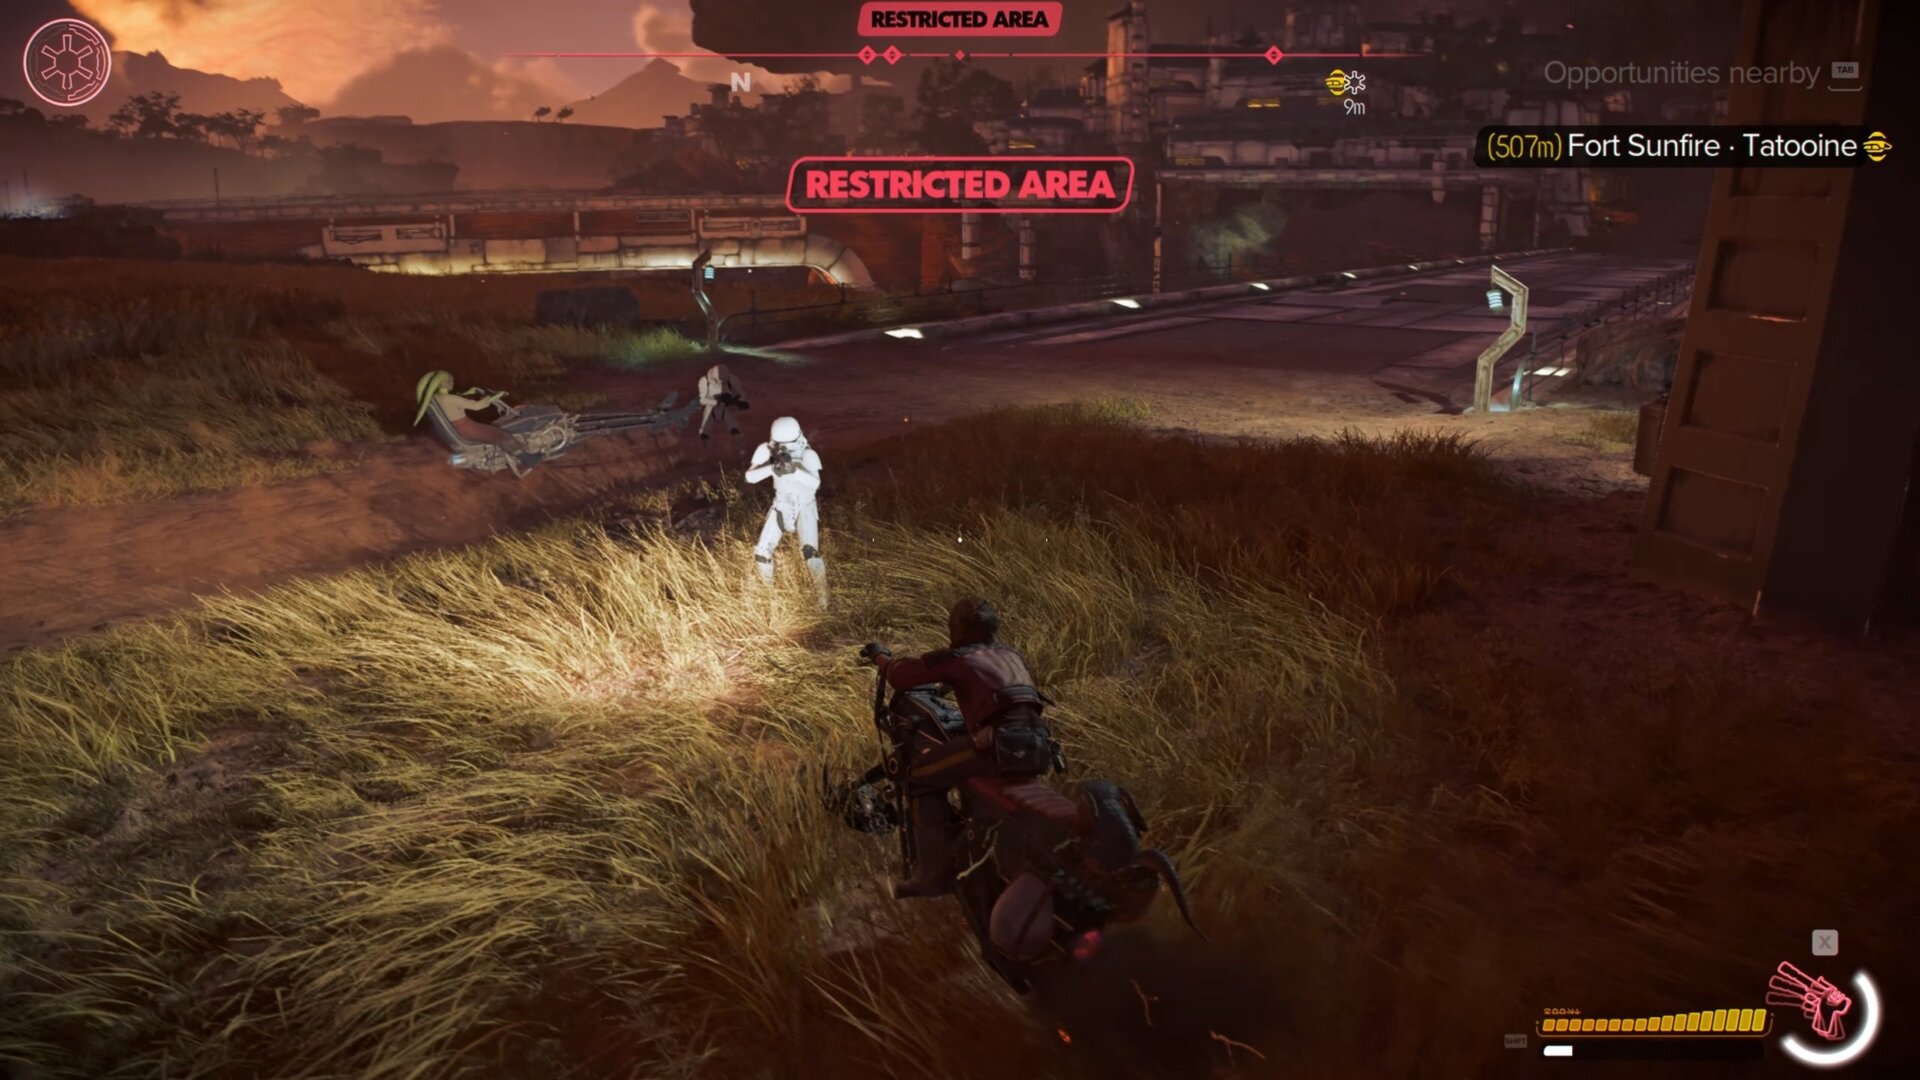
Most Wanted
Getting into trouble with the Empire is very easy, just raid one of their bases and blast away all their personnel. Make sure someone sees you doing it and you’ll reach Wanted 6 in no time.
Alternatively, attack a bunch of starfighters in space until a manhunt starts!
Big Ears
There are many spots throughout the planets where you’ll be prompted to “Listen” in on a private conversation. Do this 20 times, these conversations are typically intel leads as well which is good for treasure hunting.
Shopping Around
Meet 30 different merchants in the galaxy. This is no issue if you talk to every vendor in civilized parts of the planets. If you happen to spot a traveling merchant, be sure to talk to them as well to make progress with this achievement.
Dogfighter
Defeating 50 enemies in space is incredibly easy even if you don’t have a fully upgraded Trailblazer. Pirate ships without shields and TIE fighters are found in abundance in Toshara’s orbit.
Loyal Partners
You’ll complete this challenge after you rescue Nix during the Tatooine story quest, Partners.
Released
Complete the Tatooine story quest, Jabba’s Favor, to complete the Released challenge.
Droidsmith
You’ll complete the Droidsmith challenge once you complete the Akiva story quest, Viper.
 Big Spender
Big Spender will eventually come with time as you spend 50,000 credits at merchants.
Brawler
A good way to complete Brawler is to put on some defensive gear and raid an Imperial base on Story difficulty. Just have at the never-ending stormtroopers until you punch out 50 of them. If you are not in a rush to unlock this, it will come on its own as you play the game, especially when you start farming contracts for reputation or for another achievement.
Caught Off Guard
You can find a lot of Gamorrean Guards at Jabba’s Palace and Hutt districts on Tatooine. You’ll need the Electro-Shock Prod from the Scavenger Expert to complete this. Shock a total of 10 Gamorrean Guards and you’re set!
Card Sharp
To cheat 20 times without getting caught at a reasonable rate, you’ll need to unlock more cheats to use. The Hotfixer and the High Roller experts grant cheating abilities for Sabacc.
Shocker
The Crimson Reign reputation set is great for quickly recharging your Stun shot along with knocking out enemies. Syndicate-controlled areas outside of cities and Imperial bases are filled with many personnel waiting to be stunned.
Slicer
You can typically find advanced slicing spots in high-security areas controlled by the Empire. You’ll need to unlock the Slicer Expert to get the Advanced Slicing kit.
Hunters
You’ll complete this challenge after you defeat the Zerek Besh hunters during the story quest, Legacy.
Playing the Odds
There’s no quick or easy way to complete Playing the Odds. The best way is to roll max bets on Fathier races whenever you run into one until you bet a total of 10,000 credits. You can only use a fathier race table several times before it’ll become unusable for a while.
Sure Bets
If you picked up some intel about a fixed race through a datapad, listening to conversations, or through the Money Drop side quest, you can easily complete this challenge. Make a save and bet on the winning fathier, reload, and repeat until it’s complete.
If by some chance you can’t remember which fathier the data stated would win, you can play it once and see which color racer wins. That color will always win so you can reload and repeat from there.
Scrapper
You can find cartel droids in syndicate-controlled areas outside of cities, or probe droids guarding Imperial bases. Destroying 50 of them with the ion blaster is incredibly easy, finding a large abundance of droids is the tricky part.
Viper
You’ll find many Viper probe droids outside of heavily fortified Imperial bases. You can find some at the Imperial Comm Station on Toshara and Research Station 57 on Akiva. For whatever reason, they typically patrol the left side (when facing the entrance) of Imperial bases.
Defying Death
Death troopers aren’t that common, so you’ll need to drag them out by causing some trouble with the Empire. Be hostile towards the Empire on-foot until a manhunt starts.
Your red quest marker will lead you to an ISB camp with 3 death troopers and an ISB agent. Repeat this process until you’ve defeated 30 death troopers.
Top Secret
There are a total of 18 ISB reports you’ll need to find on Toshara, Tatooine, Akiva, and Kijimi.
Legacy
There are a total of 36 Jet Kordo’s journal entries you’ll need to find on Toshara, Tatooine, Akiva, and Kijimi.
Achievements List
Here is the full list of all 49 Achievements available in the base game. The Wild Card DLC added 4 new achievements and A Pirate’s Fortune added another 6. The total amount of achievements (trophies) is 59. Keep in mind that achievements don’t grant XP to your Ubisoft Connect account.
This segment of the guide contains minor spoilers.
Base Game Achievements
| Icon | Name | Description |
|---|---|---|
 | It Wasn’t Me | Bribe an Imperial Officer at Wanted Level 5 |
 | They live up to the name | Clear Wanted status by completing a death trooper confrontation event |
 | Shoot first | Defeat 6 enemies simultaneously using Adrenaline Rush |
 | No match for a good blaster | Fully upgrade a blaster module configuration |
 | Got you something | Collect all Nix treasures |
 | Galactic Gourmet | Sample all galactic street food |
 | Good listener | Listen to the longest sob story in the galaxy |
 | Experience outranks everything | Complete all Expert quests |
 | Adventure and excitement | Discover all planet areas |
 | Give me the good stuff | Buy an item from a merchant’s VIP stock |
 | Old school cool | Acquire the Disruptor gear set |
 | Honest work | Complete 40 contracts |
 | Cut-throat politics | Reach maximum reputation with the Pyke Syndicate |
 | Cloak and Dagger | Reach maximum reputation with Crimson Dawn |
 | What you see is what you get | Reach maximum reputation with the Hutt Cartel |
 | The Queen’s word is law | Reach maximum reputation with the Ashiga Clan |
 | Think I had a choice? | Reach the lowest possible reputation with a faction |
 | It’s mine now | Acquire the scoundrel gear set |
 | Stay on target | Complete your first intel chain |
 | Easy pickings | Pickpocket a customer in a cantina on each planet |
 | Against all odds | Win your first fixed father race |
 | No such thing as luck | Cheat and win a Sabacc game against Lando |
 | There is no try | Get a high score in each arcade game |
 | Right back at you | Defeat 20 enemies using items fetched by Nix |
 | How rude! | Blind 30 enemies with Nix attacks |
 | Punching up | Defeat each syndicate’s capital ship without taking hull damage |
 | Might want to buckle up | Fly into space in a fully upgraded Trailblazer |
 | I’ll bet you have | Defeat 20 enemies distracted by Fast-Talk |
 | The heavier they fall | Defeat a Raider to clear Wanted status |
 | Sometimes I amaze even myself | Defeat an enemy ship after doing a loop maneuver |
 | Never tell me the odds | Defeat an enemy ship without dealing the finishing blow with lasers or missiles. |
 | Into darkness | Destroy 10 enemy ships inside the Kijimi nebula |
 | Like a bantha | Perform a perfect landing with the speeder |
 | Galaxy drift | Perform a 30 second powerslide drift |
 | Don’t get cocky | Defeat 5 enemies with Adrenaline Rush on the speeder simultaneously. |
 | Into the main frame | Slice 10 advanced terminals |
 | Slice like you | Slice 20 terminals |
 | Now you see me, now you don’t | Disable an alarm using a security terminal while the alarm is active |
 | Get rhythm | Pick 20 locks with the data spike |
 | Made it somehow | Acquire a blaster, a starship, and a speeder |
 | Tip the scales | Complete all main quests on Toshara |
 | One job at a time | Complete all main quests on Kijimi |
 | Making friends | Escape from Jabba’s palace |
 | Rare friends | Complete all main quests on Tatooine |
 | Spiked | Liberate the original Super Viper Droid |
 | Best of the best | Complete all main quests on Akiva |
 | The Director | Learn Sliro’s secret |
 | Eye on the score | Complete all main quests in Canto Bight |
 | Calling in some favors | Destroy the Revelator |
Wild Card DLC Achievements
All four new achievements added with this DLC are unlocked by playing and completing the new quests. You can read our detailed walkthroughs for the Wild Card story.
| Icon | Name | Description |
|---|---|---|
| All In Icon | Find the Morenia | |
| All Out Icon | Escape the Morenia | |
| Take Your Own Advice Icon | Save Aksali Noll | |
 | A Moon in your own hand | Retrieve the map to Okala V |
A Pirate’s Fortune Achievements
The following achievements are part of the second DLC. We have detailed walkthroughs for all quests from A Pirate’s Fortune to help you complete them and unlock all achievements.
| Icon | Name | Description |
|---|---|---|
| Stranger Tides | Escape from the Khepi Tomb | |
| Pirate’s Honor | Steal a Rokana Raider ship | |
| Price of Loyalty | Get the Khepi scepter hilt | |
| Together | Discover the secret of the Khepi | |
| First Voyage | Complete a contractr with a Refractor | |
| Wordsmith | Help compose a pirate’s poem |
Tips for Completing Achievements (Trophies)
In this section, you’ll learn tips for unlocking achievements in Star Wars Outlaws. You can find links to walkthroughs the VULKK team has already made or short tips for challenges that are more simpler to complete.
This segment of the guide contains major spoilers for Star Wars Outlaws.
It Wasn’t Me
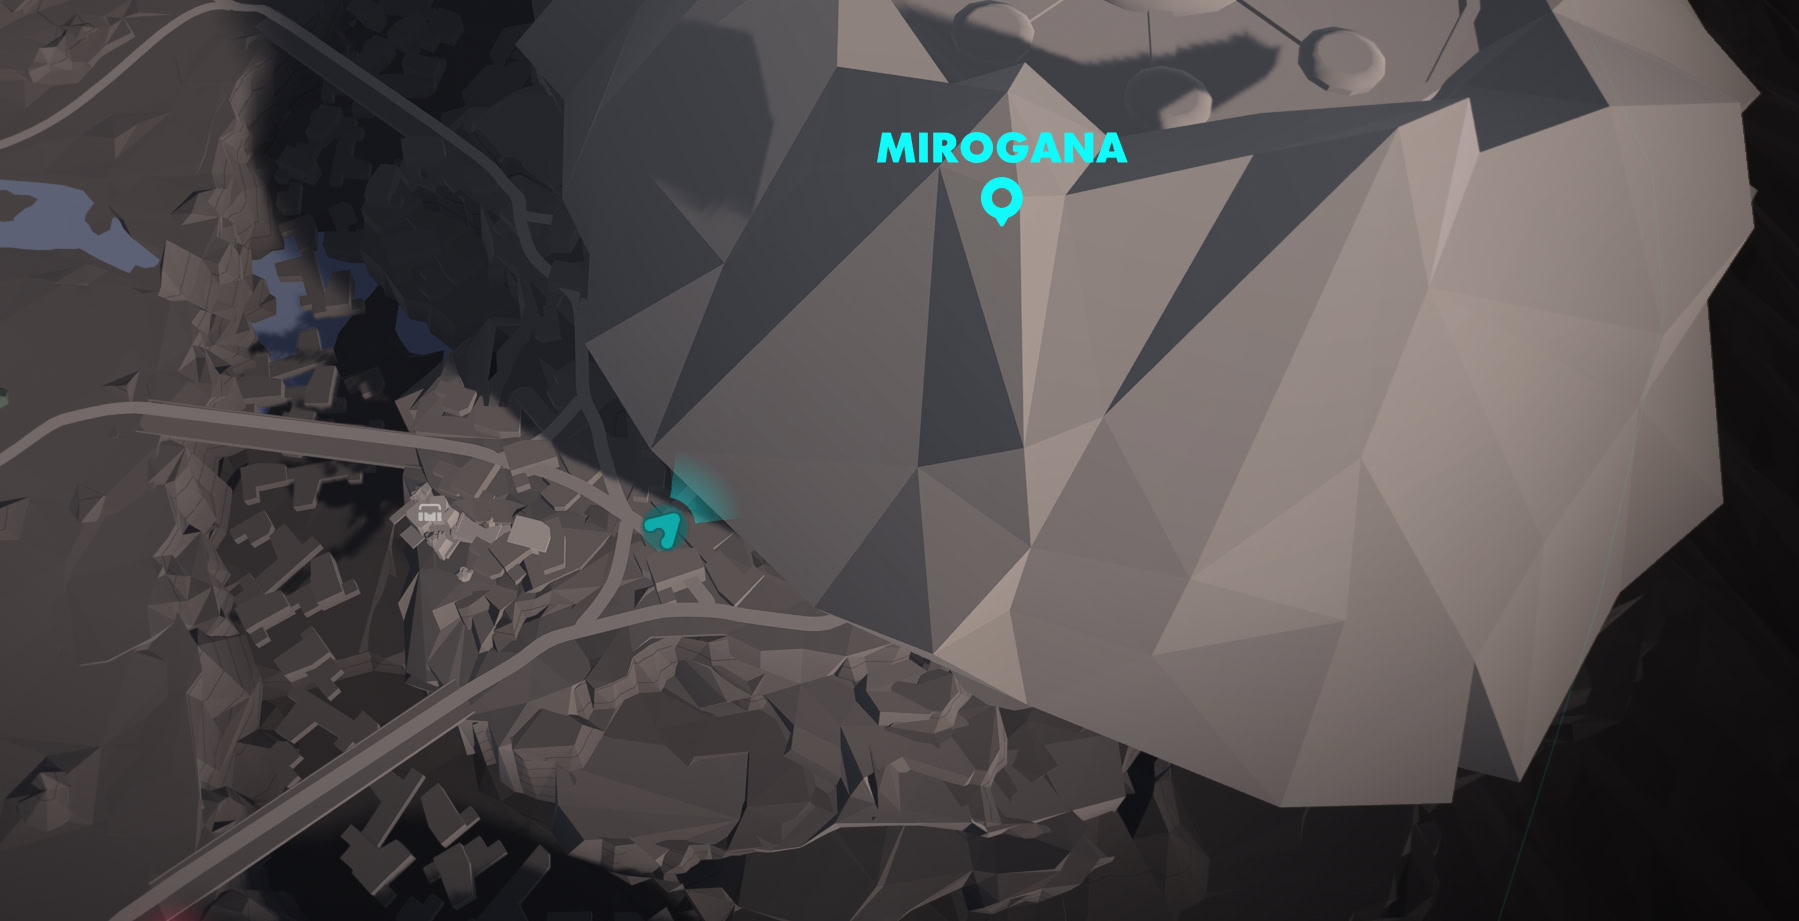
This challenge requires you to bribe an Imperial Officer at Wanted Level 5 to clear your status. You can accomplish this by going to Mirogana on Toshara.
Go outside Mirogana where the outpost is and harass the stormtroopers by running over them with your speeder. Repeat this until you hit Wanted Level 5, just don’t hit Level 6 or the Death Trooper event will start.
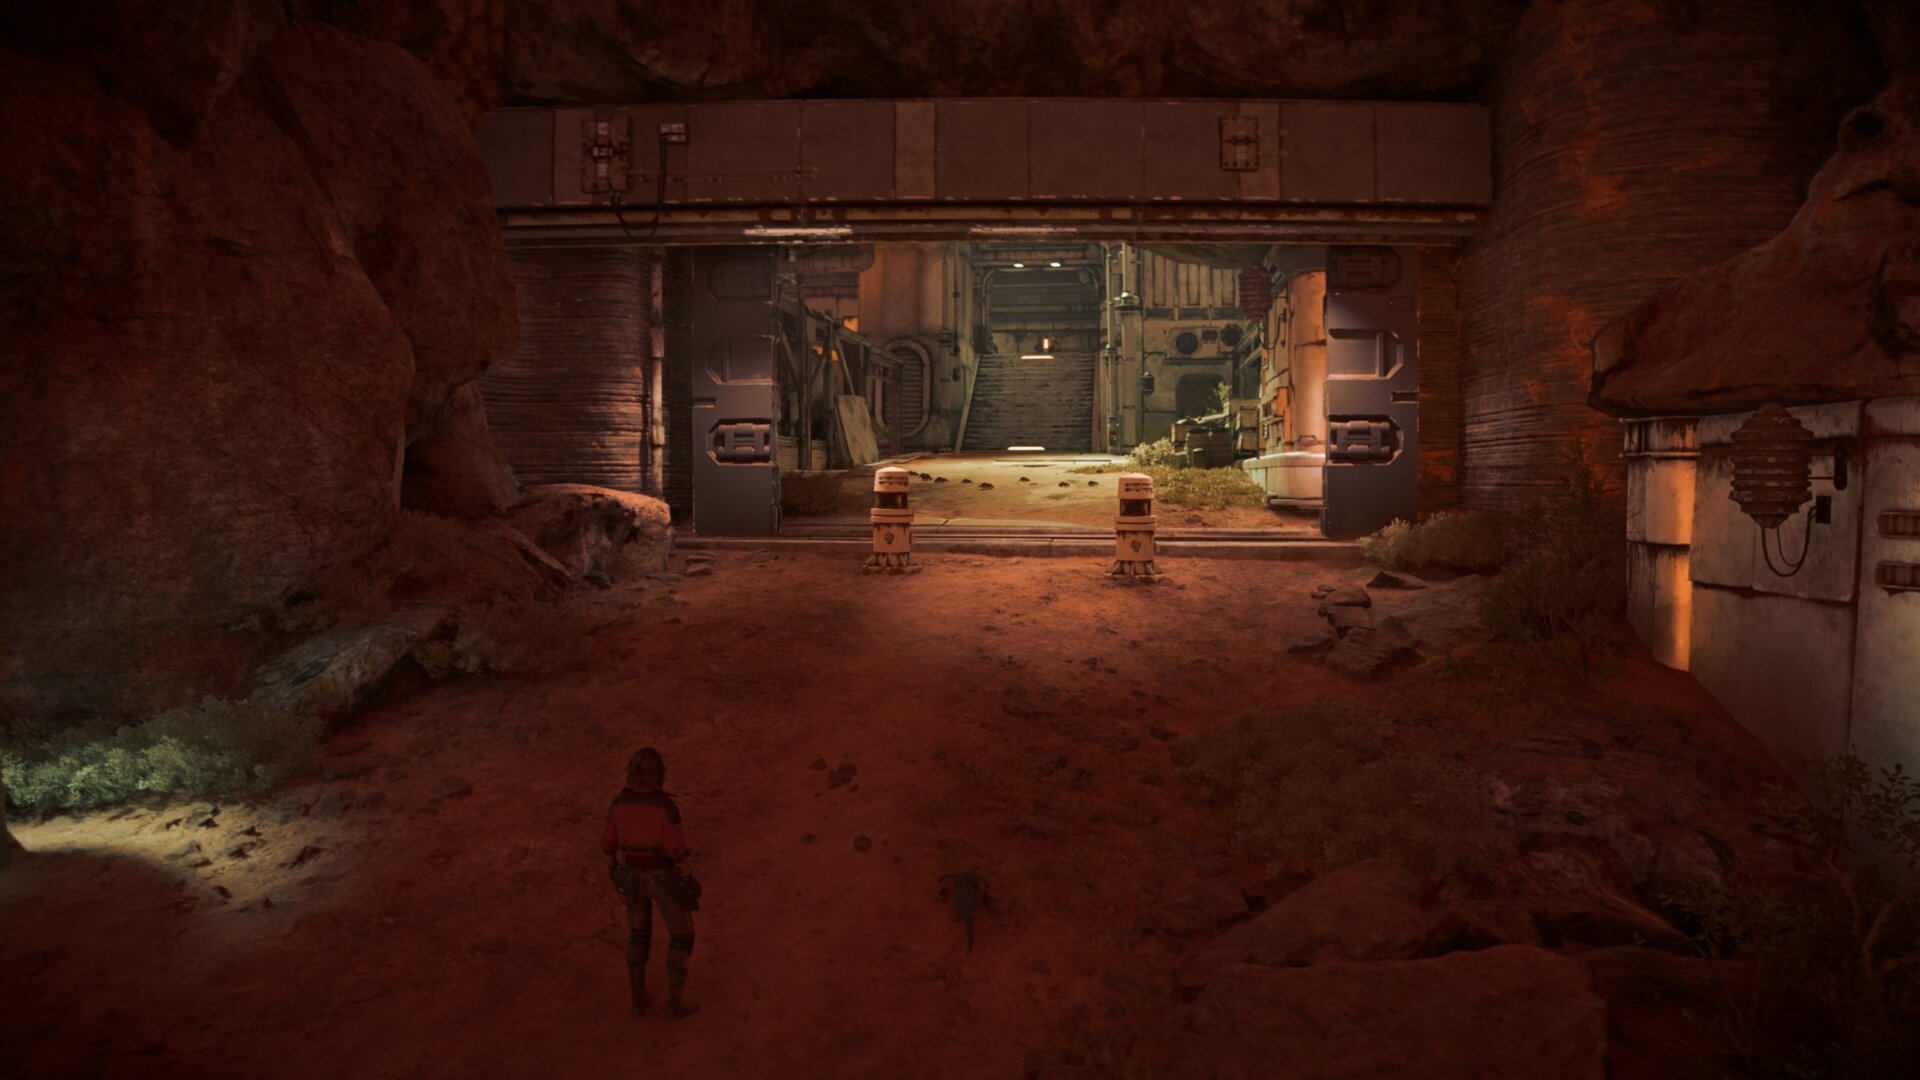
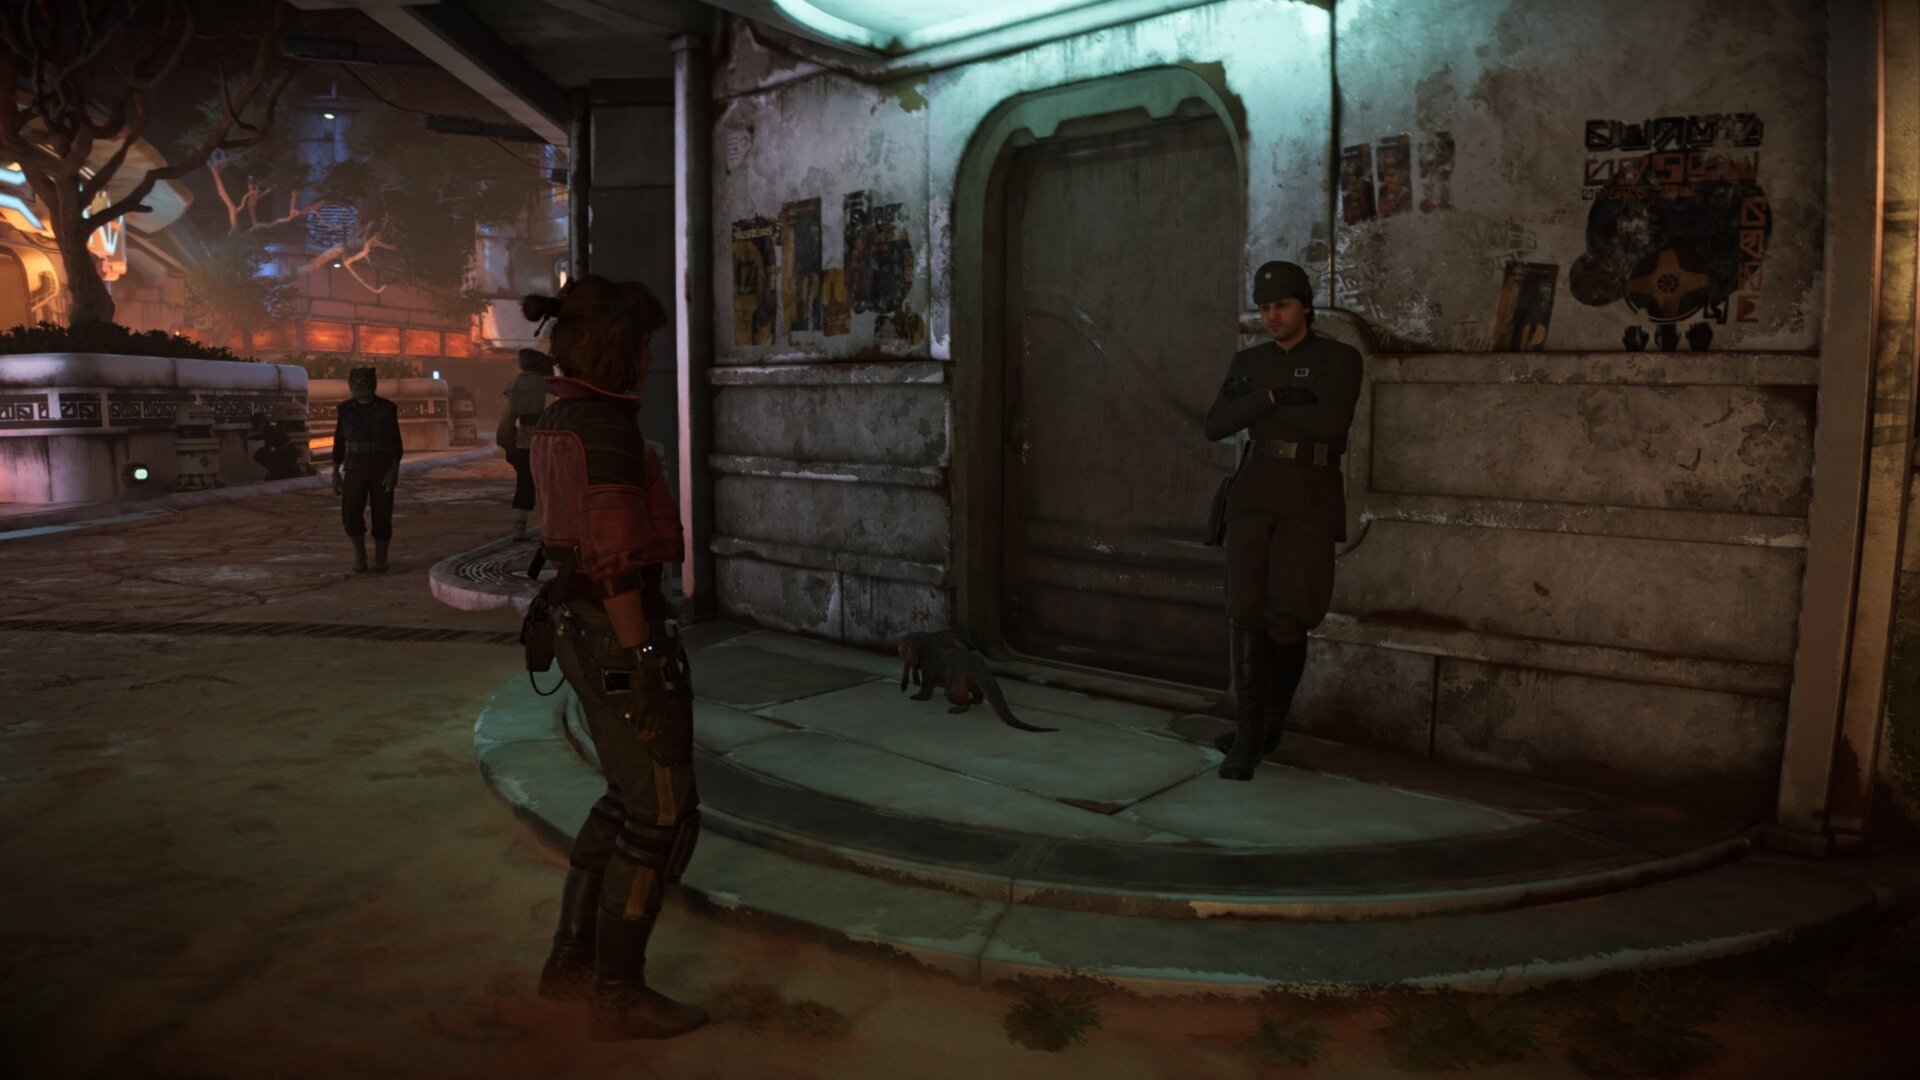
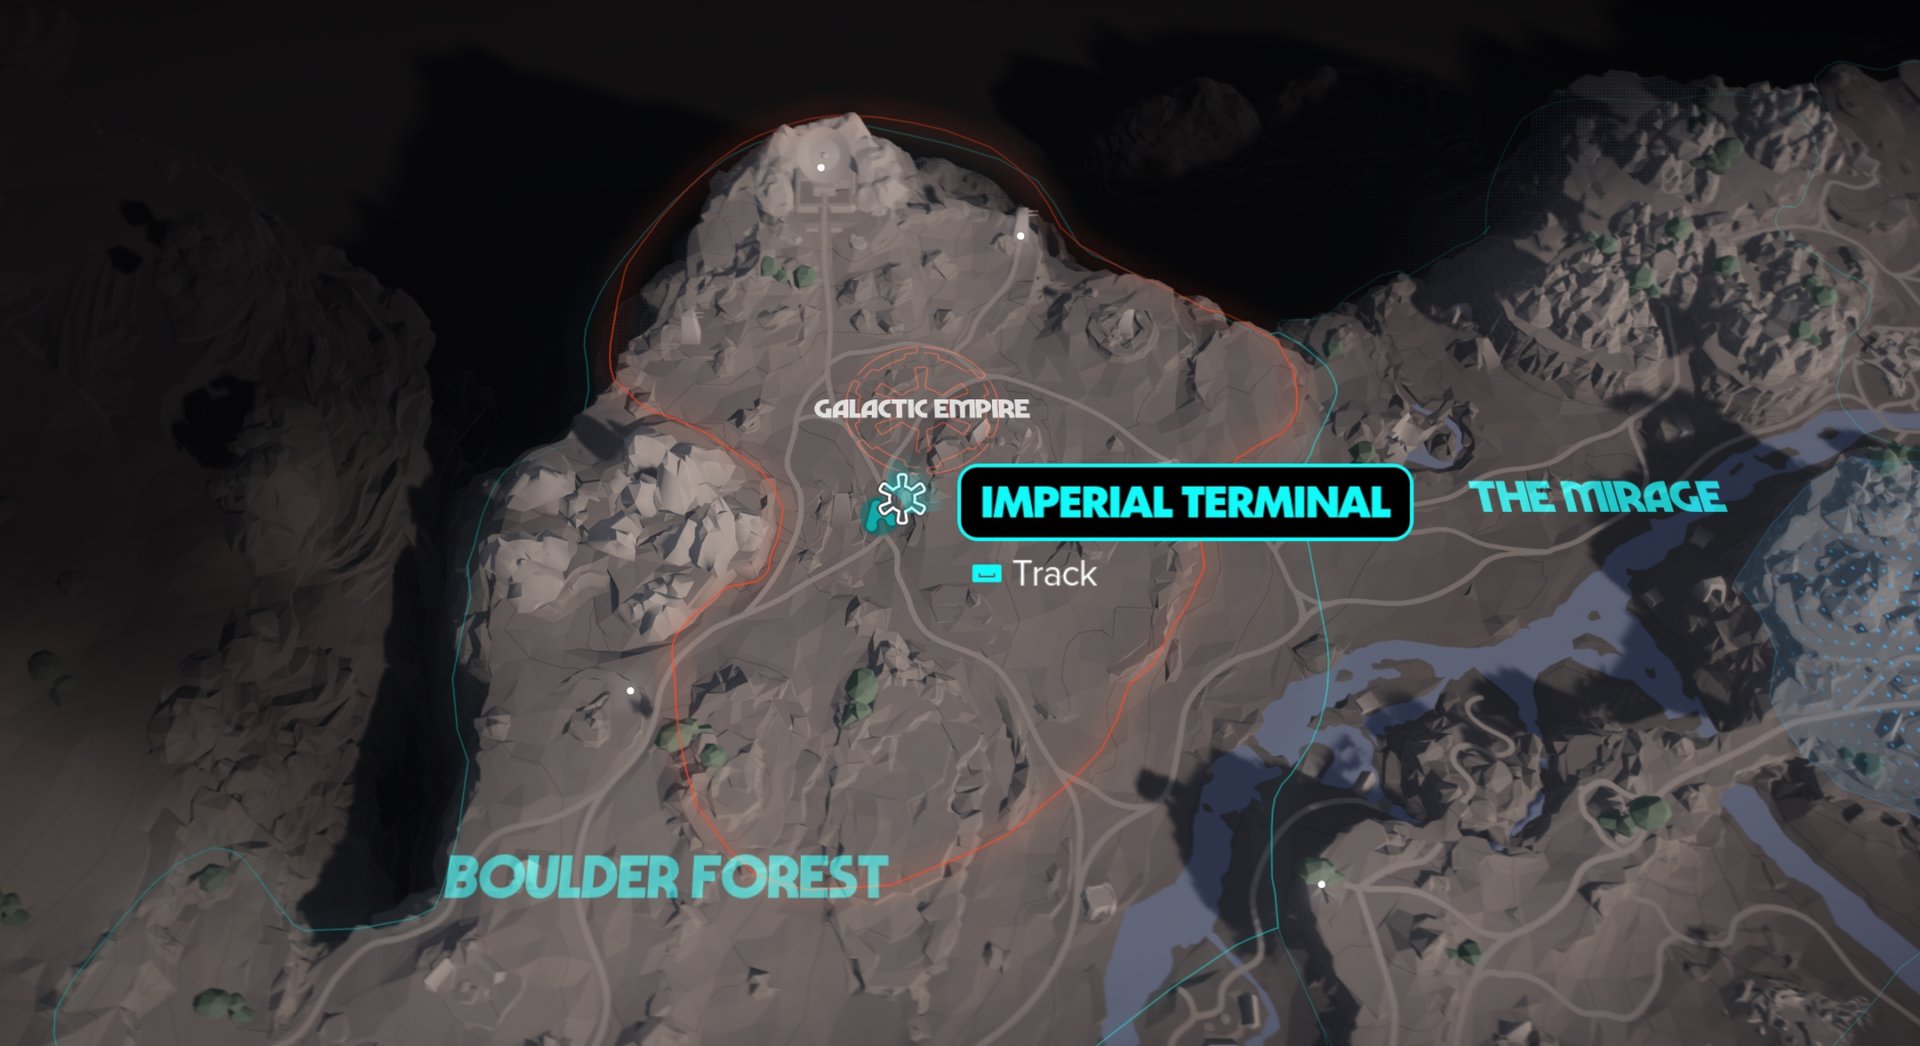
Once you hit Wanted Level 5, look for the following entrance into Mirogana (image below). There are no Imperials here and going up the stairs will lead directly to the corrupt Imperial Officer. He will remove your Wanted status for 220 credits.
They live up to the name
Reach Wanted Level 6 through hostile actions against the Empire to start a Manhunt. Follow the red quest marker(s) on your compass to reach an ISB camp. Defeat the 3 Death Troopers and the ISB officer.
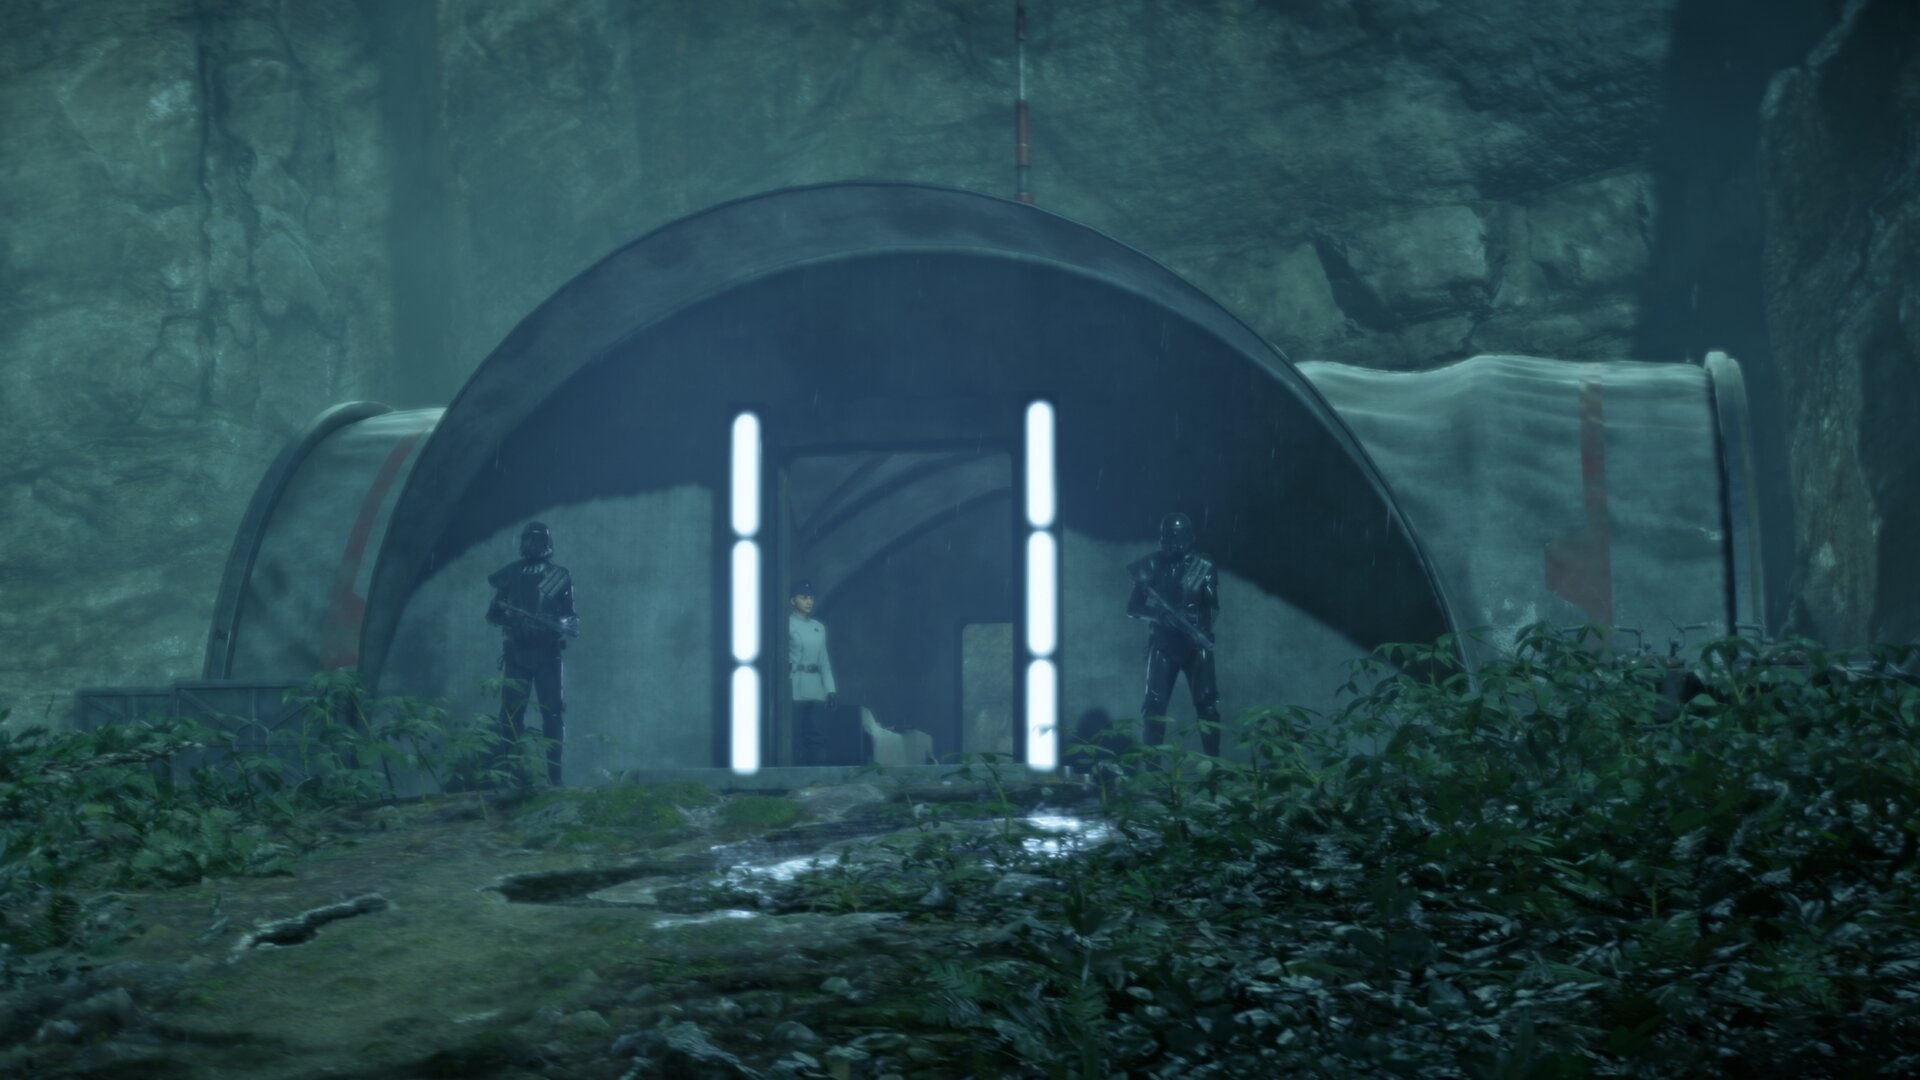
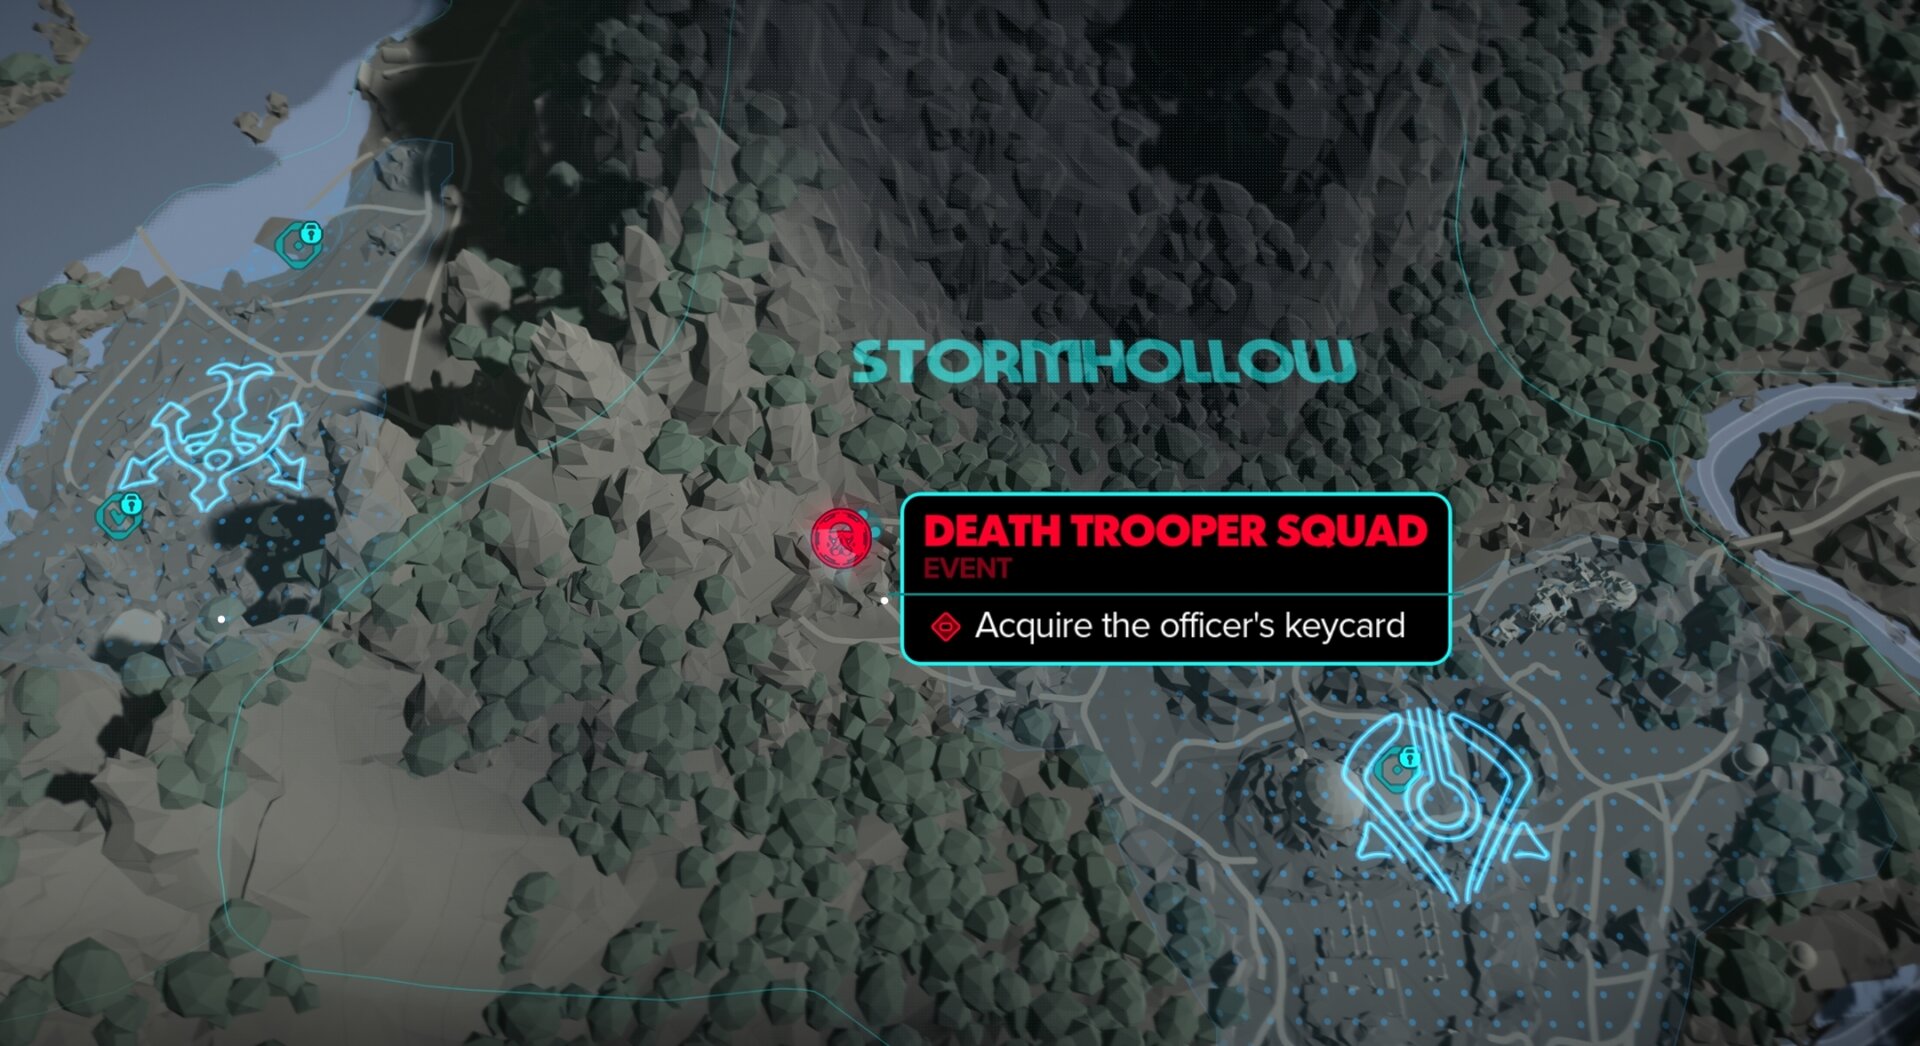
Loot the officer’s credentials and use them to clear your Wanted status inside the tent. Don’t forget to open the chest! It contains 1000 credits and the Death Trooper Mask Speeder Trophy.
Shoot First
You’ll need to unlock The More and The Better abilities from the Gunslinger expert to pull off Shoot First. Finding 6 enemies to shoot with Adrenaline Rush is easy enough to do at any Imperial base, pirate base, or syndicate-controlled area.
Technically, you can get this achievement earlier if you equip the Tatooine Gunslinger’s Pants, Jarwal Bloom (Major Charm), Krayt Dragon Fang (Minor Charm).
No match for a good blaster
You need to fully upgrade a blaster configuration to unlock this achievement. It can be any configuration from any module. Pick your favorite and max it out!
Got you something
You’ll need to find all of the Nix treasures hidden in the galaxy. If you notice Nix is making some noise and Kay is talking to him, this typically means a Nix treasure is nearby.
Galactic gourmet
There are 4 Galactic Street Food Challenge mini games you can find, one per planet. You can find a list of them on our Nix abilities guide, and you’ll get some cool rewards for completing them!
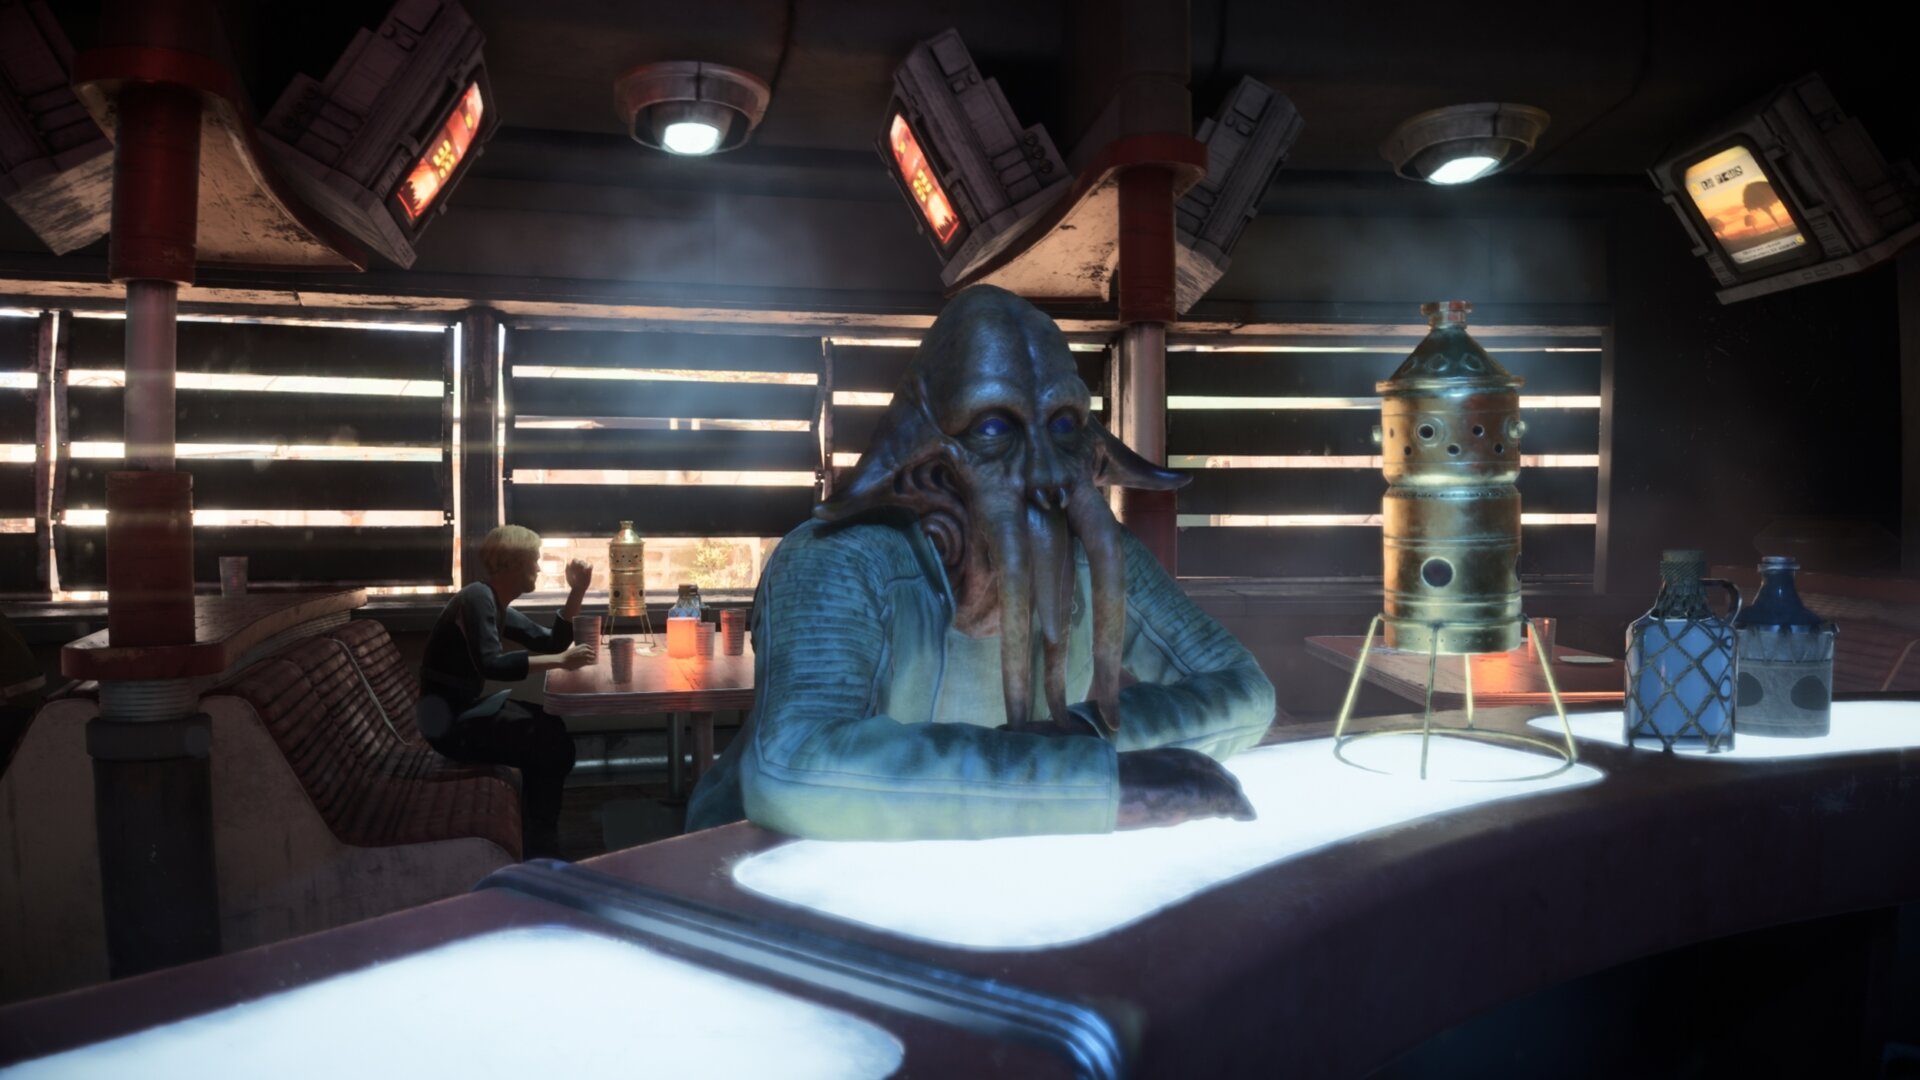
Good listener
To complete this achievement, head to the Daruda Diner in Jaunta’s Hope on Toshara. To the left, you’ll find a Quarren criminal you can talk to. He’s going to be sad, so just pry into his problems or comfort him. After listening to his sob story, you’ll complete the achievement.
He may not always be at the diner and we’re not quite sure what makes him be there. If he isn’t there, complete some side quests or story missions and try again later.
Experience outranks everything
You’ll need to complete all Expert quests to complete this achievement. Fortunately, we have a guide that has you covered.
Adventure and excitement
To unlock this achievement, you’ll need to explore the planets and find all the sectors that have blue name titles on the map. You’ll need to discover the following areas:

Toshara
- Mirogana Valley
- The Mirage
- Grazing Fields
- Boulder Forest
- Southern Falls
- The Lost Steppe

Kijimi
- Kijimi City

Tatooine
- Great Chott Salt Flat
- Mos Eisley Outskirts
- Desert Valley
- South Jundland Wastes
- North Jundland Wastes
- Western Dune Sea

Akiva
- Myrra Valley
- Karaba Foothills
- Stormhollow
- Hunter’s Canopy
- Mount Selasa
- The Great Basin
Give me the good stuff
You’ll need to raise your reputation with one of the syndicates to unlock this. When your reputation gets good enough with one of these syndicates, talk to a vendor aligned with them. Purchase something from the VIP stock and you’ll get this achievement.
Old school cool
To obtain the Disruptor gear set, oyu must obtain all 16 of the Separatist Datadiscs (Transmissions Collectibles) as part of the Separatist Transmissions Intel Chain along with the Decryption Module from MT-7, The Veteran.
Honest work
After completing the New Tricks story quest, you’ll be able to access Contract Brokers. There are many brokers to find on each planet, keep an eye out and talk to them when you see one. You can then get contracts anywhere if you contact them in the Trailblazer.
Cut-throat politics
Reach the maximum reputation with the Pyke Syndicate. When you do it, you’ll get the Imperial Disguise outfit.
Cloak and Dagger
Crimson Dawn will reward you for your loyalty if you reach maximum reputation with them. Not only will you get this achievement, but you’ll also get the Crimson Reign outfit.
What you see is what you get
The Hutts have been around for a long time, might as well get on their good side for profit. Getting maximum reputation with the Hutt Cartel will grant you this achievement and the Boonta Brawler outfit.
The Queen’s word is law
While an outsider, your loyalty to The Hive will not go unnoticed by the Ashiga Clan. At max reputation with the Ashiga Clan, you’ll earn this achievement and the pheromone-drenched Kijimi Explorer outfit.
Think I had a choice?
Get on a syndicate’s bad side. The quickest way to end up on their bad side is to take up a contract and double-cross them. Working against them on side quests is also a good way to quickly end up on their “shoot on sight” list.
Clarification: “bad” here doesn’t mean the tier labeled “bad” in-game. You have to reach the lowest tier, which is “terrible”
It’s mine now
Collect the Scoundrel outfit to unlock this achievement. The Scoundrel Set is a reward for discovering Jet Kordo’s Vaults. This is a rather long quest chain that starts with the picking up the Holotracker and learning to use it on Toshara.
Stay on target
Whether you find intel by talking to someone, listening to a conversation, or reading a datapad, seeing the intel through and getting the treasure at the end will unlock this achievement.
Easy pickings
Pickpocket a customer at the following cantinas:
- Makal’s Gambling Parlor (Mirogana, Toshara)
- Domak Refectory (Kijimi City, Kijimi)
- Chalmun’s Cantina (Mos Eisley, Tatooine)
- The Alcazar (Myrra, Akiva)
There may not always be a customer that you can pickpocket. Exit the cantina and return a bit later to check if someone has appeared meanwhile.
Against all odds
Winning your first fixed fathier race just involves finding some intel out in the wild and betting on it.
You can find a datapad with a fixed race when you steal from the Pykes or Crimson Dawn during the quest New Tricks. The side quest Money Drop also deals with fixed fathier races.
No such thing as luck
After completing The High Roller quest, you’ll eventually get an invitation to play a game of Sabacc from Lando Calrissian. Play against him and show him a taste of his own medicine by cheating in the game.
It’ll only count if you win. What is really sad is that when you do win, I’m afraid you won’t get a YT-1300 light freighter for your efforts.
There is no try
You can earn this one by getting the high score in either the Rider or Raven 6 arcade mini games.
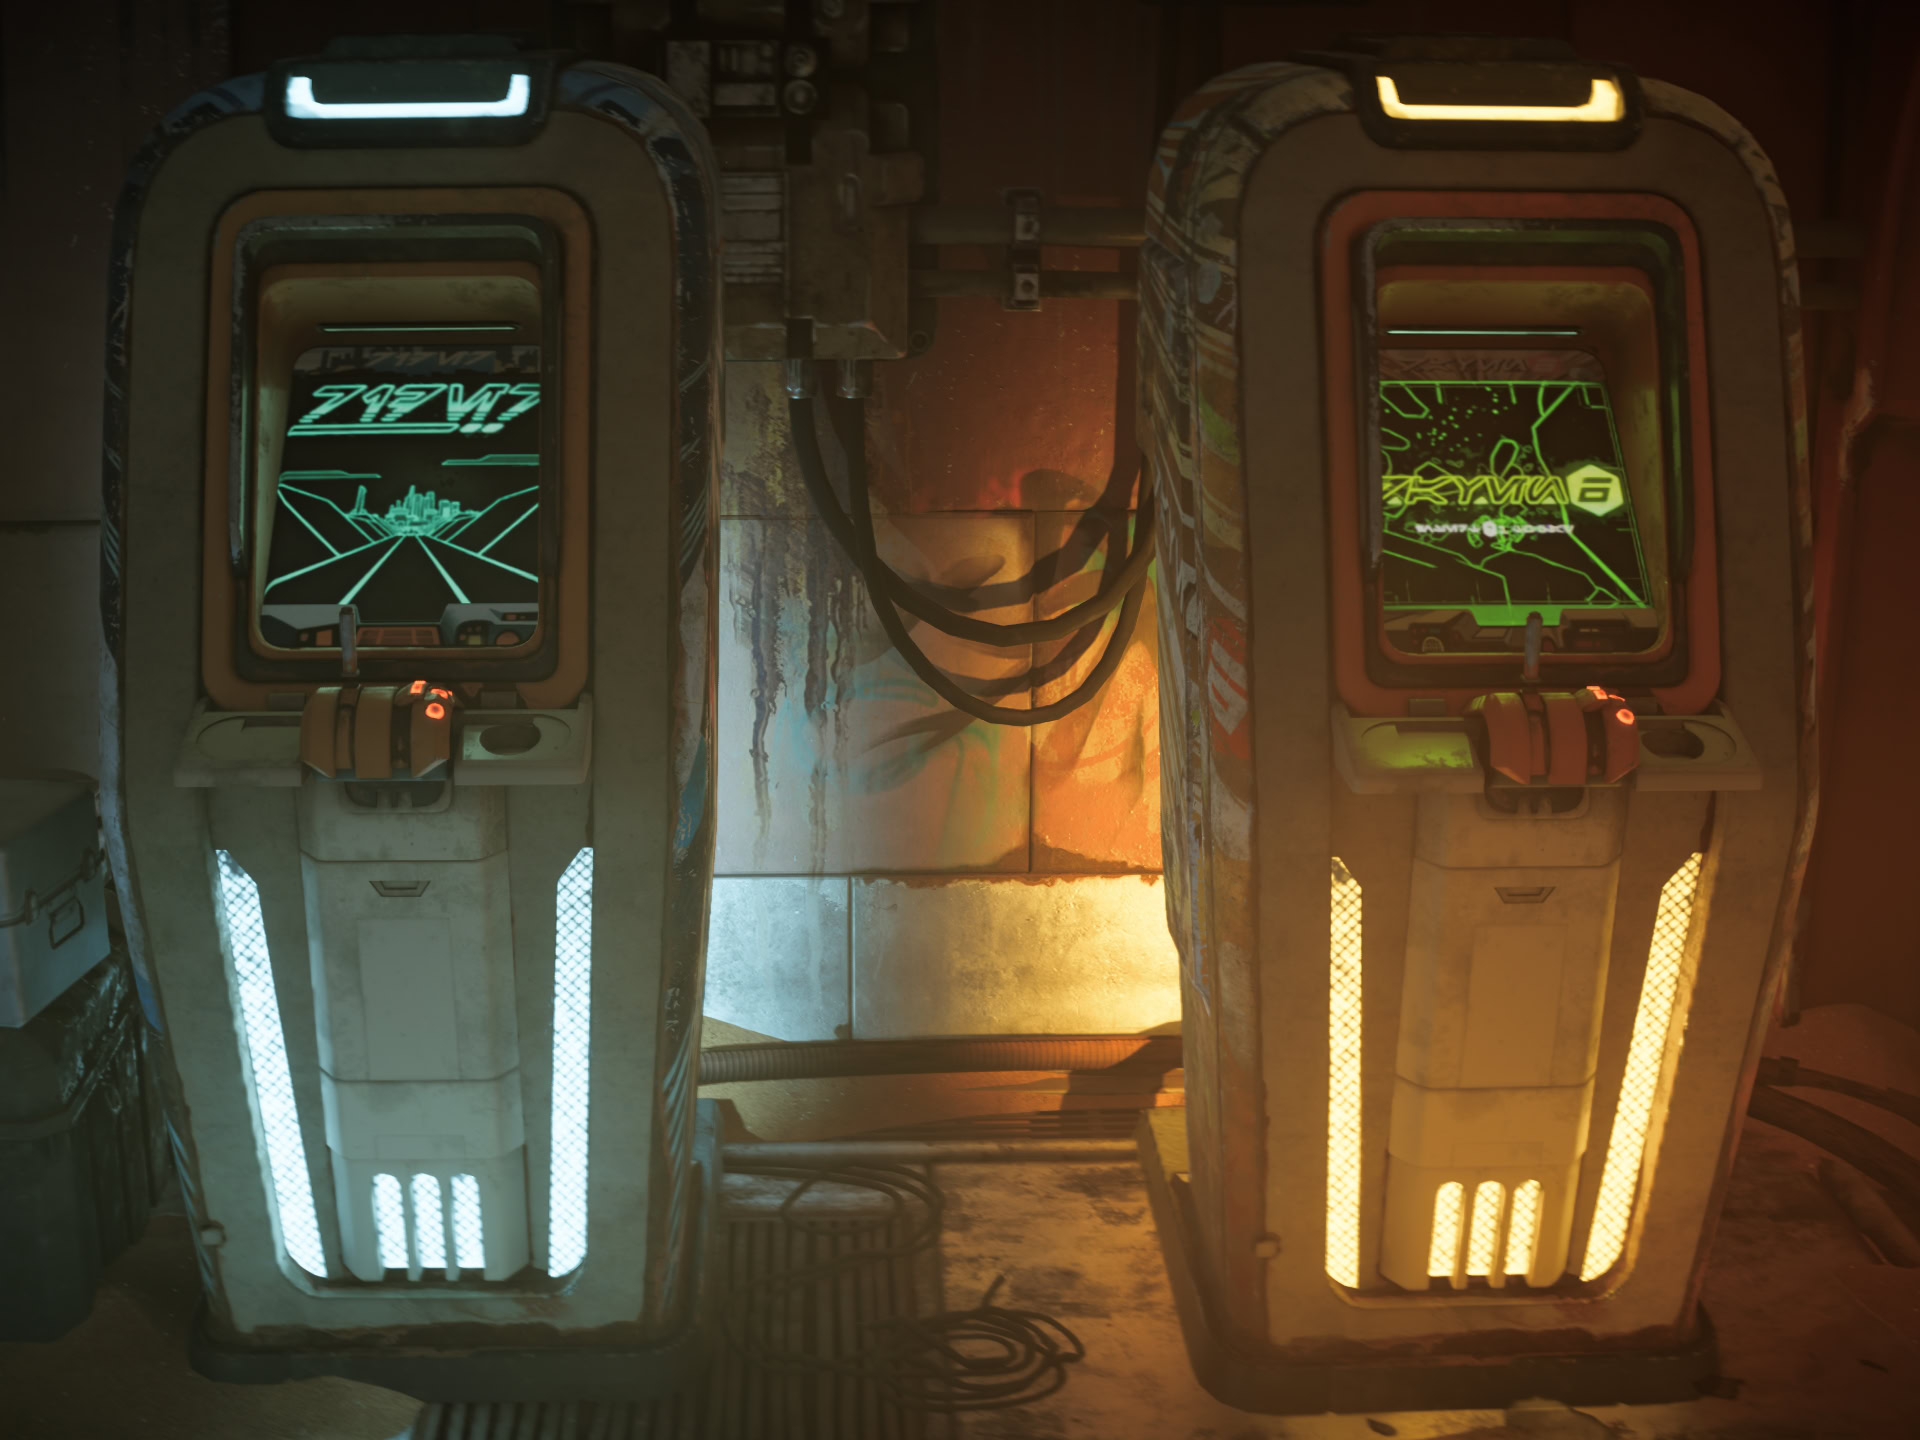
Rider is the same every time, so you can get the high score by memorizing the pattern of obstacles and speed boosts. Otherwise, you’ll need to rely on reflexes.
Raven 6 is more variable. Take care of asteroids first then aim your lasers where ships converge, as they will fly into the line of fire if you can figure out where that line is fast enough. It’s much easier to do by aiming with a mouse. Make sure to use your super shot as often as you get it.
Right back at you
Have Nix fetch all pick-up weapons for you, even if they’re right next to you, then use those weapons to defeat enemies.
How rude!
Have Nix attack 30 enemies. Honestly, they’re quite lucky that they can get a tactical hug from Nix. For these to count towards the achievement, you have to wait for the entire animation to complete. Don’t interrupt the “hug” with a melee or ranged attack from Kay. You can repeat it on the same NPC.
The Nix Commando ability from The Veteran expert allows your fellow to attack a second NPC autonomously after the first one.
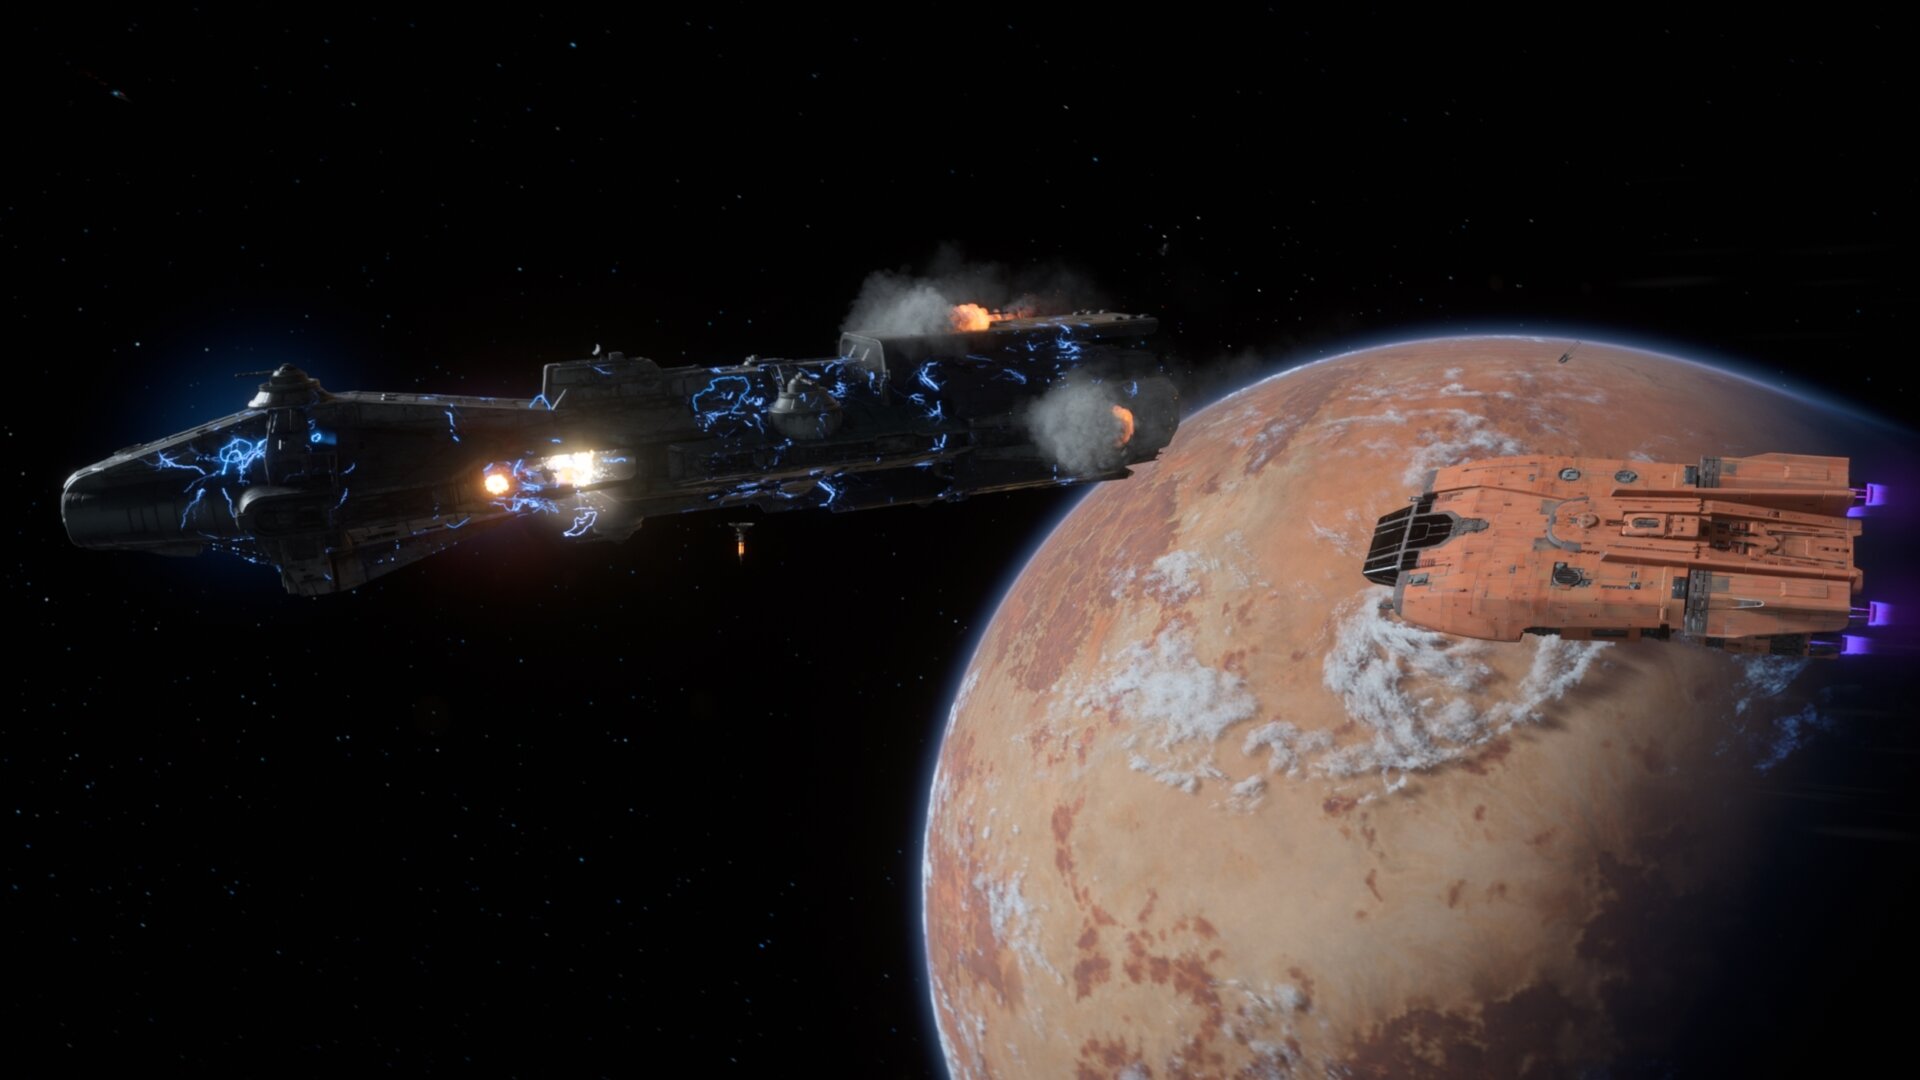
Punching up
You’ll need to destroy a capital ship from each syndicate capital ship without taking any hull damage.
It helps immensely to fully upgrade your ship and get Good or Excellent reputation with the syndicates before attempting this one. You’ll get to fire the opening salvo if you’re on good terms with them, and they won’t fight back until they take hull damage.
If you look at our Recommended Trailblazer Builds in our Trailblazer guide, you’ll find a pair of builds designed to counter the capital ships. Use either the Heavy Offensive or Heavy Defense Anti-Freighter builds.
Regardless of your build, open with a full target lock and charged Cannons, activate the Turret immediately. Disable the shields with Ion damage or punch through them. Don’t forget to continue firing your standard missiles/torpedoes at the weak spots.
If you’re using the Defensive build, focus down the shield generators first, as that will prevent their shield from regenerating, then hit any remaining weak points. Their ship will be disabled by Ion Missiles, so you won’t have to worry about taking significant damage, but you have Countermeasures as a backup.
If you’re using the Offensive build, focus on the weapons systems first, followed by the shield generator. Your Ion Turret can’t keep them disabled for long and you need to make sure they can’t hurt you when their systems come back online.
If the capital ships you’re looking for don’t appear, jump to another planet then jump back. They may spawn in after you reload the area when jumping back in. Here are the following spawn locations for each of the syndicate capital ships:
Toshara Orbit – Crimson Dawn SRX-Manta
The Crimson Dawn capital ship can be found south of Renpalli Station. If you enter Toshara’s orbit from Toshara, it’ll likely spawn right in front of you.
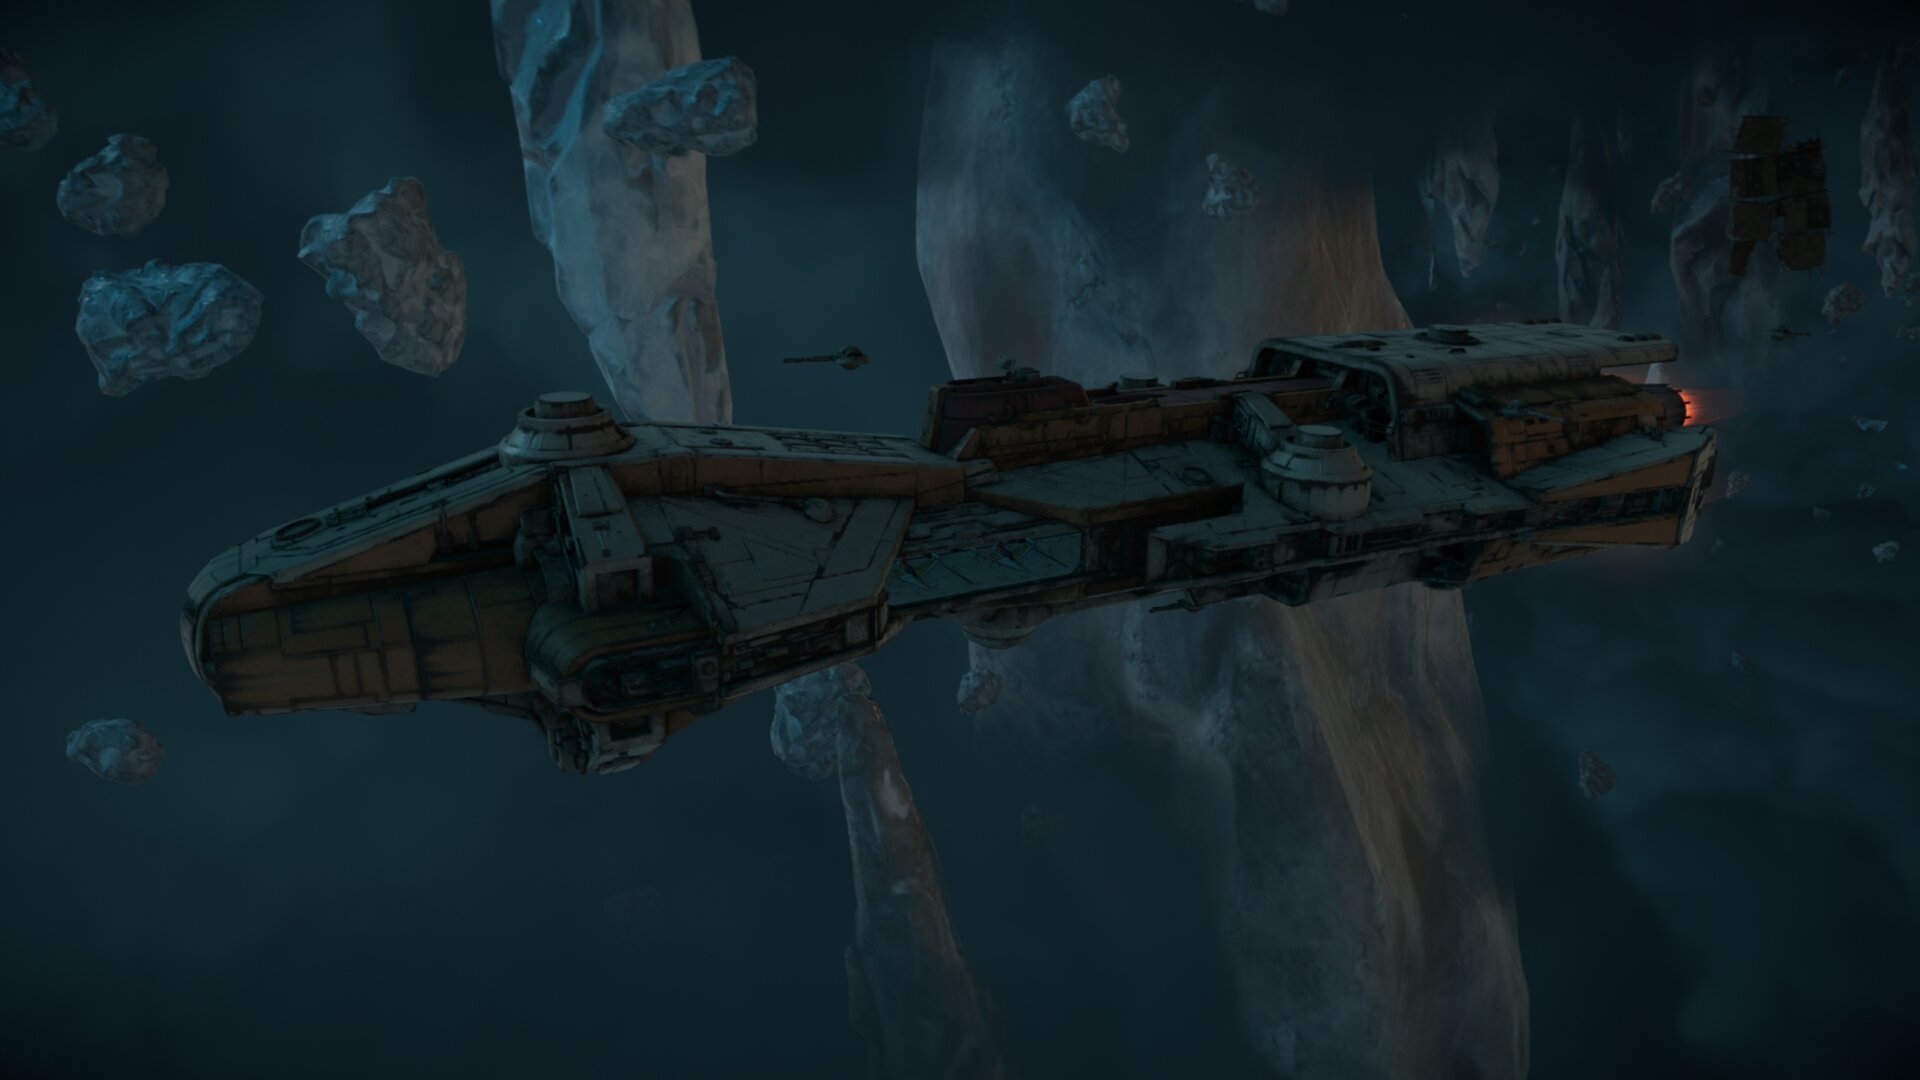
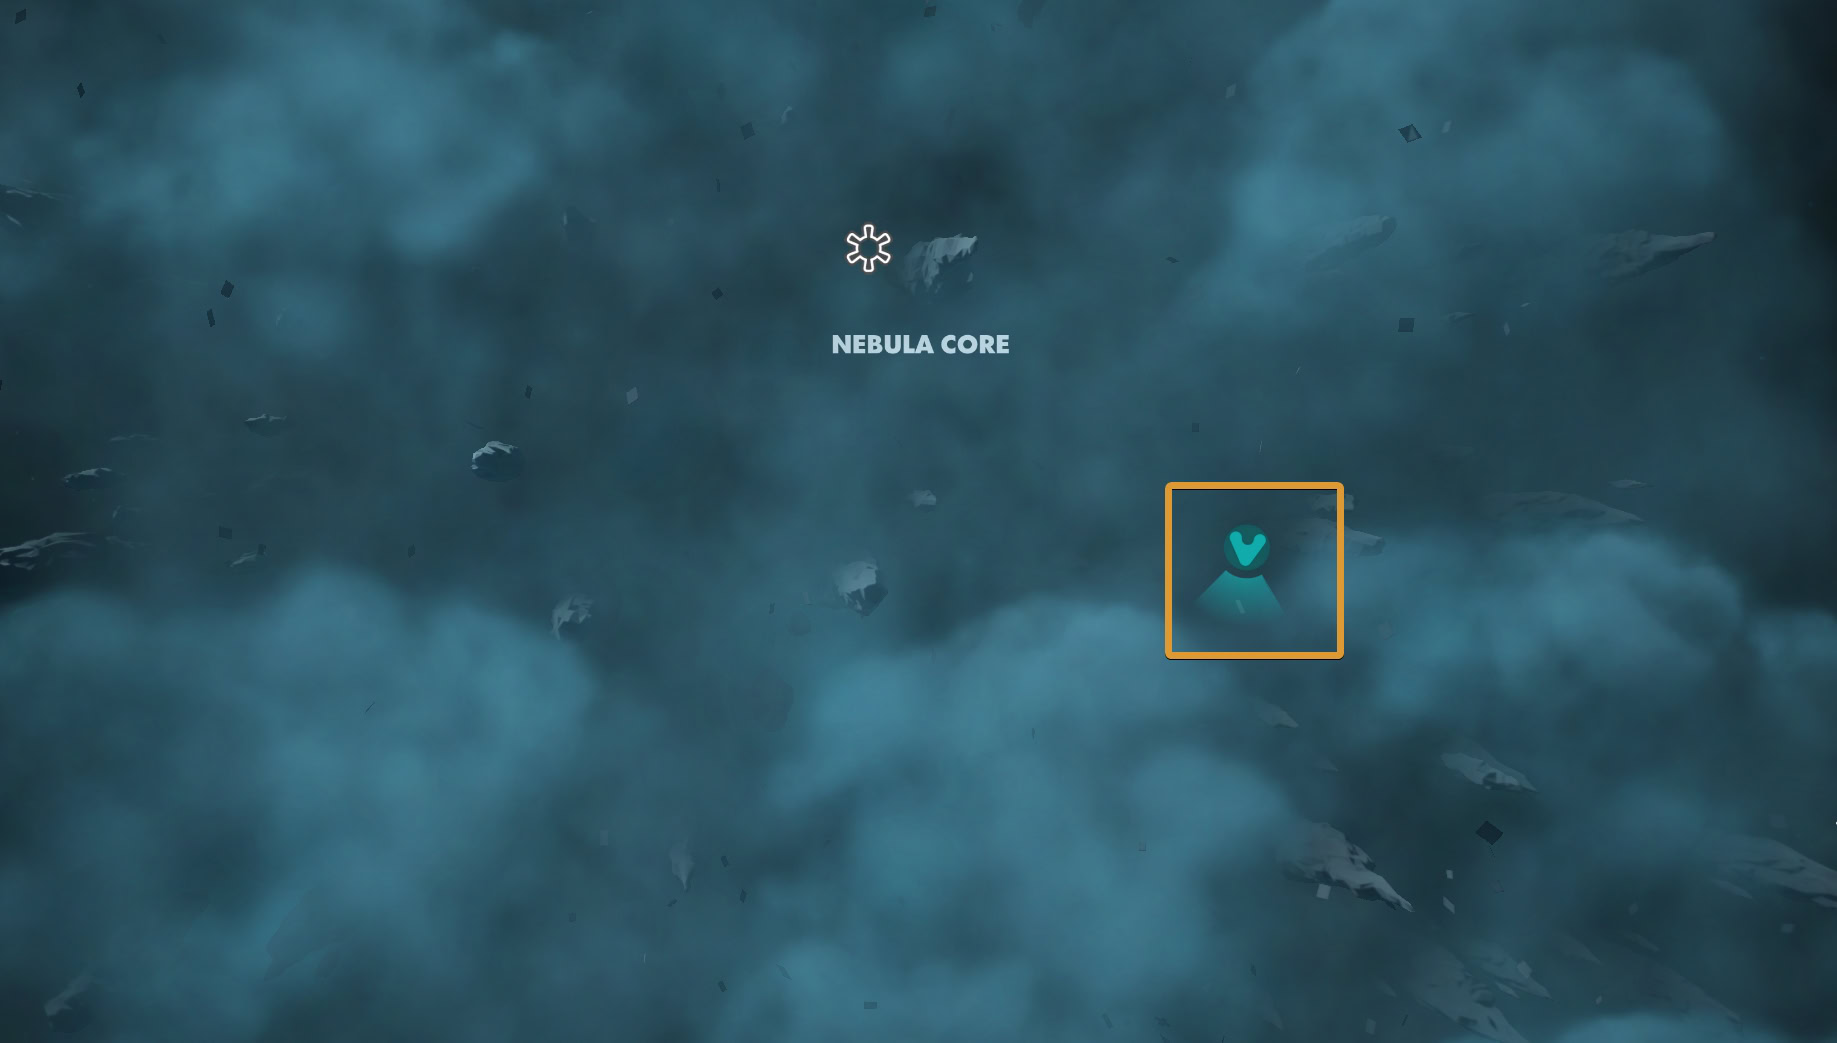
Kijimi Orbit – Ashiga Clan B84-Viper
The Ashiga Clan’s capital ship will spawn southwest of the Nebula Core text on the Kijimi orbit map.
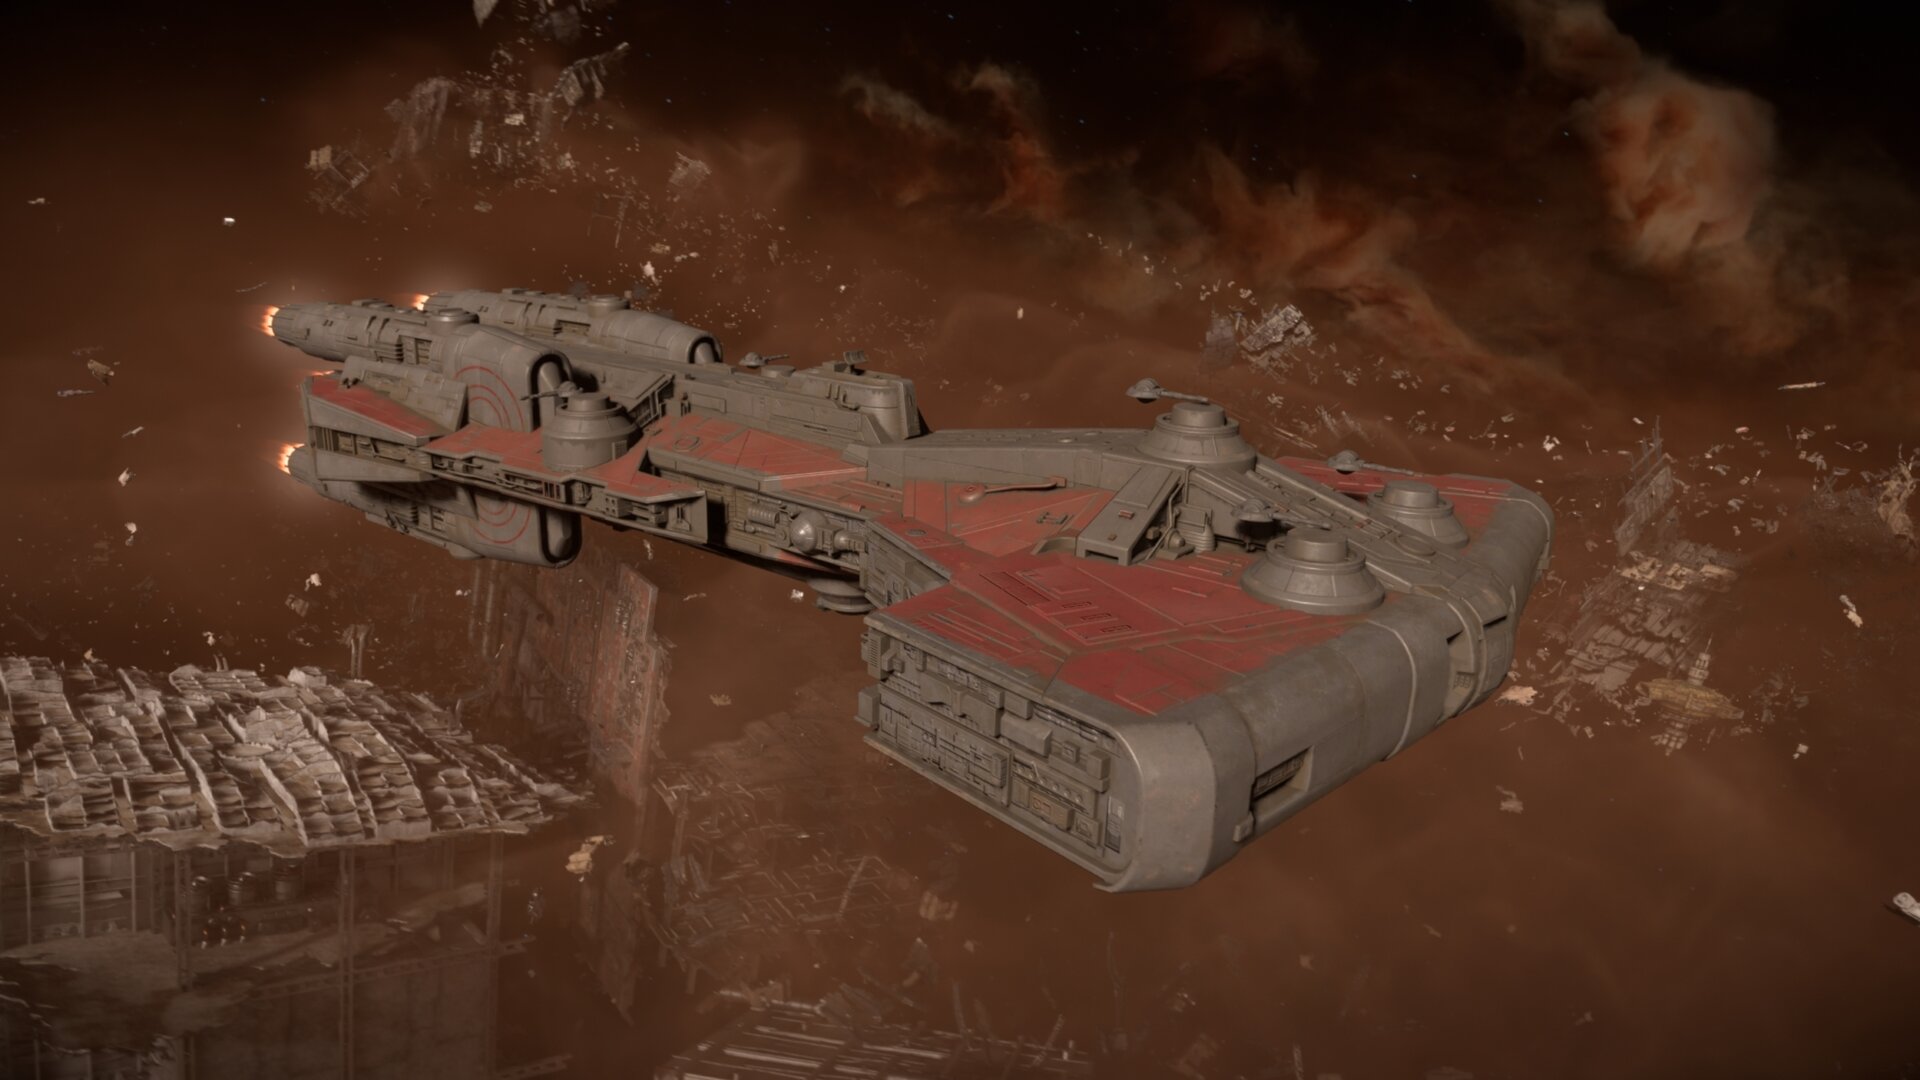
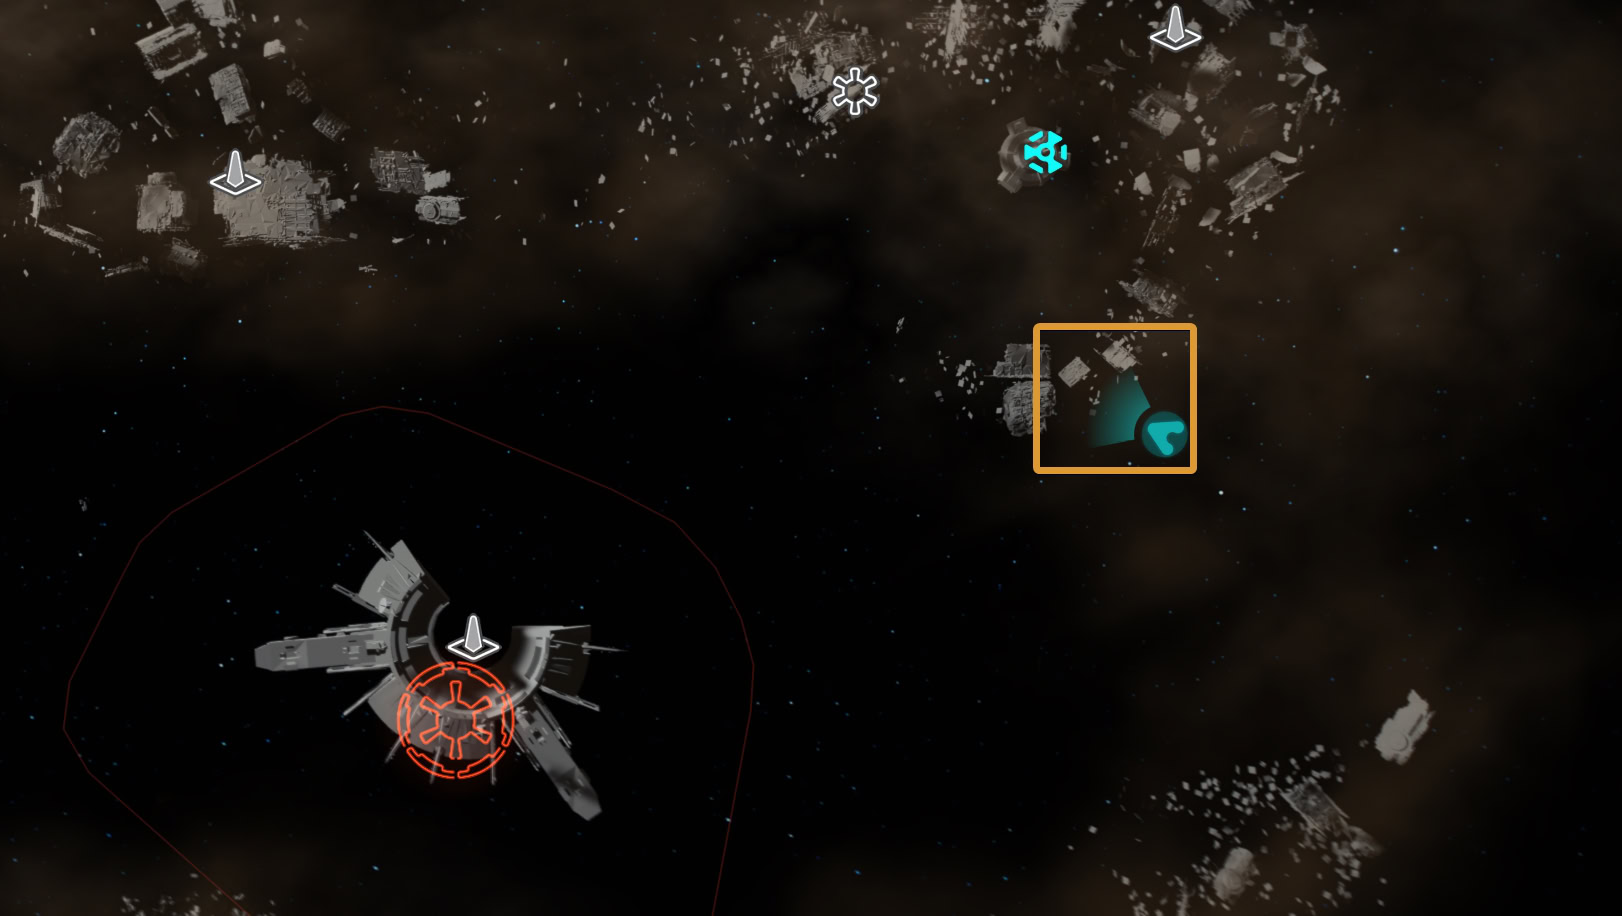
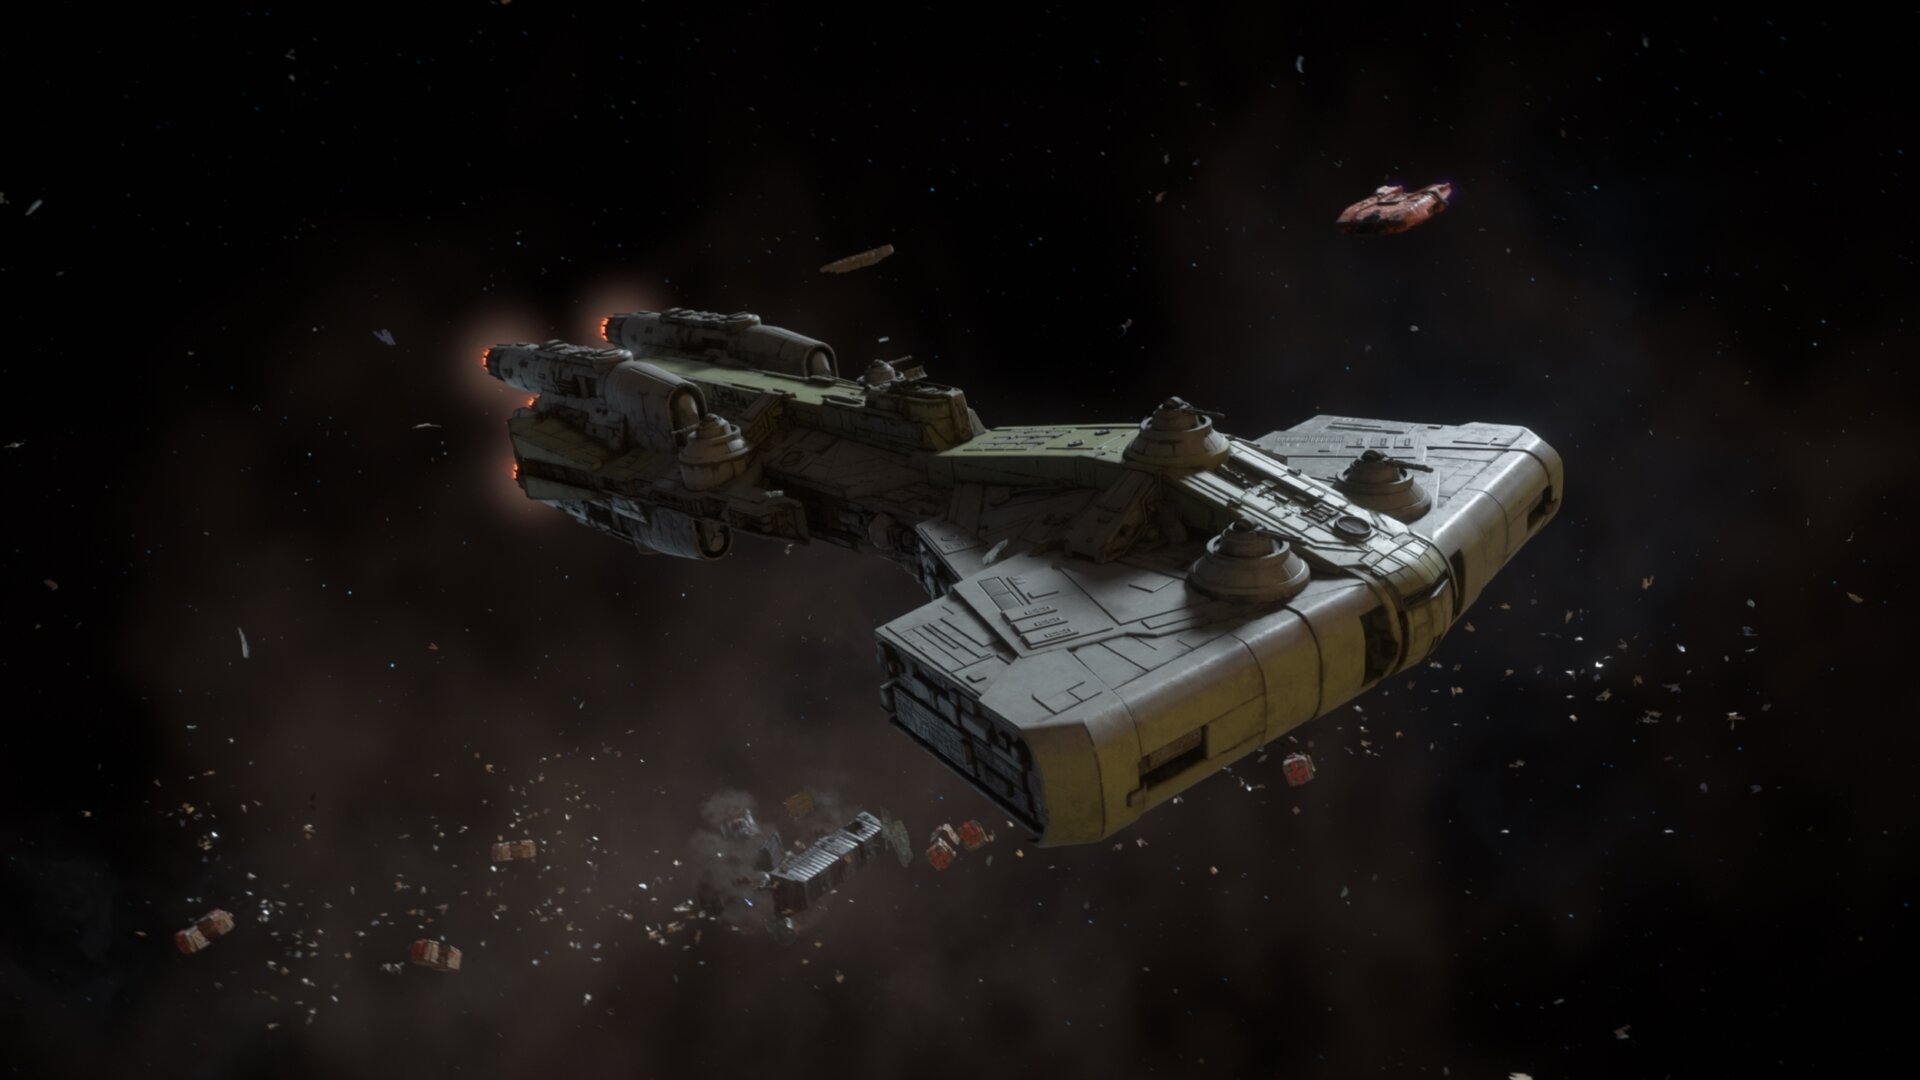
Tatooine Orbit – Pyke Syndicate B84-Viper
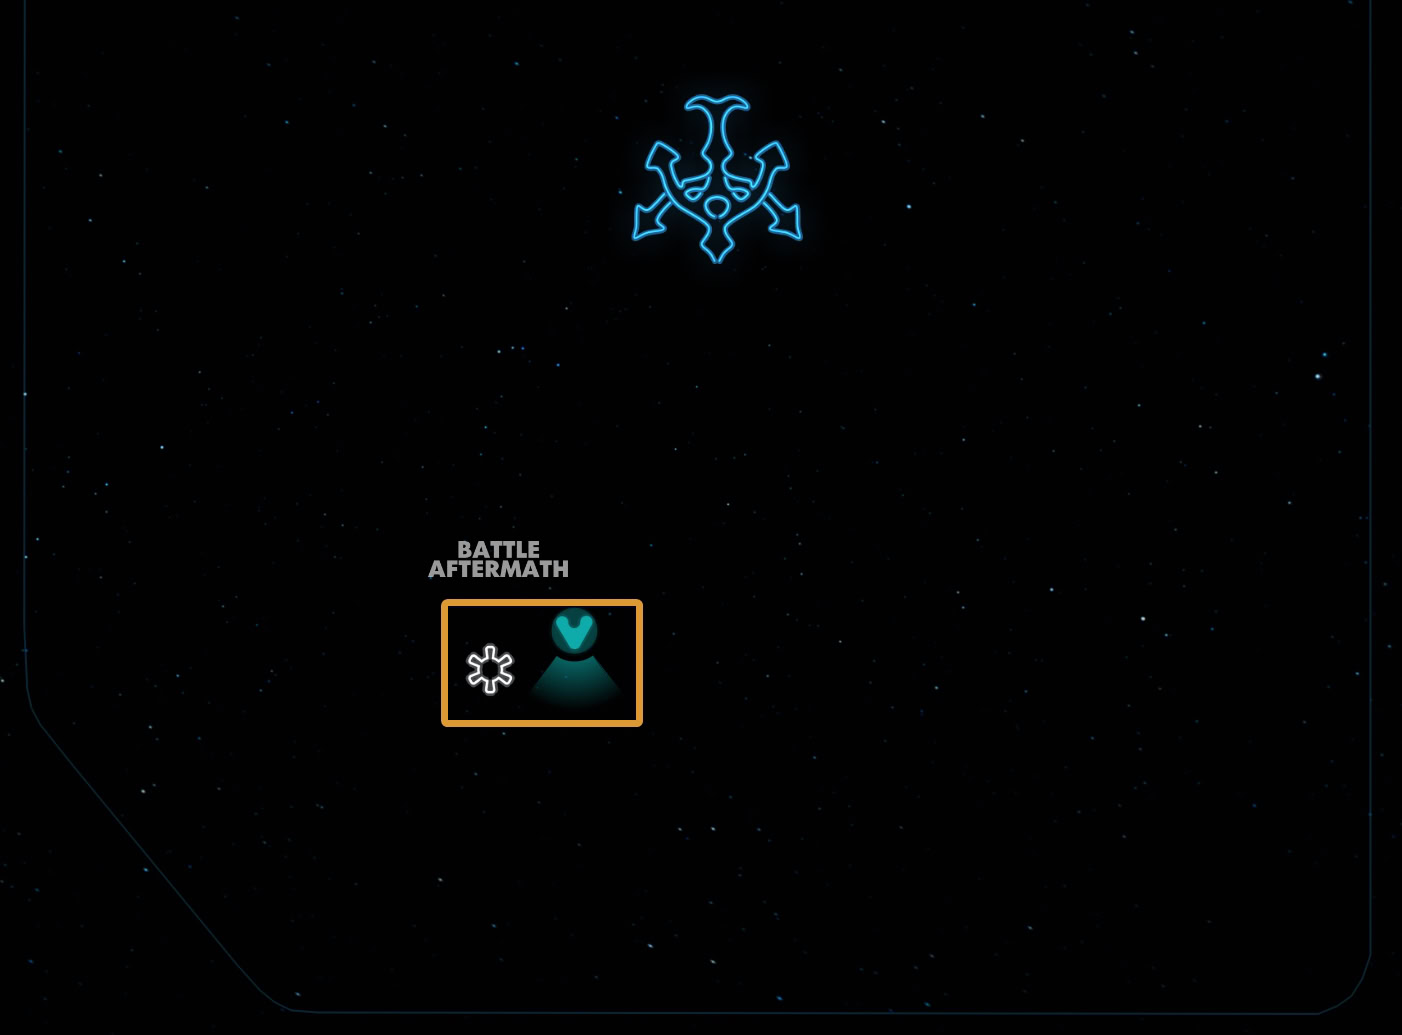
The Pyke Syndicate capital ship typically spawns north or northwest of the Battle Aftermath text in the Tatooine orbit map.
If you’re looking for the Hutt capital ship, jump to a different planet then jump back. Repeat this until the Hutt capital ship spawns.
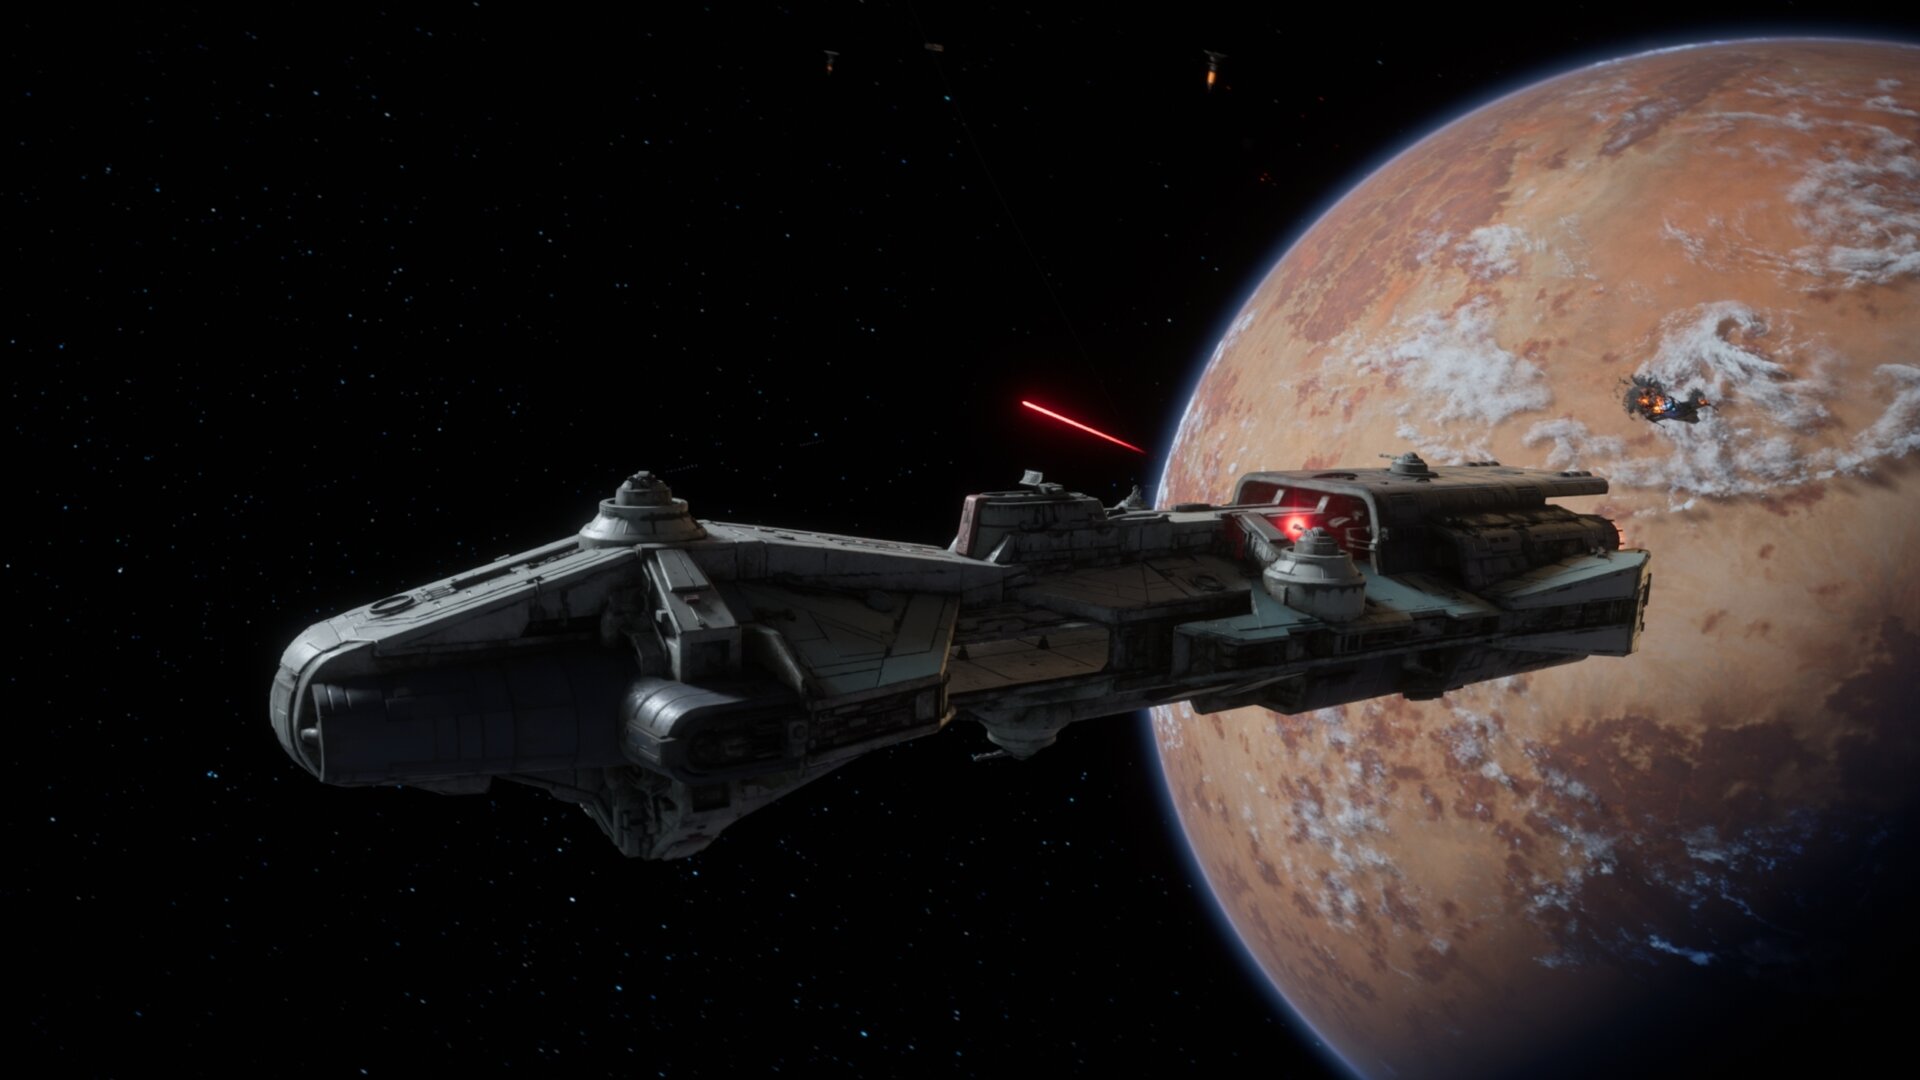

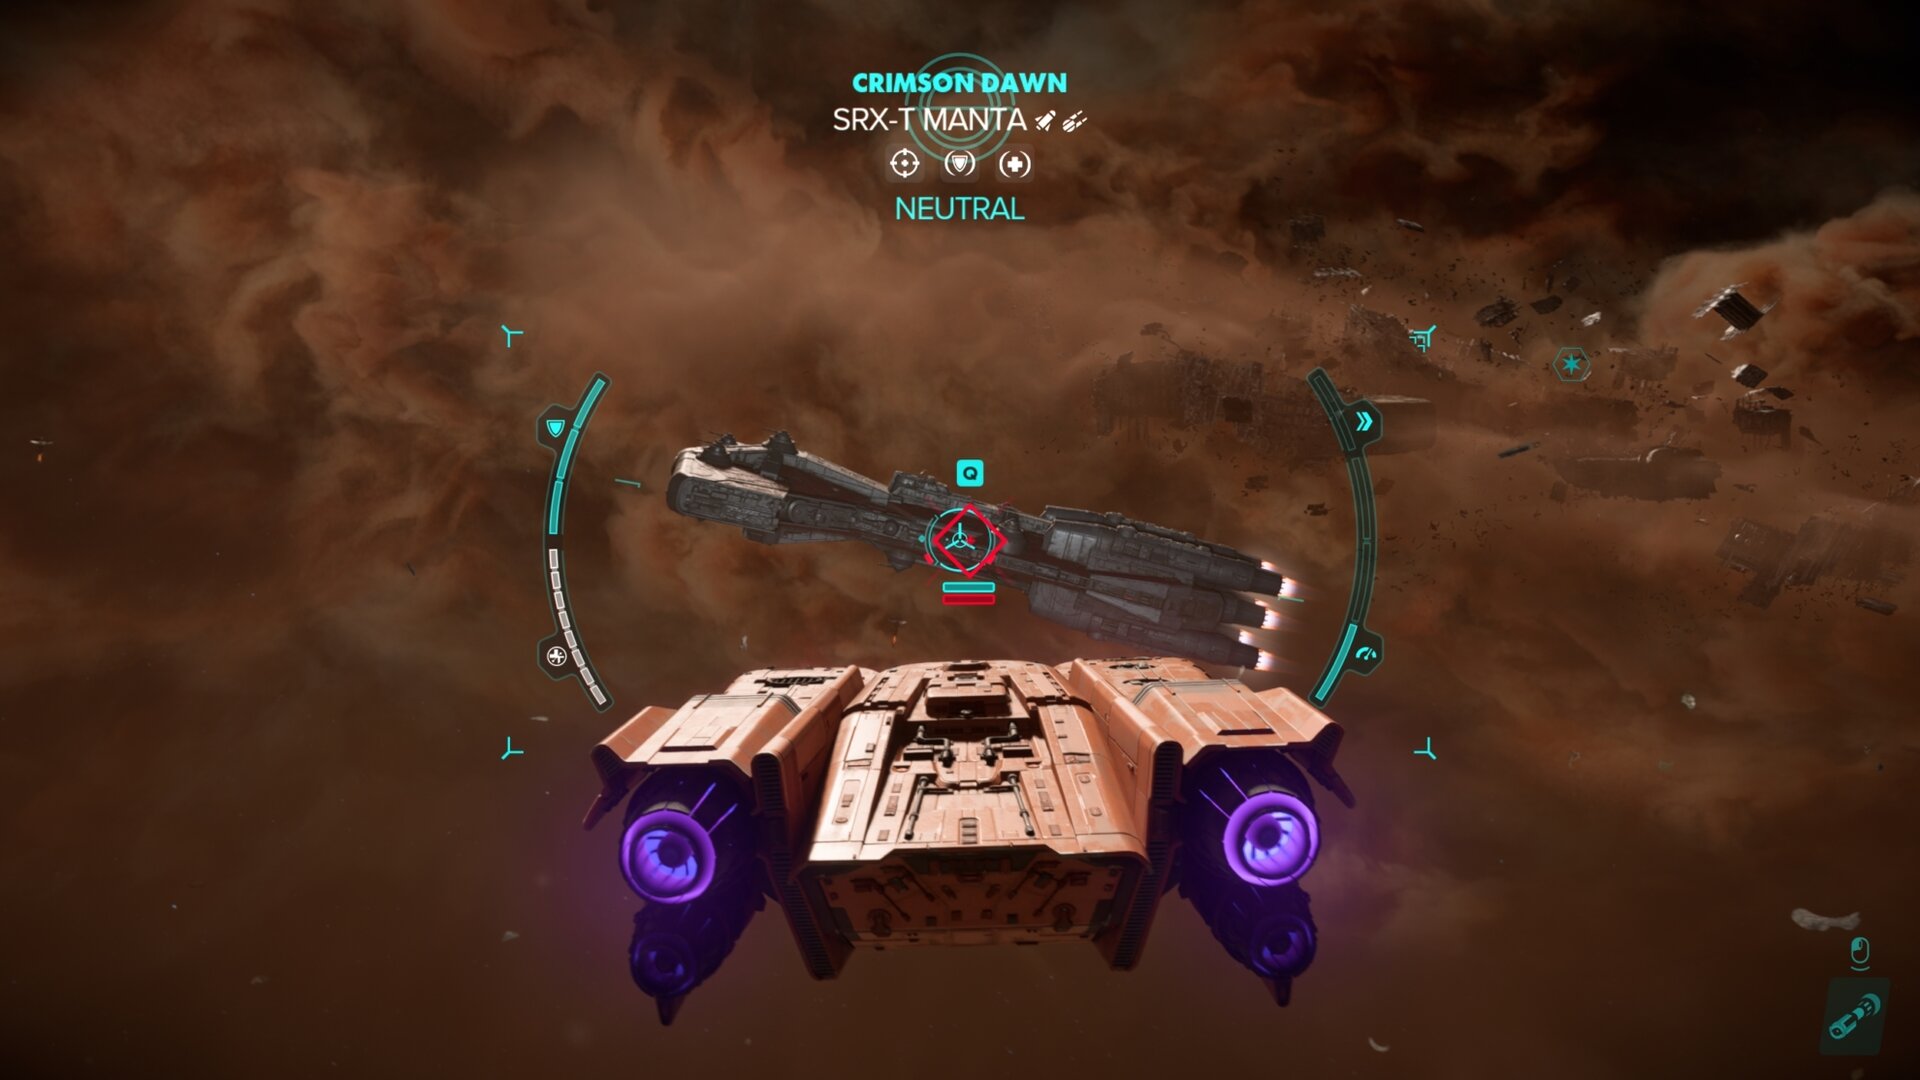
Tatooine Orbit – Hutt Cartel SRX-T Manta
The Hutt capital ship appears a bit south of the Battle Aftermath text in Tatooine’s orbit.
If you’re looking for the Pyke capital ship, jump to a different planet then jump back. Repeat this until the Pyke capital ship spawns.
Might want to buckle up
Collect materials from space or purchase them from merchants, then fully upgrade the Trailblazer. Once fully upgraded, launch it into space and you’ll earn this achievement.
I’ll bet you have
Defeat 20 enemies distracted by the Fast-Talk ability from Bram the Bartender.
The heavier they fall
Destroy a bunch of TIE fighters in Toshara’s or Akiva’s orbit. Reach Wanted Level 6 and destroy the Imperial Raider corvette that appears. Be sure to take down its shield generator or disable it with Ion damage so the rest of the weak spots will remain exposed.
Sometimes I amaze even myself
Defeat an enemy ship after using the loop maneuver gained from the Mercenary Expert.
Never tell me the odds
Lure some pirate starfighters or TIE fighters into a debris or asteroid field. Have them follow you and if they crash into the terrain, you’ll earn this achievement.
Equip the Laser Cannons and hit them until they’re super low on hit points. This will make it easier for them to destroy themselves in the debris.
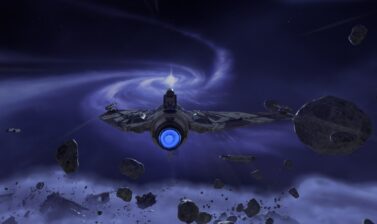
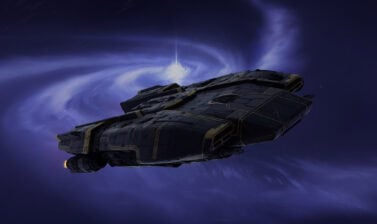
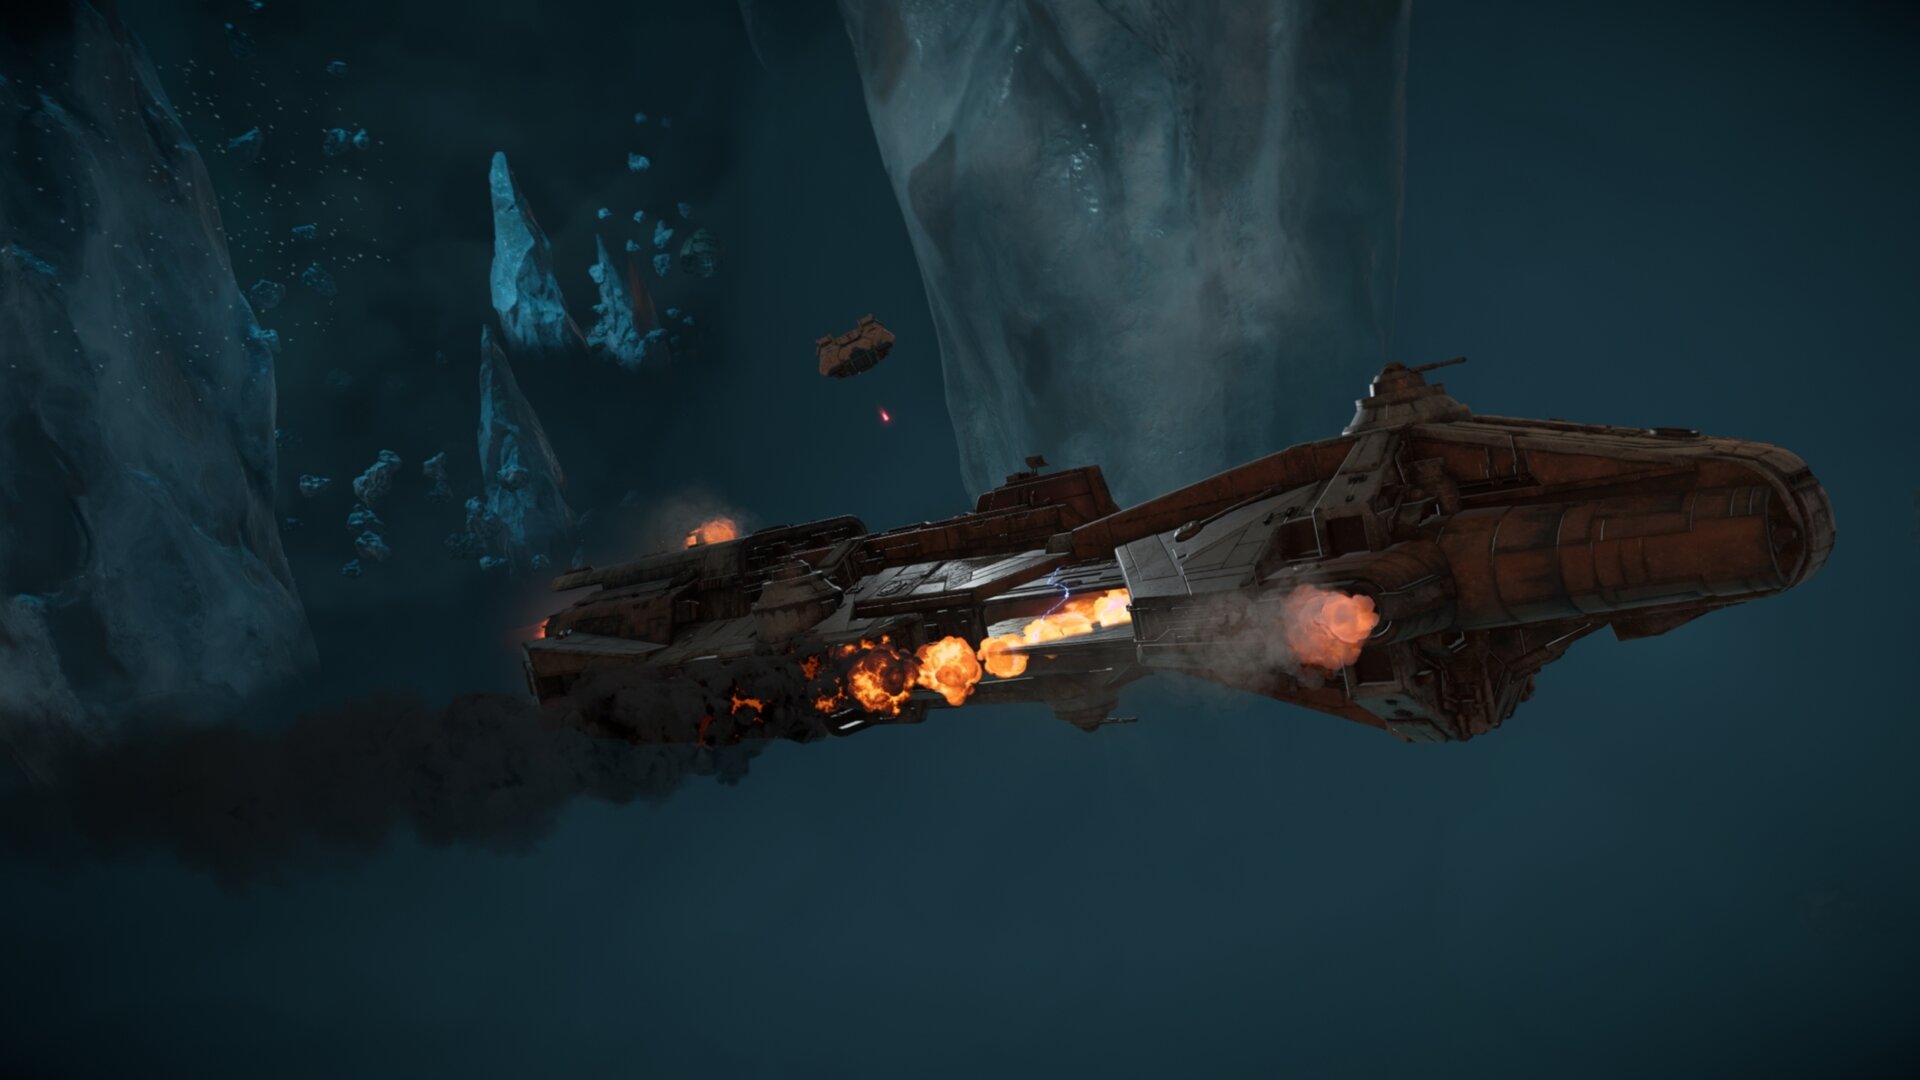
Into darkness
Lure some pirates or syndicate ships into the clouds of the Kijimi Nebula. Defeat 10 of them within the clouds to earn this achievement. The clear patches within the nebula don’t count, you’ll need to be within the clouds themselves to complete this.
In the Nebula, you won’t be able to lock onto them with missiles/torpedoes. However, your turret can still hit them, so we recommend unlocking it first by completing the Hotfixer mission.
Like a bantha
To make a perfect landing, ride off a ramp and let go of the throttle. Right as you’re about to land, hit the throttle again to make a perfect landing. This is most easily done on Toshara due to the abundance of amberine ramps everywhere.
Galaxy Drift
You need to do donuts on your speeder for 30 seconds. To do this, go forward while braking and turning. You’ll drift in a circle, Doing this for 30 seconds straight will unlock the achievement.
Don’t get cocky
You’ll need to unlock the Gunslinger Expert ability, The More, to complete this achievement. Alternatively, you could equip two of the following:
- Tatooine Gunslinger’s Pants
- Jarwal Bloom (Major Charm)
- Krayt Dragon Fang (Minor Charm)
These increase the amount of targets you can hit with Adrenaline Rush. If you equip the Wind Chime (Minor Charm), you can fill your Adrenaline Rush as you travel on your speeder.
Any Imperial base, syndicate-controlled area, or bandit hideout should provide enough targets to shoot at to complete this achievement. There’s an Imperial Outpost in northern Toshara that will have 5 targets you can use for this achievement.
Into the main frame
You’ll need to slice 20 advanced terminals with the Advanced Slicing Kit. These are usually data ports found in high-security areas.
Slice like you
With the amount of slicing that’s required in the story quests, you’ll eventually slice 20 terminals and earn this achievement.
Now you see me, now you don’t
If you’ve alarmed a syndicate base or Imperial base, there’s typically a terminal you can find that will turn off the alarm. Doing so will unlock this achievement. This terminal is typically found in the control rooms of bases.
Get rhythm
Picking 20 locks is nothing and you’re likely to pick far more than 20 as you play Outlaws.
Made it somehow
You’ll complete this achievement around the time you complete the story quest, False Flag. By this point, you’ll have your blaster, speeder, and ship at your disposal.
Tip the scales
You’ll need to complete the Toshara story quests Crashed, Underworld, New Tricks, False Flag, The Wreck, and Hyperspace to unlock this achievement.
One job at a time
Complete the Kijimi story quests The Safecracker, Breakout, and The Hive to unlock this achievement.
Making friends
Escape Jabba’s palace during the Tatooine story quest, Partners.
Rare friends
Complete the Tatooine story quests The Heavy, Partners, and Jabba’s Favor.
Spiked
Liberate the Super Viper Droid by completing the Akiva story quest, Viper.
Best of the best
Complete the Akiva story quests The Droidsmith, Viper, and Legacy.
The Director
Learn Sliro’s secret during the events of the story quest, The Truth.
Eye on the score
Pull off the heist in the Zerek Besh stronghold during the story quest, The Heist.
Calling in some favors
Defeat the Revelator during the story quest, Revelator.
Table of contents
- What are Core Challenges and Achievements
- How Time-Limited Challenges Work
- How to redeem Ubisoft Units for In-Game Rewards
- Core Challenges List
- Tips for Completing Core Challenges
- Achievements List
- Tips for Completing Achievements (Trophies)
- It Wasn’t Me
- They live up to the name
- Shoot First
- No match for a good blaster
- Got you something
- Galactic gourmet
- Good listener
- Experience outranks everything
- Adventure and excitement
- Give me the good stuff
- Old school cool
- Honest work
- Cut-throat politics
- Cloak and Dagger
- What you see is what you get
- The Queen’s word is law
- Think I had a choice?
- It’s mine now
- Stay on target
- Easy pickings
- Against all odds
- No such thing as luck
- There is no try
- Right back at you
- How rude!
- Punching up
- Might want to buckle up
- I’ll bet you have
- The heavier they fall
- Sometimes I amaze even myself
- Never tell me the odds
- Into darkness
- Like a bantha
- Galaxy Drift
- Don’t get cocky
- Into the main frame
- Slice like you
- Now you see me, now you don’t
- Get rhythm
- Made it somehow
- Tip the scales
- One job at a time
- Making friends
- Rare friends
- Spiked
- Best of the best
- The Director
- Eye on the score
- Calling in some favors