Attributes are at the core of every class in Path of Exile 2. This guide covers everything you need to know to plan your build efficiently!
Table of contents
What are Attributes
Attributes, often referred to as stats for short, dictate a lot of what a class can do. Everything from Armour, to Weapons, and even Skill. While every class has Attributes they favor to some degree either by their default Skills or Armour they often use, Path of Exile 2’s Passive Tree is far more flexible compared to Path of Exile 1.
This is due to the Passive Tree allowing for most attribute nodes, specifically those along the ‘Attribute Highways’, to be any of the three core Attributes of Dexterity, Intelligence, and Strength. This allows any class to acquire any attribute they need for their chosen path easily.
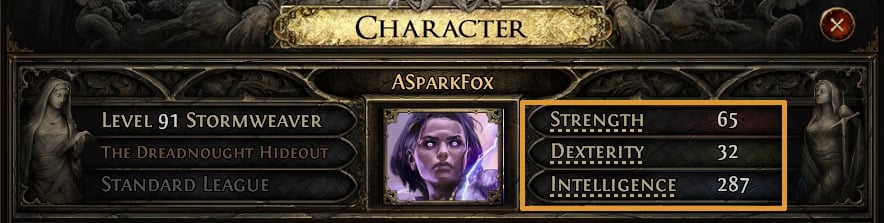
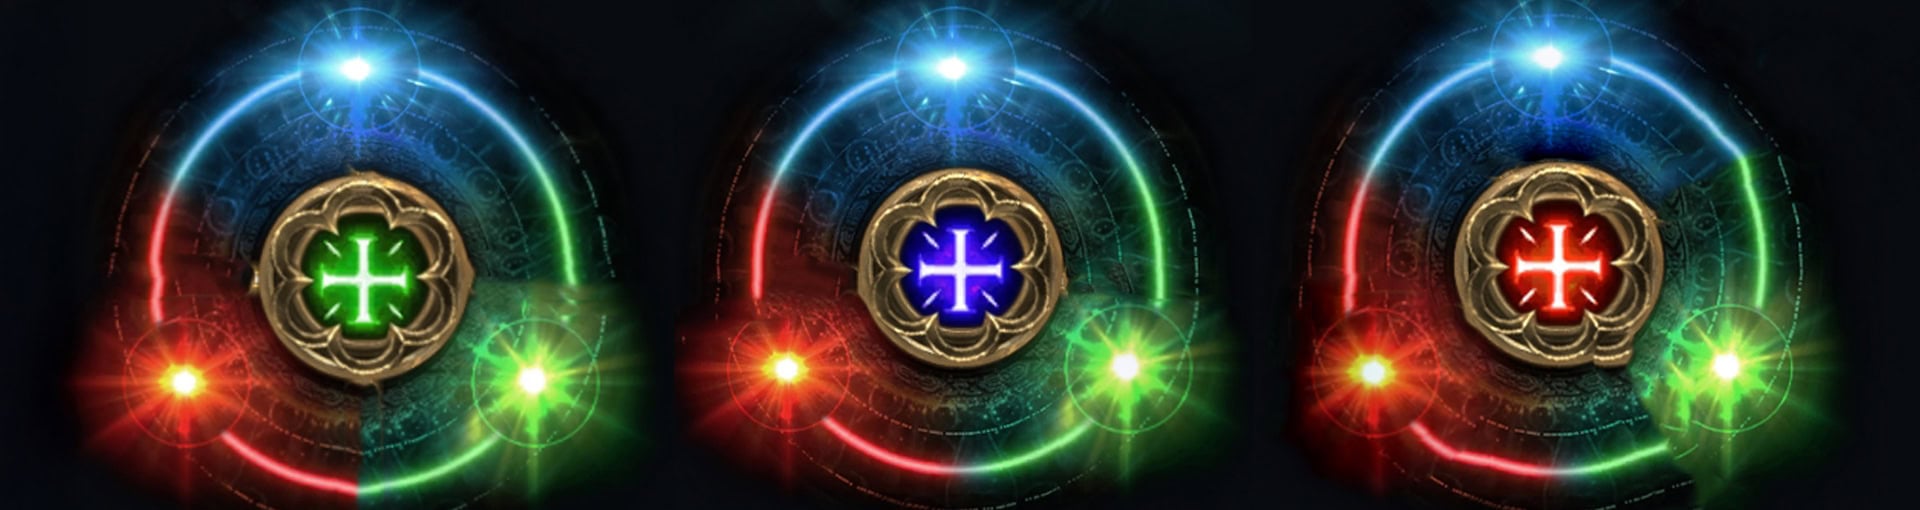
A Character’s total Attributes can be seen at the top of our Character Sheet, as shown in the image above. This saves the trouble of having to total everything up manually and allows us to know exactly where our Attributes are at with a glance.
Bonuses From Attributes
Each of the Attributes, Dexterity, Intelligence, and Strength, will not only determine the gear and skills we can use, but they also provide other benefits that we may not immediately notice unless we were to hover them in the Stats Sheet or the passive Tree. This breaks down into the following bonuses listed in the table below.
| Attribute | Effect |
|---|---|
| Dexterity | +5 Accuracy per point of Dexterity |
| Intelligence | +2 Mana per point of Intelligence |
| Strength | +2 Life per point of Strength |
| All Attributes | +1 Total Support Gem Count per 5 points of its respective Attribute |
From this, we can see that each Attribute has a purpose for our character, regardless of our class, but just how important are these bonuses?

Dexterity (DEX) grants us Accuracy. This means characters and skills that utilize a high amount of Dexterity will naturally be more accurate compared to say a Strength-centric one. However, Accuracy itself is only useful to Skills that are classified as Attacks. Spells do not use this value at all.

Intelligence (INT) grants Mana. Mana is useful for every class and skill, as all of them will rely on Mana. However, increasing our Mana will also indirectly increase our Mana Regeneration. As a baseline, we recover 4% of our maximum Mana per second. Both Mana itself and Mana Regeneration can also be increased further through gear, often in higher amounts.

Strength (STR) grants us Maximum Life. Maximum Life is what keeps us alive, but is far from the only defense we have available. Though for many characters, Life largely determines how hard of a hit we can take. Much like Mana, we can also acquire this from gear. However, there is very little Maximum Life available on the Passive Tree.
The last bonus to talk about is the increase in Total Support Gem Count. These restrictions often mean many characters require some amount of each Attribute.
For every 5 points we have in any attribute across our Passive Tree and gear, we’ll be able to use an additional Support tied to that attribute. Thankfully, every character also starts with some base Attributes.
Acquiring Attributes
Now that we know what Attributes are and what they do, how do we go about getting them? Outside of a character’s base Attributes, Attributes can only be increased through the Passive Tree and Gear.
Base Attributes
As mentioned, every Class has a set of Base Attributes they start with. Each Attribute is assigned 15, 11, or 7 base points based on the classes’ typical Attribute Requirements. The base stats for Each of the classes are listed below in a table.
| Class | DEX | INT | STR |
|---|---|---|---|
| Duelist* | 11 | 7 | 11 |
| Druid* | 7 | 11 | 11 |
| Huntress* | 15 | 7 | 7 |
| Marauder* | 7 | 7 | 15 |
| Mercenary | 11 | 7 | 11 |
| Monk | 11 | 11 | 7 |
| Ranger | 15 | 7 | 7 |
| Shadow* | 11 | 11 | 7 |
| Sorceress | 7 | 15 | 7 |
| Templar* | 7 | 11 | 11 |
| Warrior | 7 | 7 | 15 |
| Witch | 7 | 15 | 7 |
While Base Attributes are a good starting point, it is worth keeping in mind that it is possible to use any skill or items on any class, as these Attributes are far from the bulk of the attributes. They do however give a rough idea of the general requirement s for gear and skills each class may want to lean toward.
Attributes on the Passive Tree
The Passive Tree is fairly straightforward. Each Passive Point we allocate along the Attribute Highways will always be 5 points to the attribute we select. Of course, with Reallocation, we can adjust these at any time for minimal gold cost.
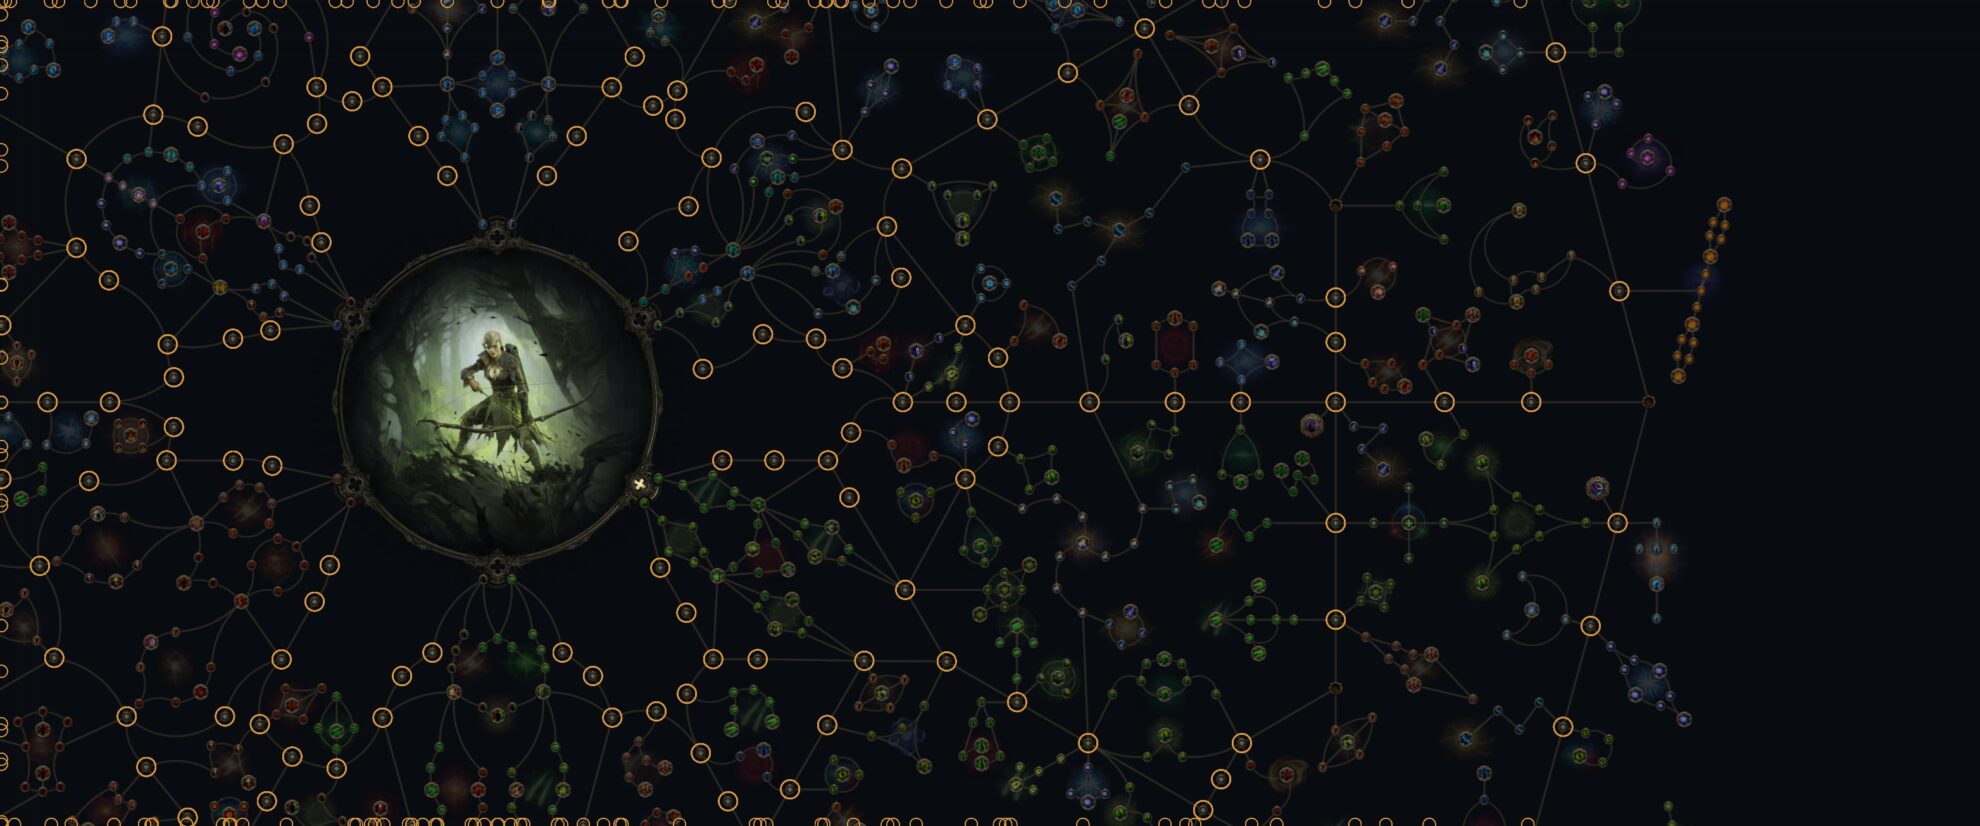
There are however a couple of Notable Passives that provide more Attributes. The easiest examples are Notable Passive Nodes like Beef, Ingenuity, and Proficiency, which grant 25 to their respective Attributes. Alongside these are often smaller nodes that also grant more than 5 of an attribute, but cannot be changed.

In addition to those, some other Notable Passives may increase Attribute by a percentage. The most commonly used of these nodes is Polymathy, which increases All Attributes by 10%. Each attribute also has similar nodes that grant between 5-10% to any one Attribute scattered around the tree.
Attribute from Gear
Now Attributes from gear can be a little tricky, as not every piece of gear can roll every attribute. The easiest way to remember what Attribute can appear on gear can be broken into two different Categories: By Item Type and by an Item’s Attribute Requirement. At first glance, these may appear to be the same but this is not the case.
What Attributes that can appear on gear as Affixes is largely determined by its Attribute Requirements. This can be simplified in the table below.
| Defense Type | Affixes Available |
|---|---|
| Evasion | Dexterity |
| Evasion / Energy Shield Hybrid | Dexterity and Intelligence |
| Armour / Evasion Hybrid | Dexterity and Strength |
| Energy Shield | Intelligence |
| Armour / Energy Shield Hybrid | Intelligence and Strength |
| Armour | Strength |
Each of the available Defense types aligns to a given attribute, which determines how much of a given stat we need to equip it, but also influences which Attributes appear as Affixes. Weapons work similarly in regards to Attributes as well. As stated previously, this isn’t the only influence our gear has over the Attributes it can roll.

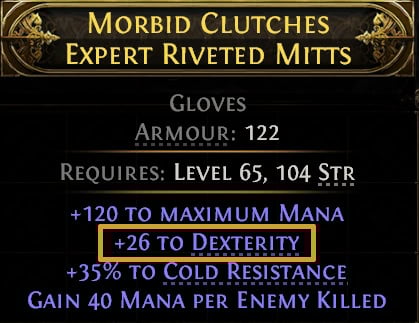
Some pieces of gear will always have a given Attribute appear regardless of its attribute requirements. Other gear, like our Rings and Amulet, also have unique affixes available to them regarding Attributes. Don’t worry, it’s not too complicated, just keep in mind these are always available regardless of the Base Item or its Attribute Requirements.
| Gear Slot | Affixes Available* |
|---|---|
| Gloves | Dexterity |
| Helmet | Intelligence |
| Amulets and Rings | Dexterity, Intelligence, Strength, All Attributes |
| Belts | Strength Only |
The big thing to take from this is that our Jewelry Items, except for Belts, can roll any individual Attribute as well as the All Attribute Affix. The All Attribute Affix can be exceptionally good if you’re looking to get a bit of everything, or simply extra of a given Attribute. Belts, however, are not as lucky; as they can only provide Strength. The only Belts that can provide other attributes are Unique Belt.
Using Attributes
The most common and necessary use for Attributes is to equip different gear and skills. However, there are a few different ways a character can use them outside of simply their gear and skill choice.
The main ones we’ll talk about are Support Gems and Keystone Passives, as these are available without the need to drop or trade for Unique Items.
Dexterity
While there aren’t any Support Gems or Keystone Passives that interact with Dexterity directly, there are some that interact with Accuracy, which Dexterity Provides.

Falcon Technique
Before we cover those, we’ll briefly mention the Falcon Technique Notable Passive, which grants us Attack Speed based on our Total Dexterity. This is one of very few Passives that directly interacts with Dexterity.

Resolute Technique
We’ll talk about the Resolute Technique and Unwavering Stance Keystone first. This bypasses Accuracy checks and instead guarantees a hit will land. This also has the downside of removing the Chance to Critically Strike.

Unwavering Stance
Similar to Resolute Technique, Unwavering Stance also ignores Accuracy Checks. This time however, it’s ignoring an enemy’s accuracy and always allowing them to hit. This does come with the upside of doubling our Stun Threshold, but this is overall a much weaker Keystone.

Falcon Dive
While not a Keystone, we’ll also highlight the Falcon Dive Notable Passive, which allows us to gain Attack Speed based on our Accuracy Rating, similar to Falcon Technique does for Dexterity.
Intelligence
Intelligence has a few options for Supports and Passives that it directly affects. However, since no Keystone interacts with Intelligence, we’ll cover the handful of Notable Passives that do first.
Passive
First is Finesse, which grants us Accuracy based on our Total Intelligence. This would be useful if it were closer to where Strength and Intelligence classes start, but instead, it’s in the middle of the Dexterity and Intelligence section of the tree.

Passive
The only other one to exist currently is Pure Power, which increases our Lightning Damage based on our Intelligence. This notably makes Lightning Spells a fair bit stronger in combination with other tools that rely on Mana.
Passive
Moving to Support Gems, we again have two options here. Starting with Decaying Hex, which will make a Curse apply a Chaos Damage Over Time effect that deals a portion of our Total Intelligence as its base damage. Outside of certain Ascendnacies or Uniques allowing two copies of this and potentially stack them, this overall has pretty poor scaling.
Passive
The Other Support here is Elemental Discharge. This allows the skill linked to it to consume Burn, Freeze, or Shock to deal Fire, Cold, or Lightning Damage respectively based on our Total Intelligence. If we’re able to apply each Ailment consistently and consume them all at once, this has the potential for great damage.
Strength
Similar to Dexterity and Intelligence, Strength only has a handful of useful Support and Notable Passives working for it in terms of benefiting us.
Brute Strength
The main Notable that interacts with Strength is called Brute Strength. This Notable and the nodes leading up to it offer a large amount of Strength and a Damage increase that comes with Strength. This does come at the cost of a smaller Mana Pool, but is a relatively minor downside all things considered

Iron Grip and Iron Will
Despite only being available through the Irongrasp Unique chest, We’ll still cover Iron Grip and Iron Will, in case they make their way back to the Passive Tree at a later time.
Iron Grip allows strength to grant additional Projectile Damage in addition to Maximum Life. Iron Will allows Strength to provide Spell Damage as well as Maximum Life. This combination of bonuses has the potential to be strong, though unfortunately unlike Path of Exile 1, there aren’t currently any spells that use Strength as an Attribute. This will likely change with the release of Druid and Templar though.
Corrupting Cry
Moving to Support Gems, we have Corrupting Cry, which inflicts a stacking Physical DoT based on our Strength when a Warcry is applied to an enemy. This has the potential to be very strong when able to fully stack it, as Strength and Physical Damage are both very easy to come by in the Warrior section of the Passive Tree.
Stomping Ground
Stomping Ground is an interesting Support Gem for sure, creating Physical Damage shockwaves based on Strength when a supported skill takes a step. This makes it uniquely useful for making Shield Charge and Stampede into Damage Skills rather than pure mobility.