This Glacial Bolt Build uses the Gemling Legionnaire to decimate groups of enemies with icy explosions.
Table of Contents
Build Overview
This build is planned around the Gemling Legionnaire’s Gem Studded Ascendancy. For another character to copy the gem links exactly, they would require the Solus Ipse Unique Helmet, which only drops from the Arbiter of Ash endgame boss.
Glacial Bolt is our primary skill for the build. This skill creates walls of Ice Crystals that explode when they take damage. If they spawn directly under an enemy, they’ll shatter immediately, which allows this skill to do great damage, especially for bosses where most other Cold Crossbow Skills tend to struggle.
Paired alongside this will be Fragmentation Rounds and Permafrost Bolts as supplementary damage and utility. Fragmentation Rounds, when used on an Ice Crystal formed by a Glacial Bolt, will create a small explosion dealing Cold Damage in an area. We can also do the same for enemies frozen by Permafrost Bolts.
To further supplement clearing, we can also use Herald of Ice and Herald of Thunder, which, when provided enough extra area can help us to very easily clear screens. We can also take advantage of it to get a fairly reasonable boost to our Cold Damage.
Defensively, we’ll be heavily focusing on Evasion Gear, and supplementing it with Wind Dancer. We’ll also set this up to Blind enemies it hits for extra protection when its effect is removed. Between our Evasion and Crowd Control, we’ll have an easy time surviving.
The grid below is fully interactive. If this is your first visit, we recommend you skip that grid and keep reading the guide in its intended order. If you prefer, you can click or tab on an item and it will take you to a dedicated section of the guide explaining everything you need to know it.
PaSSIVE tREE


Playstyle
For most situations, we’ll be alternating use of Glacial Bolts and Fragmentation Rounds. This can be a little clunky and hard to get used to at first, but once we get a rhythm going it is barely noticeable. By alternating these skills, we’re doing two things: clearing the area of otherwise impassable Ice Crystals and popping any enemies that are frozen from the Glacial Bolt.
For particular weaker packs or less dense packs, Permafrost Bolts shines best here, as it’s able to quickly and consistently freeze weaker foes. In the case of enemies not being grouped together, its quicker to just freeze a couple enemies and pop them with Fragmentation Rounds.
For bossing or larger enemies in general, we’ll be able to just endlessly fire Glacial Bolts with little worries. It’s not even worth swapping to Fragmentation Rounds and ending any Freezes that occur, as Glacial Bolts will deal enough damage on their own.
Skills
Below are the Skills we use for the build, including their Support Gem Links
Glacial Bolt
Ice Shards is our main DPS skill, which we’ll use in all situations. It does solid damage and provides us with a lot of potential for Crowd Control and skill combos.
Quality is highly recommended to increase the number of shots available before reloading.
Scattershot
Scattershot will allow us to fire off three Glacial bolts in quick succession. For situations where Ice Crystals are popping immediately, like bosses, this creates a massive influx of damage where six total ice walls get created and explode back to back.
Cold Infusion
Cold Infusion effectively acts as a Gain Damage as Cold modifier, granting a portion of all of our damage types as Cold, at the cost of dealing less Fire and Lightning damage. It’s one of the best Damage bonuses we can get for this skill.
Magnified Effect
Magnified Effect doesn’t contribute a ton of direct damage, but will help the Ice Crystals more consistently overlap their damage.
Primal Armament
Primal Armament is another huge damage bonus we can get, increasing the elemental damage we deal.
Nimble Reload
Nimble Reload is the lowest priority in terms of links, but is mandatory for bosses. The faster we can reload, the more bolts we can spit out.
If Glacial Bolt’s Quality is 20% or higher, we can opt to use Ammo Conservation instead, giving us a chance to fire 4+ times before reloading. Nimble Reload is superior until that point.
Permafrost Bolts
Permafrost Bolts is our primary skill for the early game, and serves a similar role to Glacial Bolt, just with less reliable Freeze instead of the Ice Crystals. We’ll want to use the same setup as Glacial Bolts except for Scattershot, until we get Glacial Bolts, where we’ll use the gems below.
Double Barrel
Double Barrel loads a second Permafrost Bolt, allowing us to fire twice before reloading.
Heft
Heft is a great damage boost that we can use specifically due to Permafrost converting the Physical Damage of our weapon to Cold.
Primal Armament
Primal Armament is a great damage bonus for us, making it even easier to Chill and Freeze enemies.
Glaciation
Glaciation improves our ability to Chill and Freeze pretty substantially. The more important part if we get this more reliably freezing with 1-2 shots.
Ice Bite
Since the role of this skill shifts to be more toward utility, Ice Bite is a natural fit. We can even optionally drop Heft or Primal Armaments to include Persistence and extend the duration of this buff.
Fragmentation Rounds
Fragmentation Rounds is a skill we’ll use for a bit of extra burst when the chance presents itself by shattering frozen enemies. It’s main purpose is to help clear Ice Crystals, but it does fantastic damage with little investment outside of our weapon and Passives.
Chain
With its base damage being significantly amped up toward Frozen enemies, we can use Chain to ensure it triggers more explosions without a huge concern for damage loss.
Heft
Heft will boost the direct damage we deal to frozen enemie with each shot, granting a bit higher burst of damage. We opt for this over Brutality as Brutality can interfere with the ice crystals exploding.
Brutality
Brutality doesn’t impact the explosions of Glacial Bolts, allow us to use it here to significantly bump up the physical damage this deals.
Nimble Reload
With a single Fragmentation Rounds per reload, Nimble Reload is a more consistent option to allow this to be used more consistently and with less headache.
Culling Strike
Culling Strike is just optional filler here. Since we’ll frequently use Fragmentation Rounds on Rare Enemies for damage, it doesn’t hurt to have.
Herald of Ice
Herald of Ice is a great way to add more consistent AoE damage to the build and help it clear maps smoothly. We set this up in a way that it can also trigger Herald of Thunder, though this isn’t necessary.
Quality is an optional, but useful bonus here, as it increases the base AoE radius.
Lightning Infusion
While this will lower Herald of Ice’s damage a bit, we add Cold Damage to Herald of Thunder to make up for it.
Magnified Effect
More AoE means more chances for this to chain across the screen. We don’t have another good use for a second Magnified Effect anyway.
Conduction
This helps to increase the chance of Shock to beable to activate Herald of Thunder more often.
Longshot
With this often dealing damage a good distance away, Longshot is a nice way to improve its overall damage. Prioritize this over Lightning Infusion if not using Herald of Thunder.
Herald of Thunder
Much like Herald of Ice, we’re setting Herald of Thunder up to provide clear by also being able to trigger Herald of Ice itself.
Cold Infusion
Cold Infusion adds a fair bit of Cold damge to Herald of Thunder, enabling it to Freeze enemies and cause of cain reaction between Herald of Thunder and Herald of Ice.
Glaciation
Glaciation allows Herald of Thunder to freeze more consistently, allowing for easier chaining.
Longshot
Just like Herald of Ice, this is a great damage boost we can add here to allow it to do more damage the further away it triggers.
Wind Dancer
As an Evasion build, Wind Dancer will help boost our Evasion Rating substantially.
Quality is important here. Getting to 20% Quality enables a fourth stage of this skill to be active, allowing it to provide even more Evasion.
Blind
Blind is a nice way to help mitigate the temporary loss of Evasion when we get hit by reducing enemy accuracy.
Emergency Reload
Emergency Reload is a fairly powerful buff we can make use of. It’s far more useful once we have at least 20% quality and get more than one shot per reload.
Ingenuity
Emergency Reload has a very long cooldown, so anything we can do to help reduce that is great.
Premeditation
Premeditation further increases the damage Emergency Reload provides.
Murderous Intent
Murderous Intent enables culling for Glacial Bolts, which is a nice bonus, but not entirely necessary.
Galvanic Shards
Galvanic Shards is an excellent skill for leveling in its own right, but here we’re simply using it for the consistent AoE it provides. Glacial Bolts have some issues with hitting very small enemies, this doesn’t have the same issue
Lightning Infusion
Being a Lightning Skill, Lightning Infusion is a great damage increase that has no penalty on the skill at all, outside of reducing any Added Cold or Fire from item Affixes.
Martial Tempo
Since Galvanic Shards has more than one shot per reload, Martial Tempo is a great fit to improve overall DPS.
Ammo Conservation
Ammo Conservation also works wonderfully to boost this skill’s DPS. By giving us an extra 1-2 shots per reload on average, it’s for from an insignificant increase. Though we don’t get this until after we get access to Glacial Bolt.
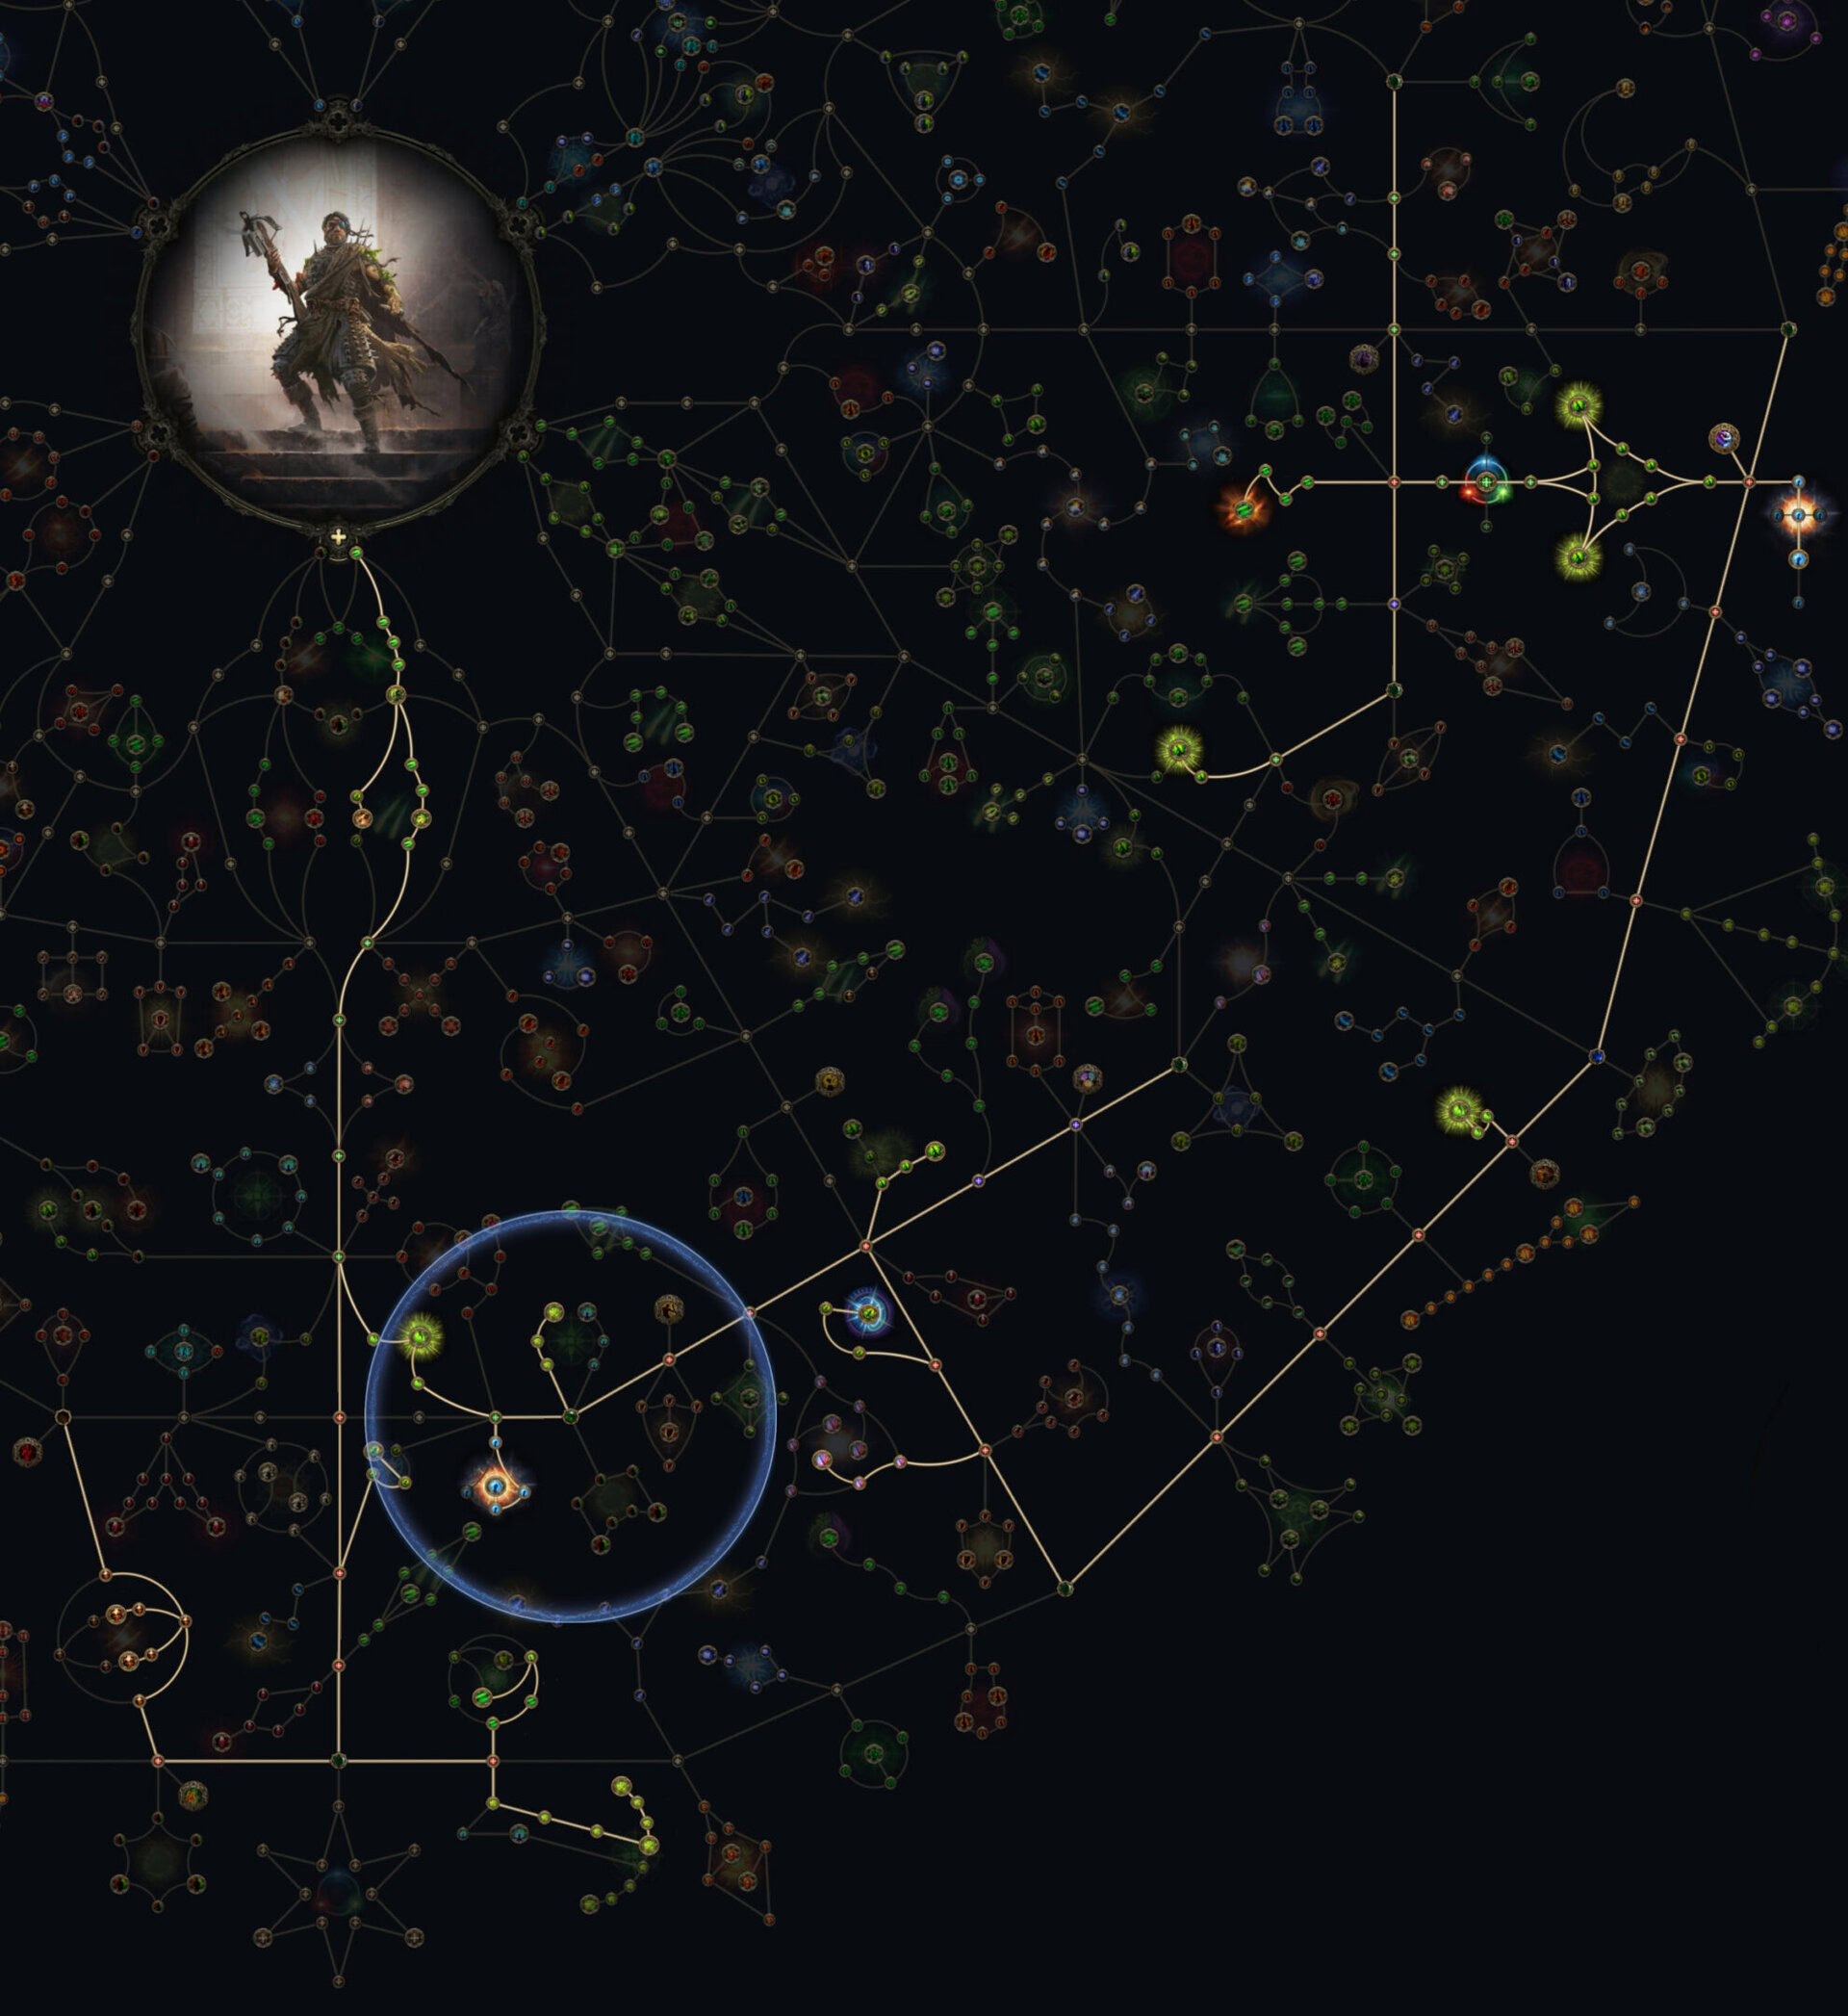
Passive Tree
Below is the Passive Tree we use for this Skill, and an Act-by-Act breakdown of how we progress the skill tree.
Act 1


We’re starting with a lot of early damage. We’ll path through Remorseless and Ricochet for the damage they provide as we make our way to Adrenaline Rush, which gives us a burst of Attack and Movement Speed.
Act 2


Now, we need to work on making the Crossbow far less clunky. We’ll grab Instant Reload first for the Crossbow Reload Speed. Then we’ll head down to grab Reusable Ammunition for a chance to not consume ammo and Full Salvo to get a huge burst of damage for our build as we’re consistently using 2-3 ammo types.

By the end of Act 2, we should be able to more than comfortably earn our First Ascendancy, Adaptive Capability. This allows us to focus on just the attribute we need for gear, and not have to worry about being unable to level any gems. This is a temporary stopgap until we can solve it with gear if we haven’t already.
Act 3


Next, we’ll quickly grab Doomsayer to boost the AoE and Damage for our Heralds. We follow this up with Forces of Nature to get some Elemental Attack Damage and Elemental Penetration.

We also need to start working on our Defenses to keep them more relevant. So we’ll grab Careful Consideration for a massive boost to Evasion if we’ve not been hit recently.
Act 4


Before we make the long trek to our next area of focus, we have a few more nearby passives to grab. We’ll start with Authority and Crushing Judgement to boost our AoE damage and get some Cooldown Reduction. We can also spend the few points to grab Multitasking for even more Cooldown Reduction.

Then we’ll pick up Sand in the Eyes for the Attack Speed and small chance to blind. We can take Blinding Flash while we’re here, it’s a small bonus to Blind which will help Wind Dancer later.

By the end of Act 4, we should be able to pick up our second Ascendancy, regardless of which trial we use for it. We’ll move away from Adaptive Capability and take Integrated Efficiency and Gem Studded now. Getting to use two copies of our Support Gems is a massive power boost.
Act 5

Now we’ll focus our points on making this next section go quickly, so we can go even stronger before Maps. We’ll do this by making our way up to Coming Calamity along the outside of the Passive Tree, only grabbing Acceleration along the way for some extra Attack and Movement Speed.
Act 6

Now that we’re here, we can finally get massive bonuses for our Damage and Defenses. We’ll start by grabbing Beastial Skin and Enhanced Reflexes for a significant bump in Evasion.
Then we’ll head through Proficiency to reach Falcon Technique to give our Attack Speed a nice bump up. All of the Dexterity we’ve gotten so far will now contribute toward boosting out Attack Speed.
Early to Mid Maps

Heading into Maps, there’s not much left to grab to get stronger. We’ll grab Escape Velocity for even more Evasion and some Movement Speed.
The other key pick up here is Volatile Catalyst near the start. This gives us AoE as well as Cooldown Reduction, both of which we cna make good use of.
Around Level 70 or so, we’ll be strong enough to take on our third Ascendancy, where we’ll reacquire Adaptive Capability. If we’re not having trouble managing our Attributes to level all of our Skills, we can opt to take Crystalline Potential early.
Endgame Maps

At this point, all we have left to grab are Jewel Sockets and Evasion. So, what do we want from Jewels? Our Ideal Rare Jewels would be Emeralds with Evasion Rating, Damage with Crossbows, Attack Speed, and Crossbow Reload Speed.

While we only have one decent place for it near Doomsayer, if we luck into a good Time-Lost Jewel with a Large Radius, we can make use of any that grant some combination of damage or defenses. Damage with Crossbows, Crossbow Reload Speed, Effect of Small Passives, Projectile Damage, Cold Damage, and Attack Speed are all worth using if we get them.
The Large Radius is important here as we’ll be able to grab Distracting Presence for more Cooldown Reduction as well as more nodes for this jewel in particular.
Endgame with Diamonds


When it comes to adding Diamonds, Prism of Belief is still a great damage boosting option. Getting one for Glacial Bolt is ideal, but Fragmentation Rounds or Galvanic Shards are still plenty useful for mapping.

If we get a Medium-Small Controlled Metamorphosis, we can use it in the uppermost Jewel socket on the tree. This allows us to grab Kite Runner for Projectile Damage and Speed, Sharp Sight for Attack Speed, Storm Swell for Cold Penetration, and Unbound Forces to get Duration and Magnitude for both Chill and Shock.
We have an okay spot to fit a Medium-Large version, which saves us a couple of travel points to Escape Velocity. This also allows us to pick up Maiming Strike as well for a nice bump of Attack Damage and more crowd control in the form of Maim.
This has the potential to open this area up a little more, but there’s not much reason to throw away the Evasion and Dexterity we get otherwise.
Gear and Stat Priorities
This section lists and explains the recommended stats for our gear and any Uniques we recommend. Click or tap on an item to read its recommendations. The items with a lighter border are uniques and are at explained at the top of the segment right below this grid.
Our Main weapon is a Crossbow, as expected. We’re looking to get the highest damage possible, which makes an Expert Forlorn Crossbow the best option here.
We’ll be looking to get as much Physical Damage as we can get, which makes our top prefixes set in stone as Percent, Flat, and Hybrid Physical damage. For suffixes, we’ll want Level of Projectile Skills and Critical Hit Chance. The last can be Critical Damage, Attack Speed, or Additional Bolts
Our Helmet is a standard Evasion Helm, making an Expert Hunter Hood the ideal choice. We only need the standard Life, Evasion, and Resistances here as nothing else really stands out as beneficial.
Our Body Armour is much the same as our Helm, we’ll eventually be looking for an Expert Studded Vest with Life, Evasion, and Resistances. We can even opt not to take Life here later on in favor of more Evasion, since our Body Armour is by far the biggest source of Evasion we get.
If we have or find a Foxshade, this Unique Chest will work through most of the campaign to go faster while still not heavily lacking Evasion.
Gloves are one slot where we can lean more into offensive stats rather than Defensive. We’ll still be going for Exper Spined Bracers either way.
Life and Evasion and Resists aren’t bad here, there are just a couple of things that edge everything out. In particular, Added Damage to Attacks, specifically Physical, Cold, and Lightning are all useful here. On the Suffix side, Attack Speed and Critical Damage are both great stats here too.
Our Belt is going to be a basic Utility Belt, just for that bit of instant recovery. We’re mainly after Life and Resistances here at the very minimum, but hitting Strength on a Belt isn’t terrible either, as it can take pressure off our Rings and Passive Tree to get the strength we need for our Crossbow.
For Boots, we’ll be looking to get Expert Lizardscale Boots. There’s nothing fancy here either, unfortunately. Movement Speed is mandatory here, and the rest of our affixes are just Life, Evasion, and Resistances.
For our Ring, a Prismatic Ring or an Amethyst Ring is ideal here. Prismatic helps to fill in Elemental resistances easier, while Amethyst does the same for Chaos Resistance.
Getting Life with Added Physical Damage to Attacks is an ideal set of Prefixes, which we can add either Evasion or more Added Cold damage to. For Suffixes, Attributes can help fill any gaps in Strength or Intelligence we hit, otherwise Resistances are the way to go.
As far as Unique Rings go, Polcirkeln is a nice Unique Ring to use if we find one. While it doesn’t offer as much damage or defense as a Rare ring can, it does offer more consistency with Herald of Ice. This consistency helps ensure it does what it needs to and helps clear the screen a bit more. Again, optional and not required.
Our Amulet is an interesting slot, as there are a lot of useful stats to get that can pull it away from being a defensive slot. An Amber Amulet is nice here for the innate Strength it offers, reducing the need to take it on the Passive Tree or elsewhere to meet gear requirements.
For Affixes, we’ll want to get Life and %Evasion as prefixes, with Mana being a decent filler. For Suffixes, we’ll want Levels to Projectile Skills primarily. Then any combination of Resists, Crit Chance, or Crit Damage to fill in the rest of the suffixes