Toward the Nest is the final step of Crimson Desert’s Black and White Questline, in which we’ll tackle the Spire of Soaring and Crescent Skybridge to reach the final boss of Chapter V.
Quest Structure and Rewards
This final stretch heavily utilizes Axiom Force, as well as our movement tools, to solve the required puzzles, reach the Abyss, and engage in the showdown with Chapter 5’s final boss.
- Chapter: 5. Guest Unbidden
- Main Quest: Black and White
- Required Abilities: Axiom Force, Force Palm, Glide, Focus
- Rewards: Abyss Artifact
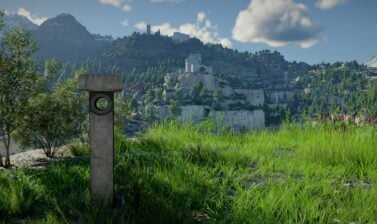
How to reach the Spire of Soaring
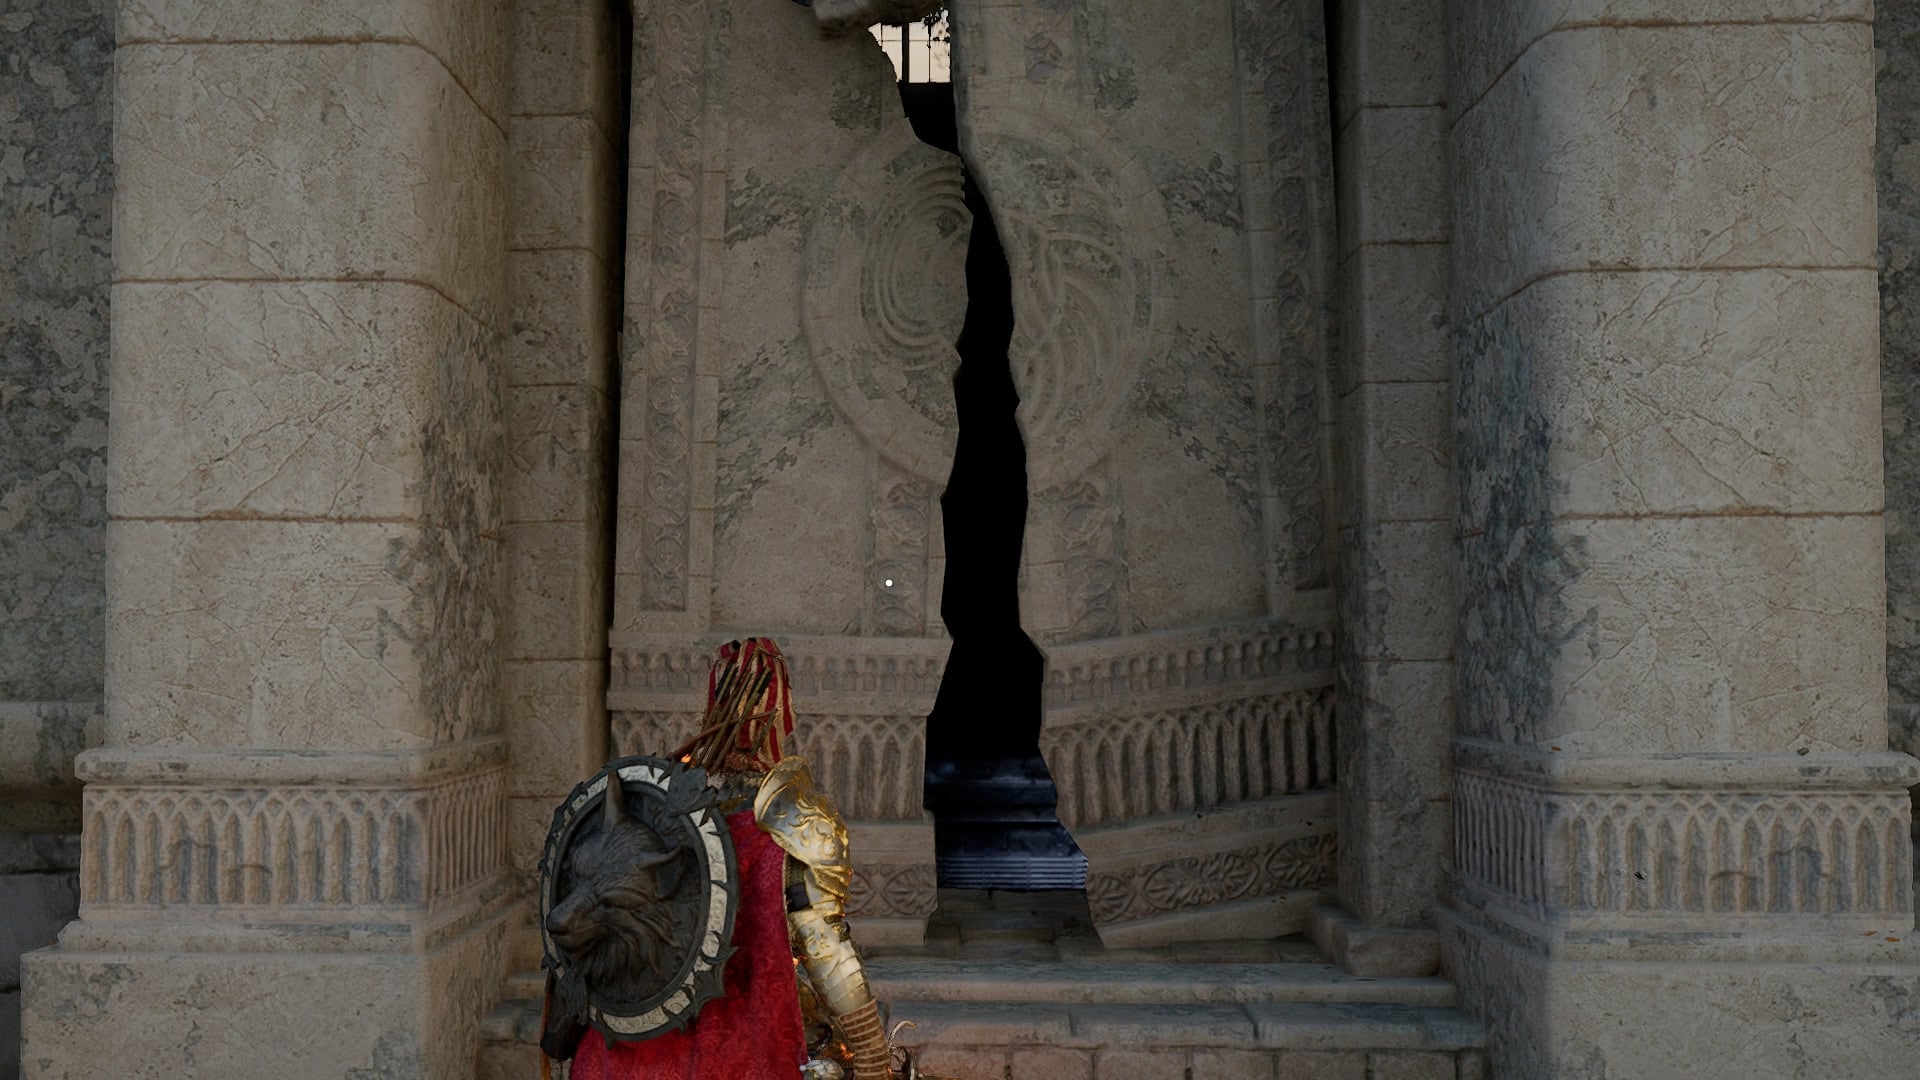
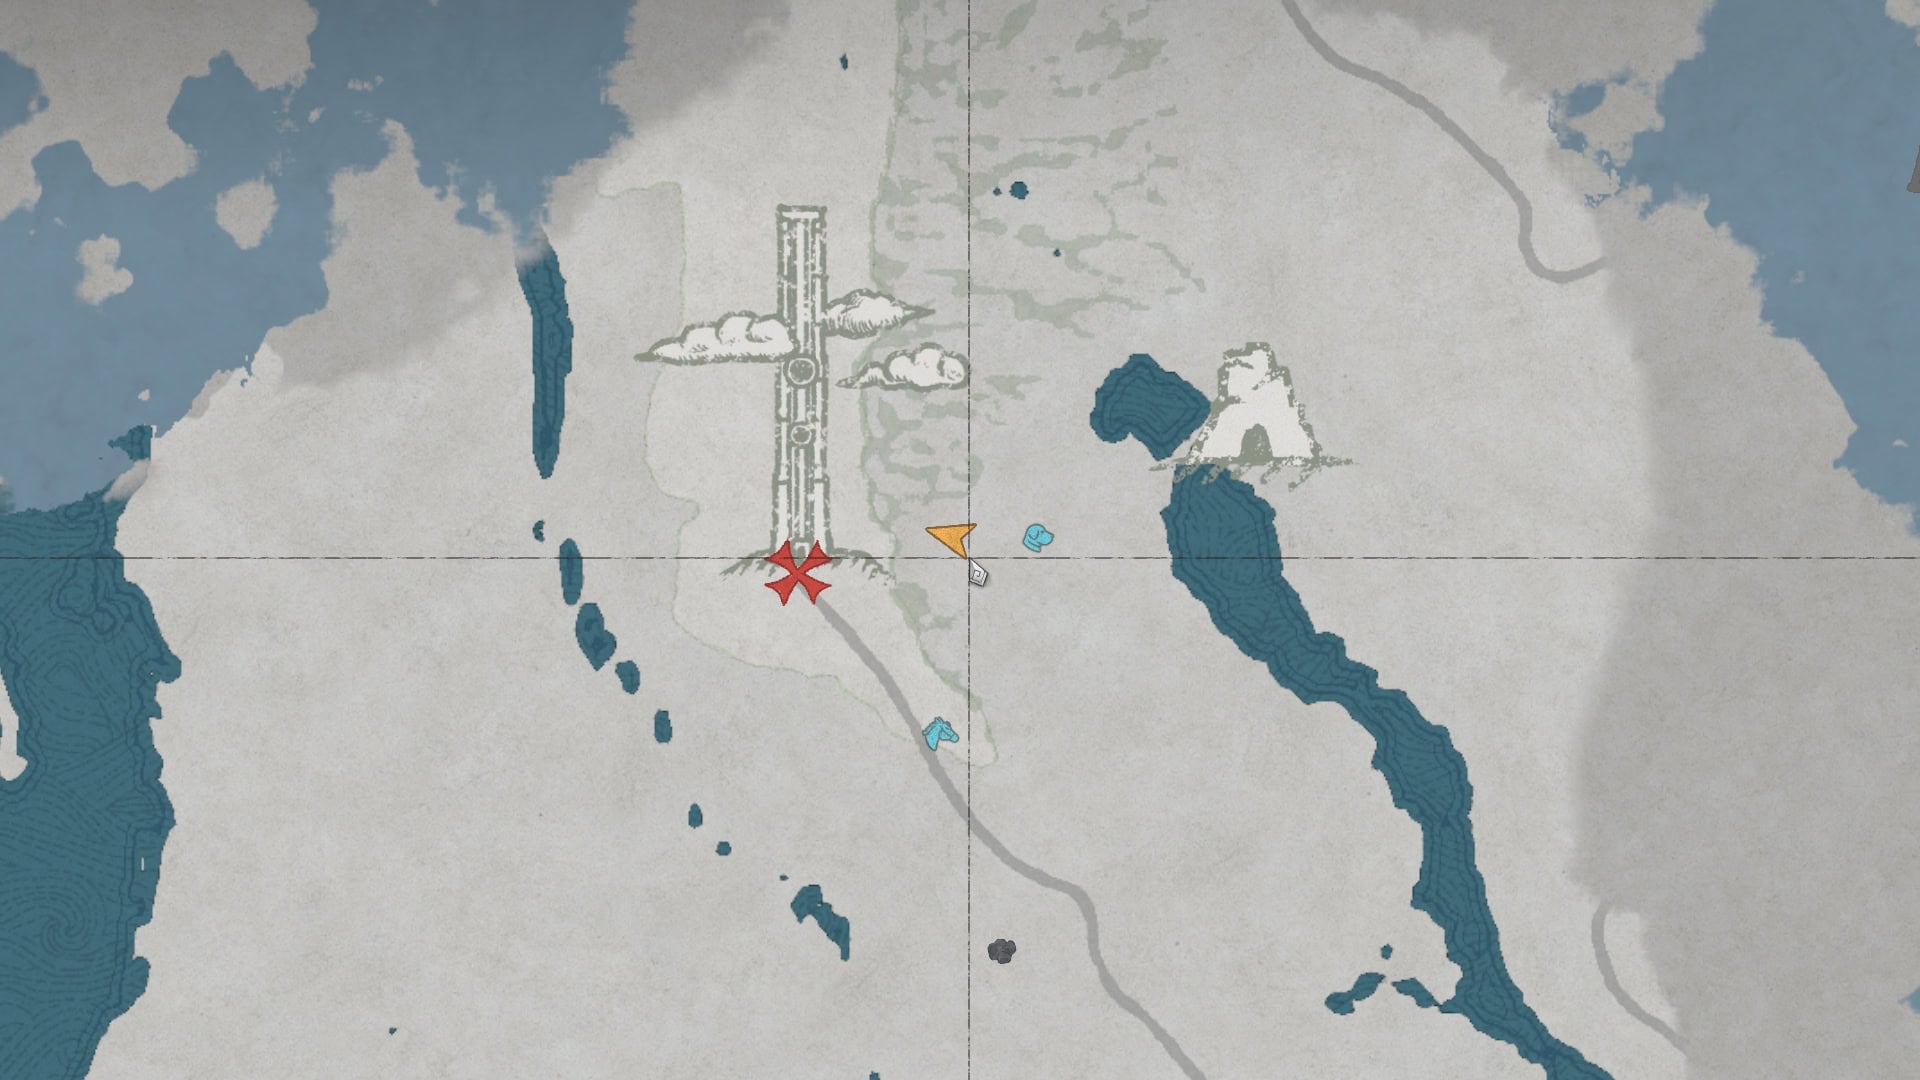
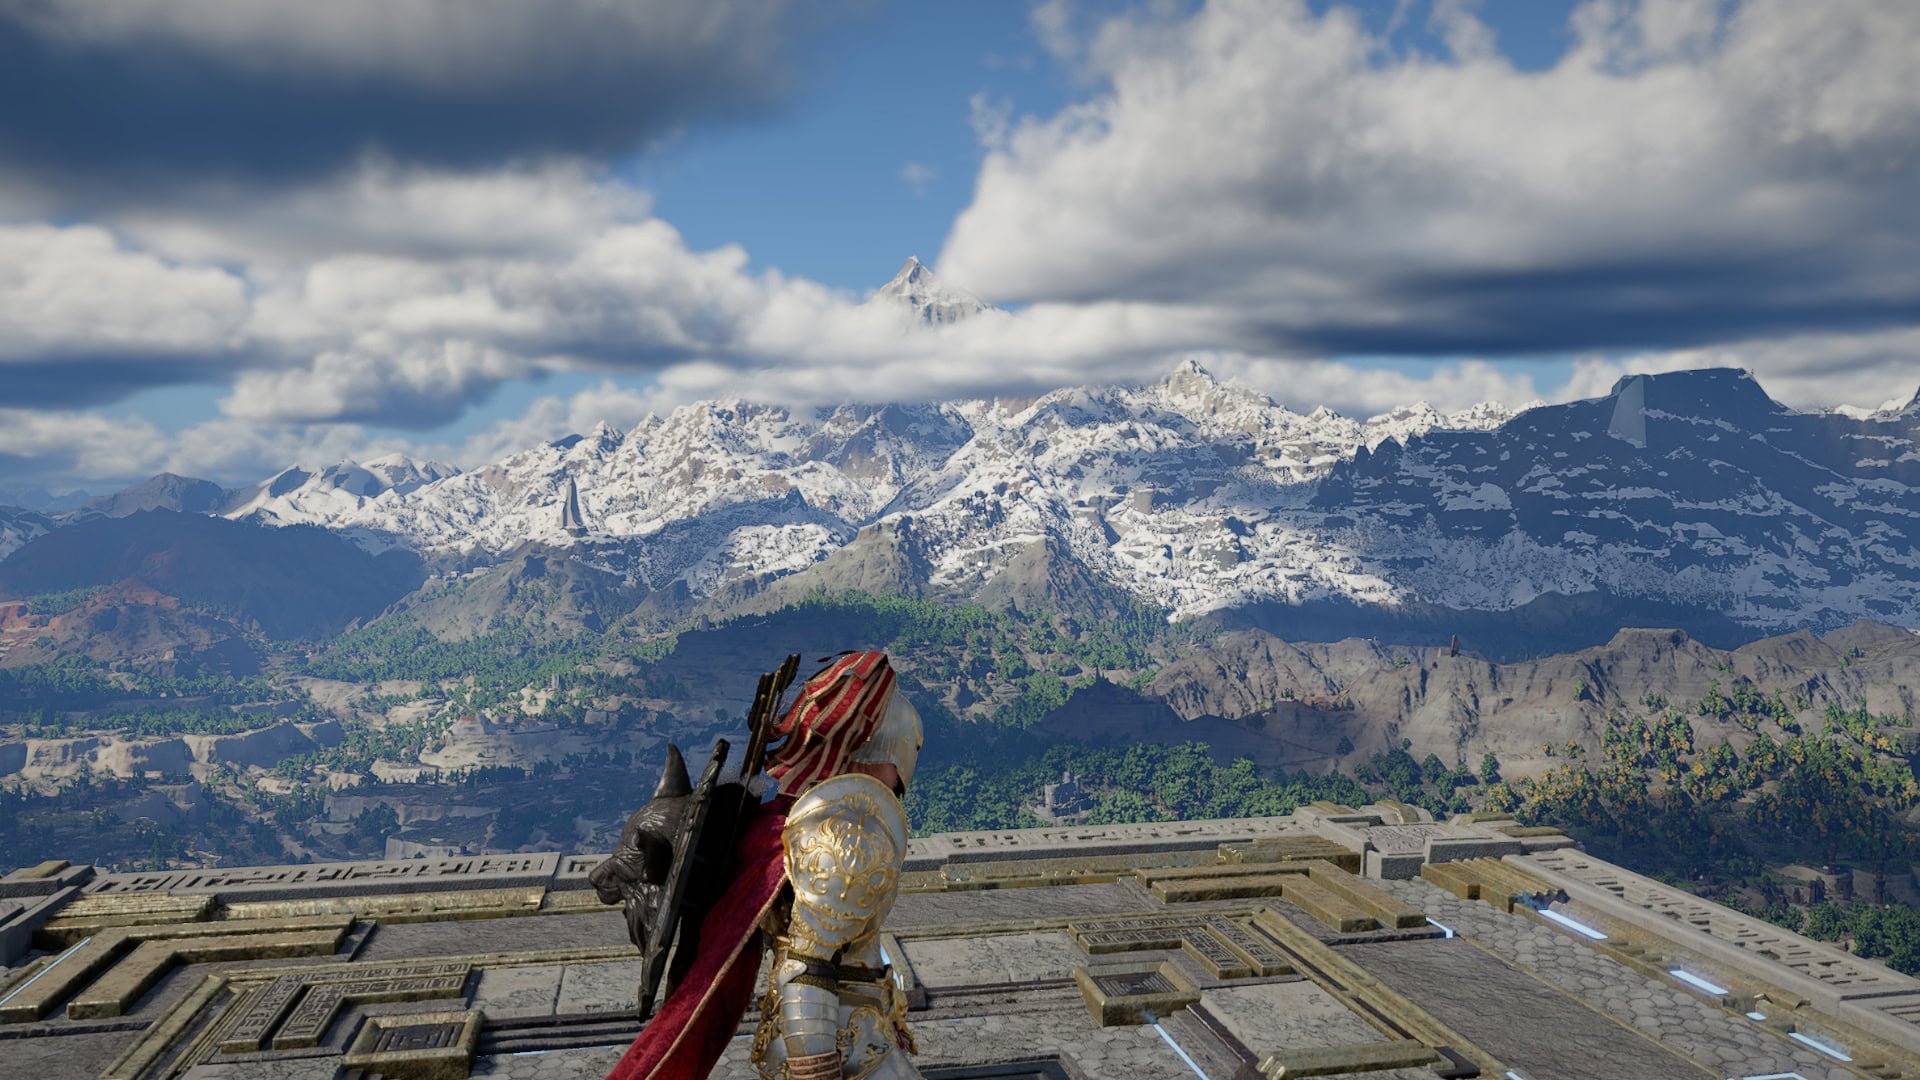
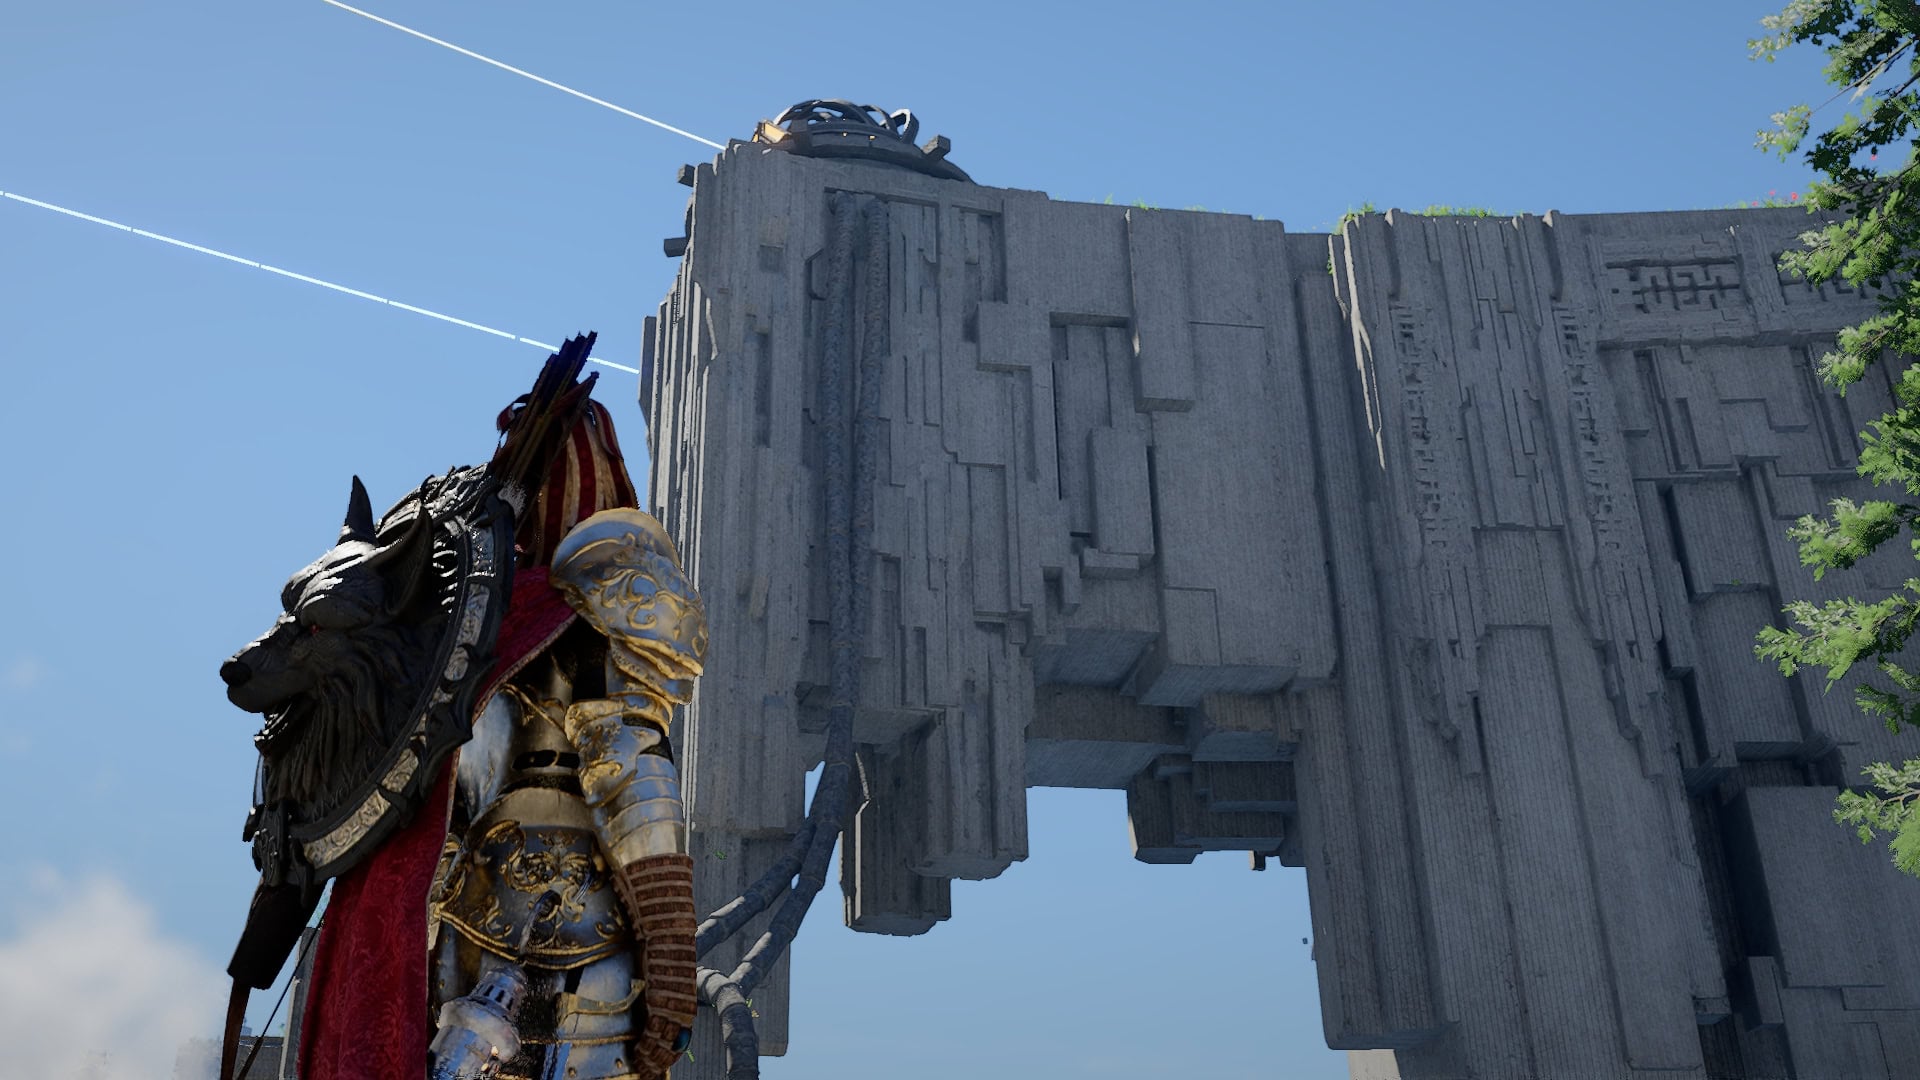
We can follow roads most of the way to the Spire of Soaring. Once we reach the Spire of Soaring, we can’t just walk right in, as the door is collapsed and we cannot move the Debris.
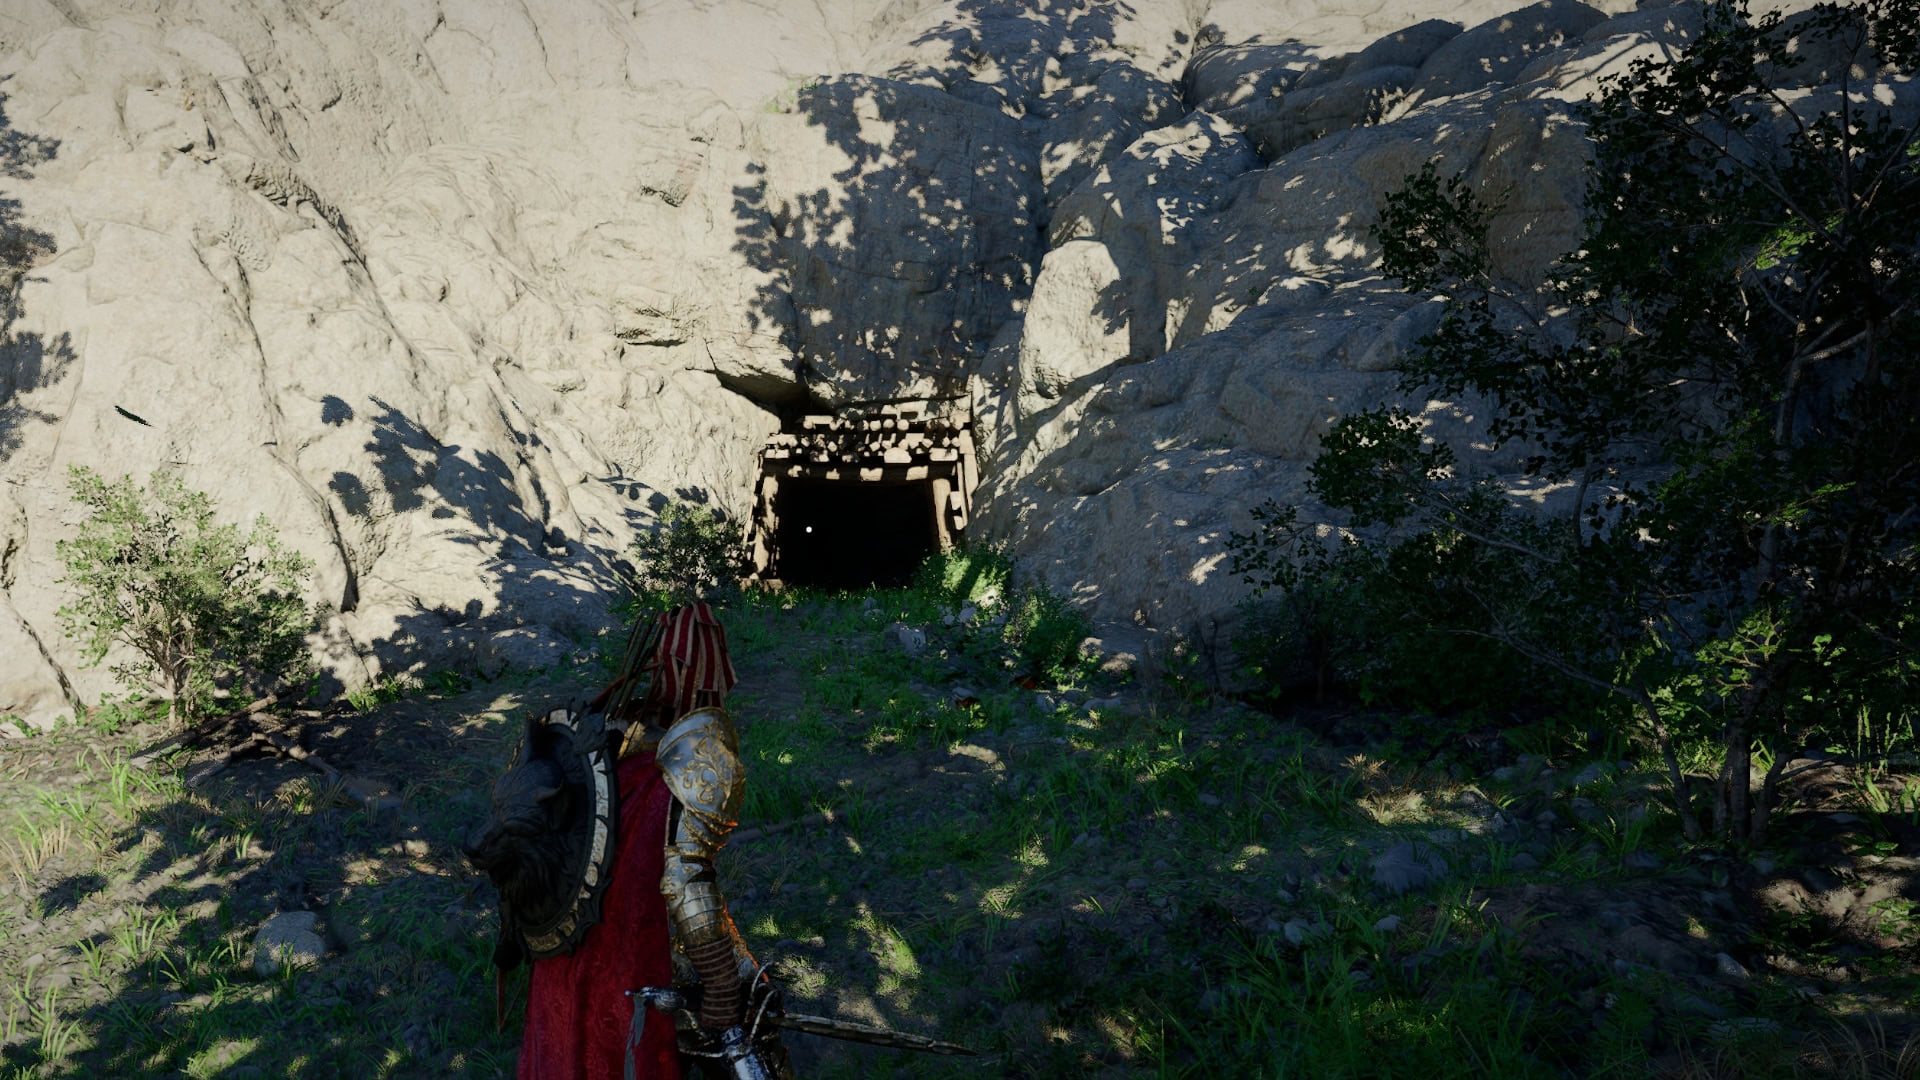
Instead, our entrance is a bit lower on the cliff to the East. Glide down, and we’ll see a tunnel entrance we can head through that will take us into the Spire properly.
How to Activate the Spire of Soaring
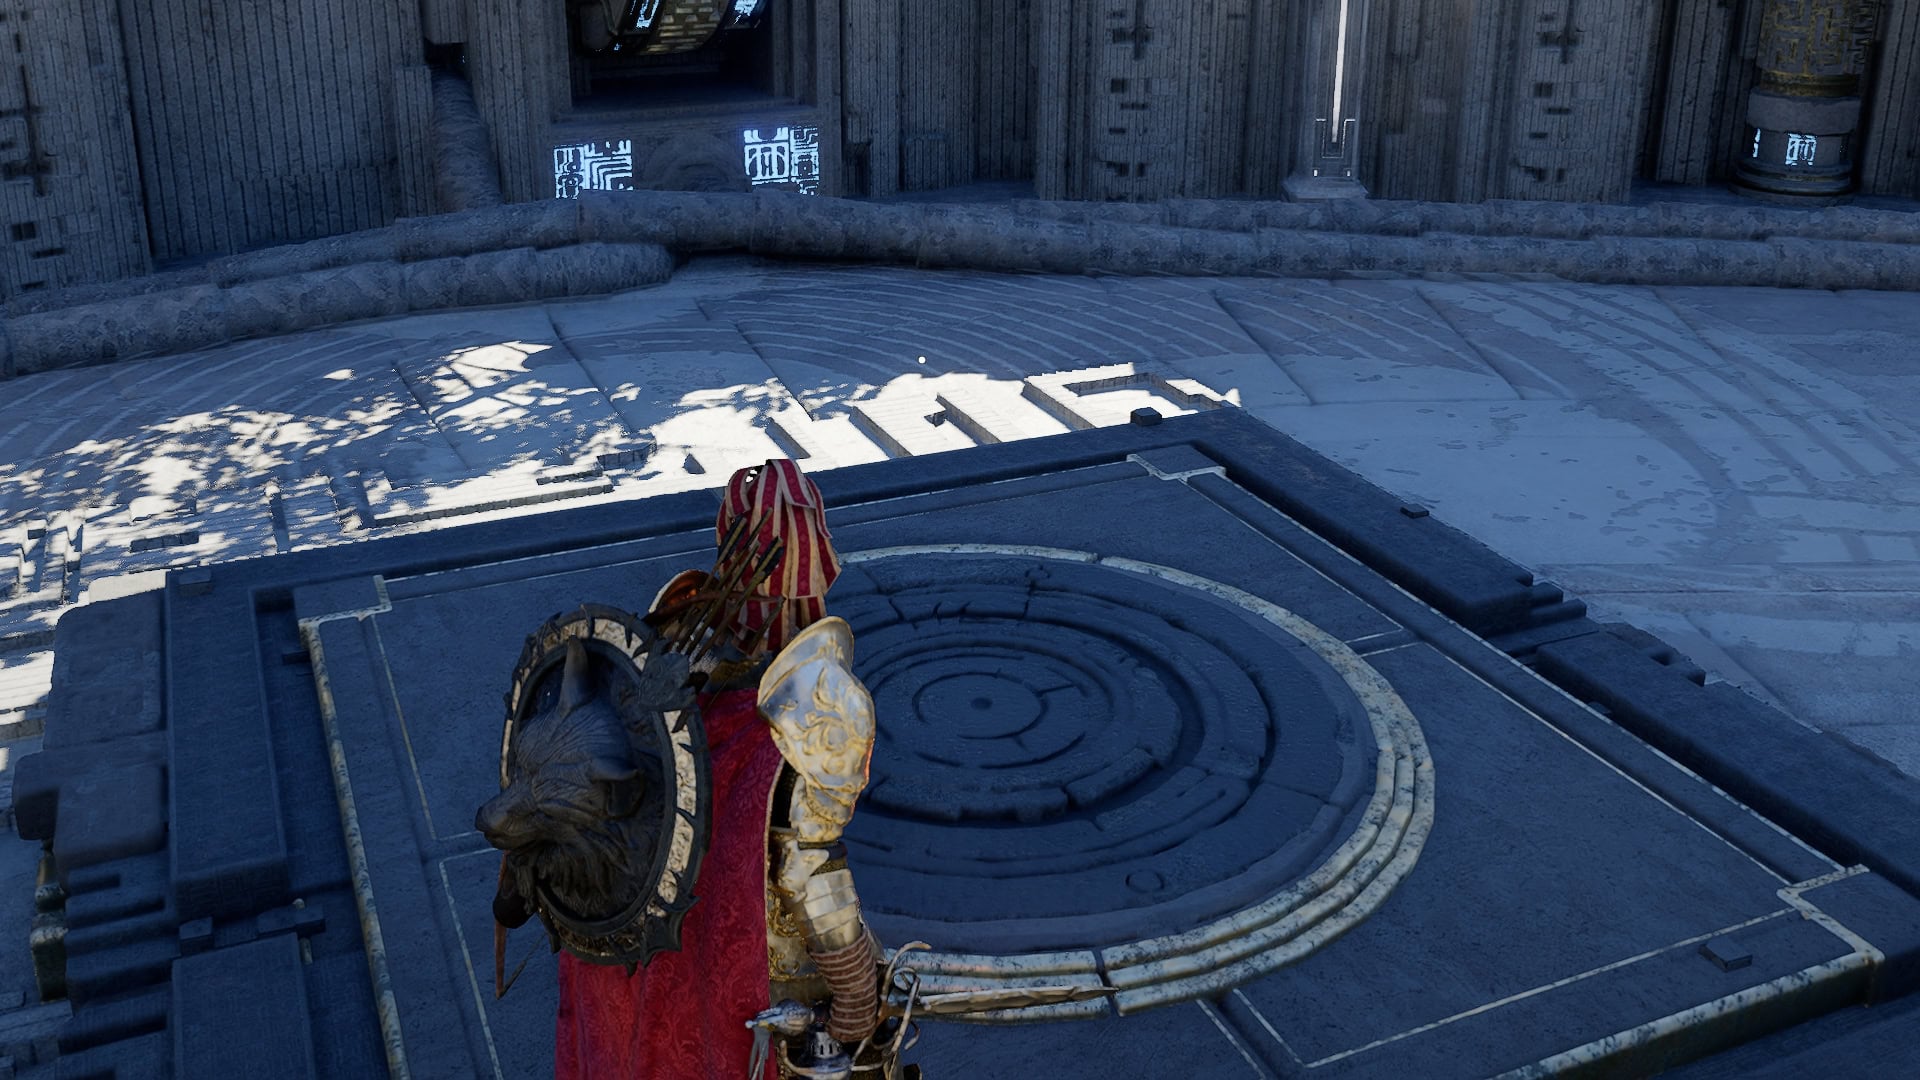
Once inside the Spire of Soaring, head to the right up the stair and we’ll come to a set of Air Vents.
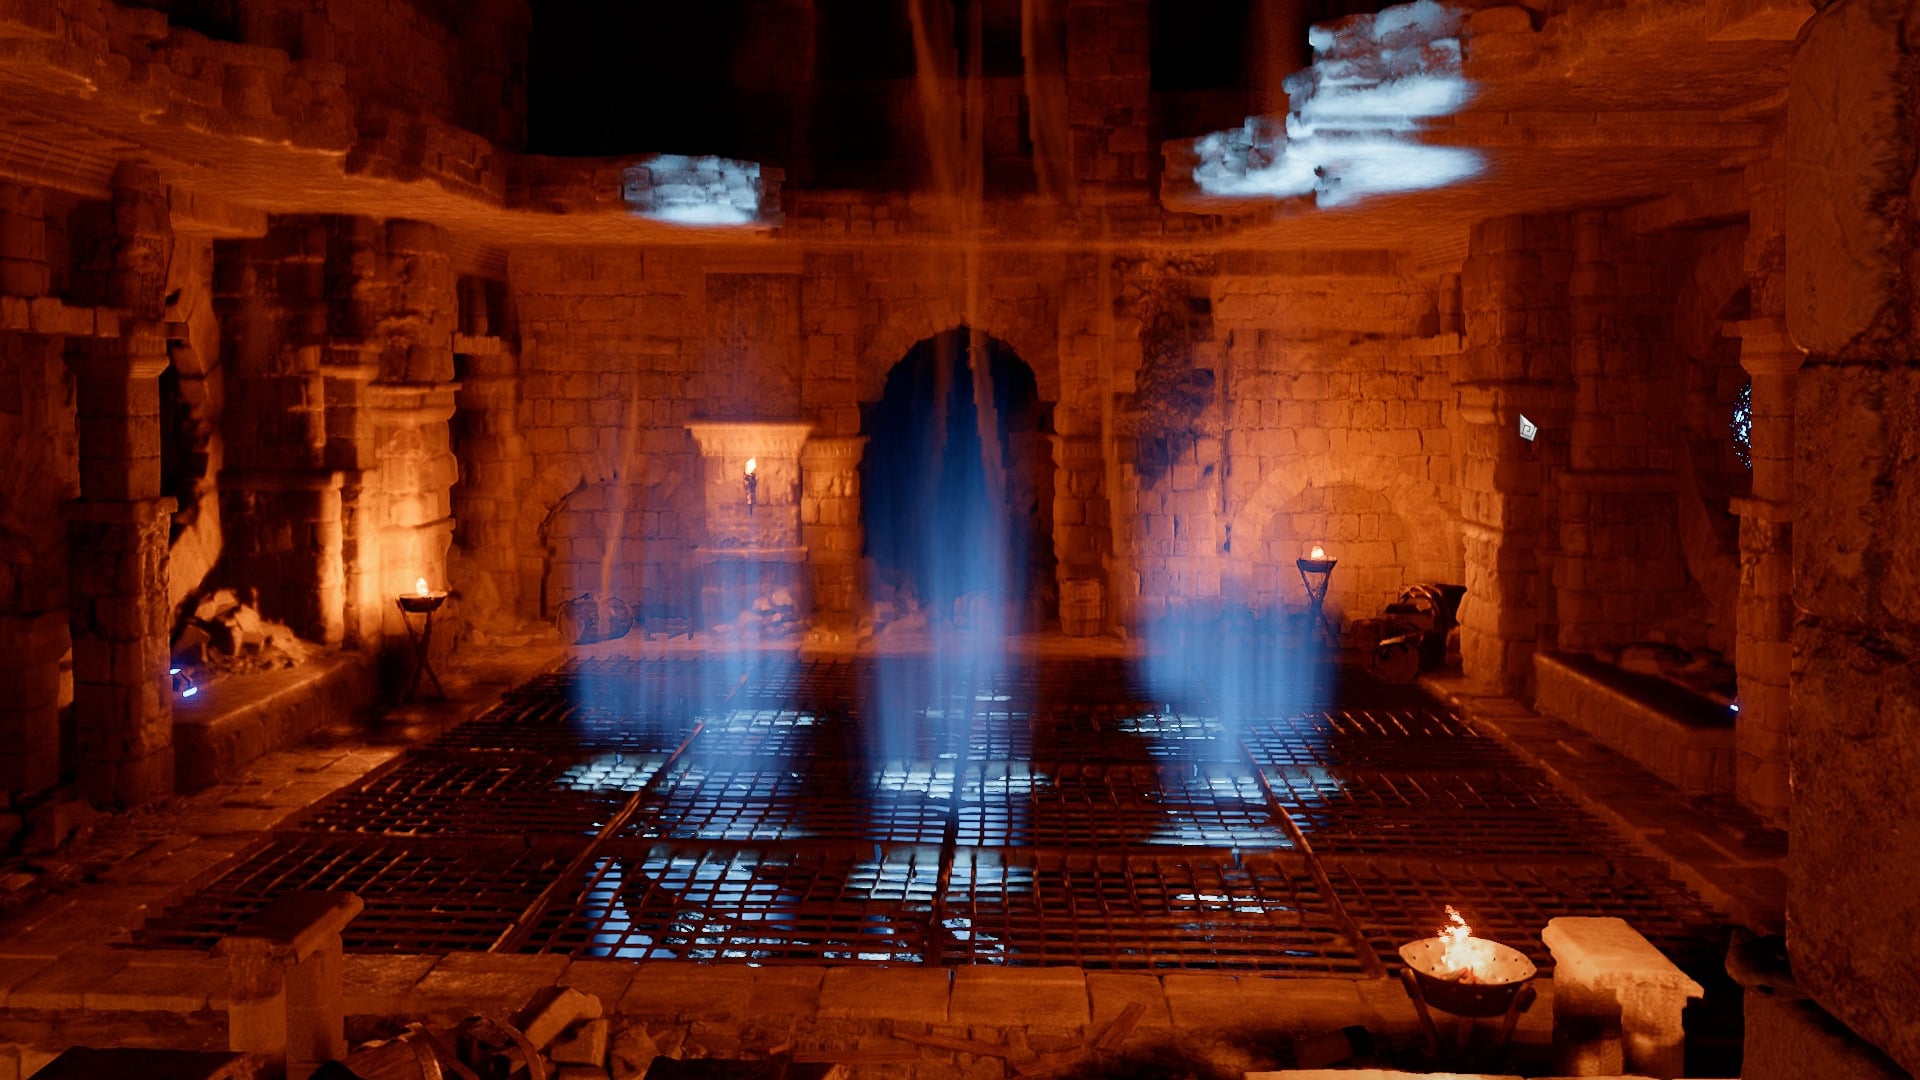
Jump, activate Glide, then ride the vents until we hit a ceiling. Move towards the wall and hop out of the airstream. Jump and use Aerial Force Palm to get on top of the platform, and we’ll be greeted with our first puzzle of the section.
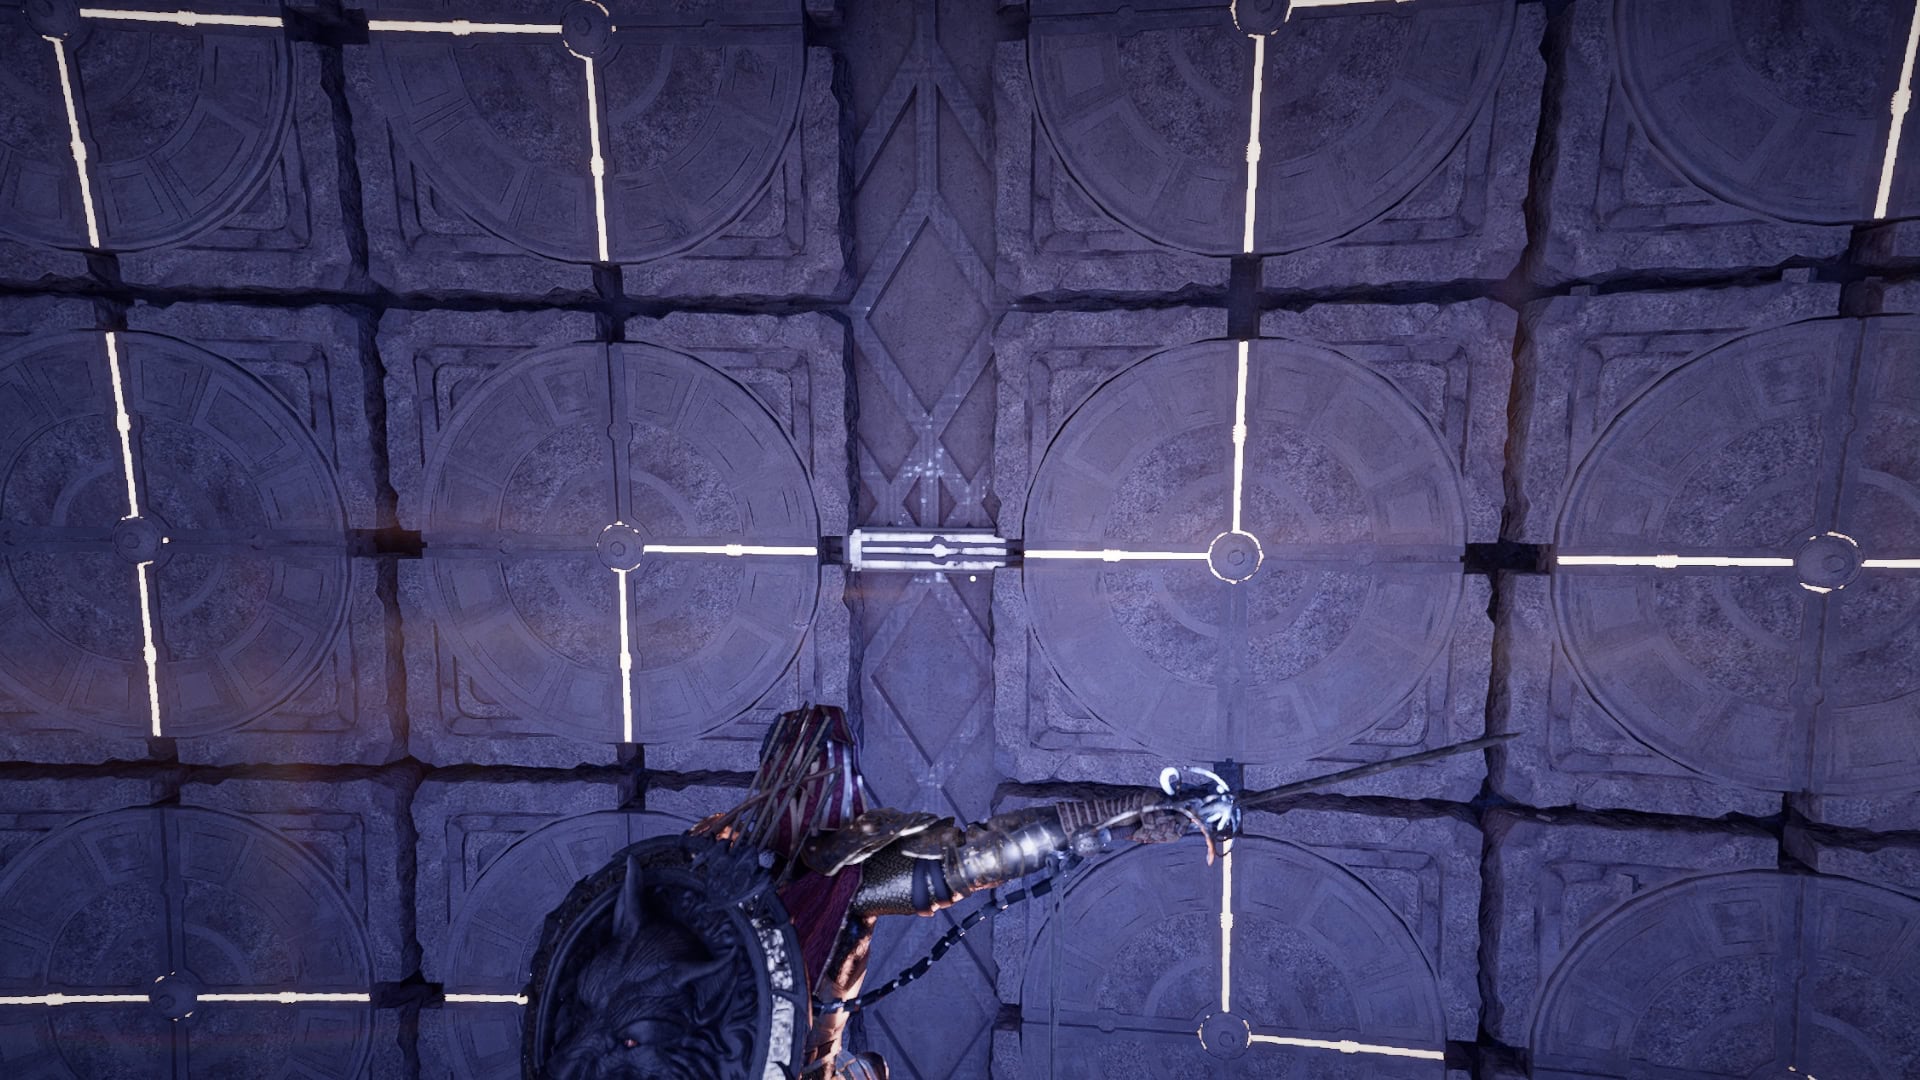
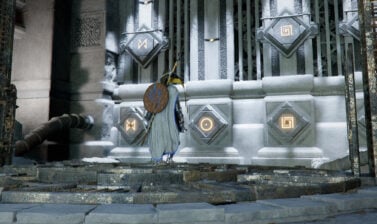
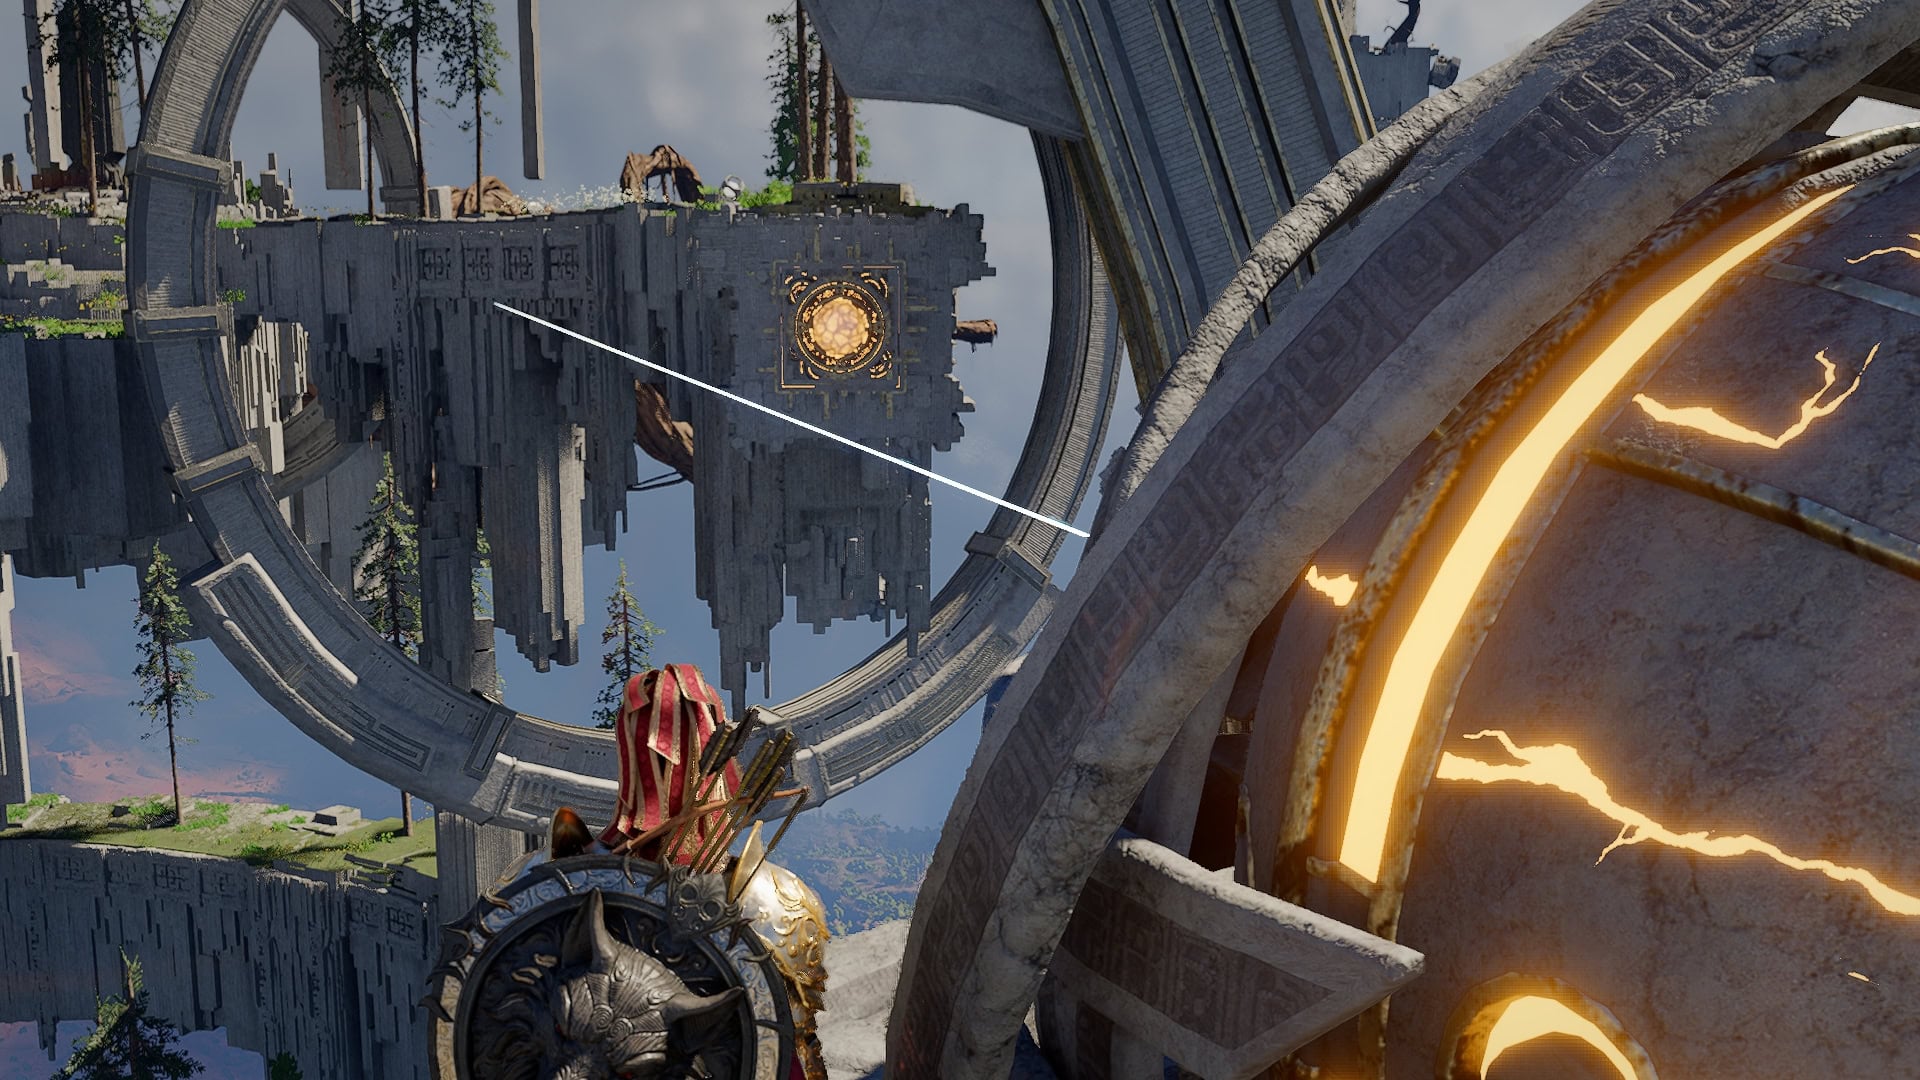
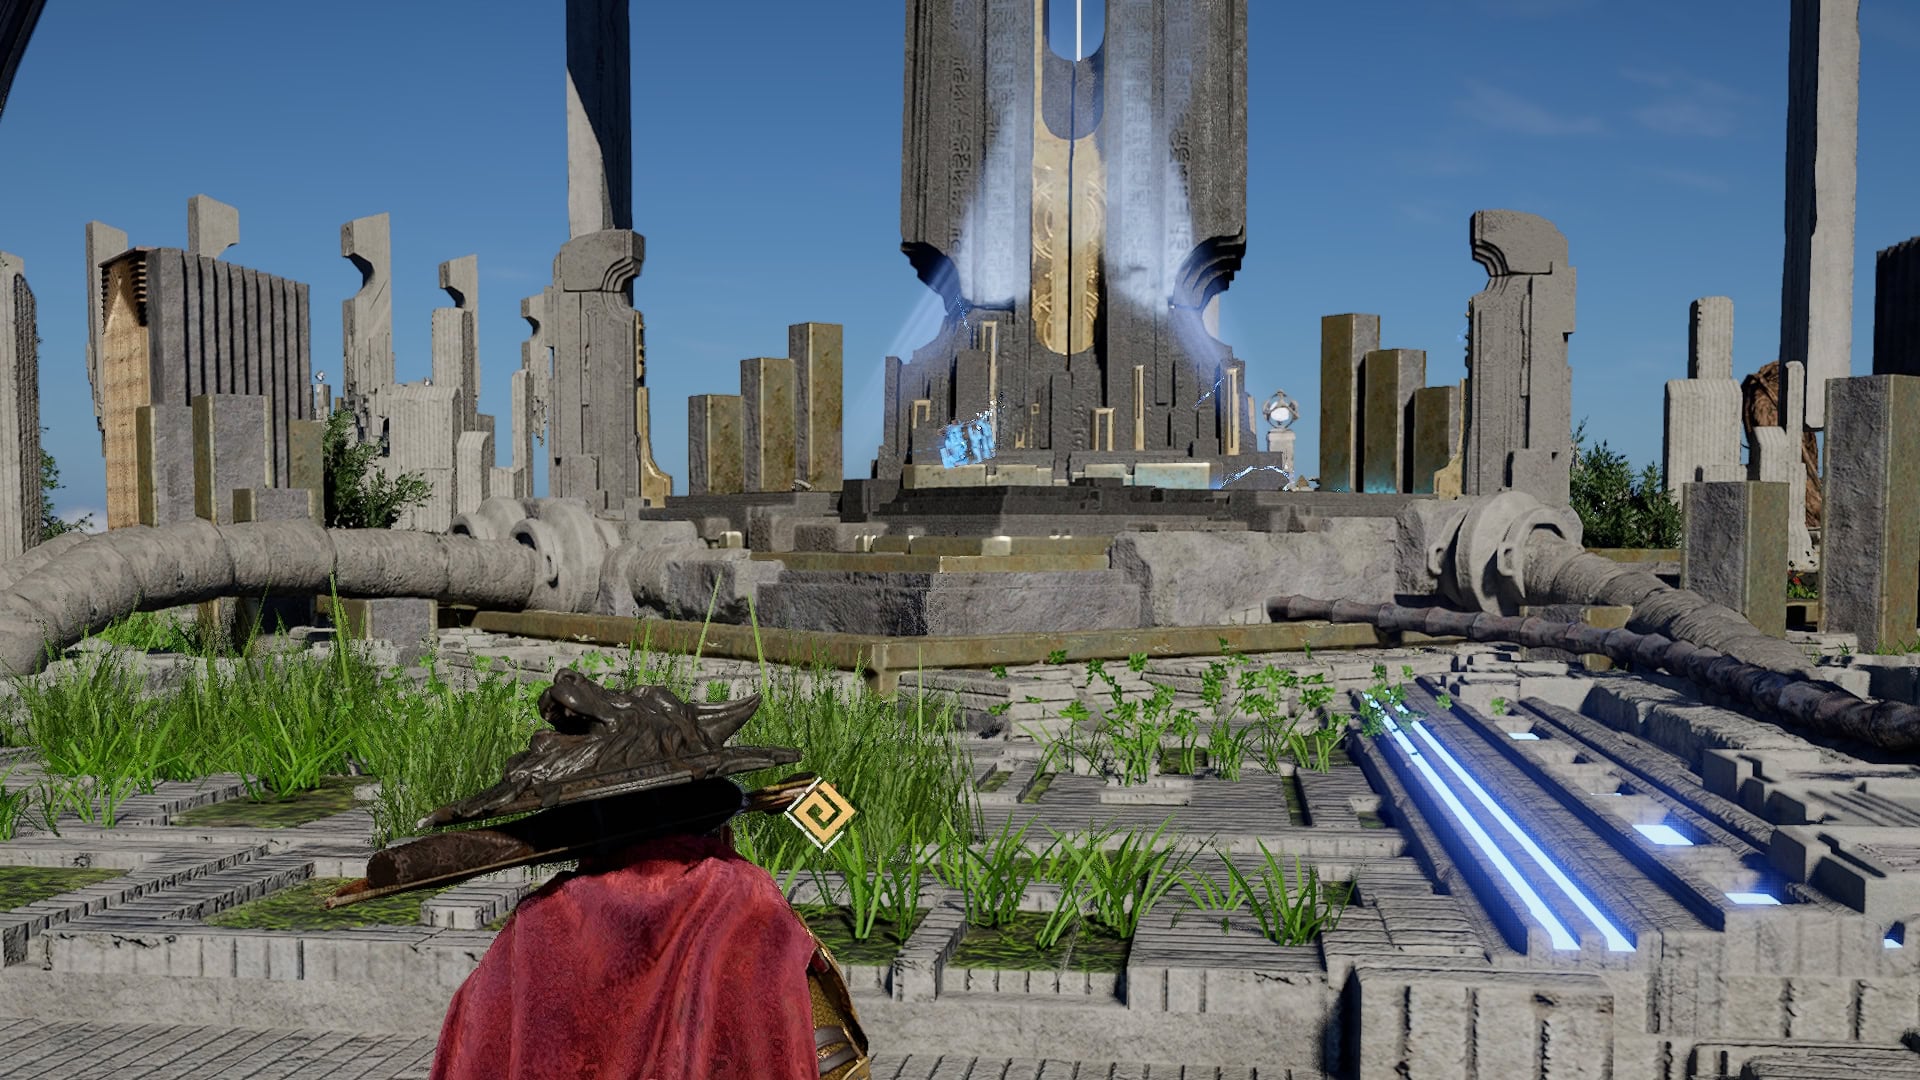
We’ll see a familiar style of panel puzzle, where we need to turn these circular panels until we connect both ends of the power flow using Axiom Force.
To make solving this puzzle easier, we’ve marked the panels we’ll actually need to manipulate.
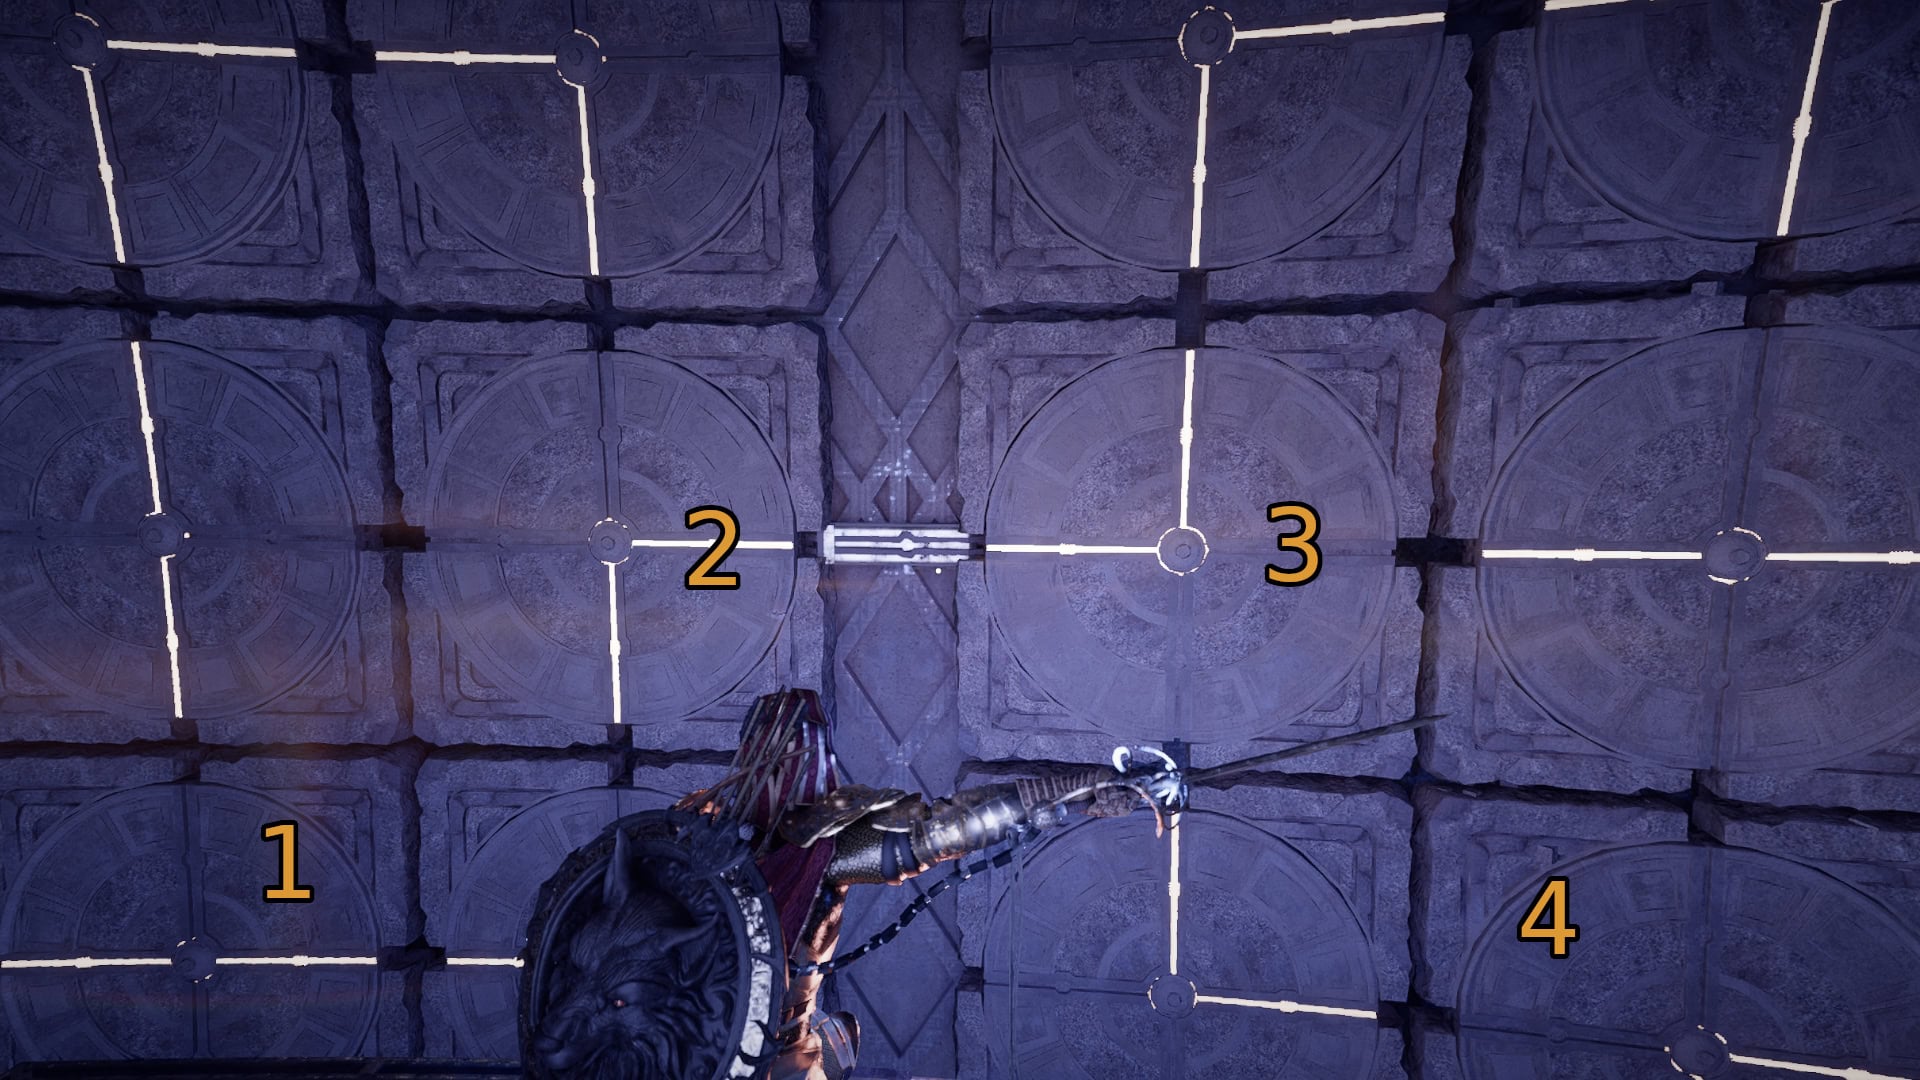
To solve this and move forward, take the following steps:
- Rotate Panel 1 a quarter turn counterclockwise, or until it clicks once.
- Rotate Panel 2 a quarter turn counterclockwise, or until it clicks once.
- Rotate Panel 3 a quarter turn counterclockwise, or until it clicks once.
- Rotate Panel 4 a quarter turn clockwise, or until it clicks once.
Make sure when turning the panels to immediately release when they click into their new position. They are very easy to turn past their intended rotation.
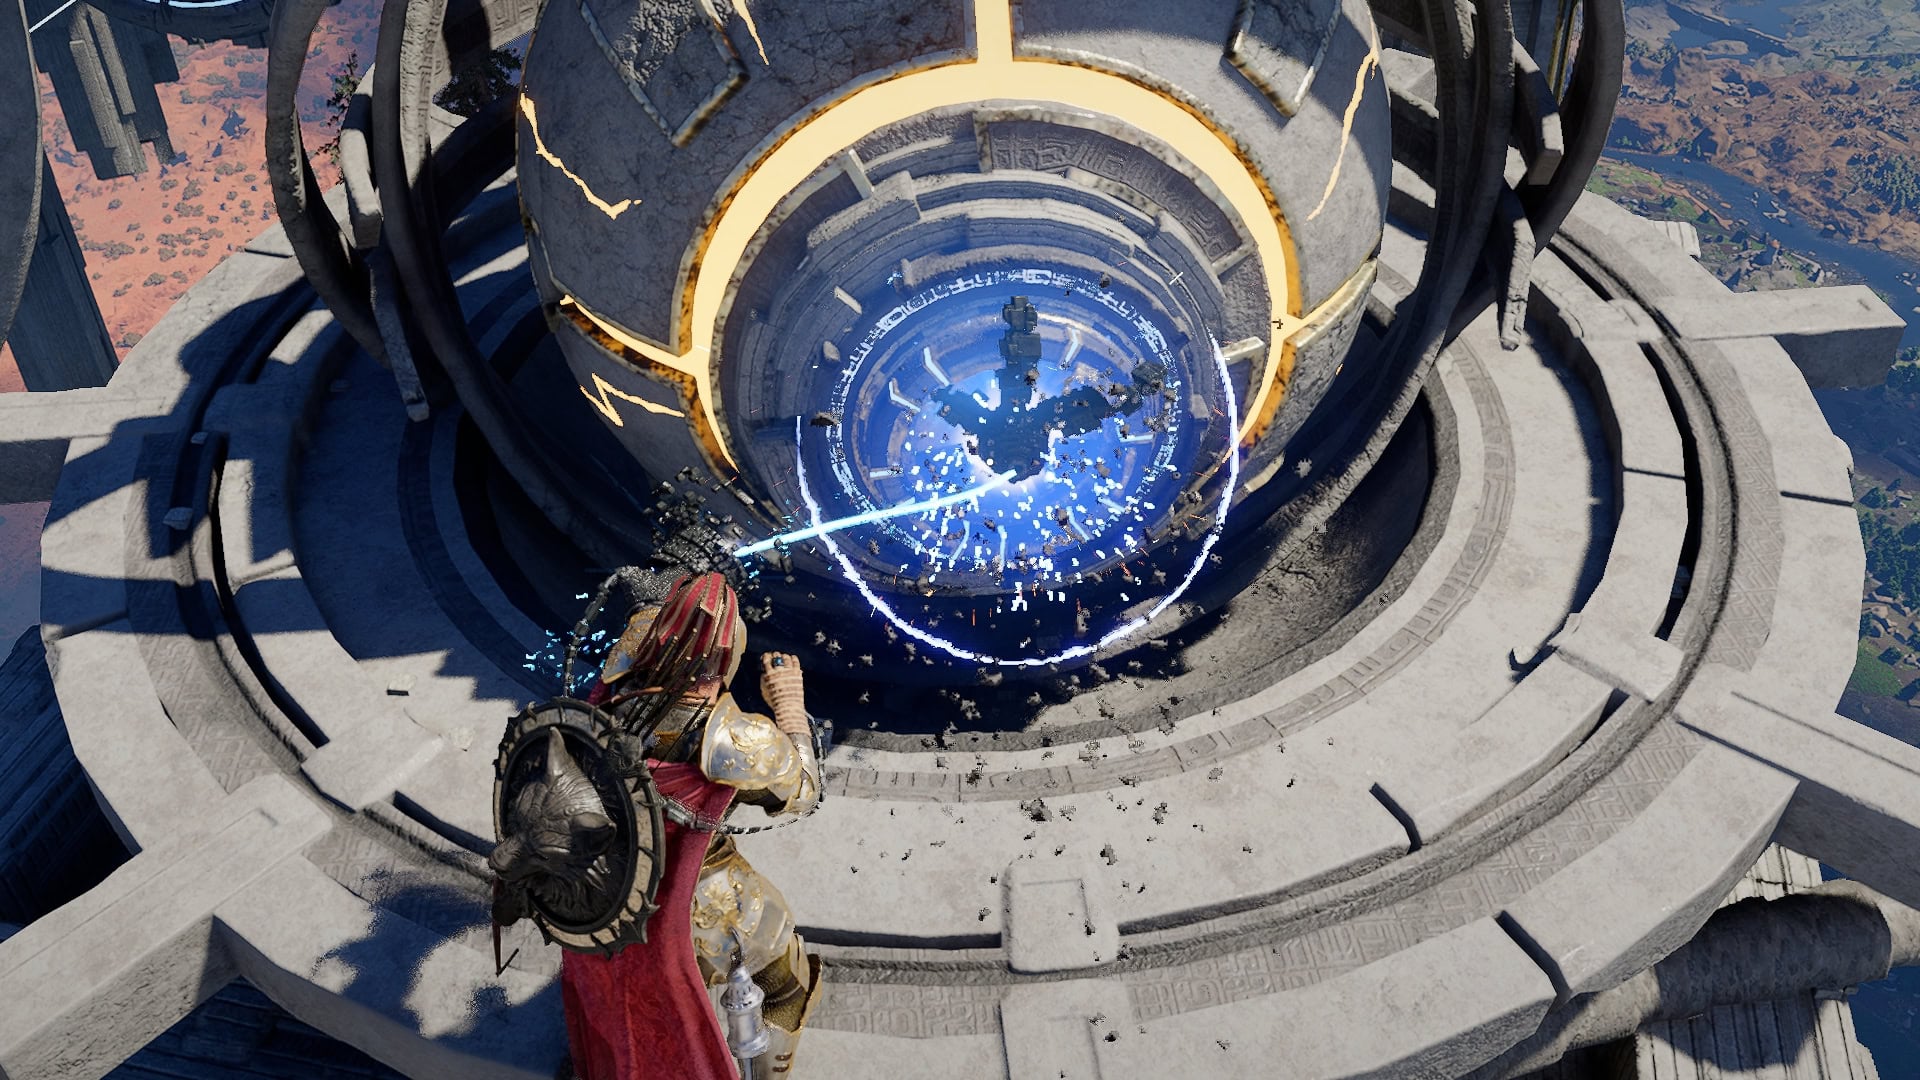
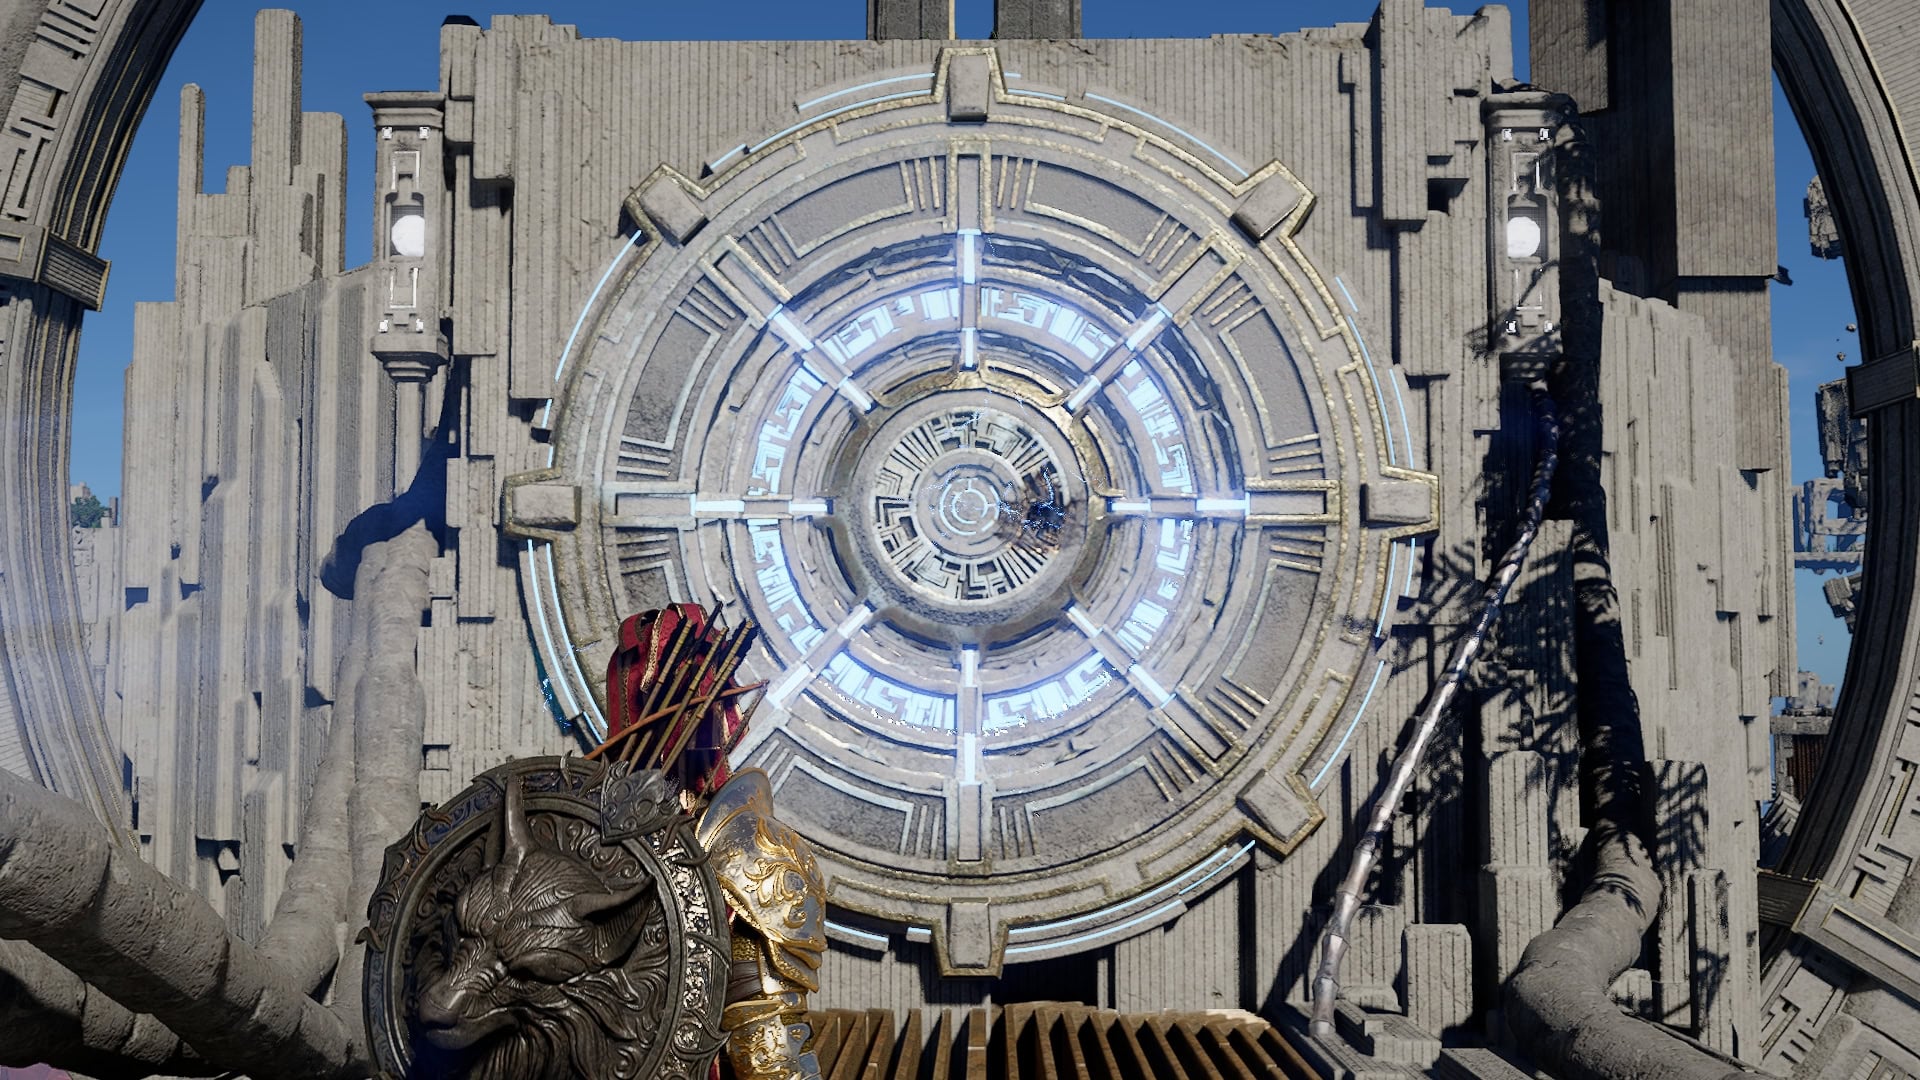
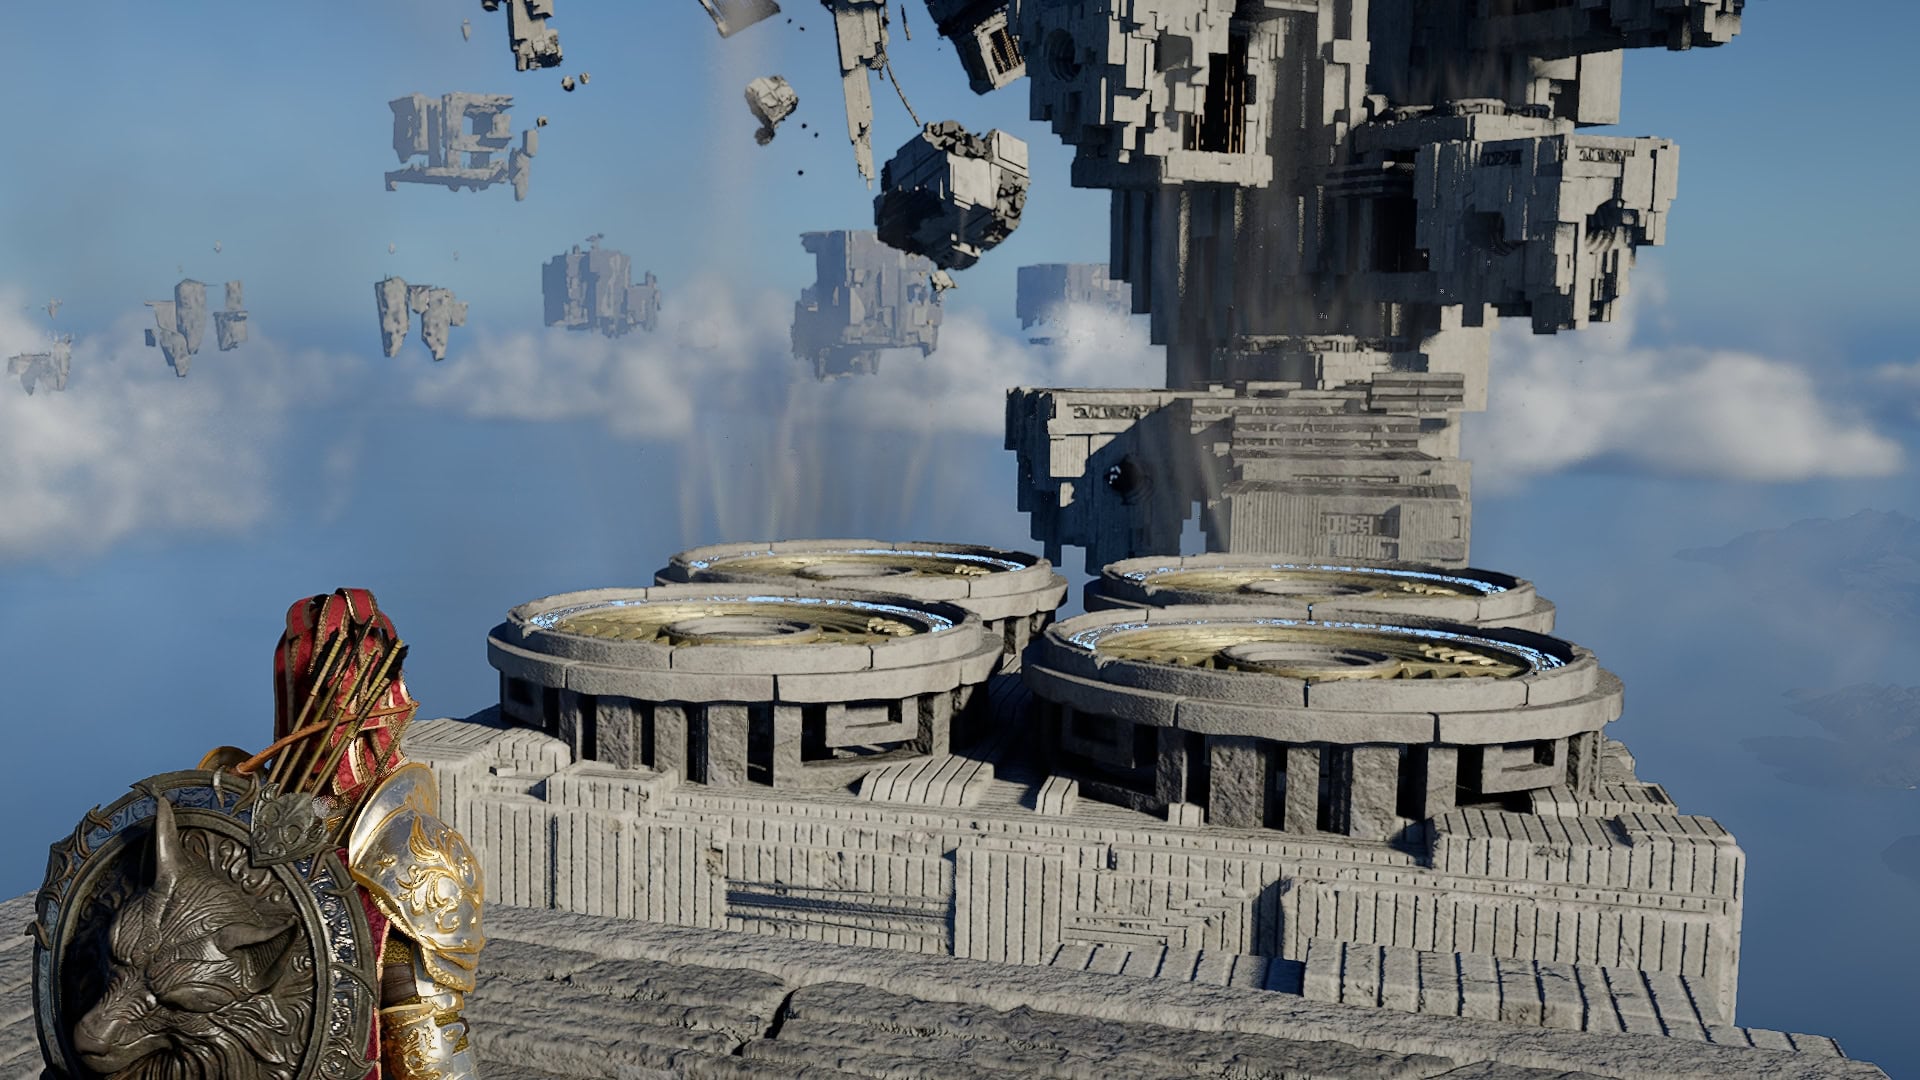
Once completed the platform will raise up to another puzzle. This is the same thing, but just a single larger wheel instead.
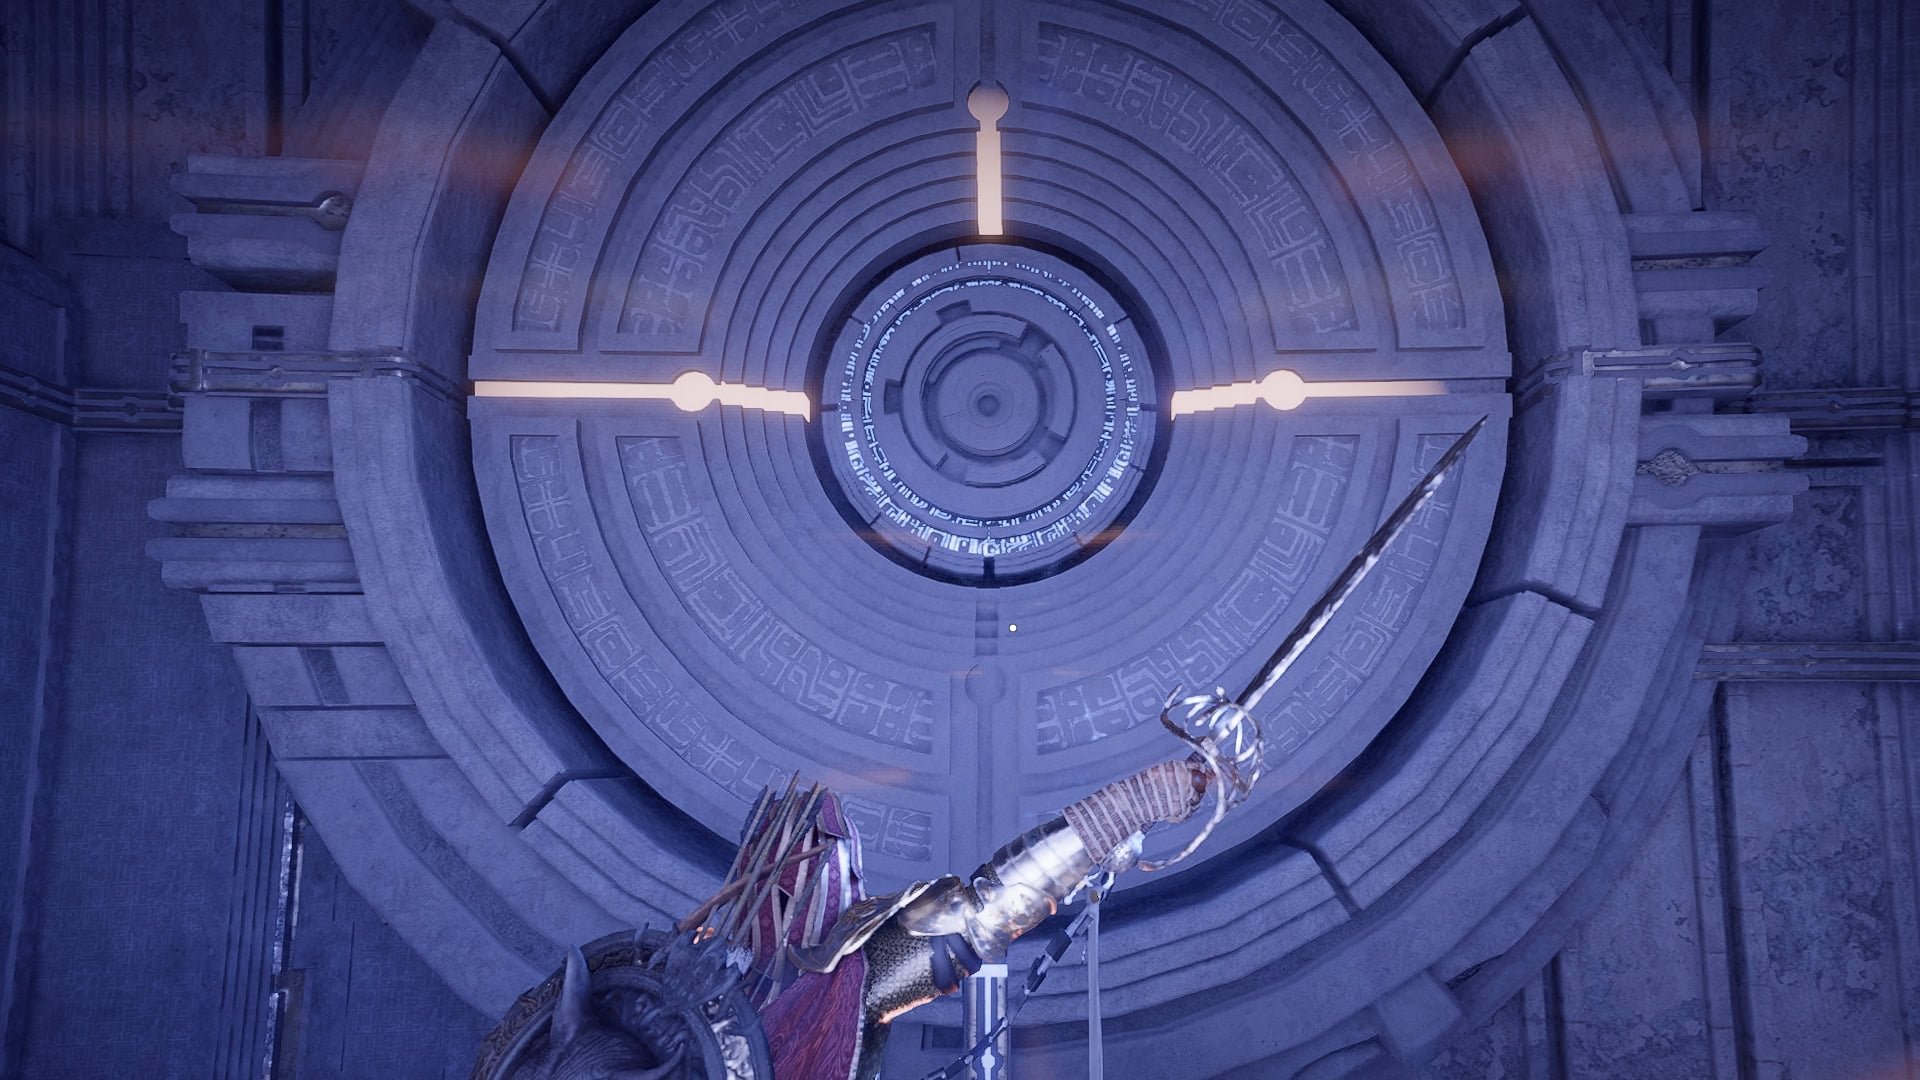
Turn this wheel a half turn in either direction, and the platform will rise once again. At the top, the Spire will open, and the platform will continue to ascend into the Abyss.
How to Activate the Skybridge
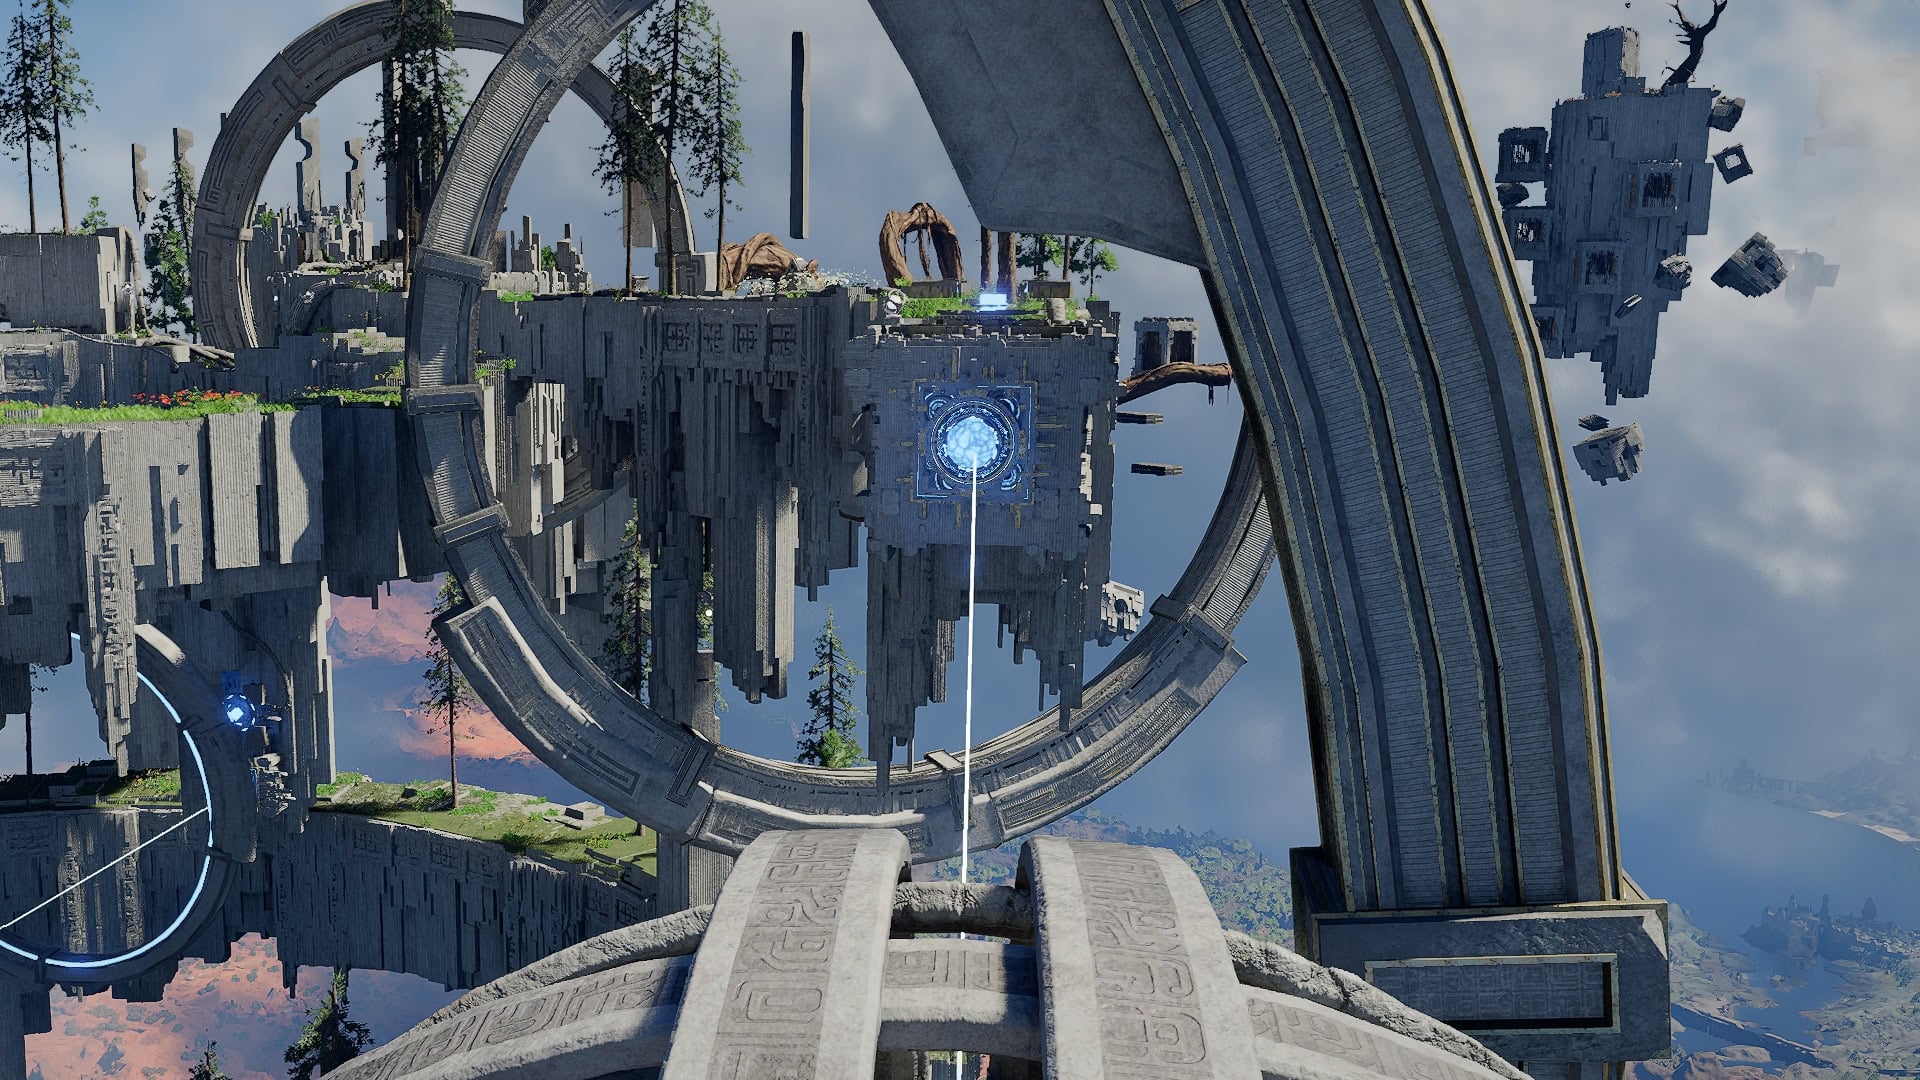
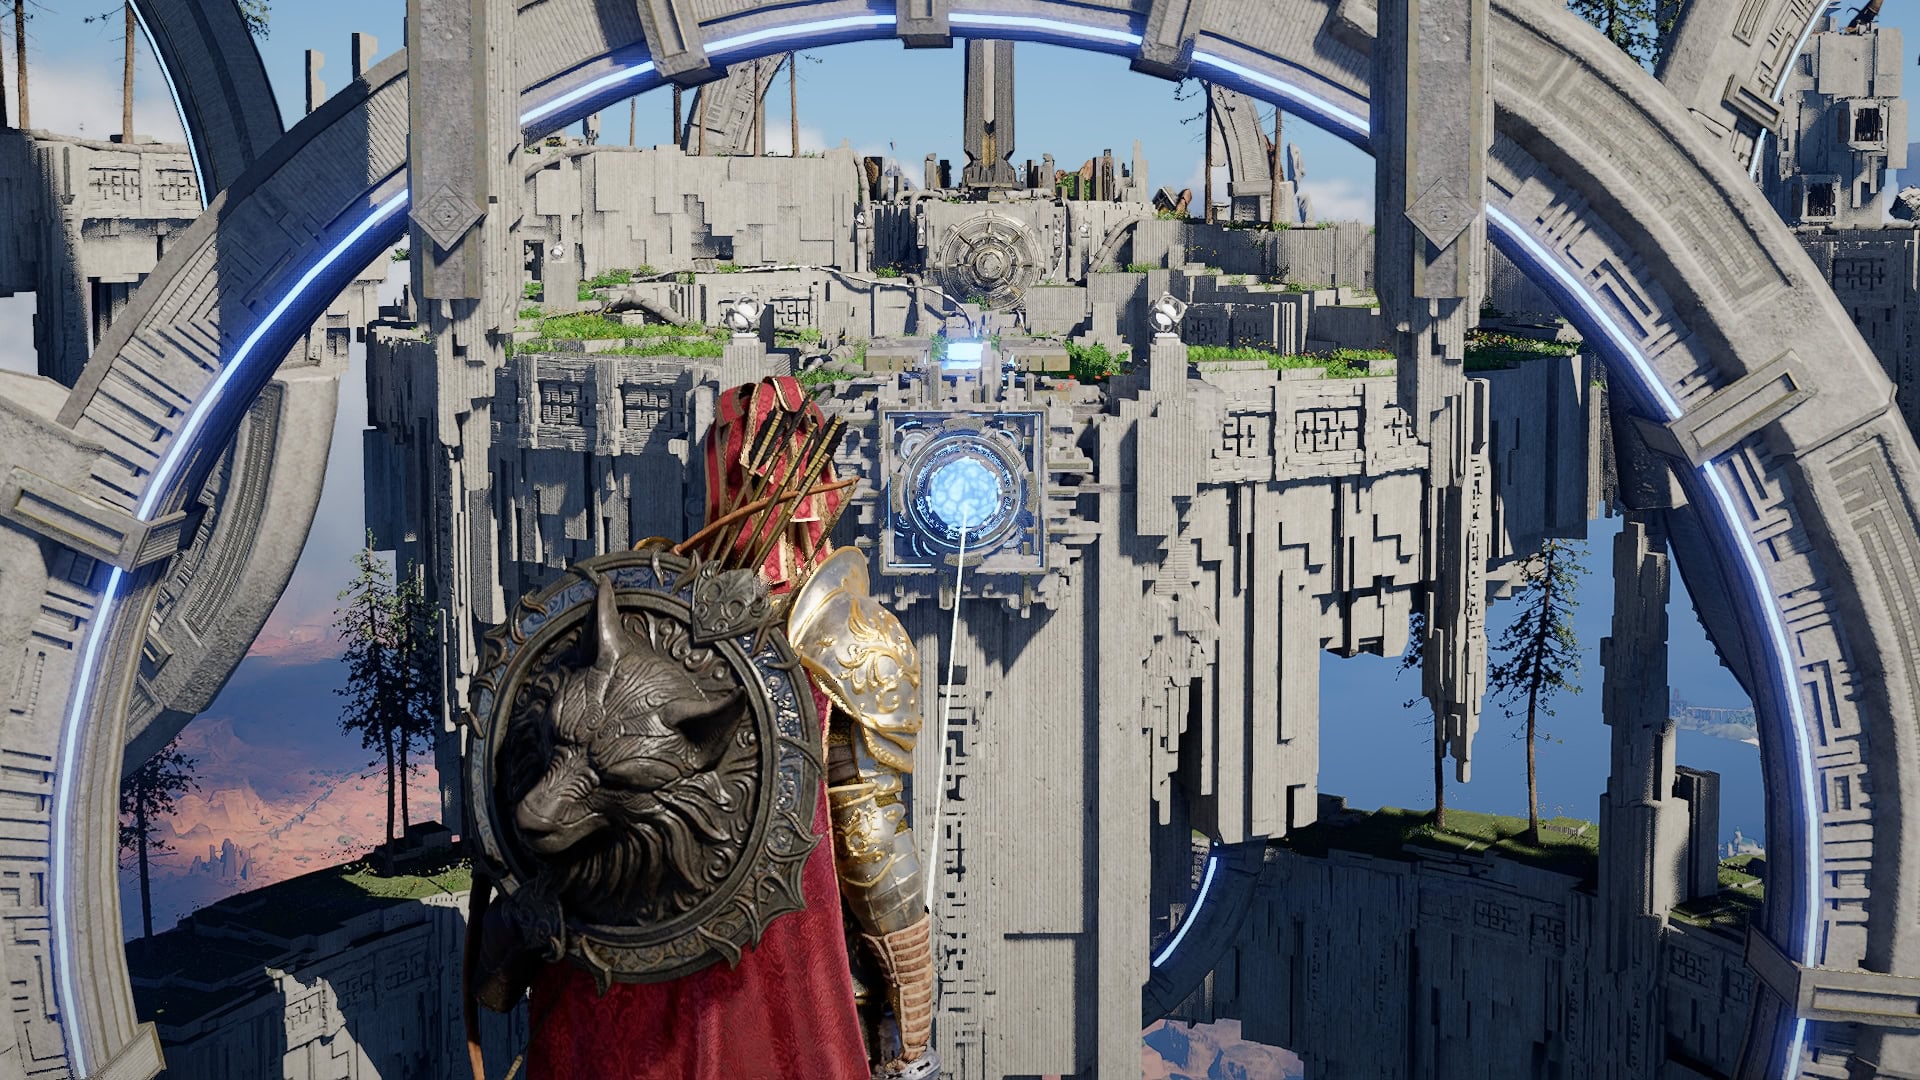
Now we’re into the Abyss, the Crescent Skybridge in particular. There’s more puzzling to do here, but first, we’ll grab the Abyss Nexus.
From the Nexus, we’ll head to the right. The laser in front of us is properly aligned and doesn’t need to be adjusted. However, two of the three above us do require it, so head to the next by using Aerial Force Palm to gain as much height as possible initially, then climb the rest of the way up.
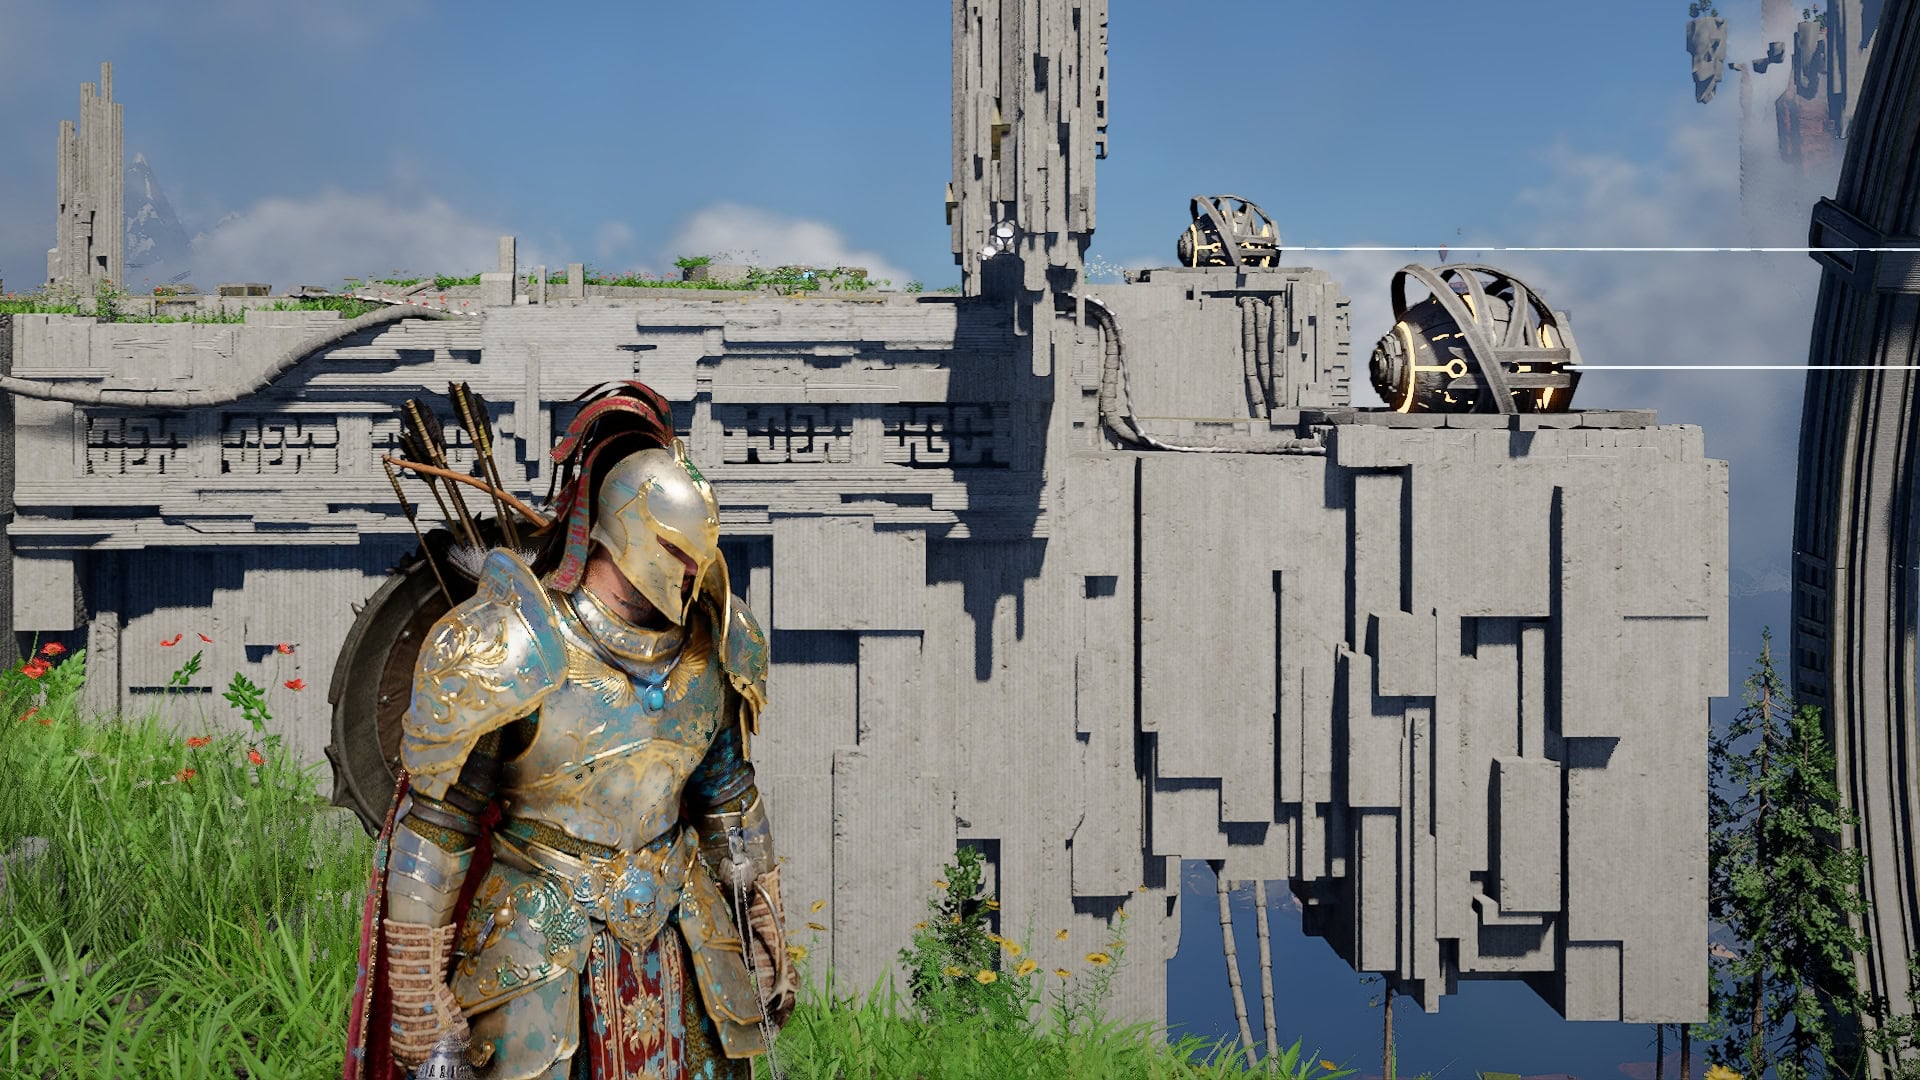
Up here, we can clearly see this laser isn’t properly adjusted.
Use Axiom Force to grab the small panel at the back of the laser, wait a couple seconds, then we can line the laser up with the currently orange panel and turn it blue.
Then, as we look across to the other lasers, the next one we need to adjust is the one on the opposite side, where we’ll be doing the same adjustment on to the panel to provide power.
After the second laser is aligned, head to the middle laser and get on top of it. Use Aerial Force Palm once again to gain height and glide across the gap.
On the other side of this gap is a Conduit we need to reconnect. Walk up to it, reconnect, and move forward to the large button.
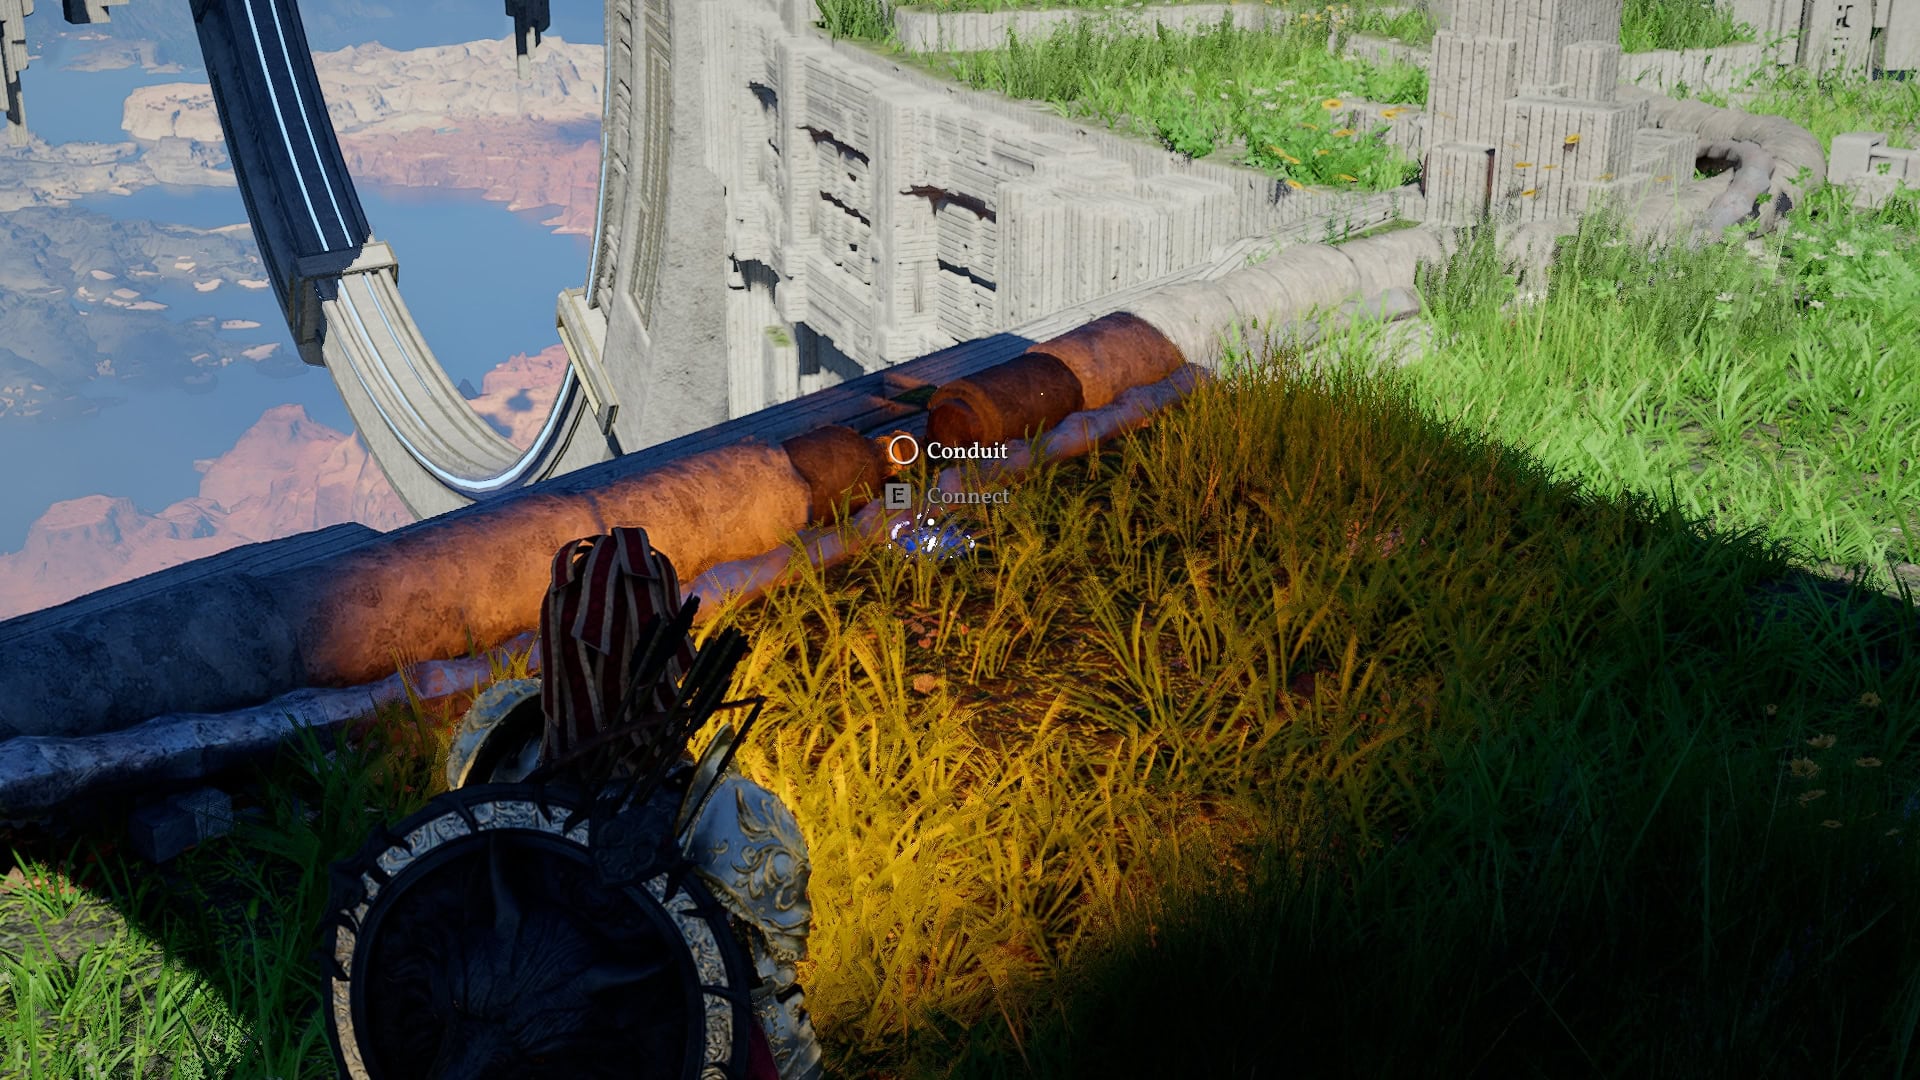
It’s not powered yet, but that’s because we have another Conduiit to reconnect. Climb onto the raised platform to the right of the button (while facing it). Find the Conduit and reconnect it.
Claim the Abyss Fragment (Reward)
Now that the Button is active, climb up to the middle of it and give it a good Force Palm to press it.
After it finishes its animation, the final stretch of puzzles has been completed. Climb to the platform on top of the Button to claim the Abyss Fragment.
Reaching the Crow’s Nest
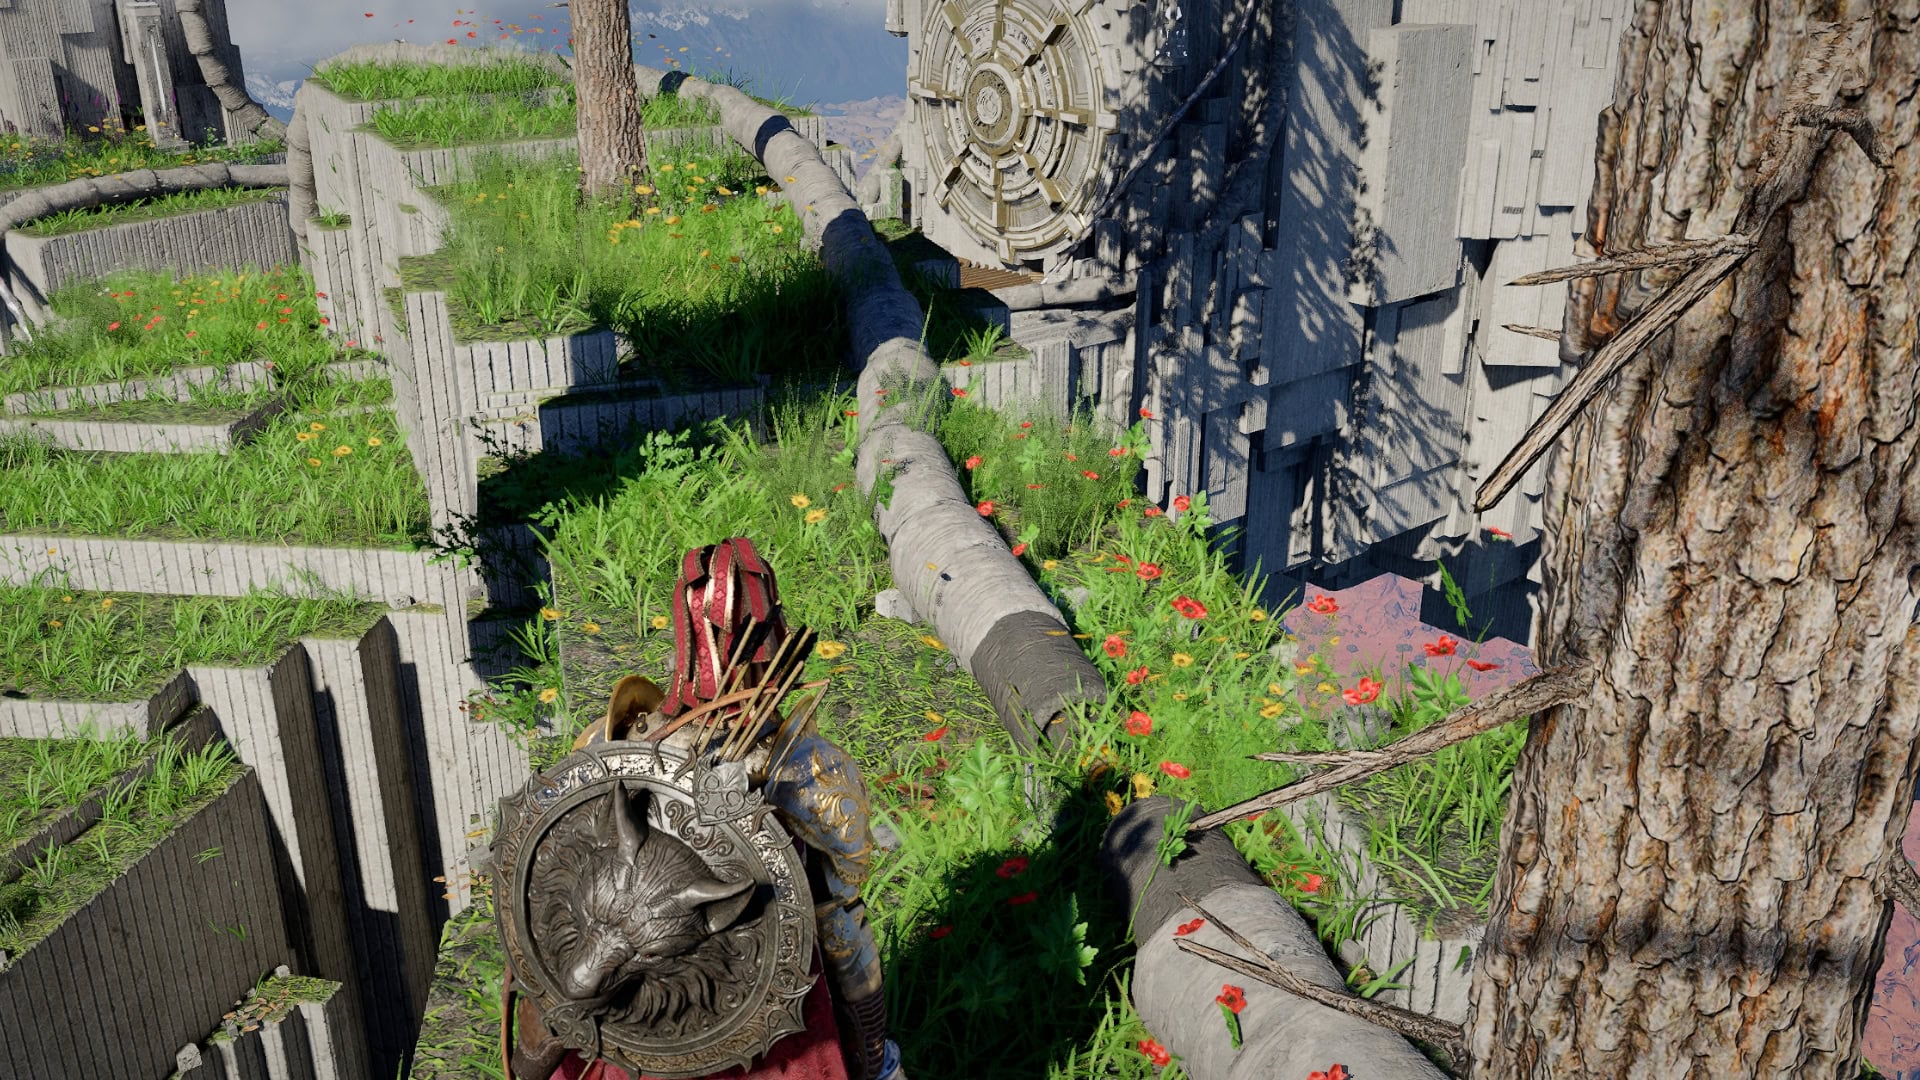
From here, all that’s left is to make our way behind the Abyss platform and activate the root-covered Skybridge on the right.
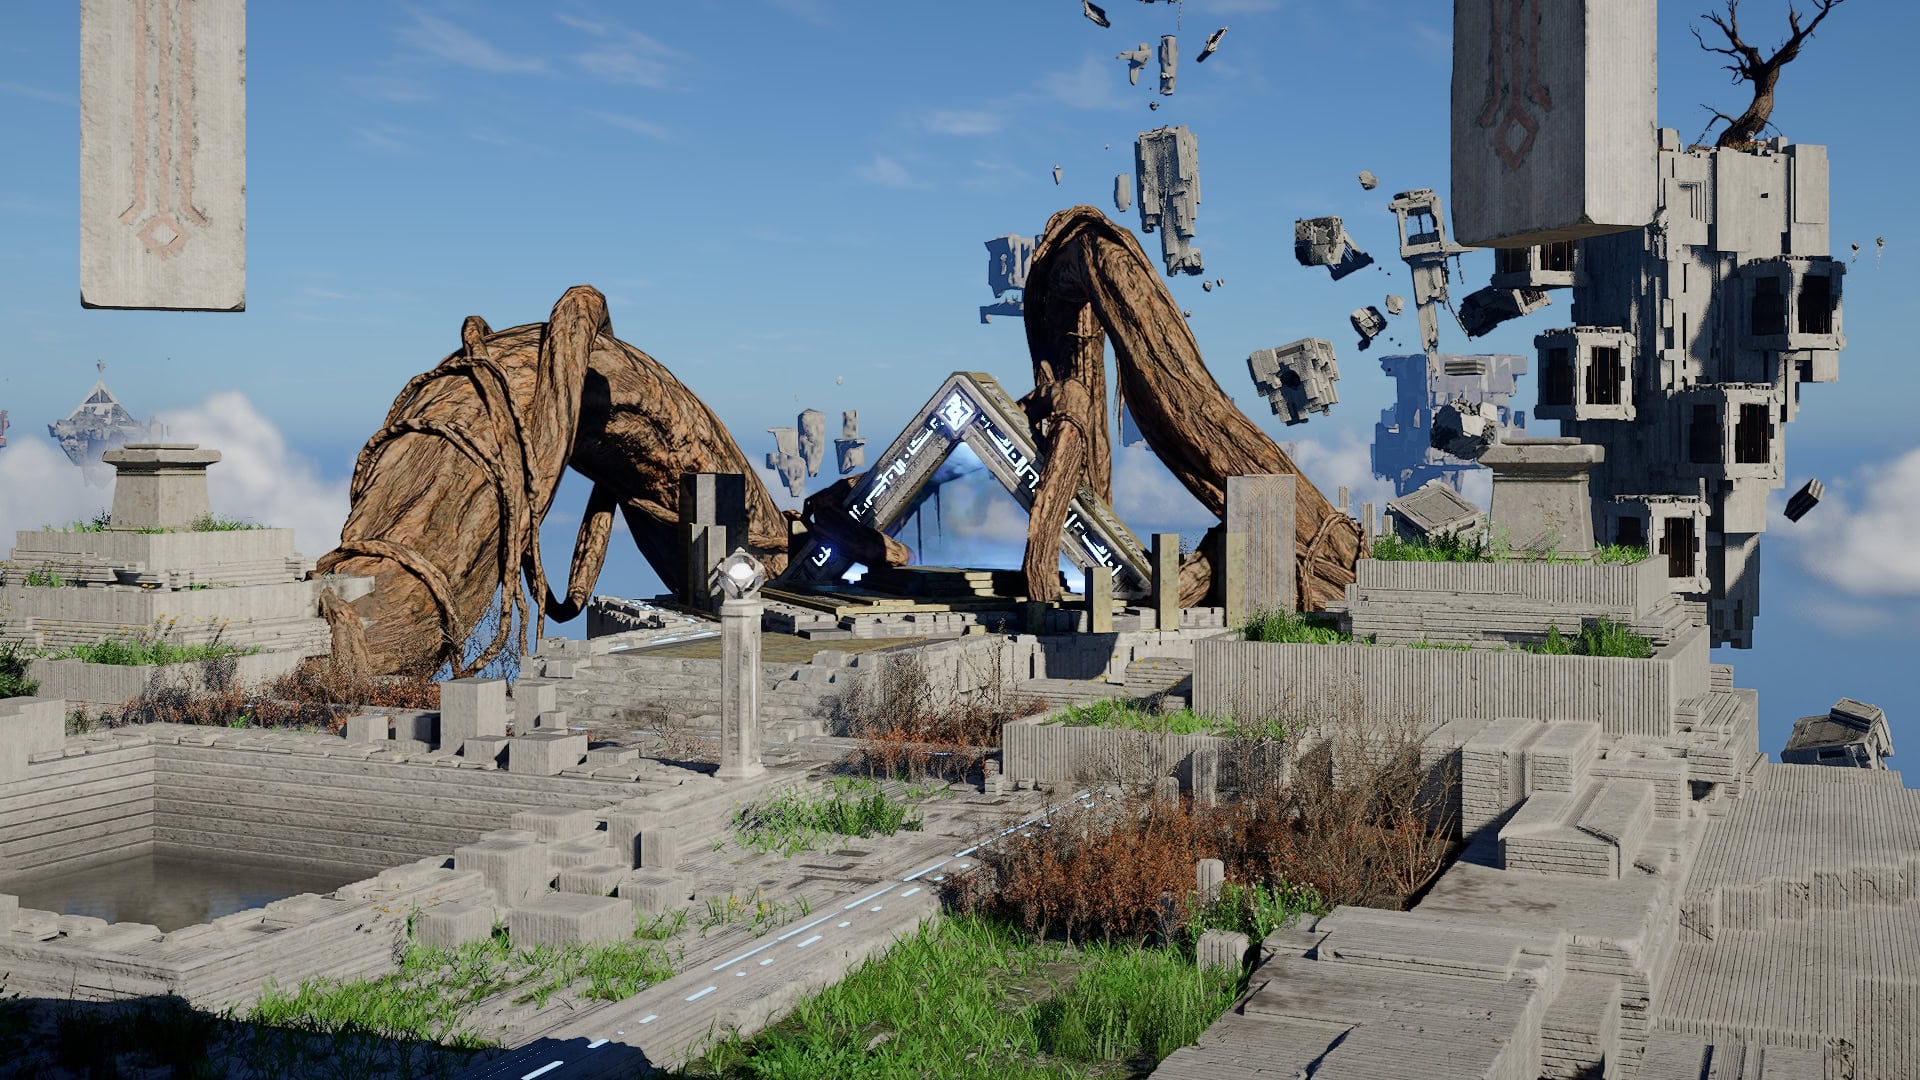
Once activated, we’ll be able to move forward and use these airvent to cross the gap to the Teleporter. Gliding at max height from this one will almost get us on top of the opposite platform, but we can ride an air vent over there to make it up without ever stopping our glide.
Step into the Teleporter and enter the Crow’s Nest. Time fora boss battle.