Learn how to ascend the Spire of Ringing Truth and be able to take on Priscus the Ancient boss lurking below the Spire.
The Spire of Ringing Truth starts a chain of Abyss Puzzles with multiple Abyss Artifacts, Abyss Gear and two of the Elemental Skills. Here is the full order in which you should be doing these puzzles:
- Spire of Truth (this one)
- Ether Rest
- Frostbitten Paradise
- Path of Trials
- Sanctorum of Darkness
- Loop of Life
- Tree of Slumber
- Skyloop Bridge
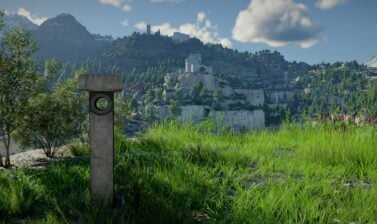
Spire of Ringing Truth’s Location
The Spire of Ringing Truth is located in the mountains North of Calphade. There’s a winding road that leads up the mountain, or you can simply take the direct approach and use your mobility tools to reach the peak it sits on.
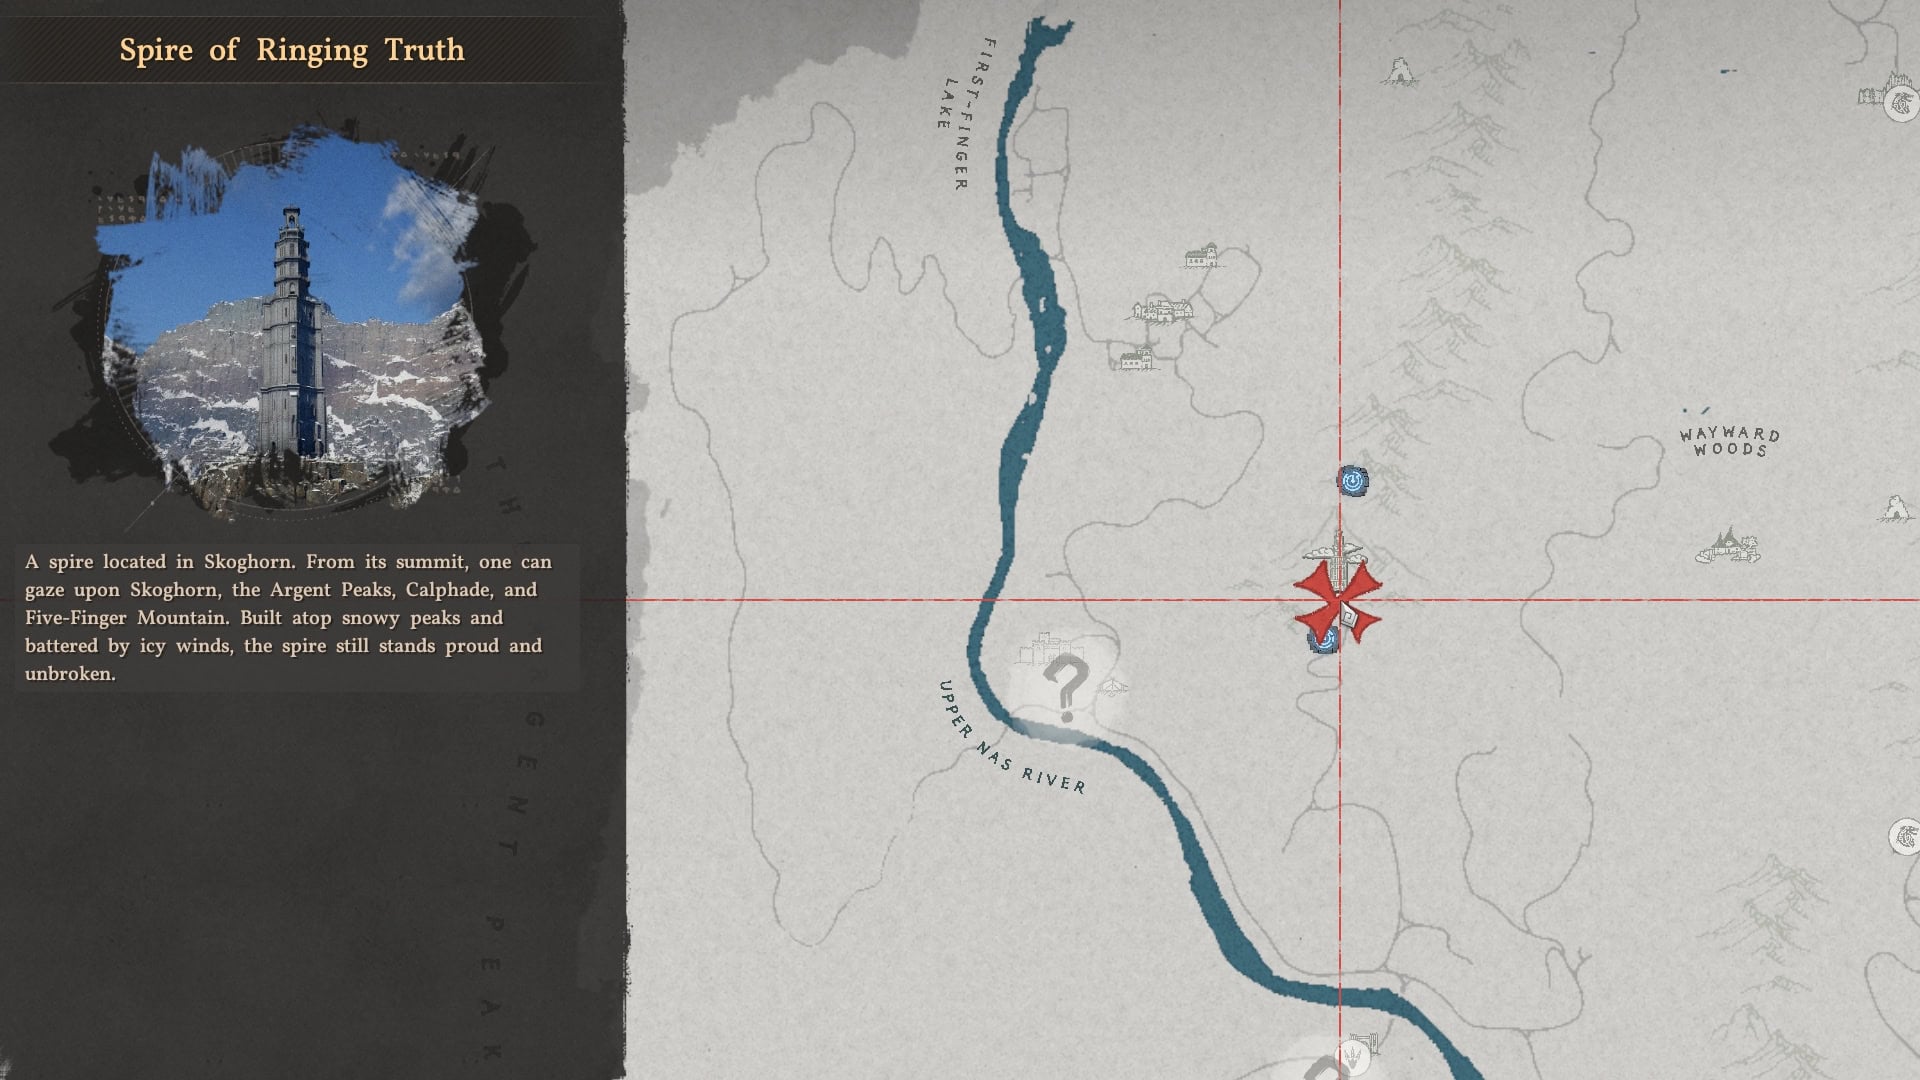
The Spire of Ringing Truth is available to take on as soon as you feel ready, but we recommend you take it on after Chapter VI in the Calphades.
Ascending the Spire of Ringing Truth
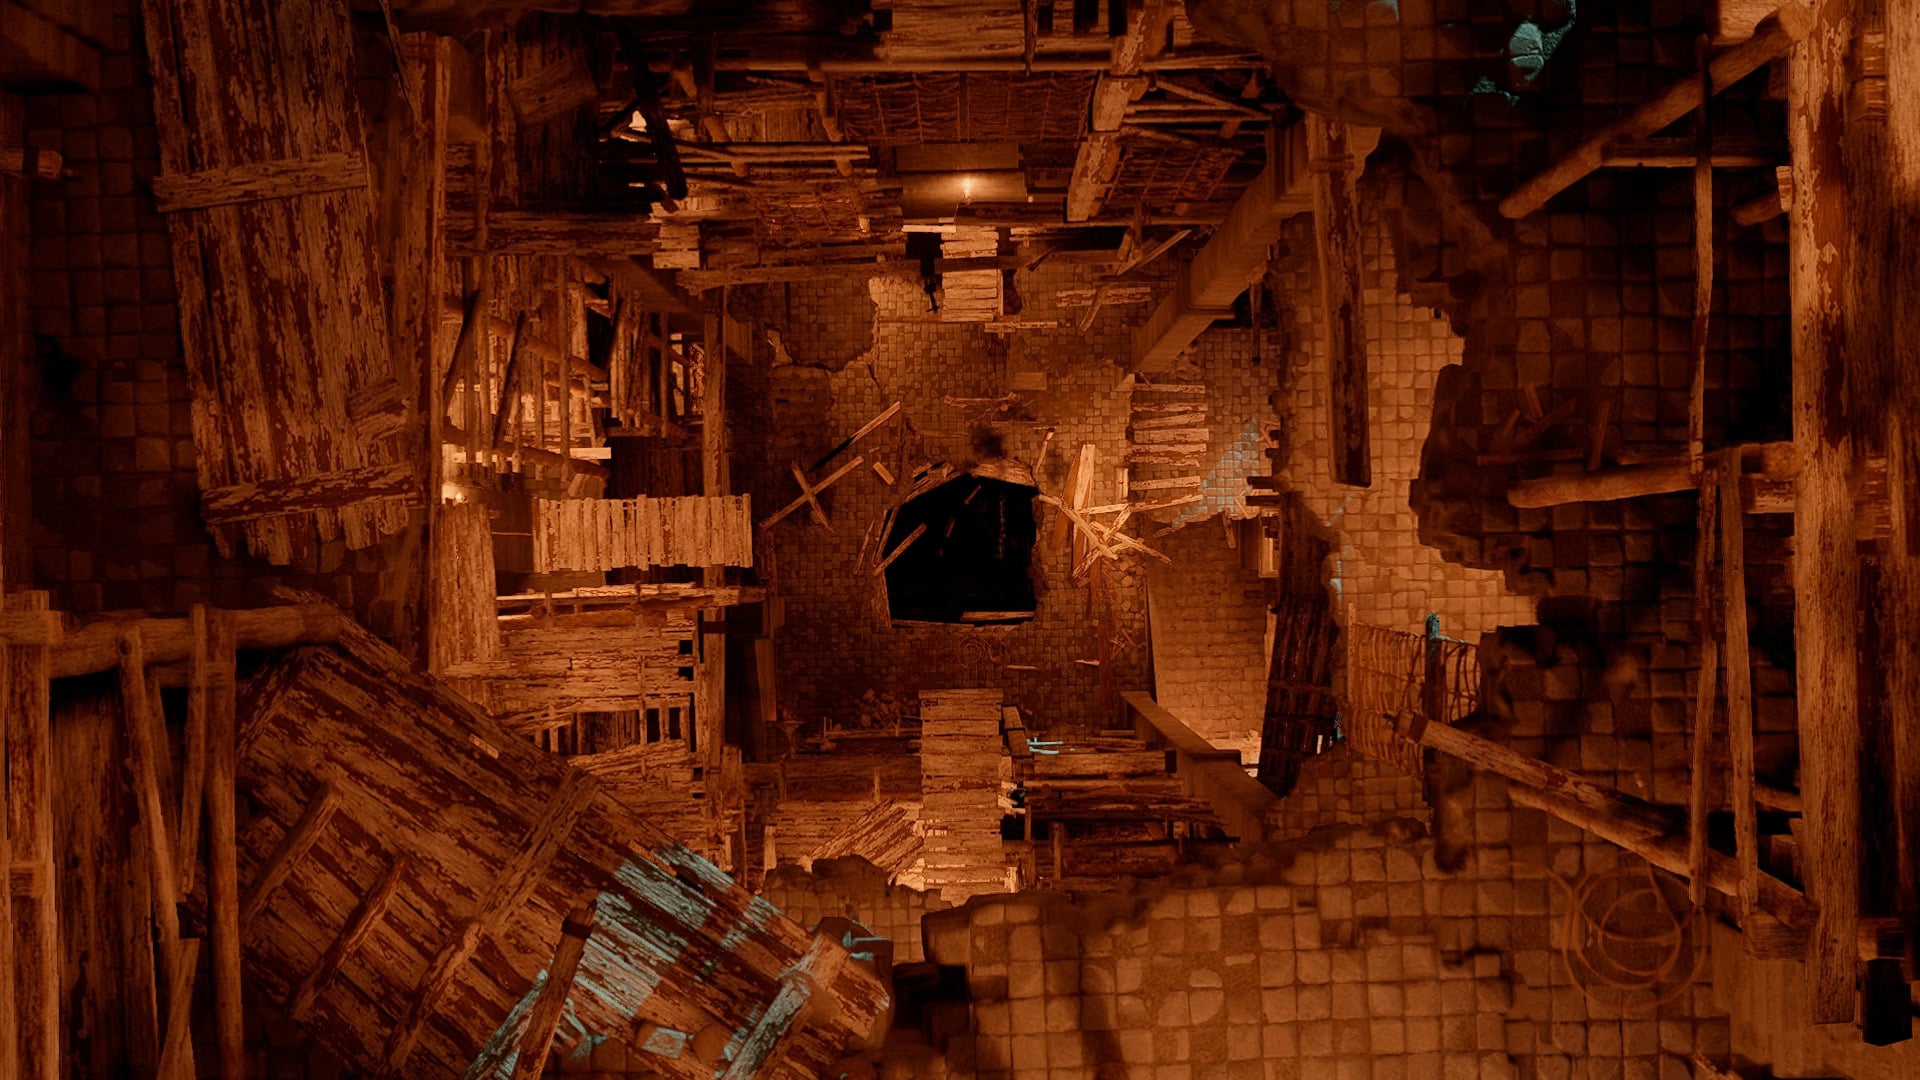
The main puzzle of the Spire of Ringing Truth is its winding climb, making it more of a platforming puzzle.
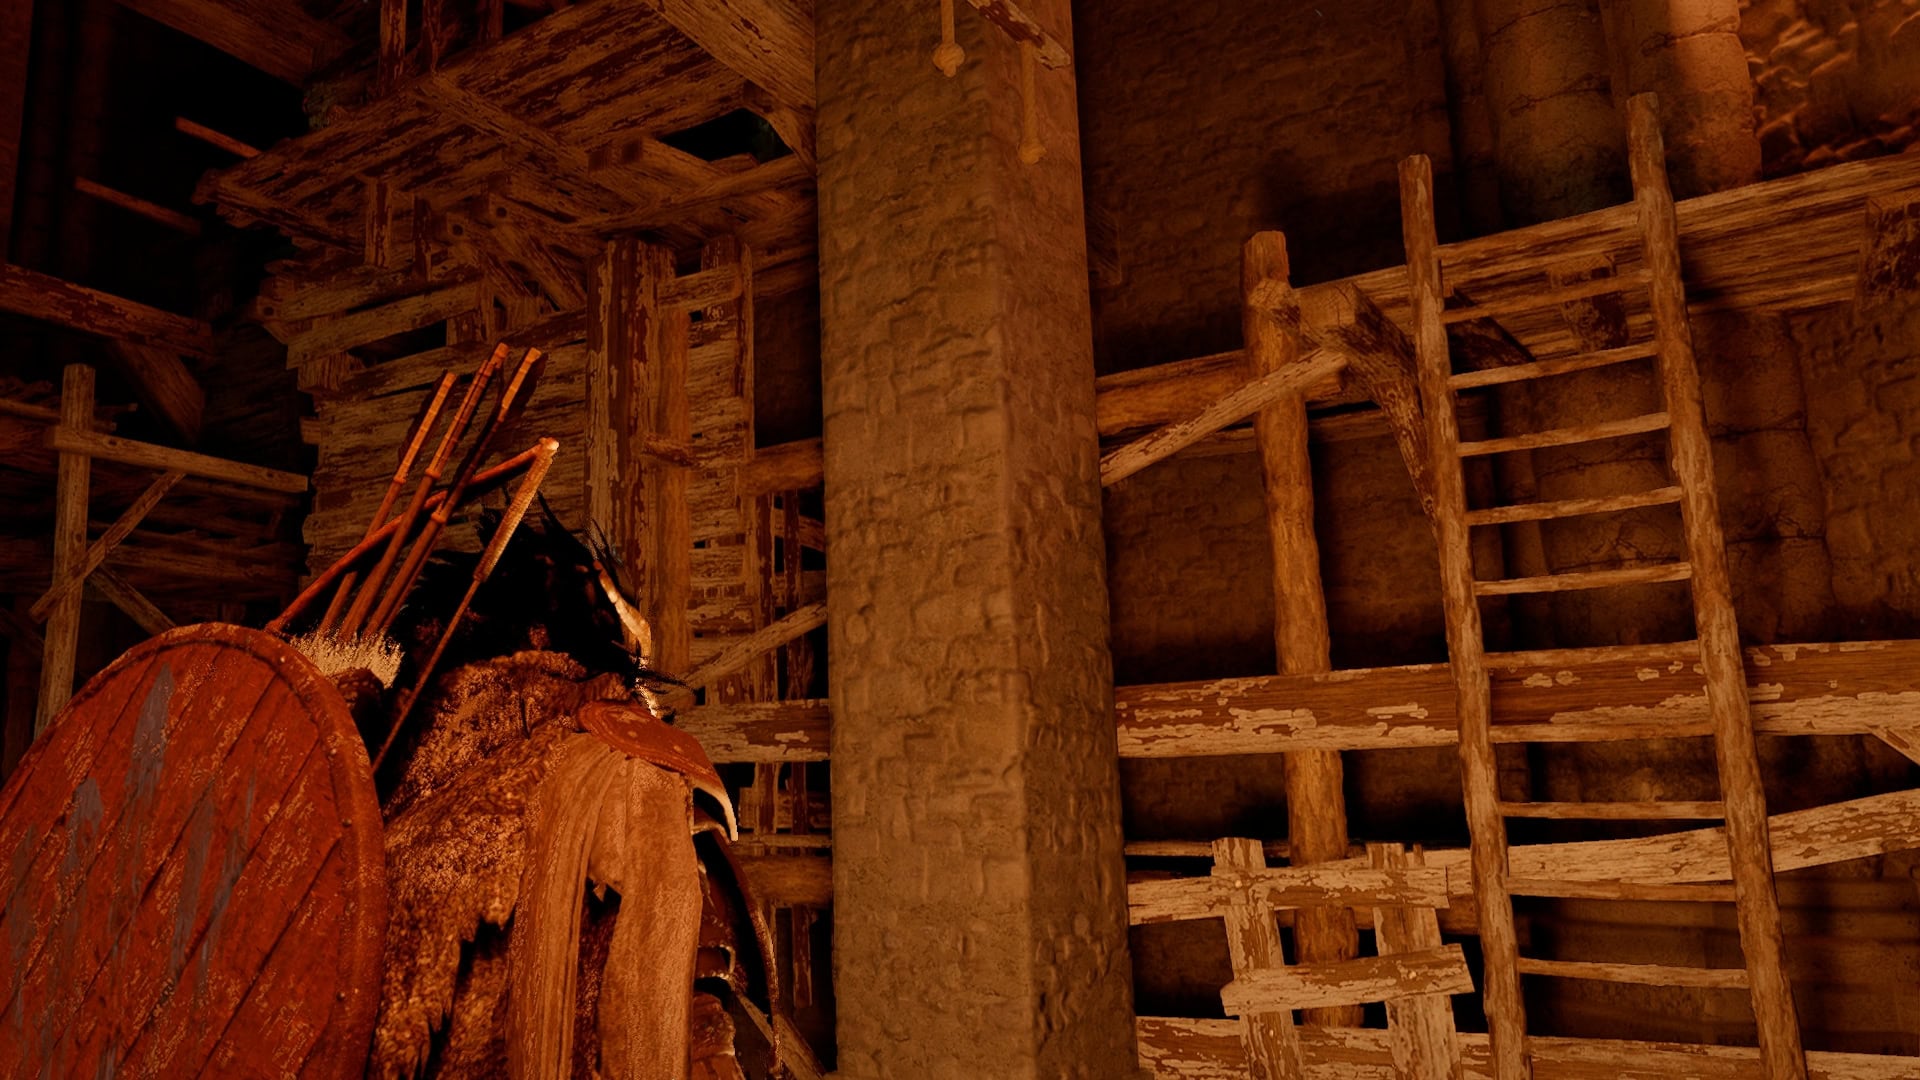
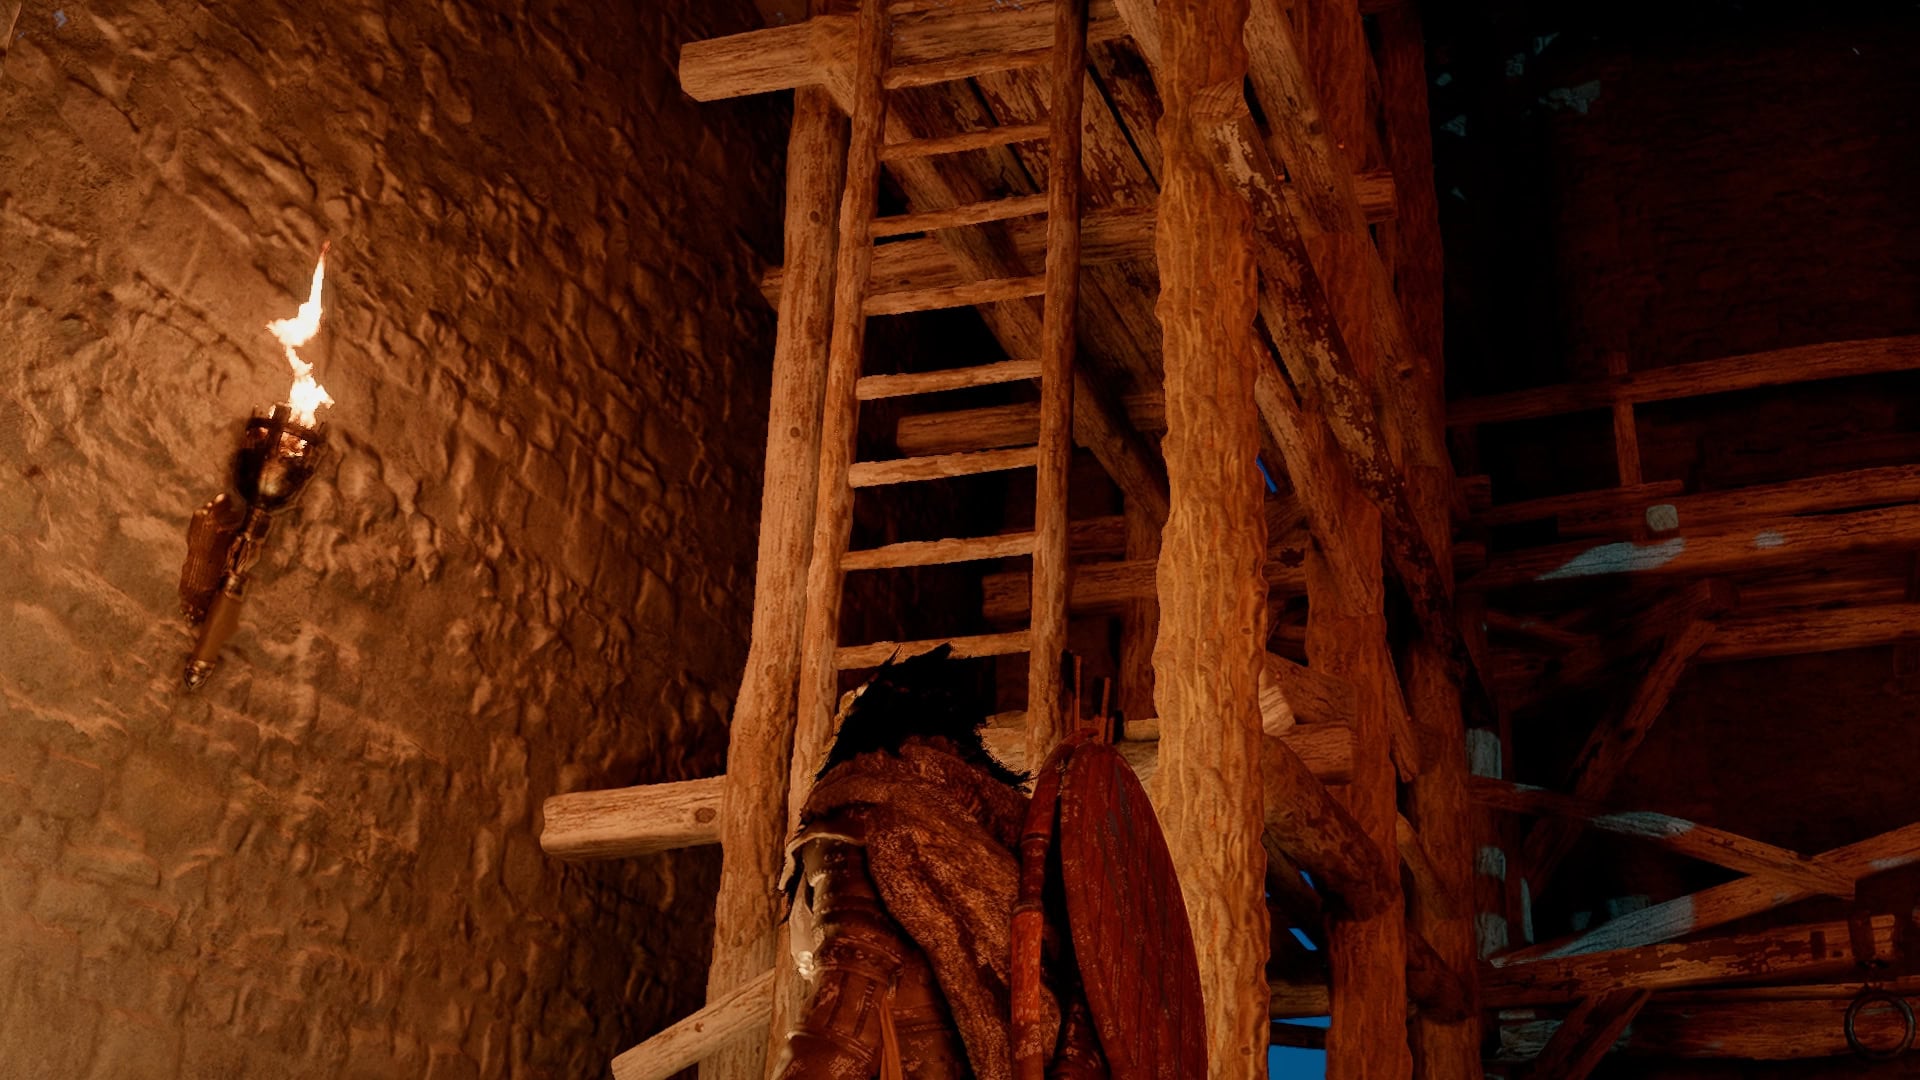
As you begin to ascend the Spire of Ringing Truth, at first, it will be just basic stairs to head up to the main part of the Spire. Don’t miss the chest of resources along the right side as you near the top. This contains some Hides as well as some Diamonds.
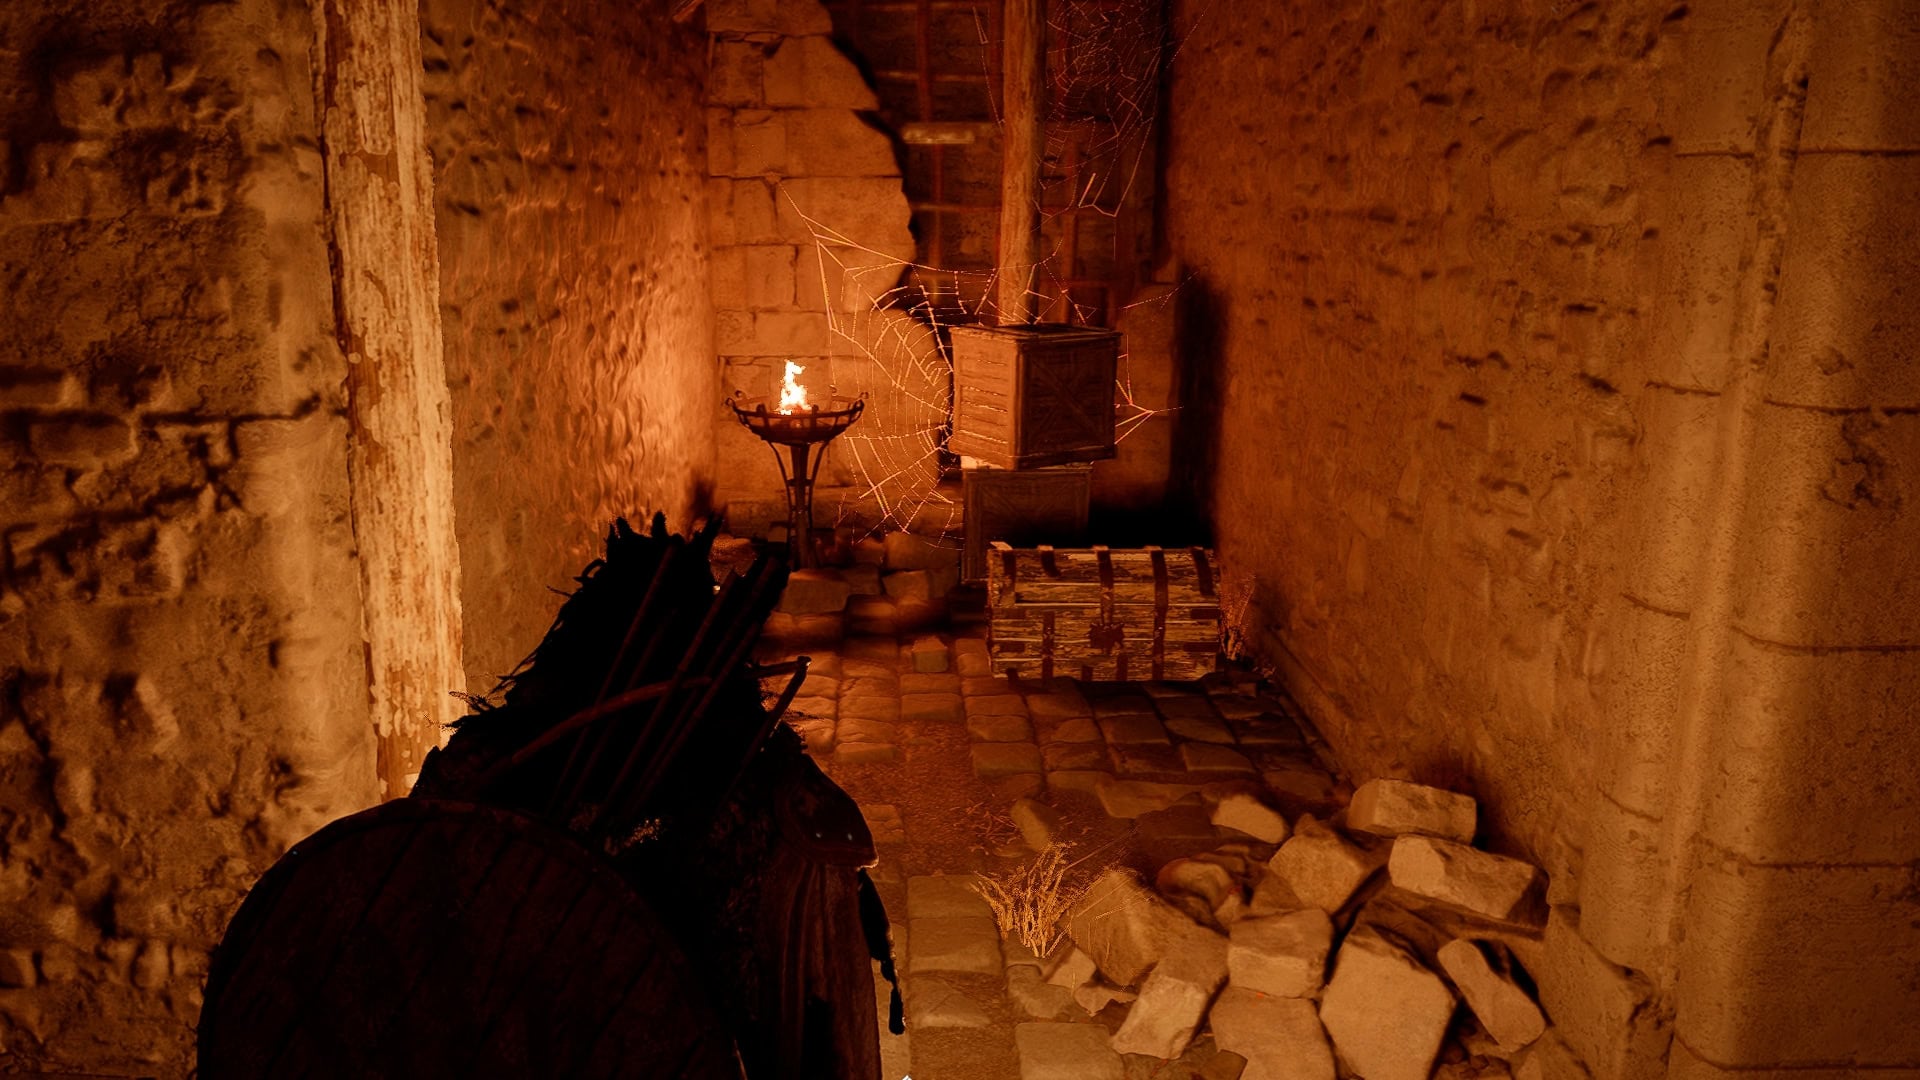
Proceed to the main part of the spire and this is where it will get a little more complicated.
Aerial Force Palm can make the ascent much quicker, but it’s not going to be a consistent option all the way up, as there aren’t too many places to get a good launch or landing.
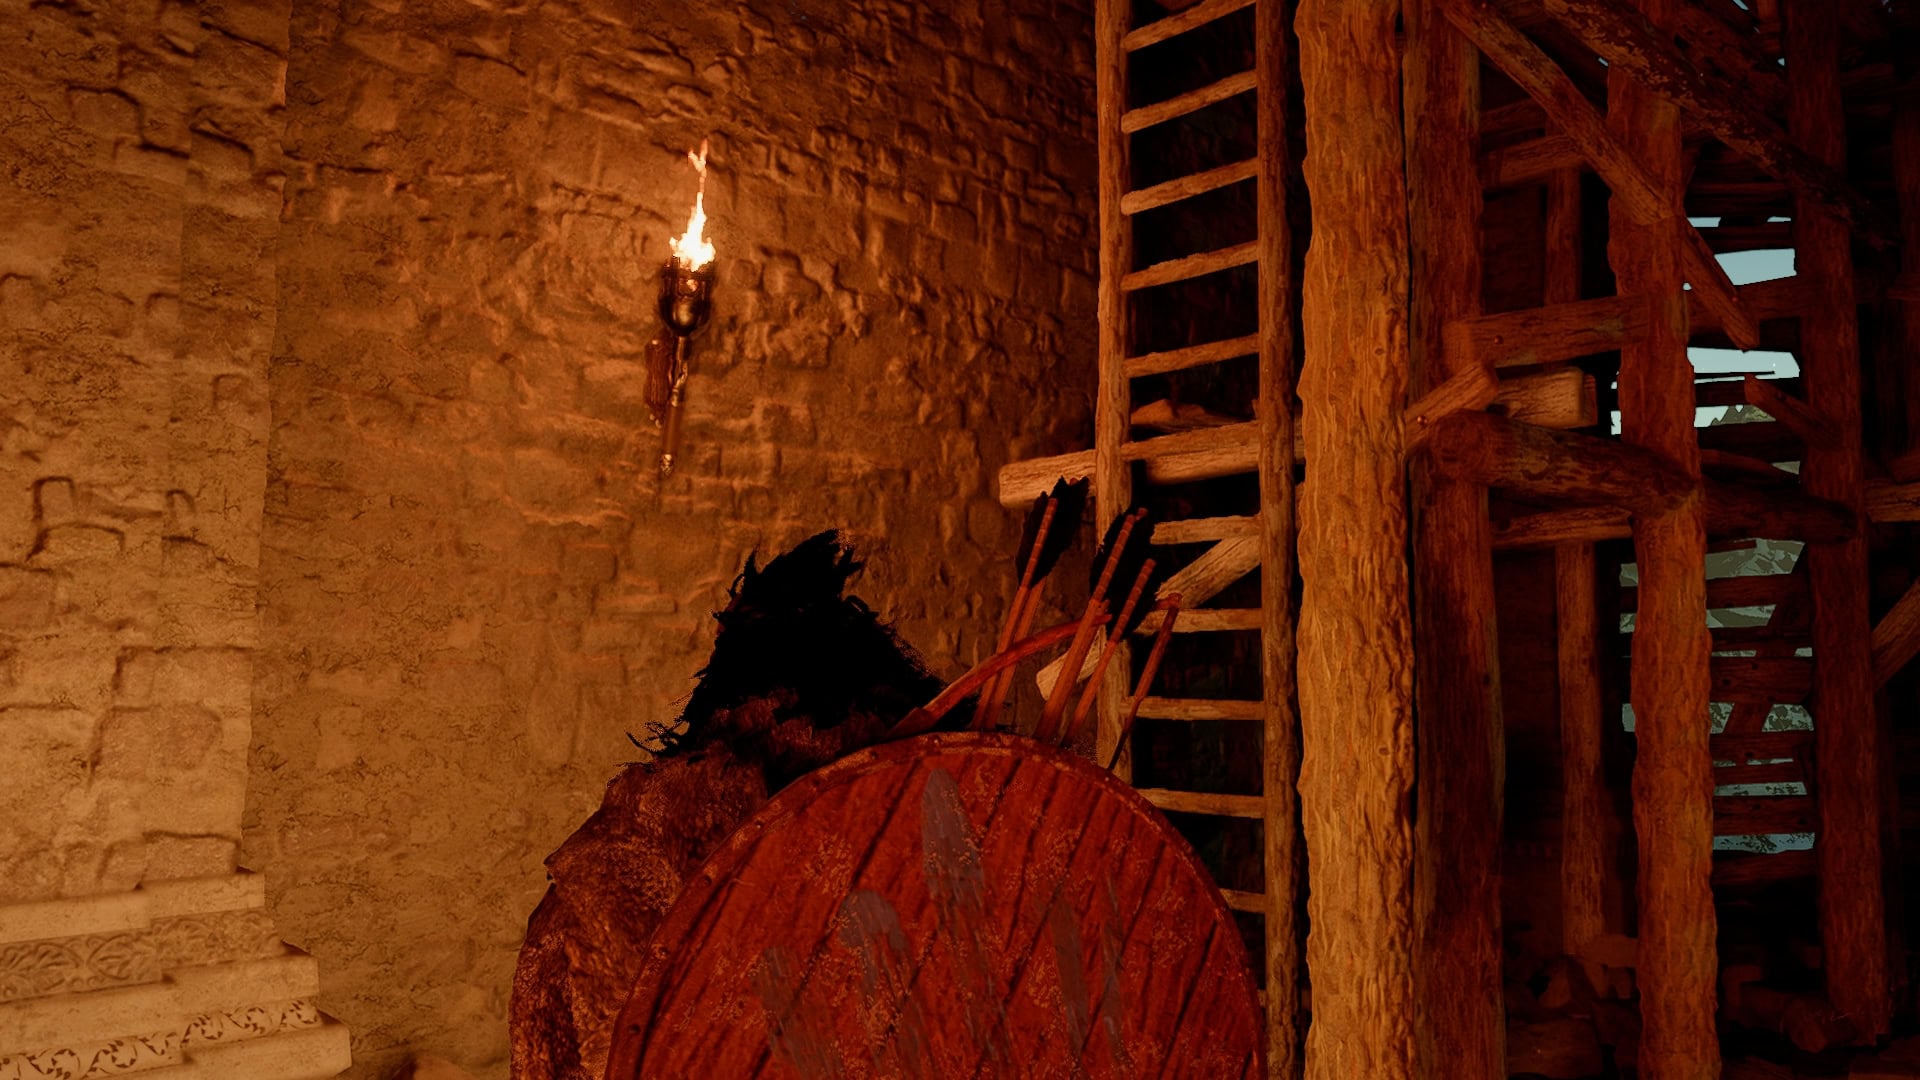
Continue up the wooden stairs until you reach the platform suspended by a rope. Use your Ranged Weapon to cut the rope and free the platform.

Continue forward to the boarded-up window on the Southwest side. Climb it and make for the platform to your right
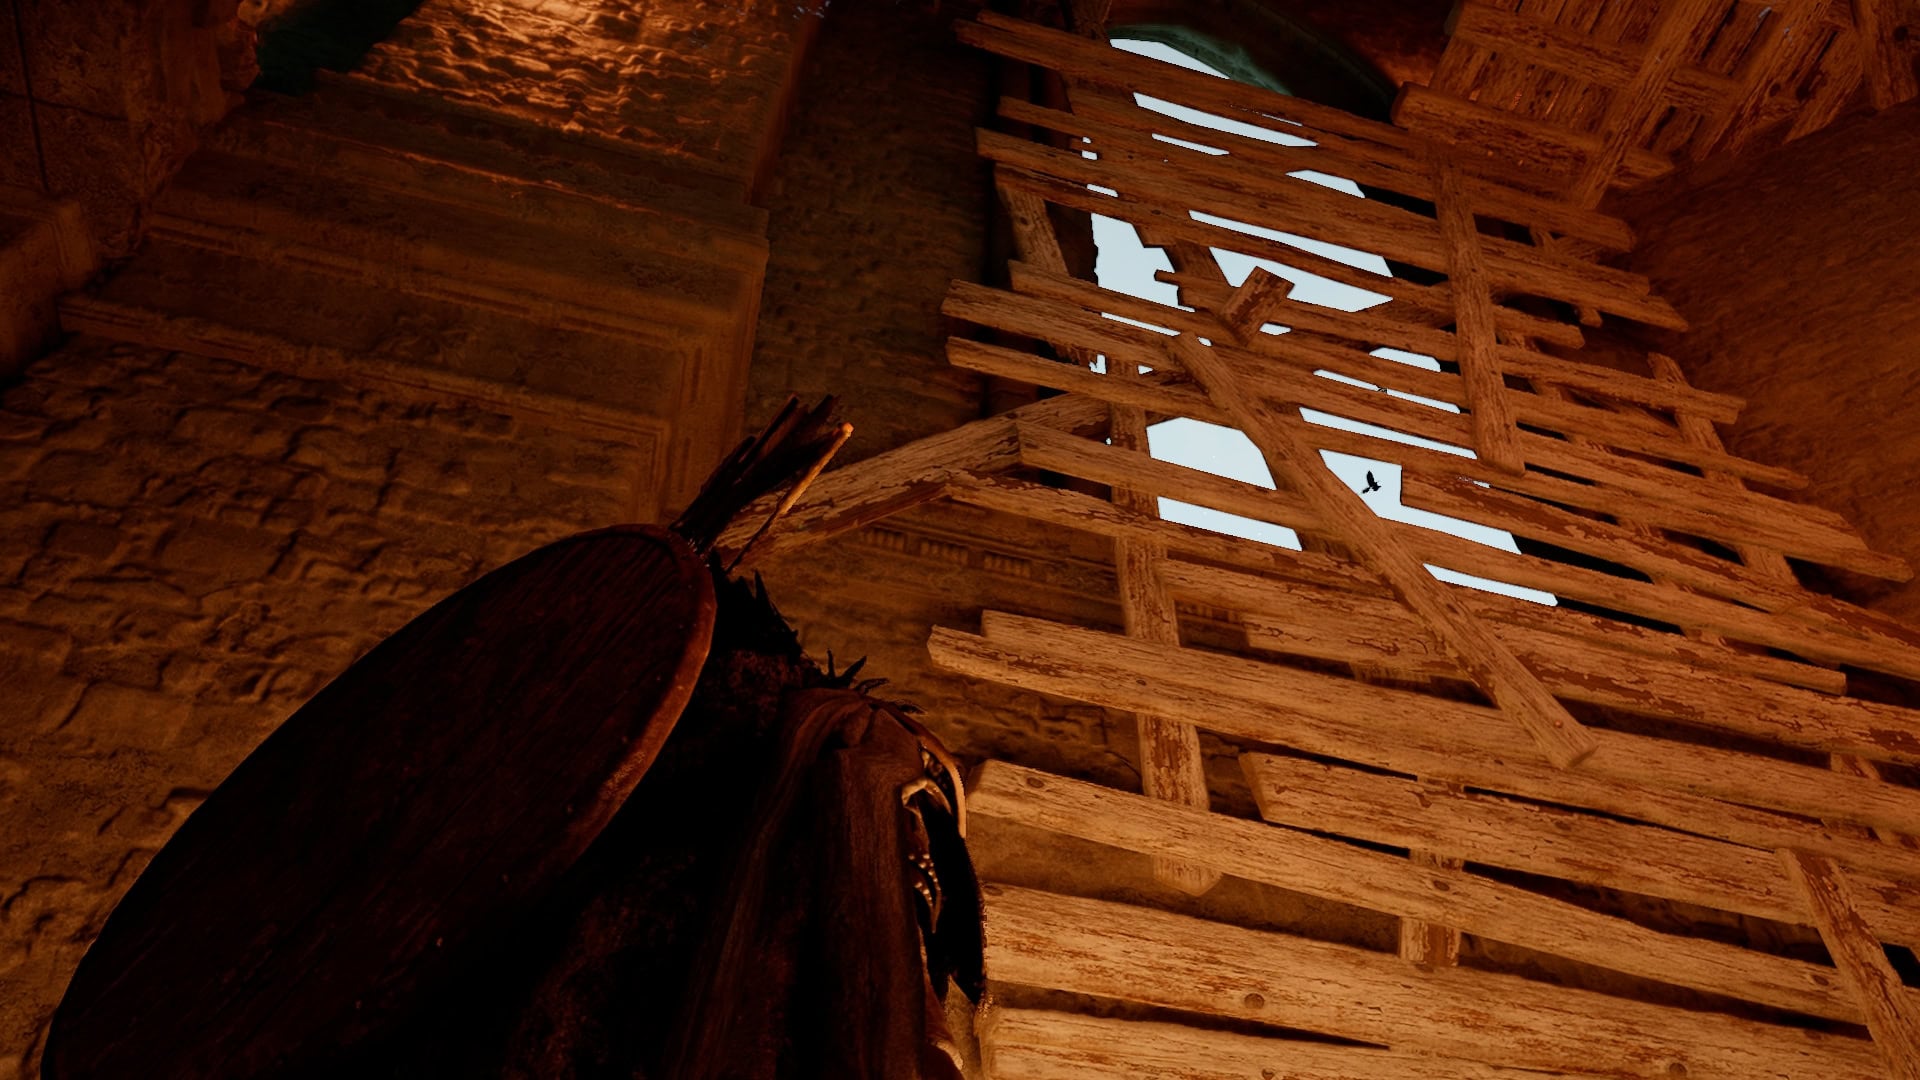
On the platform, climb the ladder to the immediate right.
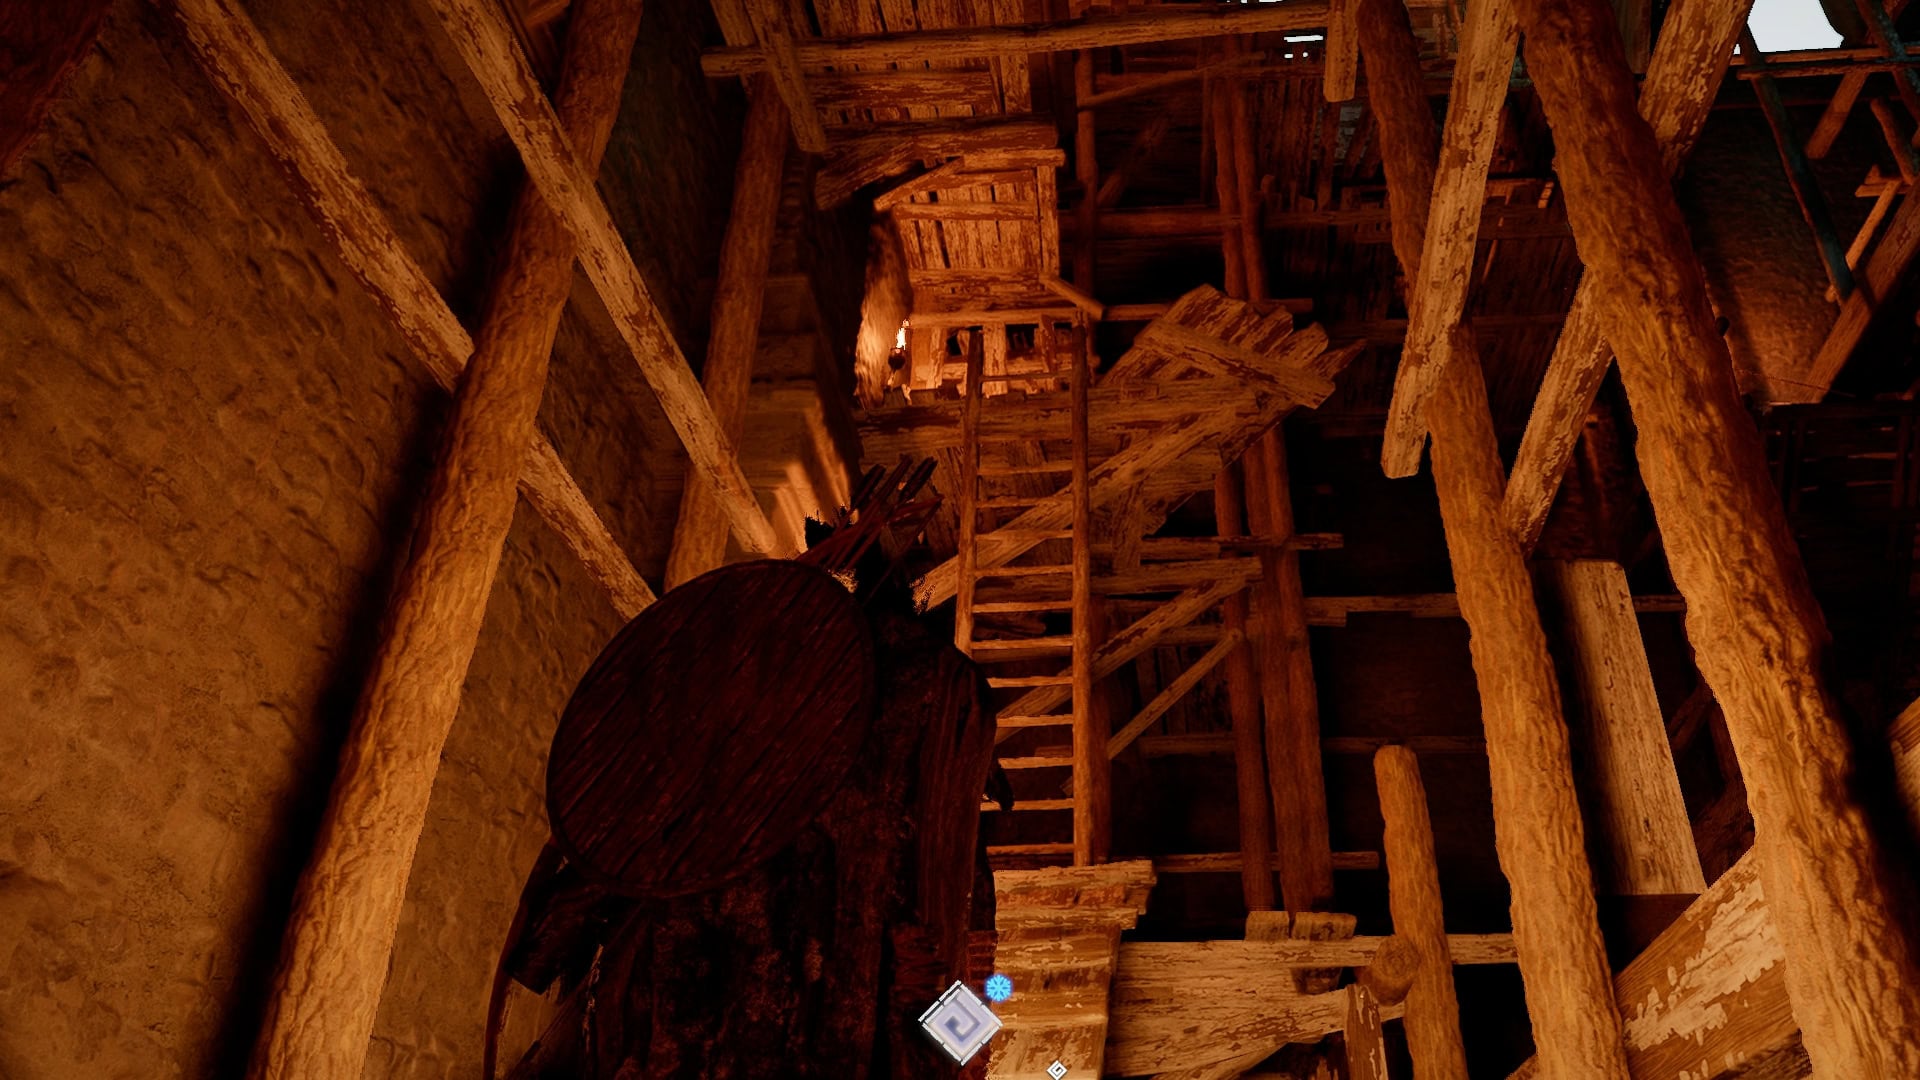
Turn around and hop on the platform behind the ladder and follow it around.
At the end, use your Ranged Weapon to shoot the rope, releasing the suspended platform.
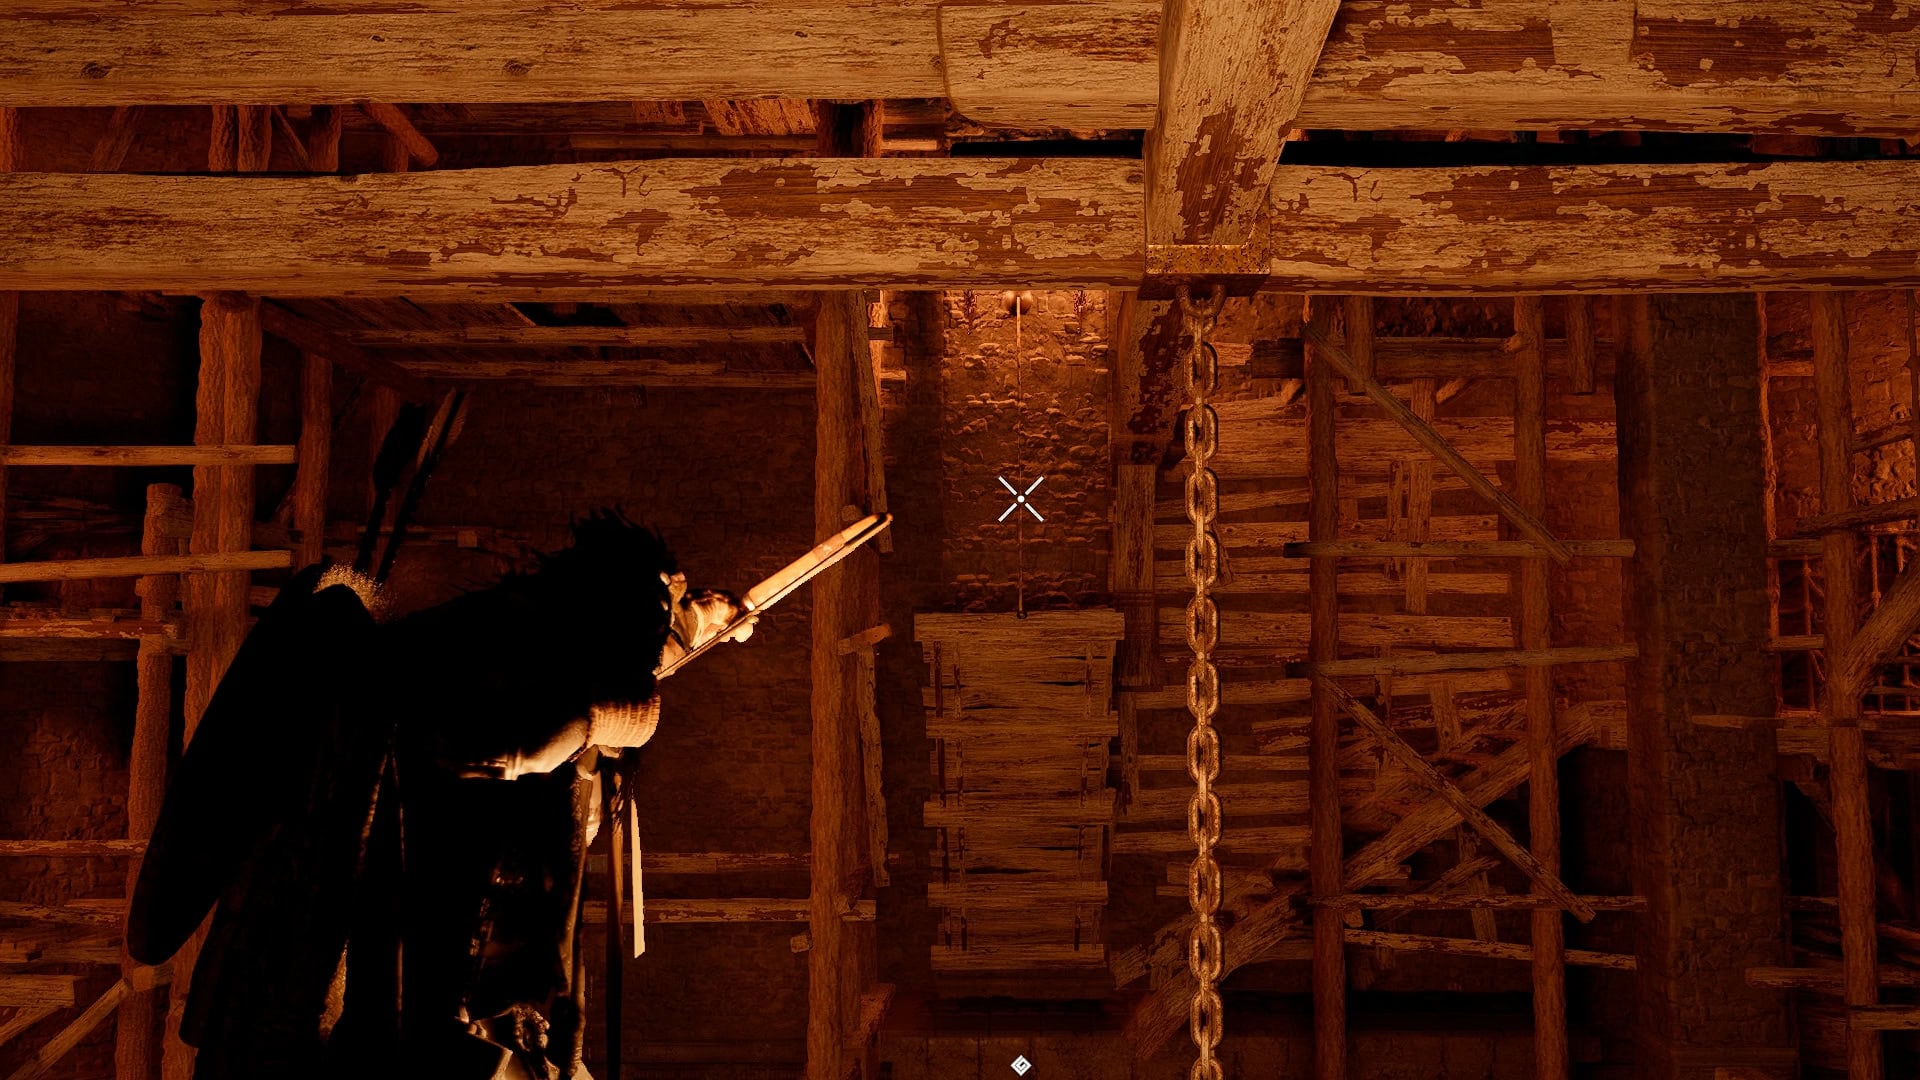
Cross over and proceed up the small set of stairs to the next suspended platform and use your Ranged weapon to release it before crossing over to it once again.

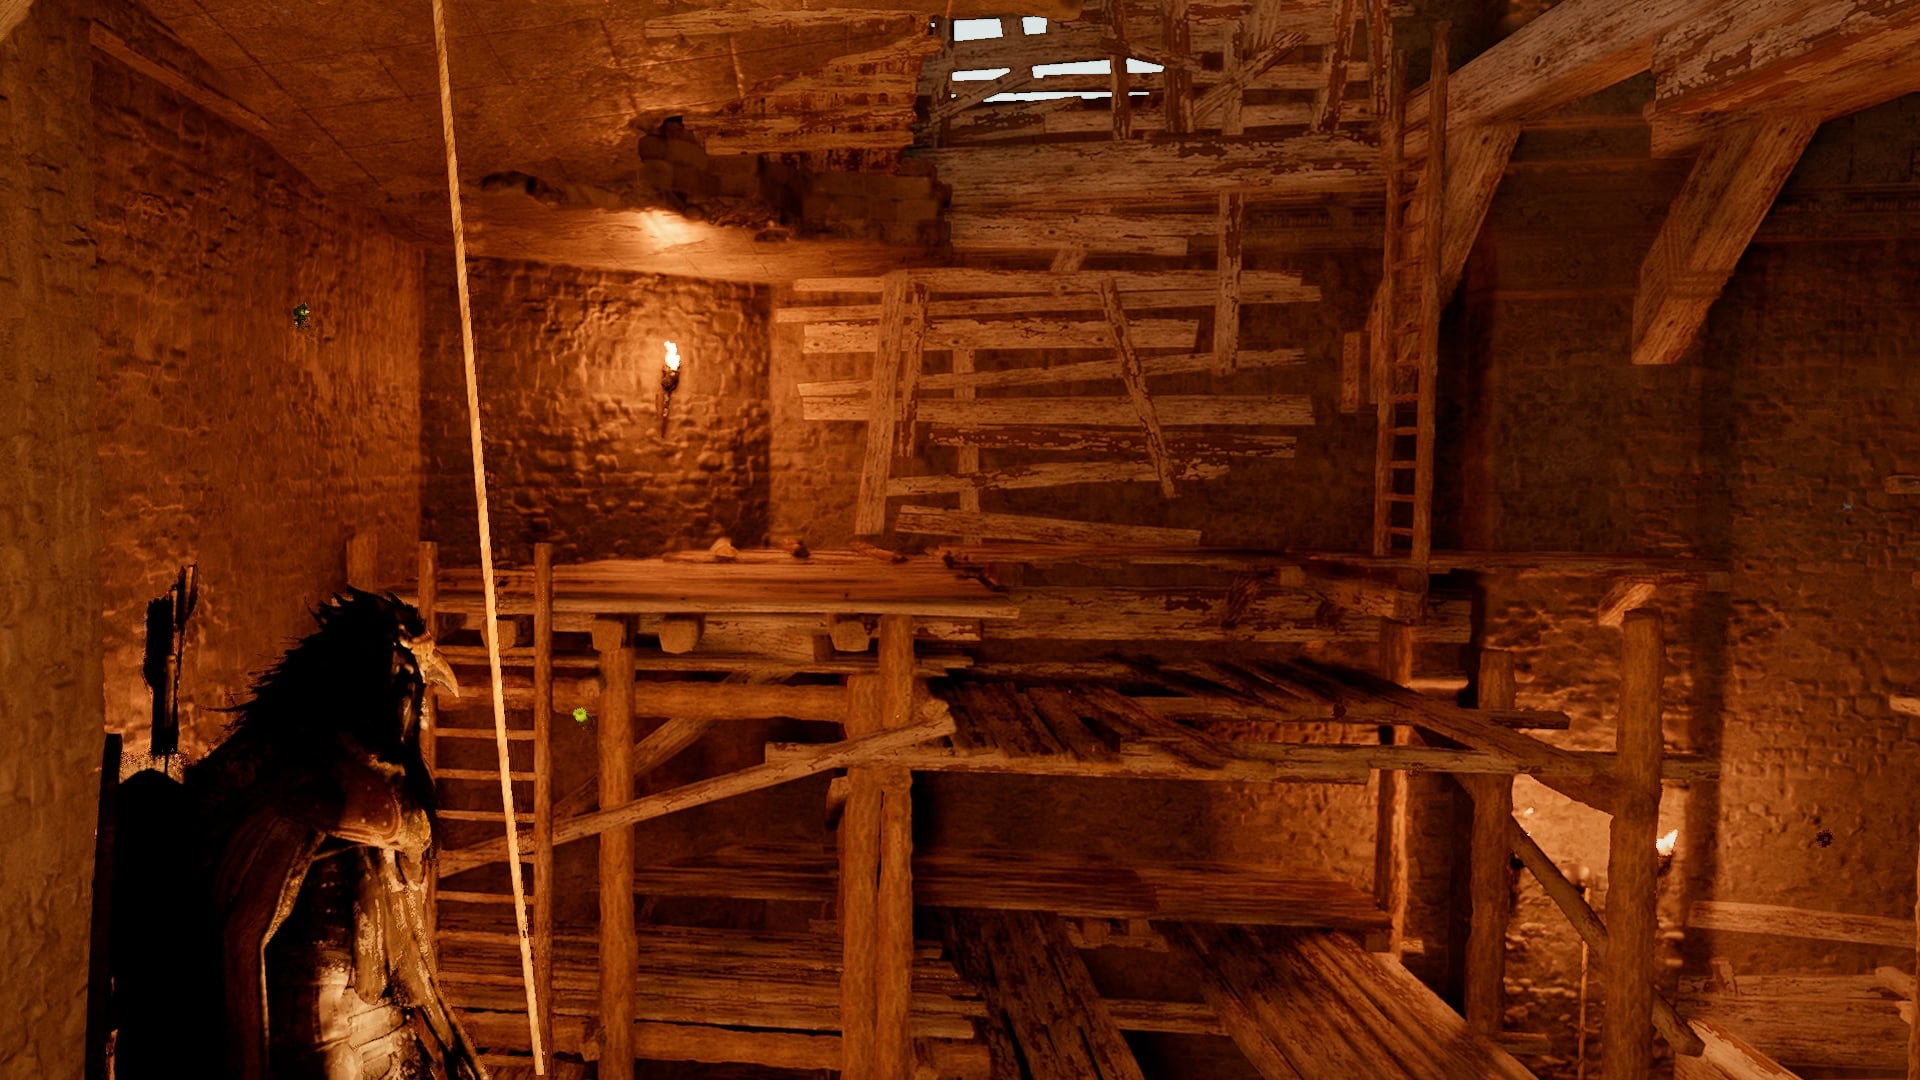
On the other side, you’ll want to climb the ladders to your right.
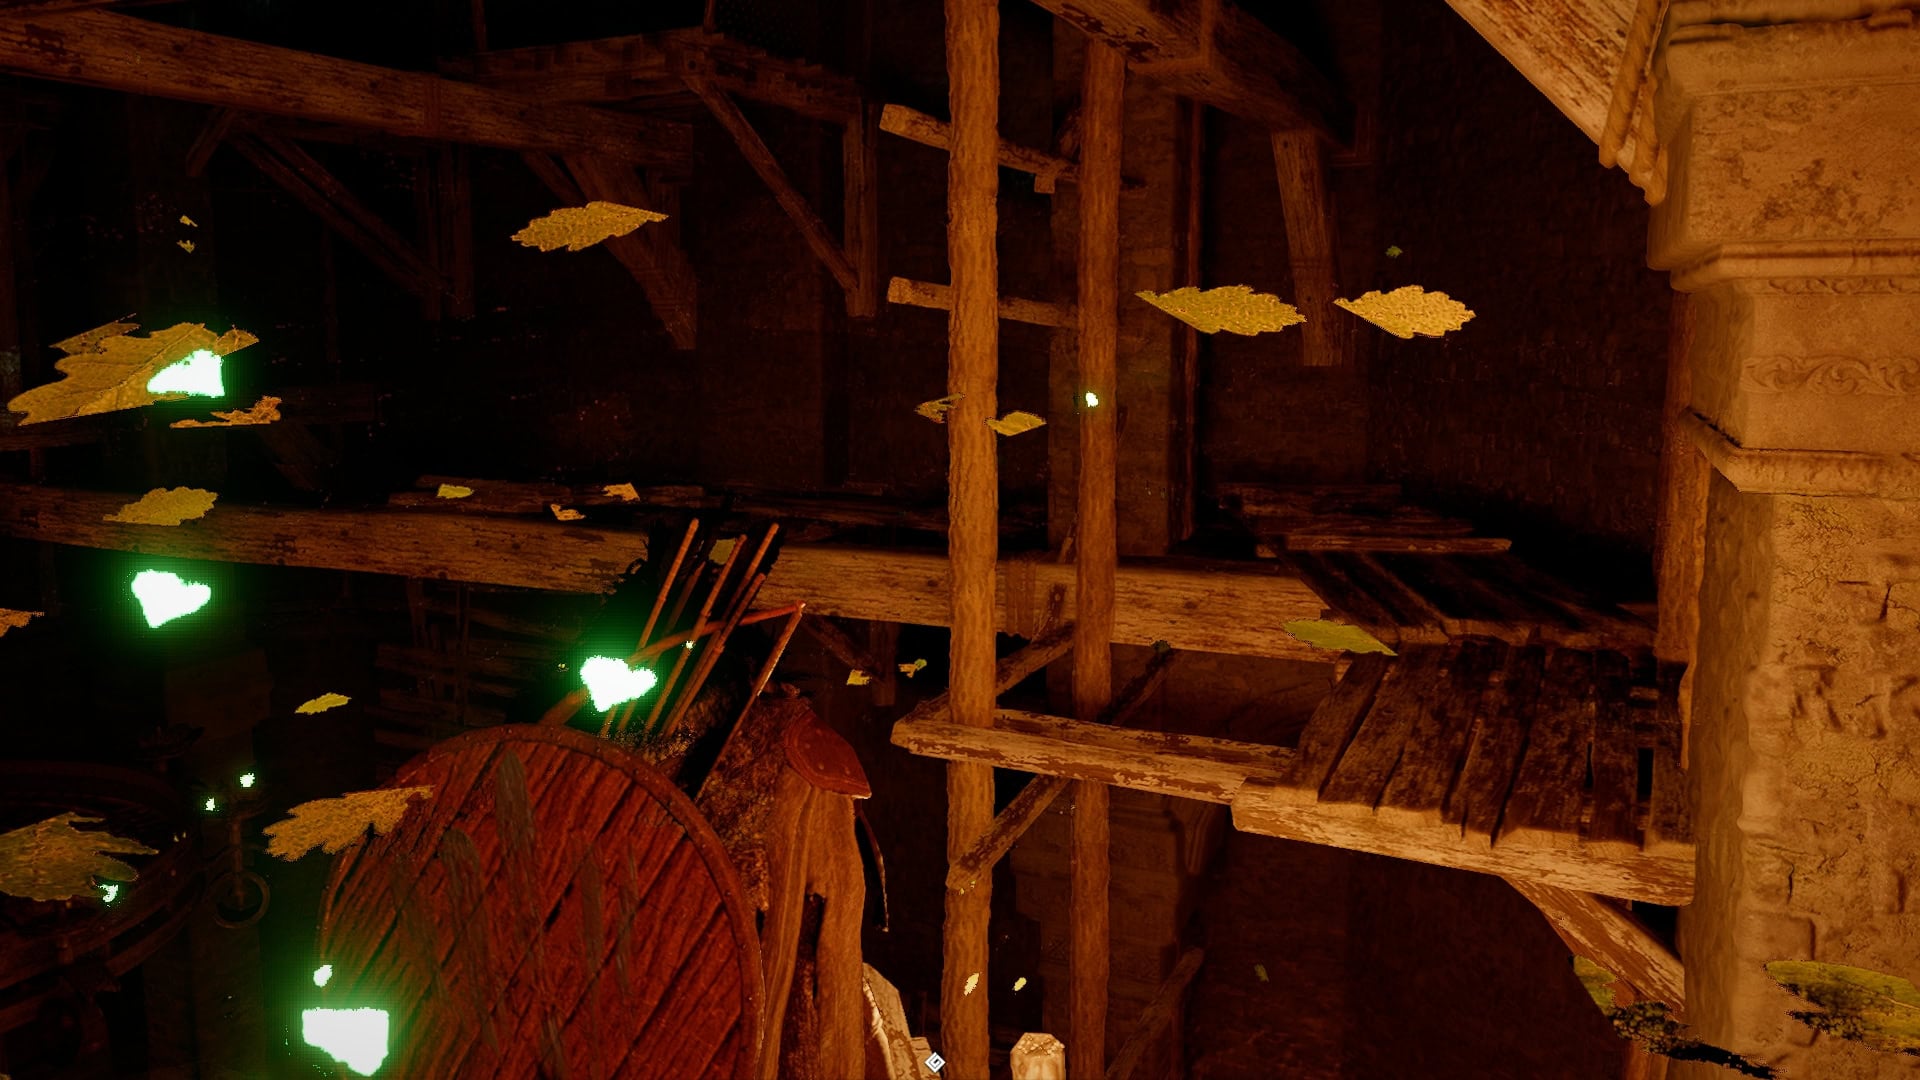
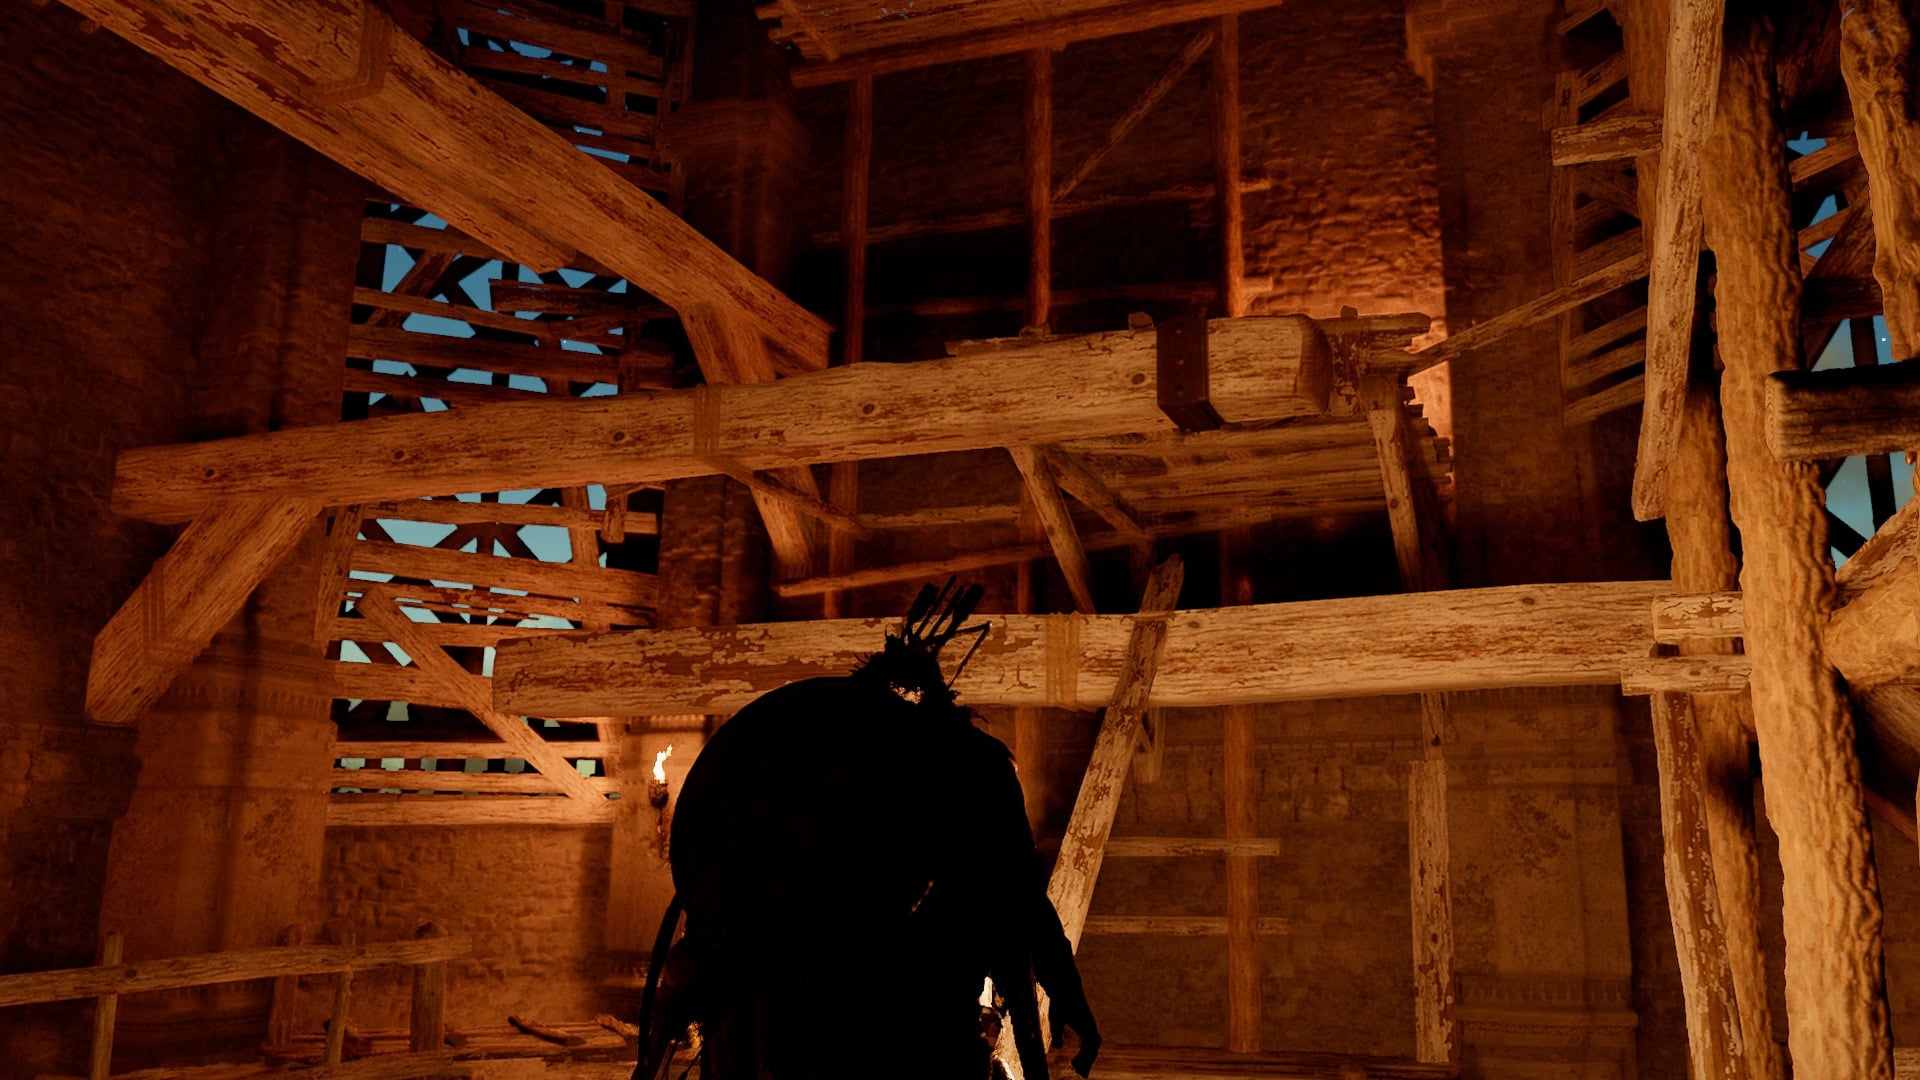
This will bring you on to some beams you’ll need to walk across. Don’t worry too much about falling here, as your character will balance as long as you don’t intentionally make them jump off.
On the other side, you’ll want to head up the ladder to the left.
Here, use the Aerial Force palm to get up to the next set of platforms just above. You can climb up, but it tends to be a little finicky.
Head over to the Western side and climb the ladder there.
Follow the platforms here out on the planks. Get a running start across the beam, jump, and glide across to the ladder straight ahead. You can use Aerial Force Palm to gain height for safety as an alternative.

Follow these platforms across to another thin plank. At the end of the plank, jump up and grab the beam directly above you. Follow it to the next plank, which allows you to jump up one final time.
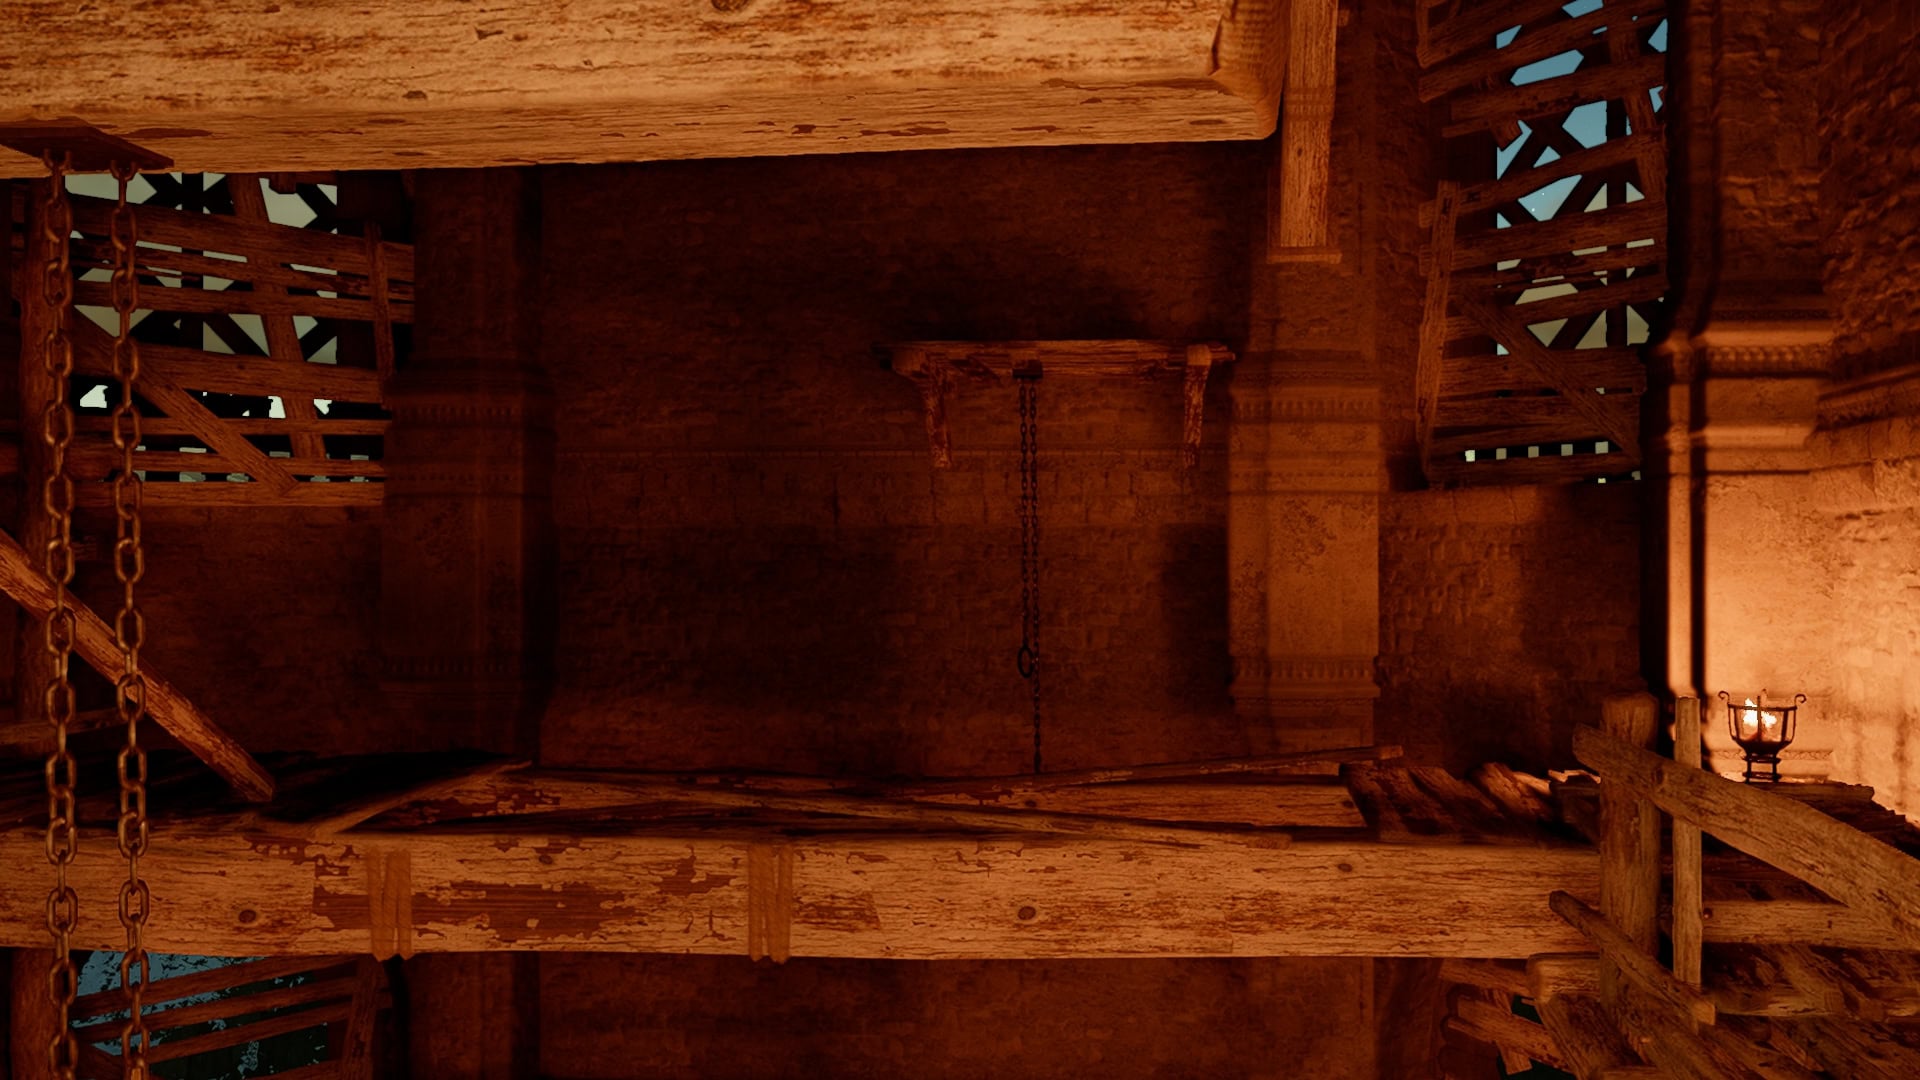
Take the ladder on the right side up to where the bell is.
Use your Ranged weapon one last time to hit the supports that are barely keeping the bell up to send it crashing down.
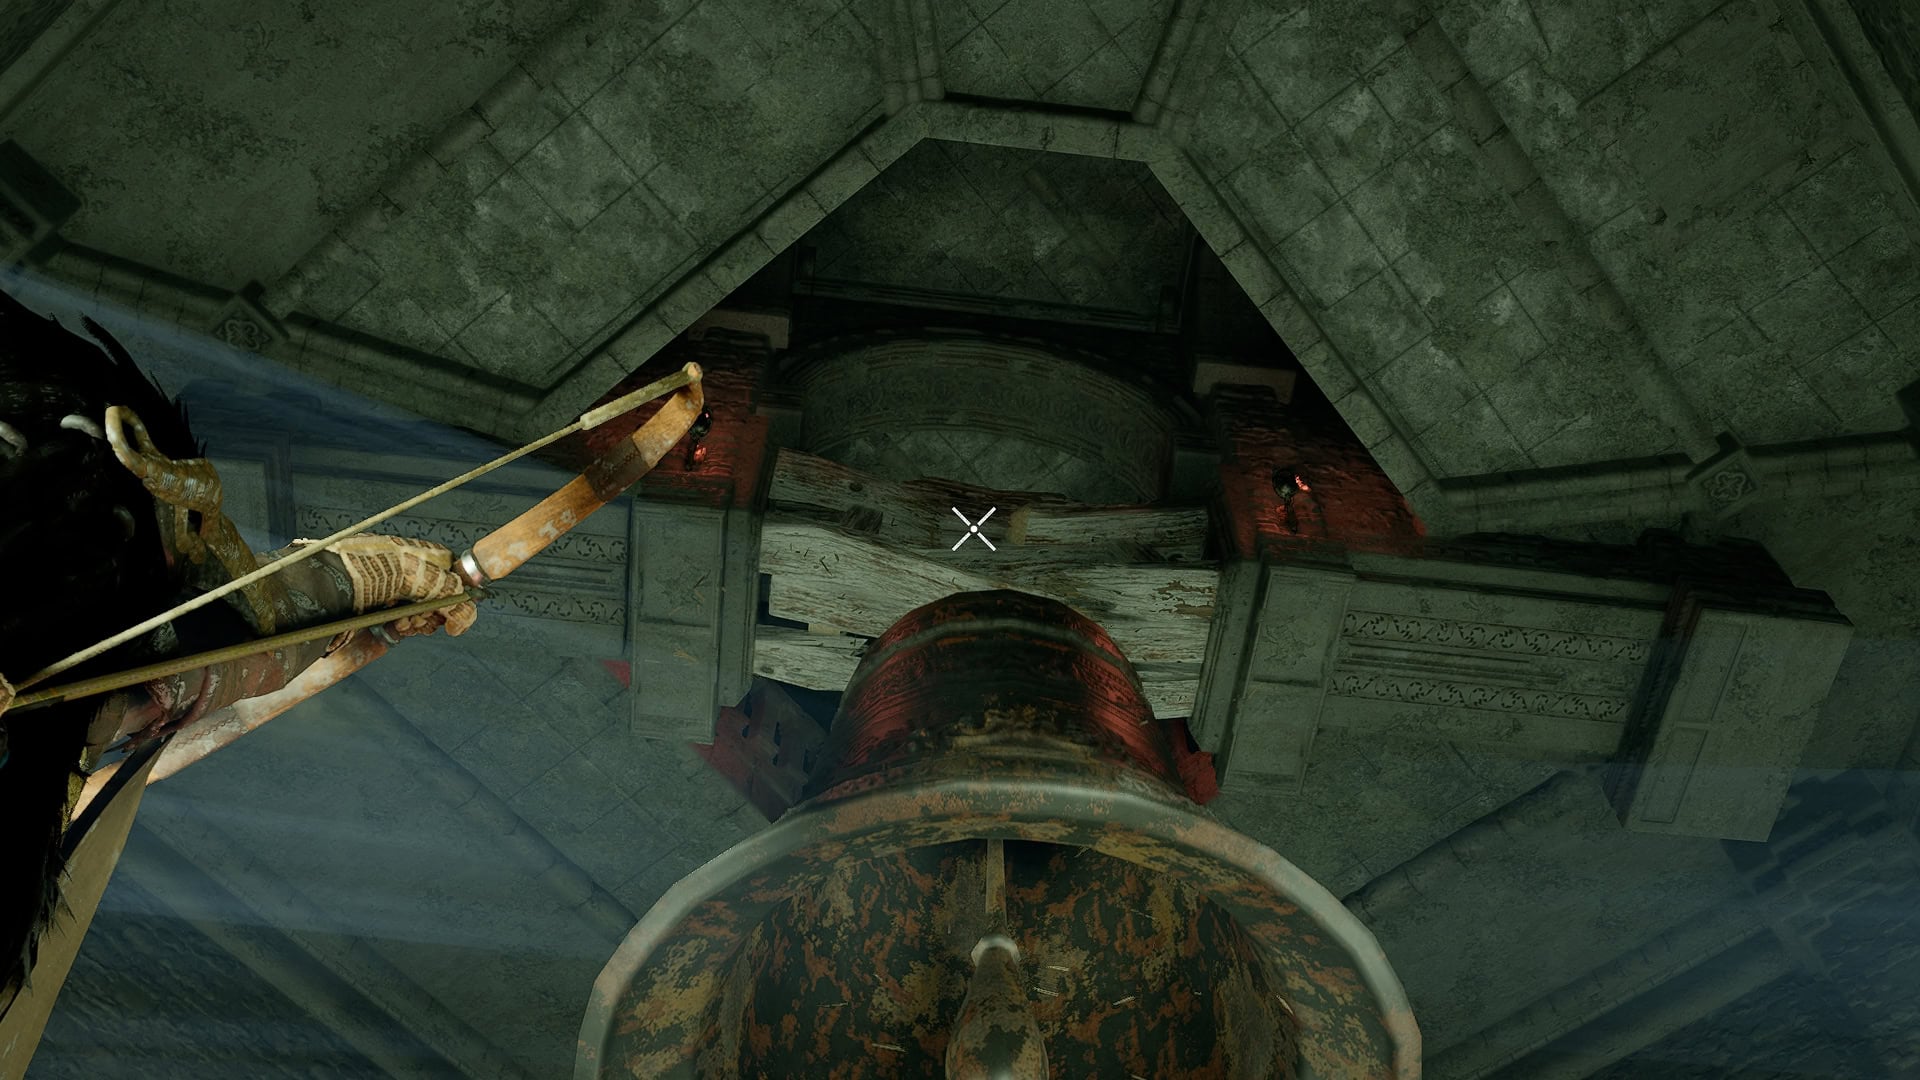
Jump down the path cleared by the bell and glide down to the Boss Arena.
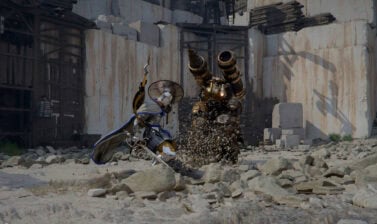
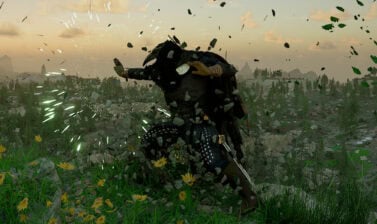
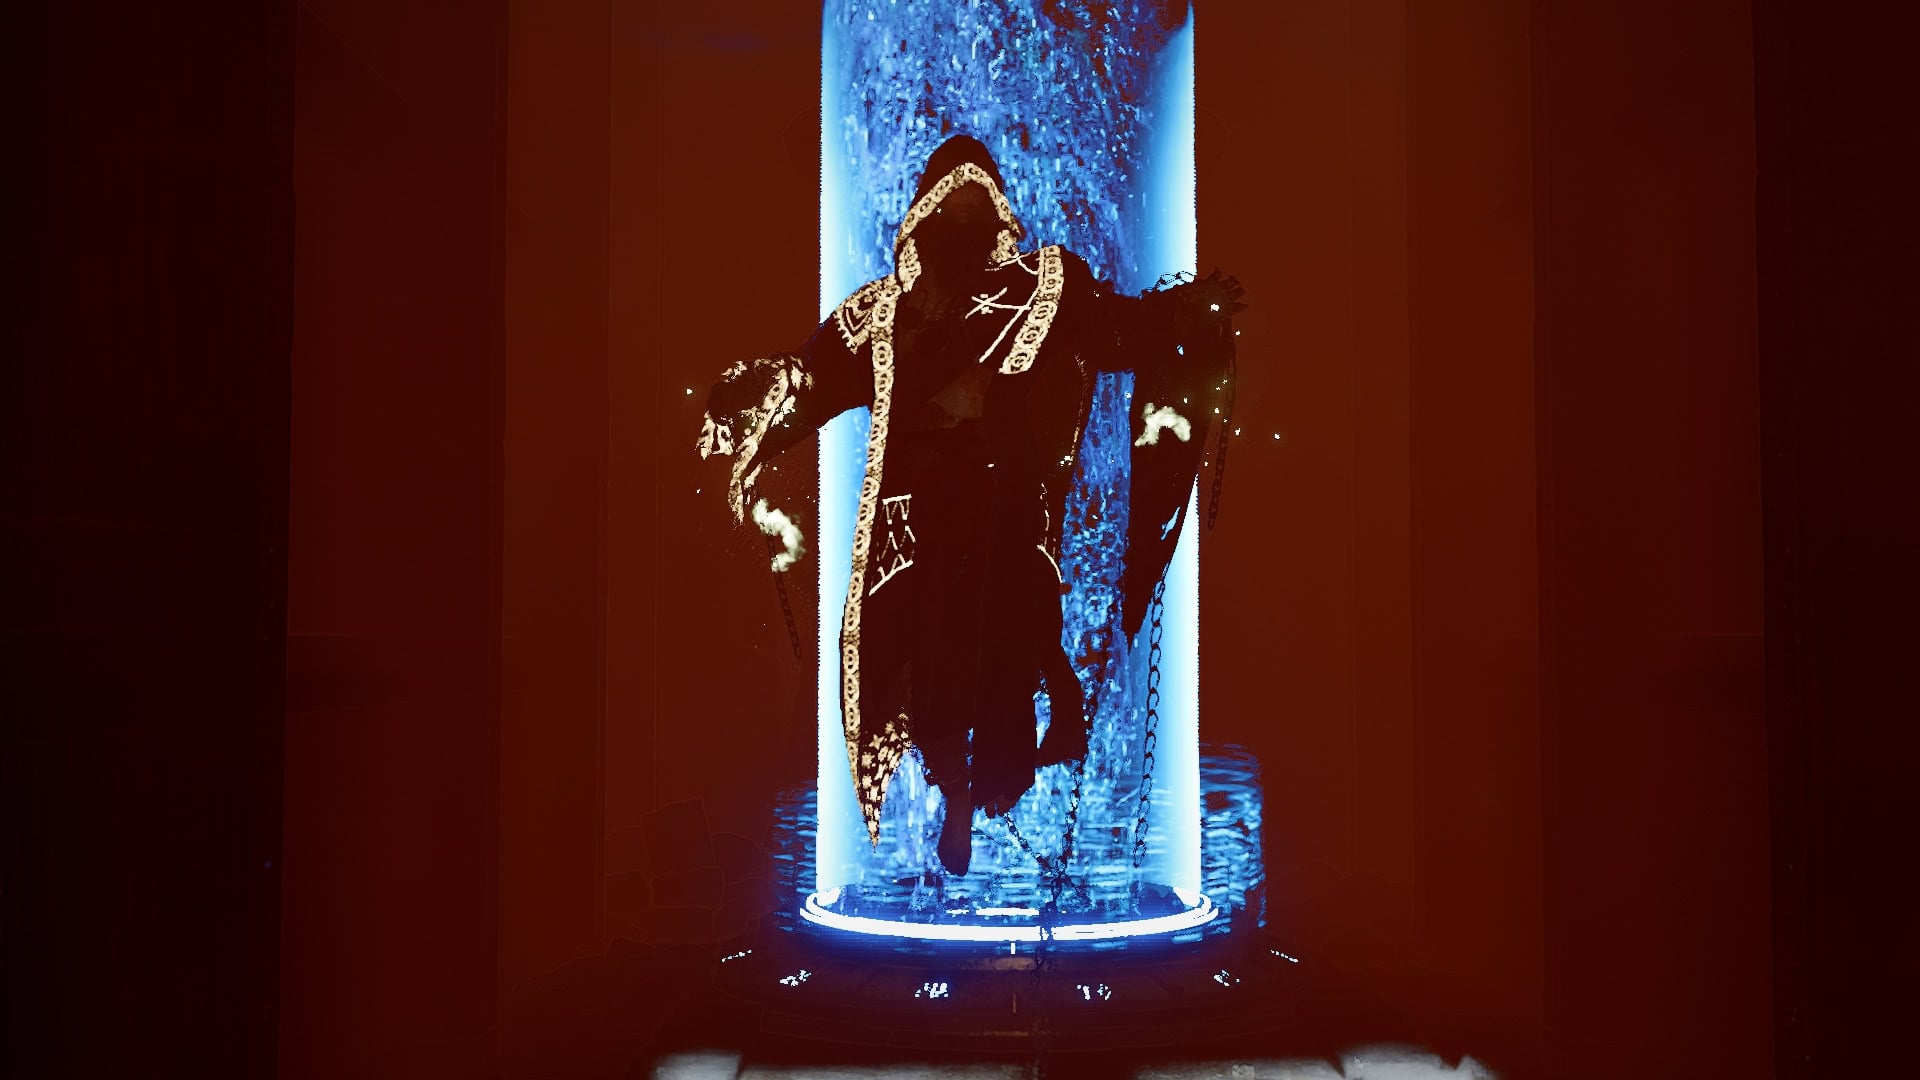
How to beat Priscus the Ancient
Every good boss fight starts with good prep. With an Abyss Nexus just outside the spire, take the time to hit up an Anvil, Grindstone, and prepare some food for the upcoming fight.
It’s highly recommended to pick up the Nature’s Retribution Skill. This requires investing a second skill point into Nature’s Snare, but extremely worth it for countering Priscus’ heavy use of projectiles. Outside of his dive skill and the small area explosions he creates, all of this boss’s attacks are projectiles and counterable by this skill.
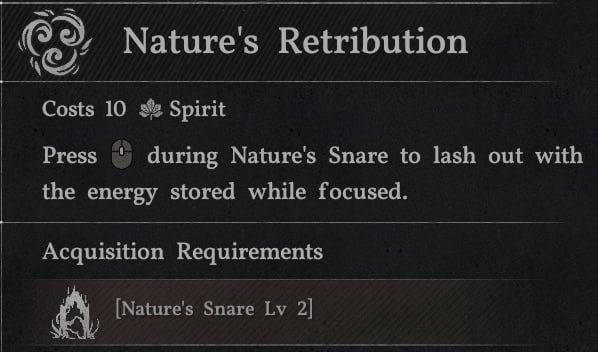
Due to how often you can use Nature’s Retribution and it will be effective, we also recommend that you use food that restores Spirit in addition to Health, so you’re not relying exclusively on Focus for recovery.
To start the fight, head towards the Teleporter, and the boss will spawn.
Nature’s Retribution Strategy
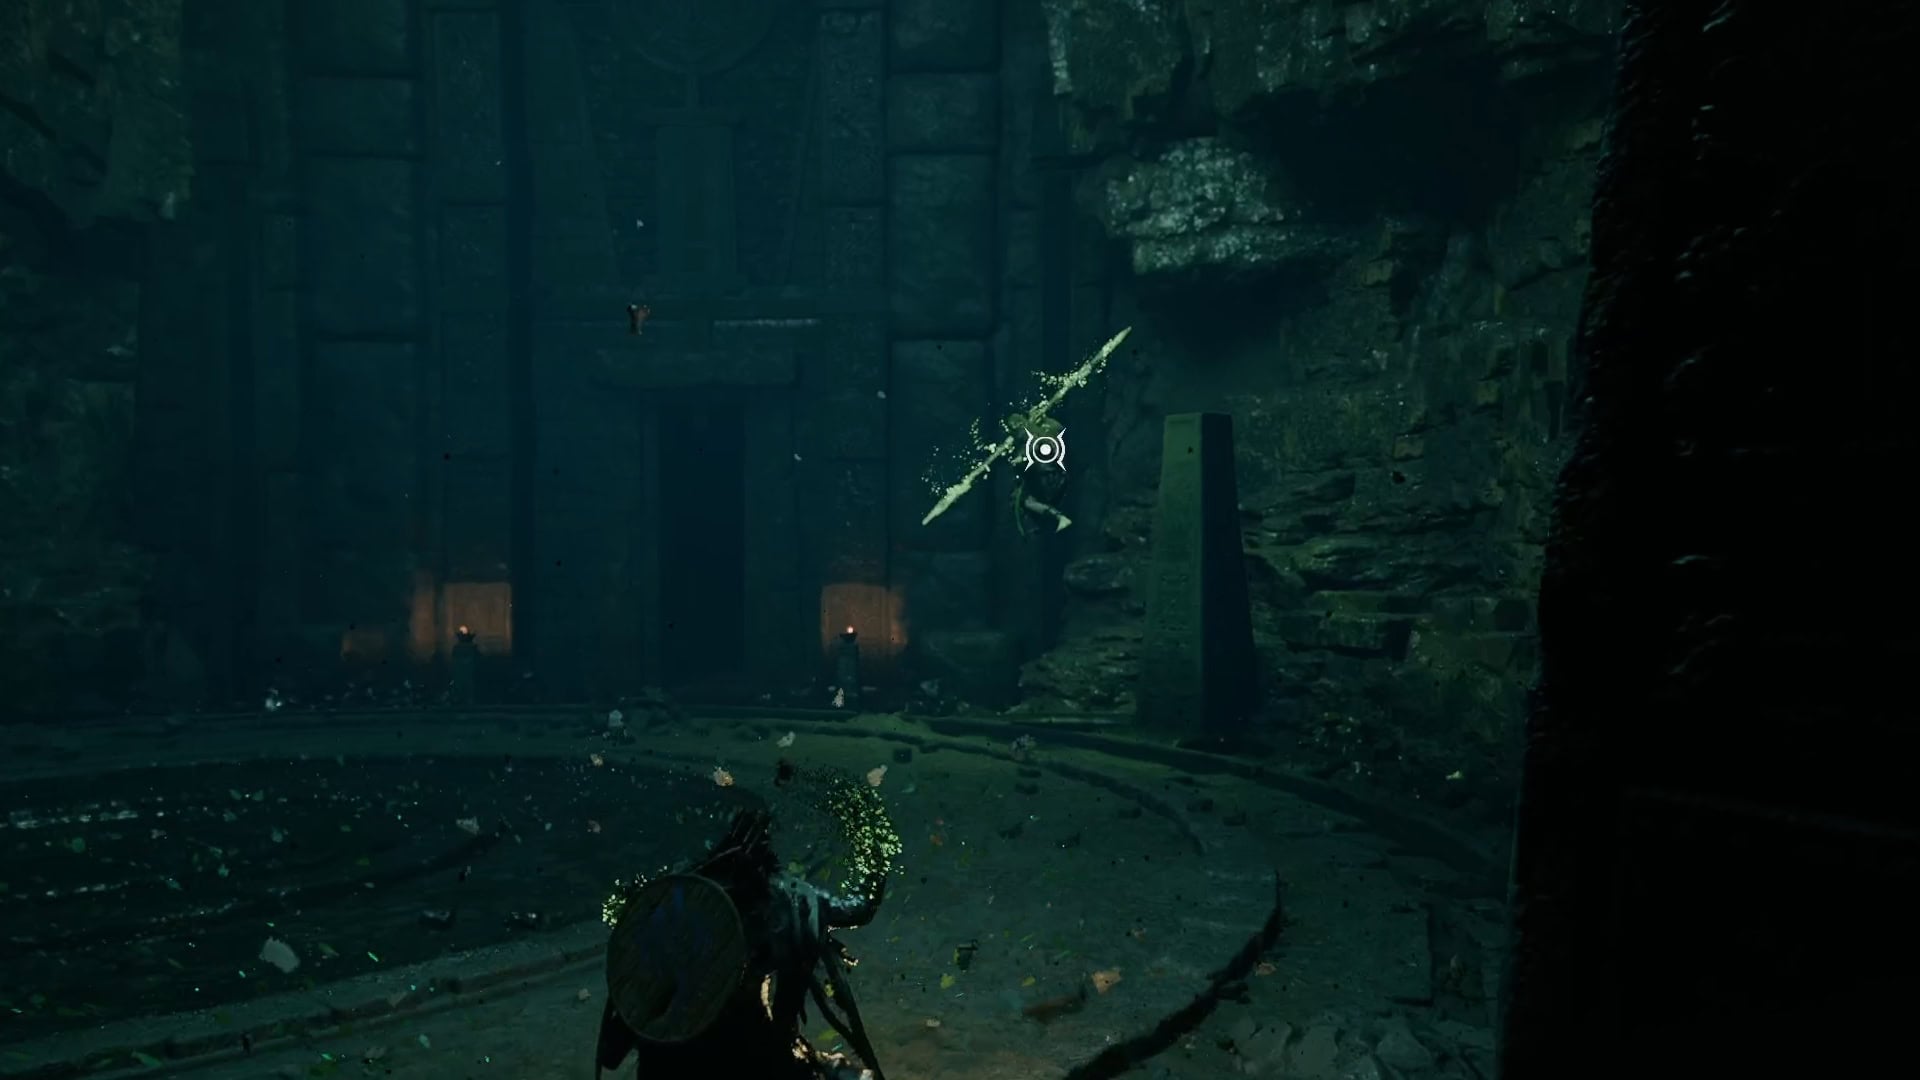
The simplest and safest strategy is to play the long game. Wait for his projectile attacks, capture them with Nature’s Snare, and send them back with Nature’s Retribution. Yes, this even works for the ones that try to hit from above as well.
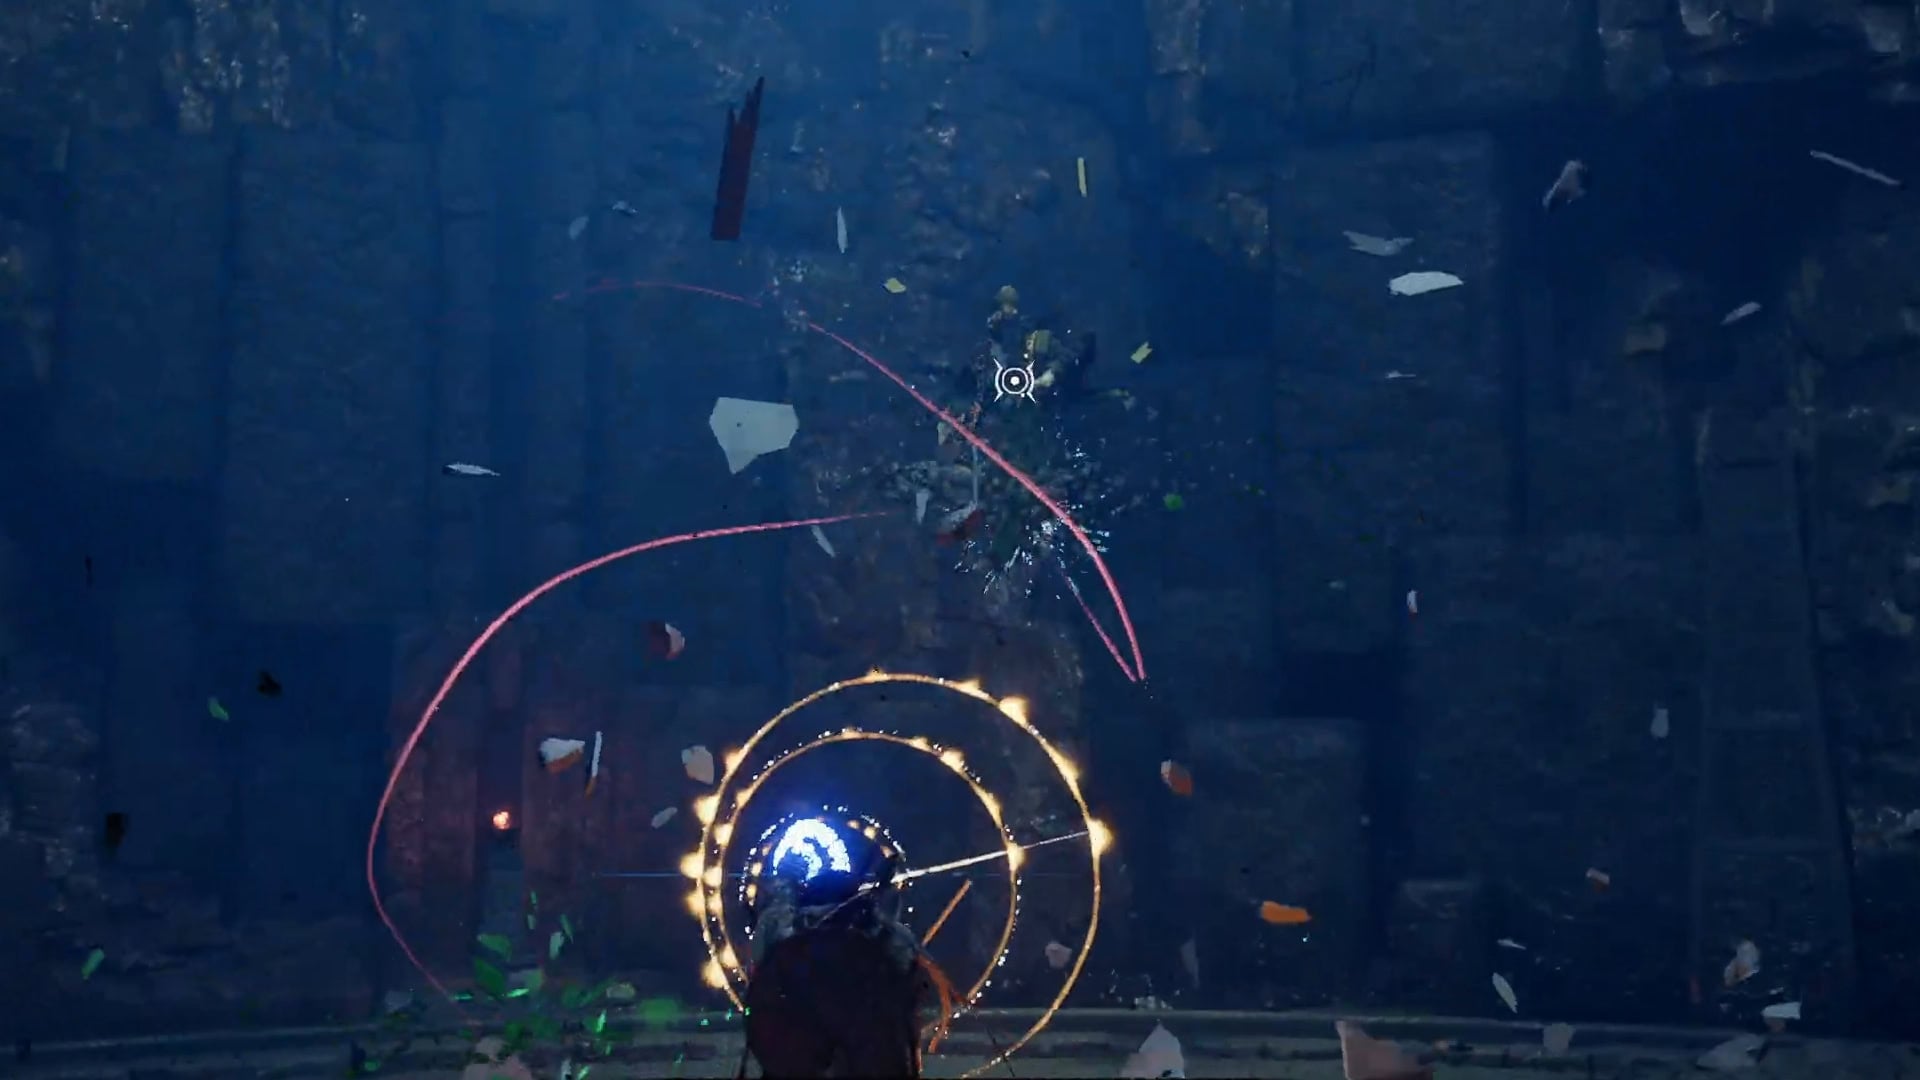
This goes double for the powerful Spear Throw attack he does. Spear Throw not only hits you like a truck if not caught by Nature’s Snare, but also hits Priscus quite hard and massively jumps up his Stun meter if it directly connects when sent back at him.
It’s very important that when the room dims, and he does his barrage of projectiles, that you hold Nature’s Snare for all of it.
There’s a tiny window at the end, after all projectiles are fired, that you can send them back, but due to the damage reduction, it’s better to just let the explosion under you interrupt Nature’s Snare.
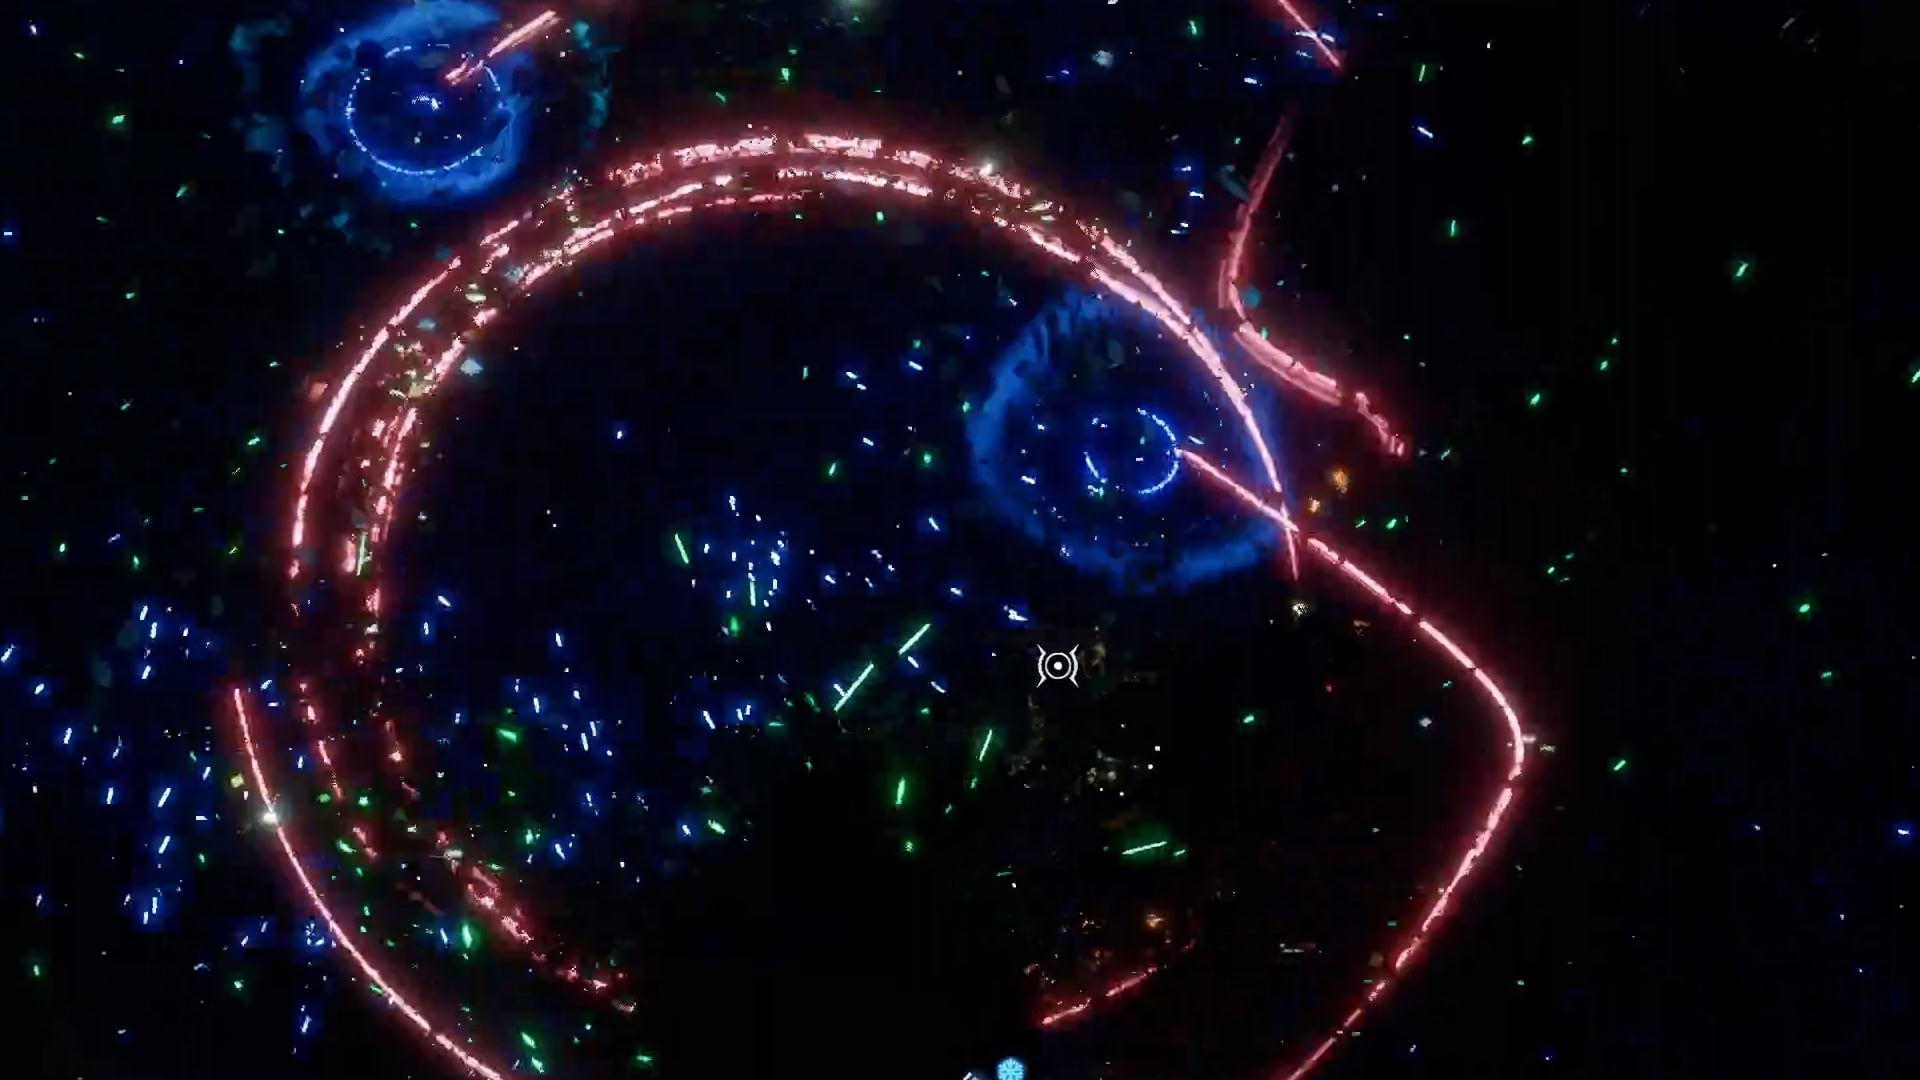
This will result in a small amount of guaranteed damage from the ending explosion and potentially being bounced into a wall. This, however, is a small price to avoid the 1000+ damage coming from the roughly dozen projectiles that will easily take you from 100% Health to zero.
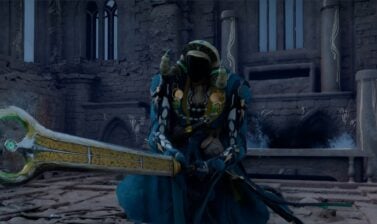
Priscus the Ancient’s Rewards
In addition to the Quest step for Aeserion, the Great Serpent being completed by defeating Priscus the Ancient, he’ll also provide two nice drops as well.
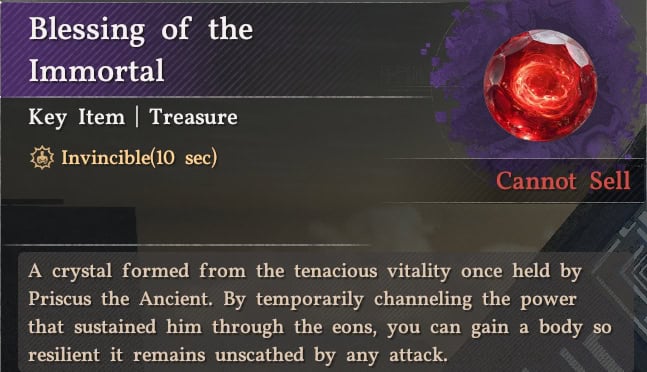
The first is a Key Item Consumable, Blessing of the Immortal. You can use this powerful crystal to gain Invulnerability for 10 seconds, but can only be used once. Its status as a Key Item suggests there may be more that can be done with it, perhaps in the mentioned questline.
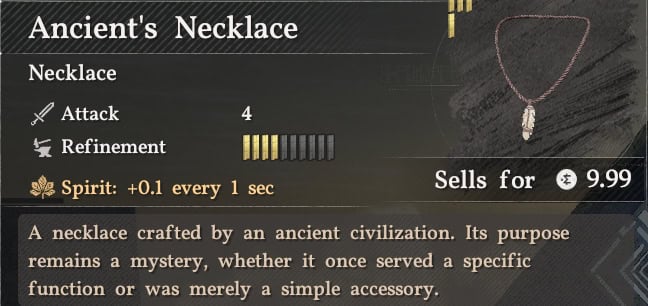
The other is a fairly good Necklace, the Ancient’s Necklace. This offers a pure Attack bonus and, when upgraded, also offers Spirit Recovery. There are a few other necklaces that offer similar stats, but more tend to lean towards providing Defense. If you want to go for a more common option, it also sells for a nice 10 silver.
Enter the Abyss
The area you may have thought of as just a teleporter to leave also happens to have an Abyss Gate that appears as well.
This Abyss Gate will take you up to Ether Rest. The first in a long chain of Abyss Puzzles that will unlock two new Elemental Skills.
NEXT: How to solve Ether Rest Abyss Puzzle