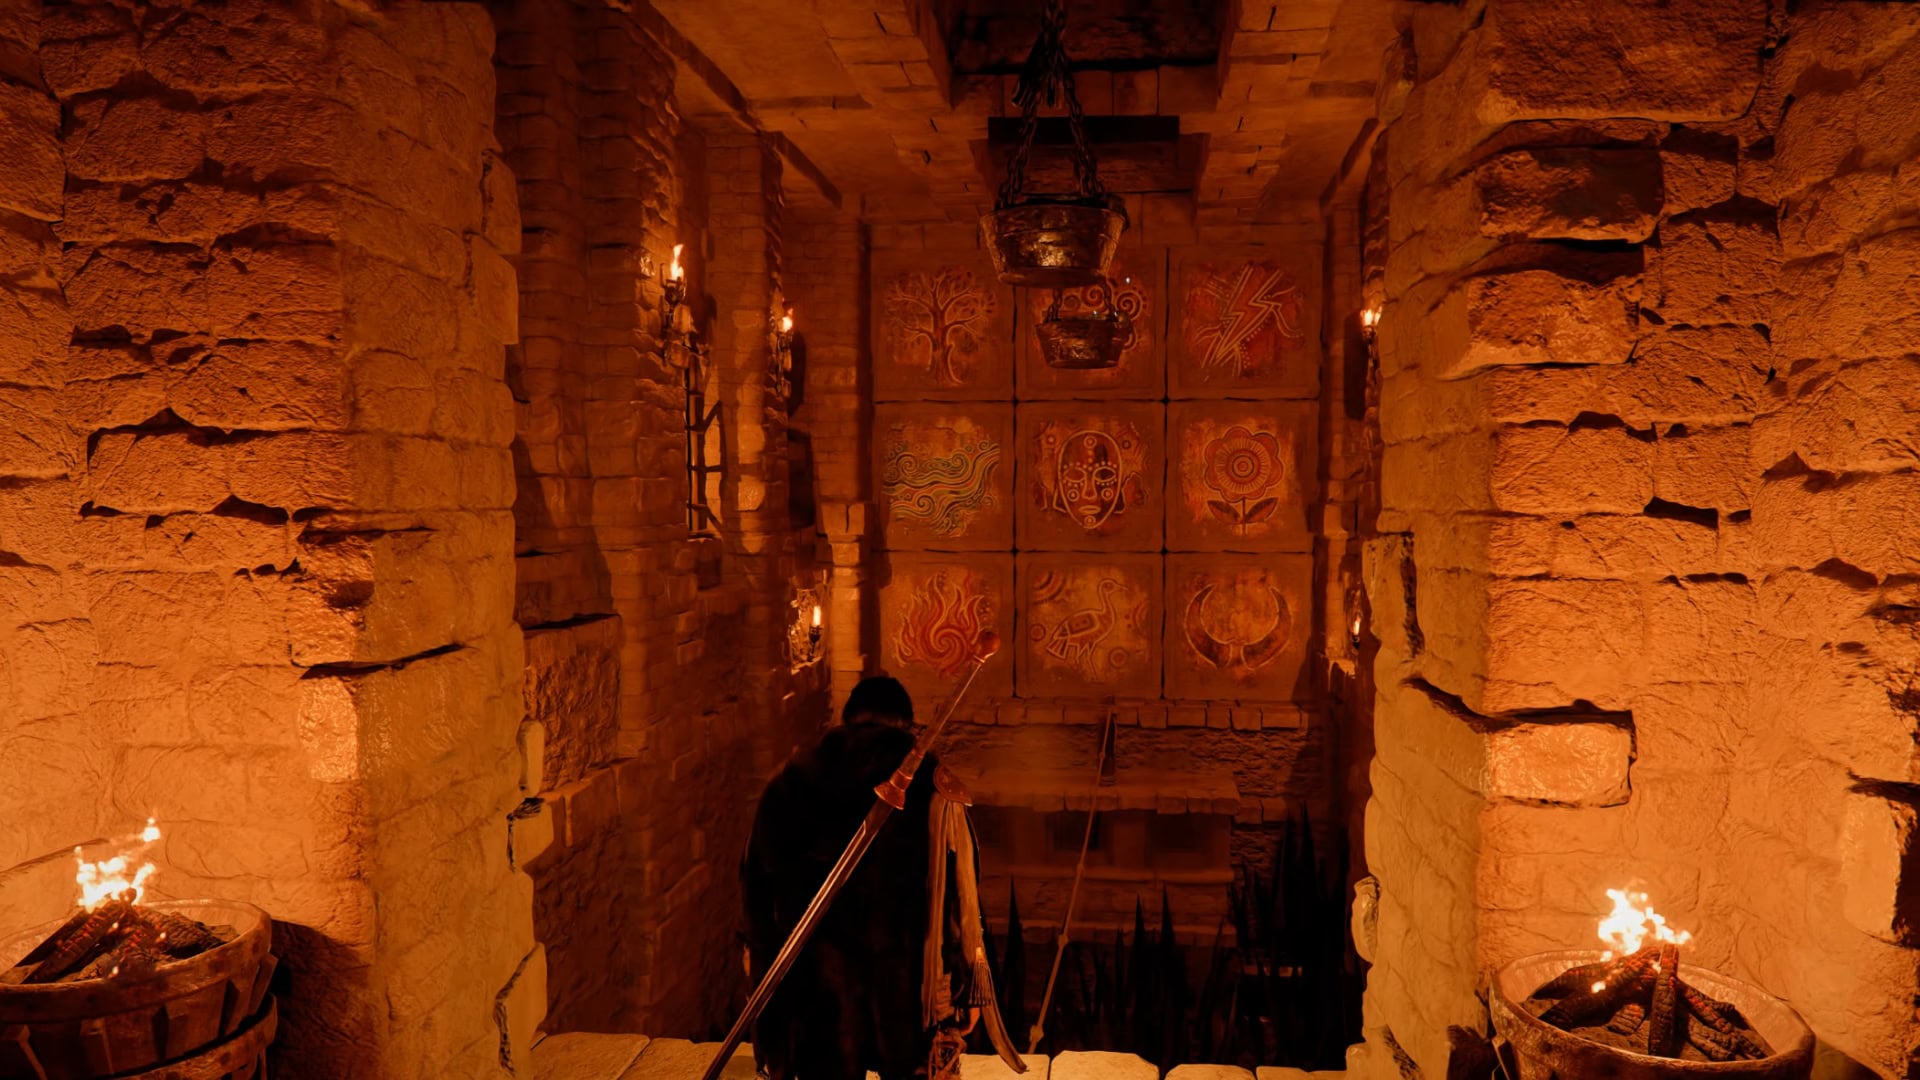
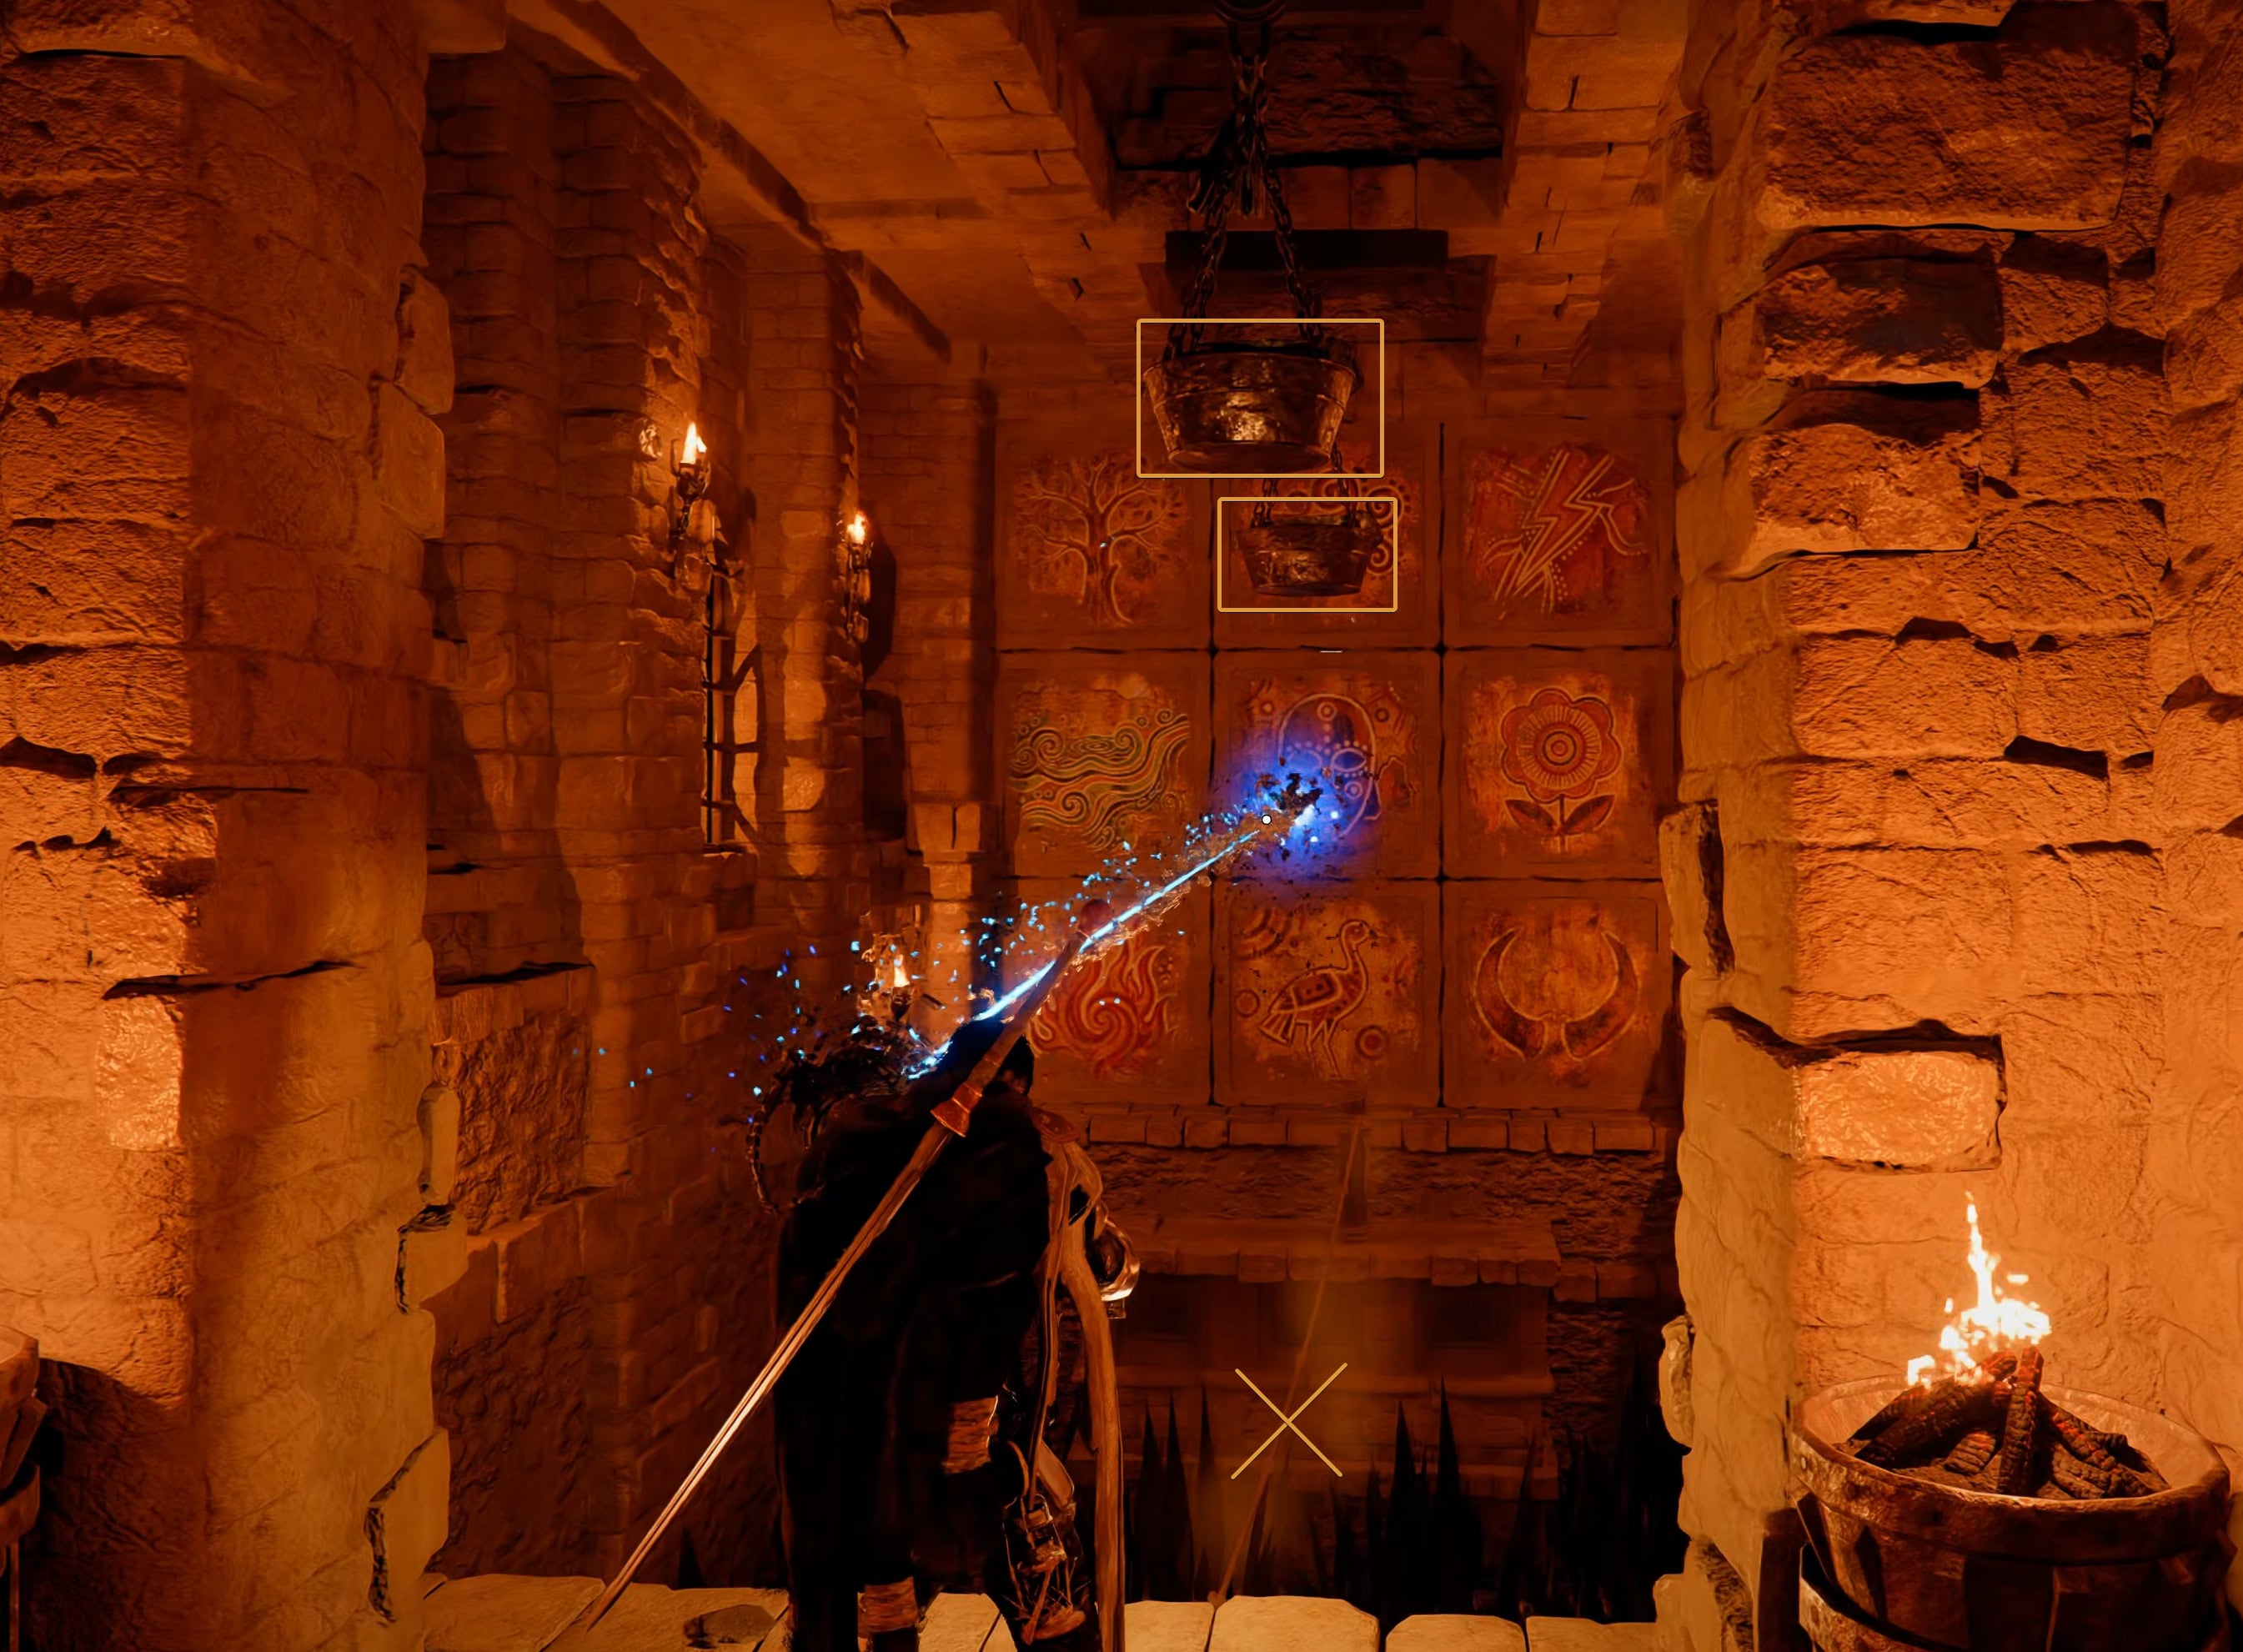
The Hidden Chamber of Wisdom has a 3×3 tile stone wall with frescos (murals). We will show you which ones you need to press to solve the puzzle.
Where to find the Hidden Chamber of Wisdom
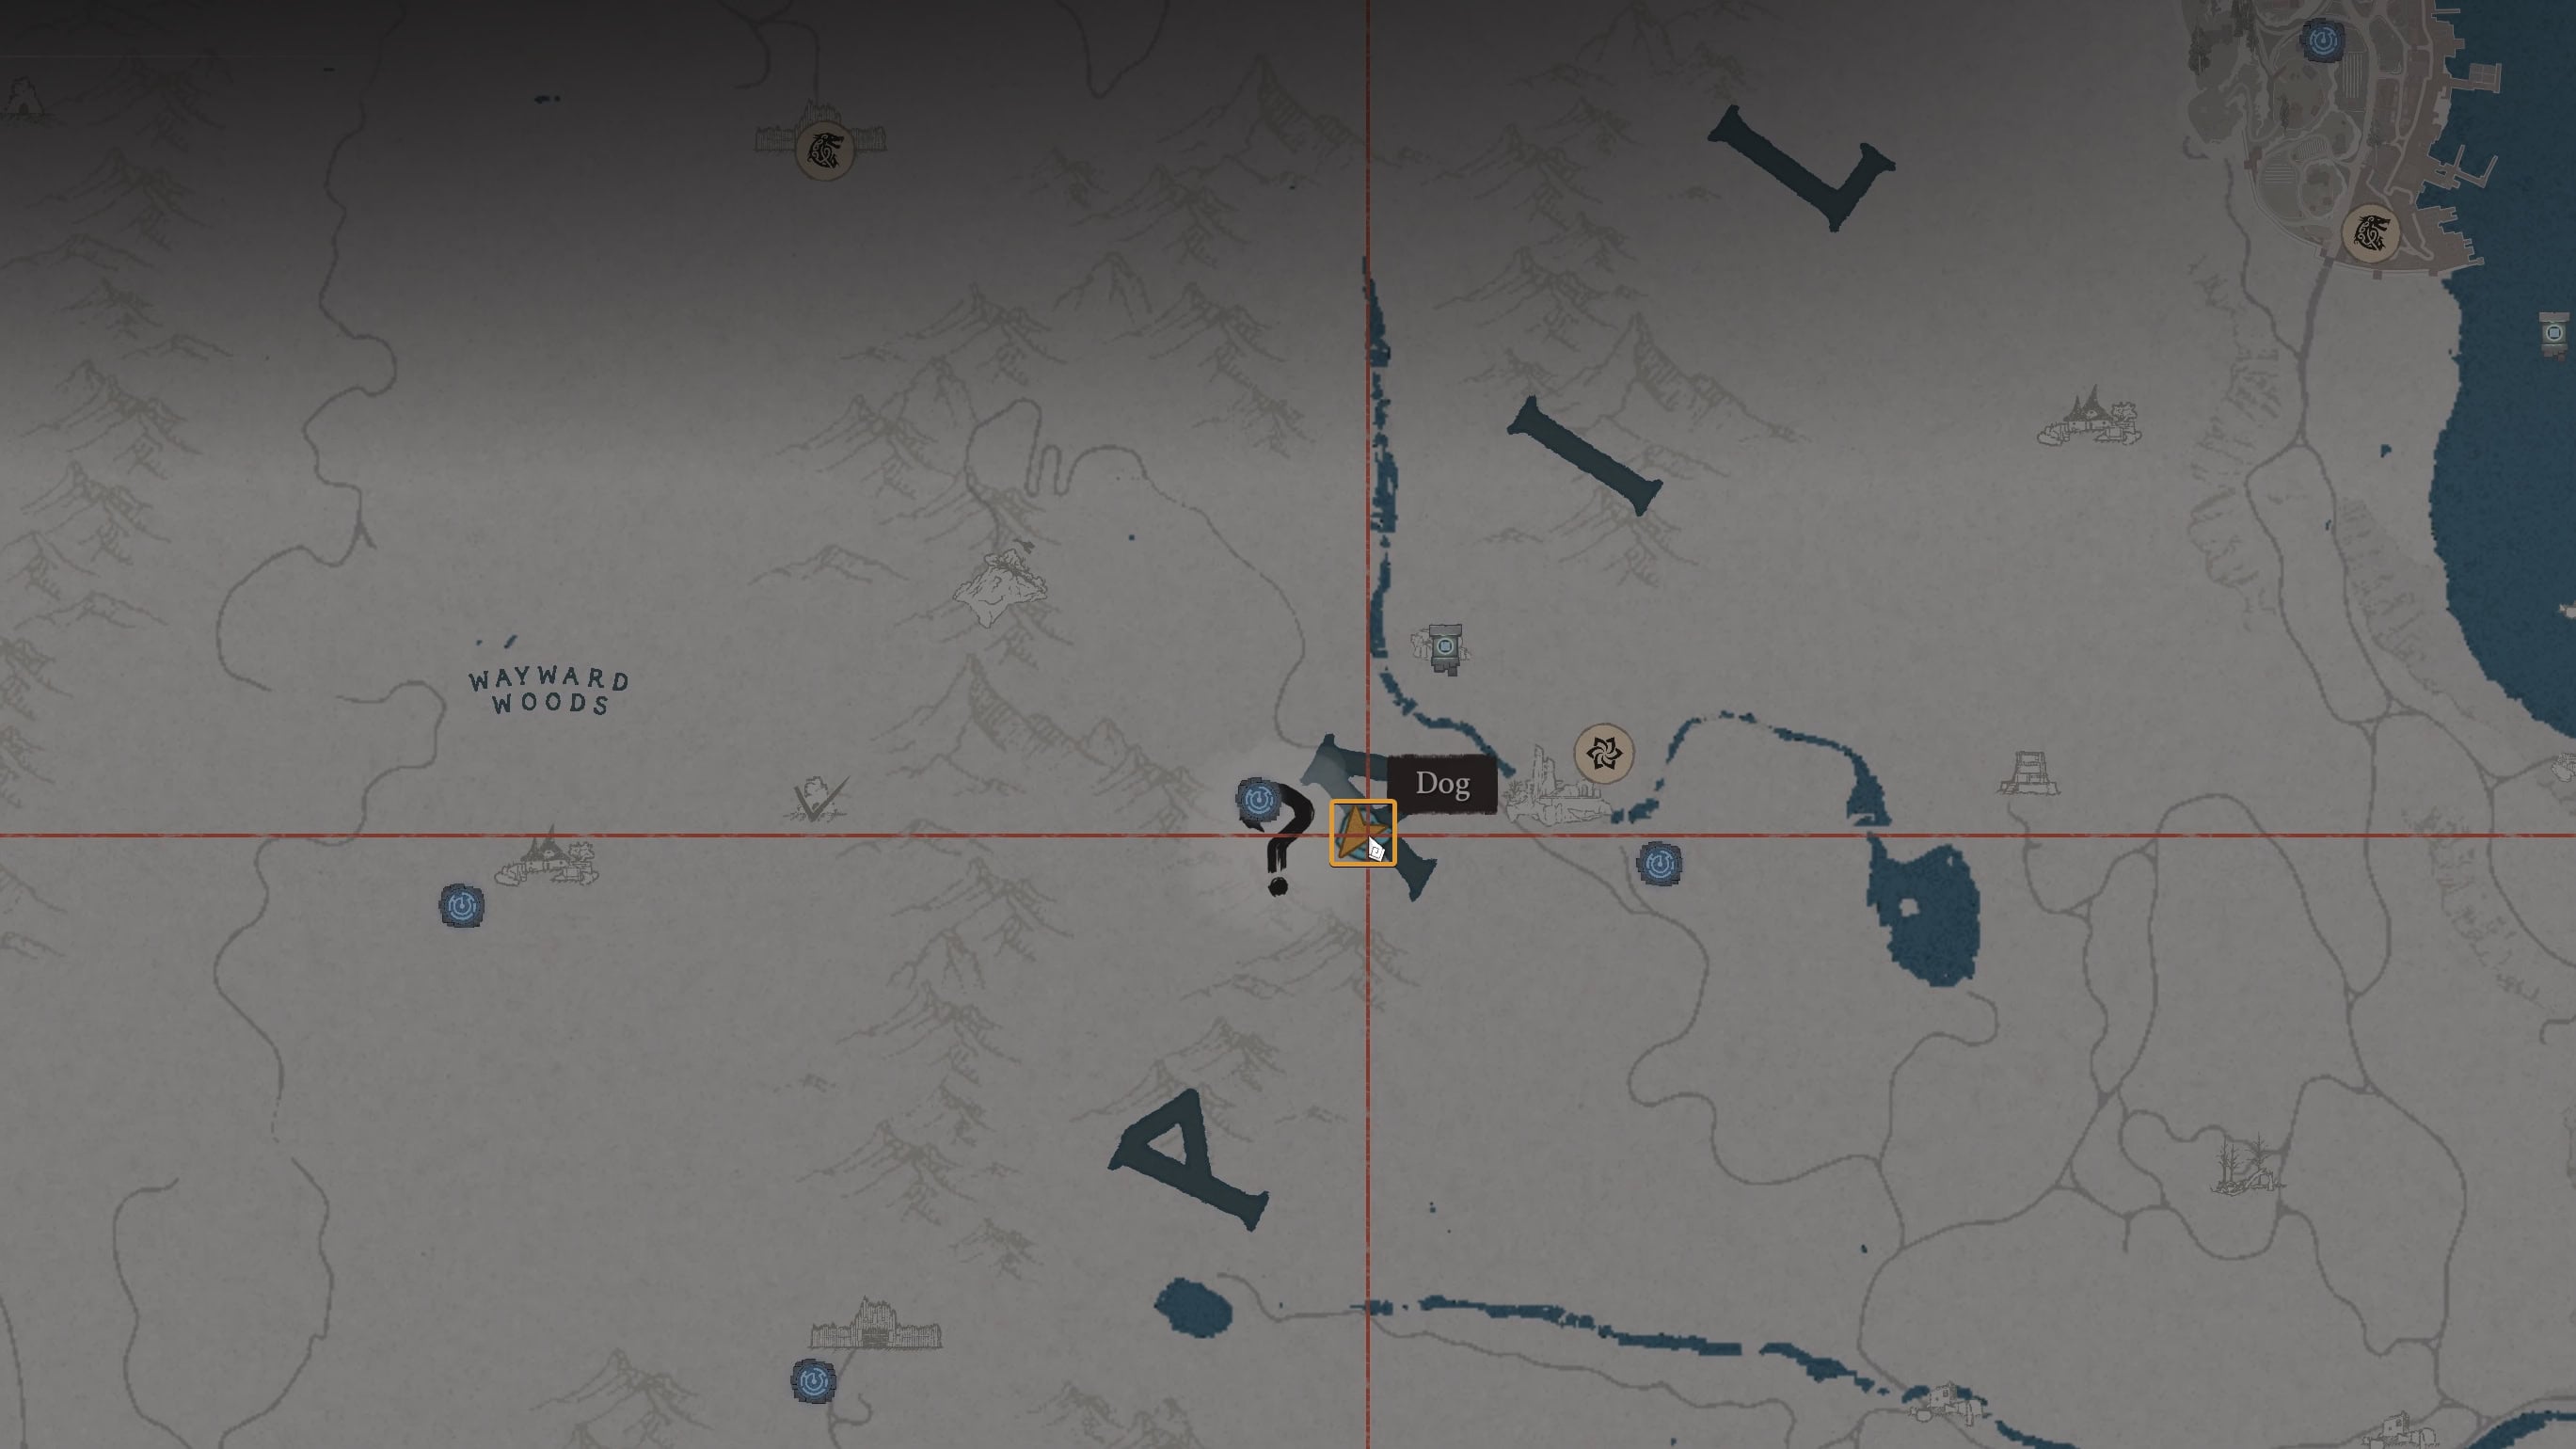
The Hidden Chamber of Wisdom is located just west of the Sanctum of Solace in Pailune. The Chamber is found underground in a cave. Its entrance is on the left side of the letter “A” on the map. There are two Nexuses, very conveniently placed on each side.
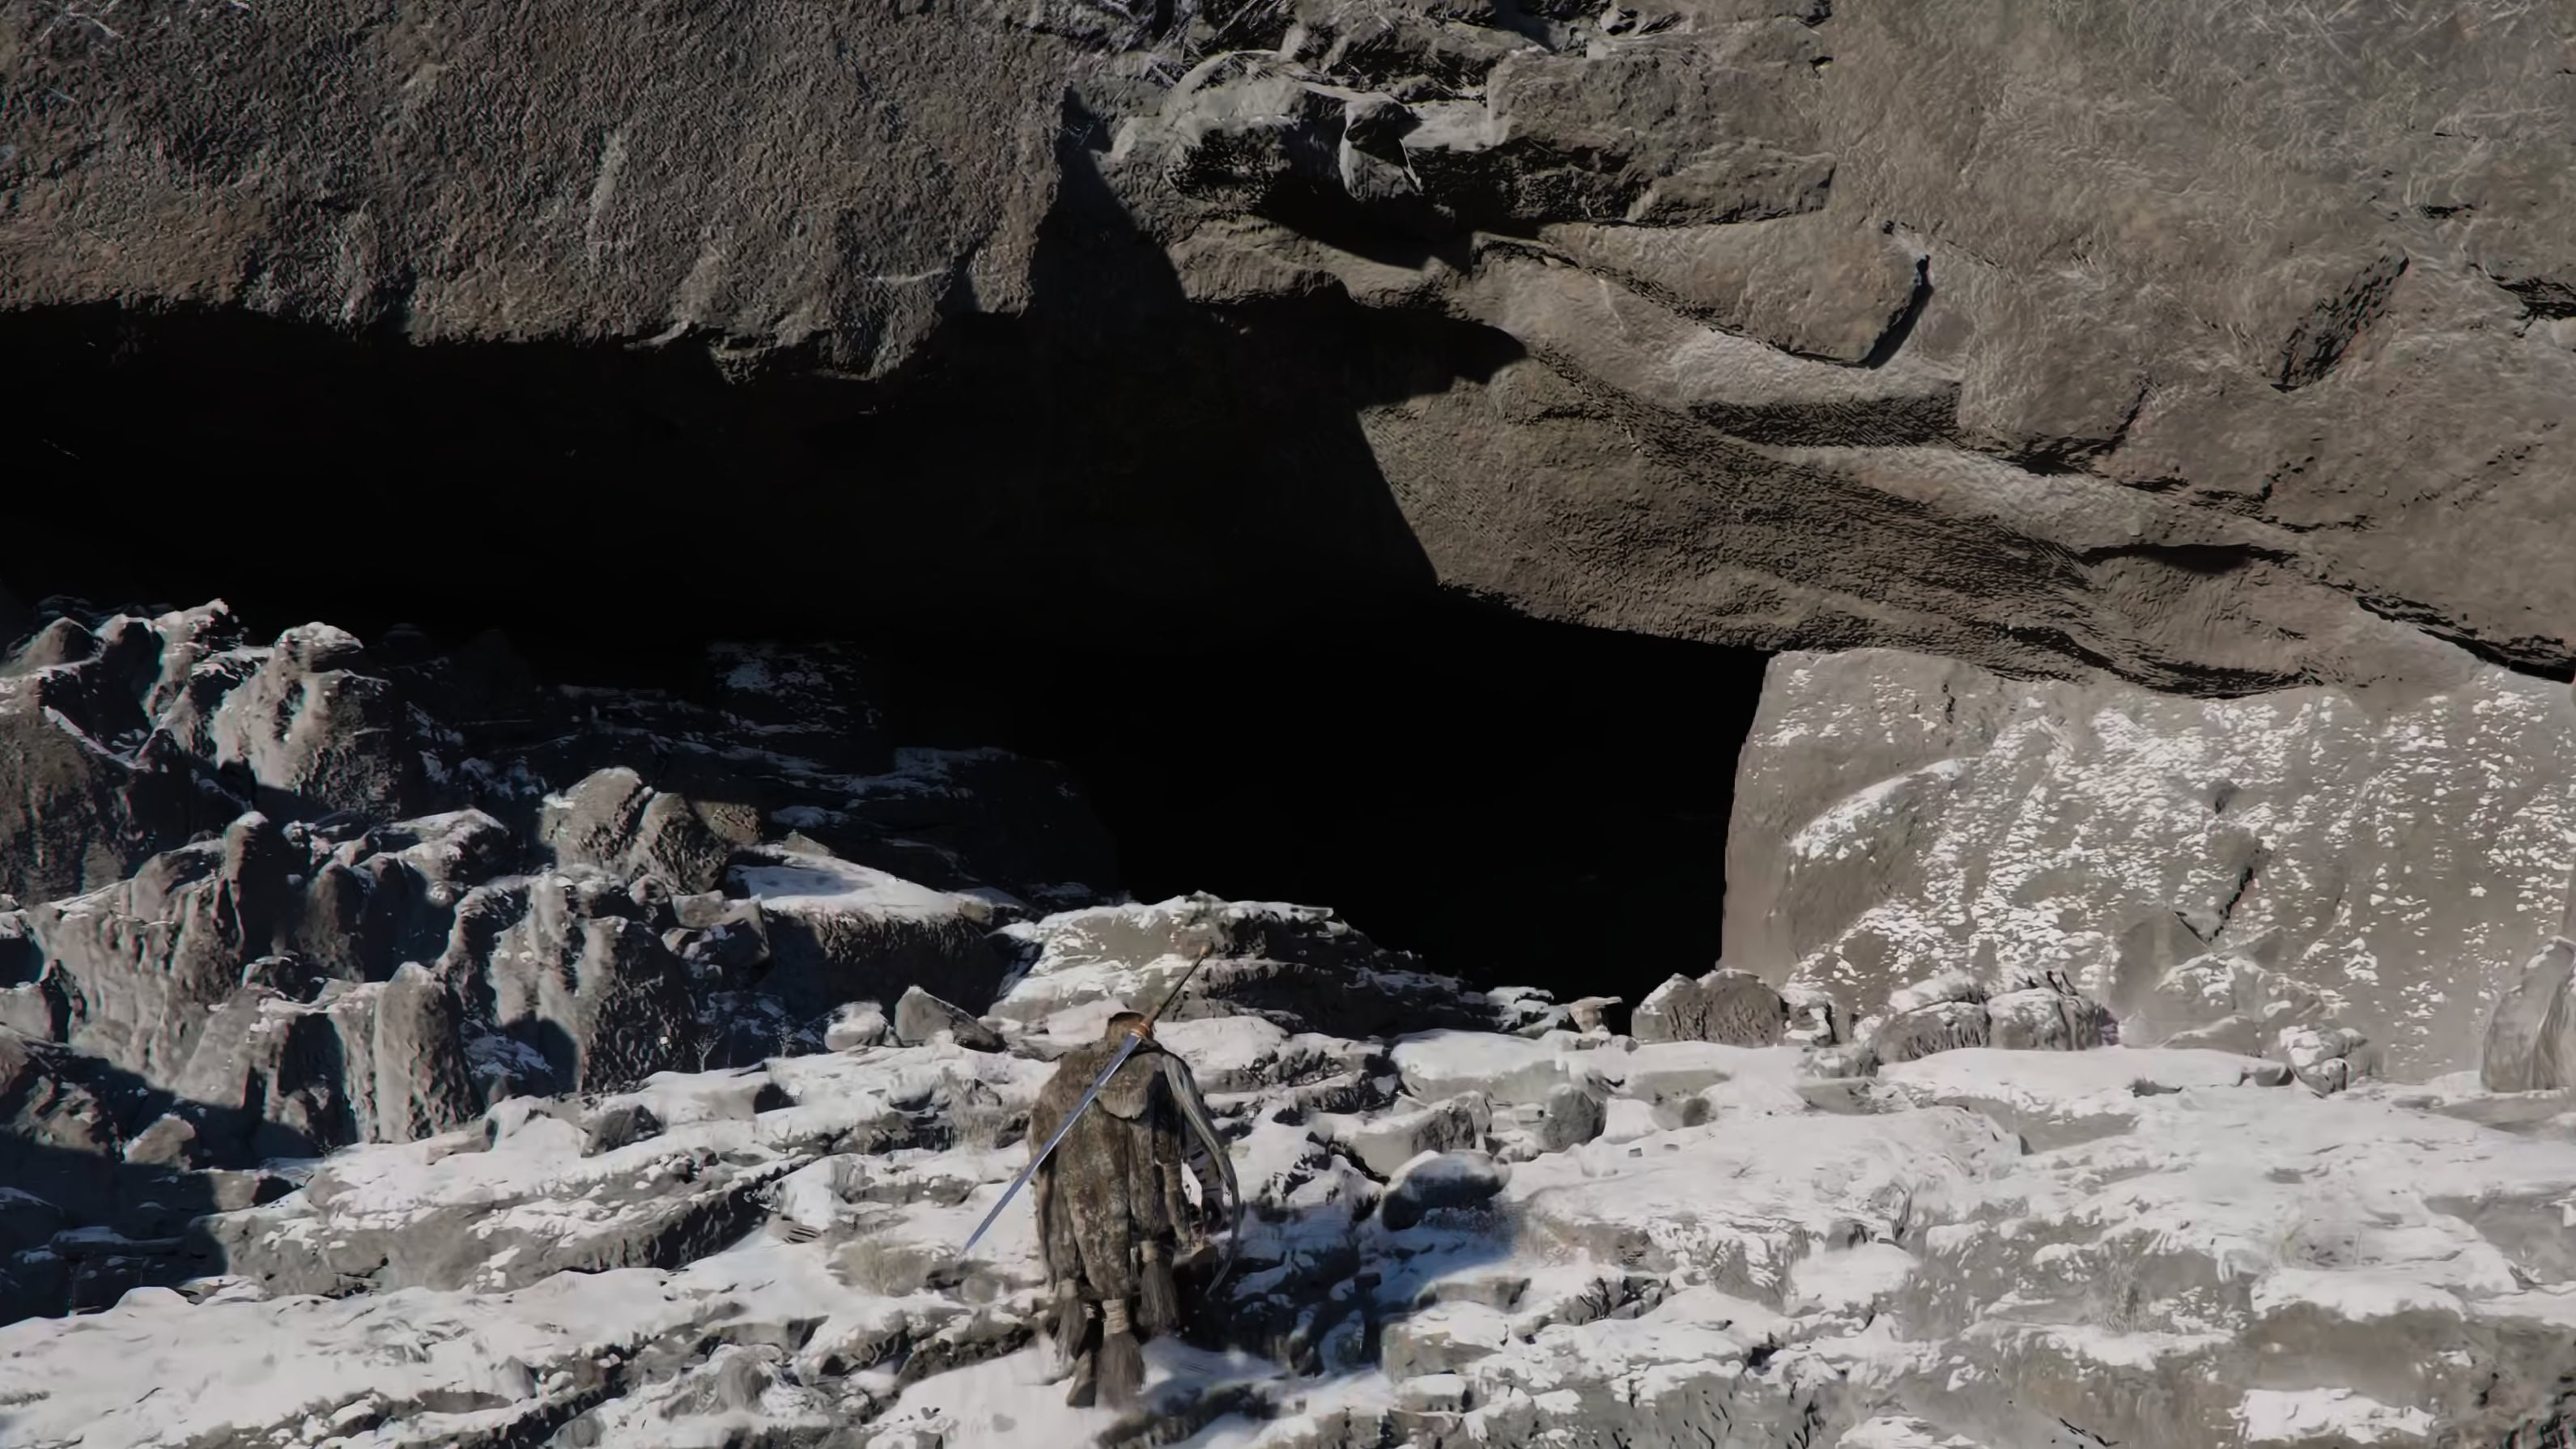
Enter the cave and drop down. On the west wall, you will find a tunnel. Follow the dark narrow tunnel until you emerge into a slightly larger area.
Read the Map on the Wall
When you emerge on the other side, you will be in the Hidden Chamber of Wisdom. You may hear some scary sounds coming from the next room, those are merely some metal spikes.
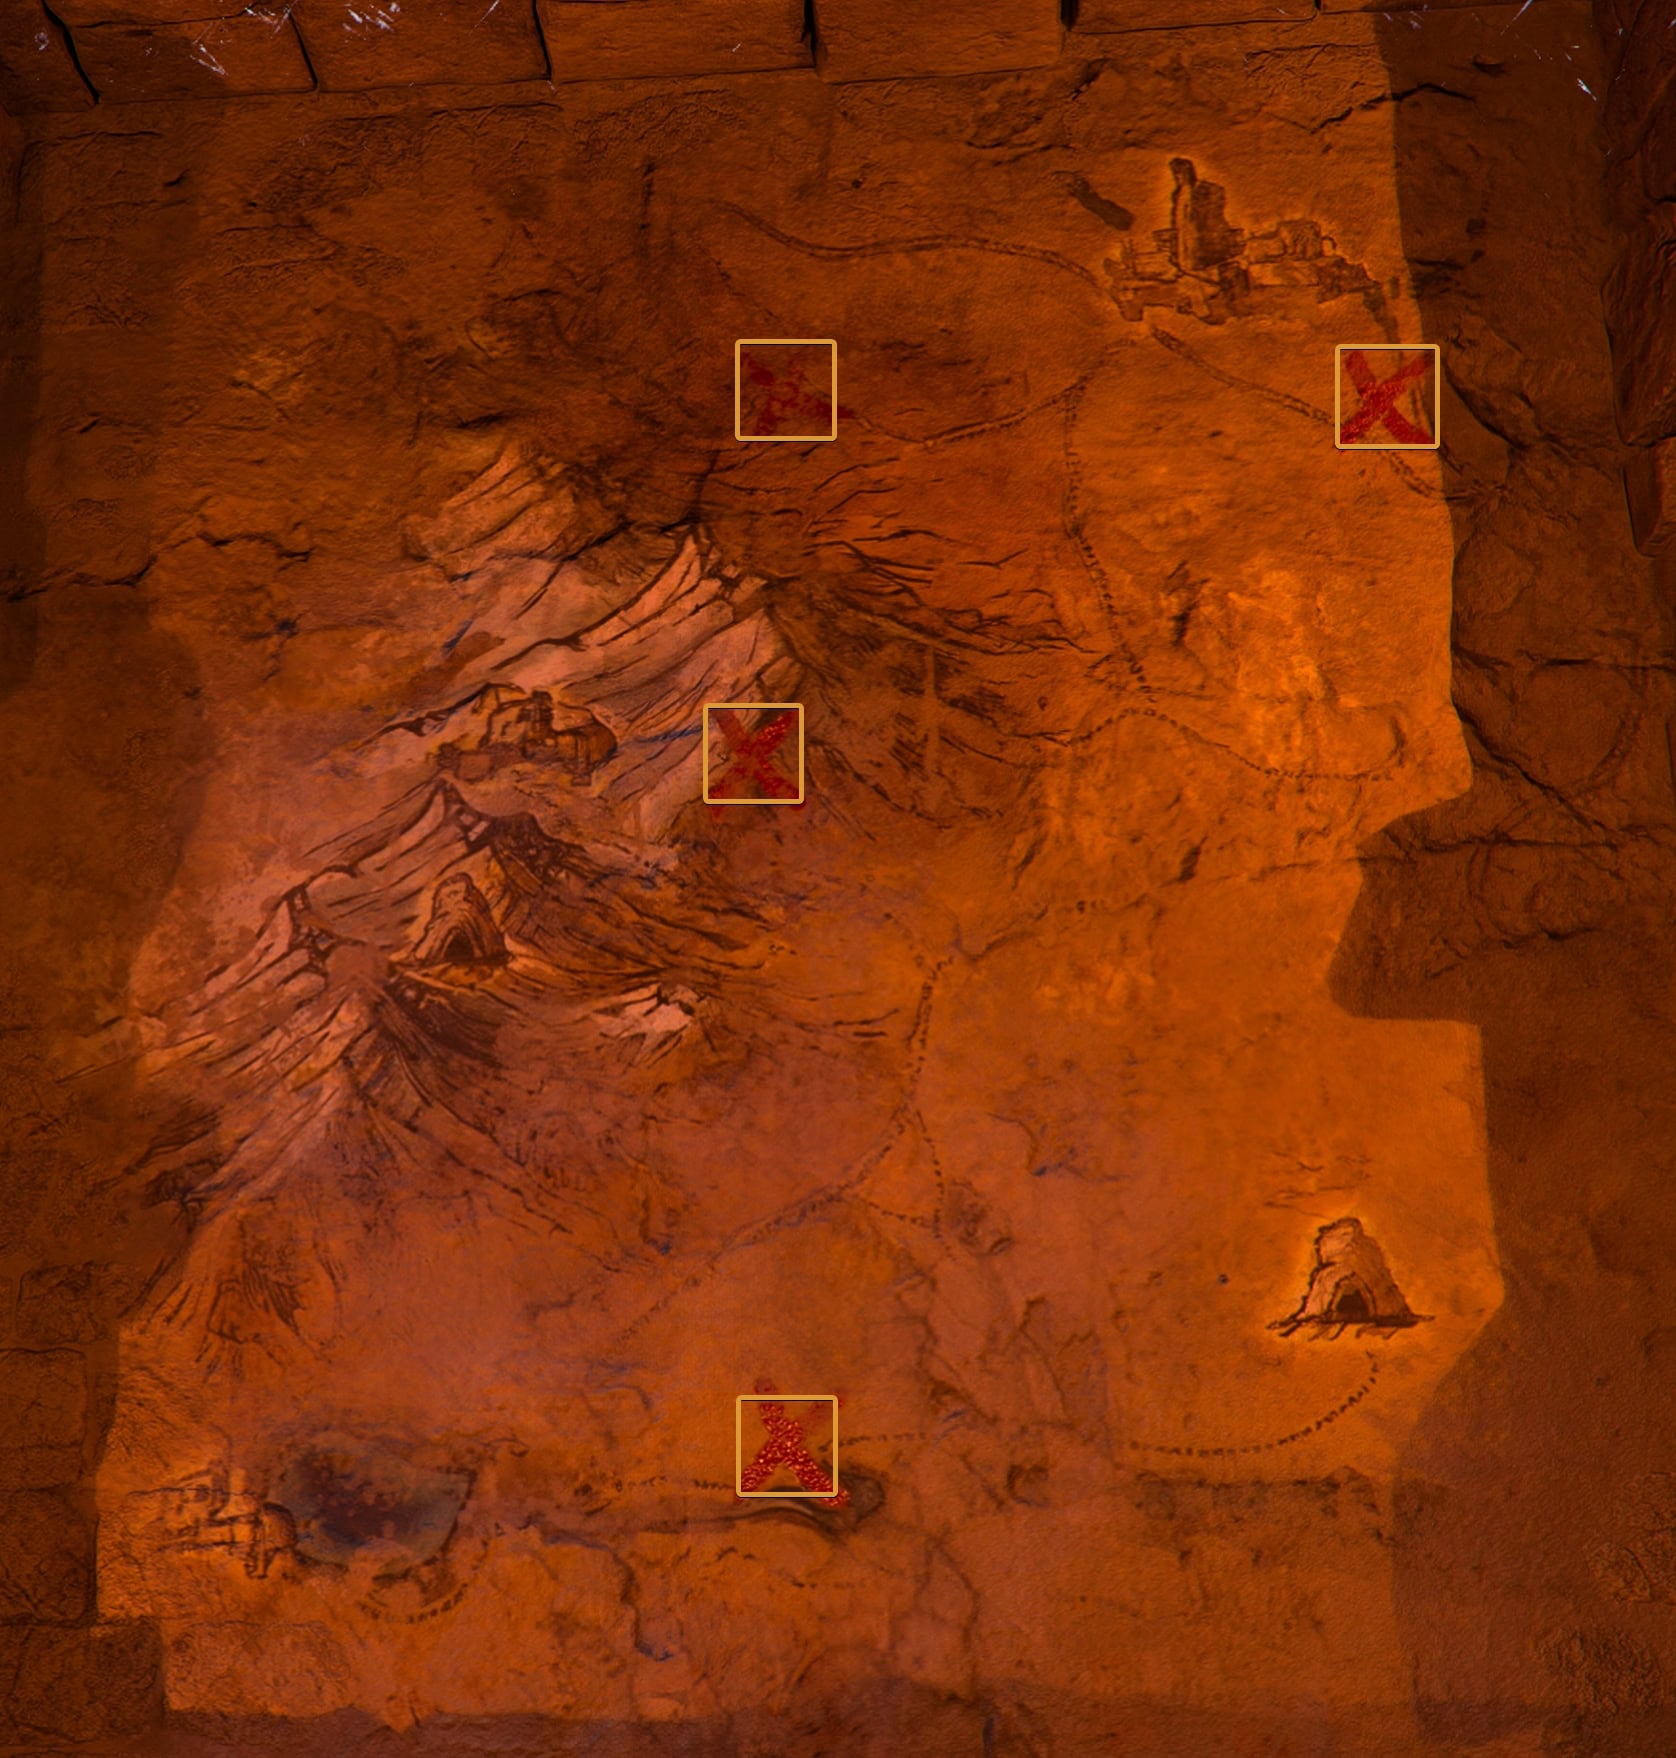
Look immediately to your right to the wall, there is a mural with four markings. These are the locations where you will find the four symbols you will need for the Tile Puzzle later.
Get past the Traps
To reach the wall with the 3×3 tiles on the other end of the chamber, use Axiom Force or glide there. Be careful with the dangling chains overhead.
The chains can hurt you (not a lot) or even cause you to fall down. The metal spikes on the ground can kill you in 2 seconds.
Where to find the Symbols
You don’t really need to visit the marked locations. You can just skip to the next part of this guide to learn which of the Tiles to press to complete the puzzle.
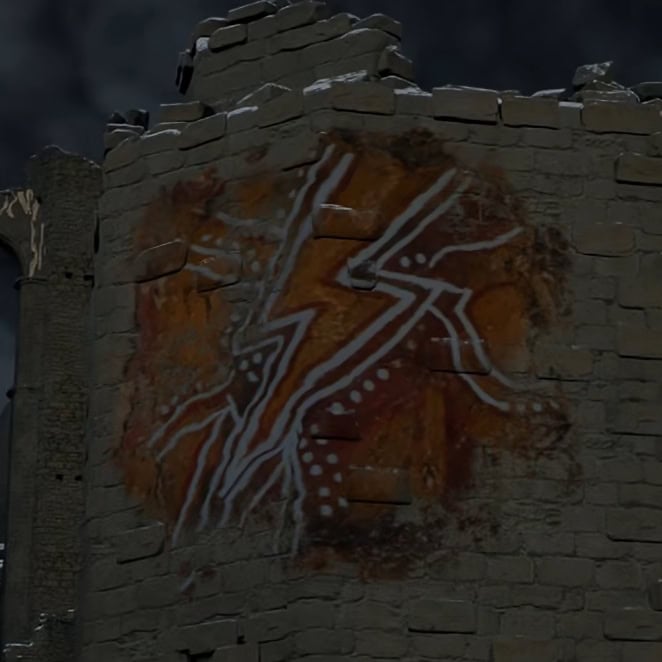
- Lightning Symbol: On one of the towers on the edge of the Sanctum ruins.
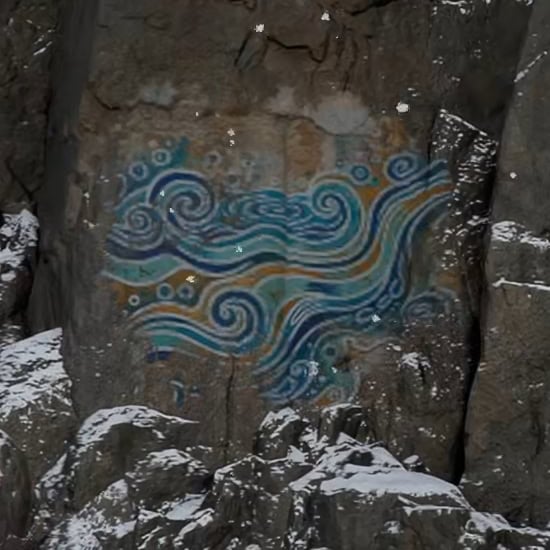
- Water Symbol: south from the Hidden Chamber’s Entrance, on the side of the mountain.
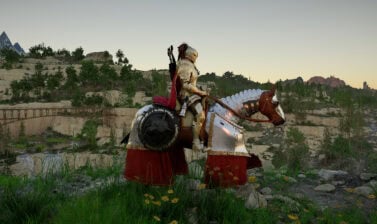
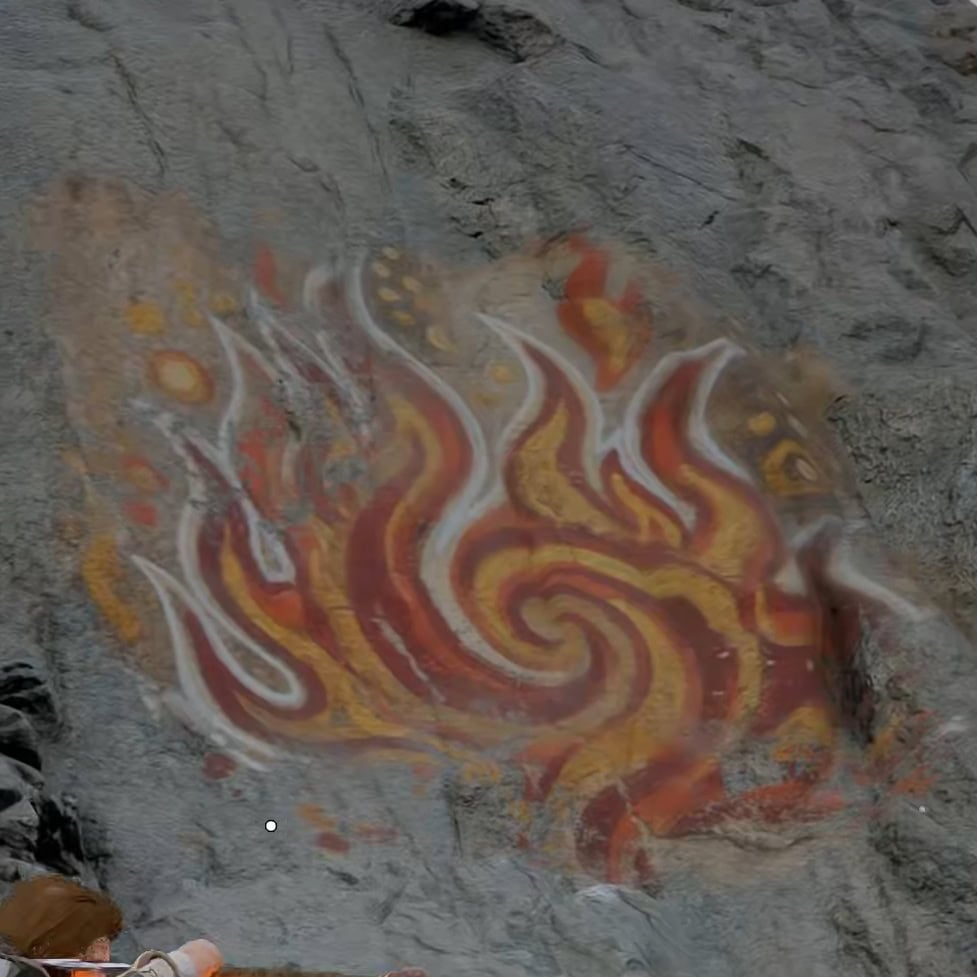
- Flames Symbol: on the side of the mountain near the location of one of the Legendary Horses (Royler).
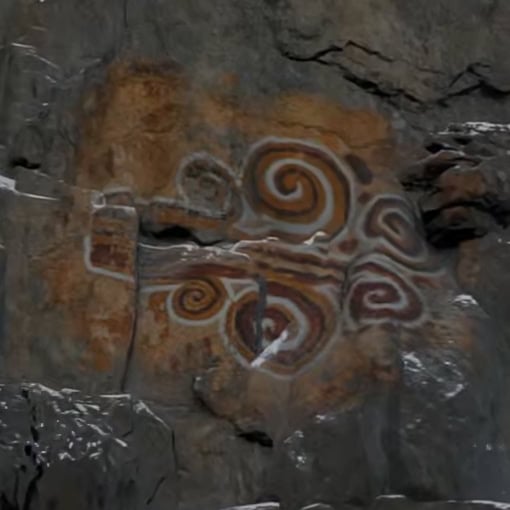
- Wind Symbol: Right on top of the entrance of the Hidden Chamber of Wisdom.
Video Walkthrough
How to solve the Puzzle
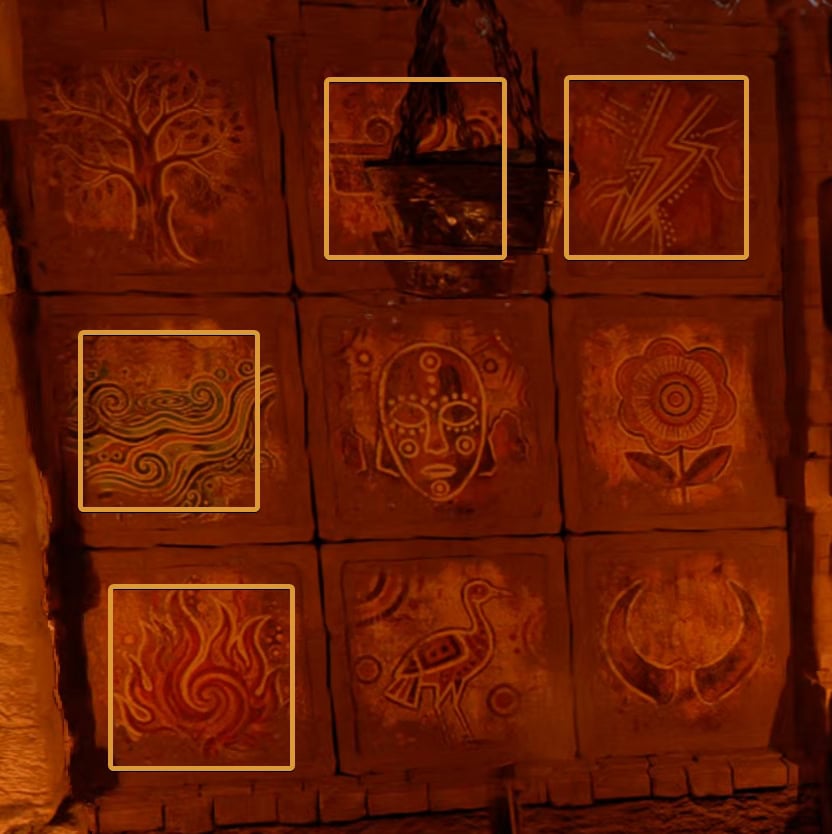
To solve the puzzle, you have to press four tiles. You need the exact four tiles, whose symbols are drawn at the four marked locations on the map you saw earlier.
The safest method is to climb and use Resist as you activate Force Palm to push each tile. Position yourself in the exact middle to avoid hitting more than one tile because this will reset the board.
It doesn’t matter in what order you push them. The tiles you need to push, are:
- Top Right
- Top Middle
- Middle Left
- Bottom Left
Reward
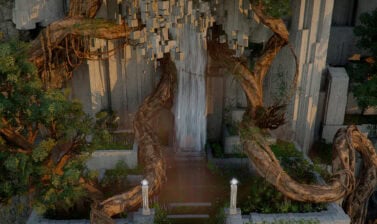
A couple of seconds after you push all four correct tiles, the wall will slide down, allowing you to access the small chamber behind, where an Abyss Cresset with an Abyss Artifact is waiting for you.
You can backtrack to the exit or just teleport back to the exit. Patch 1.03.00 made even more improvements to fast travel, so make the most out of it.