An in-depth guide to IP-CPT Story Mode – first boss encounter in the SWTOR R-4 Anomaly Operation. Includes path to the boss, mechanics breakdown, and strategy for all classes and roles!
Please keep in mind that this boss fight was released very recently, so new strategies are still developing. If you know of a different strategy that works well or is very popular, please share it in the comments!
Path to IP-CPT
Before you get to IP-CPT, you have standard trash to deal with, a bit of platforming on pipes, and a mini-“puzzle” sequence.
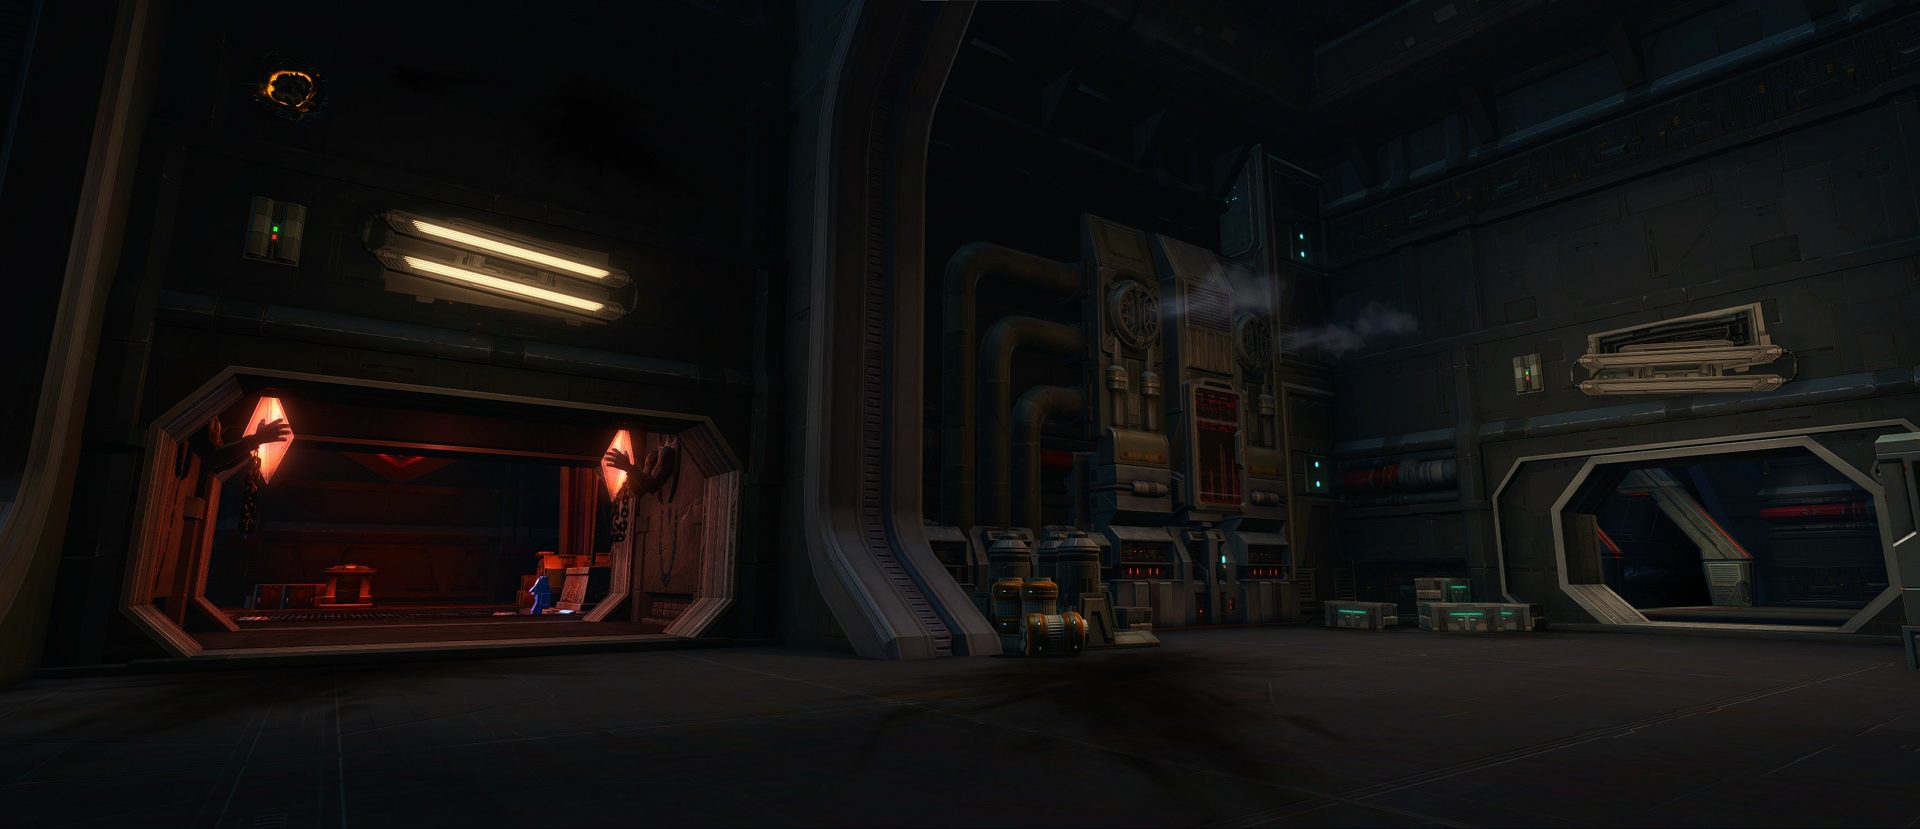
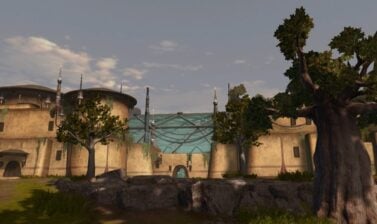
On the left is the way to the first boss. On the right is the door to the tram station for respawns once you make it to the first boss and beyond.
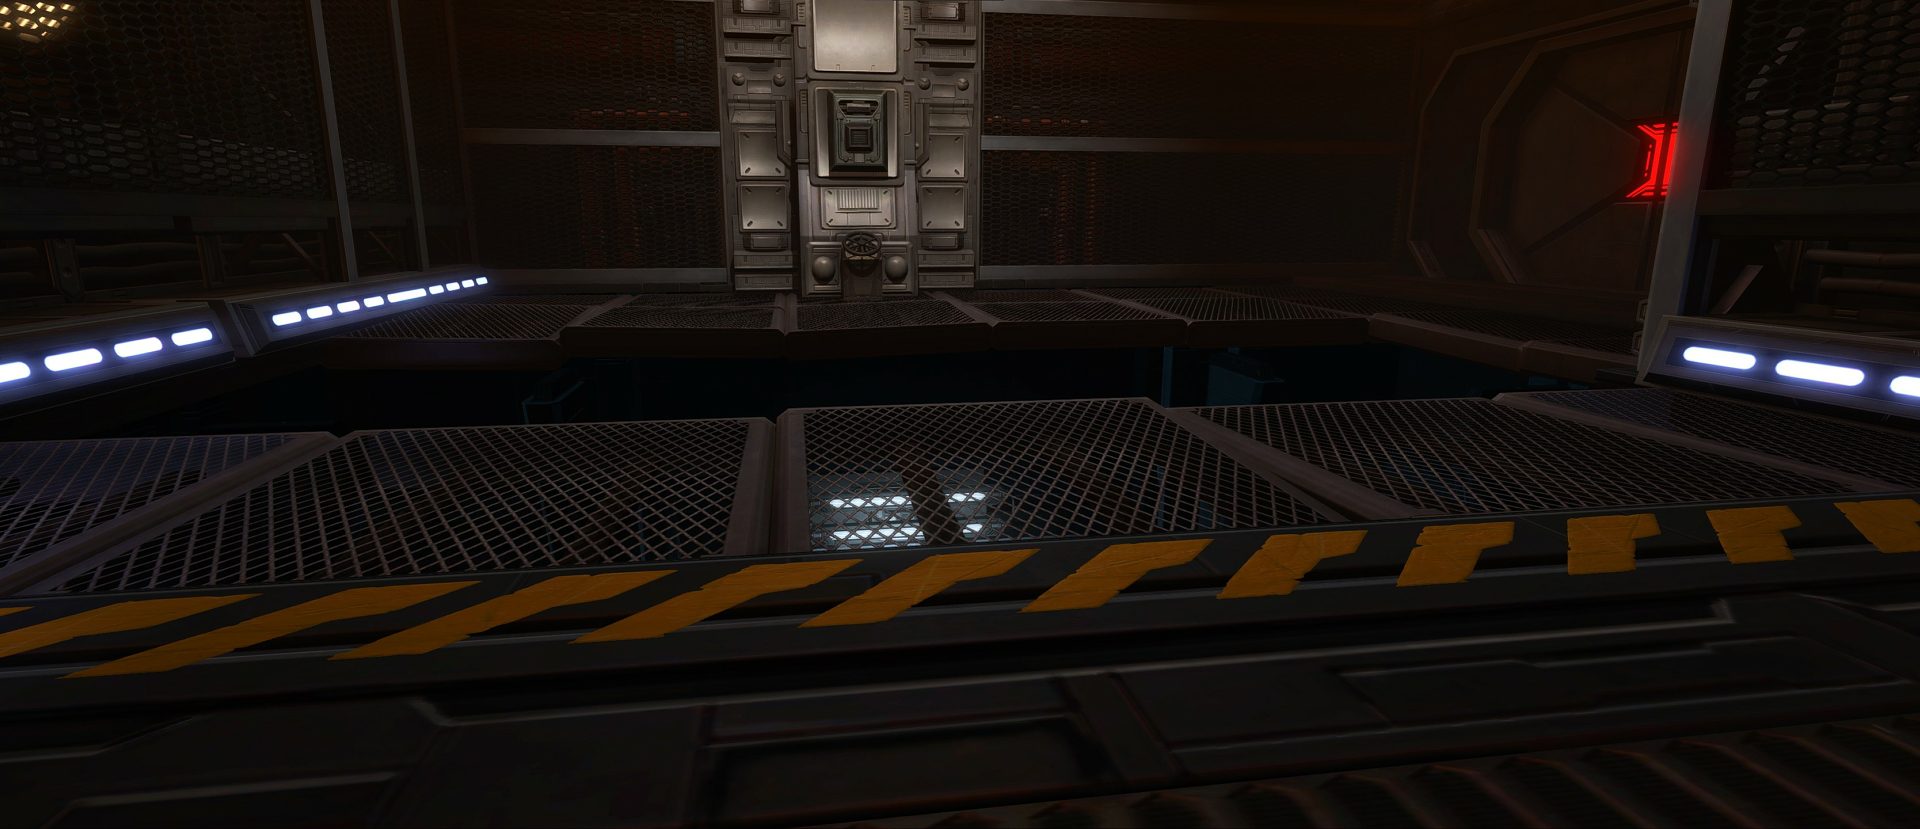
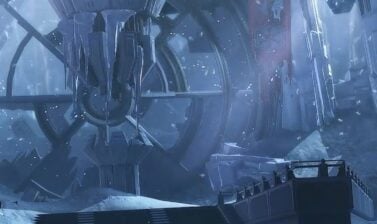
You’ll come across this drop-down. Wait until there are a few group members because once you drop, you’ll instantly aggro a group of trash down there, though it doesn’t respawn if you wipe.
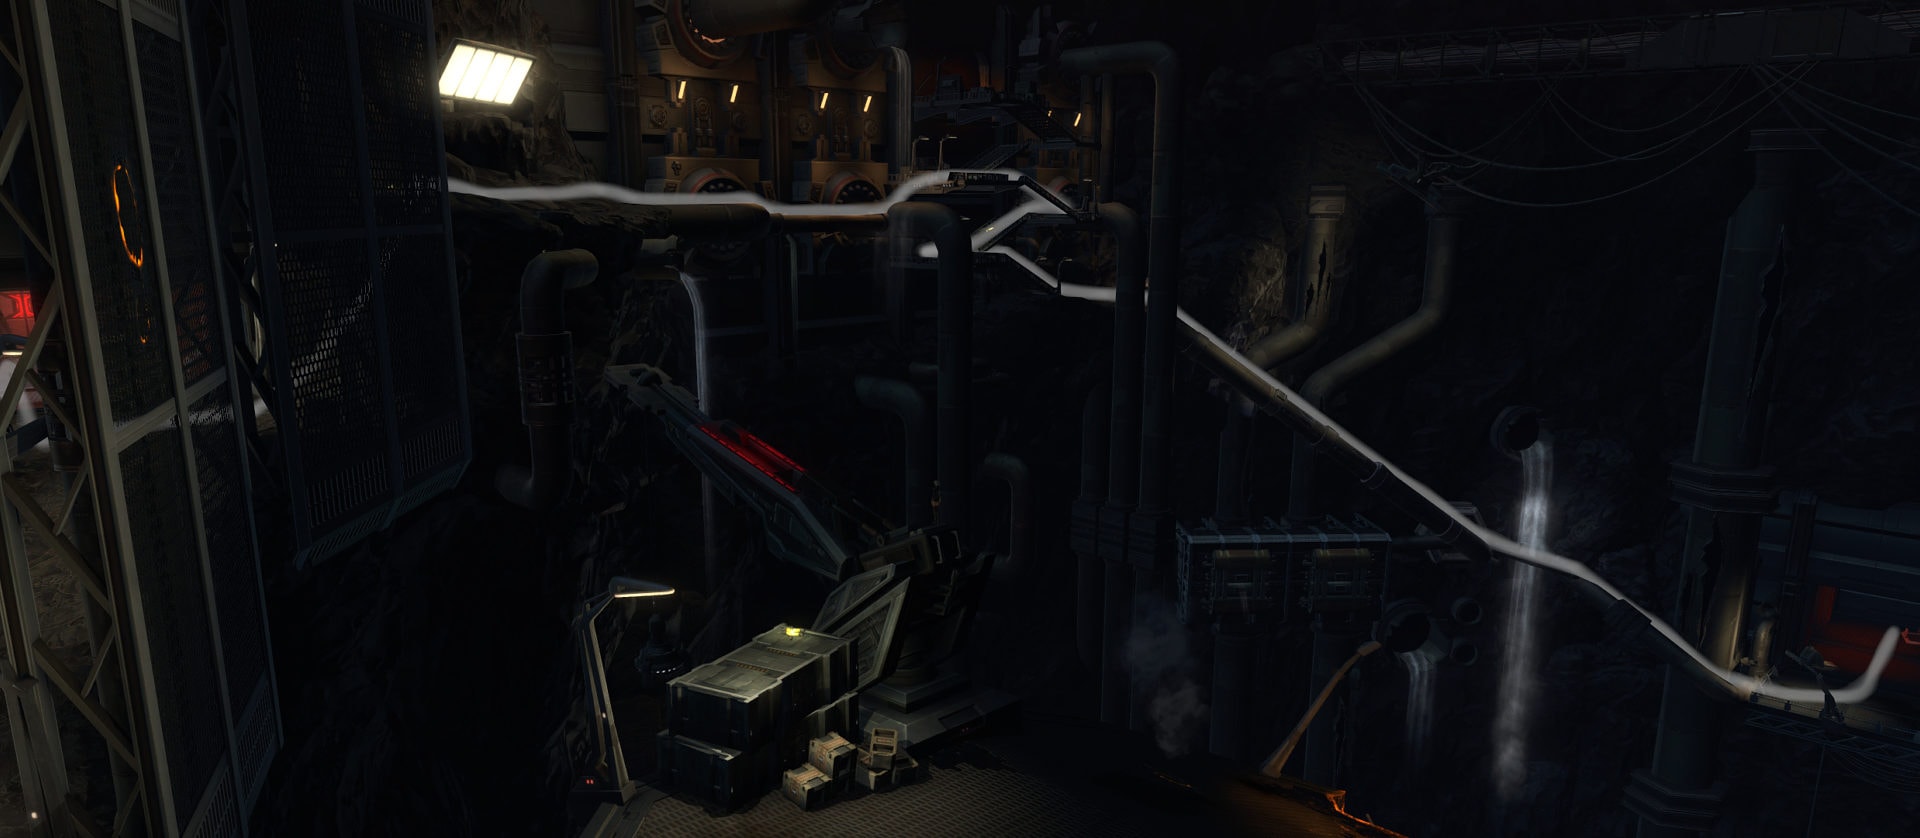
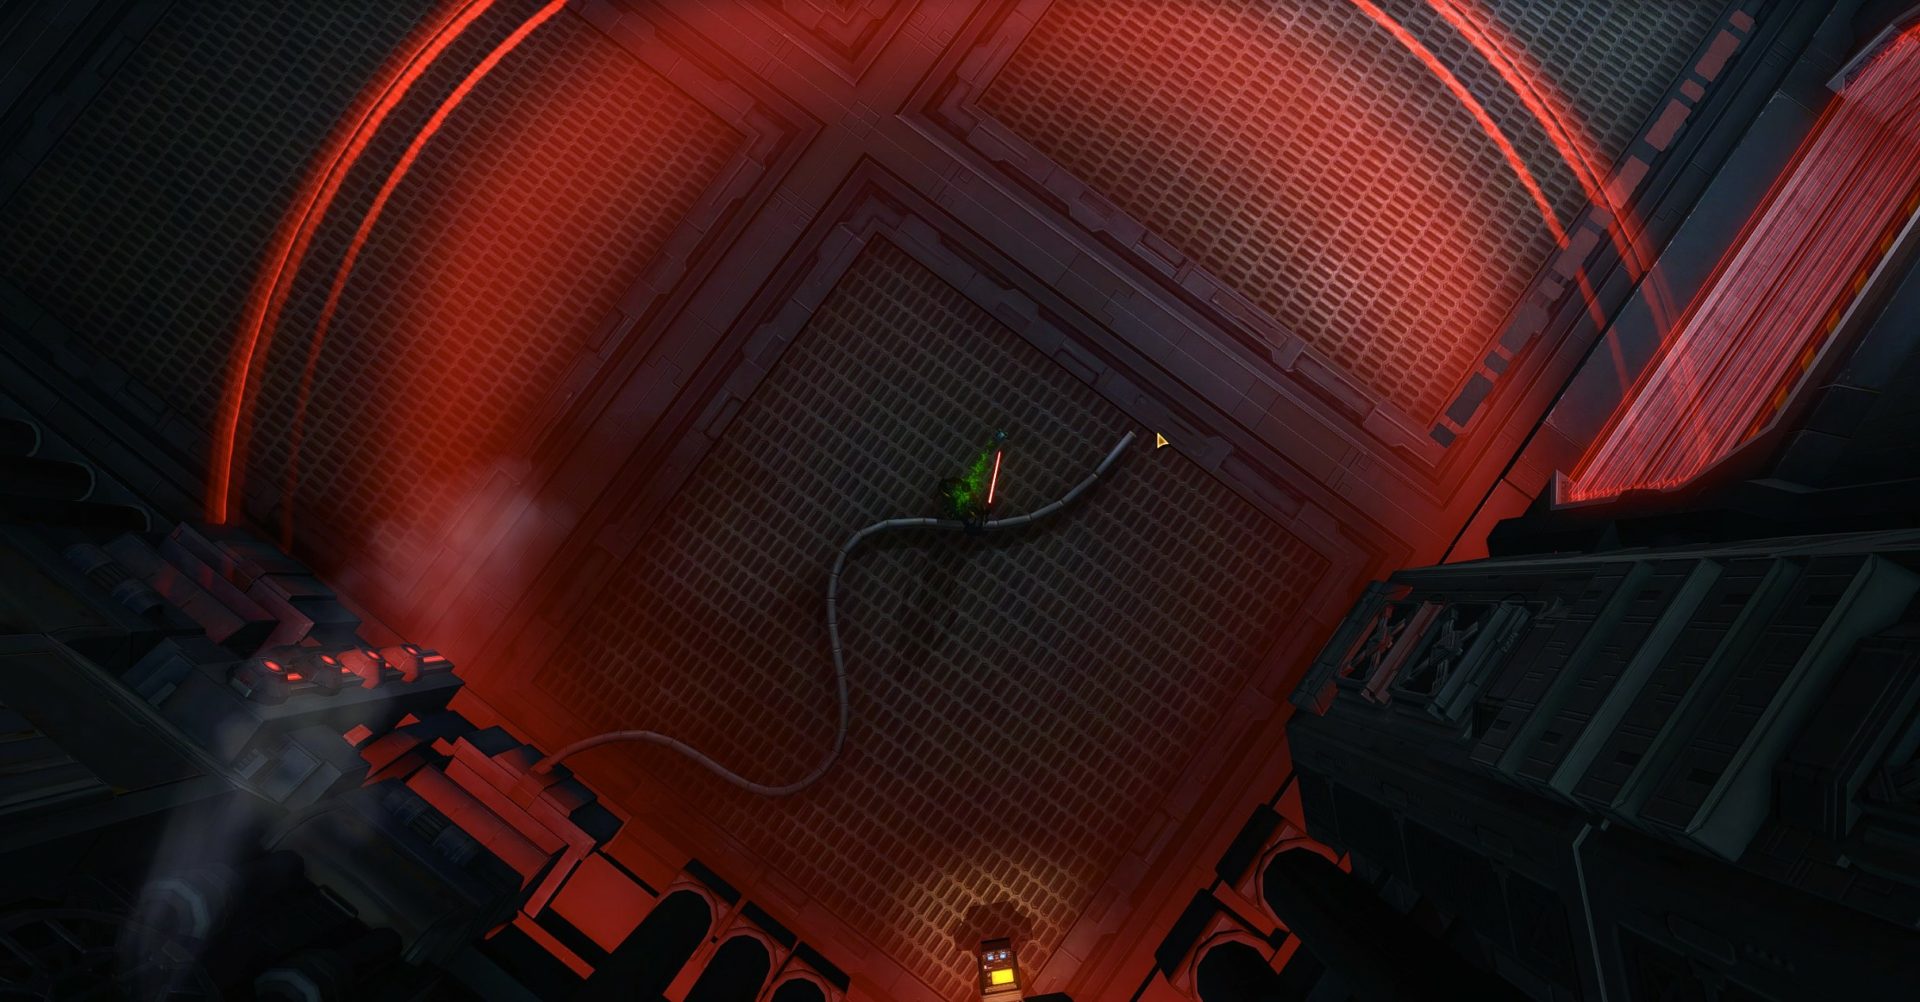
After fighting off the set of adds, you’ll find yourself at a fork in the road. If you go right, you’ll find yourself at a dead end. You actually want to jump onto the pipe.
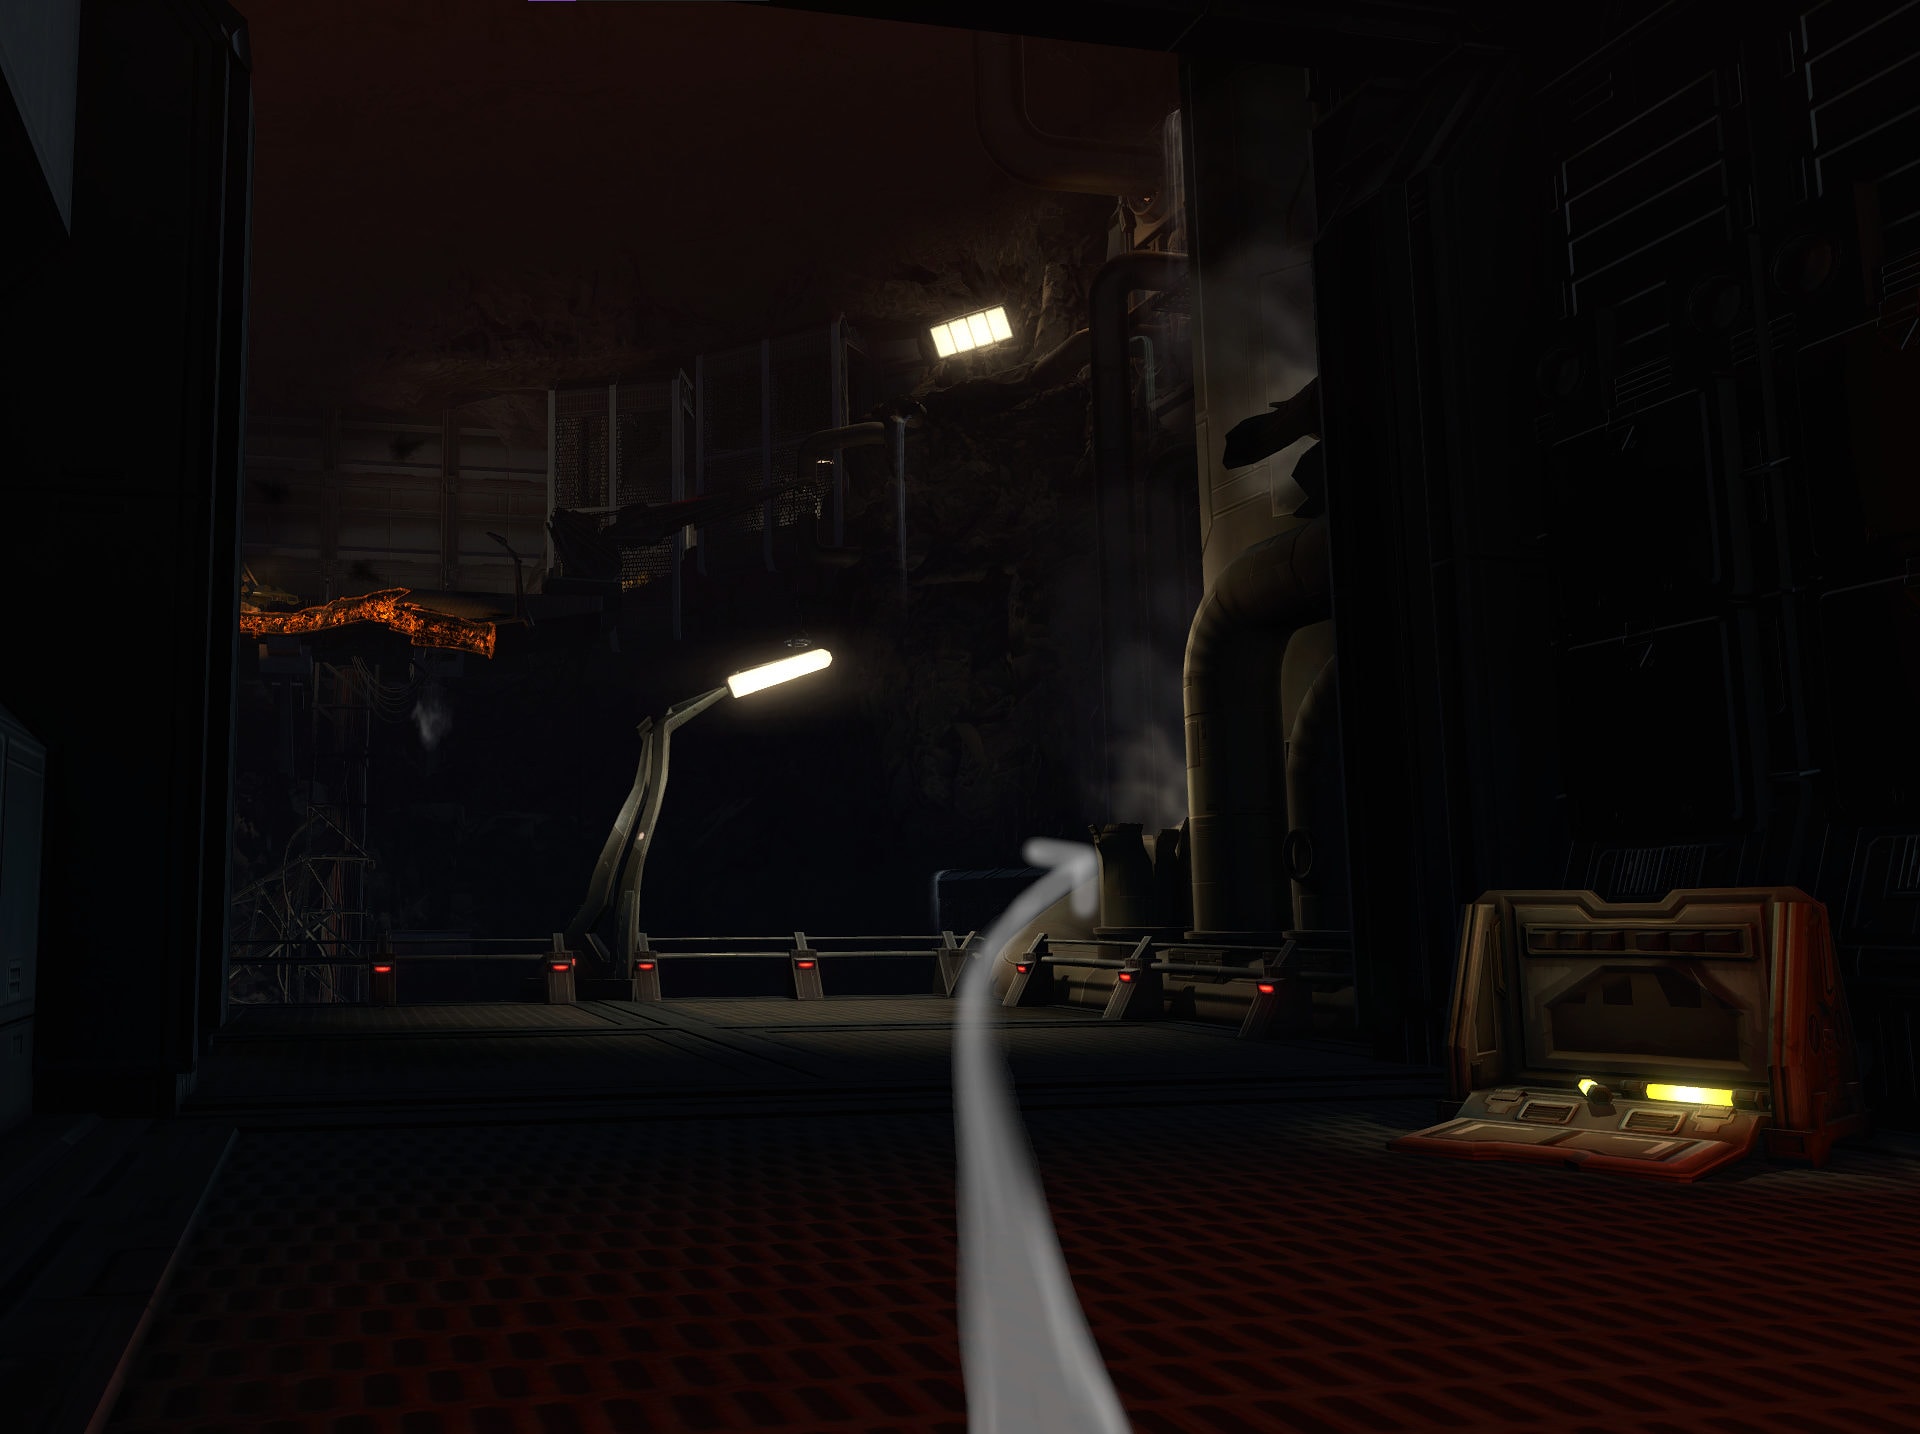
You actually want to walk up the pipe which will be right behind the group of trash.
After you make it down, you’ll have to fend off a bit more trash and arrive at the Intake Access Causeway, which contains a mini-puzzle with floor fire and shield walls.
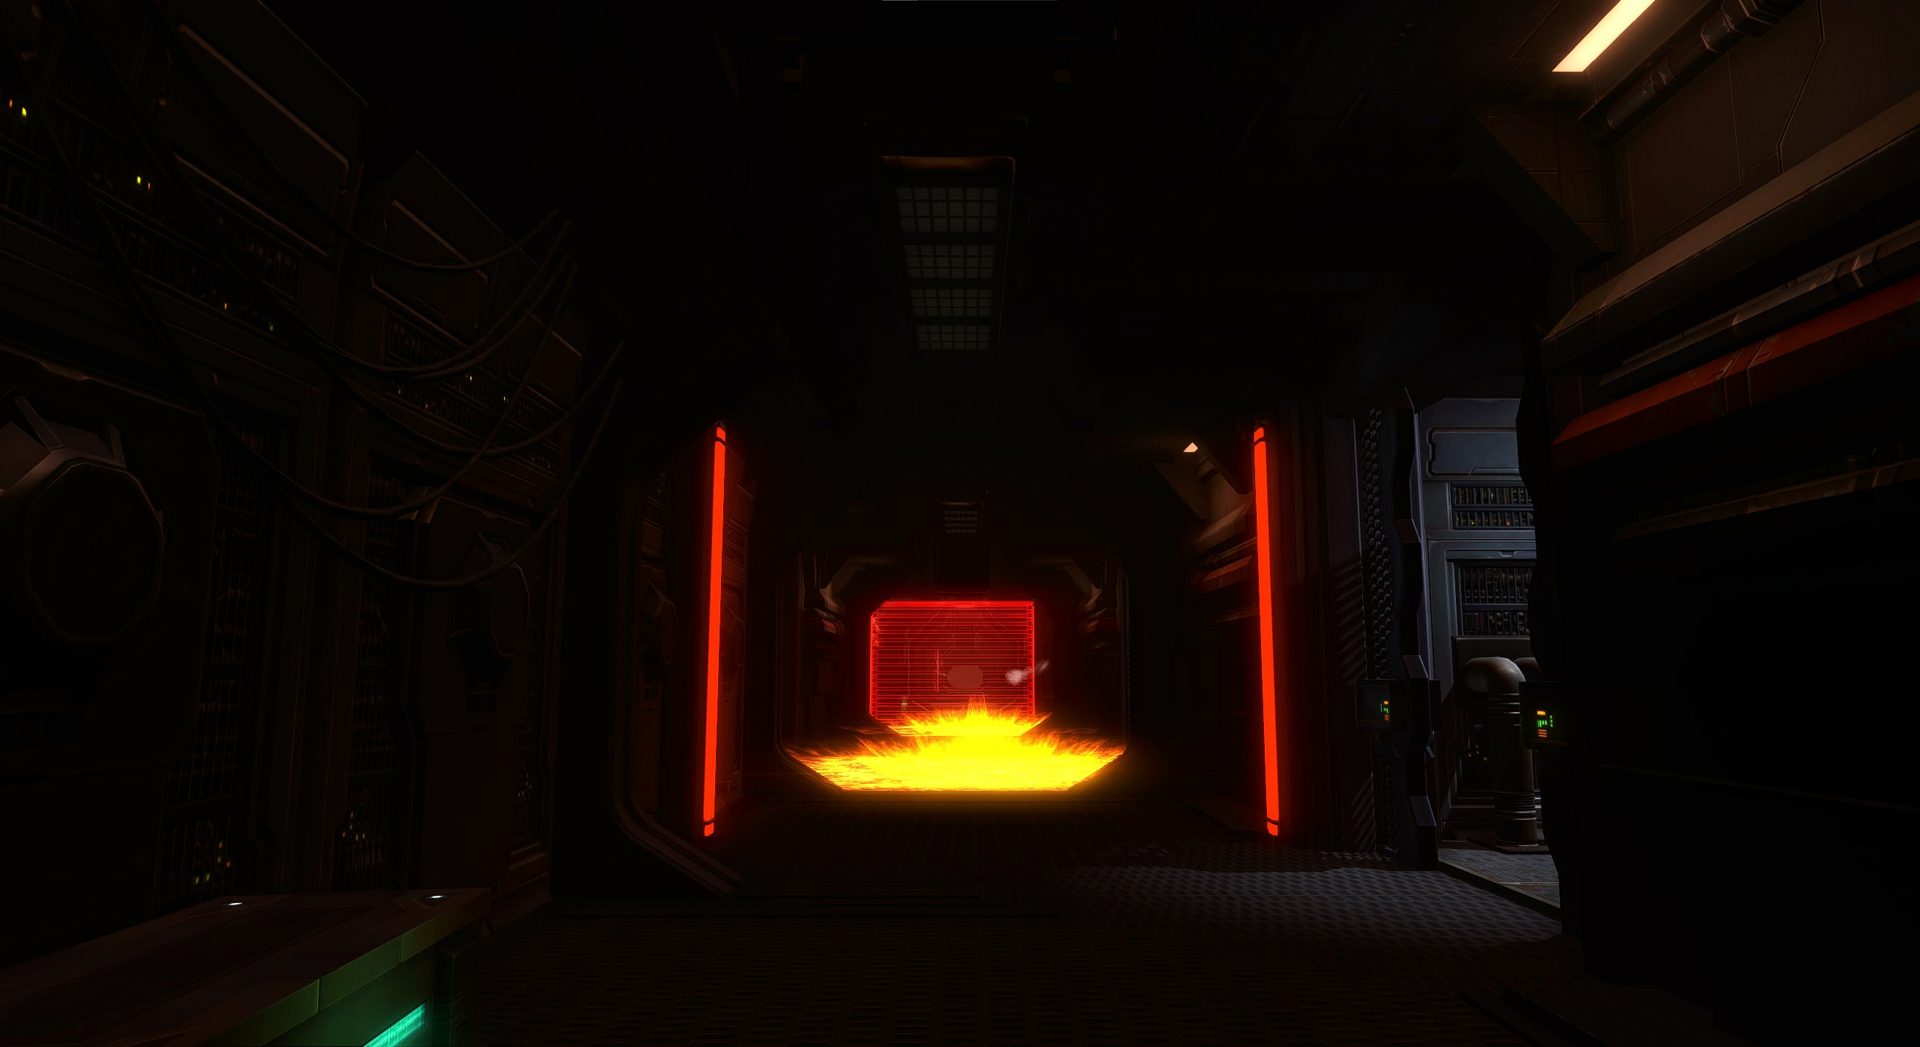
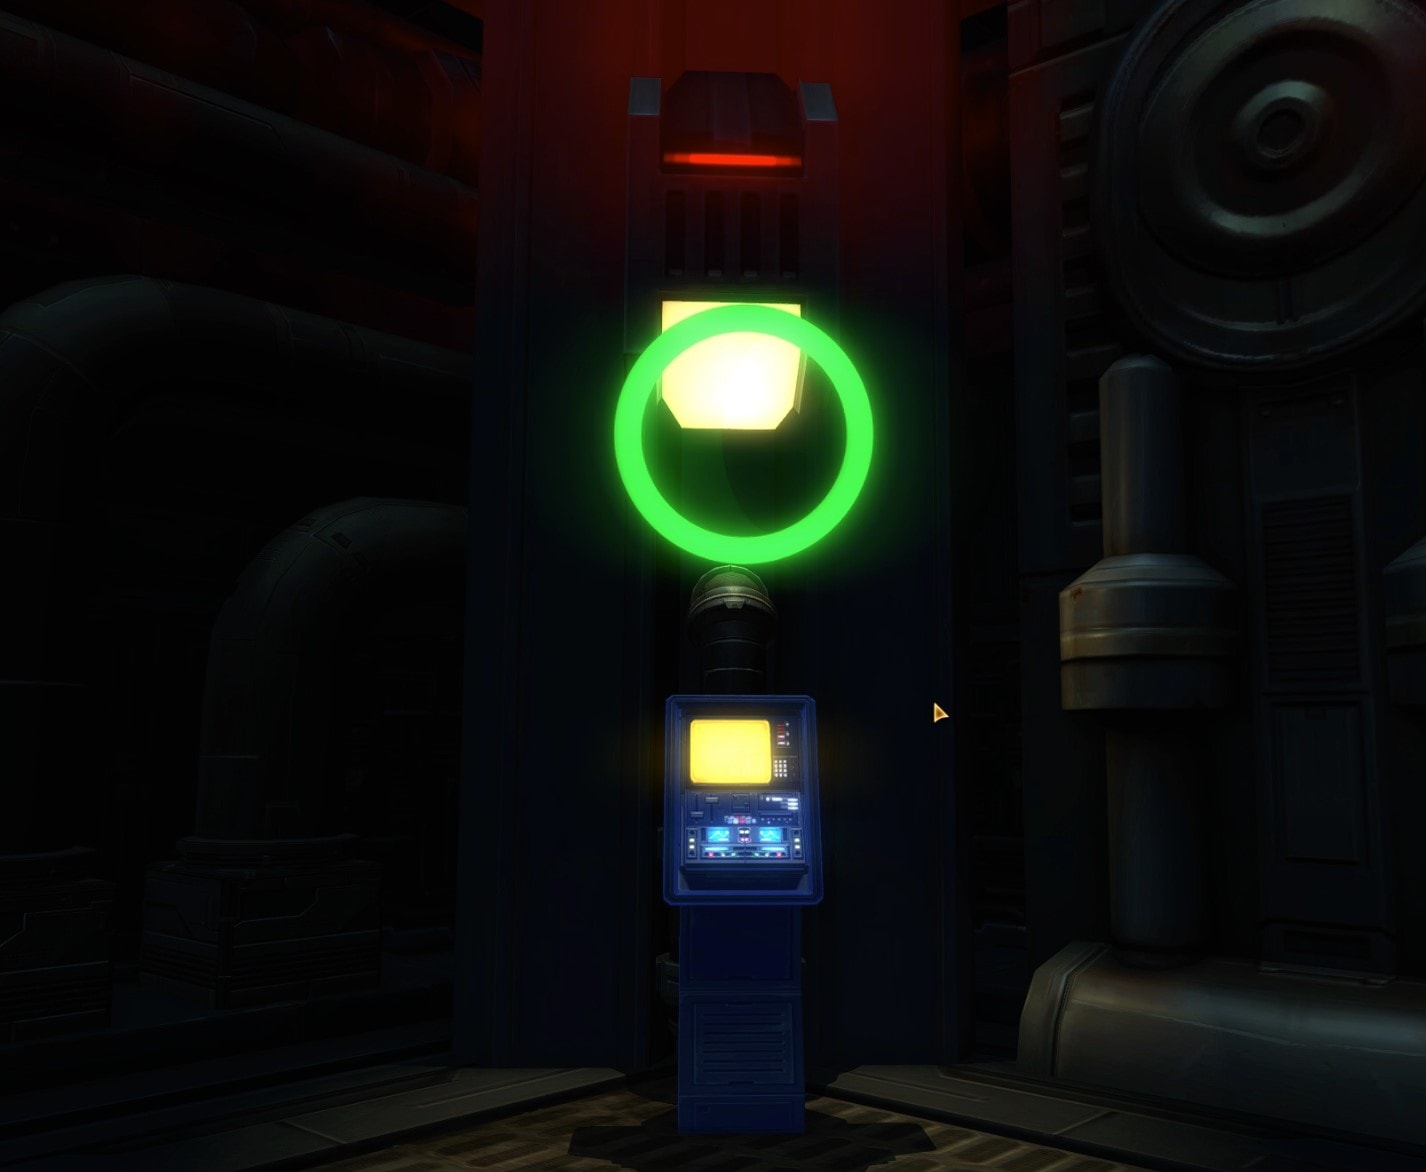
On the sides of the hallway, you’ll come across some buttons to click.
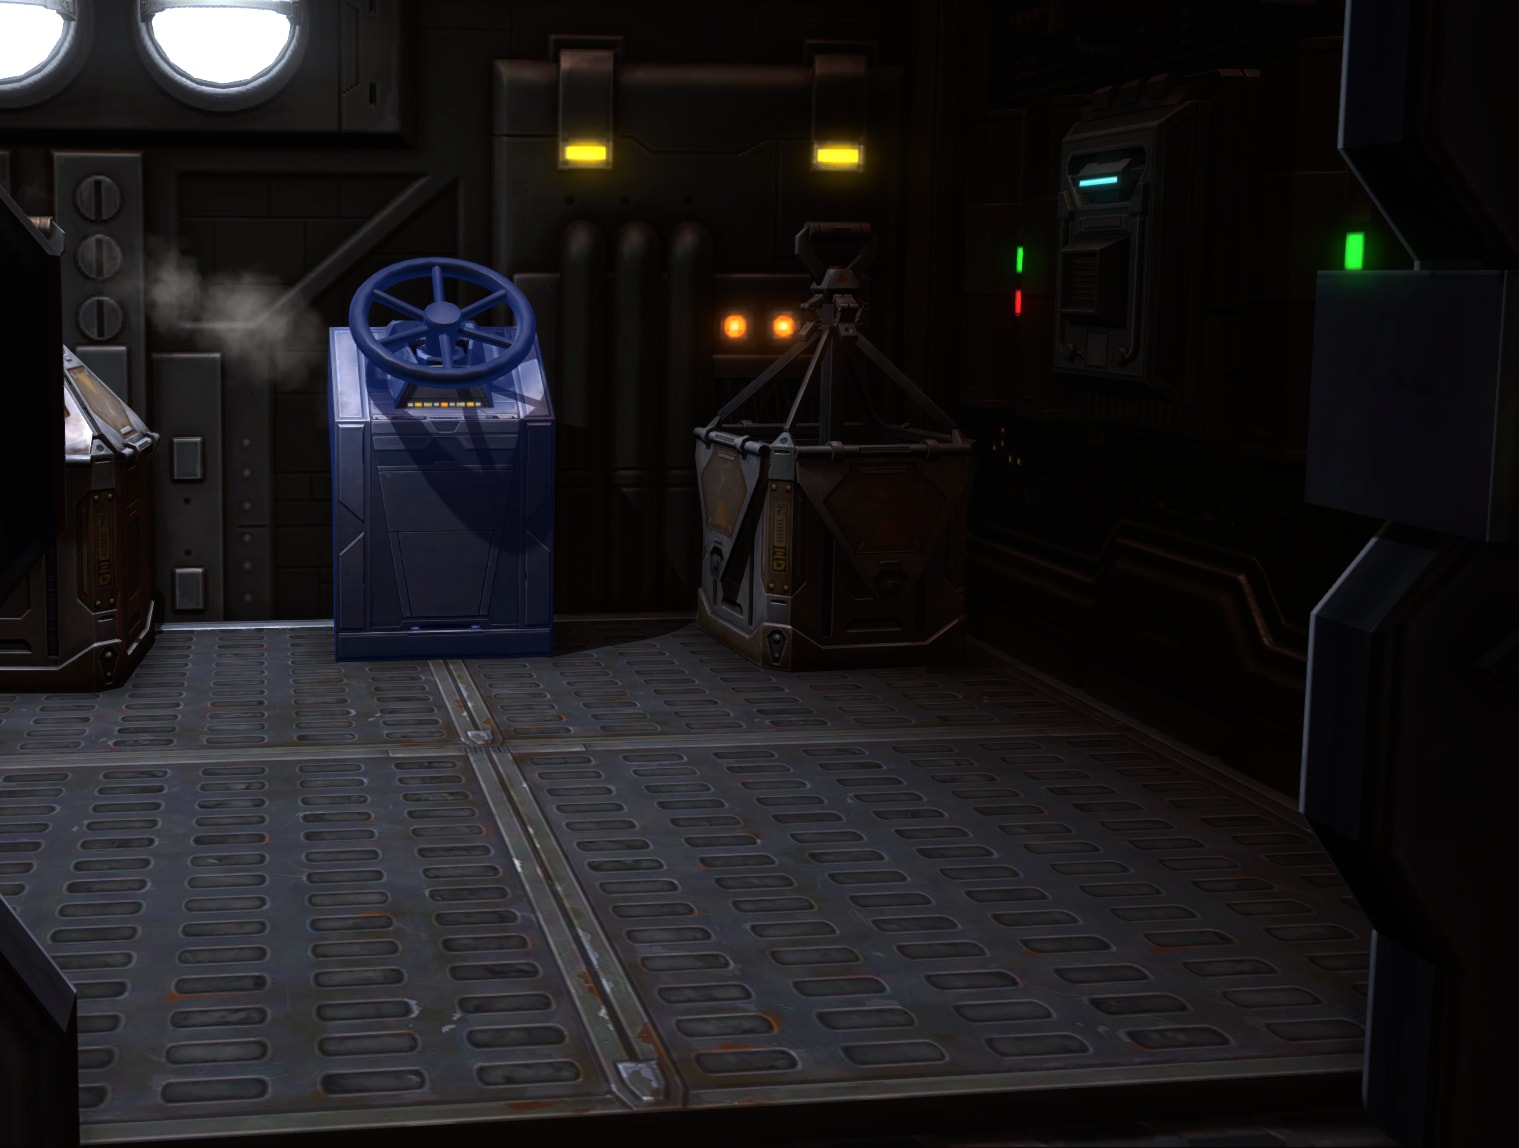
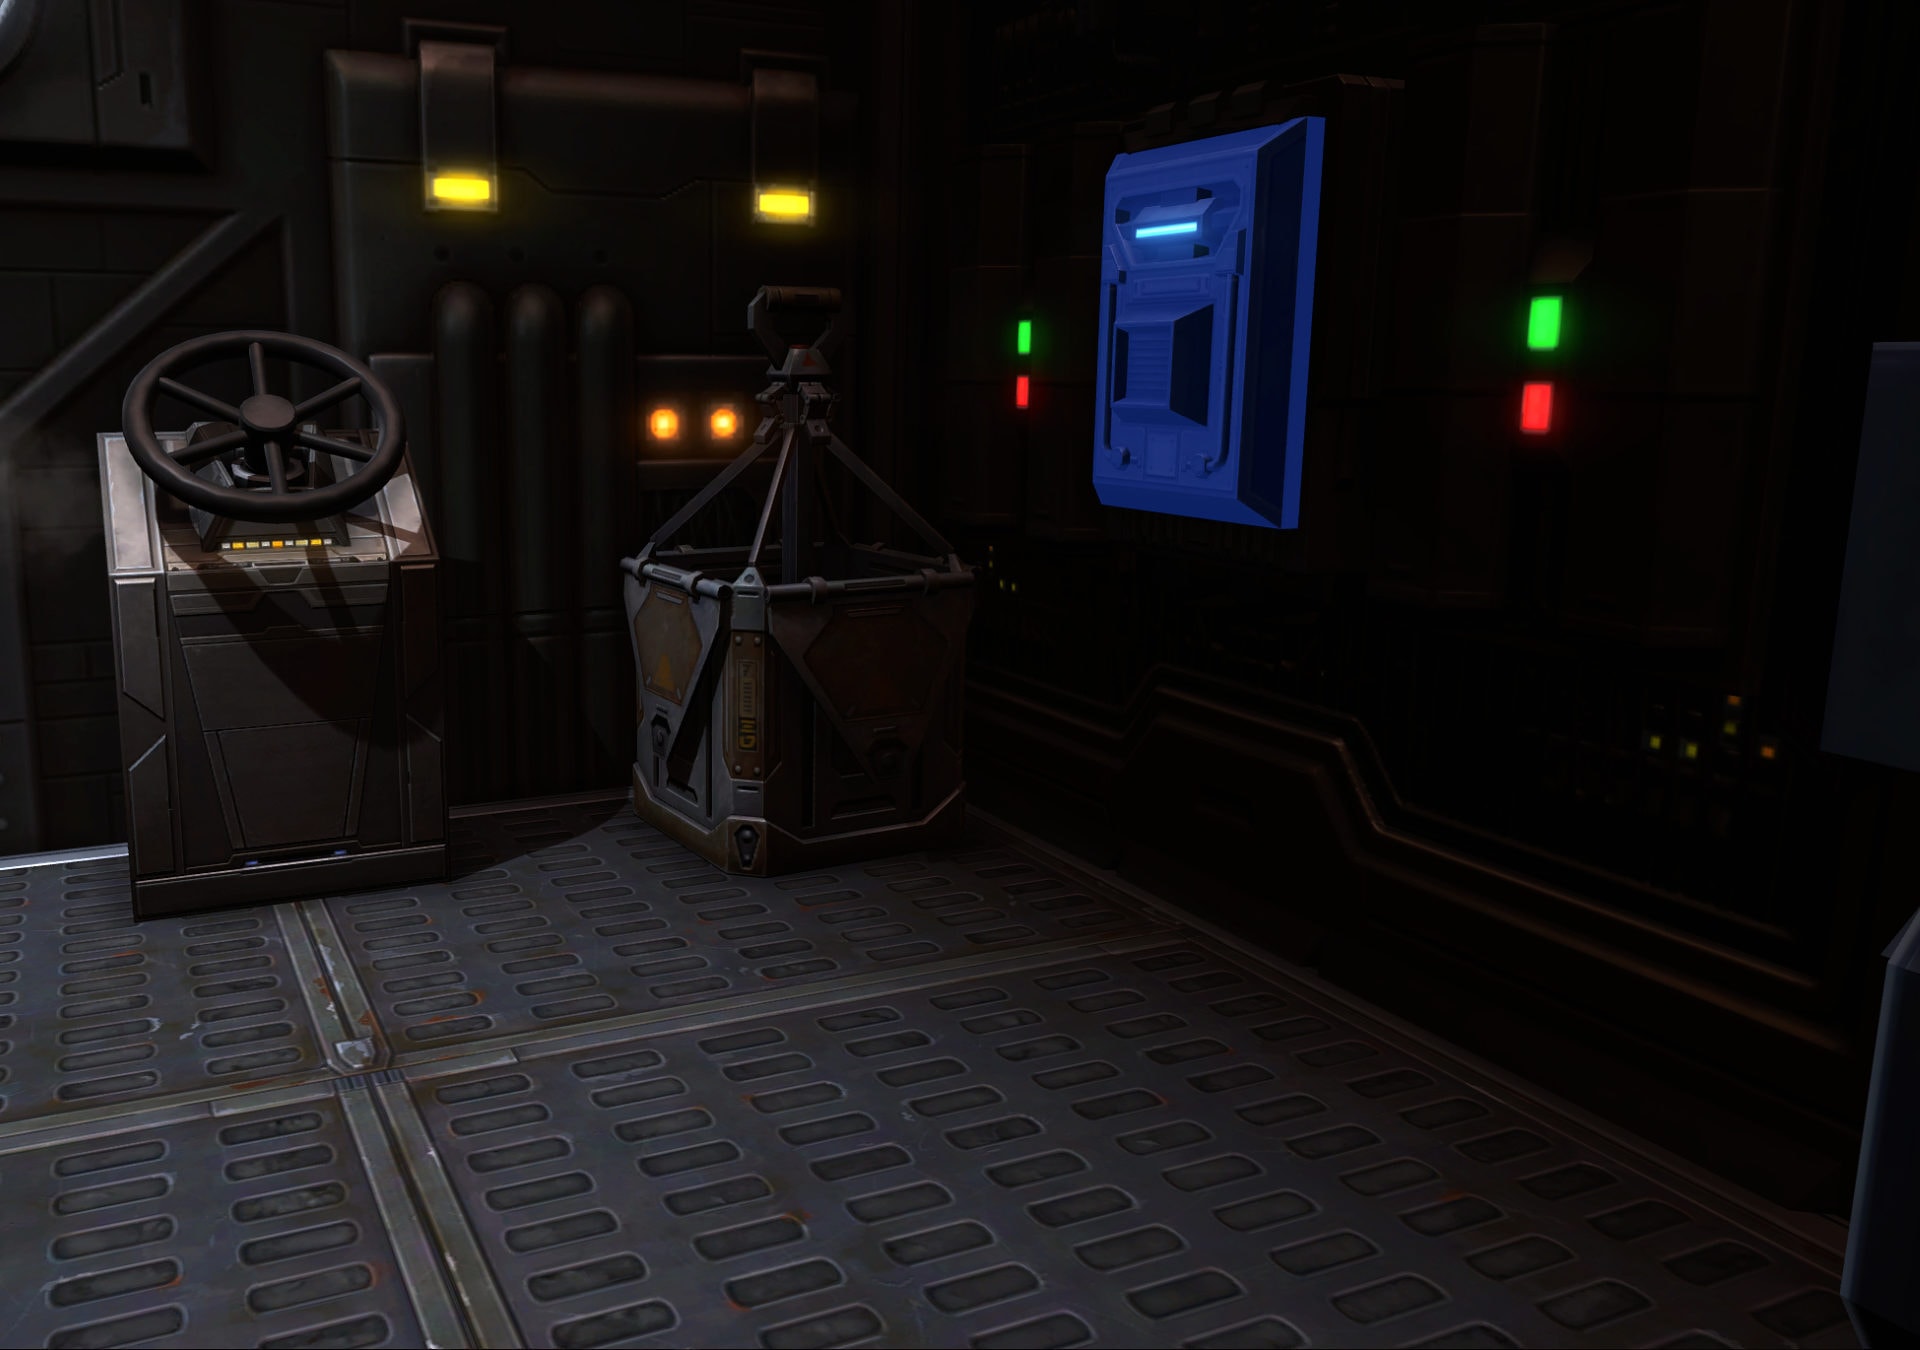
The Thermal Regulator Valves change fire vents to appear in the next section and make the nearby Security Field Switch clickable. The Security Field Switches lower the red shields.

After the second Thermal Regulator Valve and Security Field Switch, you may catch a glimpse of a laser tripwire that will spawn some adds lock everyone into the hallway and lock you out of the doors to the buttons. Everyone needs to defeat those adds to unlock the doors to the buttons.
Once you finally get through, there will be a console you’ll have to click at the end of the hallway to turn off all the security features. After you take out a final bit of trash, you’ll be at the tram right before IP-CPT.
IP-CPT Boss Mechanics and Strategy
The room is a huge part of fighting IP-CPT. There are 3 features to look out for:
Please note that the diagrams in this guide have the entrance oriented towards the bottom, which does not match the map orientation. This was done deliberately since you’ll have the orientation that entrance = south when you walk into the room even though that’s cardinally incorrect.
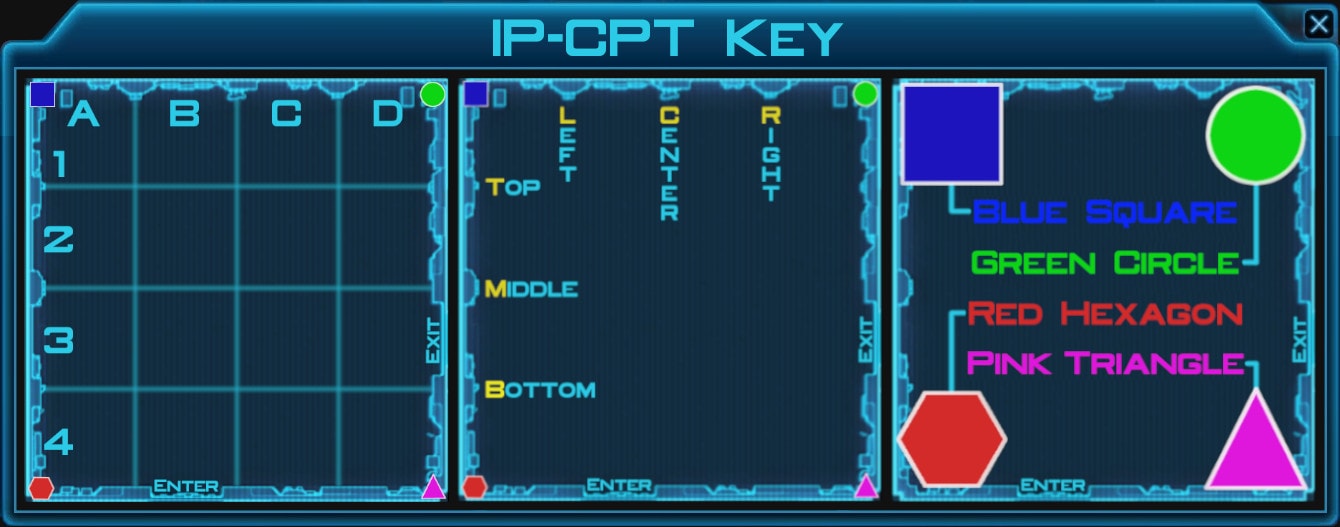
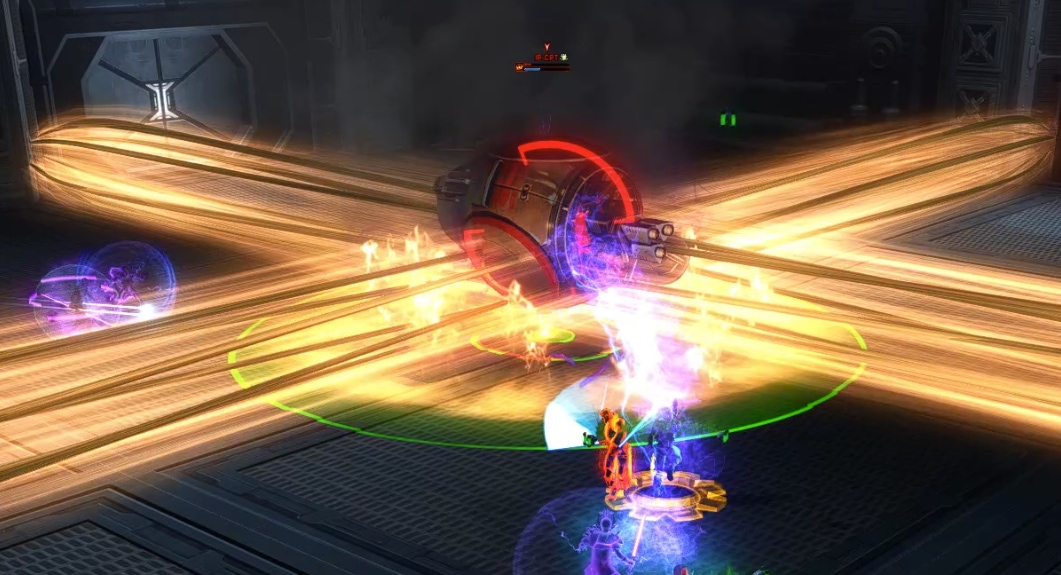
Intrusion ID Units (Consoles and Shielded Droids)
There are 4 consoles sitting at the 4 corners of the room. Each console corresponds to a shape that will appear above it once the consoles become live during the fight.

The purpose of the consoles is to deactivate the shield protecting small droids called Intrusion ID Units. The droids will have a shape floating over their head and clicking the panel associated with that shape will cause the shape over the droid’s head to change.
Once the droid has had 3 shapes clicked off, the droid’s shield will go down, allowing it to be attacked. These droids have almost no health, but if they manage to finish their 30s cast called  Blast Protocol: Mern, they explode and deal a ton of damage to nearby players. The explosion deals more damage to players with the
  Escalating Exposure stacking debuff applied by the floor fire.
Strategy
Assign 1 player to each console before the fight starts. Once the consoles turn on, assigned players should keep clicking consoles until all the shields on the droids are gone. There is no penalty for spam clicking the button and you have to click it too often for it to be worthwhile to walk away from the panel to do something else.
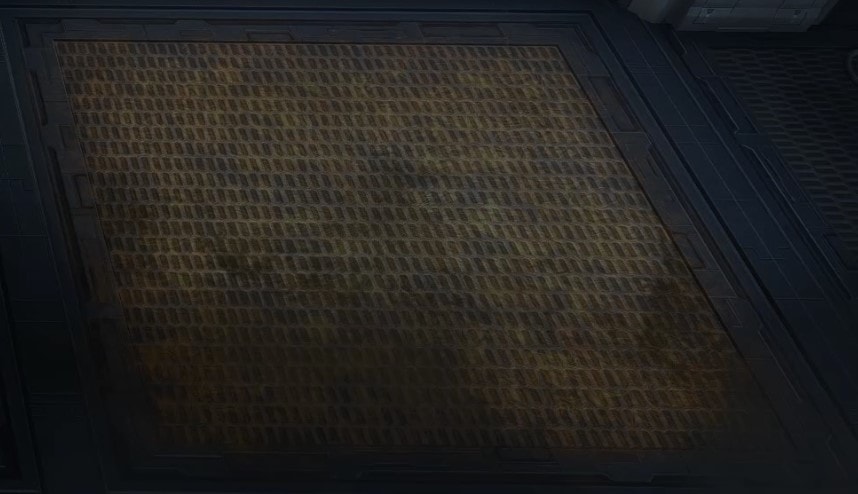
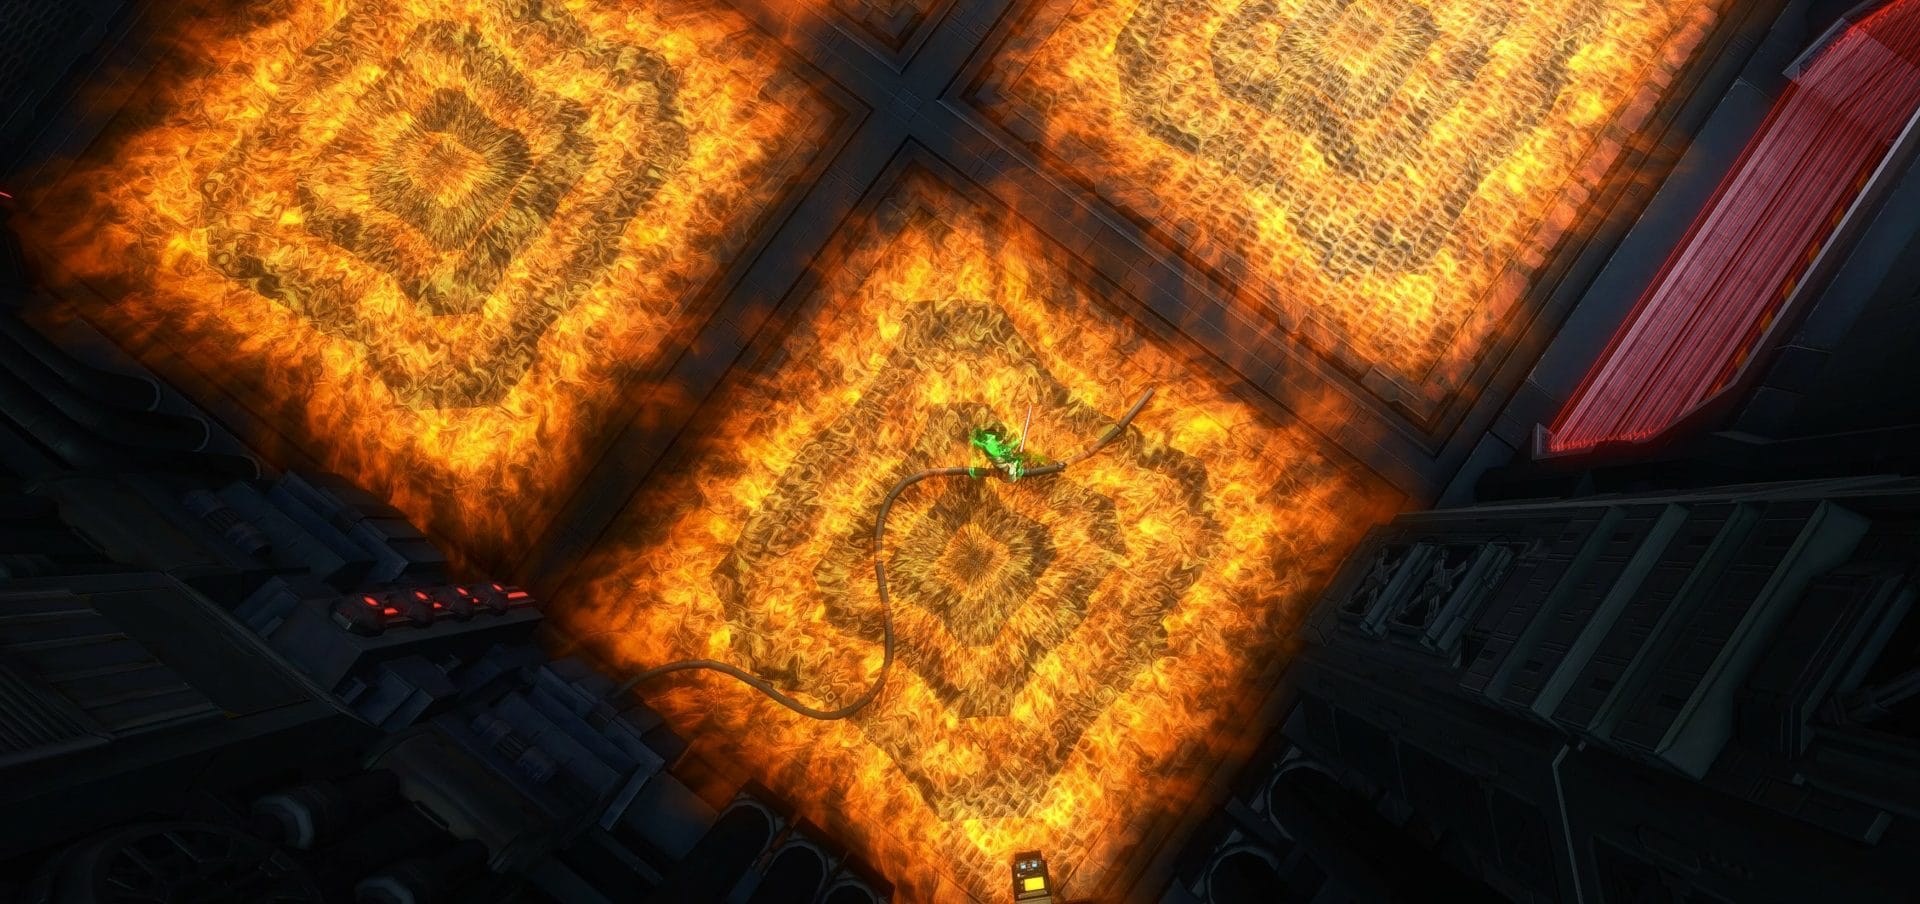
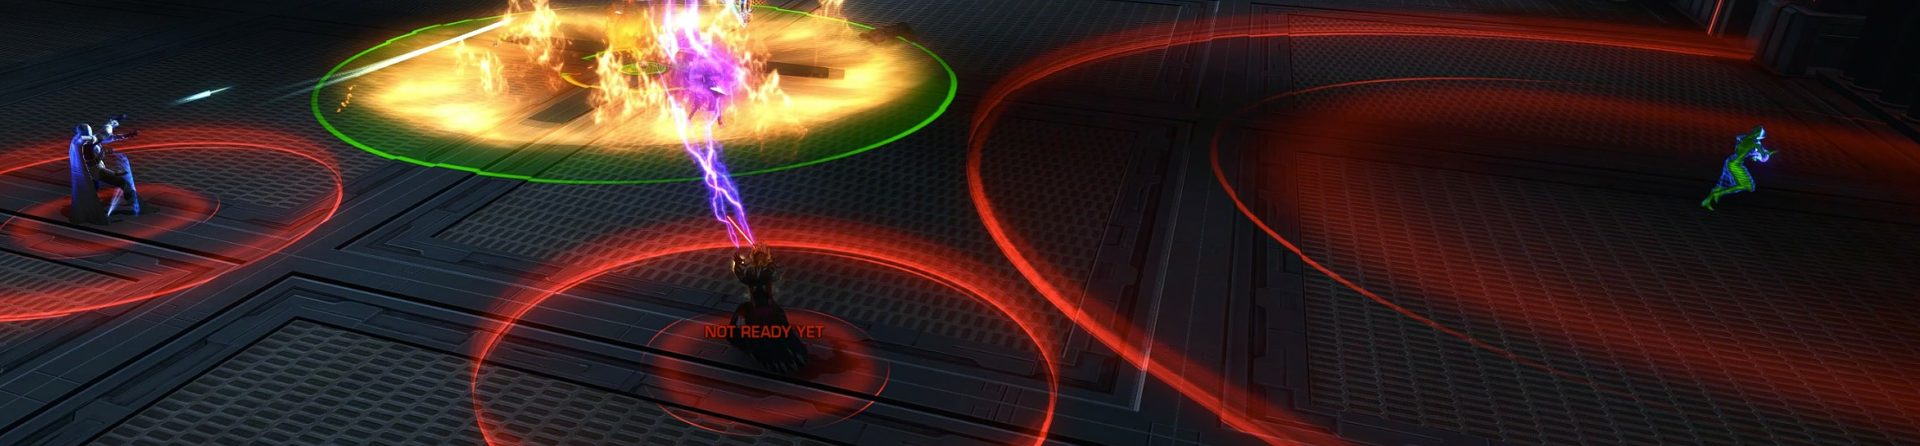
Floor Fire and Wall Laser Patterns
Fire will come out of the square vents on the floor and lasers will be emitted from the walls which will create patterns of danger across the room. The fire is telegraphed by heat coming out of the vent squares while the lasers are telegraphed by orange lines.
There are several phases where fire and/or lasers are present. Each fire or laser pattern across the room is part of a defined pattern sequence unique to the phase. In other words, the pattern of fire and/or lasers is going to change approximately 12 times per phase in fairly quick succession.
In addition to taking damage, standing in the fire will give you a stacking debuff called Escalating Exposure that makes you take more damage from several other attacks in the fight including Elimination Cadence, Modulation Laser (wall laser), and Blast Protocol: Mern (shield droid explosion). This debuff lasts 30s and is not removable.
Strategy
Your goal is to completely avoid the damage from the fire and lasers. You barely have enough time to get to safety if you leave as soon as the telegraphs appear (do not finish your cast).
It’s helpful, but not essential, to memorize the patterns because you can predict where it will be safe to stand next so you have more time to get where you need to go and not need to move as often. If you think you will not make it in time, pop a DCD.
The edge of the flame is the seam of the tile, so you are not safe by straddling multiple tiles, but it is a good idea to stand near the corner of the tile so that you have more time to move if you need to.
 Major and
  Minor Positional Adjustment Grenades (Big and Small Red Circles)
 Major and
  Minor Positional Adjustment Grenades (Big and Small Red Circles)
IP-CPT will periodically throw out 3 red circles with 1 of them being much larger than the other 2. These red circles denote the blast radius of a sticky grenade that is attached to you, so anyone inside the red circles will take damage when the grenades explode.
Strategy
Your goal is to minimize the number of players hit by each grenade, and that minimum is 1 per grenade (only the person it’s stuck to should be getting hit). If you think or know you will get hit by a grenade, pop a DCD. The player with the larger red circle should move away from the group, ideally towards an unoccupied corner of the room while everyone else stays closer to the boss.
The players with smaller red circles should move away from other players to the extent that they aren’t out of range of the boss or in the other player’s circle. If an mDPS gets a circle, the rDPS and healers can back up to give them room and the other melee can move to the other side of the boss.
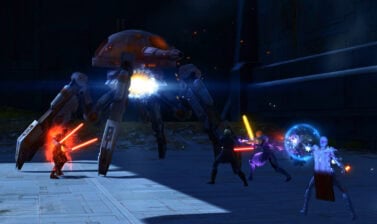
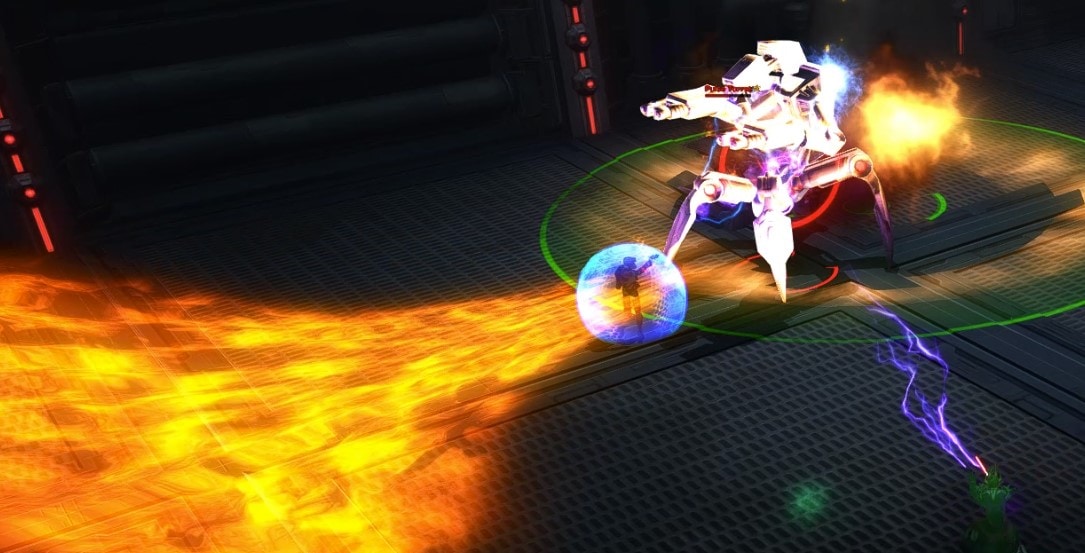
Inferno and Overload Enforcer Droids (Big Adds)

There are 2 big droid adds that will sometimes spawn while the panels are being clicked. The Enforcer Droids look and function the same but come in 2 different flavors: Inferno and Overload.
Overload Enforcers cast  Overload Protocol which applies a cleansable DoT called Conductive Plasma and stacking debuff called
  Overload Intensification, which makes you take more damage from Overload Protocol. Overload Enforcers.
Inferno Enforcers cast  Inferno Protocol, which applies a cleansable DoT called Slag Residue and a stacking debuff called
  Inferno Intensification that makes you take more damage from Inferno Protocol.
Strategy
Stack the droids up, preferably on top of a Pulse Turret, and focus them down. The Overload Droid deals more damage, so it’s better to prioritize that one first, but it doesn’t matter too much. Only the person with aggro should be standing in front of that Enforcer droid.
If your group is taking a lot of damage, you may want to incorporate a “tank” swap on the droids as you build stacks. Make sure to face them away from each other so no one is getting cleaved by both and if you have aggro of one, use a DCD. DPS need to remember to switch back to defeat the Intrusion ID Units when their shield goes down.
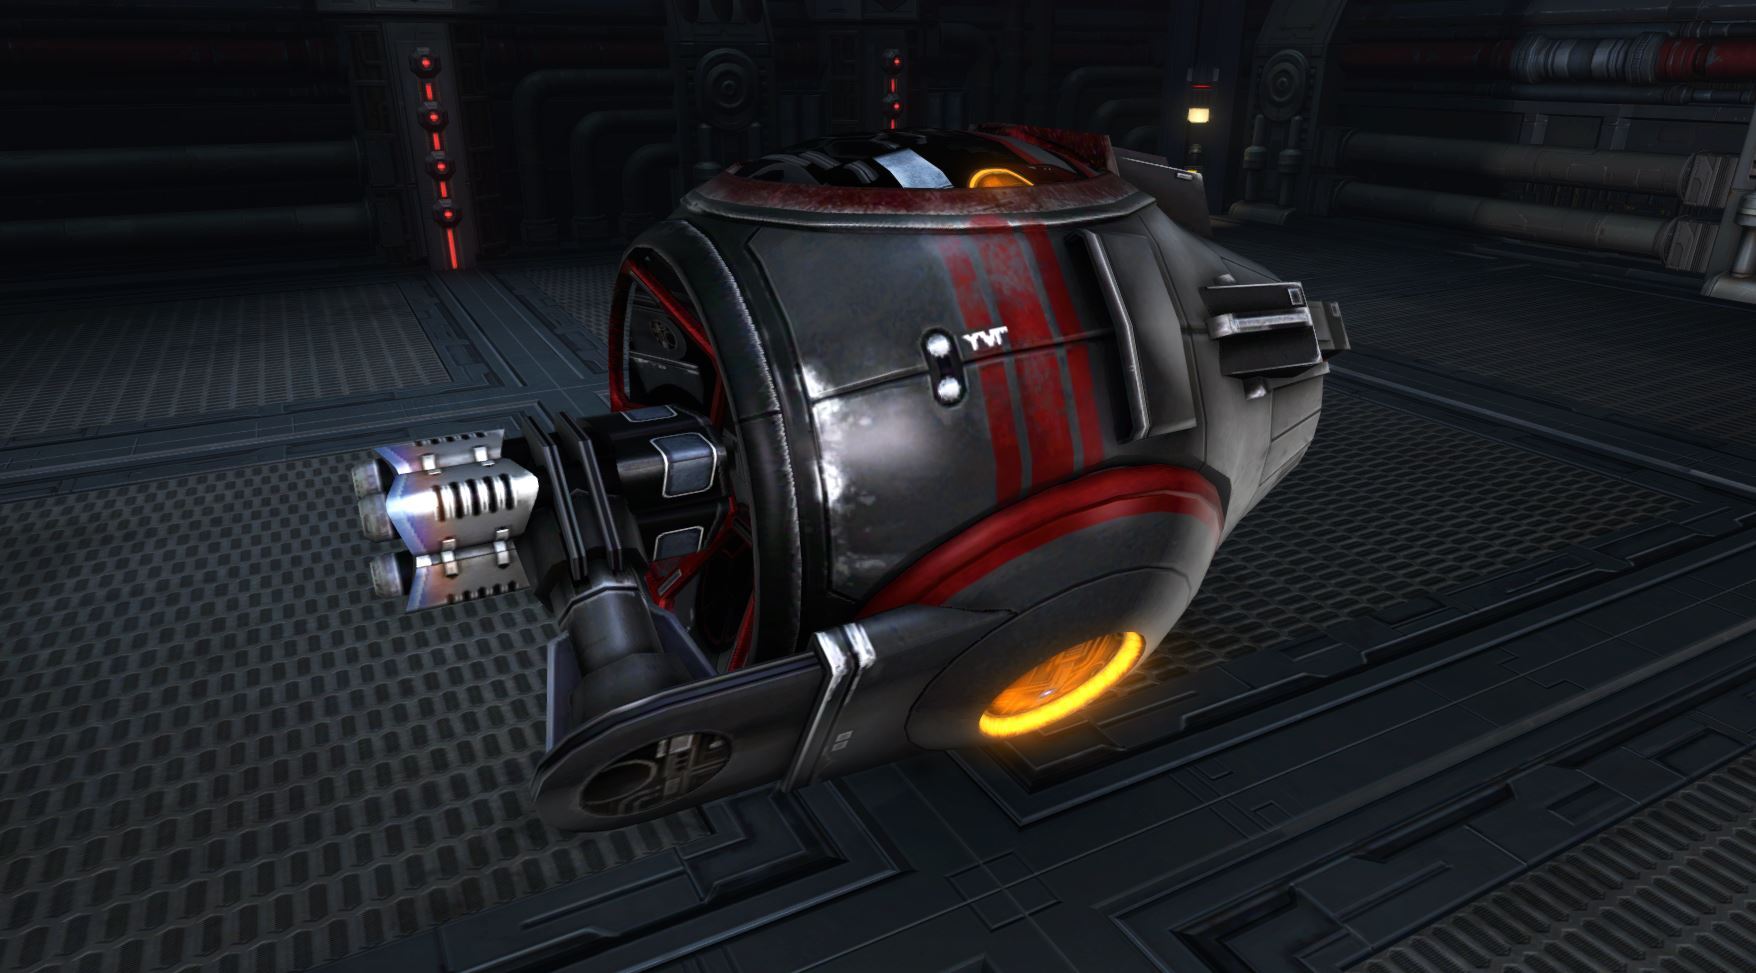
Pulse Turrets (Turret Adds)

These adds spawn alongside the Intrusion ID Units and larger Enforcer droid adds. They don’t do anything special and are basically just there to give the players not assigned to panels something to do.
Strategy
These are the lowest-priority enemy whenever they’re out. Since they don’t have a whole lot of health and there are a bunch of them, it’s beneficial to focus a different turret as someone else.
 Disproportionate Intrusion Response (Burn Phase)
 Disproportionate Intrusion Response (Burn Phase)
Once IP-CPT hits 25%, it floats up towards the ceiling until the floor fire and wall laser sequence finishes. Then, it comes back down and begins a 60s cast called Disproportionate Intrusion Response, which will wipe the raid if the boss isn’t defeated before the cast ends. During this burn phase, the fire and laser patterns essentially become random, but that’s the only thing you have to worry about.
Strategy
Make sure you have all of your offensive cooldowns available and pop raid buffs at the start of this phase. If you manage to push to 25% before the floor pattern is finished, you’ll have a bit of time to clean up any leftover turrets from the last add phase.
IP-CPT Phases and Mechanics Order
The IP-CPT boss fight alternates between 2 distinct phases and ends with a burn phase:
- IPC-PT and Hazards to 75%
- Adds and Consoles Round 1
- IP-CPT and Hazards to 50%
- Adds and Consoles Round 2
- IP-CPT and Hazards to 25%
- Disproportionate Intrusion Response Burn Phase
IP-CPT and Hazards Phases
In these phases, your focus is on DPSing IP-CPT while dodging the hazards including Positional Adjustment Grenades (red circles), floor fire, and wall lasers. Each of these phases has a different series of floor fire and wall laser pattern sequences.
In order to accommodate the mDPS, there is typically at least 1 safe tile in the center 4 tiles where IP-CPT is.
Phase 1 – Diagonal then Straight Sweeps
Phase 1 features a sequence of 13 patterns. The first 4 have an L-shape that effectively closes in and then inverts at the halfway point as if it’s moving diagonally through the room, so it’s helpful to be in the middle at least for the first 4.
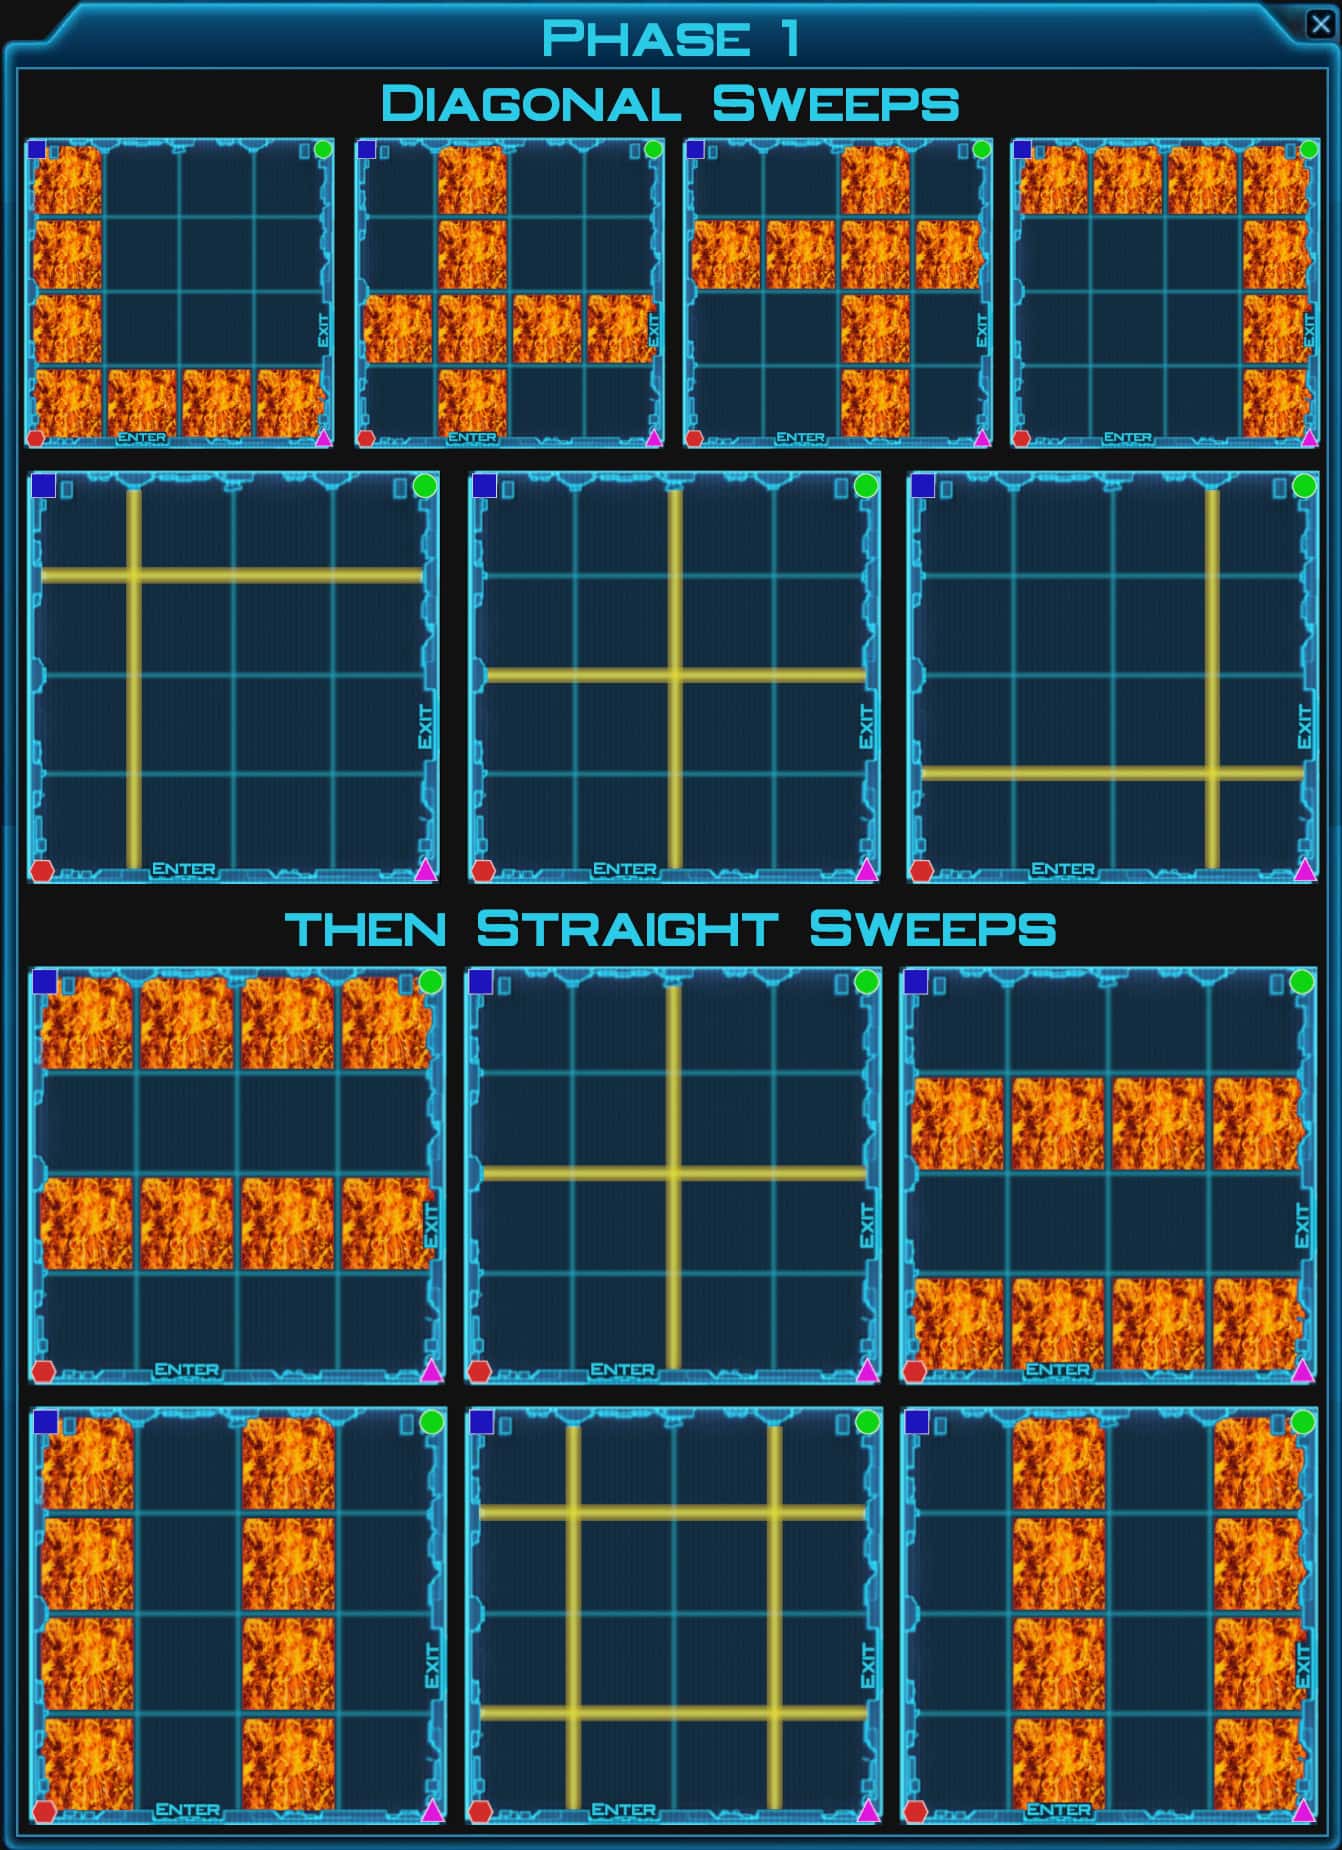
The second half feature straight sweeps across the room first horizontally, then vertically.
Phase 3 – Quadrants then Straight Sweeps
Phase 3 features a sequence of 12 patterns including 4 patterns throughout the first half of the pattern sequence that block off 2 entire quadrants at once. In this part of the phase, it’s most important to be towards the middle because you will not be able to consistently escape a quadrant in time if you’re standing towards the outside.
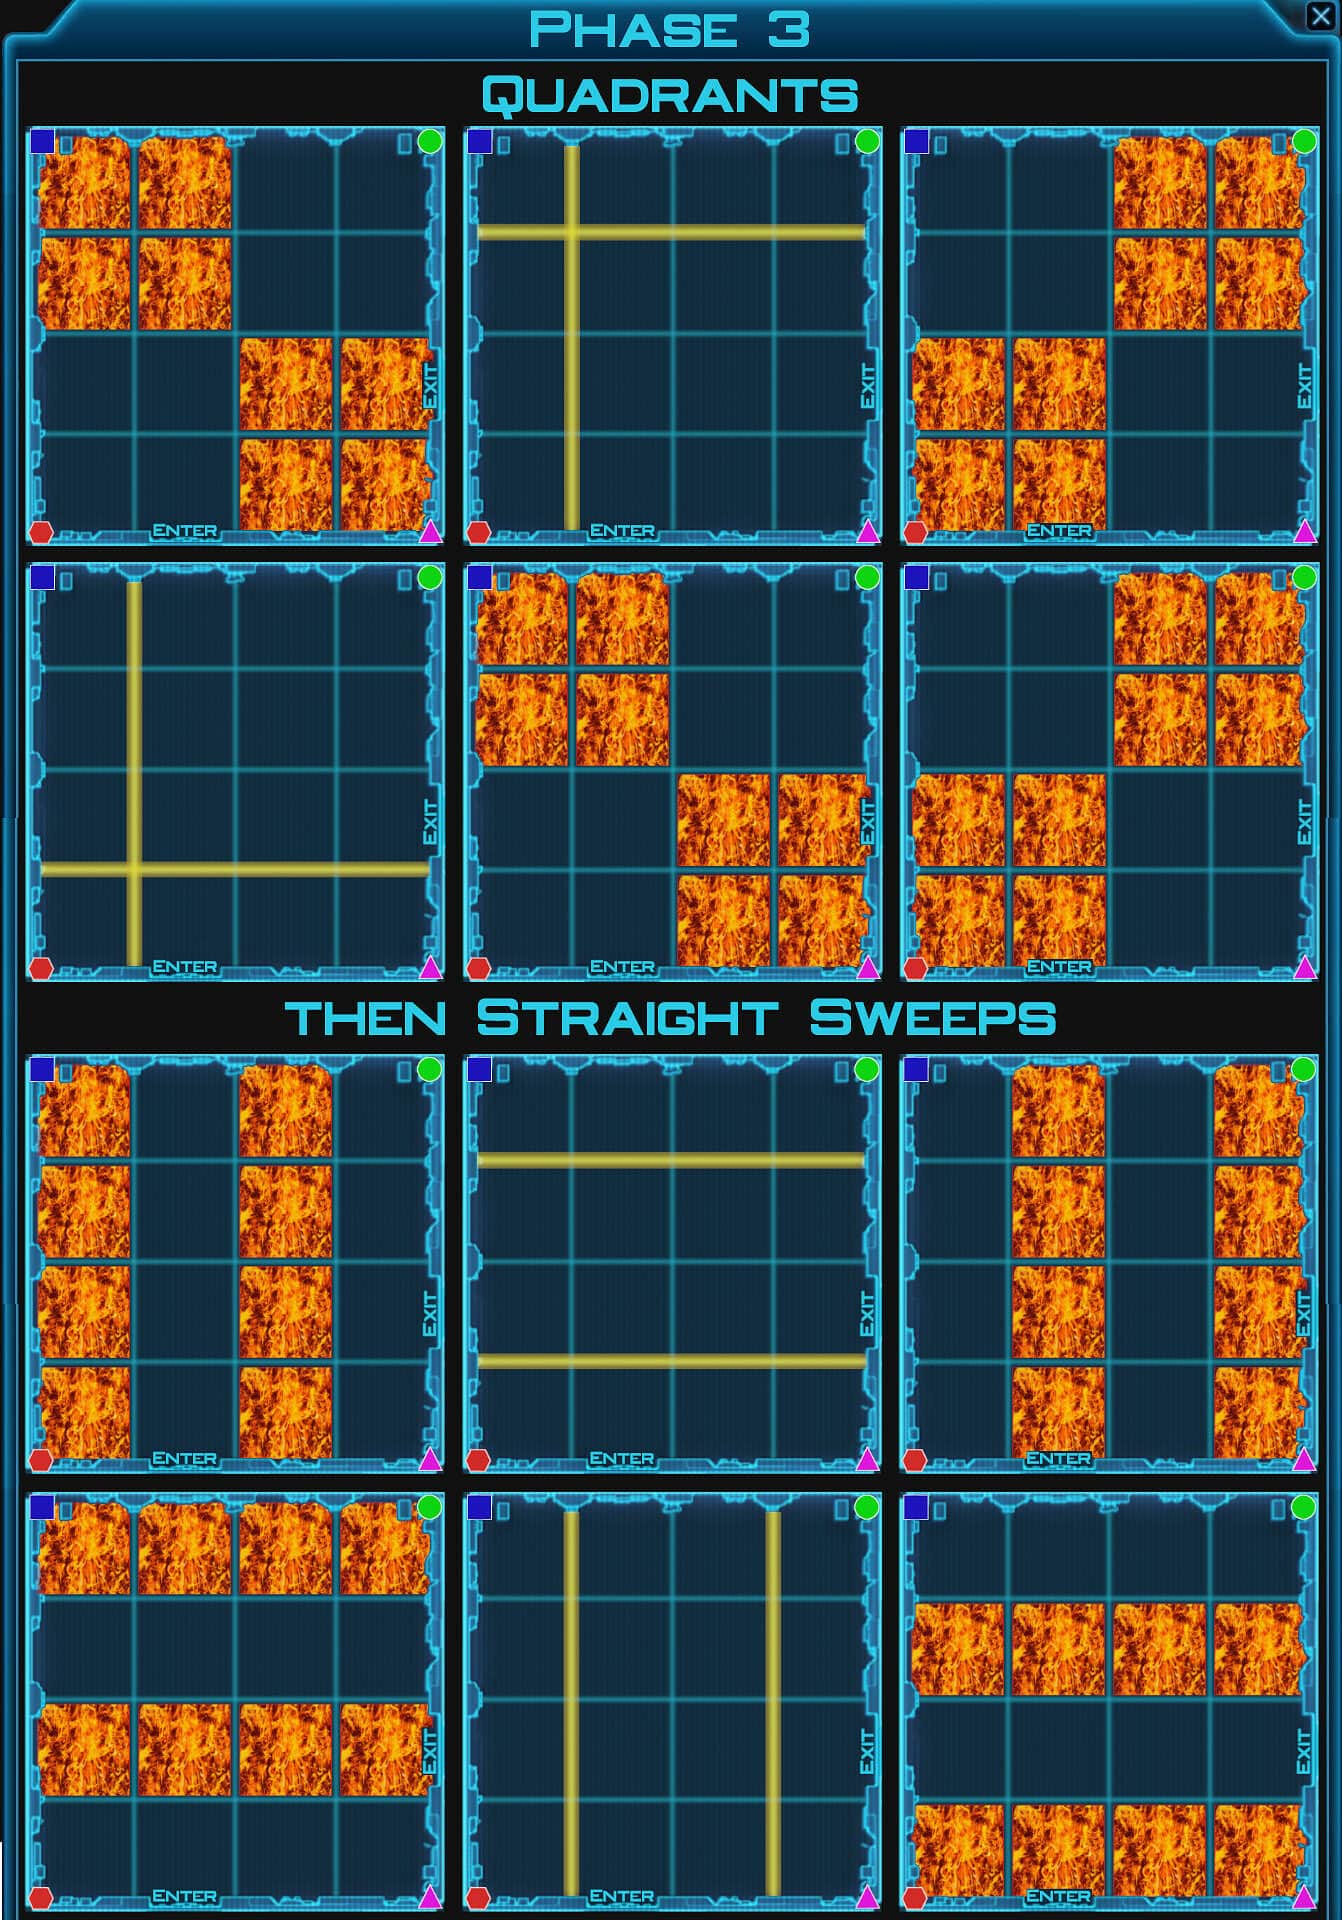
The second half of the Phase 3 pattern is nearly identical to the second half of the phase 1 pattern. The only difference comes from the wall lasers, which are much easier to avoid.
Phase 5 – Checkerboards Galore
Phase 5 also features a sequence of 12 patterns, but sometimes has wall lasers firing at the same time as floor fire instead of being intermixed.
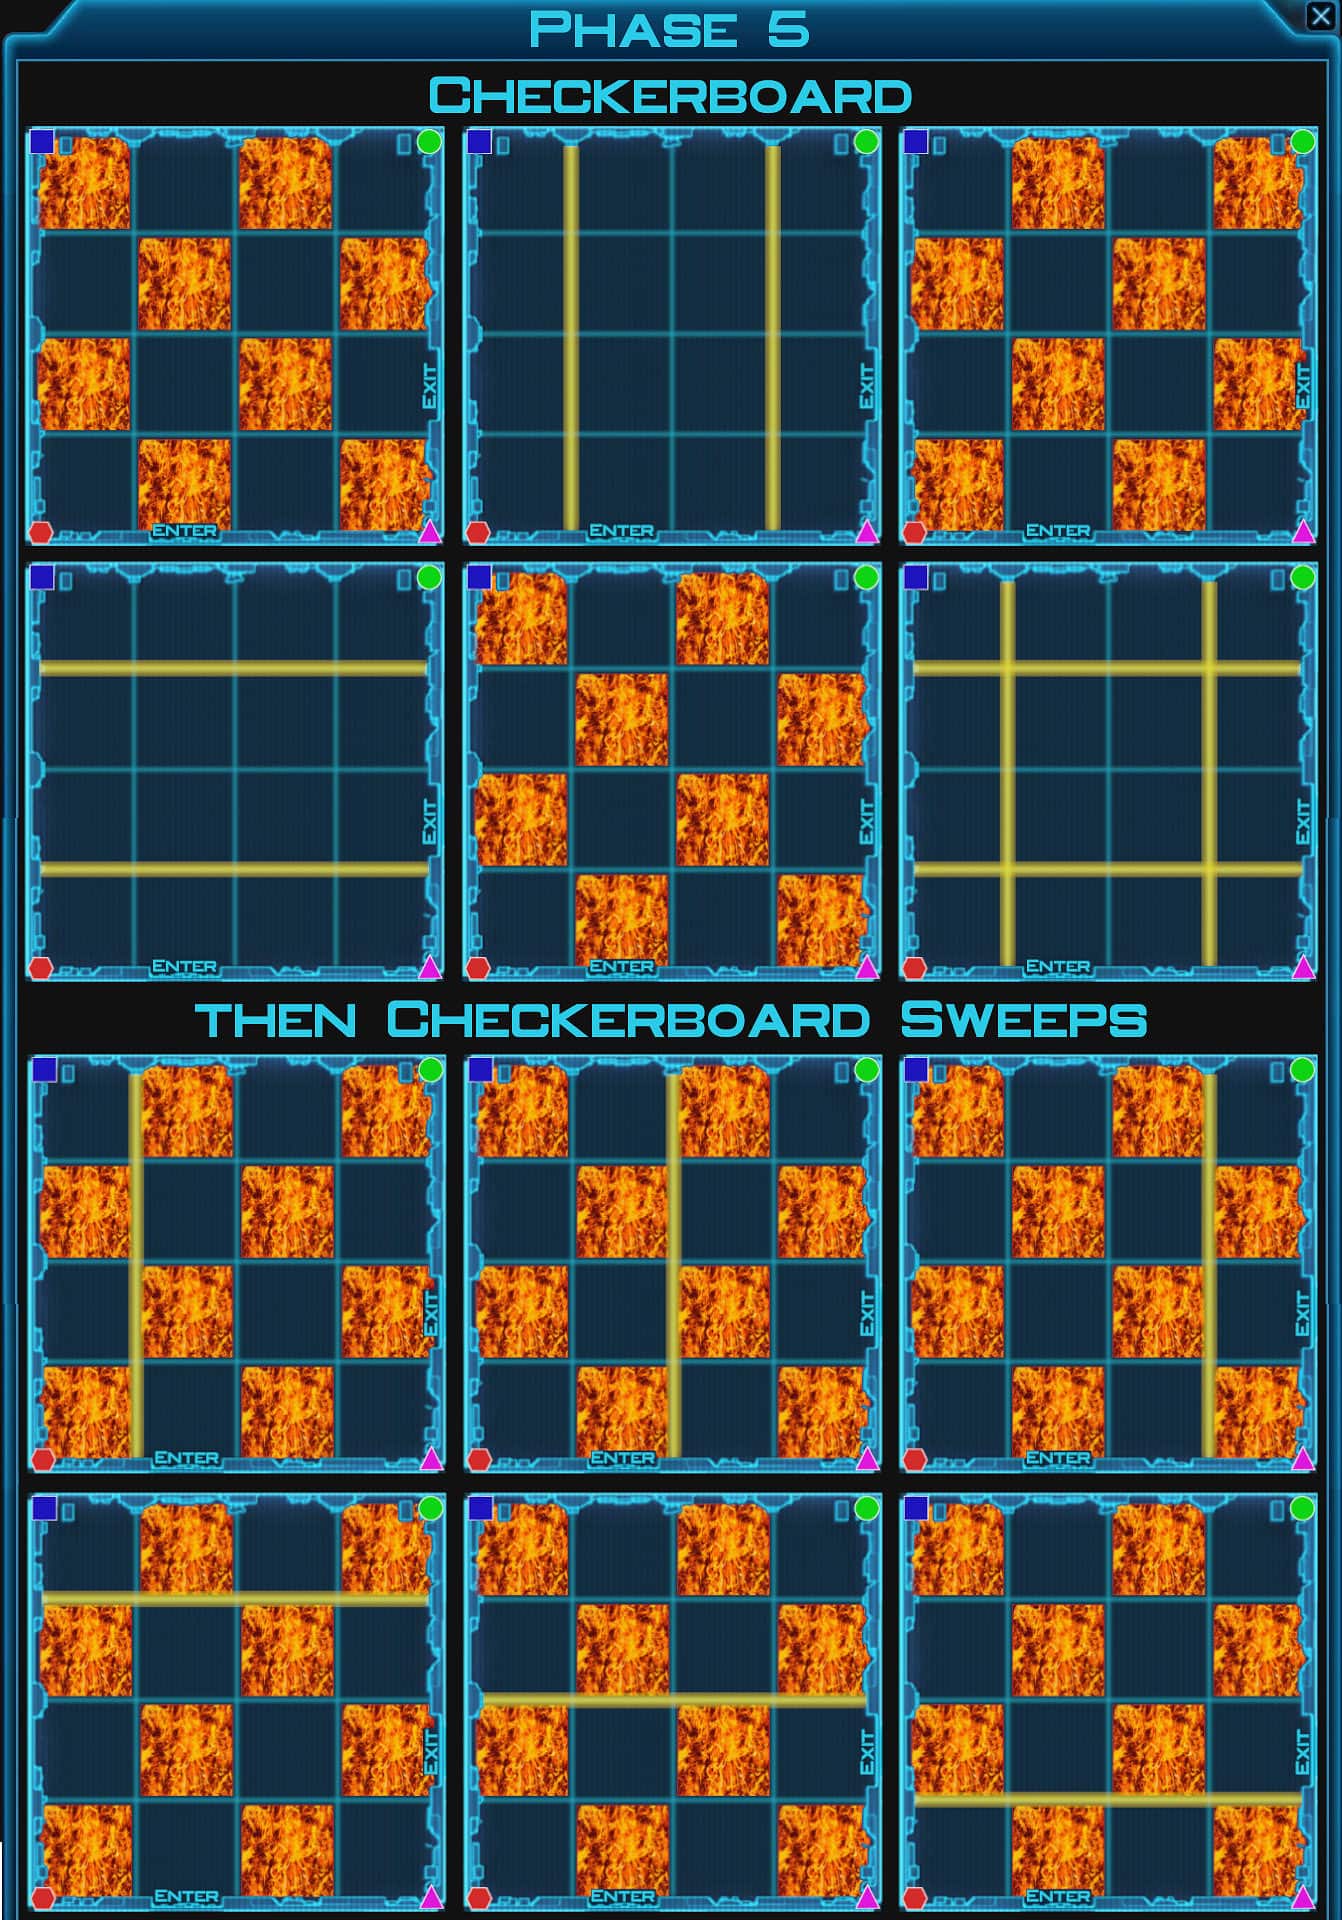
Thankfully, all of the floor fire in this phase is in a checkerboard pattern, so as soon as fire spawns under you, it’s always safe to move to an adjacent tile. The only thing you really have to worry about are the lasers that spawn alongside the checkerboards in the second half, but they’re not too bad.
Phase 6 – Random Burn
Fire and lasers are also present during the burn phase, but their pattern sequence is random. There is always at least 1 tile that is safe in the center 4.
Once IP-CPT hits 75%, 50%, and 25%, it floats up to the ceiling and projects an immunity shield around itself. Adds don’t spawn until the floor fire and wall laser pattern is done, so there’s no need to rush through these phases in SM.
Adds and Consoles Phases
Once the floor fire and wall lasers pattern sequence is done and IP-CPT has floated up to the ceiling, you will transition to the next phase where multiple waves of adds spawn at different time intervals and the consoles in the corners of the room become active. Here is the order and number of adds that spawn:
Adds and Consoles Round 1 (60s total)
- 2 Intrusion ID Units spawn
- 15s later, 4 Pulse Turrets and 2 Enforcers 15s
- 30s after that, 2 Intrusion ID Units and 4 Pulse Turrets spawn
- 15s after that, IP-CPT comes back down
Adds and Consoles Round 2 (80s total)
- 3 Intrusion ID Units spawn
- 15s later, 4 Pulse Turrets spawn
- 30s after that, 3 Intrusion ID Units spawn
- 5s after that, 4 Pulse Turrets and 2 Enforcers spawn
- 30s after that, IP-CPT comes back down
Acknowledgments and Special Thanks
First and foremost, I want to thank Elssha for creating all of the diagrams and infographics featured throughout the R-4 Anomaly guides. You can find Elssha and her content on twitch, twitter, and reddit.
I also want to thank my GM, Tsou, for helping to explain mechanics from the PTS and organizing many of the runs that allowed me to finish this guide so quickly. Finally, I want to thank my raid team, Time Turners, for all their amazing help in actually doing this operation.
Here is the full collection of my SWTOR R-4 Anomaly Guides: