Beginner-friendly guide to the PvP Odessen Proving Grounds Map in SWTOR. Details the rules of the game mode, the Map layout and its secrets, class-specific and general recommendations, tips and strategies!
The guide is up-to-date for Patch 7.8
Table of contents
Introduction
After years under the rule of the Zakuul Empire, many from the Republic and Empire defected in order to join the Eternal Alliance. Their own governments failed them in some way and they felt that their talents would be better suited to combatting the Zakuul Empire more directly without the bureaucracy of the Republic or the blatant disregard of common troops found in the Empire.
The Odessen Proving Grounds acts as a combat training scenario for those who fight for the Eternal Alliance.
The idea behind Odessen Proving grounds, it’s just King of the Hill, only there are multiple hills known as control points found throughout the map. Competing teams will need to contest for control of these control points to gain points and have the most at the end of the warzone.

In this guide we’ll be going over various strategies and scenarios you’ll encounter so you can best utilize them for yourself to win more Odessen warzones!
Rules of Odessen Proving Grounds PvP Match
Odessen Proving Grounds will have Gold and Purple teams competing for control points found throughout the map. To start, there will be only 2 active control points for a round while in later rounds, three or more can become active.

The teams race to first capture the points by staying within the White zone, keep opponents from capturing the zone, and staying within the control point zone themselves as getting pushed out can mean failure. There are numerous Battle Mods that can be found throughout the map that grants the user a unique buff to help their team.
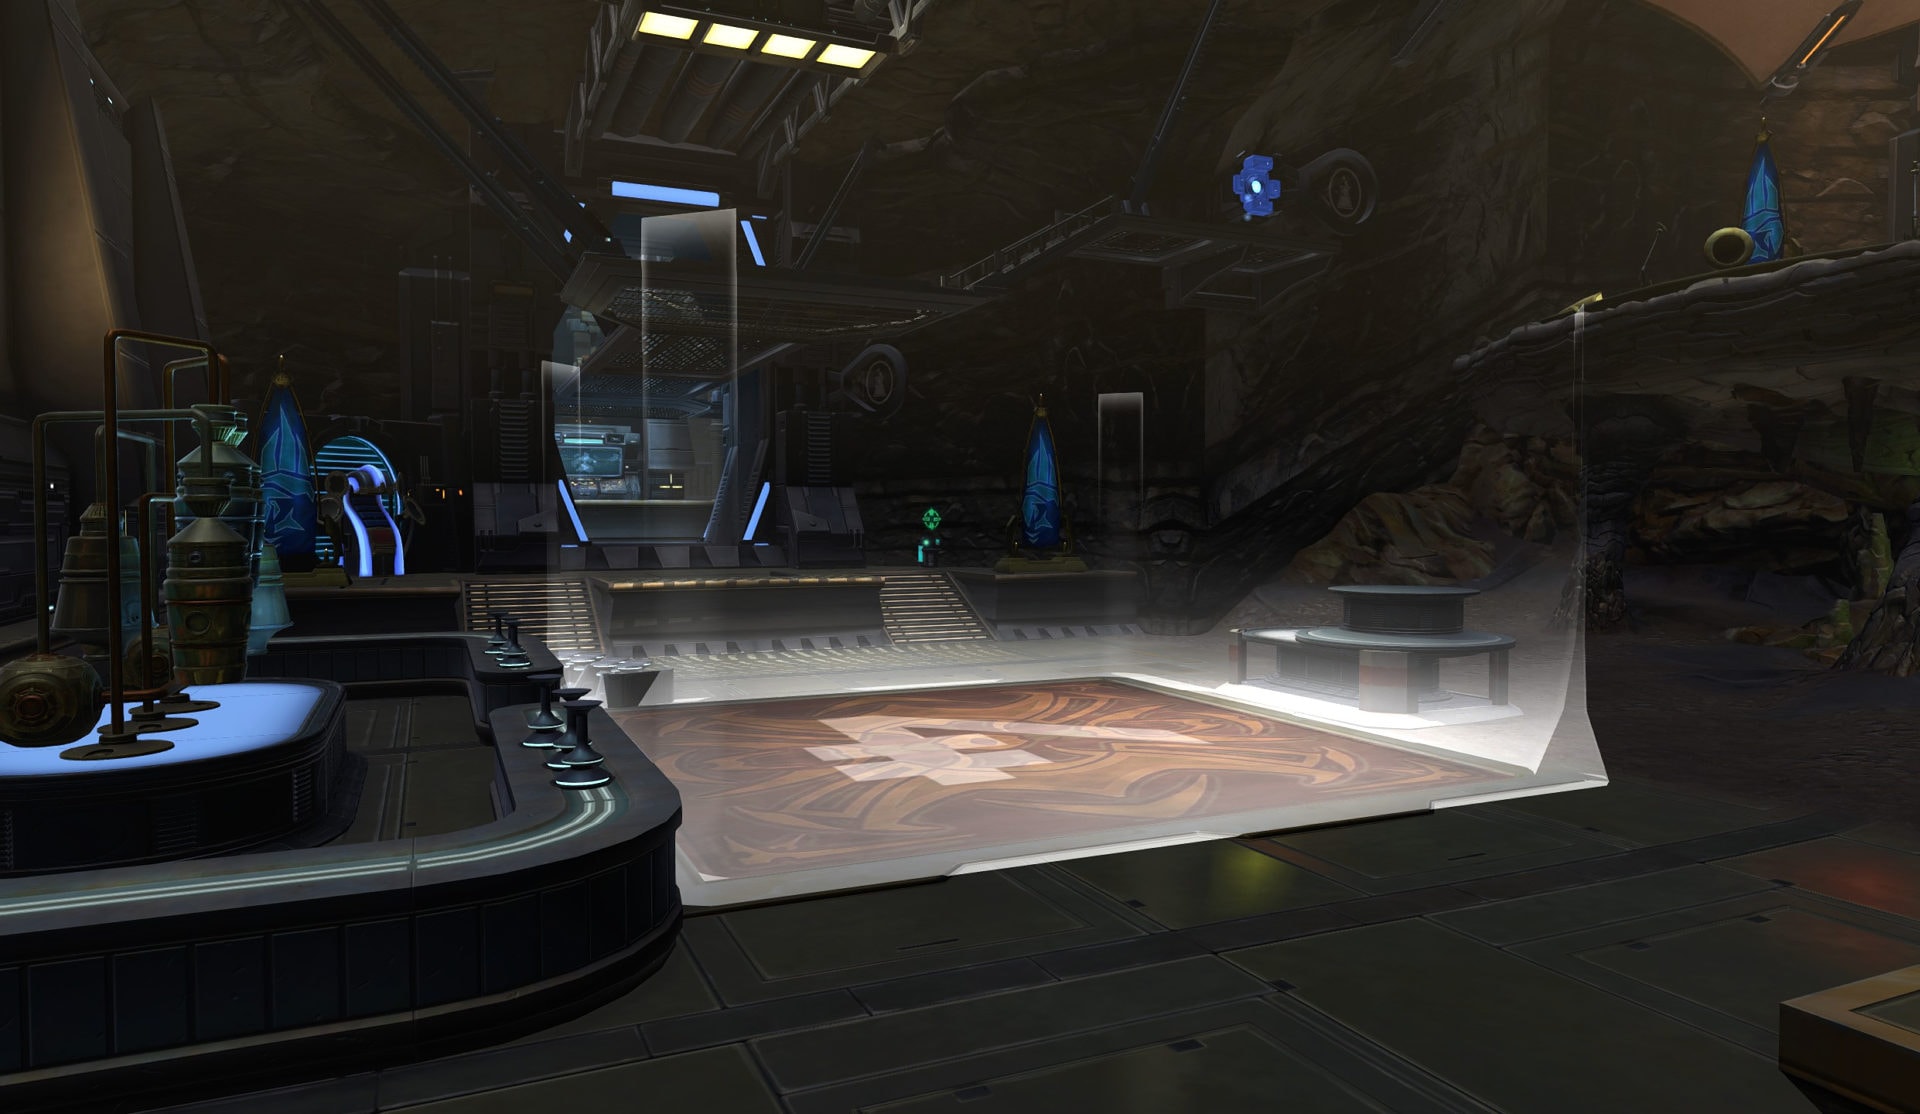
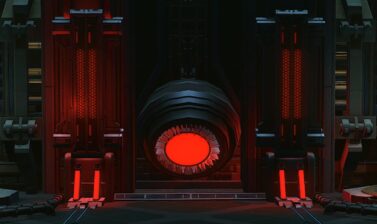
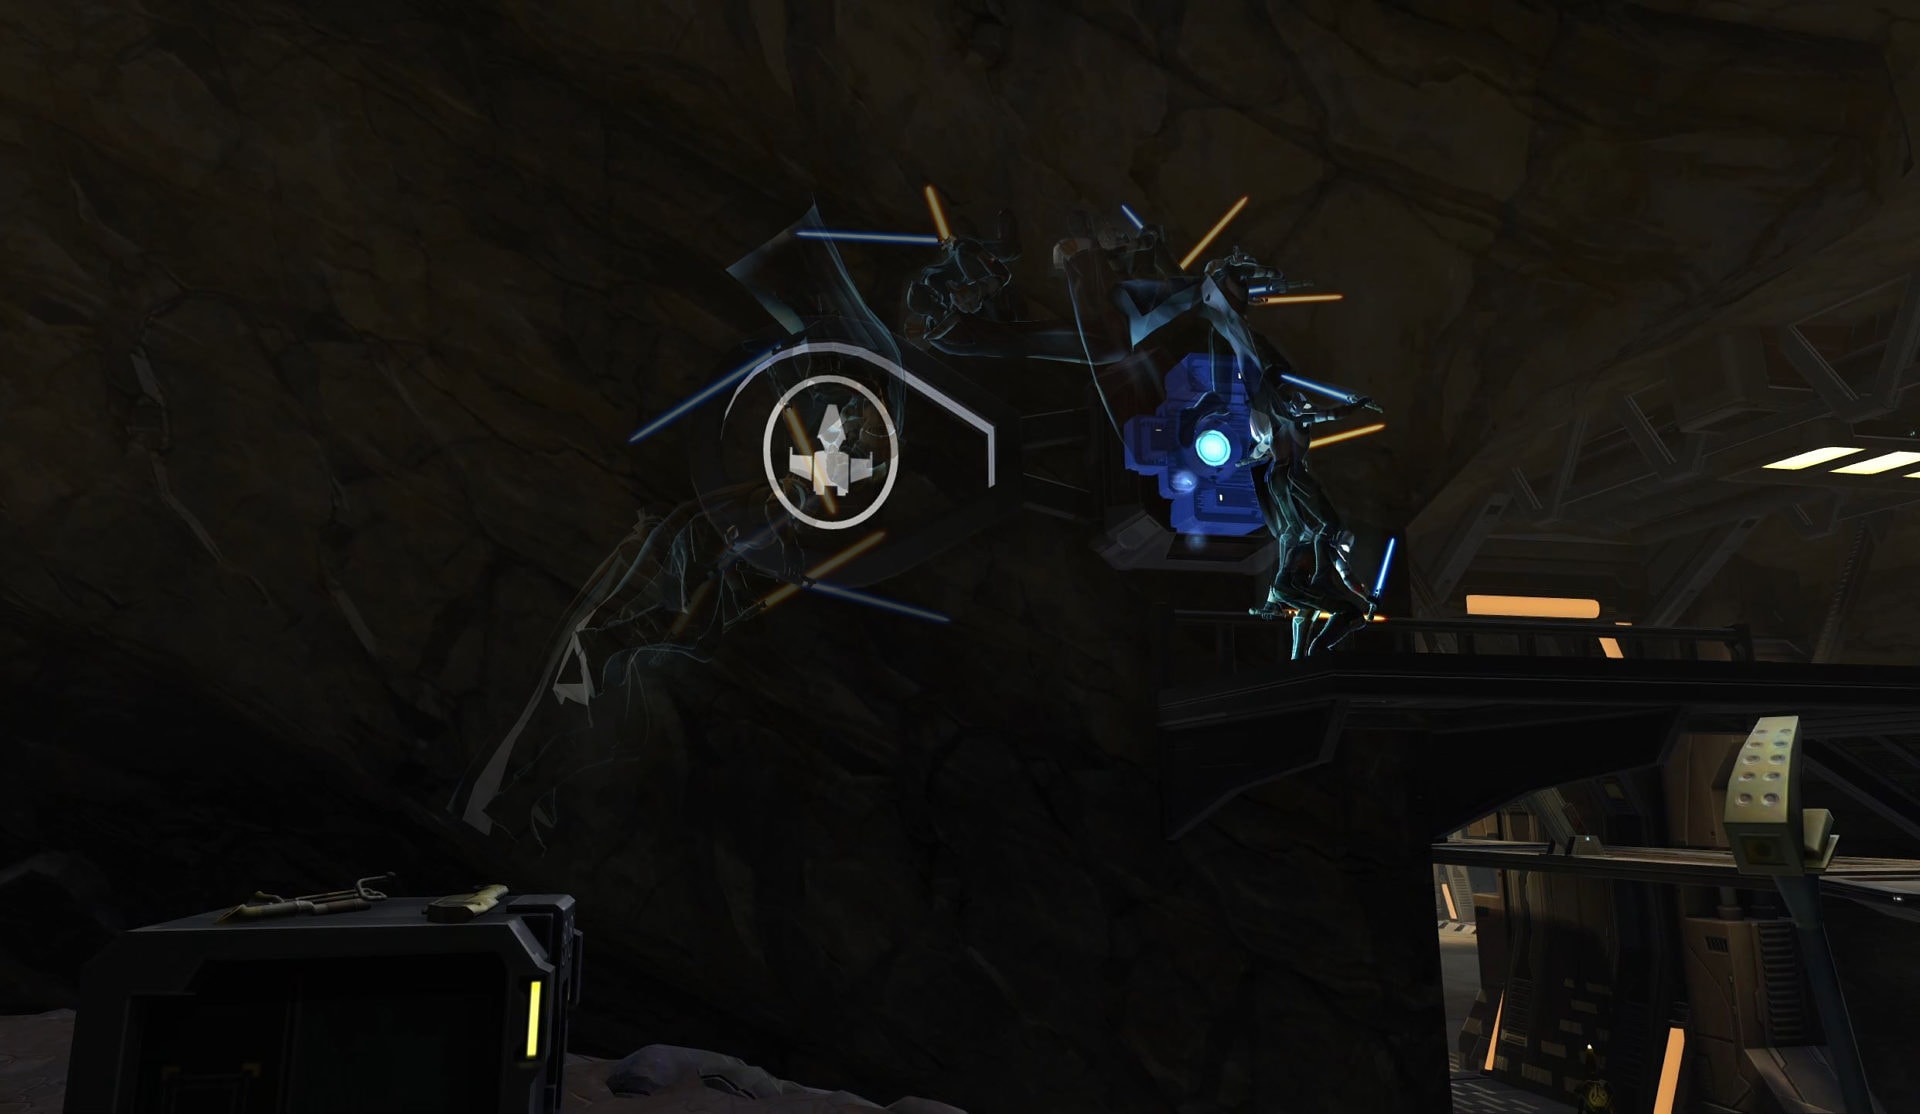
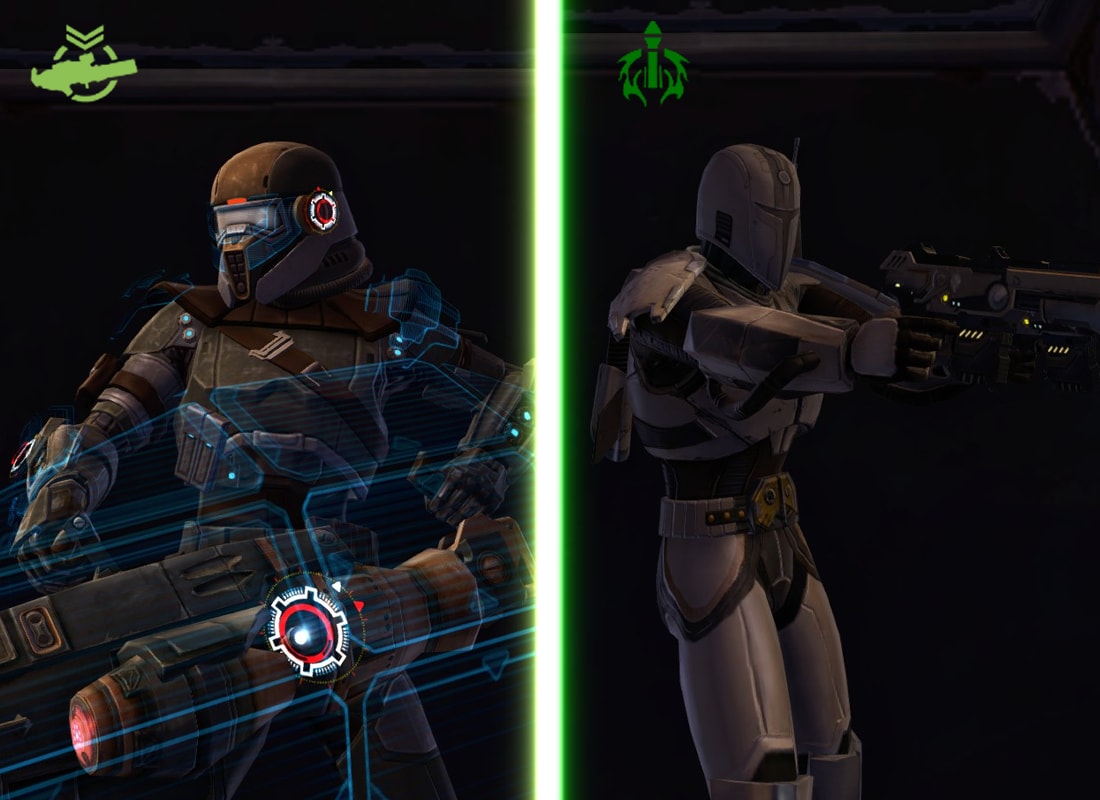
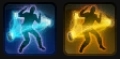
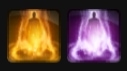
When a control point is not yet captured, it will appear like the image above where a white, glowing border surrounds it.
This can change to purple or gold depending on which team currently has control of it. One would first need to be within this zone to capture it, whether alone or with allies only, and wait a few seconds until it is captured.
From there, at least one person on that team needs to stay within the area as leaving it can render it uncaptured or leave it vulnerable for enemy capture if an enemy is within it. Do note that you cannot hold a control point by yourself while stealthed, you’ll need to be visible.
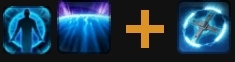
If you can, combine Blue and Orange battle mods to quickly gather points for your team. Take extra care in defending these points to prevent the enemy from benefiting from them instead.
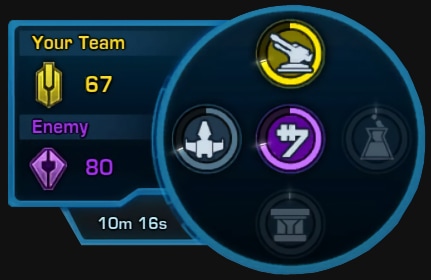
Above is the UI that will appear in your HUD as you enter the Odessen Proving Grounds warzone. It will indicate which team you’re on on the left, below that the time left in the warzone, and on the right, you see which control points are active and under whose control they are, if any.
The control point placement in the circle corresponds to their placement on the map:
- Defense Cannon to the north
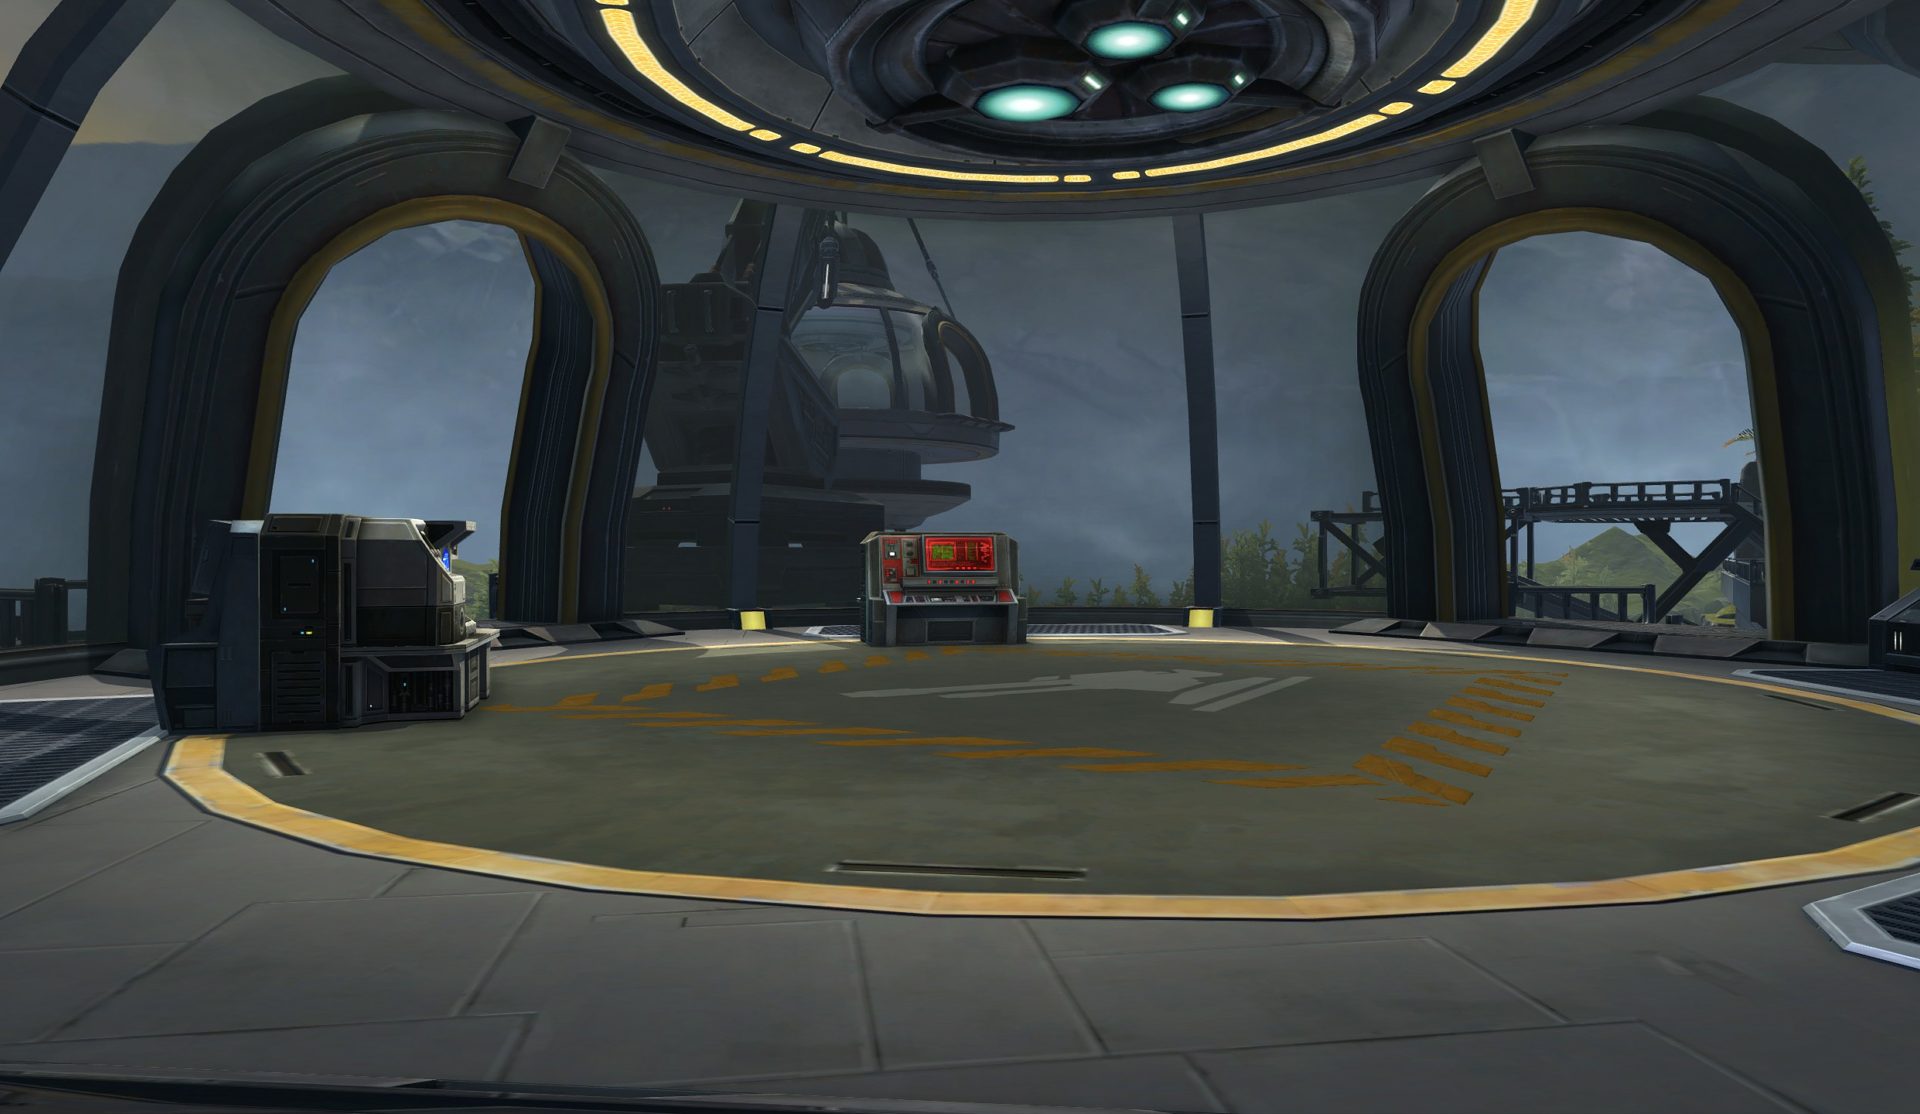
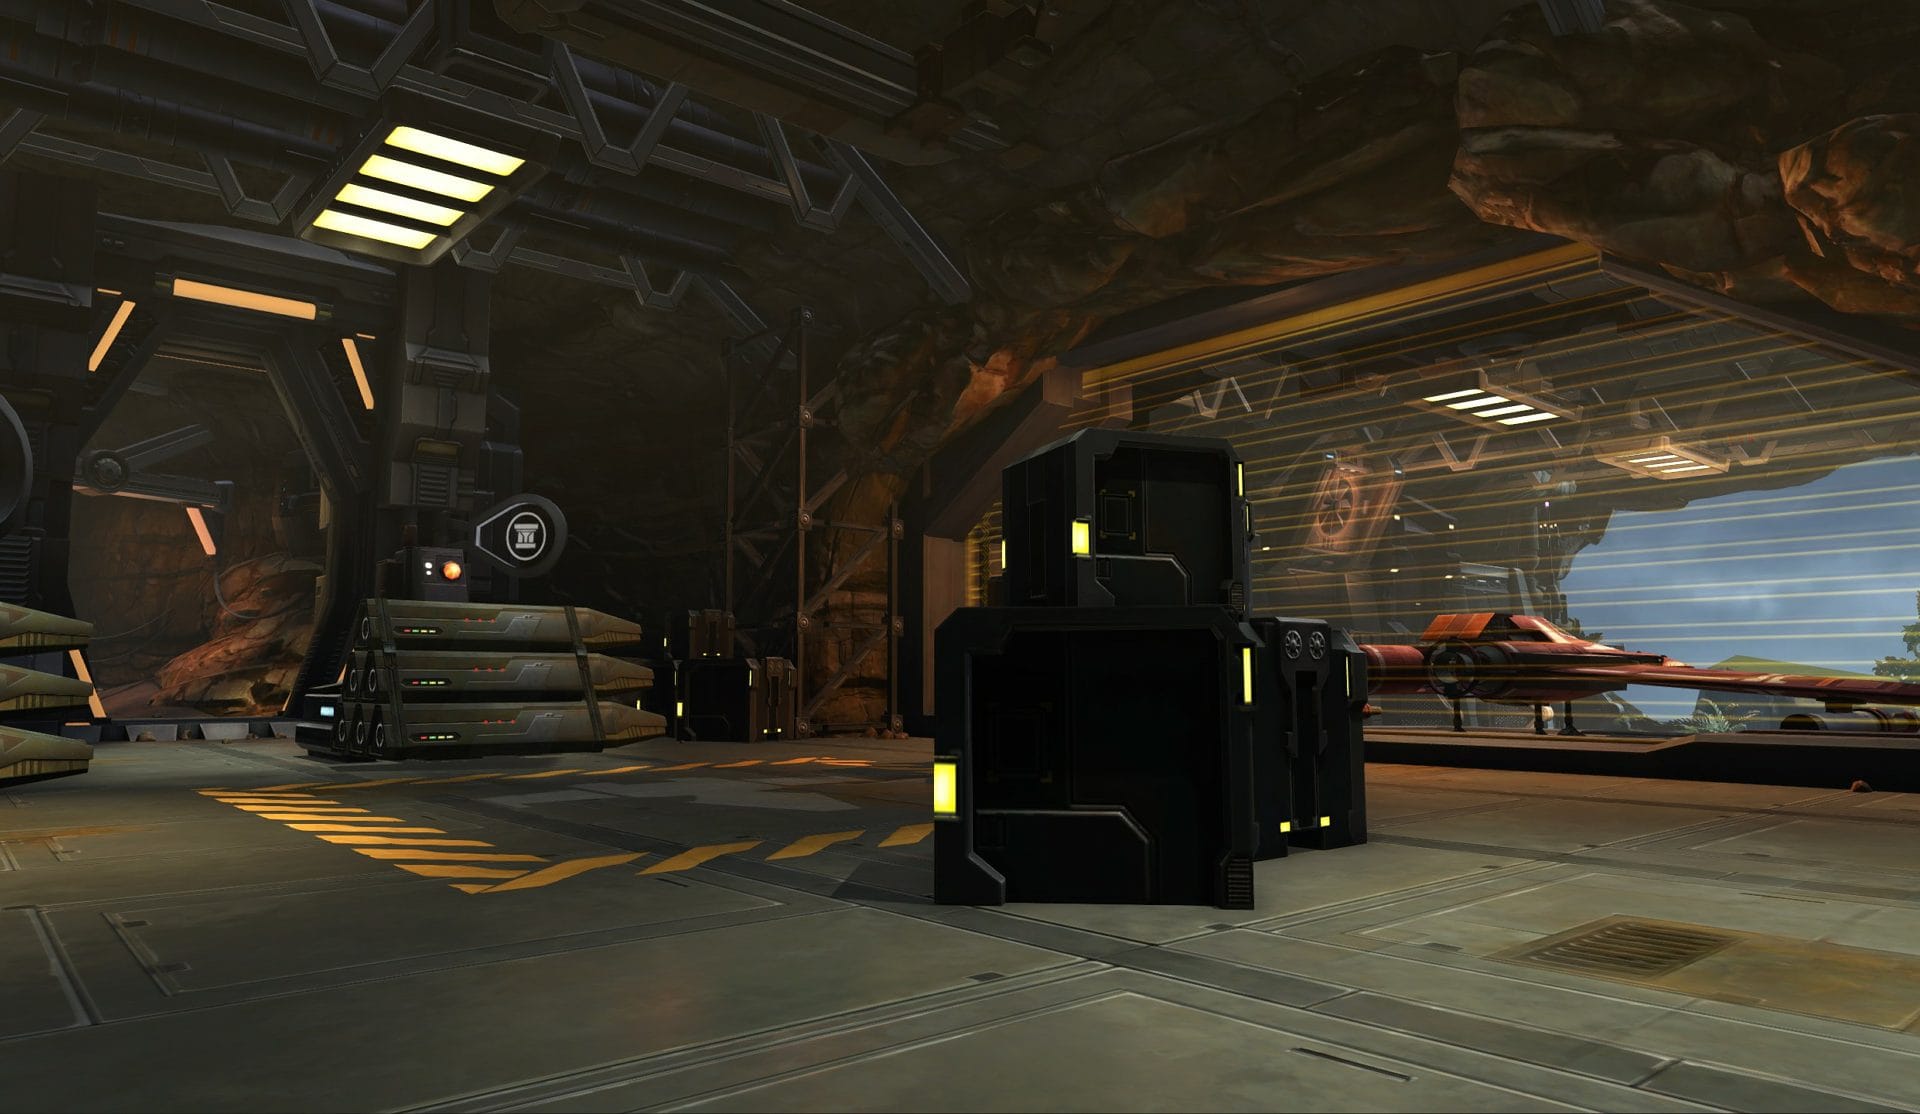
- Hangar to the West
- Cantina in the middle
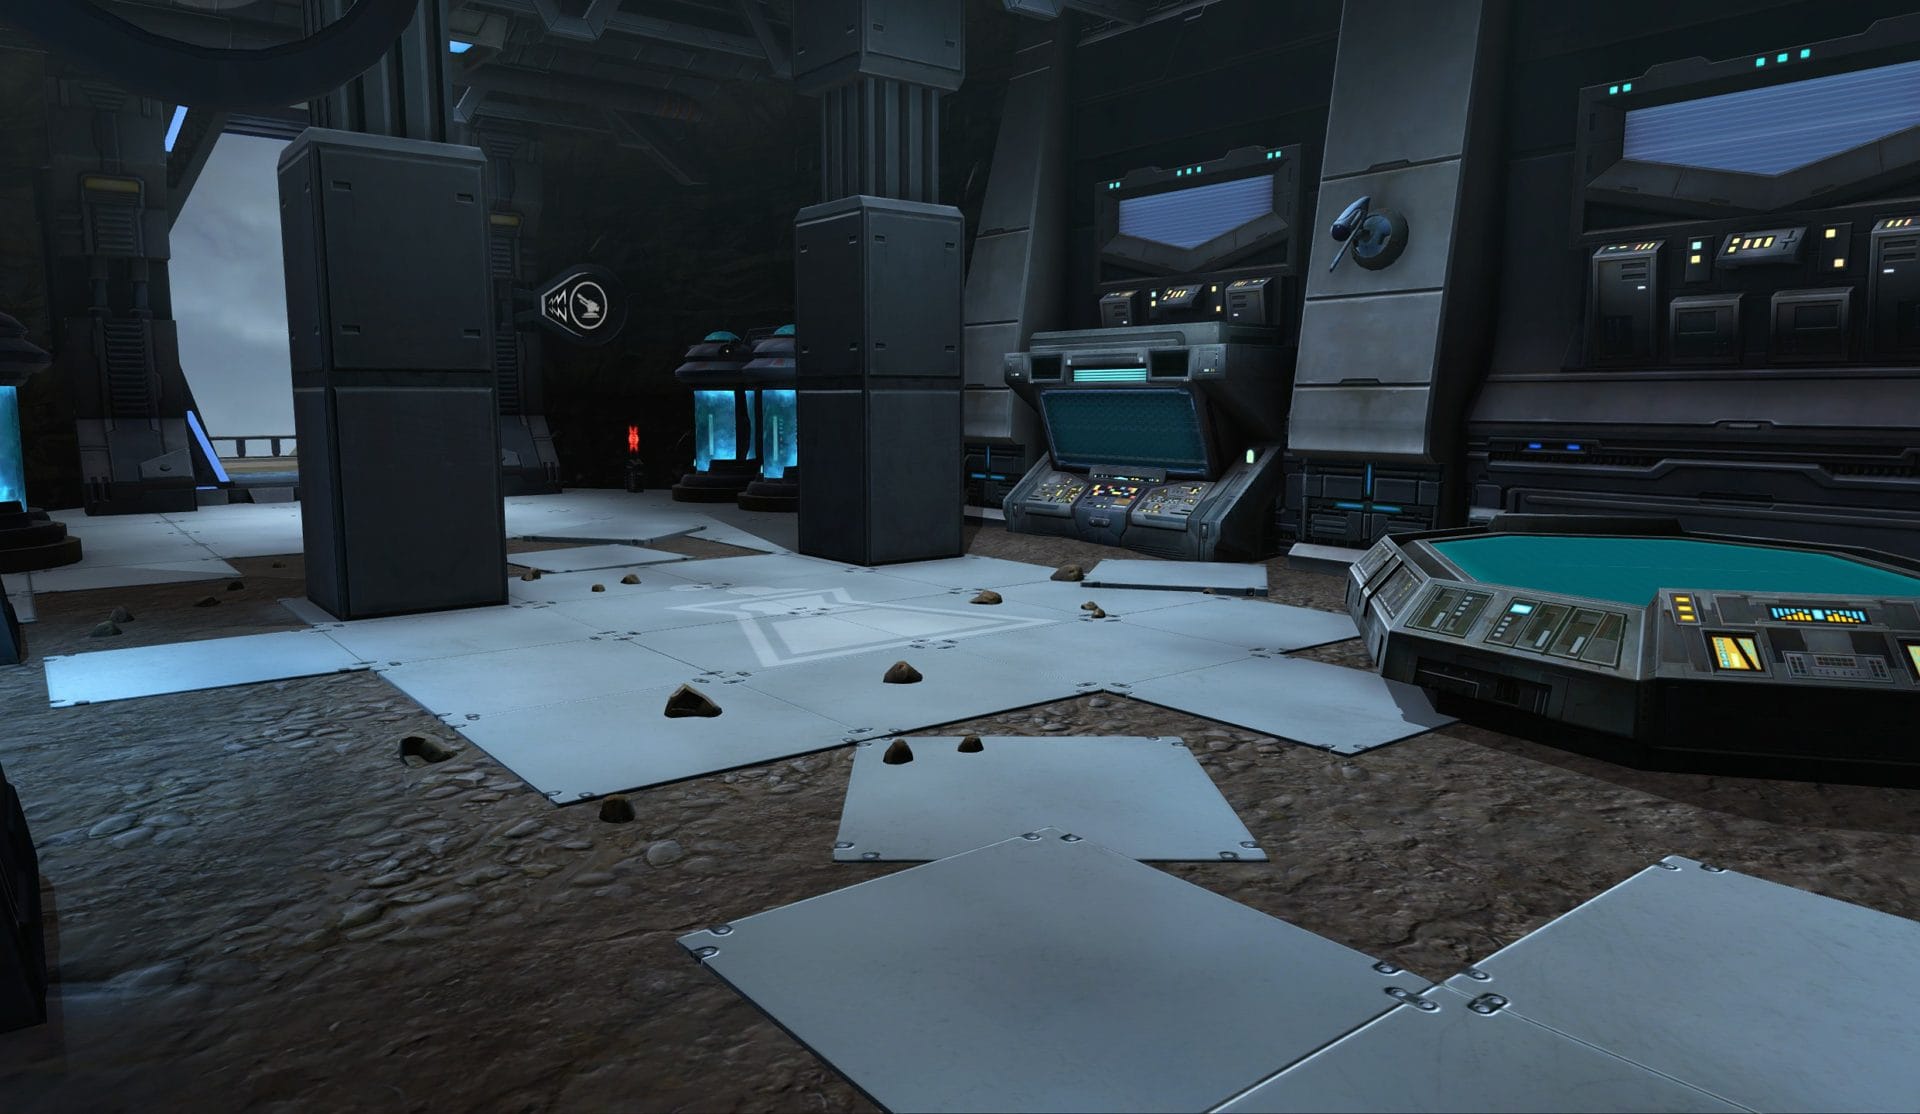
- Tech Lab to the east
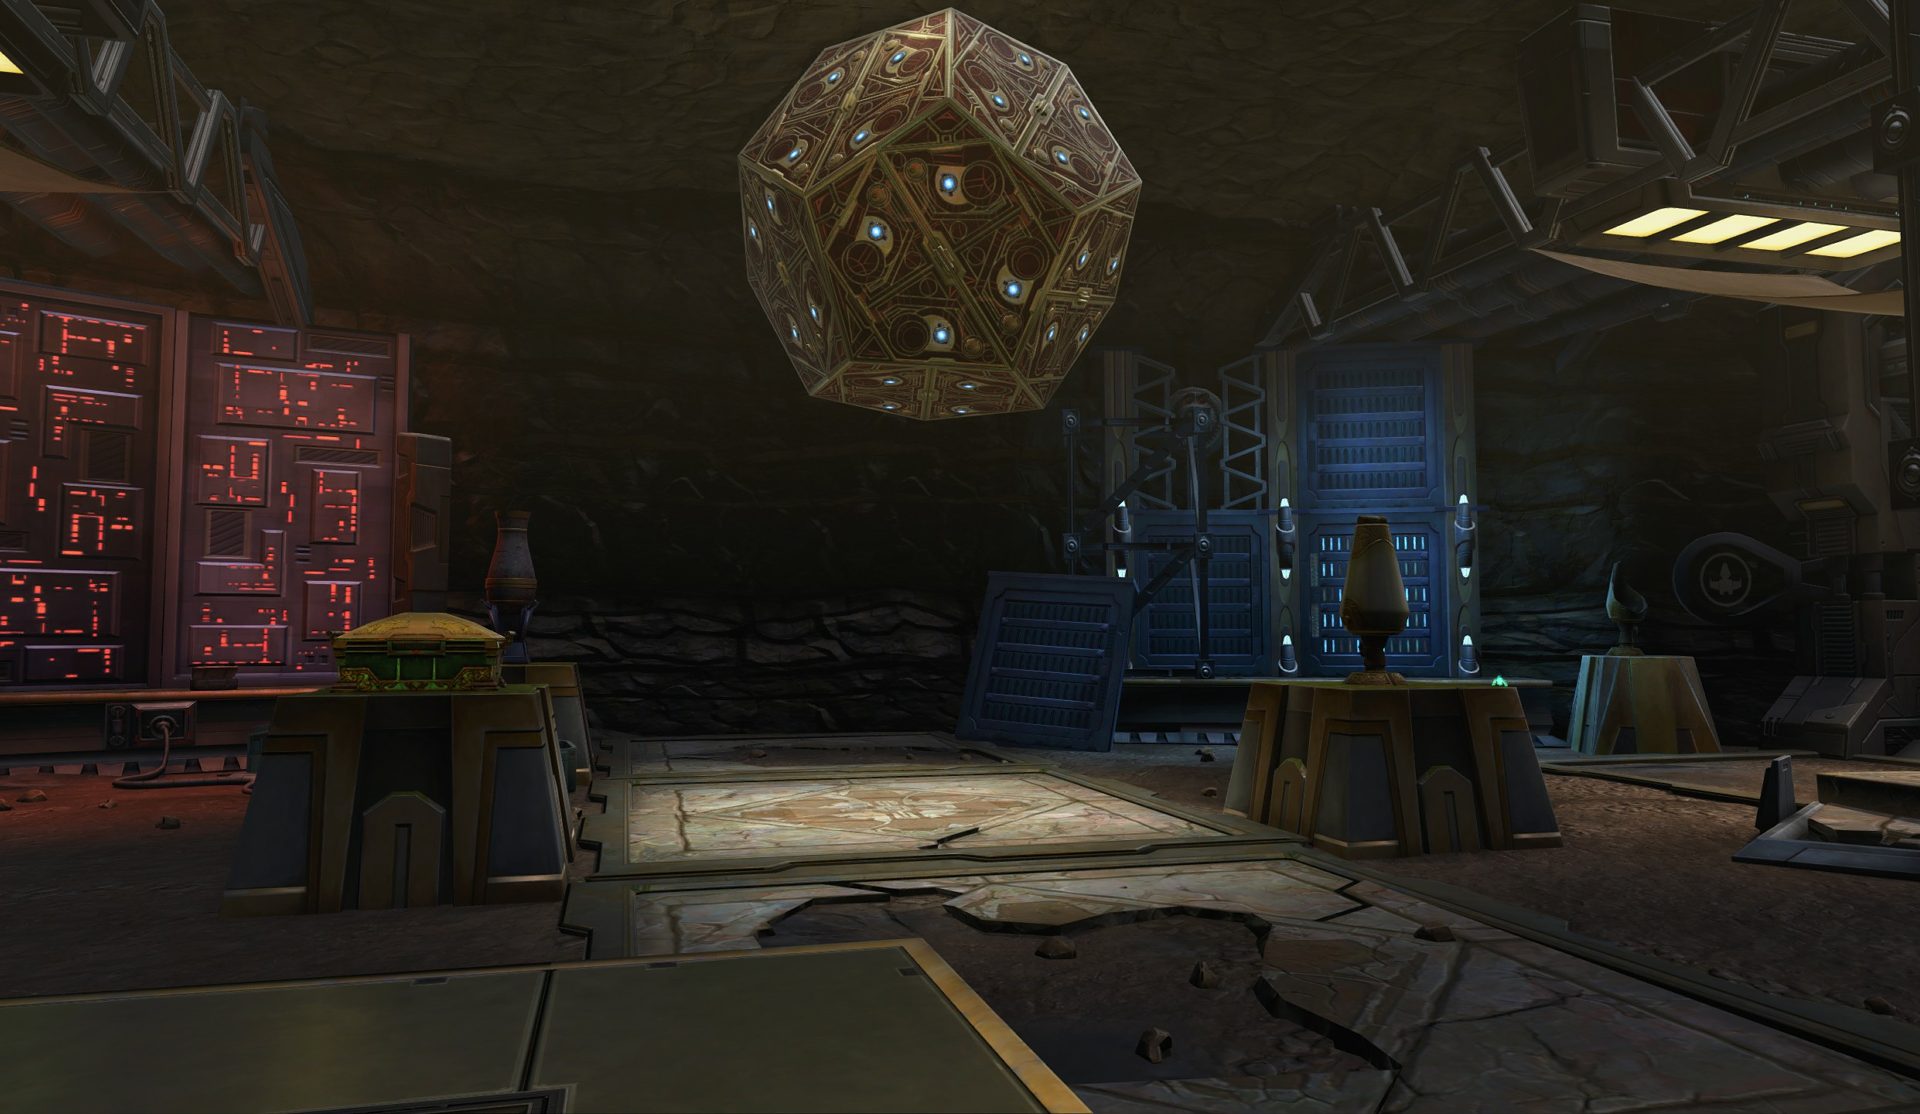
- Artifact Chamber to the south.
For brevity’s sake, you can refer to these as north, south, east, west, and mid when communicating with your team.
An inactive control point will appear gray like the Tech Lab and Artifact Chamber icons. An uncontrolled active control point will appear like the Hangar icon on the left. Captured control points will appear gold or purple depending on which team controls them such as the Defense Cannon and Cantina icons. Any active Blue or Orange buffs can be seen on the icons if activated on them for all to see.
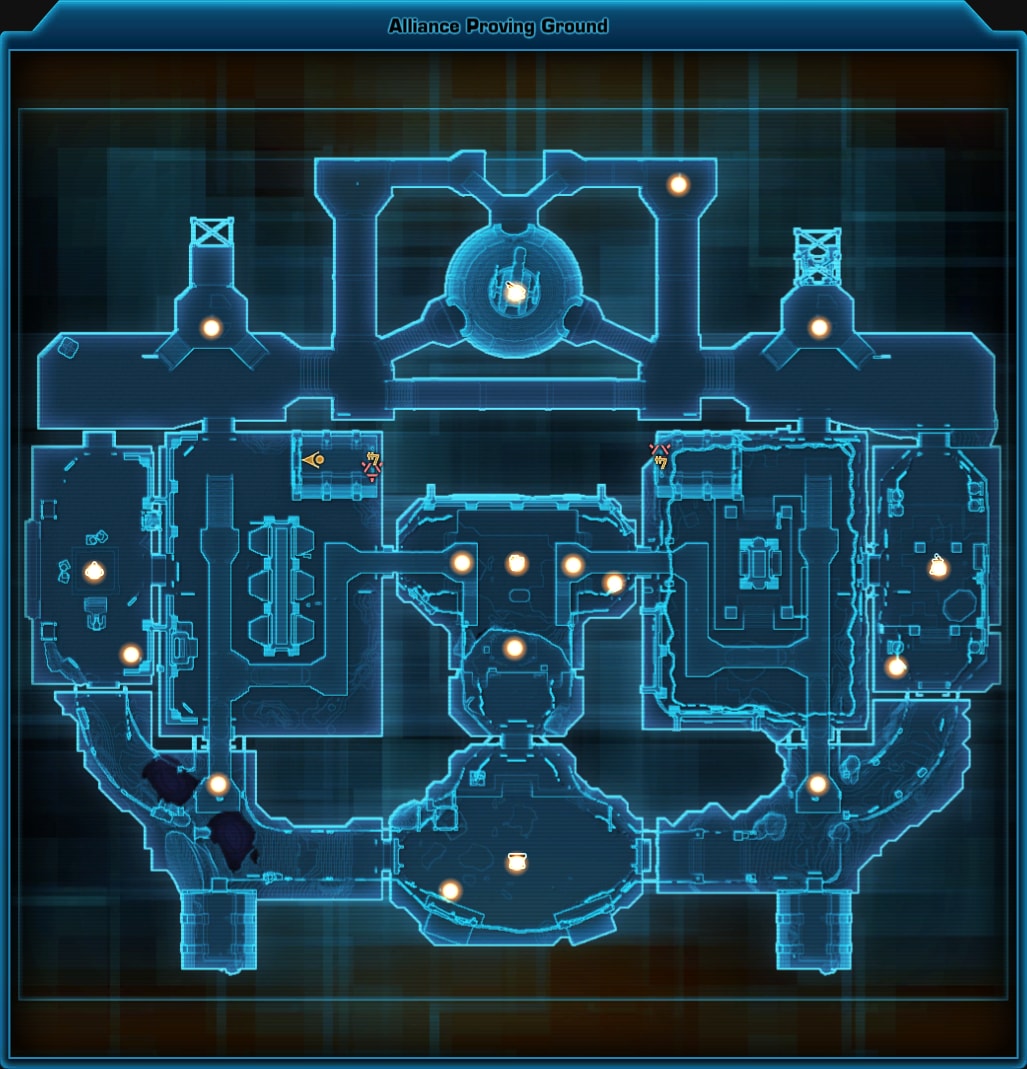
Odessen Proving Grounds Map Layout Overview
This is the map for the Odessen Proving Ground. At a glance, all the icons everywhere can seem intimidating but that’s why we’re here.
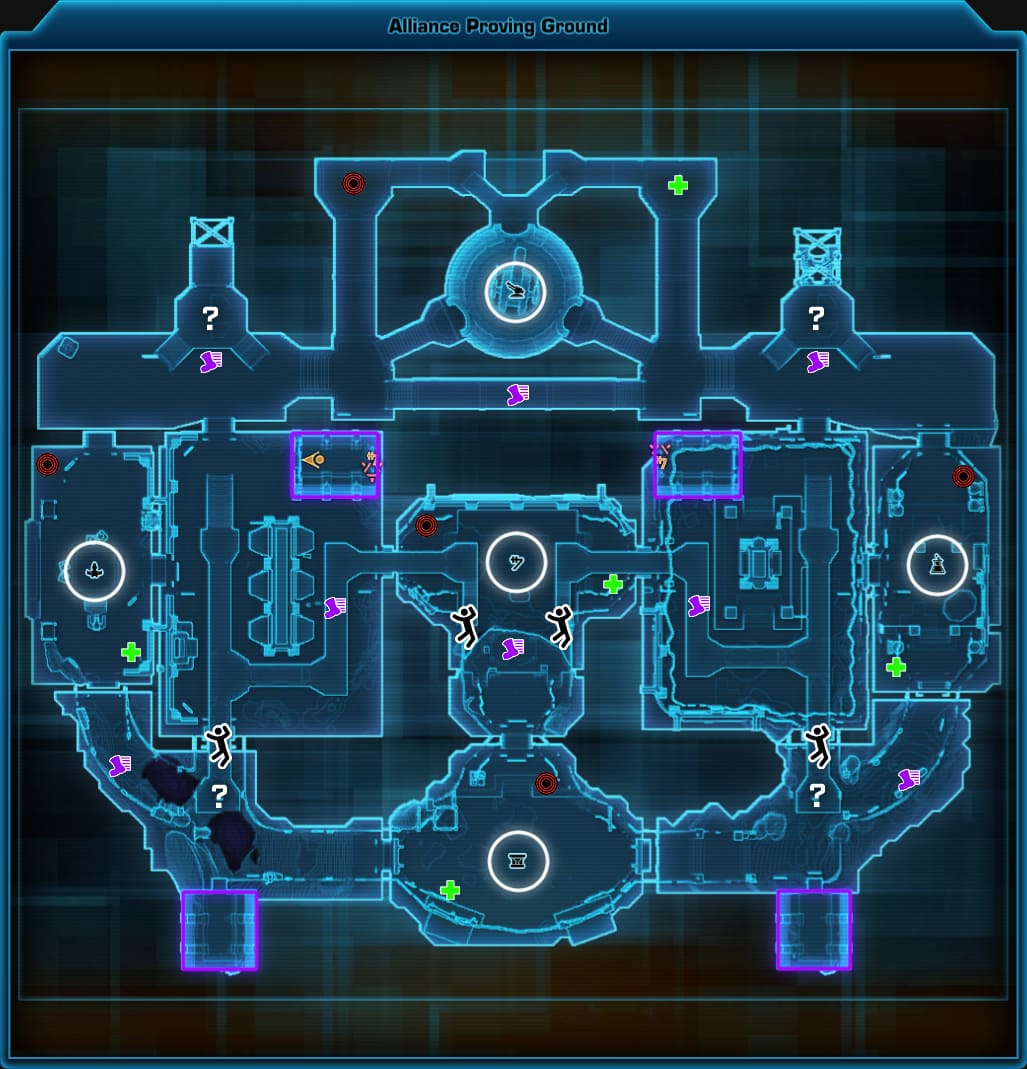
This guide will break down what these various icons mean, why they’re important, and how you can utilize them!
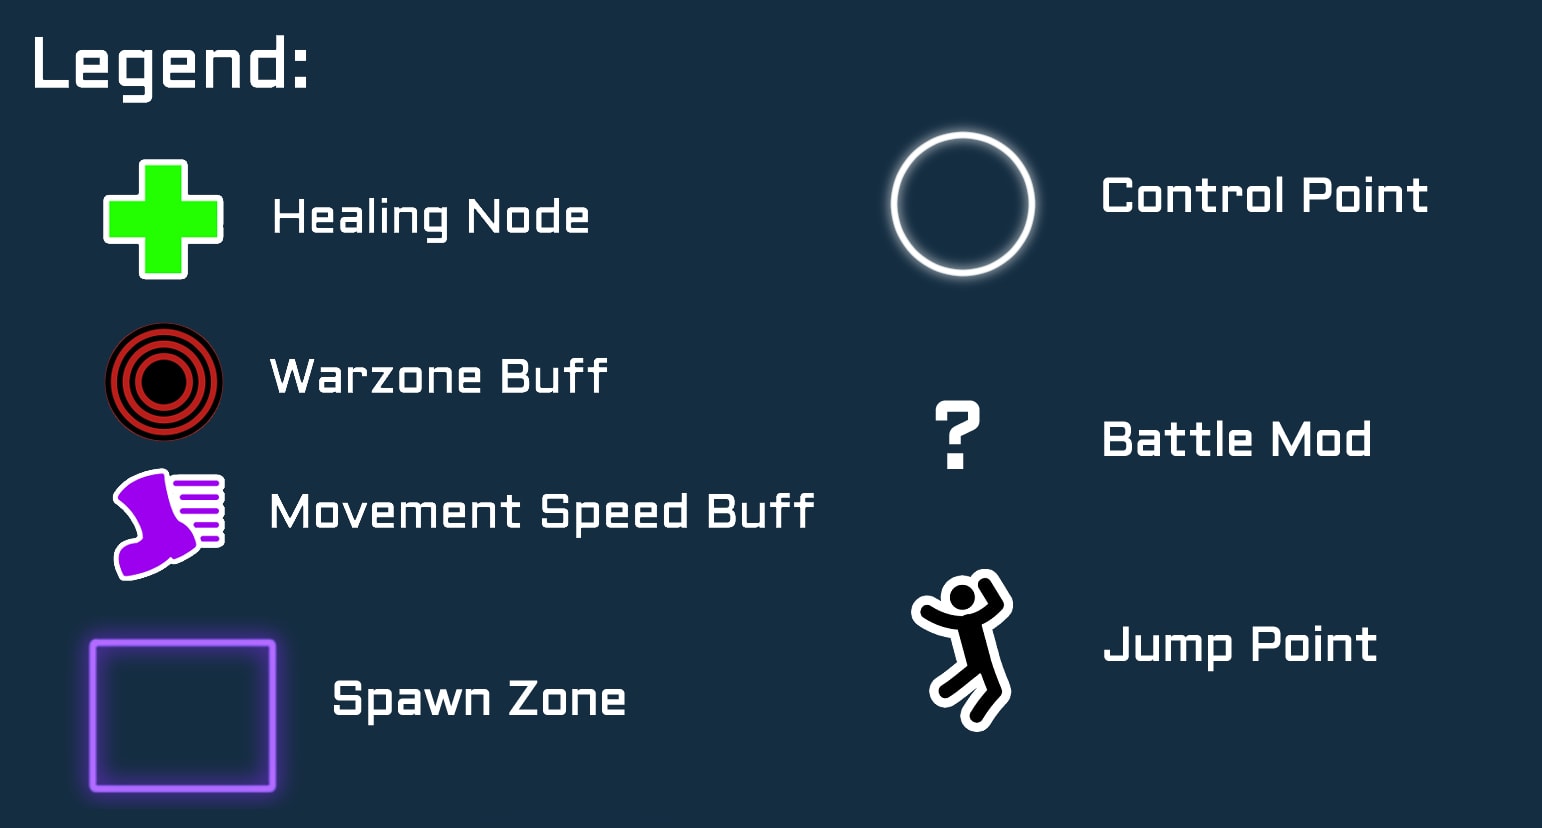
Healing Node
Touching this instantly restores a large chunk of your health.
PvP Buff
This is a buff that increases damage done, healing done and reduces damage taken vs players by 15% for a short time.
Movement Speed Buff
This increases your running speed for a short duration.
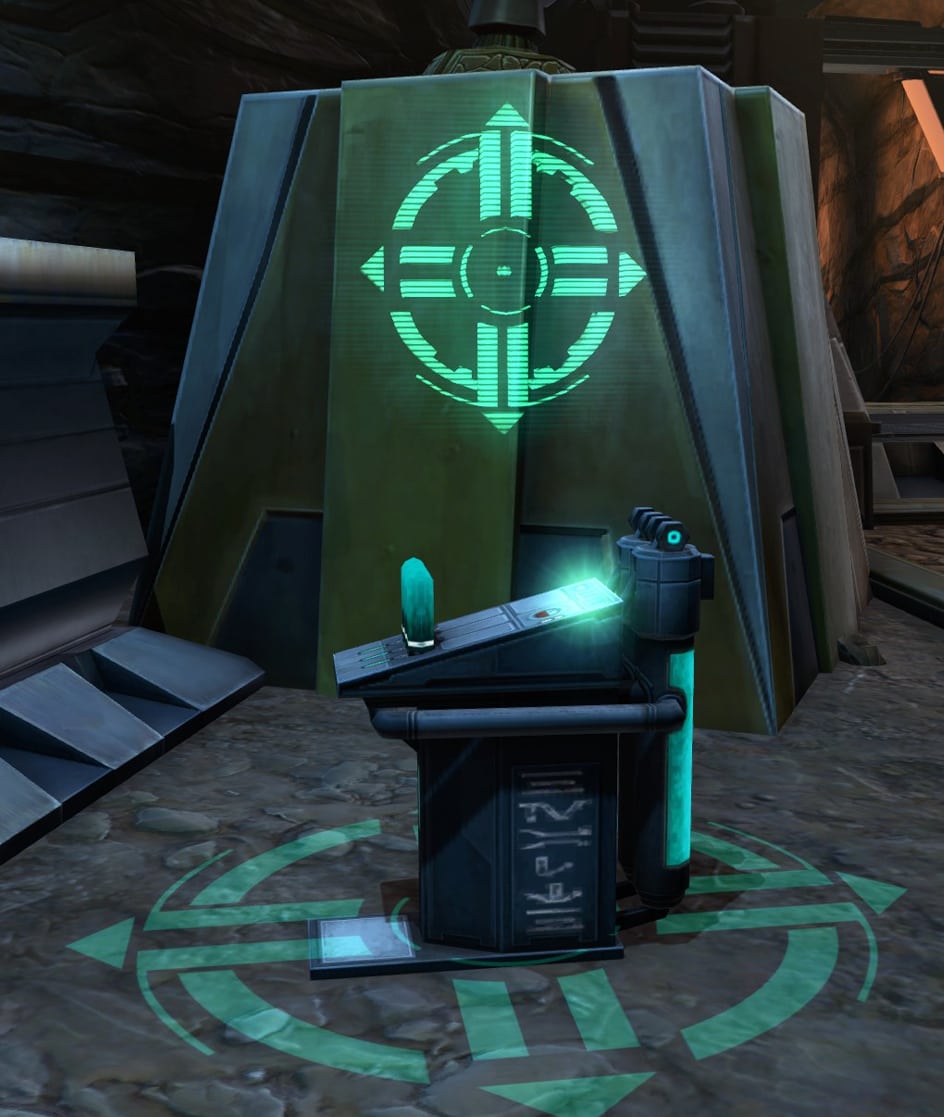
Control Point
Control points are the primary objectives of the Odessen Proving Grounds that you’ll need to capture and hold until they refresh. You cannot hold a control point while stealthed.

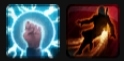
Battle Mods
The Battle Mod spawn points will have these various mods shown as it flips through them. Timing them won’t get you a specific battle mod, rather it’s just random.
There are 4 Battle Mods that can be gained from Battle Mod spawn points. These are used by activating the ability found on your temporary ability quickbar that appears when you have a buff.
You’ll only be able to have one battle mod at a time and you can have the ability to pass a battle mod to an ally. The battle mods are as follows:
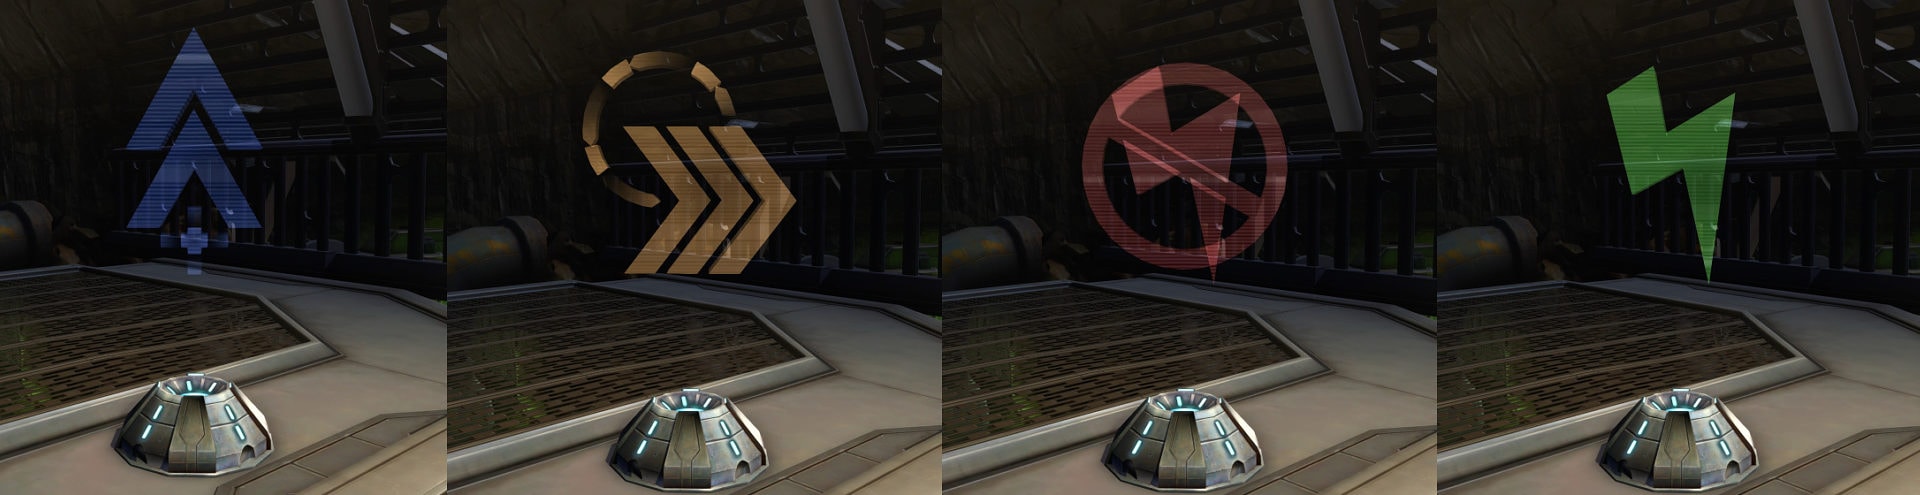
Blue battle mods are a score multiplier that increases the amount of points your team gains from a control point each second.
Orange battle mods increase how quickly a control point generates points and can make the zone finish its run sooner than the others.
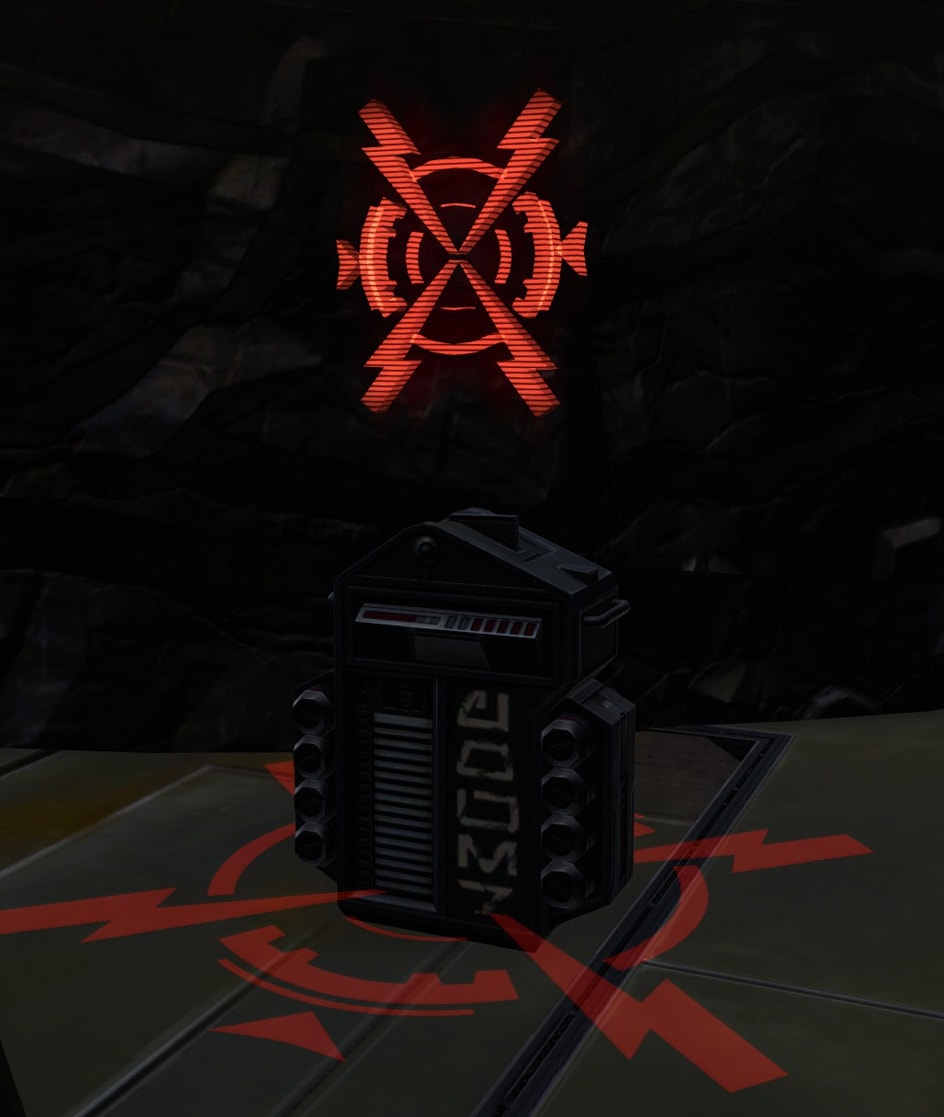
Red battle mods can be used on an active control point to deactivate it for the round. DO NOT USE THIS ON YOUR OWN TEAM’S CONTROL POINT, SAVE IT FOR THE ENEMY. You could use it on your own IF, AND ONLY IF you’re about to lose that zone to the enemy. Deny them that control point.
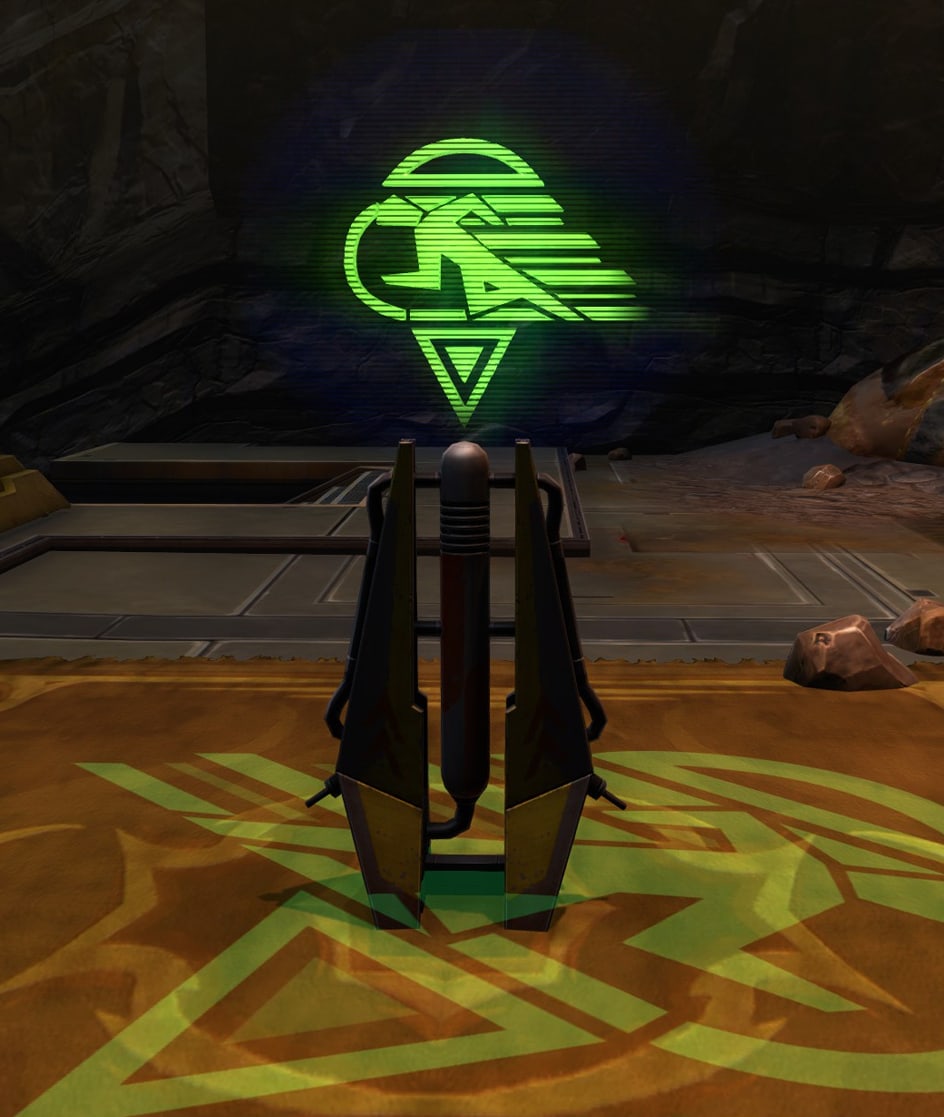
Green battle mods can activate a non-active control point, thus allowing your team to gather even more points.
Jump Point
Jump Points are areas where you can interact with a Minor Malfunctioning Power Coupler that you can use to jump to. Two of these are on the sides of the map that allow quick access to battle mods while the other two are in the higher level of the cantina to allow access from the music stage to the walkways above.
Points of Interest on the Odessen Proving Grounds Map
This section of the guide details some of the unique segments of the map that you may hear being referenced by other players and would be a good thing to know them before you venture ahead and join the game.
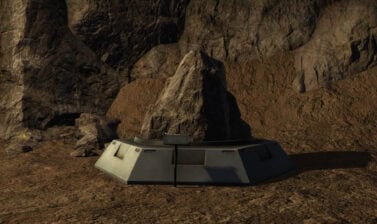
Control Points
Below are the various control points that you’ll be attempting to capture when active. Take a good look at these so you know which one is which in the event someone calls for reinforcements for one of these areas.
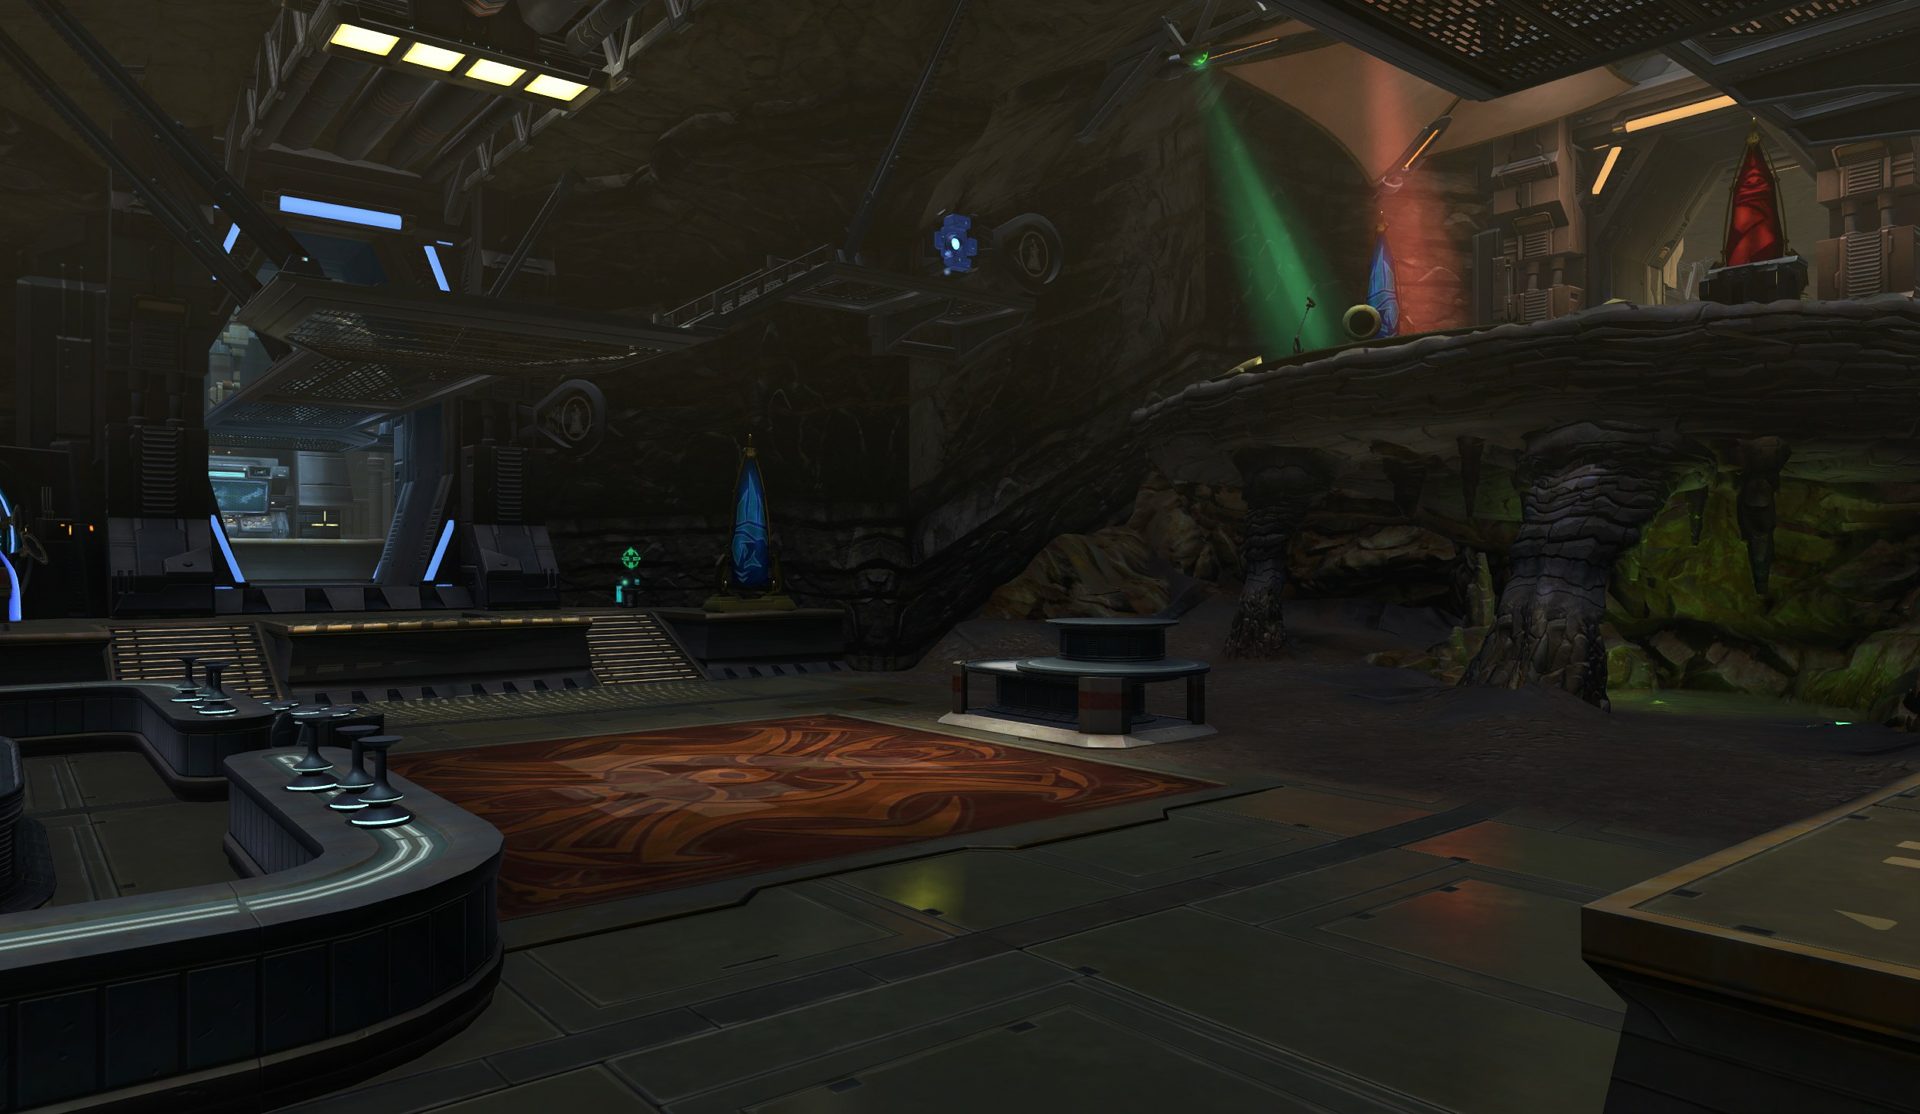
Sniping Spot above the Cantina
There are areas above the cantina where ranged units can gain some distance from the carnage below to fire at opponents.
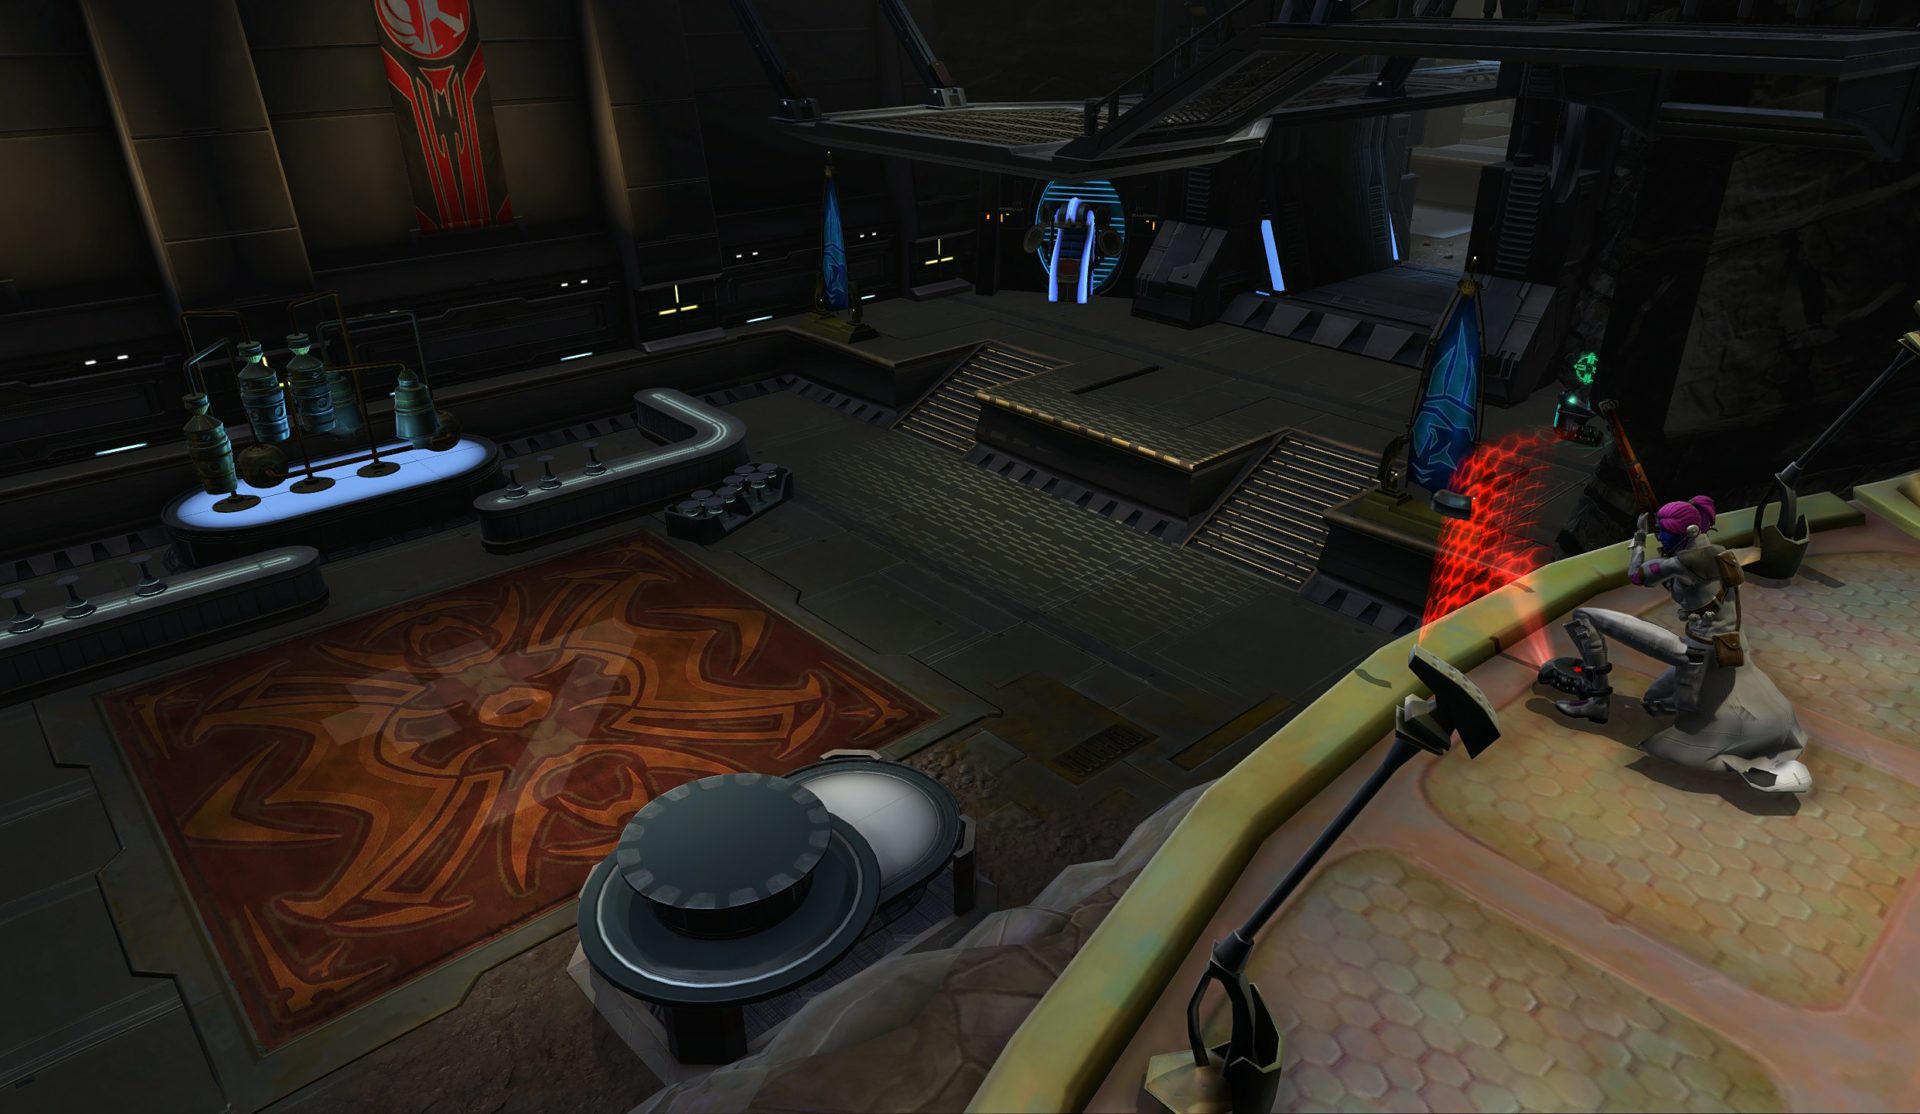
Be sure to use the high ground to your advantage! Just be careful to not let a control point go uncontested, if need be you’ll need to hop down there yourself to protect a control point.
Teleport node location suggestions
Teleporting abilities such as Phasewalk, Hideout, and Hololocate are often used to gain distance from an opponent or to cut travel time.
In the image above are location suggestions to put your teleportation node. You can place them within control points you’re defending in the event you get pushed out as you can teleport back in. Alternatively, keep them near healing nodes or battle mod spawn points to beat people to them. Last, you can put them at a higher elevation at the cantina to get back to the high ground if you’re pulled down.
Role-Specific Tips and Recommendations
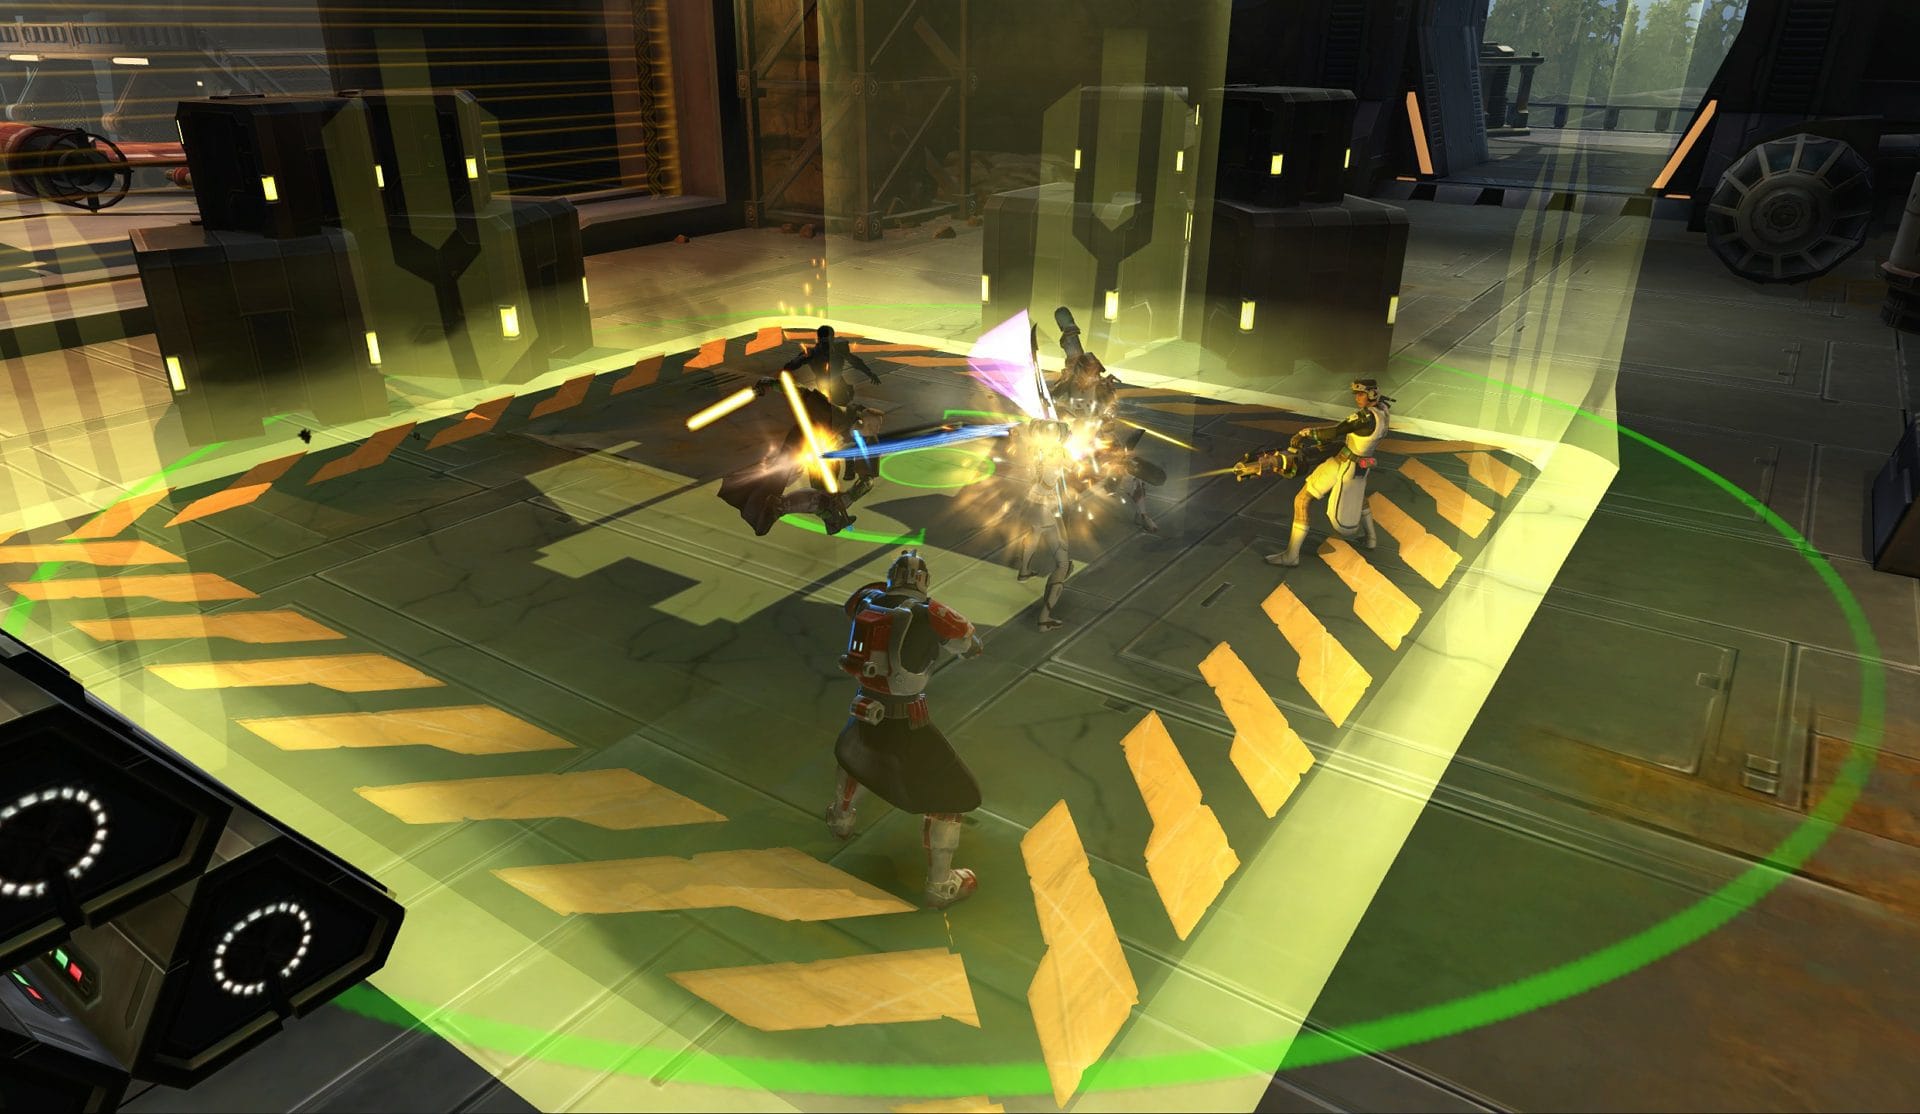
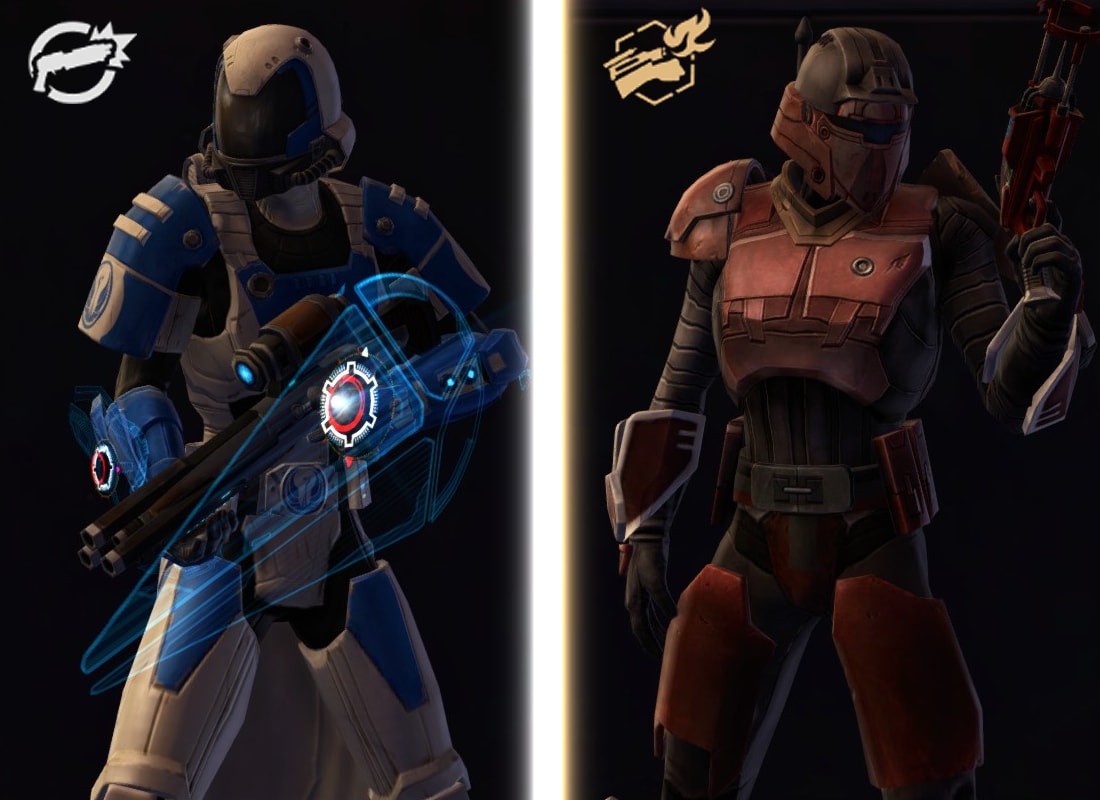
Some of the images in this segment of the guide are from the Rishi Stronghold PvP Area. They are used to more clearly and easily illustrate the scenarios and situations described below.
Tank Recommendations and Guard Swapping
As a tank, you should be doing one of two things. You’re either defending a control point from invaders or you’re in a conflict zone such as a control point with lots of activity. In either scenario, you should be guarding an ally that is nearby.
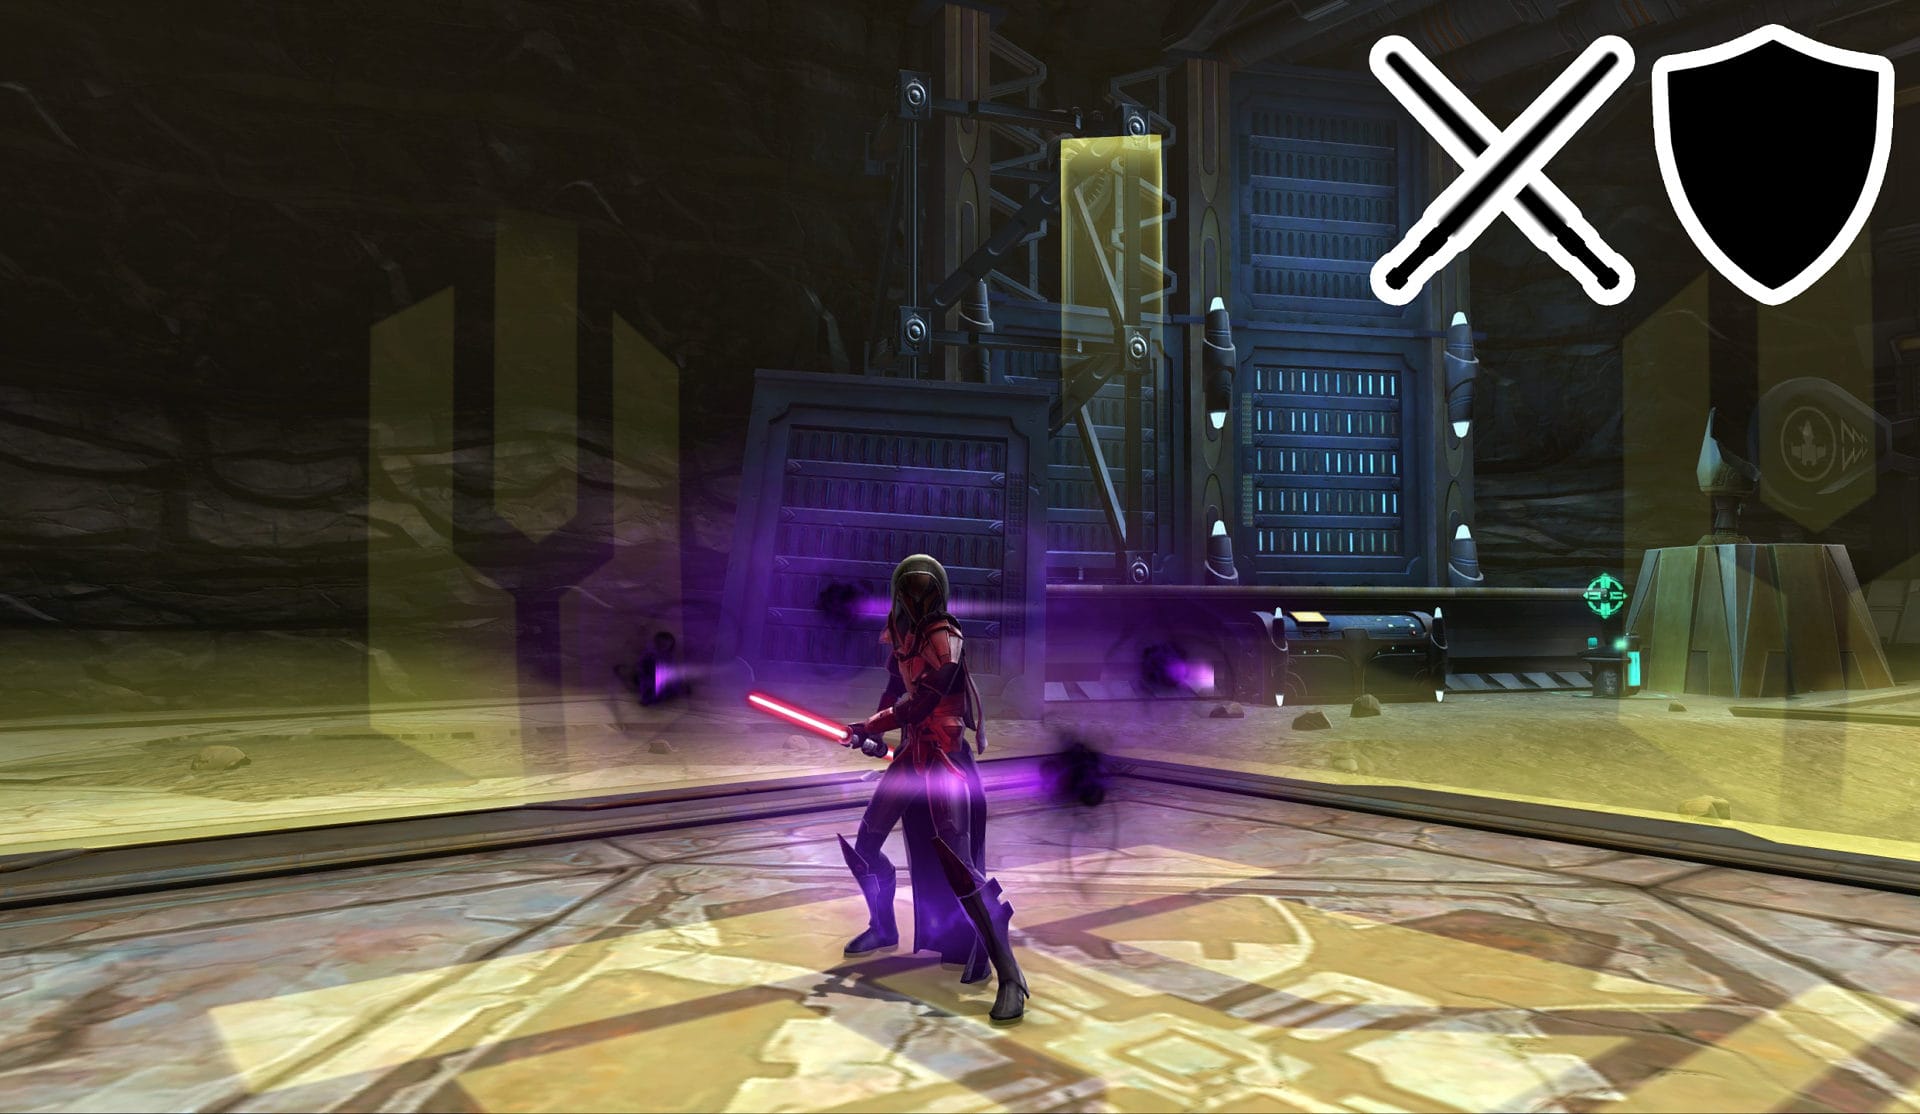
Be sure to guard allies carrying a Battle Mod! They’ll stick out like a Jedi at a Stormtrooper convention and will be heavily focused on by enemies. Do your best to keep them alive and escort them to allied control points!
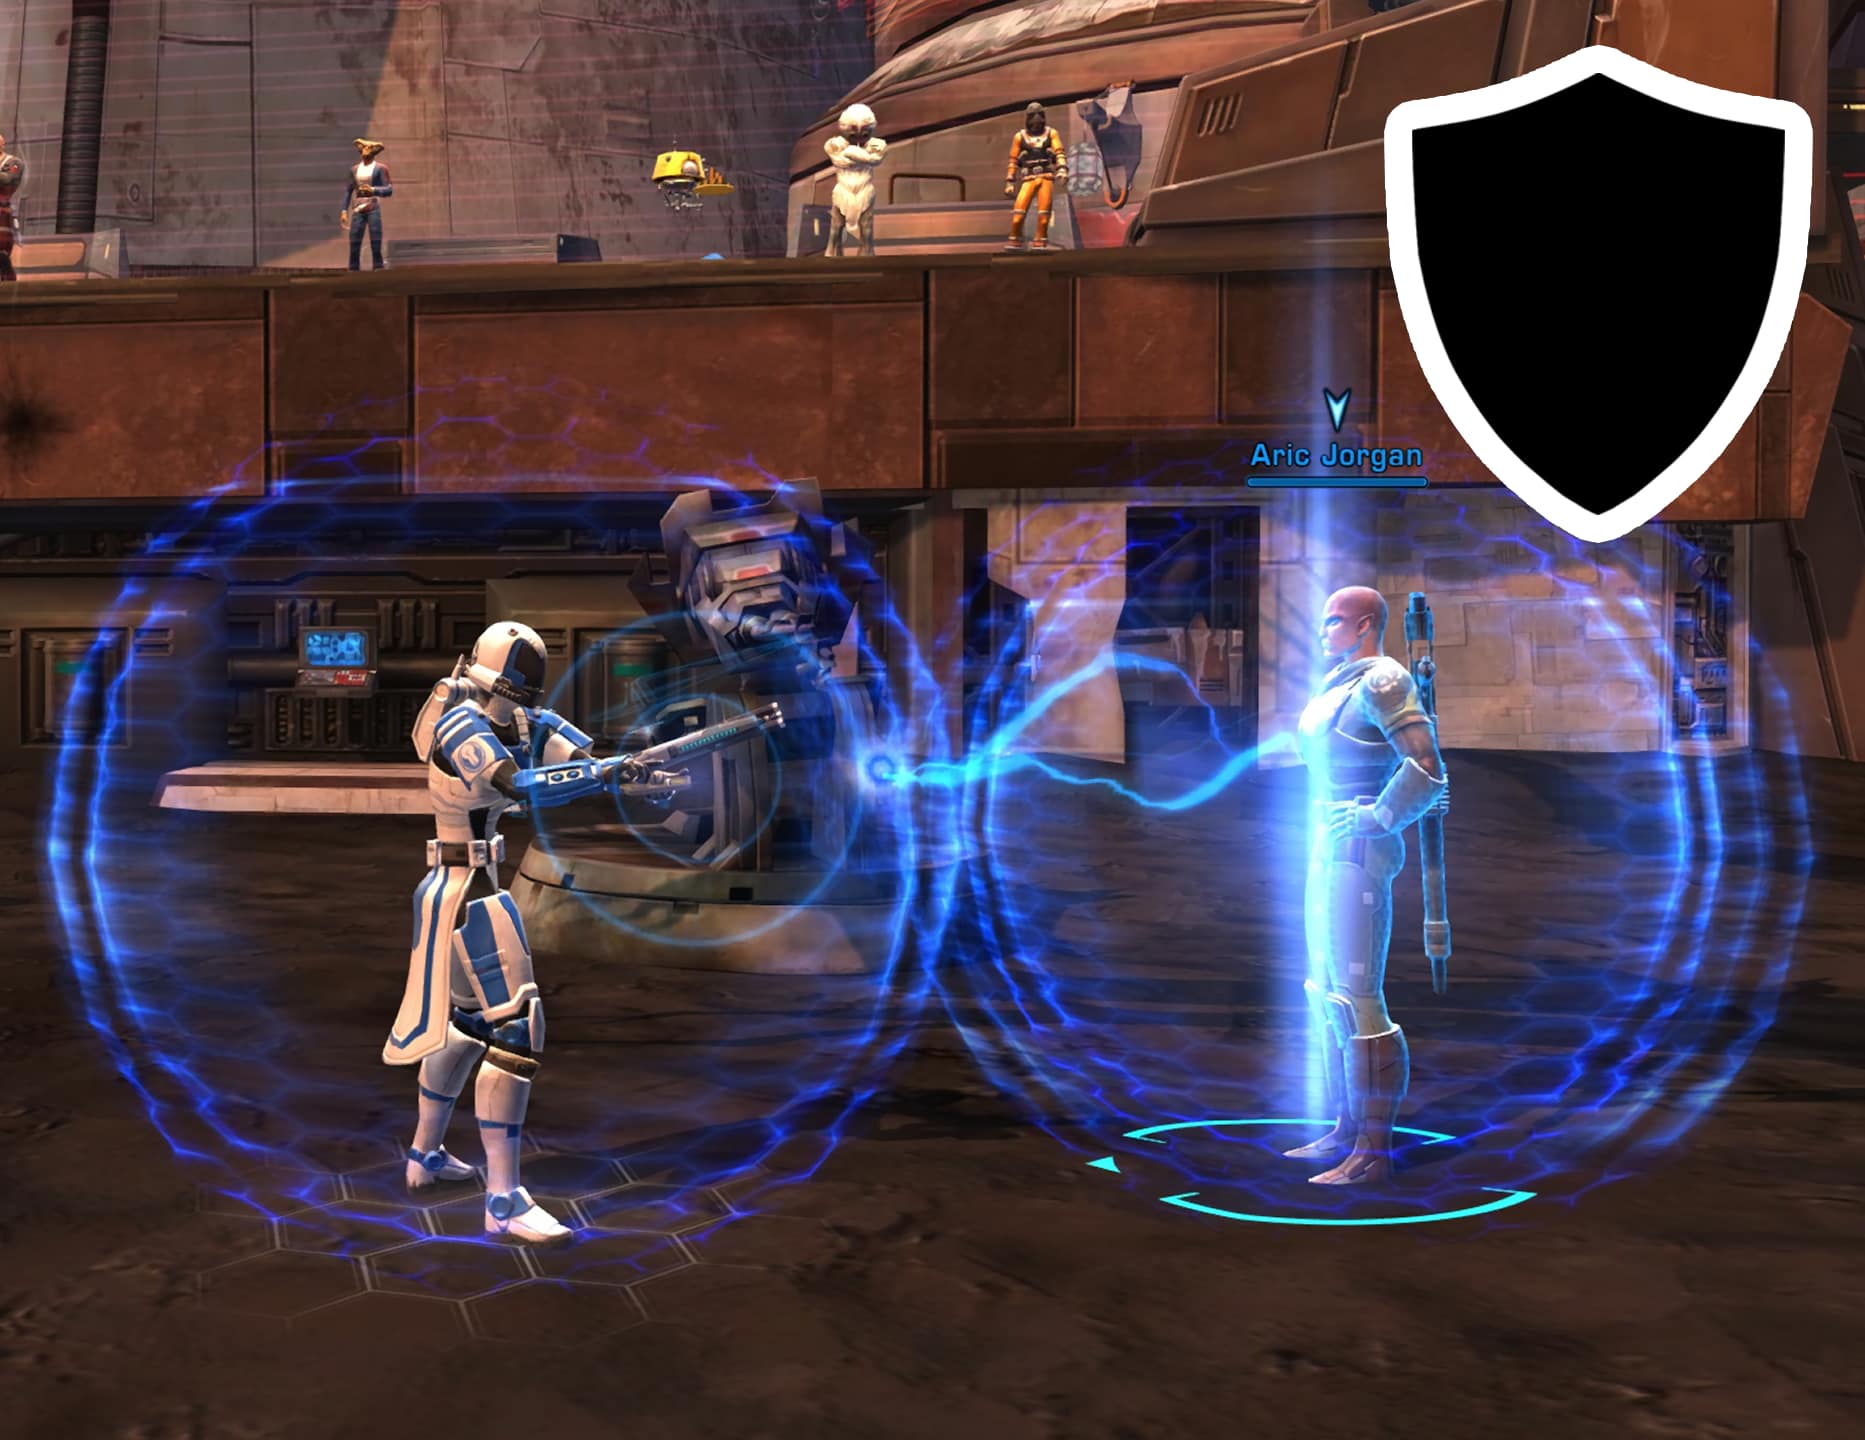
It is imperative to know how to swap Guard when fighting alongside two or more allies. To do this, you’ll need the Guard Ability set to something quick to access (I use the F key). Next you’ll need to open your Interface Editor to make sure the “Target of Target” window is enabled. This should allow you to see something like this:

Nadia is looking at me and her target (me) is on the far right. This is what the “Target of Target” window enables. So if you’re in a battlefield, you can press Tab to swap enemy targets in front of you to see who they’re targeting. If the enemy is someone like a Sentinel/Marauder, Shadow/Assassin, or other enemies that can deal high damage to your ally, you need to guard the ally they are targeting.
The fastest way to do this is to set a hotkey to acquire the target of your target. To set this hotkey, go to Preferences > Key Bindings > Targeting and scroll down until you find “Acquire Target’s Target”. Set the key to something you can quickly and easily access (I use the `~ key, the one right next to the 1 key). Now you have no excuse to NOT protect your allies in an efficient manner!
Stay within 15 meters of your guarded ally so their damage is reduced by 50%. The other 50% of that damage will be transferred to you. This damage can be reduced through your tank stats such as Damage Reduction, Defense Chance, and Shield Chance! Guard Damage will break Stealth.
The enemy group will likely begin to focus on another target that you aren’t guarding. It is then your responsibility to find out who they’re focusing next, target their target, and guard that ally and repeat this process as necessary. The ability to Guard Swap is one of the core skills that separates the bad tanks from the good tanks in PvP alongside DCD timing and Resolve Bar management.
DPS Recommendations
Your job is simple, you just kill the enemy team to allow your team to secure a console/door. Though it’s not as simple as it may seem, anyone can fire blaster bolts at someone all willy-nilly.
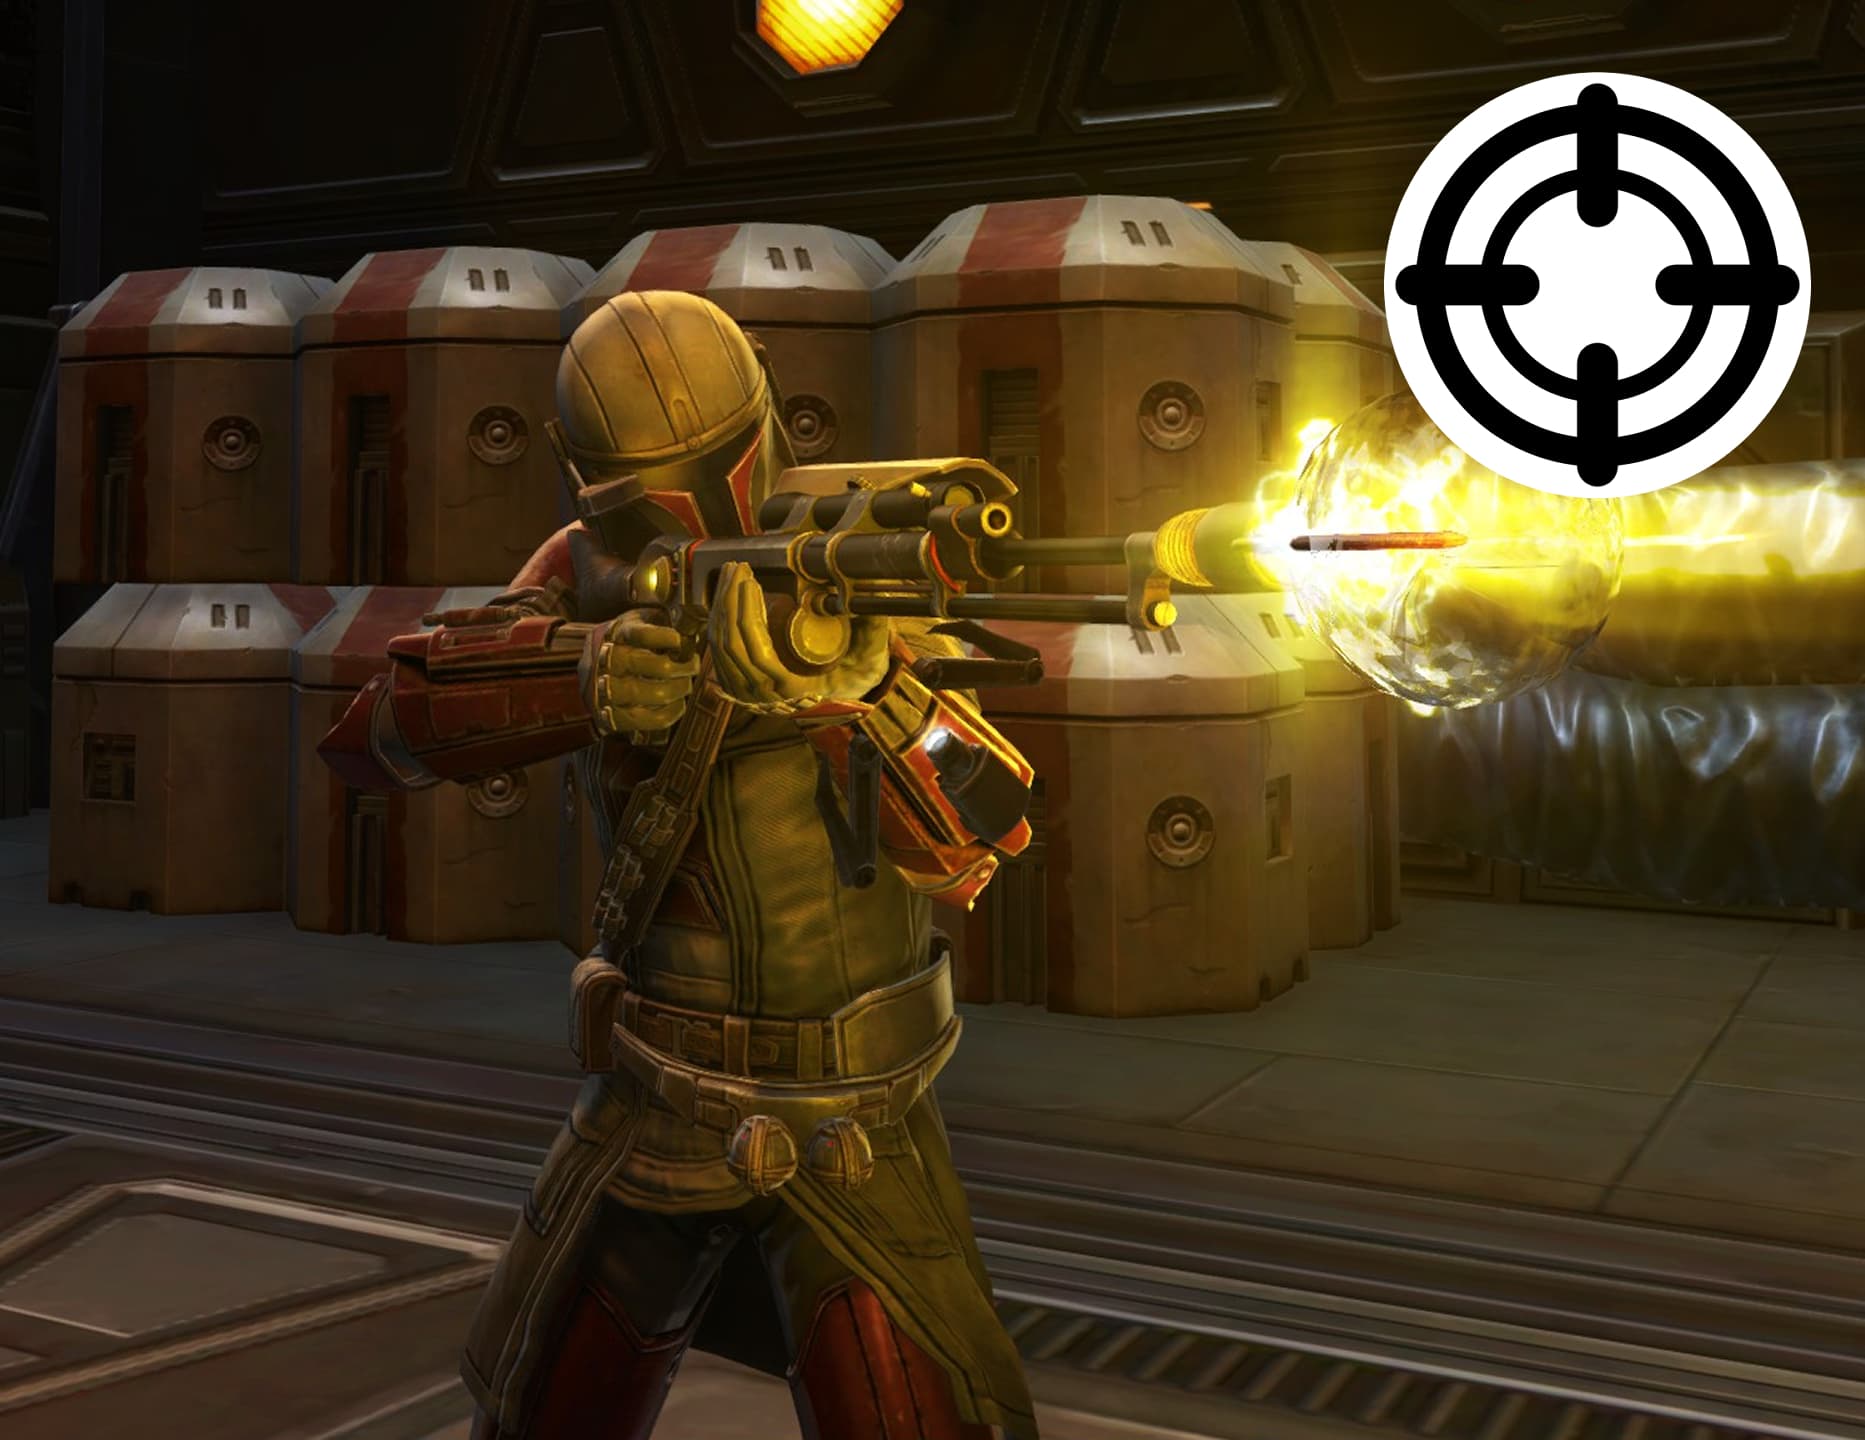
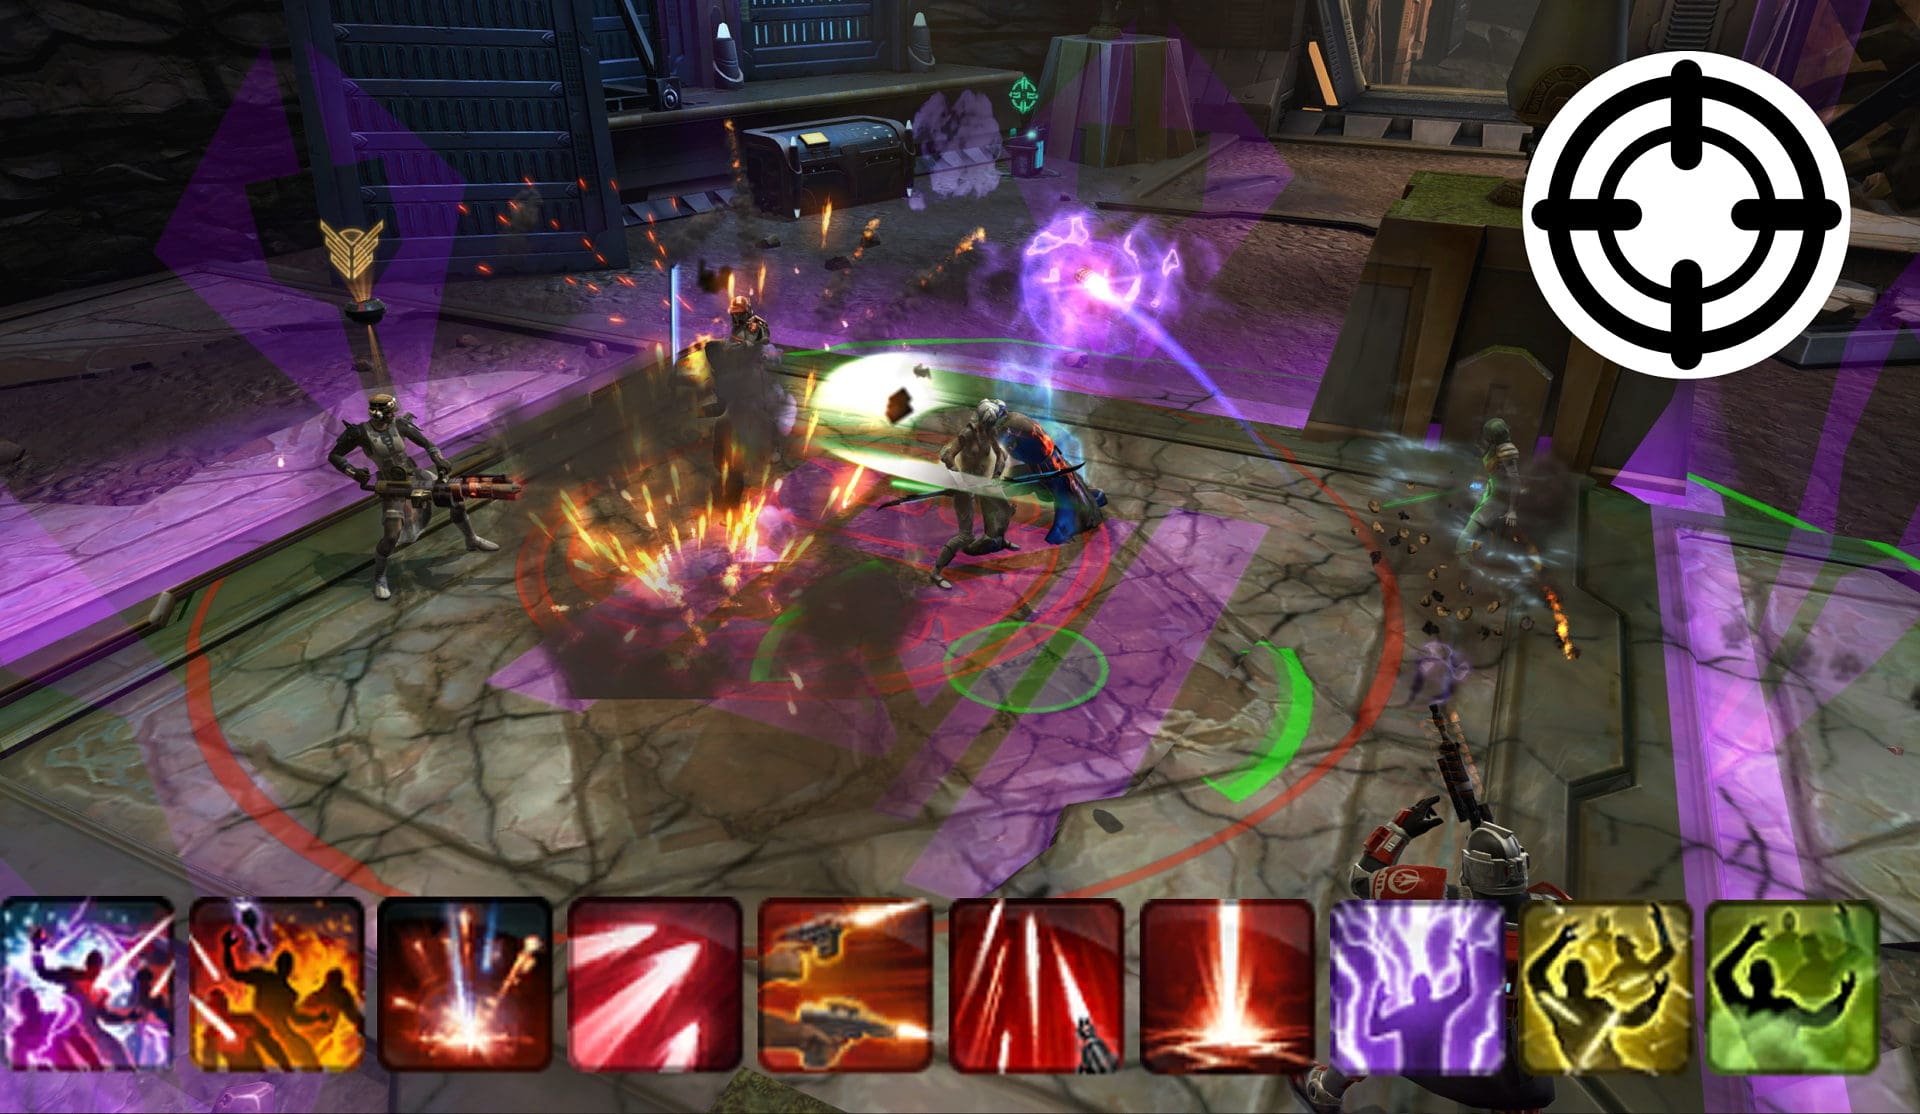
You must focus your fire on priority targets such as healers or squishier DPS units such as Sages, Sorcerers, DPS Shadows and Assassins, and DPS Vanguards and Powertechs.
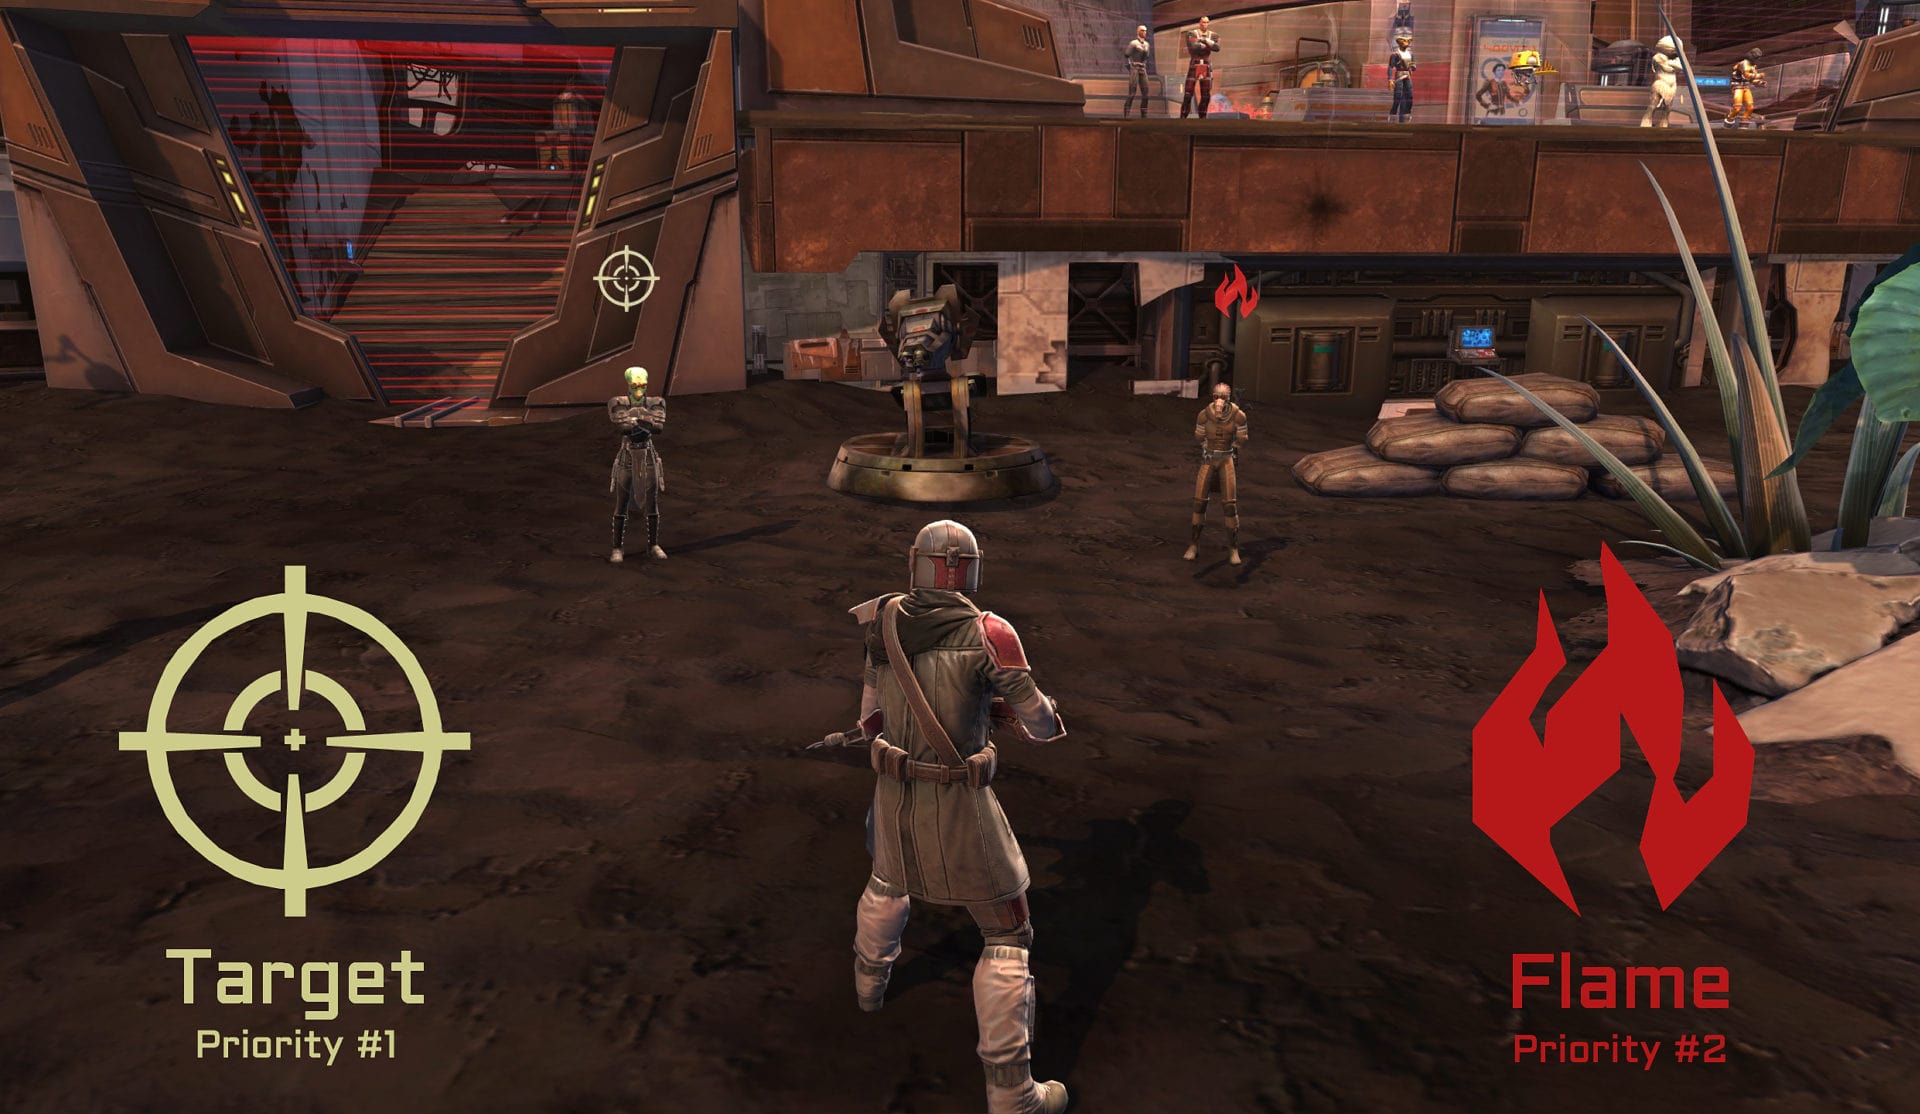
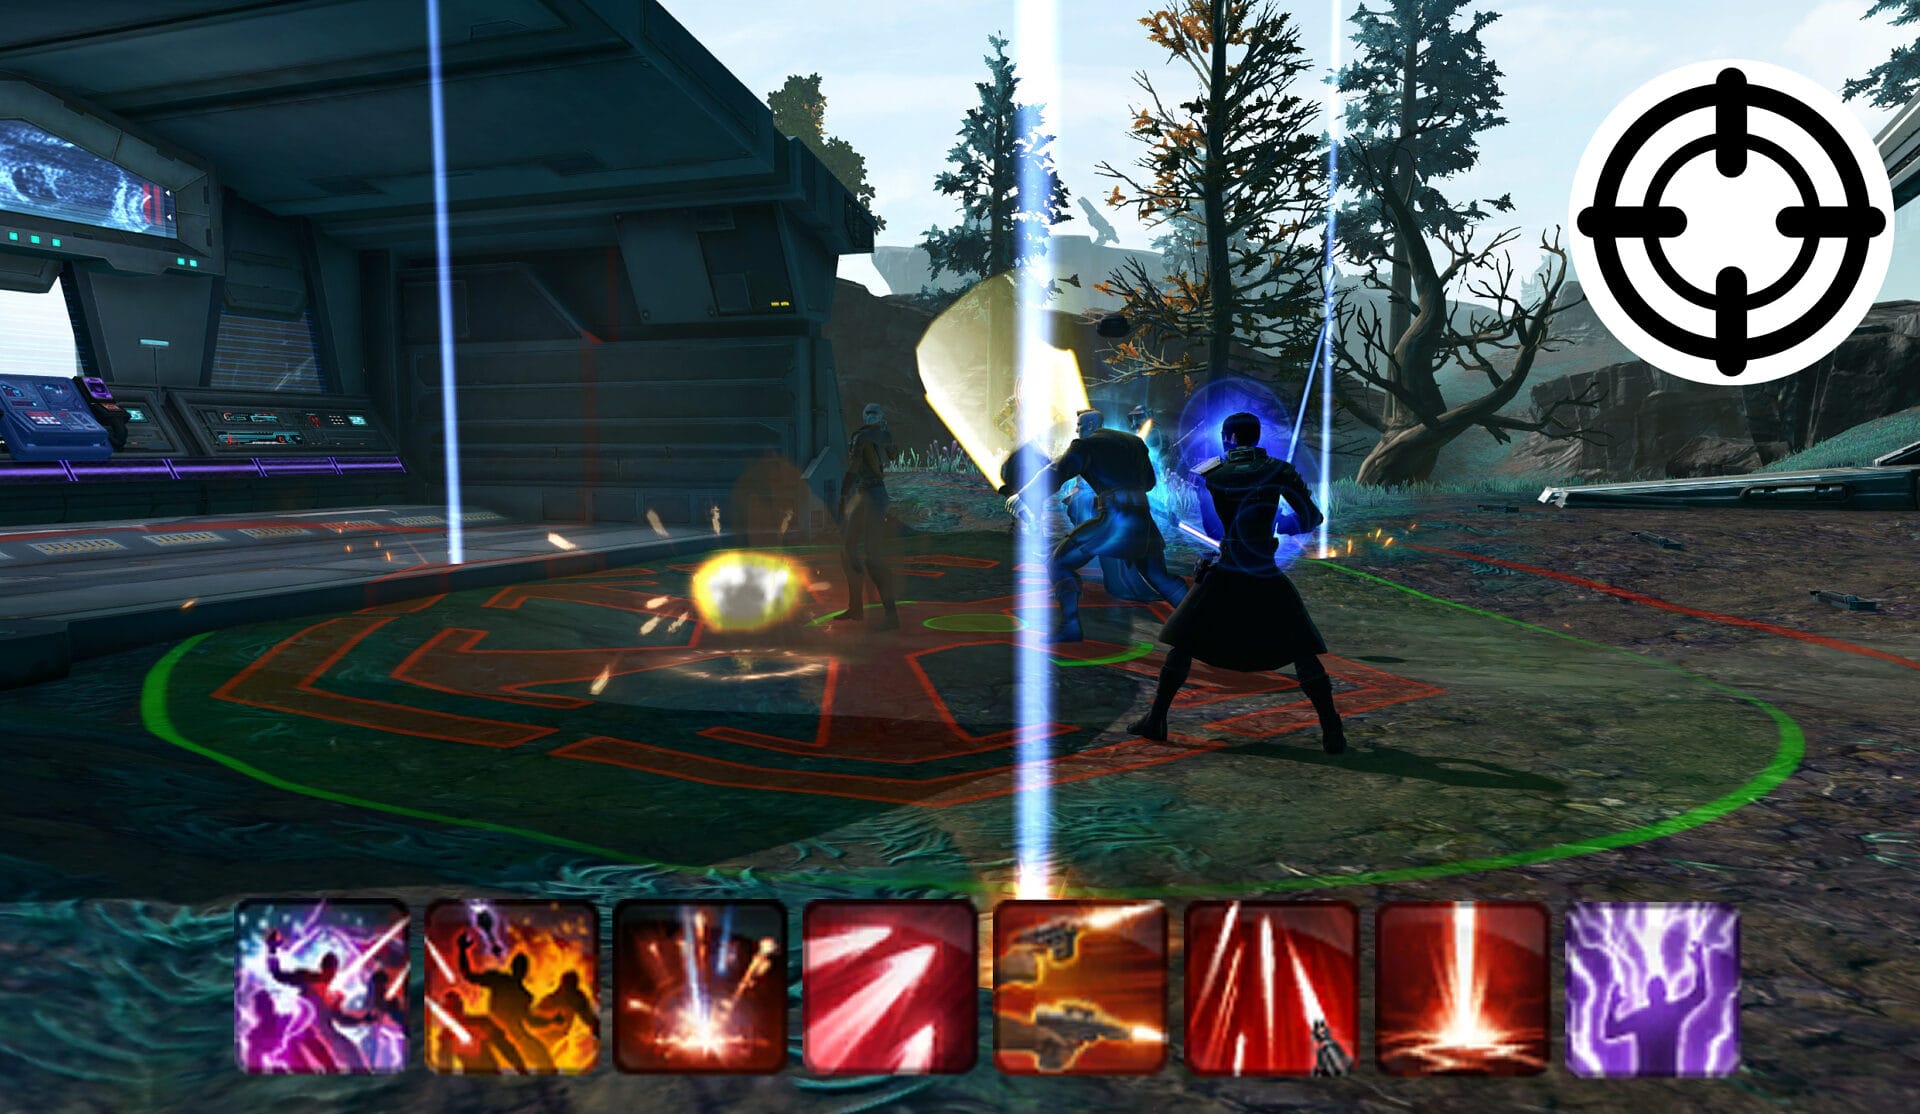
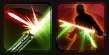
Utilize target markers to show teammates which target they should prioritize on. Typically a target with the Target symbol above their head takes first priority while a target with the Flame symbol above their head takes second priority.
Area of Effect abilities are fantastic in Odessen Proving Grounds as your opponents will be grouping up within a control point! This can easily increase your DPS output especially if you’re using a Damage Over Time spec as those tend to spread their periodic damage with AoEs.
Support Recommendations
Every combat style can provide support in some form or another as there is no dedicated support class outside of healers. Speaking of healers, you just need to heal your allies as usual with your priority being the tank if you have one (who should be guarding you).

Should all of your allied DPS fall in combat, you and the tank should have the means to stall hopefully long enough so your allies can respawn and run back. This is more easily done in the Middle Zone but can be harder to pull off in Snow or Grass if it’s being raided as it takes longer for everyone to reach there.
Let’s look at some of the many unique abilities among combat styles that offer great support for their team.
Sentinels/Marauders with access to the Transcendence/Predation ability are great to have at the start of the match.
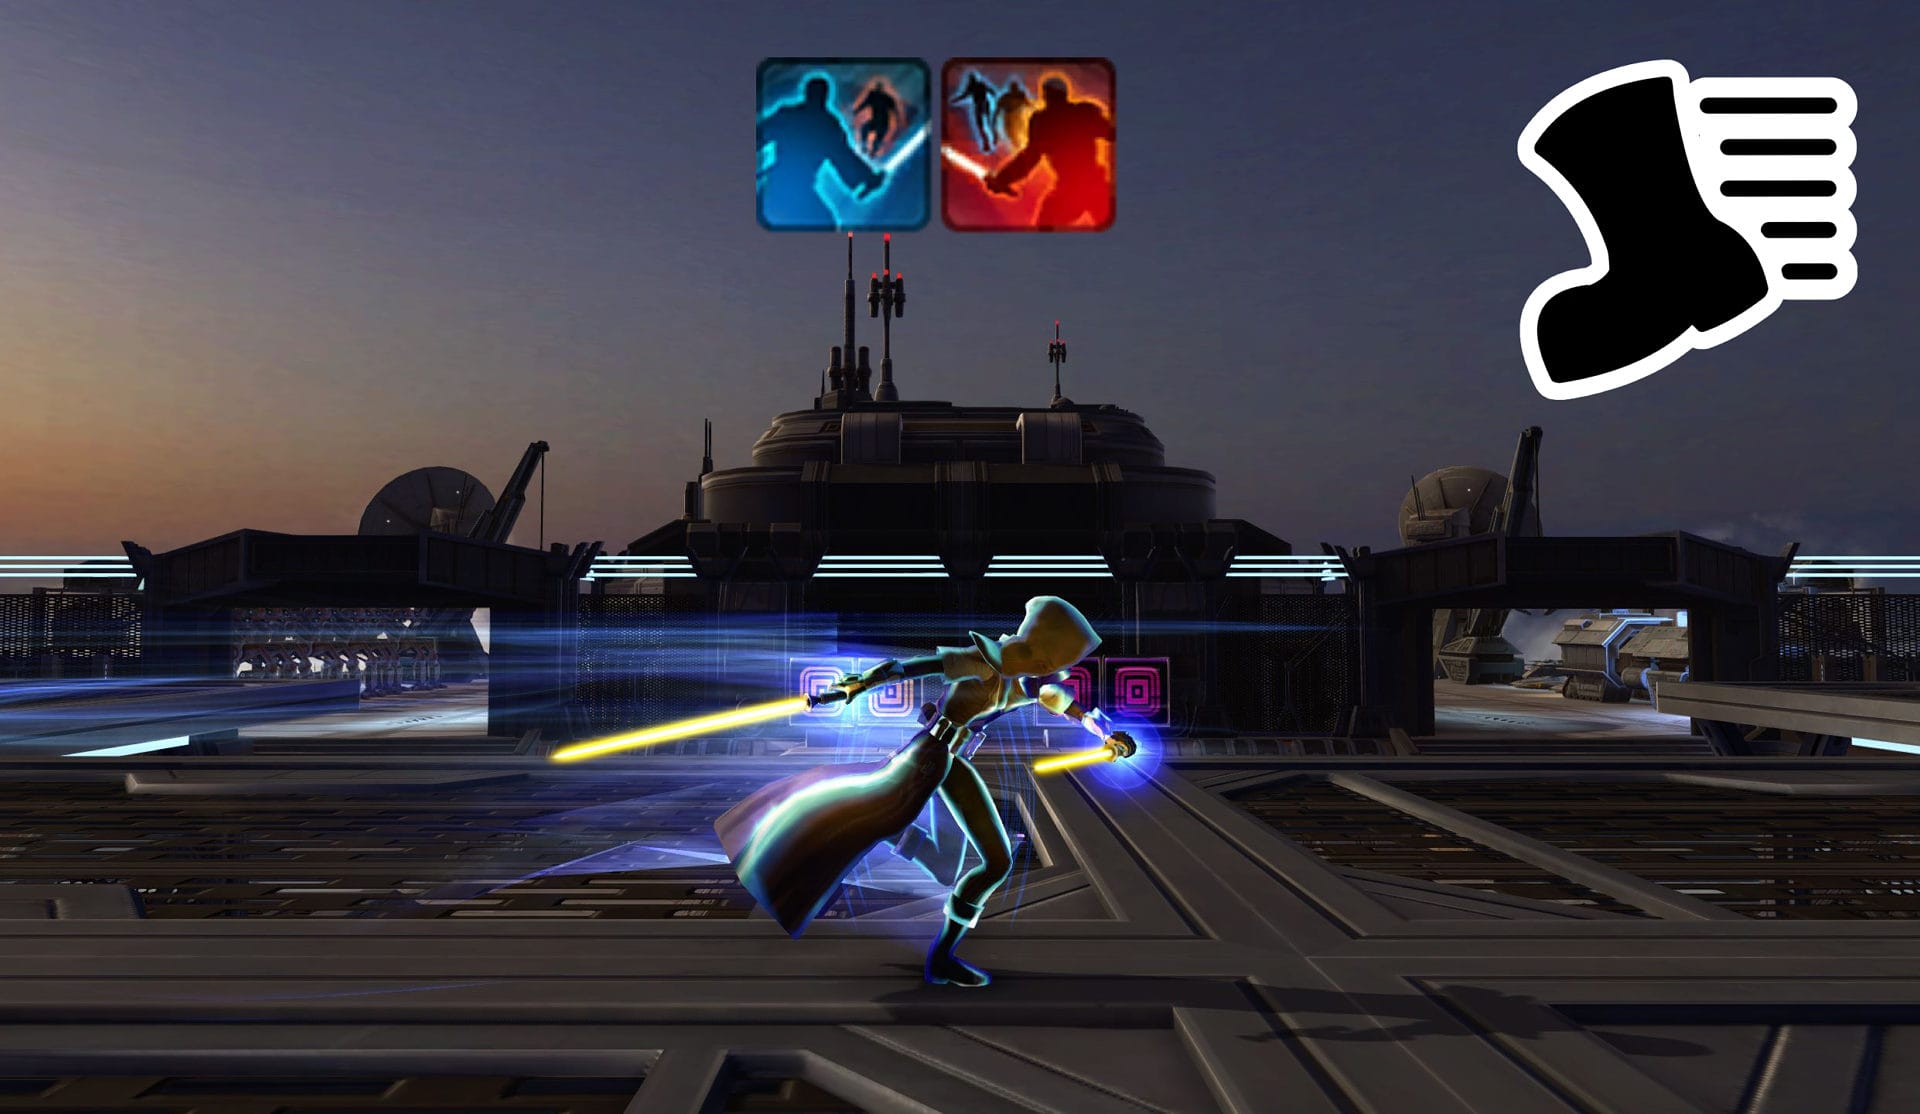
When used, this ability grants group members within 40 meters 80% more movement speed, 10% increased defense chance and purges movement impairing effects such as slows. This is great to use to help everyone reach the control points sooner and hopefully secure them before the enemy does.
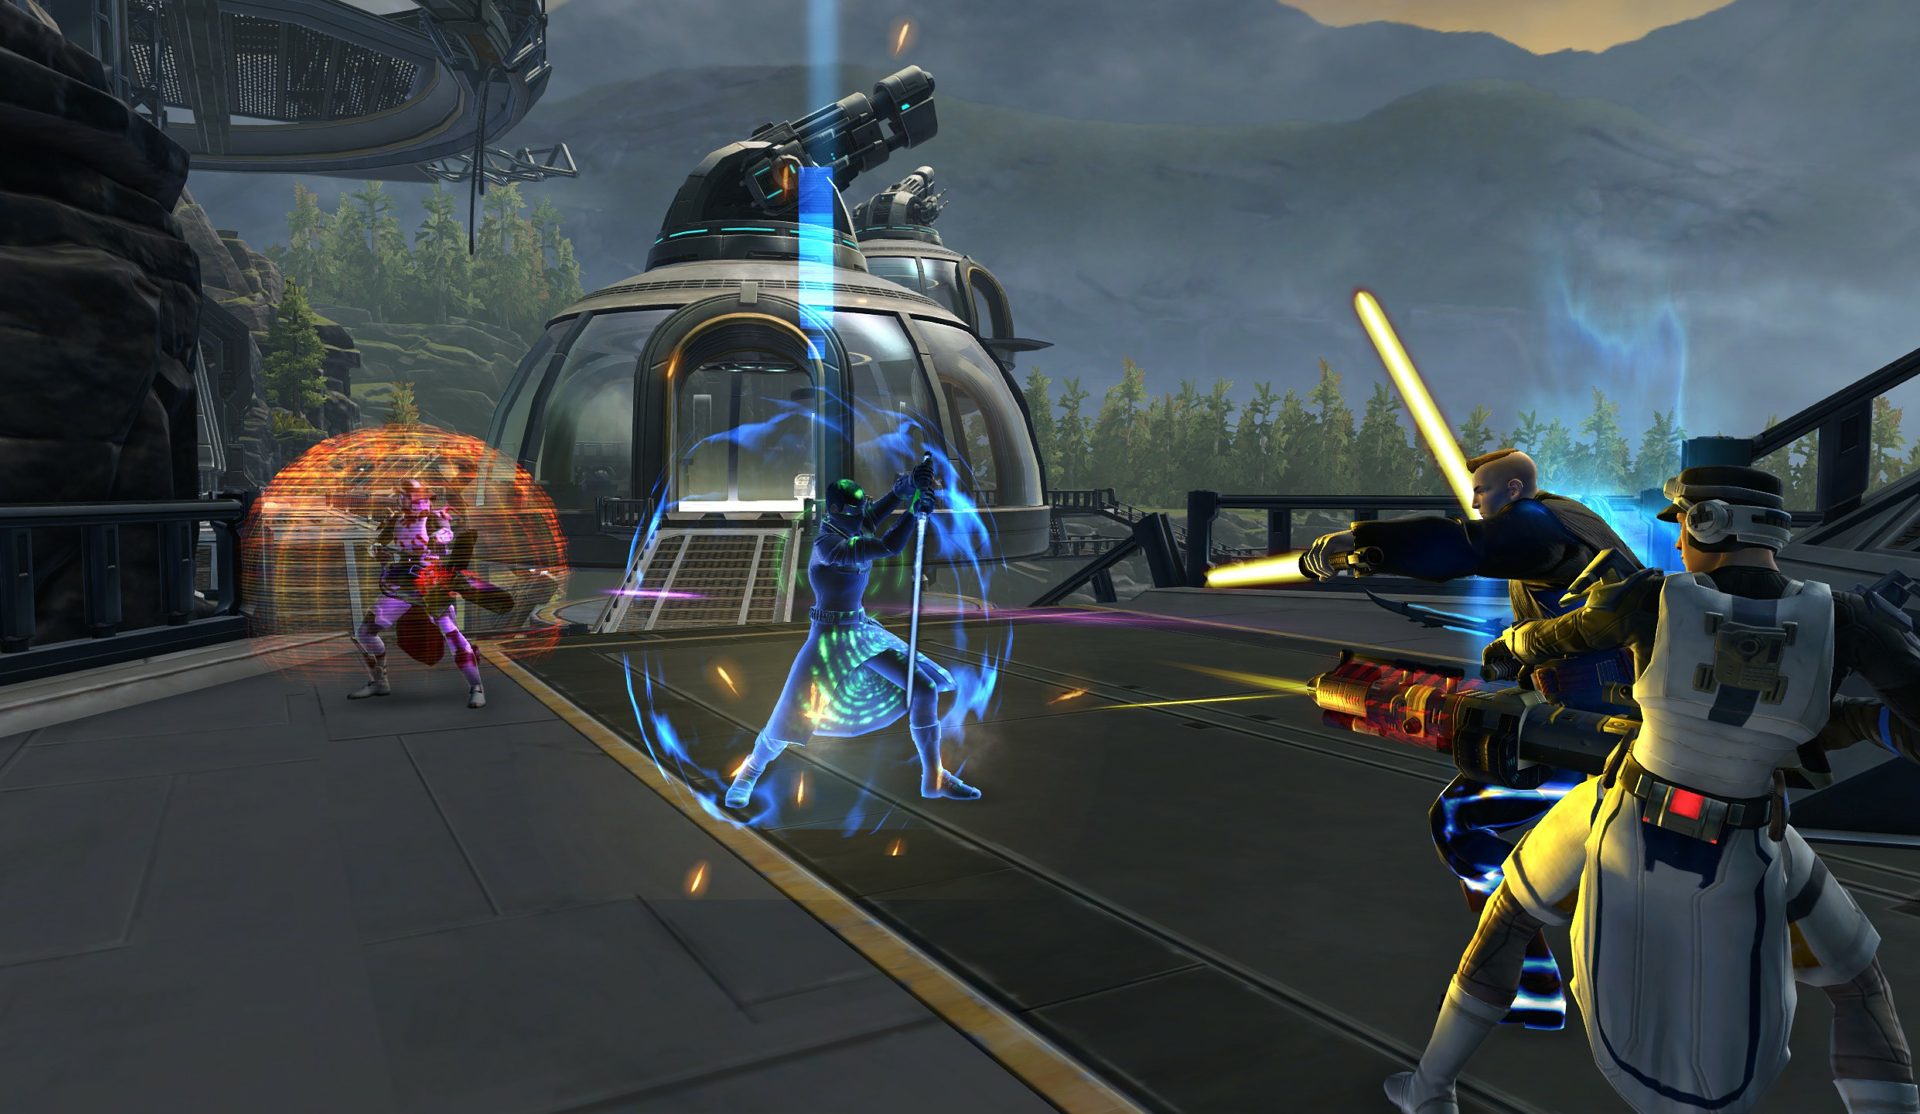
Gunslingers/Snipers have access to a great ability called Scrambling Field/Ballistic ShIeld.
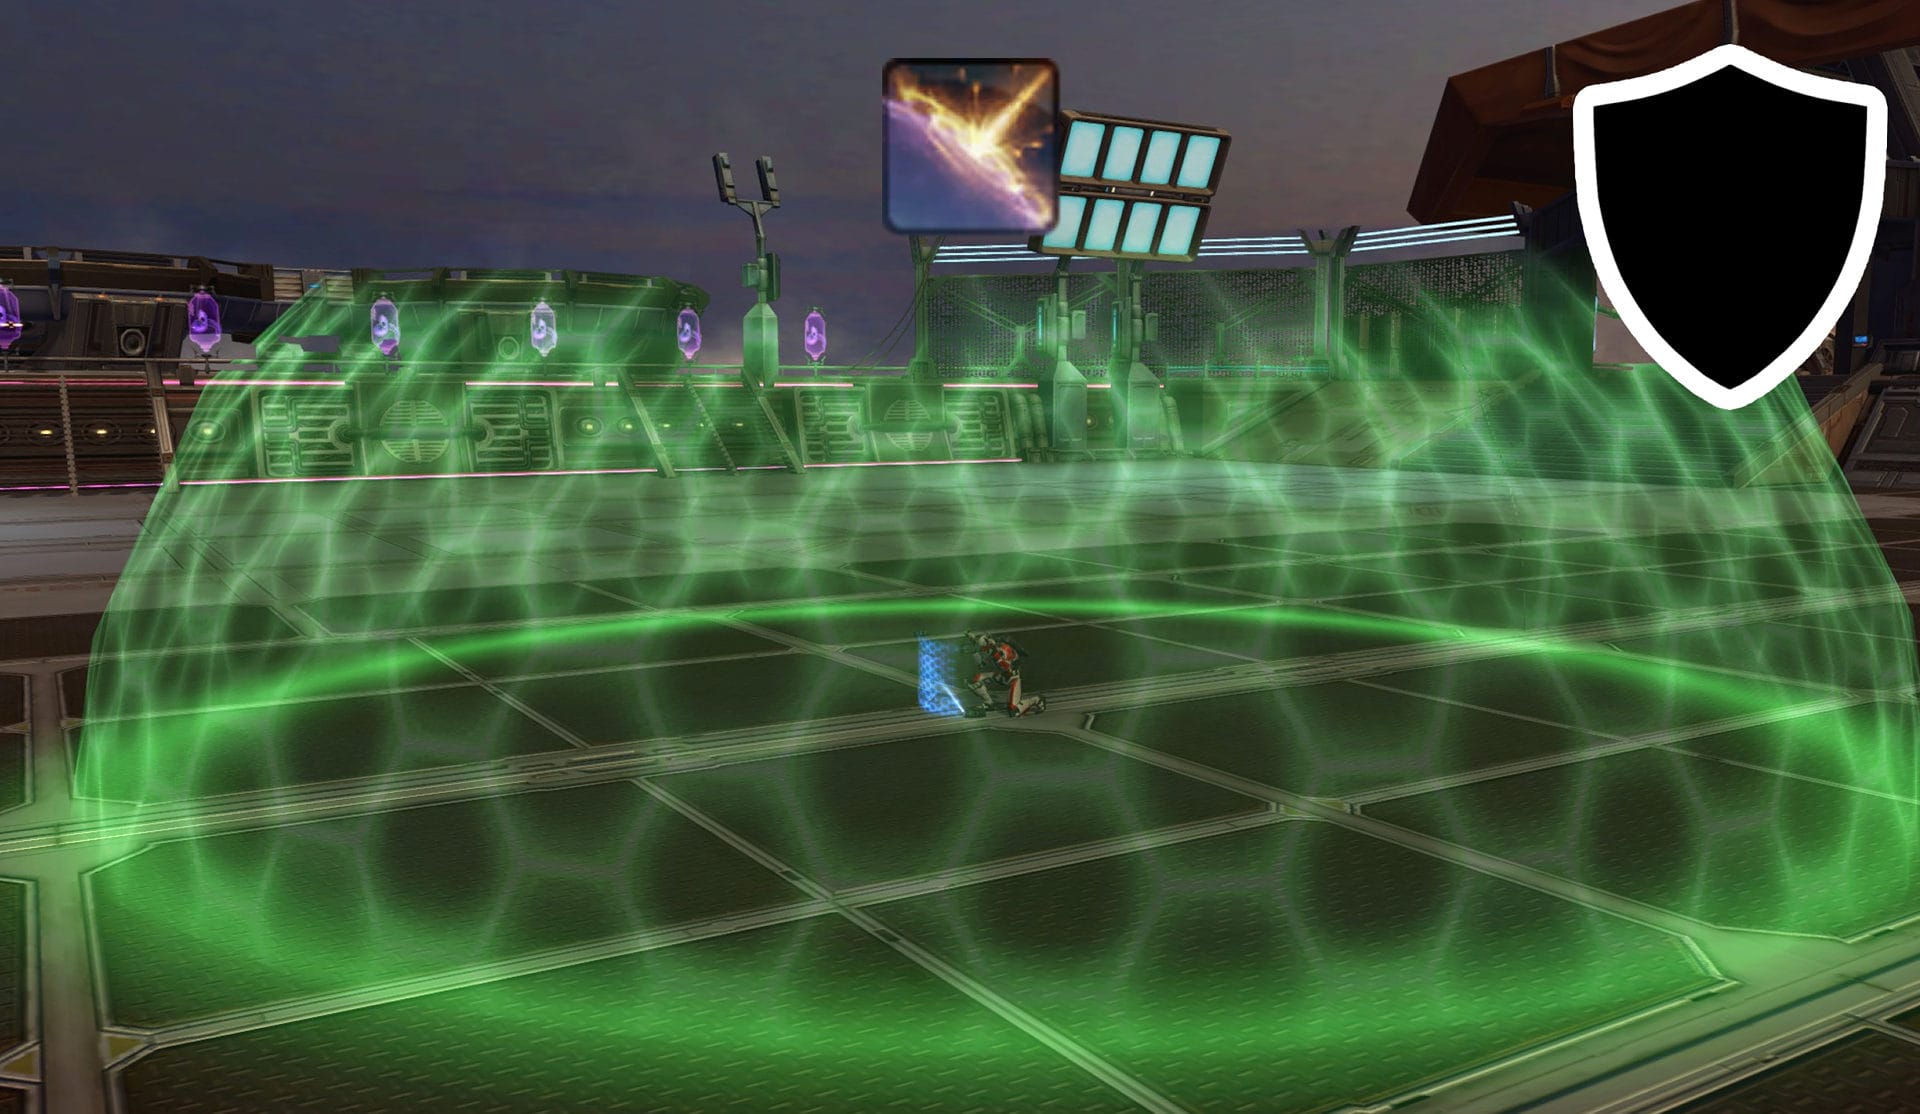
This creates a circular area with a 10 meter radius that reduces damage done to allies within the area by 20% for 20 seconds. With a 3 minute cooldown, this should be used wisely and during times when combat is very intense.
Stealth Scan is an ability that Troopers and Bounty Hunters can gain access to. When used, probe droids will scan an area for 15 seconds, detecting any enemy stealth units. If an enemy stealth unit is caught, they’ll be immobilized for 3 seconds.
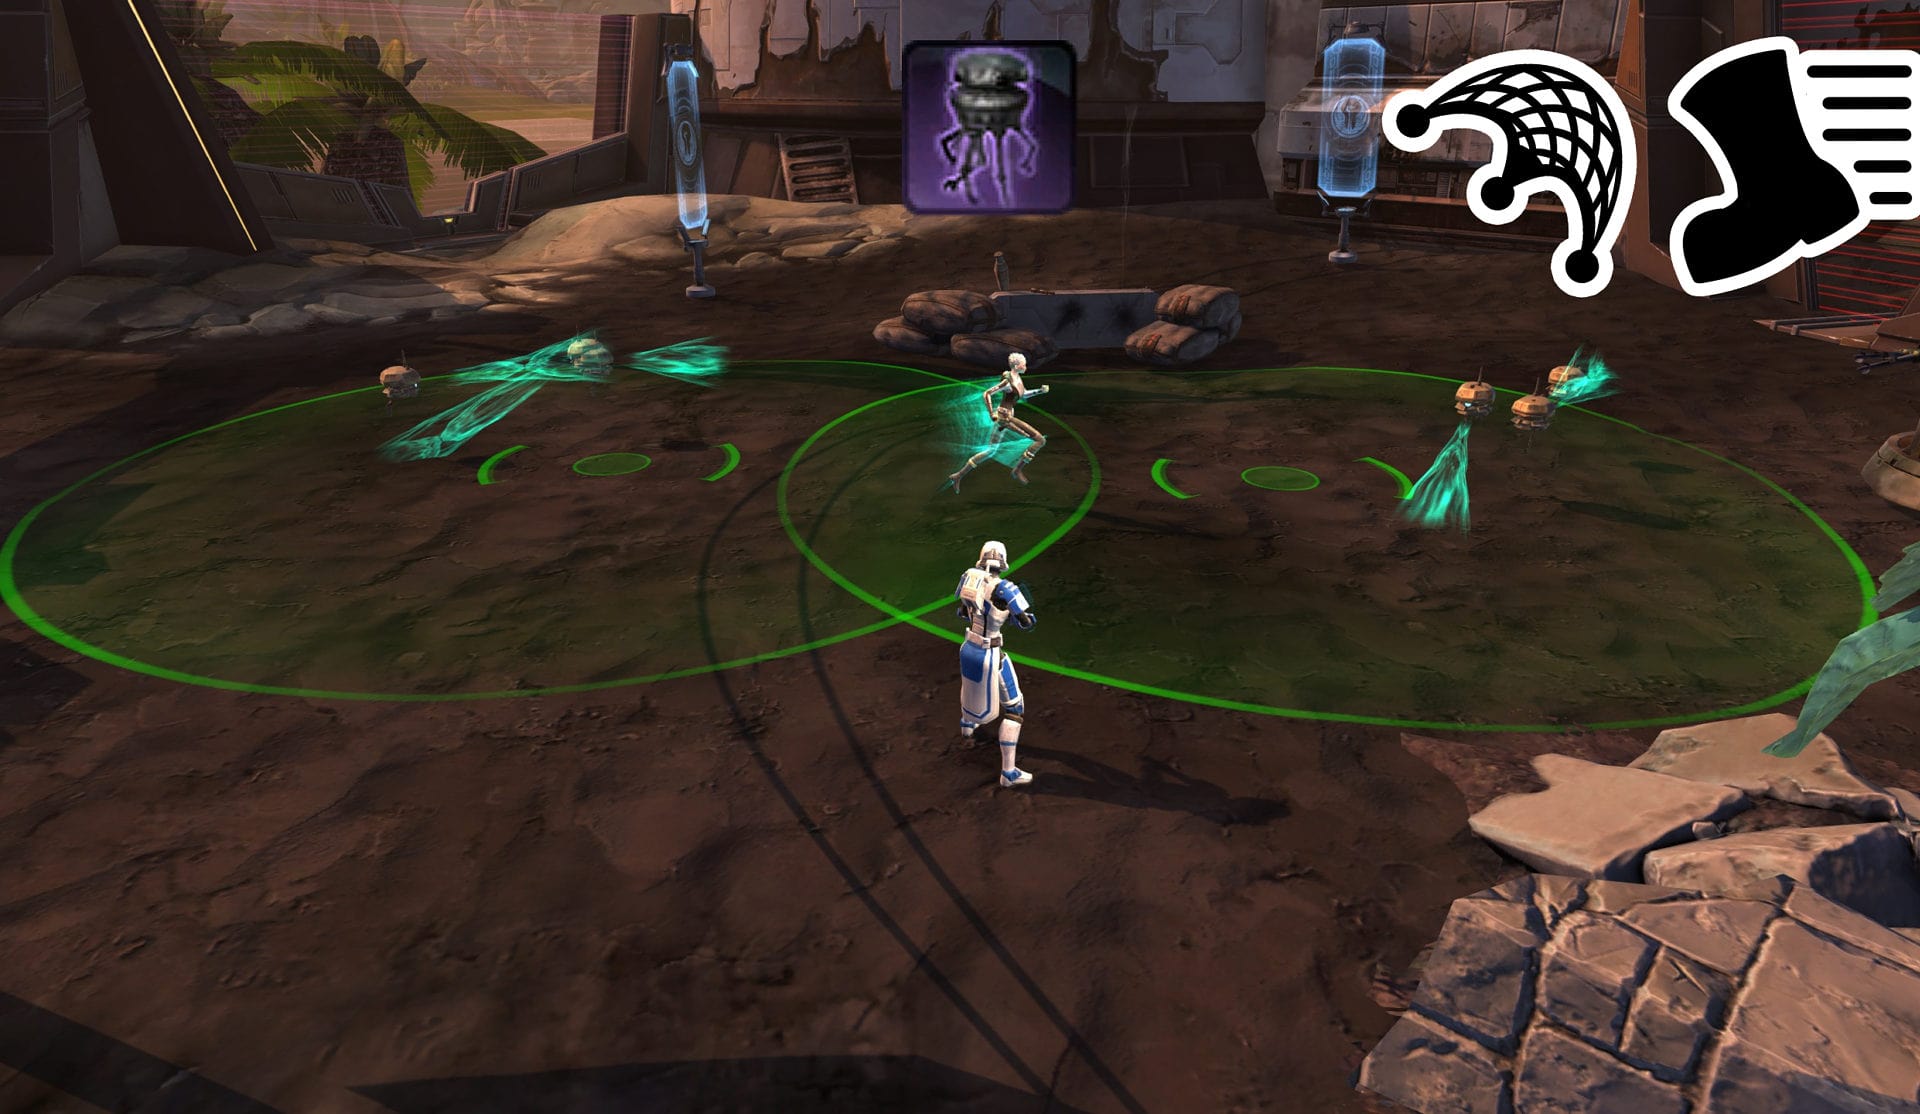
Allies within the area also gain 50% movement speed so long as they remain within it but will keep the effect for 6 seconds if they leave the area. This ability is great to use right after a stealth unit uses their combat stealth to disappear mid-combat.
Catching them will throw them off and ruin their momentum. Since this is on a 10 second cooldown with a 15 second duration, Stealth Scan can have a 100% uptime in an area. You can even link the two zones to increase the area where allies get increased movement speed.
Any form of push, especially Area Pushes, are fantastic to have in Odessen Proving Grounds.
These alone can help someone capture a control point single handedly or to keep off enemy players. Just be mindful of an opponent’s resolve bar so you can be sure that you can push them.
Gunslingers/Snipers also have access to the Diversion ability which creates an area with a radius of 8 meters that reduces accuracy of enemies by 45% for 6 seconds.
This is good to use if you’re dealing with a lot of melee classes or classes that use a lot of weapon damage. Additionally, this can be used to pull a Gunslinger/Sniper out of cover even when they’re using the Hunker Down/Entrench ability which blocks most forms of CC!
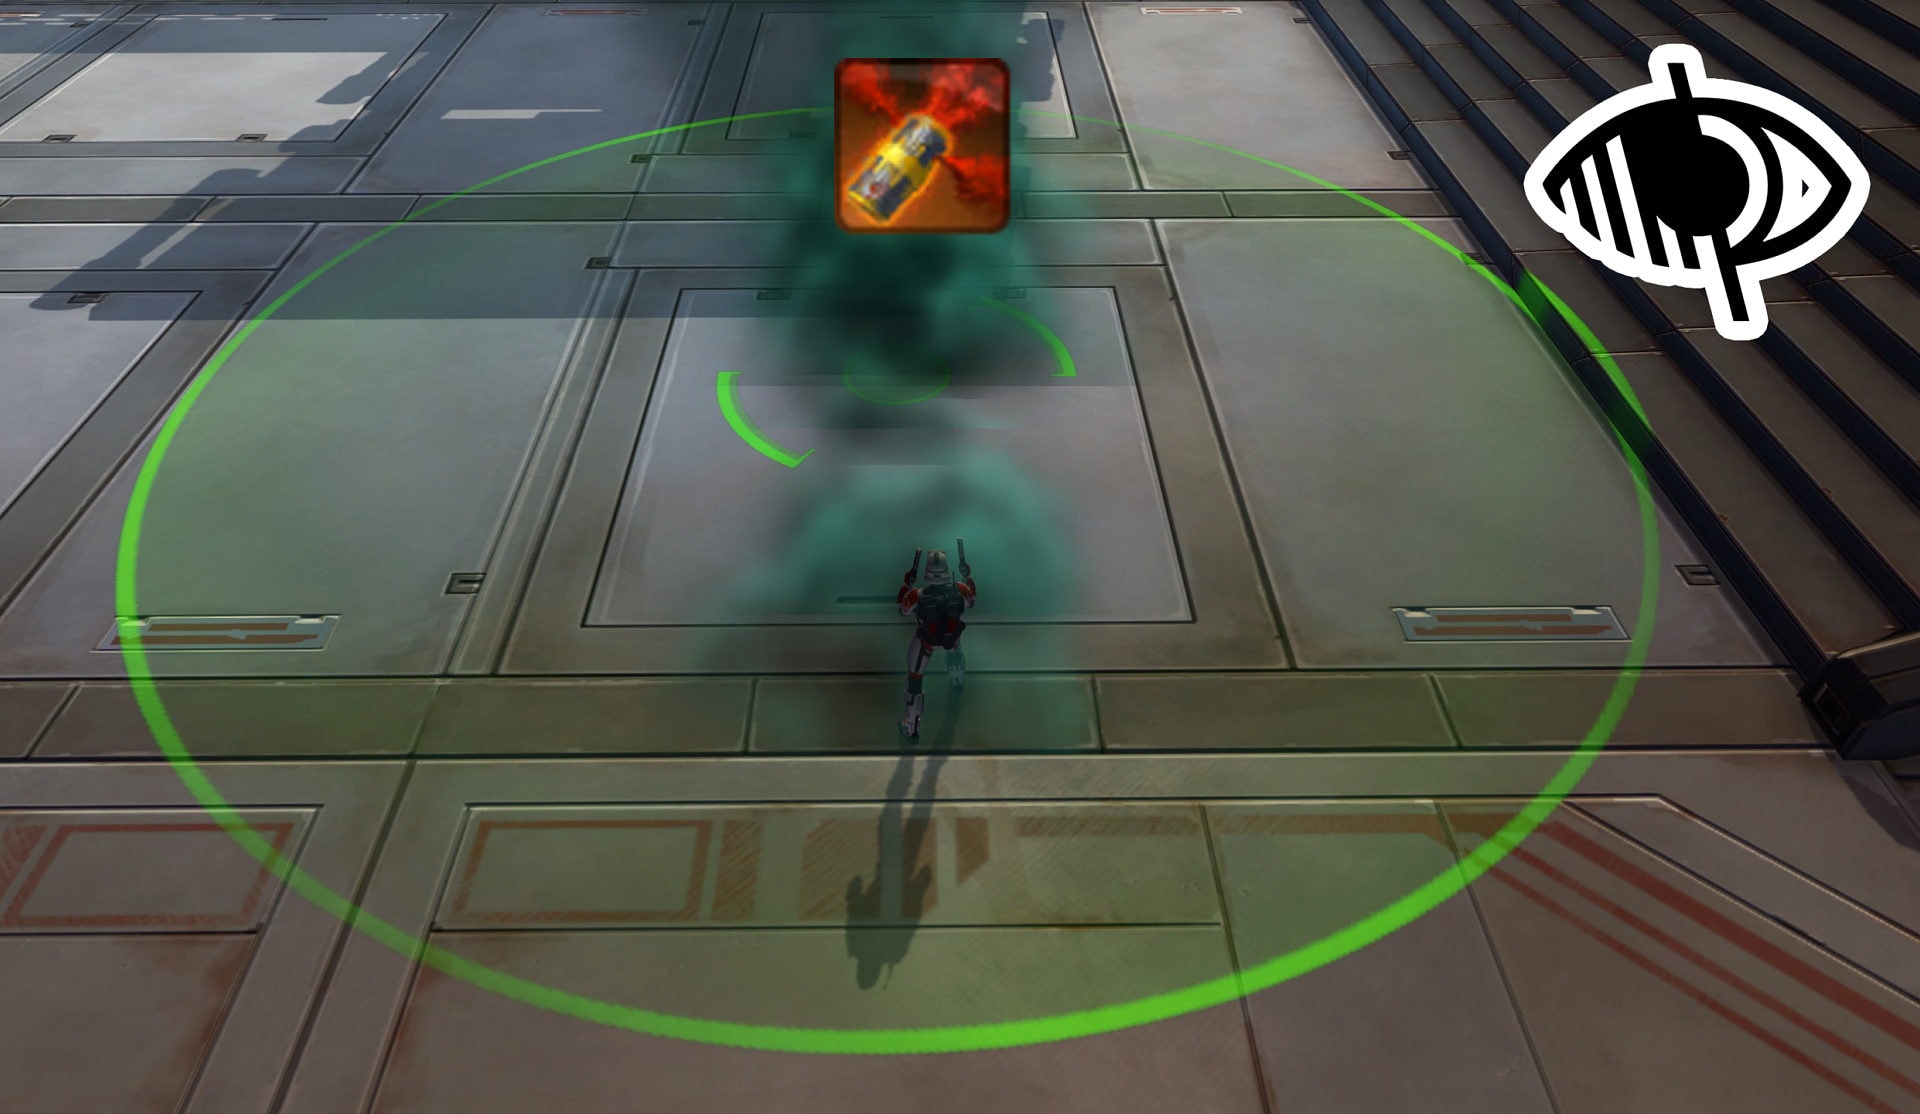
Tank Vanguards/Powertechs get access to the Riot Gas/Oil Slick ability. This ability creates an area with a 10 meters radius centered around the caster which lasts 10 seconds.
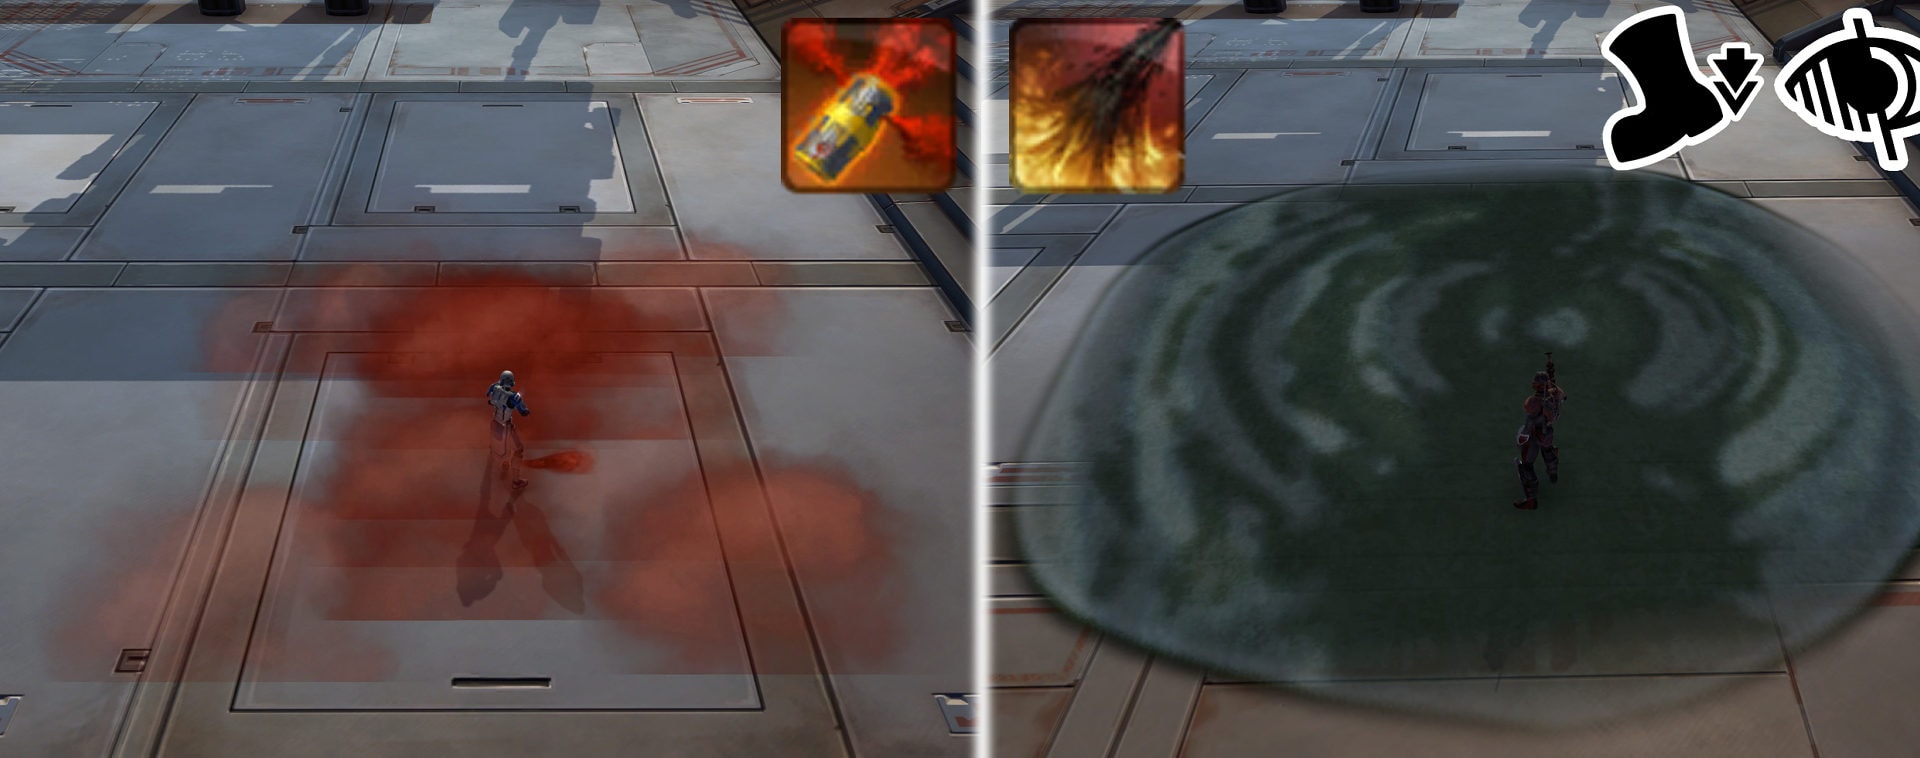
Any enemy caught within this area will have their movement speed slowed by 70% and their accuracy reduced by 15%. This is good to use in the console capture zone as the enemy is forced to exit the area and unable to capture the console, or try to capture the console while making them an easy target.
If your combat style has access to an area ability that can be cast at a specific point, then you must keep an eye on the control point if you’re fighting near one. Oftentimes someone attempting to capture one will hide behind the point to avoid targeted abilities. Area abilities will ignore this so casting this on top of the control point will stop someone in the middle of capturing the point.
Stealth Recommendations
Stealth units have the luxury of entering combat on their terms. In Odessen Proving Grounds, their job is to act as recon, capture control points, and/or dispatch priority targets in group combat.
Non-stealth units will find it difficult to type in the midst of combat, meanwhile stealth units can tell their team about enemy movement while hidden away. While providing recon is important for your team, don’t let it be the only thing you do. Contribute to your team’s efforts by participating in group fights or capturing control points.

Communication is an important task for any stealth unit to perform. While they have the ability to type safely while cloaked, they should learn to abbreviate their words to cut down on their time typing. Here are some common abbreviations and terms used for PvP communication:
- DPS = Damage Per Second, typically to refer to a damage focused player.
- Tank = A player who focuses on defense, typically tough to kill
- Heals/Healer = A player who focuses on healing other players, they are
- AoE = Area of Effect, typically a damaging ability that hits several targets in an area.
- CD = Cooldown
- DCD = Defensive Cooldown
- GCD = Global Cooldown
- CC = Crowd Control
- Mez/Mes = Mesmerize stun, typically lasts 8 seconds and breaks on damage taken.
- Sap/Sleep = A mesmerize stun used from stealth
- Rez/Res = Revive
- Omw = On my way
- Cap = Someone attempting to capture an objective
- MVP = Most Valuable Player
- Thrower = Someone who is intentionally throwing a match
- Farming/Inting = The act of intentionally getting killed to help the enemy team
- Carrying = The act of helping a team member or the whole team to win when they would not have been able to otherwise.
- Pocket Healer = A healer who only heals one person, typically someone who queued with that player.
How to Guard a Control Point
What separates the good guards from the bad guards? Vigilance, discipline, communication, and knowledge. This role is a very important one and sometimes, not the most exciting one, but one that should be filled regardless of the situation.
More often than not, the guard will end up having to fight a lot of 1v1s during their duties assuming they’re at a more inactive control point. Due to this, it is very important for them to know their rotations and how to use their abilities against certain enemies. Let’s go over the various aspects of guarding a control point.
Lookout Duties and Communication
When you guard a control point, you must keep your eyes on nearby entrances as that’s where enemies will come from. This can be seen as the most boring aspect of the job by many but it is by far the most important one. The moment you see an enemy coming, you need to type to your group how many are going to where. Let’s use an example scenario.
You’re at the Artifact Chamber and you see 3 enemy players coming towards you. What do you type to your team?
While you could say “We got 3 enemies incoming to the Artifact Chamber”, it’s inefficient. Instead you must summarize that to something like “3 inc south” or “3 INC SOUTH”. Whether or not you use caps or not is up to you, just limit the caps to recon chat remarks and not standard chat. This allows your team to quickly know how many are coming to snow and how many to send your way, in this case at least 2 people.
If you were to just say “INC SOUTH”, this can cause your team to overreact and send the whole team there leaving another control point unguarded only to find out there were 2 invaders at south. Use your nouns and adjectives when typing because people can’t read your minds and often lack map awareness.
Do not be one of those people who doesn’t state incoming or states incoming after they died or about to die. You must be proactive with your lookout duties to ensure the best odds at maintaining control of a control point.
Number of Guards
This is actually the only map where one can encourage the use of multiple guards in an area. While some can have the ability to maintain a control point alone, it never hurts to have at least two guards in a control point with low amounts of combat.
A spare guard could head towards a battle mod while the other stays at the point in an attempt to find a beneficial buff such as an Orange or Blue buff. If they end up with a Green buff, they can become a solo guard for a currently inactive control point and activate it.
Stalling and Sacrifice
If you find yourself outnumbered and waiting for reinforcements, focus less on trying to defeat your opponents and more on surviving for as long as you can. At one point or another during your duties as a guard, you’re going to run into a situation with you having zero odds of surviving.
While you wait for reinforcements you must use your DCDs, Warzone Medpacs and Adrenals, and use nearby healing nodes as each control point has one nearby. Just be sure to use a leap, dash or a charge to get back in quickly before you lose control of the point. With enough time, you might just live long enough to get help or at the very least, ensure allies can defend the control point as you respawn.
The Best Control Point Guards
Before we look at the following combat styles, I want to emphasize that any combat style can act as a guard. It’s just that the following tend to excel more than others due to their kits and abilities. If you’re not one of these combat styles as a guard, remember the tips above to maximize your productivity!
Kinetic Combat Shadows and Darkness Assassins
From personal experience, I would argue that the best objective guards are Kinetic Combat Shadows and Darkness Assassins. They have the durability of a tank and the ability to communicate safely as a stealth unit.
These two aspects fuse very nicely when guarding as they can move around while stealthed to get different viewing angles without revealing themselves.
They also have a passive stealth detection buff from their combat style which can allow them to see enemy stealth units if they get close enough. Though their strongest feature is the fact that they make excellent duelists and a well practiced Shadow/Assassin can take on just about anyone in the game.
Let’s go over some of their useful abilities as to why they make such great guards.
The ability Deflection grants the Shadow/Assassin +50% Defense Chance for 12 seconds. On top of that, an area around them within an 8 meter radius decreases Force and Tech damage done to anyone caught within. Since Force and Tech damage is very prominent in PvP, this is an excellent ability for reducing damage from numerous caster classes.
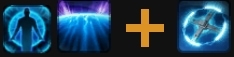
The ability Force Wave/Overload is an AoE push that will knock up to 8 enemies back in a 15 meter cone. Targets hit by this ability will be immobilized for 5 seconds though direct damage after the first 2 seconds ends the immobilize effect. With this ability, they can stall an invading team for a good duration of time but even more so with a Rakata Freeze Bomb. The Rakata Freeze Bomb is a consumable grenade that when thrown, deals elemental damage and immobilizes up to 4 targets in the area for 6 seconds. When combined with Force Wave/Overload, the Shadow/Assassin can root 4 people for 11 seconds while barely filling their resolve bars.
If the Shadow/Assassin has the Dusk Ward passive from their ability tree choice, then even attacking them can prove counterproductive. Should all 15 stacks of their Kinetic Ward/Dark Ward break, all nearby enemies will receive a debuff that causes affected targets to lose 20% accuracy for 6 seconds.
Shield Specialist Vanguards and Shield Tech Powertechs
These types of tanks are not often seen in PvP due to their low damage output. If anything, they’re rather underrated as they can get some insane damage reduction with their abilities.
They have stealth detection to pull stealthers out, they have an AoE direct damage ability to deal with groups of cappers, and two decent self heals. Let’s look at some of their abilities!

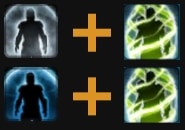
Vanguards/Powertechs have access to the Reactive Shield/Energy Shield and Infused Kolto Packs/Energy Yield abilities. Reactive/Energy Shield will increase their damage reduction by 25% for 15 seconds while Infused Kolto Packs/Energy Yield applies a stack of the ability which increases their armor by 40% while increasing their damage done by 2% for 15 seconds.
If they take additional damage while Infused Kolto Packs/Energy Yield is active, they gain an additional stack of the ability up to 5 stacks. Each of those stacks add 40% armor and 2% more damage. When the ability is over, they heal 6% for each stack of Infused Kolto Packs/Energy Yield they had. This means they can restore up to 30% of their health after having super high durability.
Let’s put a number to this durability. A fully kitted 328 Vanguard/Powertech will have a base damage reduction of 46.76%. When they use Reactive Shield/Energy Shield, they’ll have 71.76% damage reduction. With 5 stacks of Kolto Packs/Energy Yield, they’ll have 66.86% damage reduction. When both of these abilities are used together, the Vanguard/Powertech gains a total of 91.86% damage reduction for close to 15 seconds.
Now on top of THAT, lets say they have the Supercommando Package. When they use Kolto Packs/Energy Yield, they gain a shield that absorbs 301609 damage for up to 3 seconds thus allowing them to safely gather all 5 stacks of Kolto Packs/Energy Yield unharmed when they get ganged up on. Their sheer durability with these abilities is just insane and shouldn’t be underestimated.
Since most enemies will stack on top of the control point area, the Vanguard/Powertech can easily deploy their Riot Gas/Oil Slick and have it affect numerous targets. Those inside will have a 15% melee and ranged accuracy lost while being slowed by 70%. This pairs nicely with the Battle Focus/Explosive Fuel ability paired with the Soldier’s Grit/Coolant passive which increases their defense chance. This can allow the Vanguard/Powertech to ignore a good amount of weapon damage.

Stealth Scan is a great ability to keep an eye out for stealth units and can also be used to pull out a stealther who used their combat stealth to exit combat. Put those stealth units back in their place and out in the open!
Commandos and Mercenaries
Commandos and Mercenaries are great to have as they can deal good chunks of damage against a single target while being able to hold their ground for a bit of time.
What makes them get onto this list are their potent DCDs and the ability to push enemies around in a 360-degree angle around themselves. Let’s take a closer look at their abilities!
The Commando/Mercenary can use the Reactive Shield/Energy Shield ability to reduce incoming damage by 25% for 12 seconds. A decent DCD by itself but with the Trauma Stabilizers/Trauma Regulators ability, they can actually heal from their shield as well! Every time they are struck while their shields are active, they gain a stack of the passive ability (up to 10) and heal 4% of their maximum HP once the shield is over. This turns a decent DCD into a really good DCD.
The Adrenaline Surge/Kolto Overload ability allows the Commando/Mercenary to rapidly heal up to 35% of their maximum HP for 8 seconds. Though with the Adrenal Surge/Kolto Surge passive, this cap can be raised up to 60% maximum hp while increasing the duration of Adrenaline Surge/Kolto Overload by 2 seconds and doubles the healing per tick while active. This is an excellent self-heal that should not be trifled with.
Echoing Deterrence/Responsive Safeguards is a personal shield that the Commando/Mercenary can deploy to absorb all incoming single target direct damage and reflect 50% of that damage back to the attacker for 6 seconds. Any time they receive a hit from a single target direct damage attack, they’ll gain a stack of this ability that heals them for 5% per stack once the ability is over. This can easily patch up a Commando/Mercenary in the heat of combat but a smart opponent will know to use periodic damage and AoEs to get around this.
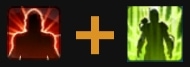
Concussion Charge/Jet Boost is a 360 degree AoE push that the Commando/Mercenary can use to gain some breathing room. Affected targets of these abilities also have their movement speed reduced by 50% for 4 seconds. This is great for getting ALL of the enemy opponents out of a control point being guarded by the Commando/Mercenary.
Stealth Scan is a great ability to keep an eye out for stealth units and can also be used to pull out a stealther who used their combat stealth to exit combat. Put those stealth units back in their place and out in the open!
The Electronet ability is excellent to use versus mobile targets and especially stealth units. When fired on a target, their speed is reduced by 50% and deals energy damage over 9 seconds. Any attempt to move will increase the damage by 20% and this can stack 10 times for an additional 200% damage at max stacks. Electronet also prevents the target from using high mobility actions such as charges, combat stealths, and speed boosts for the duration of the ability. All of this can make a stealther trying to steal your control zone a sitting duck.
Sages and Sorcerers
Sages and Sorcerers, while squishy, are excellent to have while defending a control point. This is primarily due to their ability to push people out and to slip back into the control point if they themselves are pushed out.
These are definitely guards that will want to have a buddy closeby to back them up. Let’s look at their useful abilities!
The ability Force Wave/Overload is an AoE push that will knock up to 8 enemies back in a 15 meter cone. Targets hit by this ability will be immobilized for 5 seconds though direct damage after the first 2 seconds ends the immobilize effect. With this ability, they can stall an invading team for a good duration of time but even more so with a Rakata Freeze Bomb. The Rakata Freeze Bomb is a consumable grenade that when thrown, deals elemental damage and immobilizes up to 4 targets in the area for 6 seconds. When combined with Force Wave/Overload, the Sage/Sorcerer can root 4 people for 11 seconds while barely filling their resolve bars.
Phasewalk is a teleportation ability that the Sage/Sorcerer can use to teleport to a selected spot as indicated by a small gold/purple flame on the ground. They can use this on top of the control point to teleport right back in if they are forced out. Alternatively, they can place it at a nearby healing node to quickly patch themselves up before using Force Speed to get back into the control point.
How to Capture a Control Point
Capturing a control point is also known as “capping” or to “cap”, while capturers can be called “cappers”. A control point controlled by the enemy will have at least one person guarding it.
Those who are confident in their dueling capabilities should be attempting to guard or capture a turret as it becomes a matter of skill when the fight between the guard and capper inevitably starts. Though we’ll be going over some dos and don’ts to improve your ability to take an enemy turret by force or subterfuge.
The DOs and DONTs when capturing a Control Point
Do:
- Do assess the situation when making your way to a control point. Look all around your surroundings to see if there are any enemies also making their way there, how many enemies are already there, and what kind of enemy they are.
- Do understand your own limitations. Some combat styles naturally counter others, so knowledge of your combat style and other combat styles can vastly improve your ability to judge whether or not you can secure a control point.
- Do remember to communicate what you see to your team. If you see one enemy guarding a control point but 5 enemies are fighting somewhere else, that means there are 2 enemies unaccounted for.
- Do remember that it’s better to leave a control point guarded by 2 enemies to focus your efforts with the bulk of your team so you can outnumber the remaining enemies.
- Do use green buffs to activate inactive control points to increase your team’s score!
- Do use Blue and Orange buffs on control points your team owns to increase your score! But take extra care of these ones otherwise the enemy will steal it and take those buffs for themselves.
Don’t:
- Don’t assume your team will capture a control point scot free. Be mindful of your surroundings as there are many tight corners and turns meaning an enemy can show up in your field of vision at a moment’s notice.
- Don’t try to capture a control point while stealthed, you will not be able to.
- Don’t pull your own allies out of the control point if you have the ability to do so.
- Don’t use the red buff on your own control point.
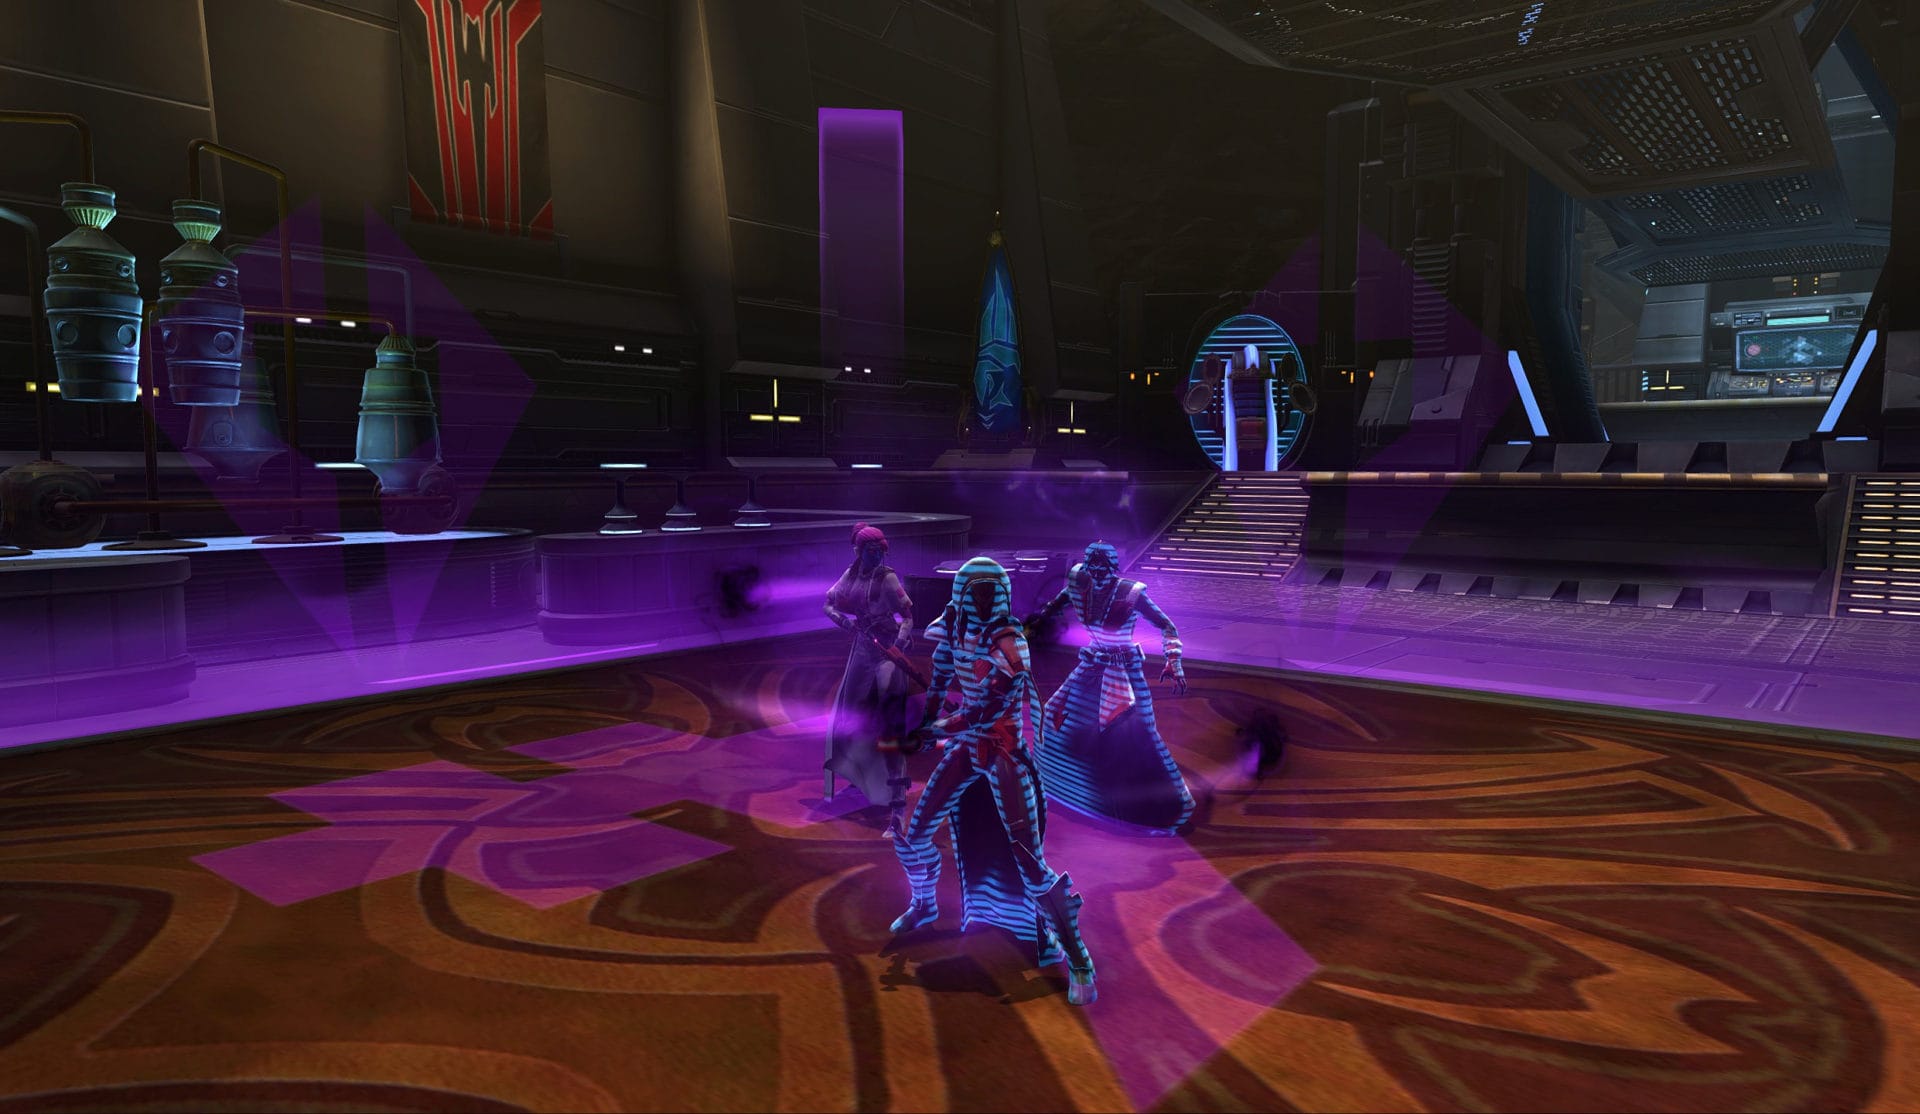
Mesmerizes and Incapacitates
Some units can keep enemies stunned for up to 18 seconds! For Shadows/Assassins, they’ll want to use the abilities Mind Maze/Mind Trap and Force Lift/Whirlwind. For Scoundrels/Operatives, they’ll be using Tranquilizer/Sleep Dart and Flash Grenade/Flashbang.
Mind Maze, Mind Trap, Tranquilizer, and Sleep Dart can only be used while stealthed, so they’ll be the first incapacitates to be used.
In the event the target uses their CC breaker to stop the capper, the unit can follow up with Force Lift, Whirlwind, Flash Grenade, or Flashbang to leave the target unable to act for another 8 seconds. This can allow ample time for someone to capture a control point!
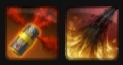
This type of combination isn’t limited to stealth units either. Commandos/Mercenaries have access to the Concussive Round/Concussion Missile ability which will incapacitate a target for 8 seconds. When paired with a V-9 Seismic Grenade, they can also leave a target unable to act for up to 16 seconds. Guardians/Juggernauts with the Awe/Intimidating Roar ability paired with a Seismic Grenade can achieve the same effect.
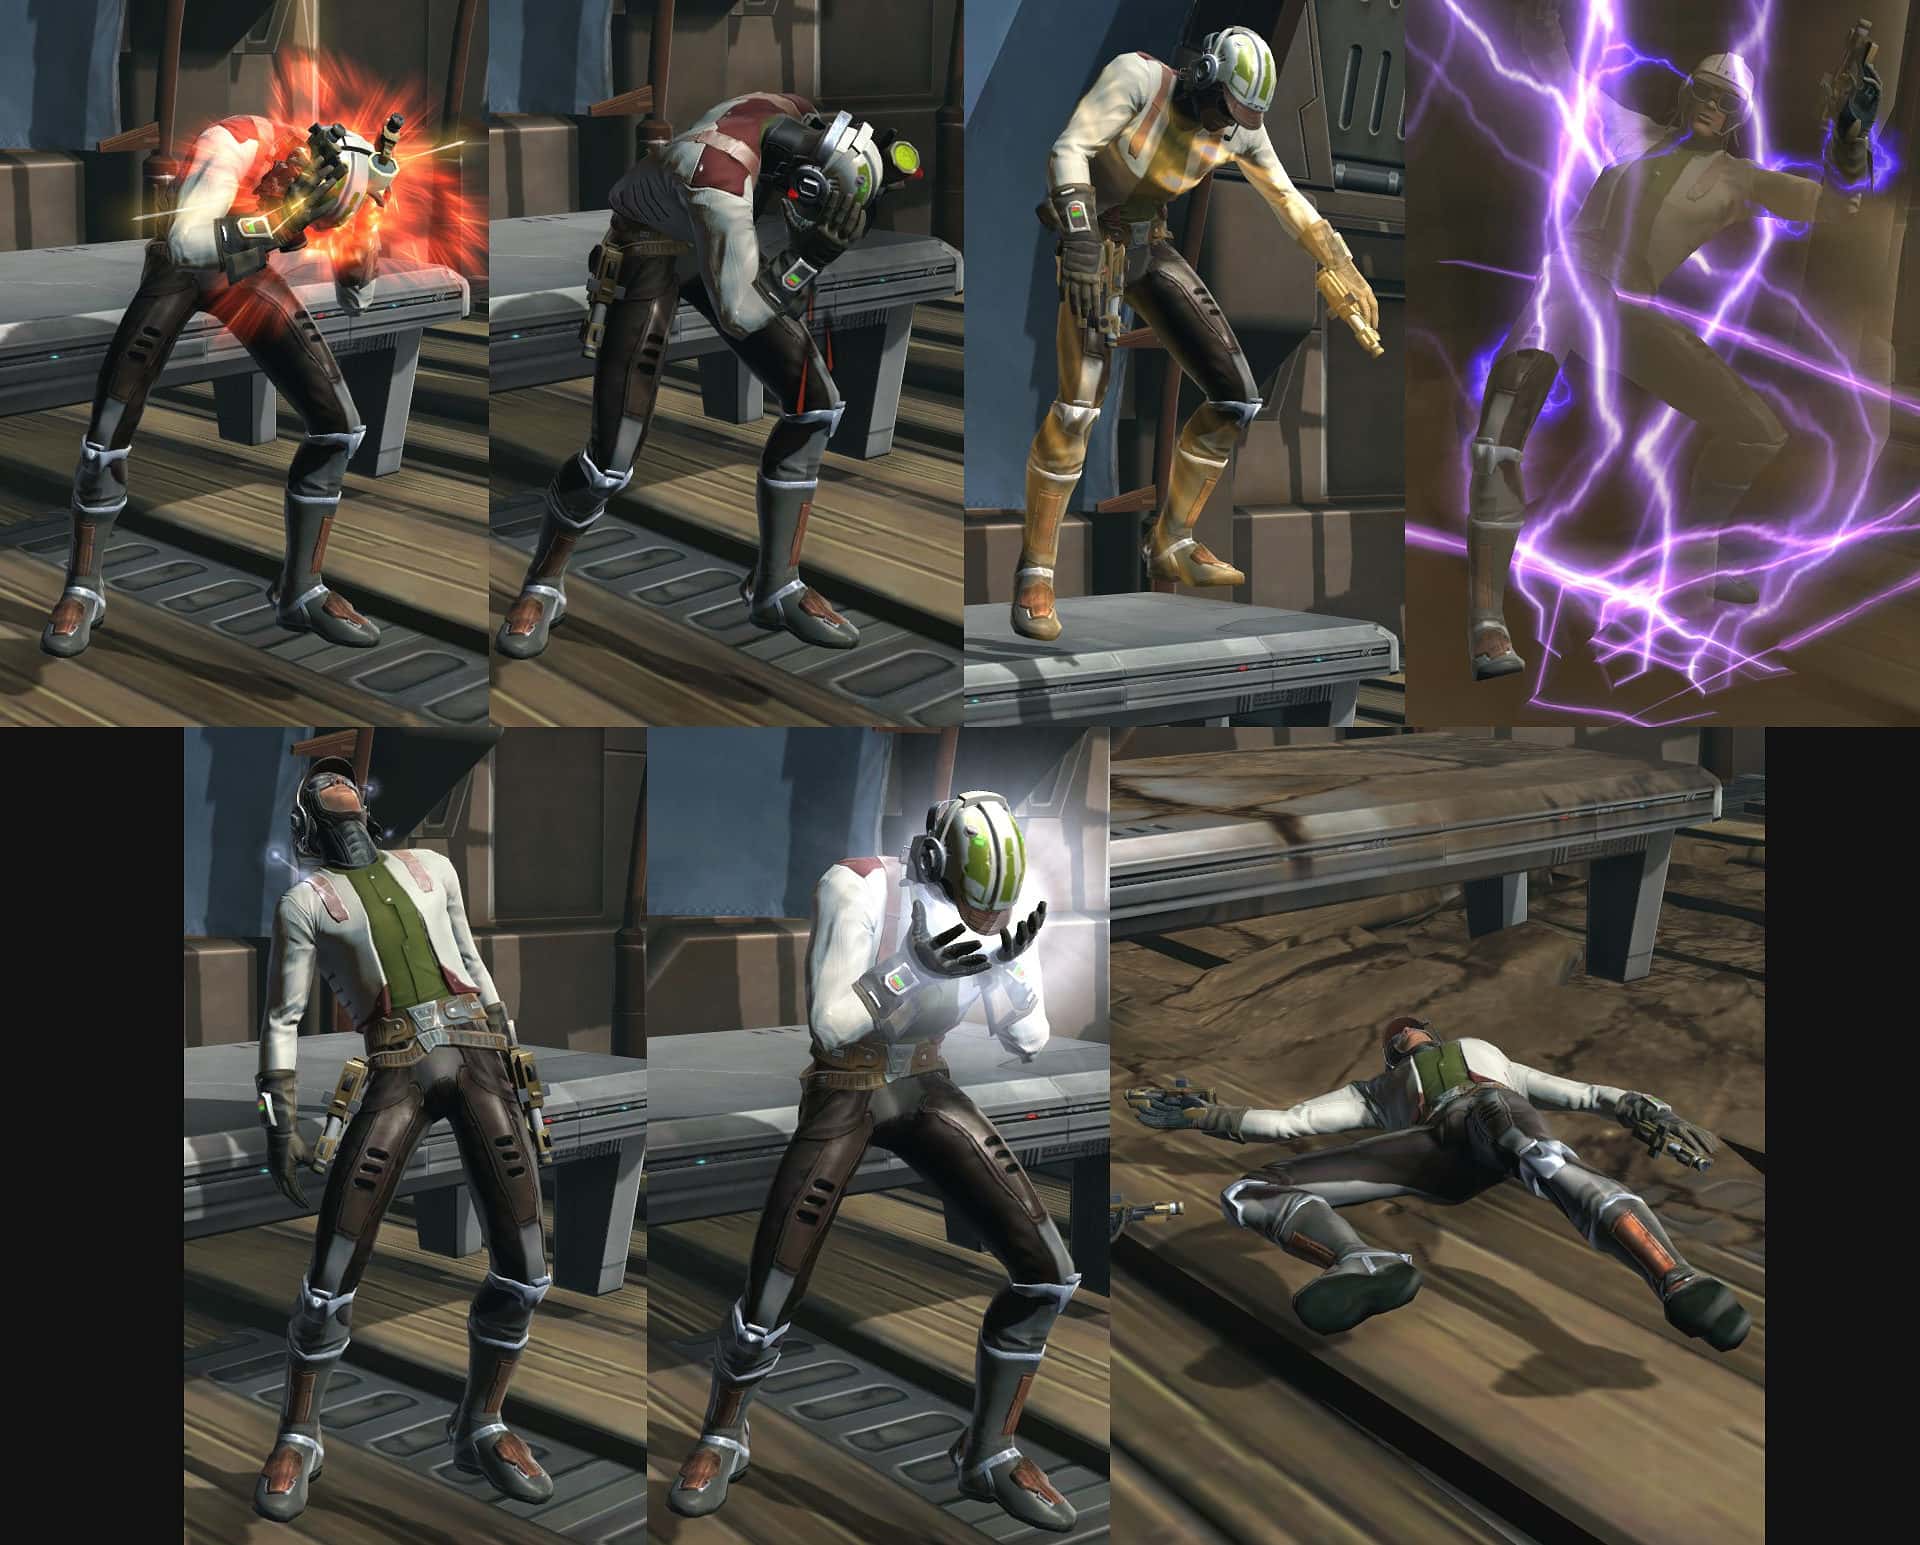
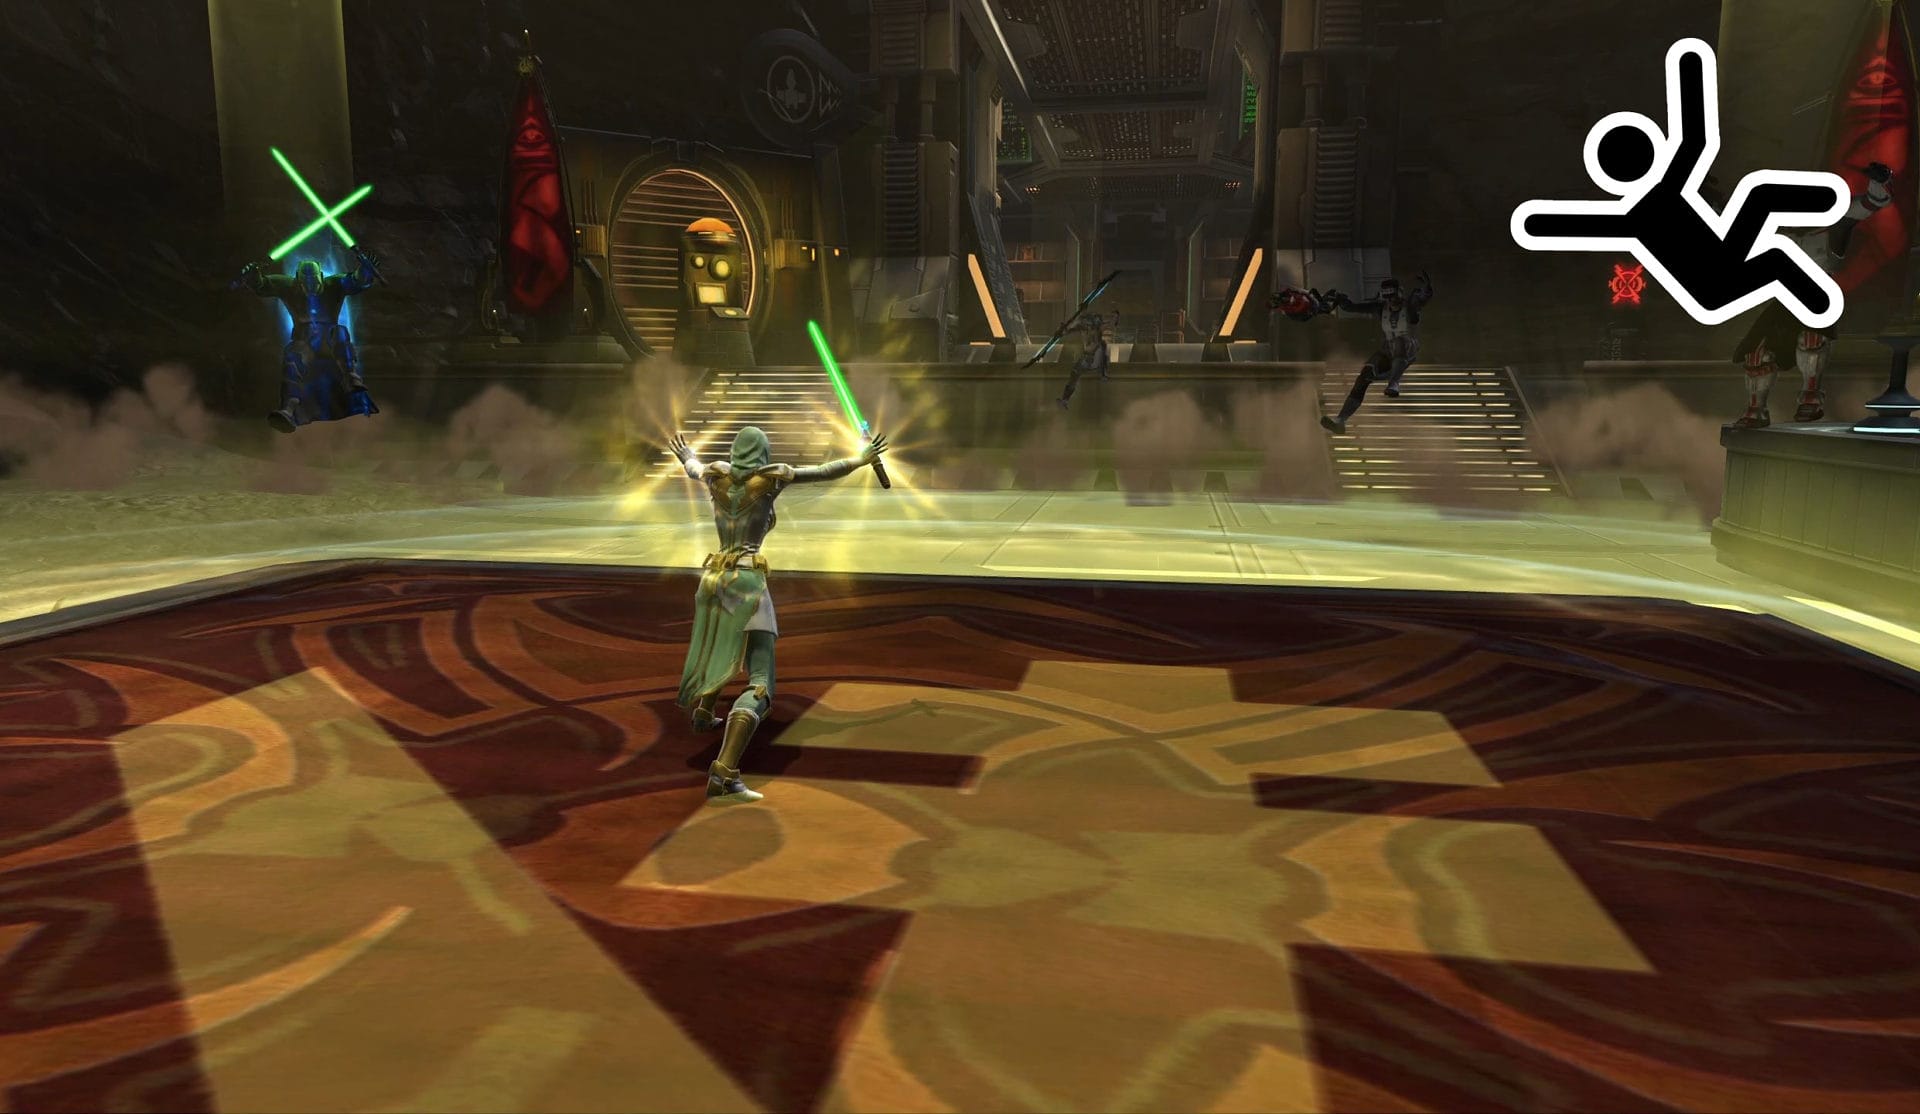
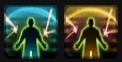
If you see an enemy under the effects seen in the image above, please DO NOT attack them. Whoever incapacitated them likely wanted them to remain incapacitated and all of these effects are broken by damage. The incapacitated player WANTS you to attack them so they can break free and defend the turret.