This guide will show you SWTOR’s Kessan’s Landing Geothermal Shielding Missions. This set of missions starts off hidden but will take you around the galaxy to create technological and scientific breakthroughs.
Table of contents
- How to access Kessan’s Landing
- Why should you do these missions
- Mission 1: Schematic Aspirations
- Mission 2: Advanced Hypercoolant
- Mission 3: High Grade Durasteel
- Mission 4: Thermal Regulator Unit
- Mission 5: Subjective Selection
- Mission 6: Good Calibrations
- Mission 7: There’s Always a Backup
- Mission 8: Test Plan
How to access Kessan’s Landing
Kessan’s Landing was introduced with SWTOR 7.4: Chains in the Dark. The remnant Separatist Forces have began to work with the Hidden Chain Mandalorian group, both of which will pose issues to you during your Geothermal Shield Missions.
You can access Kessan’s Landing by going to Ord Mantell and selecting “Kessan’s Landing”, though this is a level 80 zone so you should be appropriately leveled and geared for this area and activities such as its daily missions.
Why should you do these missions
You have to do the Geothermal Shielding quests chain if you want to get the datacron in Kessan’s Landing. Everyone loves free stats, and the datacron stats add up when you collect all Datacrons in SWTOR.
Kessan’s Landing is also rather hostile and filled with enemies, having a lava-proof shield will help you skip enemies entirely so you can complete missions more efficiently.
Mission 1: Schematic Aspirations
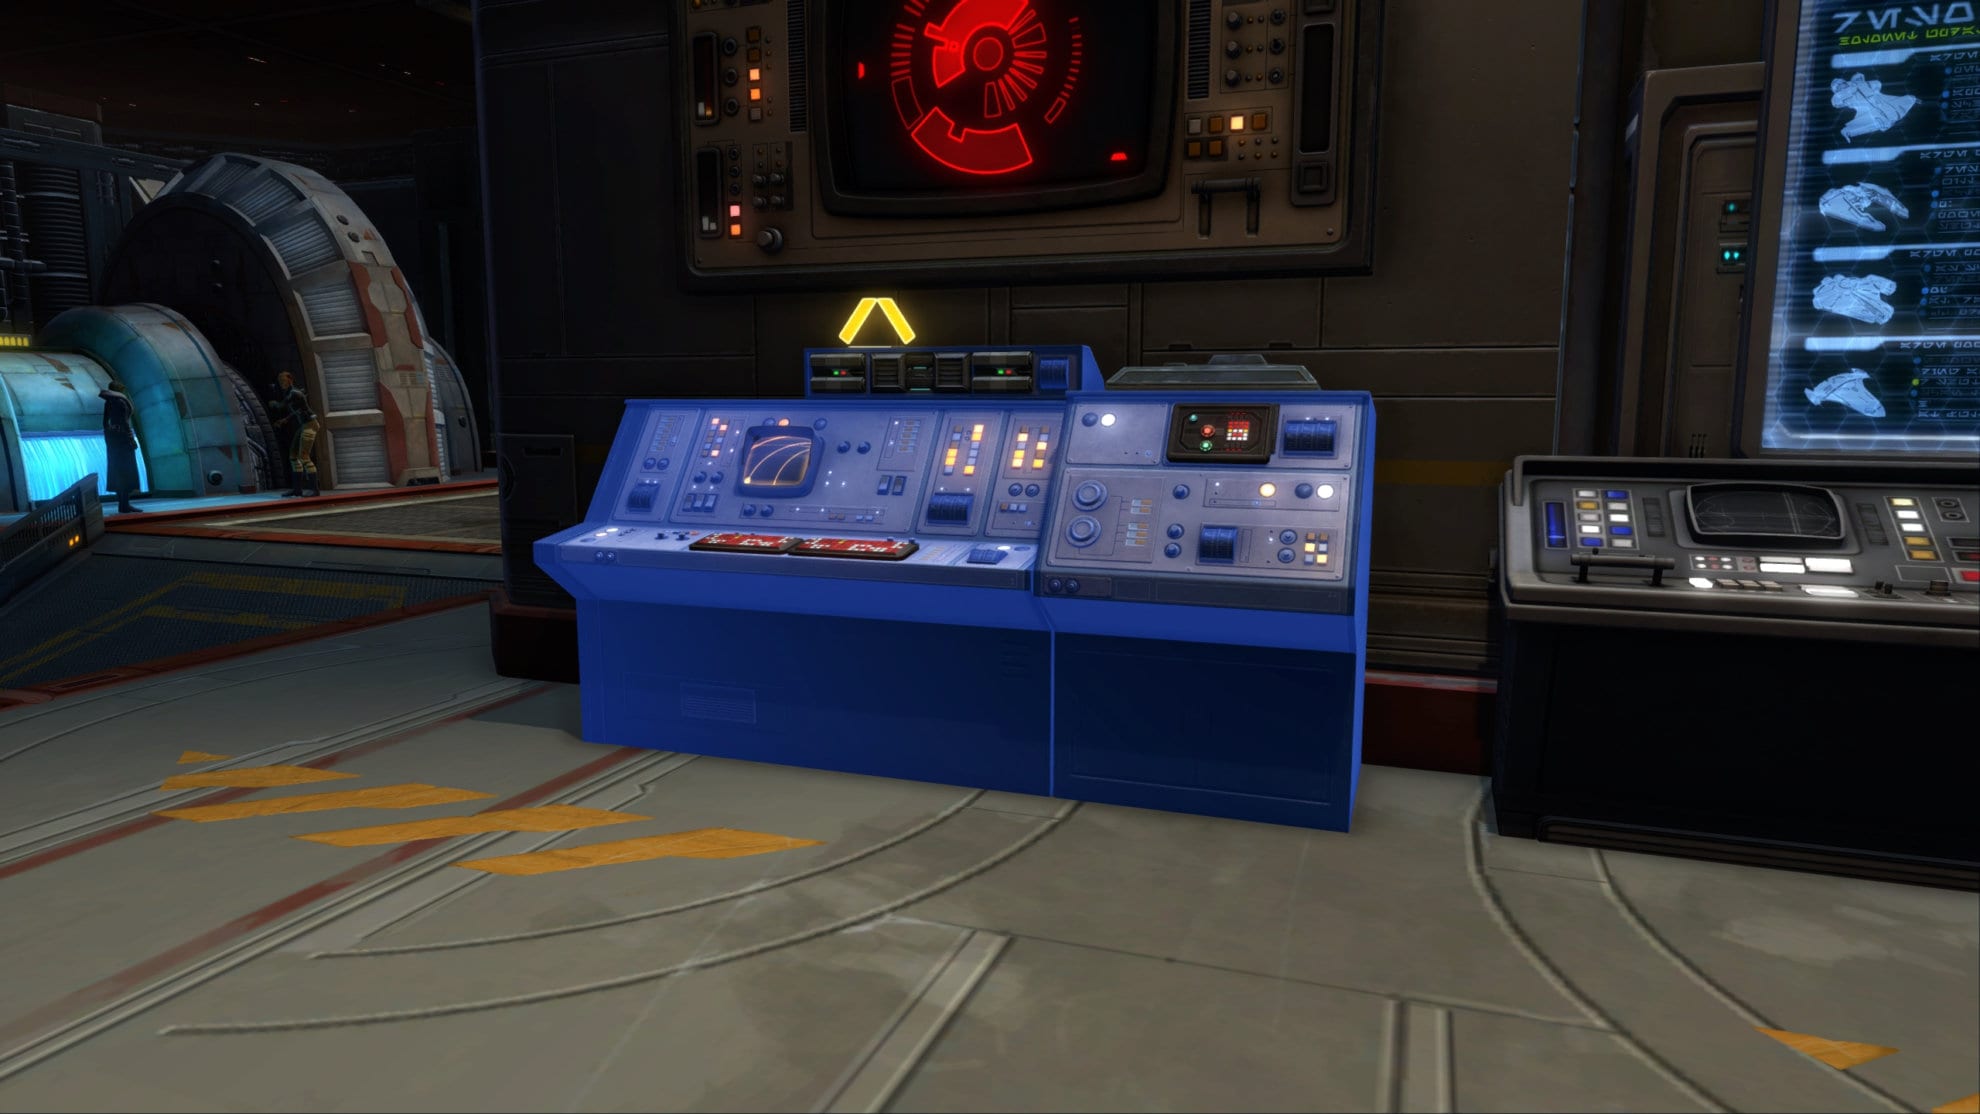
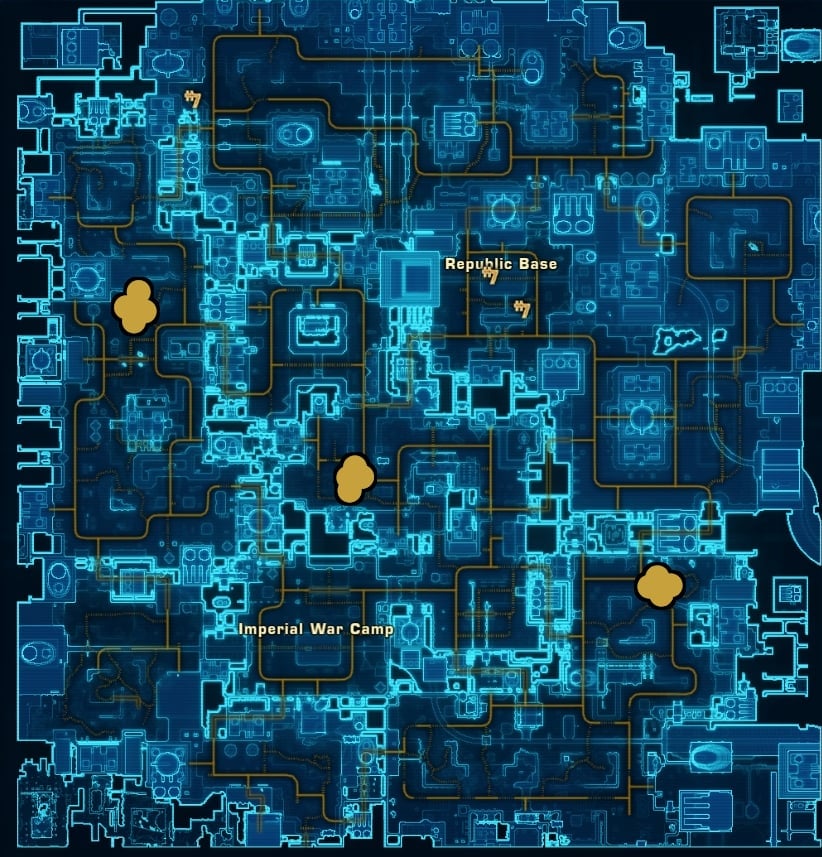
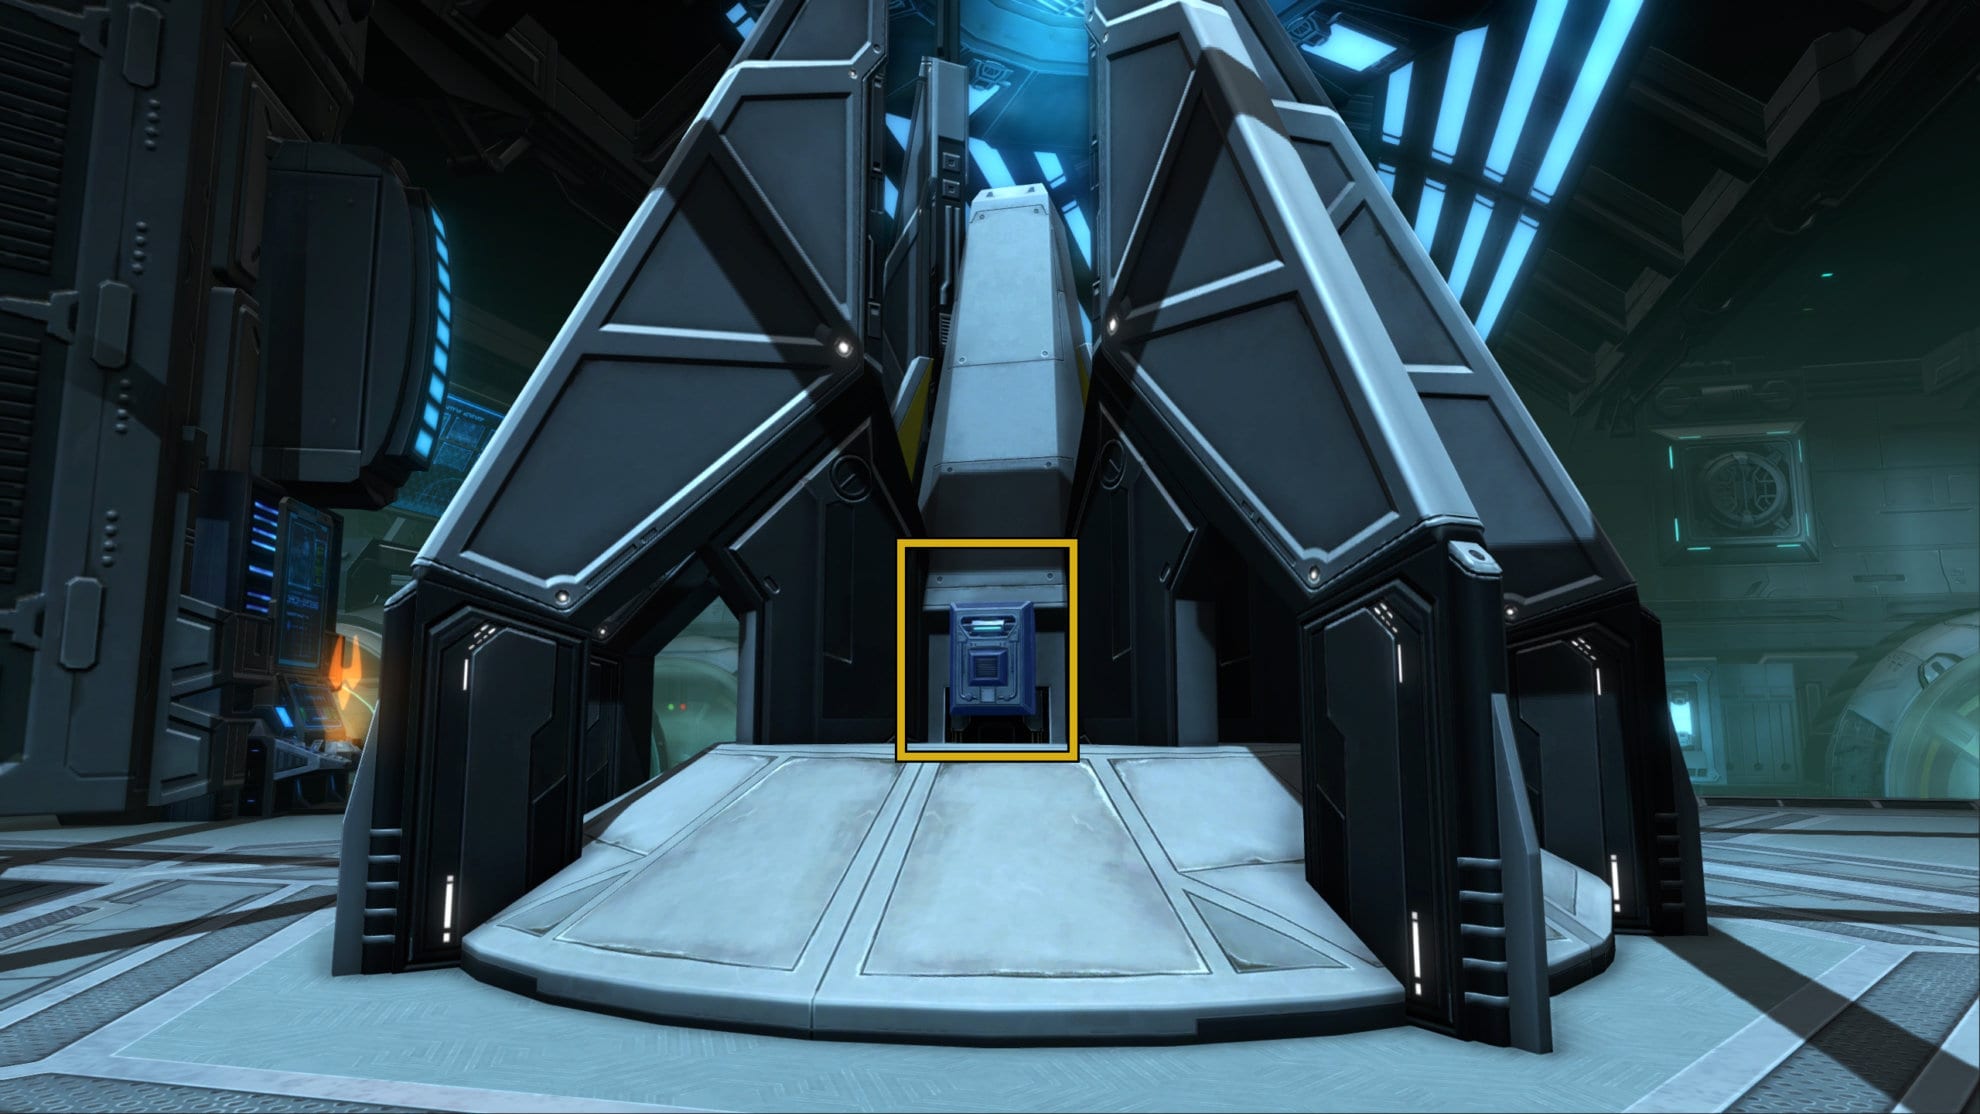
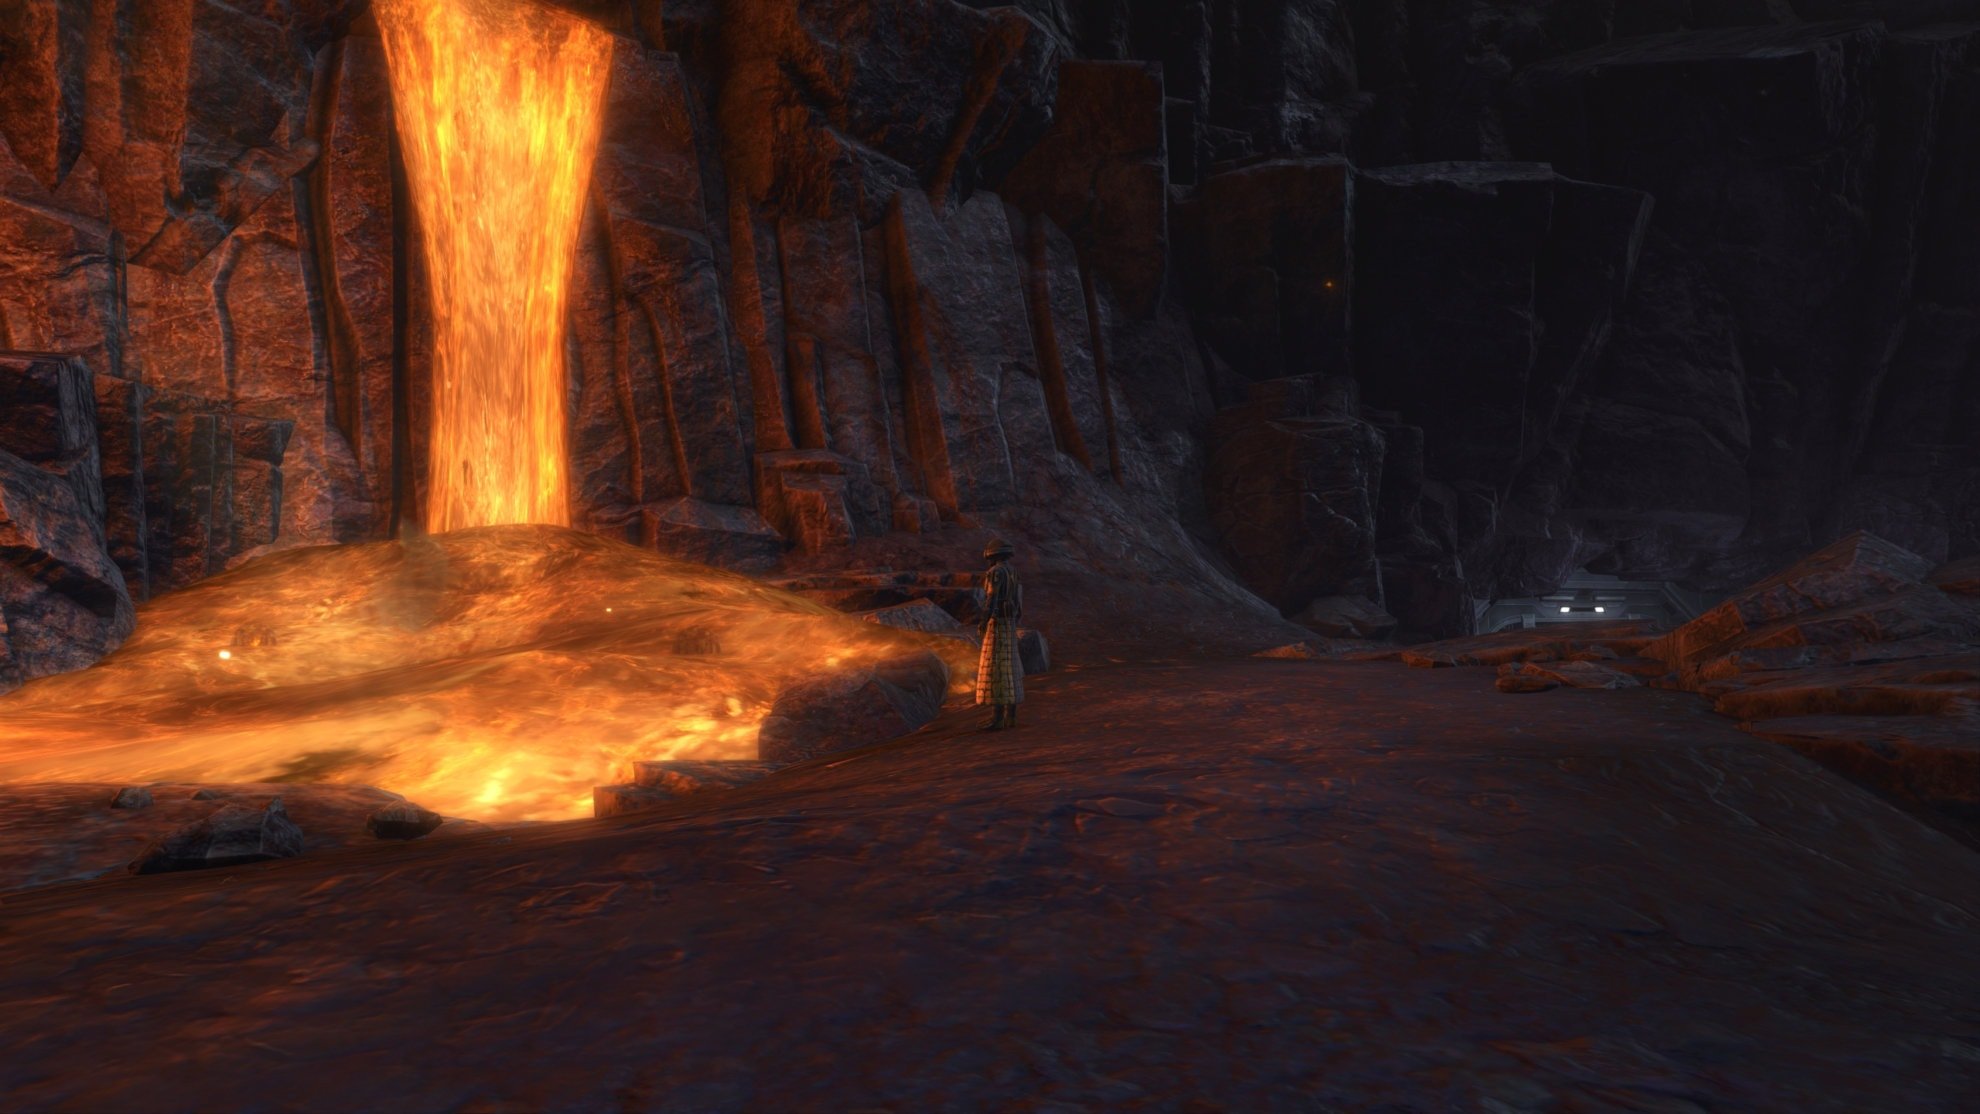
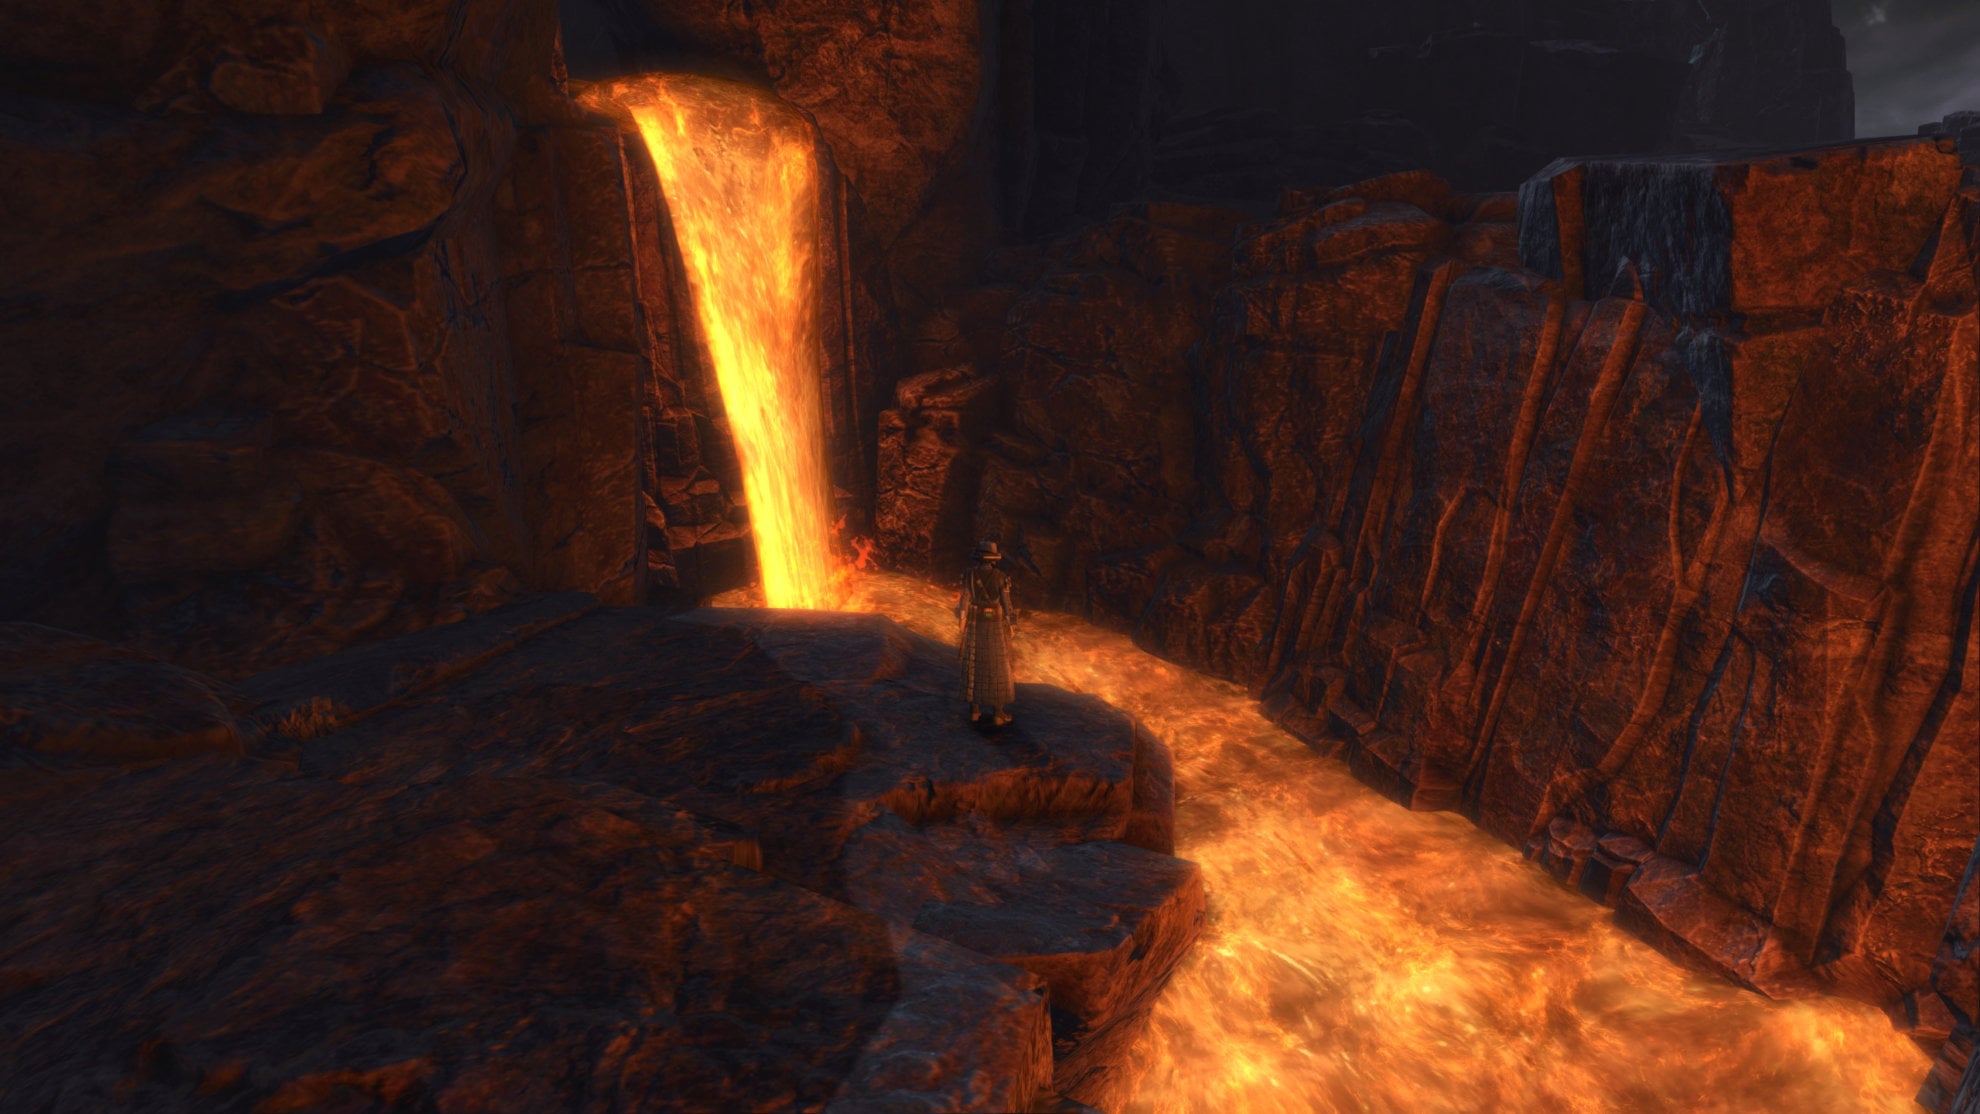
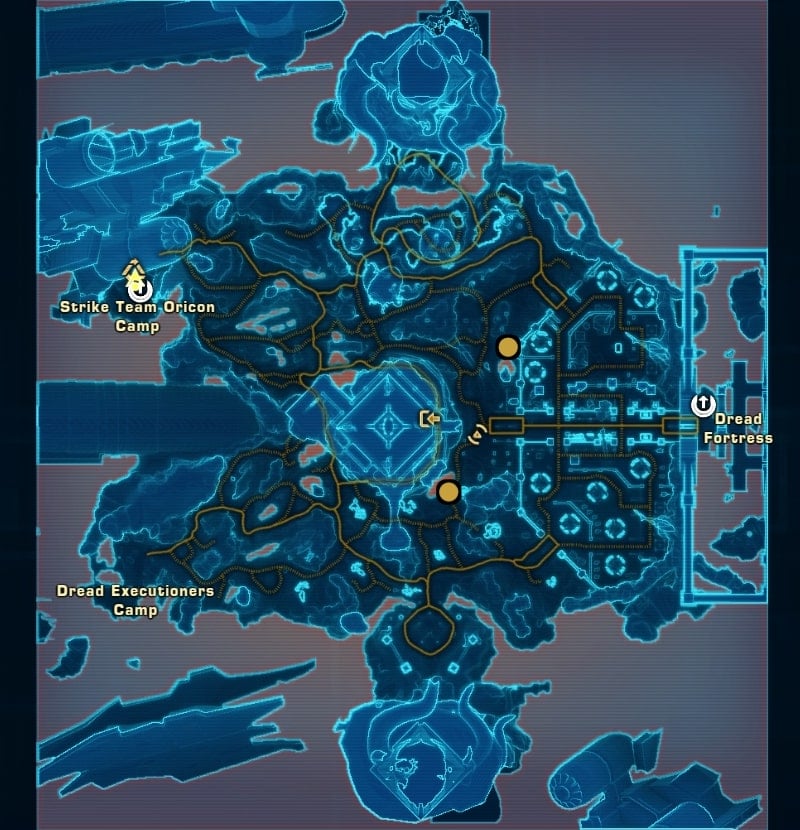
The first mission is a bit out of the way, so you’ll need to head to the southern area of Ardak Point. You can find an entrance that leads to an area called Runoff Control, go inside to find a terminal where you can start the Geothermal Shielding Missions.
Remember this spot, you’ll need to go here often throughout this series of missions. You’ll either end the missions here or gain new ones.
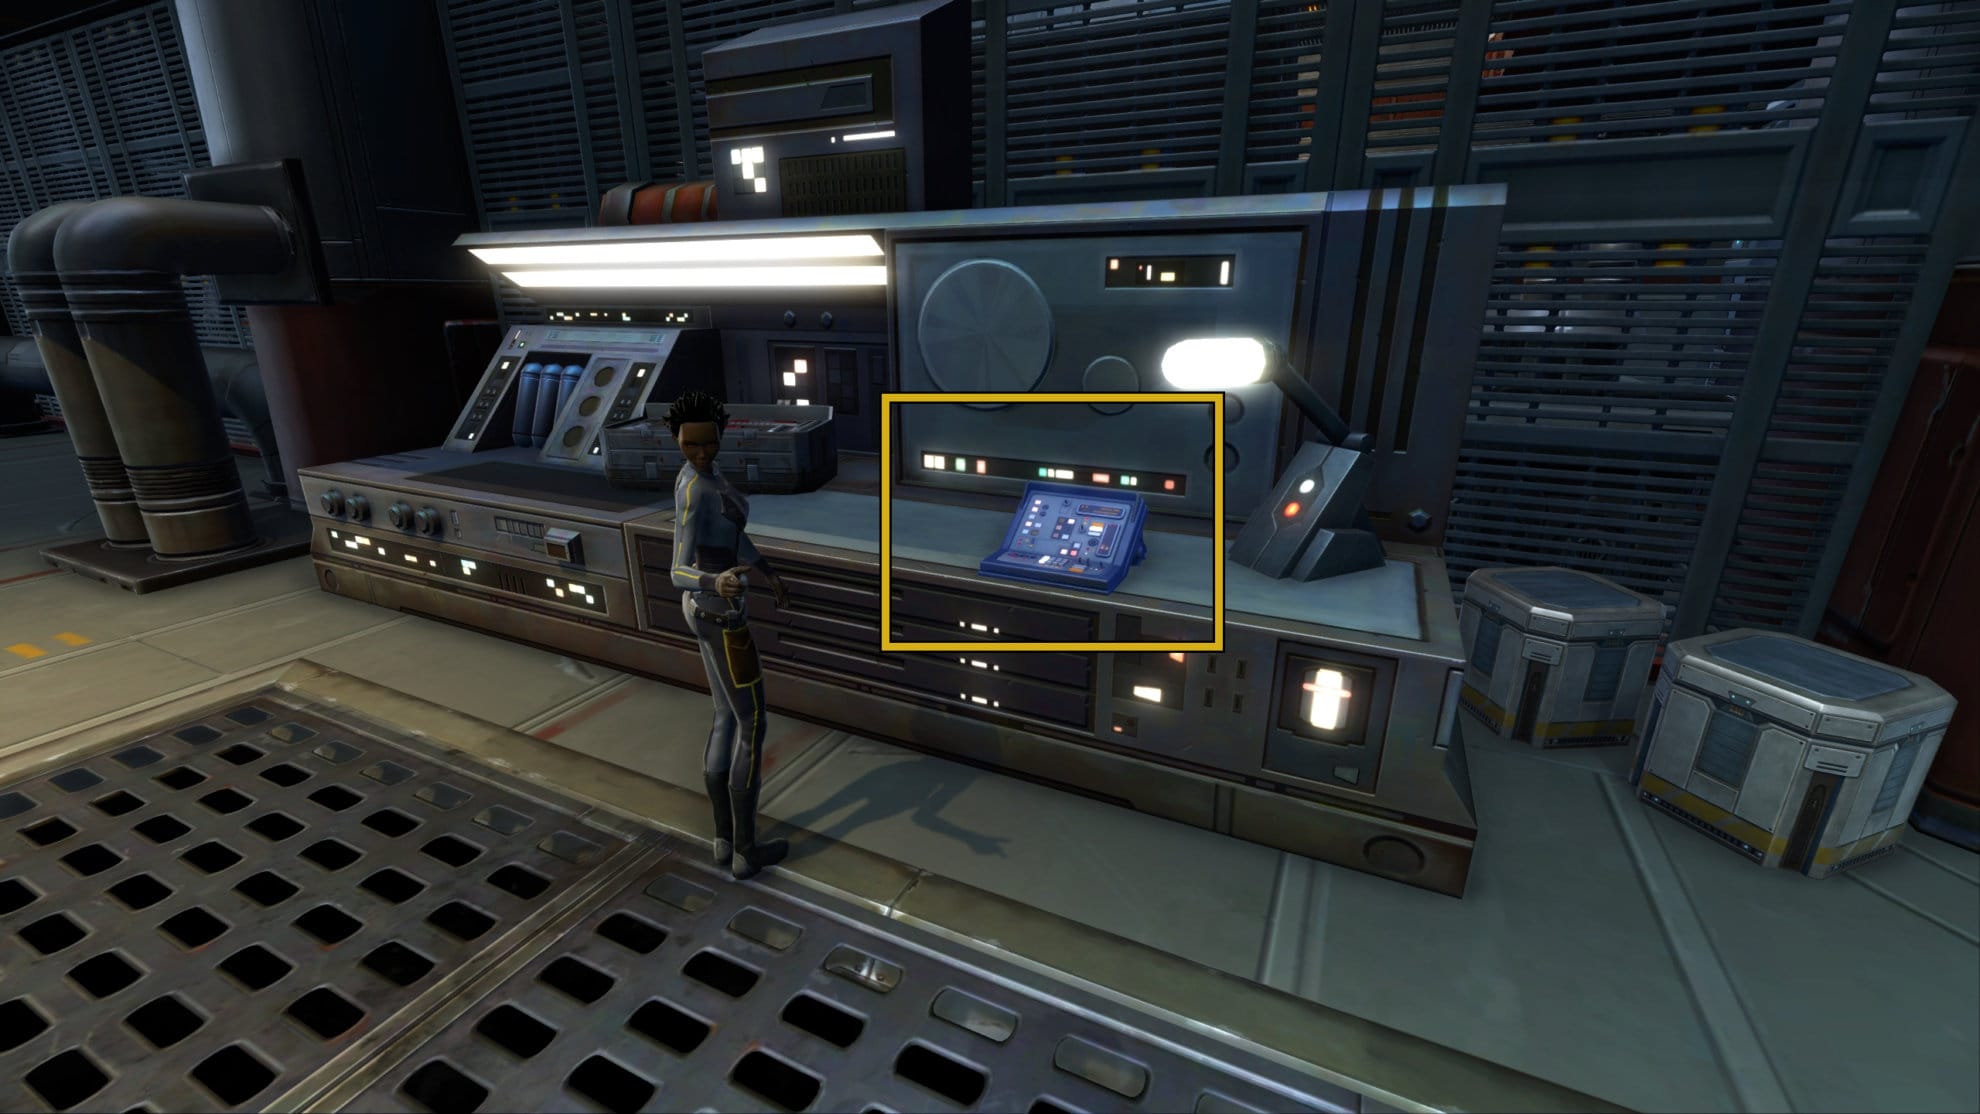
Once you gain the mission Schematic Operations, you’ll need to download the Schematic Data on the terminal to the right. You’ll need to locate the Terminal Datastream. To do this, simply go outside and stand in the area marked on your map, use your scanner and locate the datastream. Scan it and keep following the three bar icon on your map to repeat the process. There will be two spots to scan in Ardak Point before you’re taken outside.
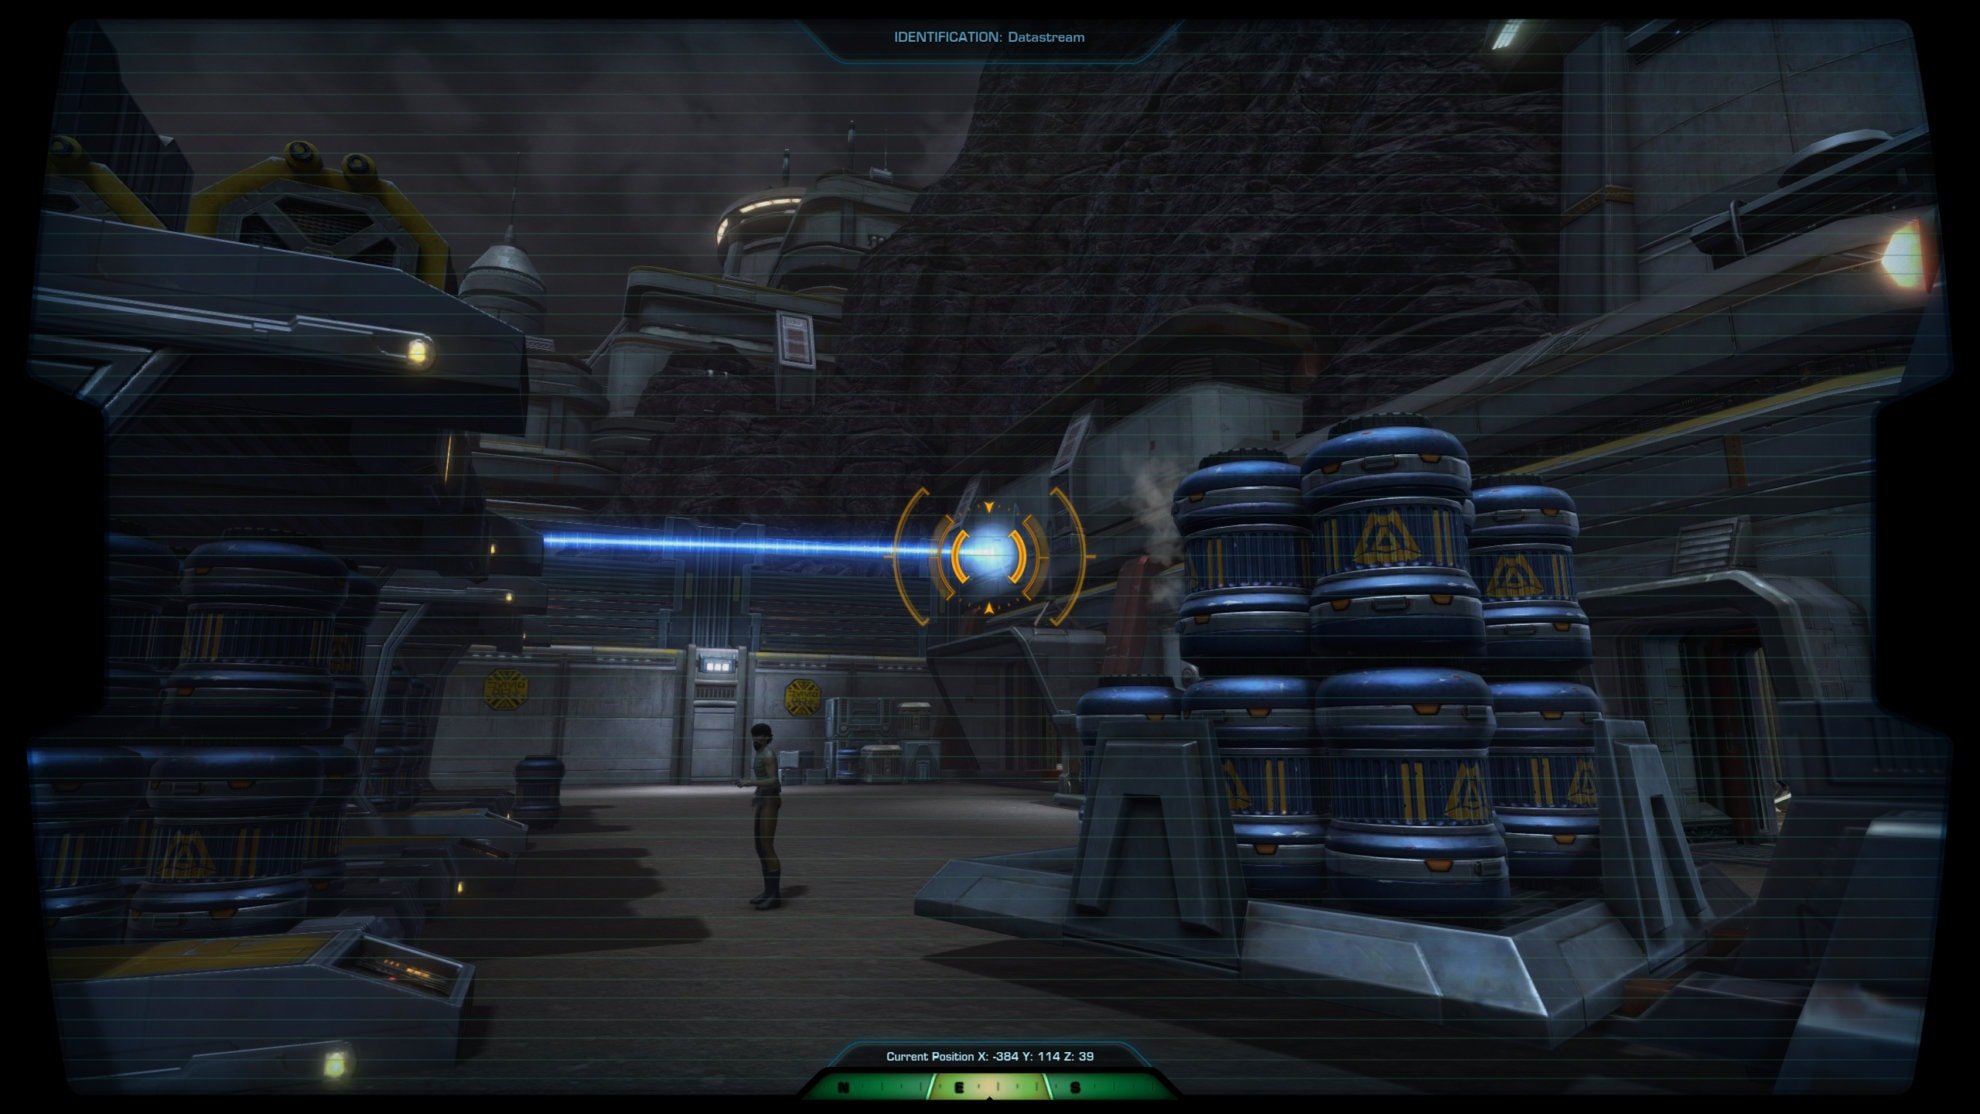

Once you go outside Ardak Point, scan the third datastream. Your next step is to go to the Subterranean Power Station.

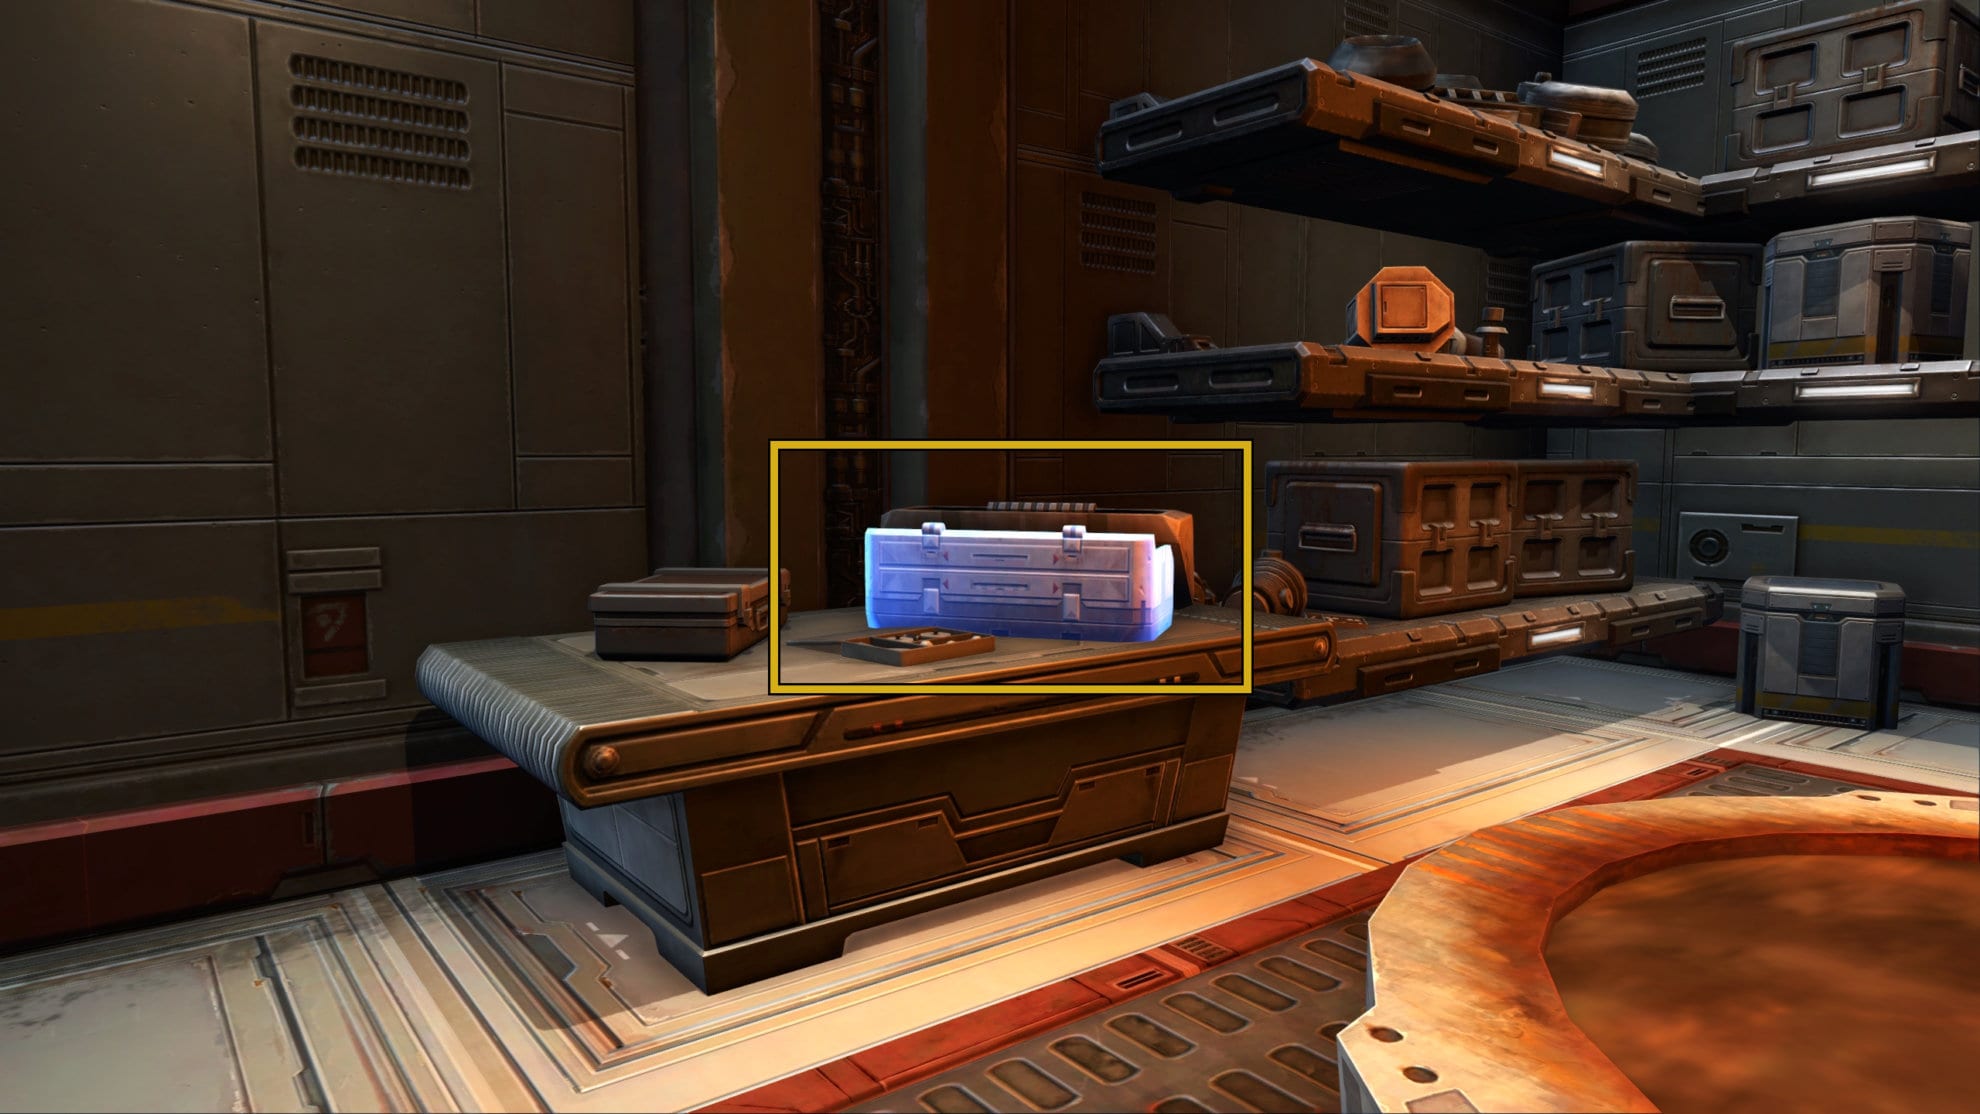
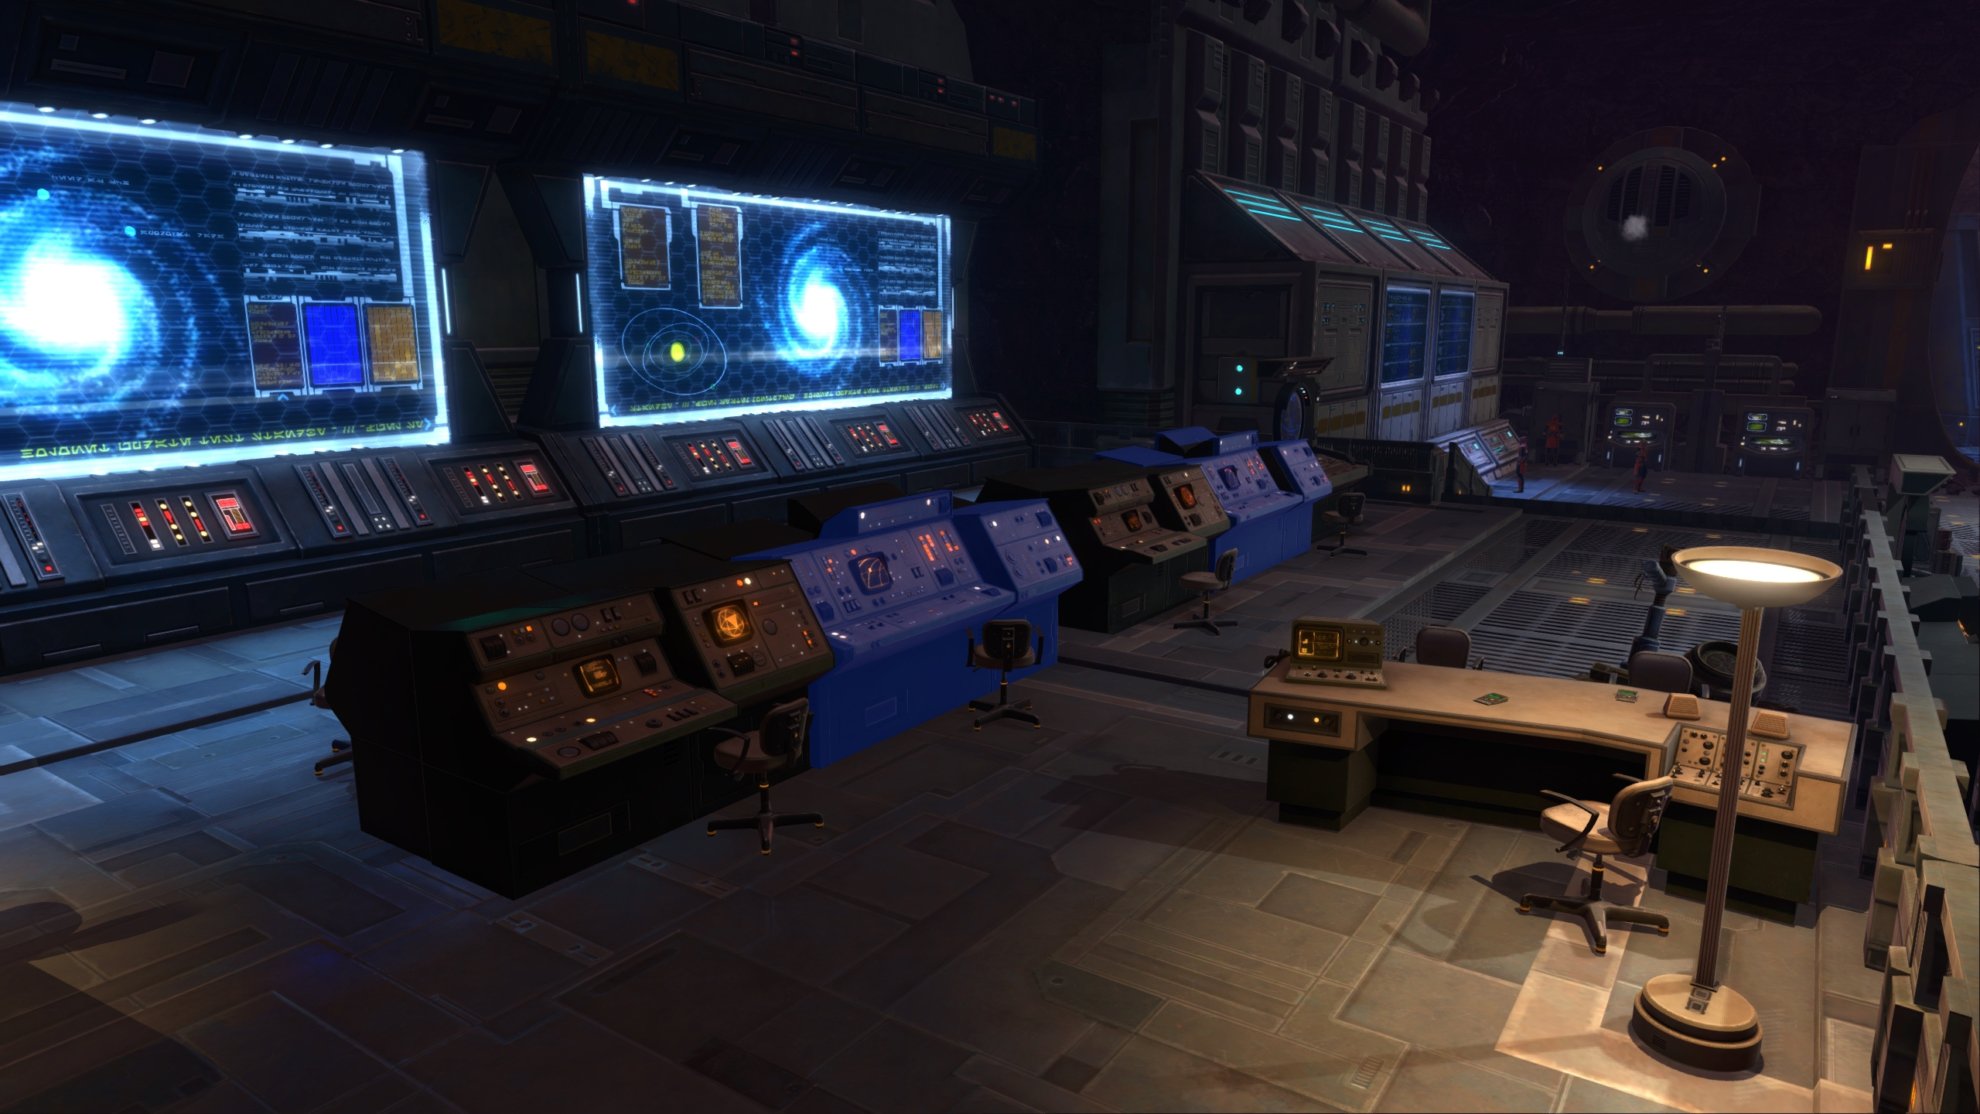
Once you get to the Subterranean Power Station, You’ll need to find a way to bypass security. Look in the south room and right click one of the Clearance Data Pads on the desks and crates. Examine the Empty Combo-Key, then take the east exit.
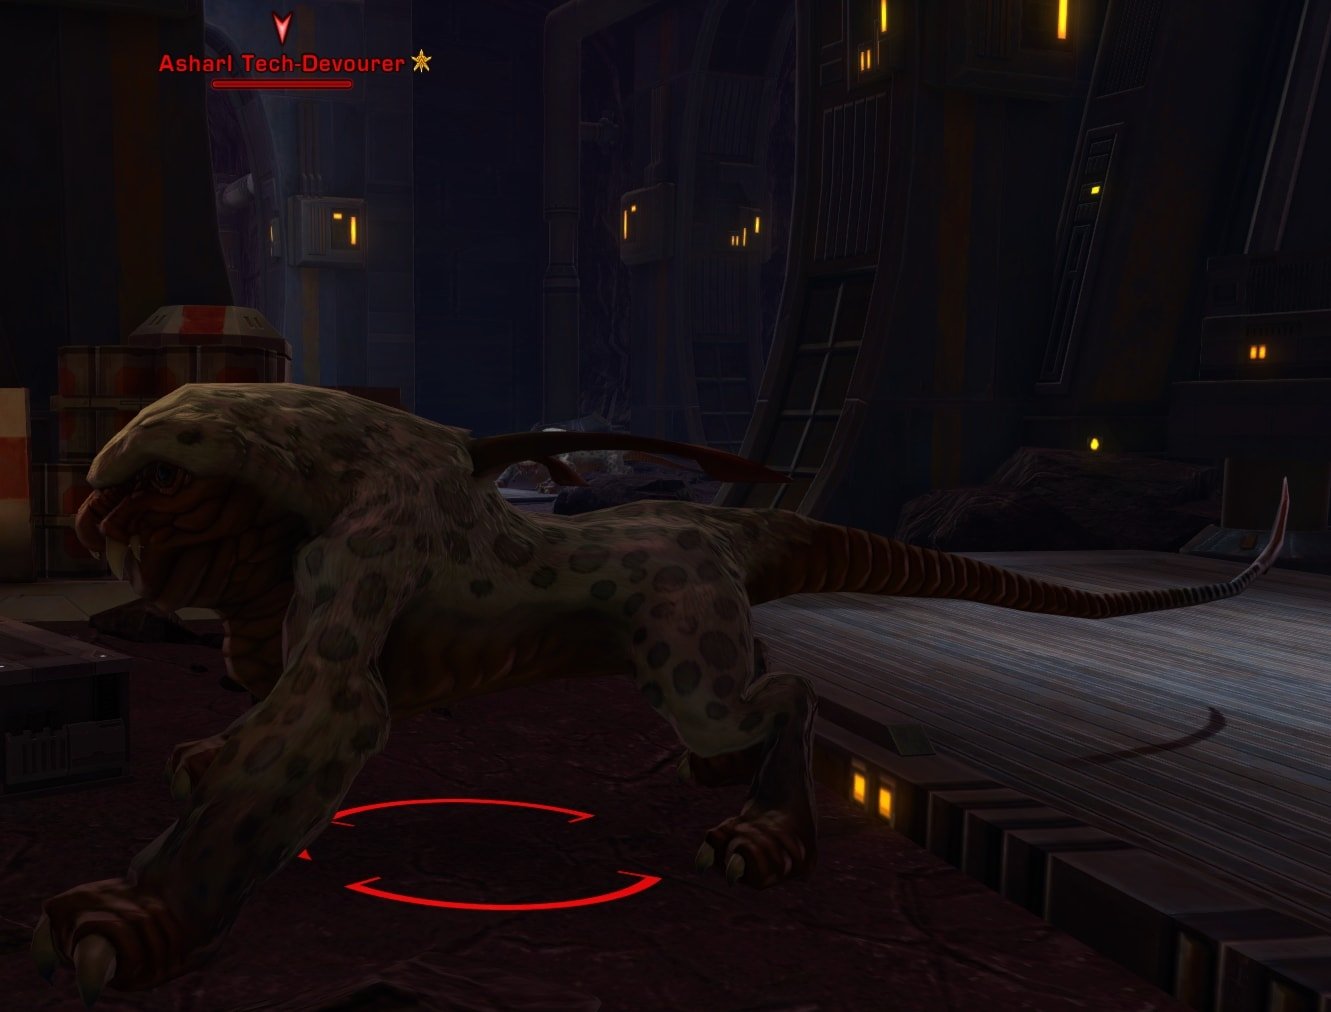
You need to recover 3 Security Datasticks. These can be found on defeated NPCs in Kessan’s Landing. The first NPC you’ll need to defeat is Security Officer Henck, you’ll find him near the FR3-D0M arena to the east of the power station. You can quick travel to Port Granost then head east to find Henck. Get another datastick from a Tech-Devourer Trainer in Fort Ronning and an Asharl Tech Devourer in the Subterranean Power Plant north of Ardak Point.

Once you have collected all datasticks, assemble the Security Datastick by using the item in your Mission Item’s inventory or on the Mission Pane. Return to Runoff Control at Ardak Point and use the Databank Terminal to download the Schematic Data. Examine the Schematic found in your Mission Items inventory to complete the mission.
Mission 2: Advanced Hypercoolant
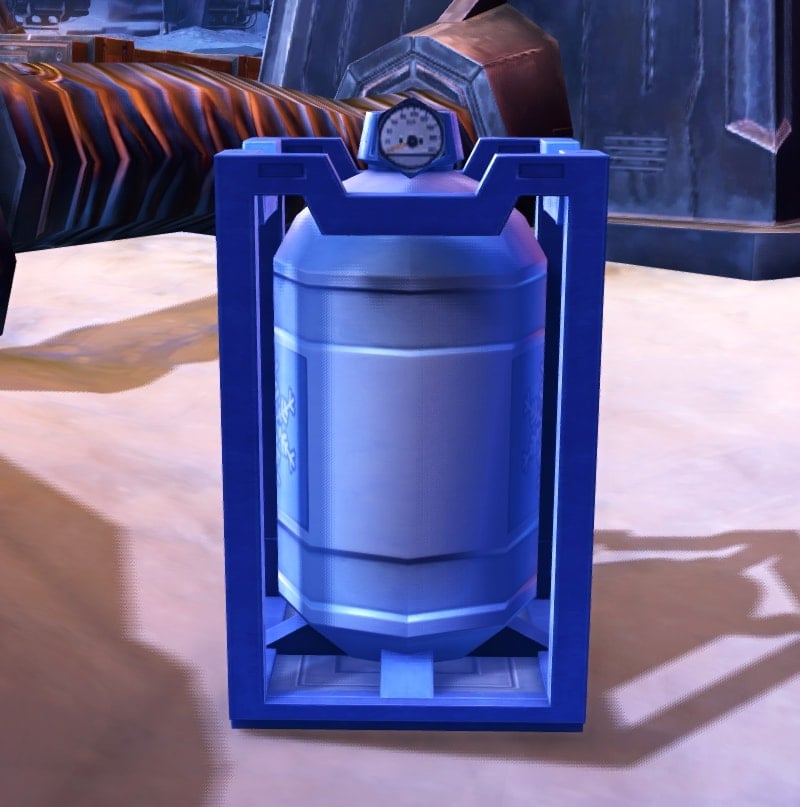
Get the mission from the terminal in Runoff Control then make your way to Ilum. Go to the Talz Camp in the Starlit Pass, found in the northwest part of Ilum. Look around the tents for an Empty Hypercoolant Container, right click it to collect a Hypercoolant Enclosure.
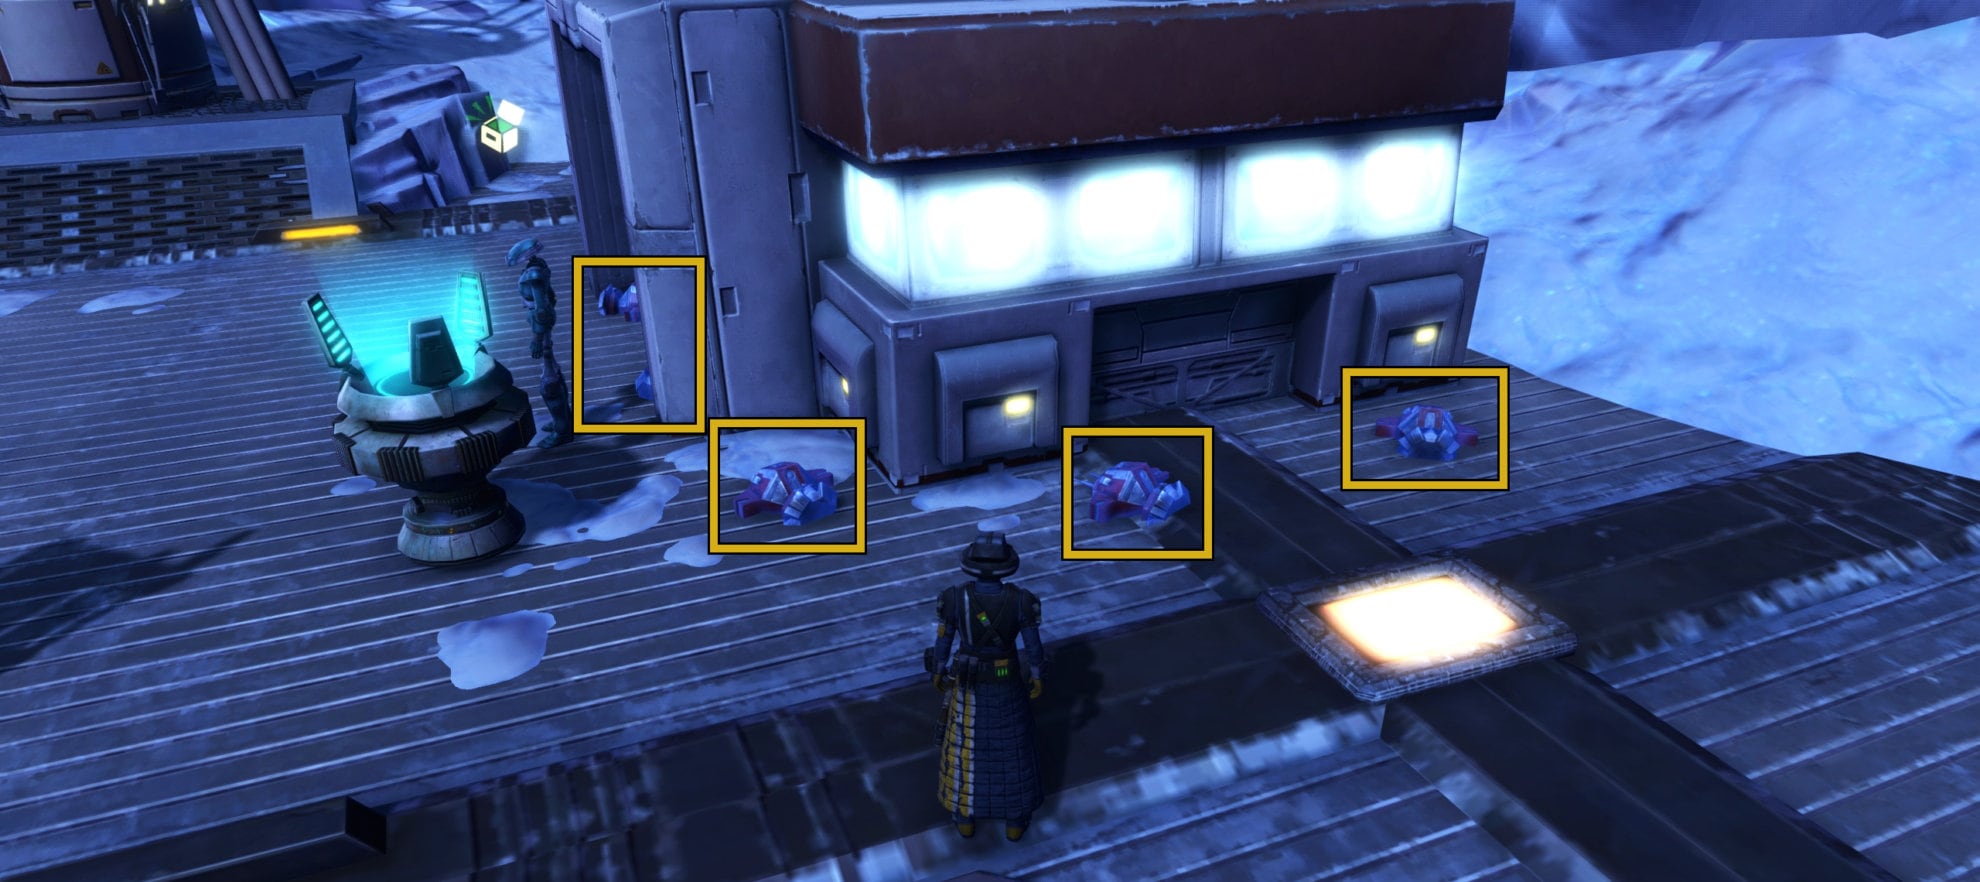
Your next goal is to extract 6 Hypercoolant Chemicrystals. Hypercoolant Chemicrystals are very easy to see as they both glow and have red arrows pointing at them for this phase of the mission. These are found all over the central part of the Eastern Ice Shelf, as seen in the map below. Simply walk onto them and right click them to collect a crystal.

After collecting the crystals, head to your faction’s Waystation to collect an Enzymizer Probe Kit. These are found strewn about outside, pick one up to continue the mission.
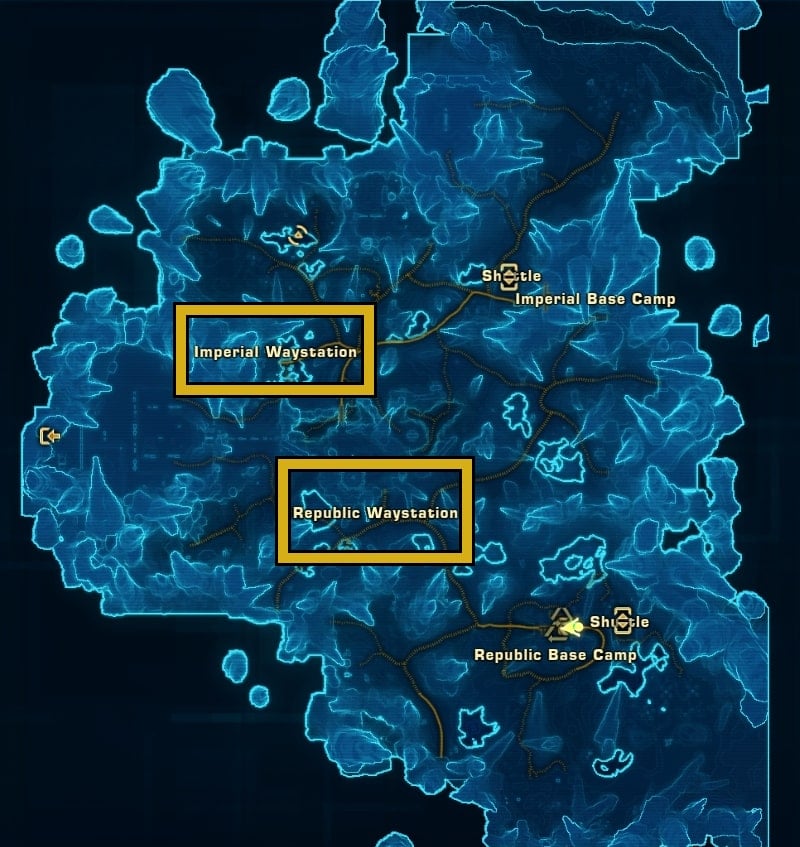
You need to find a Tauntaun, fortunately there are many around both Waystations. Go up to one and use the Enzymizer Probe Kit to collect Tauntaun enzymes. Combine the materials with the Mission Item or in the Mission Pane. The last step before returning to Ord Mantell is to expose the container to extreme cold.
You may check the Review Synthesis Instructions in your mission items for a hint. If you wish to do it this way, you can skip onto the next mission after you’ve completed this one. If you need help, keep reading.
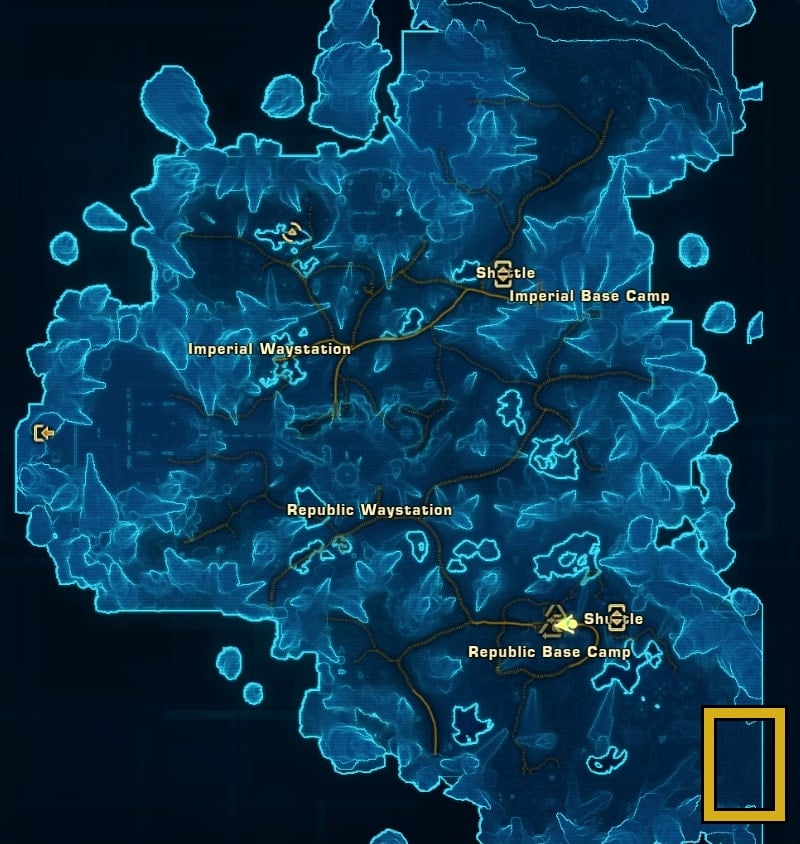
To expose the container to extreme cold, you’ll need to go southeast of the Republic Base Camp. Keep going southeast until you enter an exhaustion zone and stay in it until your mission updates. You can either get out or freeze to death and respawn.

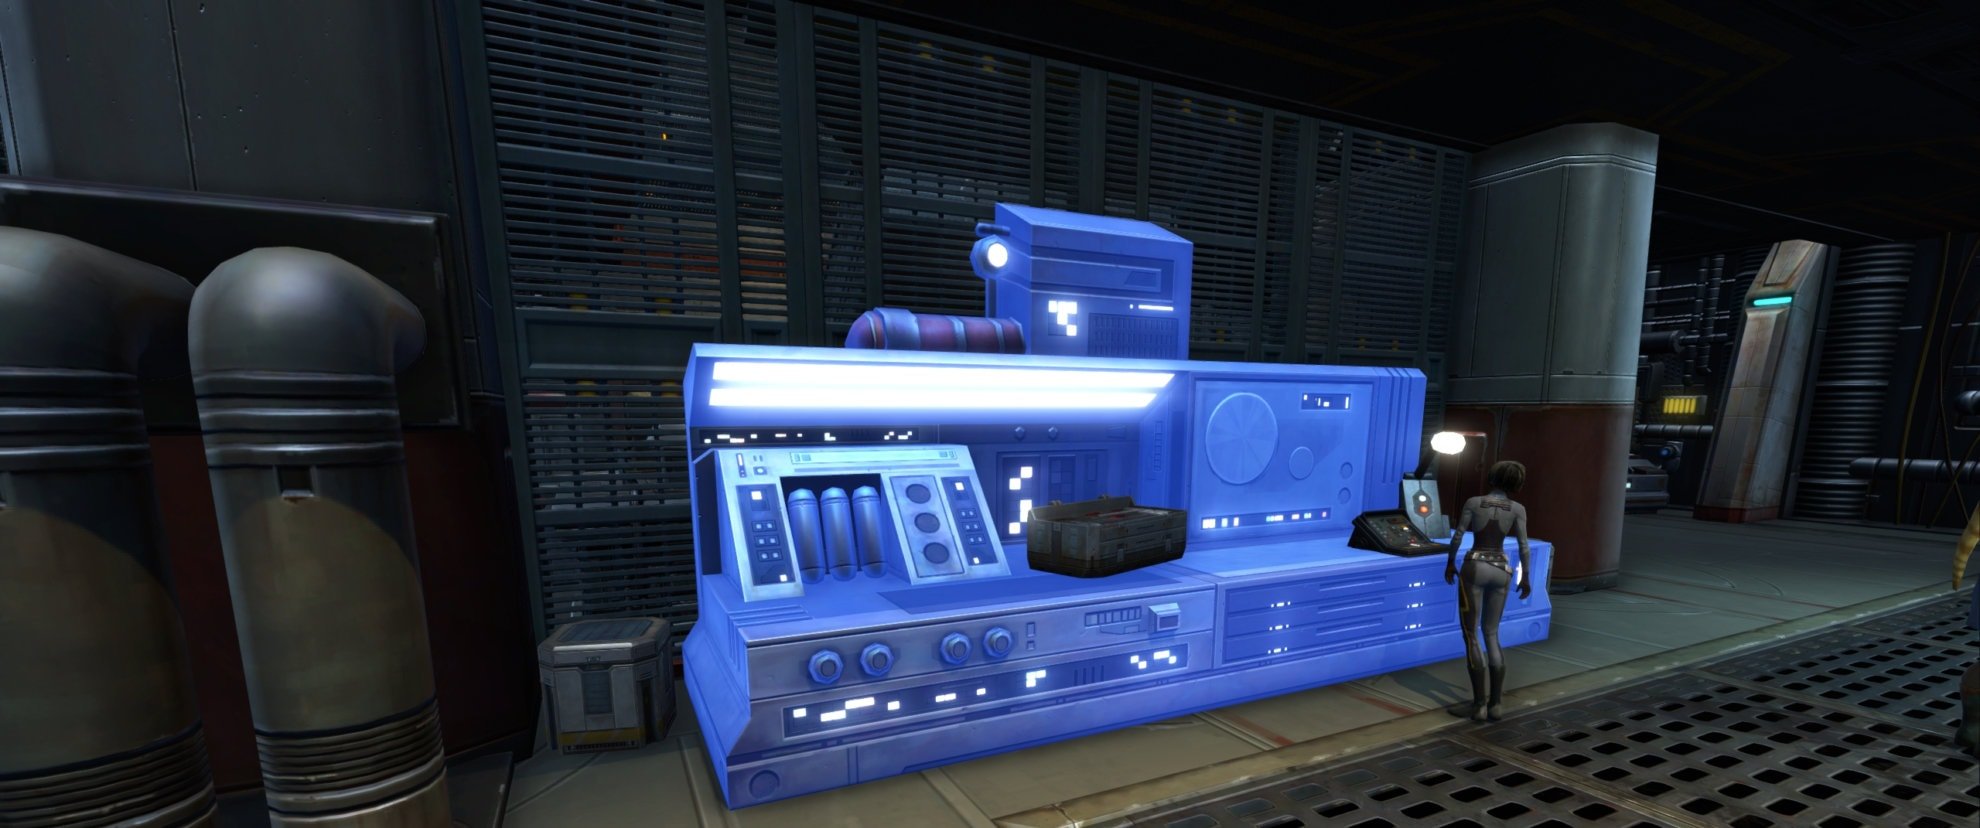
Return to Ardak Point on Ord Mantell, go to Runoff Control and use the Component Workbench. Once you use this, the mission will be complete.
Mission 3: High Grade Durasteel
Get the mission from the terminal in Runoff Control, your next destination is Corellia. Quick travel to Labor Valley and look for an Imperial Rocket Gunner, defeat them, and pick a Testing Device from them.
Author’s Note: I need a bit more time to repeat this series of missions on an Imperial character to learn which NPC drops the Testing Device.

Return to your faction’s base in the area and practice using the Test Device on the blue practice targets. Right click the targets to test the device.

To find Suitable Durasteel, search one of the three locations on your map and look for blue Durasteel plates near wreckages. Right click it for a chance to collect suitable durasteel. They stick out like a sore thumb, they won’t be hard to miss.

After collecting the durasteel, return to Runoff Control at Ardak point and use the Power Tools on the Component Workbench to verify the Durasteel Shielding.
Mission 4: Thermal Regulator Unit
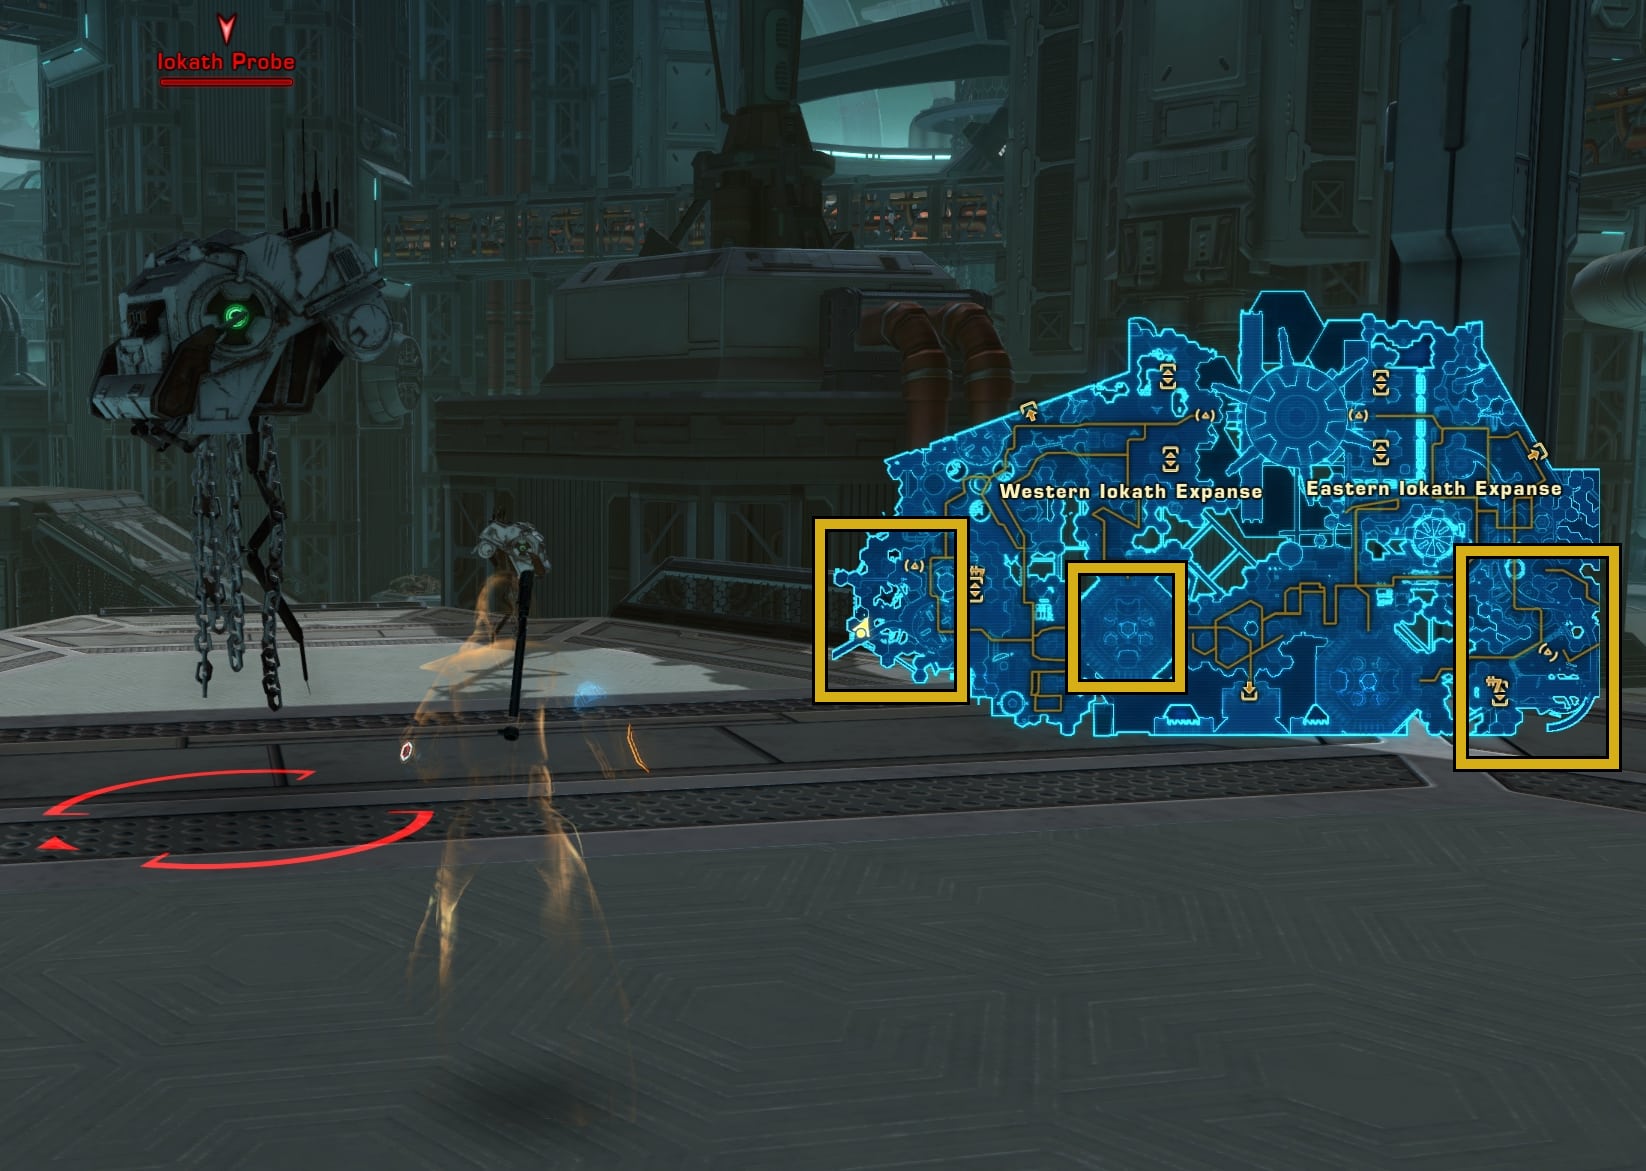
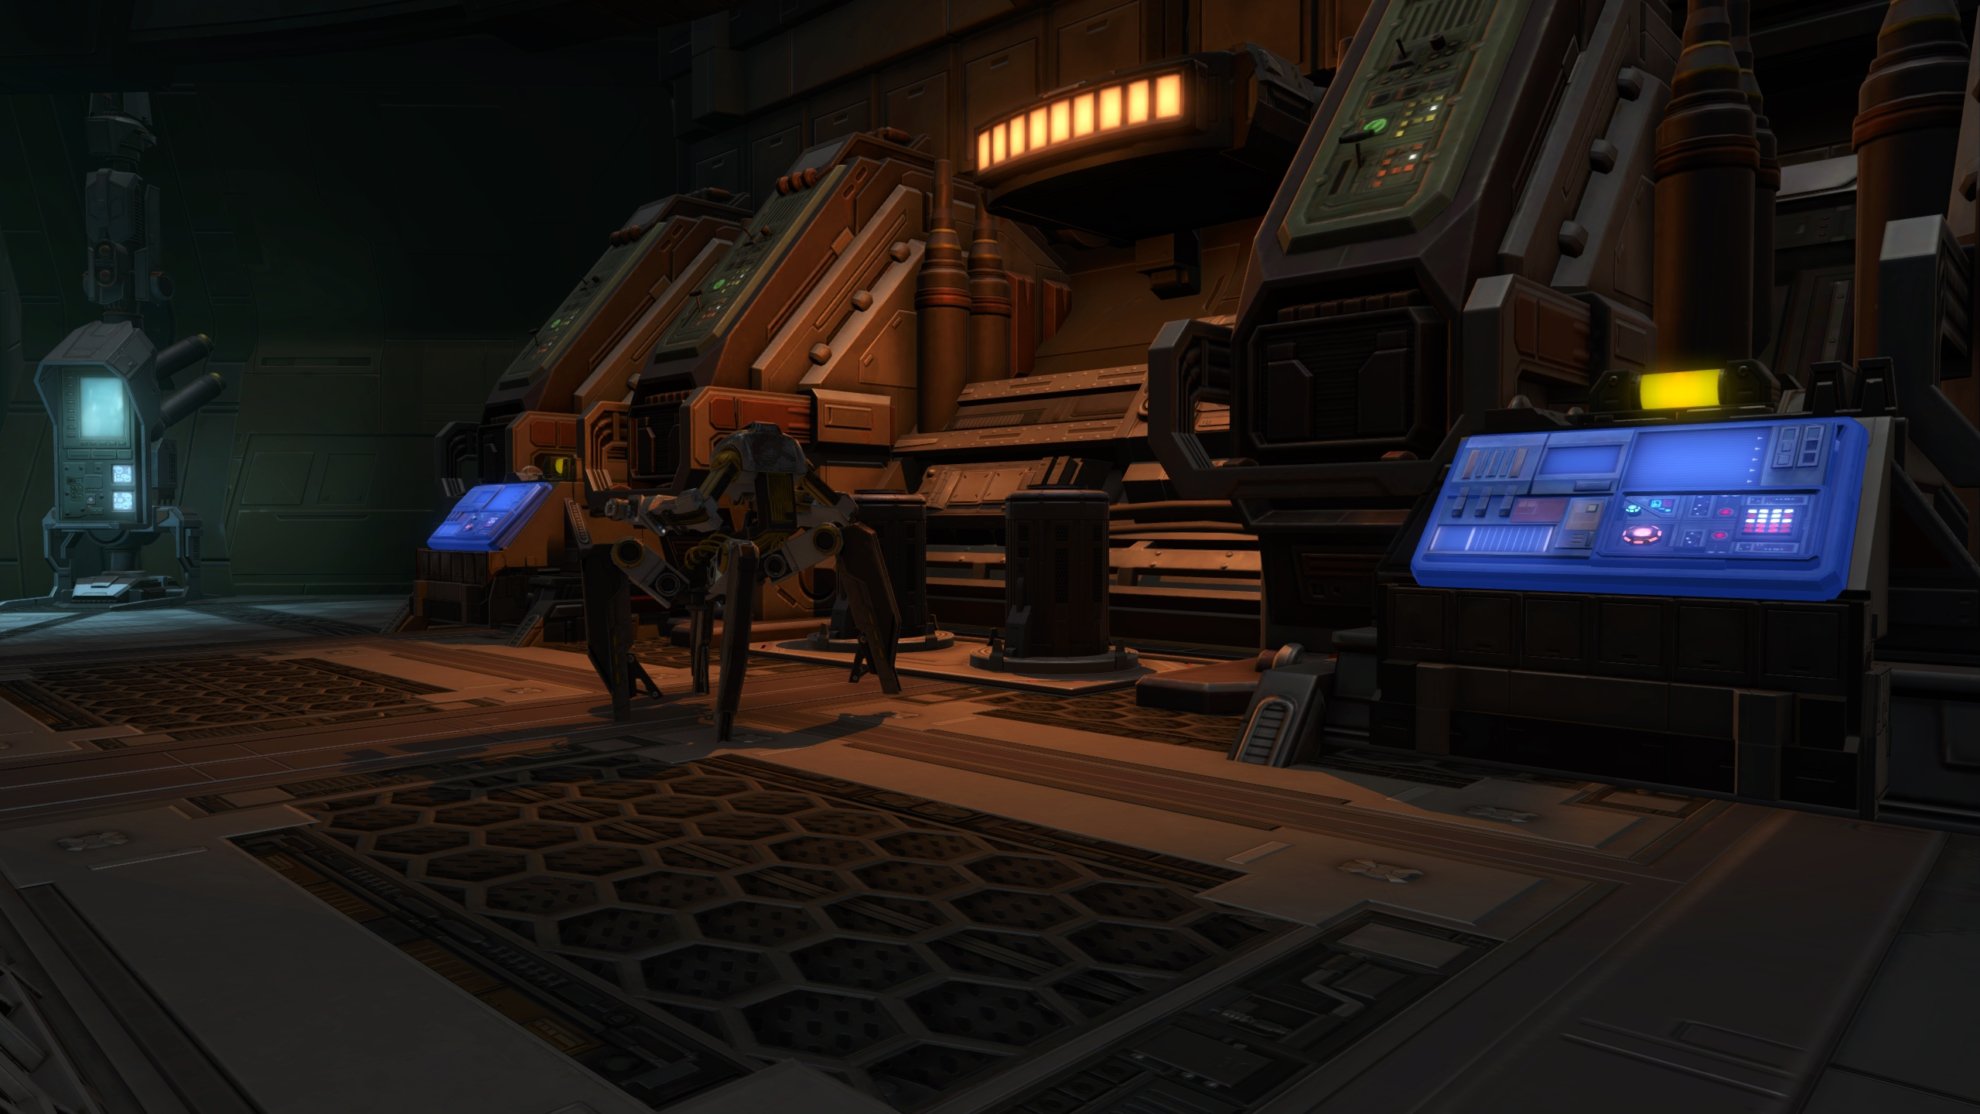
Gain the mission from the terminal in Runoff Control then go to Iokath. You need to destroy certain droids to collect items for your mission. You need to obtain 5 Logic Units from Scour Swarm Droids, 3 Thermal Pastes from Probe Droids, and 3 Monitors from Caretaker Droids.
These droids are all over Iokath and they should be easy to find, except for the Iokath Probe Droids. These droids are less common but there’s a good chunk of them to the far west and far east of the Iokath Expanse. The Thermal Pastes won’t drop from Caretaker Probe Droids, only Iokath Probes.

Once you’ve collected the components, take the Factory Tram on the west side or southeast side of the Iokath Expanse. Go to the mission area inside the Weapons Factory, clear the droids, and fabricate a Regulator Unit with the fabricator buttons.
Go to the map marker in the room south of you and stand between the power cells. You’ll gain a temporary ability to hypercharge the Unit, use it then exit with either of the Factory Trams.
Once you take the Factory Tram out, you’ll be near a spot where you can expose the Regulator to Transduction Rays. Walk into the transporters that glow and have the floating tech bits. If you’re in the Western Iokath Expanse, there’s a transporter west of the Factory Tram. If you’re in the Eastern Iokath Expanse, there’s a transporter east of the Factory Tram.
Once you’re through the teleporter, go south to the Superweapon Compound Tram and take it to the Superweapon Command Center. Go behind the control seat and you’ll find a panel. Right click it to sync the Instruction Sets.
Return to Runoff Control in Ardak Point and use the Verification Unit on the Component Workbench to end the mission.
Mission 5: Subjective Selection
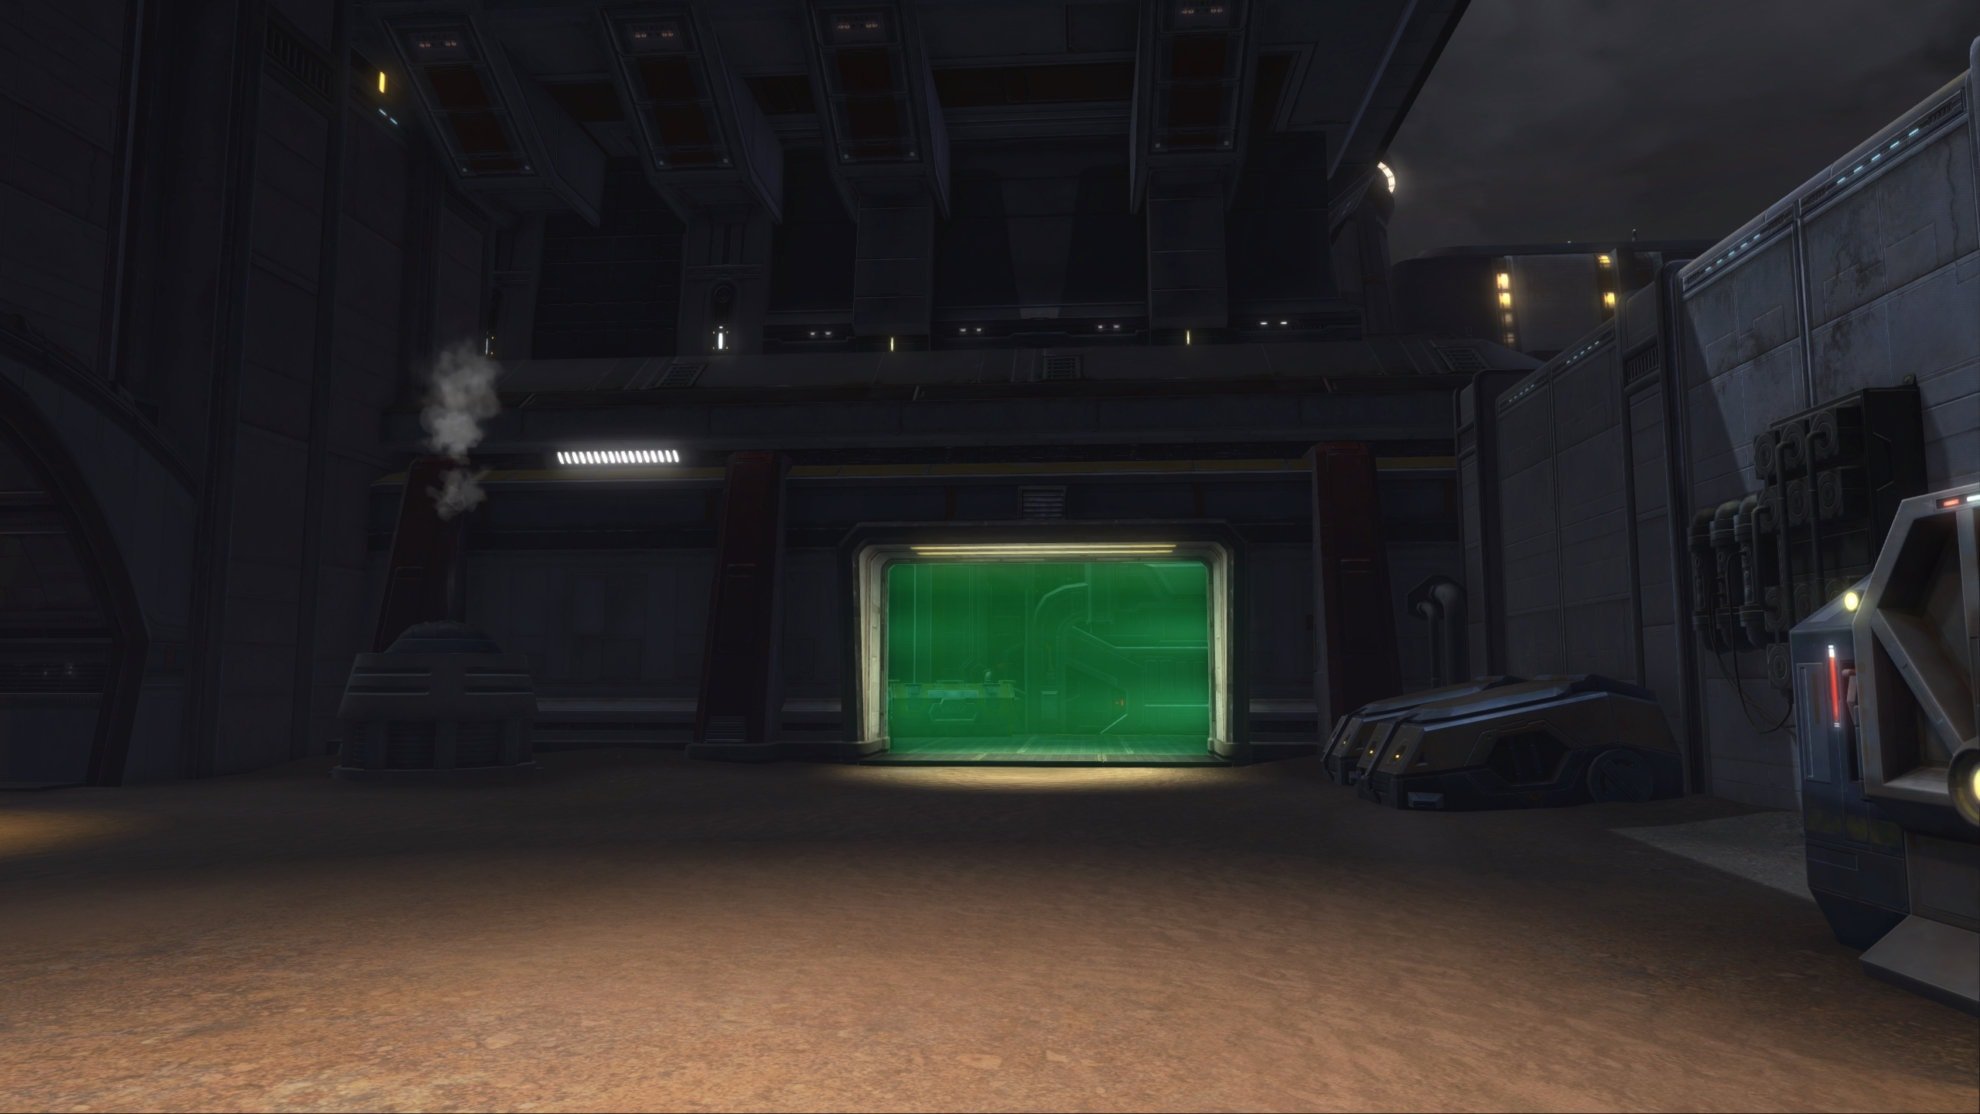
Once you get the mission, leave Runoff Control and walk straight ahead . You’ll see a green instance area, go inside to locate a suitable test lab.
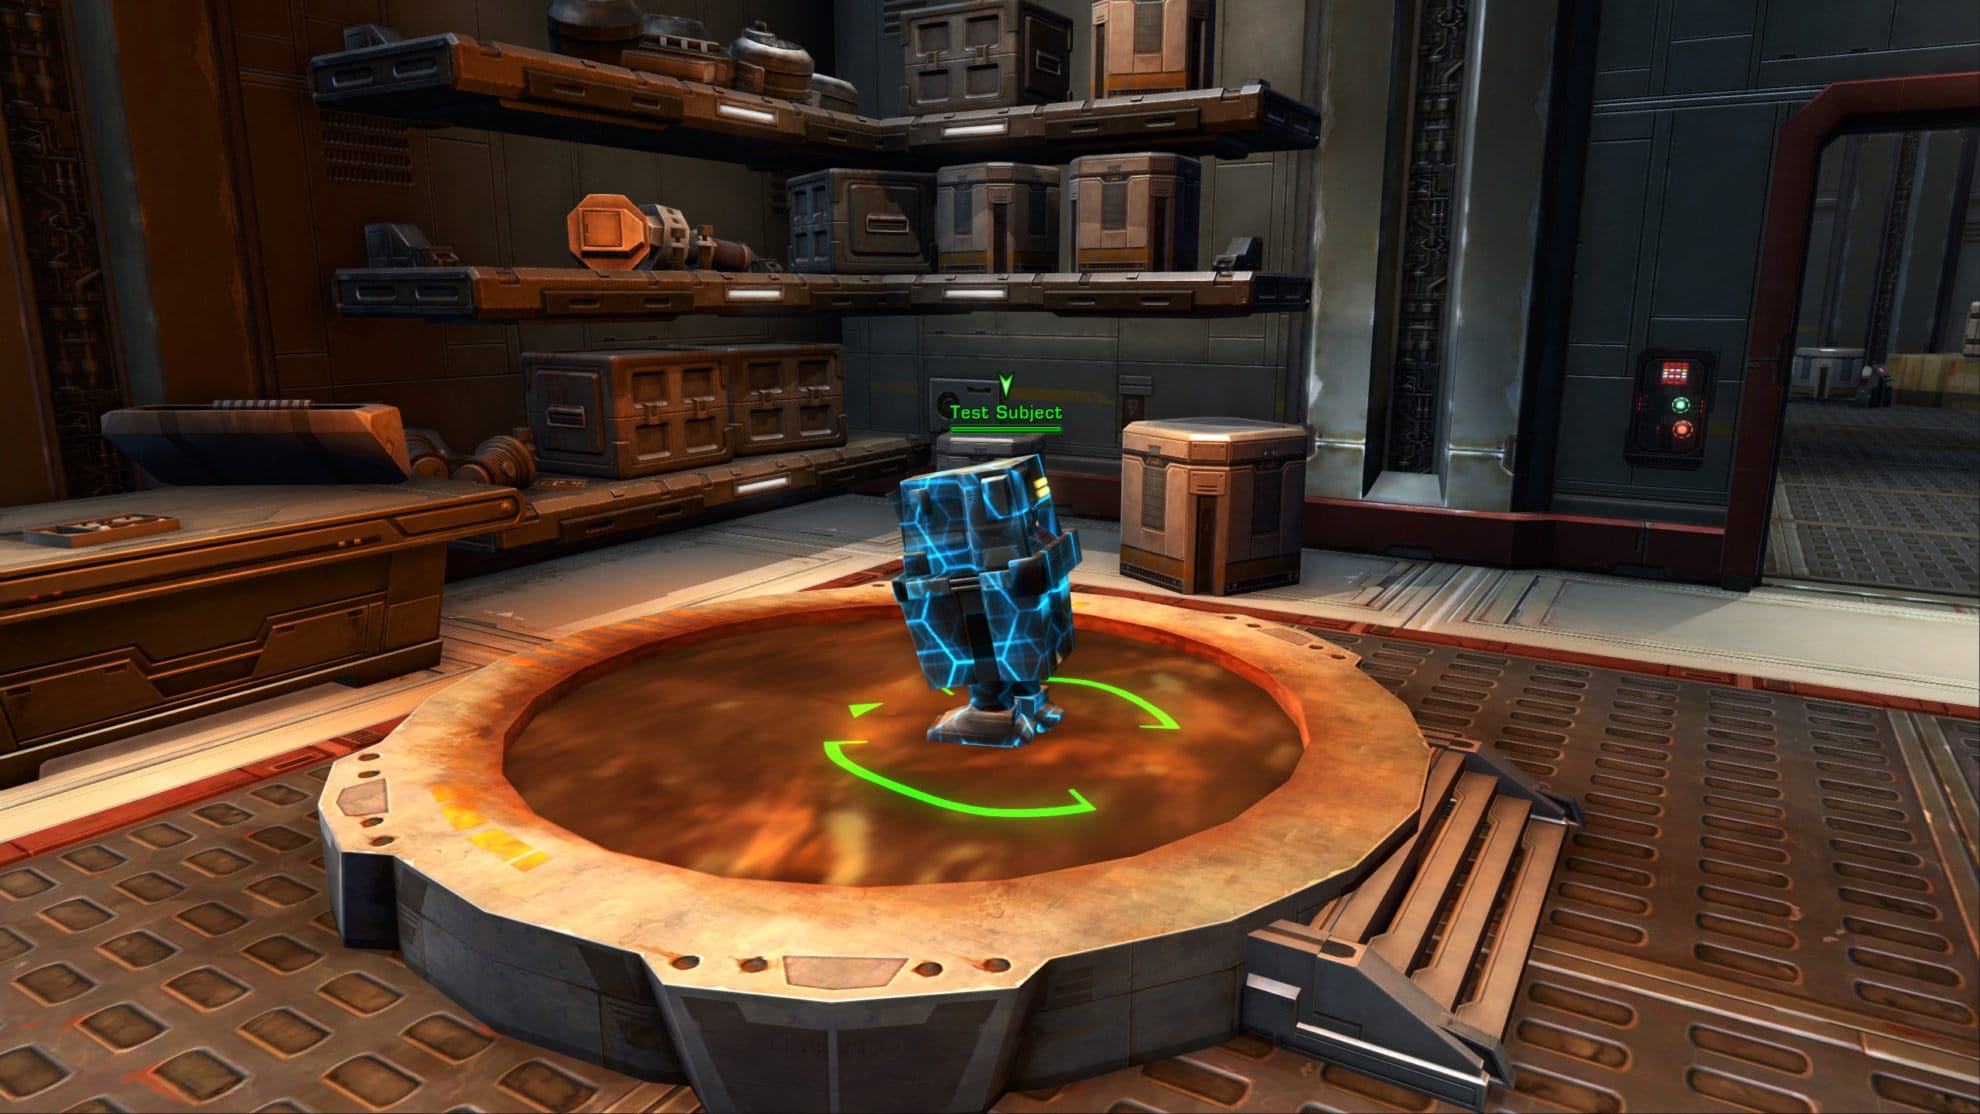
Once inside, you’ll need to power up the lab and examine the equipment. All of the equipment pieces have big green arrows pointing down at them, they’re impossible to miss. Once you’ve examined the equipment, you’ll need to scan for a suitable test subject.
You’ll be looking for a GNK droid in a farm at the northeast side of Kessan’s Landing. Look for their feet popping out of the ground and scan them with your Handheld Scanners. Once you’ve found a good test subject, right click it to pull it out like a space carrot.
Return to the lab and activate the work bench. You’ll gain a temporary ability to examine the test subject to assess the damage. Now you’ll need to purchase and open a Repair Kit, find a Motivator Unit, and acquire Shielded Wiring.
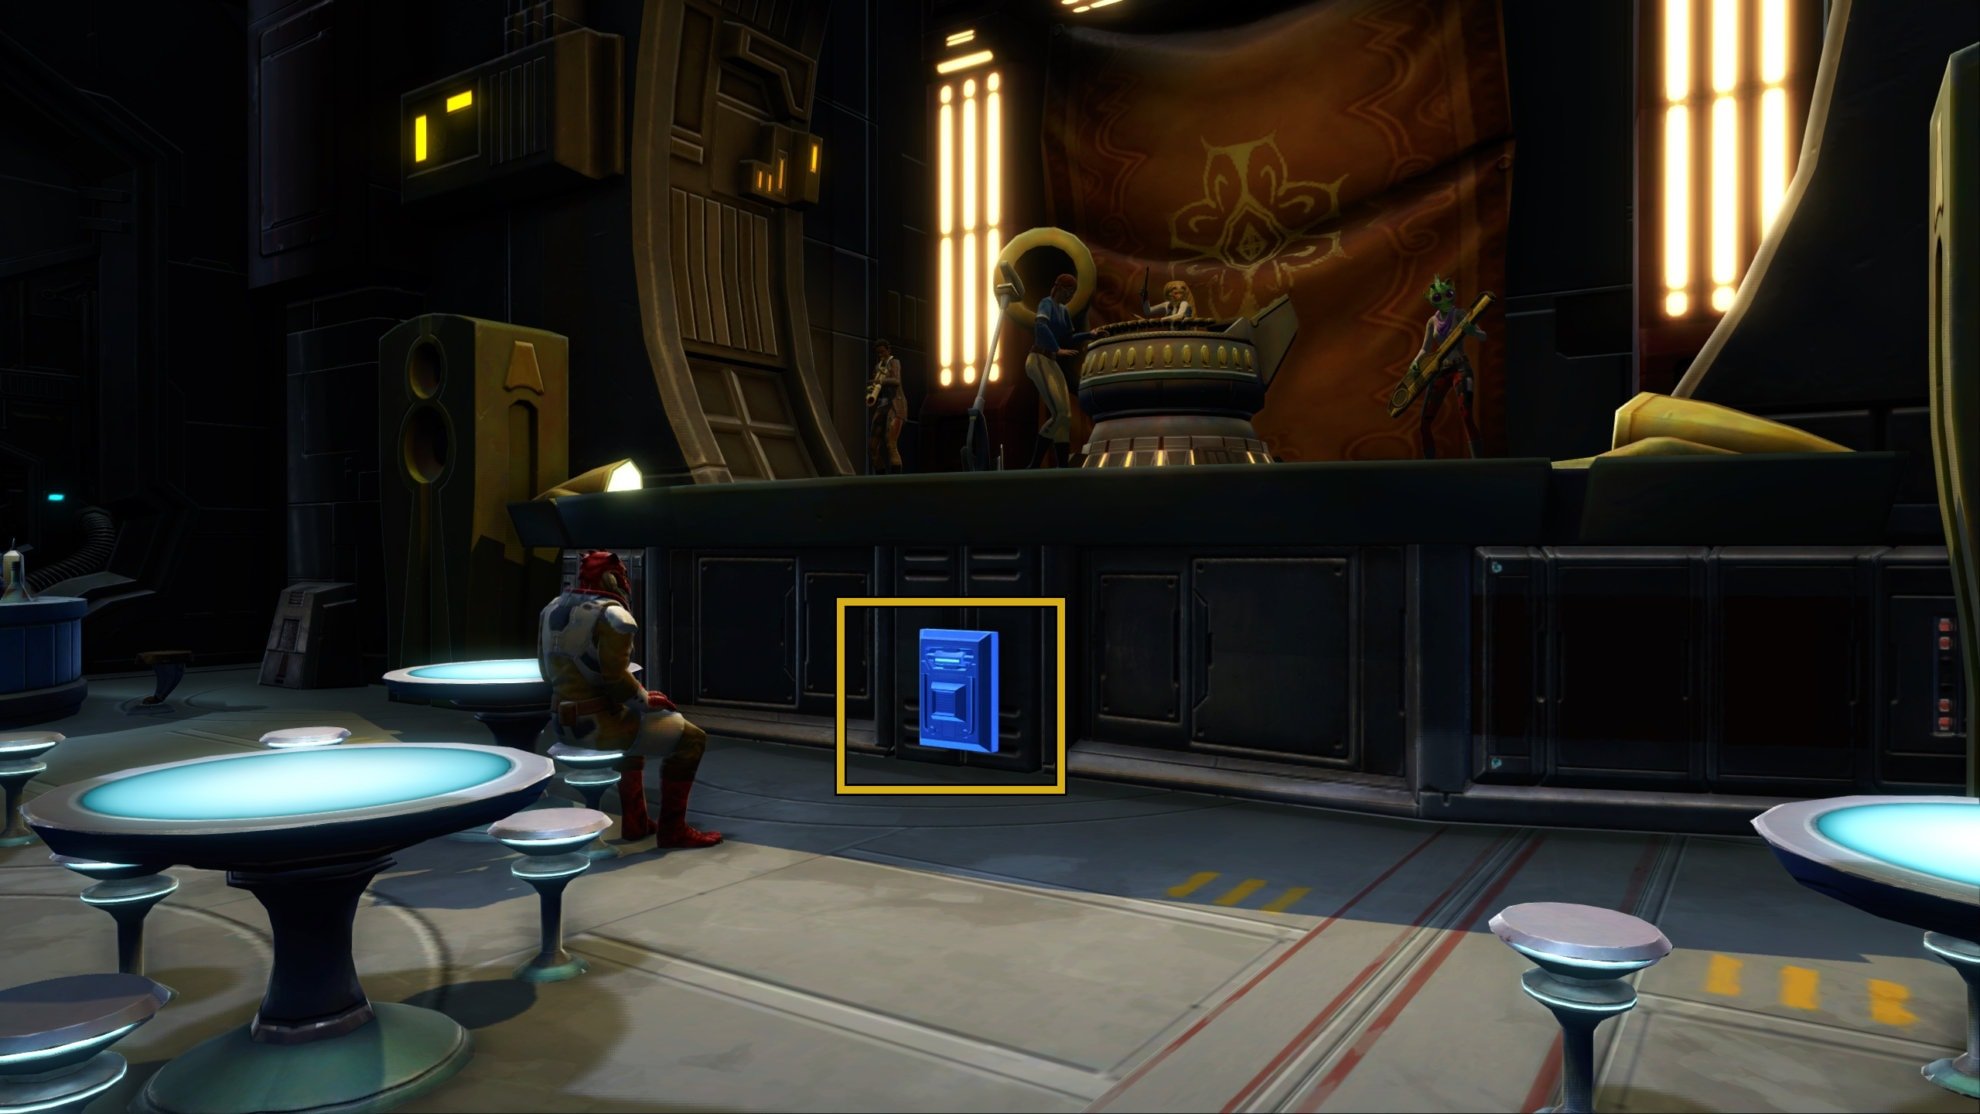
The repair kit and shielded wiring can be found at Ardak Point. Start by exiting the lab and going to the Voss-ka Parts Vendor right outside at the market, and purchase a repair kit for 100 credits. Open the repair kit in your inventory then head to the cantina. Right below the stage is a panel you can use to get the shielded wiring.

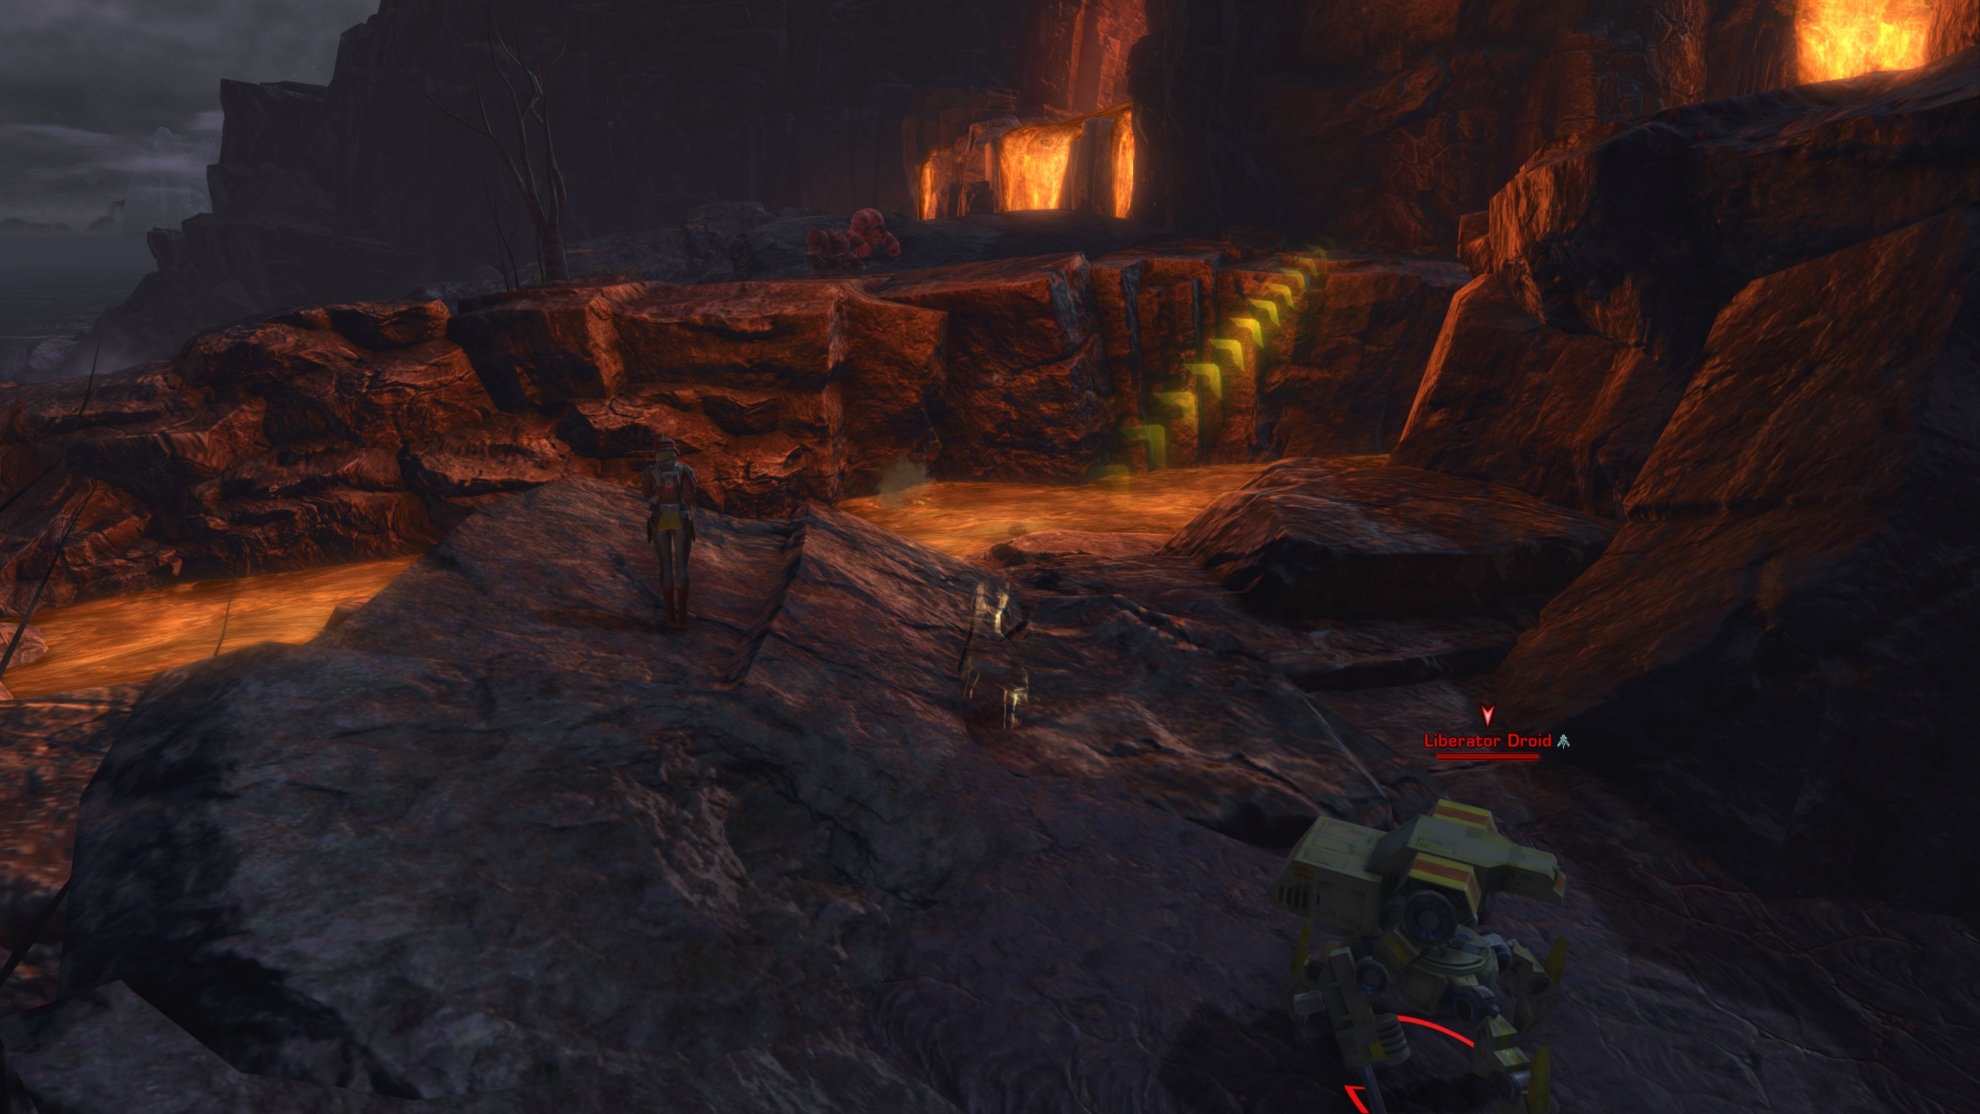
To find a Motivator Unit, go outside the arena where FR3-D0M is located and defeat Liberator Droids until you find it.

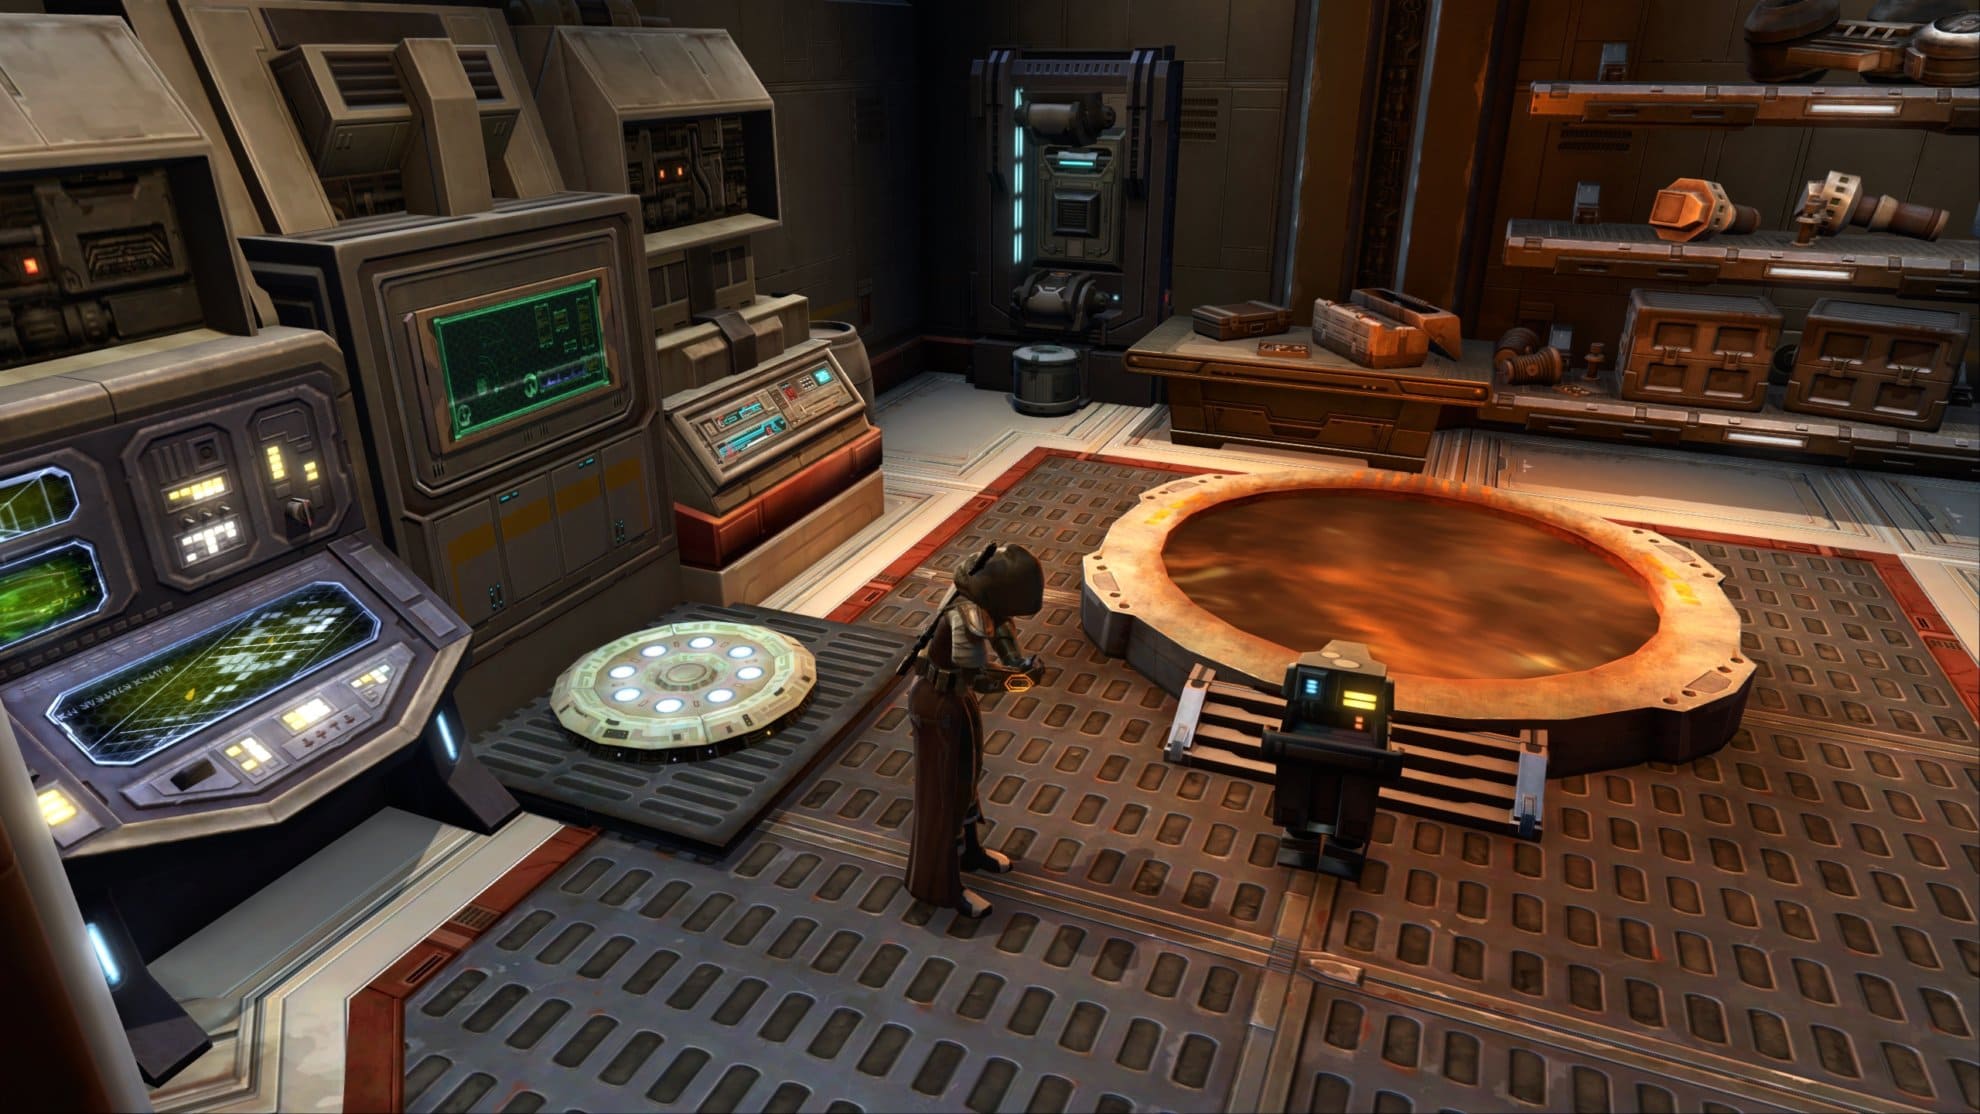
When you have all the components, return to the lab and repair the test subject at the workbench. Place the subject at the Activator, activate the test subject, then you’ll need to do a few more things in the lab before you can continue. Install 3 Prototype Shielding Components, activate the Regulator Unit, affix the Durasteel Plating, and inject the Hypercoolant. You’ll get temporary abilities for this phase of the mission.
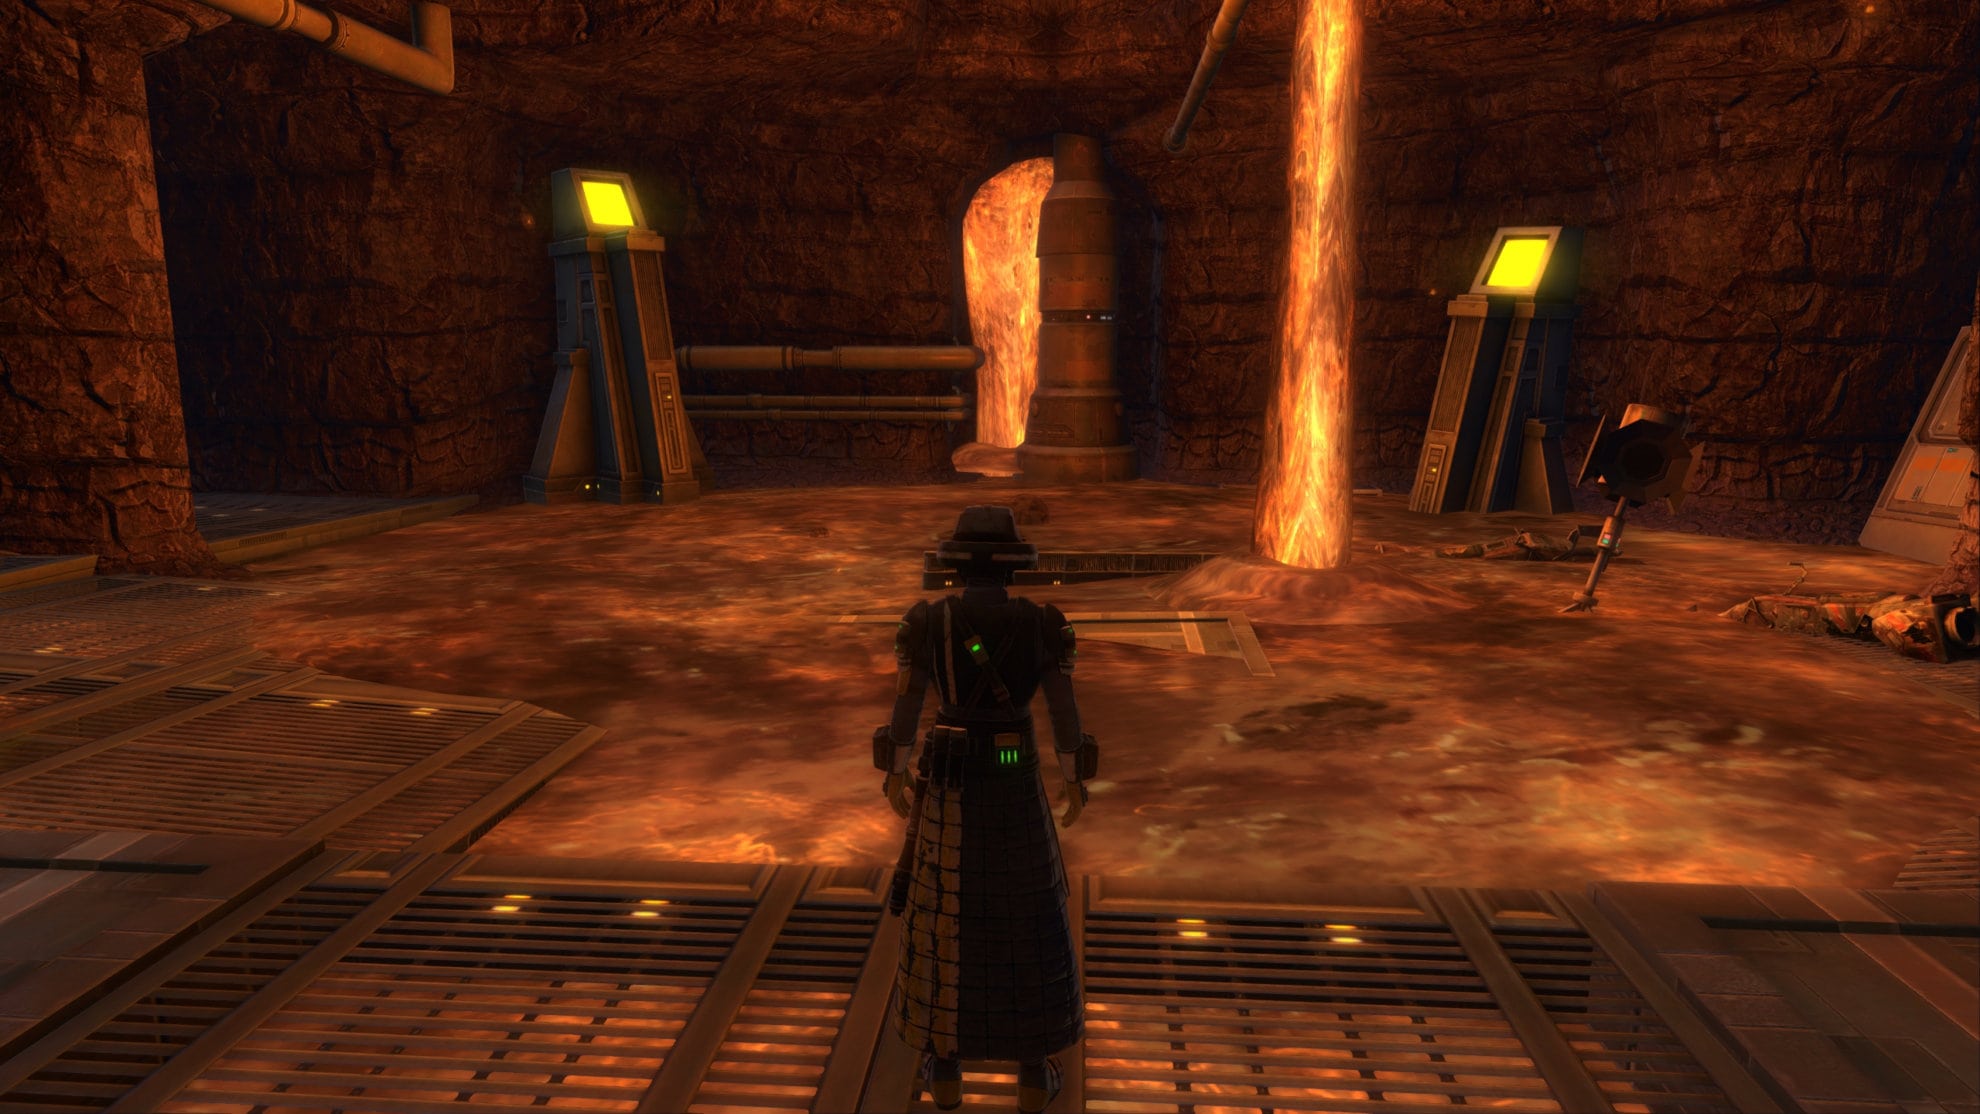
Initiate the test protocol, the GNK droid will step into the lava and promptly explode into heaps of scrap. Assess the results by right clicking the junk on the floor.
Return to Runoff Control and use the Databank Terminal. Examine the Troubleshooting Guide in your mission item’s inventory or mission pane to end the mission.
Mission 6: Good Calibrations
Once you get the mission, go to the lab to collect the Diagnostic Tools. Go to the lava pit in the room and use the temporary ability to calibrate the Diagnostic Tools.
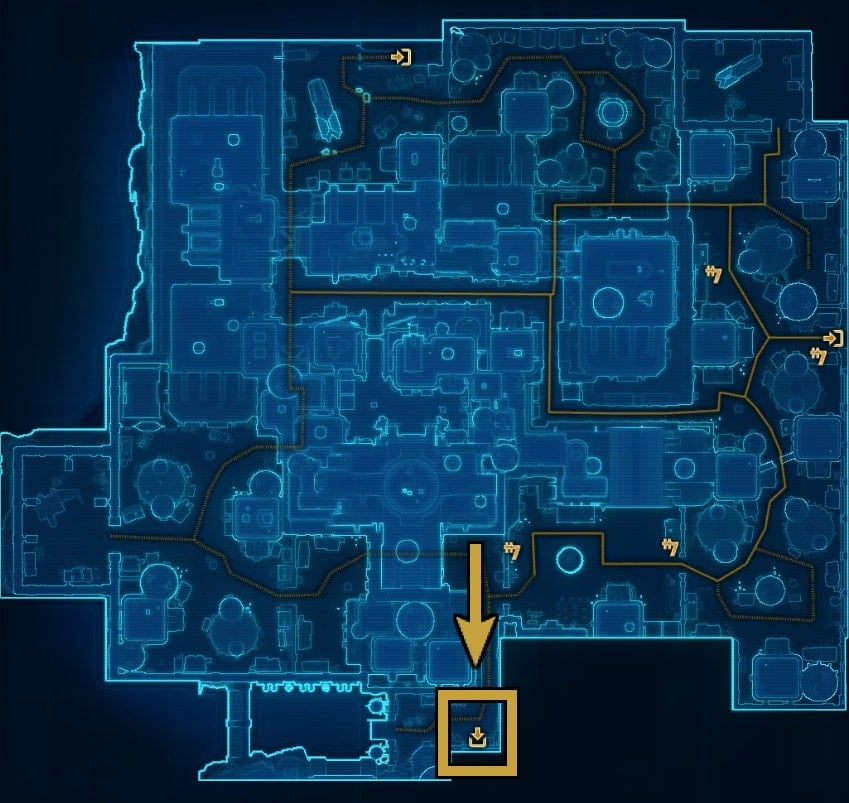
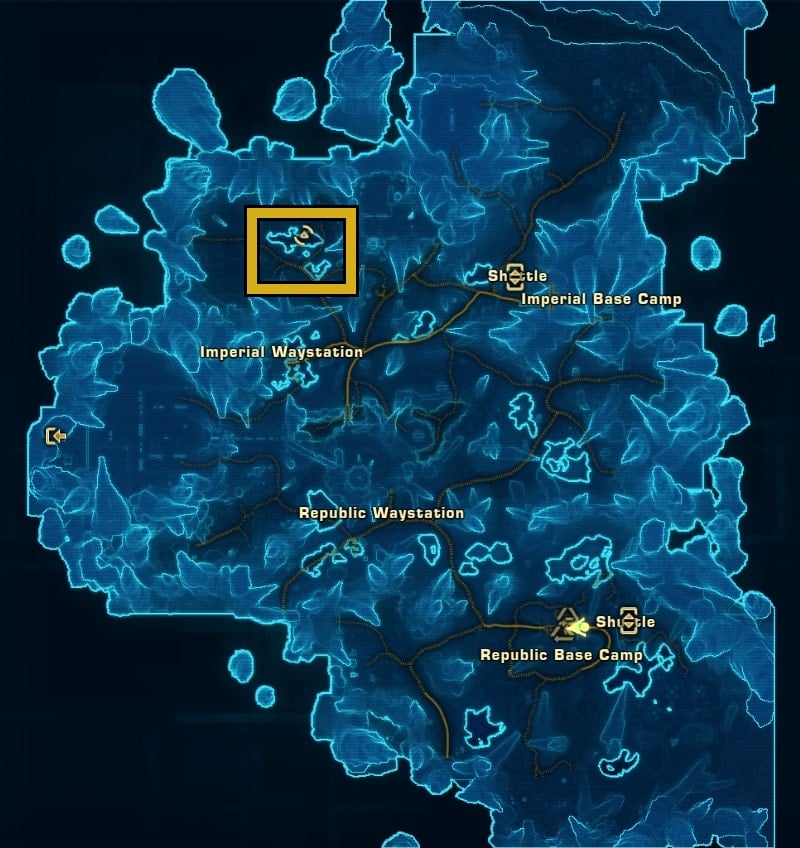
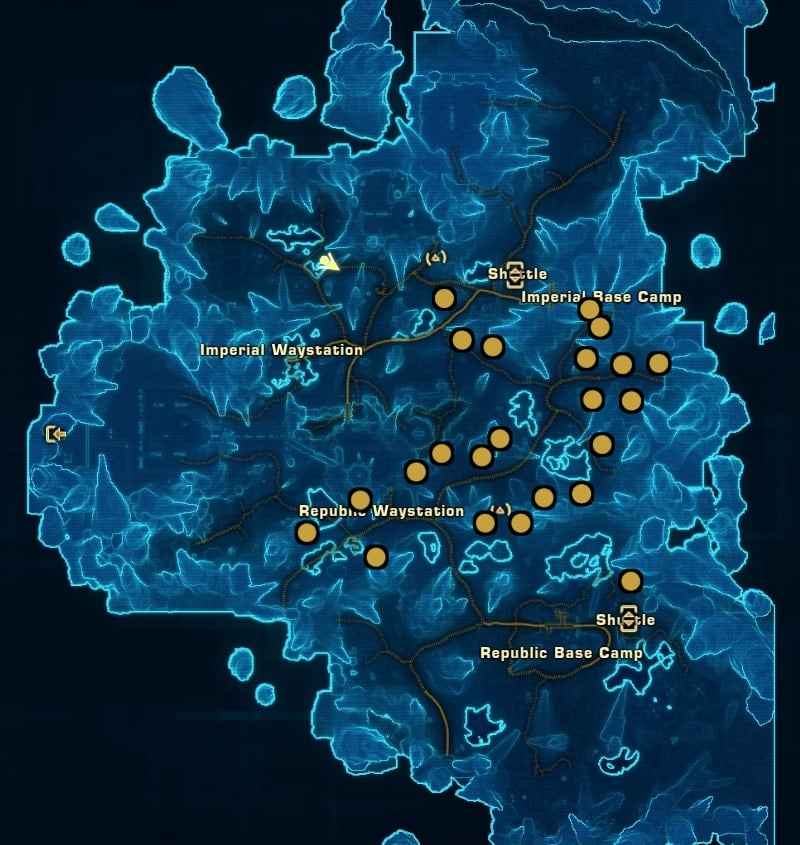
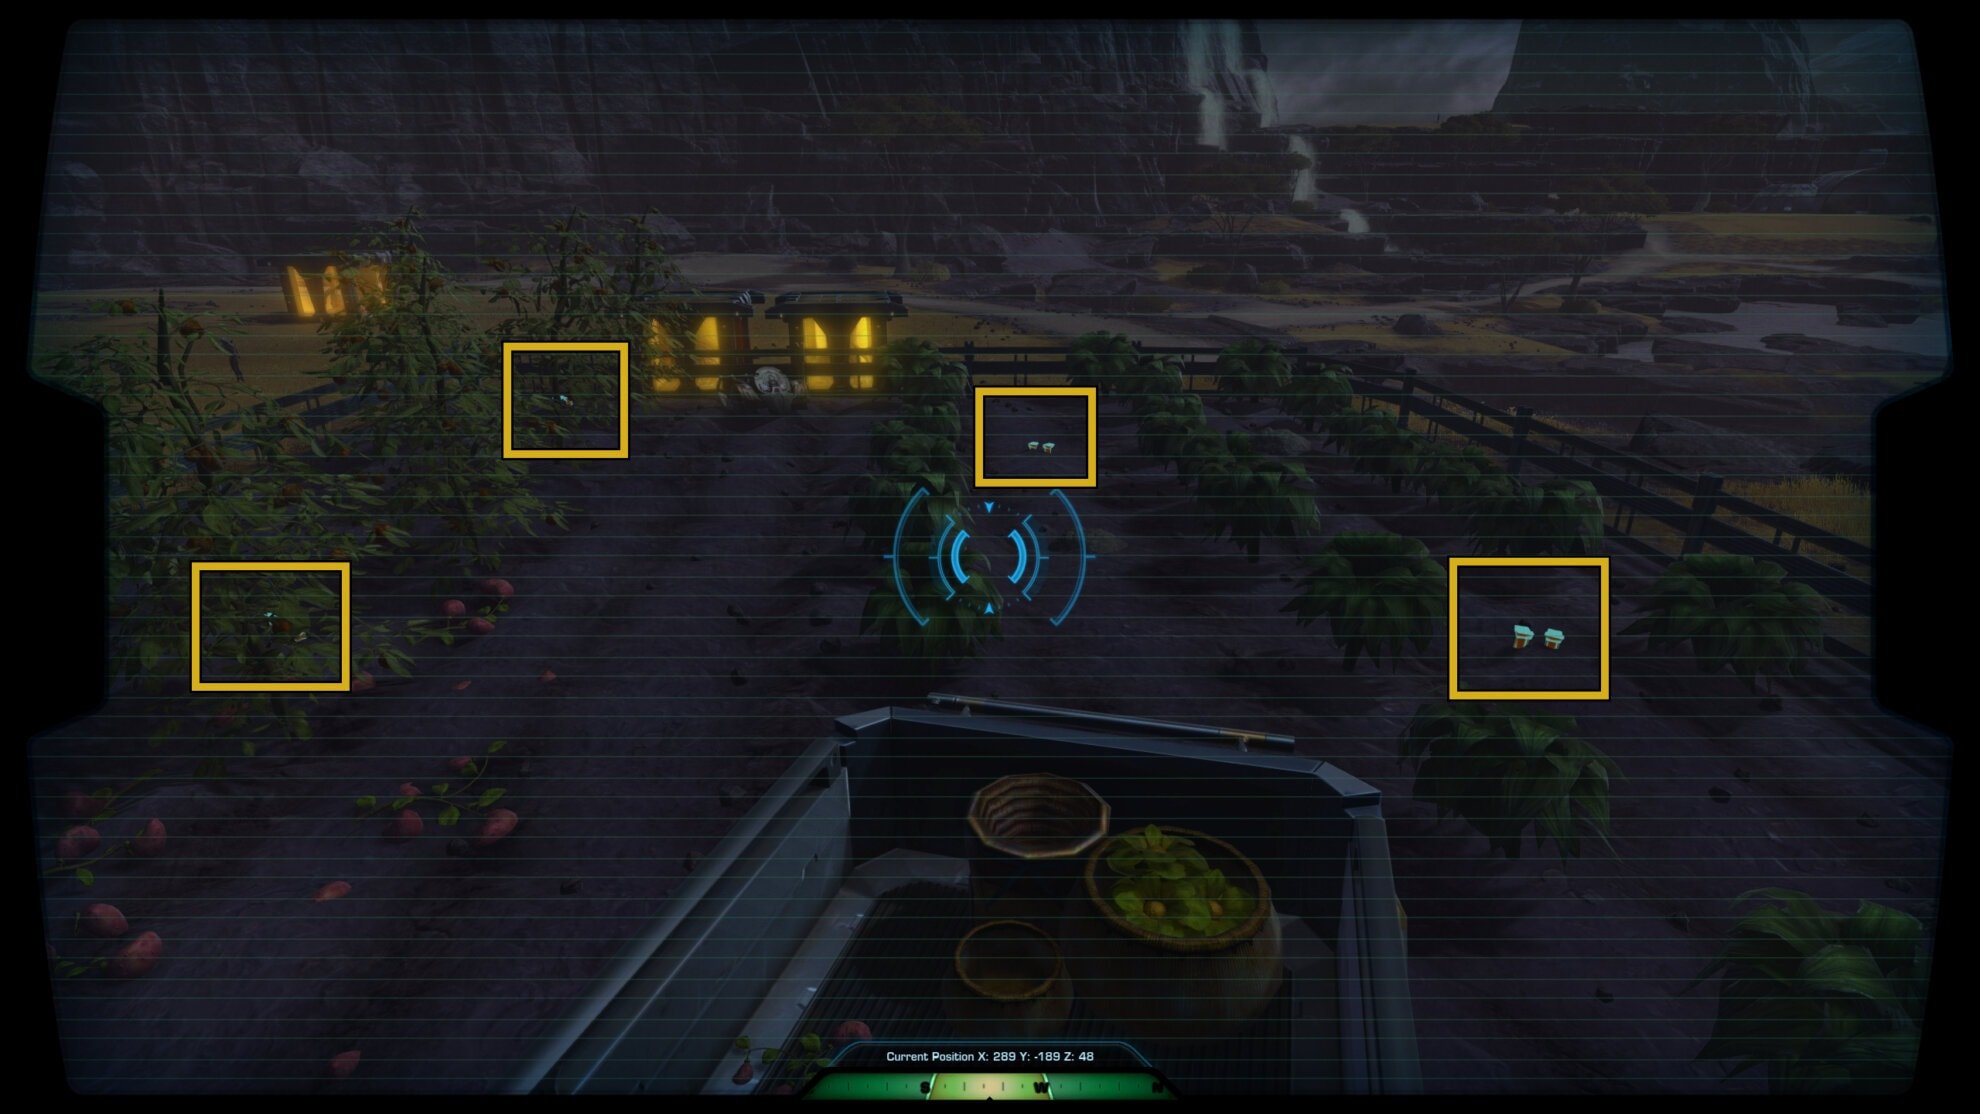
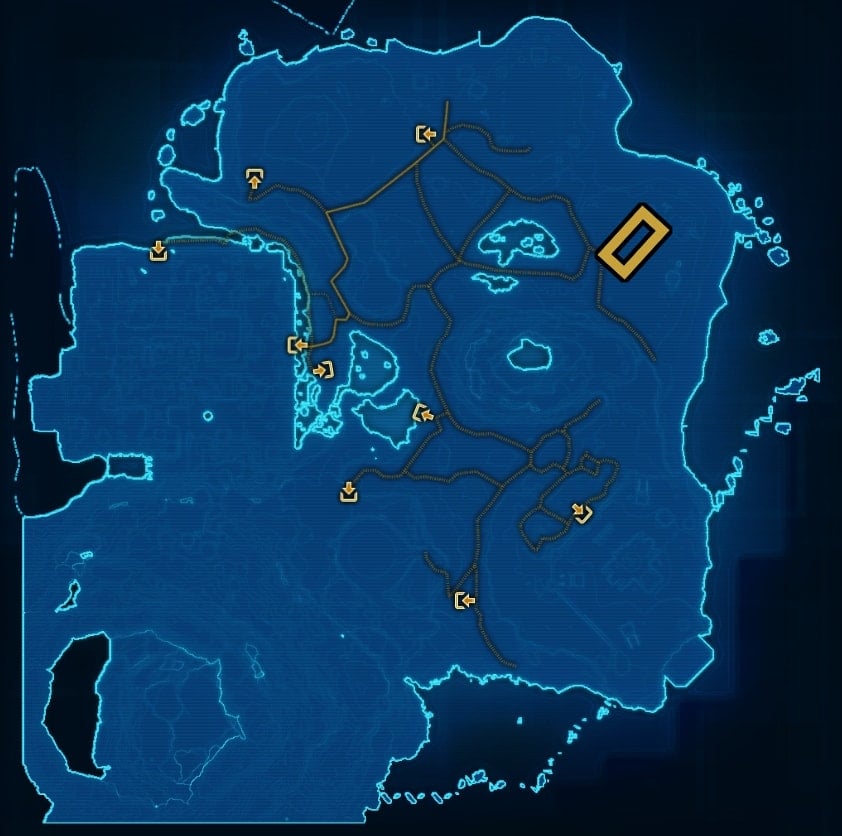
Once you’ve done this, you’ll need to leave Ardak Point to gather Ord Mantell Data at 5 locations. These locations are numbered 1 through 5 on the following map:
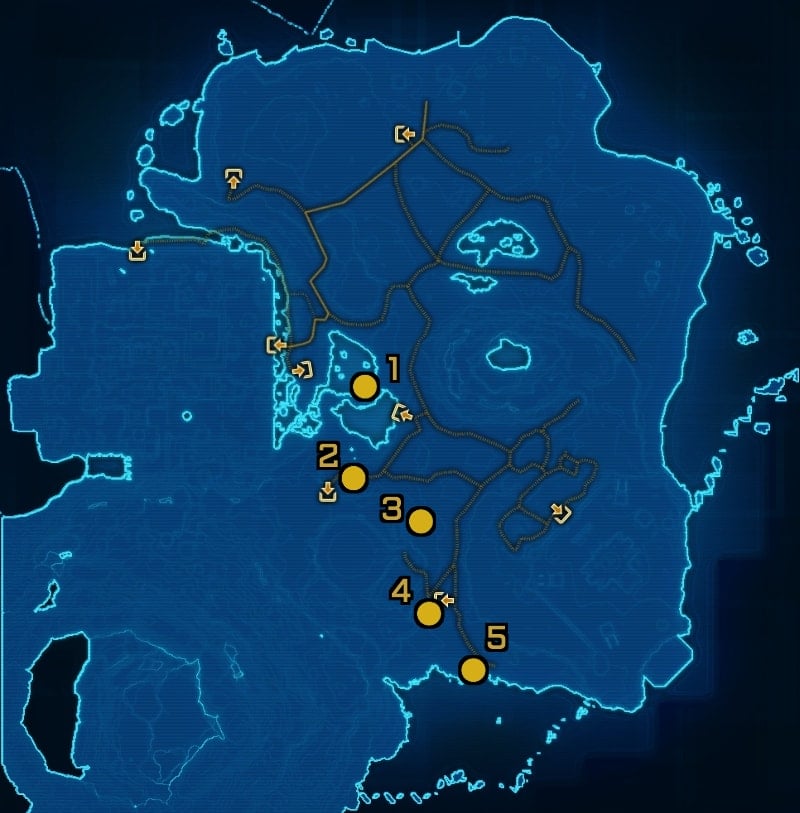
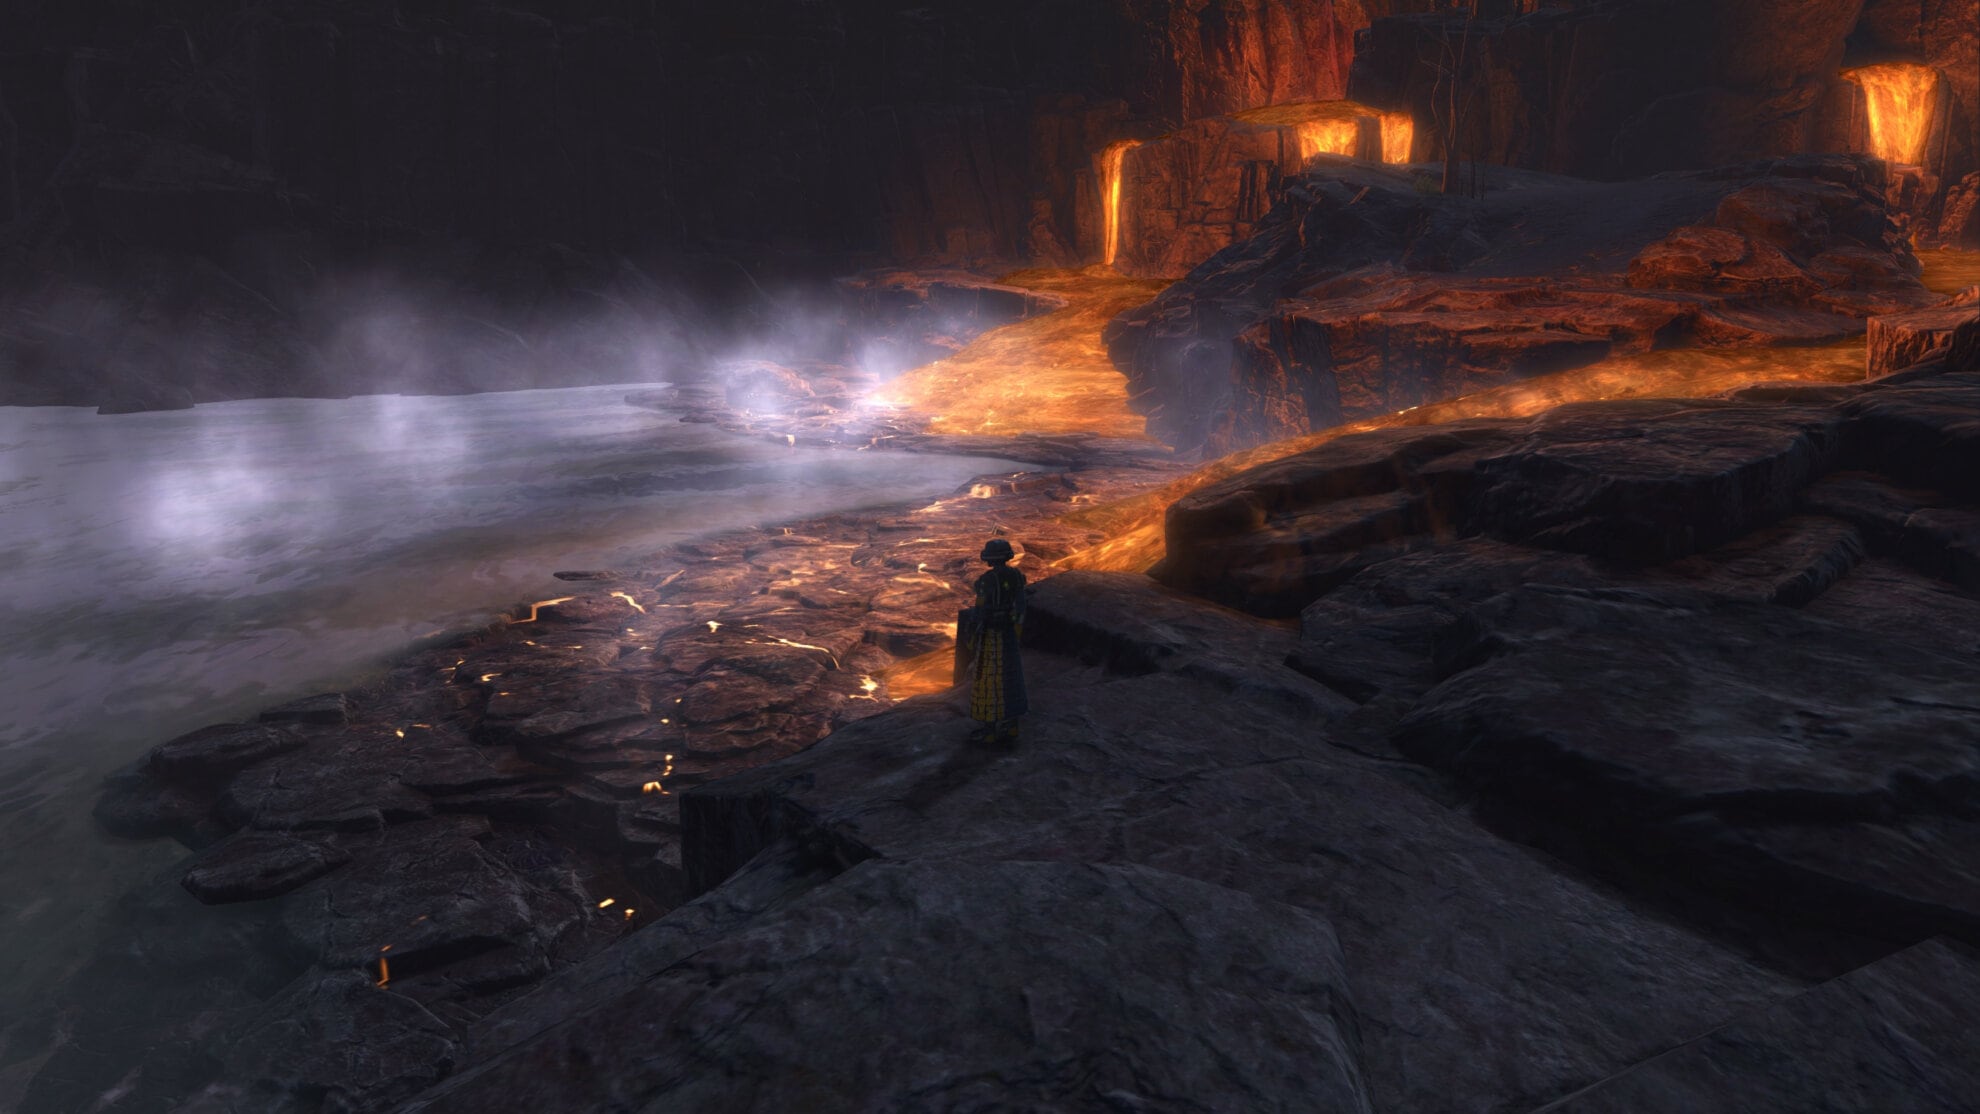
Location 1 is the Lava Flooded Tunnel, though be sure to take the east entrance otherwise you might find yourself walking through lava or taking a long walk around the area.
Location 2 is outside Tram Maintenance. Fortunately this location is only a short walk south of the east Lava Tunnel entrance and there aren’t a lot of enemies in this area.
Location 3 is a Lava River south of Location 2. It requires small jumps over the lava to reach the data point.

Location 4 is outside the Overrun Volcanology Lab. When jumping across the lava, be prepared to fight some Savrips when you reach the other side.
Location 5 is the South Beach. You can easily access this location by walking here from the Solitude’s Laze quick travel point. It’s near where the lava meets the sea, it’s a good place to blow off some steam.
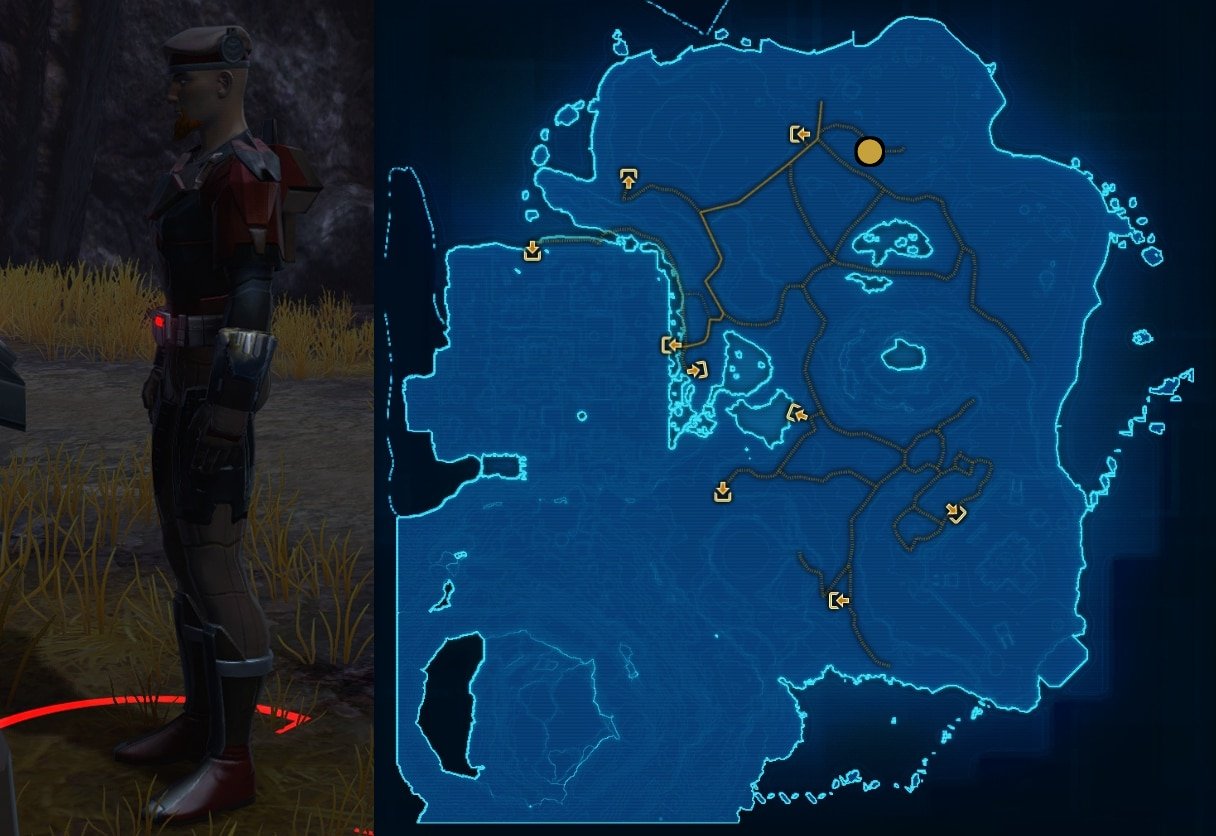
After gathering the Ord Mantell Data, you need to travel to Oricon and Quesh. When you’re at Oricon, head to the east side of the Watchtower (the structure in the middle of the map). The two locations you need to gather Oricon Data at are shown in the map below:


While gathering the data, be sure to defeat Geo Beast Larvae to collect 3 Geo Beast Samples. They’re easily found in this area of Oricon and around the areas you need to gather data.

When you’re on Quesh, you’ll need to gather Quesh data at 2 locations. These locations are north of the Three Families War Camp in the south part of the map, and way up north near the Northern Industrial Outpost quick travel point (Imperial Only),


While you’re in these areas, you’ll need to do the following:
- Defeat 3 Lobels for Lobel Gills
- Defeat 3 Havraps for Havrap Lung Tissue
- Defeat 3 Trinthan Prowlers for Prowler Spleens
Both locations have plenty of Lobels, though the north location has more Trinthan Prowlers while the south location has more Harvorisks.


After gathering your data and samples, return to Runoff Control at Ardak Point. When you walk in, Separatists will attack. Defeat them then right click the Geothermal Research Damage to examine the damage to end the mission.
Mission 7: There’s Always a Backup
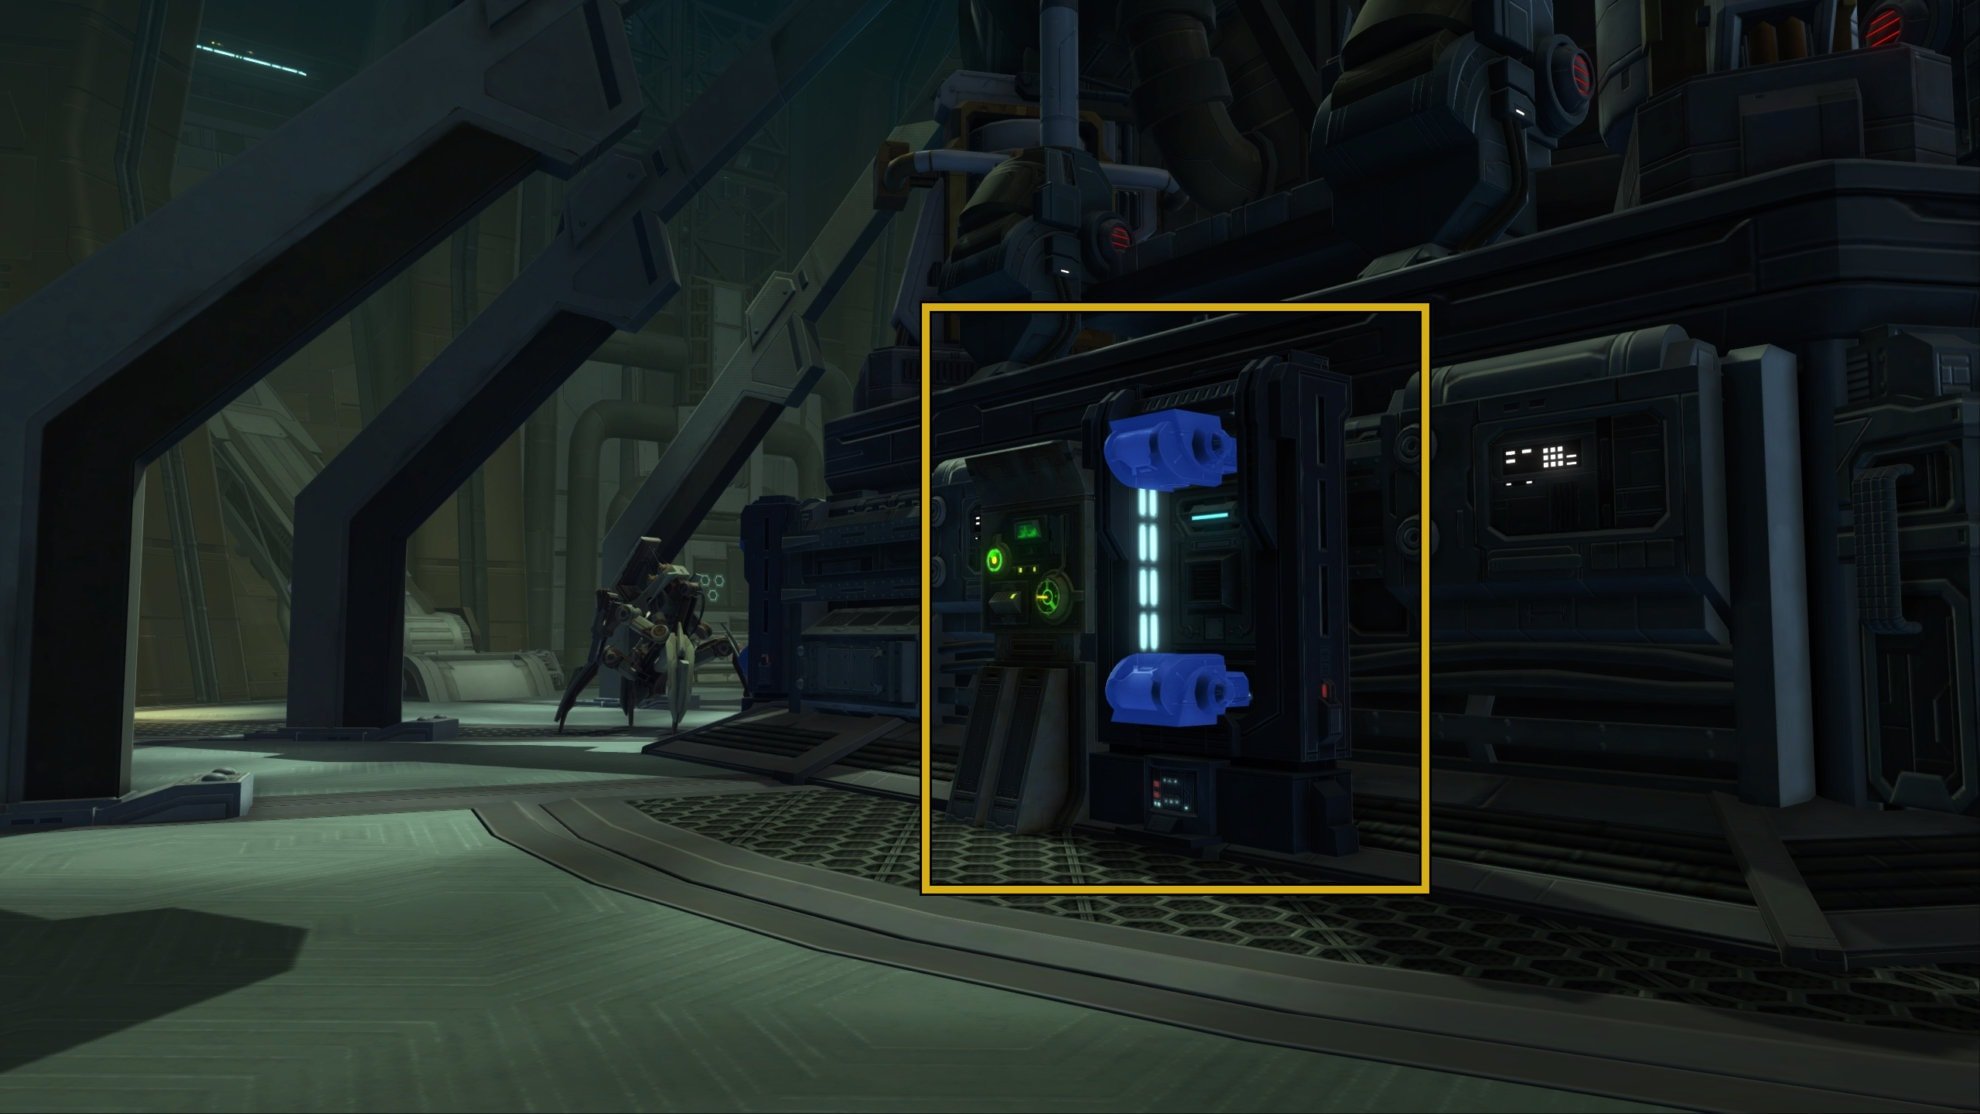
After pickup up the quest, use the temporary ability that appears near the Geothermal Research terminal to attempt to recover Terminal Data. Go to the south room of the Subterranean Power Station. Search the Databanks by right-clicking the 3 blue terminals in the room.
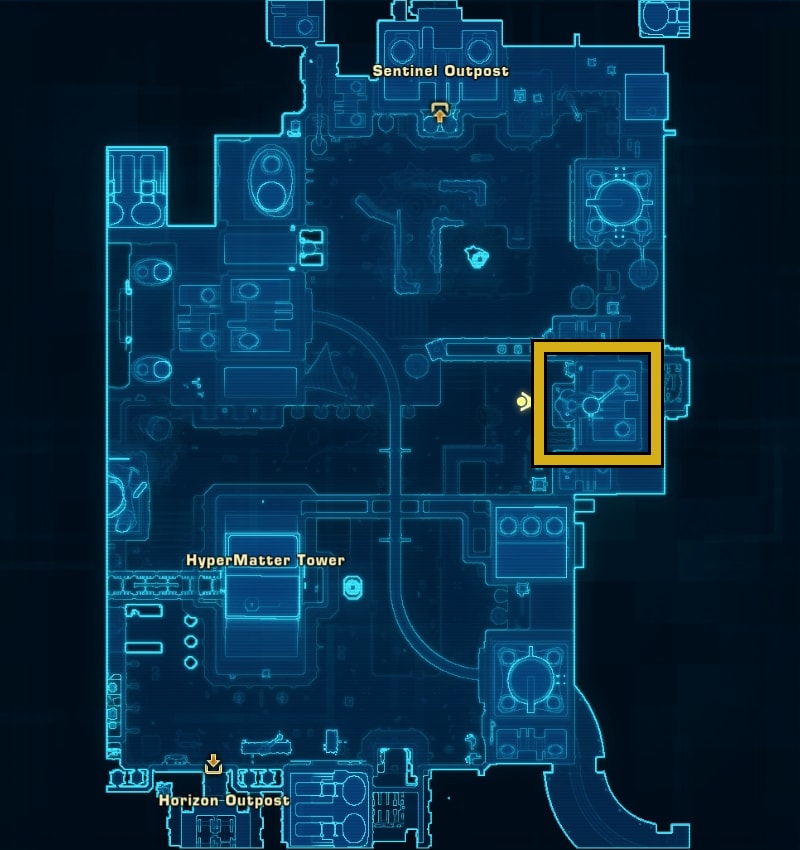
You’ll need to find the Backup Terminal. The three logs in your mission items inventory can provide hints. One log sticks out as it references “hypermatter manufacture oversight”. Hypermatter is the fuel used to power starships, so what’s the one planet best known for starship manufacturing? It’s Corellia, more specifically The Black Hole area on Corellia is where you’ll want to go.
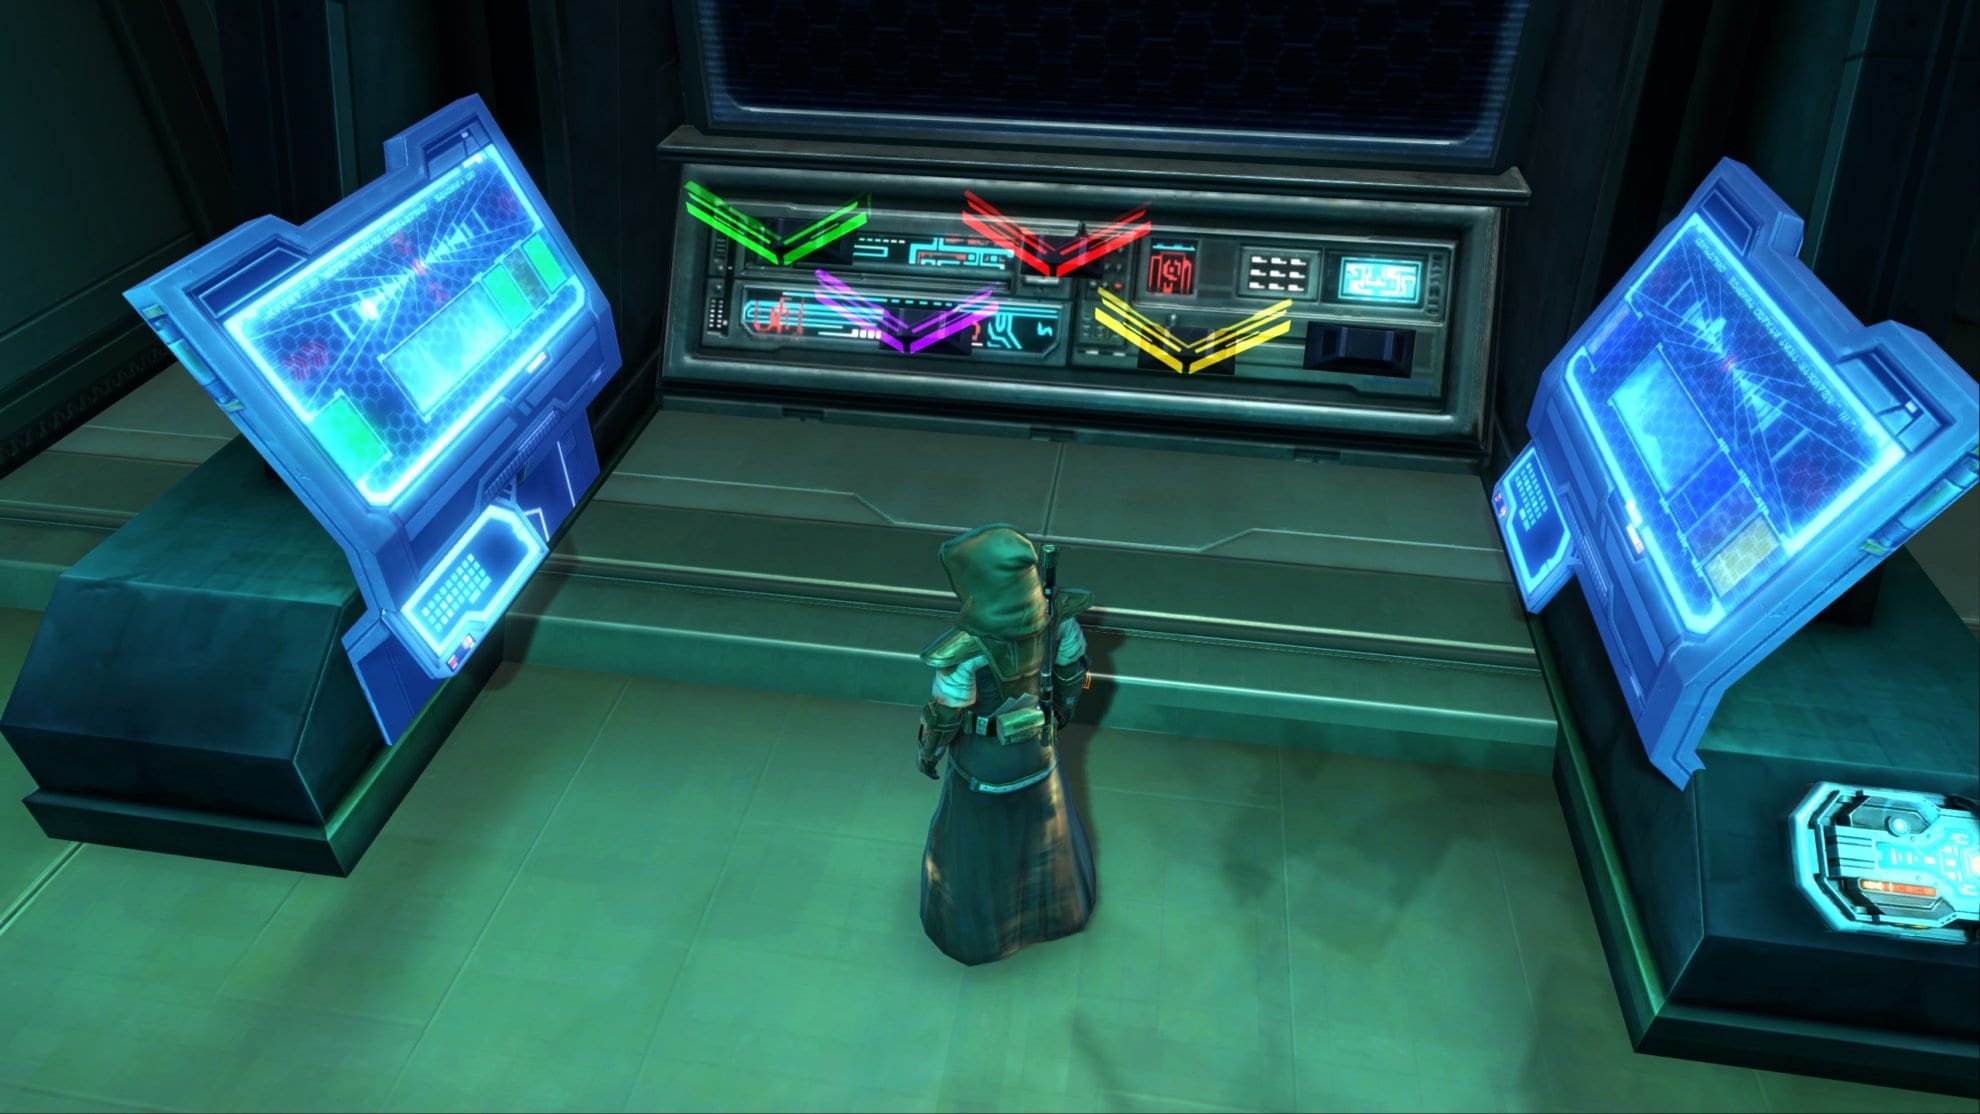
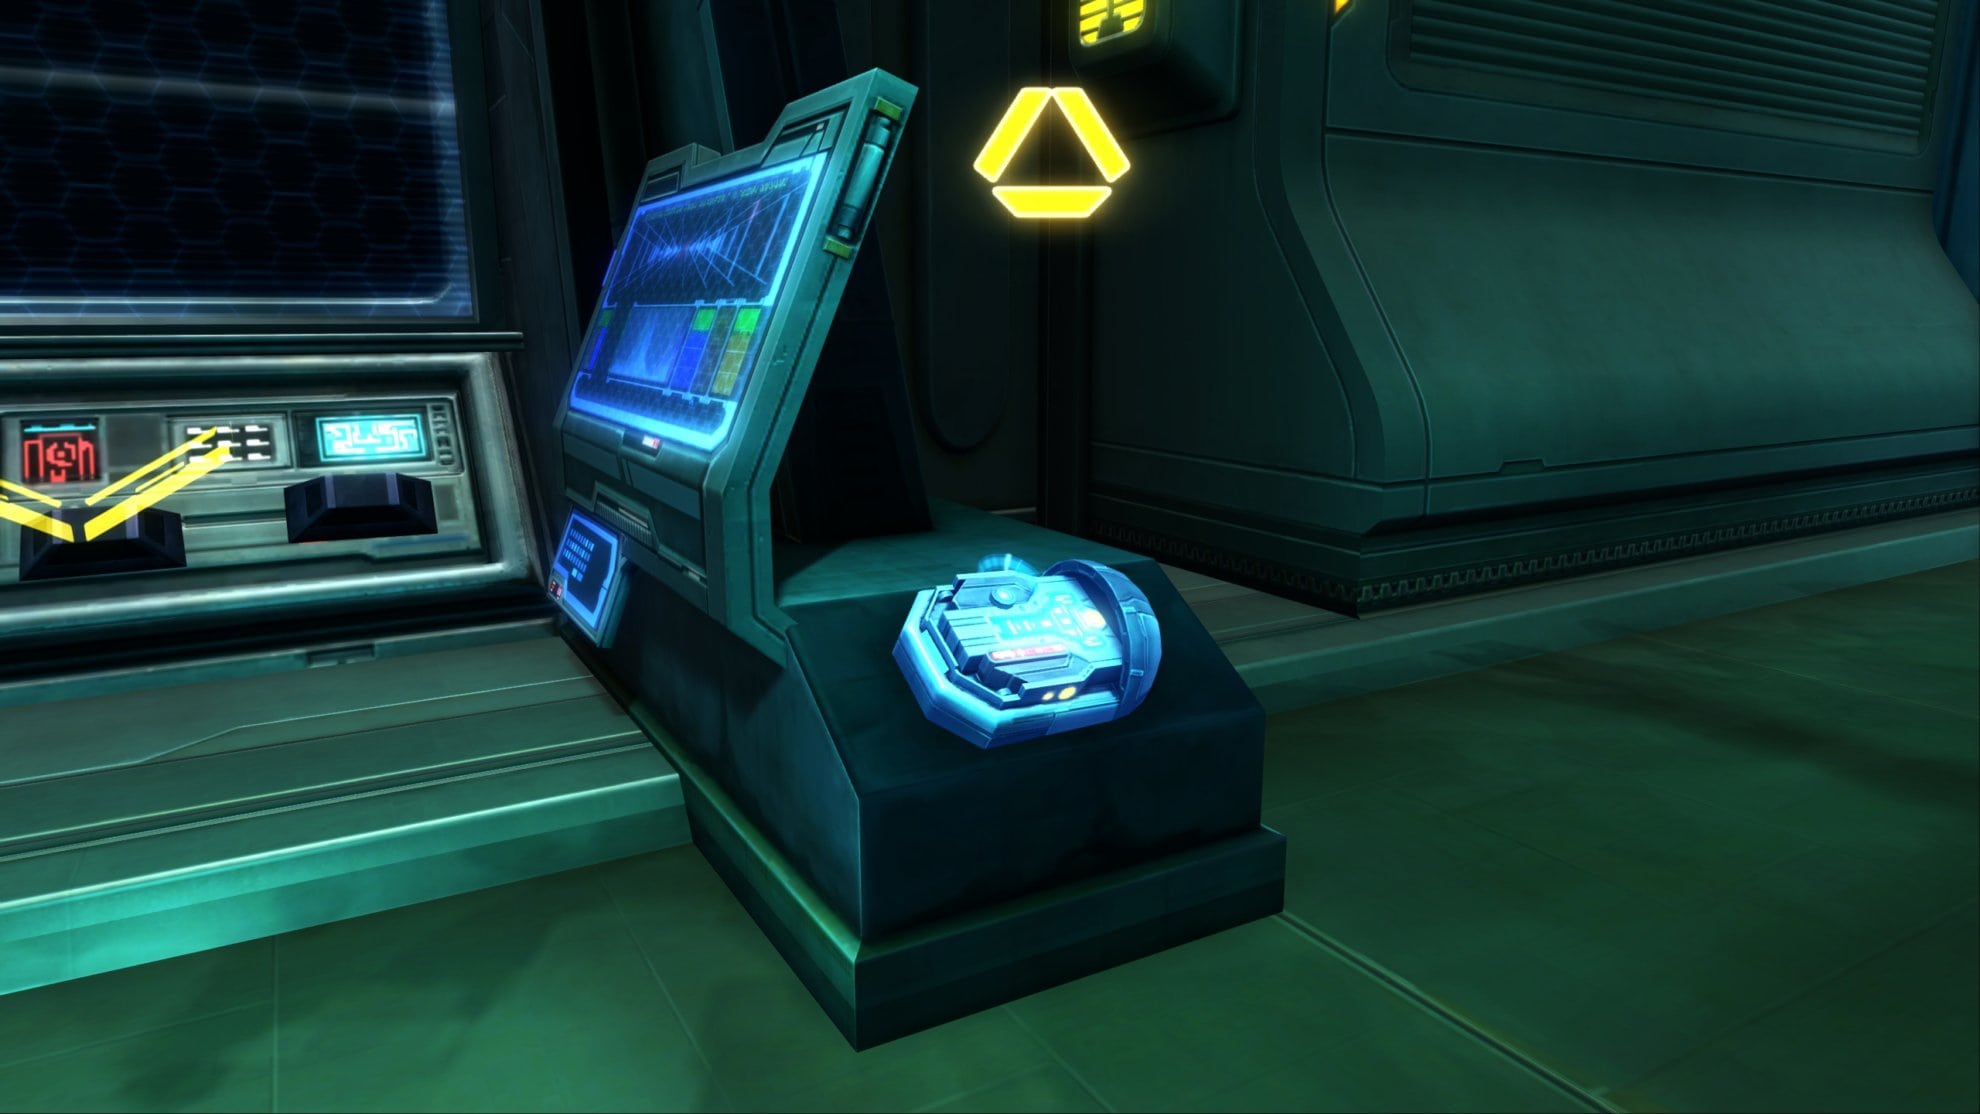
You’ll need to go to the Hypermatter Engineering Facility on the east side of The Black Hole. It’s not labeled on the in-game map but you can find it shown here:

Go to the south area of the east room to find a terminal with multiple colored arrows pointing at it. You’ll need to figure out the order, but you get a hint in the form of:
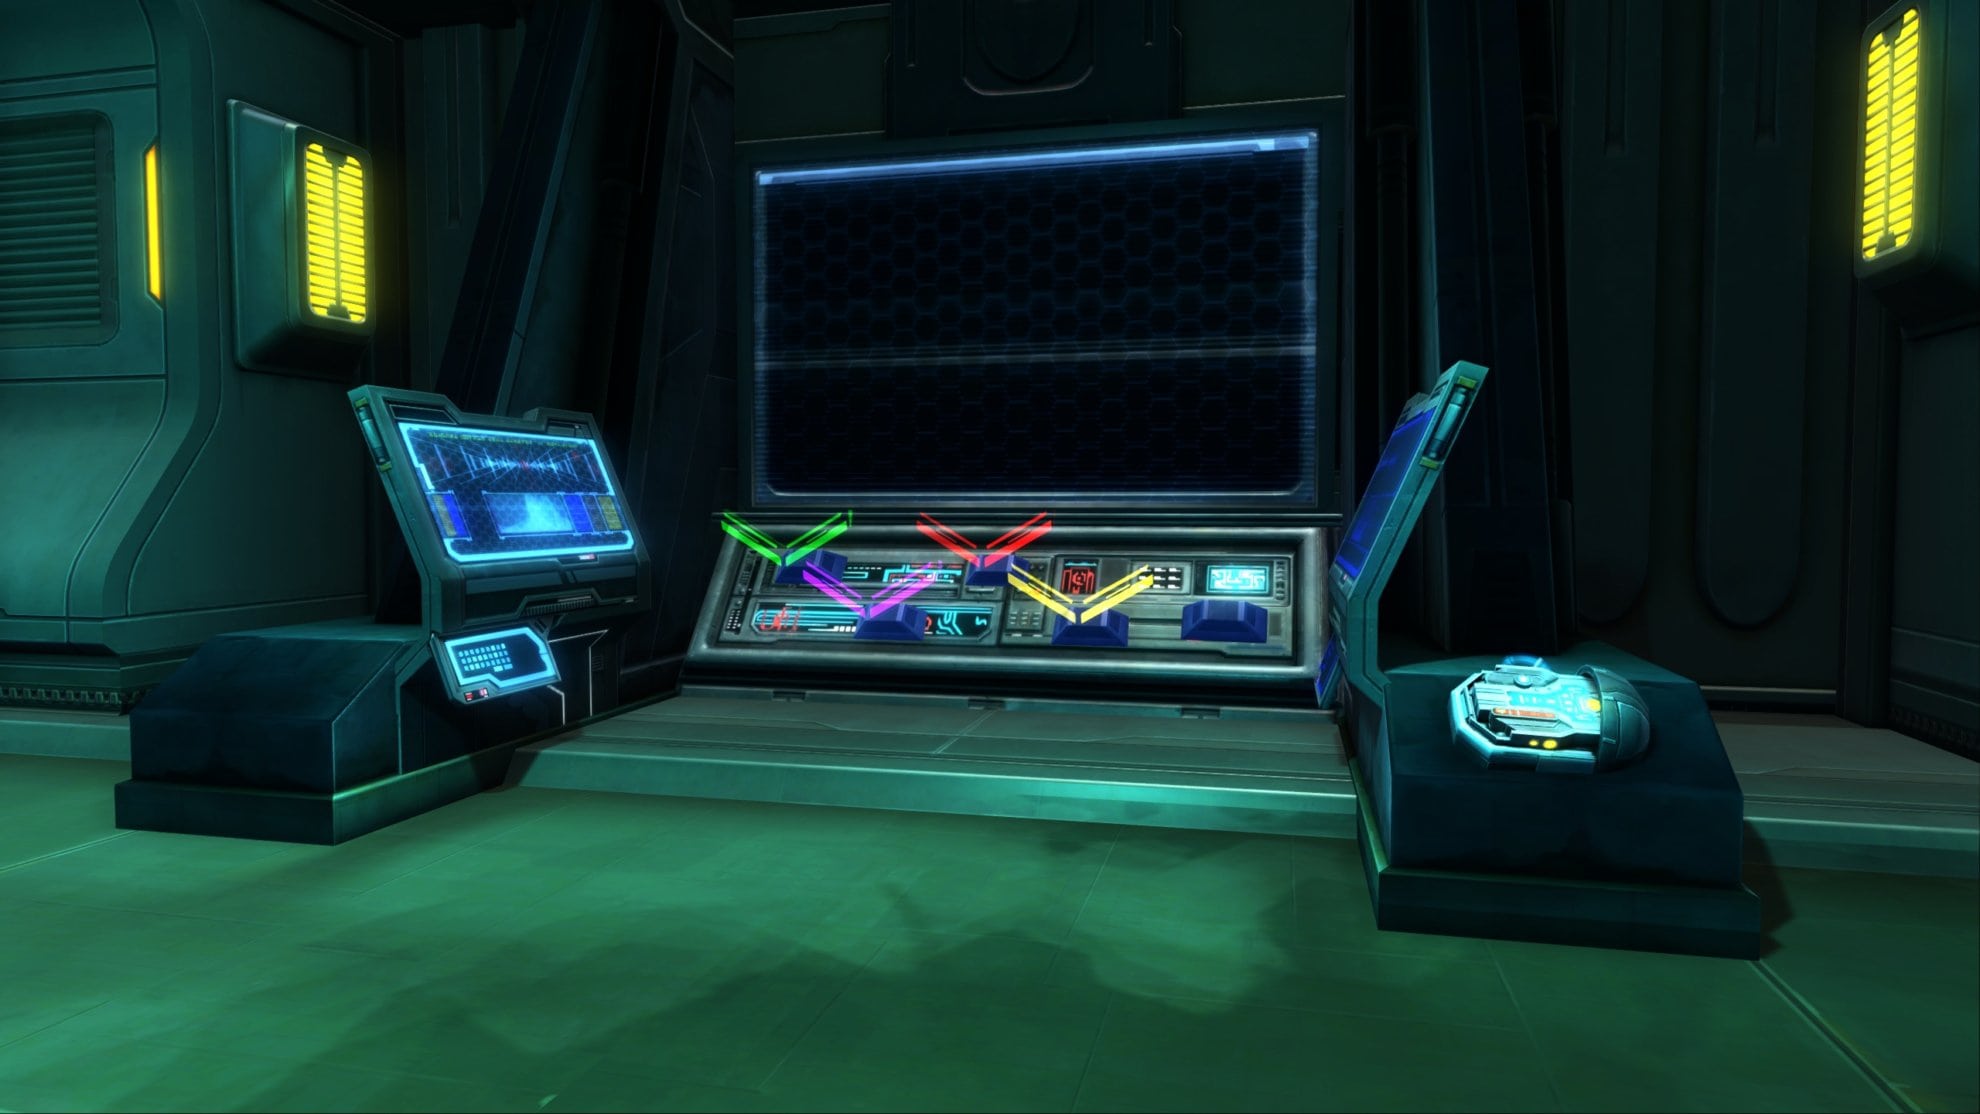
“Very important! Remember: HELLO, MEAN, HEAD… GLURPLE?”
In case you don’t understand that, these are codewords that sound similar to the corresponding colored arrows. The code is:
- Yellow
- Green
- Red
- Purple
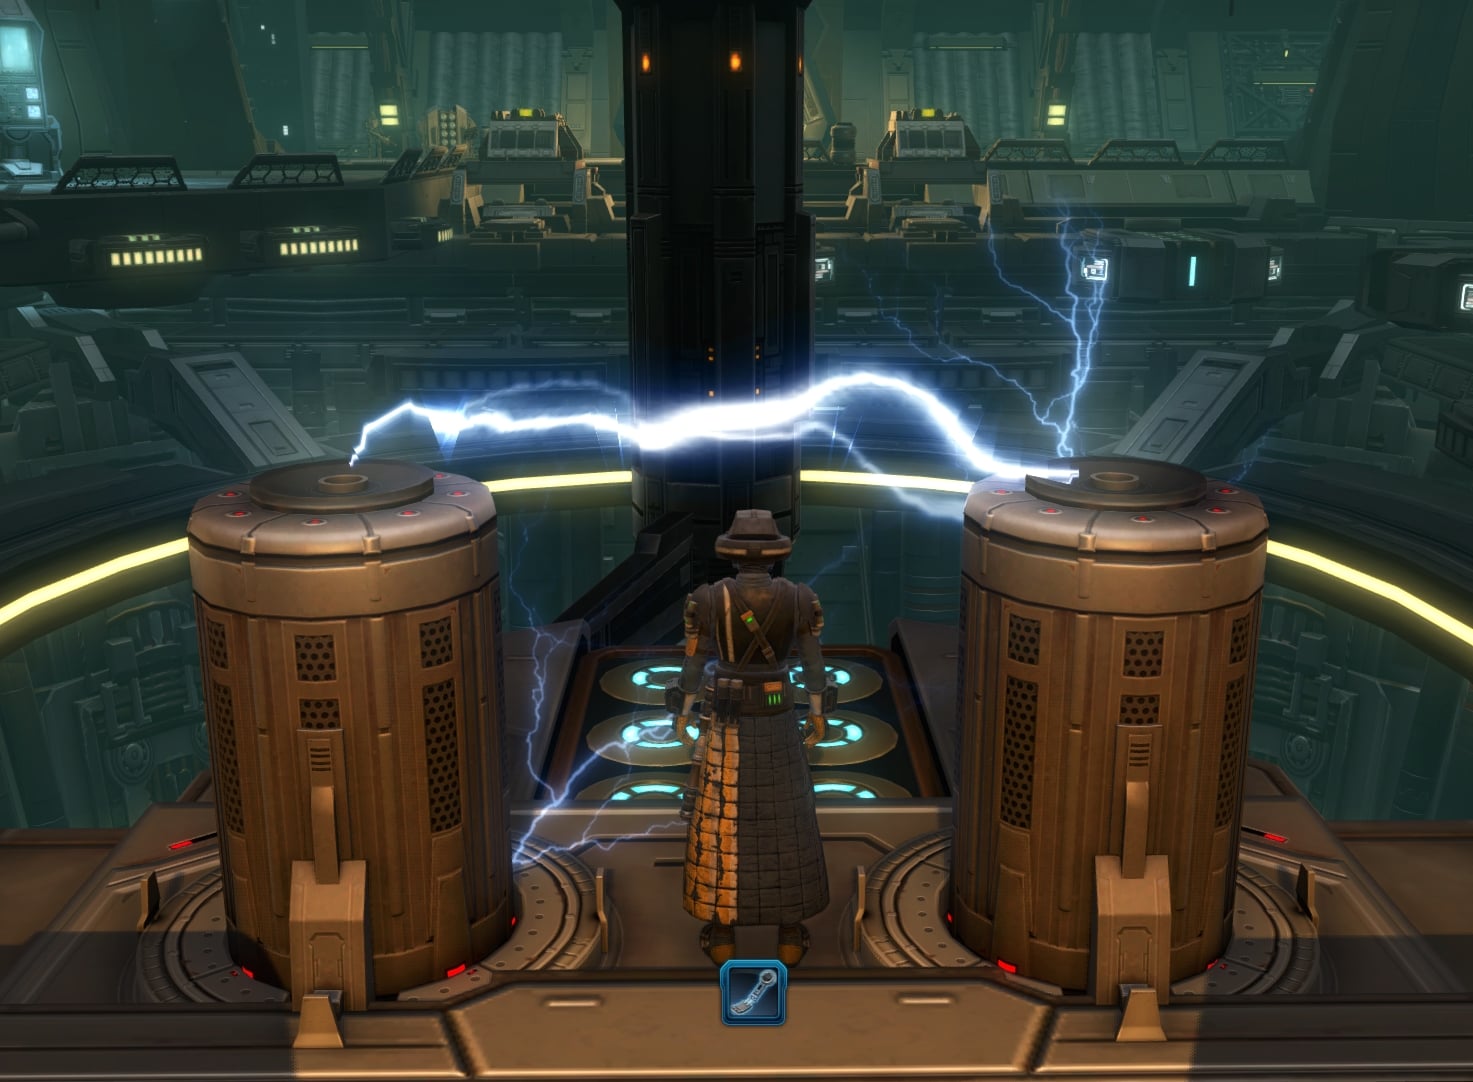
Confirm the Code Input to slice the Backup Terminal and download Backup Research Data at both of the blue panels.
Upload the Data Calibrations by using the item in your Mission Item inventory or by using the item in the mission pane. Use the Output Terminal to get the final Geothermal Shielding mission, Test Plan.
Mission 8: Test Plan
Once you have the mission, make your way to Iokath and use the Factory Tram to the west or southeast in the Iokath Expanse. Explore the Weapons Factory for the blue Fabricator Parts, gather 3 of them to obtain Fabricator Components.

Go to the room between the two circular rooms and find the Schematic Databank. Right click it to download the Fabricator Plans. Return to the lab at Ardak Point once you’re done here.
The bulk of the remaining mission will (fortunately) take place at the lab. Go to the room with the lava pit and look for the green arrow, right click the air here to continue.

Now you’ll be right clicking the blue objectives in the room for a good chunk of the remaining mission. Install the Fabricator Frame, install Fabricator Panel, and install Fabricator Units. Input the Upgrade Instructions by using these three temporary abilities:
- Enhance Hypercoolant
- Improve Geothermal Shielding
- Update Regulator Firmware
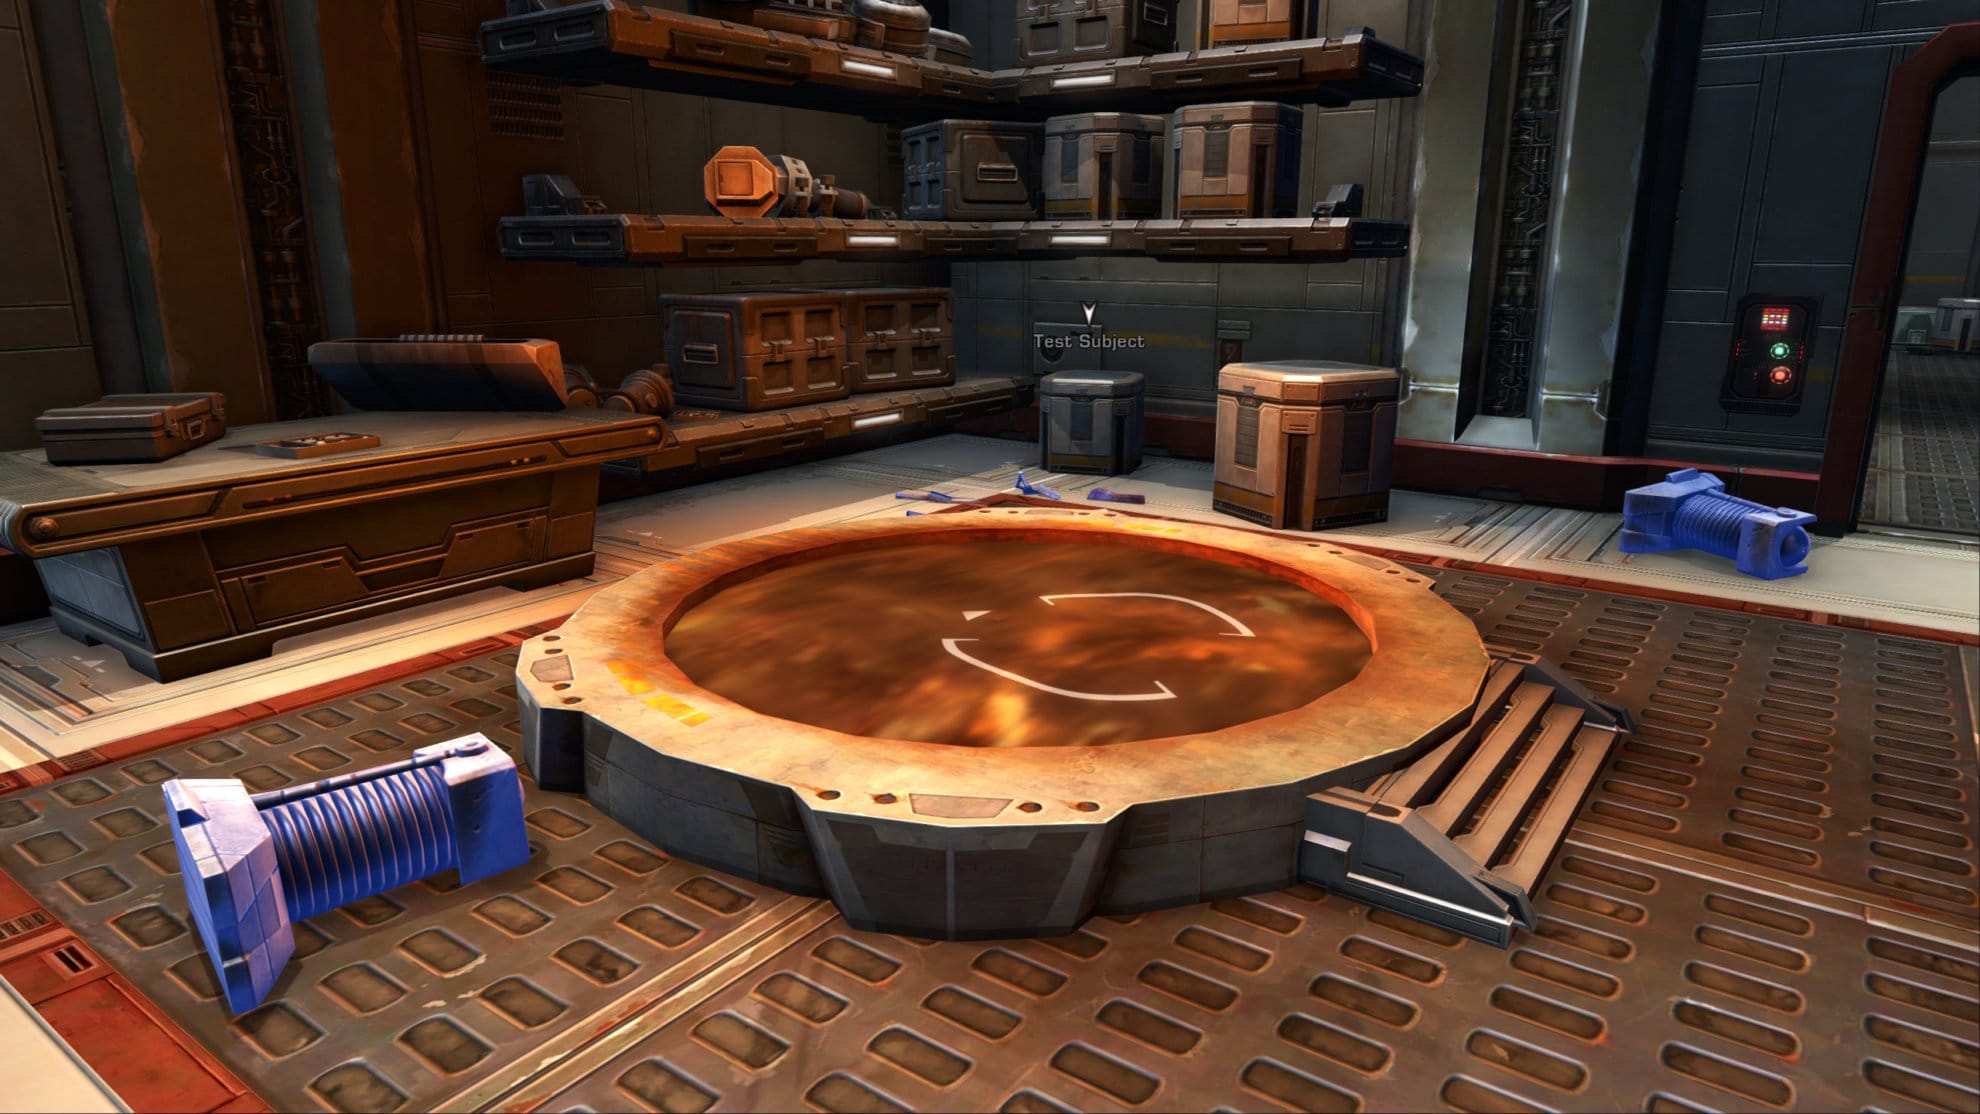
Then use the Fabricate Upgraded Coolant ability to make the Materials Output Receptacle. Retrieve the materials then collect the Test Subject Pieces around the room from the failed test run, then repair the Test Subject at the workbench with the green arrow over it.
Activate the Test Subject and install the New Components by using the three temporary abilities. Initiate the test at the blue terminal, observe the results, then use the Encourage Test Subject temporary ability that appears.

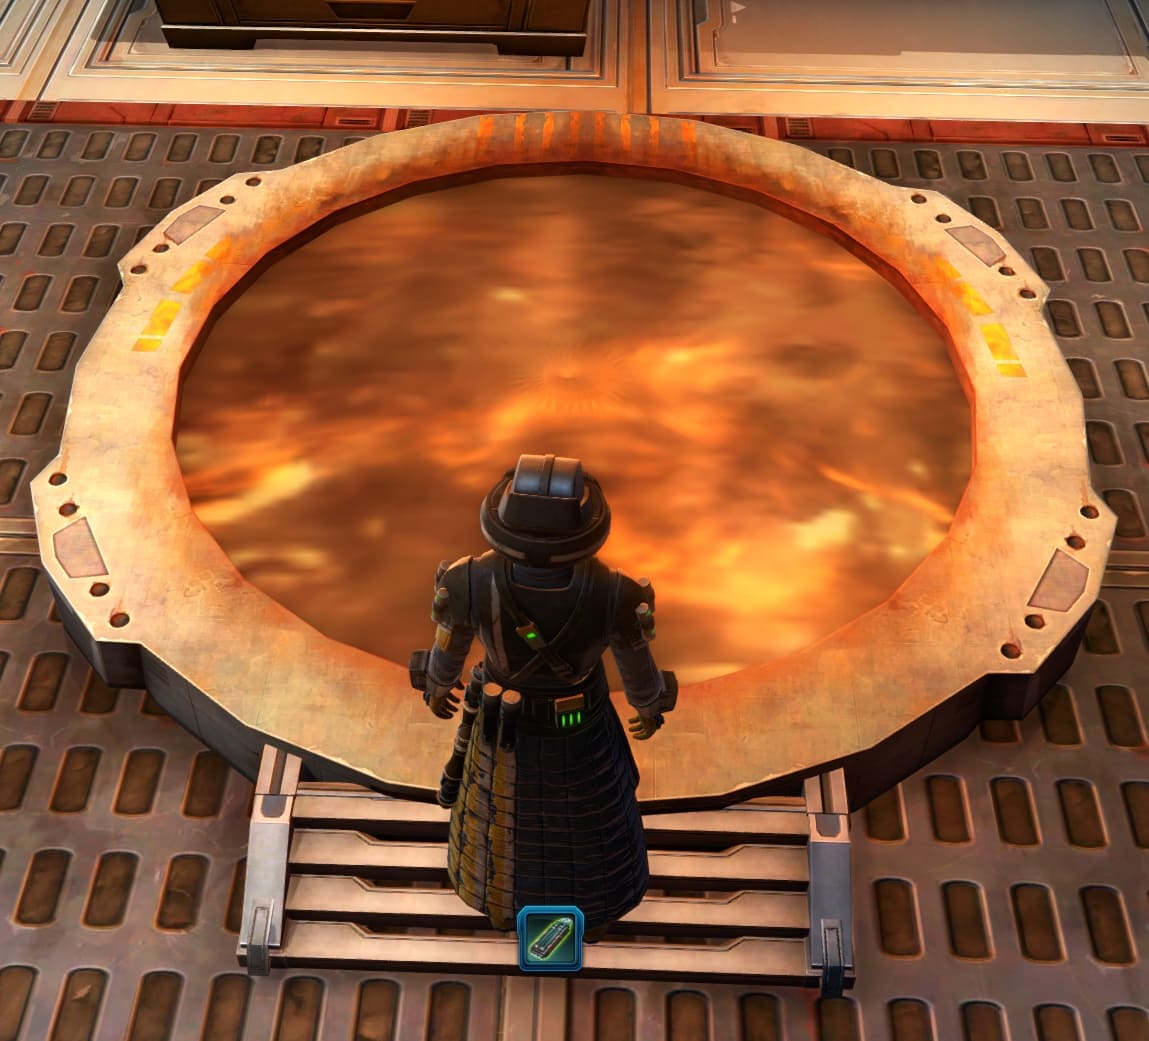
The GNK droid will run into the lava, now you can reclaim the Shielding Unit by right clicking the Completed Shield Unit on the floor. Activate the Completed Shield Unit by activating it in the Mission Item’s inventory or in the mission pane. Complete the Shield Unit Self-Test by walking into the lava with your shield active. Be sure to thank your Test Subject when you’re done!
Follow your map marker to where you’ll find an area with a green arrow, right click below the area. Your quest is now complete and now you’ll be able to right-click the Completed Shield Unit to temporarily walk through lava!

What is this good for? Well you can now easily traverse dangerous areas for dailies, gain the “Technological Breakthrough” achievement, and collect the Datacron in Kessan’s Landing.
Looking for more SWTOR Guides? Check out our SWTOR Guides Master List for everything SWTOR!