We’ve got lists of all Tatooine Dynamic Encounters and rewards and instructions for how to get every single achievement.
Table of contents
Full List and Locations on the Map
Below is a full list of all Dynamic Encounters exclusive to Tatooine, including the name, region, progress type, faction and achievements availability, and objectives type. I personally recommend checking out the Dynamic Encounters listed in bold.
The Map and Table below are interactive. You can click or tap on the markers on the map to see more details about each encounter. You can sort, filter and search the table to find exactly what you need.
For better user experience with the table below, we suggest that you rotate your screen or scroll to the side to see the full contents of the table.
| Name | Region | Faction | Faction | Type | Objectives | Progress Type | Achievements | Recommended | Description: | Tasks: |
|---|---|---|---|---|---|---|---|---|---|---|
| A Bad Exchange | Mos Ila | Empire | Clicking | Group Shared | No | Increased Exchange activity has Imperial Command on edge. Hunt down data on their operations for analysis. | 1. Obtain a Scanner Droid 2. Retrieve Data from Shady Individuals 3. Enter the Exchange Safehouse 4. Slice the Exchange Shipping Terminal |
|||
| A Worse Exchange | Mos Ila | Empire | Clicking | Group Shared | Yes | Imperial Command discovered the Exchange preparing to smuggle Imperial weaponry offworld. Identify these shipments immediately! | 1. Control a Mouse Droid 2. Tag Exchange Contraband 3. Disable Surveillance Devices 4. Disconnect from the Mouse Droid |
|||
| A Catastrophic Exchange | Mos Ila | Empire | Clicking | Group Shared | Yes | Give the Exchange a taste of their own medicine! Teach them a lesson with the experimental weapons they tried to smuggle offworld. | 1. Gear Up with Experimental Weapons 2. Defeat Exchange Personnel |
|||
| Desiccation Threat | Mos Ila | Empire | Hybrid | Group Shared | No | Critical moisture harvesting equipment is under attack! Help defend this precious resource. | 1. Repair Damaged Panels 2. Repel the Sand People Attack |
|||
| Hydration Hazard | Mos Ila | Empire | Hybrid | Group Shared | No | Drive away the Womp rats that attacked these moisture farmer transports and retrieve any remaining viable water canisters. | 1. Defeat Womp rats 2. Retrieve Water Canisters |
|||
| In Search of a Problem | Mos Ila | Empire | Clicking | Group Shared | Yes | Yes | Imperial Scientists are experimenting with eays to “imrrove” local livestock. Help them with their work. | 1. Obtain Growth Hormone 2. Obtain Vaccination 3. Obtain Temperament Regulator |
||
| Maintaining Order | Mos Ila | Empire | Hybrid | Group Shared | No | Outlaws are moving into Mos Ila and threatening to disrupt Imperial operations. “Encourage” these outlaws to leave the area. | Intimidate Outlaws in Mos Ila |
|||
| Republic Attack: Mos Ila | Mos Ila | Empire | Battle | Encounter Shared | Yes | Republic forces are attacking Mos Ila. Help the local defenses repel the attack. | 1. Repel the Republic Attack 2. Defeat the Republic Walker |
|||
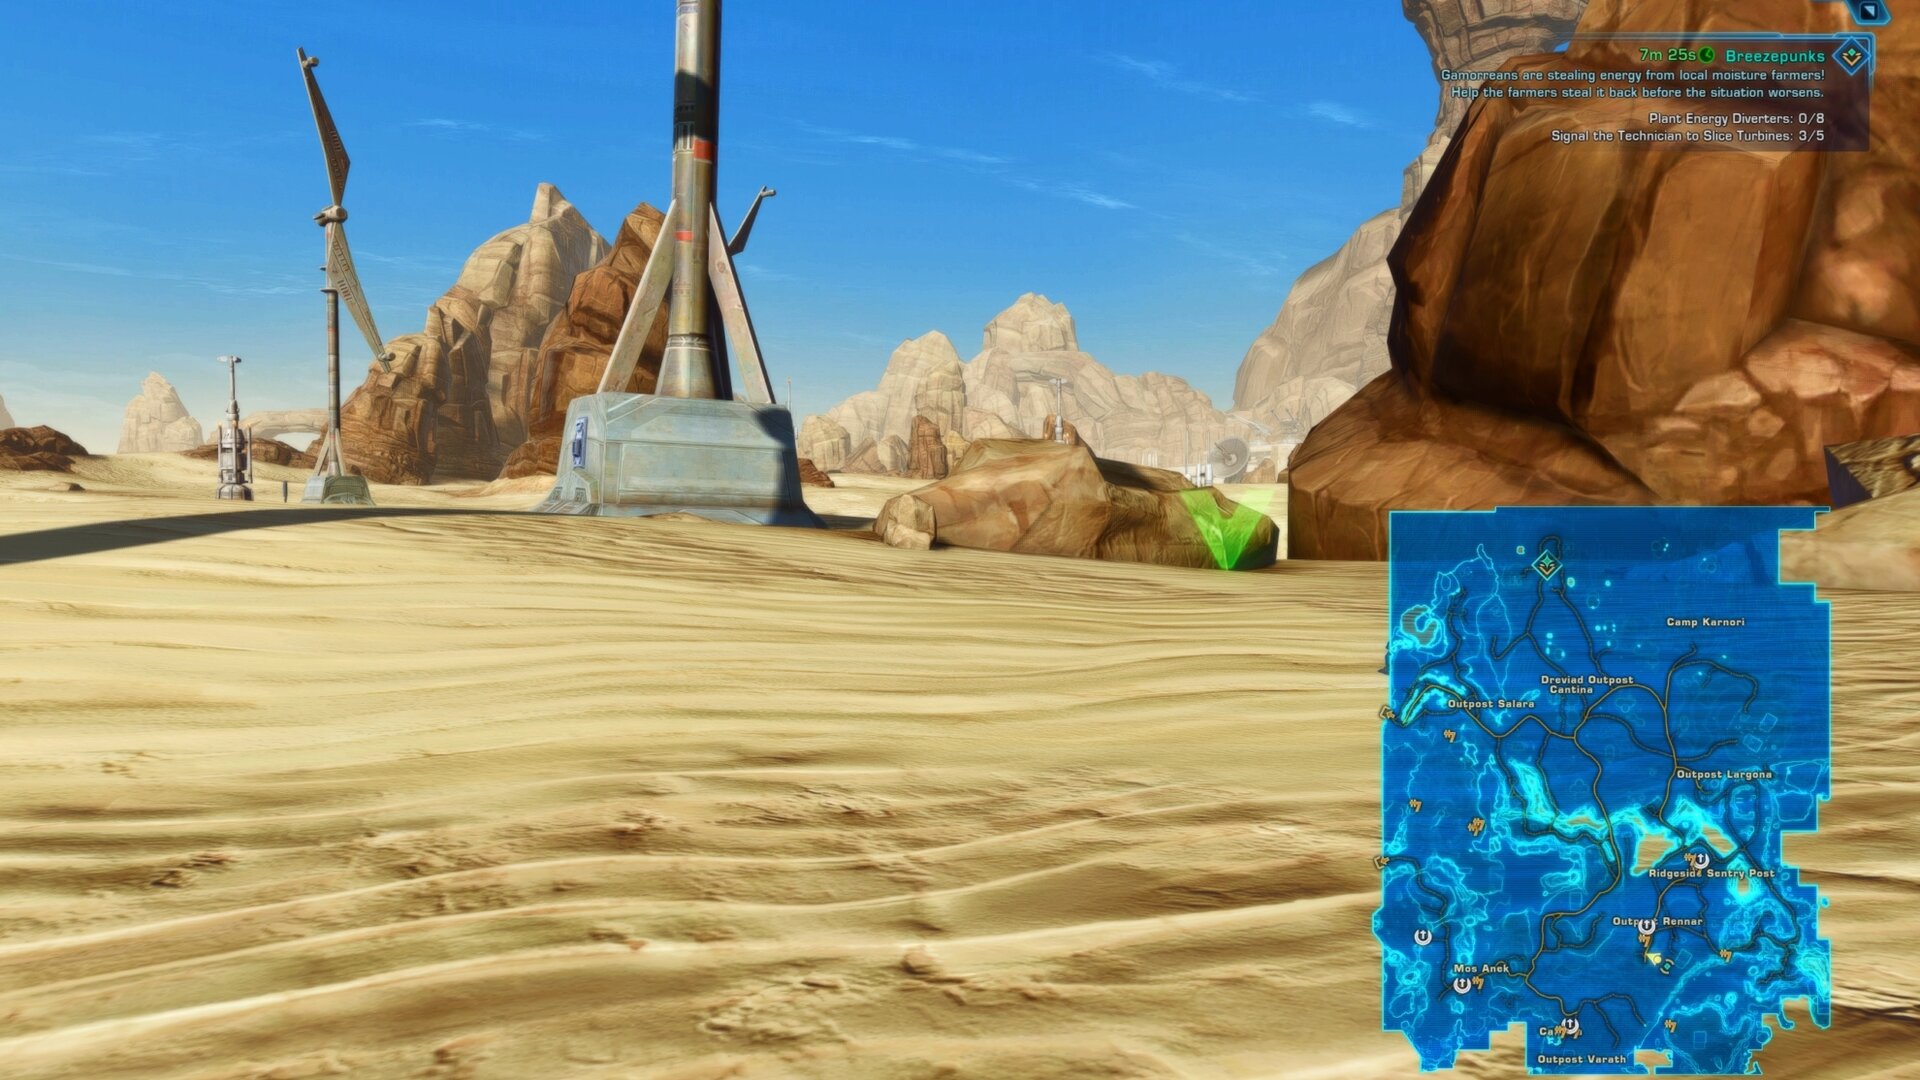
| Breezepunks (guide) | Jundland | Both | Clicking | Group Shared | No | Gammorreans are stealing energy from local moisture farmers! Help the farmers steal it back before the situation worsens. | 1. Find the Technician 2. Pick Up Energy Diverters 3. Plant Energy Diverters 4. Signal the Technician to Slice Turbines |
|||
| Bug Buster | Jundland | Both | Hybrid | Encounter Shared | No | Disperse the swarm of Geonosians to end their raids in the area. | 1. Defeat Geonosian Drone Scouts 2. Defeat Geonosian Drone Warriors 3. Defeat Geonosian Drone Champions |
|||
| Gamorrean Taskmaster | Jundland | Both | Champion | Group Shared | No | This brutal warlord is known for delighting in senseless slaughter. | Defeat the Gamorrean Taskmaster |
|||
| Geonosian Warlord | Jundland | Both | Champion | Group Shared | No | This cunning warlord will stop at nothing to conquer territory. | Defeat the Geonosian Warlord |
|||
| Imperial Attack: Camp Karnori | Jundland | Republic | Battle | Encounter Shared | No | Imperial forces are attacking Camp Karnori. Help the local defenses repel the attack. | 1. Repel the Imperial Attack 2. Defeat the Imperial Walker |
|||
| Imperial Attack: Outpost Salara | Jundland | Republic | Battle | Encounter Shared | No | Imperial Forces are attacking Outpost Salara. Help the local defenses repel the attack. | 1. Repel the Imperial Attack 2. Defeat the Imperial Walker |
|||
| Mandalorian Battlemaster | Jundland | Both | Champion | Group Shared | No | The thrill of battle and thirst for a true challenge drive this battlemaster to attack any in her path. | Defeat the Mandalorian Battlemaster |
|||
| Mandalorian Menace | Jundland | Both | Hybrid | Group Shared | Yes | The Exchange are supplying a rogue Mandalorian faction with weapons. Disrupt the weapons sale and disarm both sides! | 1. Defeat Rogue Mandalorian Forces 2. Defeat Exchange Forces 3. Destroy Exchange Weapon Crates 4. Defeat the Exchange Boss 5. Defeat the Mandalorian Commander |
|||
| Raiders’ Reckoning | Jundland | Both | Hybrid | Group Shared | Yes | A group of Sand People are abducting civilians as slaves. Free the prisoners and route their captors. | 1. Defeat Sand People Forces 2. Free Prisoners |
|||
| Republic Attack: Outpost Rennar | Jundland | Empire | Battle | Encounter Shared | No | Republic Troops are attacking Outpost Rennar. Help the local defenses repel the attack. | 1. Repel the Republic Attack 2. Defeat the Republic Walker |
|||
| Suns-Crazed Wraid | Jundland | Both | Champion | Group Shared | No | The merciless desert suns have driven this creature to madness. | Defeat the Suns-Crazed Wraid |
|||
| The Renegade Dewback | Jundland | Both | Champion | Group Shared | No | Yes | This dewback has had enough of the domesticated life! Unfortunately, it now poses a threat to travelers. | Defeat Mister Grumbletail |
||
| Tread Lightly | Jundland | Both | Clicking | Group Shared | No | Yes | The canyon has been rigged with deadly traps! Disarm them before they cause any more harm. | Disarm Mines |
||
| Twin Suns Brutalizer | Jundland | Both | Champion | Group Shared | No | Twin Suns operations on Tatooine are expanding, disrupting Imperial and Republic interests alike. | Defeat the Twin Suns Brutalizer |
|||
| Wompfestation | Jundland | Both | Hybrid | Group Shared | No | Womp rats have mutated after feeding on toxic sludge0tainted refuse. | 1. Deplete the Womp rat Colony 2. Defeat Irradiated Womp Alpha |
|||
| Ancient Womp Rat | Dune Sea | Both | Champion | Group Shared | Yes | This womp rat has survived many years longer than the average specimen, growing to a dangerous size for its ferocity. | Defeat the Ancient Womp Rat |
|||
| Another Scavengers’ Tale | Dune Sea | Both | Hybrid | Encounter Shared | Yes | The droids that the Jawas repaired have returned on them! Help the Jawas fend off the droids and get back on their feet. | 1. Defend Against Haywire Droids 2. Aid Injured Jawas |
|||
| Archaeological Scramble | Dune Sea | Both | Hybrid | Group Shared | No | Sandquakes have exposed valuable buried artifacts. Help the Jawas recover them before the scavengers can! | 1. Recover Relics 2. Defeat Sand People Scavengers |
|||
| Brooding Season | Dune Sea | Both | Hybrid | Group Shared | Yes | Sand Worm breeding season is in full swing. Keep the population of these dangerous creatures under control. | 1. Defeat Sand Wormlets 2. Destroy Eggpods 3. Agitate and Defeat a Sandworm Broodmother |
|||
| Czerka Sabotage | Dune Sea | Both | Hybrid | Group Shared | Yes | Drive the unwelcome Czerka forces from the desert. Perhaps the Unstable Czerka Droids could be of assistance… | Defeat Czerka Forces |
|||
| Dust to Dust | Dune Sea | Both | Hybrid | Group Shared | No | The Exchange are secretly stocking illegal spice here. Destroy the stockpiles before they have a chance to move it. | 1. Defeat Exchange Forces 2. Eliminate the Exchange’s Spice Supply |
|||
| In the Wrong Hands | Dune Sea | Both | Hybrid | Group Shared | No | Sand People Raiders have attacked a weapons convoy! Stop their operation before they use their plunder in future raids. | 1. Battle the Sand People Raiders 2. Confiscate Stolen Weapons |
|||
| Malfunctioning Czerka Droid | Dune Sea | Both | Champion | Group Shared | No | Czerka’s prior activities on Tatooine still cause trouble for the planet’s inhabitants. Destroy this deadly haywire battledroid. | Defeat the Czerka Droid |
|||
| Militant Jawa (guide) | Dune Sea | Both | Champion | Group Shared | No | Yes | Some Jawas reject peaceful trading and embrace violence. Stop this one before he rallies more Jawas to his cause! | Defeat the Militant Jawa |
||
| Republic Attack: Outpost Zaroshe | Dune Sea | Empire | Battle | Encounter Shared | No | Republic troops are attacking Outpost Zaroshe. Help the local defenses repel the attacks. | 1. Repel the Republic Attack 2. Defeat the Republic Walker |
|||
| Sand People Warband | Dune Sea | Both | Hybrid | Group Shared | No | Though many Sand People are peaceful, rare warbands like this one seek to eradicate outsiders. | 1. Defeat the Sand People Marauder 2. Defeat the Sand People Aggressor 3. Defeat the Sand People Sniper |
|||
| Sand Strike | Dune Sea | Both | Hybrid | Group Shared | No | The Twin Suns have built the staging ground to launch assaults on nearby settlements. Dismantle this operation before they can deploy. | 1. Defeat Twin Suns Brutes 2. Defeat Twin Suns Bruisers 3. Defeat Twin Suns Commanders |
|||
| Sarlacc Snacktime (guide) | Dune Sea | Both | Hybrid | Group Shared | Yes | Yes | Gammorreans testing out repulsor guns threaten to rouse the Sarlacc! Sate the Sarlacc’s hunger and stop the Gammoreans. | 1. Defeat Gamorrean Forces 2. Sate the Sarlacc’s Hunger |
||
| Surly Dunerill | Dune Sea | Both | Champion | Group Shared | Yes | This aggressive beast threatens anything caught in its path. Defeat it. | Defeat the Surly Dunerill |
|||
| Territorial Bantha | Dune Sea | Both | Champion | Group Shared | No | Yes | This banthahas become a menace to trade caravans! | Defeat the Territorial Bantha |
||
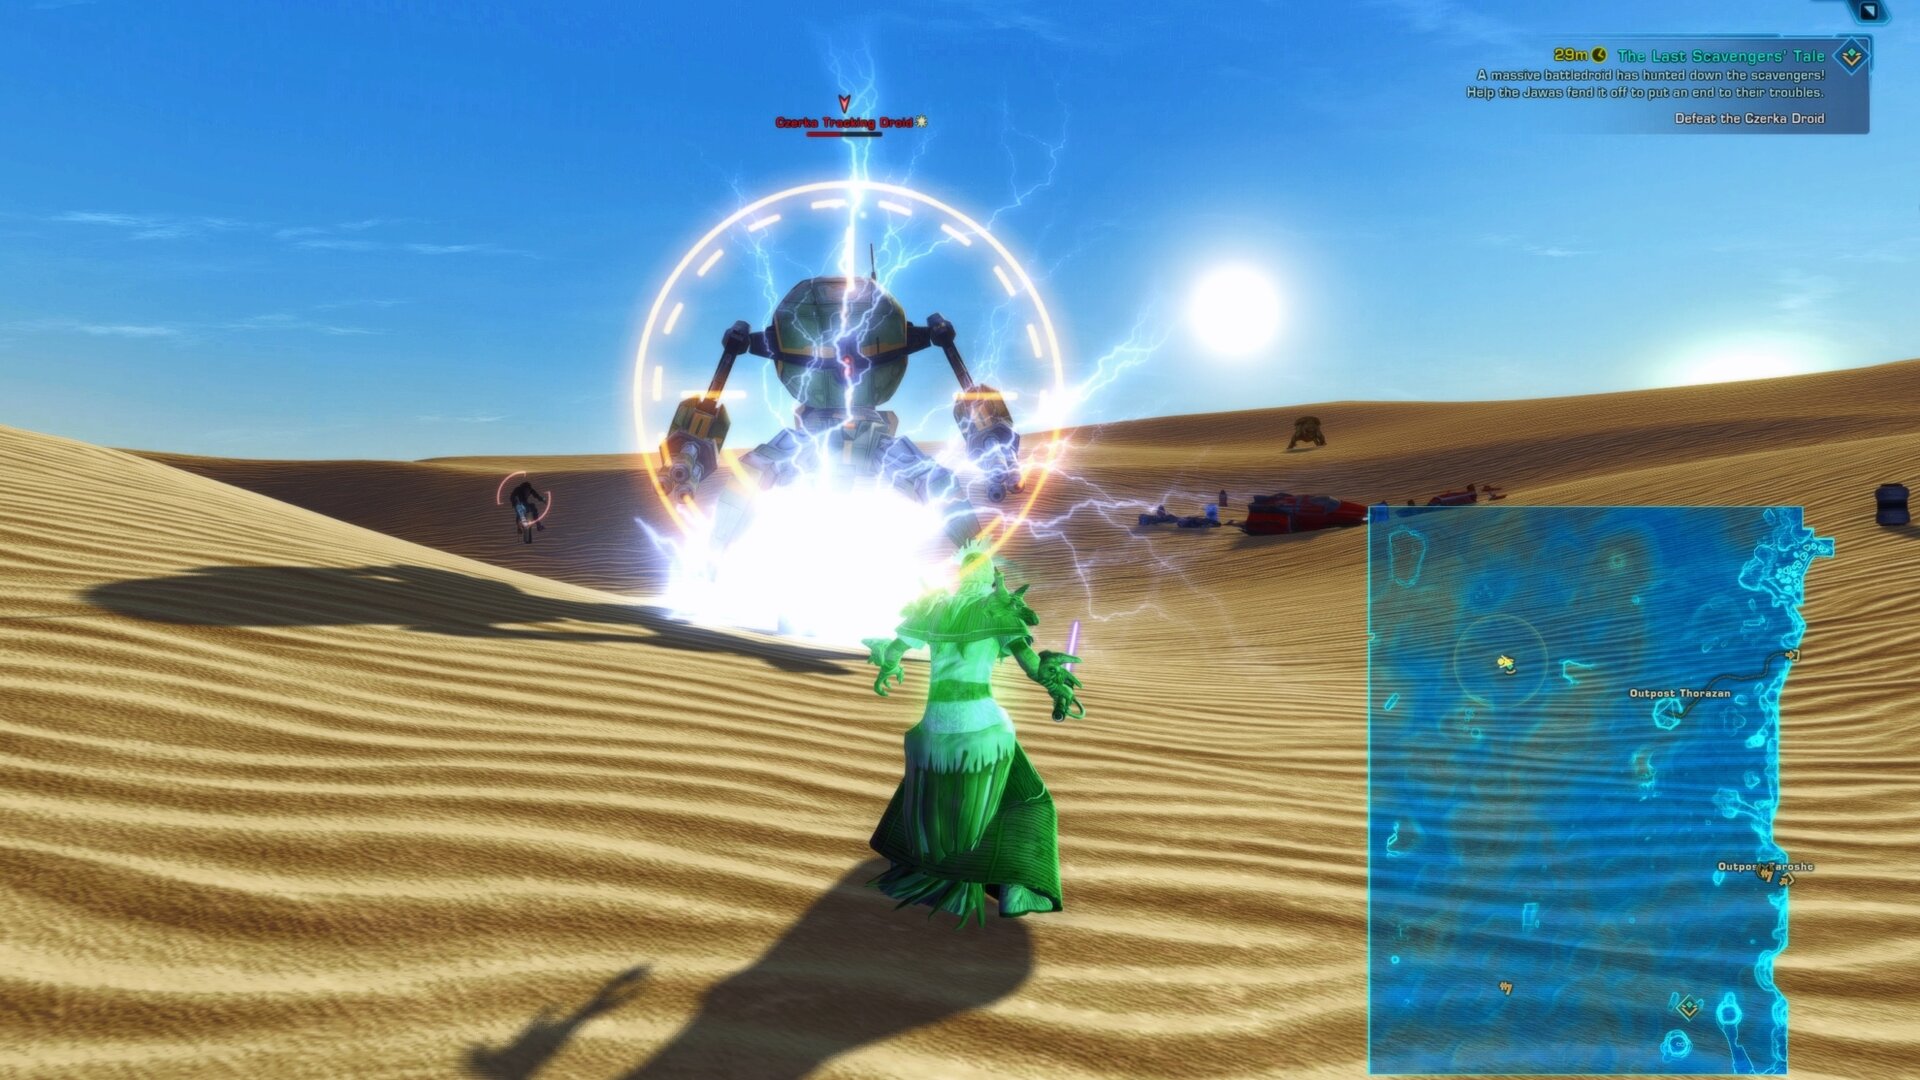
| The Last Scavengers’ Tale (guide) | Dune Sea | Both | Hybrid | Group Shared | Yes | A massive battedroid has hunted down the scavengers! Help the Jawas fend it off to put an end to their troubles. | Defeat the Czerka Droid |
|||
| The Scavengers’ Tale | Dune Sea | Both | Clicking | Group Shared | Yes | A band of Jawas stumbled on valuable-looking droids that have seen better days. Help the Jawas find parts and repair the droids. | 1. Recover Droid Parts 2. Diagnose the Broken Droids 3. Collect a Toolkit 4. Repair Locomotors 5. Inject Hydraulic Fluids 6. Install Motivator 7. Return Unused Parts |
|||
| Hydro Hustle | Anchorhead | Republic | Hybrid | Group Shared | No | Drive away the Womp rats that attacked these moisture farmer transports and retrieve any remaining viable water canisters. | 1. Defeat Womp Rats 2. Retrieve Water Canisters |
|||
| Imperial Attack: Anchorhead | Anchorhead | Republic | Battle | Encounter Shared | Yes | Imperial forces are attacking Anchorhead. Drive them back! | 1. Repel the Imperial Attack 2. Defeat the Imperial Walker |
|||
| Radio Silencing | Anchorhead | Republic | Clicking | Group Shared | No | Yes | Strange Czerka-encrypted datastreams have activated in Anchorhead. Find the source of the signals and stop them. | 1. Scan for Frequency Aurek 2. Scan for Frequency Besh 3. Scan for Frequency Cresh 4. Scan for Frequency Cherek 5. Deactivate First Terminal 6. Deactivate Second Terminal 7. Deactivate Third Terminal |
||
| Road Gig: The Comeback | Anchorhead | Republic | Hybrid | Group Shared | Yes | Yes | The Double Sunburns finally made it to their gig. Celebrate with them and enjoy the snow! | 1. Show Off Your Dance Moves 2. Cheer for the Band 3. Intimidate Discourteous Patrons 4. Sample Beverages |
||
| Road Gig: The Debut | Anchorhead | Republic | Clicking | Group Shared | No | Yes | Womp rats are attacking the broken down band. The Double Sunbirns. Help them get back on the road before they miss their gig! | 1. Recover Nalargon Keys 2. Recover Kloo Horn Reeds 3. Recover Audio Cables 4. Help Repair Speeders |
||
| Road Gig: The Sophomore Album | Anchorhead | Republic | Clicking | Group Shared | Yes | Yes | Help the Doubler Sunburns drum up interest for their upcoming gig at the Anchorhead Cantina. | 1. Find the Double Sunburns’ Strummer 2. Use Power Sources to Charge the Battery 3. Power Up the Ad Gonk 4. Advertise the Gig to Anchorhead Residents |
||
| Spaceport Chaos | Anchorhead | Republic | Clicking | Group Shared | Yes | Yes | It’s chaos in here! Wrangle the tiny banthas that have broken out of their shipping containers. | 1. Grab a Bantha Lasso 2. Return Banthas to Shipping Containers |
||
| Weary Travelers | Anchorhead | Republic | Clicking | Group Shared | No | Travelers fleeing Sand People and the Empire have flooded Anchorhead. Assist the local militia with providing aid. | 1. Retrieve Hydration Supplies 2. Retrieve Medical Supplies 3. Retrieve Food Supplies 4. Go to the Weary Travelers 5. Take Care of Travelers’ Ailments |
Notable Dynamic Encounters
These Dynamic Encounters are either a bit tricker than average or offer some sort of unique reward. Bolded entries are not necessarily on this list.
Breezepunks
Breezepunks has an initial step where you have to find the Windmill Technician, but it doesn’t tell you where he is. The Windmill Technician is located south of the wind farm behind some rocks.

Talk to him and then you can actually complete the other objectives; namely clicking on specific spots in the sand and clicking on broken windmill panels.
The Last Scavenger’s Tale
The Last Scavenger’s Tale is located in the Dune Sea. It’s a Champion enemy that’s bothering some Jawas (and Fangle) with EMP barrels nearby.
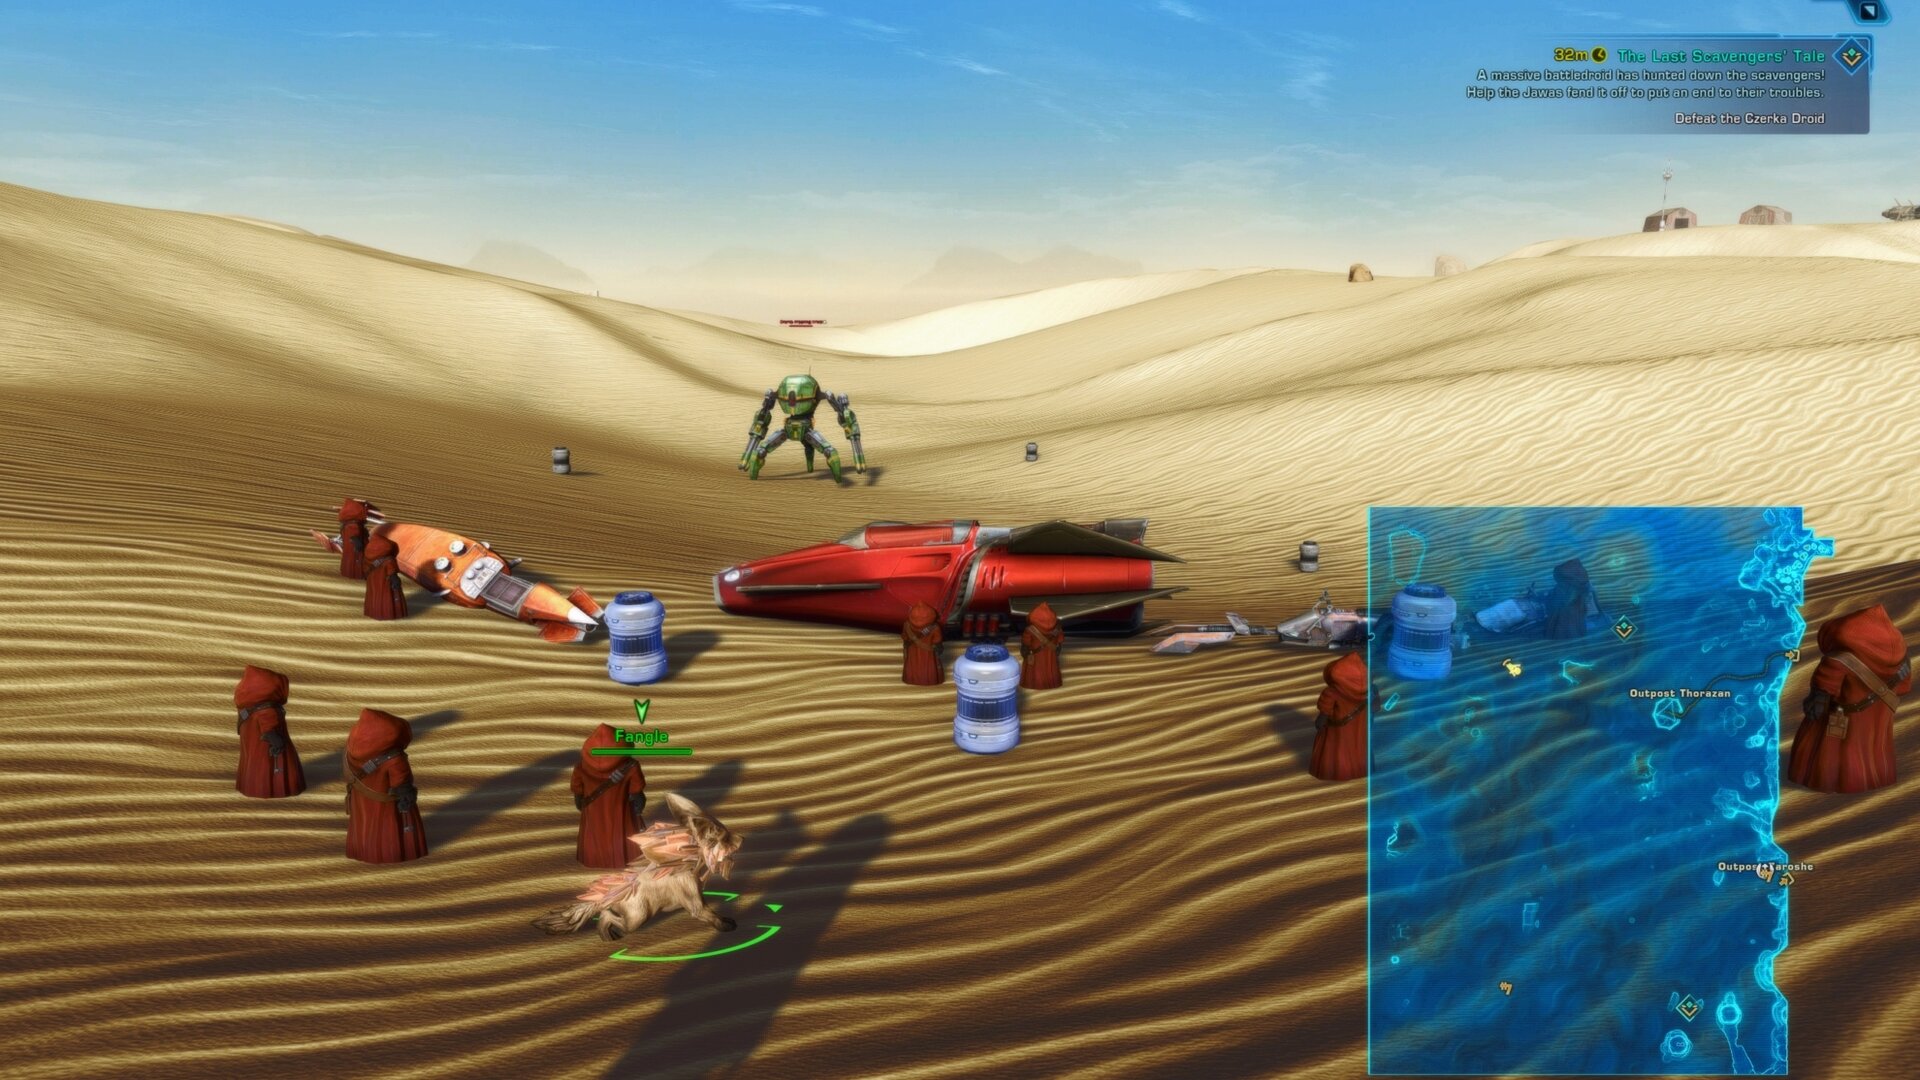
There are 3 locations surrounding the droid. If you pick up a barrel and walk over to one of those spots, it will automatically get placed down.
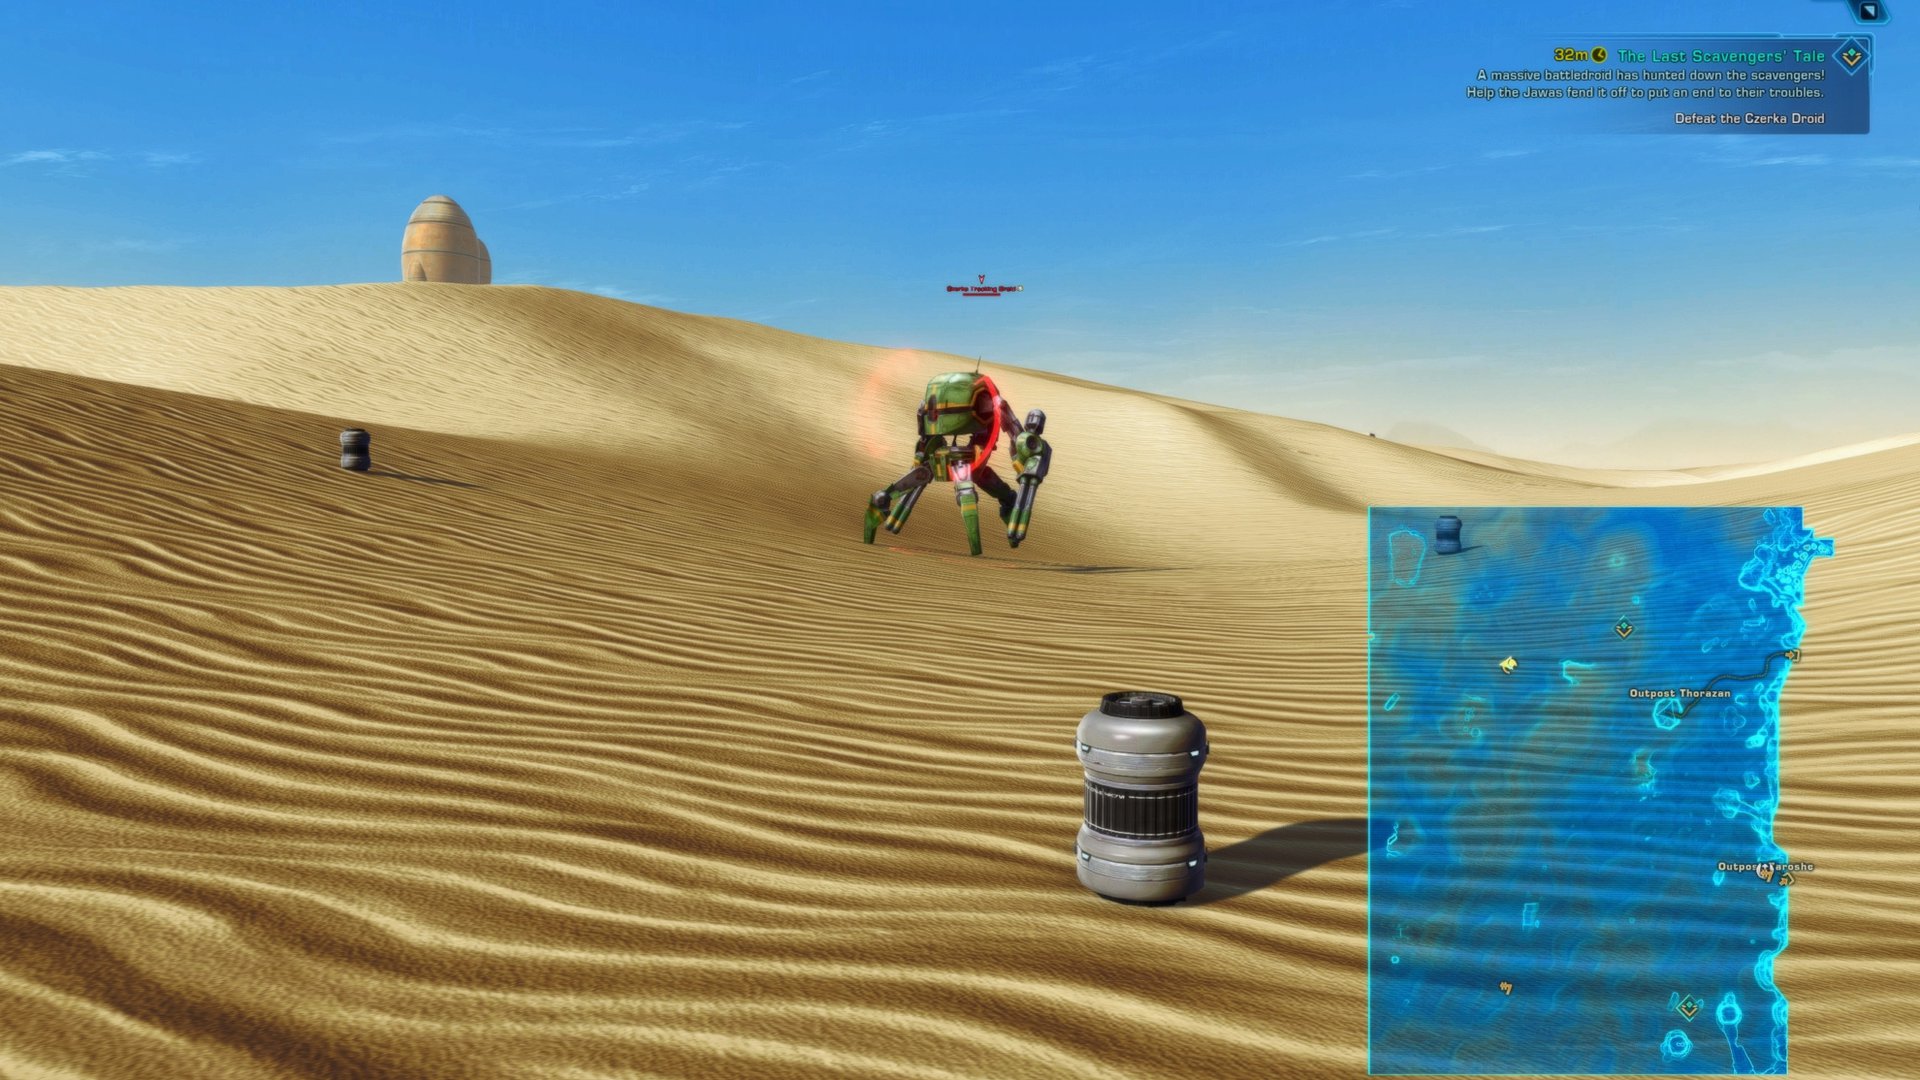
Occasionally, the droid will cast an immunity shield on itself. Though you can interrupt the cast, getting the droid to walk into one of these placed barrels is the only way to break the shield once it’s applied.
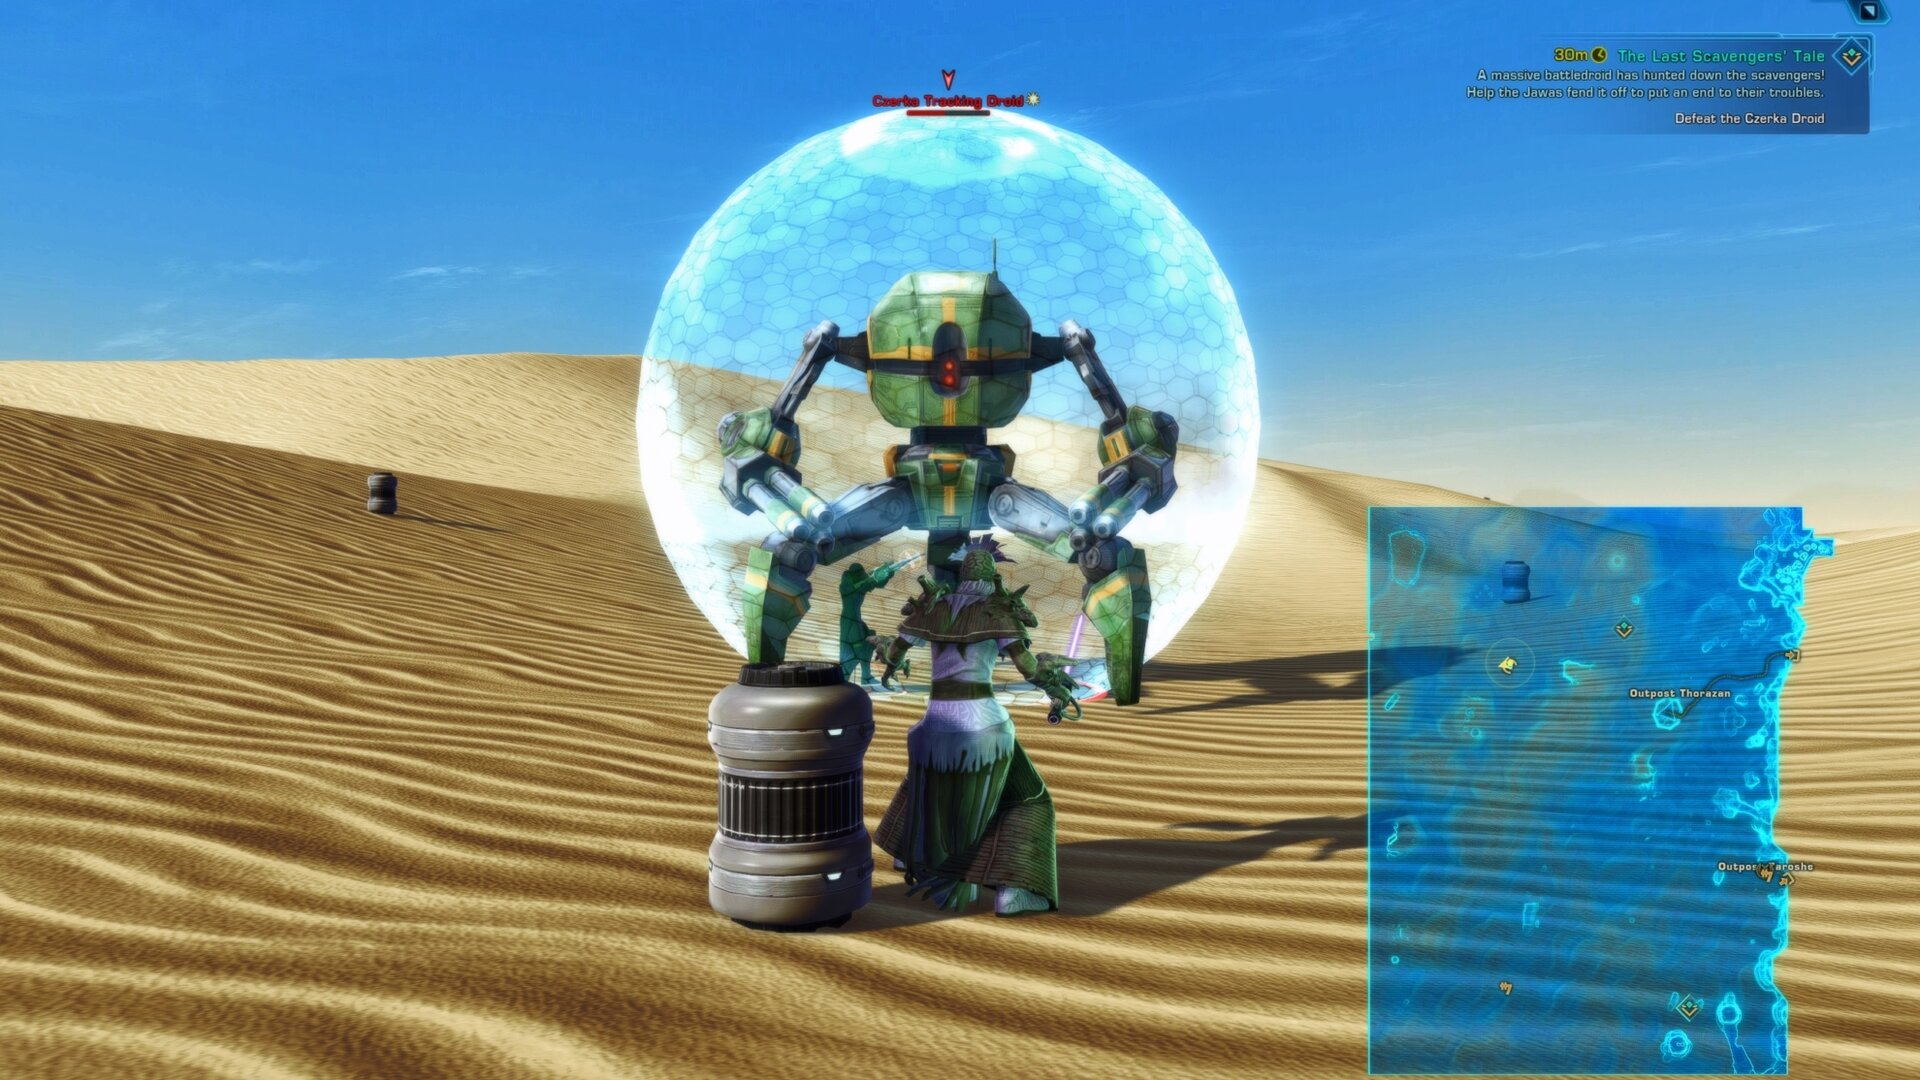
You or whoever has aggro needs to get out of the droid’s range and get past the placed cannister so that the droid will need to move towards you before it can start attacking again. Once it walks into the barrel, the shield will get zapped away and the droid will be stunned for a little while.
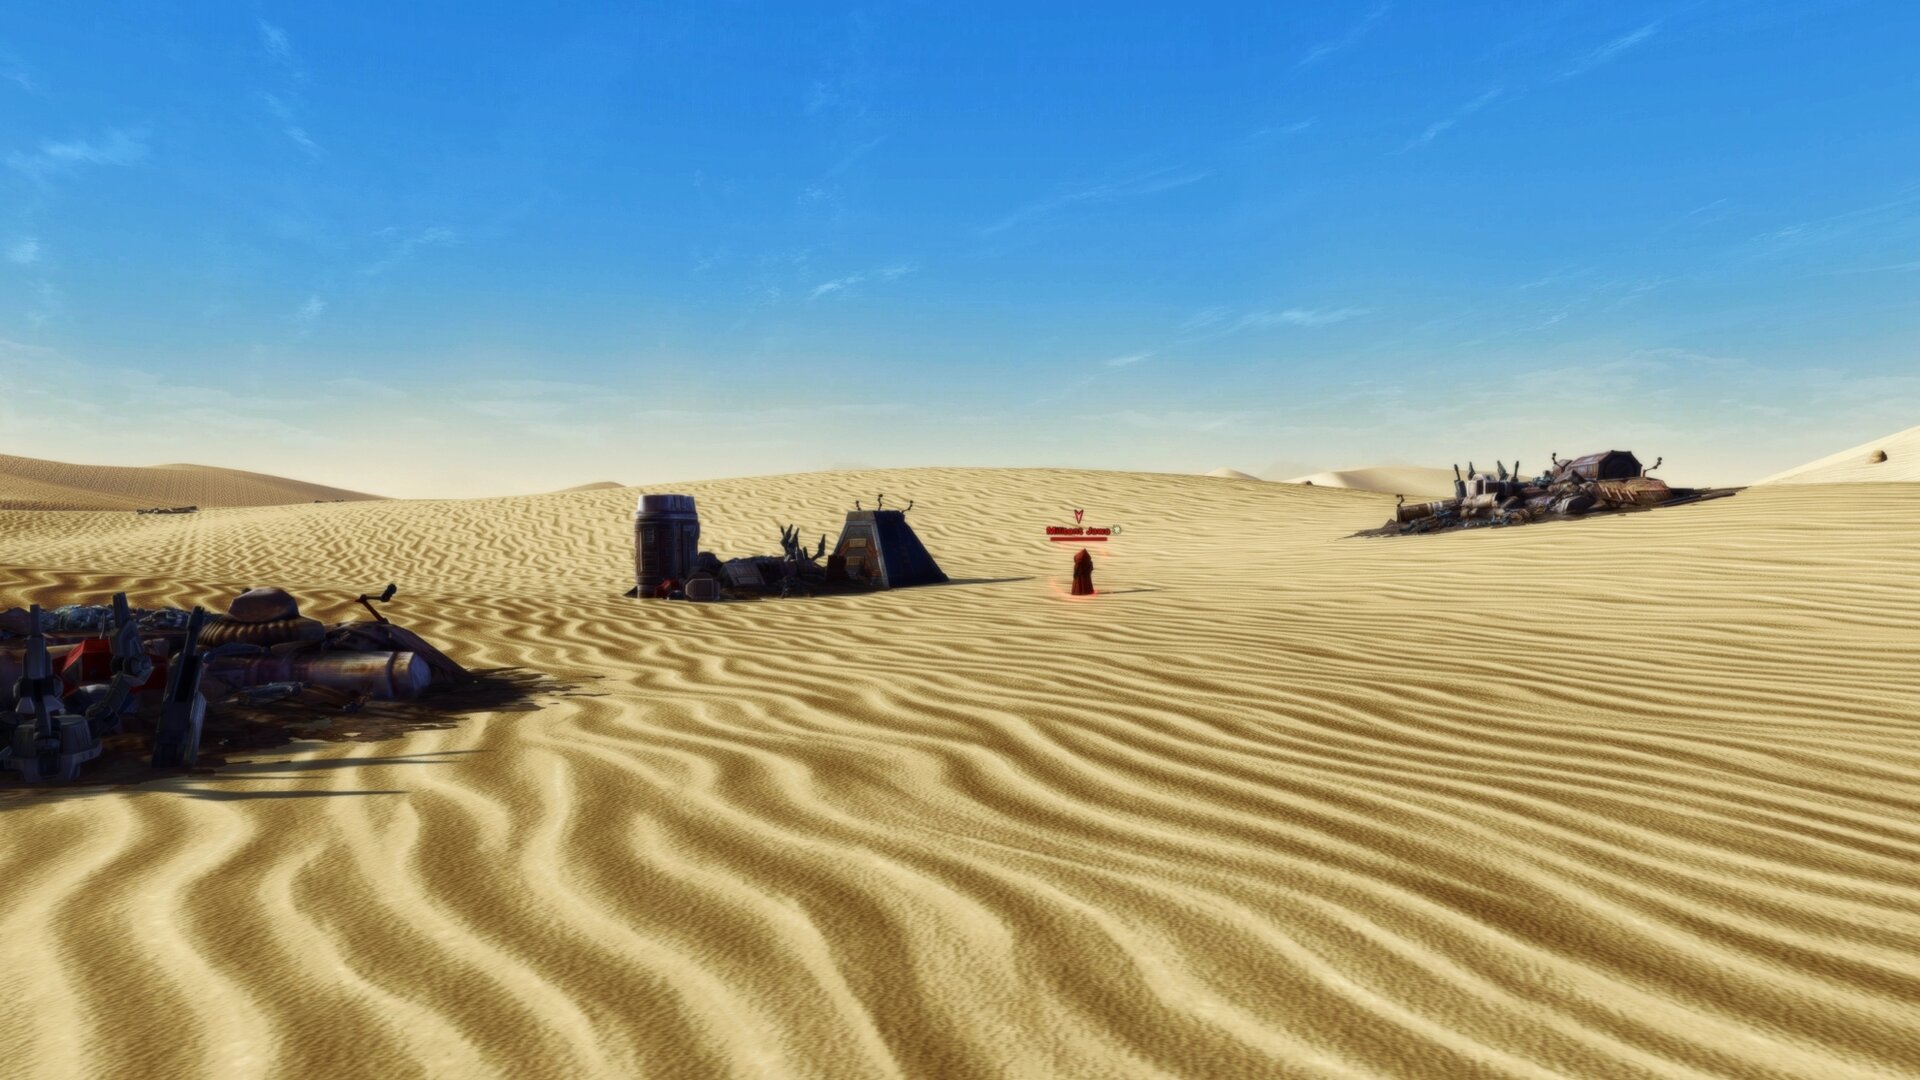
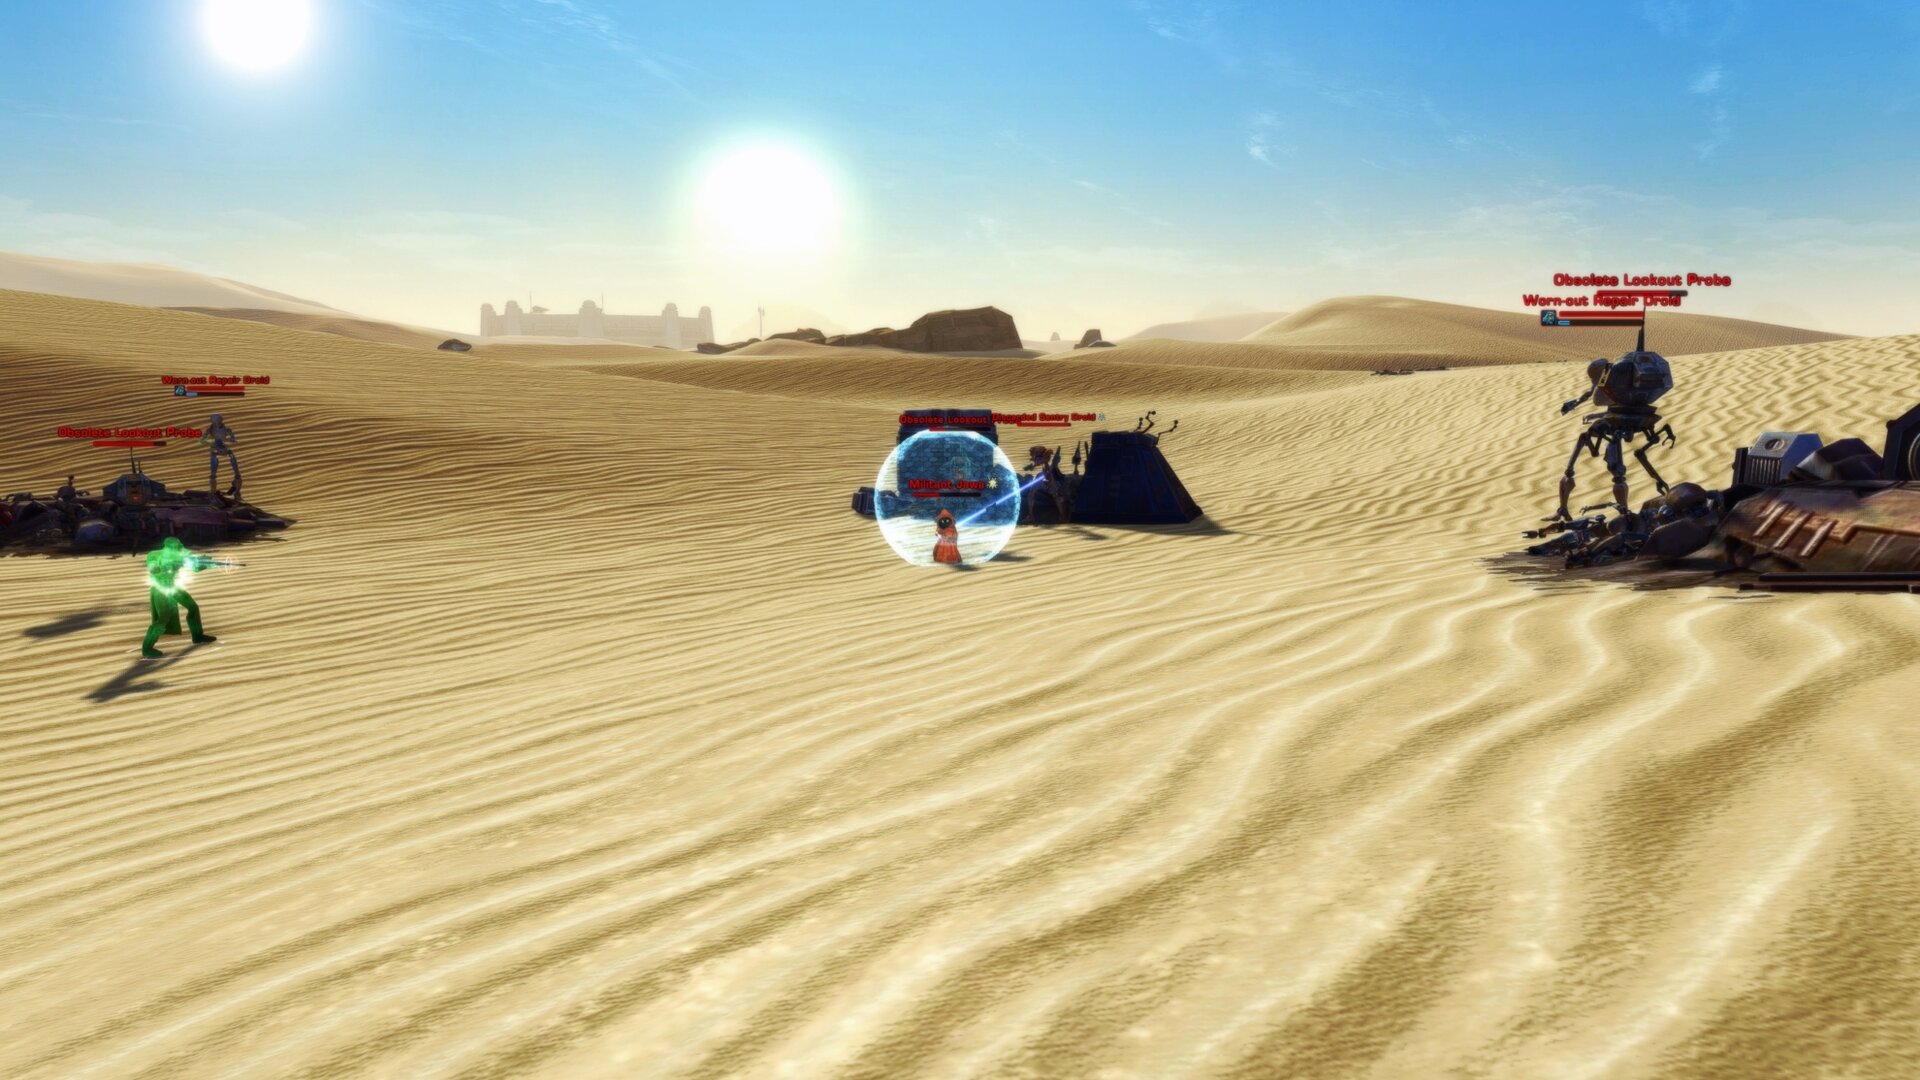
Militant Jawa
Militant Jawa is located in the northern part of the Dune Sea. To complete it, you must defeat the Militant Jawa, a Champion enemy. He’s a bit tricker than the other champions, as he will summon 3 different types of adds at each of the junk piles each with a different role.
The adds can stun you, repair the other droids, or shield the Jawa. Technically, you only need to defeat the one shielding the lil’ guy, and that’s the Discarded Sentry Droid, but it’s annoying to leave the others alive. Look for the blue beam.
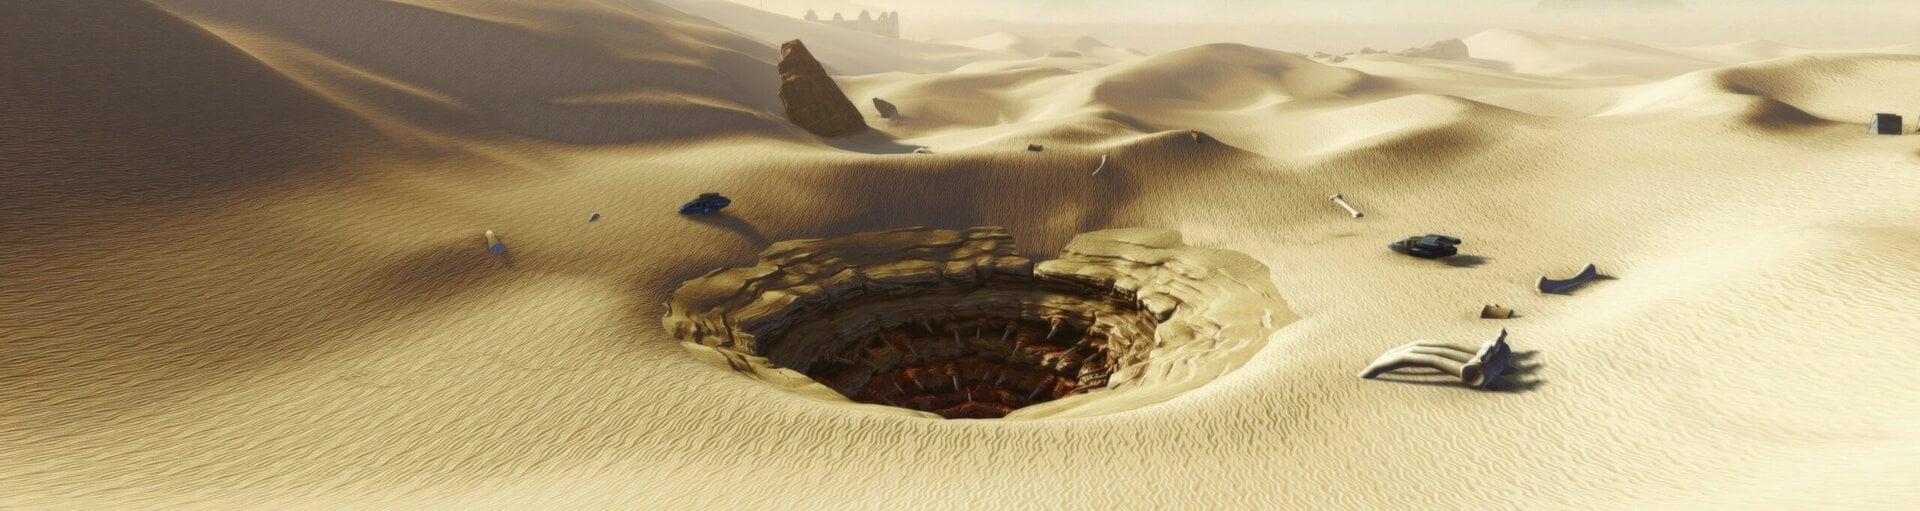
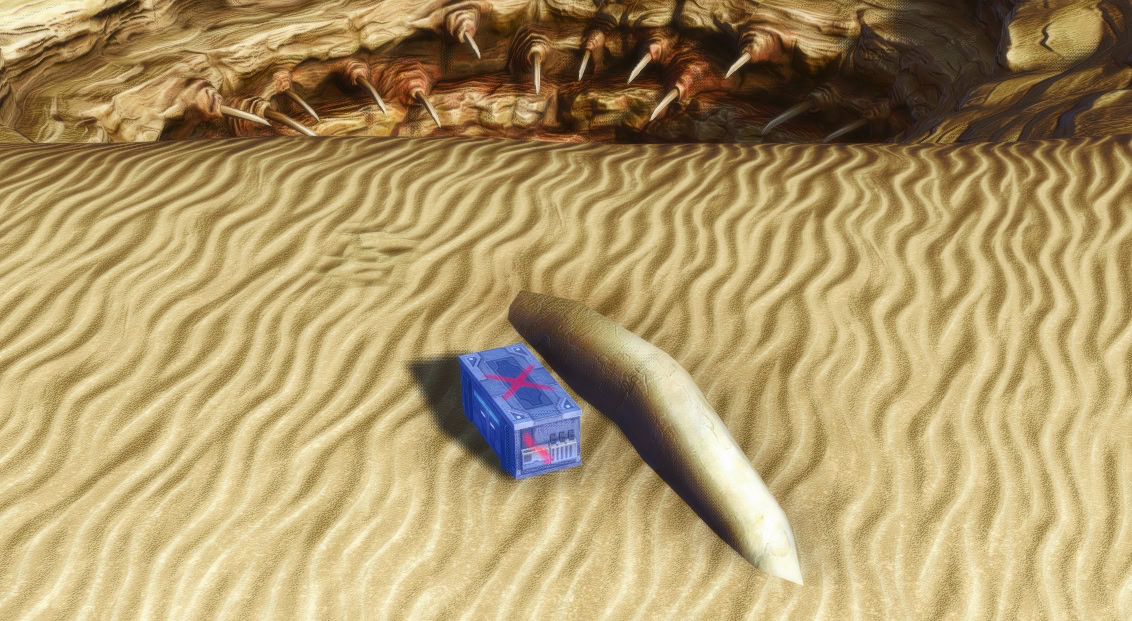
Sarlacc Snacktime
Sarlacc Snacktime is located at the Sarlacc in the northern part of the Dune Sea. To complete it, you must defeat 15 Gamorreans and knock enough of them into the Sarlacc Pit using the nearby Repulsor Gun.
Achievements
Despite existing on planets, Dynamic Encounter achievements are listed under their own category rather than as a new subcategory on each planet in the Location section. On each planet, you get an achievement for doing the following:
- Completing each Dynamic Encounter for the first time
- Completing all Dynamic Encounters in each region
- Completing all Dynamic Encounters across the planet
- Completing 10 ▶ 25 ▶ 75 ▶ 125 Dynamic Encounters on a given planet
Once you get all of these achievements on a given planet, you get the meta-achievement that comes with a Lifter mount that can carry a minipet of your choosing.
Many Dynamic Encounters also have individual achievements associated with them, some of which are hidden. Below, we have tips on how to complete each encounter-specific achievement and reworded their objectives so you know what you have to do.
Anchorhead Achievements
Anchorhead features 7 encounter-specific achievements including 4 related to the “Imperial Attack: Anchorhead” Dynamic Encounter. Only Republic players can complete the encounters and achievements in Anchorhead.
| Achievement Name | Objective | Associated Dynamic Encounter |
|---|---|---|
| Frostbite Champion | Hit 25 Imperial Soldiers with Cryo Grenades during “Imperial Attack: Anchorhead” | Imperial Attack: Anchorhead |
| Voltage Vanguard | Hit 25 Imperial Soldiers with Electro-Stun Grenades during “Imperial Attack: Anchorhead” | Imperial Attack: Anchorhead |
| Scorched Earth | Hit 25 Imperial Soldiers with Pyro Grenades during “Imperial Attack: Anchorhead” | Imperial Attack: Anchorhead |
| Explosive Mastermind | Complete all Grenade-Related Achievements during “Imperial Attack: Anchorhead” | Imperial Attack: Anchorhead |
| Overzealous | Get pulled offstage during the Double Sunburns gig | Road Gig: The Comeback |
| Wranglin’ Pro | Quickly round up and cage 3 bantha calves | Spaceport Chaos |
| Ad-utainment | Charge the Ad Gonk beyond normal energy capacity | Road Gig: The Sophomore Album |
Explosive Mastermind
You only need to hit the enemies with the grenades, not defeat them, so just use them on cooldown. Try to hit at least 3 enemies with each if you can, especially the Cryo and Electro-Stun Grenades as they have longer cooldowns.
Wranglin’ Pro
You can wrangle up to 3 Banthas at once before caging them. Just stand by one of the crates in the middle of the spaceport and grapple 3 of them back-to-back. Then, stuff ’em in the cage as soon as you grab the third one.
Overzealous
During Road Gig: The Comeback, if you climb onto the stage, you’ll get yanked off by the bouncer and get the Overzealous achievement. Something similar happens at the Slugfall Cantina on Mek-Sha.
Ad-utainment
When you gather electricity from the Power Sources at the beginning of Road Gig: The Sophomore Album, there’s a little stacking buff you get that lasts 15s. If you get 5 stacks of the buff without letting it fall off, it’s considered Overcharged and you get the achievement. It would be more appropriate to call the achievement or buff “Fast Charging”.
Dune Sea Achievements
The Dune Sea features 9 achievements, 3 of which are hidden. All of the Dune Sea achievements are faction neutral.
| Achievement Name | Objective | Associated Dynamic Encounter |
|---|---|---|
| Natural Causes | Wait for the Ancient Womp Rat to die from Senescence | Ancient Womp Rat |
| Hungry Little Guys | Feed 3 Sand Wormlings disgusting morsels from Dewback corpses | Brooding Season |
| Bots Rush | Defeat all 6 Dynamic Encounter Champion in the Dune Sea while using an Unstable Czerka Droid from the “Czerka Sabotage” Dynamic Encounter | Czerka Sabotage |
| Fangle Friend | Pet Fangle, the Opal Vulptilla Pup, at all 3 “Scavenger’s Tale” Dynamic Encounters | Scavenger’s Tales |
| Lizardly Wrath | Defeat the Surly Dunerill after enraging it by killing its babies | Surly Dunerill |
| OK, You Should Have Expected This | Jump into the Sarlacc Pit during “Sarlacc Snacktime” | Sarlacc Snacktime |
| Free Samples | Feed the Sarlacc 15 times | Sarlacc Snacktime |
| Hunger Buster | Feed the Sarlacc 30 times | Sarlacc Snacktime |
| Meals with Squeals | Feed the Sarlacc 75 times | Sarlacc Snacktime |
Natural Causes
The Ancient Womp Rat has a debuff called Senescence, which is like 3 minutes long. Attack the rat and kite it until the debuff falls off, which will kill it instantly. I recommend doing this in the PvP instance because unaware players are more likely to just run up and kill it, and those sorts of players are not the type to read chat.
Hungry Little Guys
You can loot the disgusting morsels mentioned in the achievement from dewback corpses somewhat far from the Brooding Season encounter. You do not need to fight any dewbacks, they’re already dead.
Looting should give you 7 disgusting morsels and you need to throw them at the neutral Sand Wormlings without engaging them in combat. They run around a lot, so you need to lead the throw a bit.
Bots Rush
Bots Rush will take a little while to complete and you’ll need to be vigilant. You have to go activate an Unstable Czerka Droid from the Czerka Sabotage encounter and bring it with you to defeat each of the champion Dynamic Encounters in the Dune Sea.
The droid only sticks around for 3 minutes, so you need to activate it and book it towards whichever champion you’re going for. The droid has to be active when the champion dies.
Czerka Sabotage lasts 30 minutes and the other Dynamic Encounters a chance to spawn every 15 minutes, so I recommend heading out to Czerka Sabotage if you’re nearing the 15 minute mark in anticipation of another champion spawning.
The droid does persist even after Czerka Sabotage ends and has a 4s activation cast time, so it’s worthwhile to get it even when there’s like 10s left on Czerka Sabotage.
I highly recommend using the Improved Mounting and/or Sprinter Guild Perks and doing this one on a toon with Improved Speeder Piloting VI. You can do Bots Rush solo, but unless you really know your class, you will have better luck with a group or in the PvE instance.
The Unstable Czerka Droid also has a knockback effect on its attacks, and it can knock the enemies far enough away from their spawn point that they evade, so consider bringing a class that can push or pull to counteract this.
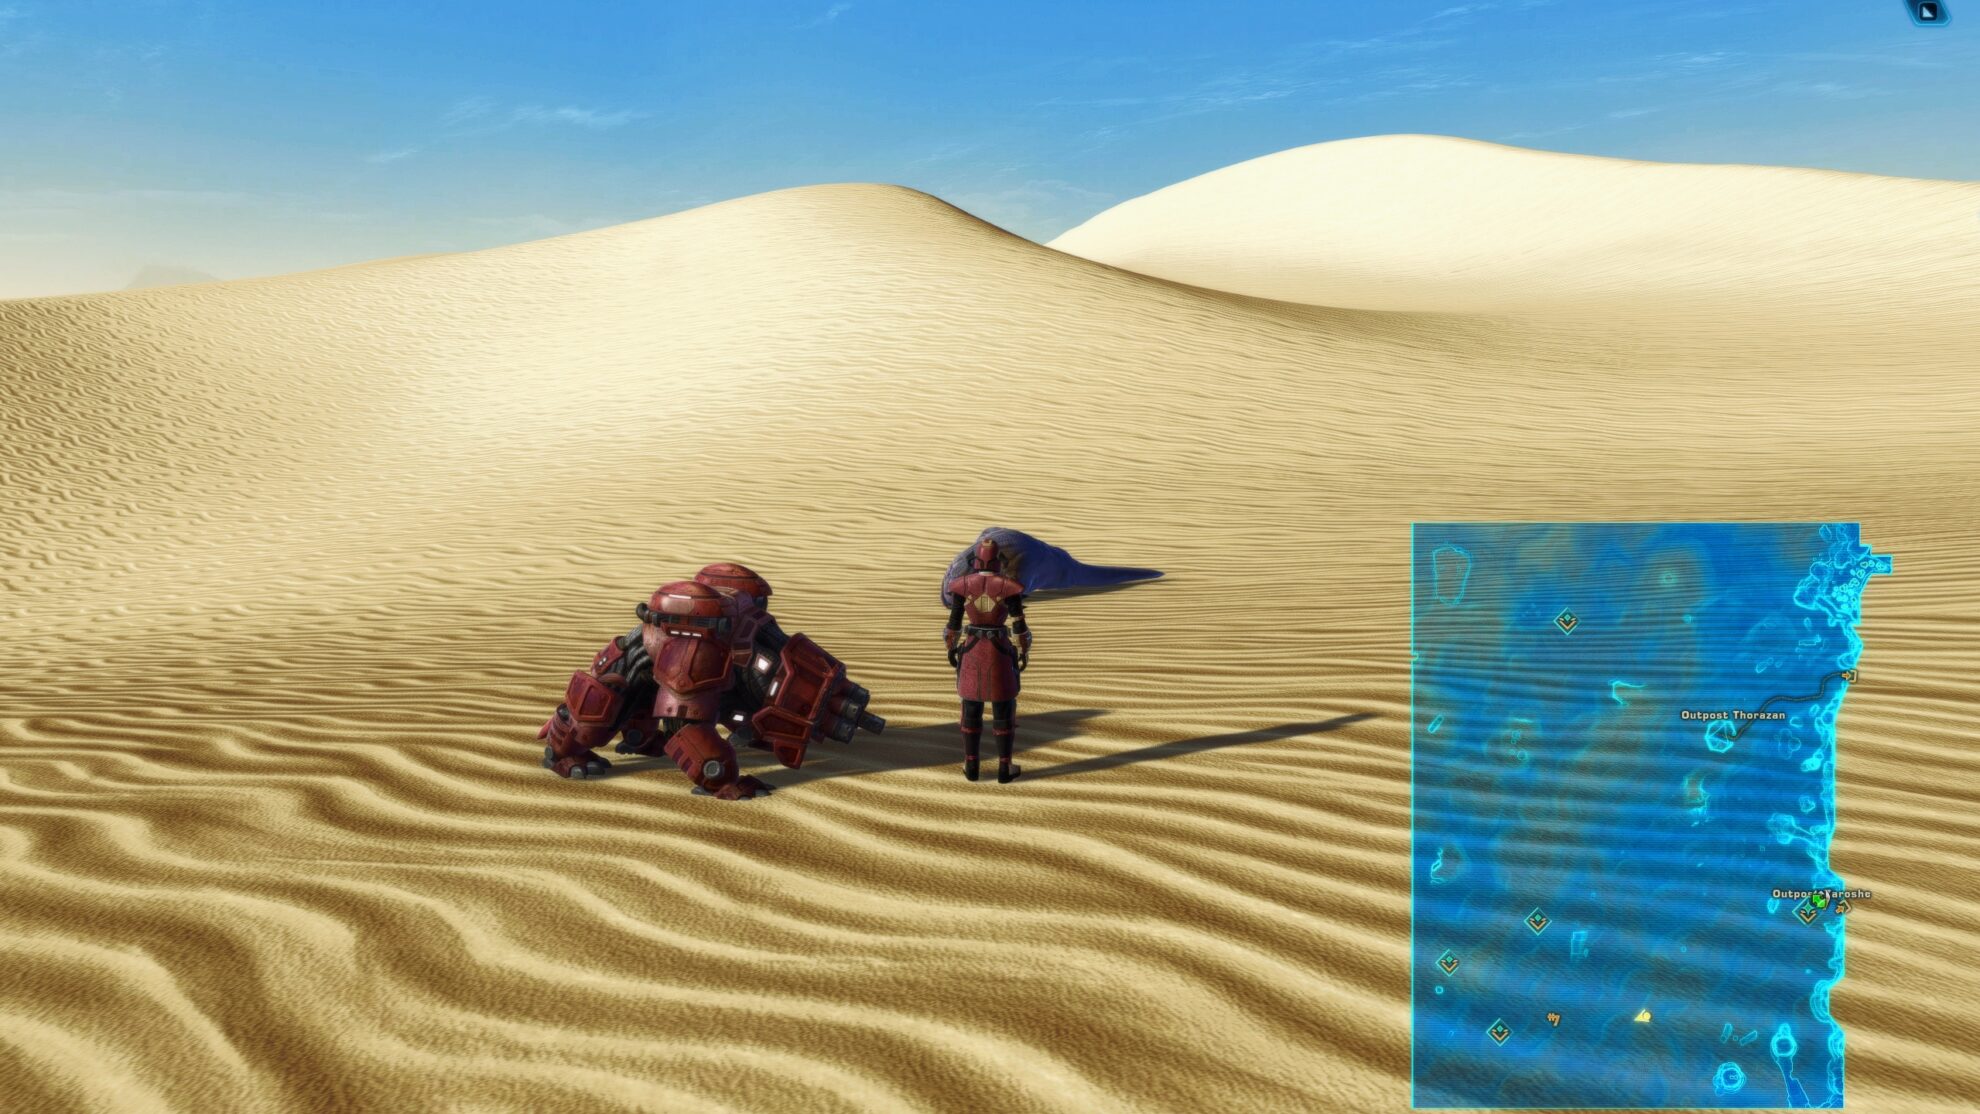
Fangle Friend
The Jawa scavengers out in the Dune Sea have a pet Opal Vulptilla pup named Fangle.
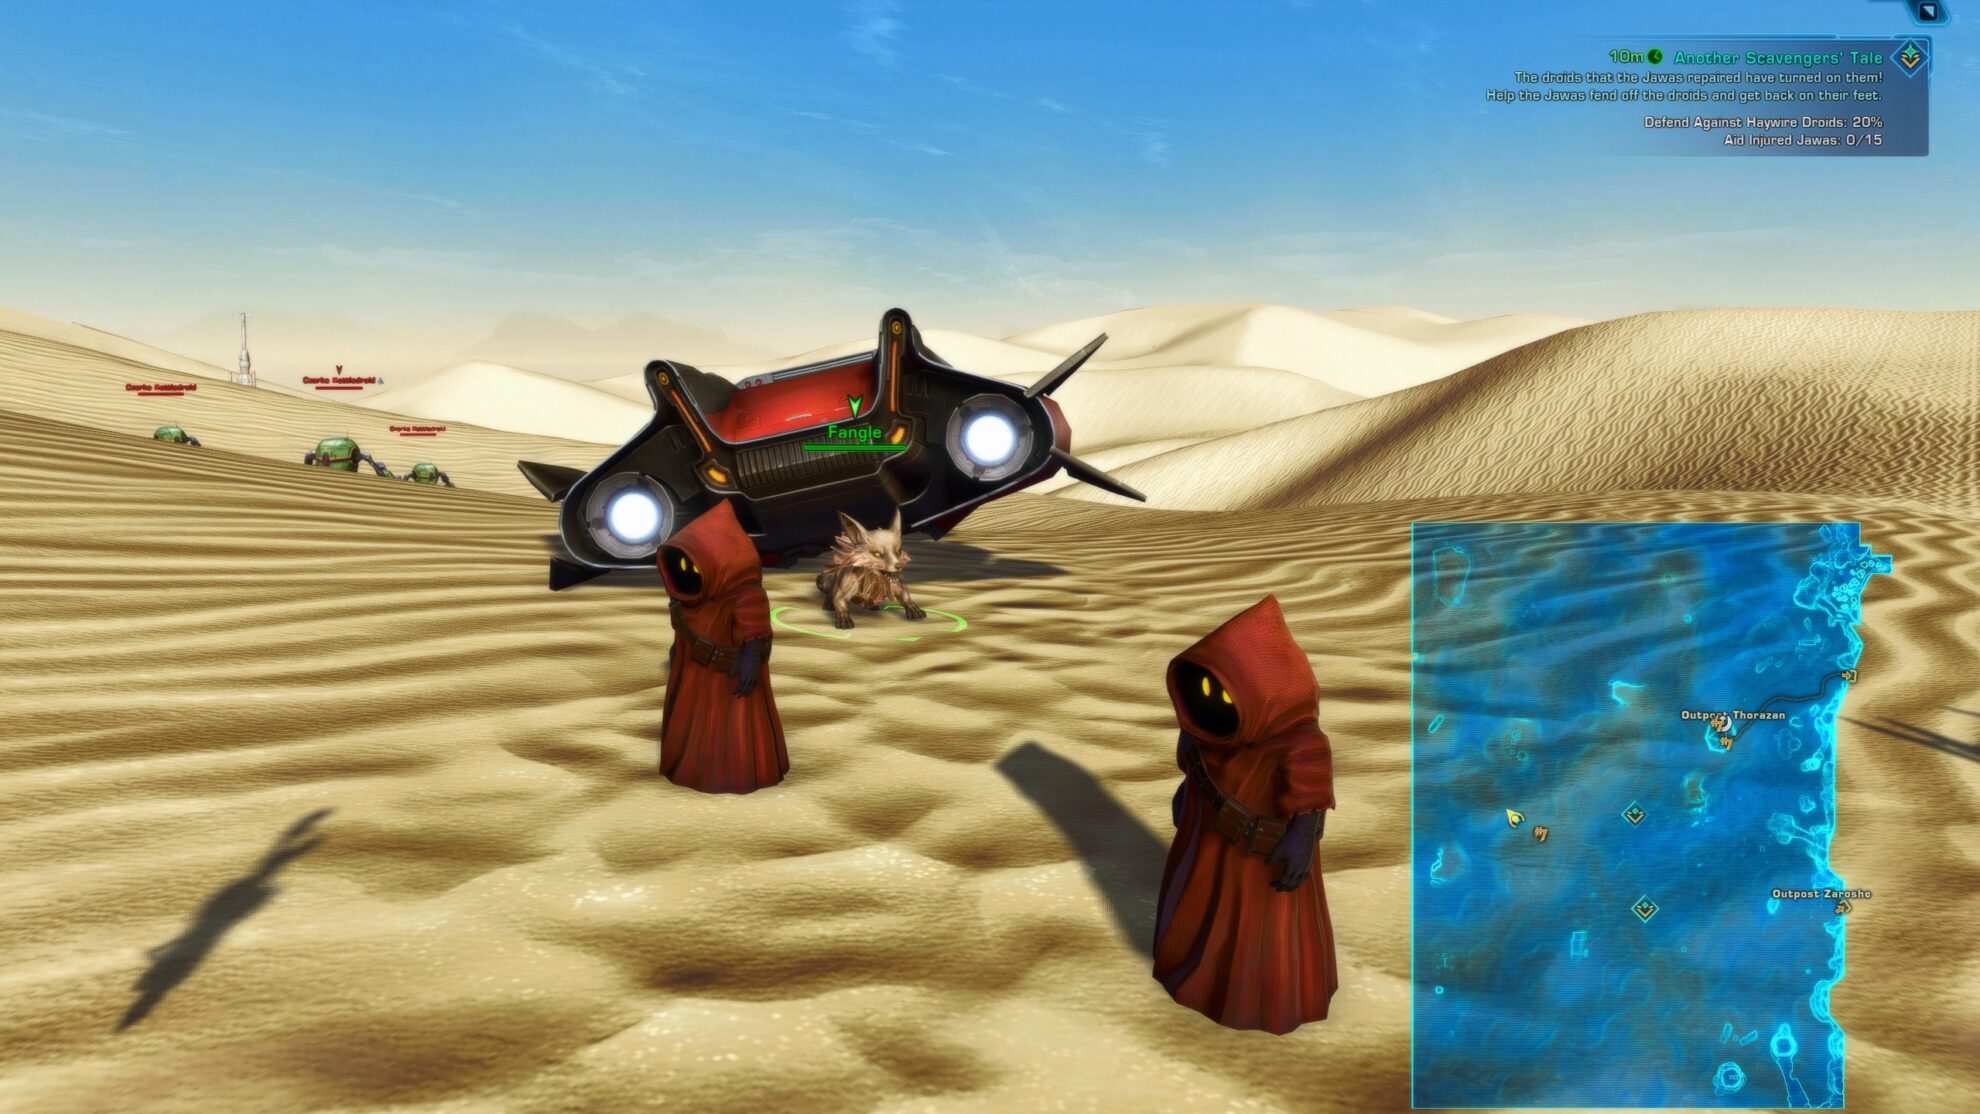
Walk up to him and a temporary ability will pop up to pet the pupper. Do this at each of the 3 Scavengers’ Tales encounters to get the Fangle Friend achievement. Unfortunately, you don’t get the Opal Vulptilla minipet for doing this.
Hopefully in the future, we will get to see Fangle grow up into an adult Opal Vulptilla and have the Jawas give you one of the Opal Vulptilla pets from her litter.
Lizardly Wrath
The Surly Dunerill is one of the Champion Dynamic Encounters out in the Dune Sea. To enrage her for the Lizardly Wrath achievement, you have to go kill her babies, the Snippy Dunerill Hatchlings behind the big rock near Outpost Zaroshe.
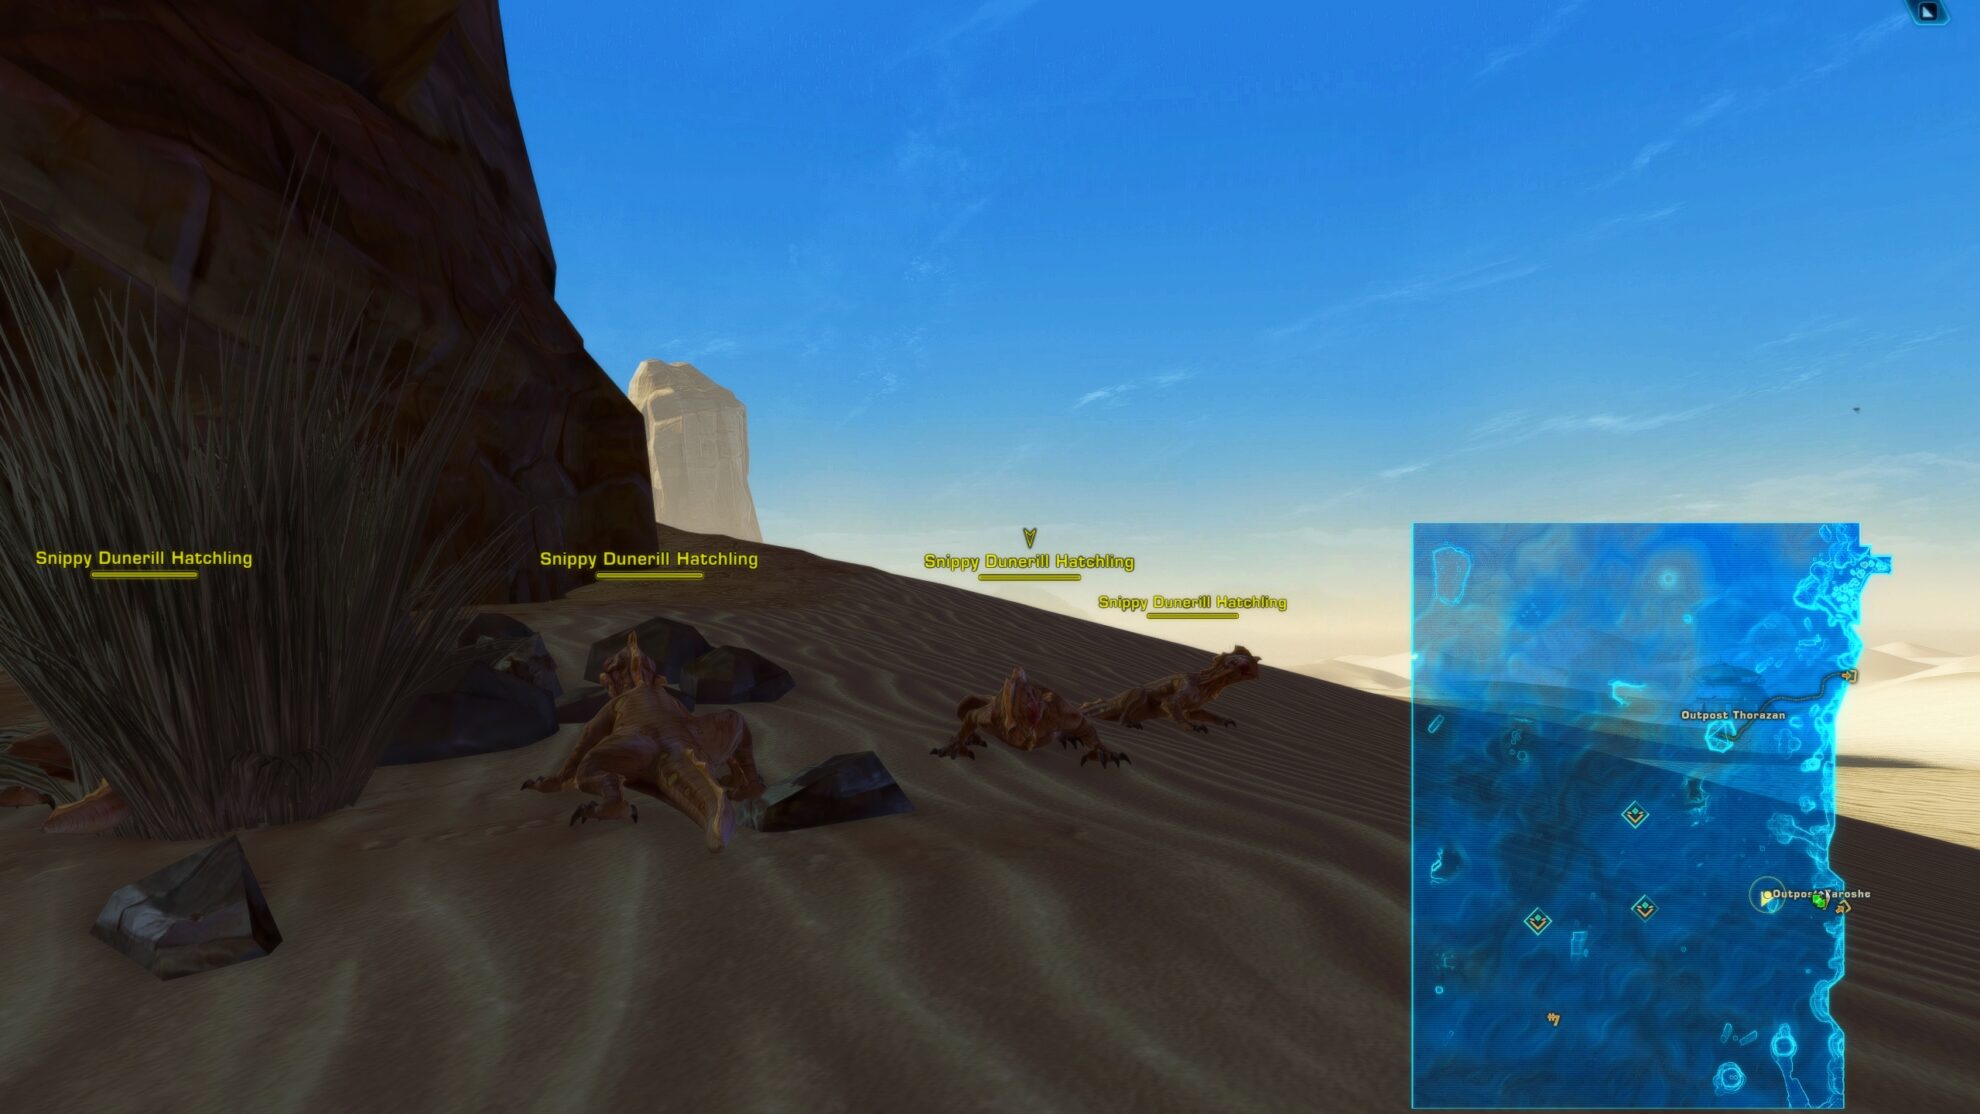
They’ll apply a 15 minute debuff called Malodorous. When you attack the Surly Dunerill while you have this debuff, she’ll Enrage. Defeat her and you’ll get the Lizardly Wrath achievement.
OK, You Should Have Expected This
You get “OK, You Should Have Expected This” for jumping into the Sarlacc Pit during the Sarlacc Snacktime Dynamic Encounter. You won’t get it unless you still have the encounter mission active.
The first time you jump into that specific Sarlacc Pit on a given toon, you’ll also get the title “Worm Food”.
Free Samples, Hunger Buster, and Meals with Squeals
There are hidden achievements for feeding the Sarlacc 15, 30, and 75 Gammoreans. Since the repulsor goes away when you finish the encounter, you’ll have to do Sarlacc Snacktime multiple times.
Mos Ila Achievements
Mos Ila features 7 encounter-specific achievements including 4 related to the “Republic Attack: Mos Ila” Dynamic Encounter. Only Imperials can complete these encounters and achievements.
| Achievement Name | Objective | Associated Dynamic Encounter |
|---|---|---|
| Freeze Frame | Hit 25 Republic Soldiers with Cryo Grenades during “Republic Attack: Mos Ila” | Republic Attack: Mos Ila |
| High Voltage Hero | Hit 25 Republic Soldiers with Electro-Stun Grenades during “Republic Attack: Mos Ila” | Republic Attack: Mos Ila |
| The Heat of Battle | Hit 25 Republic Soldiers with Pyro Grenades during “Republic Attack: Mos Ila” | Republic Attack: Mos Ila |
| Grenade Enthusiast | Complete all Grenade-Related Achievements during “Republic Attack: Mos Ila” | Republic Attack: Mos Ila |
| Thorough Experimentation | Witness all 6 reactions to experimental chemicals | In Search of a Problem |
| Watch Your Step! | Honk at 20 players while piloting a Mouse Droid | A Worse Exchange |
| Overkill | Use all experimental weapons on a single target | A Catastrophic Exchange |
Grenade Enthusiast
You only need to hit the enemies with the grenades, not defeat them, so just use them on cooldown. Try to hit at least 3 enemies with each if you can, especially the Cryo and Electro-Stun Grenades as they have longer cooldowns.
Watch Your Step!
While many Dynamic Encounters are quicker to do in the PvP instance due to fewer players, you’ll want to make sure to do A Worse Exchange in the PvE instance.
You can honk at other players 2-3 times and other mouse droids and it will still count, so keep honking until you get the pop-up saying otherwise.
Overkill
Use Ice Grenade > Lightning Missile > Pyro Grenade against a Strong (silver) or Elite (gold) enemy with full HP. Set your companion to passive. Minimize the delay between ability use.
Jundland Achievements
Jundland features 2 Dynamic Encounters with achievements, and both of them are doable by both factions, though Raiders’ Reckoning is closer to Imperial QT points while Raiders’ Reckoning is significantly closer to Republic ones.
| Achievement Name | Objective | Associated Dynamic Encounter |
|---|---|---|
| The Reckoner | Free a total of 50 prisoners of the Sand People | Raiders’ Reckoning |
| Bad for Business | Defeat all 6 Mandalorian and Exchange Commanders | Mandalorian Menace |
The Reckoner
The Reckoner requires you to open 50 of the cages during the Dynamic Encounter “Raiders’ Reckoning”. Since the encounter only lets you release 8 each time, you’ll just need to complete Raiders’ Reckoning 7 times.
Bad for Business
There are 3 pairs of Mandalorian-Exchange Commander duos. It’s random which pair spawns, but the respawn timer is short, so you just have to wait and kill them each time they come back rather than completing the encounter normally.
Unique Rewards
There are 2 rewards that you can only get for completing Dynamic Encounters on Tatooine.
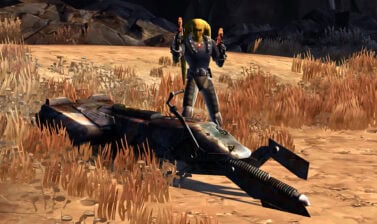
Desert Sands Lifter
The Desert Sands Lifter is a variation of the Load Lifter vehicle mounts from the Cartel Market with a rusty orange and yellow striped paint job. The Lifter can carry a minipet of your choice.
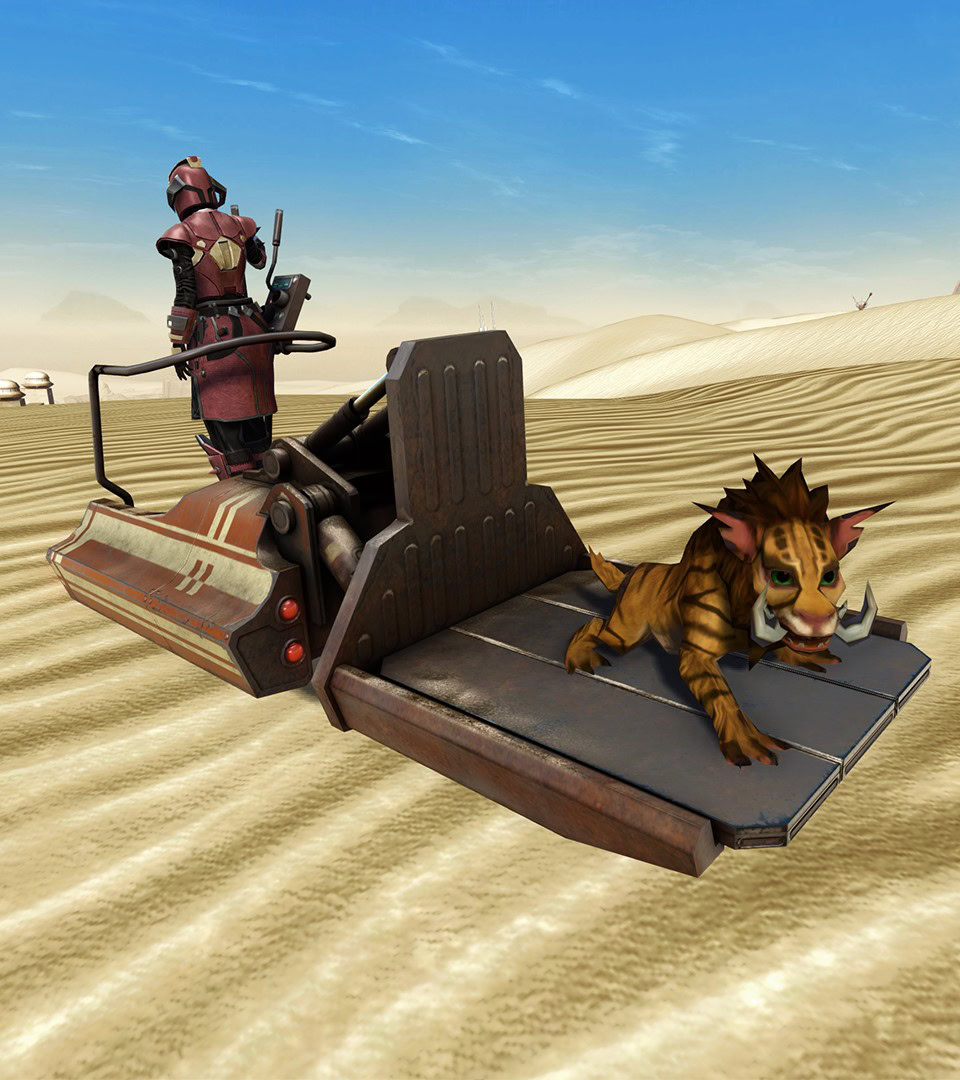
You receive the Desert Sands Lifter for completing Encounter Mastery: Tatooine, which requires that you must complete each unique Dynamic Encounter and 125 total Dynamic Encounters on Tatooine.
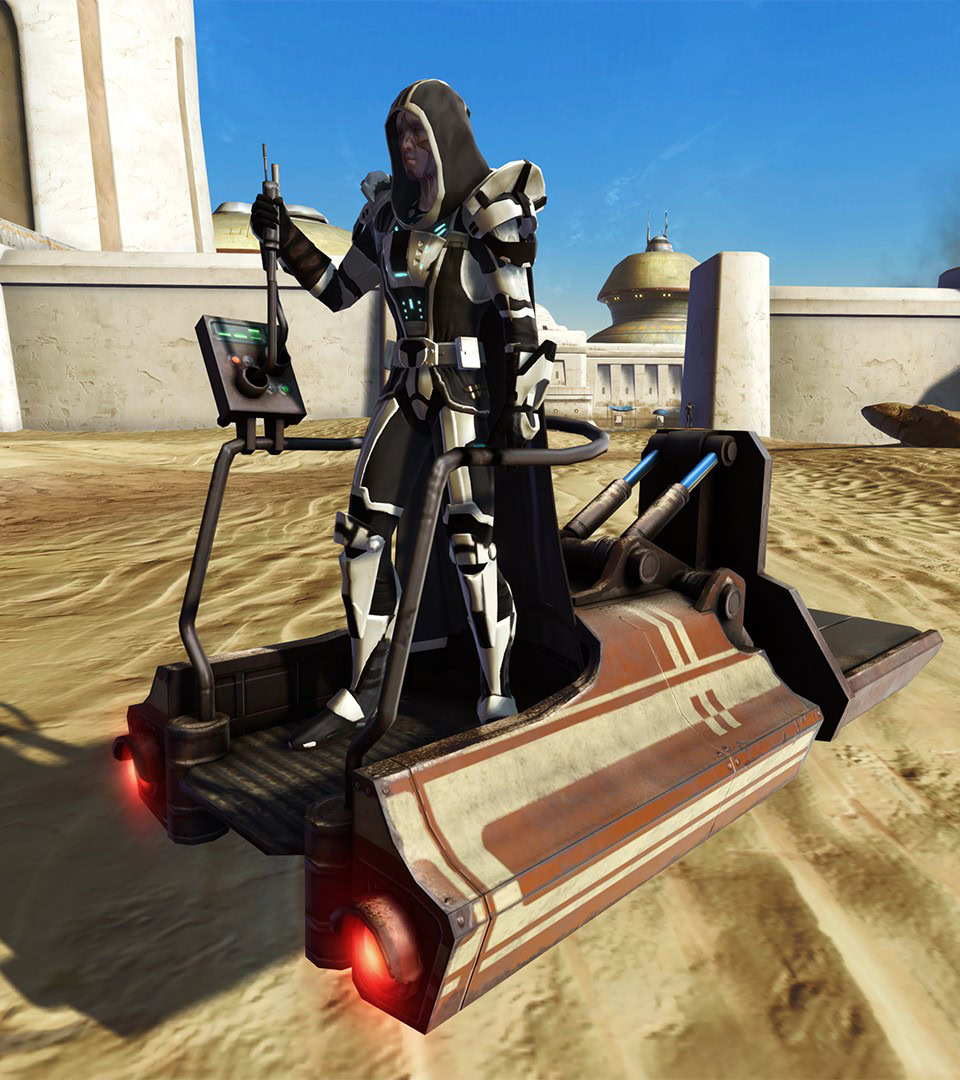
Dark Initiate’s Fitted Robes
The Dark Initiate’s Fitted Robes is a full set to go with the purple chestpiece of the same name previously offered on the Cartel Market.
Individual pieces of the Fitted Dark Initiate Robes have a chance to drop from enemies at Dynamic Encounters in Mos Ila on Tatooine, but you can find similar versions of the set at the Specialty Goods Vendors on Korriban and Balmorra.


Unfortuntately, the helmet removes the hood, but at least you have the option to wear a hood with this chestpiece.


Below, you can see the Dark Initiate’s Fitted Robes with a Deep Orange and Light Blue Dye Module. The set dyes poorly, to the extent that I consider it bugged. The chest does not color fully, while the gloves and boots are tinted.